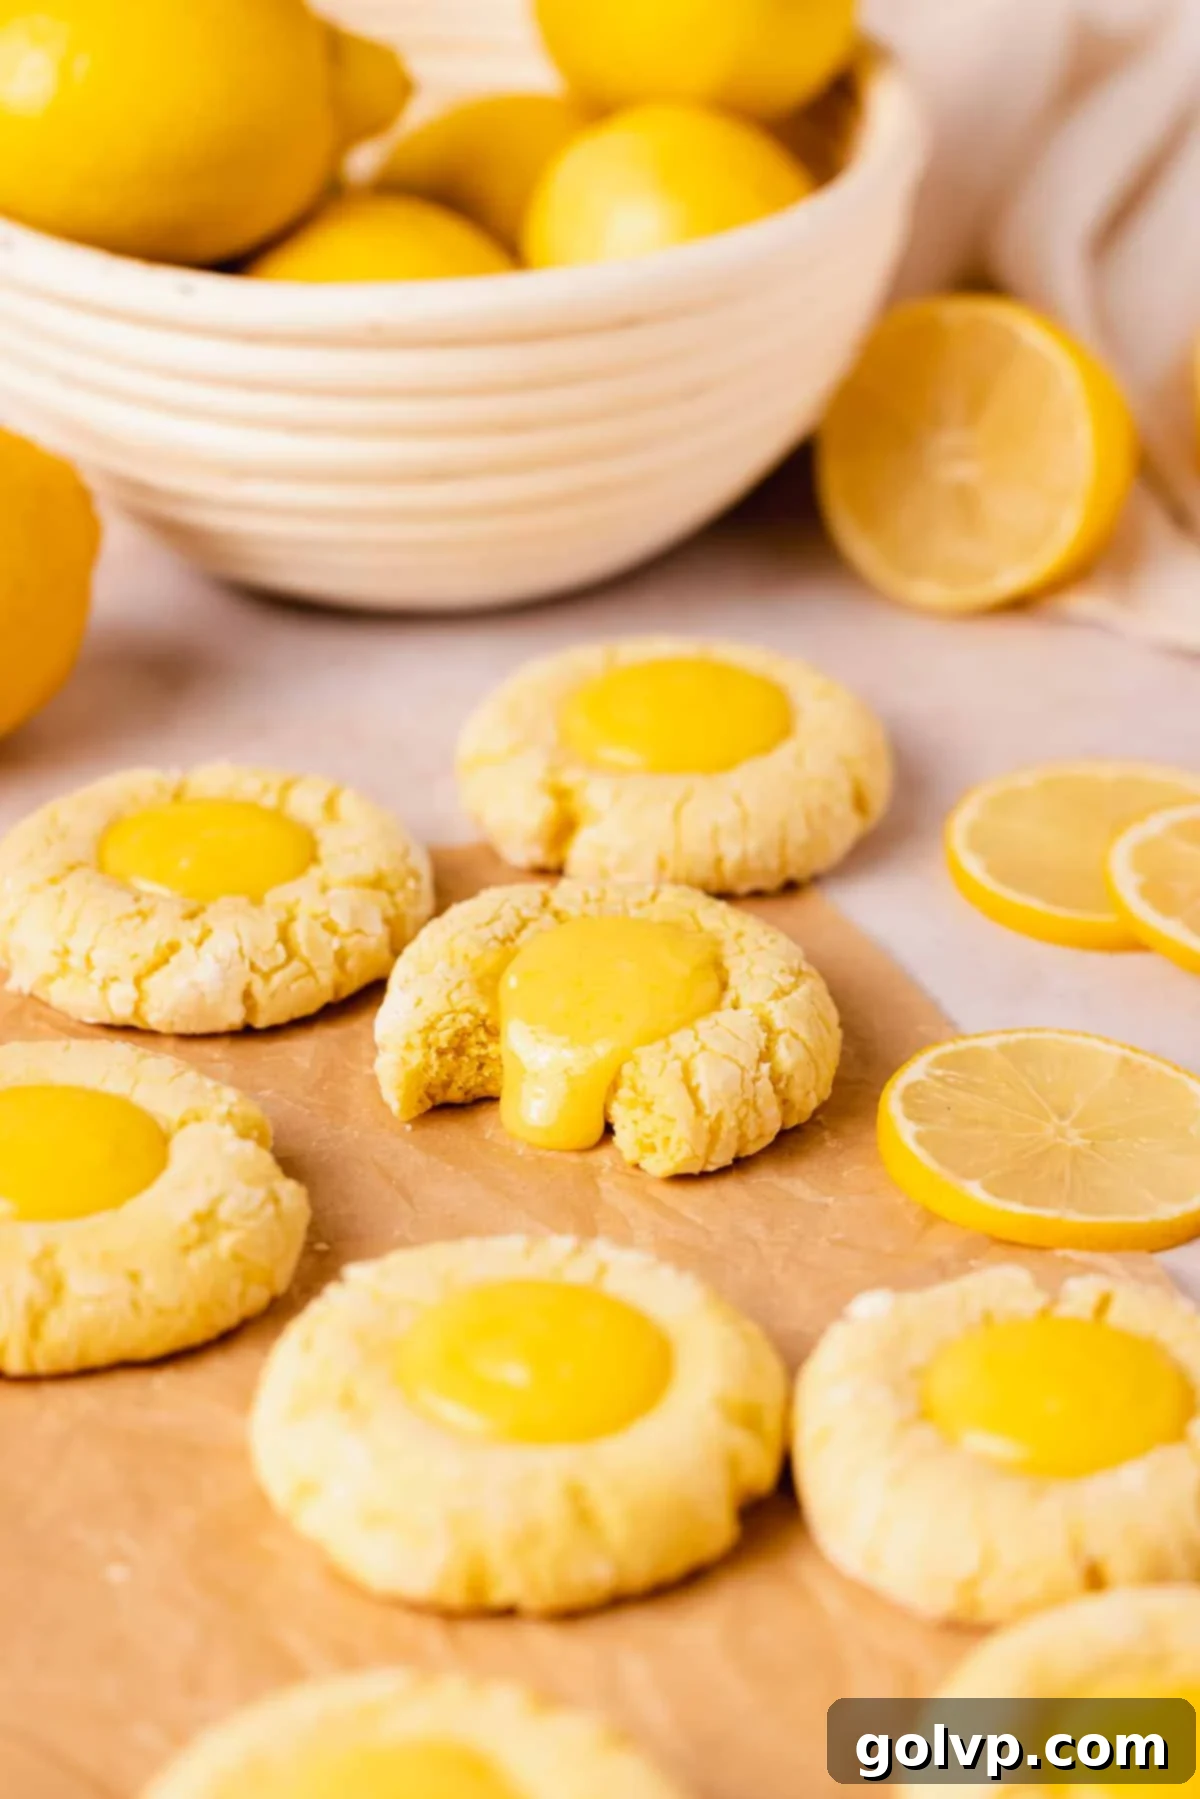
Irresistible Lemon Curd Crinkle Cookies: Soft, Tangy, and Bursting with Zesty Flavor
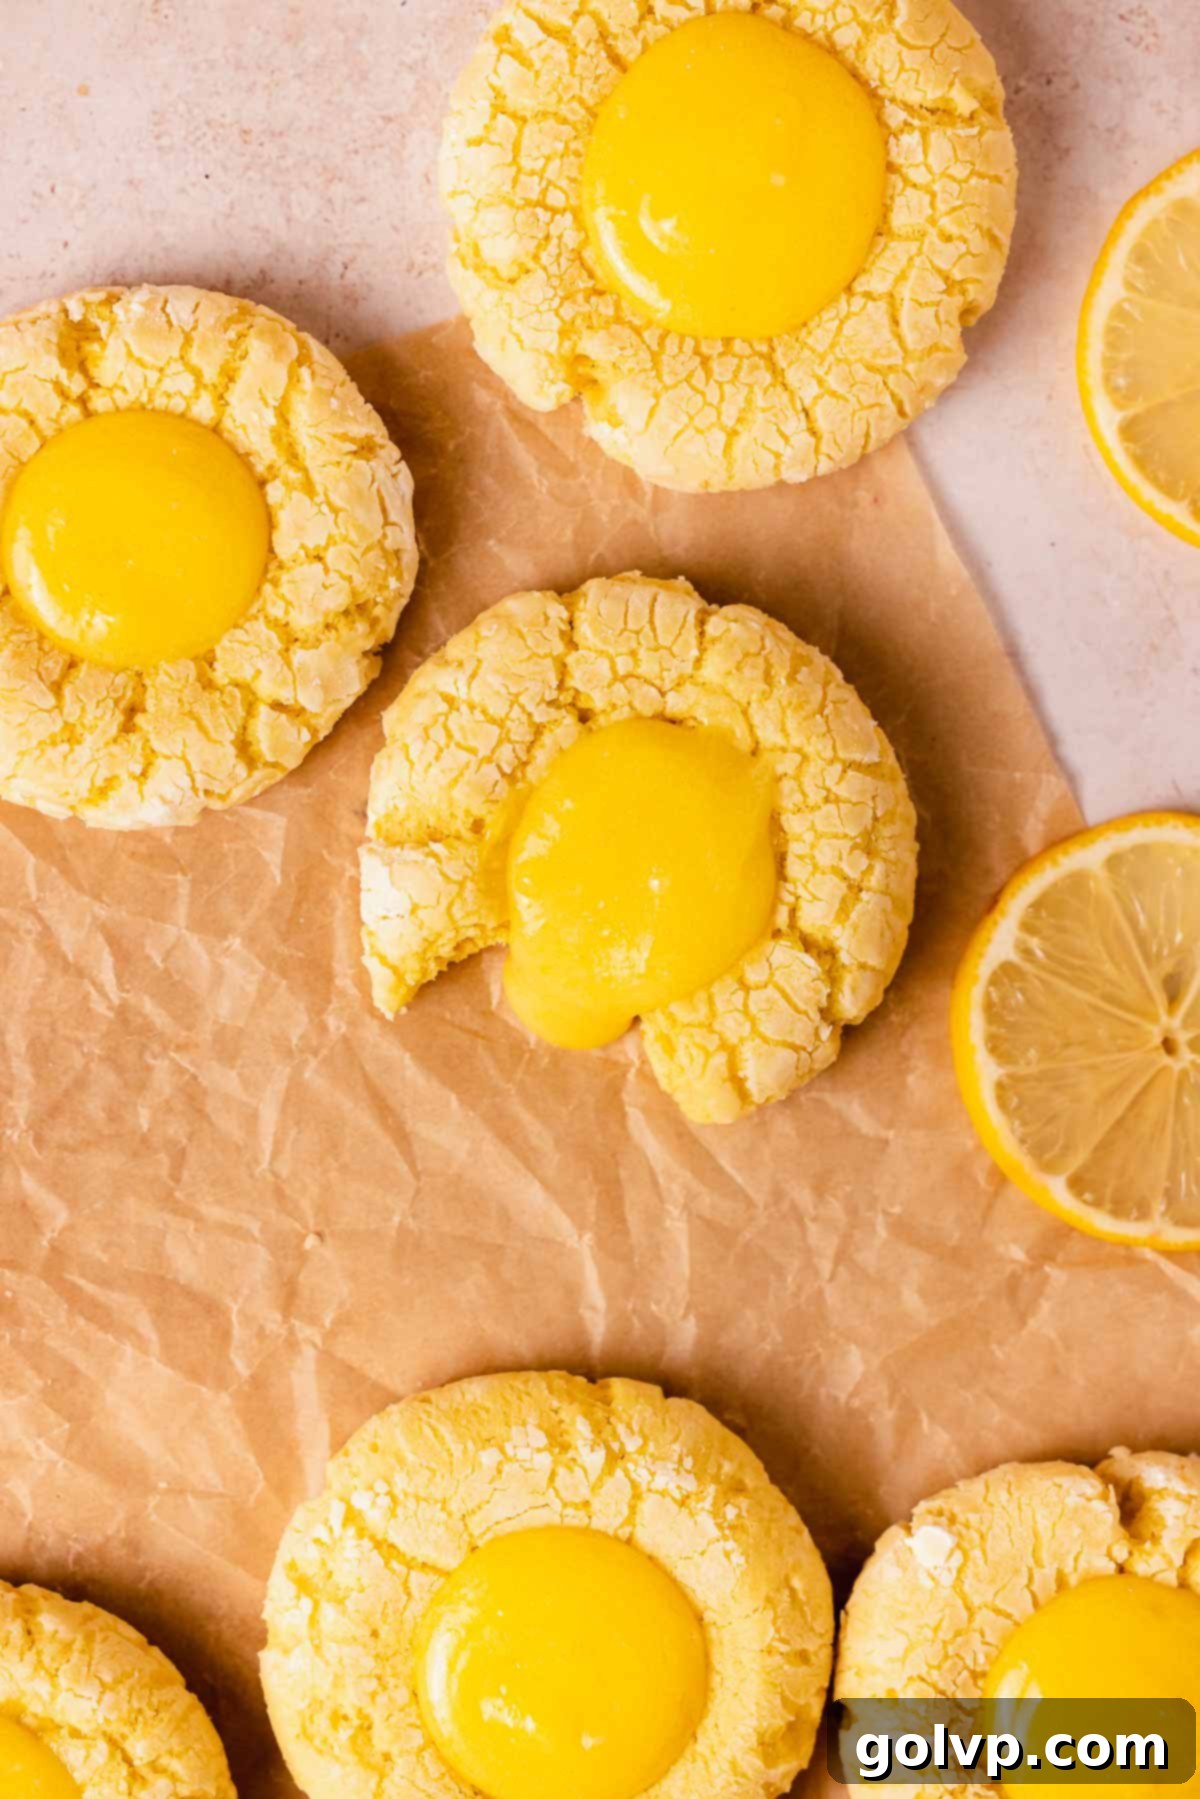
Prepare to fall in love with these extraordinary lemon curd cookies! Each bite offers a delightful journey of textures and tastes: a thick, incredibly soft, and wonderfully tangy cookie base, generously filled with luscious lemon curd. The vibrant, zesty lemon flavor truly shines through in every element. For that signature crinkled look and an added layer of sweetness, these cookies are meticulously rolled in powdered sugar before baking, creating a delicate, sweet, and crisp crust. What makes our cookie dough exceptionally tangy and tender? A secret ingredient: cream cheese, combined with fresh lemon juice, ensuring a truly unforgettable experience.
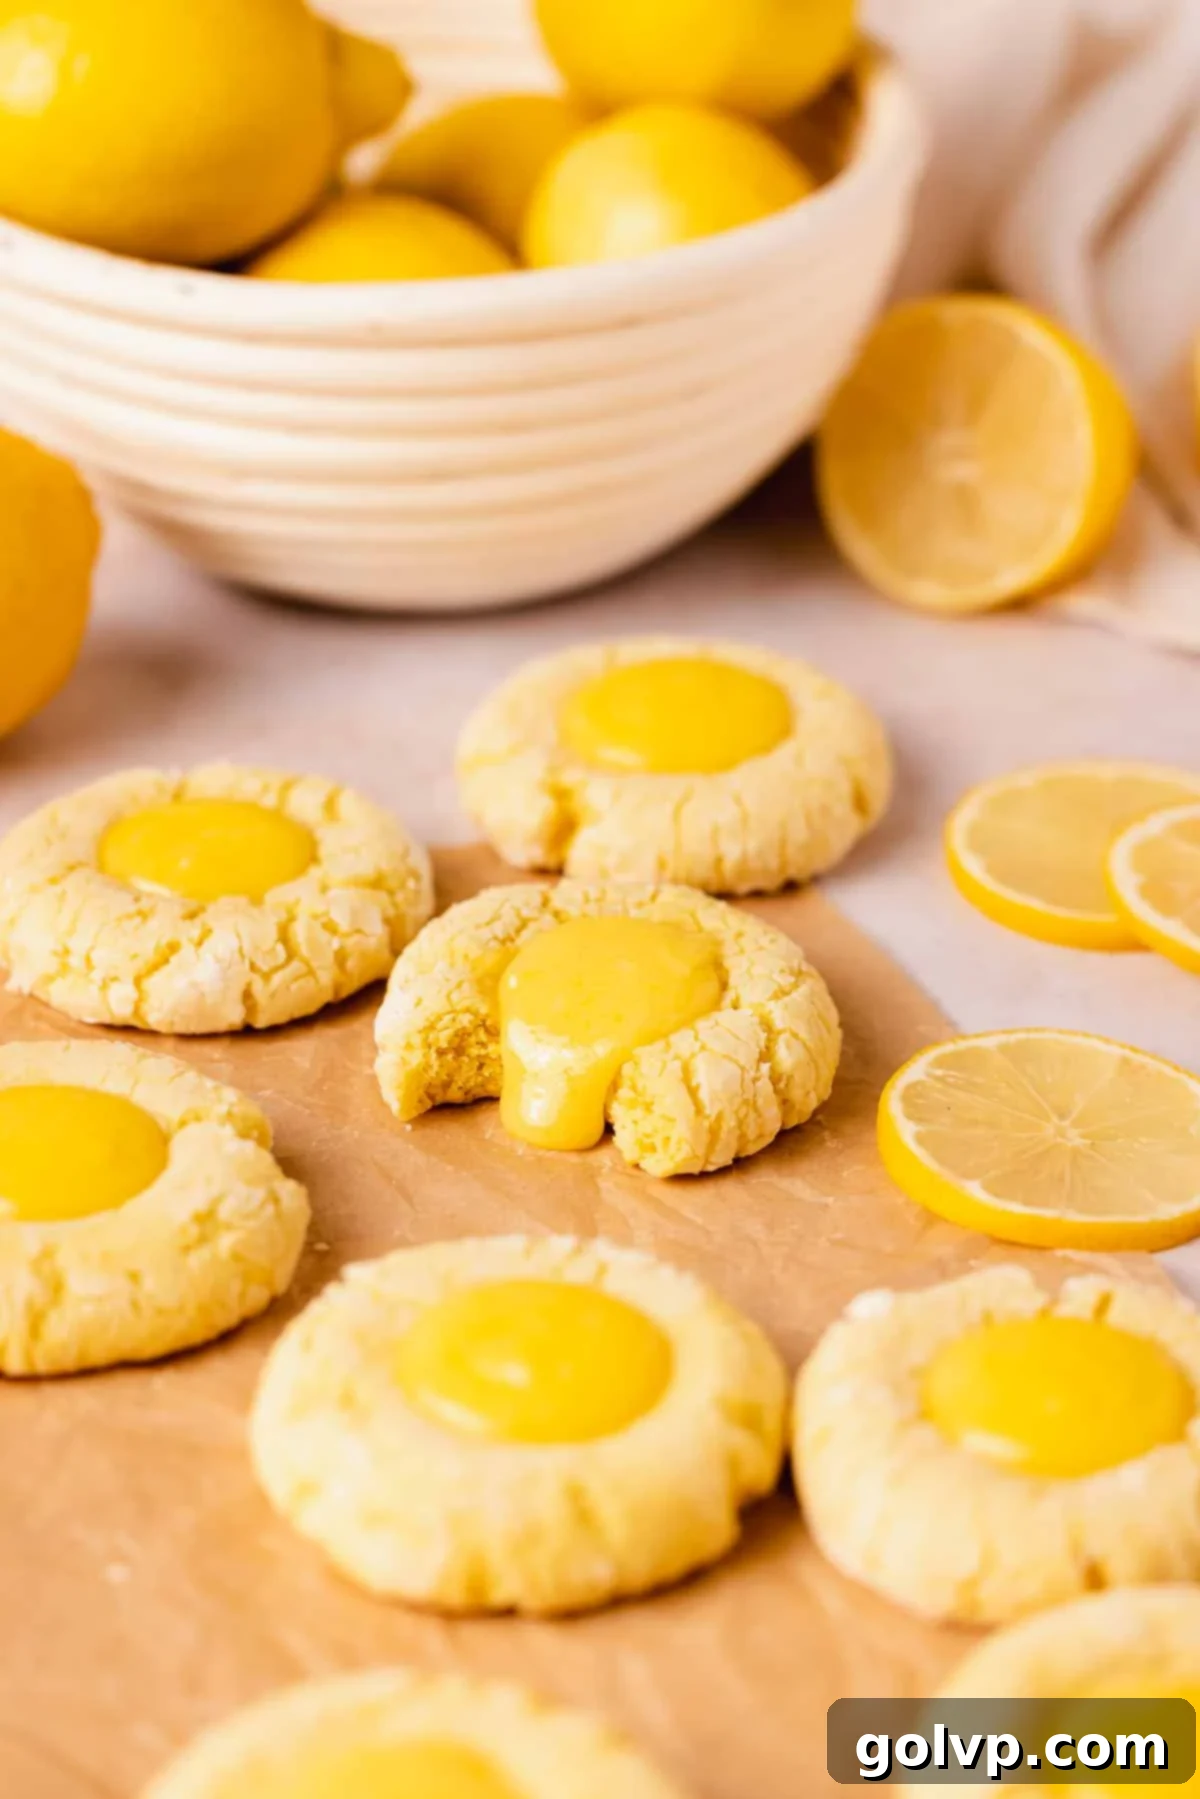
Forget bland, dry lemon cookies. Our lemon curd crinkle cookies are a celebration of all things citrus, designed to deliver maximum flavor and an irresistible texture. They are perfect for dessert tables, afternoon tea, or simply a delightful treat to brighten any day. Get ready to bake a batch that will have everyone asking for the recipe!
🍪 Why You’ll LOVE These Lemon Curd Cookies
These aren’t just any lemon cookies; they’re a labor of love that results in pure lemon perfection. Here’s why this recipe will quickly become your new favorite:
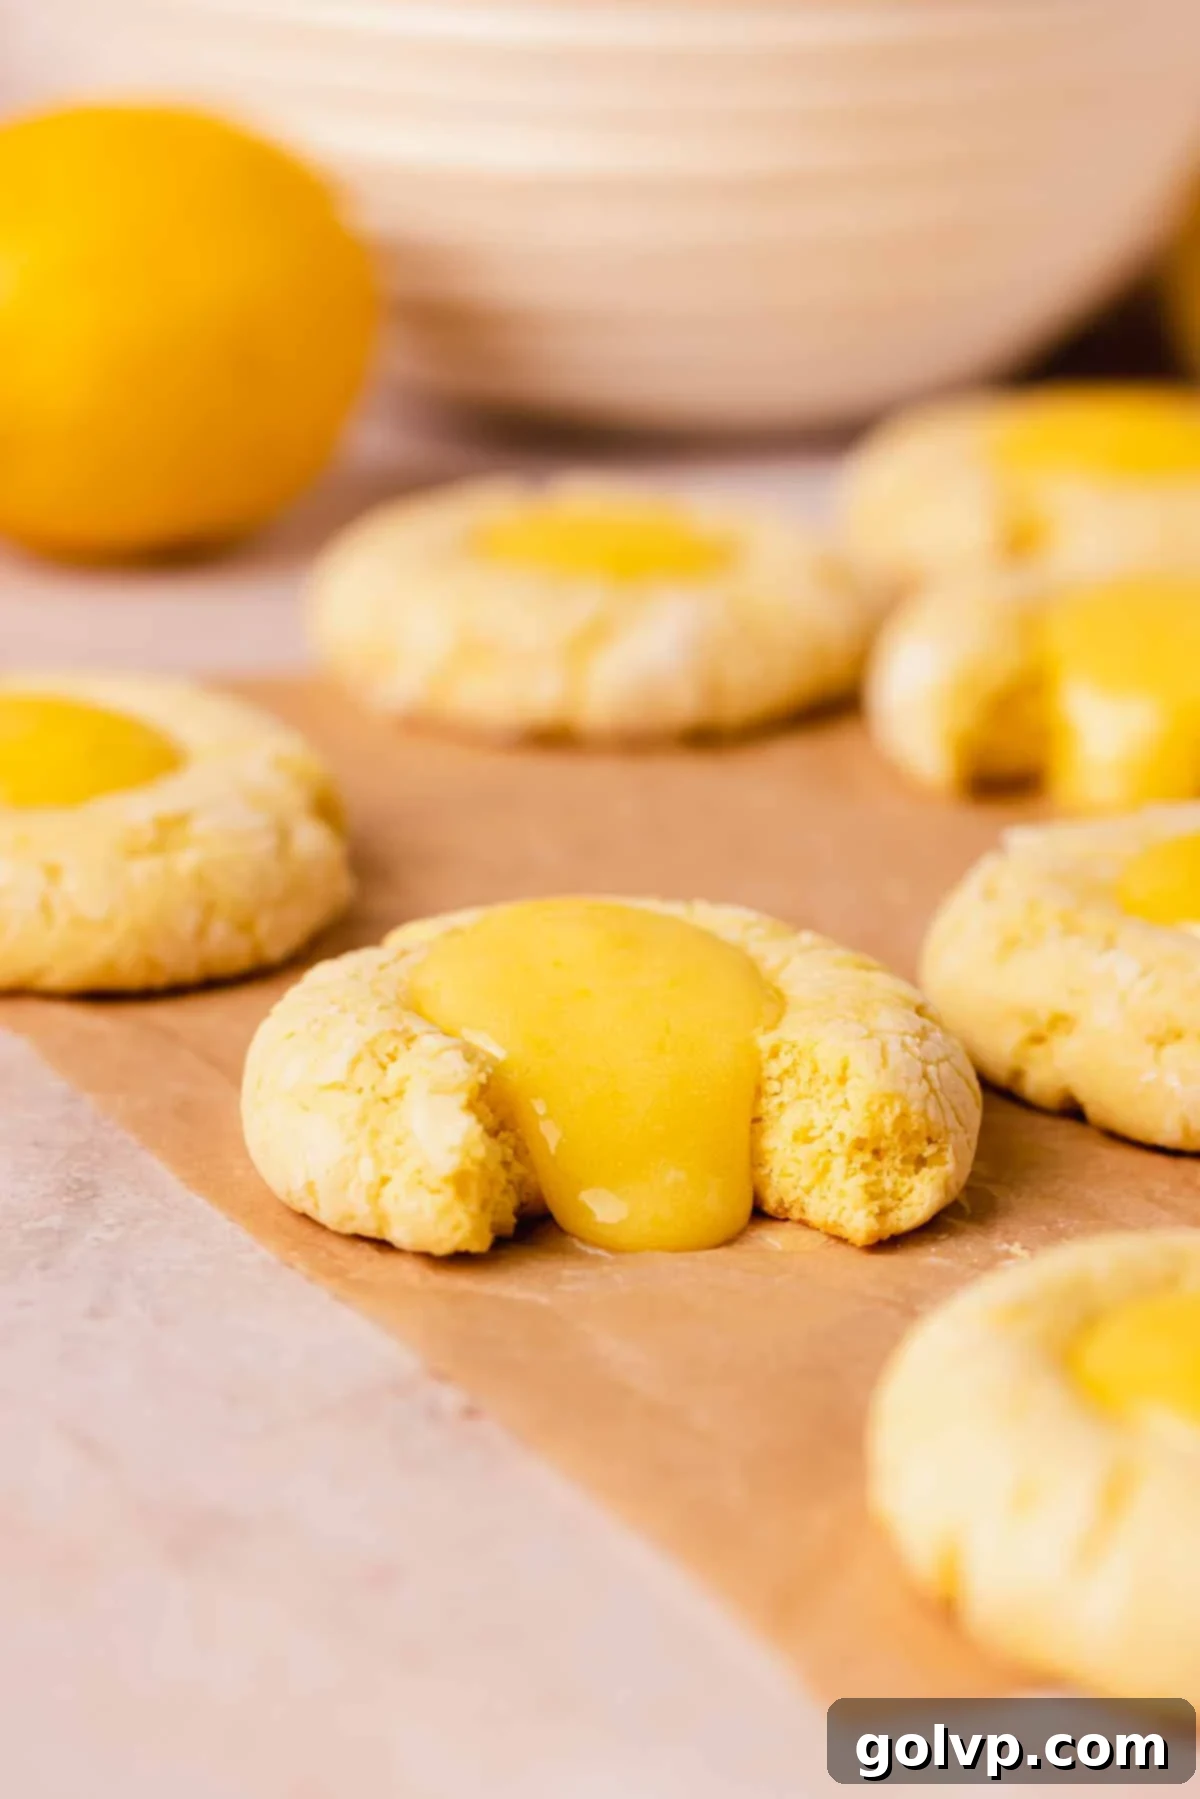
- Thick and Soft Perfection: Unlike many flat or overly crispy cookies, these boast a substantial, bakery-style thickness. They are wonderfully soft with a slight chew in the center, a texture that truly melts in your mouth and provides satisfying indulgence with every bite.
- Bursting with Lemon Curd Filling: Each cookie is generously filled with homemade, silky-smooth, and creamy lemon curd. This isn’t just a hint of lemon; it’s an explosion of bright, zesty flavor that perfectly complements the rich cookie dough. The vibrant yellow curd peeking through the crinkled tops is as appealing to the eye as it is to the palate.
- Uniquely Tangy Flavor Profile: Both the cookie dough and the lemon curd are designed to deliver a delightful tang. The secret to the cookie’s unique texture and subtle tang lies in the addition of cream cheese, which not only enhances the flavor but also contributes to its incredible softness and slightly crackled appearance. This tang balances the sweetness beautifully, making them addictive.
- Minimal Chill Time for Convenience: We know you’re eager to enjoy these treats! This recipe requires only a quick 10-minute chill in the freezer for the cookie dough, meaning you won’t have to wait long to bake up these delicious gems. It’s perfect for when a lemon craving strikes unexpectedly.
If your love for lemon desserts runs deep, you absolutely must try these other delightful lemon creations. For a crumbly, buttery experience, explore these classic lemon shortbread cookies. And if you crave a chewy texture with a hint of sweetness, these delightful lemon white chocolate cookies are a must-bake.

📝 Key Ingredients for Your Zesty Lemon Curd Cookies
Mastering these cookies means understanding the role of each ingredient. Read through for all the tips you will need for success!
Full steps and ingredients can be found in the comprehensive recipe card below.
At the heart of these cookies is the exquisite lemon curd filling. While you can opt for a high-quality store-bought version, for the most authentic and vibrant flavor, we highly recommend making your own. I use my classic lemon curd recipe—it’s wonderfully tart, incredibly creamy, and boasts the perfect gooey thickness to complement the soft cookies. This exact recipe is also provided within the complete recipe card at the bottom of this page.
Now, let’s dive into the essential ingredients for creating that perfectly tangy and soft cookie dough:
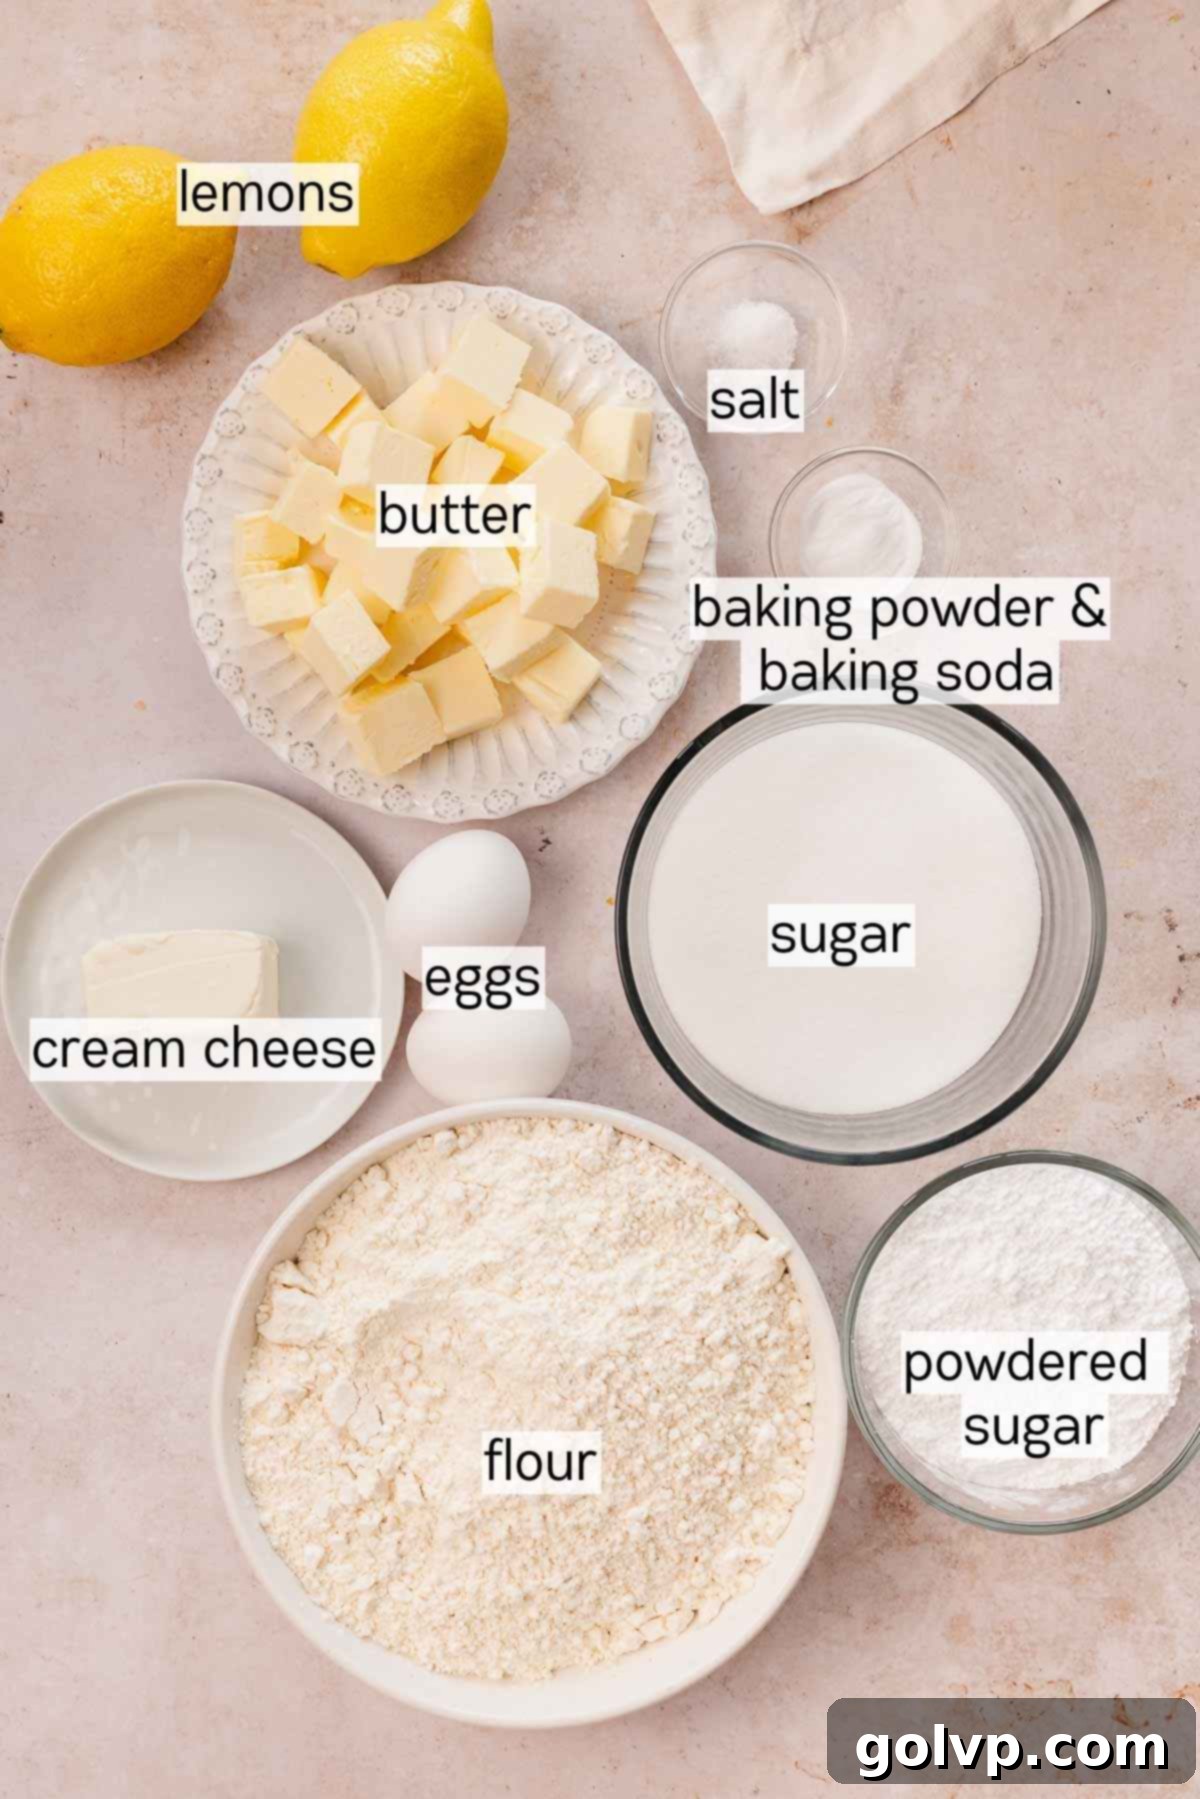
- Fresh Lemons: You’ll need an ample supply of fresh lemons for both the aromatic zest in the cookies and the bright, tangy juice in the curd. Always choose firm, unblemished lemons. This recipe is an ideal way to utilize any lemons you might have on hand. Don’t skip the zest – it provides a powerful burst of essential lemon oils that elevate the flavor dramatically.
- High-Quality Butter: For the best flavor and texture, always use good quality real butter. For the cookie dough, ensure your butter is softened to room temperature for proper creaming. For the lemon curd, cold cubed butter helps to emulsify and thicken the curd beautifully as it melts.
- Full-Fat Cream Cheese: This is a crucial ingredient for the cookie dough! Opt for brick-style, full-fat cream cheese, softened to room temperature. Low-fat or whipped cream cheese varieties are too watery and will not yield the desired rich texture or subtle tang that makes these cookies so special. It contributes to the amazing soft, chewy texture and the lovely crackle on top.
- Yellow Gel Food Coloring (Optional, but Recommended): While entirely optional, a touch of yellow gel food coloring will give your cookies that signature bright, sunny lemon hue. If using, stick to gel coloring as it’s concentrated and won’t add excess moisture to your dough. Avoid natural yellow food coloring powders if they might alter the taste, and definitely do not use turmeric or liquid food coloring, as they can impart unwanted flavors or textures.
- All-Purpose Flour: Accuracy in measuring flour is paramount for perfect cookies. For the most consistent results, always weigh your flour using a kitchen scale. If you don’t have a scale, measure properly by first stirring the bag to fluff up the flour, then gently spooning it into a dry measuring cup. Level off the excess with the flat edge of a knife, ensuring you do not pack the flour into the cup. Over-packed flour leads to dry, dense cookies.
- Fresh Baking Powder & Baking Soda: These are your leavening agents, crucial for the cookies’ soft, puffed texture. Always ensure your baking powder and baking soda are active. You can check baking powder by dissolving a small sample in warm water; it should fizz immediately. For baking soda, do the same with vinegar. If no fizz, it’s time for a fresh box!
Feeling adventurous? While lemon curd is a dream, these versatile cookies can be filled with any type of fruit curd, jam, or filling you adore. Why not try this tangy raspberry curd for a delightful twist? Or, for a super simple, one-bowl experience with a similar flavor profile, whip up these easy lemon raspberry cookies.
👩🍳 How to Make Lemon Curd Crinkle Cookies: A Step-by-Step Guide
Creating these delightful lemon curd cookies is a two-part process: first, preparing the luscious lemon curd, and then crafting the soft, tangy cookie dough. Don’t worry, each step is straightforward and rewarding!
Lemon Curd Step by Step
While a good quality store-bought lemon curd can save time, making your own fresh curd takes these cookies to an entirely new level. Its vibrant flavor and silky texture are unmatched. You can use your personal favorite lemon curd recipe, or follow my tried-and-true recipe detailed below. It’s the same simple, delicious recipe that’s included in the main recipe card:
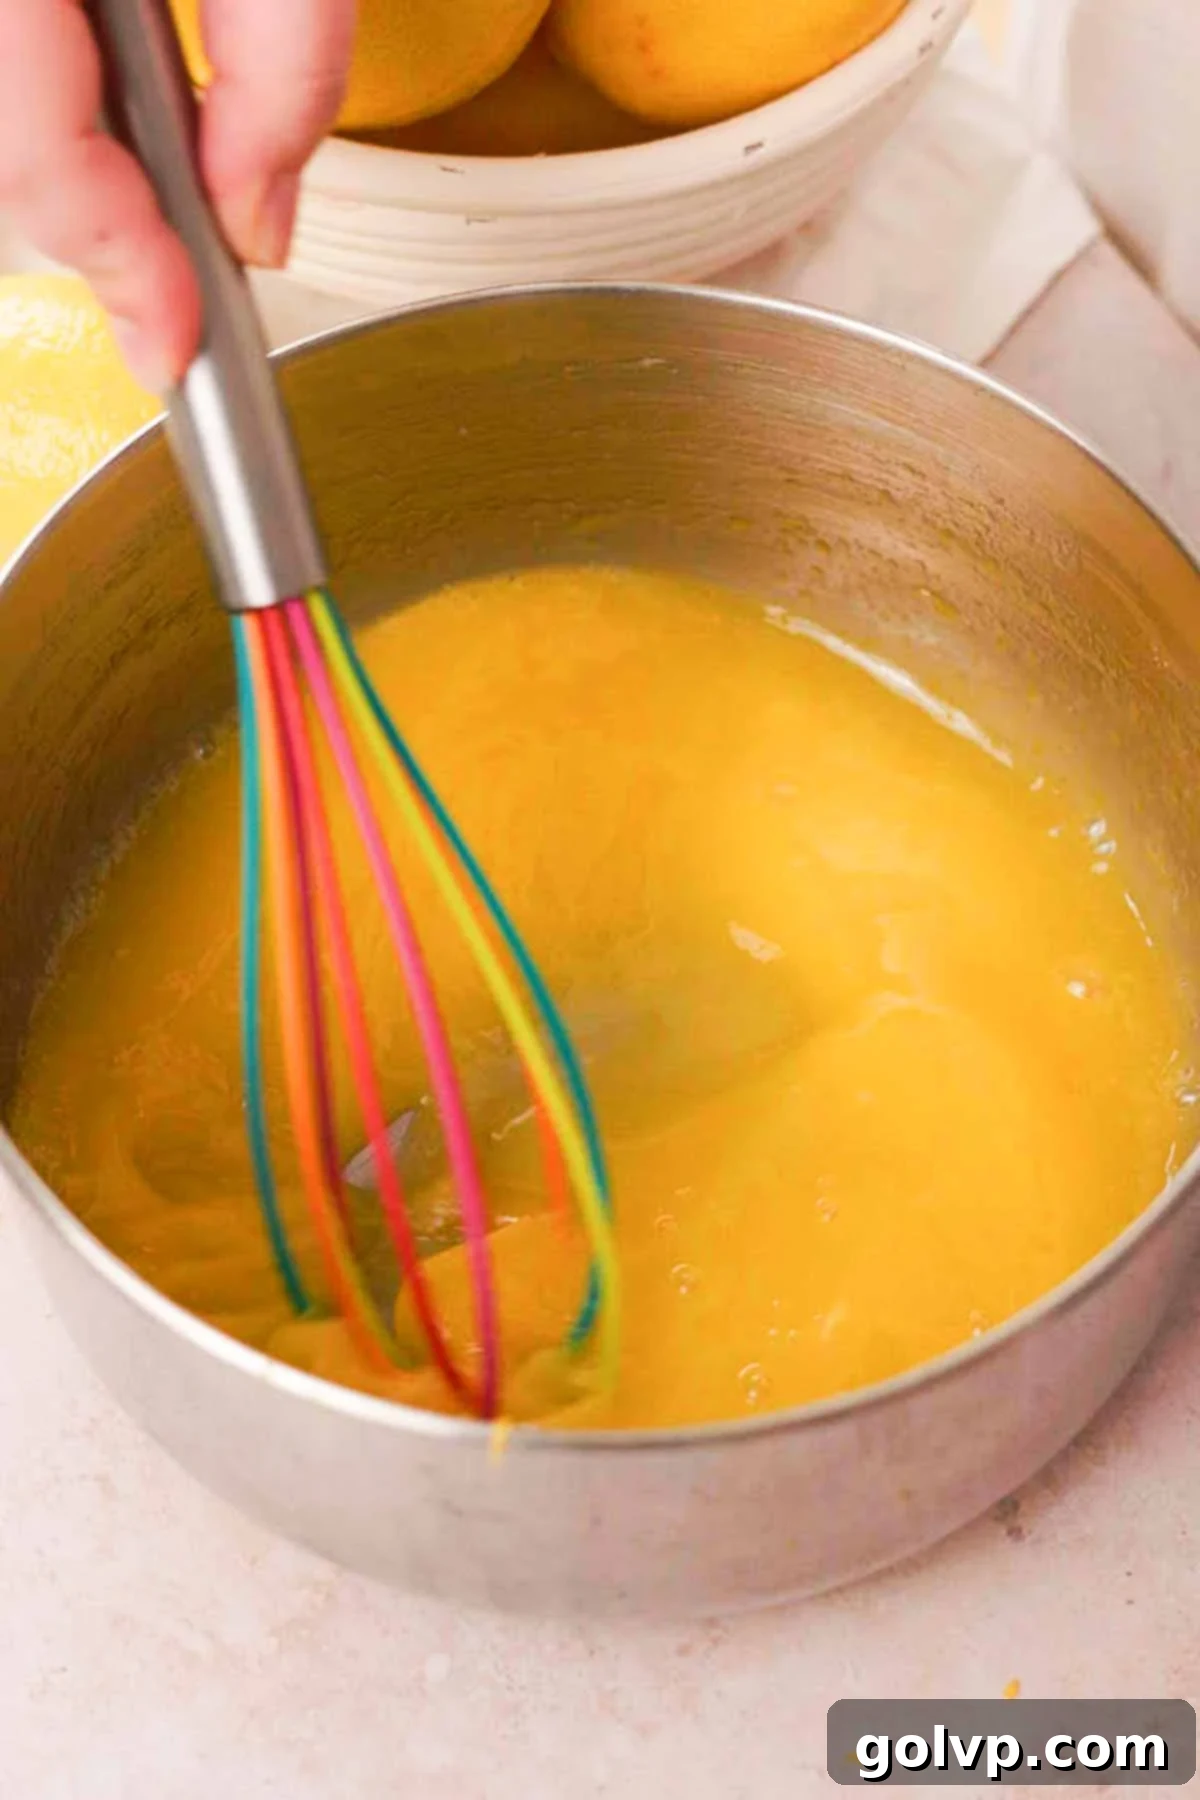
Step 1: Combine Ingredients. In a medium saucepan, combine granulated sugar, egg and egg yolks, fresh lemon juice, lemon zest, and a pinch of salt. Whisk vigorously until the mixture is completely smooth and no visible pieces of egg remain. This initial whisking is key for a lump-free curd.
TIP: For the best flavor, use a non-metal saucepan, such as a ceramic-coated one. This prevents any potential metallic aftertaste that can sometimes occur when cooking acidic ingredients in reactive metal pots.
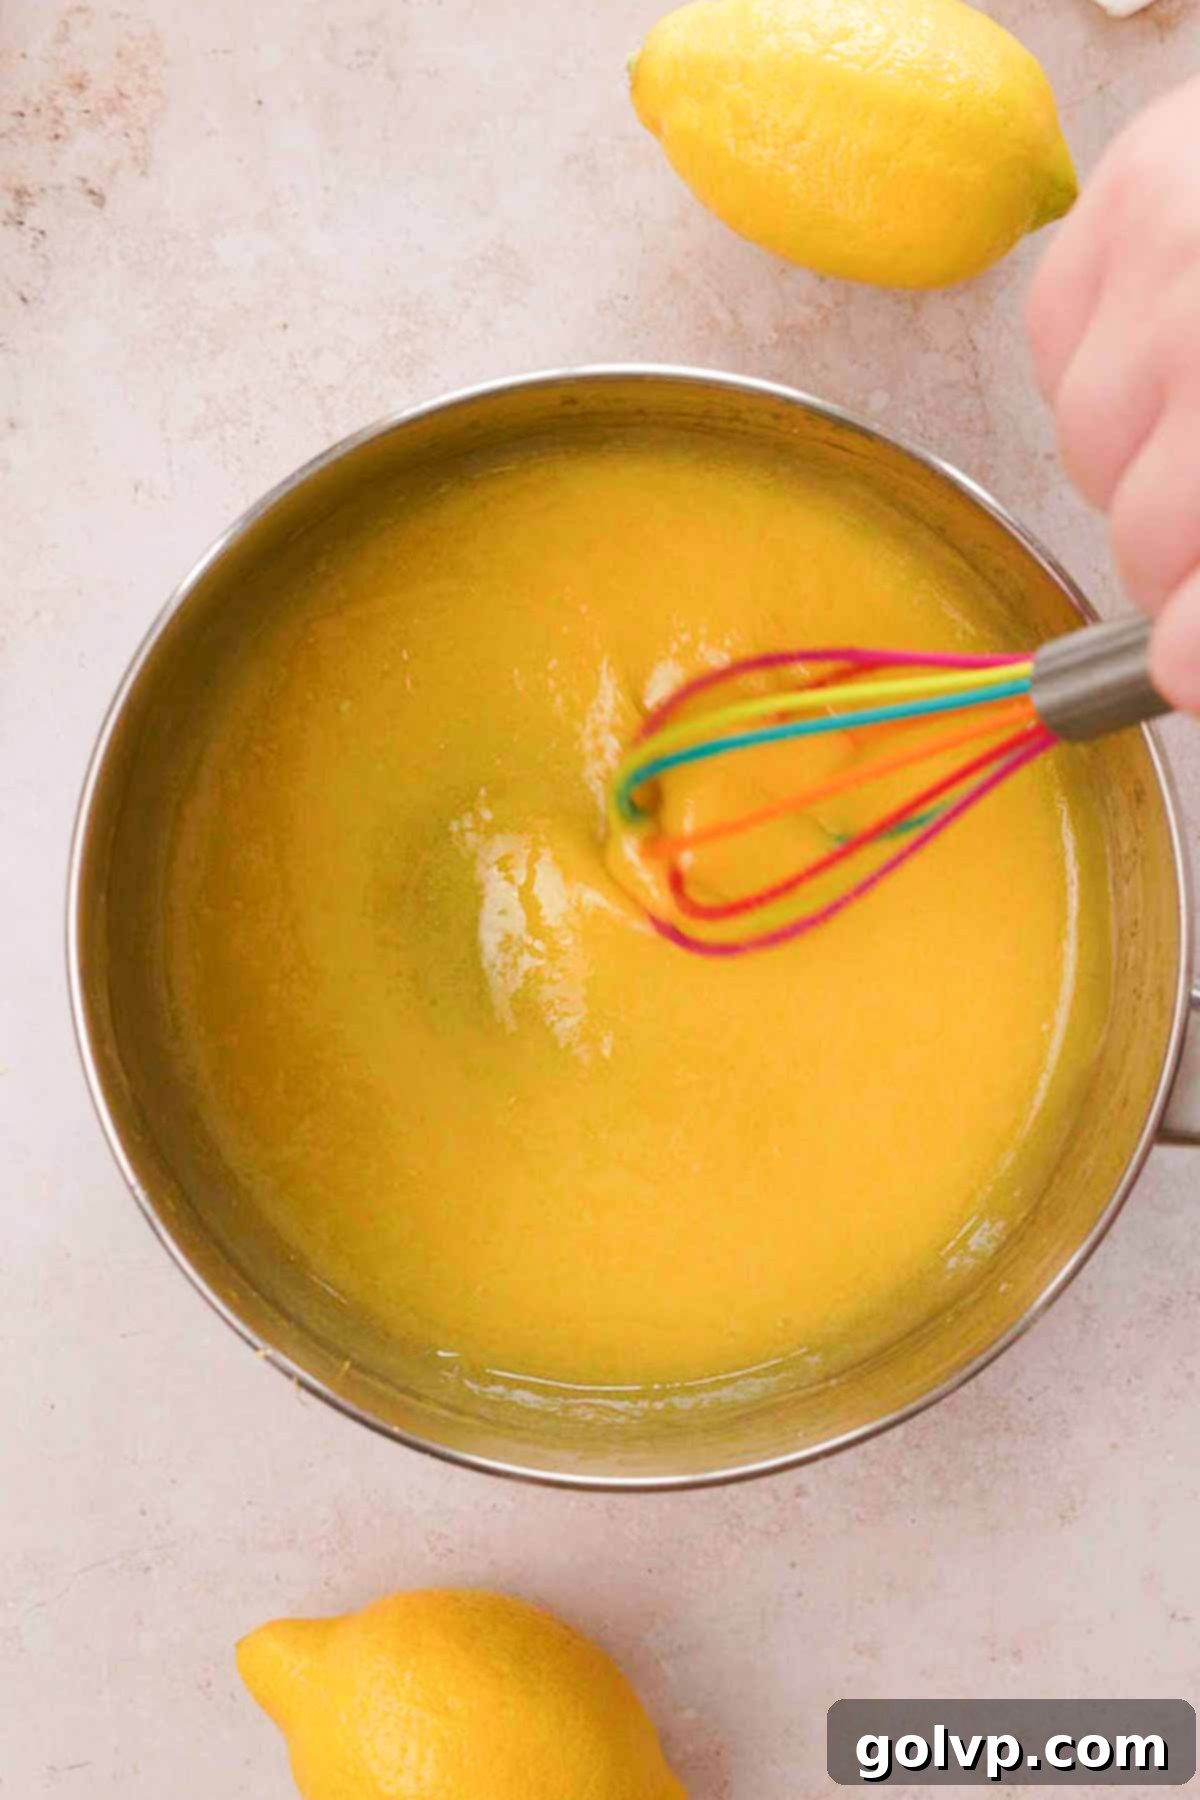
Step 2: Cook to Thicken. Place the saucepan over medium-low heat. Cook the mixture, stirring frequently and continuously to ensure even heating and prevent the bottom from scorching or the eggs from scrambling. Continue cooking until the curd visibly thickens and begins to bubble gently. It should coat the back of a spoon.
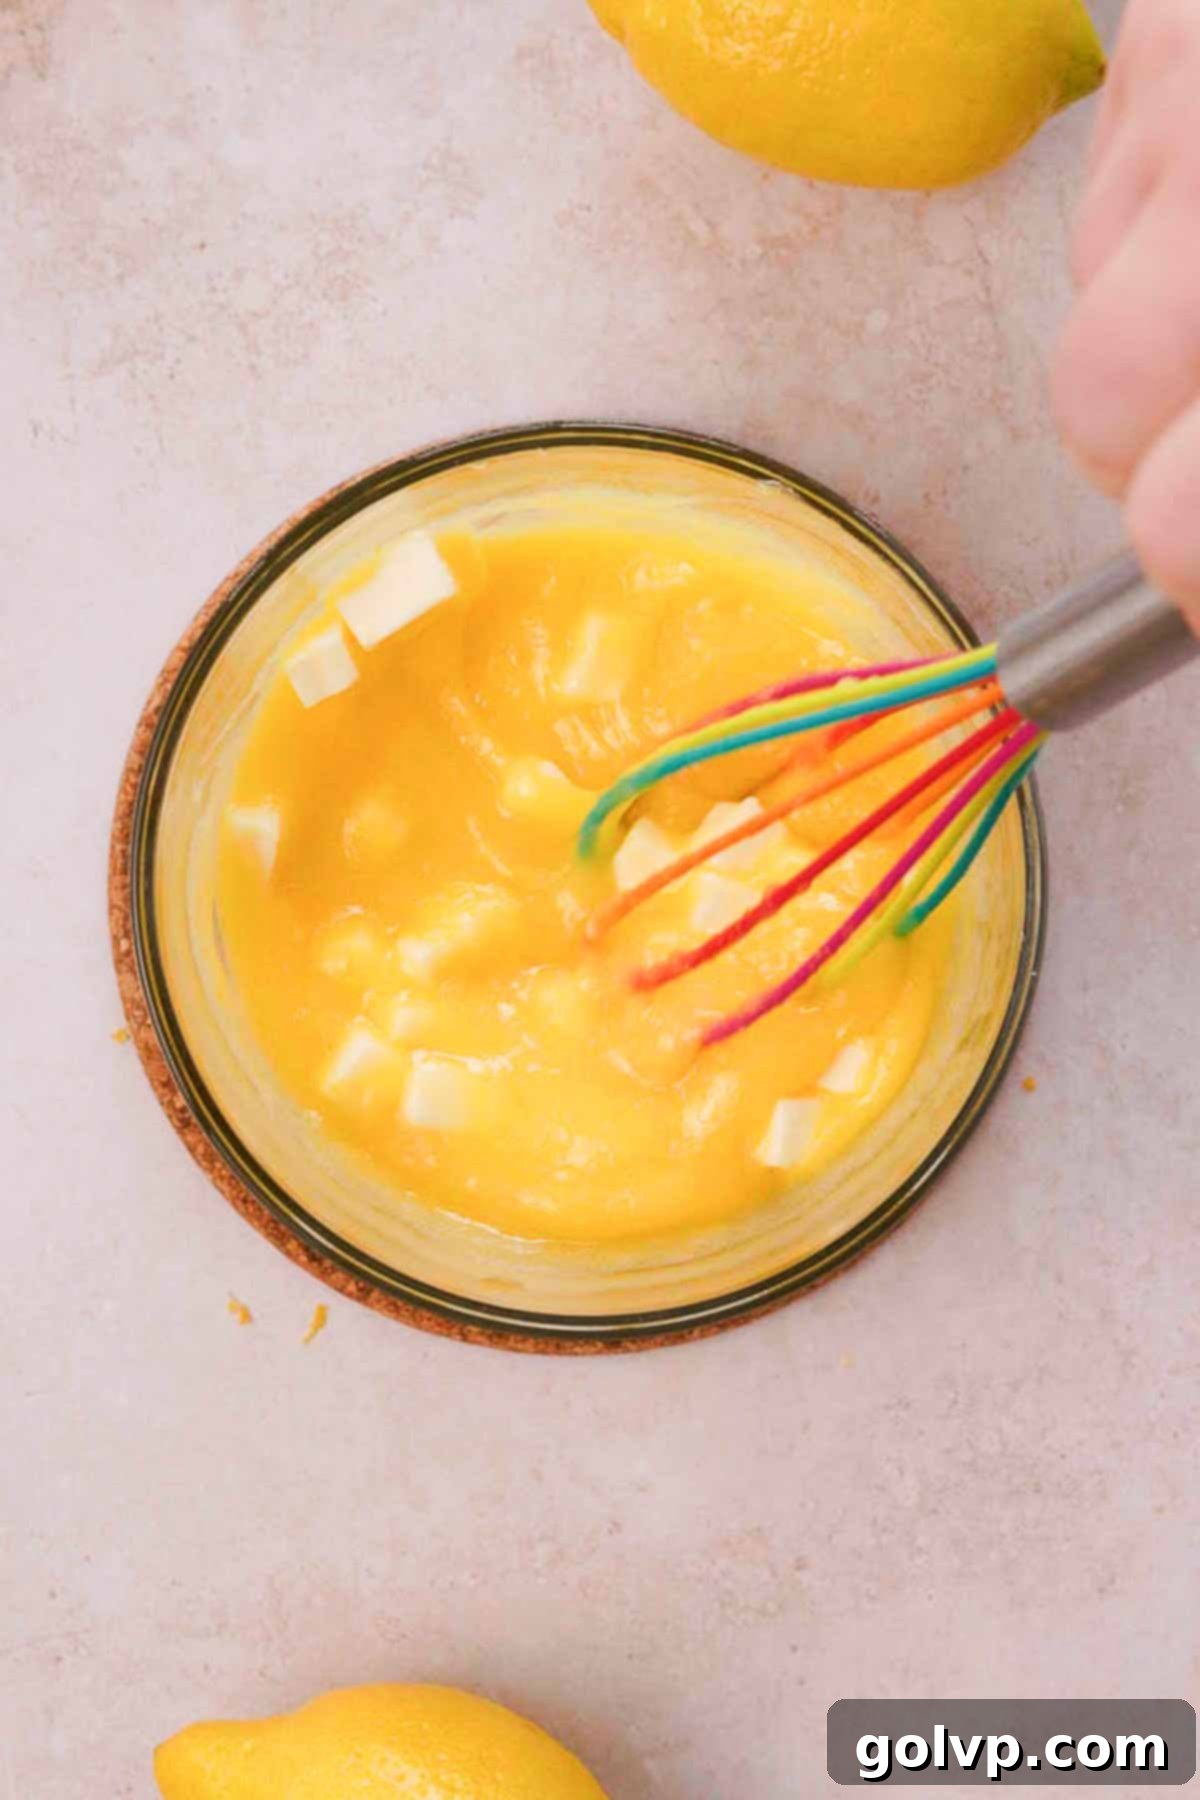
Step 3: Incorporate Butter. Once thickened, immediately remove the curd from the heat. Transfer it into a non-metal, heat-safe container or jar (strain it through a fine-mesh sieve at this stage if you desire an ultra-smooth curd or if there are any small lumps). Add the cold, cubed butter directly into the hot curd. Let the butter sit for a minute to begin melting, then stir or whisk until it’s completely melted and fully incorporated, resulting in a smooth, glossy curd.
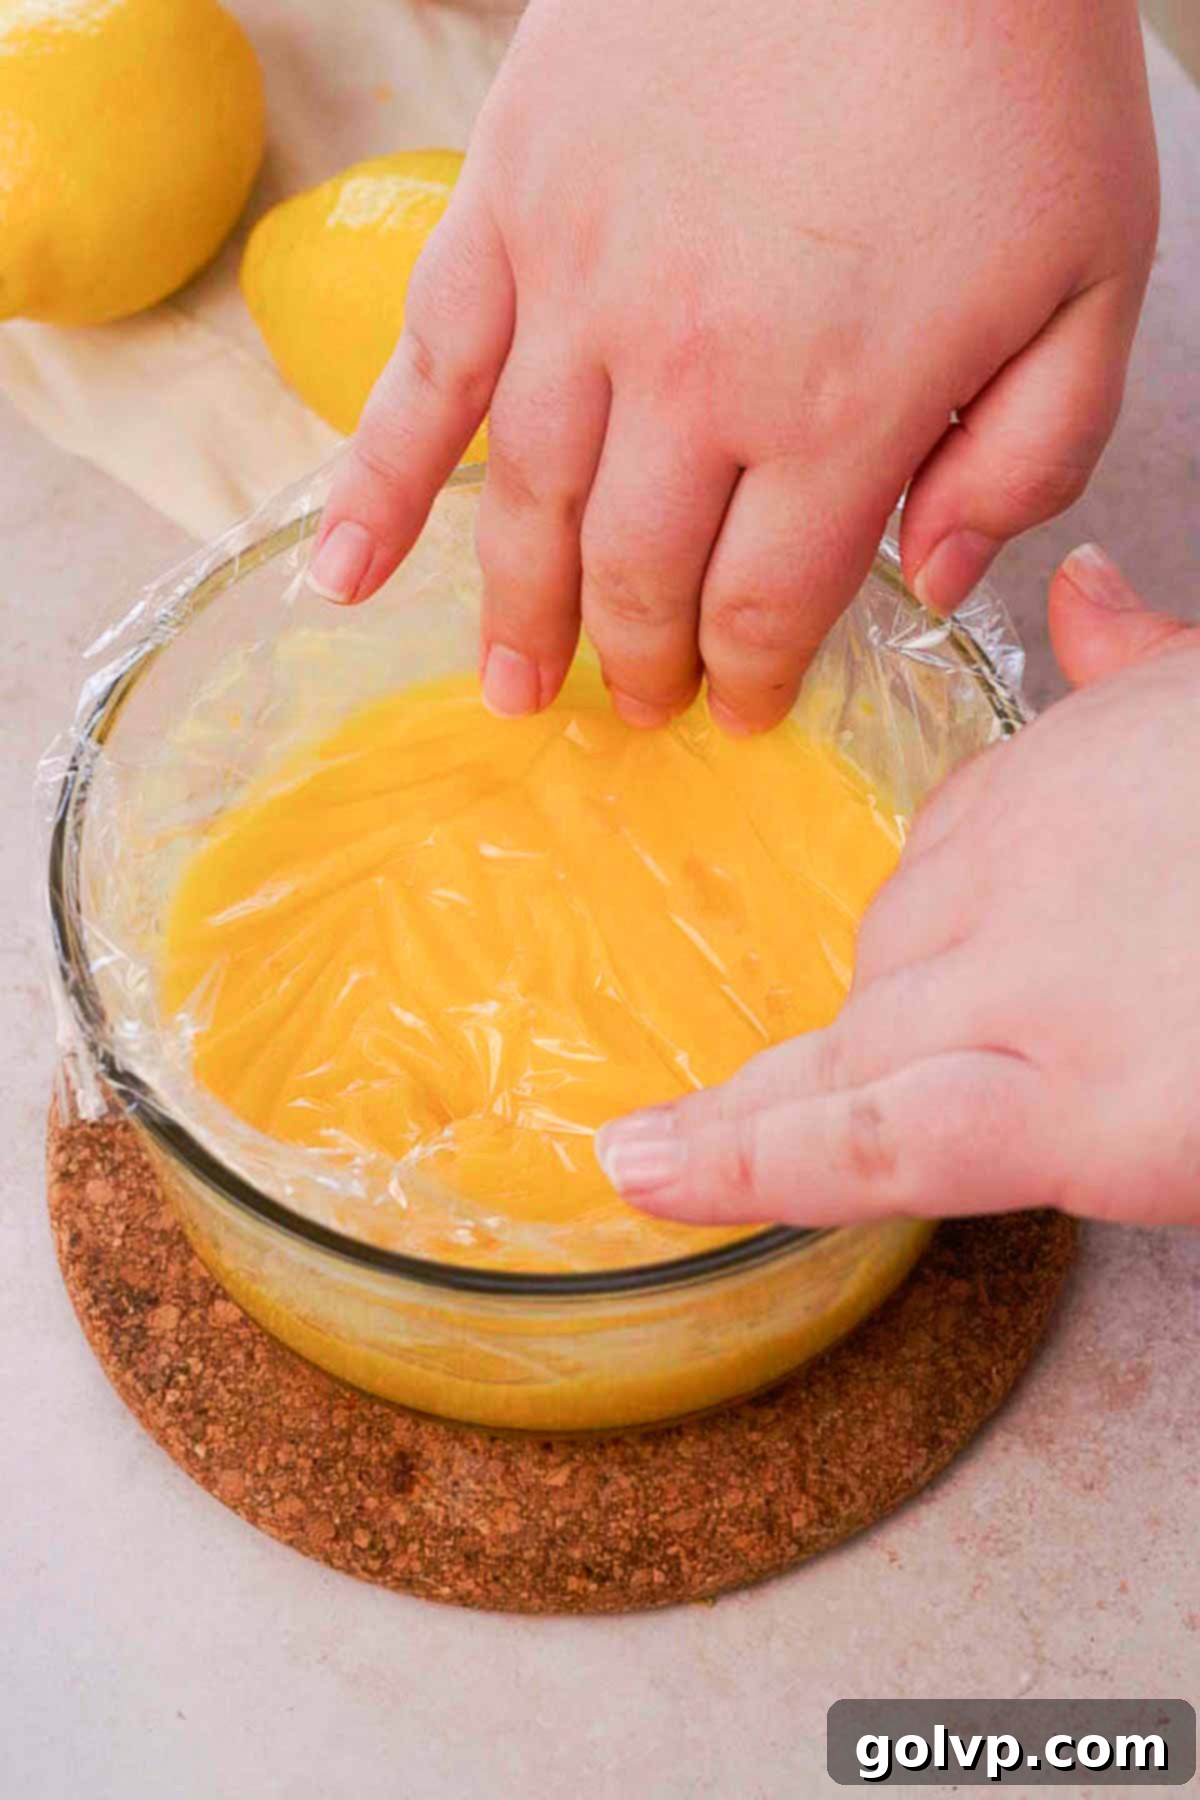
Step 4: Chill and Thicken. To prevent a skin from forming on top of your beautiful curd, place a piece of plastic wrap or parchment paper directly onto the surface of the curd, pressing it gently to remove any air pockets. Refrigerate until thoroughly chilled, which typically takes about 1-2 hours. The curd will continue to thicken significantly as it cools, reaching its ideal luscious consistency.
📝 Expert Lemon Curd Tips for Perfect Results
Achieving a flawless lemon curd is easier than you think with these professional tips:
- Constant Stirring is Key: While cooking the curd, stir it frequently and thoroughly, especially along the bottom and sides of the saucepan. This prevents burning and ensures a smooth, lump-free consistency. It also helps prevent the eggs from scrambling.
- Strain for Ultimate Smoothness: For an extra-velvety and professional-grade lemon curd, strain it through a fine-mesh sieve after cooking and before adding the butter. This removes any tiny bits of cooked egg or zest, ensuring a perfectly smooth texture.
- Mind Your Materials: Always store your finished lemon curd in a non-metal container, such as a glass bowl or mason jar. Acidic ingredients like lemon juice can react with certain metals, potentially giving your curd an undesirable metallic aftertaste.
- Prevent Skin Formation: To avoid a rubbery skin from developing on the surface of your curd as it cools, always press plastic wrap or parchment paper directly onto its surface, ensuring there are no air bubbles trapped underneath.
- Chill Thoroughly: Patience is a virtue when it comes to lemon curd! Allow it to chill completely in the refrigerator before using. This not only sets its final thick texture but also allows the flavors to meld beautifully.
Cookies Step by Step
Now that your lemon curd is chilling, it’s time to create the soft, crinkled cookie base that will house this delightful filling. Follow these detailed steps for cookie perfection:
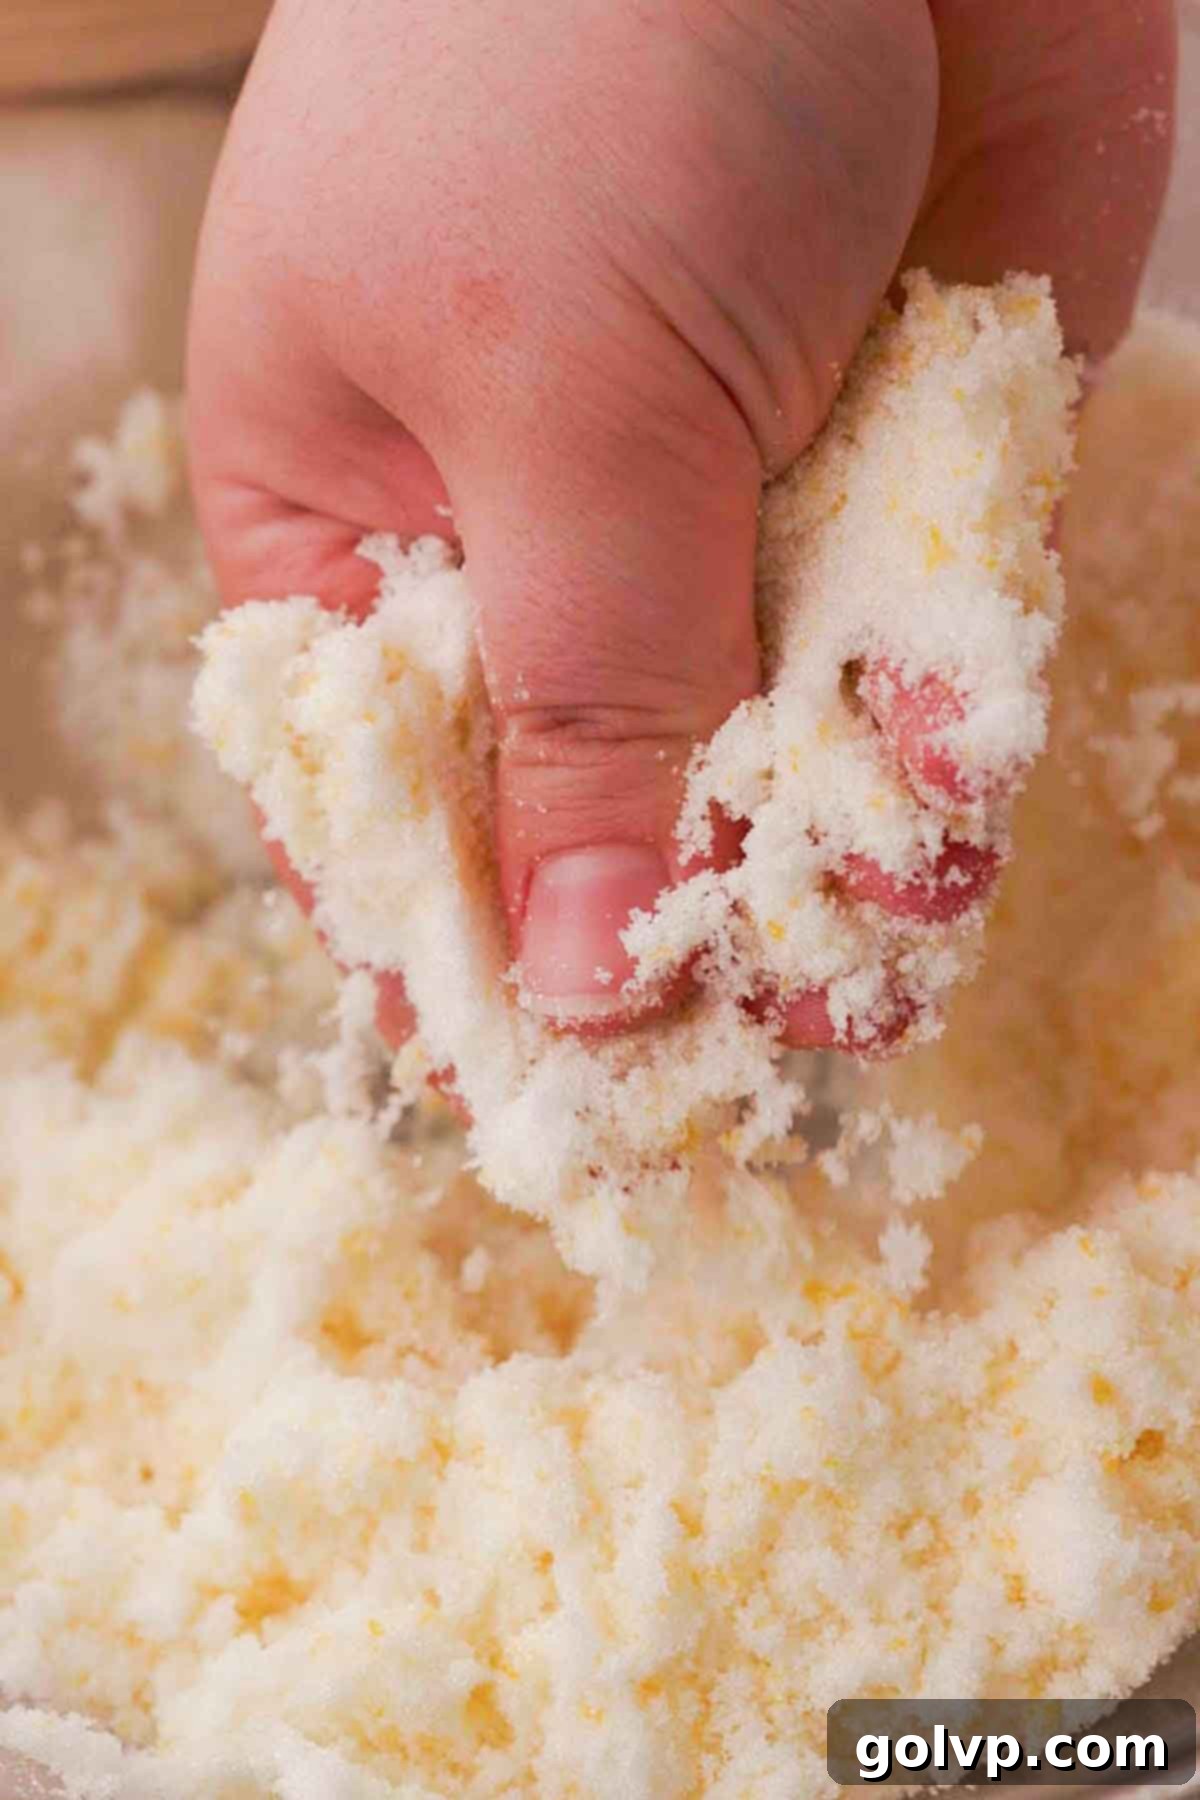
Step 1: Zest Infusion. In a large mixing bowl, combine the granulated sugar and freshly grated lemon zest. Use your fingertips to rub the lemon zest directly into the sugar. Continue rubbing until the sugar turns a pale yellow, becomes moist, and releases a wonderfully fragrant lemon aroma. This crucial step extracts the essential oils from the zest, infusing the sugar with intense lemon flavor.
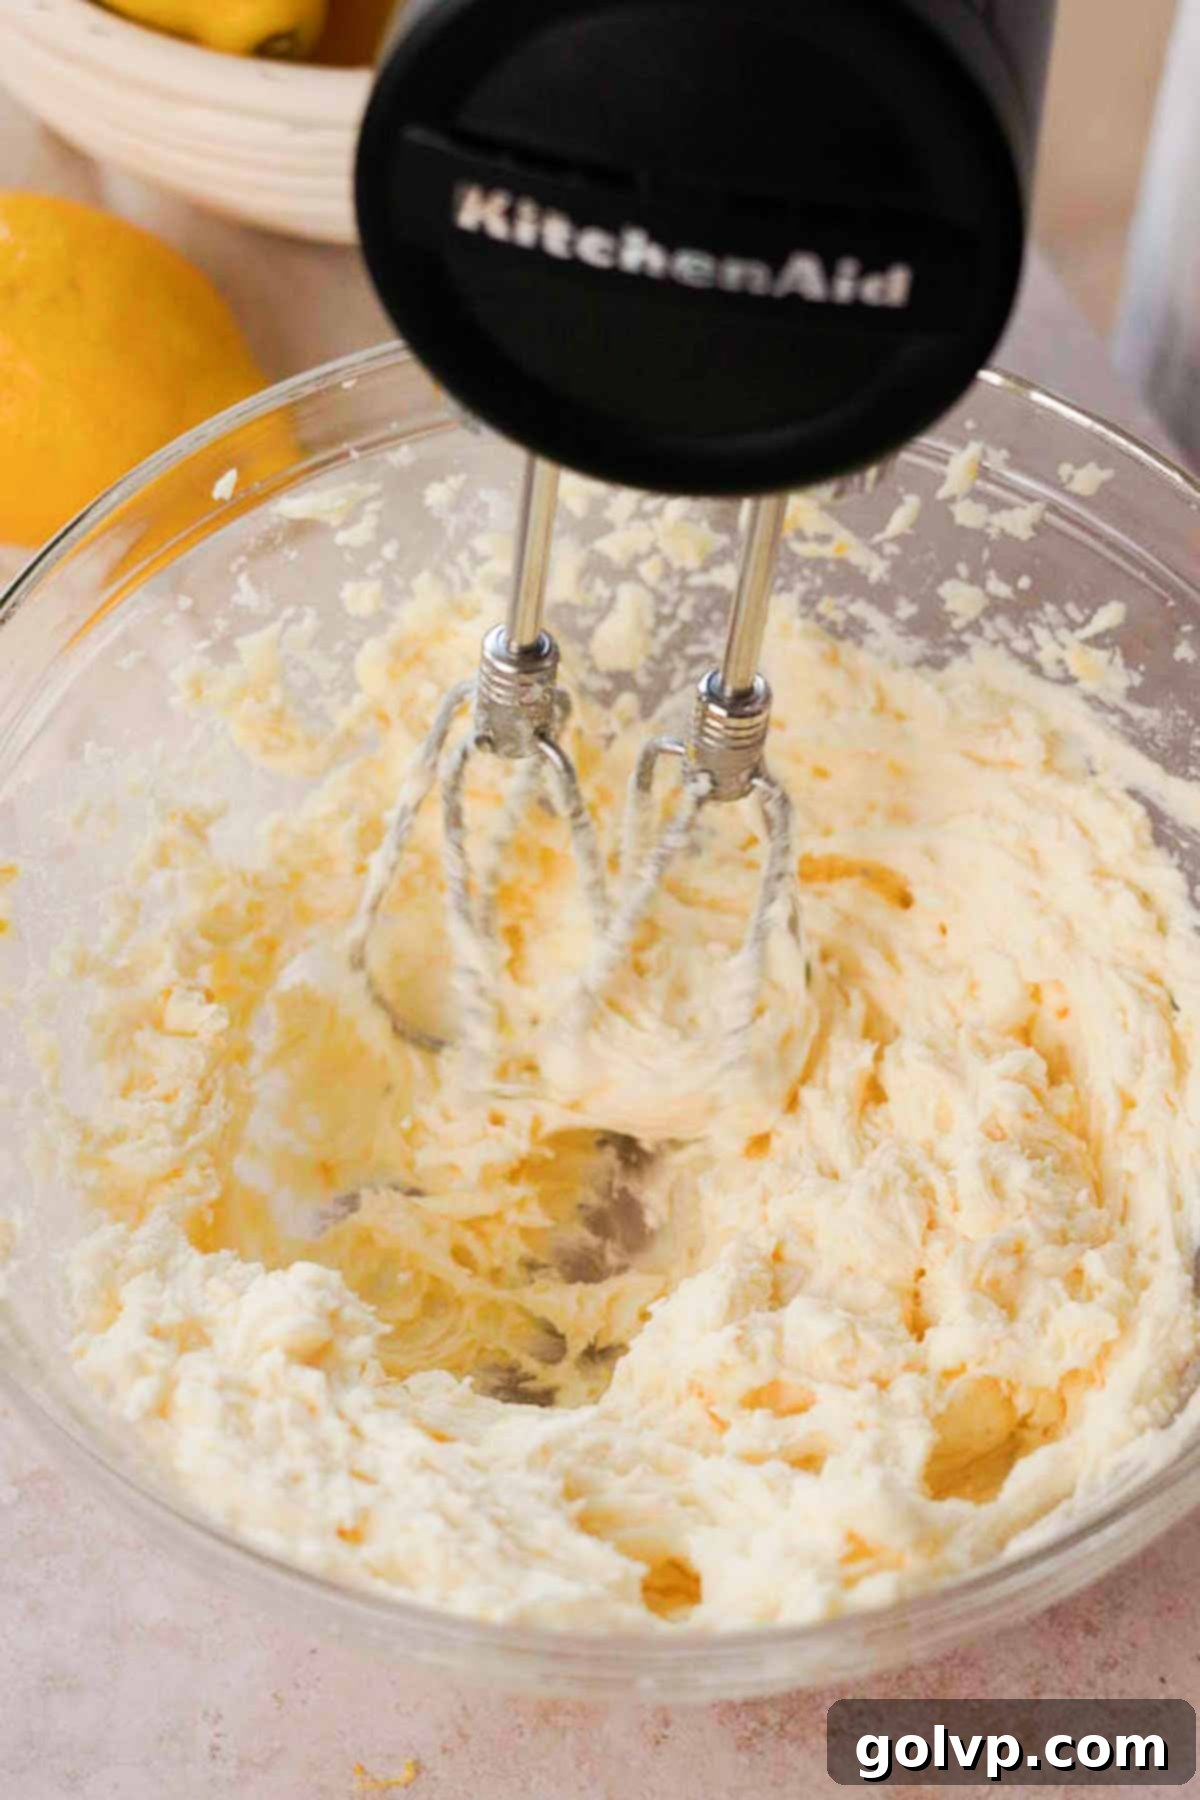
Step 2: Creaming the Fats. Add the softened butter, room temperature cream cheese, and a pinch of salt to the lemon-infused sugar mixture. Using an electric mixer (either hand-held or stand mixer), beat the ingredients on medium-high speed until the mixture becomes creamy, light in color, and fluffy. This process typically takes about 5 minutes, ensuring air is incorporated for soft cookies.
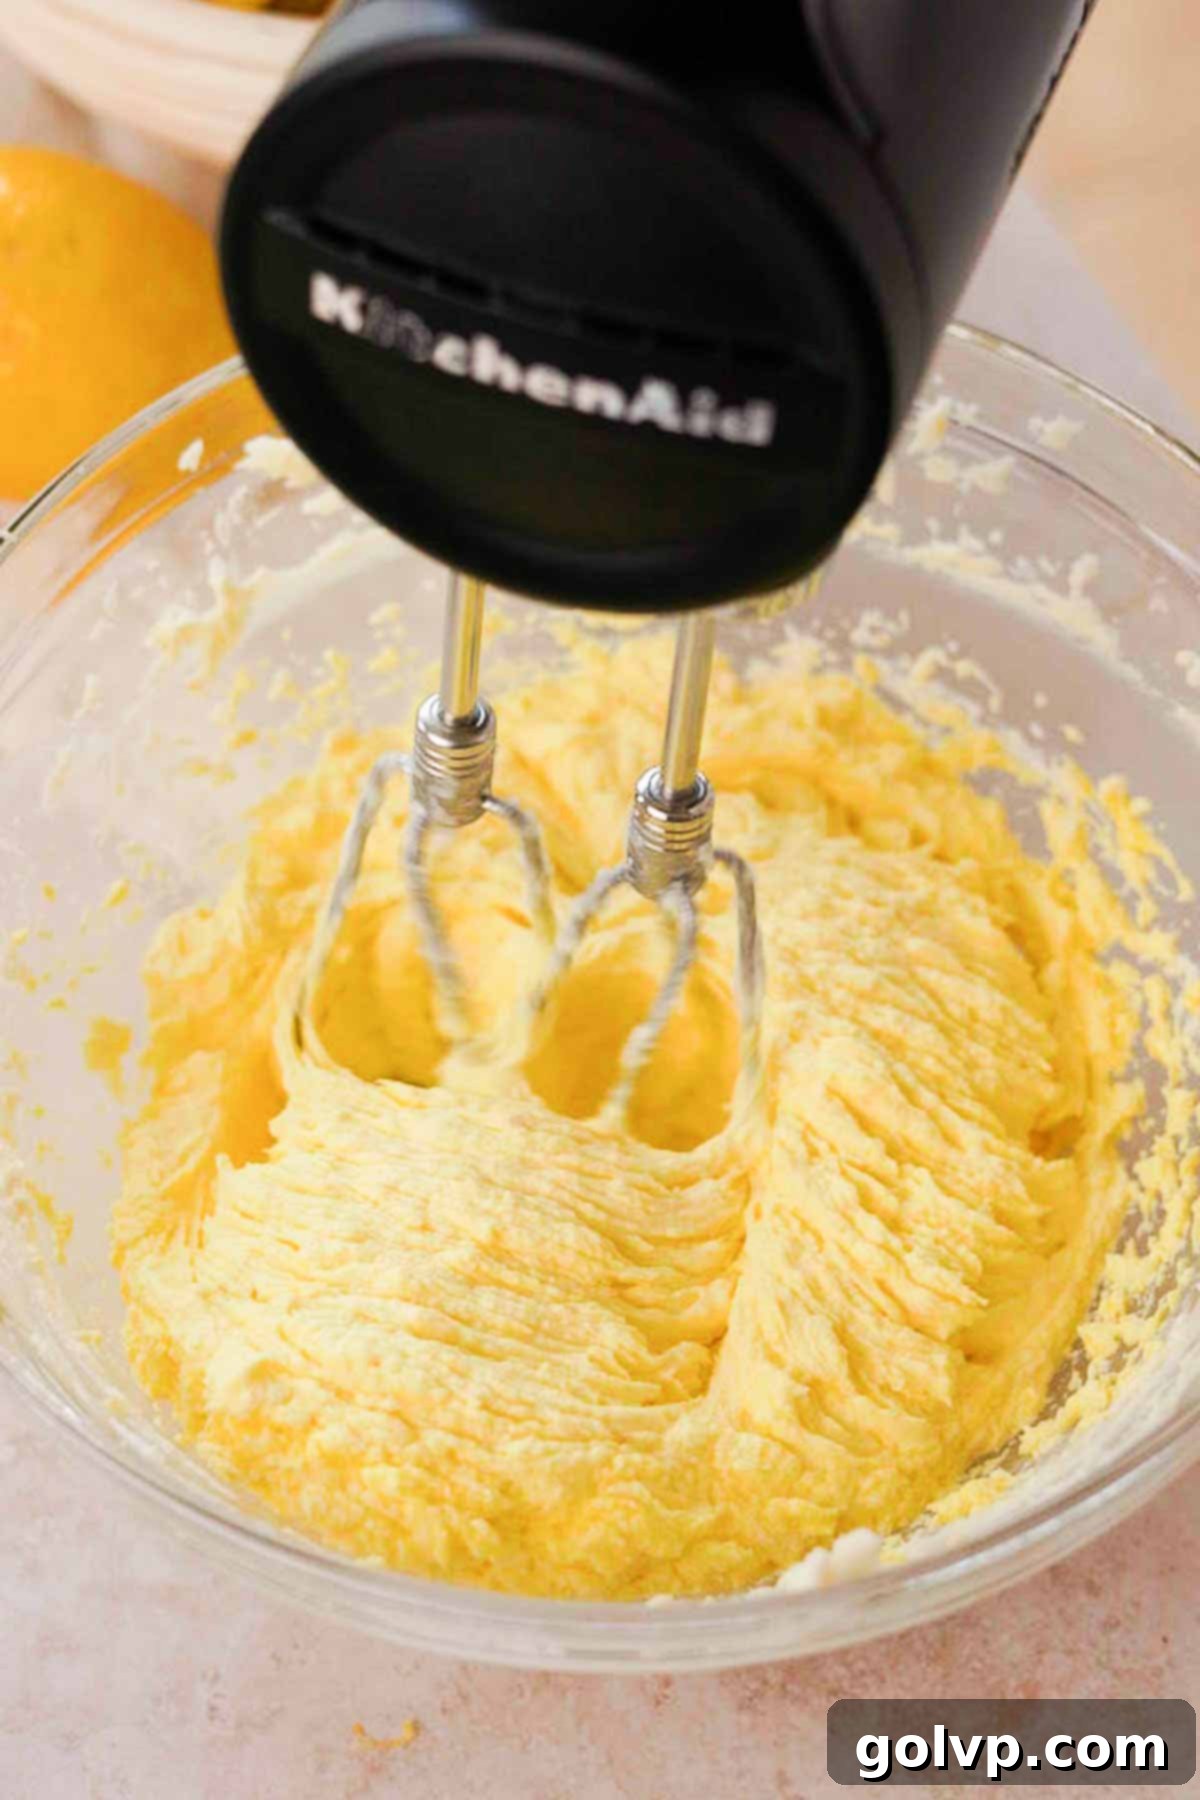
Step 3: Wet Ingredients. Introduce the remaining wet ingredients: add the whole egg, followed by the egg yolk, and then the fresh lemon juice. Mix well after each addition, ensuring everything is fully combined. It’s important to scrape down the sides and bottom of the bowl frequently with a rubber spatula to guarantee even mixing and prevent any unmixed pockets of ingredients. At this stage, if you desire a brighter yellow cookie, you can add a few drops of yellow gel food coloring.
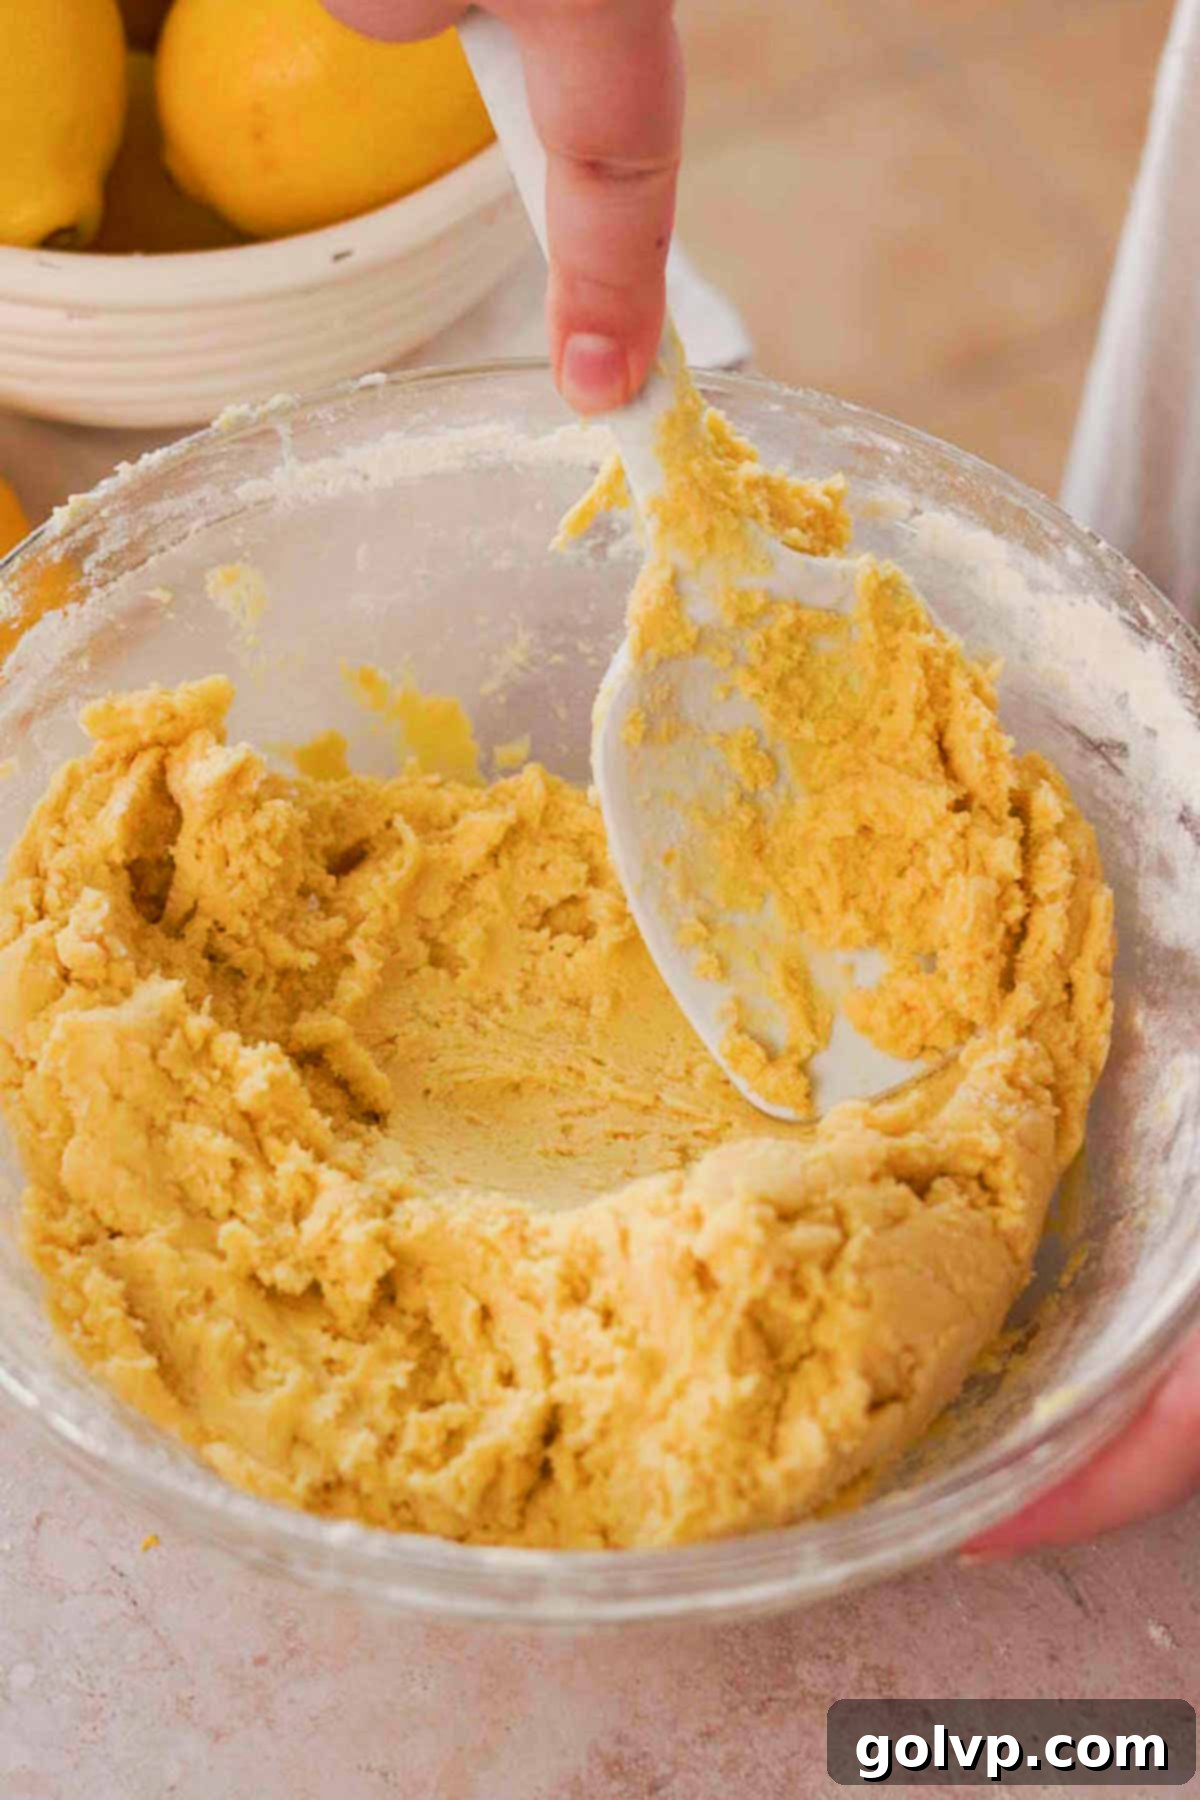
Step 4: Incorporate Dry Ingredients. Sift the all-purpose flour, baking powder, and baking soda directly into the same bowl with the wet ingredients. Using a silicone spatula or a wooden spoon, gently fold the dry ingredients into the wet mixture. Mix just until the flour is fully incorporated and no dry streaks remain. Be careful not to overmix, as this can develop the gluten in the flour, leading to tough and dense cookies.
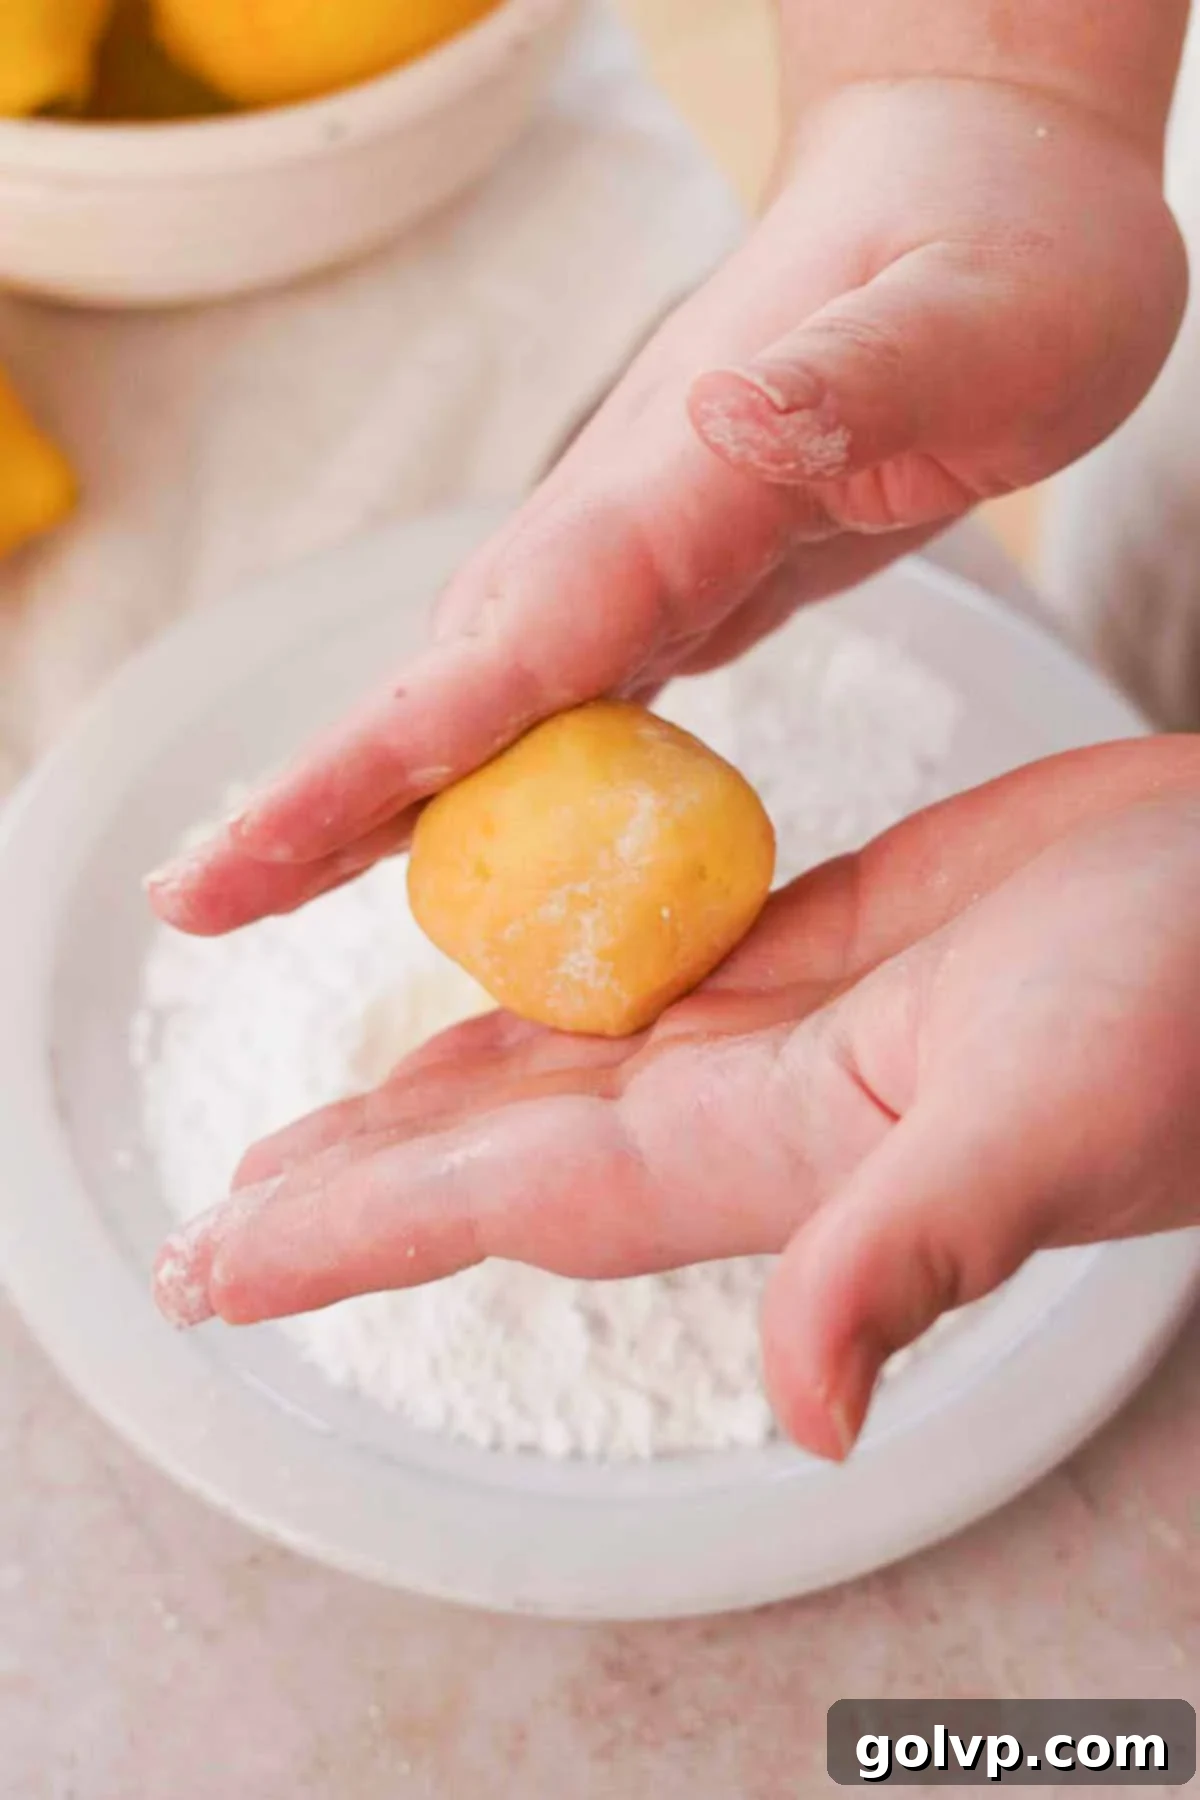
Step 5: Portion and First Powdered Sugar Roll. Using a cookie scoop (about 2-3 tablespoons in size) or your hands, portion the dough into even balls. This recipe yields approximately 18 large, decadent cookies. Spread a generous layer of powdered sugar onto a shallow plate. Roll each cookie dough ball thoroughly in the powdered sugar, ensuring it’s completely coated. Place the coated cookie dough balls onto a parchment-lined baking sheet, spacing them close together for now.
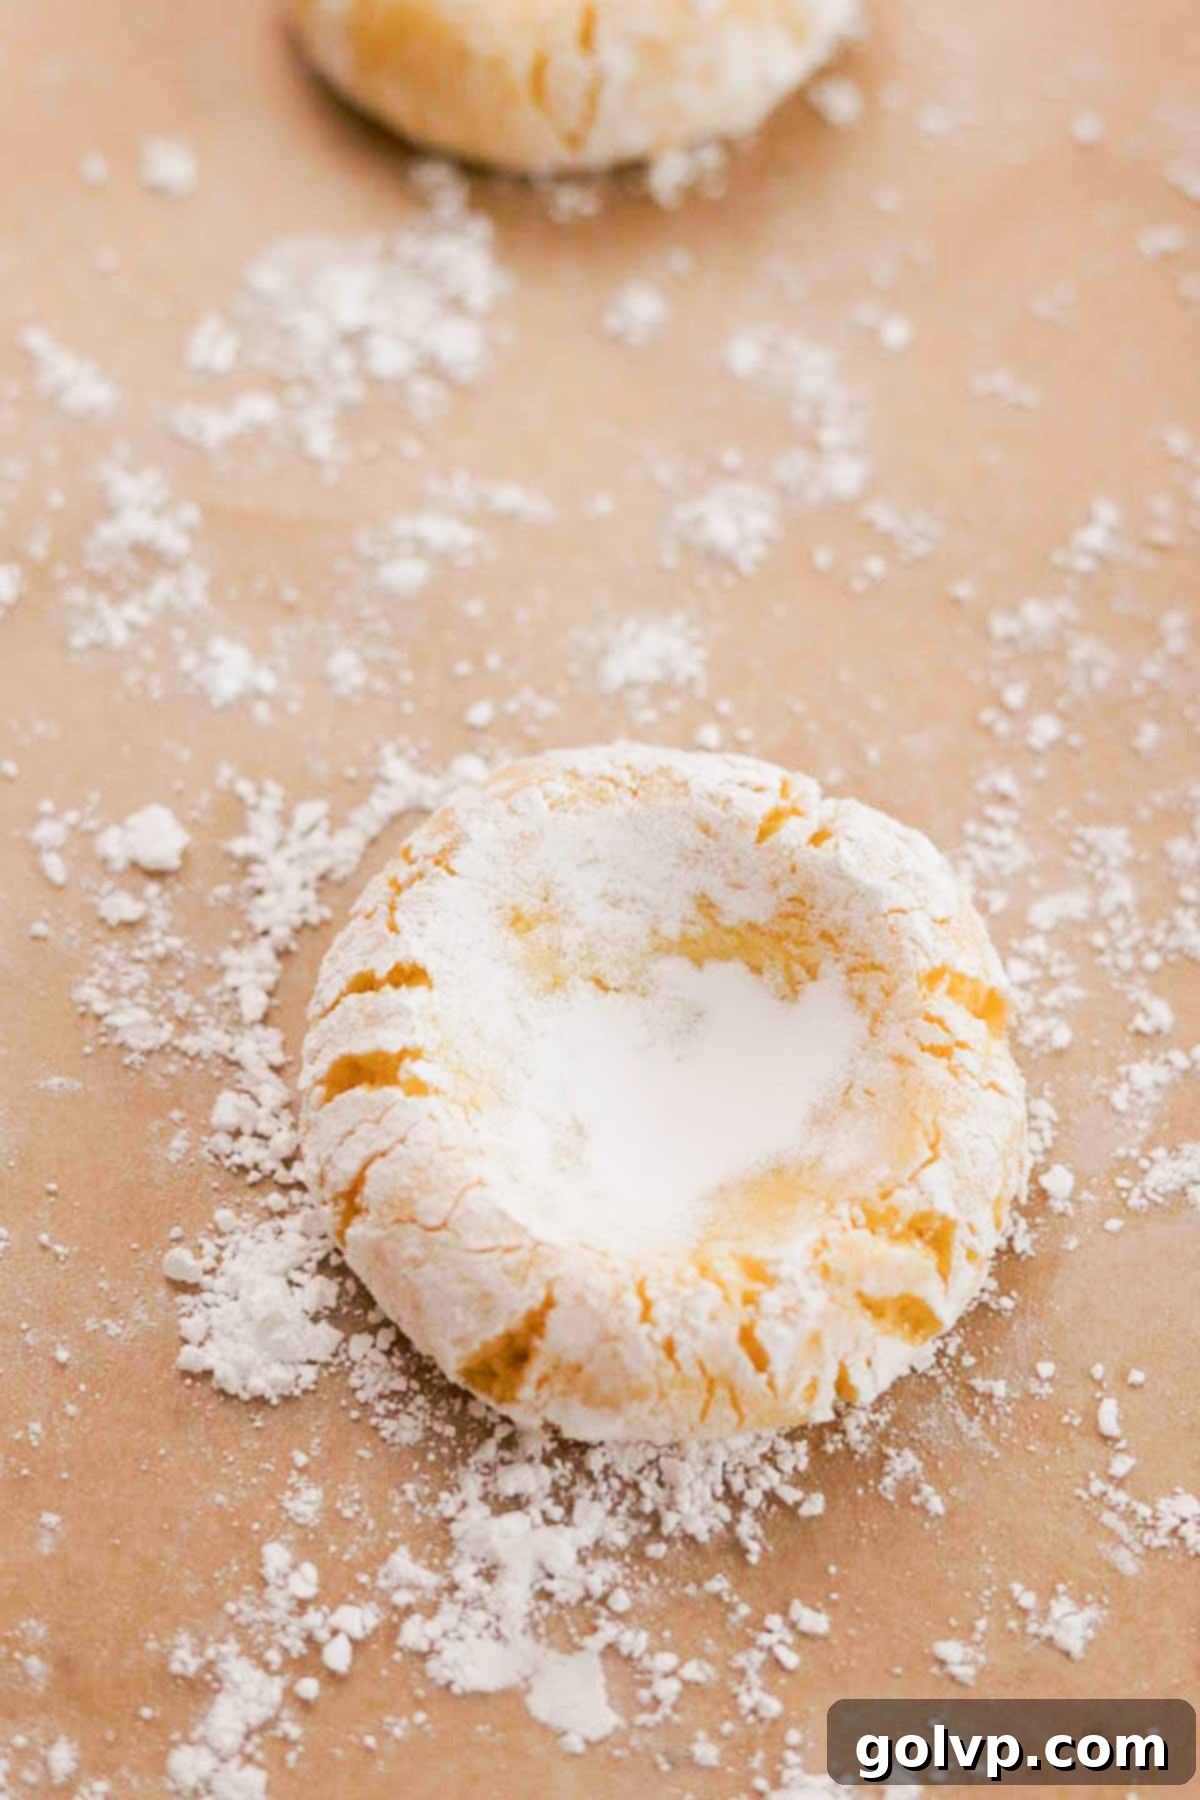
Step 6: Indent, Chill, and Second Powdered Sugar Roll. Using a measuring tablespoon or the back of your cookie scoop, gently press an indent into the top center of each cookie ball. This will create a perfect well for the lemon curd after baking. Place the entire baking sheet into the freezer for a quick 10-minute chill while your oven preheats to 355°F (180°C). This brief chill helps the cookies hold their shape. Right before baking, roll each cookie in powdered sugar again. This second coating is crucial for developing that beautiful, thick, crinkled powdered sugar crust. Finally, space the cookies evenly on a clean, parchment-lined baking sheet and bake in batches in the middle rack of your preheated oven for 9-12 minutes. The cookies are ready when they are puffed up and barely golden on the bottom. Remember: do not overbake, or they will become dry and crumbly!
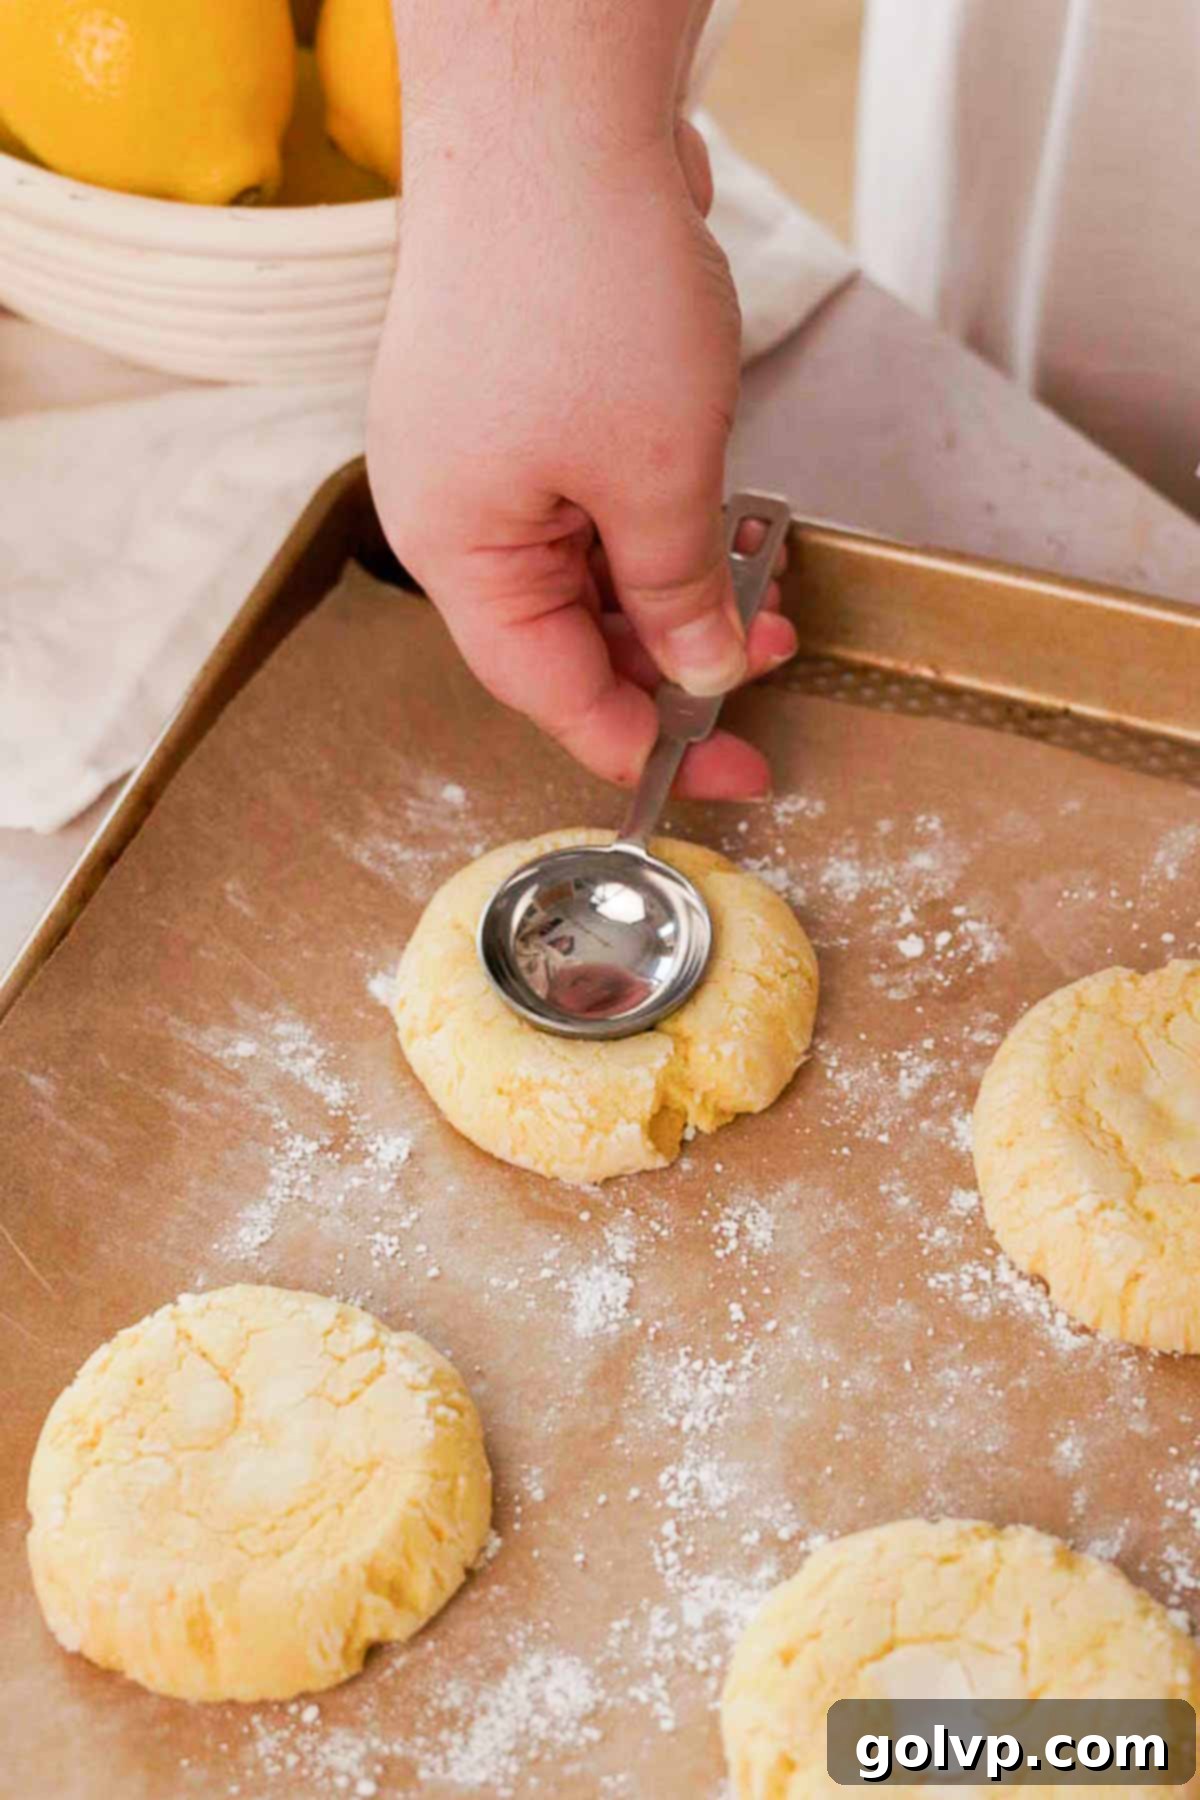
Step 7: Reshape and Cool. Immediately after removing the cookies from the oven, while they are still warm and pliable, use a measuring tablespoon to gently press down into the top of each cookie’s indent. This action reshapes and deepens the well, creating more space for the generous lemon curd filling. Carefully transfer the hot cookies with a spatula to a wire rack to cool completely. Cooling thoroughly is essential before filling.
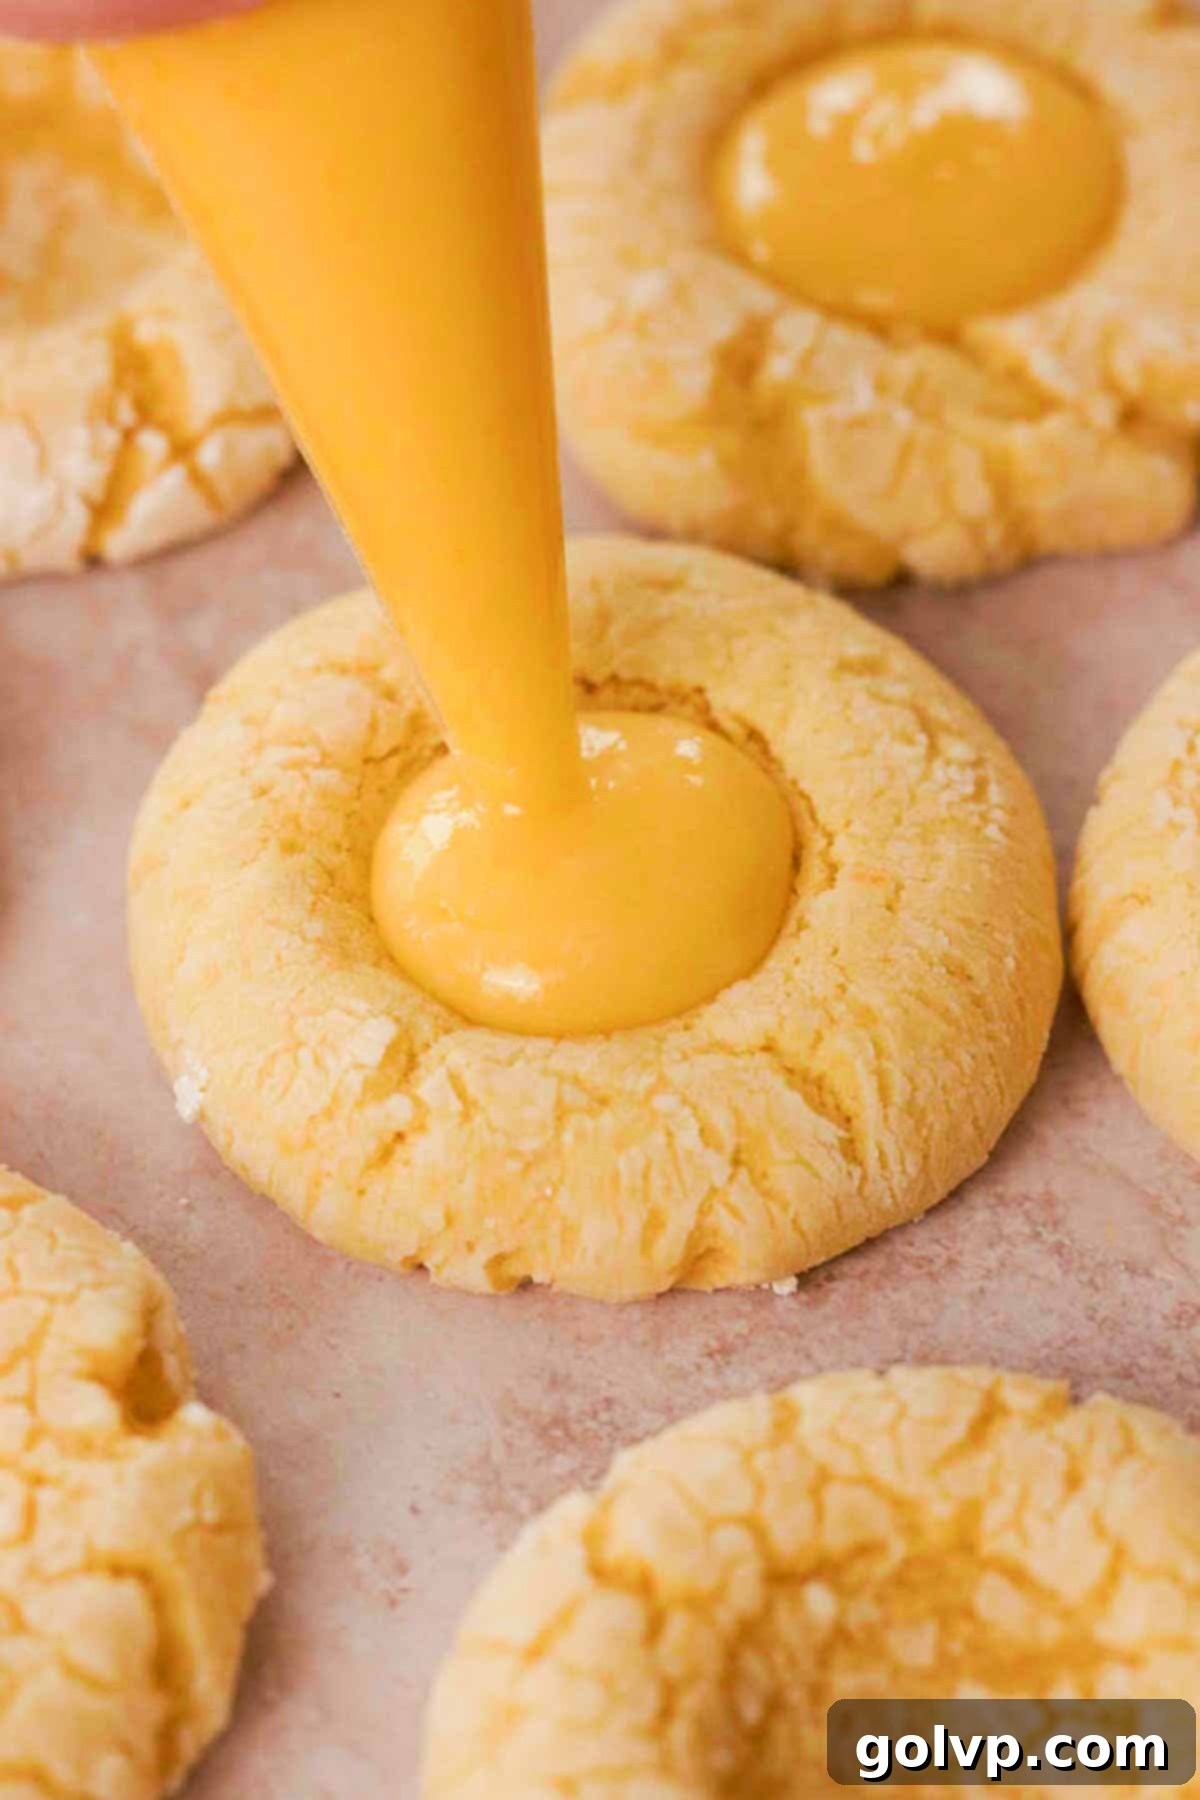
Step 8: Fill and Serve. Once the cookies have cooled completely to room temperature, it’s time for the grand finale! Spoon heaping tablespoons of your chilled lemon curd into the prepared middles of each cookie. For a neater presentation, you can also pipe the curd using a piping bag fitted with a round tip. Serve these beauties immediately and watch them disappear!
If you’re looking for another delightful dessert that shares the same bright, zesty flavors as these cookies, be sure to try this elegant lemon Victoria sponge cake, also featuring a luscious lemon curd filling.
📝 Expert Cookie Tips for Lemon Perfection
Achieve bakery-quality lemon curd cookies every time with these essential tips:
- Rub the Lemon Zest into the Sugar: This is a simple but transformative step! By rubbing the lemon zest and granulated sugar together with your fingers, you release the aromatic essential oils from the zest. This infuses the sugar with intense lemon flavor, ensuring that the citrus notes are deeply ingrained throughout your cookie dough, not just a surface flavor.
- Always Weigh Your Flour: Precision in baking is critical, especially with flour. Weighing your all-purpose flour using a digital kitchen scale (420g in this recipe) provides the most accurate and consistent results. Measuring by volume (cups) can easily lead to too much flour, resulting in dense, dry cookies. If you don’t have a scale, stir the flour in its bag to aerate it, then gently spoon it into your measuring cup, leveling off the excess with a knife without compacting it.
- Avoid Overmixing the Dough: Once you add the flour to your wet ingredients, mix just until it’s combined and no dry streaks are visible. Overmixing develops the gluten in the flour, which can lead to a tough, chewy, and less tender cookie texture. A light hand here ensures a delightfully soft cookie.
- Don’t Skip the Chill: The brief 10-minute chill in the freezer for your shaped cookie dough balls is important. This firms up the butter in the dough, which helps the cookies hold their shape better in the oven and prevents excessive spreading, contributing to their desirable thickness and crinkled surface.
- Be Careful Not to Overbake: For the ultimate soft and chewy lemon curd cookies, avoid overbaking. The cookies should be puffed up and set around the edges, with the bottom just barely golden brown. The centers might still look a little soft and underbaked when you pull them from the oven, but they will continue to set as they cool on the hot baking sheet. Overbaking will result in dry, crumbly cookies.
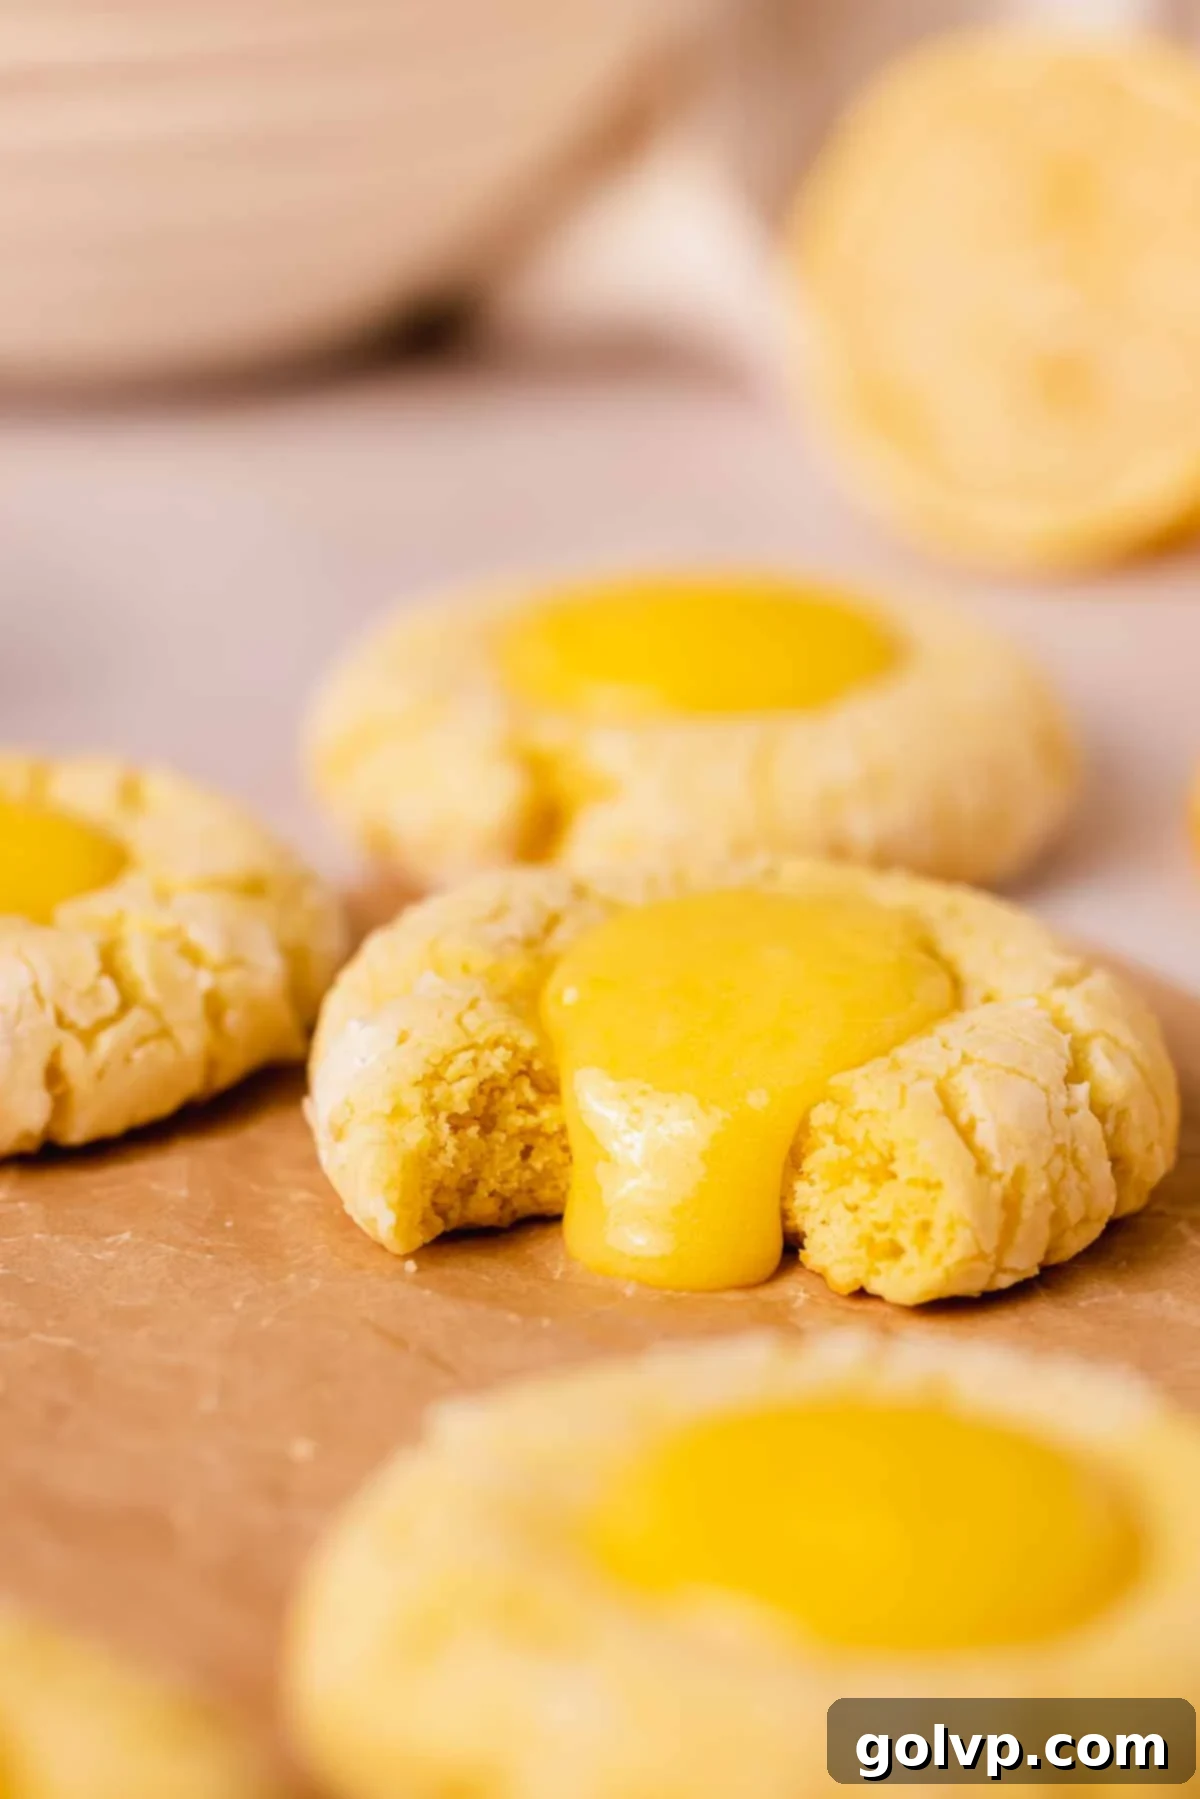
🥄 Make Ahead and Storage Tips for Lemon Curd Cookies
These lemon curd cookies are wonderful to prepare in advance, making them perfect for entertaining or when you simply want to spread out your baking process. Here’s how to manage them:
- Cookie Dough Balls: You can prepare the cookie dough balls a day in advance. After rolling them in the first layer of powdered sugar and making the indents, place them on a parchment-lined baking sheet and refrigerate overnight. When ready to bake, proceed with the second roll in powdered sugar and bake as directed, possibly adding an extra minute or two to the baking time if they are very cold.
- Lemon Curd: The star of the show, your homemade lemon curd, is incredibly versatile for make-ahead purposes. It can be prepared up to 3 days before you plan to fill and serve the cookies. Store it in an airtight container in the refrigerator, ensuring the plastic wrap or parchment paper is pressed directly onto the surface to prevent a skin from forming.
- Filled Lemon Curd Cookies: Once filled, these cookies are best stored in an airtight container in the refrigerator for up to 3 days. To prevent the delicate lemon curd in the middles from getting messy or ruined, it’s best to store them in a single layer if possible. Alternatively, you can place pieces of parchment paper between layers.
- Unfilled Cookies: If you prefer to have fresh-filled cookies, you can store the unfilled baked cookies at room temperature in an airtight container for up to 3-4 days. Then, simply fill them with the chilled lemon curd right before serving. This method also eliminates the need to store them in a single layer, as the wells will be empty.
- Freezing Baked Cookies: For longer storage, freeze the baked, unfilled cookies in an airtight container or freezer bag for up to 2-3 months. Thaw them at room temperature before filling with fresh lemon curd. We do not recommend freezing them once filled, as the curd’s texture can change upon thawing.
❔ How to Get a Thick, Crinkled Layer of Powdered Sugar on the Outside
The signature crinkled appearance and that delicious, crisp coating on the outside of these lemon cookies come from a specific technique with powdered sugar. This sweet crust not only adds to the aesthetic appeal but also provides a lovely textural contrast to the soft interior.
The key to achieving a truly thick and pronounced layer of powdered sugar that remains visible after baking is a double-rolling method. Here’s how it works:
- First Roll: After portioning your cookie dough into balls, give them a thorough roll in powdered sugar. This initial layer creates a base for the crinkles.
- Brief Chill: Place the sugared dough balls on a baking sheet and chill them in the freezer for about 10 minutes. This quick chill helps the first layer of sugar adhere and slightly firm up the dough.
- Second Roll: Just before baking, roll the chilled cookie dough balls in powdered sugar again. This second coating is crucial for a really thick layer of icing sugar that won’t melt away completely during baking, resulting in those beautiful, distinct crinkles and a substantial sweet crust.
If you’re short on time, you can certainly opt to roll them in powdered sugar only once. This will still give the cookies a lovely, albeit thinner, coating and a delicate crinkle. It works perfectly well and still results in delicious cookies, just with a slightly less dramatic visual effect.
✔️ Why Add Cream Cheese to the Cookie Dough?
The addition of cream cheese to this lemon cookie dough is not just a whim; it’s a carefully chosen ingredient that plays a pivotal role in creating the unique texture and flavor of these cookies. It truly elevates them beyond a standard lemon cookie.
- Unbeatable Soft and Chewy Texture: Cream cheese contributes significantly to the incredibly soft and delightfully chewy texture of these cookies. It adds a richness and moisture that helps prevent them from becoming dry, ensuring a tender bite every time.
- Subtle Tangy Flavor: While you won’t distinctly taste “cream cheese,” it imparts a subtle, creamy tang that beautifully complements and enhances the bright tartness of the lemon. This nuanced flavor profile makes the cookies more complex and utterly irresistible.
- Gorgeous Crackly Tops: The fat and moisture from the cream cheese also aid in the cookie’s rise and spread during baking. This process, combined with the powdered sugar coating, helps create those distinctive, beautiful crackly tops that are a hallmark of a great crinkle cookie.
It’s this interplay of the cream cheese with the lemon that makes these cookies so special. For comparison, you’ll find that delicious recipes like our lemon shortbread cookies and lemon white chocolate cookies achieve their own unique textures without the use of cream cheese, demonstrating the specific impact it has on this particular recipe.
❔ Do I Need to Chill the Cookie Dough?
Yes, chilling the cookie dough is an important step, but don’t worry—it’s quick and convenient for this recipe!
- Short Chill for Baking: You only need to chill the shaped cookie dough balls for a mere 10 minutes in the freezer. This brief chill helps to firm up the butter in the dough, which prevents the cookies from spreading too much during baking. It helps them maintain their thick, plump shape and encourages those lovely crinkles. Simply pop them into the freezer while your oven is preheating.
- Overnight Prep Option: If you’re planning ahead or want to break up the baking process, you can absolutely prep these cookies the night before. Just refrigerate the shaped dough balls on a parchment-lined baking sheet in the fridge overnight. When you’re ready to bake, give them a quick second roll in powdered sugar and bake as instructed.
- When NOT to Chill: It’s important *not* to chill the entire mass of cookie dough before you scoop and shape it. If the dough gets too cold and firm, the butter will harden significantly, making it very difficult to portion and roll into smooth balls. Always shape the dough first, then chill.
The chilling step is a small investment of time that pays off big in terms of cookie texture and appearance!
📖 Recipe FAQs – Your Questions Answered!
Here are some common questions about making these delectable lemon curd cookies:
Absolutely! The yellow gel food coloring is entirely optional and serves purely aesthetic purposes, giving the cookies a more vibrant, sunny yellow hue. It does not affect the flavor or texture. Rest assured, the lemon curd itself is naturally a beautiful yellow color, so even without food coloring in the cookies, your dessert will still look bright and appealing.
While the cream cheese contributes significantly to the unique soft, chewy texture and subtle tang of these specific cookies, you could attempt a substitution. The closest alternative would be to replace the cream cheese with an equal amount of softened butter. However, please note that I haven’t personally tested this variation, so I cannot guarantee the exact same results in terms of texture or overall flavor. The cream cheese provides a unique tenderness and helps with the signature crackle that butter alone might not achieve. If you’re concerned about a strong cream cheese taste, you’ll be happy to know that its flavor is very subtle and blends beautifully with the lemon, primarily enhancing texture rather than imparting a dominant taste.
When stored properly, filled lemon curd cookies typically do not become soggy, but the texture will naturally soften slightly over time due to the moisture from the curd. I’ve personally stored them in the refrigerator for a few days, and while the cookie becomes a bit softer in the middle where it meets the curd, it remains delicious. For the absolute best texture and freshness, I highly recommend filling the cookies as close as possible to the time of serving. This ensures the cookie remains crisp on the outside and wonderfully soft within, providing the optimal eating experience.
Yes, a short chill is definitely recommended for the best results! You only need to chill the shaped cookie dough balls for about 10 minutes in the freezer before baking. This quick chill helps to firm up the butter in the dough, which in turn helps the cookies maintain their shape and prevents them from spreading too much in the oven. If you plan to make the dough ahead of time, you can refrigerate the shaped dough balls on a parchment-lined baking sheet overnight. Just remember not to chill the entire dough mass before shaping, as it will become too hard to scoop.
🍋 More Zesty Lemon & Fruit Recipes You’ll Love
If you adore the bright, refreshing flavors of lemon and fruit, here are some other fantastic recipes from my kitchen you absolutely must try:
- Lemon Shortbread Cookies
- Lemon Raspberry Cookies
- Lemon White Chocolate Cookies
- Blueberry Lemon Brownies
Did you make this recipe? I would love for you to rate this recipe and hear what you think in the comments below! Share your creation on Instagram and tag @flouringkitchen. Follow me on Pinterestto save and for more recipe ideas.
📖 Recipe

Lemon Curd Cookies
MaryEquipment
- electric mixer
Ingredients
Lemon curd
- 2 large egg yolks
- 1 large egg
- ⅛ teaspoon sea salt
- ⅔ cup sugar
- ⅓ cup lemon juice from about 2 lemons
- 1 lemon zested
- ⅓ cup butter cold and cubed
Cookies
- 1 cup granulated sugar
- 2 lemons zested (reserve juice)
- ¾ cup butter softened
- ¼ cup cream cheese softened
- ⅛ teaspoon sea salt
- 1 large egg room temperature
- 1 large egg yolk room temperature
- 3 tablespoons lemon juice from about 1-2 lemons
- 3 ½ cups all purpose flour 420g
- 1 teaspoon baking powder
- ¼ teaspoon baking soda
- 1 cup powdered sugar
Instructions
Lemon Curd
- In a medium saucepan, combine sugar, egg and yolks, lemon juice, lemon zest, and salt. Whisk until smooth and no pieces of eggs remain. *Use a non-metal saucepan like a ceramic coated one to prevent the curd from having a metallic flavor if you prefer.2 large egg yolks, 1 large egg, ⅛ teaspoon sea salt, ⅔ cup sugar, ⅓ cup lemon juice, 1 lemon
- Heat on medium-low heat, stirring frequently to prevent the bottom from burning. Cook until thickened and bubbling.
- Take the curd off the heat and immediately transfer (or strain if lumpy) into a non-metal heat safe container or jar. Add cold cubed butter, and stir. Let the butter melt, stir or whisk until smooth.⅓ cup butter
- Take the curd off the heat and immediately transfer (or strain if lumpy) into a non-metal heat safe container or jar. Add cold cubed butter, and stir. Let the butter melt, stir or whisk until smooth.
Cookies
- Rub sugar and grated lemon zest with your fingers until sugar is yellow, moist, and fragrant.1 cup granulated sugar, 2 lemons
- Add butter, cream cheese, and salt into the bowl with sugar. Beat with an electric mixer until creamy and lightened in color, about 5 minutes.¾ cup butter, ¼ cup cream cheese, ⅛ teaspoon sea salt
- Add a whole egg, an egg yolk, and lemon juice – mixing well between each addition. Scrape down the bowl frequently for even mixing. Add yellow gel food coloring to make it bright yellow (optional).1 large egg, 1 large egg yolk, 3 tablespoons lemon juice
- Sift flour, baking powder, and baking soda right into the same bowl. Fold the dough just until it’s fully mixed.3 ½ cups all purpose flour, 1 teaspoon baking powder, ¼ teaspoon baking soda
- Portion the dough into balls using a cookie scoop or by hand. You want them to be about 2-3 tablespoons in size. It will make about 18 large cookies.
- Spread powdered sugar onto a plate. Roll the cookie dough balls in the powdered sugar and place onto a parchment lined baking sheet. Place the cookie dough balls right next to each other on the cookie sheet.1 cup powdered sugar
- Use a measuring tablespoon or the back of the cookie scoop to press an indent onto the top of each cookie ball. Place baking sheet into the freezer to chill while you preheat the oven to 355°F (180°C).
- Right before baking, roll the cookies in powdered sugar again to get a thick layer on. Space the cookies on a parchment lined baking sheet, and bake in batches in the middle of the oven for 9-12 minutes. The cookies will be puffed and barely golden on the bottom when done. *don’t overbake them or they will be dry and crumbly*
- Once baked, press a tablespoon into the top of each cookie to make more space for the lemon curd. Carefully transfer cookies with a spatula to a wire rack to cool completely.
- Once cooled, fill the middles with heaping tablespoons of lemon curd and serve.
Notes
- Rub the lemon zest and sugar together to release all the fragrant oils from the lemon and enhance the flavor.
- Weigh the flour: This will give you consistent results and create the perfect texture. If you don’t have a scale, measure properly by stirring the bag and spooning gently into a measuring cup. Scrape the excess off the top with the flat edge off a knife without packing it into the cup.
- Don’t overmix: Overmixing after the flour is added causes a dense, tough texture.
- Chill: Pop the shaped cookie dough in the freezer while the oven is preheating.
- Don’t overbake: For the perfect chewy texture, the bottom should be slightly golden brown and the middle will be puffed up and not yet set. The cookies will continue to bake out of the oven.
