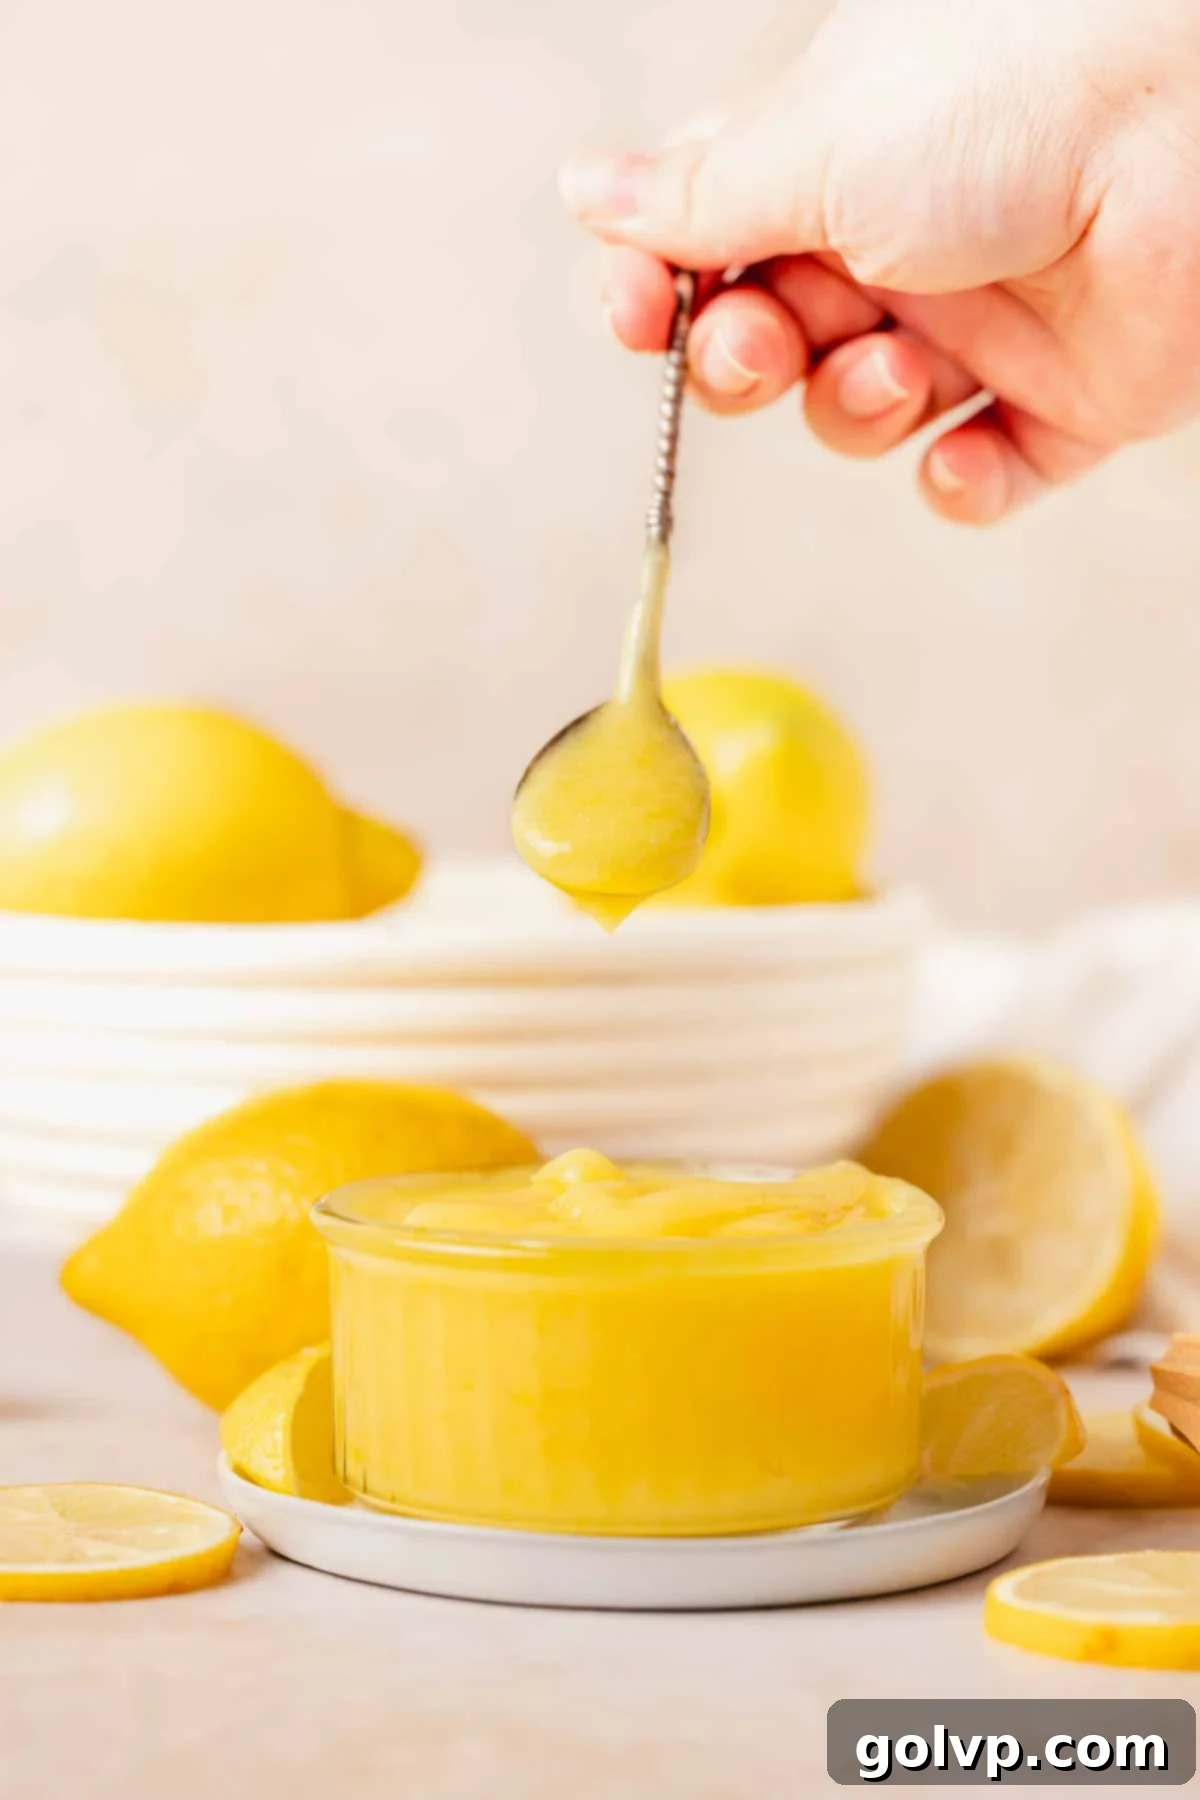
The Ultimate Homemade Lemon Curd Recipe: Perfectly Tangy, Velvety Smooth, and Bursting with Citrus Flavor
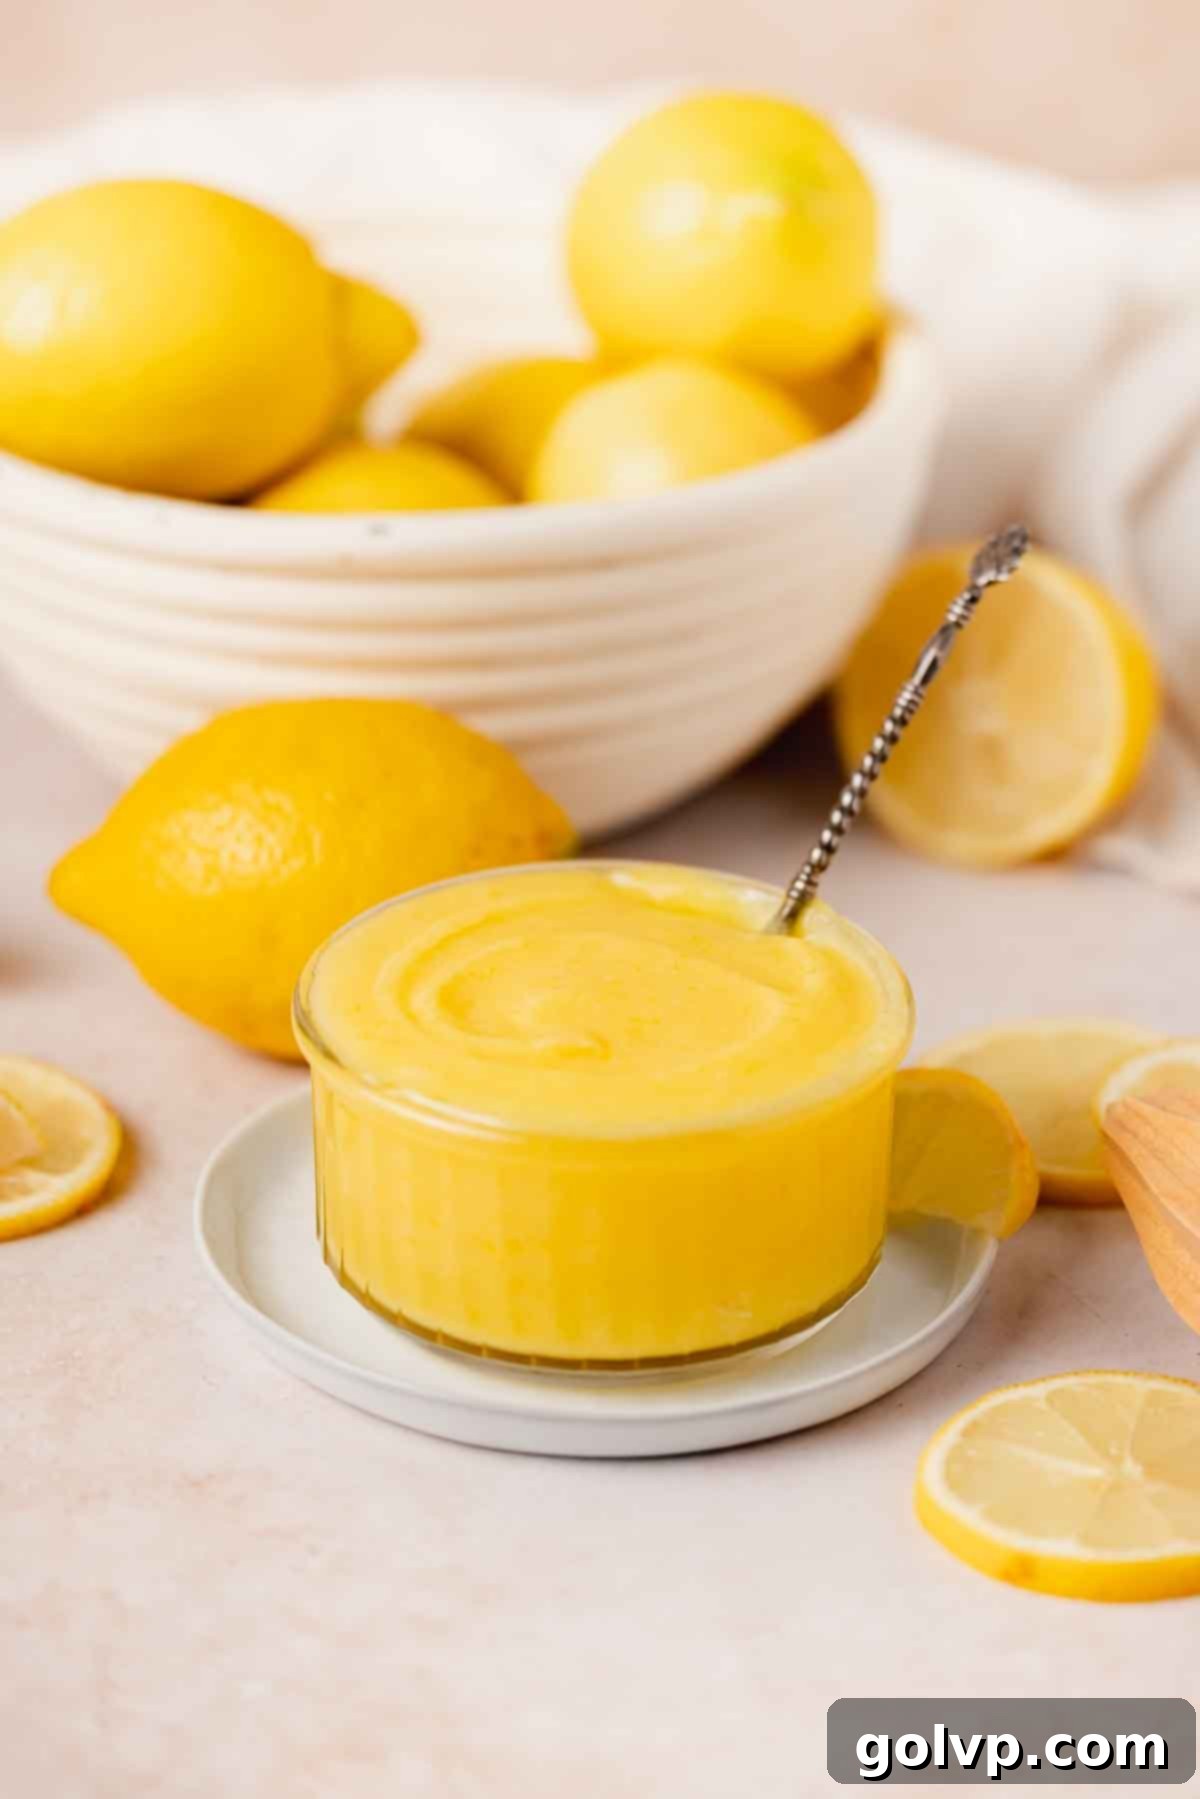
Welcome to the ultimate guide for making truly exceptional lemon curd right in your own kitchen! This isn’t just any lemon curd; it’s a vibrant, lusciously creamy, and perfectly tangy concoction that will redefine your standards. Forget bland, overly sweet store-bought versions – this homemade recipe delivers an explosion of bright citrus flavor, balanced beautifully by the richness of butter and eggs. With just five simple ingredients and four straightforward steps, you’ll achieve a perfectly smooth and thick consistency, ideal for spreading, filling, and indulging.
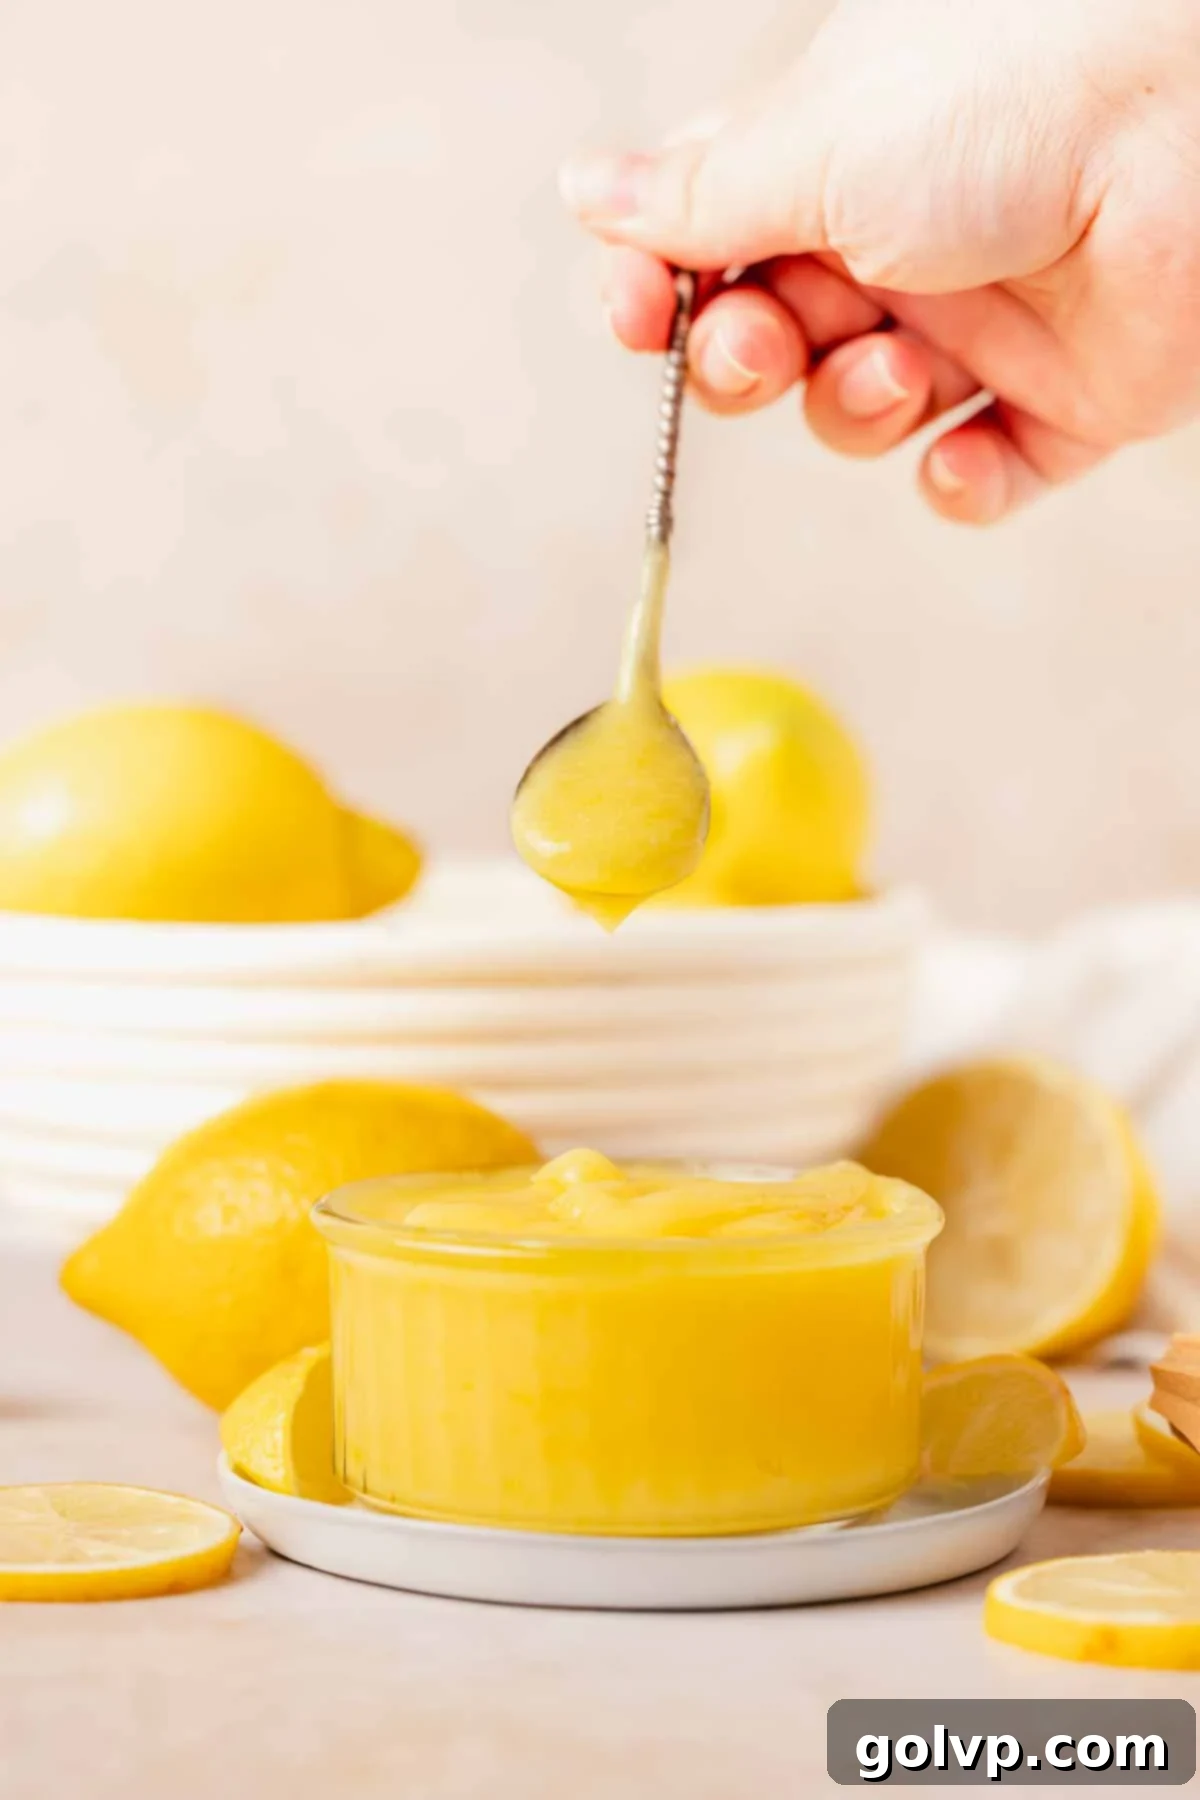
Whether you’re looking for a delightful spread for your morning toast, a sophisticated filling for cakes and tarts, or a luxurious addition to scones and pastries, this lemon curd is incredibly versatile. Its bright, zesty character makes it a favorite for breakfast, brunch, and dessert alike. If you have a fondness for anything lemon, prepare to fall in love with this recipe – it’s incredibly easy to make and far superior to anything you’ll find on a supermarket shelf.
[feast_advanced_jump_to]🍋 Why This Homemade Lemon Curd Will Become Your Favorite
There are countless reasons why this particular lemon curd recipe stands out from the rest. It’s not just a recipe; it’s an experience that delivers on taste, texture, and ease of preparation. Here’s why you’ll absolutely adore it:
- Effortlessly Easy: Don’t be intimidated by the idea of making curd from scratch. This recipe is incredibly simple, requiring only 5 basic ingredients (one of which is just salt!) and 4 easy-to-follow steps. Even novice bakers can achieve perfect results with minimal fuss.
- Luxuriously Thick & Creamy: The texture is paramount when it comes to lemon curd, and this recipe delivers a lusciously silky and thick consistency that’s simply irresistible. It holds its shape beautifully while remaining wonderfully smooth on the palate.
- Bright, Zesty & Tangy Flavor: Prepare for a burst of authentic lemon flavor! This curd is intensely bright, delightfully zesty, and perfectly tangy, striking the ideal balance between sweet and tart. It’s a true celebration of fresh citrus.
- Incredibly Versatile: Beyond its amazing taste and texture, this lemon curd is exceptionally versatile. Use it as a vibrant spread, a delicious filling, or a delightful topping for a myriad of sweet treats. It truly elevates any dish it graces.
If you enjoy the bright, tangy flavors of homemade fruit curds, you absolutely must try our equally luscious raspberry curd! It boasts the same creamy, thick texture but is bursting with sweet and tart raspberry flavor, making it another fantastic addition to your baking repertoire.
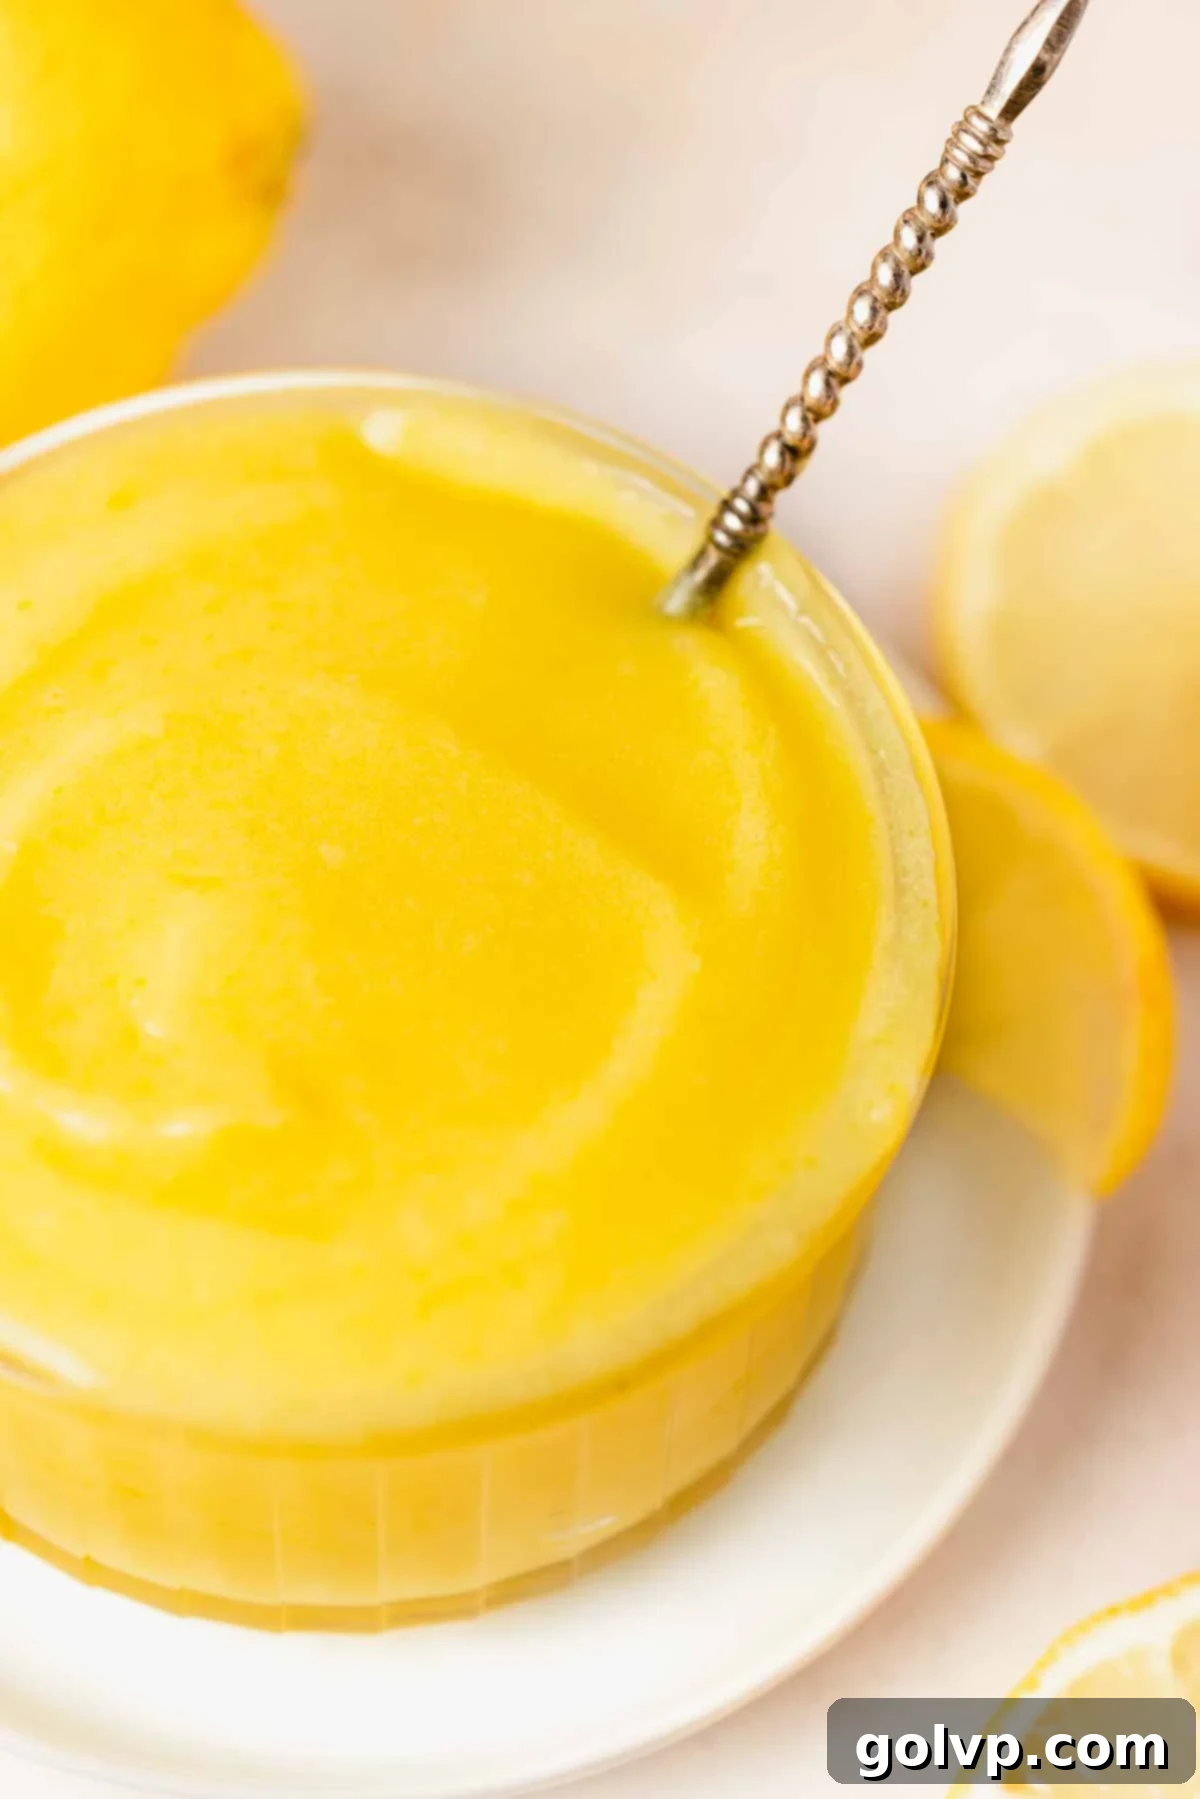
📝 Essential Ingredients for Perfect Lemon Curd
Achieving the perfect lemon curd starts with understanding each ingredient’s role. Read through these tips for optimal success!
For complete step-by-step instructions and precise measurements, refer to the detailed recipe card below.
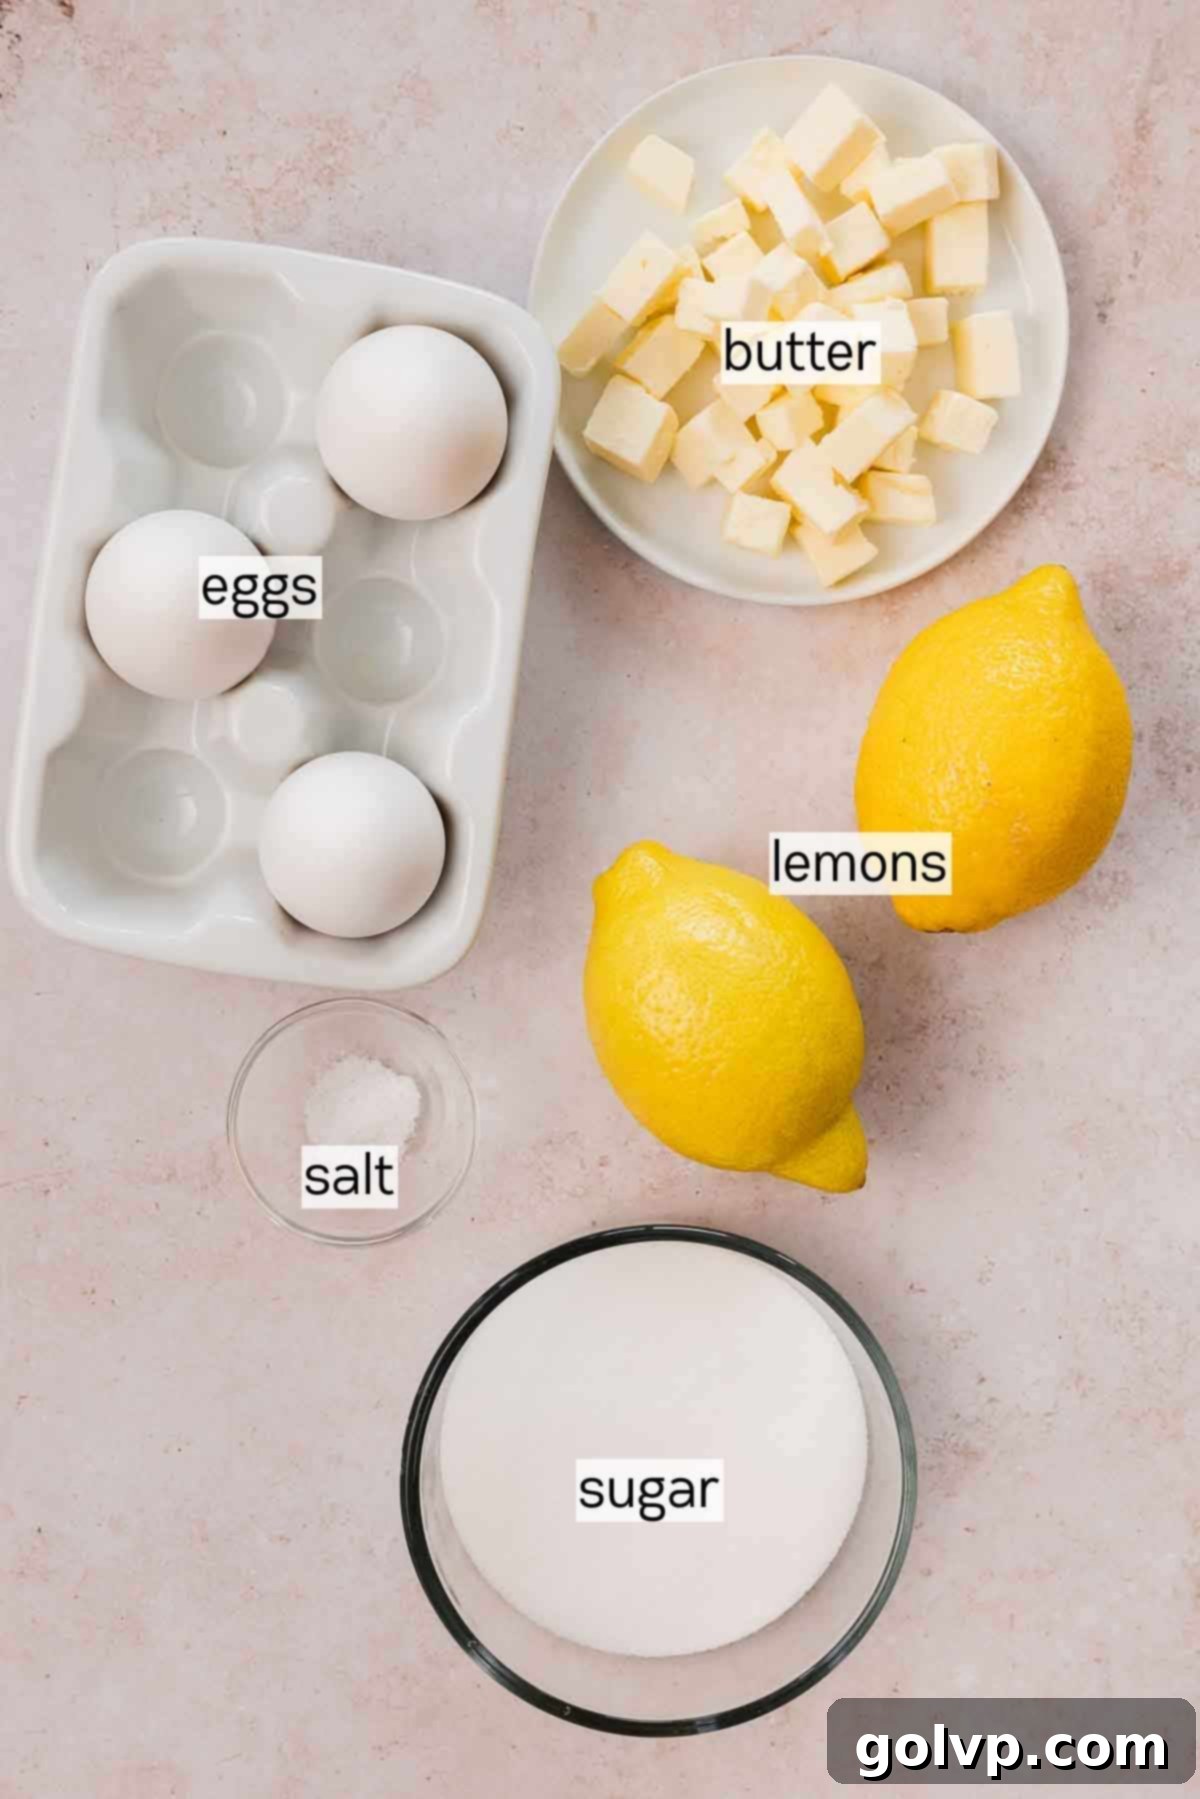
- Unsalted Butter: Using good quality unsalted butter is crucial. It provides unparalleled richness, contributes significantly to the curd’s smooth, luscious texture, and allows you to control the overall saltiness of the final product. For those seeking a dairy-free alternative, a high-quality dairy-free butter substitute can be used effectively. Ensure it’s a block-style butter substitute, not a spread, as spreads often contain more water and may prevent the curd from setting properly.
- Eggs: The eggs are key for both thickening and enriching the curd. This recipe calls for a specific combination of three eggs: two yolks and one whole egg. The egg yolks contribute extra richness and a beautiful golden color, while the single whole egg helps with overall emulsification and stability, preventing the curd from becoming too dense.
- Fresh Lemons: The star of the show! You’ll need 2-3 fresh, bright yellow lemons for this recipe, both for their juice and their zest. The quantity can vary depending on their size and juiciness. For the most vibrant flavor, always opt for fresh lemons over bottled juice. The zest is where much of the intense lemon aroma and essential oils reside, so don’t skip it!
- Granulated Sugar: Sugar not only provides sweetness to balance the lemon’s tartness but also plays a role in the curd’s structure and preservation. It helps create that glossy, thick consistency and enhances the overall mouthfeel.
- Salt: A pinch of salt is a secret weapon in many dessert recipes. In lemon curd, it doesn’t make the curd salty, but rather enhances and brightens the natural lemon flavor, making it truly “pop.” Don’t underestimate its importance!
For another creamy and tangy treat that comes together with just four simple ingredients, be sure to try my irresistible lemon posset recipe!
👩🍳 Step-by-Step Guide: How to Master Lemon Curd
Making homemade lemon curd is a rewarding process that’s much simpler than you might imagine. Follow these detailed steps to create a flawless batch every time:
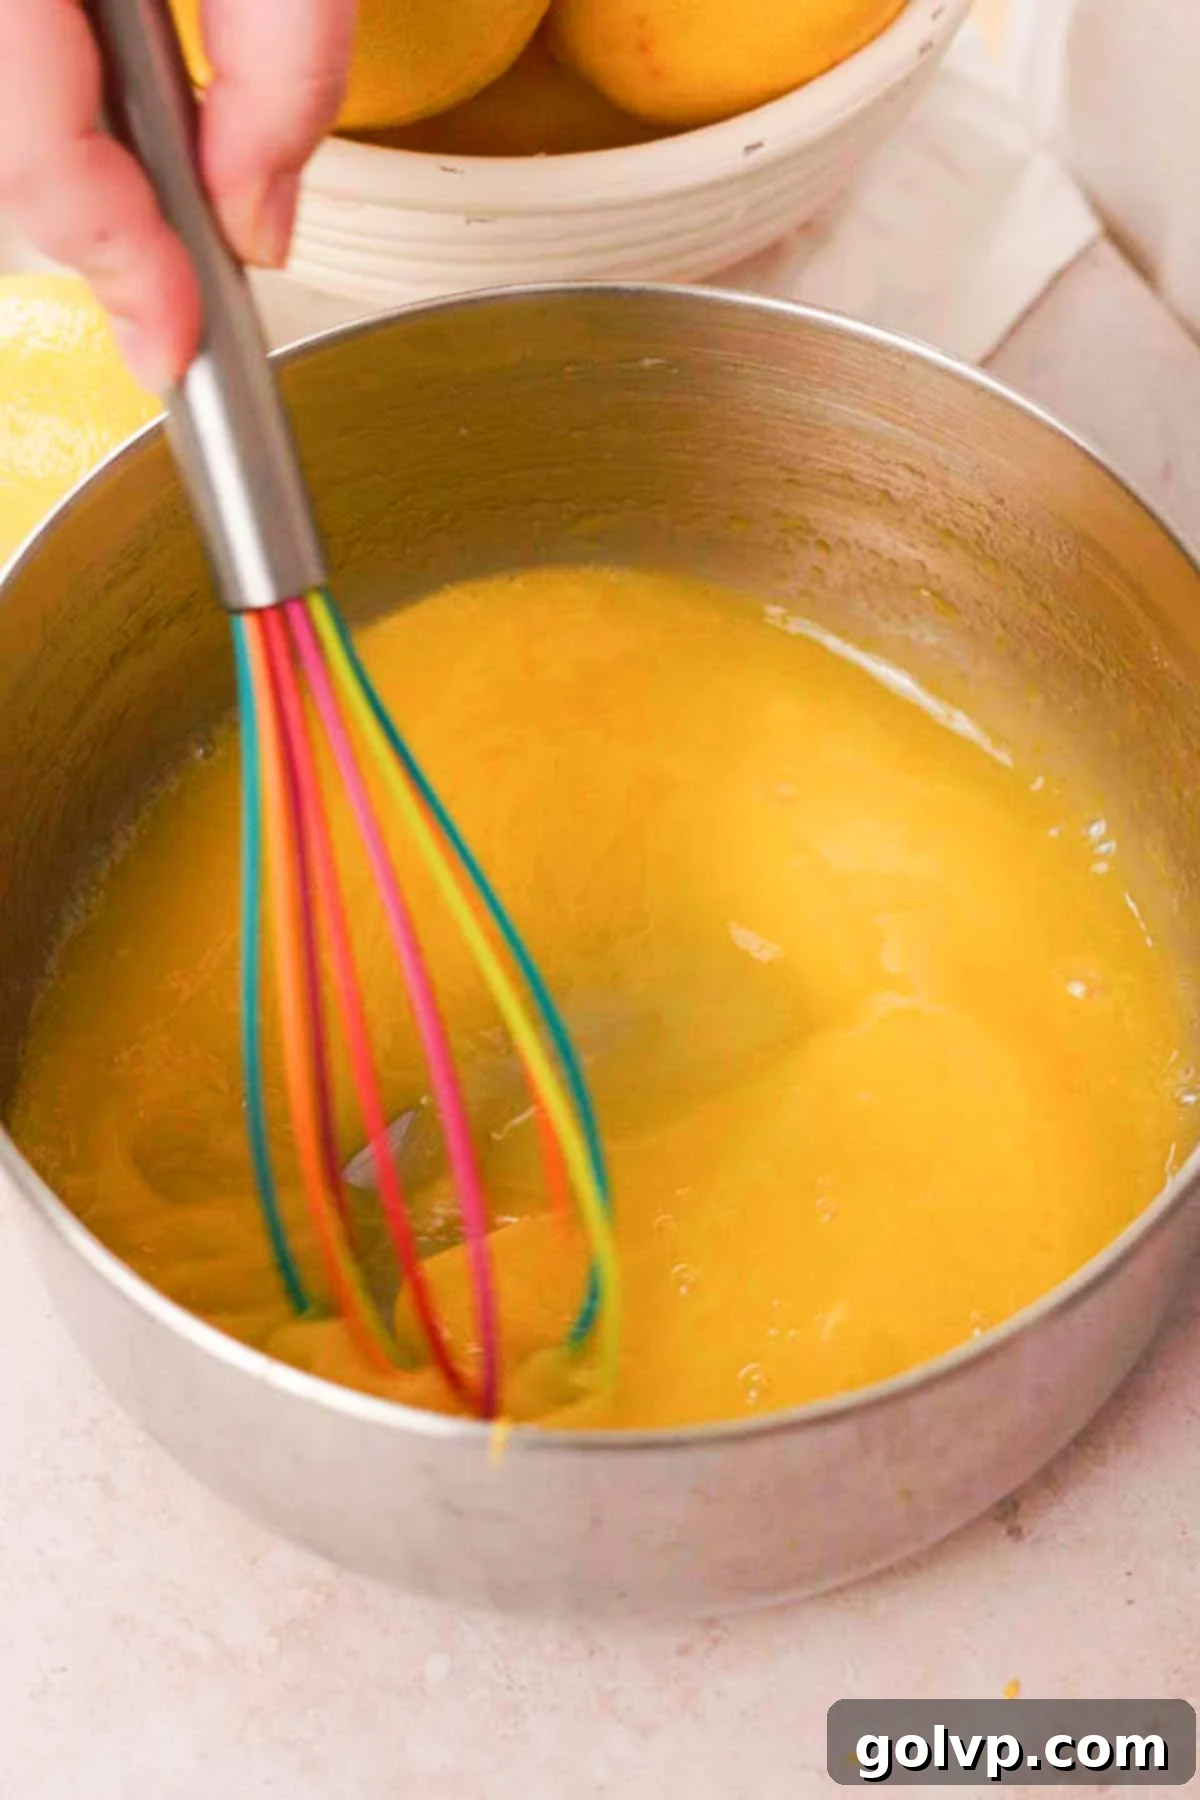
Step 1: Combine and Whisk. In a medium-sized saucepan, combine the granulated sugar, the whole egg, two egg yolks, freshly squeezed lemon juice, fragrant lemon zest, and a pinch of salt. Whisk these ingredients together vigorously until the mixture is completely smooth and uniform, with no visible streaks or clumps of egg remaining. This initial whisking is crucial for preventing a lumpy curd.
PRO TIP: To prevent your delicious curd from developing a metallic aftertaste, especially if it will be stored for a few days, consider using a non-metal saucepan, such as one with a ceramic coating or enamel. Stainless steel is generally fine, but some find non-reactive materials yield the best flavor.
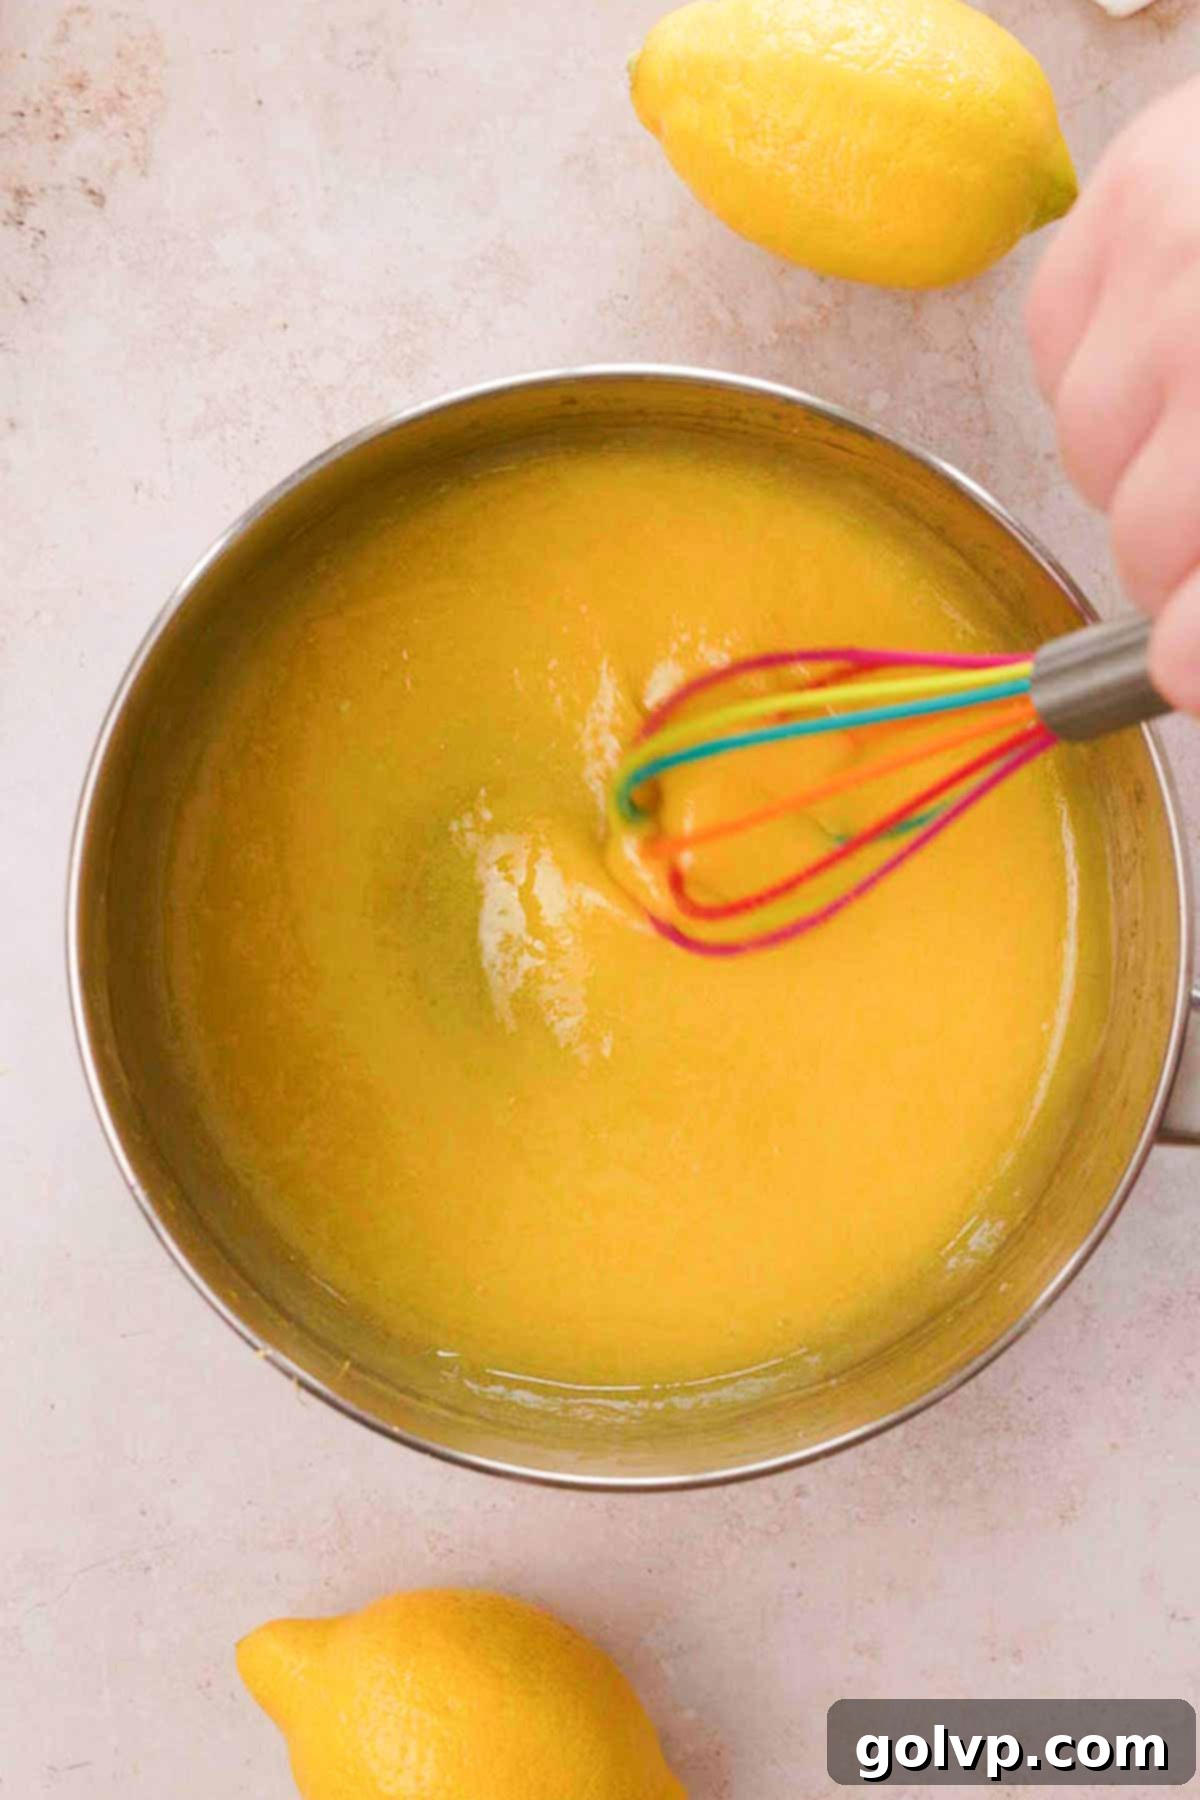
Step 2: Cook to Perfection. Place the saucepan over medium-low heat. This gentle heat is key to preventing the eggs from scrambling. Stir the mixture frequently and continuously with a whisk or rubber spatula, making sure to scrape the bottom and sides of the pan to prevent any burning or sticking. Continue cooking until the curd visibly thickens and begins to gently bubble. It should coat the back of a spoon and you should be able to draw a line through it with your finger. This usually takes about 8-10 minutes.
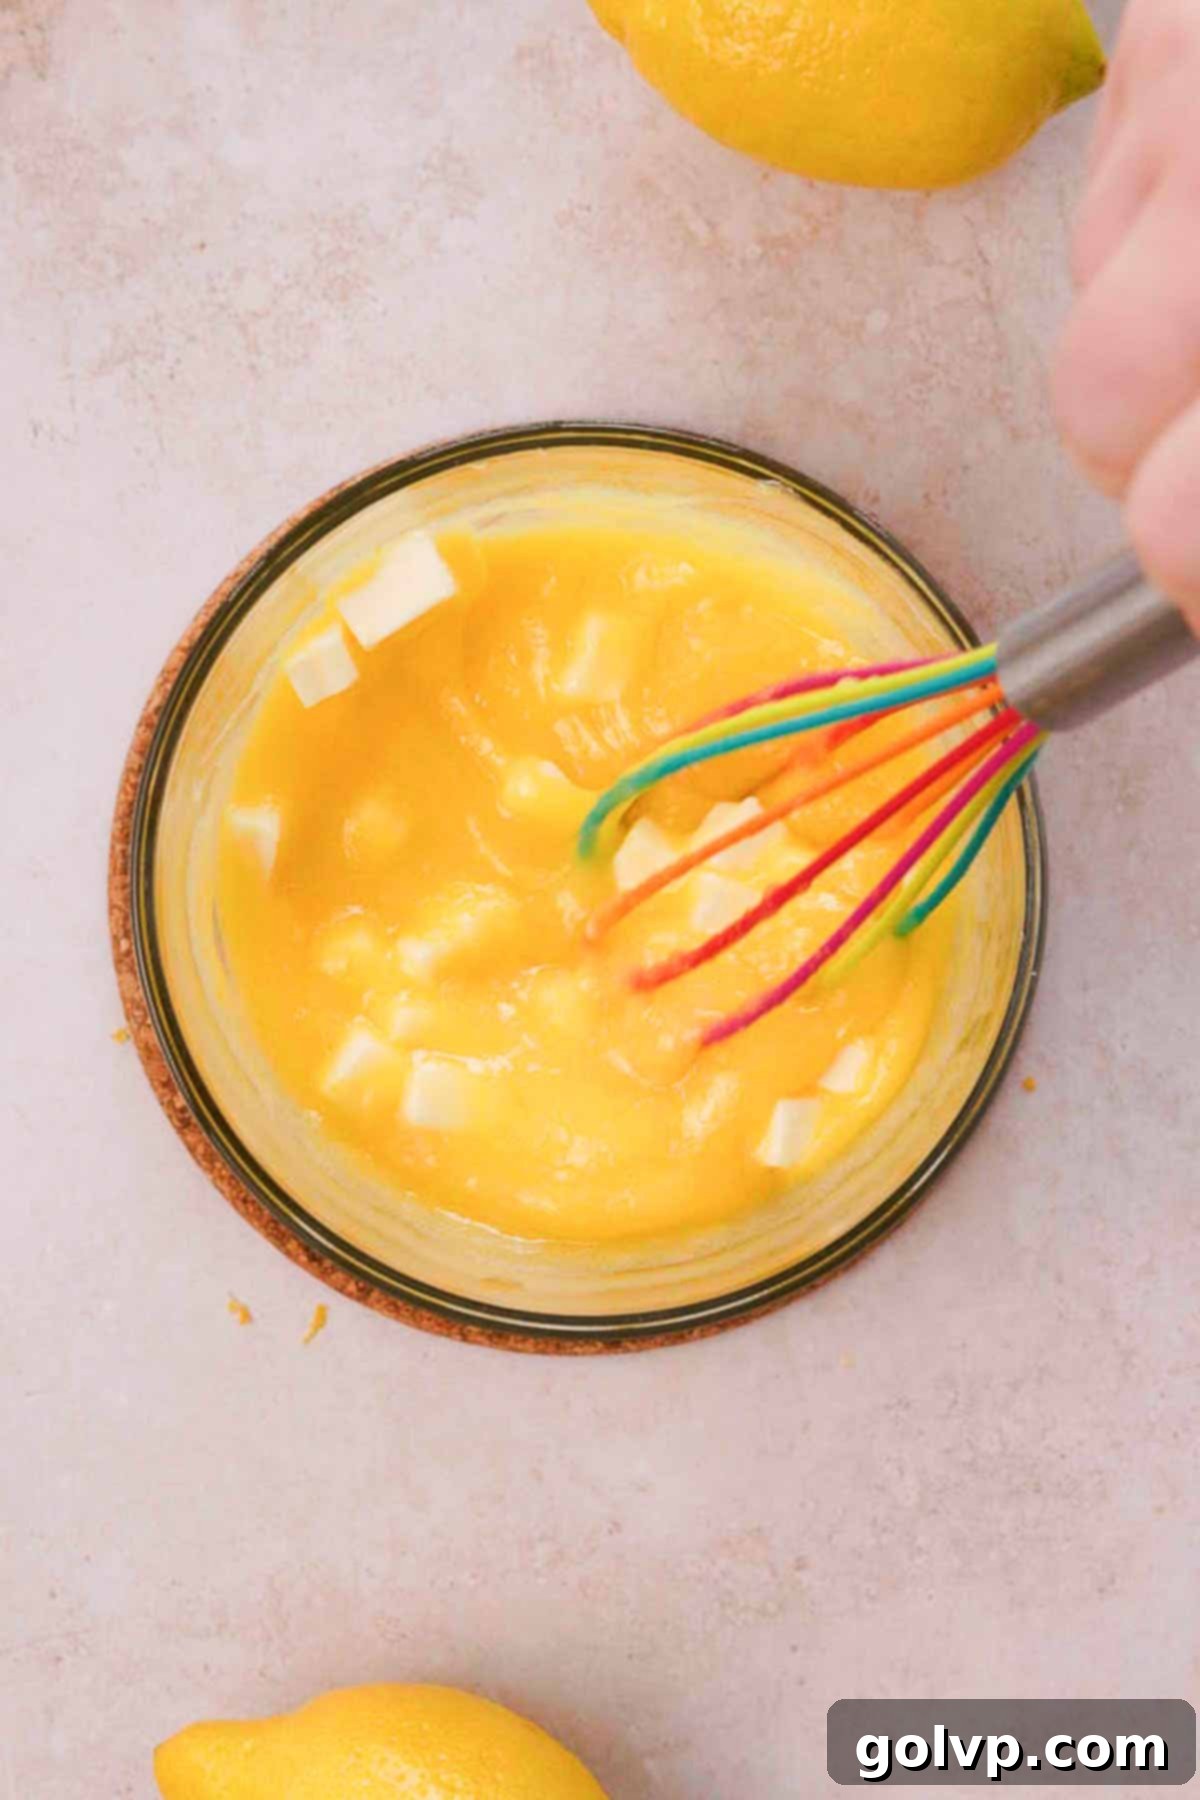
Step 3: Incorporate the Butter. Once the curd has thickened on the stove, immediately remove it from the heat. Carefully transfer the hot curd into a non-metal, heat-safe container or jar. If you notice any small lumps or want an extra-smooth curd, you can strain it through a fine-mesh sieve at this point. Next, add the cold, cubed butter directly into the hot curd. Allow the butter to melt for a minute or two, then stir or whisk until the mixture is completely smooth and the butter is fully incorporated, creating a glossy, rich finish.
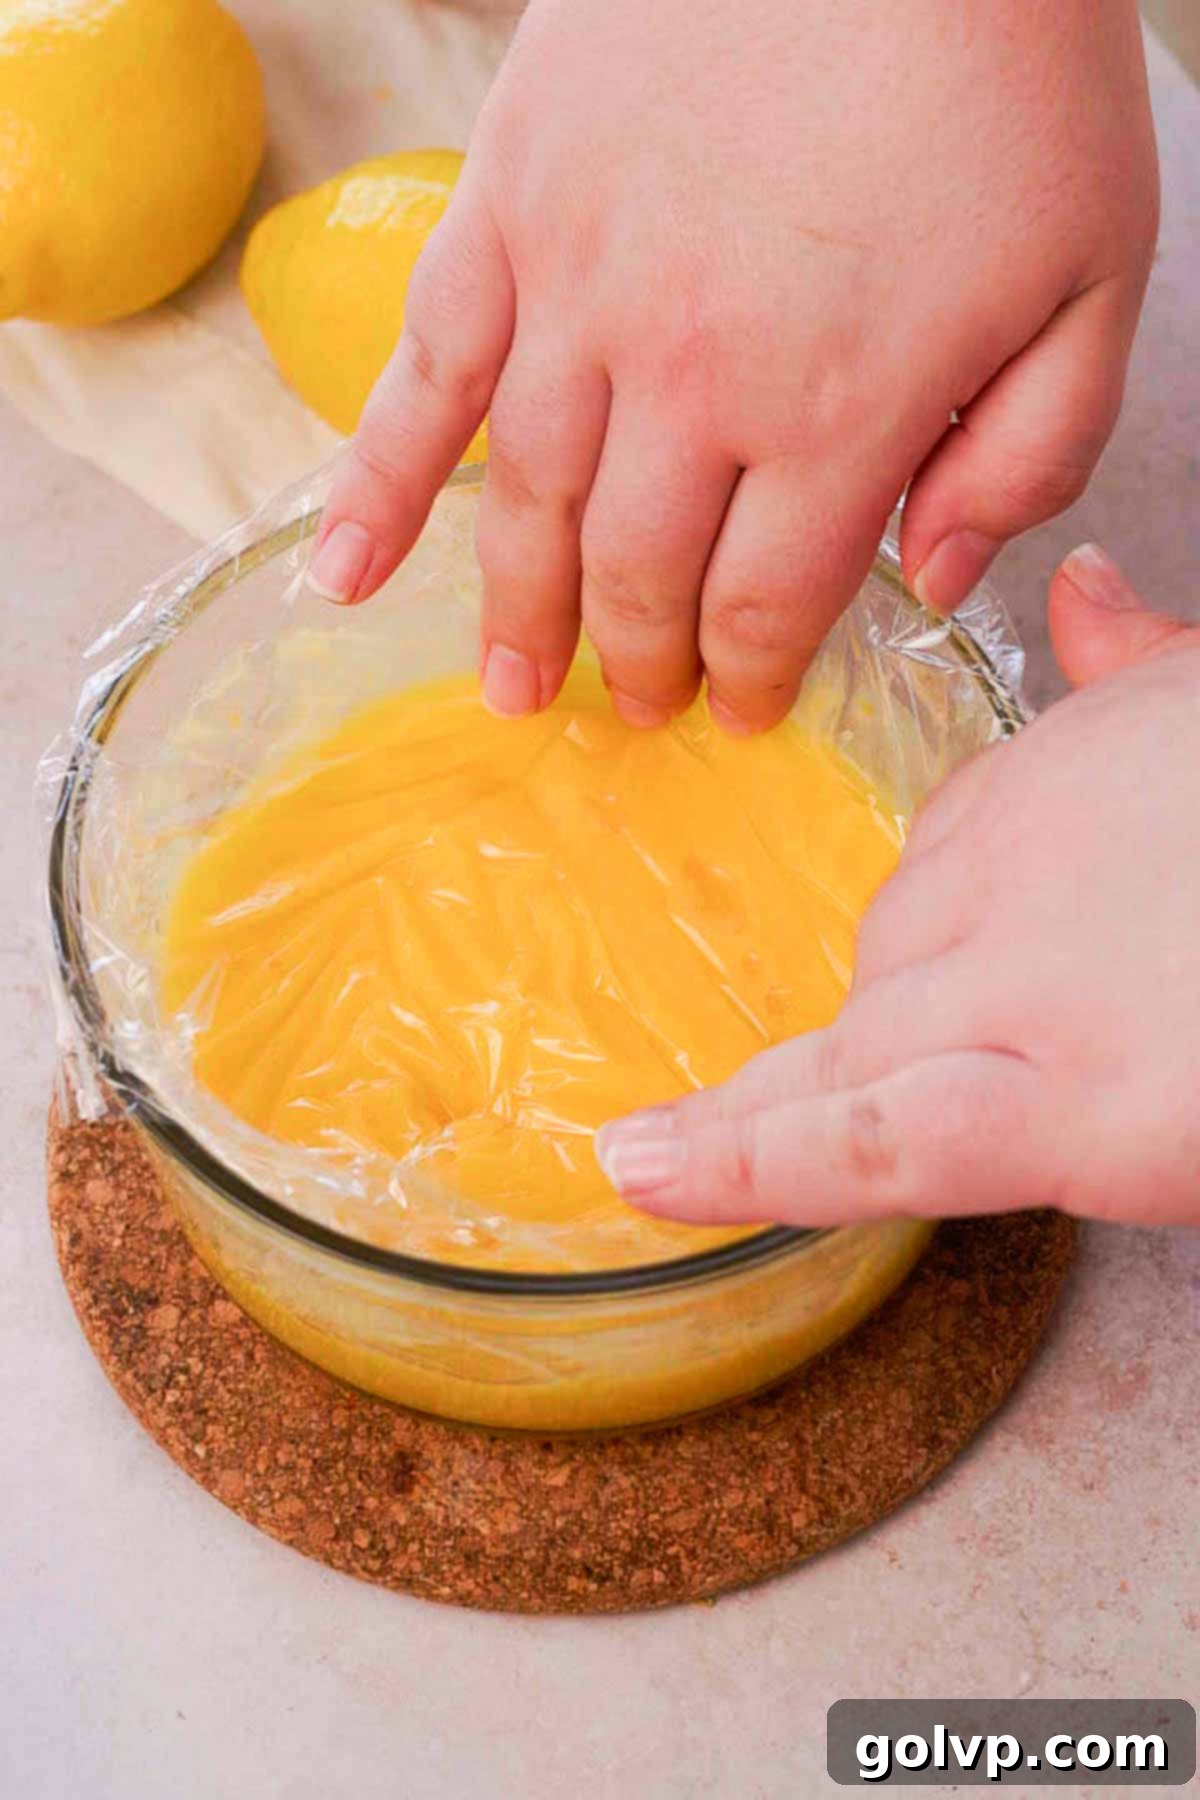
Step 4: Chill and Thicken. To prevent a “skin” from forming on the surface as the curd cools, place a piece of parchment paper or plastic wrap directly onto the surface, ensuring it touches the entire top layer. Refrigerate the curd until it is thoroughly chilled, which typically takes about 1-2 hours. During this chilling period, the butter will firm up and the curd will continue to thicken significantly, reaching its ideal luscious consistency.
📝 Expert Tips for Flawless Fruit Curd Every Time
Top Tips from the Kitchen
- Consistent Stirring is Key: While cooking the curd, stir it frequently and continuously. This prevents the eggs from settling at the bottom and scorching, which leads to lumps, and ensures even heating for a smooth, homogenous texture.
- Strain for Silky Smoothness: If you desire an ultra-silky, perfectly smooth curd, strain it through a fine-mesh sieve immediately after cooking and before adding the butter. This will remove any small cooked egg bits or lemon zest, resulting in a beautifully uniform consistency.
- Choose Non-Reactive Storage: Always store your lemon curd in a non-metal container, such as a glass bowl or a mason jar. Metal can react with the acidity of the lemon over time, potentially giving your delicious curd an unpleasant metallic aftertaste.
- Prevent Skin Formation: As the curd cools, it can form a thick, rubbery “skin” on top. To avoid this, press a piece of plastic wrap or parchment paper directly onto the surface of the hot curd, ensuring no air is trapped between the wrap and the curd. This technique is also commonly used for custards.
- Chill Thoroughly Before Serving: While it might be tempting to dig in right away, chilling is crucial. Refrigerate the curd until it’s completely cold (at least 1-2 hours) to allow the butter to firm up and the curd to reach its ultimate thick, spreadable consistency.
🥄 Make Ahead & Storage Solutions for Your Lemon Curd
One of the best things about homemade lemon curd is that it can be made in advance, saving you time and stress, especially when entertaining. Proper storage ensures its freshness and flavor for an extended period.
Refrigeration: Once your lemon curd has cooled and chilled completely, transfer it to an airtight container or a clean jar. Stored in the refrigerator, it will maintain its vibrant flavor and creamy texture for up to one week. Always ensure the container is sealed tightly to prevent any absorption of refrigerator odors.
Freezing for Longer Shelf Life: For longer storage, lemon curd freezes beautifully! Pour the cooled curd into an airtight freezer-safe container or a heavy-duty freezer bag, leaving a small amount of headspace to allow for expansion. It can be stored in the freezer for up to 3 months without any significant loss of quality or flavor.
Defrosting & Serving: When you’re ready to use your frozen lemon curd, simply transfer it from the freezer to the refrigerator and allow it to defrost overnight. Alternatively, you can defrost it at room temperature for about an hour if you’re in a hurry. Once defrosted, give it a good stir or a quick whisk to restore its smooth, creamy consistency before serving.
🍴 Delicious Ways to Enjoy Your Homemade Lemon Curd
The versatility of this creamy, tangy lemon curd is truly remarkable. It’s not just a spread; it’s a culinary highlight that can elevate countless dishes. Here are some of our favorite ways to incorporate it:
It’s the ultimate spread for breakfast and brunch items, transforming simple offerings into gourmet delights. Think dolloping it generously onto warm, flaky scones, spreading it on crunchy toast, or swirling it into plain yogurt. Beyond breakfast, it makes an exquisite filling for elegant cakes, delicate cupcakes, classic tarts, and comforting pies, adding a burst of sunshine and zesty flavor.
Get creative with these fun recipes that feature this incredible lemon curd:
- Lemon Tiramisu: This innovative recipe uses our perfectly cooked lemon curd to replace raw eggs, creating the creamiest, tangiest, and safest tiramisu you’ll ever taste.
- Lemon Curd Cookies: Imagine soft, crinkly lemon cookies with a surprise gooey burst of tangy lemon curd in the middle – an absolute dream for lemon lovers!
- Victoria Sponge with Lemon Curd: A classic British cake given a vibrant twist. This buttery, fluffy sponge cake is generously filled with layers of homemade lemon curd and whipped cream for an irresistible treat.
- Lemonade Bundt Cake: This delightful bundt cake is not only infused with lemonade flavor but also features a hidden lemon curd filling and is crowned with a tangy lemon glaze, creating a multi-layered citrus experience.
✔️ Troubleshooting: How to Rescue Lumpy Lemon Curd
Even with careful attention, sometimes lumps can appear in your curd. Don’t despair! A lumpy curd is easily salvageable, and there are two primary methods to bring it back to a smooth, desirable consistency:
- Strain the Curd: The simplest and quickest fix is to strain the cooked curd. Immediately after removing it from the heat, pour the curd through a fine-mesh sieve into a clean bowl. Use a rubber spatula to press the curd through the sieve, ensuring any small cooked egg bits or lumps are left behind. This method results in a beautifully smooth, albeit potentially slightly thinner, curd as it removes solid particles.
- Blend for a Thicker Result: For a thicker, velvety smooth curd, an immersion blender or a standing blender (be careful with hot liquids) can work wonders. Transfer the cooked curd to the blender and process until completely smooth. The high-speed blending will break down any lumps and emulsify the mixture further, often resulting in an even thicker and richer texture.
Prevention is Best: To avoid lumpiness in the first place, remember to whisk and stir your curd frequently and continuously throughout the cooking process. Also, ensure you cook it over medium-low heat; high heat can cause the eggs to cook too quickly and curdle, leading to lumps.
❔ Can This Lemon Curd Be Used as a Pie Filling?
The delightful consistency of this lemon curd makes it absolutely perfect for certain applications, especially as a filling for tarts. Because tarts typically require only a thin layer of filling, this recipe provides a beautifully set yet wonderfully gooey and luscious texture that holds up well when sliced.
However, if you’re envisioning a thick, substantial layer of lemon curd for a deep-dish pie, you might find that this recipe, as is, will be a bit too soft to hold its shape perfectly when sliced, and might be slightly challenging to cut cleanly. For a robust pie filling that can withstand a thicker layer and provide a cleaner slice, we recommend a slight adjustment: add a teaspoon of cornstarch to the initial mixture along with the sugar and eggs, and consider substituting one of the egg yolks with a whole egg. These modifications will help create a firmer set, ideal for a traditional pie.
📖 Common Questions About Lemon Curd
Straining lemon curd is entirely optional, but highly recommended if you’re aiming for an incredibly smooth and luxurious texture. You only truly need to strain it if your curd turns out a bit lumpy during cooking, or if you prefer a silkier finish without the fine bits of lemon zest. Many enjoy the zest for added flavor and texture, but straining removes it for a truly pristine curd.
This recipe is designed to achieve an ideal thickness – it’s firm enough to hold its shape beautifully, yet wonderfully gloopy and spreadable, never overly stiff or jellied. If you desire an even thicker consistency for specific uses (like a very firm pie filling), a simple adjustment can be made: substitute one of the egg yolks with an additional whole egg. The extra egg white protein will contribute to a firmer set.
Covering the surface of the hot lemon curd directly with plastic wrap (or parchment paper) is a common technique used to prevent a “skin” from forming as it cools. Without this barrier, the exposed surface can dry out and become rubbery. This practice is also widely used when making custards and puddings for the same reason, ensuring a smooth, even texture throughout.
Absolutely! You can easily adapt this recipe to be dairy-free by substituting the regular butter with a high-quality dairy-free butter substitute. However, it’s crucial to use a block-style dairy-free butter, not a soft butter spread or margarine. Spreads and margarines often have a higher water content and lower fat content, which can prevent the lemon curd from setting properly and thickening in the refrigerator.
There are a few common reasons why lemon curd might not thicken as expected. First, ensure you are cooking it long enough and at the right temperature. The curd needs to be heated until it visibly thickens and starts to gently bubble, coating the back of a spoon. Second, continuous stirring with a rubber spatula or whisk is vital to ensure even cooking and prevent scorching. Finally, the addition of cold butter at the end is crucial; once the butter melts and is incorporated, the curd relies on chilling for its final set. The butter will firm up in the cold, creating that wonderfully thick and stable curd consistency. If it’s still too thin after chilling, it likely needed more cooking time on the stovetop.
🍋 More Zesty Citrus & Curd Recipes to Explore
If you’ve fallen in love with the vibrant flavors of this homemade lemon curd, you’re in for a treat! We have a collection of other delightful recipes that celebrate citrus and the creamy goodness of fruit curds. Expand your baking horizons with these tempting options:
- Luscious Raspberry Curd
- Lemon Curd Crinkle Cookies
- Lemon Victoria Sponge Cake
- Creamy Lemon Tiramisu
Did you try this fantastic lemon curd recipe? We’d love to hear about your experience! Please take a moment to rate this recipe and share your thoughts in the comments section below. Don’t forget to showcase your delicious creation on Instagram and tag @flouringkitchen. For more inspiring recipes and baking ideas, make sure to follow us on Pinterest!
📖 Recipe
Lemon Curd
MaryEquipment
-
Medium saucepan
-
Whisk
-
Fine-mesh sieve (optional, for extra smooth curd)
Ingredients
- ⅔ cup granulated sugar
- 1 large egg
- 2 large egg yolks
- ⅓ cup fresh lemon juice from about 2 large lemons
- 1 lemon zested
- ⅛ teaspoon sea salt
- ⅓ cup unsalted butter cold and cubed
Instructions
-
In a medium saucepan (preferably non-metal like ceramic-coated to avoid metallic taste), combine the granulated sugar, whole egg, egg yolks, fresh lemon juice, lemon zest, and sea salt. Whisk thoroughly until the mixture is completely smooth and no traces of egg remain.2 large egg yolks, 1 large egg, ⅛ teaspoon sea salt, ⅔ cup sugar, ⅓ cup lemon juice, 1 lemon zested
-
Place the saucepan over medium-low heat. Stir frequently and continuously with a whisk or rubber spatula to prevent burning. Cook until the curd thickens significantly and begins to gently bubble. It should be thick enough to coat the back of a spoon.
-
Immediately remove the curd from the heat. If desired, strain it through a fine-mesh sieve into a non-metal, heat-safe container or jar to ensure extra smoothness. Add the cold, cubed butter and let it sit for a minute to melt slightly, then stir or whisk until the butter is fully incorporated and the curd is glossy and smooth.
-
To prevent a skin from forming, press a piece of parchment paper or plastic wrap directly onto the surface of the curd, ensuring full contact. Refrigerate until thoroughly chilled and set, which typically takes about 1-2 hours. The curd will continue to thicken as it cools.⅓ cup butter
Video
Notes
- Stir the curd frequently when cooking to prevent it from burning or becoming lumpy.
- Strain the curd if you want an extra smooth curd.
- Store the curd in a non-metal container like a glass bowl or mason jar to prevent a metallic aftertaste.
- Press plastic wrap (or parchment paper) right onto the surface of the curd to prevent it from forming a skin.
- Chill before serving to allow the butter to firm up and further thicken the lemon curd to its ideal consistency.
