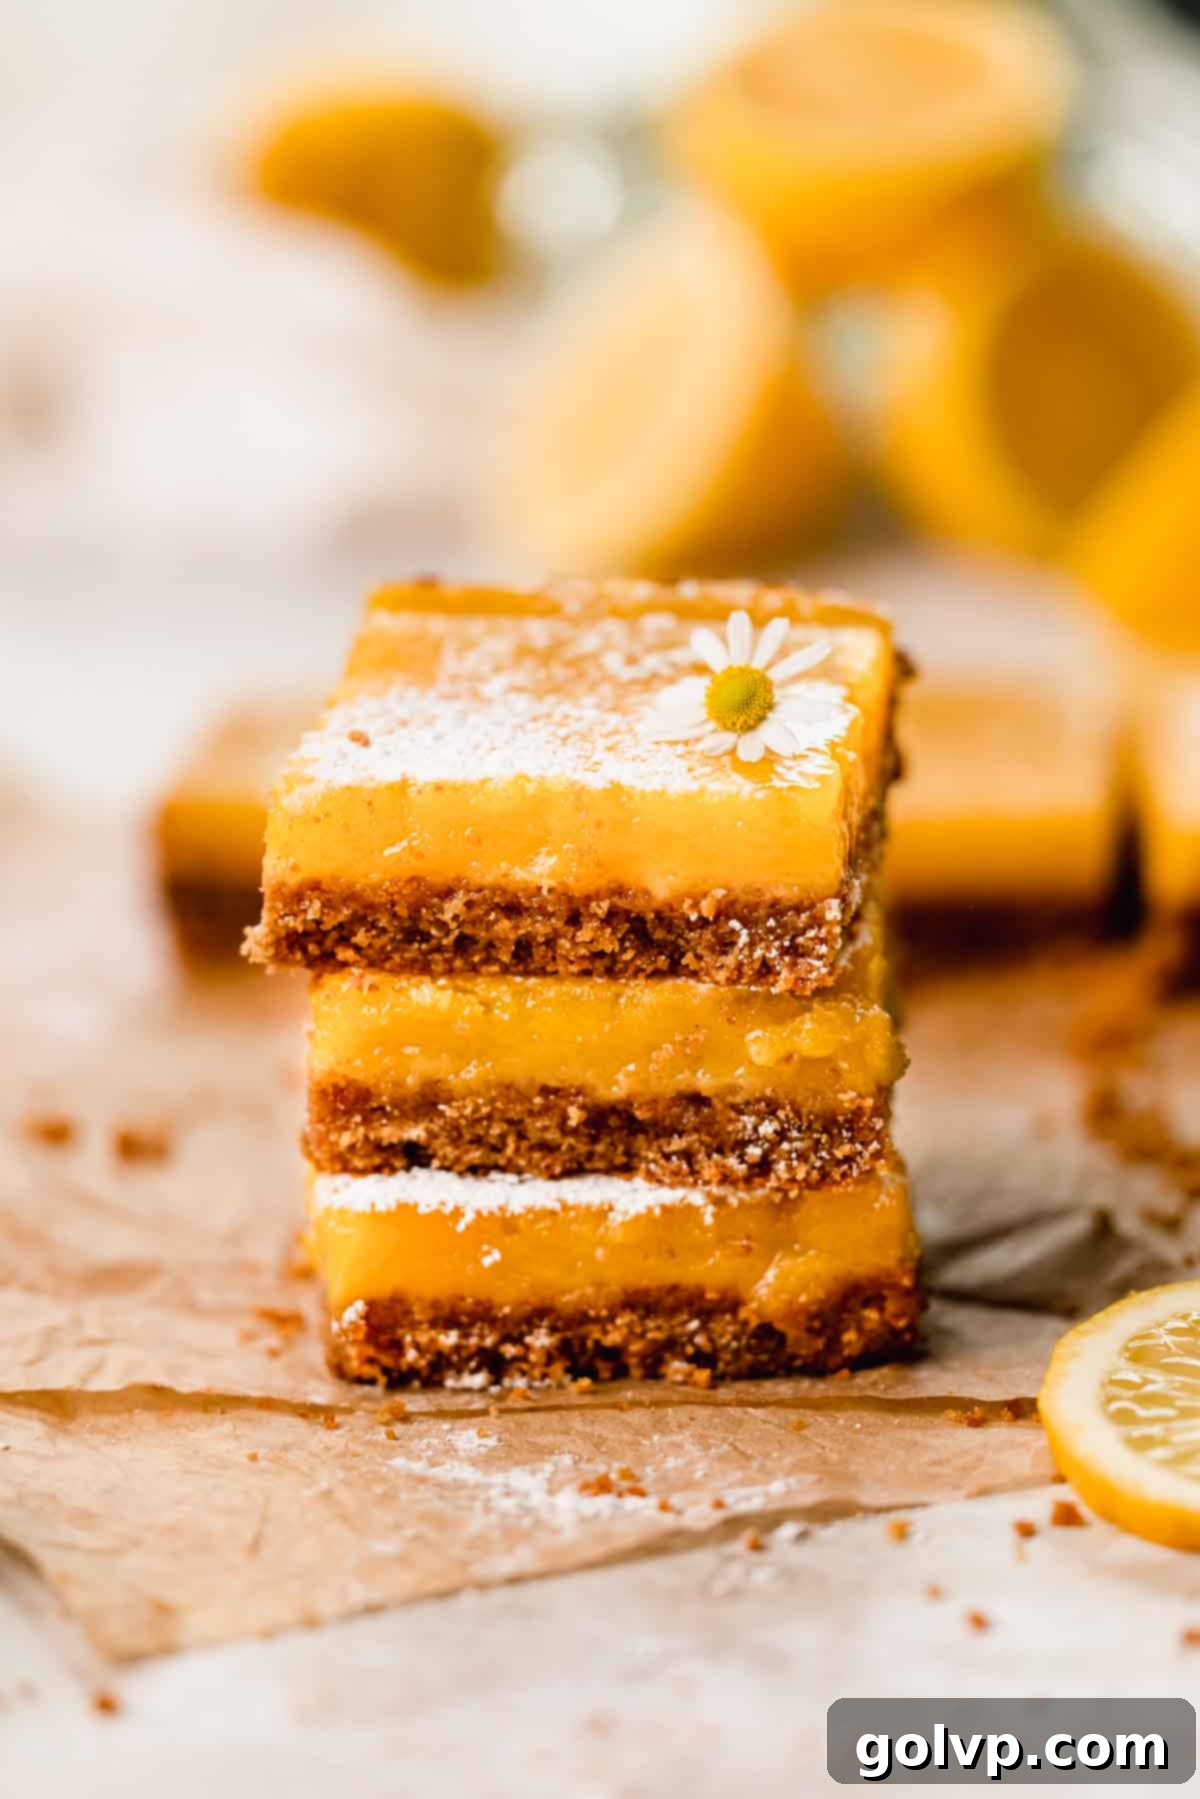
Classic Lemon Bars with a Golden Graham Cracker Crust: The Ultimate Tangy Treat
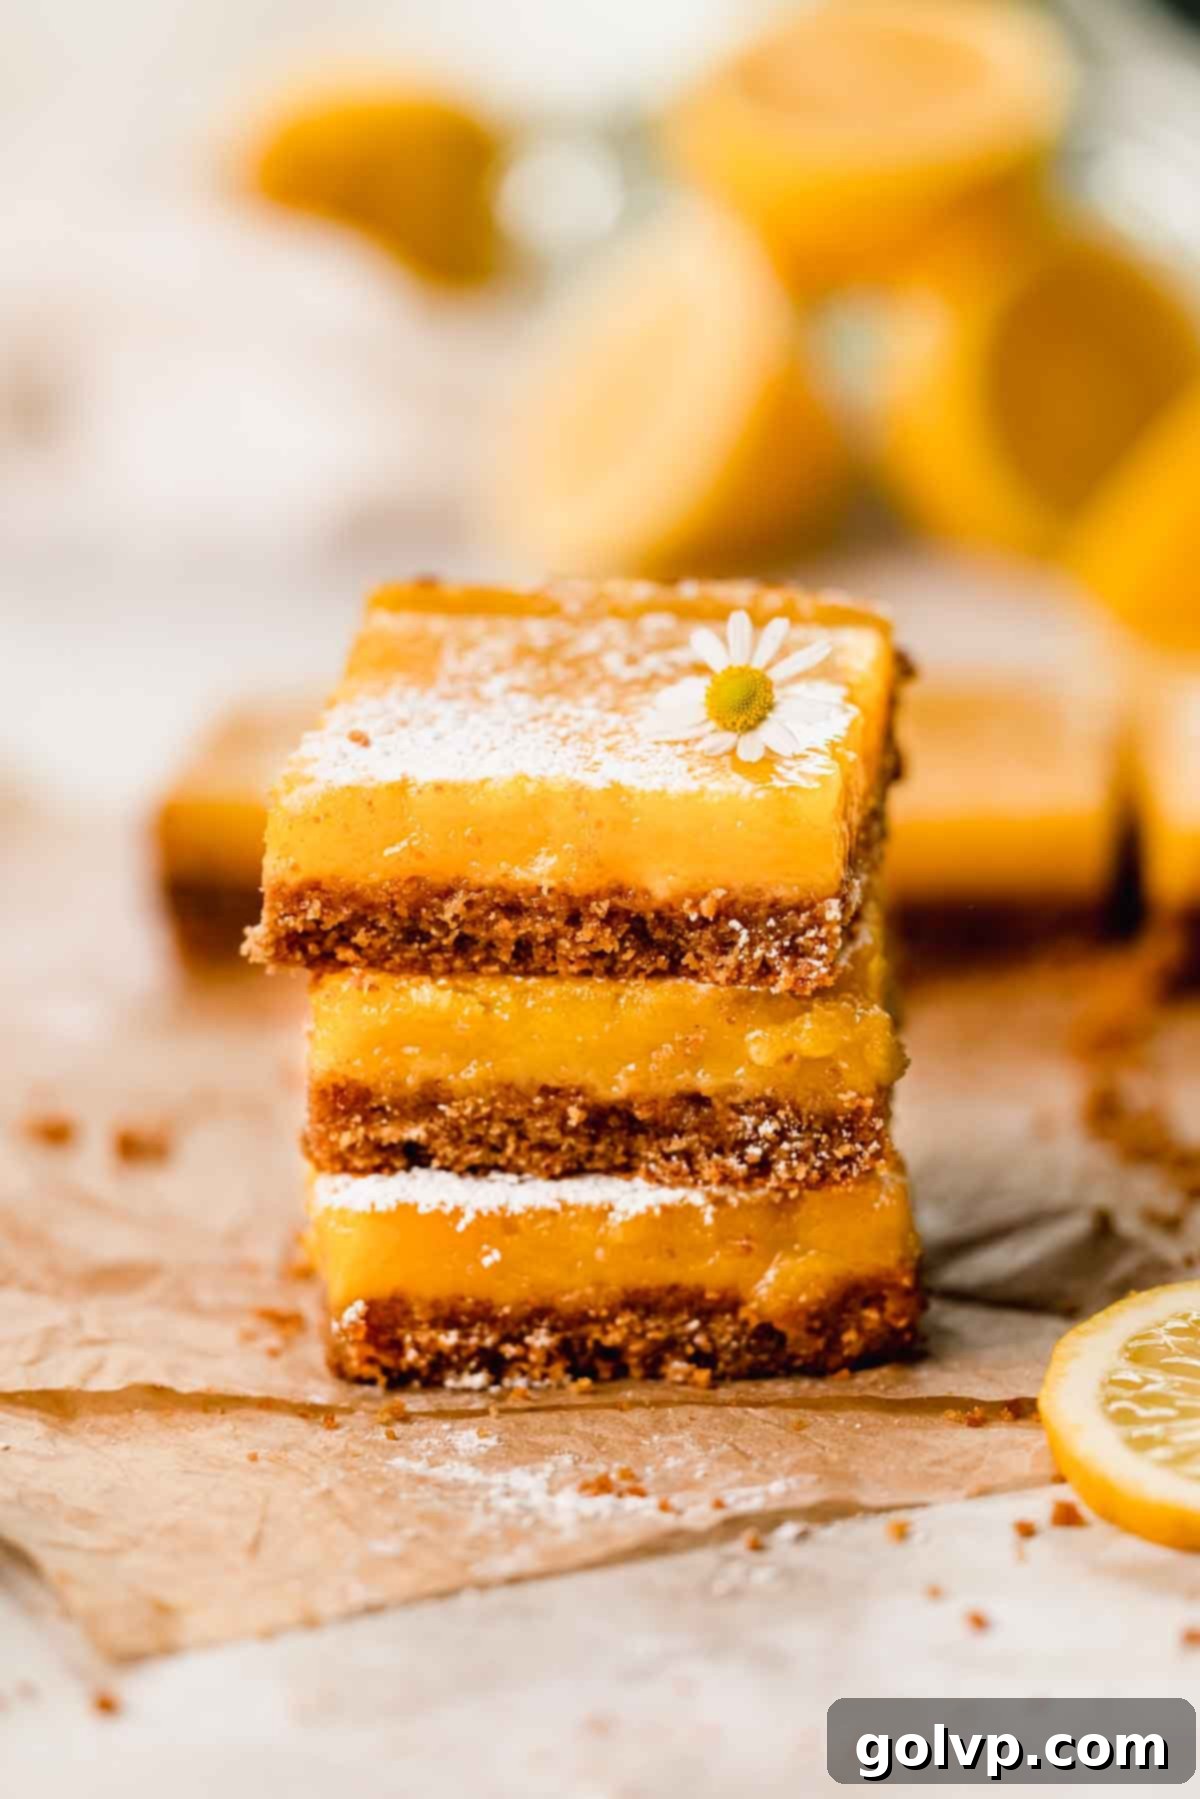
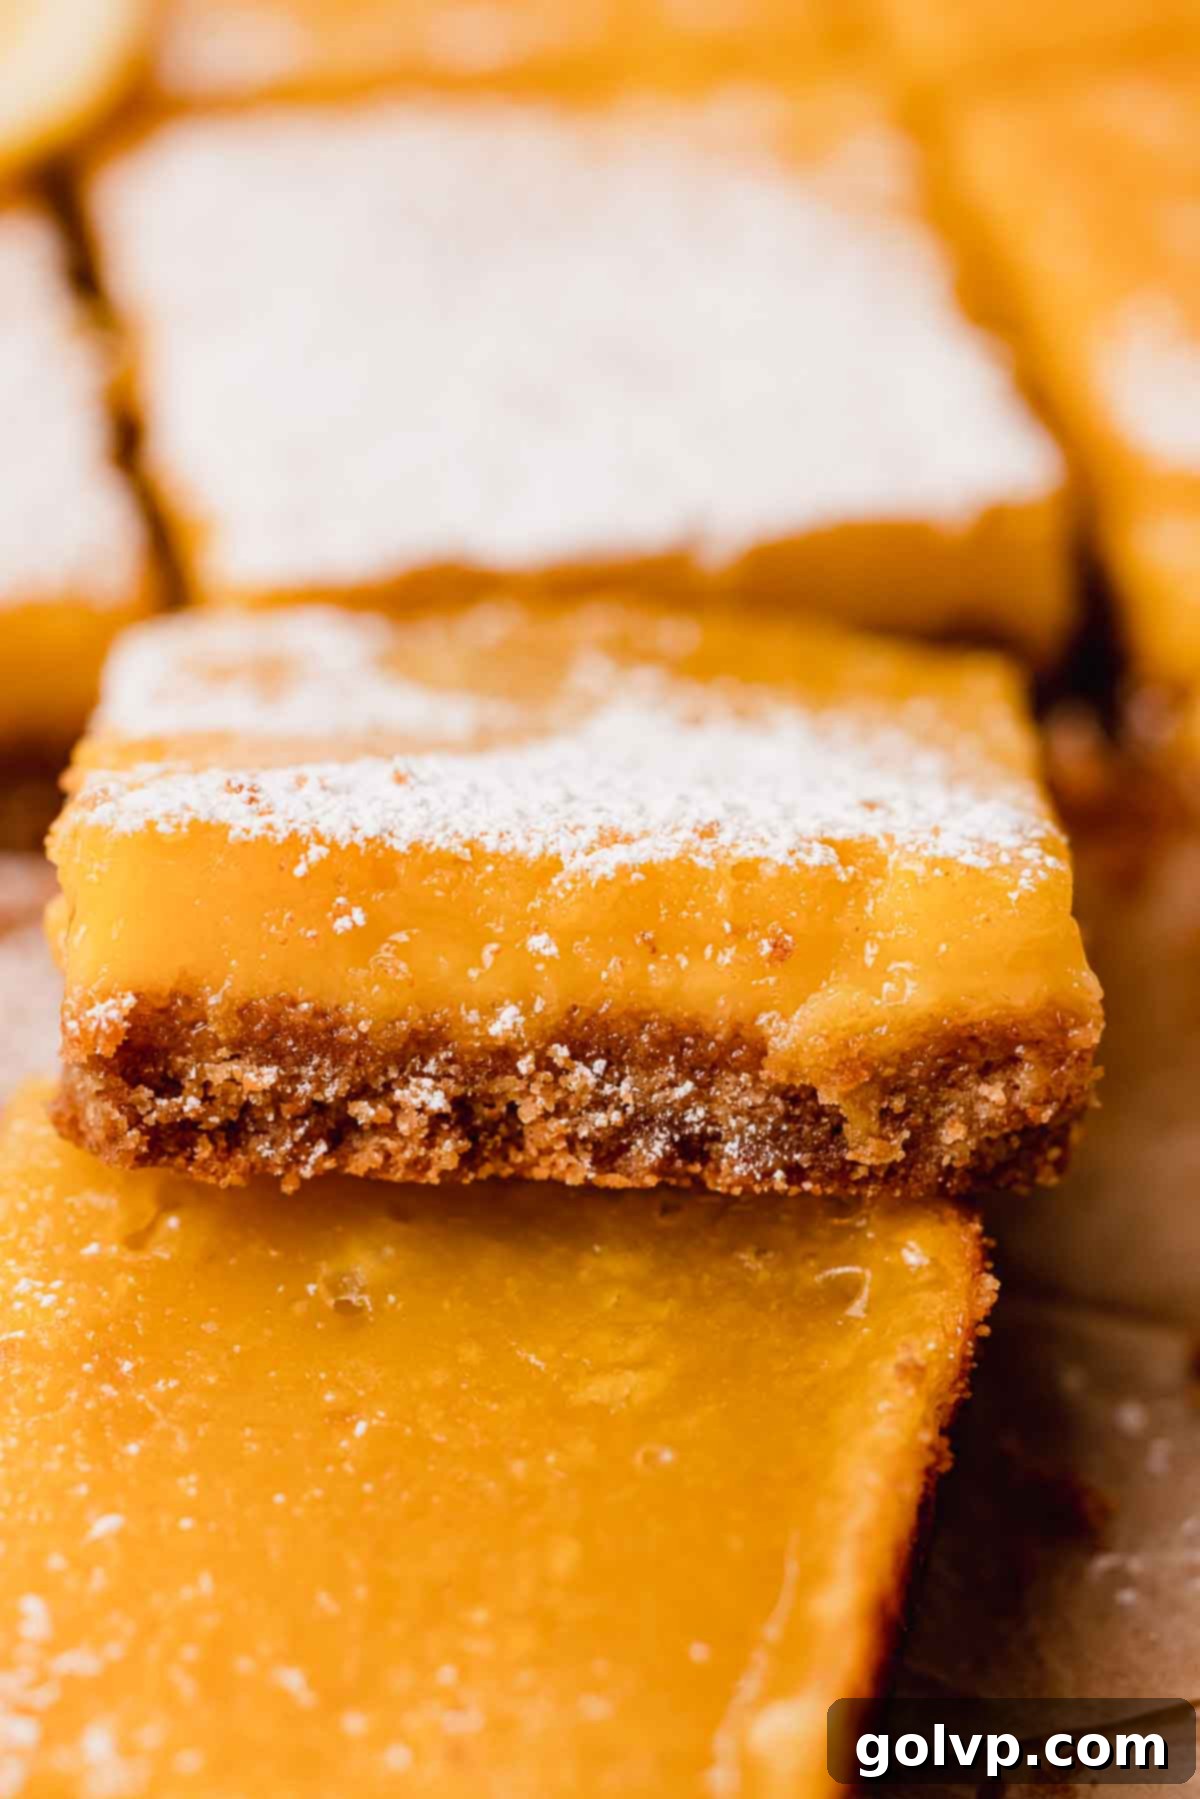
Prepare to fall in love with these irresistible lemon bars, featuring a golden, buttery graham cracker crust and a refreshingly tangy, zesty lemon curd filling. This dessert is a symphony of textures and flavors, where the crumbly, slightly toasty crust perfectly complements the smooth, gooey, and brightly sour lemon layer. Each bite offers a delightful puckering sensation, making these bars an ideal treat for warm summer gatherings, potlucks, or any occasion where you crave a vibrant, citrus-packed dessert. Surprisingly easy to prepare, this recipe is a must-try for any lemon enthusiast looking for a dessert that truly shines.
[feast_advanced_jump_to]
💛 Why You’ll Adore These Lemon Bars with Graham Cracker Crust
These lemon bars aren’t just another dessert; they’re a delightful experience waiting to happen. Here’s why this recipe is bound to become a staple in your kitchen:
- Effortlessly Easy: Forget complicated baking techniques and mountains of dirty dishes. Both the graham cracker crust and the vibrant lemon filling come together with surprising ease, requiring no fancy equipment or electric mixer. This makes it a perfect recipe for beginner bakers or anyone looking for a quick yet impressive homemade dessert.
- Explosive Lemon Flavor: If you’re a true lemon lover, this recipe is your dream come true. The filling is a harmonious blend of sweet and tangy, bursting with natural lemon flavor that’s bright, bold, and incredibly refreshing. The secret lies in using fresh lemon juice and zest, ensuring every bite is a delightful citrus explosion.
- Perfect Graham Cracker Crust: While many lemon bar recipes use a traditional shortbread crust, our graham cracker version offers a unique and absolutely delicious twist. It’s perfectly crumbly, with a subtle toasted flavor that adds a wonderful depth. This crunchy texture creates an exquisite contrast with the smooth, creamy, and tangy lemon layer, elevating the entire dessert to new heights of deliciousness.
If you enjoy the vibrant flavors of lemon bars, you absolutely must give these tangy lemon raspberry bars a try for another delightful fruit-filled treat!
📝 Key Ingredients for Perfect Lemon Bars
Read through for all the tips you will need for success!
Full steps and ingredients in recipe card below.
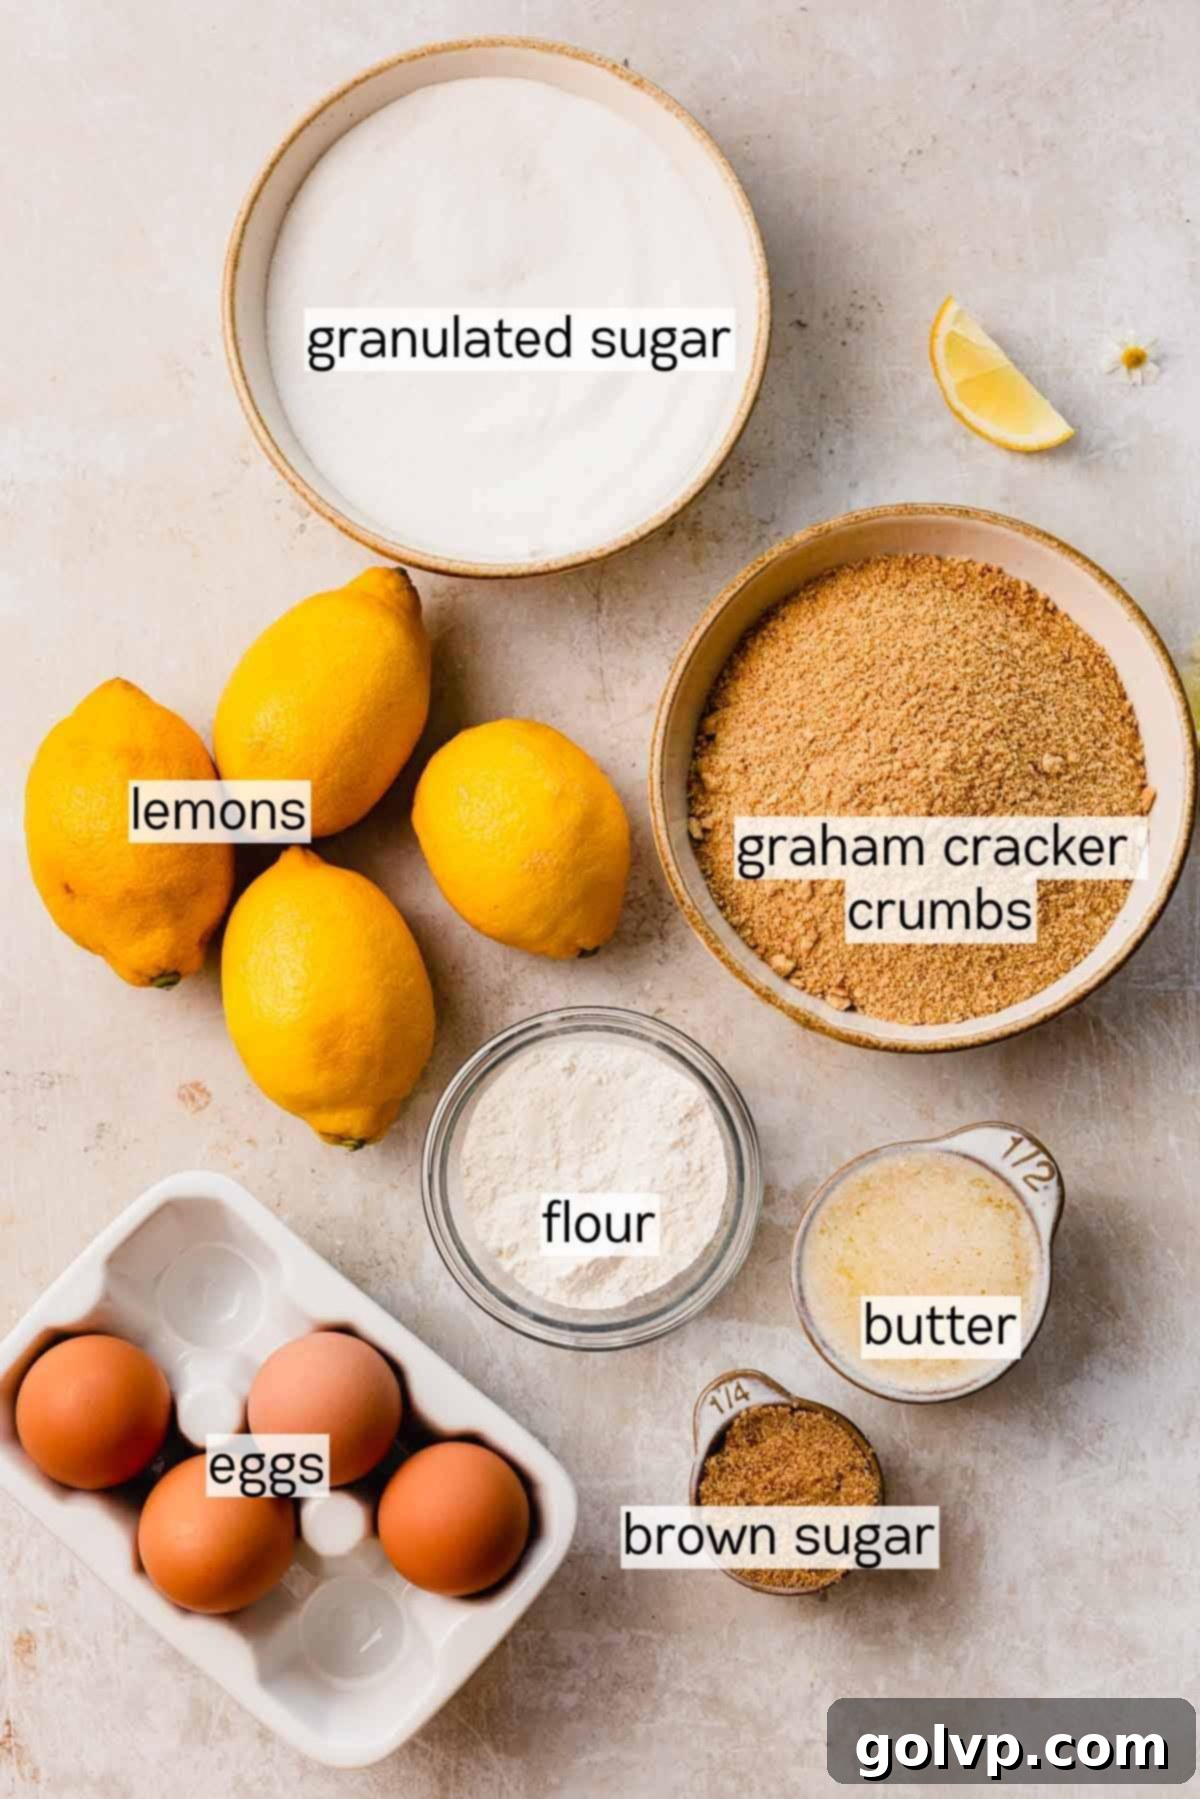
- Graham Cracker Crumbs: For convenience, store-bought graham cracker crumbs are a fantastic choice, saving you time and effort. However, if you prefer, you can easily make your own by crushing whole graham crackers. A food processor makes quick work of this, creating fine, even crumbs. No food processor? No problem! Simply place the graham crackers in a sturdy freezer bag, seal it (leaving a small opening for air to escape), and crush them with a rolling pin or the bottom of a heavy bottle until finely crushed. This homemade approach often yields a fresher, more pronounced graham flavor.
- Fresh Lemons: The star of the show! You’ll need approximately 4 large, juicy lemons to yield about ¾ cup of fresh lemon juice, plus extra for zest. Always opt for fresh-squeezed lemon juice; it offers a far superior, more authentic, and brighter flavor compared to bottled varieties. When selecting lemons, choose ones that feel heavy for their size, as this indicates juiciness. Gently roll them on your counter before cutting to help release more juice. Don’t forget the zest – it’s crucial for that intense lemon aroma and flavor!
- Eggs: This recipe calls for 1 whole large egg and 3 large egg yolks. The eggs play a vital role in thickening the lemon filling, giving it that wonderfully smooth, gooey, and sliceable texture. The yolks, in particular, contribute to the rich, vibrant yellow color and add to the custardy richness of the curd, ensuring your lemon bars are as beautiful as they are delicious.
- All-Purpose Flour: A modest amount of all-purpose flour is added to the lemon filling. Its purpose is to act as a thickening agent, ensuring the lemon curd sets properly, allowing the bars to be neatly sliced and hold their shape beautifully without being overly stiff or gummy. It contributes to the perfect balance of firmness and creaminess.
For an easy lemon topping that you can put on anything from pancakes to scones, try my classic lemon curd recipe. It’s incredibly versatile!
👩🍳 How to Make The Best Lemon Bars with Graham Cracker Crust
Crafting the Perfect Graham Cracker Crust: Step-by-Step

Step 1: Prepare Your Baking Pan. Begin by lining an 8-inch or 9-inch square baking pan with parchment paper. For easy removal, I recommend using two strips of parchment, crossing them in the middle to create long “handles” on each side. These handles will allow you to effortlessly lift the cooled lemon bars from the pan. Once lined, preheat your oven to 355°F (180°C) to ensure it’s ready for baking.
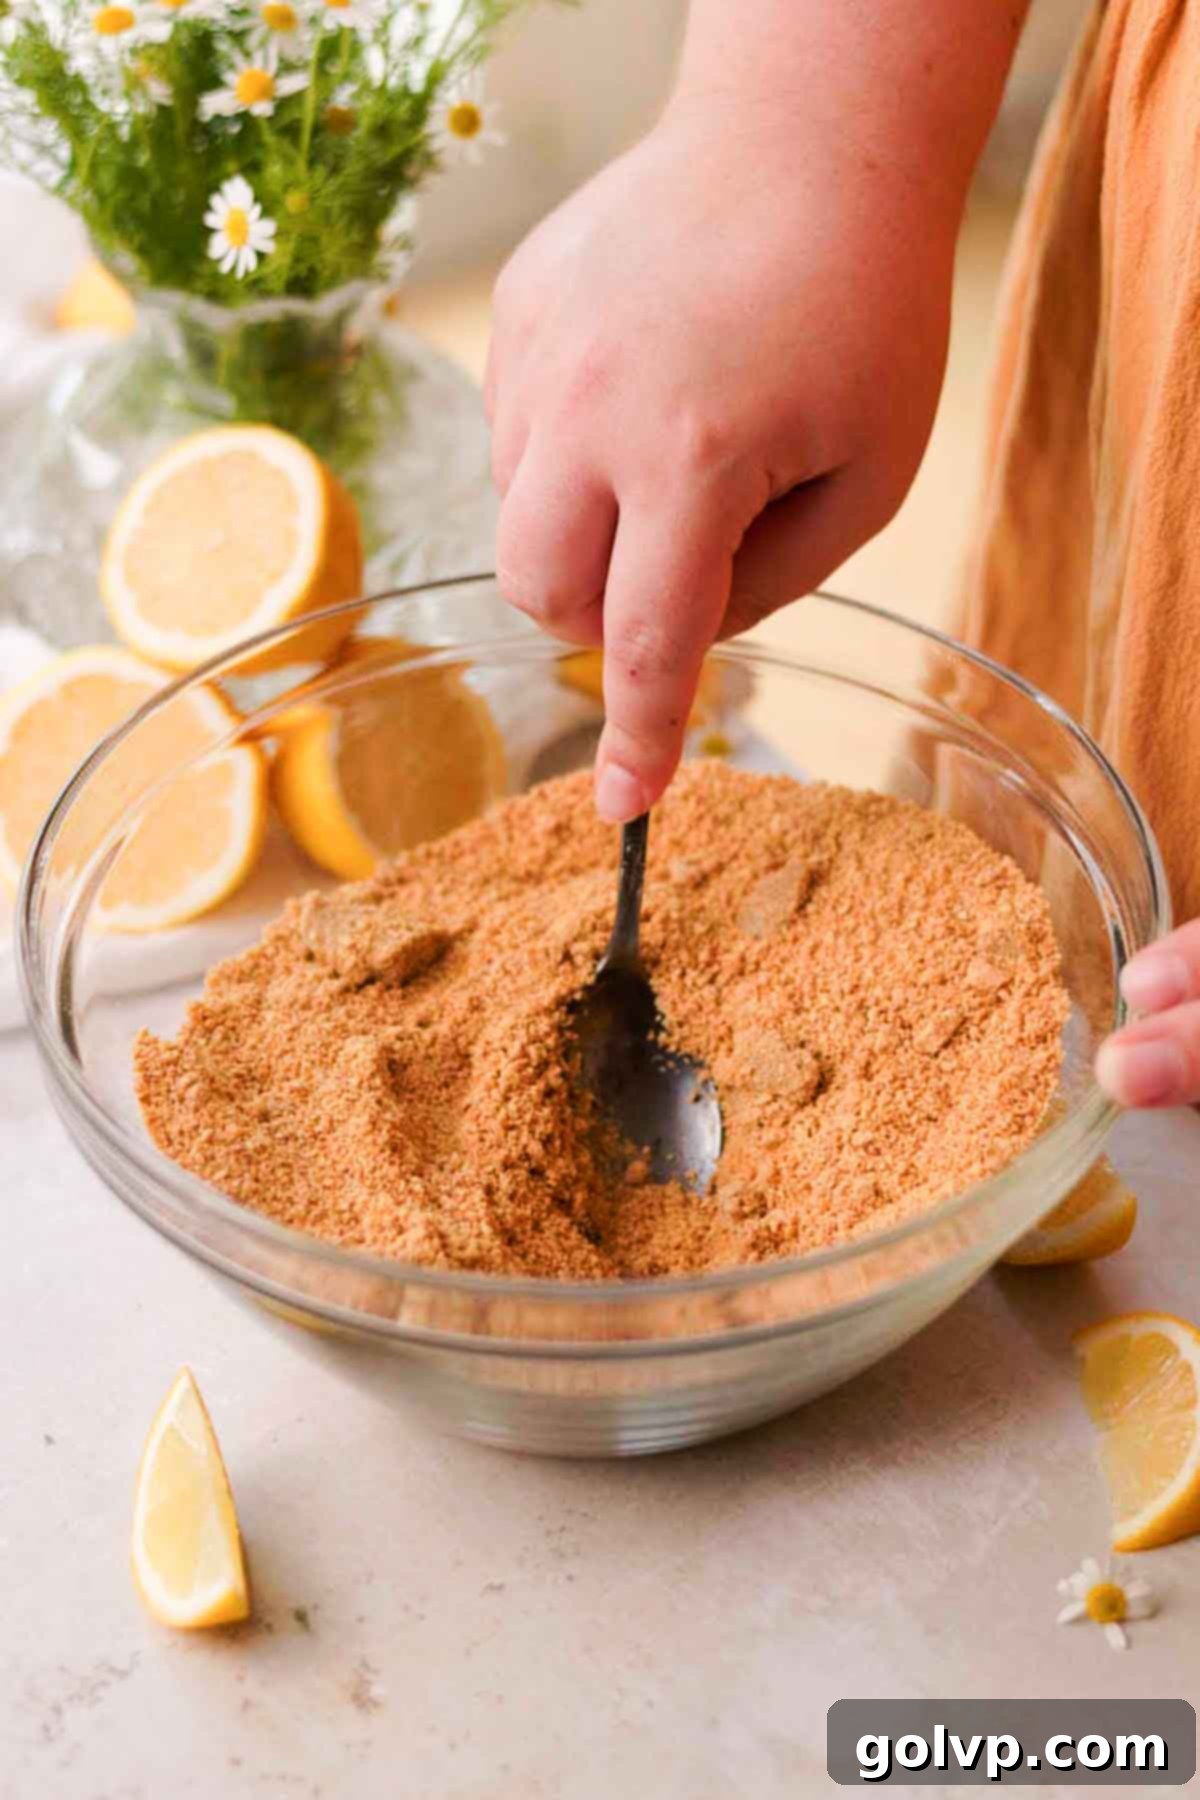
Step 2: Combine Dry Crust Ingredients. In a medium-sized mixing bowl, combine the graham cracker crumbs, brown sugar, and a pinch of salt. Use a spoon or a whisk to thoroughly stir these ingredients together until they are evenly combined. The brown sugar adds a subtle caramel note and helps create a more cohesive crust, while the salt balances the sweetness.
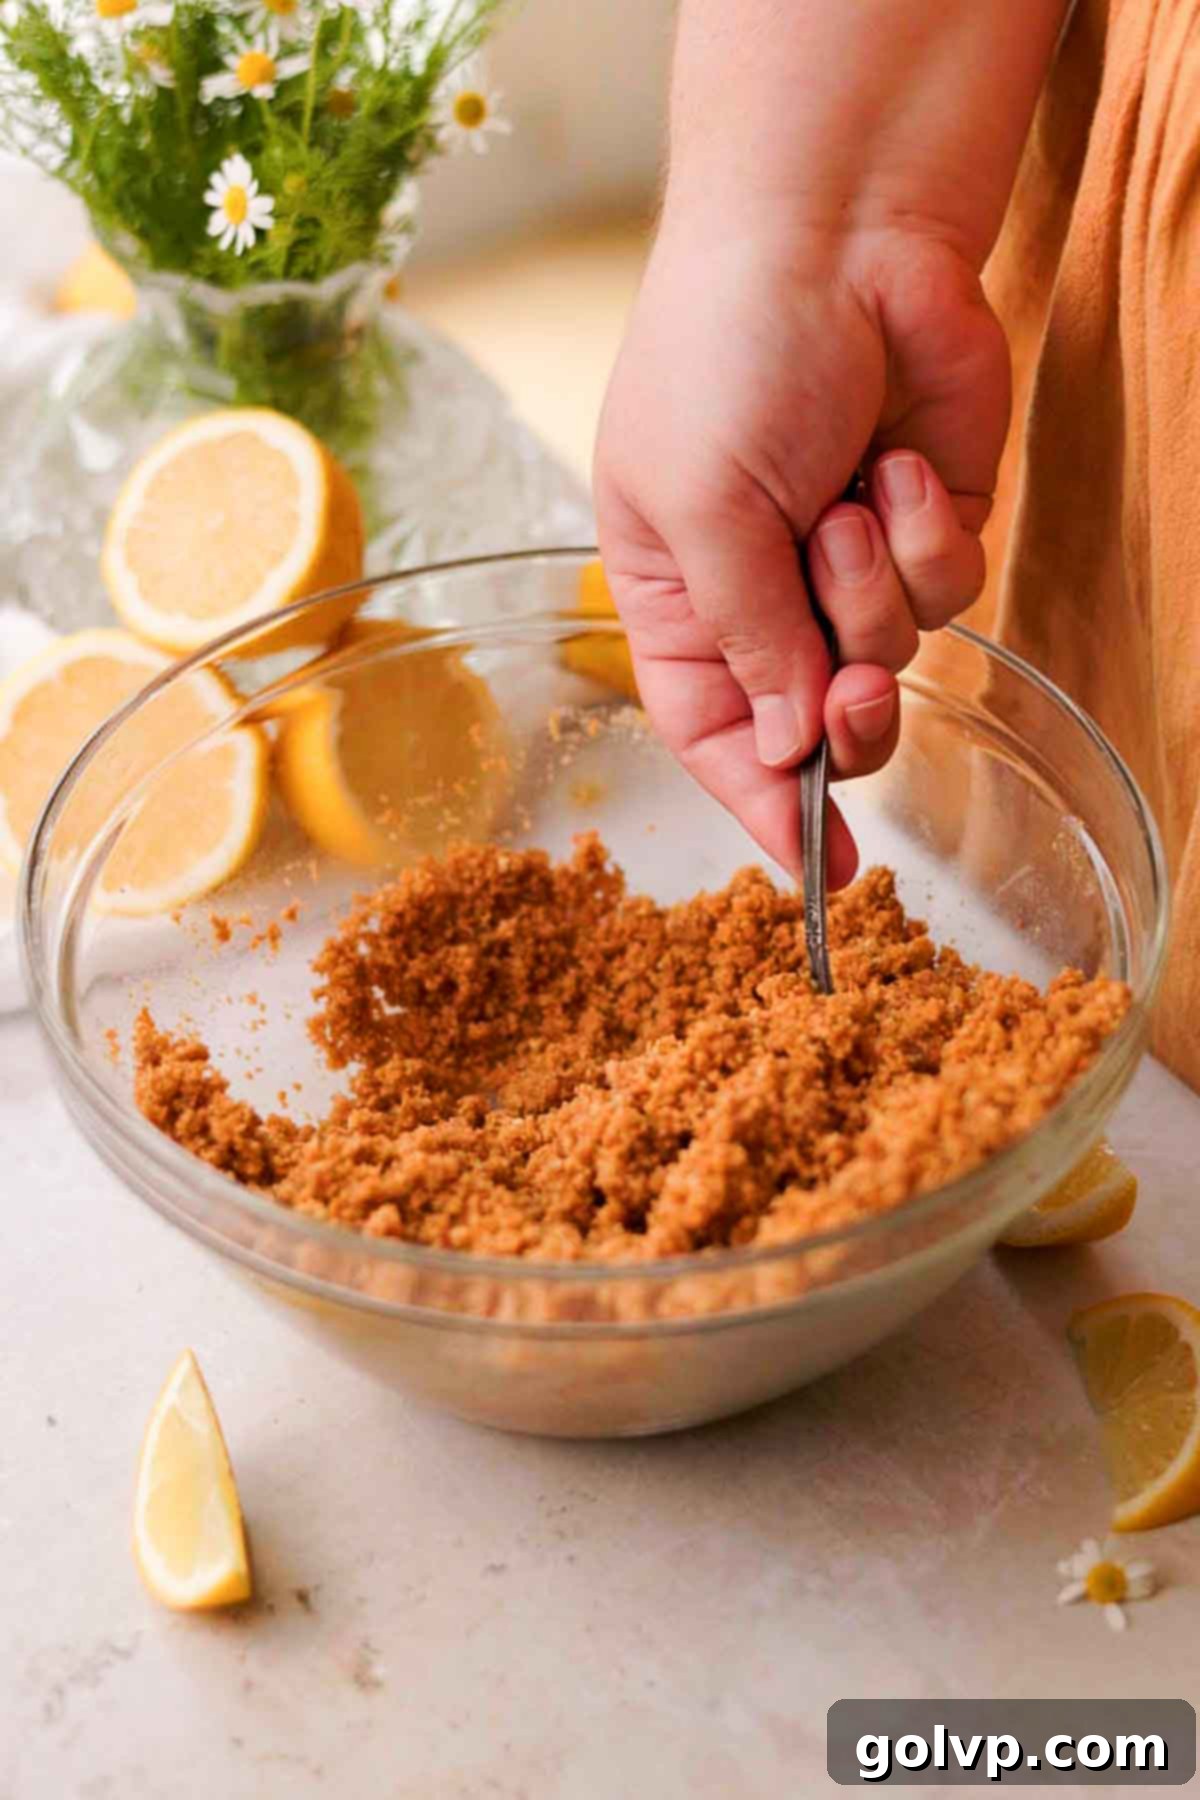
Step 3: Add Melted Butter and Press. Pour the warm or room temperature melted butter into your dry graham cracker mixture. Stir diligently until all the crumbs are evenly coated and resemble wet sand. Transfer this mixture into your prepared baking pan. Using the back of a glass or a flat-bottomed measuring cup, firmly press the crust mixture into a smooth, even layer across the bottom of the pan. This step is crucial for a sturdy crust that won’t crumble excessively.
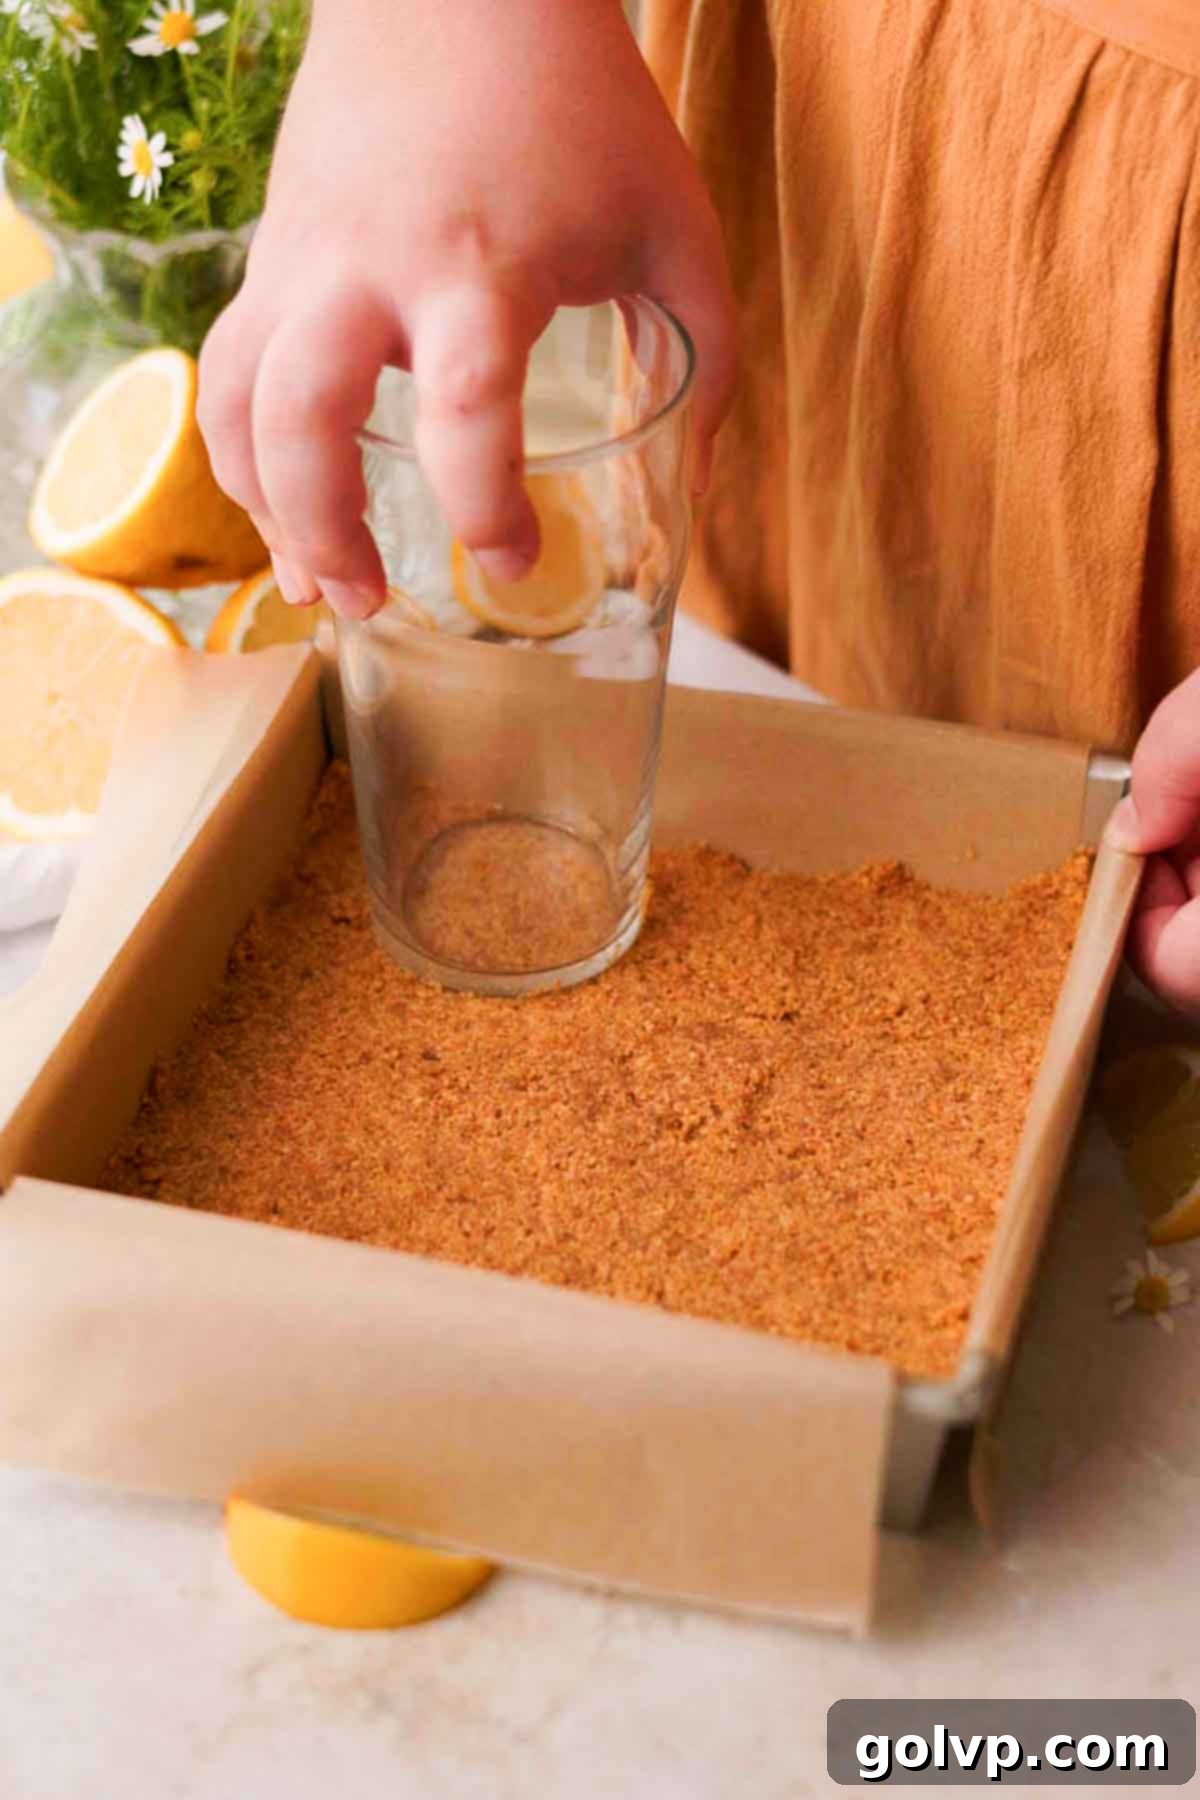
Step 4: Partially Bake the Crust. Bake the pressed graham cracker crust in the preheated oven for just 6 minutes. This brief bake time helps to set the crust, making it less prone to becoming soggy once the lemon filling is added. After removing it from the oven, gently smooth the top with the back of a spoon or an offset spatula. This ensures the crust is truly packed in, creating a solid base and minimizing loose crumbs when slicing.
Crafting the Luscious Lemon Bar Filling: Step-by-Step
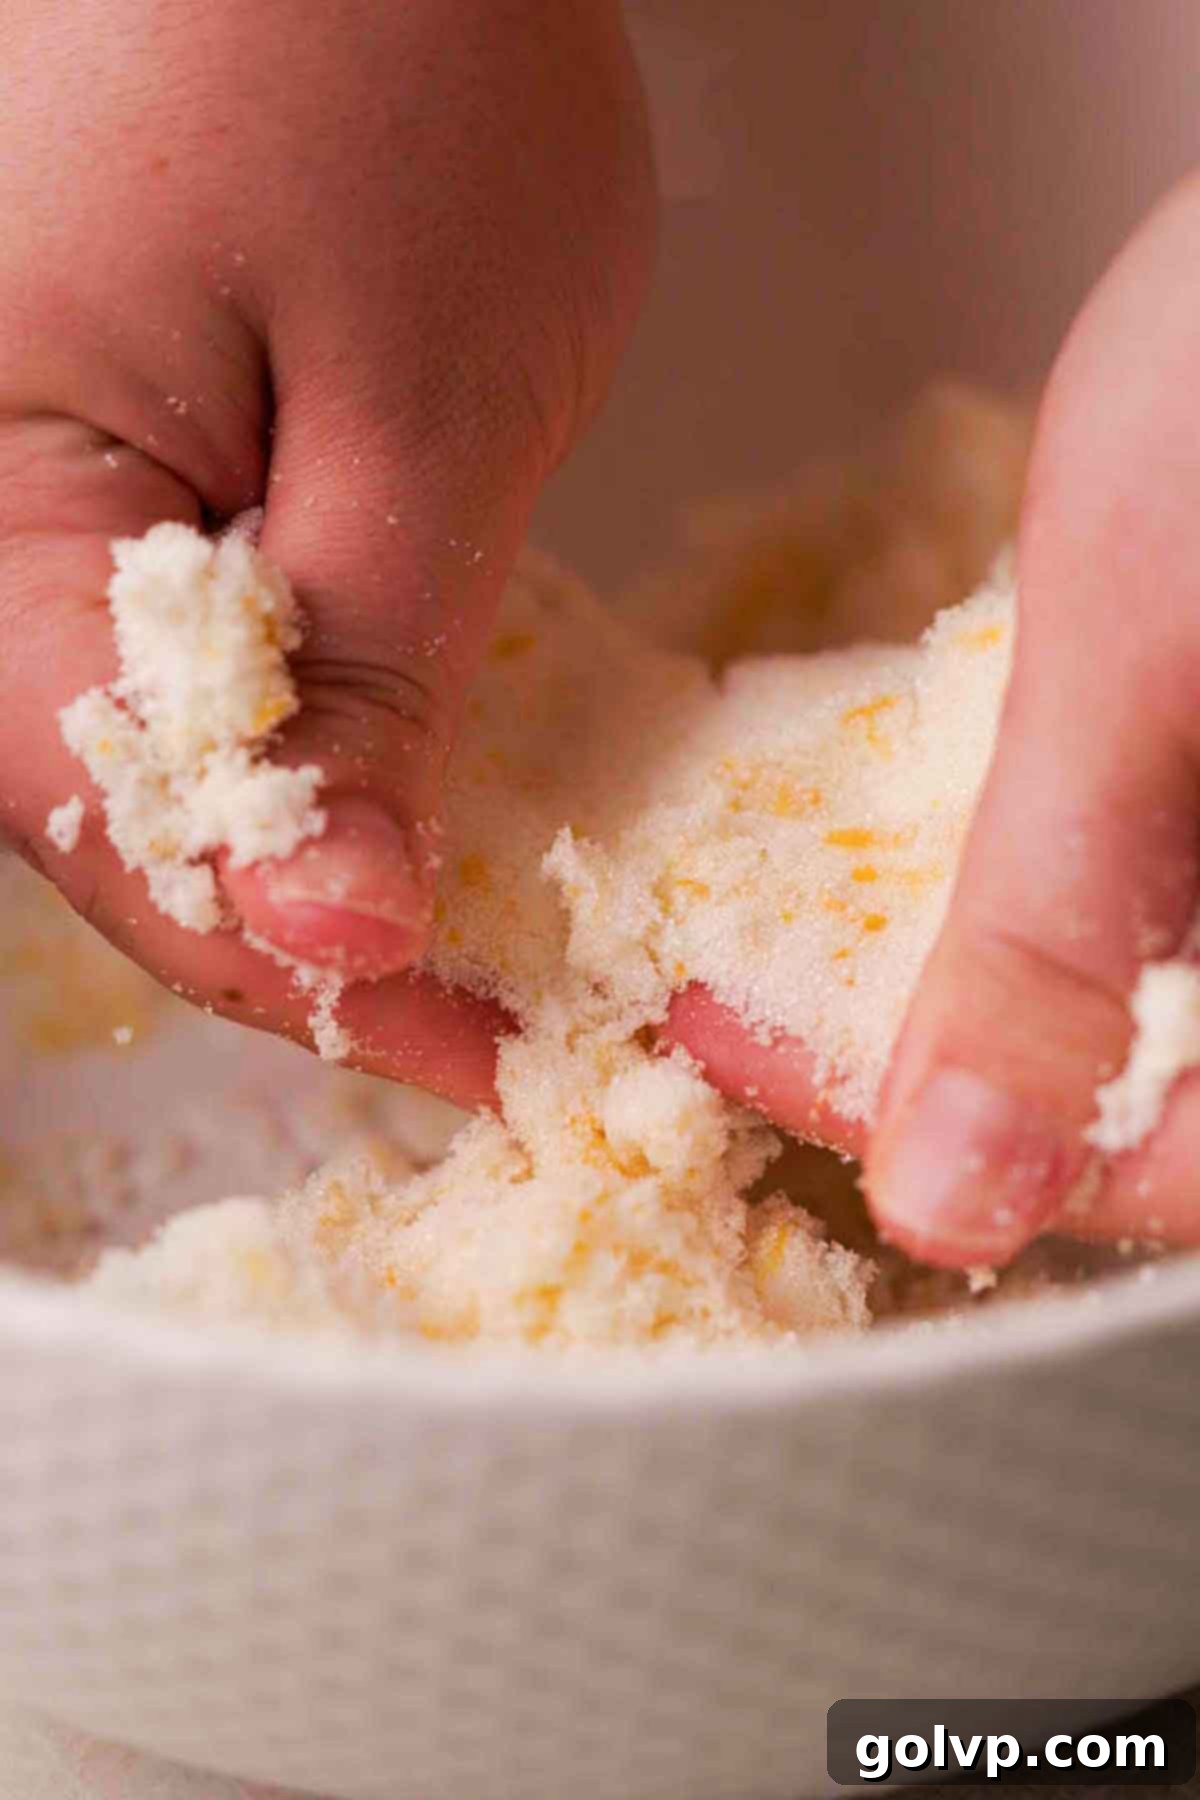
Step 1: Infuse Sugar with Lemon Zest. In a large mixing bowl, combine the granulated sugar, finely grated lemon zest, and a pinch of salt. This next part is key for maximum flavor: use your fingertips to vigorously rub the lemon zest into the sugar. Continue rubbing until the sugar becomes noticeably fragrant, takes on a pale yellow hue, and feels slightly moist. This action releases the essential oils from the zest, infusing the sugar with intense lemon aroma and flavor.
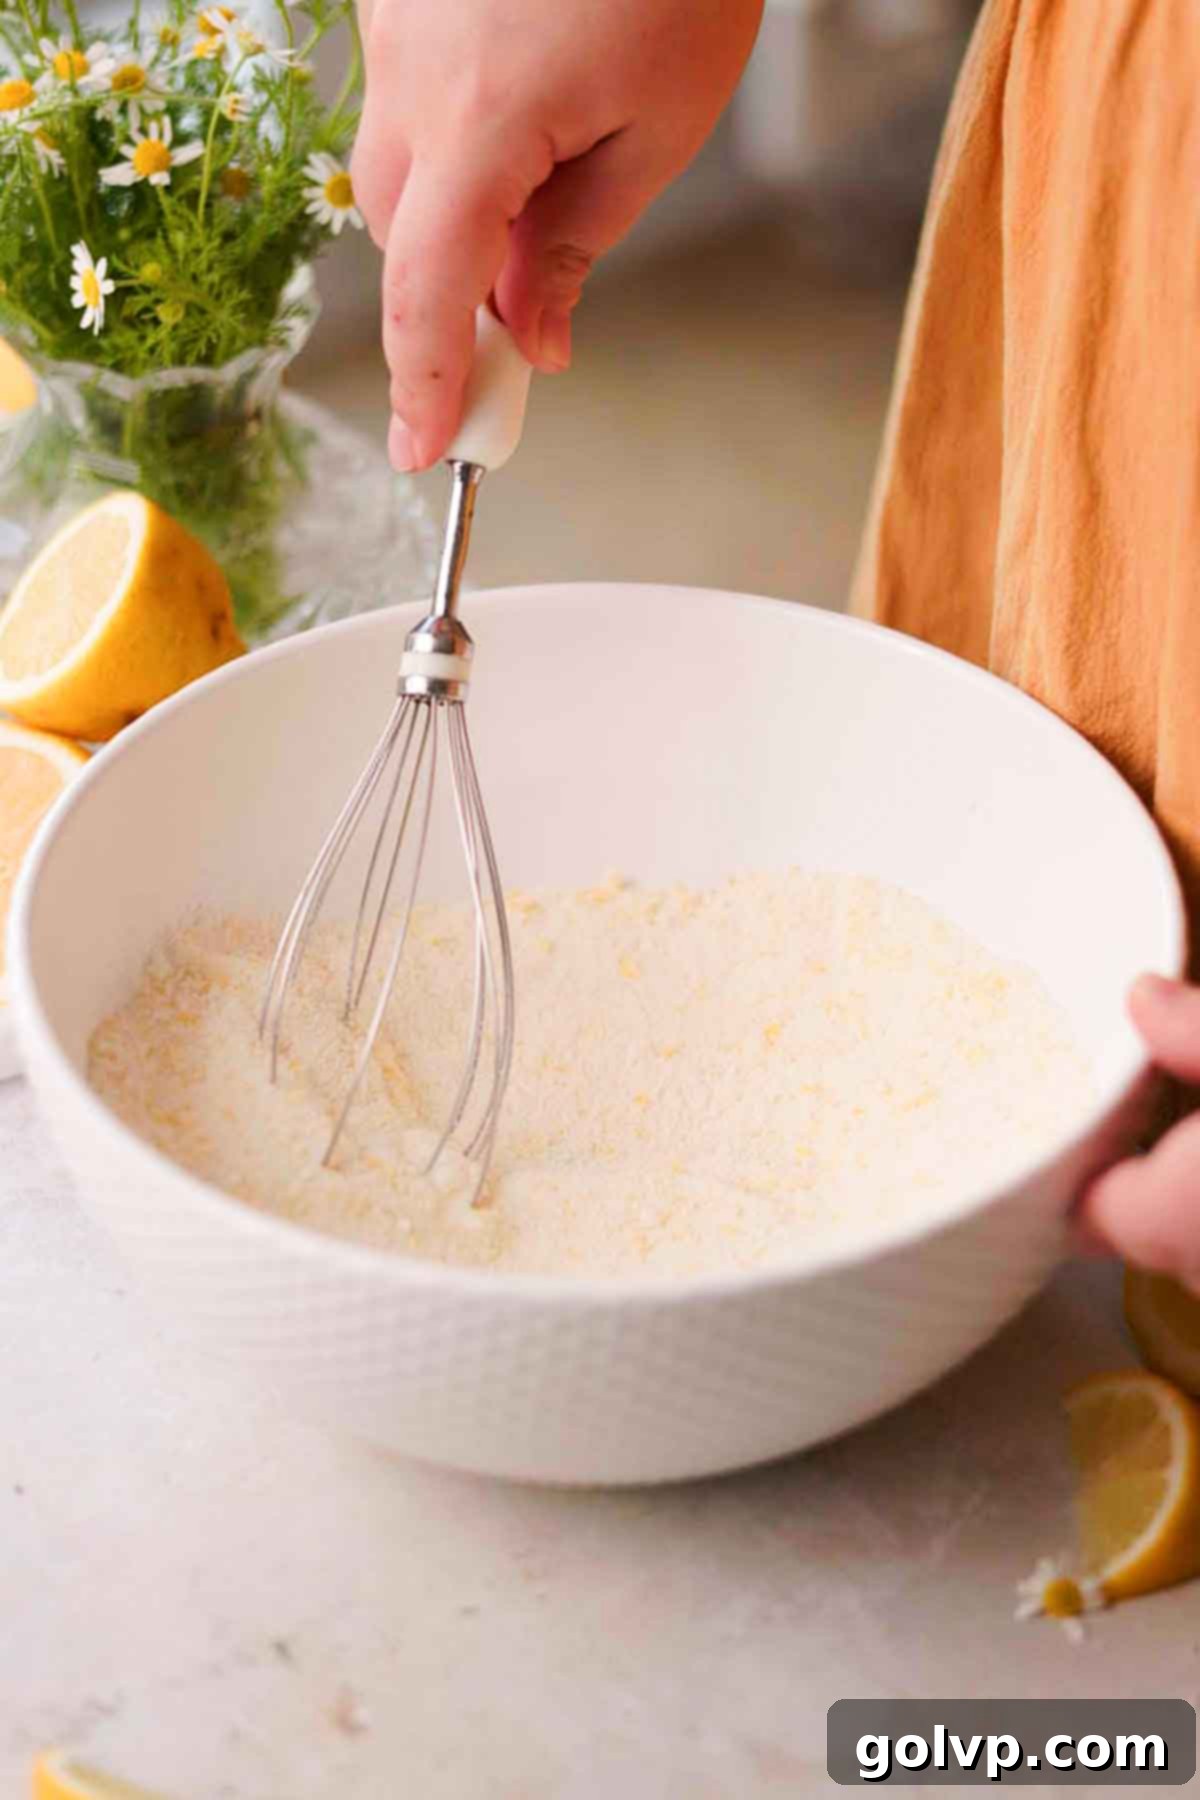
Step 2: Whisk in Flour. Add the all-purpose flour into your fragrant lemon-sugar mixture. Using a whisk, stir thoroughly to break up any lumps and ensure the flour is evenly distributed throughout the sugar. This pre-mixing prevents clumps when the wet ingredients are added, leading to a perfectly smooth lemon filling.
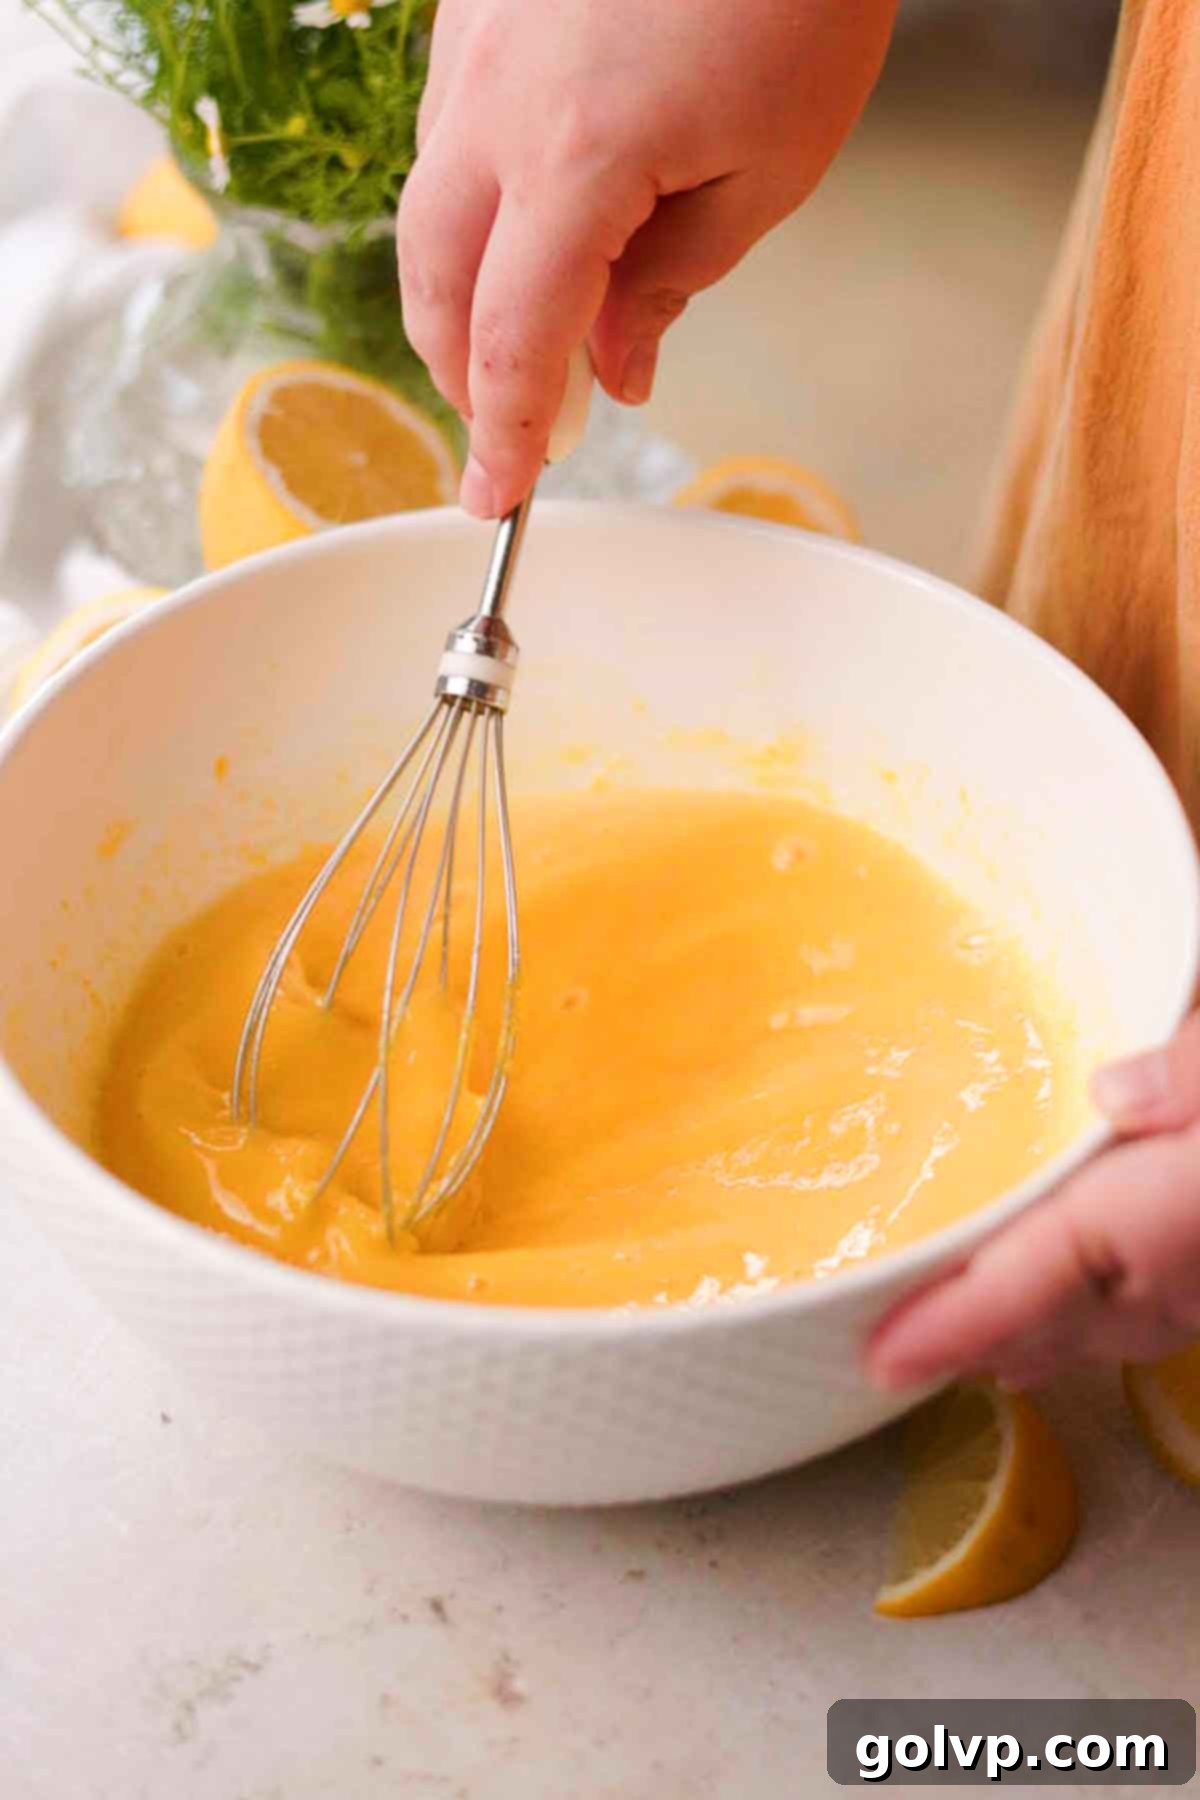
Step 3: Incorporate Wet Ingredients. Add the egg yolks, whole egg, and fresh lemon juice to the sugar-flour mixture. Whisk everything together until a completely smooth and uniform mixture forms. Be careful not to over-whisk, as excessive air can create bubbles on the surface of your finished bars. The goal is a homogenous, beautifully yellow liquid.
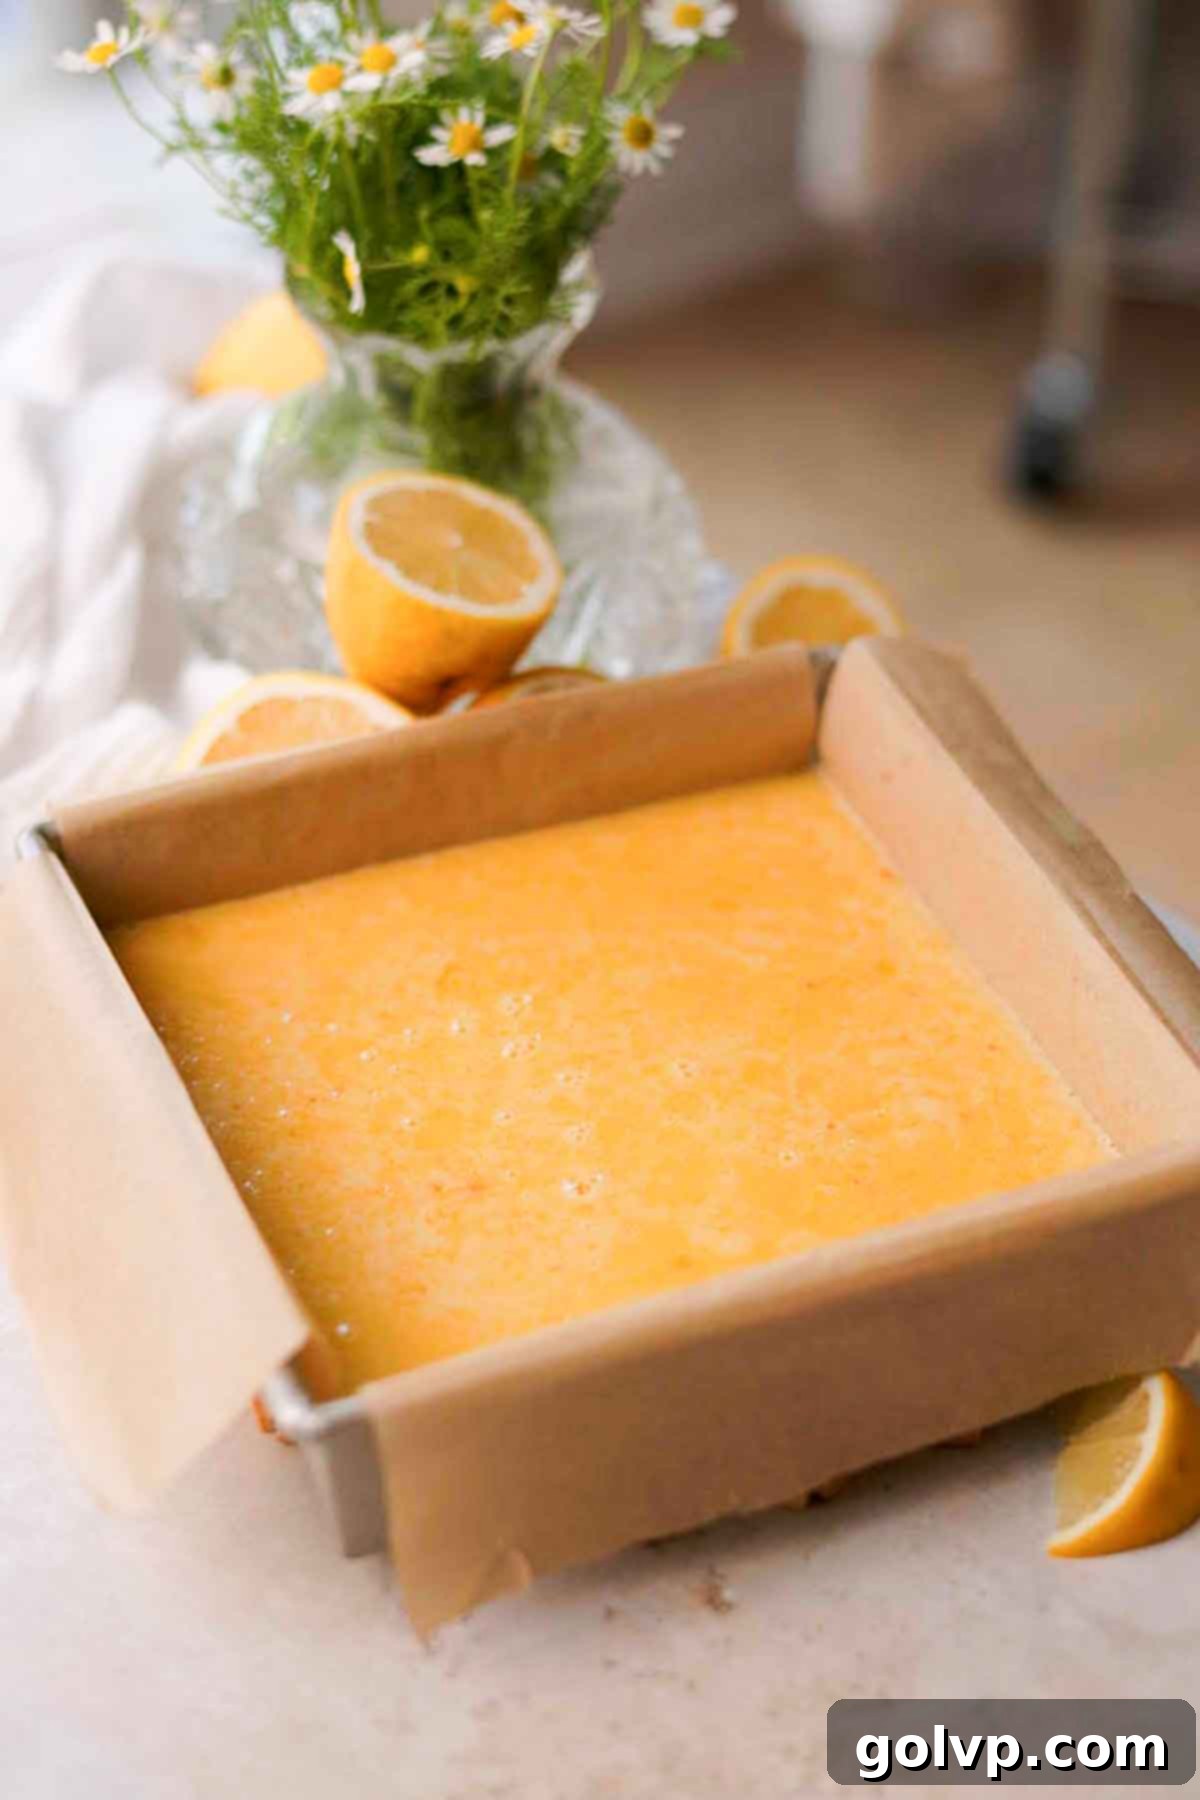
Step 4: Bake the Lemon Bars. Carefully pour the prepared lemon filling over the partially baked graham cracker crust. It’s perfectly fine if the crust is still warm from its initial bake. Place the pan back into the preheated oven and bake for 18-20 minutes. The bars are ready when the edges appear set and slightly firm, but the center still has a slight, gentle jiggle when the pan is lightly shaken. It should not be liquid, just a subtle movement in the middle, as they will continue to set as they cool.
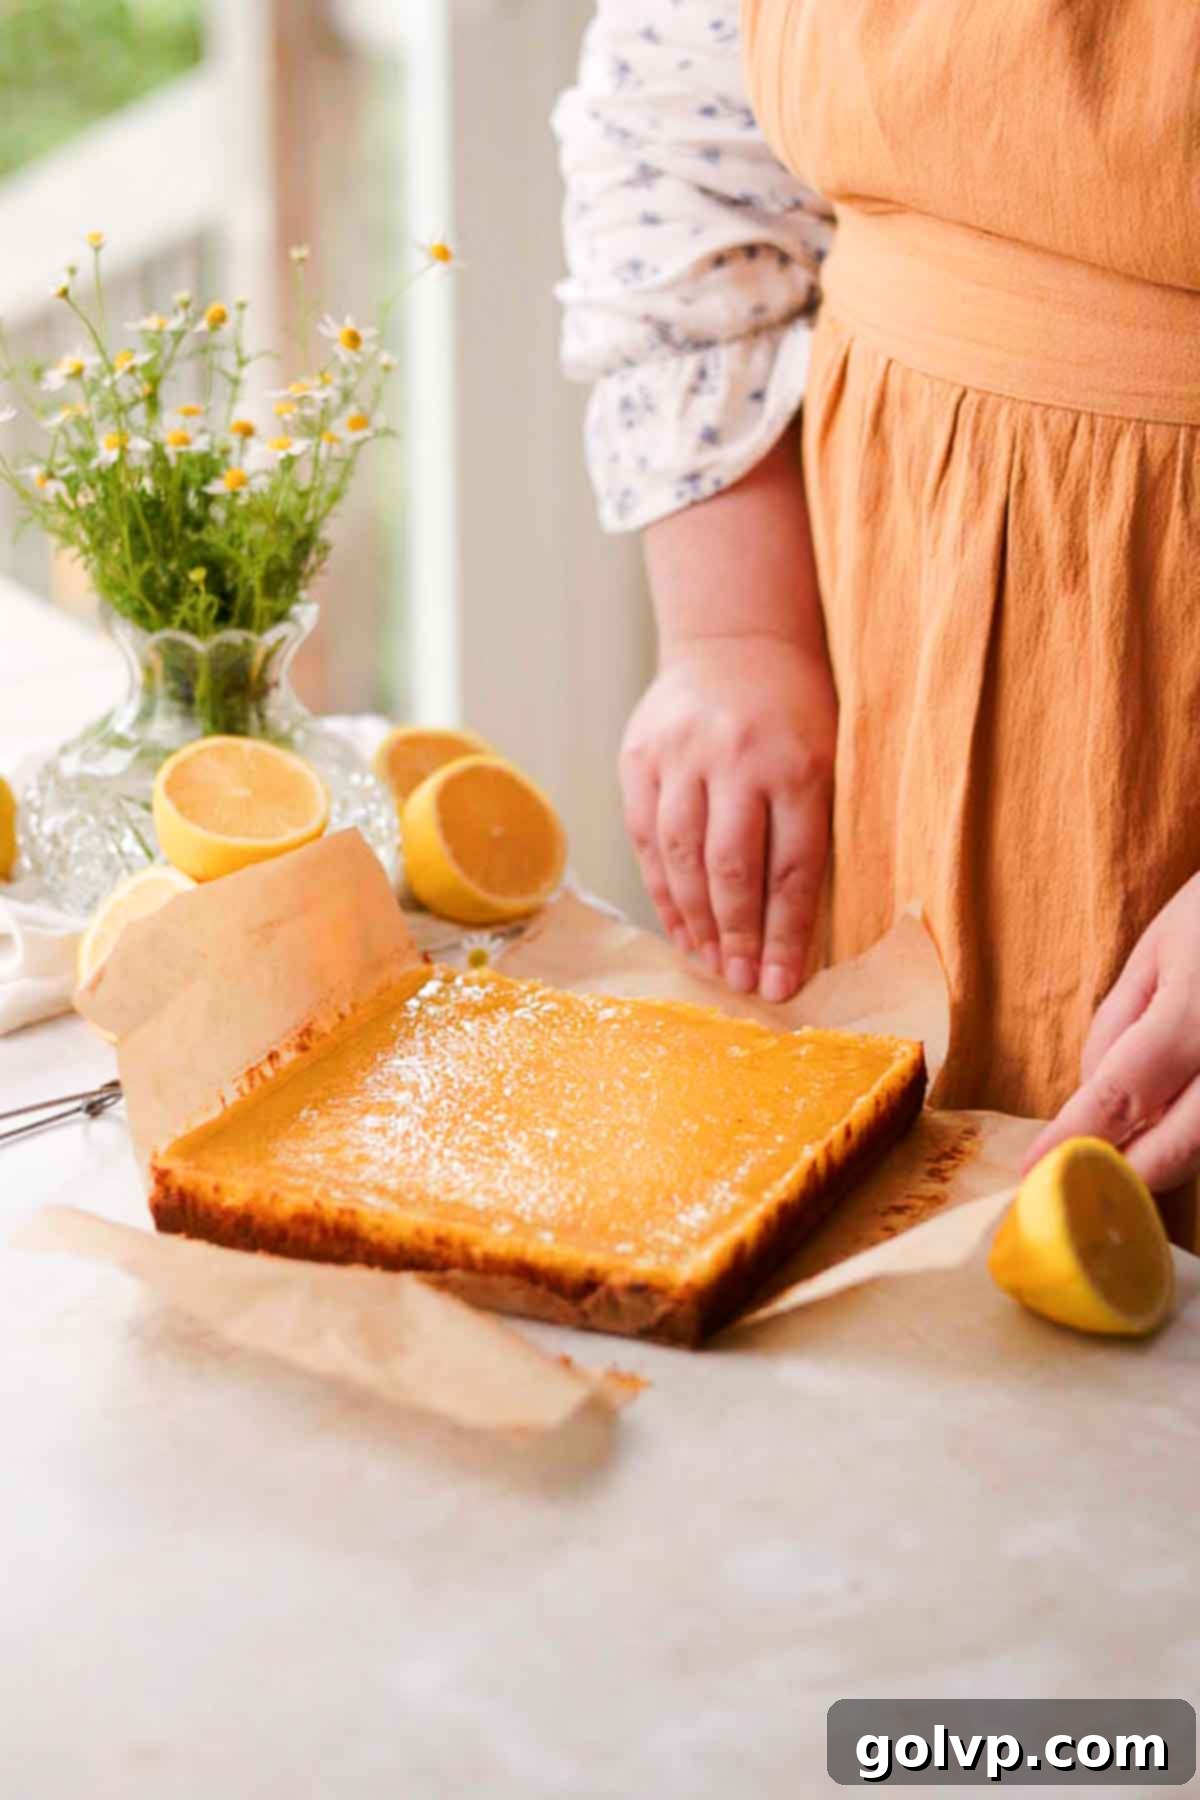
Step 5: Cool Completely. Once baked, remove the pan from the oven and place it on a wire rack. Allow the lemon squares to cool completely to room temperature. This cooling process is essential for the filling to fully set and achieve its proper texture. Rushing this step can result in a messy or runny filling when you try to cut them.
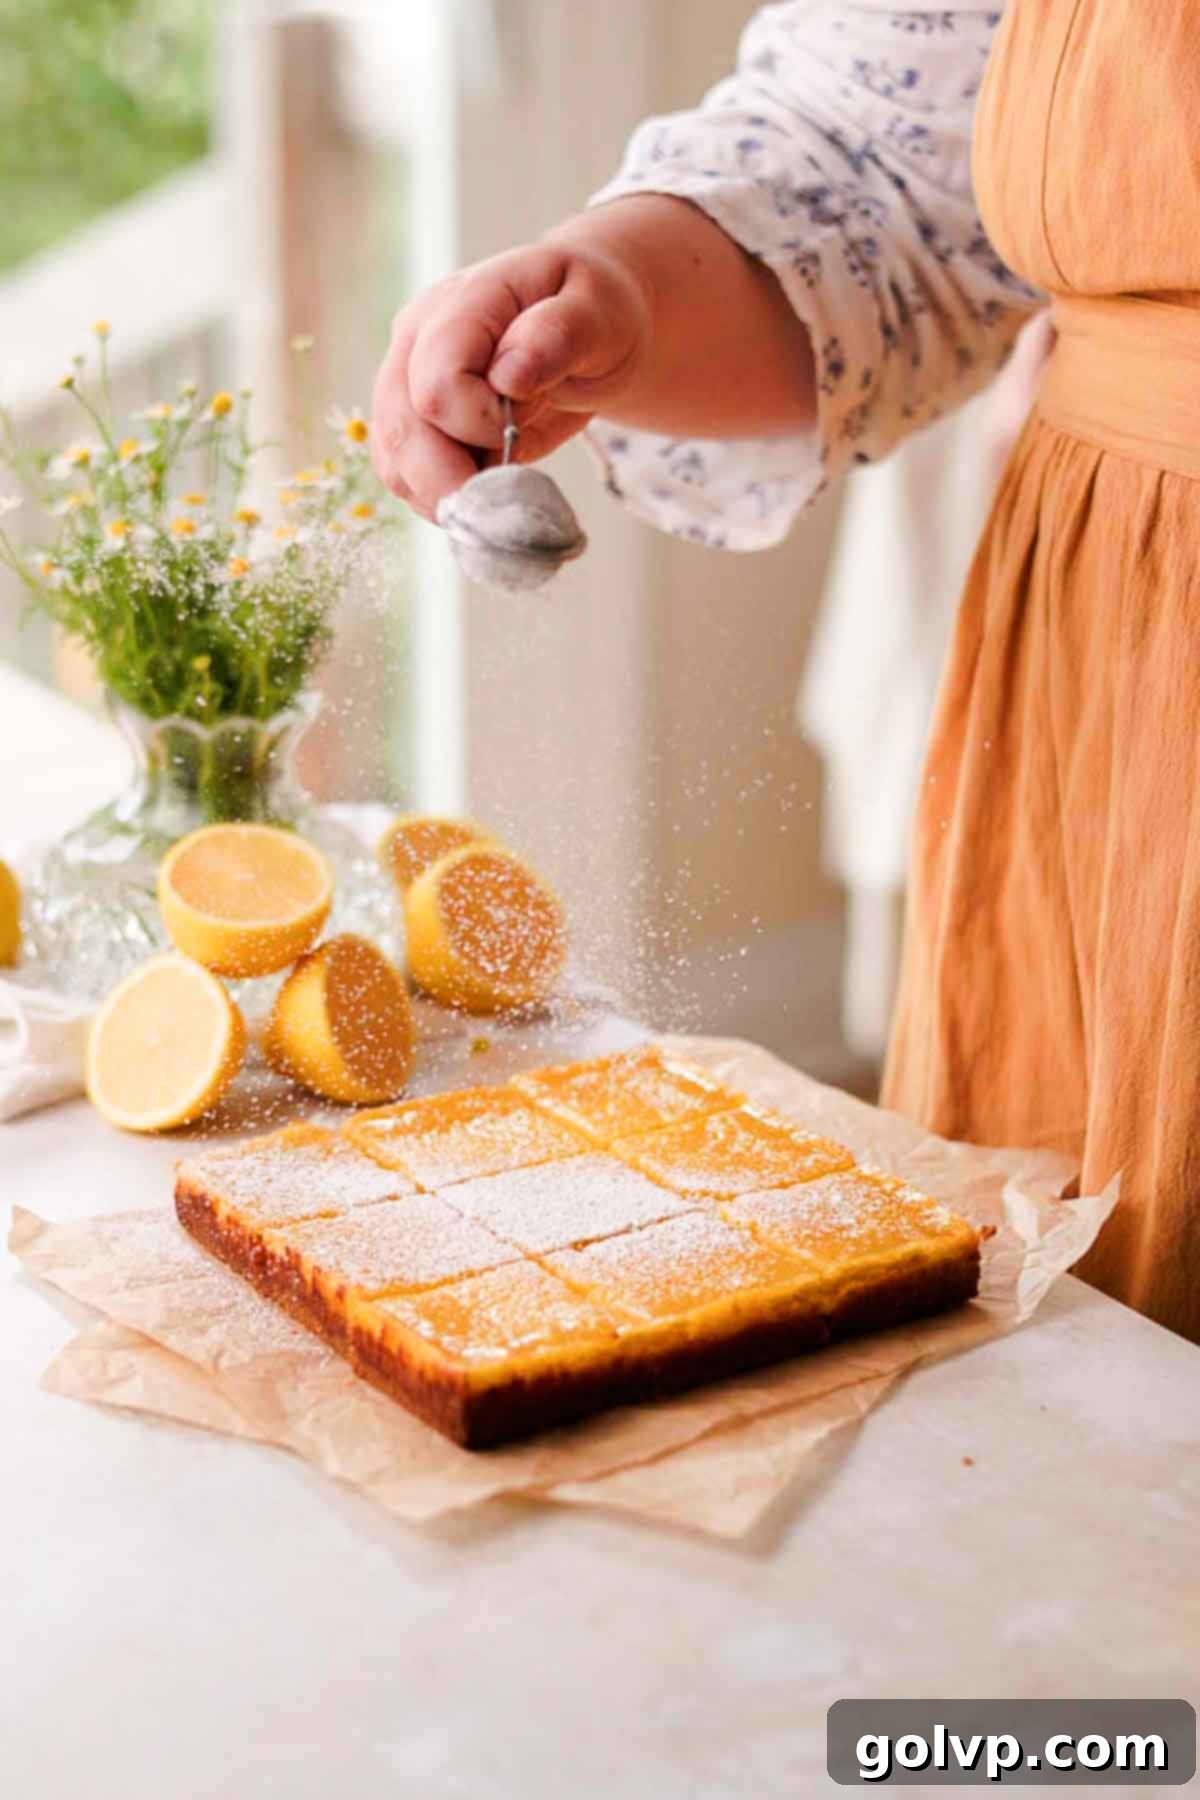
Step 6: Cut and Serve. Once fully cooled, carefully lift the entire slab of lemon bars out of the pan using the parchment paper handles. Transfer them to a clean cutting board. For perfect, neat squares, use a sharp knife and wipe the blade clean with a damp cloth between each cut. This prevents the filling from sticking and creating ragged edges. Cut into 9 (3×3) or 16 (4×4) squares, depending on your desired serving size. Before serving, dust generously with powdered sugar for a beautiful presentation and an extra touch of sweetness.
✔️ Expert Tips for Flawless Lemon Bars
Achieving bakery-worthy lemon bars is simple with a few key techniques:
- Prevent Air Bubbles in the Filling: To ensure a perfectly smooth, unblemished yellow surface on your lemon bars, it’s crucial to avoid overmixing the filling. When combining the wet ingredients, add the eggs and lemon juice at the same time and whisk gently until just combined and smooth. This method helps to minimize the incorporation of excess air, which can lead to unsightly bubbles on top after baking. A gentle hand is key for that flawless finish.
- Avoid Overbaking at All Costs: Overbaking is the arch-nemesis of a perfectly gooey lemon bar. If baked for too long, the lemon filling can become dry, rubbery, or develop cracks on the surface. Keep a close eye on your oven! The bars are ready when the edges are visibly set and firm, but the very center still has a slight, delicate jiggle. Remember, they will continue to firm up and set as they cool. This slight jiggle is the hallmark of a perfectly baked, creamy lemon bar.
- Cool Them Completely for Optimal Setting: Patience is a virtue when it comes to lemon bars. It’s absolutely essential to allow them to cool down completely to room temperature, and even better, to chill them in the refrigerator for a few hours. This extended cooling period allows the filling to fully set and solidify, ensuring they are firm enough to cut into clean, distinct squares while retaining their ultra-creamy, tangy texture. Rushing this step will result in a messy, unset filling.
🥄 Make Ahead and Storage
These lemon bars are fantastic for making ahead, and they store beautifully, ensuring you can enjoy that tangy goodness for days to come. Store the bars refrigerated in an airtight container for up to 4 days. To prevent the delicate tops from getting smudged or ruined, arrange them in a single layer if possible, or separate layers with parchment paper. This helps maintain their pristine appearance. Alternatively, for longer storage, you can freeze them for up to two months in an airtight container or freezer bag, making them an excellent treat to have on hand for unexpected guests or future cravings.
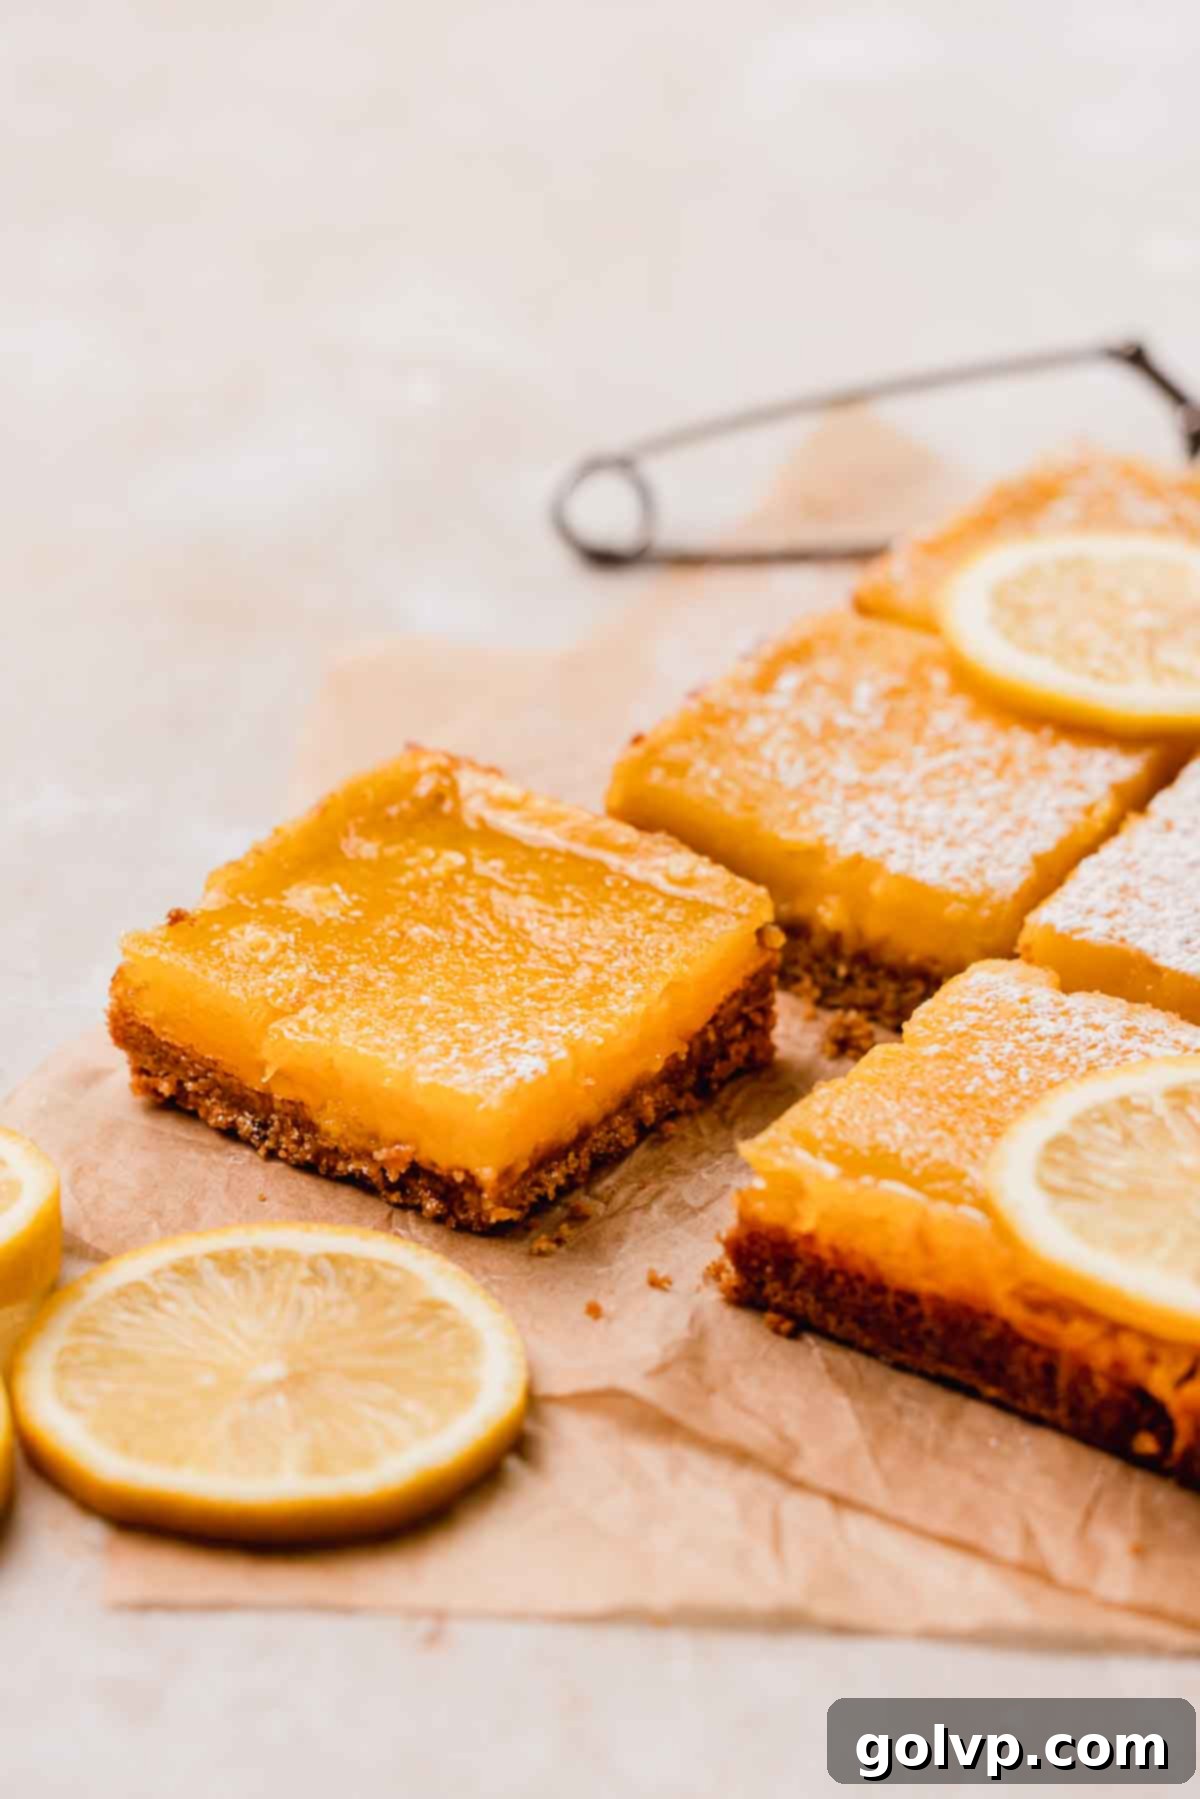
🧊 Can You Freeze Lemon Bars? Absolutely!
Yes, absolutely! Lemon bars freeze exceptionally well, which makes them perfect for meal prepping desserts or saving for a later date. The best method to freeze lemon bars while preserving their aesthetic appeal is to first freeze them in a single layer. Place the cut bars on a baking sheet lined with parchment paper and freeze until solid, typically a couple of hours. Once completely frozen, transfer the solid bars into an airtight freezer bag or a rigid container, separating layers with parchment paper to prevent sticking and protect the top layer. This initial flash-freezing step ensures the delicate lemon filling and powdered sugar topping remain intact and beautiful.
If you’re less concerned about maintaining perfectly pristine tops and prioritize ease, you can simply place the cooled and cut lemon bars directly into an airtight bag or container before freezing. Just be aware that the powdered sugar might absorb some moisture and the tops might not be as perfectly smooth upon thawing.
Lemon bars can be stored in the freezer for up to 2 months. When you’re ready to enjoy them, make sure to defrost them fully in the refrigerator for several hours or overnight. Do not attempt to heat them up in the microwave or oven, as this can cause the lemon topping to melt, become runny, or even burn, ruining the texture and flavor. Simply let them come to room temperature or enjoy them chilled straight from the fridge.
These delightful lemon brownies are also incredibly easy to make and freeze beautifully, offering another fantastic option for make-ahead treats!
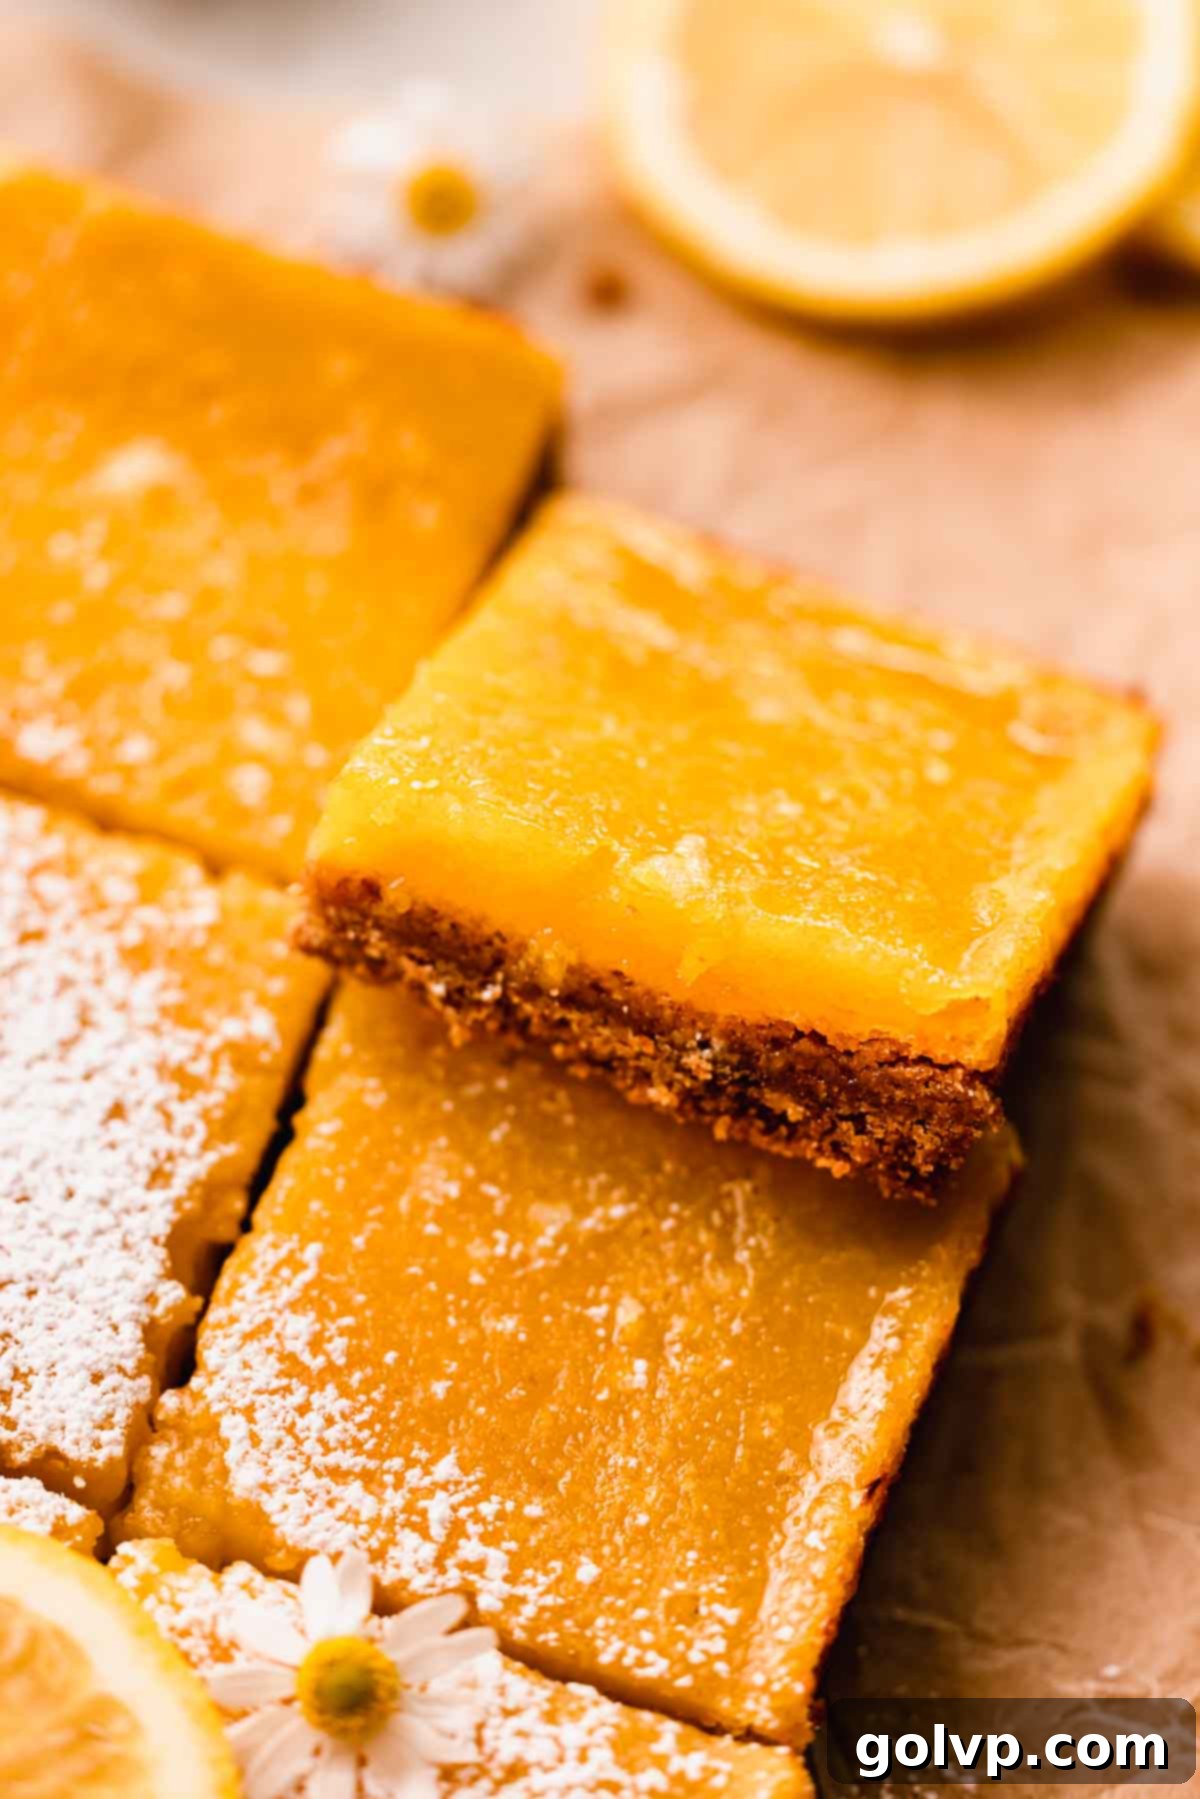
🍮 How to Achieve a Perfectly Smooth Top on Lemon Bars
One common challenge with lemon bars is achieving that perfectly smooth, glossy top without unsightly air bubbles. The bubbles often form due to air being incorporated into the eggs during the mixing process, especially when sugar and eggs are whisked together vigorously. The emulsification of eggs and sugar can trap a lot of air, which then rises to the surface during baking.
To prevent this and ensure a pristine, even surface on your lemon bars with graham cracker crust, I highly recommend a specific mixing technique: add the lemon juice and eggs into the sugar-flour mixture at the same time. The liquid from the lemon juice helps to dilute the eggs immediately, preventing excessive air from being whipped in and reducing the chance of those stubborn bubbles forming. This simultaneous addition promotes a smoother, more homogenous batter from the start.
Previously, a common method was to whisk eggs and sugar first, but this often leads to a thicker, airier mixture before the lemon juice is even introduced. By adding the lemon juice concurrently with the eggs, you create a less viscous environment, making it much harder for air bubbles to get trapped. Just whisk gently until everything is fully combined and smooth.
However, if despite your best efforts, a few pesky air bubbles do appear on the surface of your lemon bars before baking, don’t despair! A quick and effective trick is to use a small kitchen blow torch. Briefly aim the torch at the surface of the bubbles. The heat will cause them to pop instantly without cooking the top layer of your filling. This little culinary secret will leave you with a beautifully smooth and professional-looking lemon bar every time.

📖 Recipe FAQs
Yes, it is highly recommended that you refrigerate lemon bars. Due to their high egg content in the lemon curd filling, they can become a breeding ground for bacteria if left at room temperature for more than a couple of hours. Storing them in the refrigerator not only keeps them safe to eat but also significantly enhances their texture and refreshing quality. Many people even prefer the taste of cold, chilled lemon bars, finding them even more delightful and palate-cleansing.
While I haven’t personally tested it with this specific recipe, adding berries to lemon bars is a popular and delicious variation you could certainly try! Small, low-moisture berries with intense flavor work best, such as wild blueberries or raspberries. You can gently scatter them over the lemon filling just before baking. This will infuse a lovely fruity burst into the tangy lemon. For a recipe specifically designed to incorporate berries, you should definitely try these vibrant raspberry lemon bars, which feature a beautiful pink raspberry filling that’s truly unique.
Absolutely! If you prefer the classic taste and texture of a shortbread crust, it can be easily substituted for the graham cracker crust in this recipe. A shortbread crust offers a wonderfully buttery, tender, and crumbly base that pairs beautifully with the tangy lemon filling. For a tried-and-true option, I recommend using my dedicated shortbread crust recipe, which I developed for my lemon raspberry bars. It’s perfectly balanced and will give you a delicious alternative to the graham cracker version.
Cracks on the surface of lemon bars are typically caused by overbaking. When the lemon filling cooks too long, it loses too much moisture and the proteins in the eggs become too rigid. As the bars cool and contract, this overly stiff filling can’t handle the tension and cracks appear. To prevent this, make sure to pull the bars from the oven when the edges are set but the center still has a slight jiggle. Rapid temperature changes during cooling can also contribute, so always let them cool slowly on a wire rack.
🍋 More Zesty Lemon & Related Recipes
If you can’t get enough of bright, citrusy flavors, explore these other fantastic recipes that celebrate lemon in all its glory:
- Lemon Raspberry Bars
- Tangy Lemon Brownies
- Lemon Posset
- Lemon White Chocolate Cookies
Did you make this refreshing lemon bar recipe? I would absolutely love for you to rate this recipe and share your thoughts in the comments below! Your feedback helps other bakers. Don’t forget to share your beautiful creations on Instagram and tag @flouringkitchen. For more delicious recipe ideas and baking inspiration, be sure to follow me on Pinterest!
📖 Recipe

Lemon Bars with Graham Cracker Crust
Mary
Pin Recipe
Shop Ingredients
Equipment
-
eight inch square baking pan
Ingredients
Graham Cracker Crust
- ¼ cup brown sugar
- ¼ teaspoon sea salt
- 2 ⅓ cups graham cracker crumbs
- ½ cup melted butter warm or room temperature
Lemon Filling
- 1 cup granulated sugar
- 2 tablespoons lemon zest from about 2 lemons
- ⅛ teaspoon sea salt
- ½ cup all purpose flour
- 3 large egg yolks
- 1 large egg
- ¾ cup lemon juice freshly squeezed
- 2 tablespoons powdered sugar
Shop Ingredients on Jupiter
Instructions
Graham Cracker Crust
-
Line an eight or nine inch square baking pan with parchment paper. I like to use two strips and crossing them in the middle, creating long handles on each side to be able to lift it out. Preheat oven to 355°F (180°C).
-
In a medium bowl, combine brown sugar, salt, and graham crumbs. Stir together to combine evenly.¼ cup brown sugar, ¼ teaspoon sea salt, 2 ⅓ cups graham cracker crumbs
-
Pour melted butter into the crust mixture and stir until evenly coated. Transfer into the lined baking pan, smooth, and use the back of a glass to pack the crust into a smooth, even layer.½ cup melted butter
-
Bake for 6 minutes in the preheated oven. Remove and smooth the top with the back of a spoon or an offset spatula. This is to make sure that the crust is really packed in there and prevent too many crumbs.
Lemon Filling
-
In a large bowl, combine sugar, lemon zest, and salt. Rub the sugar mixture together with your fingers until fragrant, yellow, and moist.1 cup granulated sugar, 2 tablespoons lemon zest, ⅛ teaspoon sea salt
-
Add flour into the sugar mixture and stir with a whisk to break up all the lumps. Stir until even.½ cup all purpose flour
-
Add yolks, egg, and lemon juice into the sugar mixture. Whisk to combine until a smooth mixture forms.3 large egg yolks, 1 large egg, ¾ cup lemon juice
-
Pour the lemon filling on top of the graham crust (it’s ok if it’s still hot). Bake in the preheated oven for 18-20 minutes, until the edges are set and the center is still slightly jiggly. The center shouldn’t be liquid! Just slightly jiggly in the middle.
-
Remove the pan from the oven and let the squares cool to room temperature.
-
Carefully lift the bars out of the pan by pulling them out using the parchment paper handles. Place them onto a cutting board and cut into 9 (3×3) or 16 (4×4) squares. For clean cuts, make sure to wipe the knife blade between every cut. Dust with powdered sugar and serve.2 tablespoons powdered sugar
Video
Notes
Tips for success:
- Don’t overmix the filling, and add the eggs and lemon juice at the same time. This will prevent too many air bubbles so that you can get a smooth, yellow topping.
- Don’t overbake or the surface will crack and have a gummy texture. The bars are ready when the edges are set and the center has a slight jiggle, not liquid.
- Cool completely to let them set. For best results, chill them in the refrigerator for at least 2 hours before slicing.
