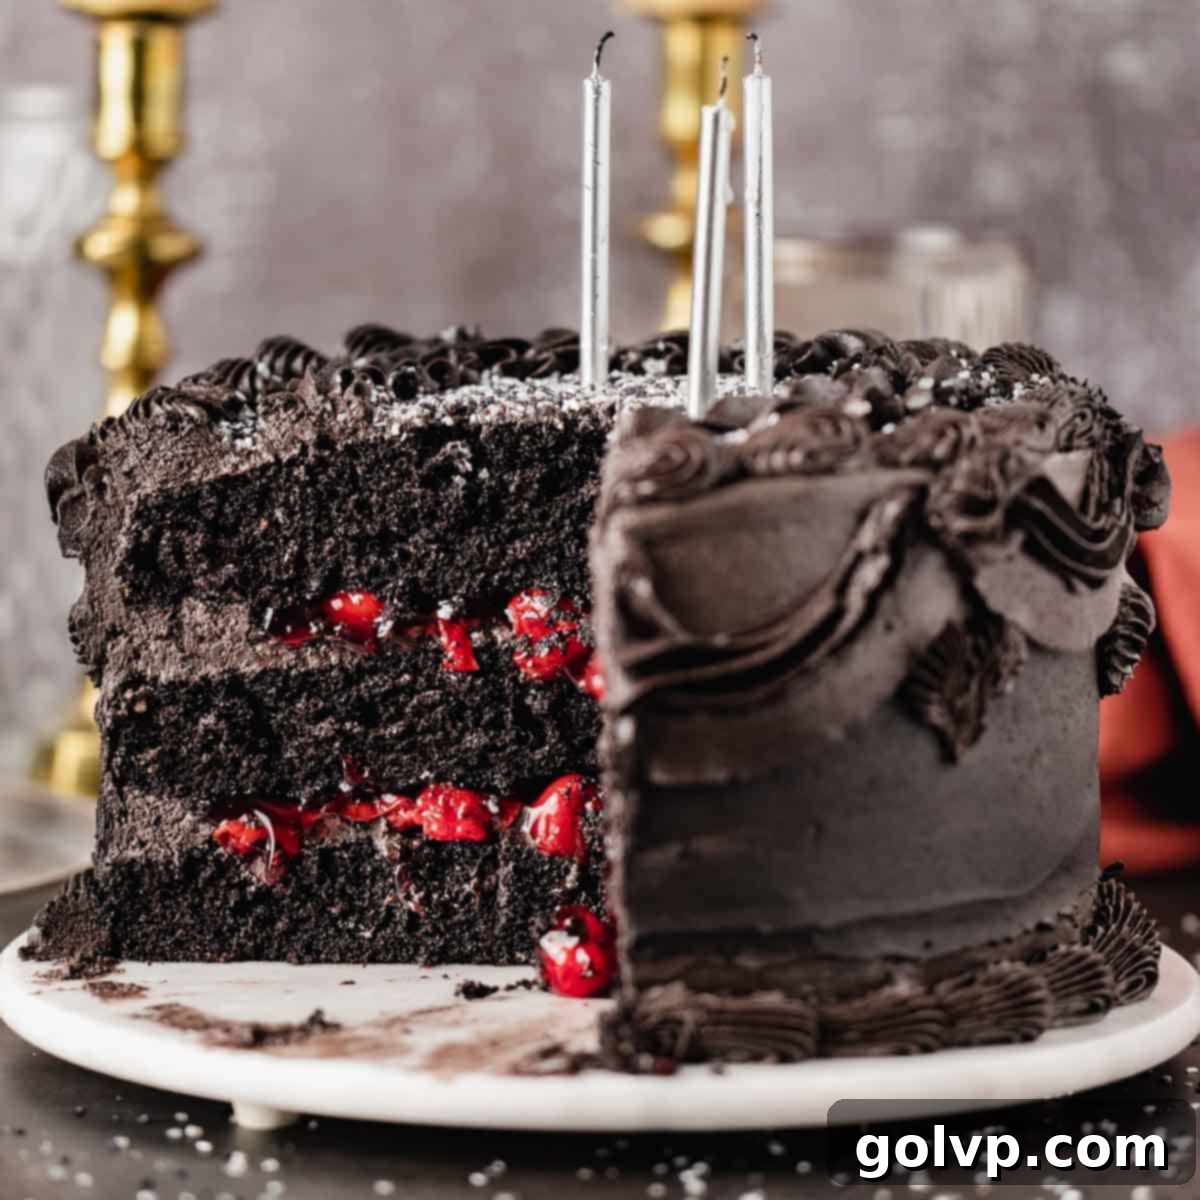
Decadent Black Velvet Cake with Luscious Chocolate Cream Cheese Frosting and Vibrant Cherry Filling
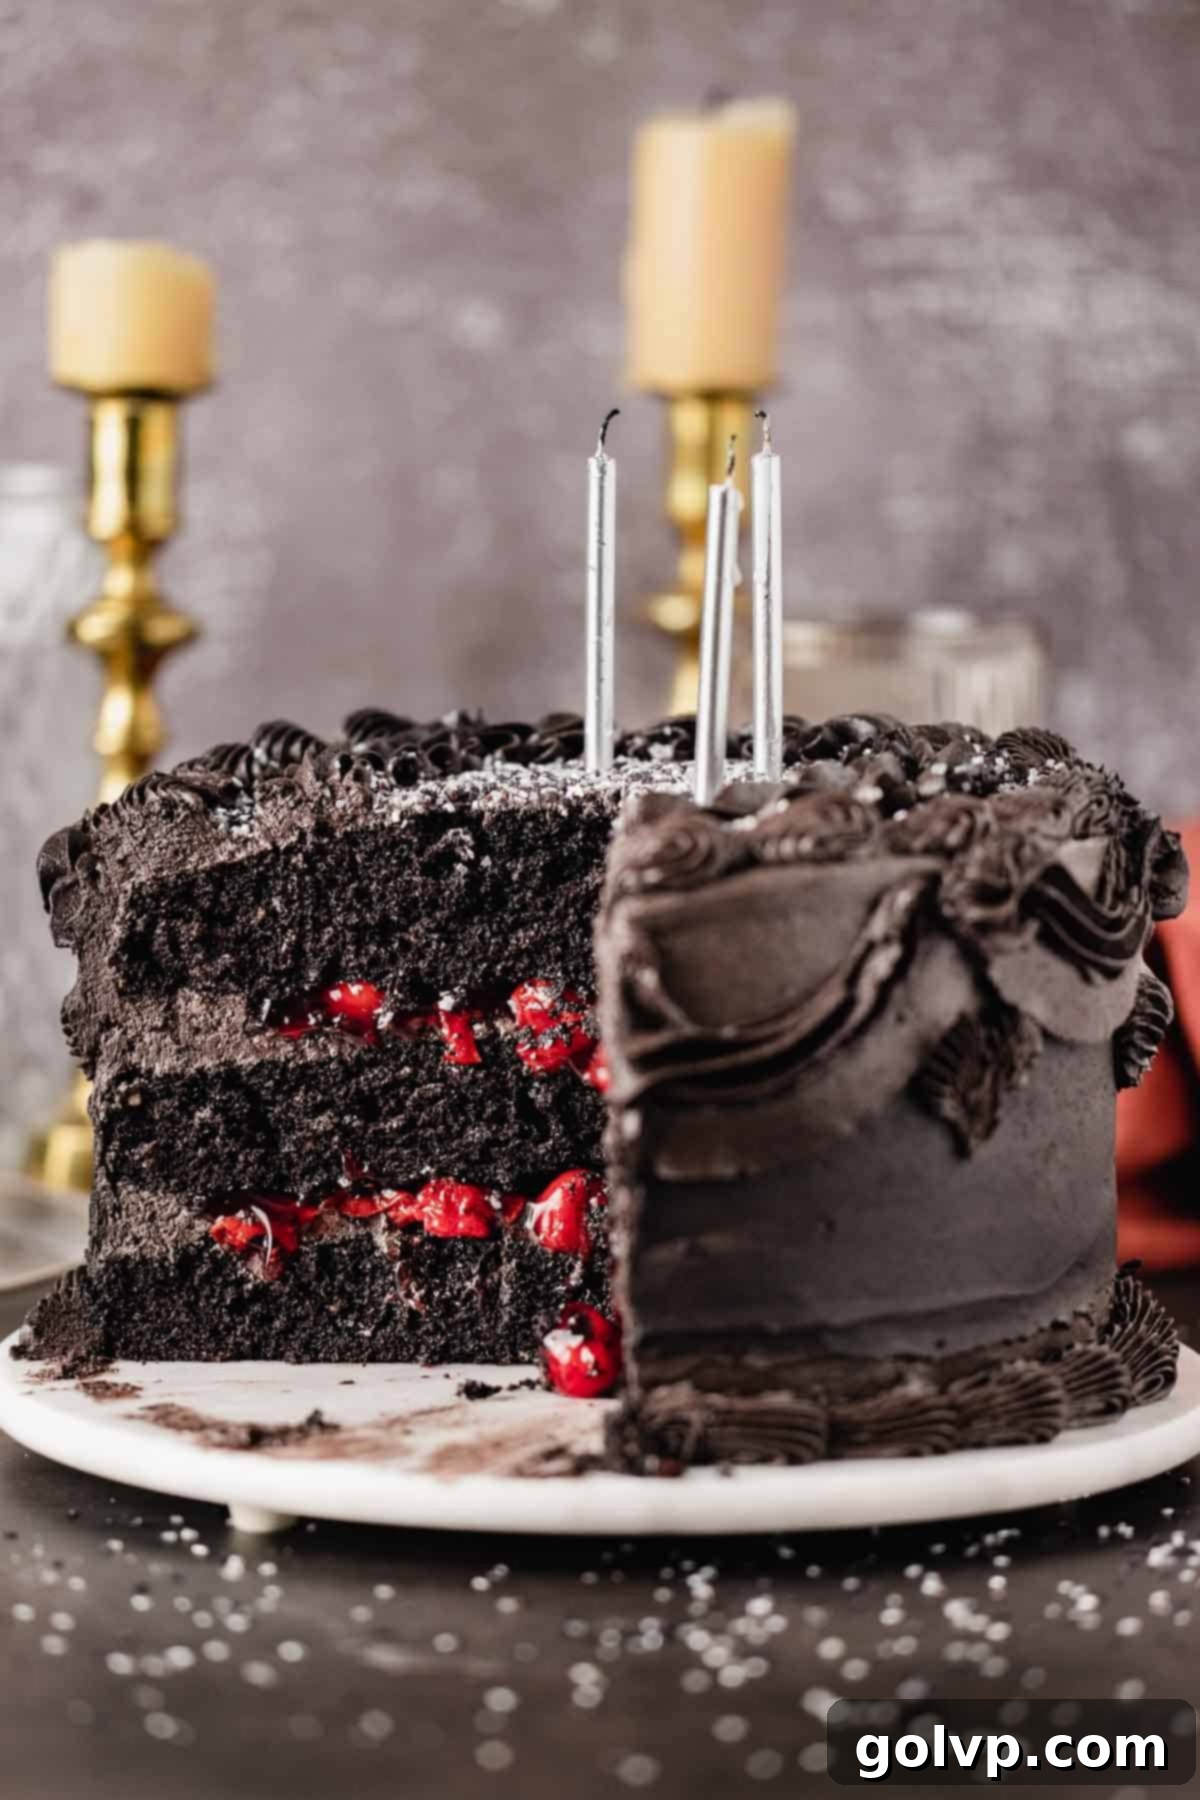
Prepare to be enchanted by this truly spectacular Black Velvet Cake! This isn’t just a dessert; it’s a culinary experience designed to impress. Featuring an incredibly soft and moist texture, a rich chocolate flavor reminiscent of America’s favorite cookie – the Oreo – and a vibrant red cherry filling, all enveloped in a luscious chocolate cream cheese frosting, this cake is a masterpiece. What makes it even more special? Its stunning deep black color is achieved naturally using black cocoa powder, eliminating the need for any artificial food coloring. This unique characteristic makes it an ideal centerpiece for a variety of occasions, from the spooky fun of Halloween and the festive celebration of New Year’s Eve to the romantic charm of Valentine’s Day. If you’re searching for a show-stopping cake that delivers on both flavor and presentation, your quest ends here.
🎂 Why You’ll Absolutely LOVE This Black Velvet Cake Recipe
This Black Velvet Cake recipe is destined to become your new favorite for so many delicious reasons. It perfectly marries striking aesthetics with an unforgettable taste and texture. Here’s why you’ll adore baking and sharing this cake:
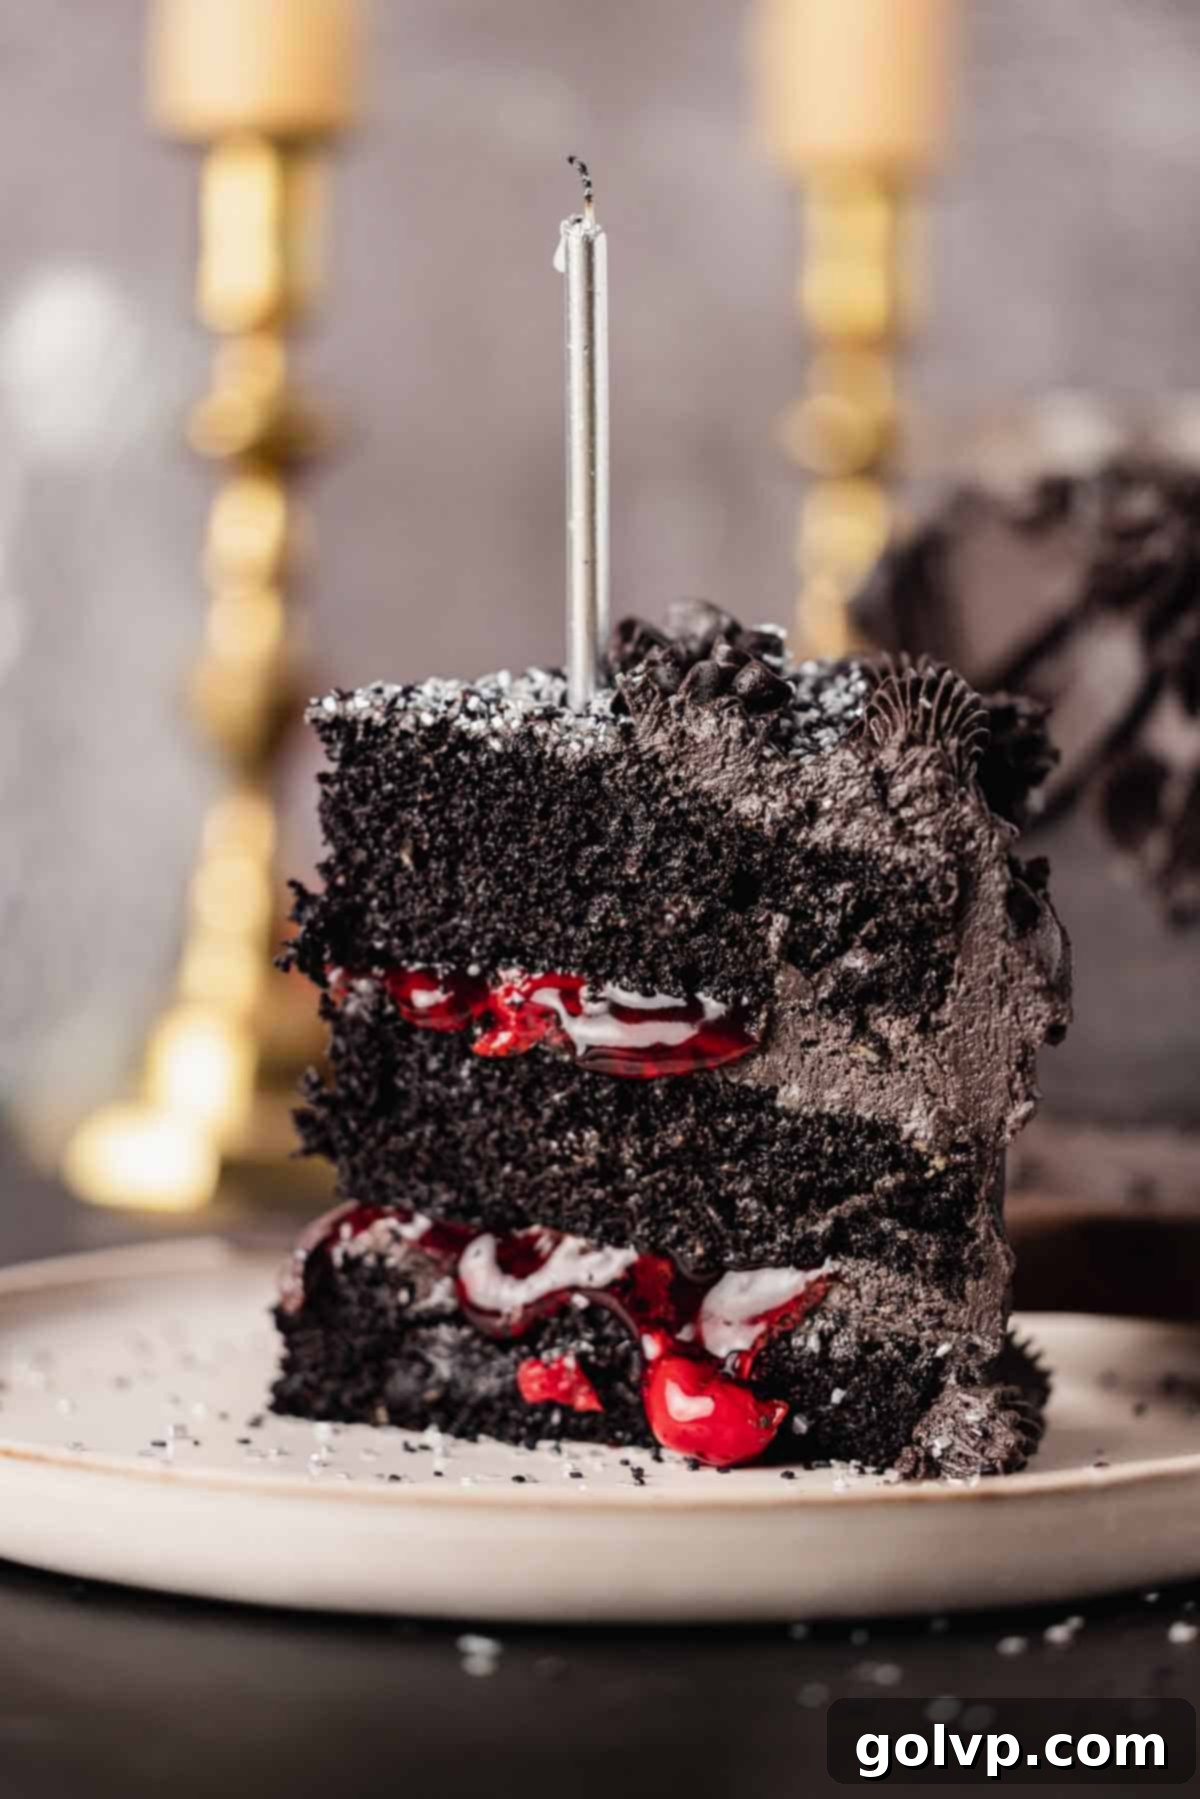
- Unparalleled Richness & Velvety Texture: Just like a classic red velvet, this cake truly lives up to its name. Each bite offers a luxurious, rich flavor profile and an exquisitely tender, soft, and moist crumb that melts in your mouth. The careful balance of ingredients ensures it stays fluffy and delightful for days, making it an excellent make-ahead option.
- Distinct Oreo Flavor Profile: Thanks to the magic of black cocoa powder, the cake layers boast a unique chocolate flavor that strongly resembles the cookie part of an Oreo. This distinctive taste sets it apart from traditional chocolate cakes and adds an exciting, nostalgic twist that everyone will love. It’s a delightful surprise for any palate!
- Stunning Natural Color (No Food Coloring Needed!): Achieving a deep, dramatic black color without a drop of artificial food coloring is one of this recipe’s crowning achievements. The intense hue comes solely from black cocoa powder, offering a clean, natural approach to baking. This makes it a healthier and more appealing option for many bakers and eaters.
- Decadent Black Cocoa Cream Cheese Frosting: The cake is generously adorned with a silky-smooth, tangy, and rich black cocoa cream cheese frosting. This frosting is not only visually striking with its matching deep black color but also provides the perfect creamy contrast to the cake layers, balancing sweetness with a slight tartness that is utterly irresistible.
- Vibrant Cherry Filling for a Burst of Flavor: Nestled between the dark cake layers and frosting is a gooey, bright red cherry filling. This beautiful ruby-red layer provides a stunning visual contrast against the black, but more importantly, it delivers a burst of juicy, tart fruitiness that cuts through the richness of the chocolate and frosting. The classic chocolate and cherry combination is elevated to new heights in this velvet cake.
For those who love the velvety texture but prefer a different flavor profile, check out our Pink Velvet Cake. It shares the same delightful texture but without cocoa powder, presenting a charming pink hue instead!
❔ What Exactly is Black Cocoa Powder?
Black cocoa powder is a fascinating ingredient that holds the secret to this cake’s distinctive color and flavor. It’s a type of cocoa powder that has been heavily dutched, meaning it has been treated with an alkaline solution to reduce its acidity. This process is similar to regular Dutch-processed cocoa powder, but it goes a step further, resulting in an even darker, nearly black hue and a milder, less bitter chocolate flavor. Think of the iconic black color and signature taste of Oreo cookies – that’s exactly what black cocoa powder delivers!
This specialized cocoa is the very ingredient responsible for the deep, rich chocolate flavor and striking black color of many commercial sandwich cookies. If you’re a fan of Oreos, you’re not just going to like this cake; you’re going to absolutely love it! Its distinct flavor profile is less intensely “chocolatey” in a traditional sense and more reminiscent of a dark, slightly bitter, yet incredibly smooth cookie. Beyond this cake, you might also enjoy incorporating this unique ingredient into other treats like these Oreo Pop Tarts or these indulgent Cookies and Cream Cinnamon Rolls for that unmistakable flavor.
📝 Key Ingredients for a Perfect Black Velvet Cake
Crafting this magnificent Black Velvet Cake involves three harmonious components: the deeply flavored black velvet cake layers, the luscious chocolate cream cheese frosting, and a vibrant cherry pie filling that adds a delightful tang and visual pop. Each ingredient plays a crucial role in achieving the cake’s unique texture, flavor, and appearance.
The timeless pairing of chocolate and cherry is a match made in dessert heaven, a combination that truly shines in this recipe. If you’re a fan of this classic duo, you’ll also adore our Black Forest Cupcakes and rich Cherry Brownies, which beautifully blend intense chocolate with sweet, juicy cherries.
For flawless results, make sure to read through all the essential tips provided!
Detailed steps and a complete ingredient list can be found in the recipe card below.
Ingredients for the Black Velvet Cake Layers
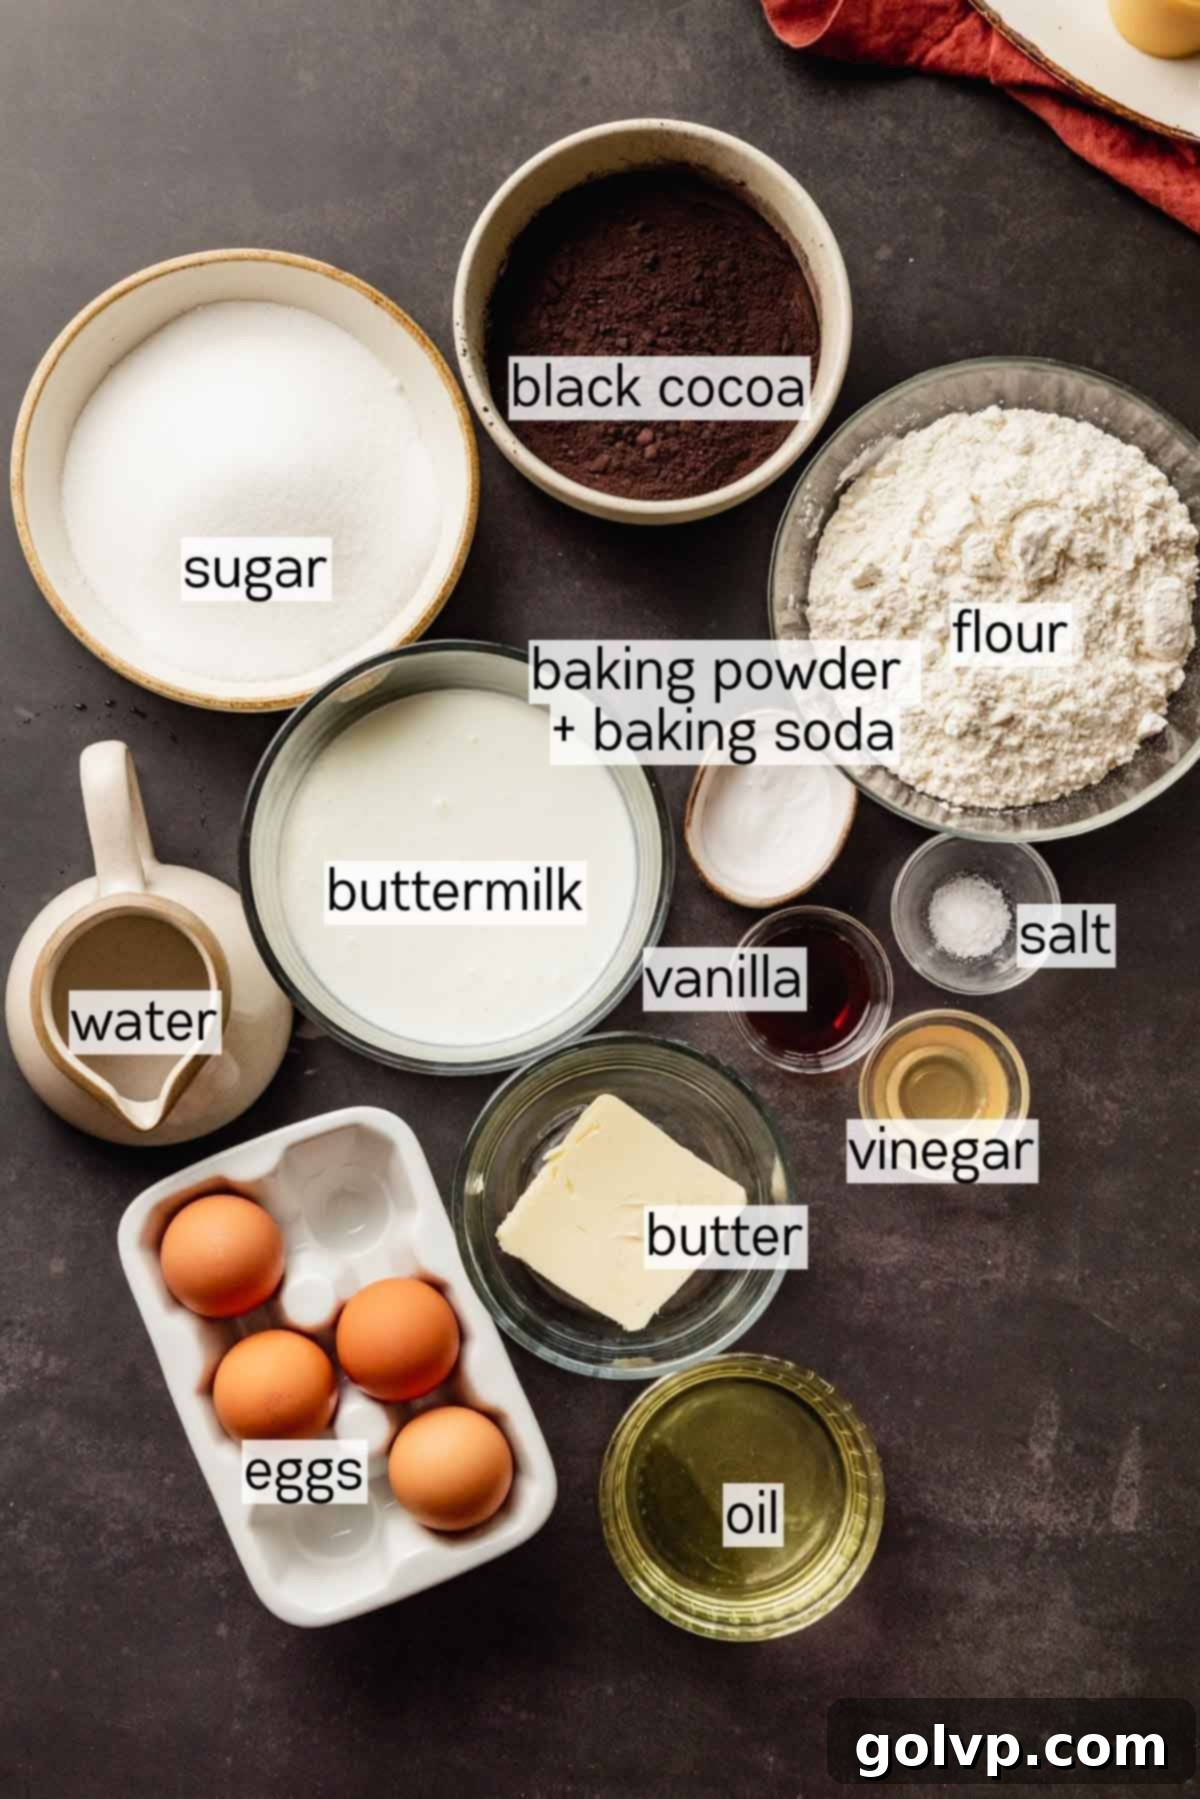
- Black Cocoa Powder: This is the star ingredient! It’s absolutely essential for achieving both the deep, dramatic black color and the signature Oreo-like flavor that distinguishes this cake from a standard chocolate cake. Do not substitute with natural cocoa powder as it will not yield the desired color or flavor.
- Oil & Butter Combination: We use both oil and butter to get the best of both worlds. Butter contributes a rich, classic buttery flavor that enhances the overall decadence of the cake. Meanwhile, vegetable oil is key for creating an incredibly moist, velvety soft texture that remains delightful for days, preventing the cake from drying out. This blend ensures maximum flavor and optimal texture.
- Buttermilk: Store-bought buttermilk is crucial for developing the traditional velvety texture that defines velvet cakes. Its acidity reacts with the leavening agents, resulting in a tender crumb and adding a subtle tang that beautifully complements the chocolate. For consistent and reliable results, we strongly recommend using commercially produced buttermilk over homemade substitutes.
- Vinegar: A touch of apple cider vinegar or white vinegar further activates the baking soda in the recipe, contributing to the cake’s lift and its signature fine, tender crumb. It also plays a role in enhancing the red hue in a traditional red velvet, and here, it helps perfect the texture of our black velvet.
- All-Purpose Flour: The foundation of our cake structure. For the most accurate and consistent results, we highly recommend weighing your flour using a kitchen scale. If you don’t have a scale, measure correctly by first stirring the flour in its bag to aerate it, then gently spooning it into a measuring cup until overflowing. Level the excess off the top with the flat edge of a knife, ensuring not to pack the flour into the cup.
Ingredients for the Frosting and Filling
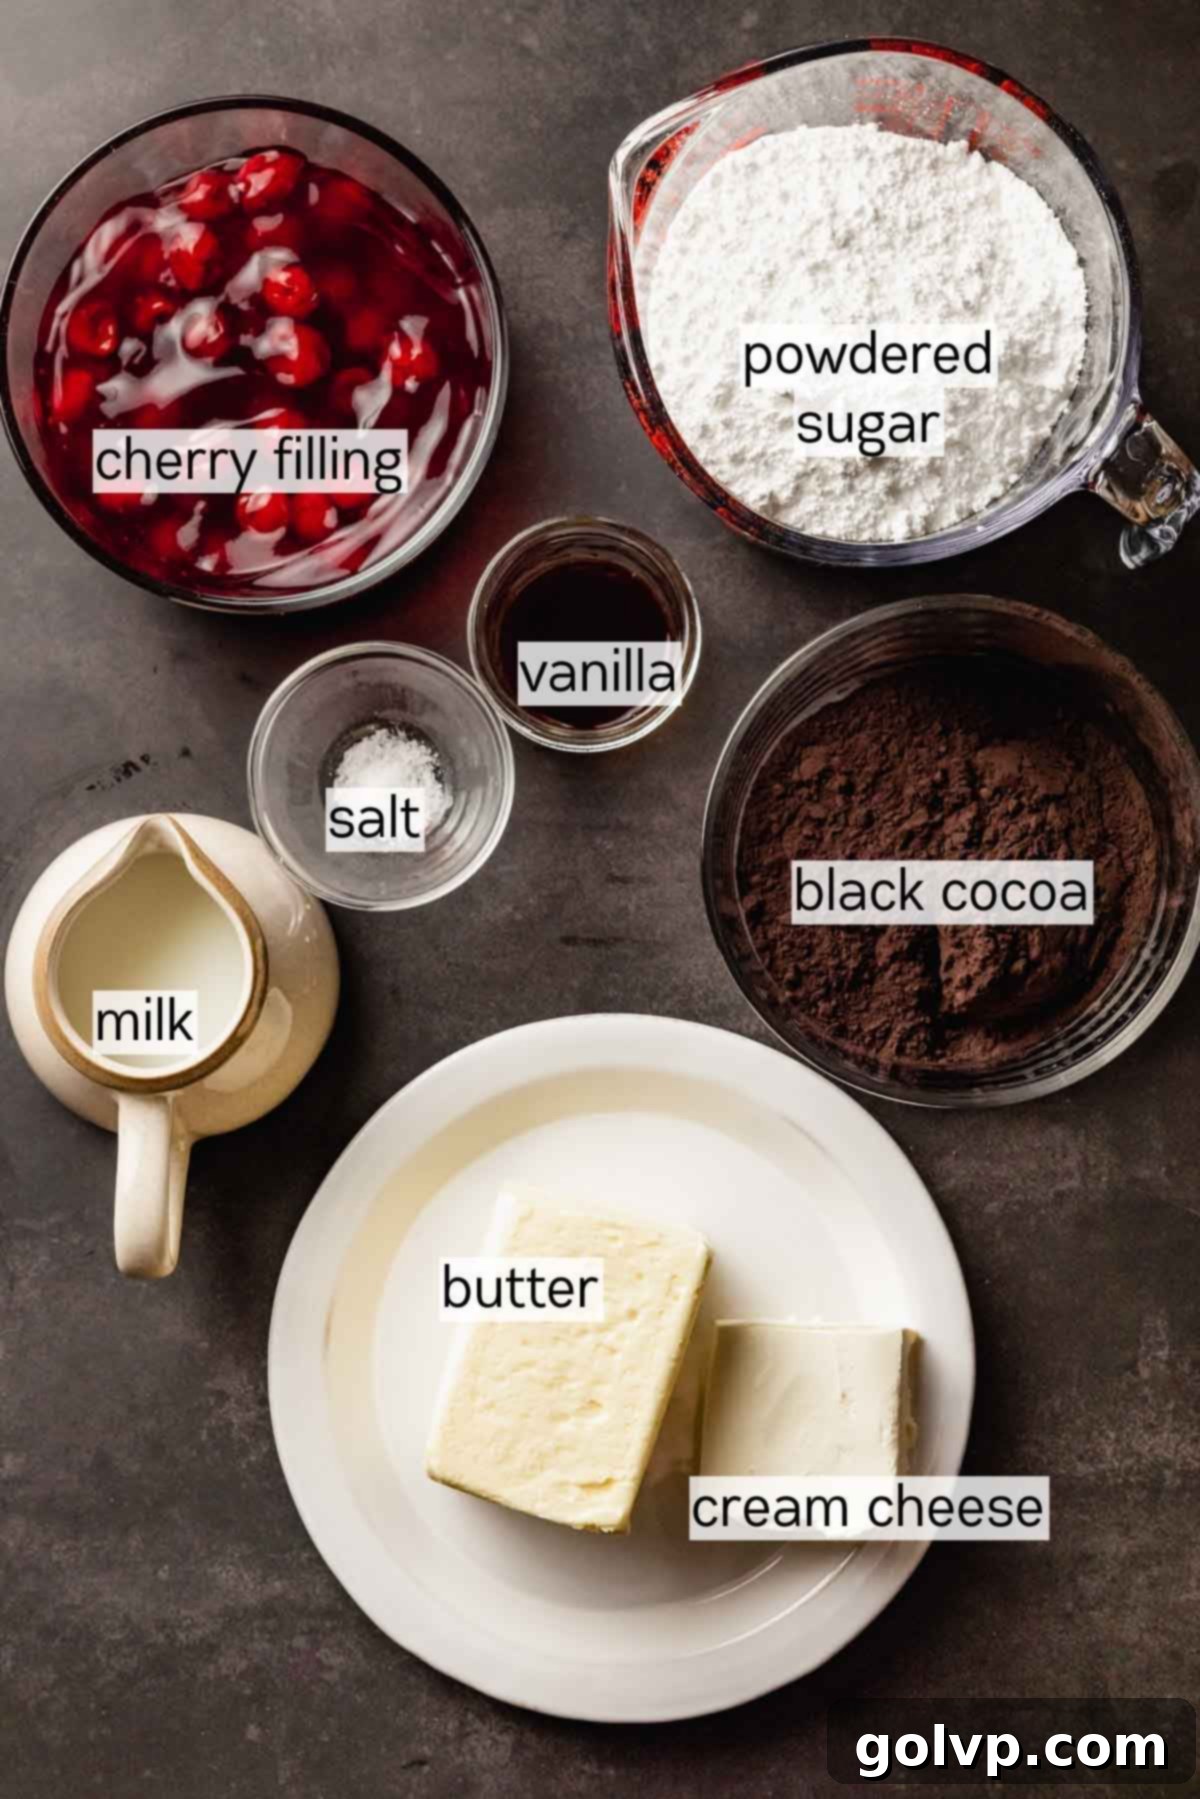
- Black Cocoa Powder: Again, this is key for the frosting! It imparts a rich, dark chocolate flavor and a beautiful deep black color to the cream cheese frosting, eliminating the need for any black food coloring. This ensures a consistent color theme throughout the cake.
- Cherry Filling: For ease and a reliably vibrant, gooey red layer, we utilize a store-bought cherry pie filling. This provides a delightful contrast in both color and texture. Of course, if you prefer, you can certainly prepare a homemade cherry (or even raspberry) pie filling. Alternatively, a good quality red-colored jam can be used, though it will likely result in a sweeter filling.
- Unsalted Butter: The foundation of any great buttercream or cream cheese frosting. Using high-quality, real unsalted butter will yield the best flavor and a wonderfully smooth, stable frosting. Ensure it’s softened to room temperature for optimal creaming.
- Cream Cheese: Essential for creating that signature tangy cream cheese frosting. It beautifully balances the sweetness of the cake and frosting, adding a sophisticated depth of flavor. For the best texture and stability, always opt for brick-style cream cheese at room temperature. If cream cheese isn’t to your liking, you can substitute it with an equal amount of additional softened butter for a classic buttercream.
✔️ Ingredient Substitutions for Your Black Velvet Cake
While this recipe is crafted for optimal results, we understand that sometimes substitutions are necessary. Below are some suggested ingredient alternatives that should work well, though we encourage you to share your experiences in the comments if you try them!
- Filling Alternatives: The cherry filling is fantastic, but feel free to customize! You can easily swap it for your favorite berry filling; raspberry or strawberry pie filling would both offer a lovely color and flavor contrast. For a simpler approach, you can even omit the fruit filling entirely and just use the black cocoa cream cheese frosting between the cake layers. If using jam, be aware it will be much sweeter than pie filling, so adjust the overall sweetness of the cake or frosting if desired.
- Gluten-Free Option: To make this cake gluten-free, substitute the all-purpose flour with a 1:1 gluten-free flour blend. Ensure the blend contains xanthan gum or add it according to package directions, as this helps with the cake’s structure and elasticity.
- Black Cocoa Powder Substitute: If black cocoa powder is unavailable or you prefer a different chocolate flavor, you can use Dutch-processed cocoa powder. Keep in mind that this will result in a more traditional dark brown chocolate cake flavor and color, not the intense black and Oreo-like taste. Do NOT substitute with natural cocoa powder, as it has a different pH level that will affect the leavening agents. If you still desire a black color with Dutch-processed cocoa, you can optionally add black food coloring, but this will introduce artificial dye.
👩🍳 How to Make This Irresistible Black Velvet Cake
Creating this stunning Black Velvet Cake is a rewarding process, divided into two main stages: preparing the rich, dark cake layers, and then crafting the luxurious frosting and assembling your masterpiece. Follow these detailed steps for a truly exceptional homemade cake.
Step-by-Step: Making the Black Cocoa Cake Layers
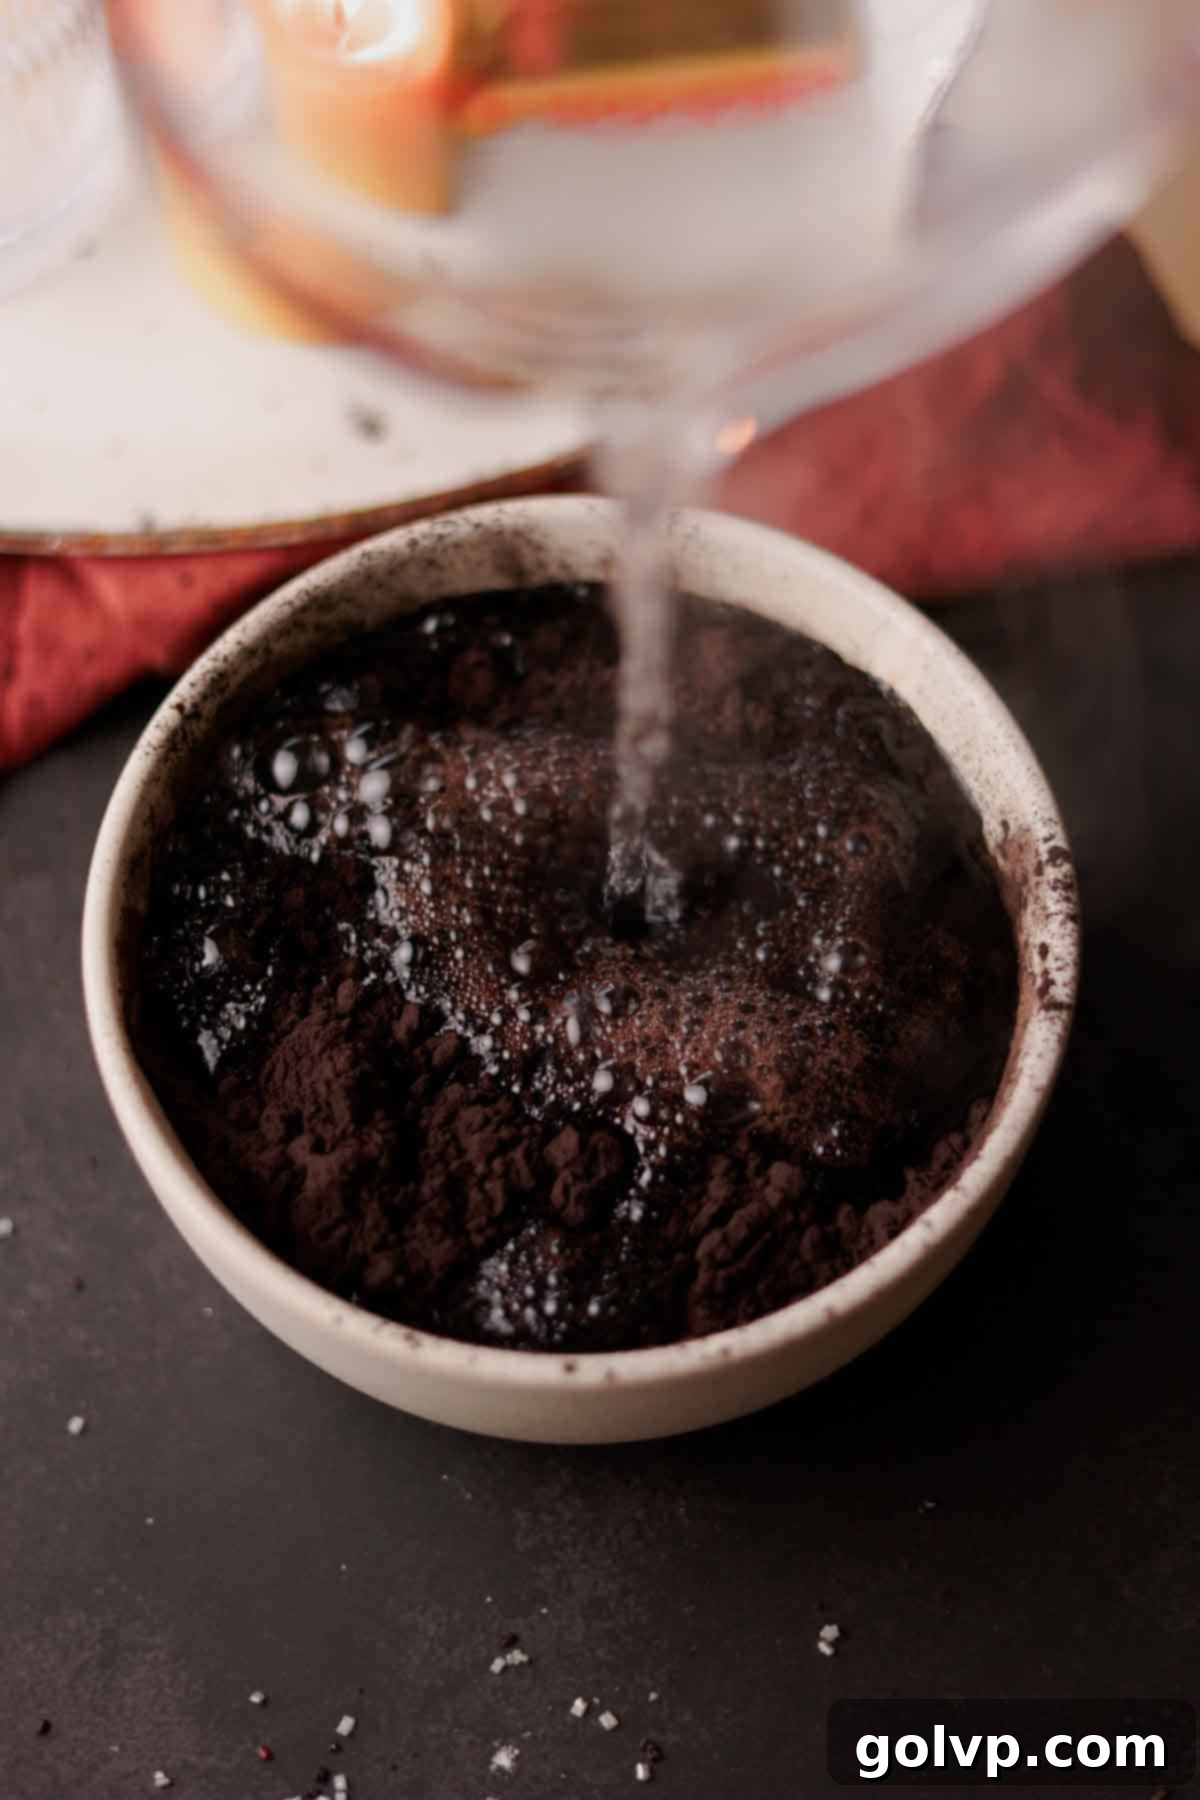
Step 1: Bloom the Black Cocoa. Begin by adding the black cocoa powder into a medium, heat-safe bowl. Carefully pour boiling hot water over the cocoa powder and whisk vigorously until the mixture is completely smooth and forms a thick, dark paste. This process, known as blooming, intensifies the cocoa’s flavor and color. Set this mixture aside to cool completely to room temperature while you proceed with the rest of the cake batter.
Preheat your oven to 355°F (180°C). Prepare three 8-inch round baking pans by generously greasing them with a pat of butter or baking spray. Then, line the bottoms of each pan with parchment paper rounds. This crucial step ensures your cake layers release effortlessly from the pans. Set the prepared pans aside.
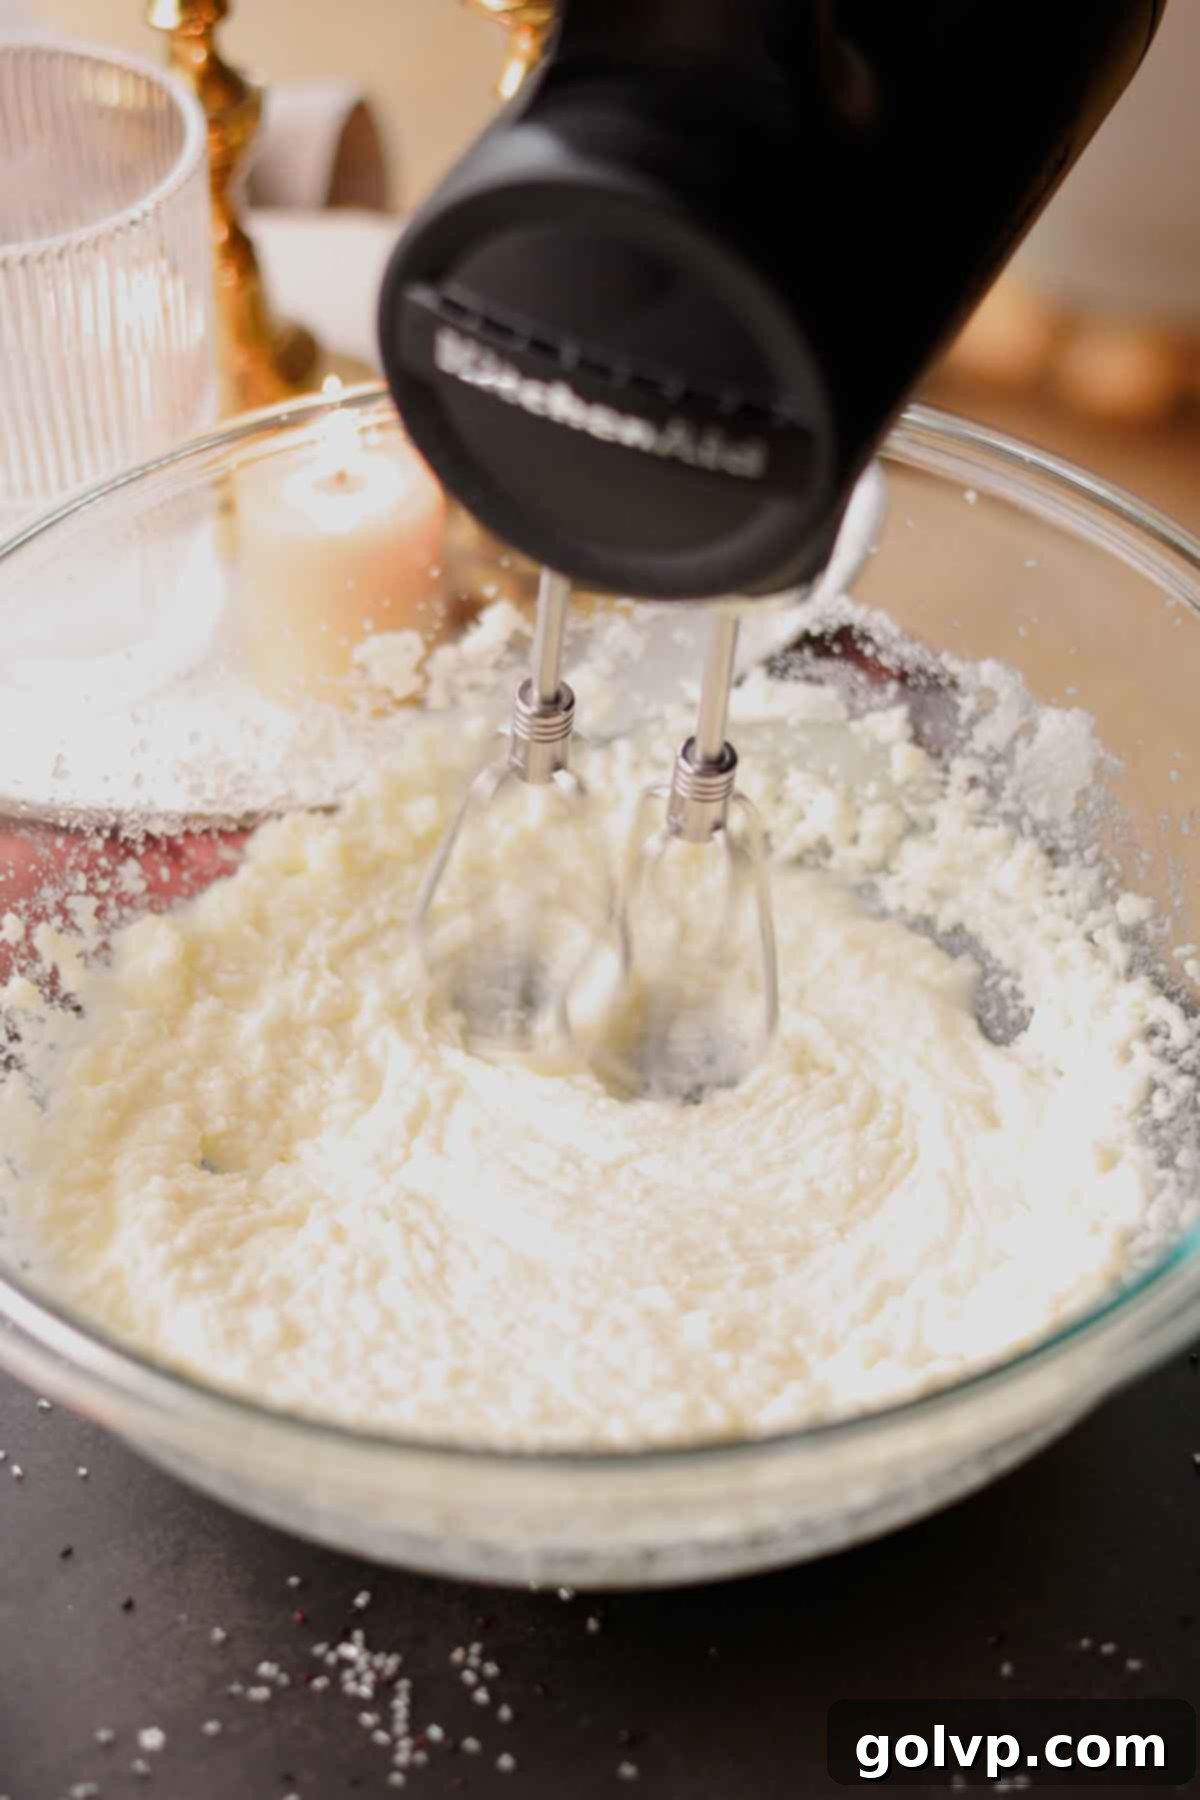
Step 2: Cream Wet Ingredients. In a large mixing bowl or the bowl of a stand mixer fitted with the paddle attachment, combine the softened butter, vegetable oil, granulated sugar, and sea salt. Beat these ingredients together on medium-high speed with an electric mixer until the mixture becomes visibly lightened in color and wonderfully creamy and fluffy. This aeration process is vital for a tender cake.
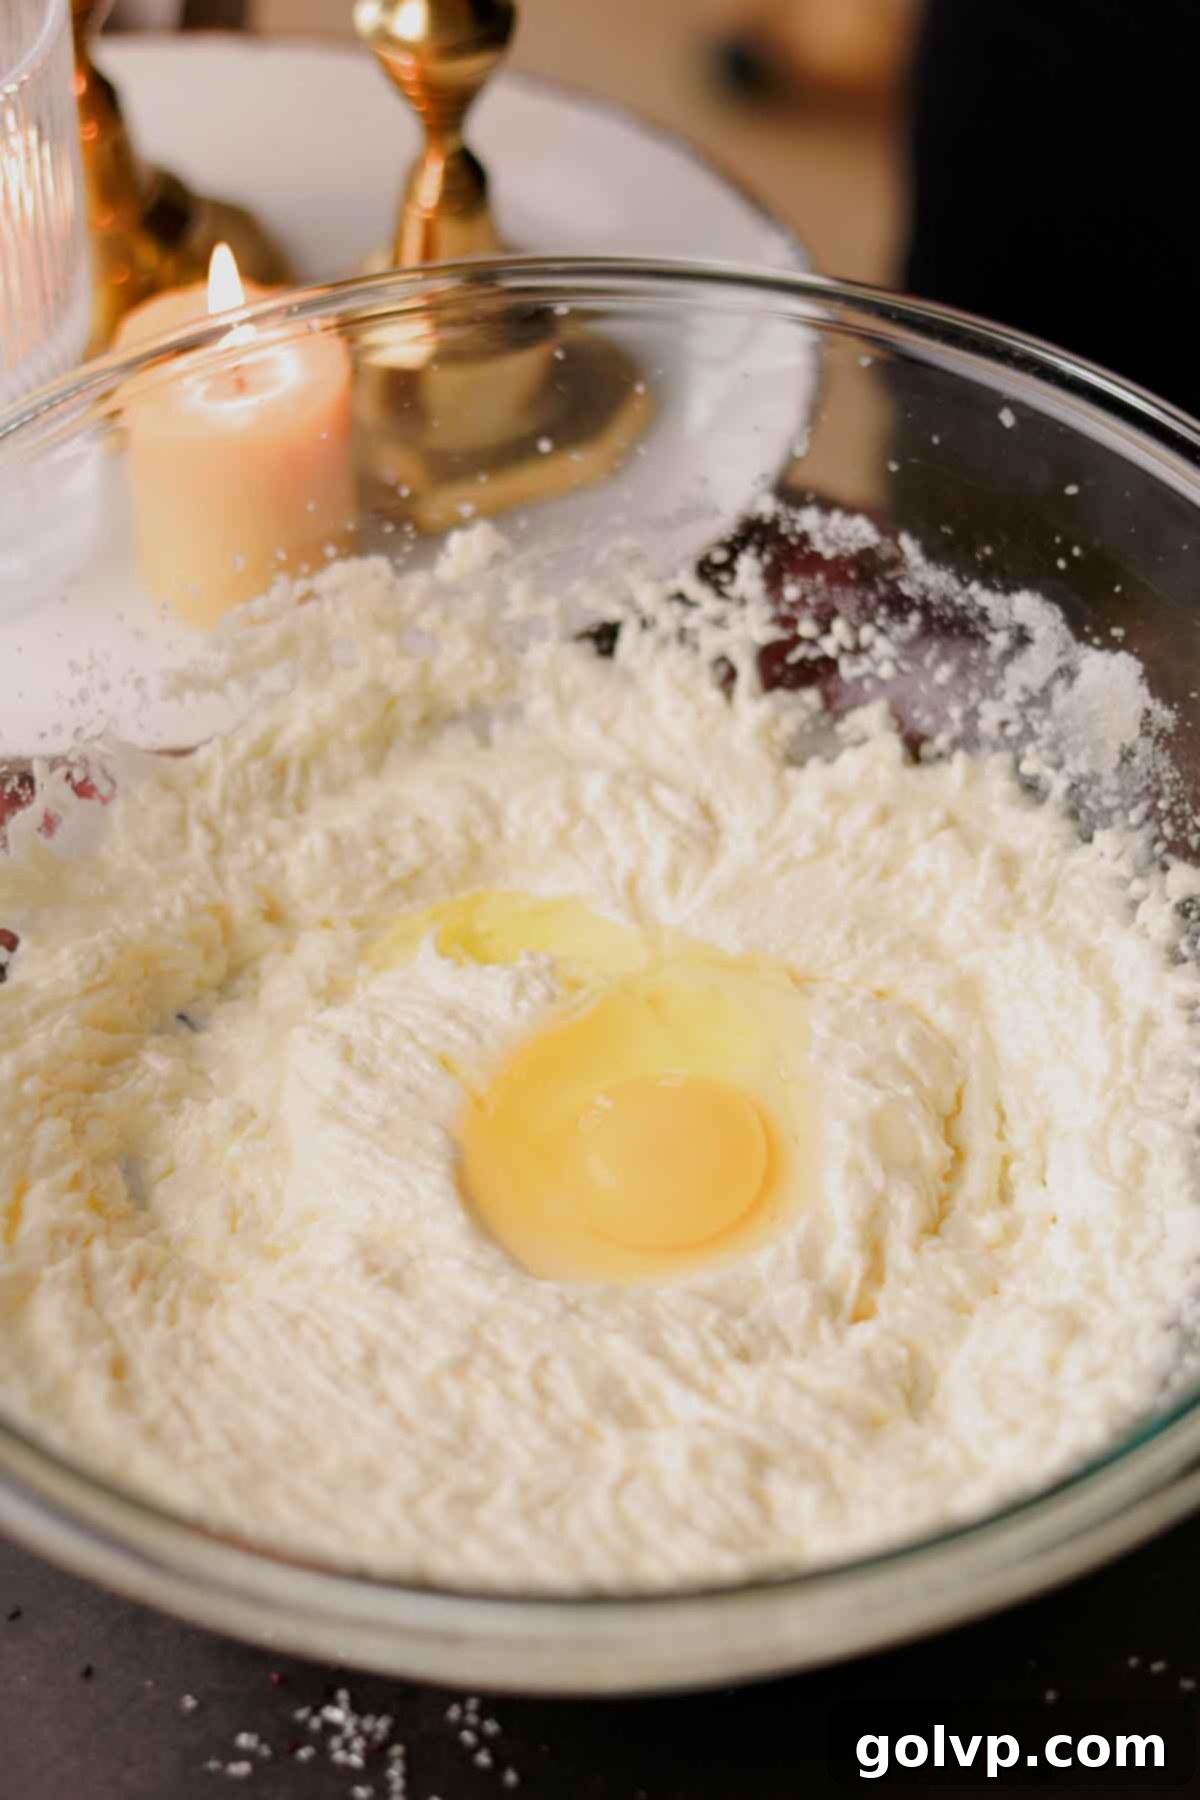
Step 3: Incorporate Eggs. Add the room temperature eggs to the creamed mixture, one by one. After each addition, beat well until fully incorporated before adding the next egg. This ensures a smooth emulsion and prevents the batter from curdling. Periodically, stop the mixer and scrape down the sides of the bowl with a spatula to ensure all ingredients are evenly mixed.
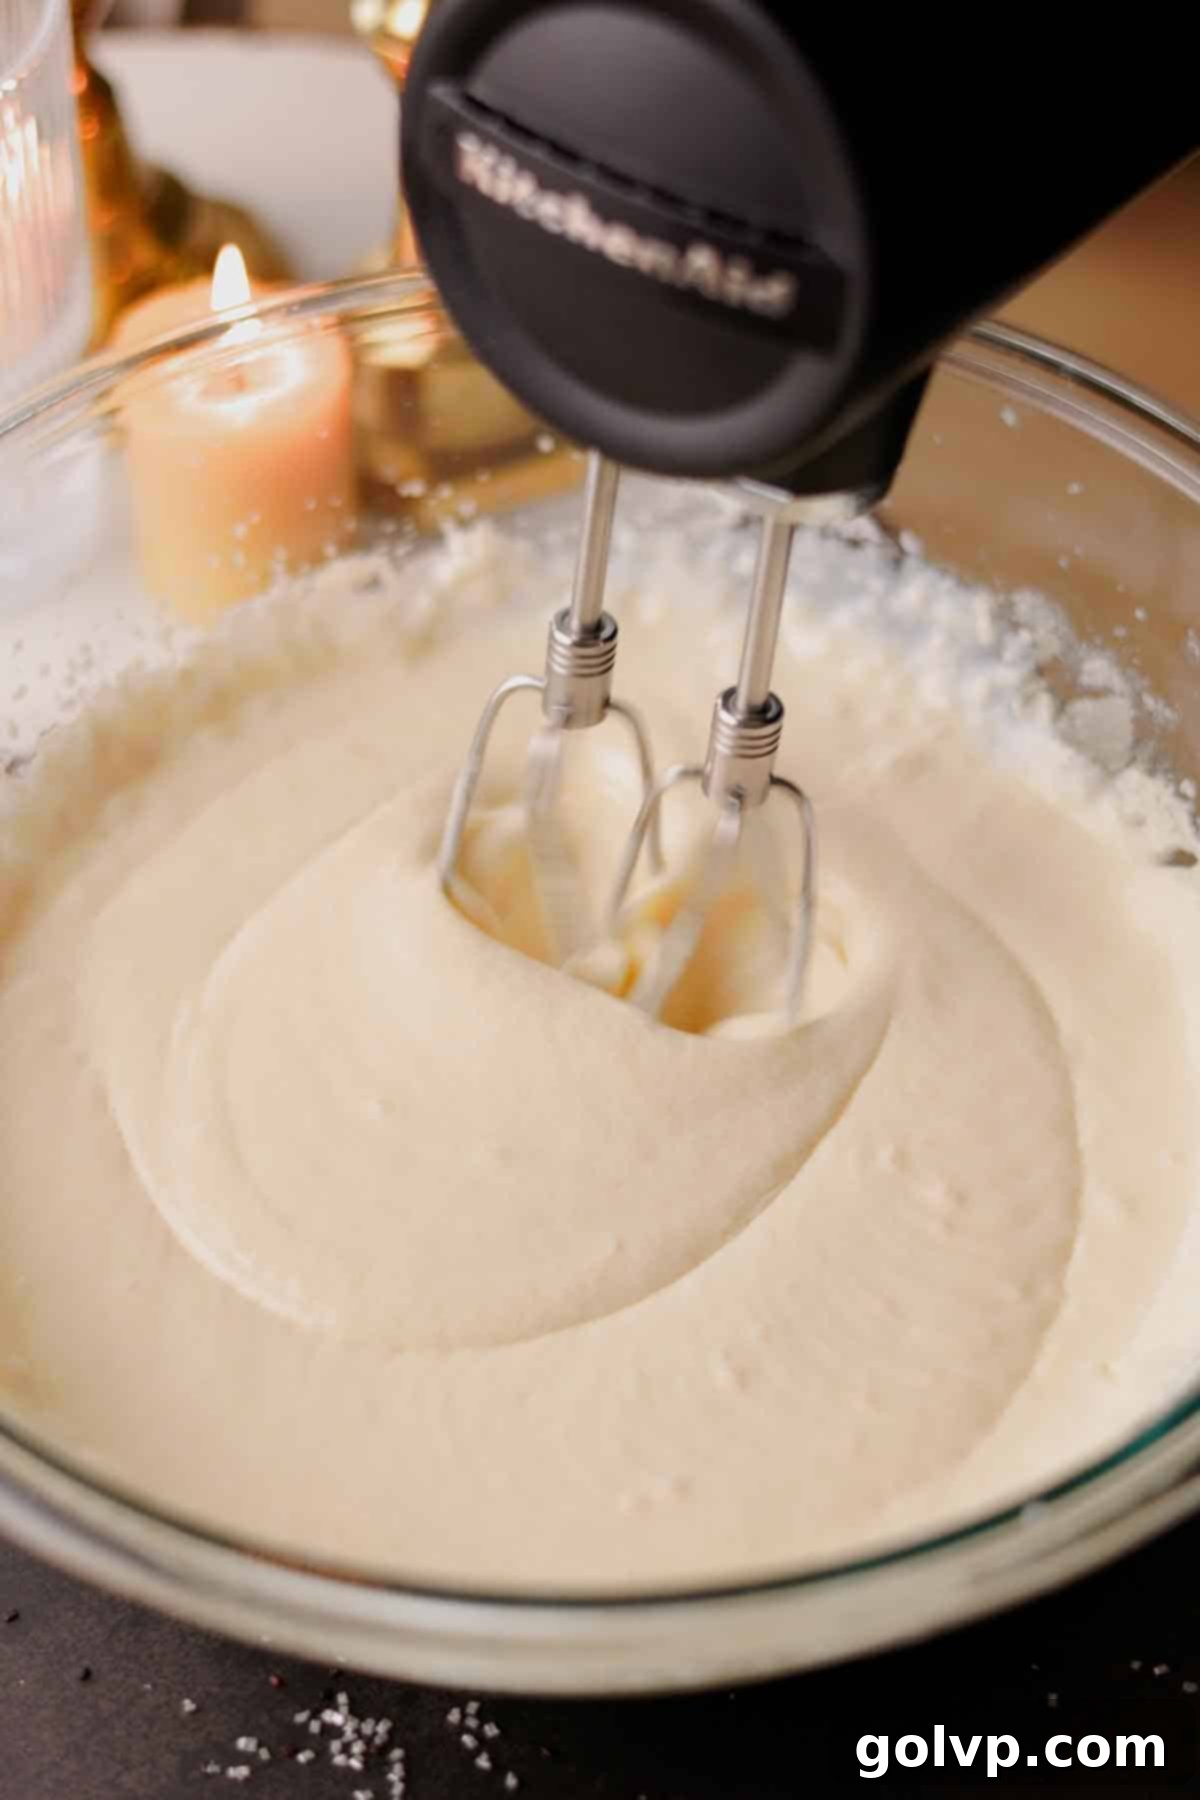
Step 4: Add Liquids. Pour in the pure vanilla extract, vinegar, and room temperature buttermilk directly into the same bowl. Mix on low speed until all these liquid ingredients are just combined and form a smooth, somewhat runny mixture. Be careful not to overmix at this stage.
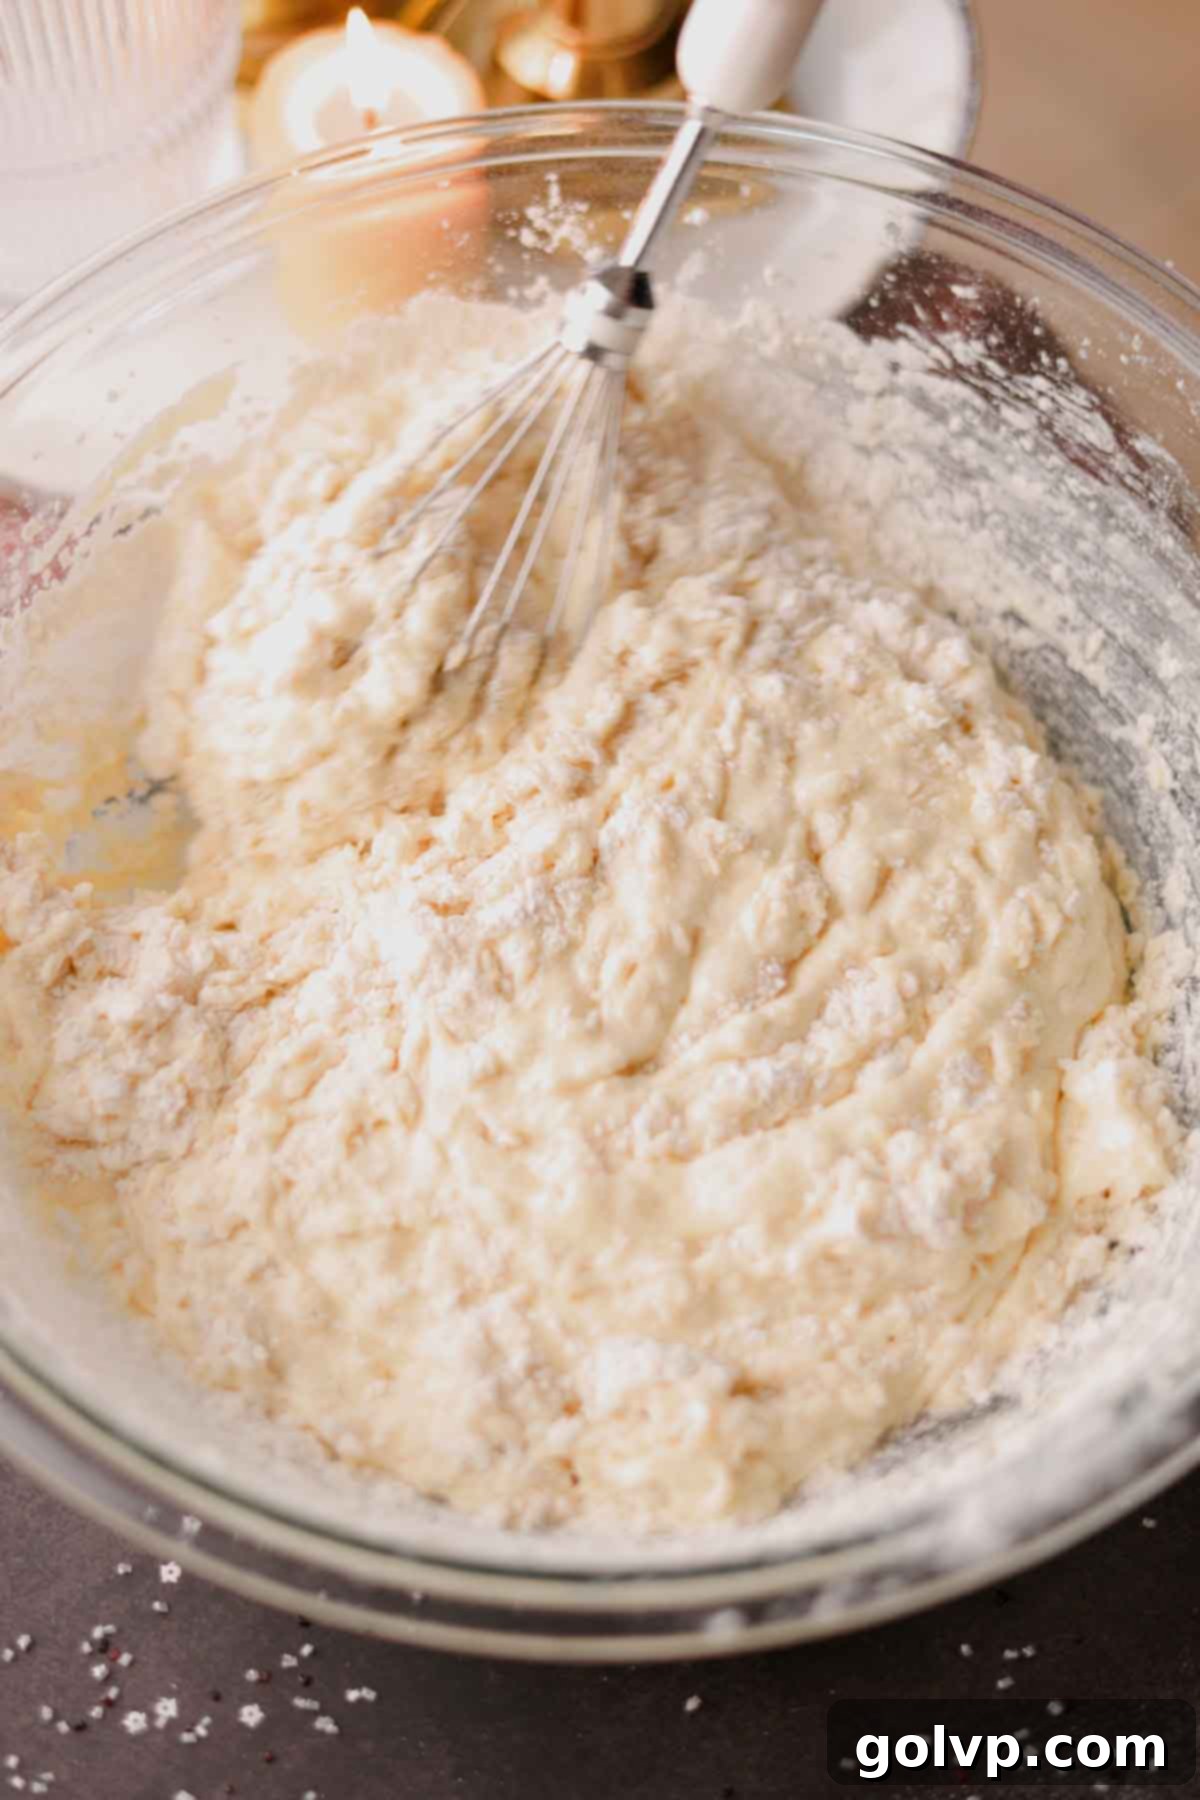
Step 5: Incorporate Dry Ingredients. Sift the all-purpose flour, baking powder, and baking soda directly into the wet ingredients in the bowl. Using a wire whisk or spatula, gently fold the dry ingredients into the wet until they are mostly combined. Be careful not to overmix, as this can develop gluten and lead to a tough cake.
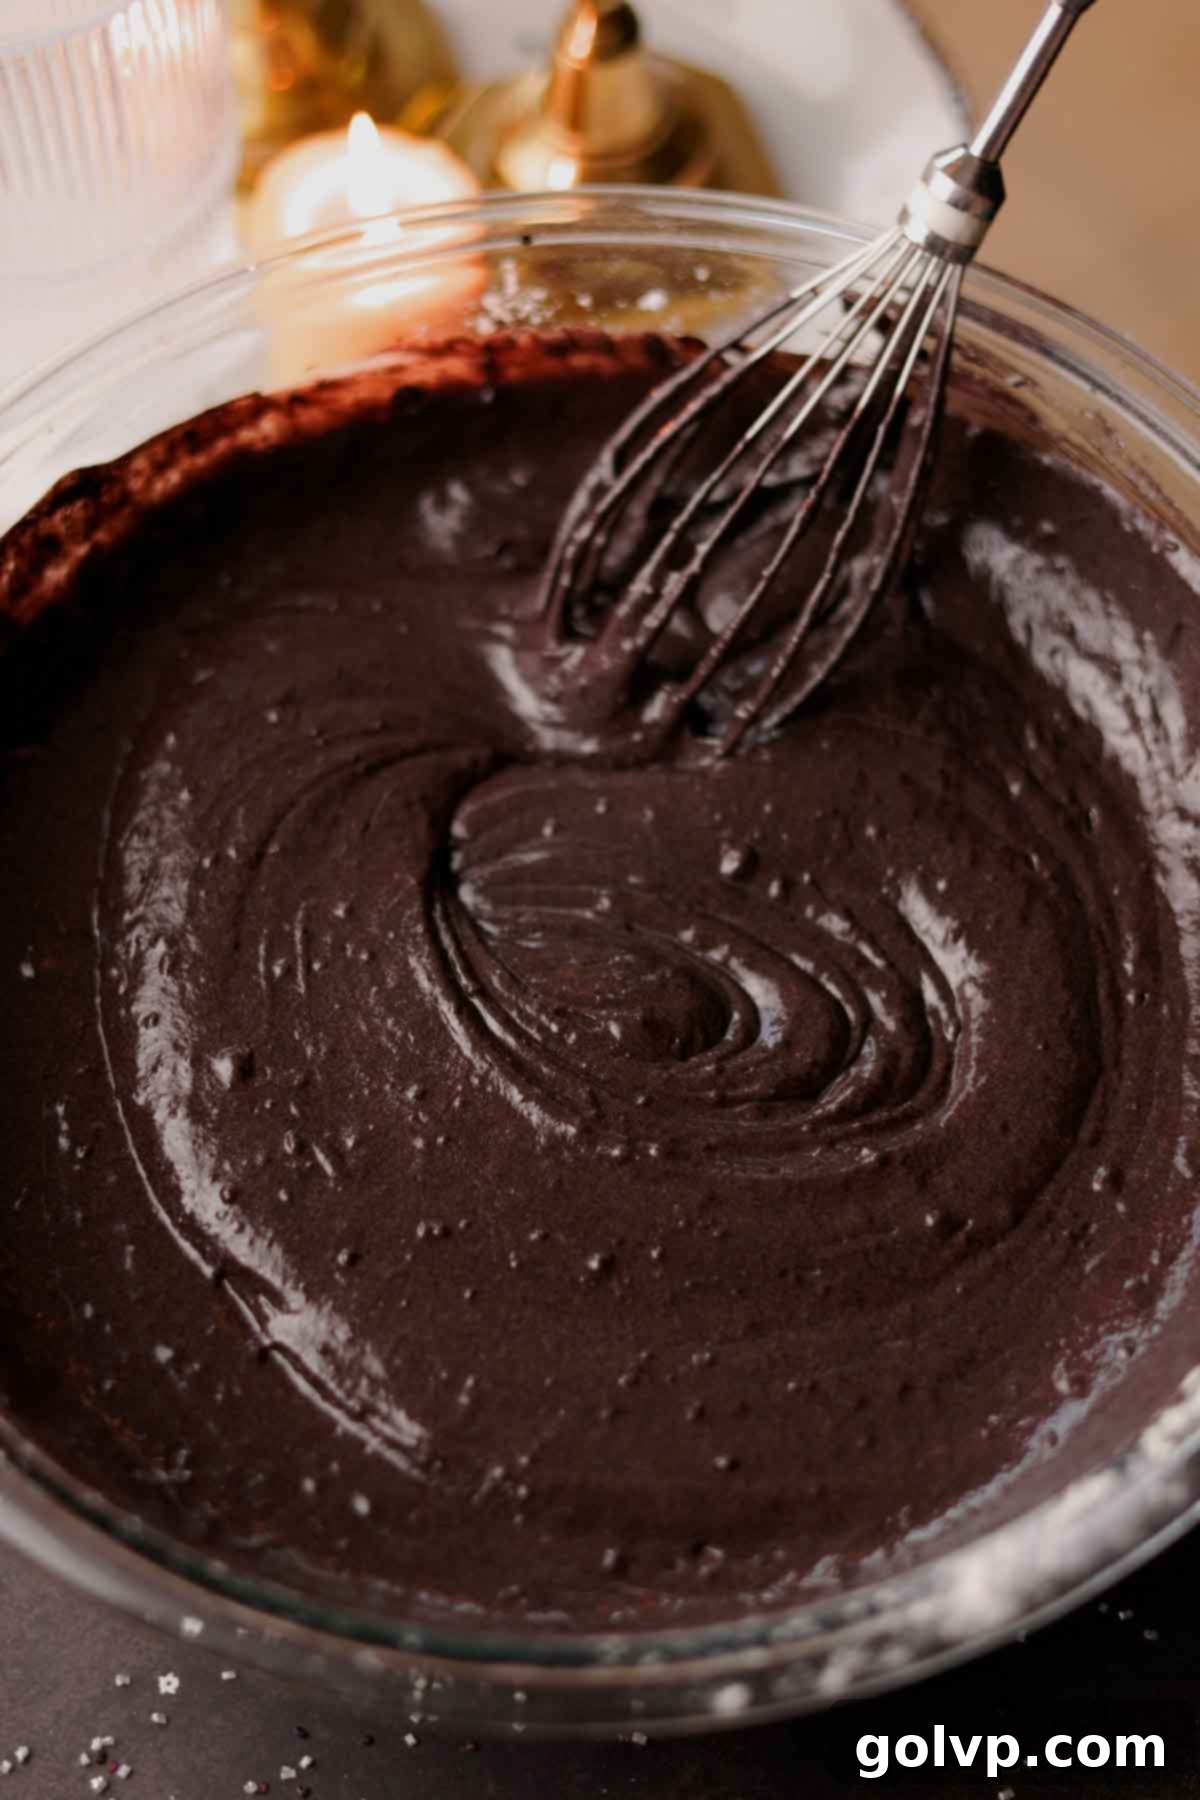
Step 6: Fold in Cocoa Mixture. Finally, pour the cooled black cocoa powder mixture into the cake batter. Gently fold until almost all of the lumps are gone and the batter is a uniform deep black color. You can give the batter a few quick, gentle whisks to smooth it out, but it’s crucial not to overmix at this stage to maintain the cake’s tender texture. A few tiny lumps are perfectly fine.
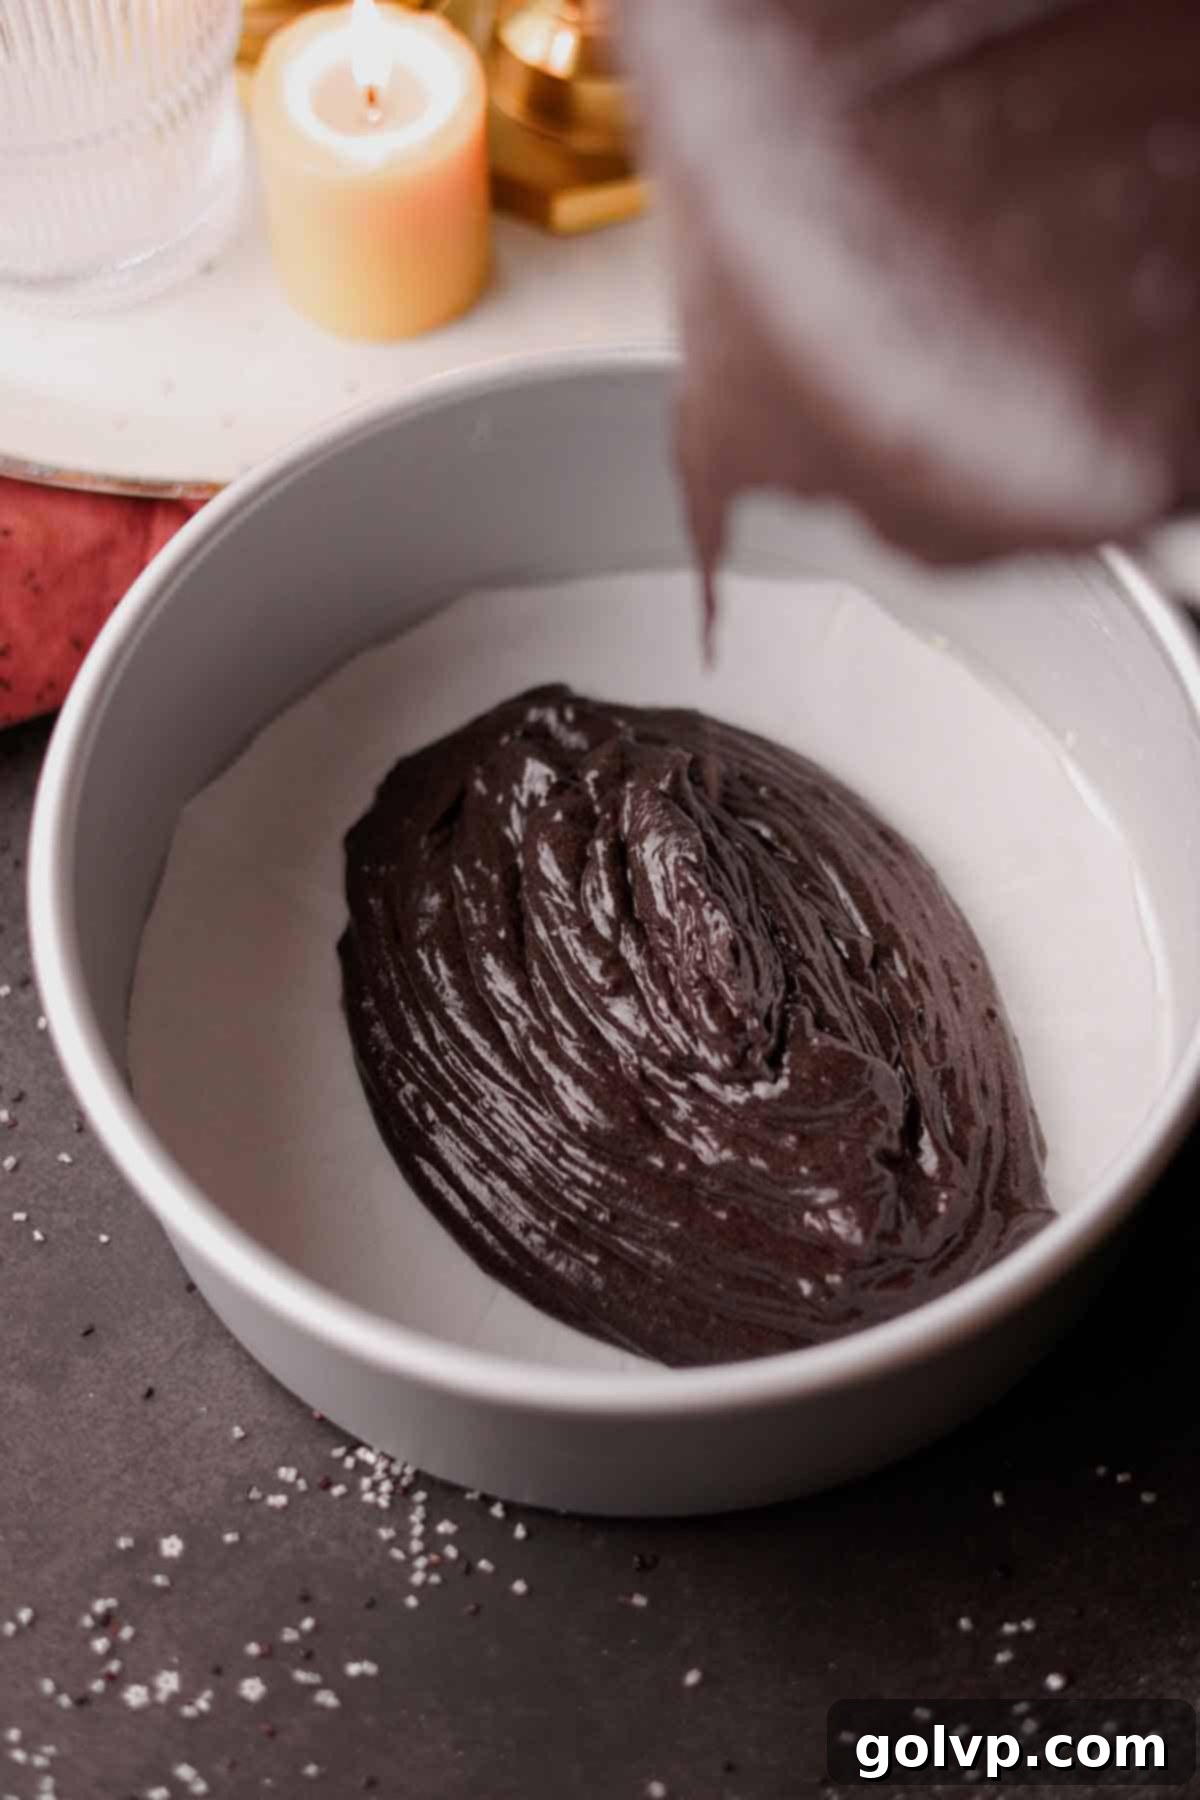
Step 7: Bake the Layers. Evenly divide the prepared batter among the three cake pans. For consistent layer heights, use a kitchen scale or a measuring scoop to ensure equal amounts in each pan. Gently spread out the cake batter to level the tops, then bake for 16-18 minutes. Since the cake is very dark, you won’t be able to rely on visual browning to tell if it’s done. Instead, use the toothpick test: a toothpick inserted into the center should come out mostly clean with just a few moist crumbs attached.
Pro Tip for Cooling: To ensure your cake layers remain moist and are easy to handle, let them cool inside the cake pans for about 10 minutes after removing them from the oven. This allows them to firm up slightly. Then, carefully flip them over onto a wire cooling rack to release them, and let them cool completely to room temperature before frosting. Trying to frost warm cake layers will result in melted frosting!
Step-by-Step: Making the Frosting and Assembling the Cake
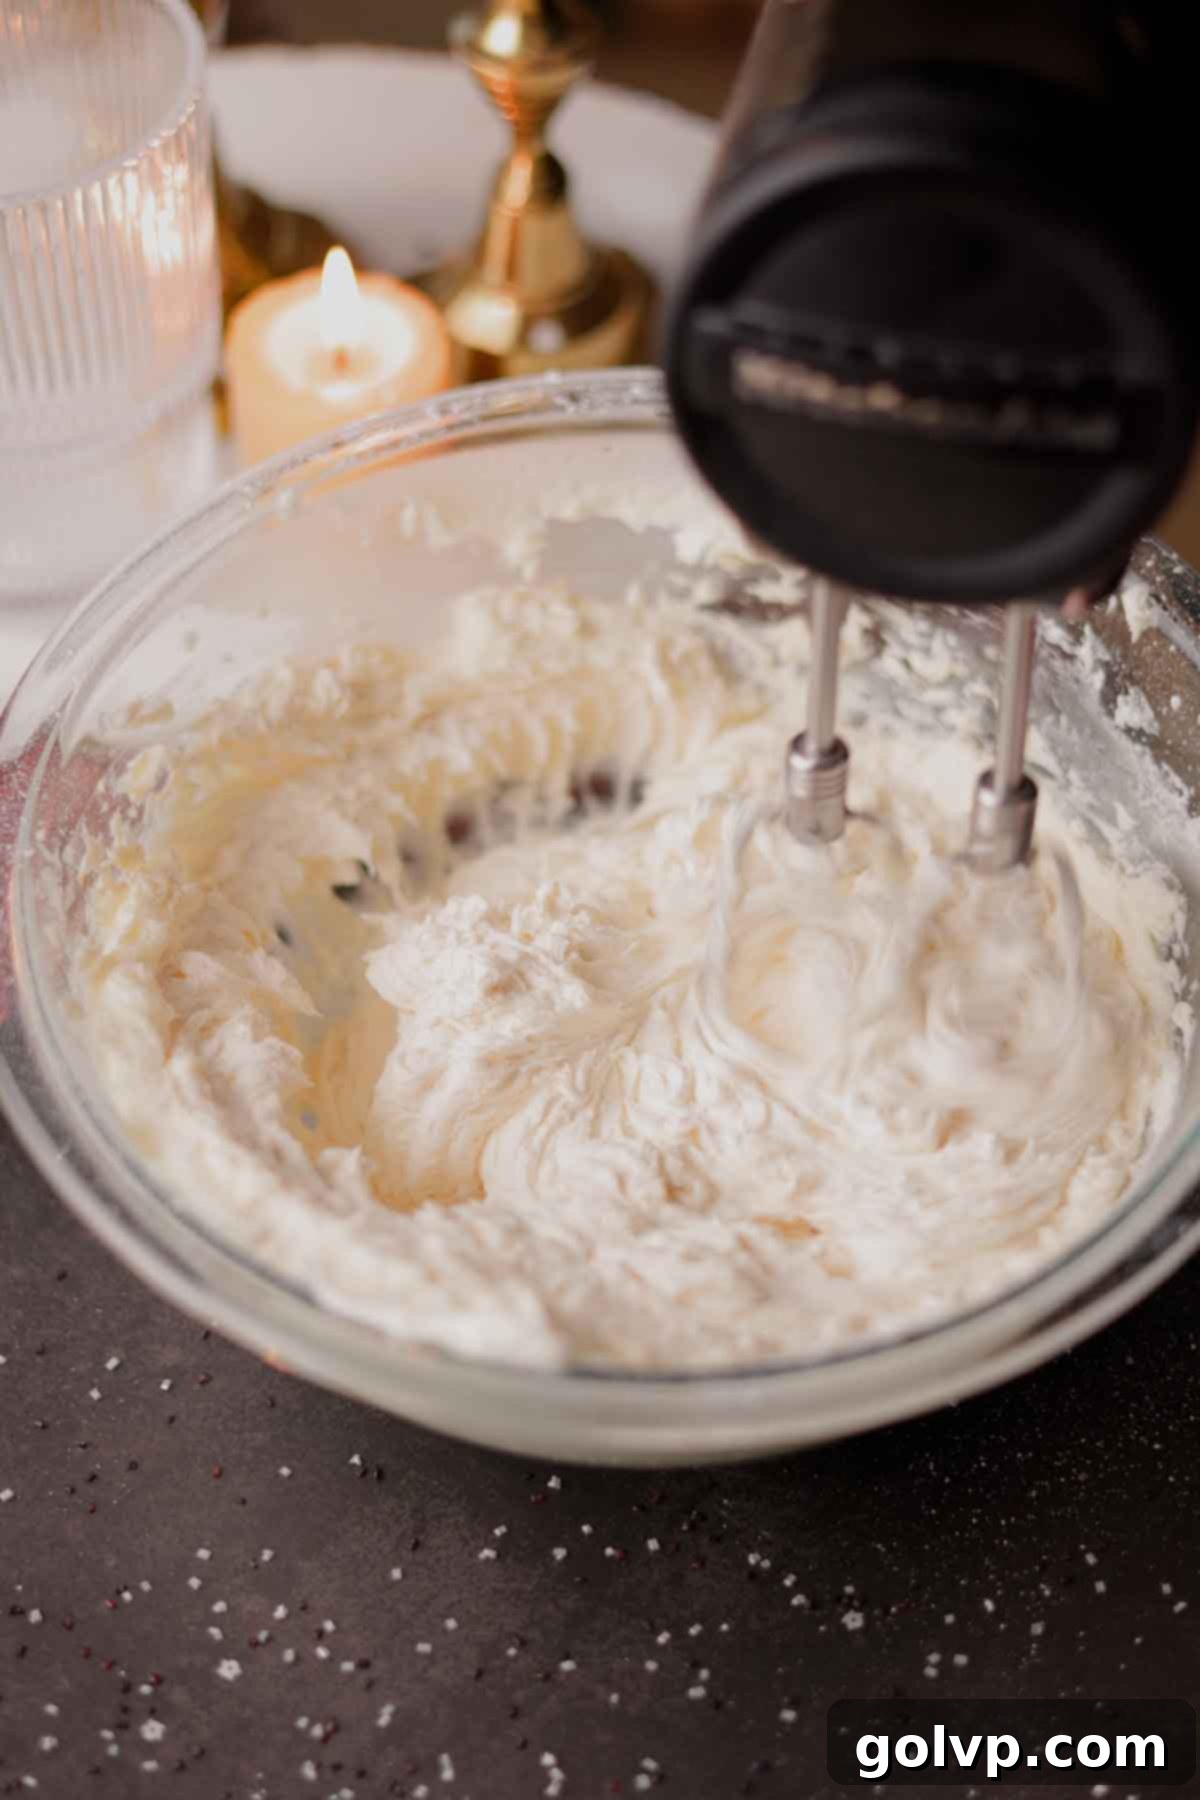
Step 1: Prepare Cream Cheese Base. In a large bowl or the bowl of a stand mixer, add the softened unsalted butter and beat it until it’s smooth and creamy. Next, gradually add the powdered sugar, one cup at a time, beating thoroughly after each addition until fully incorporated. Finally, add the room temperature cream cheese and beat until the mixture is incredibly smooth, very light, and fluffy. Ensure there are no lumps of cream cheese remaining.
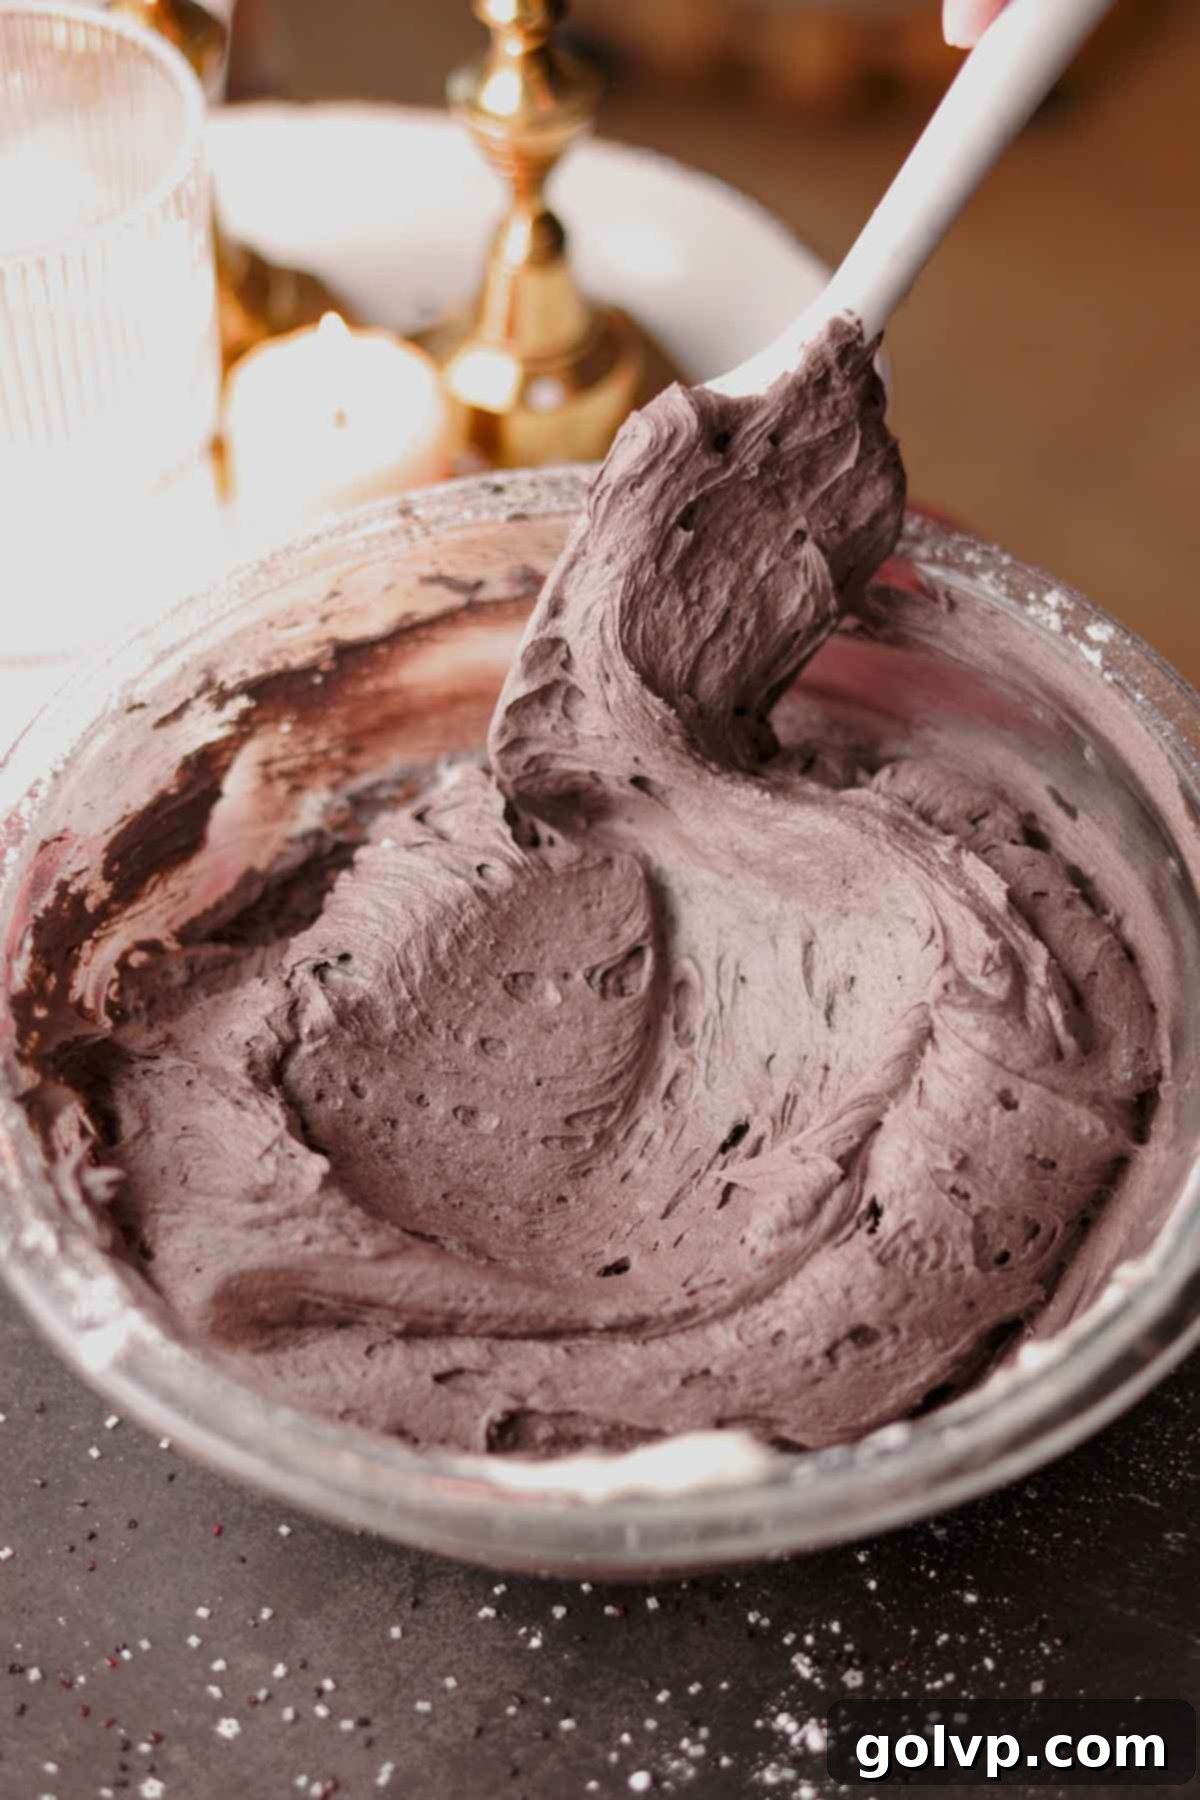
Step 2: Finish the Frosting. Add the vanilla extract, sea salt, and black cocoa powder into the same bowl with the cream cheese mixture. Beat on medium speed until the frosting is smooth, light, and fluffy. Make sure to stop halfway through and scrape down the sides and bottom of the bowl with a spatula to ensure all the cocoa powder is fully mixed in and there are no streaks.
Frosting Consistency Tips: If your frosting appears too thick or stiff, you can thin it out by adding one or two tablespoons of milk (or cream) and beating again until it reaches your desired consistency. Conversely, if your frosting is too thin or runny, add more powdered sugar, a quarter cup at a time, and beat until it stiffens to a good, spreadable consistency. I found my frosting was perfect without needing additional milk.
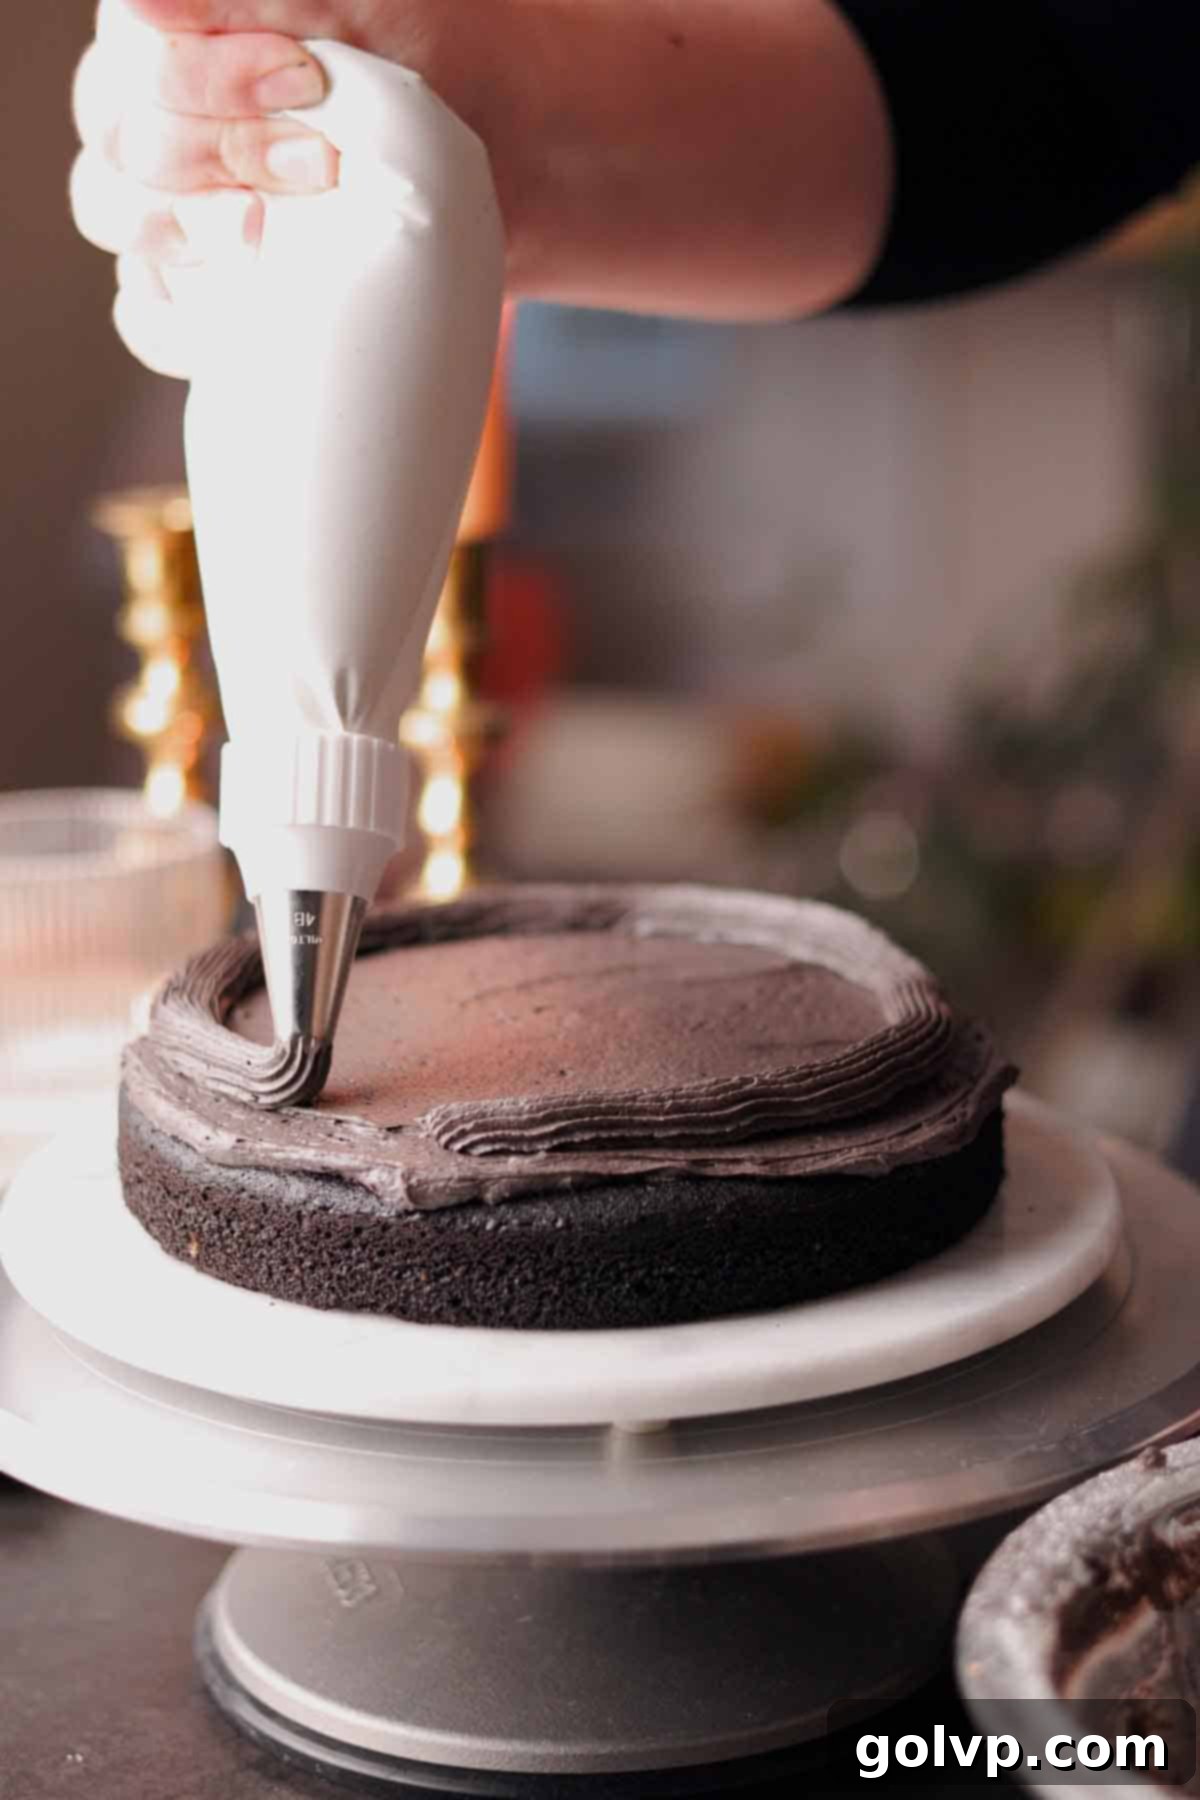
Step 3: Stack and Fill. To begin assembly, place a small dollop of frosting on your chosen cake serving plate or stand. This acts as an anchor to prevent the cake from sliding. Place the first cooled cake layer on top, right side up. Spread a thin, even layer of the black cocoa cream cheese frosting over the entire surface of this layer. Using a large open star piping tip (like a Wilton 1M) or simply a piping bag with the end snipped off, pipe a sturdy border of frosting around the perimeter of the cake layer. This creates a dam to hold the cherry filling.
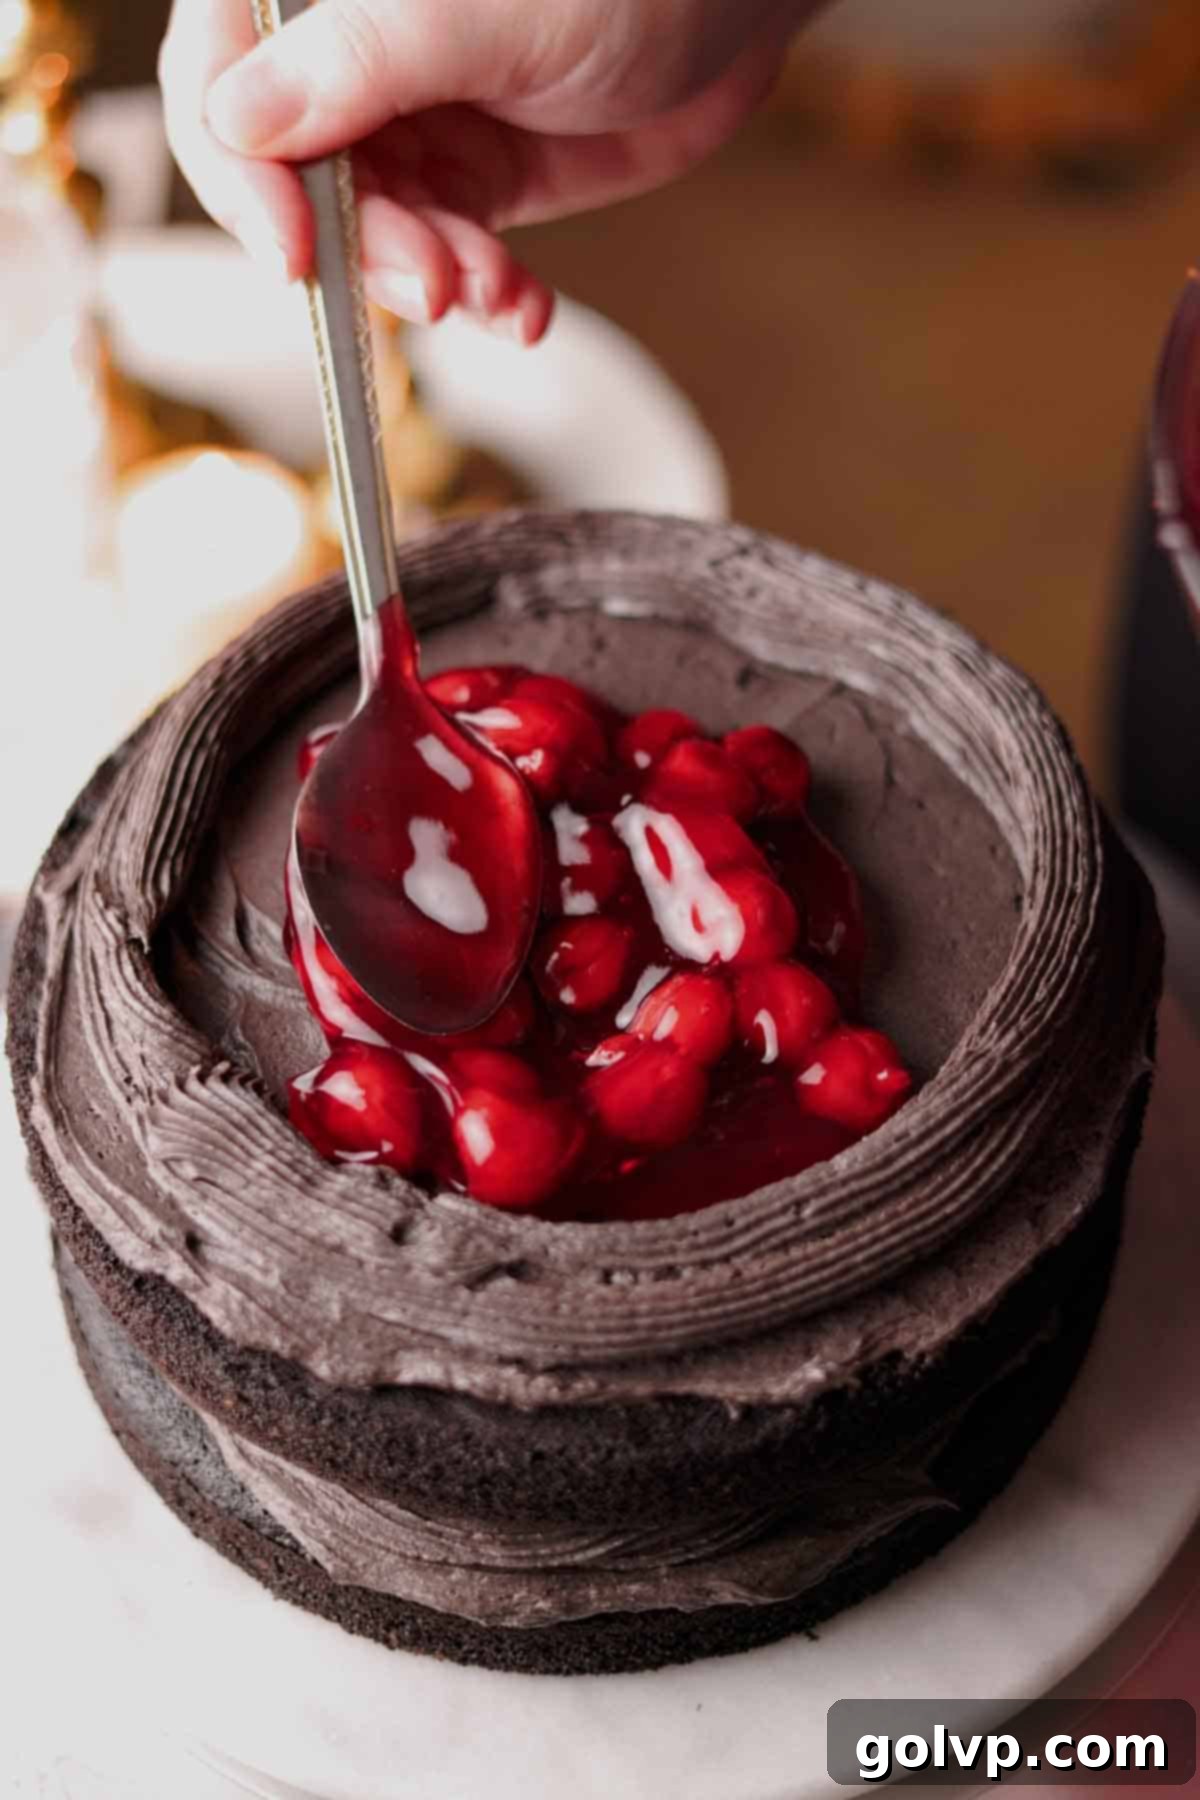
Step 4: Layer with Cherry Filling. Once the frosting dam is in place, generously fill the middle of the cake layer with the vibrant cherry filling. Spread it out gently to the frosting border. Place the next cake layer on top, pressing down gently to secure it. Repeat this process of frosting, piping a border, and filling with cherries until you reach the very last cake layer.
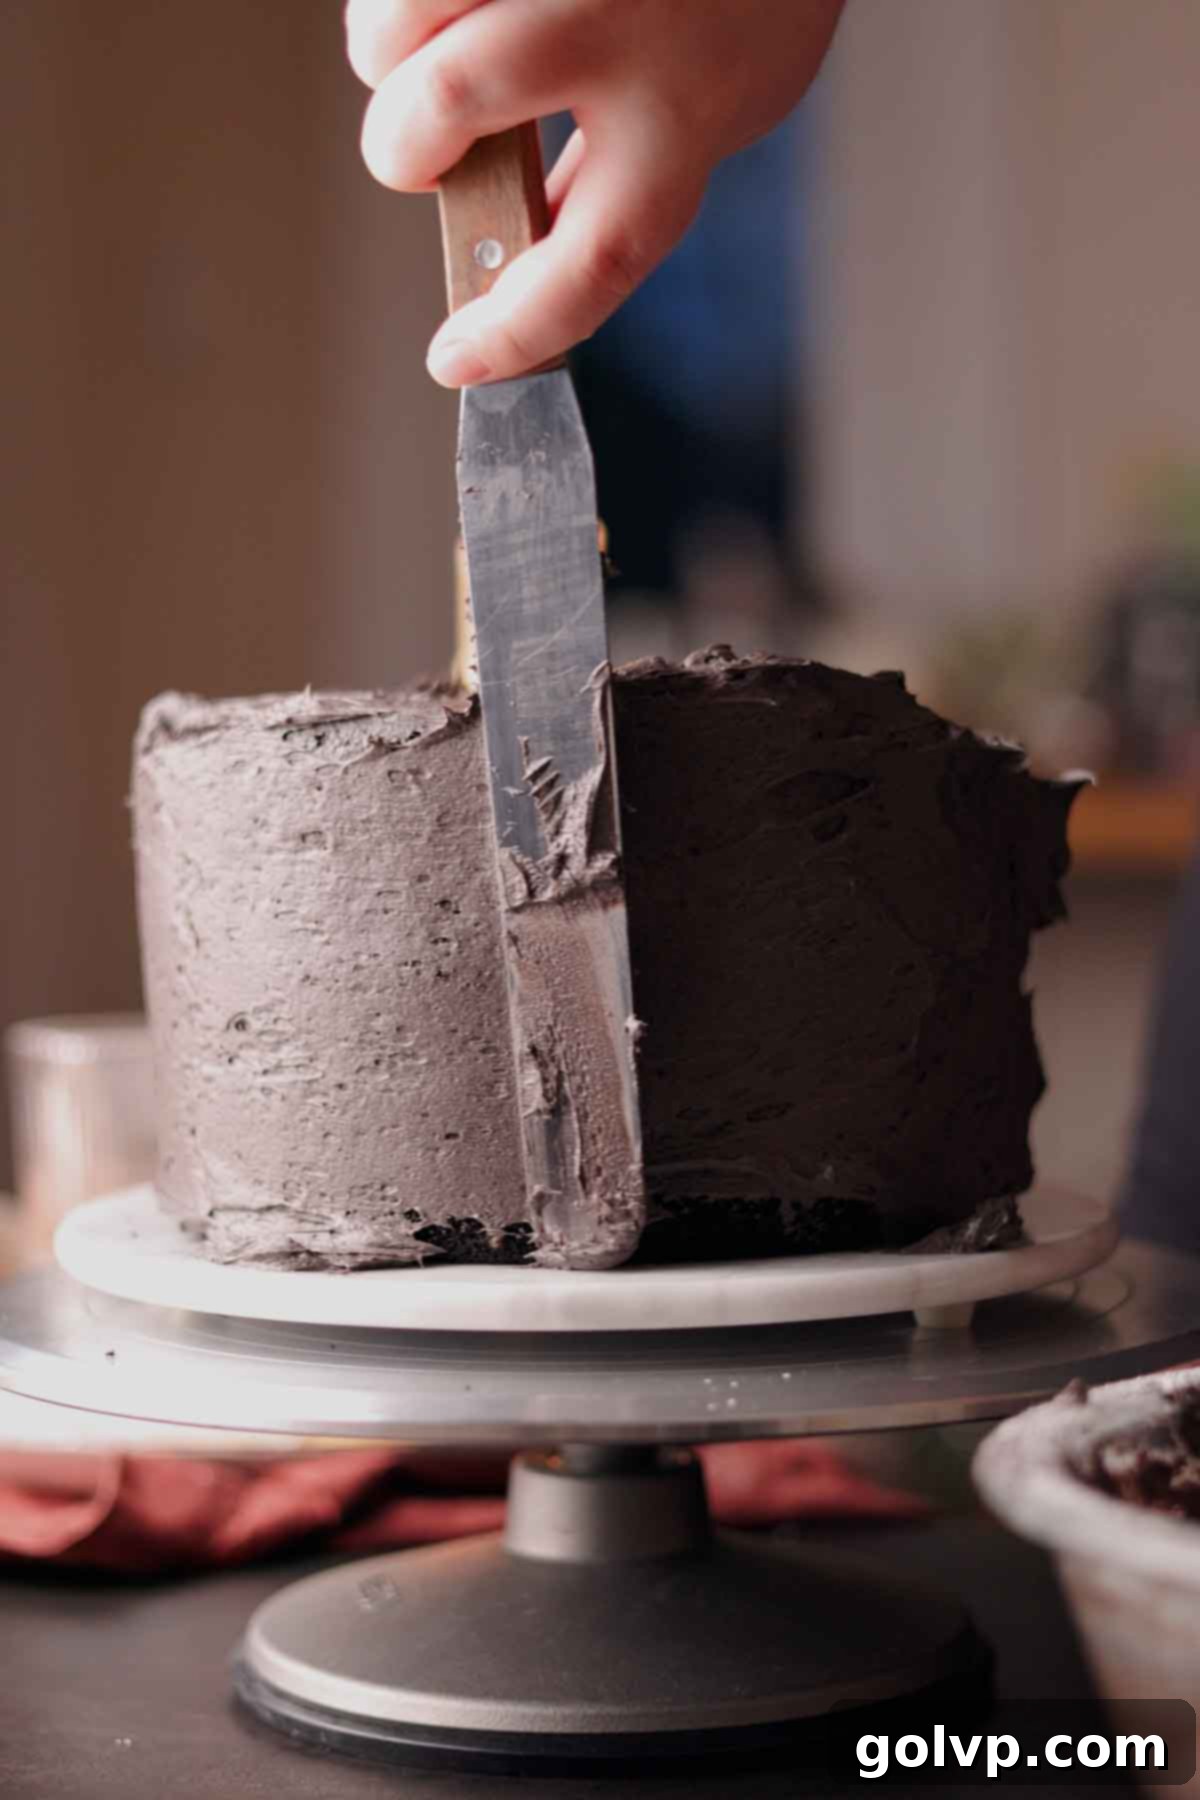
Step 5: Crumb Coat and Chill. Place the final cake layer on top, with its bottom side facing up (this usually provides a flatter surface). Now, cover the entire cake – top and sides – with a thin, even layer of frosting. This is called a “crumb coat,” and it traps any loose crumbs, ensuring a clean final finish. Smooth it out as best as you can, then transfer the cake to the freezer for about 10-15 minutes to allow this crumb coat to set firm. This step is crucial for stabilizing the cake structure and preventing any filling from bulging or seeping out into your final frosting layer.
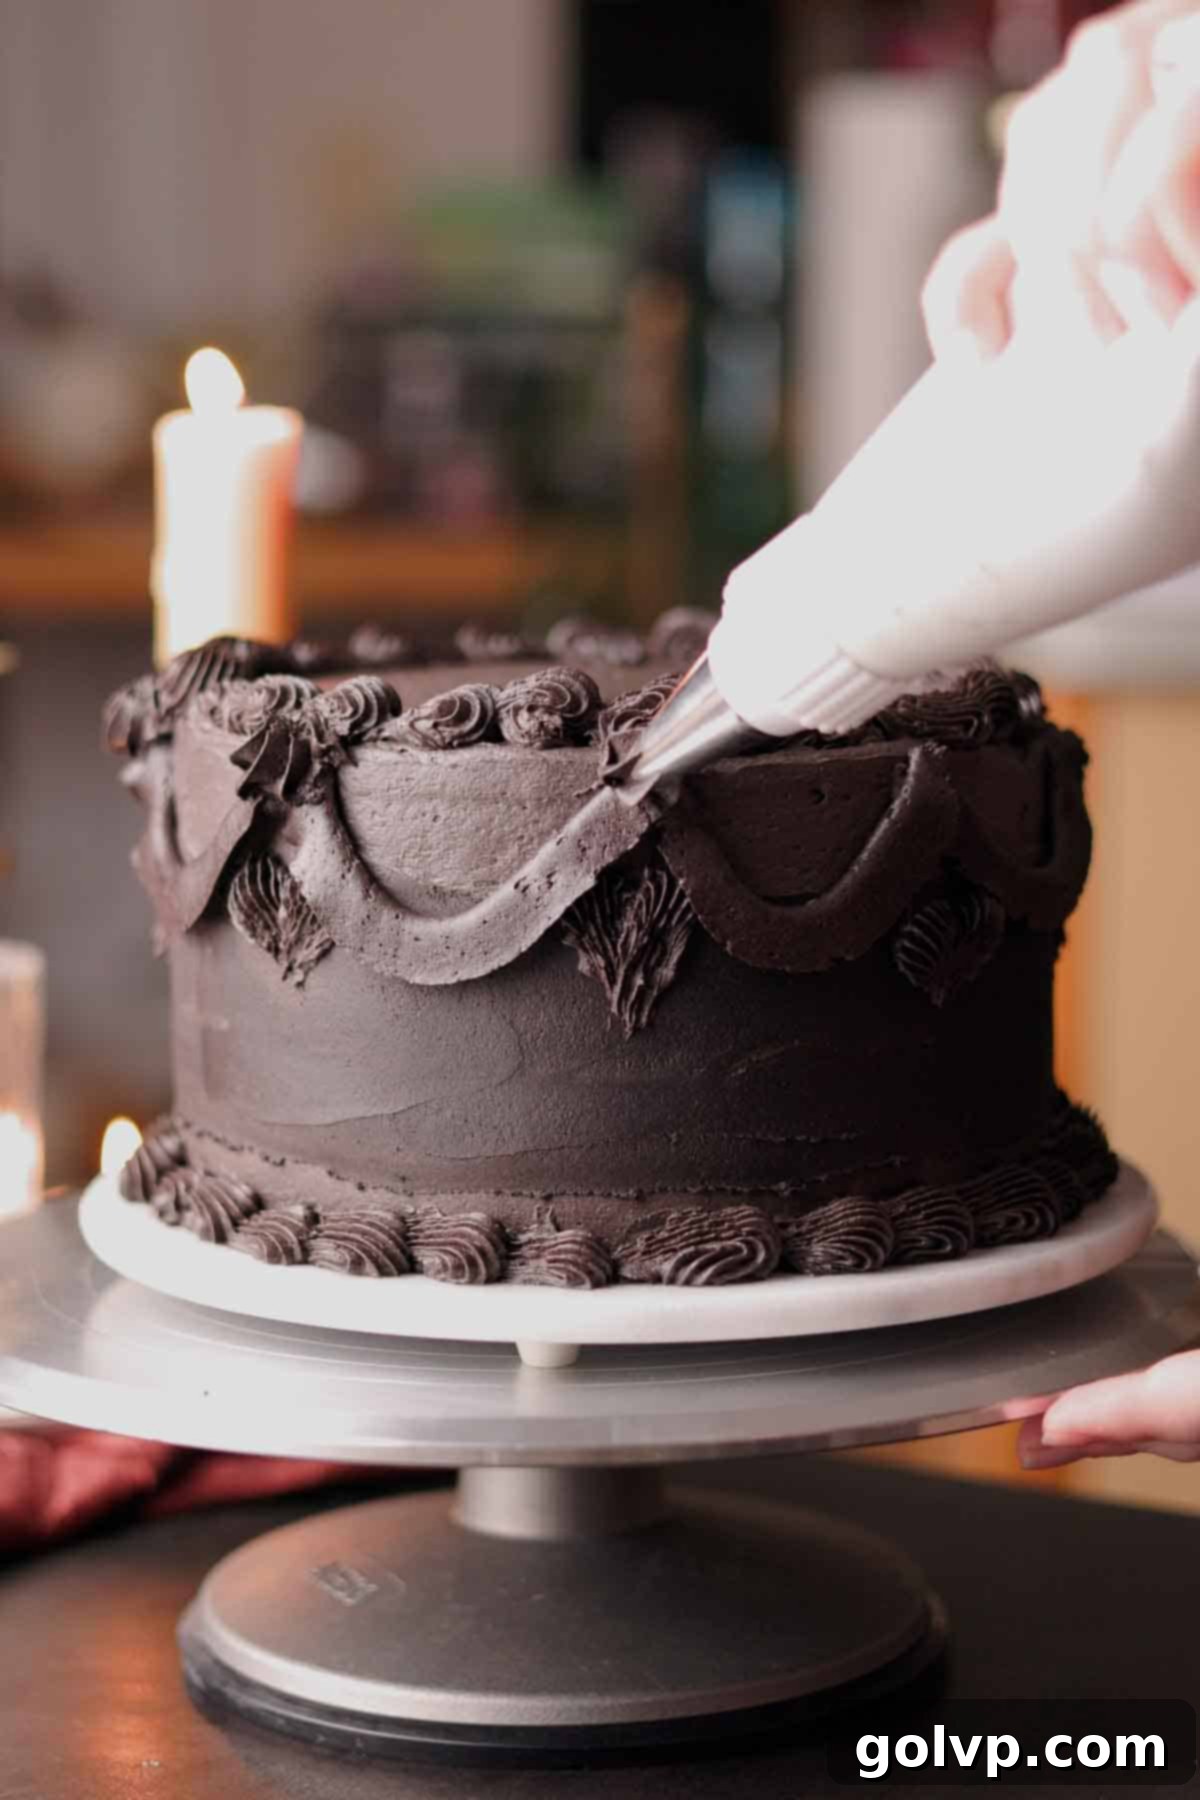
Step 6: Final Frosting and Decoration. Once the crumb coat is firm, remove the cake from the freezer. Apply the remaining frosting generously to the outside of the cake, striving for smooth, even sides and a flat top. Use an offset spatula or bench scraper to achieve a polished finish. Get creative with decorations! You can use various piping tips (I used classic Wilton tips for these beautiful effects) to add elegant borders, delicate ruffles, or stylish swoops around the edges and on top of the cake, creating a truly professional look.
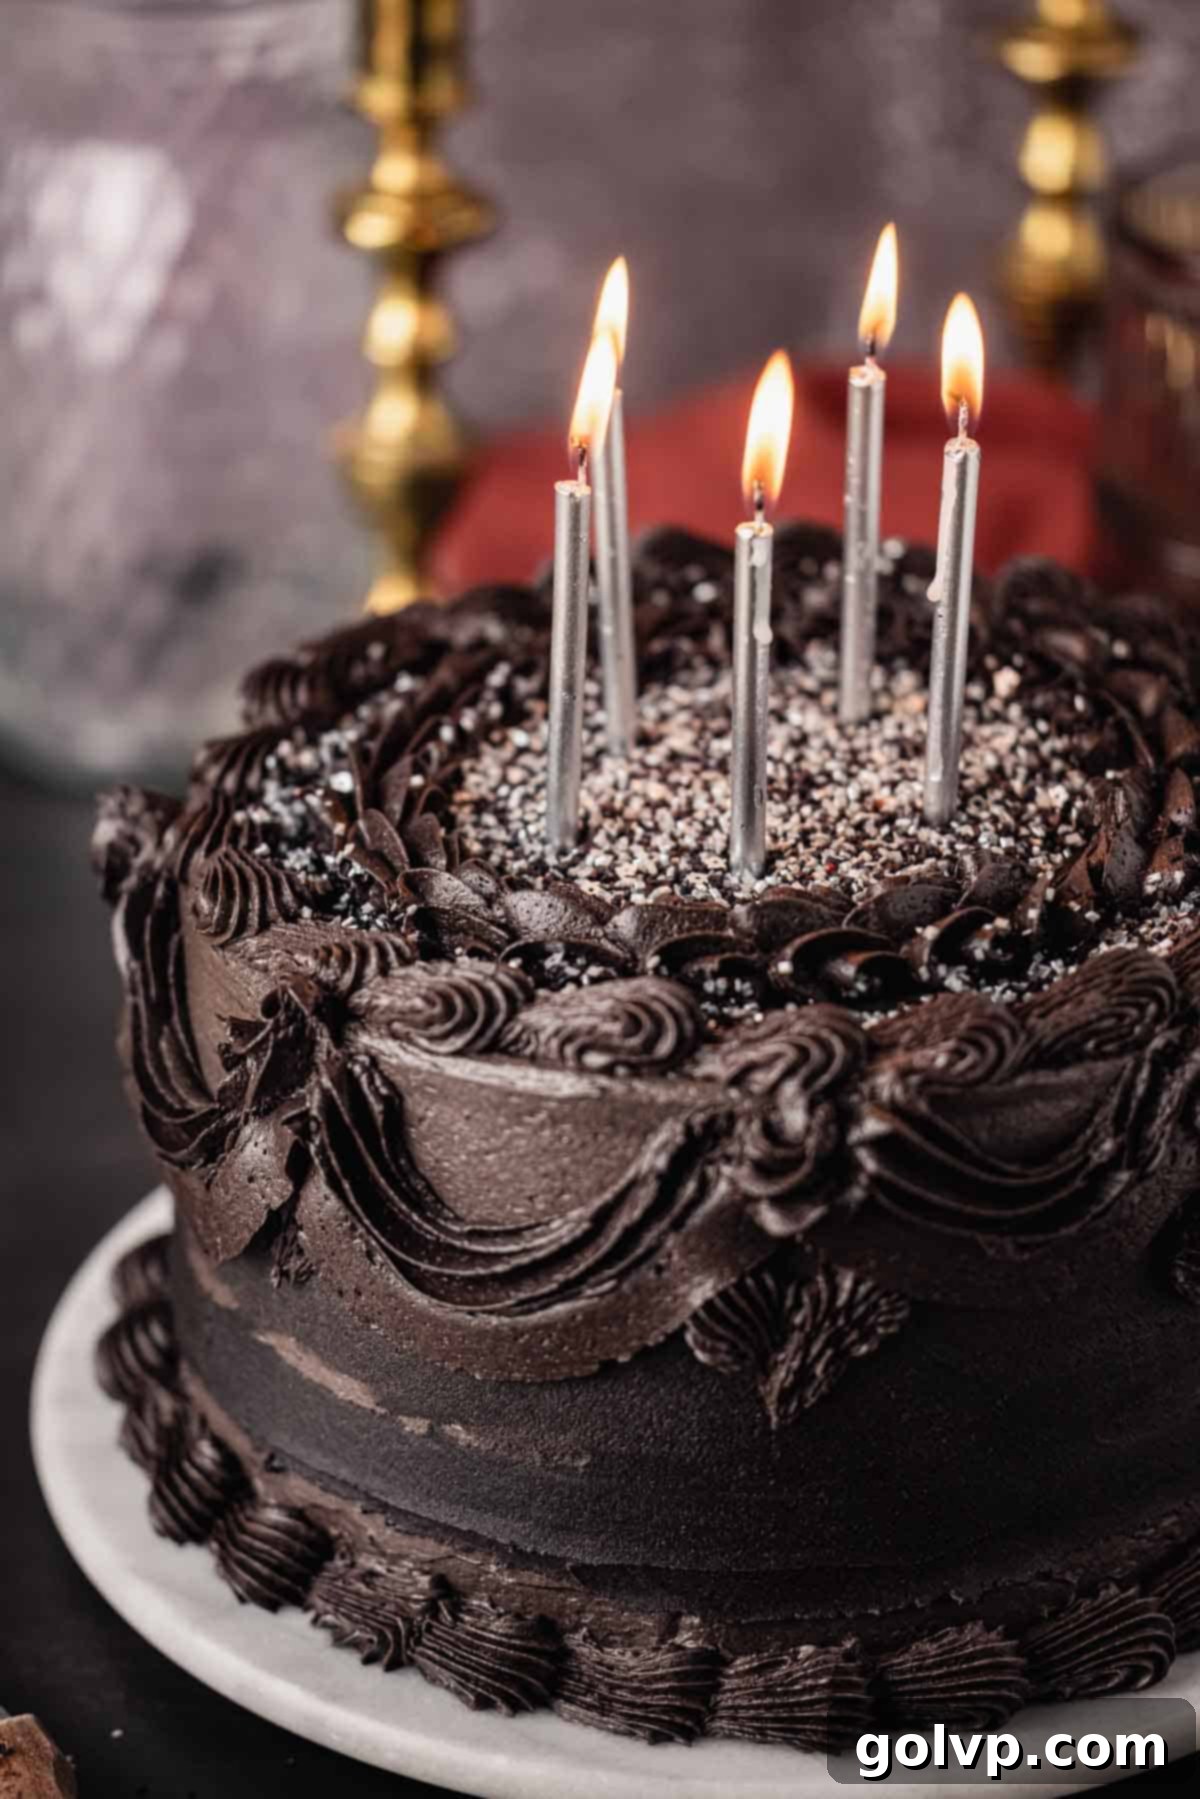
Step 7: Garnish and Serve. For an extra touch of festivity, top your magnificent Black Velvet Cake with sprinkles and candles, if desired. These optional garnishes can add a pop of color or sparkle, perfectly suiting any celebratory occasion. Once decorated, slice the cake and serve it with pride!
Serving Suggestion: Due to the cream cheese in the frosting, this cake must be stored in the refrigerator. However, for the ultimate experience, it is best enjoyed at room temperature. Allow the cake to sit out for 30-60 minutes before serving to soften both the cake layers and the frosting, ensuring that perfect soft and velvety texture and optimal flavor.
🥄 Make Ahead and Storage Tips
Planning ahead can make cake baking a breeze, and this Black Velvet Cake is quite forgiving. Here’s how to prepare and store it to maintain its freshness and deliciousness:
Making Ahead:
You can prepare the cake layers one or two days in advance of assembling the entire cake. Once baked and cooled, individually wrap each cake layer tightly in compostable plastic wrap to prevent them from drying out. Store these wrapped layers at room temperature if you plan to assemble within a day or two. For longer storage, the wrapped cake layers can be frozen for up to two months. Simply thaw them at room temperature before you’re ready to frost and assemble the cake.
The entire black velvet cake, once frosted, can also be made ahead of time. After assembly and frosting, store the cake in a sturdy cake carrier and refrigerate it overnight. This allows the flavors to meld beautifully, making it even more delicious the next day.
Storage Guidelines:
Because the frosting contains cream cheese, it is imperative that this cake be stored in the refrigerator. Always keep the cake in an airtight container or a dedicated cake carrier to protect it from odors and keep it fresh.
While refrigerated, the cake is best served at room temperature. This allows the butter and cream cheese in the frosting to soften, and the cake layers to become incredibly soft and velvety again, delivering the optimal eating experience. Simply remove the cake from the fridge 30-60 minutes before serving.
Any leftover slices can be stored in an airtight container or wrapped tightly with plastic wrap and kept in the fridge for up to 3 days. For longer preservation, individual slices can be frozen for up to 2 months. Thaw frozen slices overnight in the refrigerator or at room temperature for a few hours before enjoying.
❔ What Makes This the BEST Black Velvet Cake?
The secret to this Black Velvet Cake’s unparalleled texture and flavor lies in a deliberate culinary choice: the intelligent combination of both butter and oil in the cake layers. This isn’t just a random addition; it’s a technique that elevates the cake far beyond those made with a single fat source.
Butter is renowned for imparting a rich, luxurious, and undeniably buttery flavor that is simply irresistible in baked goods. It contributes a depth and complexity that oil alone cannot provide. However, butter can sometimes result in a slightly denser cake and can cause baked goods to dry out more quickly. This is where the oil comes in.
Vegetable oil, on the other hand, is a master at creating an incredibly moist and tender crumb. Its liquid state at room temperature contributes to a soft, velvety texture that remains moist for days, ensuring the cake doesn’t become dry or crumbly. Cakes made solely with oil often lack the complex flavor of butter, but they excel in moisture retention.
By thoughtfully combining both butter and oil in this black velvet cake, we achieve the absolute best of both worlds. You get the exquisite, rich buttery flavor that makes a cake truly special, coupled with an ultra-moist, tender, and fluffy texture that stays fresh and delightful for an extended period. This synergistic approach results in a cake that is beautifully balanced in both taste and consistency, making it, without a doubt, the best black velvet cake you’ll ever bake and taste!
📖 Recipe FAQs for Black Velvet Cake
Yes, you can substitute black cocoa powder with Dutch-processed cocoa powder. However, it’s important to understand that the cake will not have the same intense black color and distinct Oreo-like flavor. It will result in a more traditional dark brown chocolate cake with a classic chocolate flavor. Do not use natural cocoa powder, as its acidity level is different and will negatively impact the cake’s leavening and texture.
Absolutely! The cherry filling is a wonderful addition for flavor and color contrast, but if you prefer a simpler cake or aren’t a fan of cherries, you can certainly omit it. In that case, simply use the black chocolate cream cheese frosting to fill in between the cake layers for a purely chocolate and frosting experience.
Yes, you can. If you’re not a fan of cream cheese or don’t have it on hand, you can substitute the cream cheese with an equal amount of additional softened butter. This will transform it into a traditional chocolate buttercream frosting. While I personally love how the cream cheese adds a delightful tang and balances the richness and sweetness, a butter-only frosting will still be delicious and creamy.
Yes, this recipe can easily be adapted for cupcakes! Prepare the batter as directed, then fill cupcake liners about two-thirds full. Bake for approximately 18-22 minutes, or until a toothpick inserted into the center comes out clean. The yield will be around 24-30 standard cupcakes. You can then frost them with the black cocoa cream cheese frosting and add a dollop of cherry filling on top or pipe it into the center.
To achieve a perfectly smooth, lump-free frosting, ensure both your butter and cream cheese are at proper room temperature (soft enough to indent easily, but not melted). Sift your powdered sugar and black cocoa powder before adding them to the butter and cream cheese mixture. This removes any lumps from the dry ingredients. Finally, beat the frosting on medium-high speed for several minutes, stopping frequently to scrape down the sides and bottom of the bowl. This ensures everything is thoroughly incorporated and creates a light, airy texture.
🍫 Related Recipes for Chocolate & Cherry Lovers
- Black Forest Cupcakes
- Nutella Cupcakes with Nutella Buttercream Frosting
- The Best Pink Velvet Cake
- Cherry Brownies
Did you fall in love with this recipe? I would be absolutely thrilled if you could rate it and share your thoughts in the comments below! Don’t forget to showcase your beautiful creation on Instagram and tag @flouringkitchen. For more delectable recipe ideas and to save your favorites, make sure to follow me on Pinterest!
📖 Recipe
Black Velvet Cake
MaryEquipment
- electric mixer
- eight inch round baking pans
- piping bag and tips optional
- cake carrier optional
Ingredients
Cake Layers
- 1 cup black cocoa powder
- 1 cup water boiling hot
- ½ cup vegetable oil
- ½ cup unsalted butter softened
- 1 ½ cup granulated sugar
- ¼ teaspoon sea salt
- 4 large eggs room temperature
- 1 tablespoon pure vanilla extract
- 1 tablespoon vinegar white or apple cider vinegar
- 1 cup buttermilk room temperature
- 2 ½ cups all purpose flour 300g
- 2 teaspoons baking powder
- 1 teaspoon baking soda
Frosting & Assembly
- 2 cups unsalted butter softened
- 5-6 cups powdered sugar
- 6 oz cream cheese room temperature
- ¾ cup black cocoa powder
- 2 teaspoons pure vanilla extract
- ⅛ teaspoon sea salt
- 1-2 tablespoons milk optional
- 2 cups cherry pie filling store bought or homemade
- Sprinkles optional
Instructions
Cake Layers
- Add cocoa powder into a medium heat safe bowl. Pour hot water into the cocoa powder and whisk until smooth. Set aside to cool to room temperature while you make the cake.1 cup black cocoa powder, 1 cup water
- Preheat oven to 355°F (180°C). Grease three 8” round baking pans with a pat of butter or baking spray and line the bottoms with parchment paper rounds. Set aside for later.
- In a large bowl or stand mixer, combine butter, oil, sugar, and salt. Beat with an electric mixer until lightened in color and creamy.½ cup vegetable oil, ½ cup unsalted butter, 1 ½ cup granulated sugar, ¼ teaspoon sea salt
- Add eggs, one by one into the same bowl, beating well in between each egg. Scrape the sides of the bowl down with a spatula.4 large eggs
- Add vanilla, vinegar, and buttermilk right into the same bowl and mix to form a runny mixture.1 tablespoon pure vanilla extract, 1 tablespoon vinegar, 1 cup buttermilk
- Sift flour, baking powder, and baking soda right into the same bowl. Fold with a wire whisk until mostly combined.2 ½ cups all purpose flour, 2 teaspoons baking powder, 1 teaspoon baking soda
- Pour the cocoa powder mixture into the cake batter and fold until most of the lumps are gone. You can give the batter a few quick whisks with the whisk to smooth it out but don’t overmix.
- Evenly divide the batter among the three cake pans. Use a scale or a measuring scoop to help. Spread out the cake batter to level and bake for 16-18 minutes or until a toothpick inserted into the center comes out mostly clean with a few crumbs attached. You won’t be able to notice if the cake is browning too much so it’s important to use a toothpick to tell if the cake is ready.
- Let the cake layers cool inside the cake pans for 10 minutes before flipping them over to release on a cooling rack and letting them cool to room temperature.
Frosting & Assembly
- Add softened butter to a large bowl or stand mixer. Beat until smooth. Add powdered sugar, cup by cup, beating well in between each cup. Add cream cheese and beat until smooth, very light and fluffy.2 cups unsalted butter, 5-6 cups powdered sugar, 6 oz cream cheese
- Add vanilla, salt, and cocoa powder into the same bowl and beat until smooth and fluffy. Make sure you scrape down the bowl halfway. If you want to fluff the frosting even more, add one or two tablespoons of milk and beat again (I didn’t because my frosting didn’t need this).¾ cup black cocoa powder, 2 teaspoons pure vanilla extract, ⅛ teaspoon sea salt, 1-2 tablespoons milk
- Place a small dollop of frosting on your cake serving plate. Add the first cake layer, right side up. Spread a thin layer of frosting and pipe a border around the perimeter with a large open star piping tip (or just use a piping bag with the end cut off). Fill the middle with cherry filling, stack, and repeat until the very last layer.2 cups cherry pie filling
- Place the last layer of cake on top, bottom side up. Cover the whole cake with a thin layer of frosting, smooth, and freeze the cake for 10 minutes to set. This stabilizes the cake structure and prevents the filling from seeping out.
- Frost the outside of the cake with more frosting, smoothing the sides and top. Use piping tips to pipe borders and swoops on the cake. Top with sprinkles and candles (optional). Slice and serve!Sprinkles
