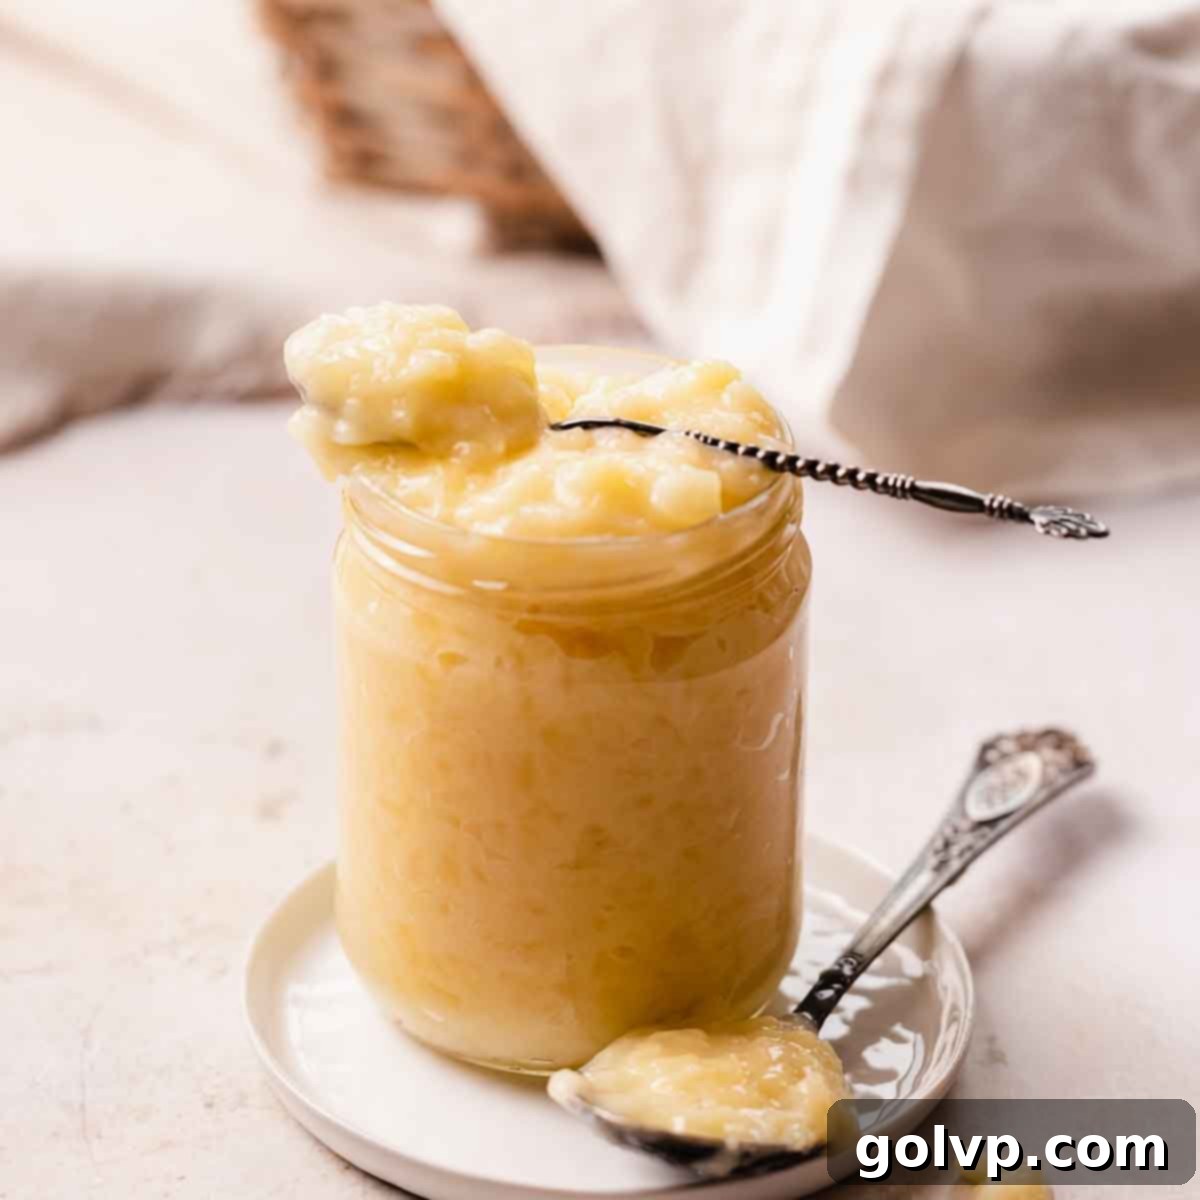
The Ultimate Creamy & Tangy Pineapple Cake Filling: Your Go-To Tropical Recipe
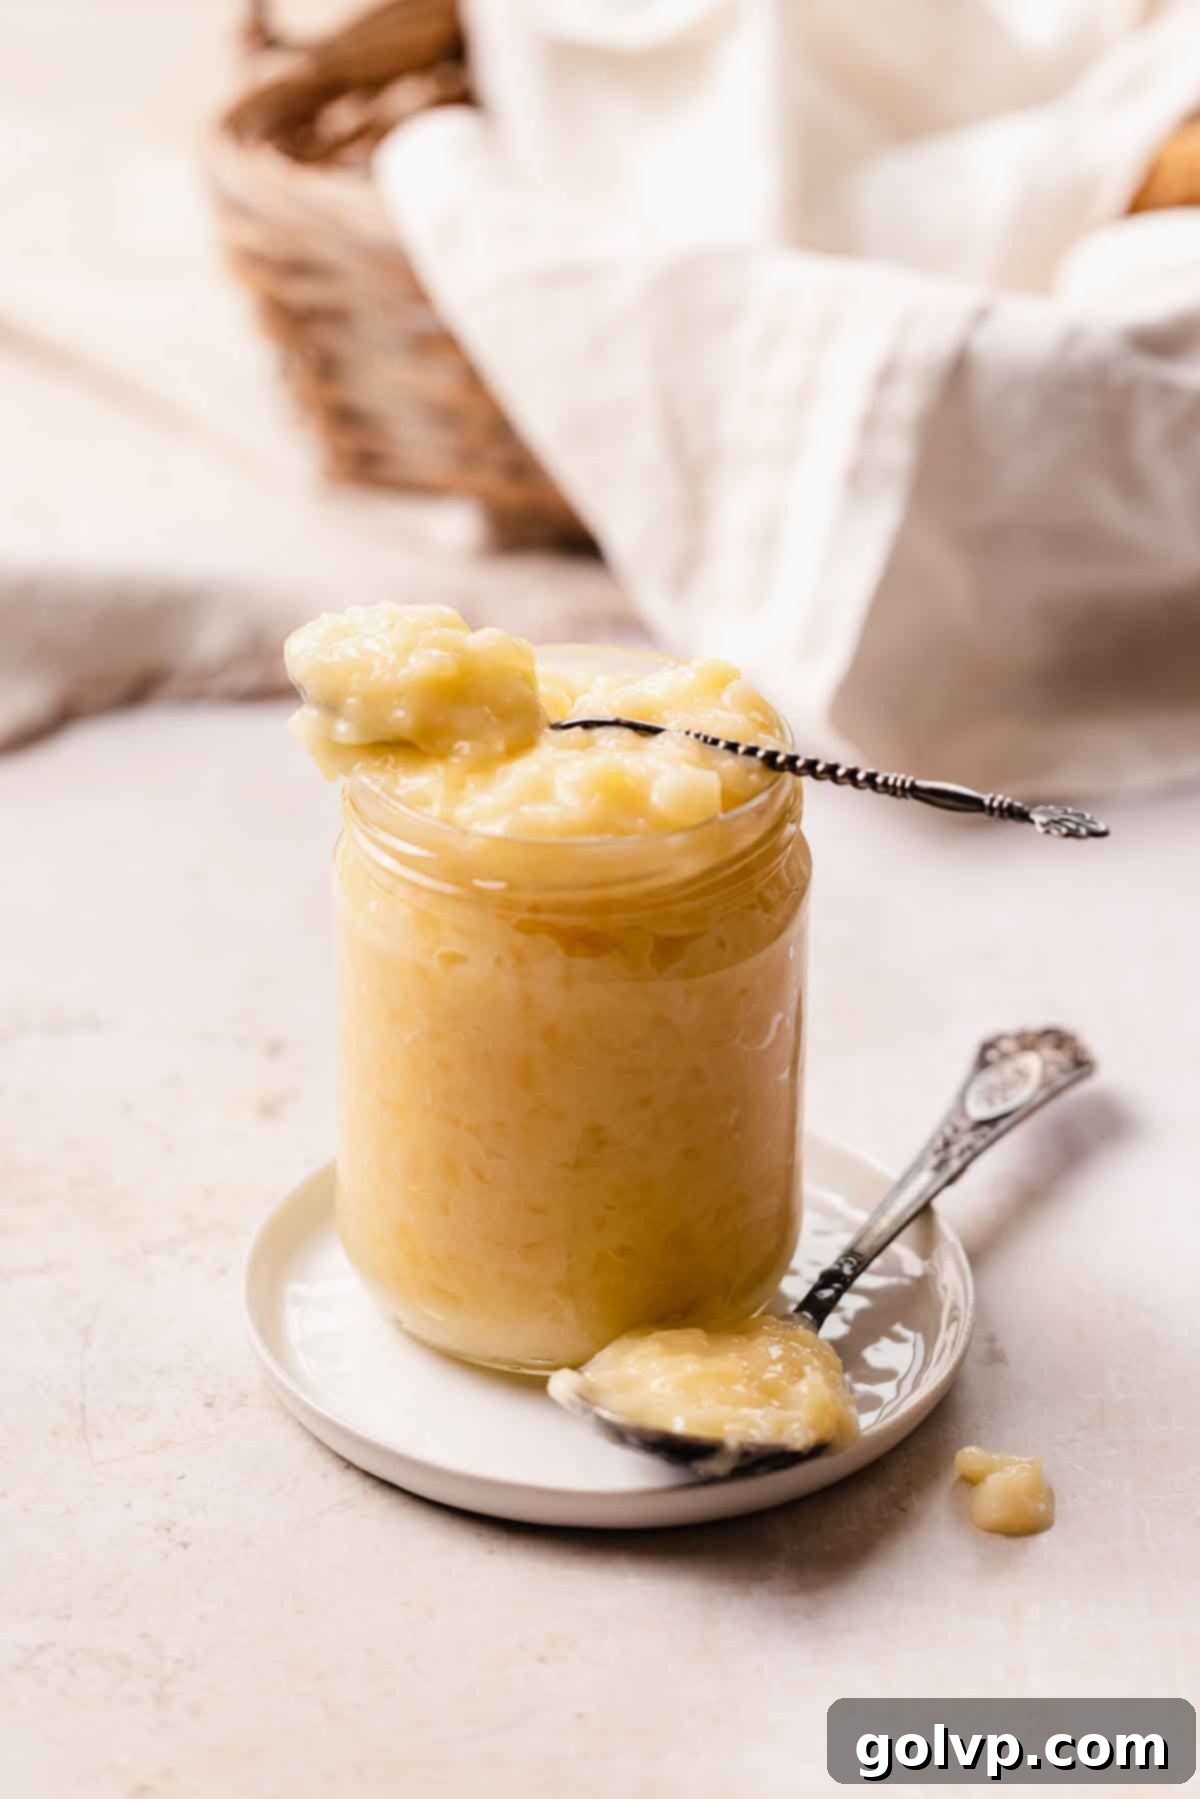
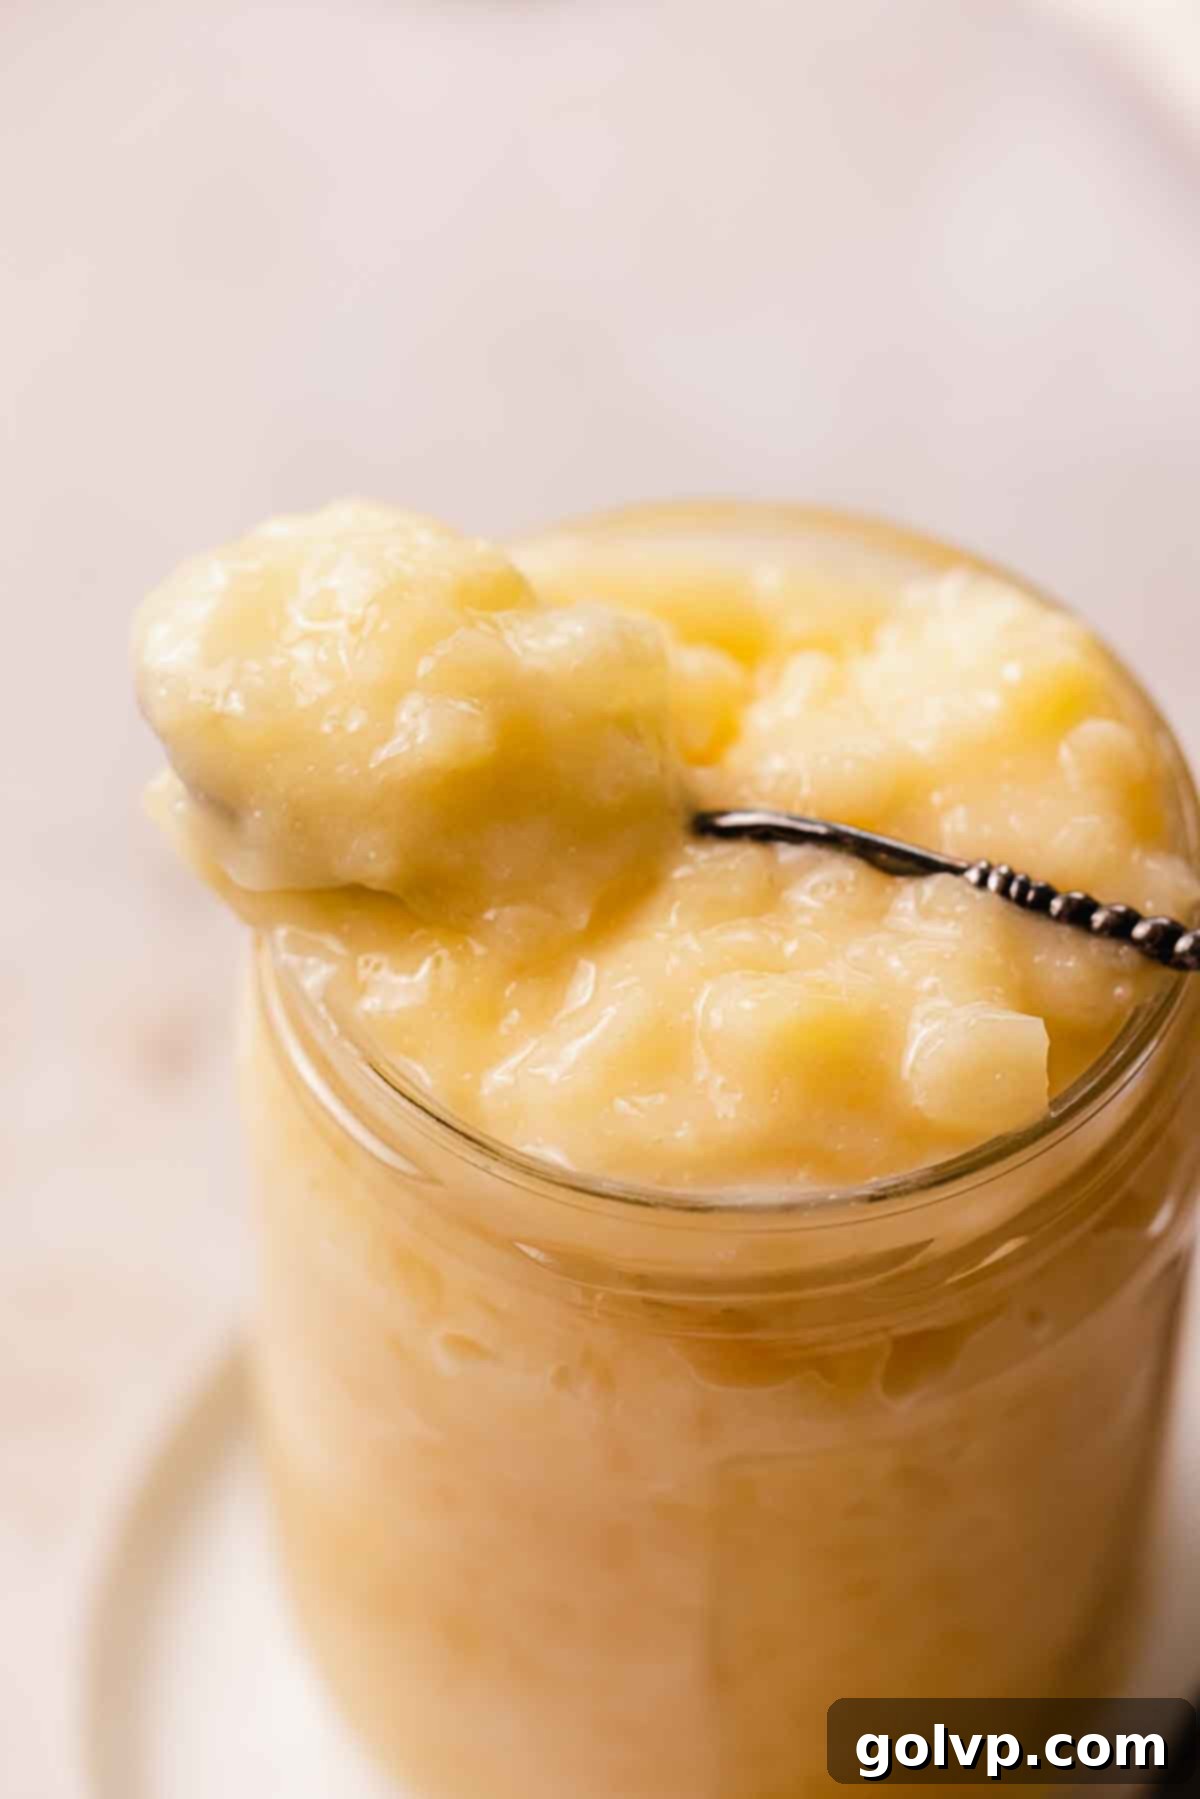
Prepare to transform your ordinary cakes into extraordinary tropical delights with this incredibly rich, creamy, and flavorful pineapple cake filling. This recipe is designed to be the perfect companion for any dessert craving a vibrant, fruity twist and a burst of moisture. We’ve crafted the ideal consistency – not so thin that it threatens to escape the confines of your cake layers, yet not so thick that it becomes a solid, unyielding block. Instead, you’ll achieve a luscious, smooth filling with delightful bits of pineapple that melt in your mouth.
The secret to its exceptional brightness and ability to truly make the pineapple flavor sing lies in a touch of fresh lemon juice. This essential ingredient cuts through the sweetness, preventing it from being cloying and adding a zesty counterpoint. Furthermore, a generous amount of butter is incorporated at the end, not just for thickening but to impart an unparalleled creaminess and richness that elevates the entire experience. This filling is exceptionally versatile, but I particularly love it in my carrot cake with pineapple recipe, where it adds an unexpected and utterly delicious tropical dimension.
[feast_advanced_jump_to]
🍍 Why You’ll Absolutely LOVE This Pineapple Filling Recipe
This pineapple cake filling isn’t just another recipe; it’s a game-changer for your baking. Here’s why it’s destined to become a staple in your kitchen:
- Effortlessly Quick and Simple to Prepare: In today’s busy world, who has time for complicated recipes? This filling is incredibly fast to whip up, requiring minimal active cooking time. You can have it ready in under 20 minutes (plus chilling), making it perfect for last-minute dessert preparations or when you just want a delicious homemade treat without the fuss. Its straightforward steps ensure success for even novice bakers.
- A Burst of Tangy Tropical Flavor: Say goodbye to bland fillings! This creamy pineapple creation delivers a vibrant explosion of sweet and tangy notes. The natural sweetness of pineapple combined with a hint of tart lemon creates a perfectly balanced profile that will transport your taste buds to a tropical paradise. It’s truly a delicious addition to a wide range of desserts, from classic coconut cakes to our beloved carrot cake.
- Luxuriously Creamy and Perfectly Textured: Texture is key to a truly enjoyable filling, and this recipe absolutely nails it. Imagine succulent, finely crushed pineapple pieces suspended in a velvety, thick sauce. This delightful combination provides a fantastic mouthfeel that’s both smooth and pleasantly textural, preventing it from being either too runny or too gelatinous. It adds a delightful moistness and richness to every bite of your cake.
- Incredibly Versatile for Various Desserts: While perfect for cake, this filling’s utility doesn’t stop there. Think beyond cake layers! It’s fantastic in tarts, as a topping for cheesecakes, swirled into yogurt, or even as a standalone dessert. Its robust flavor and satisfying texture make it a highly adaptable component for countless sweet creations.
📝 Essential Ingredients for Your Pineapple Filling
To ensure your pineapple filling is nothing short of perfection, pay attention to these key ingredients and the tips for using them. For precise measurements and step-by-step instructions, please refer to the full recipe card below.
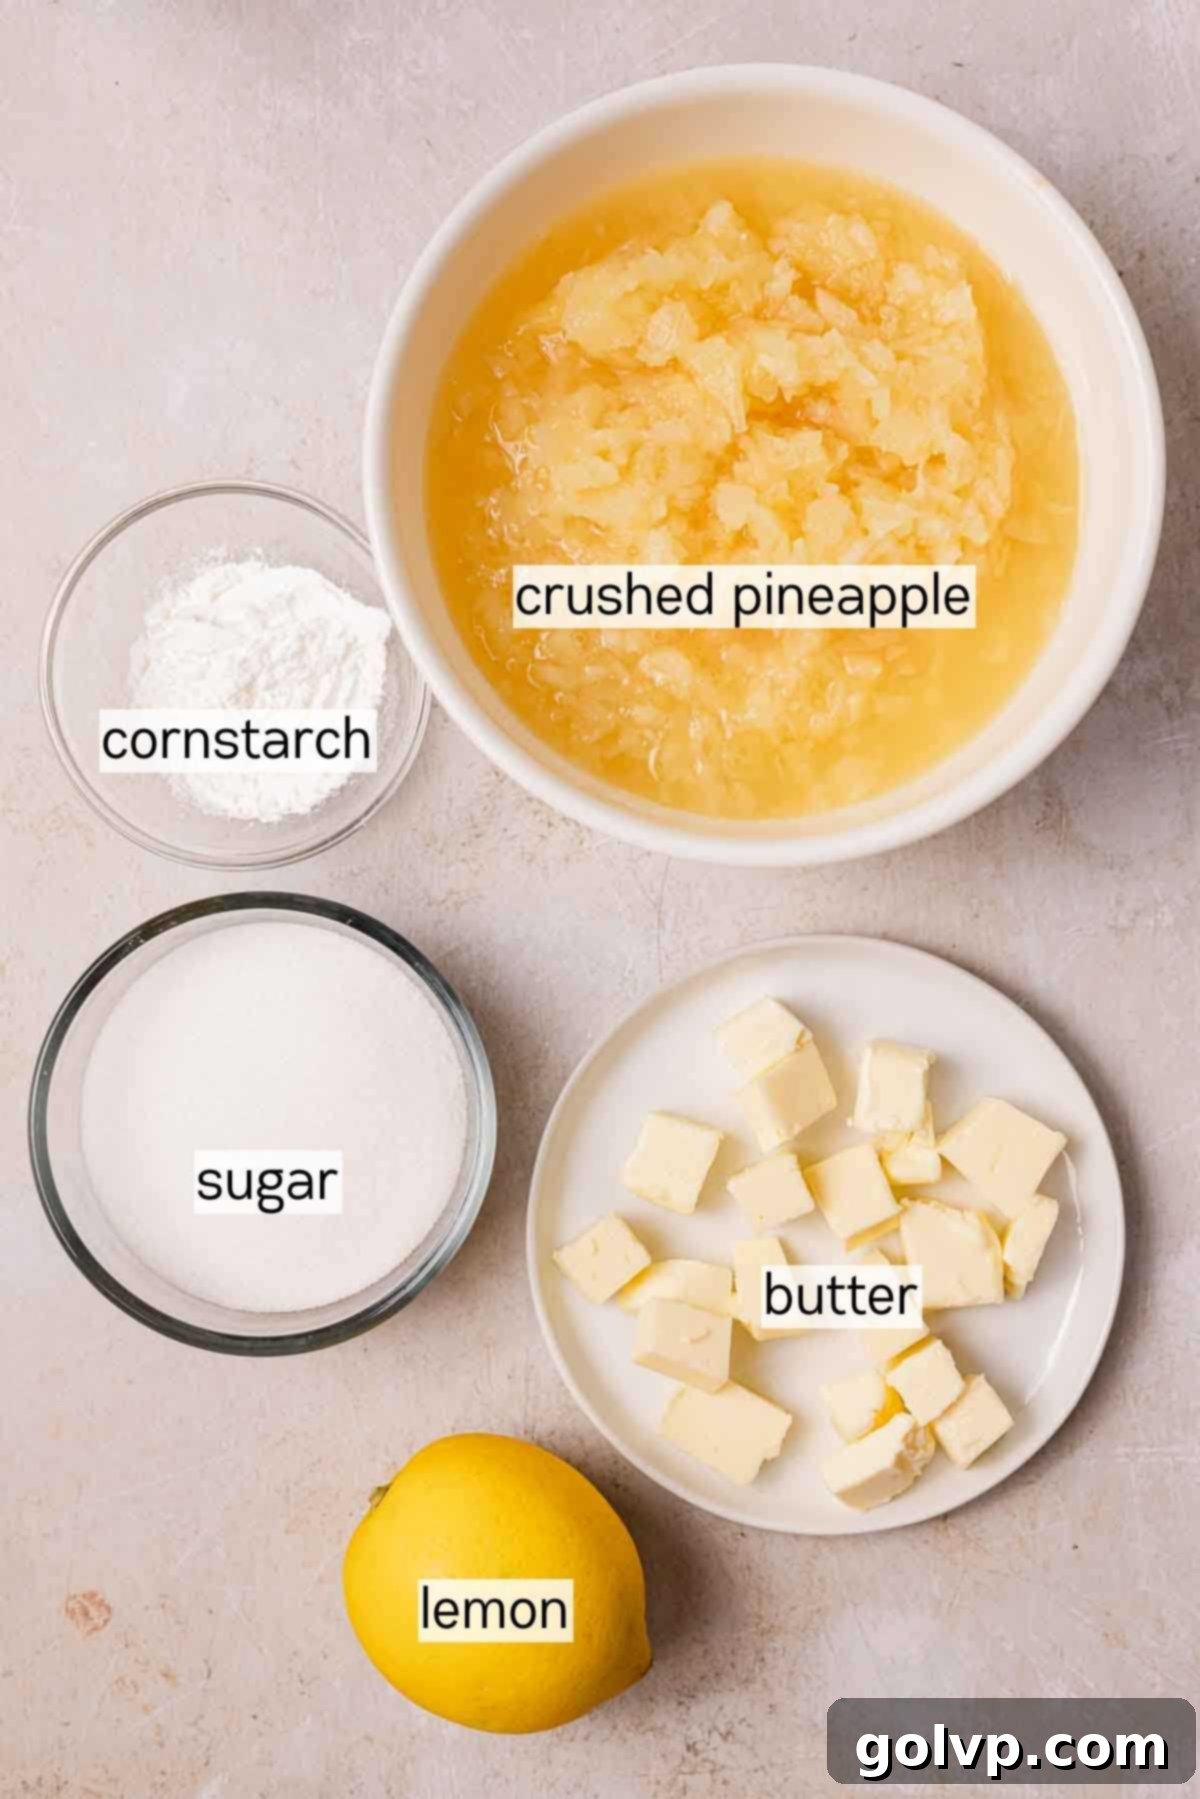
- Canned Crushed Pineapple in Juice: This is the star of our show! Opt for crushed pineapple packed in its own juice, rather than syrup. The juice is crucial for the liquid component of the filling, and the crushed texture provides wonderful little bursts of pineapple flavor throughout. Make sure to use the entire can, including all the precious juice, as it contributes significantly to both the flavor and consistency.
- Fresh Lemon Juice: While optional, a squeeze of fresh lemon juice is highly recommended. It’s a secret weapon that brightens the overall flavor profile, prevents the filling from tasting “canned,” and truly enhances the natural tanginess of the pineapple. It adds a refreshing zing that balances the sweetness beautifully.
- Unsalted Butter: Added towards the end of the cooking process, butter is essential for achieving that luxurious, creamy mouthfeel and rich flavor. It also contributes to the filling’s smooth texture and helps prevent it from solidifying too much once cooled. If you only have salted butter, omit the added salt in the recipe.
- Cornstarch (or Arrowroot Starch): This is our primary thickening agent, responsible for giving the filling its perfect, scoopable consistency. Cornstarch creates a lovely, glossy finish. If you plan on freezing your filling for later use, I highly recommend substituting cornstarch with arrowroot starch. Arrowroot starch holds up better to freezing and thawing, maintaining its smooth consistency without becoming grainy or breaking down. It’s a 1:1 substitution.
- Granulated Sugar: To complement the natural sweetness of the pineapple and lemon, granulated sugar is used. You can adjust the amount slightly to your preference, depending on how sweet your pineapple is and how tart you like your filling.
- Sea Salt (Optional): A small pinch of sea salt, particularly if using unsalted butter, helps to enhance all the flavors and provides a subtle balance, preventing the filling from tasting flat. If your butter is salted, you can skip this.
✔️ Ingredient Substitutions and Flavor Variations
While this recipe is fantastic as written, sometimes you might want to make a few tweaks or use what you have on hand. Here are some suggestions for substitutions and ways to add a little extra flair:
Using Fresh Pineapple: If you prefer the vibrant taste and texture of fresh pineapple, it’s absolutely possible! First, peel and core a fresh pineapple. Then, process it in a food processor until it reaches small, crushed-like chunks. You’ll need to measure out approximately 2 cups of these chopped pineapple chunks and combine them with ⅓ cup of additional pineapple juice (you might need to buy a small can for this, or use store-bought unsweetened pineapple juice) to ensure enough liquid for the filling’s consistency and to prevent it from becoming too dry. This substitution will give you an even brighter, more intense fresh pineapple flavor.
Alternative Thickeners: As mentioned, arrowroot starch is an excellent substitute for cornstarch, especially if freezing the filling. Tapioca starch is another viable option and can generally be substituted 1:1 for cornstarch, offering a similar clear, glossy finish and good stability.
Spice It Up: For a more complex flavor profile, consider adding a pinch of ground cinnamon, nutmeg, or even a tiny amount of ground ginger to the filling while it cooks. These spices pair wonderfully with pineapple and can add a cozy, autumnal touch if desired.
Add a Hint of Coconut: To lean further into the tropical theme, a few drops of coconut extract or a tablespoon of cream of coconut added at the end (with the butter) can introduce a lovely coconut undertone that complements the pineapple beautifully.
Alcoholic Twist: For adult-friendly desserts, a splash of rum or coconut liqueur (like Malibu) added after the filling comes off the heat can infuse it with a sophisticated, boozy kick. Allow it to cool completely before using.
👩🍳 Step-by-Step: How to Craft Your Perfect Pineapple Cake Filling
Making this creamy pineapple filling is a breeze, even for beginners. Follow these simple steps for a flawless result:
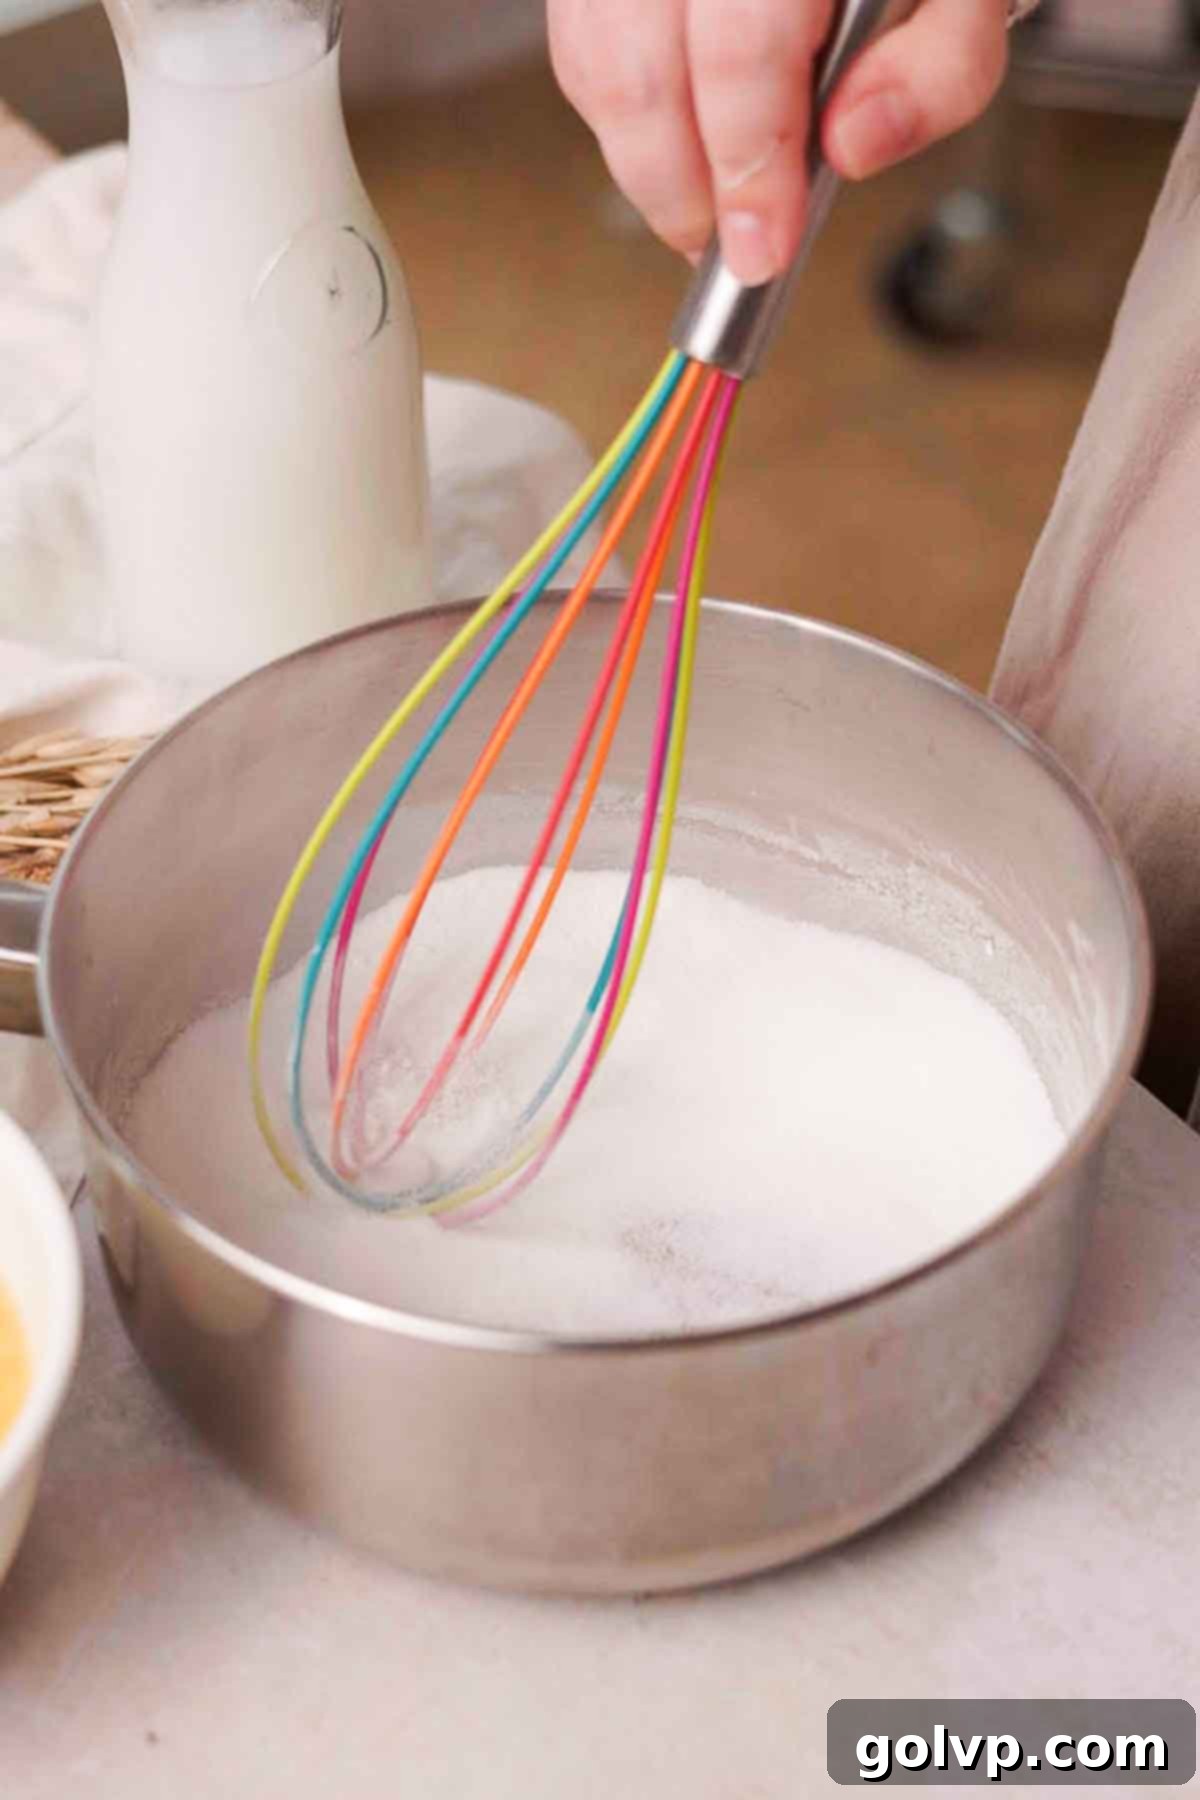
Step 1: Combine Dry Ingredients. In a medium-sized saucepan, thoroughly stir together the granulated sugar and cornstarch. Whisking them together before adding liquids helps to prevent lumps and ensures a smooth, consistent filling. Make sure there are no visible clumps of cornstarch.
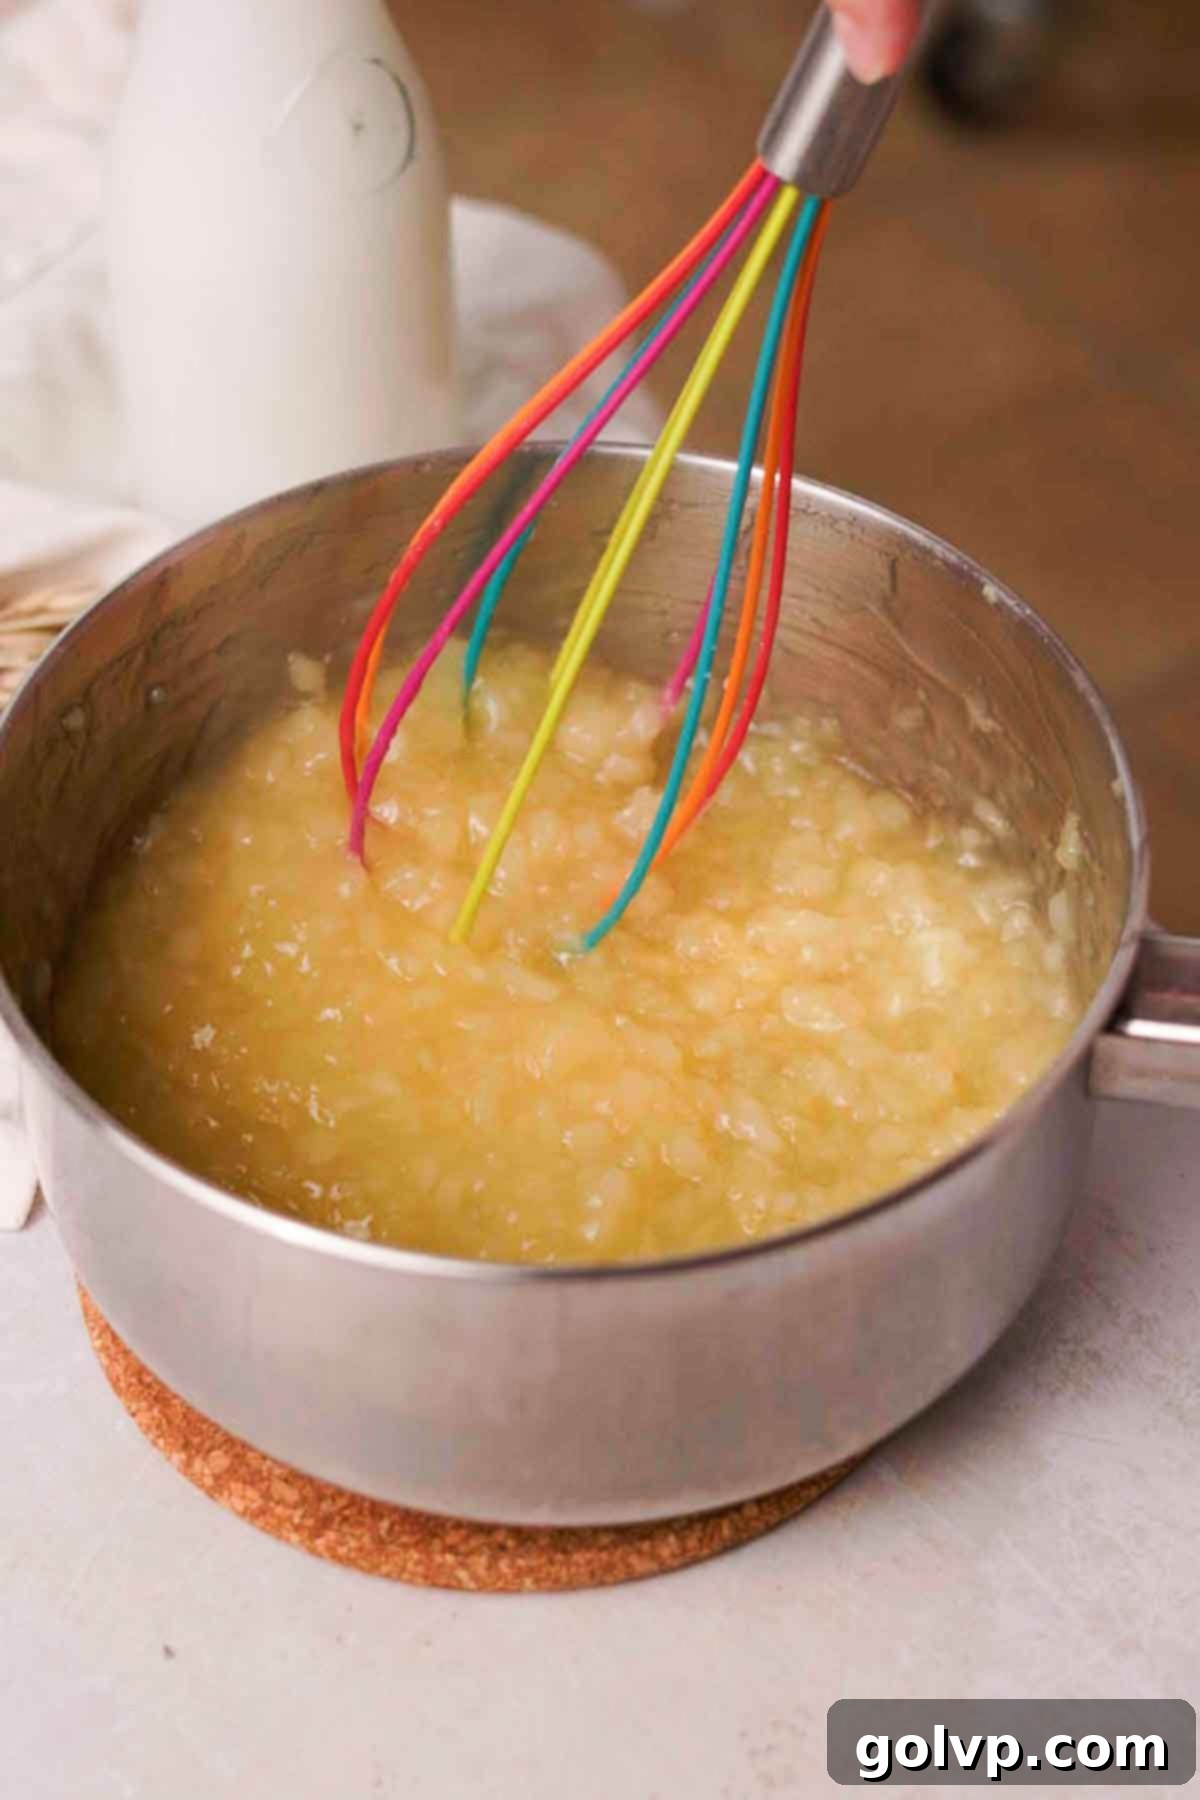
Step 2: Add Wet Ingredients and Cook. Pour in the entire can of crushed pineapple, including all its juice. Add the freshly squeezed lemon juice and give everything a good stir to combine. Place the saucepan over medium-low heat. Cook, stirring frequently and consistently, for about 8-10 minutes. The mixture will gradually thicken and begin to bubble gently. Continue stirring for another minute or two once it starts bubbling vigorously to ensure the cornstarch is fully activated and cooked, preventing a starchy taste.
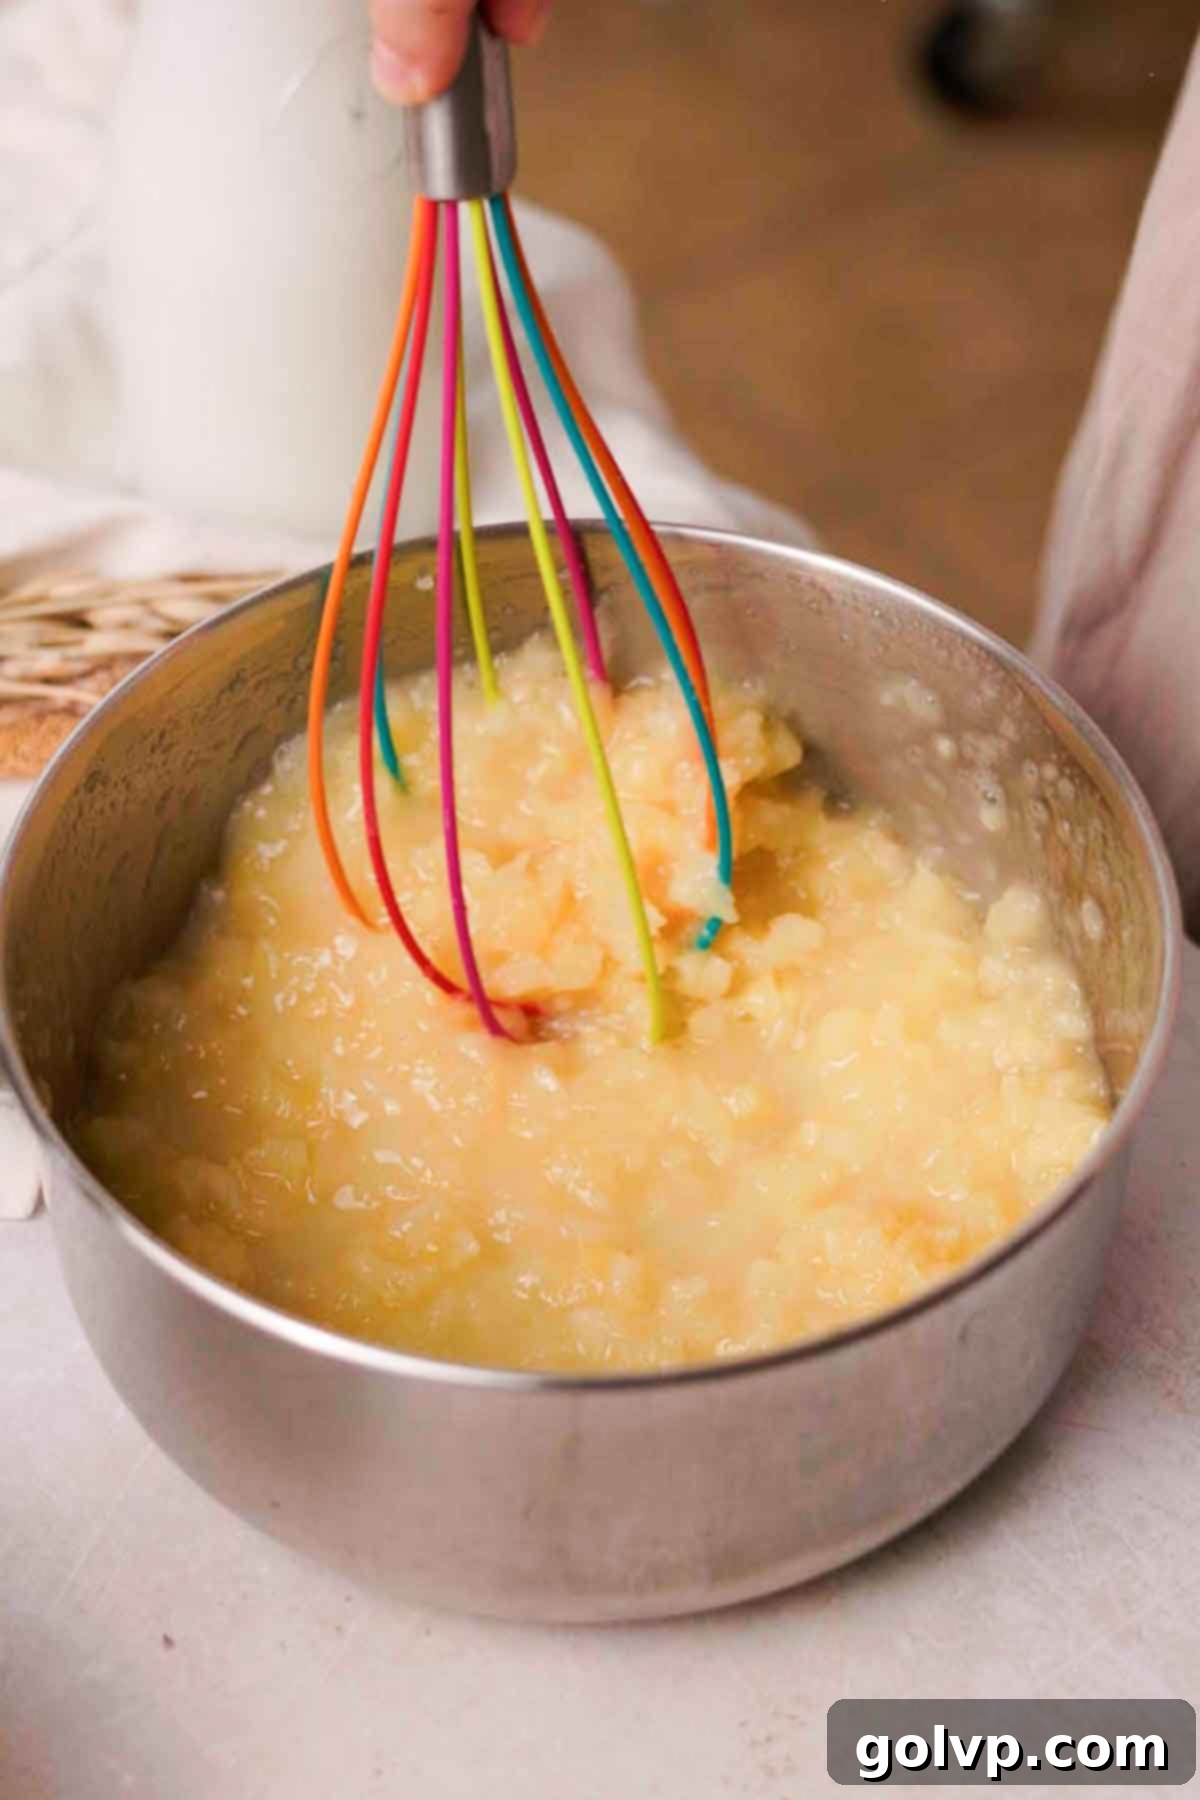
Step 3: Incorporate Butter and Salt. Remove the saucepan from the heat immediately. Add the small pieces of butter and the sea salt (if using) to the hot filling. Stir continuously until the butter has completely melted and is fully incorporated, making the filling wonderfully smooth and glossy. The residual heat will melt the butter quickly, adding richness and a beautiful sheen.
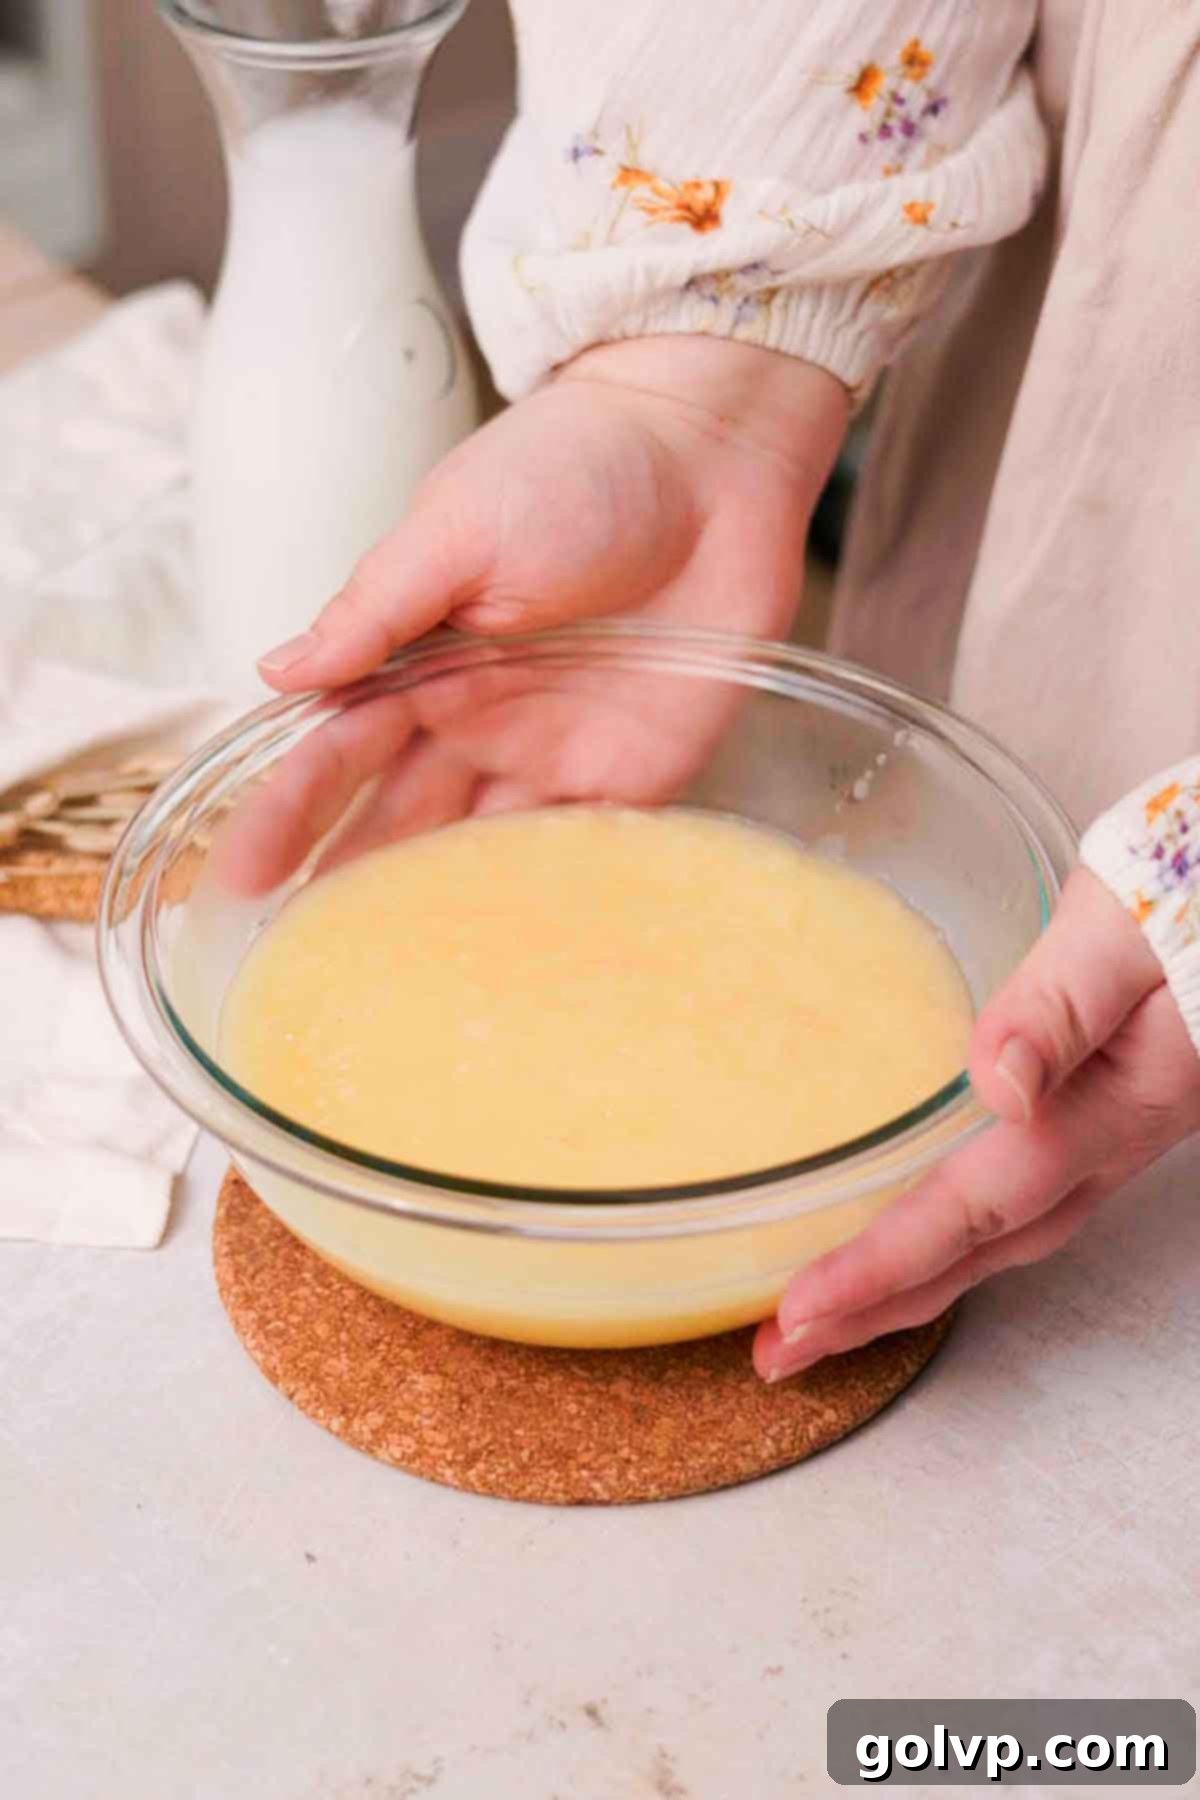
Step 4: Cool and Chill. Transfer the hot pineapple filling into a clean glass jar, a ceramic bowl, or any other non-metal container. This is important to prevent any metallic aftertaste. Cover the surface of the filling directly with plastic wrap to prevent a skin from forming. Refrigerate for at least 1 hour, or until it is completely cooled and has thickened to its ideal consistency. It will continue to firm up considerably as it chills.
✔️ Expert Tips for a Flawless Pineapple Filling
Achieving a perfectly creamy and delicious pineapple filling is simple with these expert tips:
- Choose the Right Cookware: To ensure your pineapple cake filling doesn’t develop an unpleasant metallic flavor, it’s crucial to use a non-metal or ceramic-coated saucepan. Reactive metals can interact with the acidity of the pineapple, affecting the taste. Ceramic-coated or non-stick saucepans are ideal choices for maintaining the pure, fresh flavor of your filling.
- Stir Constantly and Thoroughly: During the cooking process, consistent and frequent stirring is key. This prevents the filling from sticking to the bottom of the pan and burning, which can impart a bitter taste. It also helps to distribute the heat evenly, ensuring the cornstarch thickens smoothly without forming lumps. Don’t be shy with your whisk!
- Store in Non-Metal Containers: Just like with cooking, proper storage is vital to preserve the taste of your filling. Always transfer the cooled pineapple filling into a non-metal container, such as a glass bowl, mason jar, or a plastic food storage container. Storing it in metal can lead to a metallic aftertaste over time, compromising the fresh, fruity flavor you worked hard to achieve.
- Mind Your Cake’s Structural Integrity: When assembling your cake, resist the urge to overfill the layers. While a generous filling is tempting, adding too much can compromise the structural integrity of your cake, causing it to lean, bulge, or even collapse. It also increases the risk of the filling oozing out from the sides, making for a messy presentation. For guidance on how to properly fill and stack a cake with this delicious filling, refer to my detailed instructions in the carrot cake with pineapple recipe. A firm buttercream dam around the edge of each layer before adding the filling can be a great preventative measure.
- Allow Ample Chilling Time: Don’t rush the cooling and chilling process. The filling needs to be completely cold and set for it to be at its optimal thickness and texture. Rushing this step could result in a runny filling that doesn’t hold up well in your cake. Plan to make your filling at least an hour or two (or even a day) before you plan to assemble your cake.
🥄 Make Ahead and Storage Instructions
This pineapple cake filling is an excellent make-ahead component for your baking projects, saving you time and effort on the day of assembly. Its robust nature allows it to be prepared in advance, making your baking schedule much more flexible.
Refrigeration: Once completely cooled, store the pineapple filling in a tightly sealed, non-metal container or jar in the refrigerator for up to 5 days. Ensure the container is airtight to prevent any odors from being absorbed and to maintain its freshness. A glass mason jar or a good quality plastic container works perfectly.
Freezing for Longer Storage: If you plan on preparing the filling significantly ahead of time or have leftovers you wish to save, it freezes wonderfully. However, a crucial tip for freezing is to substitute the cornstarch with arrowroot starch when initially making the filling. Cornstarch tends to break down and become watery or grainy upon thawing, whereas arrowroot starch maintains a much smoother and consistent texture after being frozen and defrosted. Store any leftover filling in a freezer-safe bag (squeeze out excess air) or an airtight freezer-safe container for up to 3 months. When you’re ready to use it, simply thaw it overnight in the refrigerator. A quick whisk might be needed to restore its smooth consistency after thawing.
📖 Frequently Asked Questions About Pineapple Cake Filling
Yes, you can freeze the pineapple filling, but there’s an important recommendation. If you intend to freeze the filling, I strongly advise using arrowroot starch instead of cornstarch as your thickening agent. Cornstarch has a tendency to break down during the freezing and thawing process, which can result in a less desirable, sometimes watery or grainy, consistency. Arrowroot starch, on the other hand, holds up much better to temperature changes, ensuring your defrosted filling retains its smooth and creamy texture. It’s a direct 1:1 substitution, so you can easily swap it into the recipe.
Absolutely! Using fresh pineapple can provide an even brighter and more intense flavor. To do this, you’ll need to peel and core your fresh pineapple, then process it into small, crushed-like chunks using a food processor. Since the recipe also relies on the juice from the canned pineapple, you’ll need to measure out approximately 2 cups of your fresh chopped pineapple and combine it with ⅓ cup of additional pineapple juice (either from a small can or store-bought unsweetened juice). This ensures the correct liquid ratio for the filling to thicken properly. Follow the rest of the recipe instructions as written.
The filling is thick enough when it coats the back of a spoon and leaves a clear trail when you run your finger across it. It should also be actively bubbling for at least 1-2 minutes, which indicates the starch has fully cooked and activated. Remember, it will continue to thicken significantly as it cools in the refrigerator, so don’t be alarmed if it still seems a bit loose when hot.
This pineapple cake filling is incredibly versatile! It pairs beautifully with a wide range of cakes, especially those that benefit from a tropical or fruity accent. Some top choices include carrot cake (as linked in this recipe!), coconut cake, vanilla cake, yellow cake, hummingbird cake, or even a spiced ginger cake. It also works wonderfully between layers of cream cheese frosting or as a tart filling.
🍰 More Related Recipes You’ll Love
- Carrot Cake with Pineapple
- Blueberry Curd
- Strawberry Curd
- Peach Curd
Did you make this recipe? I’d love for you to rate this recipe and hear what you think in the comments below! Share your creation on Instagram and tag @flouringkitchen. Follow me on Pinterestto save and for more recipe ideas.
📖 Recipe
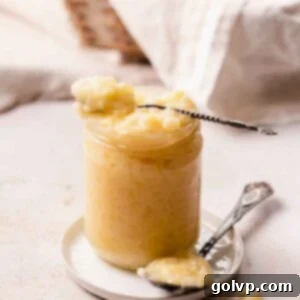
Creamy Tropical Pineapple Cake Filling
Mary
Pin Recipe
Shop Ingredients
Equipment
-
Medium Saucepan (preferably non-metal or ceramic-coated)
-
Whisk
-
Heatproof non-metal container (glass jar or bowl)
Ingredients
- ½ cup granulated sugar
- 3 tablespoons cornstarch or arrowroot starch (see notes for freezing)
- 1 can crushed pineapple in juice (540ml, 19 fl oz, or 2 ⅓ cups – use the entire can including juice)
- 1 lemon (freshly juiced)
- ¼ cup unsalted butter (cut into small pieces for quicker melting)
- ¼ teaspoon sea salt (omit if using salted butter, as it may be too salty)
Shop Ingredients on Jupiter
Instructions
-
In a medium-sized, non-metal saucepan, whisk together the granulated sugar and cornstarch until thoroughly combined and no lumps remain. This ensures a smooth filling.½ cup granulated sugar, 3 tablespoons cornstarch
-
Add the entire can of crushed pineapple (with all its juice) and the fresh lemon juice to the saucepan. Stir everything well to integrate. Cook this mixture over medium-low heat, stirring continuously and frequently to prevent scorching. Continue cooking for about 8-10 minutes, or until the mixture visibly thickens and begins to bubble. Once it’s bubbling, continue to stir for an additional 1-2 minutes to ensure the starch is fully cooked and activated.1 can crushed pineapple in juice, 1 lemon
-
Remove the saucepan from the heat. Immediately add the small pieces of butter and the sea salt (if using). Stir vigorously until the butter has completely melted and the filling is smooth, glossy, and well combined.¼ cup butter, ¼ teaspoon sea salt
-
Transfer the hot pineapple filling into a glass jar, a ceramic bowl, or another non-metal, heatproof container. Cover the surface directly with plastic wrap to prevent a skin from forming as it cools. Refrigerate until the filling is completely cooled and has thickened to its desired consistency, at least 1 hour, but preferably longer for best results.
Notes
This versatile pineapple filling can be prepared several days in advance, making it a convenient option for busy bakers. Store it in a non-metal, airtight container in the refrigerator for up to 5 days. If you’re considering freezing the filling for longer storage, remember to use arrowroot starch instead of cornstarch. Arrowroot starch maintains a superior texture after freezing and thawing, preventing the grainy or watery consistency that cornstarch can sometimes develop. Frozen filling can be stored for up to 3 months. Thaw overnight in the fridge and give it a good whisk before use.
Expert Cake Filling Tips:
- To avoid any metallic aftertaste, always use a non-metal or ceramic-coated saucepan for cooking and a non-metal container (like glass or ceramic) for storage.
- Consistent and frequent stirring during cooking is crucial to prevent burning, sticking, and lumpy texture. Don’t leave it unattended!
- When incorporating this delicious filling into your cakes, be mindful not to overfill. Too much filling can compromise the cake’s structural integrity, leading to leaning or oozing. For detailed guidance on how to properly fill and stack a cake, please refer to my carrot cake with pineapple recipe, which provides clear instructions for achieving a professional finish.
- Ensure the filling is completely cooled and well-chilled before using. This allows it to set properly, giving you the perfect consistency for spreading and layering.
