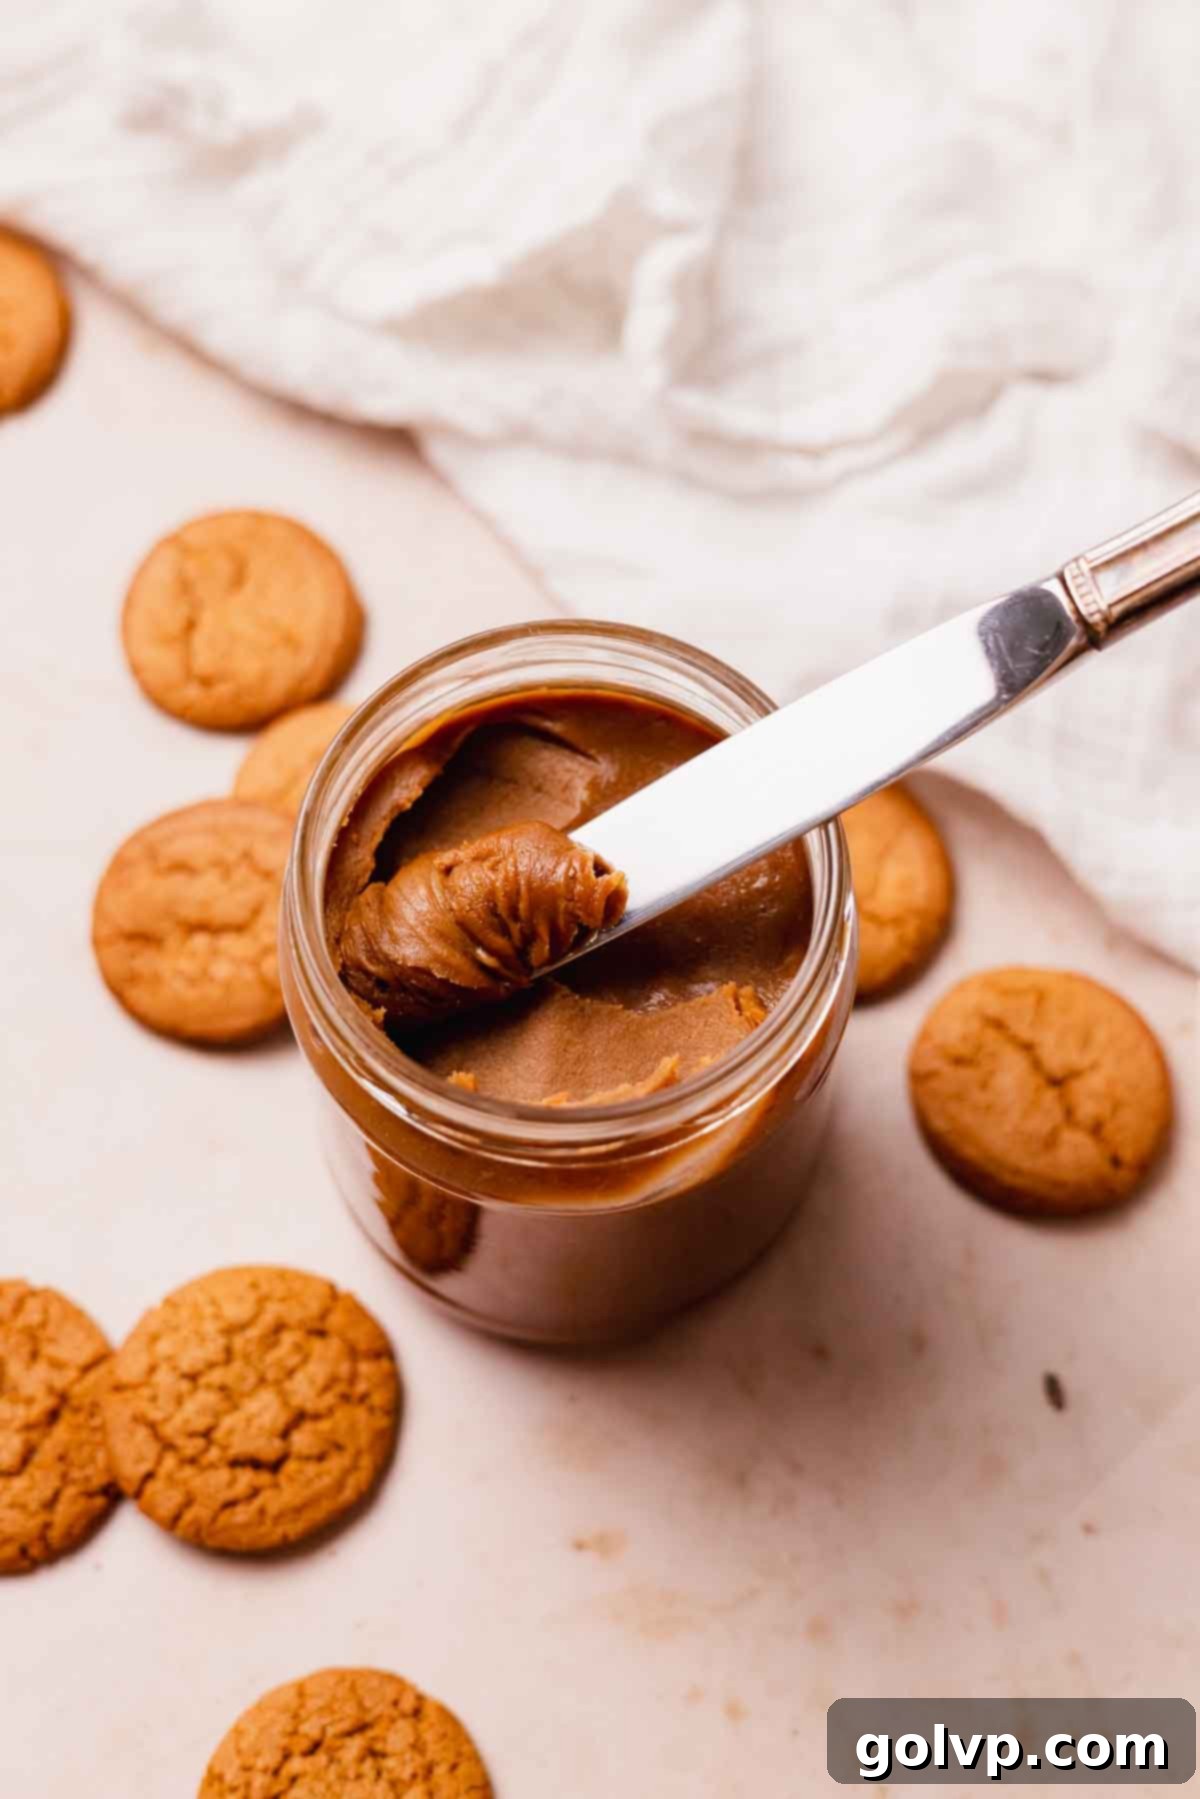
Homemade Cookie Butter: Your Guide to the Ultimate Creamy, Spiced & Easy DIY Spread
Dive into the delightful world of homemade cookie butter with this incredibly easy and rewarding recipe! This ultra-creamy, smooth, and wonderfully sticky spread captures the essence of delightful toasted, spiced cookies in every spoonful. What sets this recipe apart is the inclusion of brown butter, which not only imparts a rich, nutty depth of flavor but also contributes to its thick, luxurious texture that’s simply irresistible. Forget store-bought versions; our DIY cookie butter comes together in under 20 minutes, is fully customizable, and offers a superior, more pronounced taste that you’ll absolutely adore.
The versatility of cookie butter knows no bounds. While fantastic enjoyed straight from the jar, it serves as an extraordinary spread for toast, pancakes, waffles, or a decadent ingredient in a myriad of desserts. For this particular recipe, we’ve chosen the classic warmth of gingersnap cookies, but the beauty of homemade is your freedom to experiment! Feel free to substitute with Speculoos, Biscoff, Oreos, buttery shortbread, crunchy chocolate chip cookies, or any other hard, crisp cookie that sparks your culinary imagination. This quick and simple recipe promises a truly unique and delicious experience that will elevate your breakfast and dessert game.
Looking for creative ways to incorporate this heavenly spread? It’s the perfect filling for my irresistible cookie butter stuffed cookies, adding a molten, spiced center that takes them to the next level. Or, use it as a foundational flavor in my decadent no-bake Biscoff cheesecake, creating a dessert that’s rich, creamy, and bursting with the distinct flavor of speculoos. Get ready to transform your pantry staples into a gourmet treat!
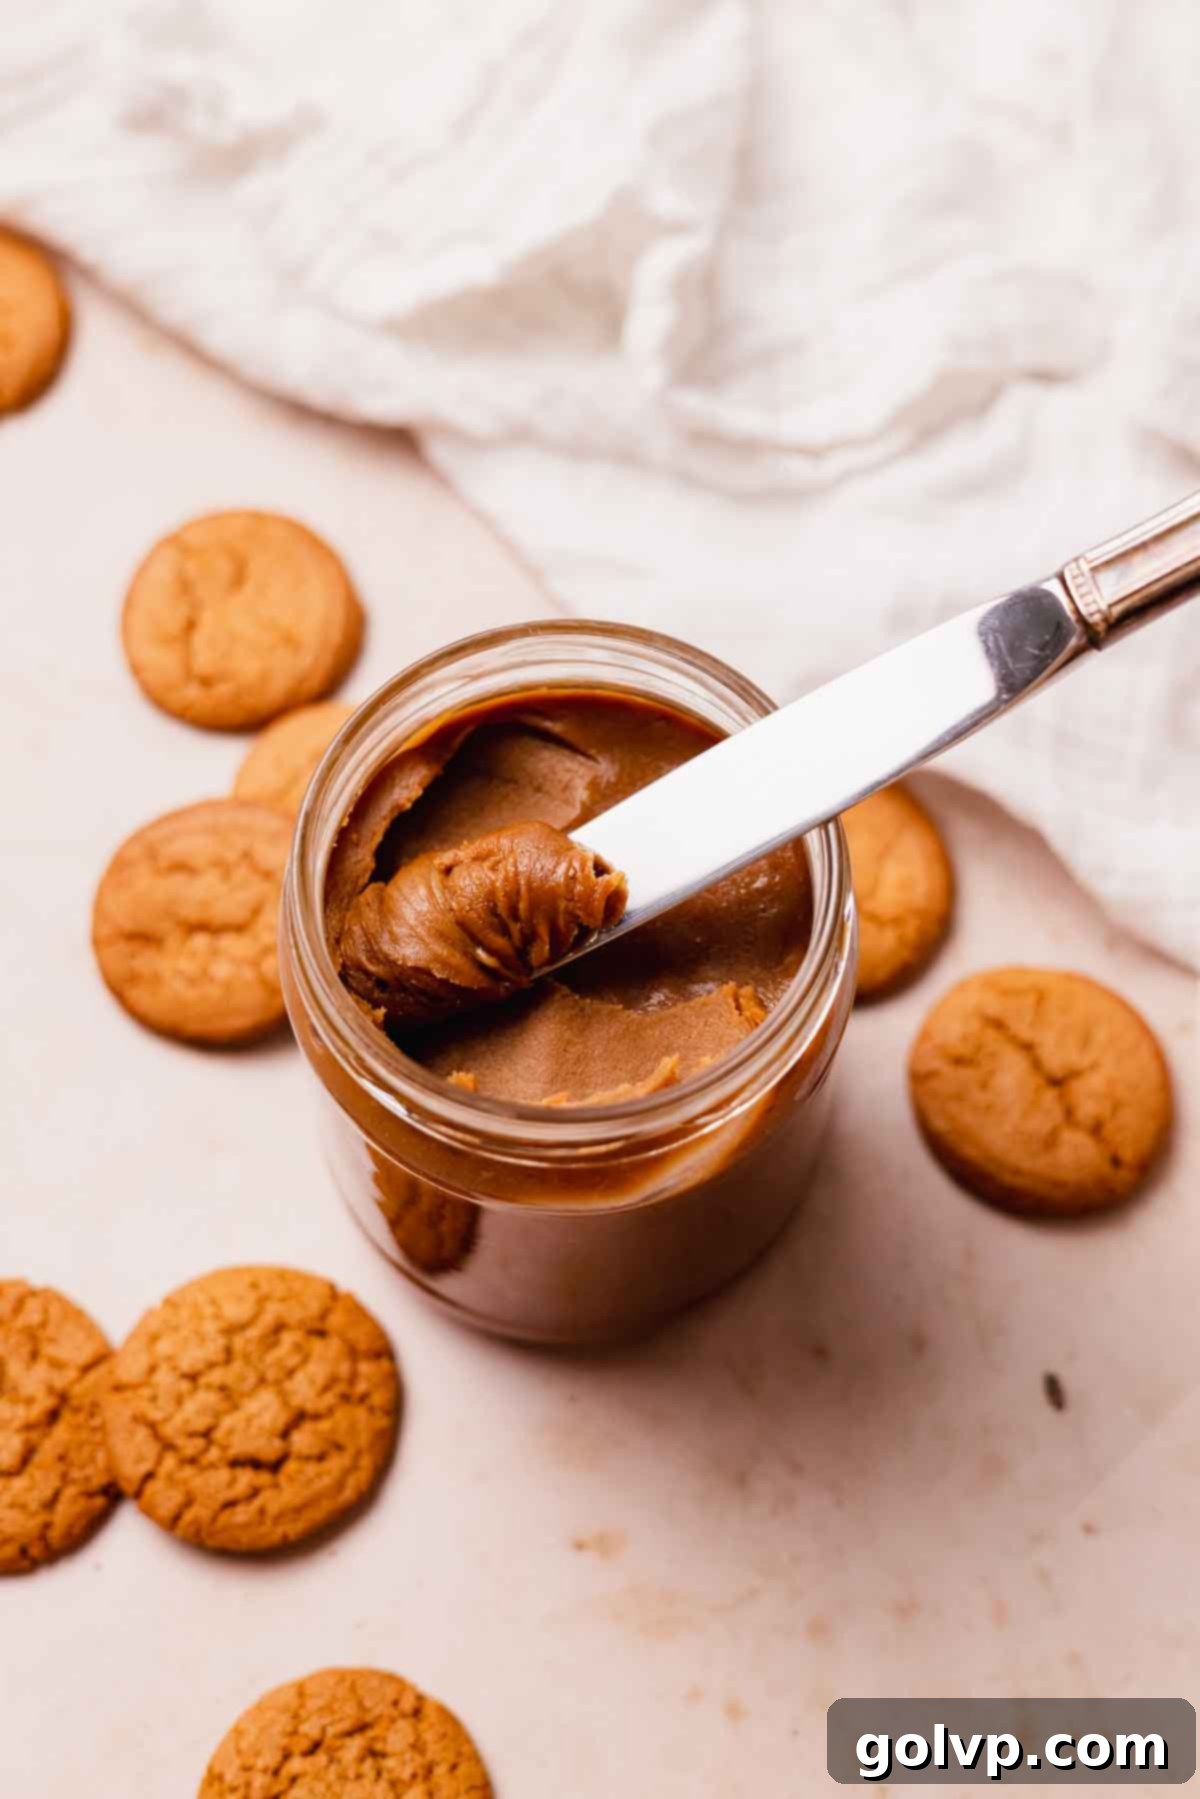
🍪 Why You’ll Absolutely Love This Homemade Cookie Butter Recipe
- Effortlessly Easy & Lightning Fast: Forget complicated steps! This cookie butter recipe is designed for simplicity, coming together in your food processor or blender in less than 20 minutes from start to finish. It’s perfect for those busy days when you crave a gourmet treat without the fuss. The process involves minimal cooking and mostly blending, making it incredibly accessible for cooks of all skill levels.
- Unbelievably Creamy & Smooth Texture: Prepare for a spread that rivals, and perhaps even surpasses, your favorite store-bought cookie butter in texture. Our method ensures an ultra-creamy and exceptionally smooth consistency, perfect for spreading, drizzling, or enjoying by the spoonful. The secret lies in carefully blending the cookies with warm liquids, which softens them and helps create a perfectly emulsified, velvety product that melts in your mouth.
- The Irresistible Depth of Brown Butter: This isn’t just any cookie butter; it’s a brown butter cookie butter! Browning the butter infuses the spread with a nutty, caramelized aroma and a deep, toasted flavor that adds a layer of sophistication and warmth. This rich butter also plays a crucial role in giving the cookie butter its characteristic thick and firm-yet-spreadable texture once it chills, ensuring it holds its shape beautifully. It’s a game-changer that elevates the entire flavor profile.
- Infinitely Customizable to Your Taste: While gingersnaps are a fantastic choice, this recipe is a blank canvas for your cookie creativity! Whether you prefer the classic spiced notes of Biscoff or Speculoos, the chocolatey crunch of Oreos, the buttery simplicity of shortbread, or the comforting taste of crunchy chocolate chip cookies, nearly any hard, crisp cookie will work wonderfully. This adaptability means you can tailor the flavor to your personal preference or what you have on hand, making it a truly versatile addition to your repertoire.
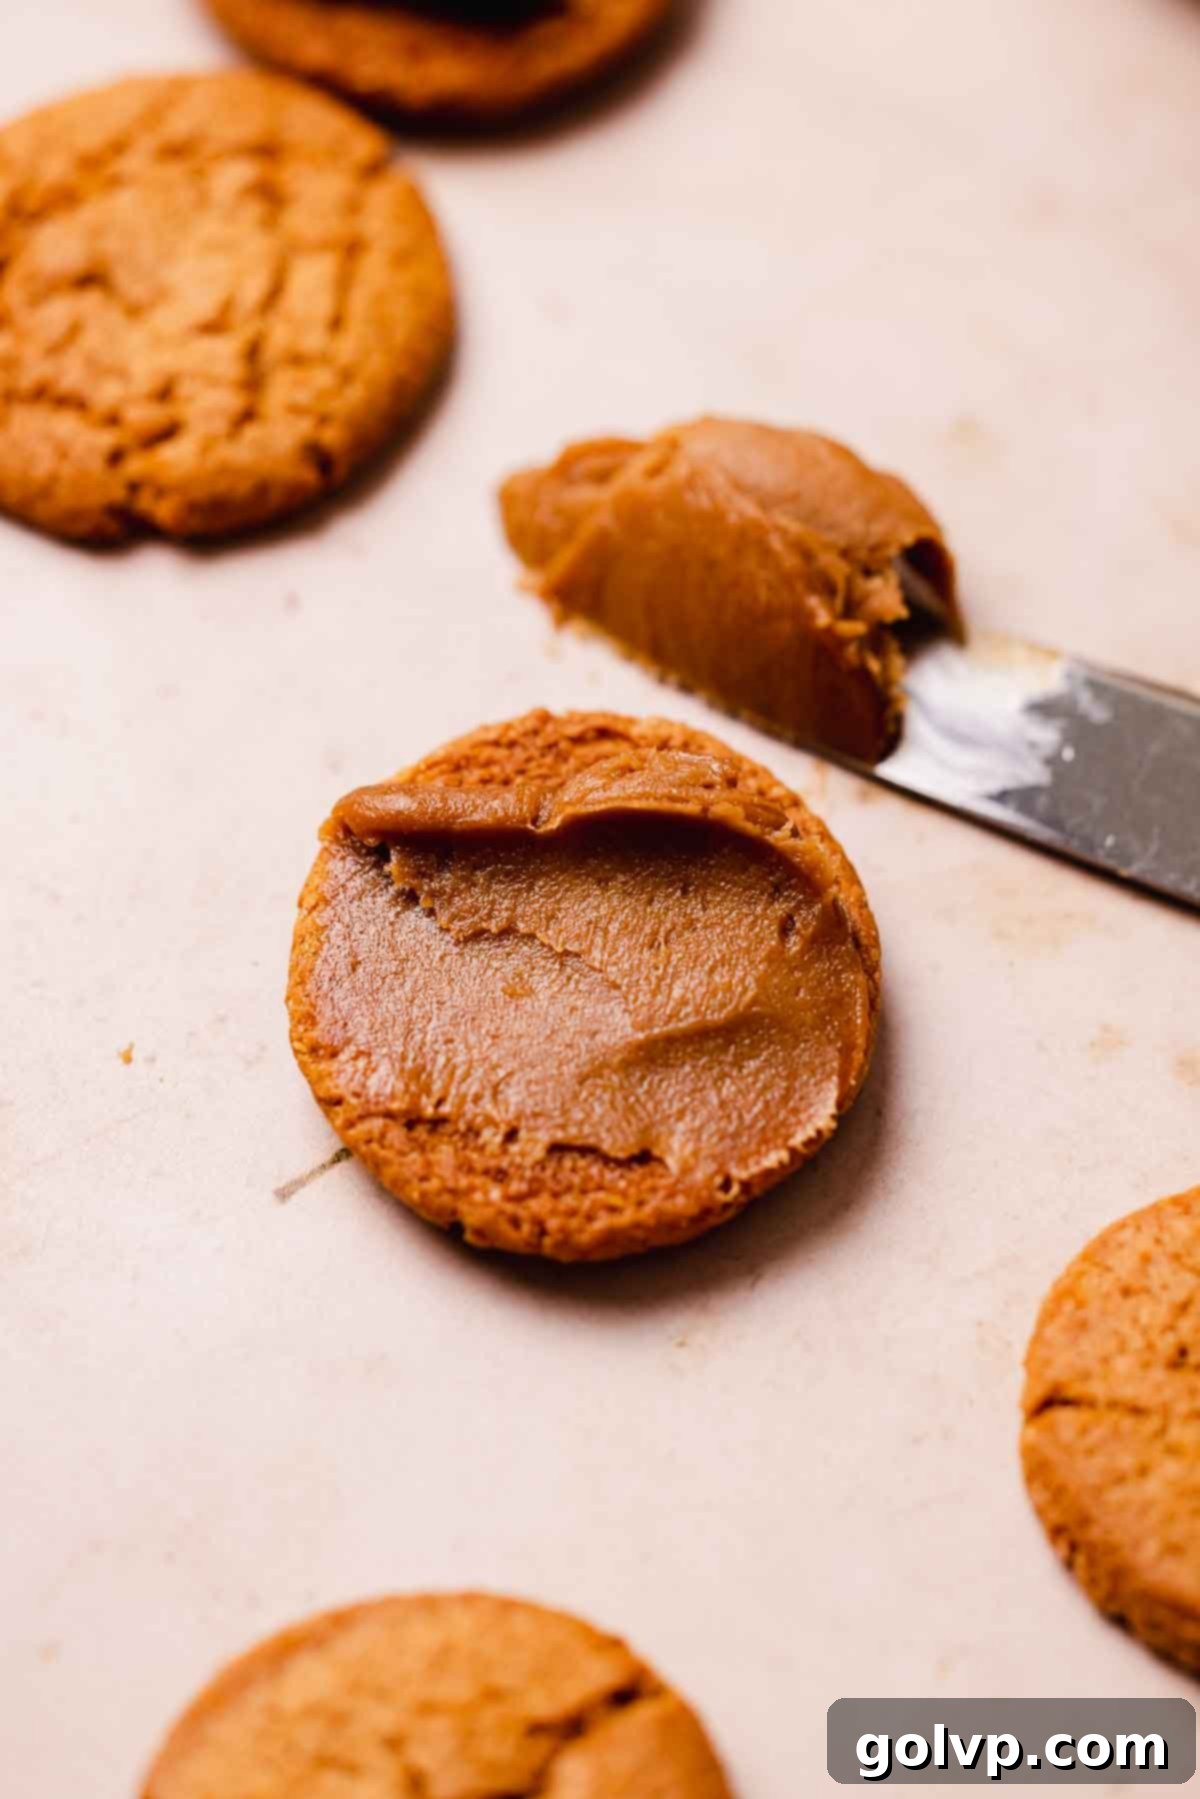
📝 Key Ingredients for Your Perfect Cookie Butter
Crafting this luscious cookie butter spread requires just a handful of simple ingredients – five, to be precise, if you count water and salt. Each component plays a vital role in achieving the desired flavor and texture, making this an accessible yet incredibly flavorful recipe.
Before you begin, make sure to read through all our expert tips for achieving the best results!
For complete steps and precise measurements, refer to the full recipe card below.
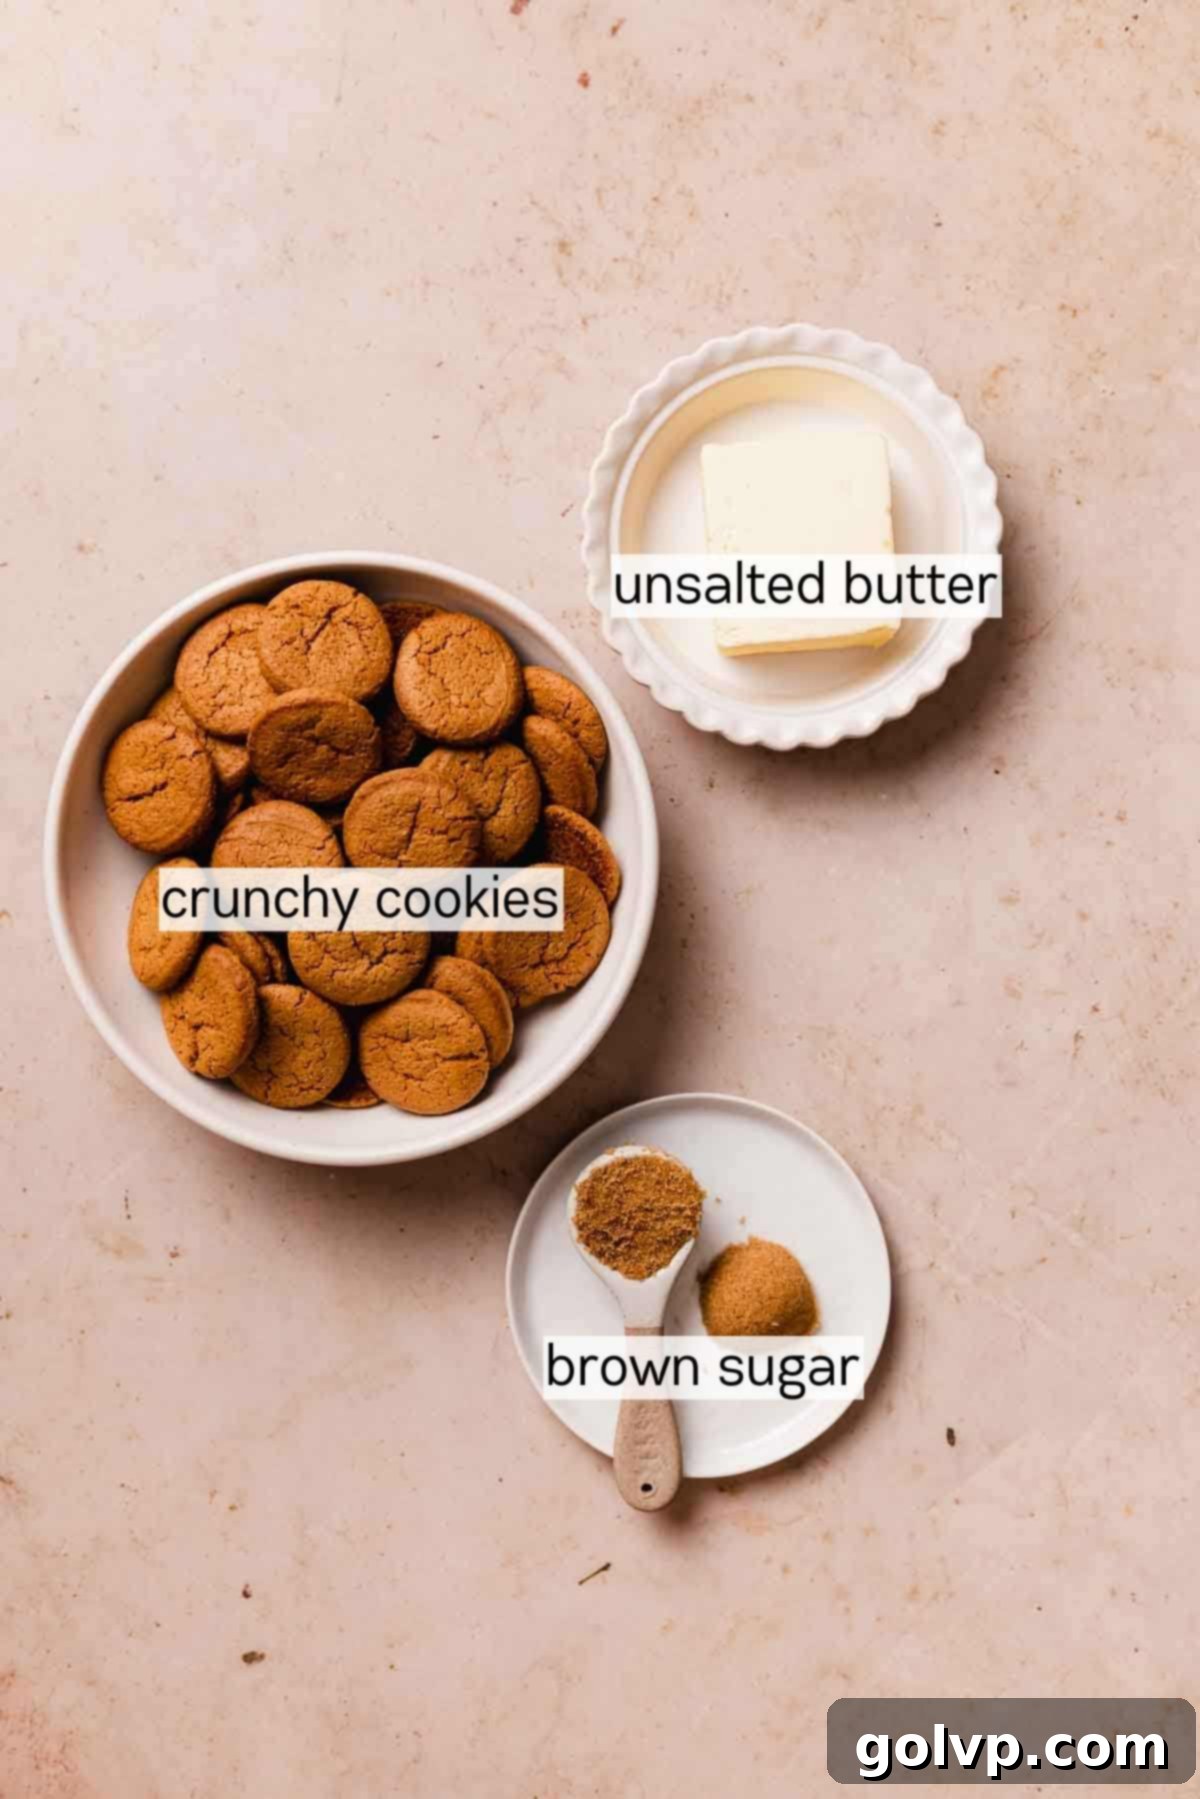
- Cookies: This is the heart of your cookie butter! The key is to use hard, crisp cookies that can be finely ground. My personal favorites are gingersnap cookies, which infuse the spread with warm, spicy notes. However, you have endless options: Speculoos or Biscoff cookies for that classic European spiced biscuit flavor, Oreos for a chocolatey twist (remove the cream filling first for a purer cookie flavor), traditional shortbread for a rich, buttery base, or even crunchy chocolate chip cookies for a familiar sweetness. The type of cookie you choose will largely define the final taste profile, so pick one you truly love!
- Unsalted Butter: The star of our brown butter, unsalted butter is crucial. Using unsalted butter allows you to control the salt content precisely and, more importantly, prevents a metallic or bitter taste from developing once the butter is browned. The process of browning transforms the butter, giving it a deep, nutty, and highly aromatic flavor that is paramount to this cookie butter’s unique deliciousness. For a vegan alternative, refined solid coconut oil can be used instead (no need to brown it, just melt it). Ensure it’s refined to avoid a strong coconut flavor and solid at room temperature for proper thickening.
- Brown Sugar: Beyond adding a touch of sweetness, brown sugar plays a significant role in this recipe. Its molasses content adds a subtle depth and caramel-like flavor that complements the toasted notes of the brown butter and the spices in the cookies. It also helps in achieving the right consistency and texture, balancing the richness of the butter and the intensity of the cookies.
- Water: This seemingly simple ingredient is a game-changer for achieving that ultra-creamy, silky-smooth texture we’re aiming for. Hot water helps to soften the finely ground cookie crumbs, allowing them to blend into a truly homogenous and luxurious paste. It emulsifies with the other ingredients, preventing a grainy texture and ensuring your cookie butter is perfectly spreadable.
- Sea Salt: A small but mighty addition! Just a pinch of sea salt significantly enhances the overall flavor of the cookie butter. It brightens the sweet and spiced notes, provides a crucial balance to the richness of the butter and cookies, and adds a subtle depth that makes the spread even more addictive. Don’t skip it!
👩🍳 How to Craft Your Own Delicious DIY Cookie Butter
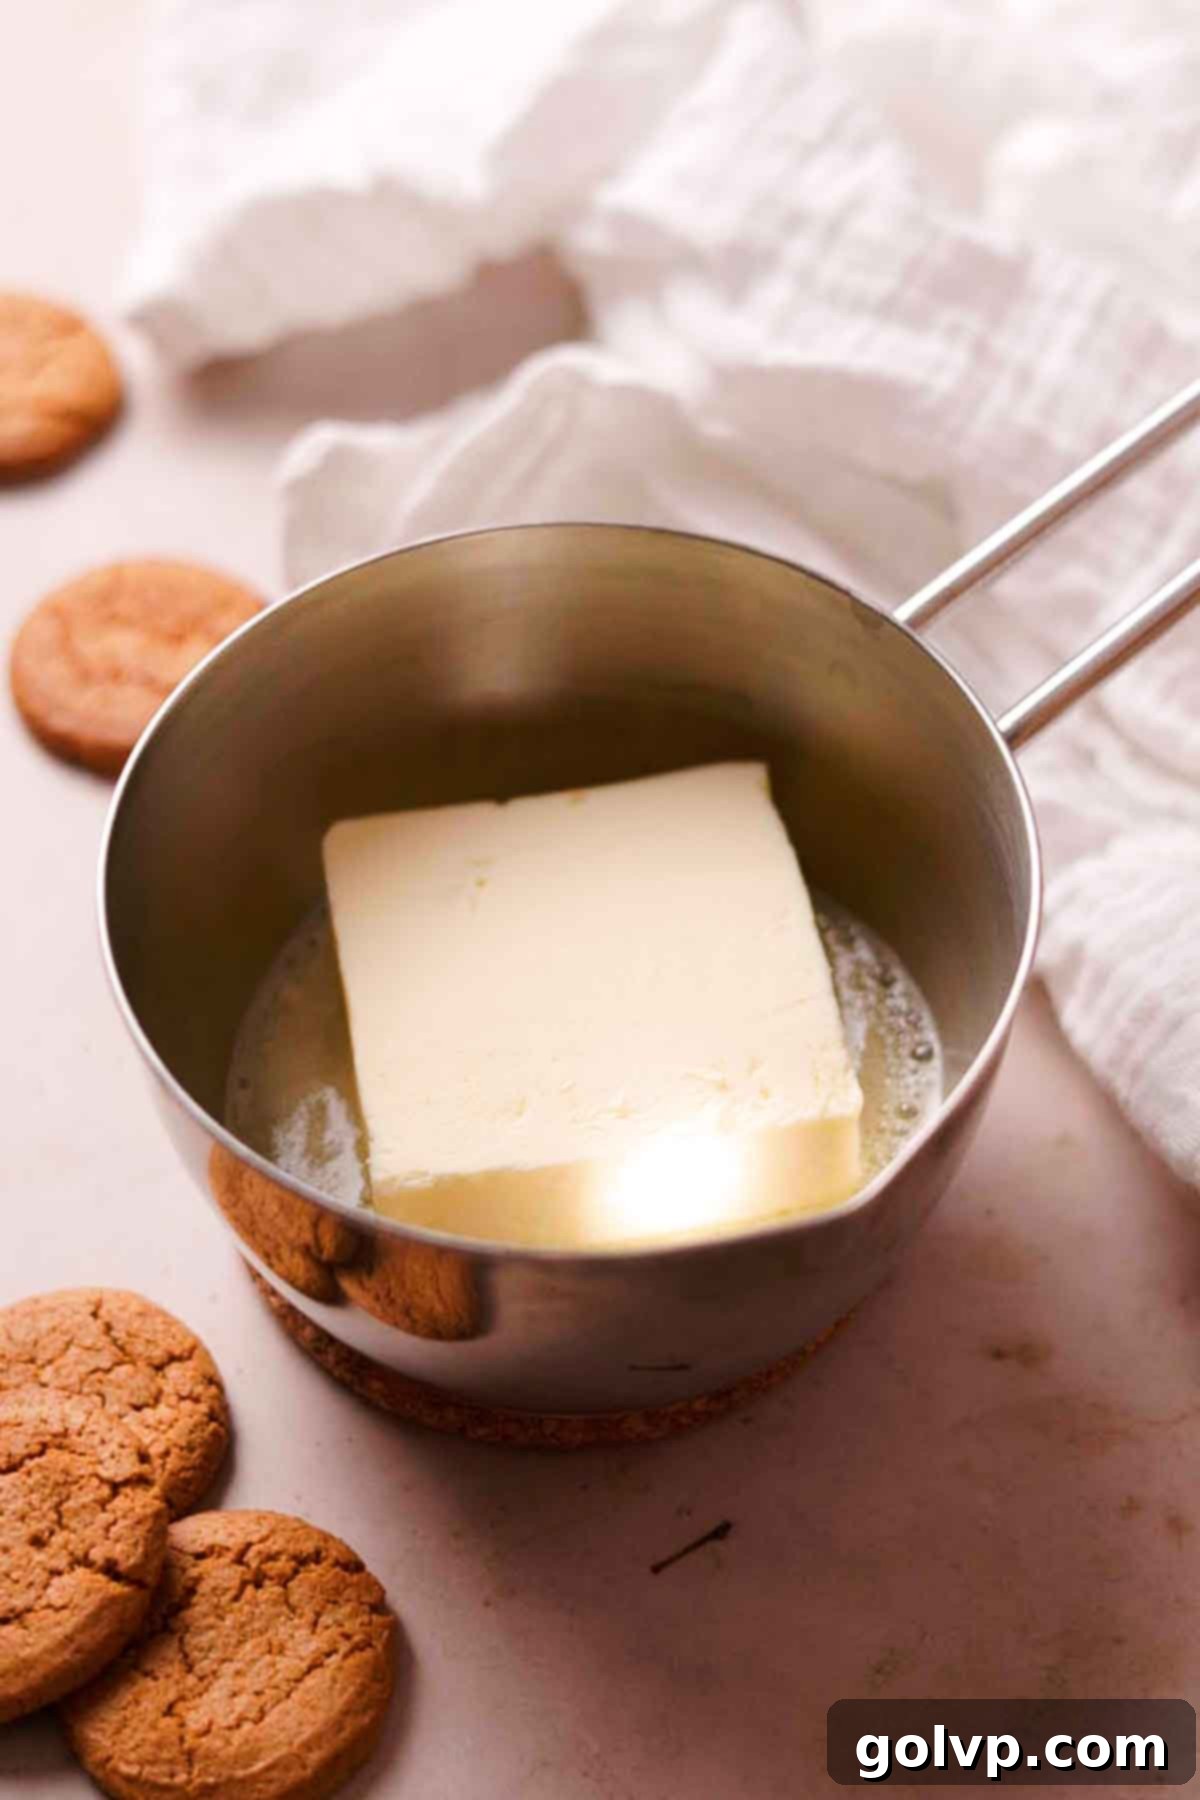
Step 1: Create the Brown Butter. Begin by adding your unsalted butter to a small, light-colored saucepan. A light-colored pan allows you to better observe the browning process. Heat the butter over medium heat, allowing it to melt completely. Continue cooking, and you’ll notice it starts to bubble vigorously. As it cooks further, the butter will foam up, and then, after a few moments, this foam will begin to subside.
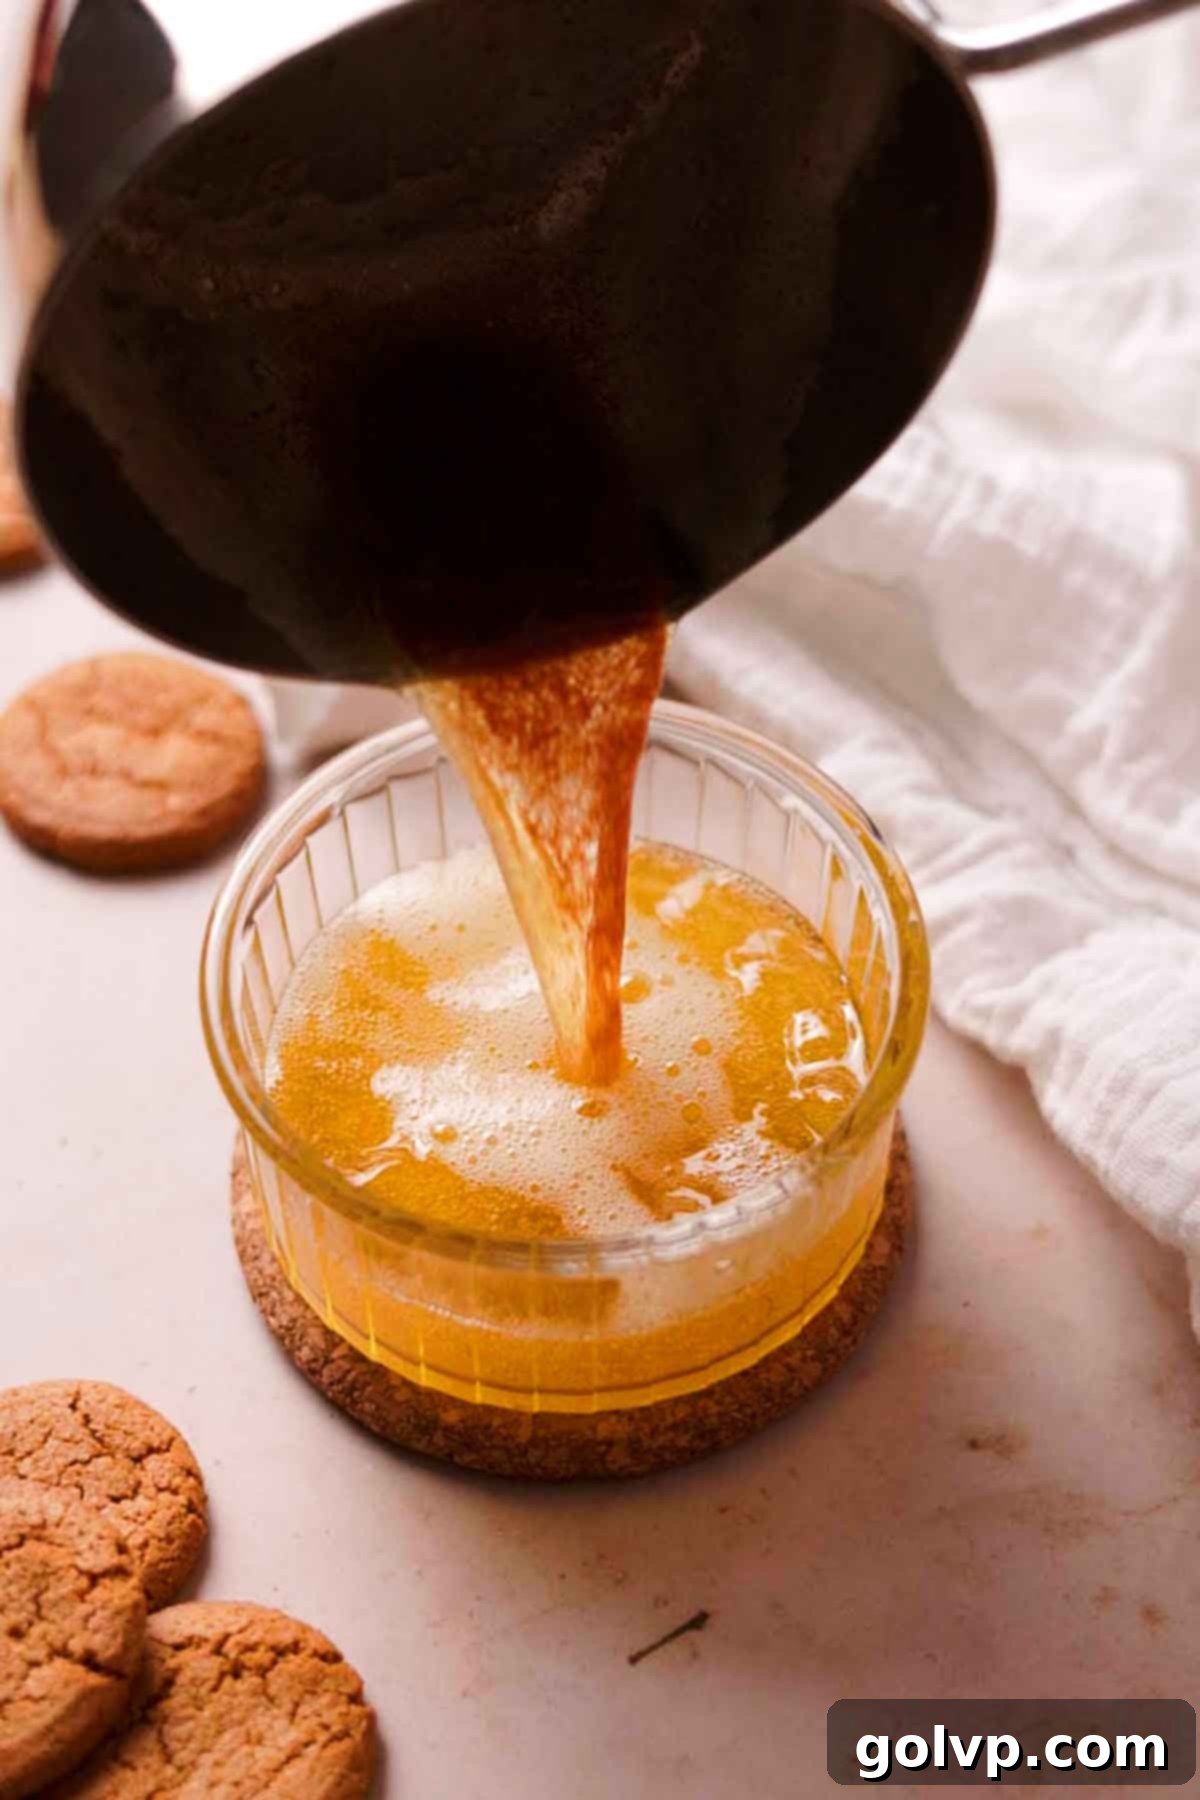
Step 2: Finish Browning and Cool. During the bubbling stage, stir the butter gently but continuously to prevent the milk solids from sticking to the bottom and burning. Once the bubbling resumes after the initial foam subsides, pay very close attention. As soon as you see tiny golden-brown flecks appearing at the bottom of the pan and smell a nutty aroma, immediately remove the saucepan from the heat. Pour the hot brown butter into a separate heat-safe bowl or glass container to stop the cooking process and allow it to cool down until it’s just warm to the touch, not hot. This cooling step is important for the next blending stage.
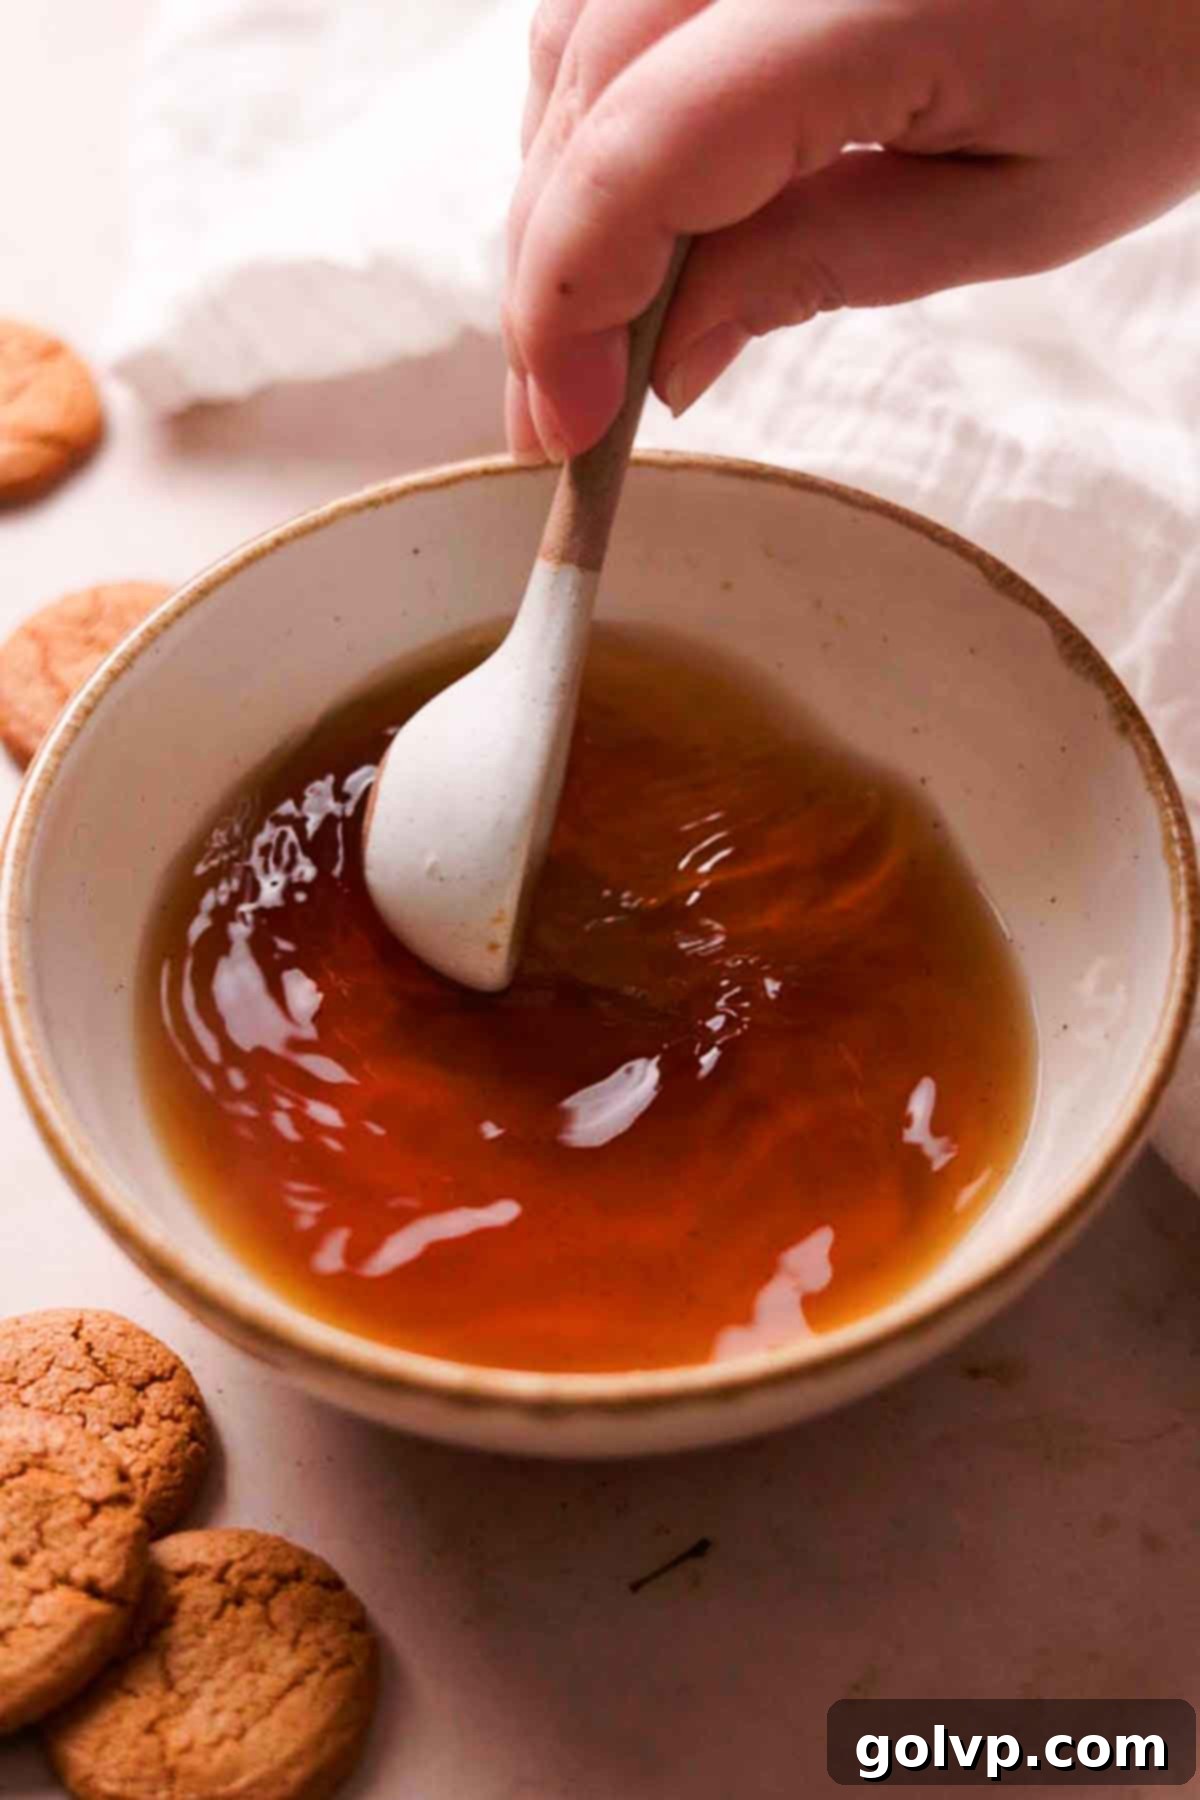
Step 3: Prepare the Sweetening Liquid. In a separate small bowl or cup, combine the brown sugar with the boiling hot water. Stir thoroughly until the brown sugar is completely dissolved, creating a smooth, sweet syrup. Set this mixture aside; it will be added to the cookie crumbs shortly to help create that wonderfully creamy texture.
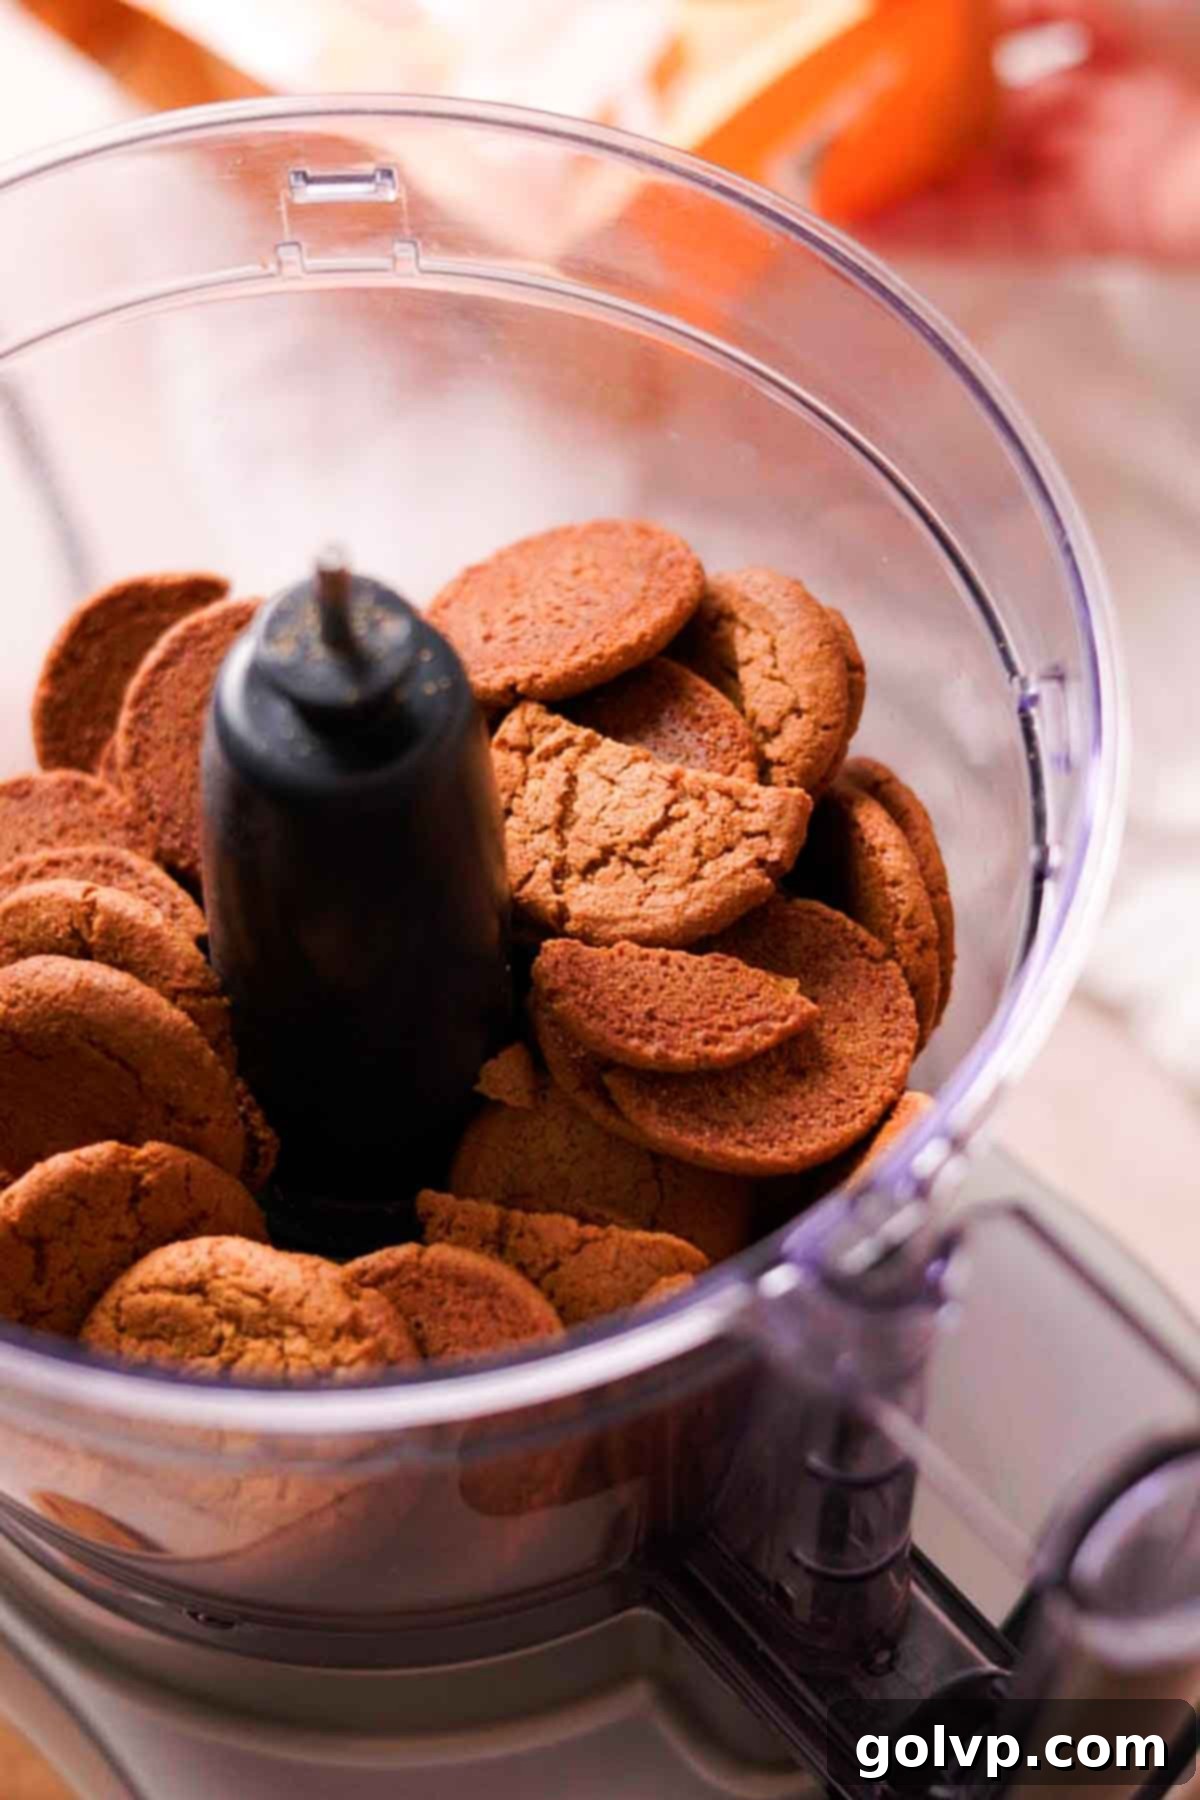
Step 4: Pulverize the Cookies. Transfer your chosen cookies (such as gingersnaps) into the bowl of a food processor or a high-powered blender. Pulse or blend the cookies until they are transformed into very fine, powdery crumbs. The finer the crumbs, the smoother your final cookie butter will be, so aim for a flour-like consistency.
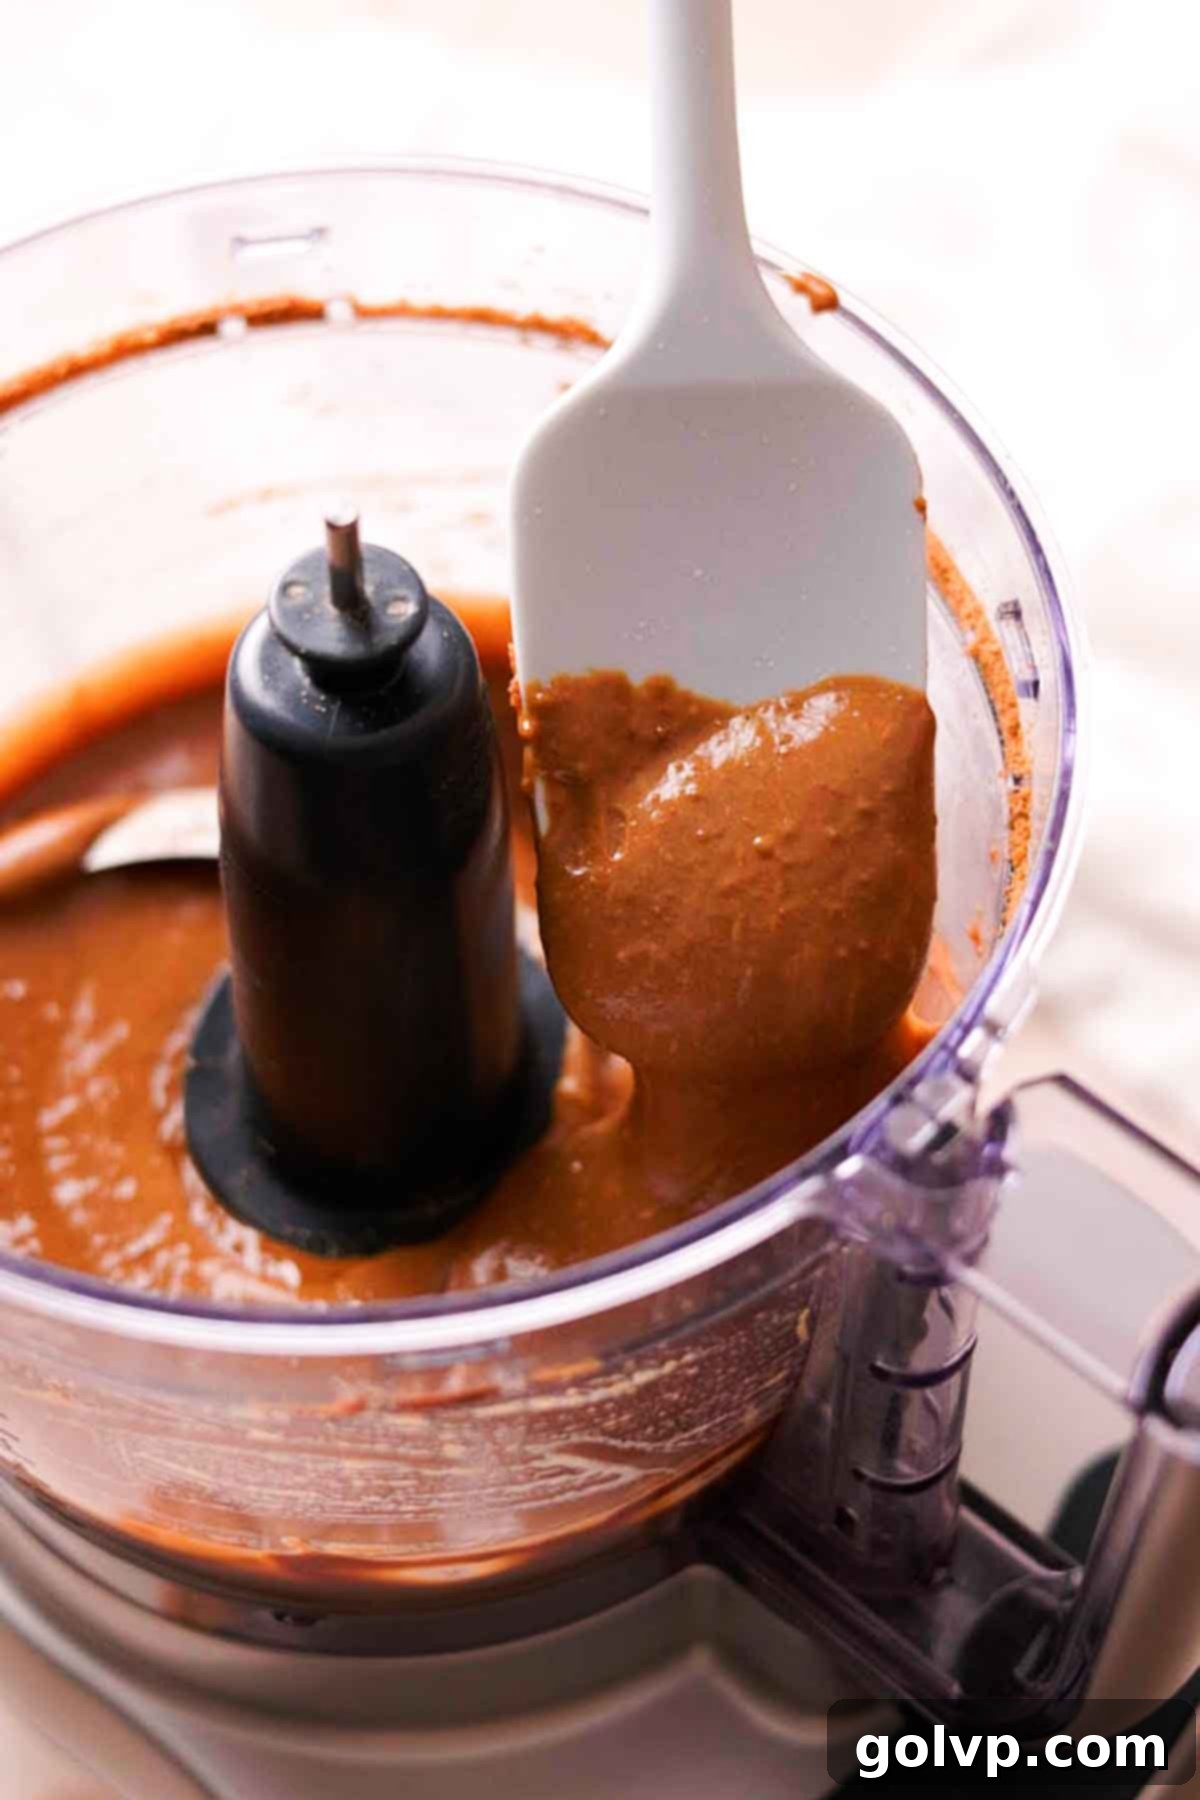
Step 5: Achieve Initial Creaminess. With the cookie crumbs finely ground in the food processor, pour in the hot water and brown sugar mixture you prepared earlier. Continue to blend or process on high speed. The hot liquid will help soften the cookie crumbs even further, encouraging them to emulsify and become wonderfully smooth and creamy. Scrape down the sides of the processor bowl as needed to ensure everything is thoroughly combined.
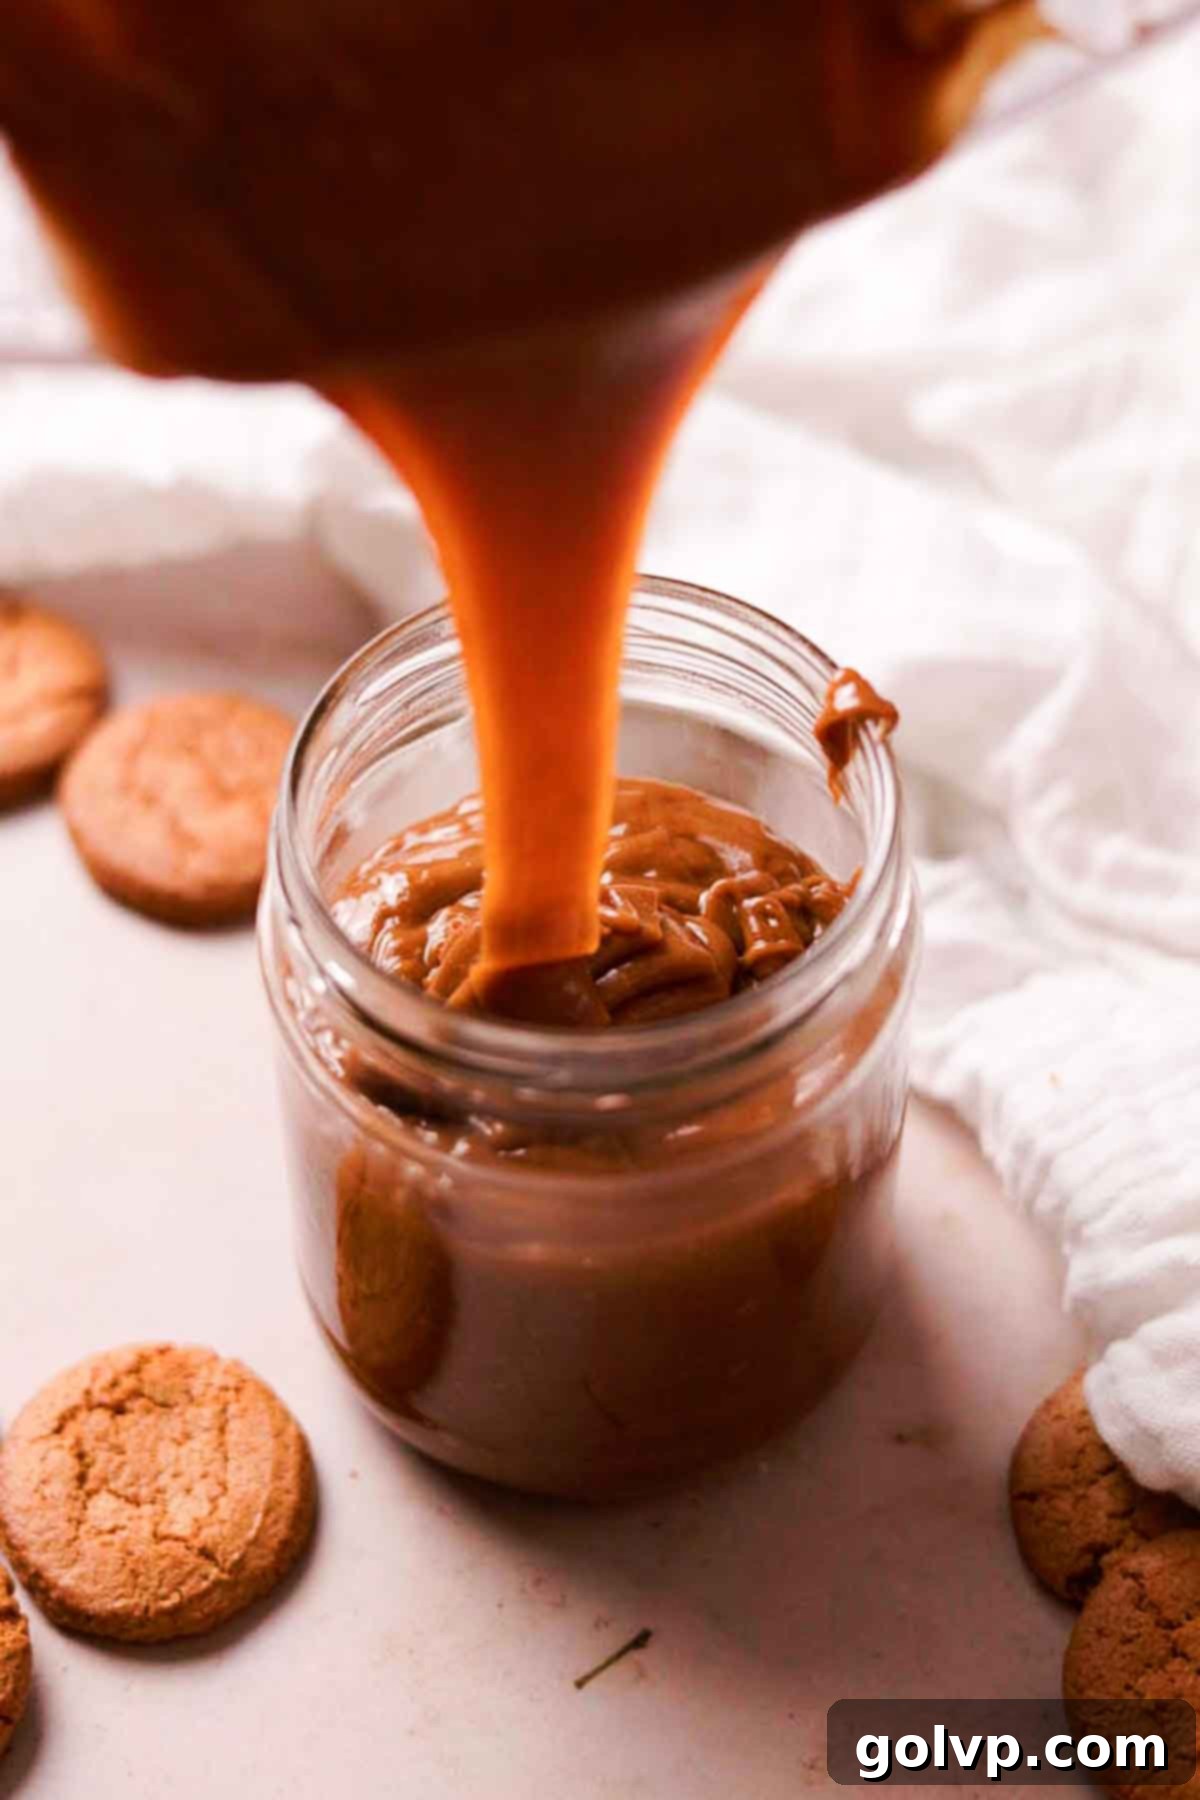
Step 6: Final Blend and Chill. Add the sea salt to the food processor. Now, carefully pour in the cooled, warm brown butter. It’s crucial that the brown butter is warm, not piping hot, to prevent damaging your food processor or blender. Blend the mixture one final time until it reaches an utterly smooth, thick, and creamy consistency, resembling a luxurious spread. Once blended, transfer the freshly made cookie butter into an airtight container or a glass jar for storage. Place it in the refrigerator for approximately 1-2 hours. This chilling period is essential; it allows the cookie butter to thicken further and firm up to the perfect spreadable consistency, while also allowing the flavors to meld and deepen beautifully.
✔️ Expert Tips for the Best Homemade Cookie Butter
- Always Use Good Quality Unsalted Butter for Superior Brown Butter: The quality of your butter directly impacts the flavor of your brown butter, which is a cornerstone of this recipe. High-quality unsalted butter will yield the most exquisite, nutty, and toasty butter flavor, adding a gourmet touch to your cookie butter. It’s imperative to use unsalted butter because salted butter, when browned, can develop an undesirable metallic, sometimes bitter, aftertaste that will detract from the delicate flavors of your spread. Investing in good butter makes a noticeable difference.
- Blend Cookies with Hot Water First for Ultimate Smoothness: This is a critical step for achieving that coveted, silky-smooth cookie butter texture. By blending the finely ground cookies with hot water *before* adding the browned butter, you give the cookie crumbs an opportunity to fully soften and hydrate. This process helps to create a much smoother emulsion, preventing any grittiness and ensuring your final product is wonderfully creamy and luxurious, much like a high-end spread.
- Allow the Cookie Butter to Chill and Set in the Fridge: Patience is a virtue when it comes to homemade cookie butter! While it might be tempting to dive in right away, allowing the spread to cool and set in the refrigerator for at least 1-2 hours (or even longer) is absolutely essential for the best experience. As it chills, the butter solidifies, transforming the mixture into a thick, yet perfectly spreadable and sticky consistency. More importantly, chilling allows all the delicious flavors—the toasted notes from the brown butter, the spice from the cookies, and the hint of caramel from the brown sugar—to fully meld and become significantly more pronounced, resulting in a deeper, richer taste sensation.
🥄 Make Ahead and Storage Guidelines
This homemade cookie butter is fantastic for meal prepping or simply having a delicious spread on hand. It stores exceptionally well, allowing you to enjoy its delightful flavor for an extended period. To maintain its freshness and quality, it’s highly recommended to store your cookie butter in the fridge rather than at room temperature. When kept in an airtight container in the refrigerator, it will remain fresh and delicious for anywhere from one to two weeks, becoming wonderfully thick and spreadable as it chills.
For even longer-term storage, cookie butter freezes beautifully. Simply transfer the cooled cookie butter into a freezer-safe bag, ensuring to press out any excess air, or into a freezer-safe container. It can be stored in the freezer for approximately 2-3 months. When you’re ready to use it, thaw the frozen cookie butter in the refrigerator overnight. If it seems a little too firm after thawing, you can let it sit at room temperature for 15-30 minutes to soften slightly, or gently warm it in the microwave in short bursts (10-15 seconds at a time), stirring between each, until it reaches your desired consistency. Avoid overheating, as this can separate the butter.
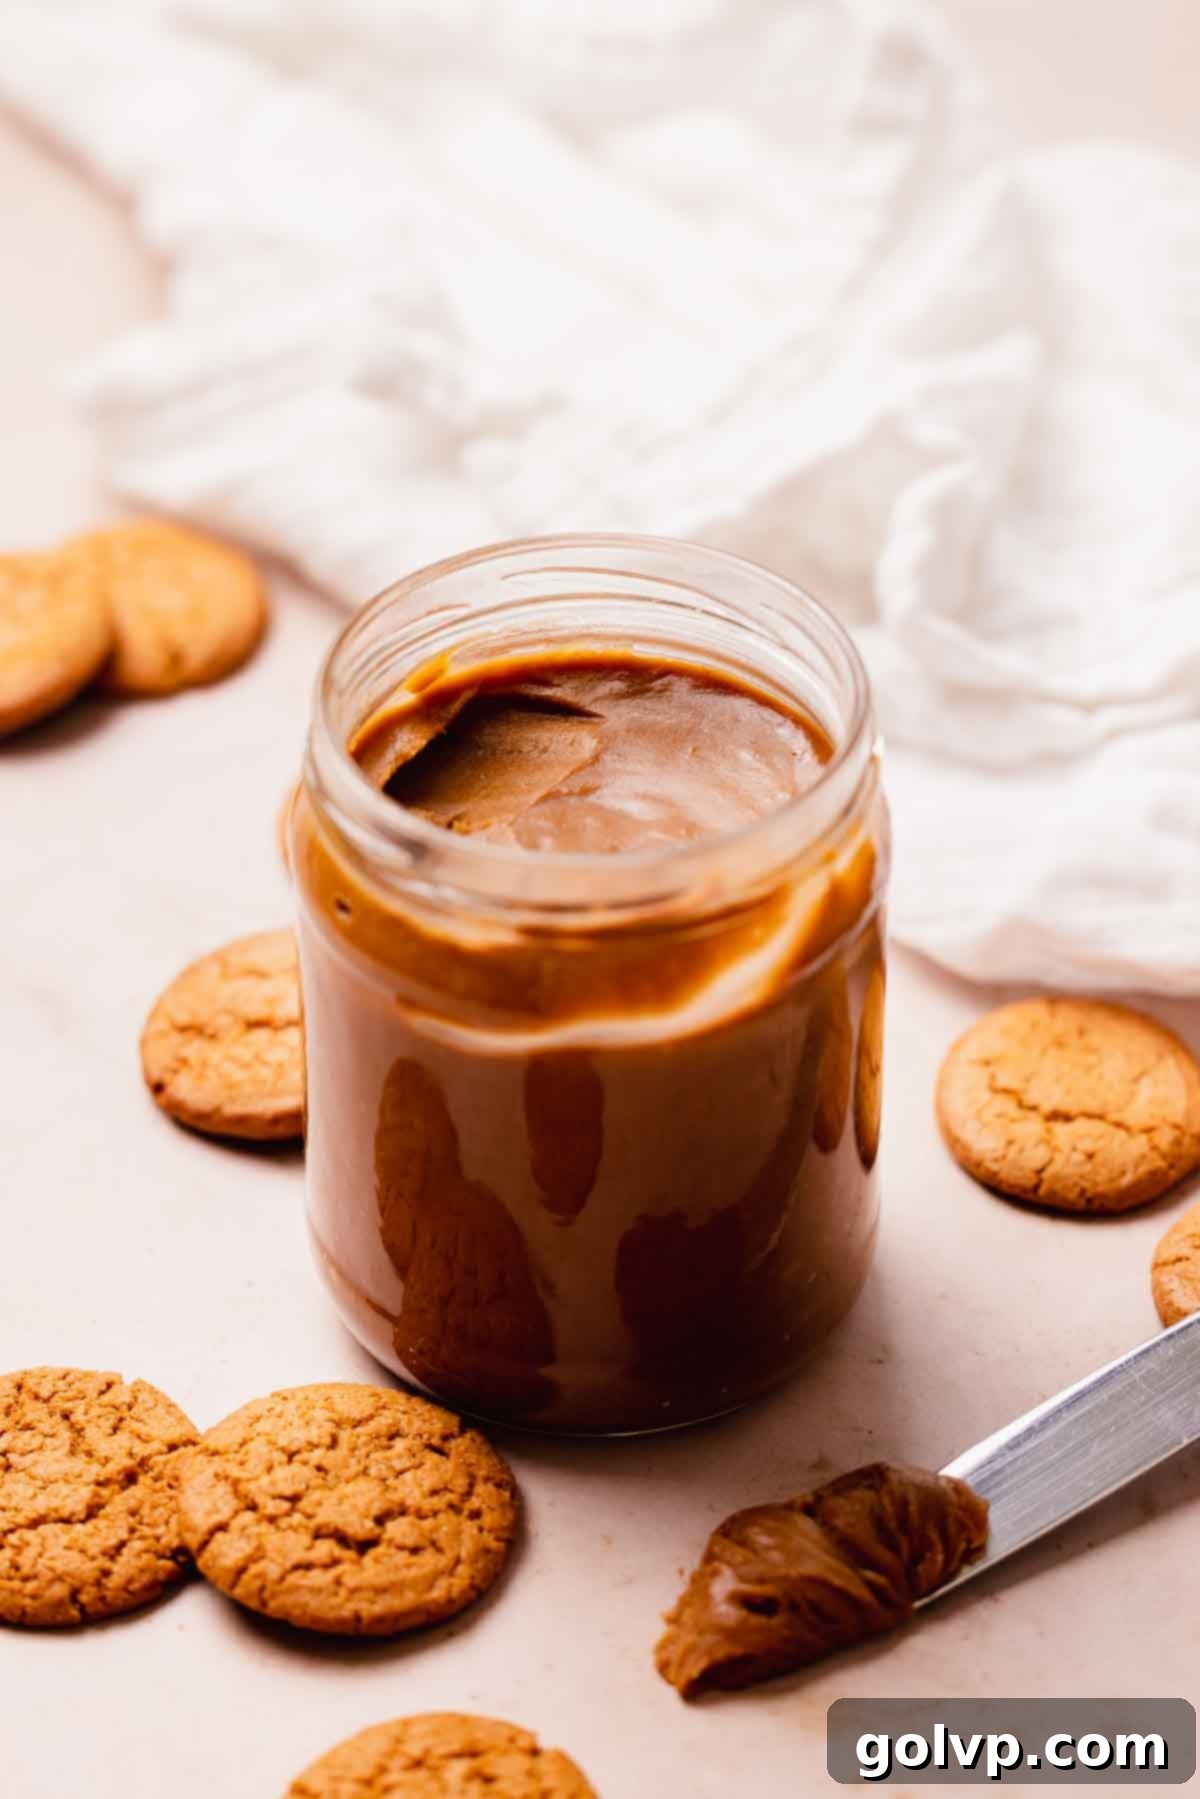
❔ Is This Homemade Cookie Butter Exactly Like Store-Bought?
While this homemade cookie butter captures the essence and beloved flavor profile of its store-bought counterparts, it’s important to note that it’s not an exact replica. Store-bought cookie butter often contains ingredients like palm oil, which contributes to its distinctively sticky mouthfeel and a slightly thicker consistency even when melted. Our homemade version, however, offers a unique and arguably superior experience, meticulously developed to achieve the most similar mouthfeel, flavor, and texture possible using standard home equipment and readily accessible ingredients.
The standout feature that truly elevates this homemade cookie butter recipe over most store-bought varieties is the incorporation of brown butter. This careful step infuses the spread with a gorgeous, deep, toasted, and nutty buttery flavor that is simply unparalleled. This brown butter not only enhances the taste significantly but also contributes to the cookie butter’s ability to set up beautifully, remaining thick and perfectly spreadable when chilled. The numerous recipe tests I conducted were all aimed at finding the perfect balance, ensuring a product that is both familiar in its deliciousness and distinctly elevated by the homemade touch.
🎂 Delicious Ways to Use Your Homemade Cookie Butter
Once you’ve whipped up a batch of this exquisite homemade cookie butter, the possibilities for enjoyment are practically endless! It functions just like any store-bought cookie butter, offering a rich, spiced, and creamy addition to countless dishes. You can, of course, enjoy it straight out of the jar with a spoon for a quick, decadent treat. But why stop there?
Here are some fantastic ways to incorporate this versatile spread into your culinary creations:
- Classic Spread: Slather it generously on warm toast, bagels, croissants, or brioche for a luxurious breakfast.
- Breakfast Enhancer: Drizzle it over pancakes, waffles, French toast, or stir it into your morning oatmeal or yogurt for an instant flavor upgrade.
- Dessert Filling: Use it as a filling for cakes, cupcakes, tarts, or even homemade donuts and crepes.
- Baking Ingredient: Incorporate it directly into cookie dough, brownie batter, or blondies for a unique spiced flavor and added moisture.
- Ice Cream Topping: Warm it slightly and drizzle it over vanilla or chocolate ice cream for a gourmet sundae.
- Fruit Dip: Serve it alongside sliced apples, bananas, or pears for a delightful and easy snack.
- Milkshakes & Smoothies: Blend a spoonful into your favorite milkshake or smoothie for a creamy, spiced twist.
- Energy Bites: Mix it with oats, nuts, and seeds to create no-bake energy balls or bars.
- Gourmet Garnish: Swirl it into a bowl of granola or use it as a garnish for cheesecakes and other baked goods.
My absolute favorite recipes to feature this cookie butter are my rich and moist Biscoff cake, the incredibly satisfying cookie butter stuffed cookies, and the effortlessly easy Biscoff cheesecake. Get creative and let this homemade spread inspire your next culinary adventure!
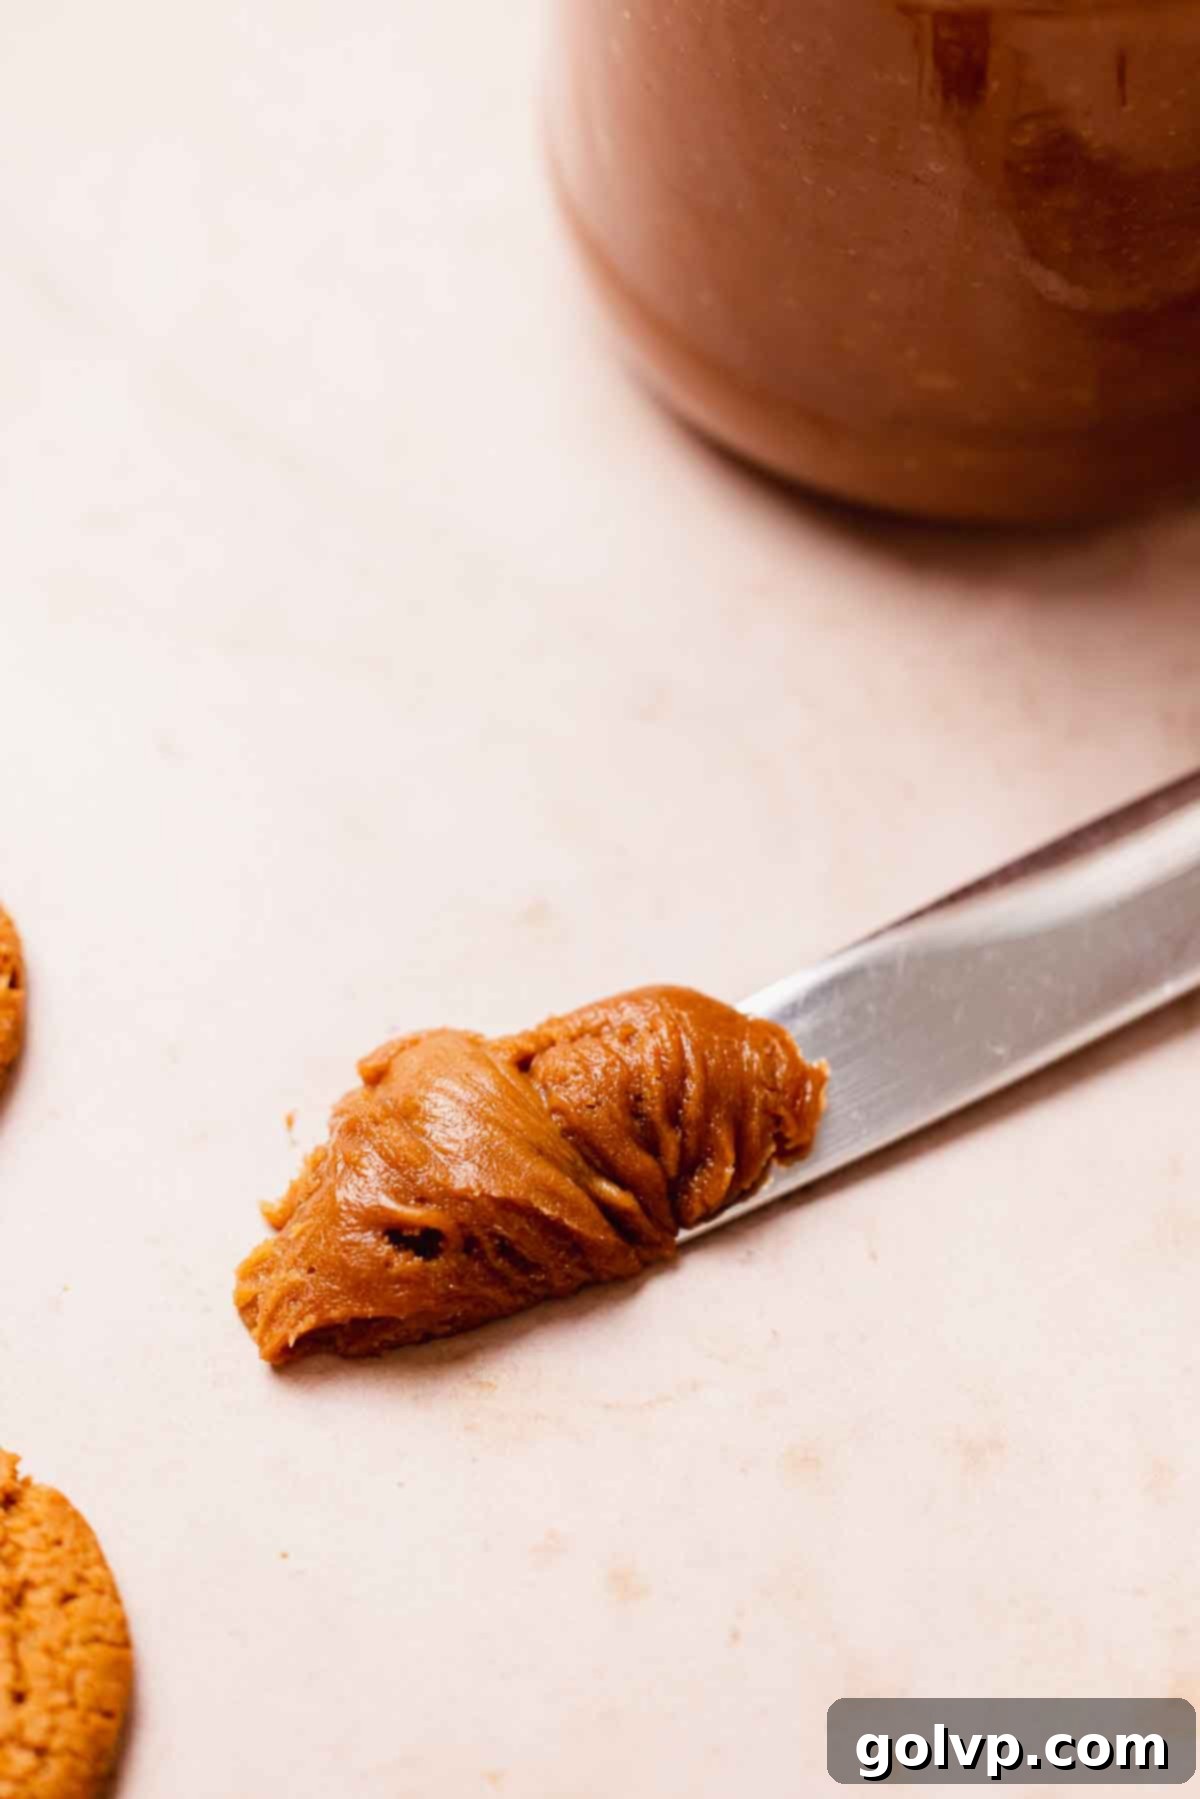
📖 Recipe FAQs – All Your Cookie Butter Questions Answered
Making a delicious vegan version of this homemade cookie butter is entirely possible with a few simple substitutions! Instead of unsalted butter, you will need to use refined solid coconut oil. It’s crucial that you use *refined* coconut oil, as unrefined (virgin) coconut oil has a distinct coconut flavor that would alter the cookie butter’s taste. The refined version has a neutral flavor, allowing the cookie notes to shine through. Also, ensure the coconut oil you choose is solid at room temperature; this is vital for the cookie butter to thicken and achieve its signature spreadable consistency when chilled. Unlike dairy butter, there’s no need to brown the coconut oil; simply melt it gently and add it to the mixture as directed in the recipe for the brown butter step. Lastly, make sure to use vegan-friendly cookies, as many popular brands are naturally vegan or have specific vegan varieties available (e.g., certain gingersnaps or store-brand biscuits).
Absolutely! While a food processor is highly recommended for its efficiency in achieving ultra-fine crumbs and a super-smooth blend, you can certainly make cookie butter using other equipment. A high-powered blender is an excellent alternative; it will effectively pulverize the cookies and emulsify the ingredients into a creamy spread. If you don’t have a food processor or a powerful blender, an immersion blender (also known as a stick blender) can also work, especially if you start with very finely crushed cookies (you might need to use a rolling pin and a bag for this step). The key is to ensure your chosen tool can blend the mixture until it’s completely smooth and free of any gritty cookie pieces. You may need to blend in smaller batches or scrape down the sides more frequently with an immersion blender to achieve the desired consistency, but with a little patience, you’ll still get a fantastic homemade cookie butter!
The “best” cookie is often a matter of personal preference, but for creating a truly outstanding cookie butter, I consistently find gingersnap cookies and Biscoff (or Speculoos) cookies to be exceptional choices. Gingersnaps impart a wonderful warmth and spicy depth, with notes of ginger, cinnamon, and molasses that create a beautifully complex and comforting flavor profile. Biscoff/Speculoos cookies, on the other hand, deliver that iconic caramelized biscuit taste, which is what many people associate with traditional cookie butter. Both of these types of cookies are inherently hard and crisp, which makes them ideal for blending into a super-fine powder, contributing to the silky-smooth texture of the final product. Their robust flavors hold up incredibly well against the richness of the brown butter and the sweetness of the sugar. However, don’t hesitate to experiment with other hard, crisp cookies like shortbread for a buttery, vanilla-forward spread, or even crunchy chocolate chip cookies for a sweet and familiar twist!
🍪 More Delicious Recipes Featuring Cookie Butter & Spreads
- Cookie Butter Stuffed Cookies
- Biscoff Cake
- Lemon Curd
- Biscoff Cheesecake
Did you make this recipe? I would love for you to rate this recipe and hear what you think in the comments below! Share your creation on Instagram and tag @flouringkitchen. Follow me on Pinterestto save and for more recipe ideas.
📖 Recipe Card
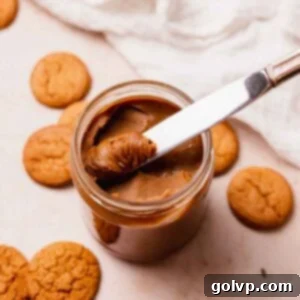
Homemade Cookie Butter Recipe
Mary
This recipe yields approximately 16 oz (500mL) of rich, homemade cookie butter.
Pin Recipe
Shop Ingredients
Equipment
-
Food Processor or a high-powered blender
Ingredients
- ½ cup unsalted butter
- ½ cup boiling hot water
- 2 tablespoons brown sugar packed
- 10 oz gingersnap cookies or other hard, crisp cookies (see notes)
- ⅛ teaspoon sea salt
Shop Ingredients on Jupiter
Instructions
-
Add the unsalted butter into a small, light-colored saucepan and heat on medium heat until completely melted. Continue heating, and the butter will begin to bubble vigorously. It will then foam up, and after a short while, the foam will subside.½ cup unsalted butter
-
Gently and carefully stir the butter continuously to ensure even browning and prevent burning. Once the bubbling starts again and you begin to see small, golden-brown flecks at the bottom of the pan, accompanied by a rich, nutty aroma, immediately remove it from the heat. Pour the brown butter into a heat-safe bowl to stop the cooking and allow it to cool until it’s warm to the touch (not hot).
-
In a separate small bowl or cup, combine the brown sugar and boiling hot water. Stir well until the sugar is fully dissolved. Set this mixture aside.½ cup boiling hot water, 2 tablespoons brown sugar
-
Add the gingersnap cookies (or your chosen crisp cookies) into a food processor or high-powered blender. Pulse or blend until they form very fine, flour-like crumbs. Next, pour in the hot water and brown sugar mixture and continue blending until the mixture is completely smooth and creamy.10 oz gingersnap cookies
-
Finally, add the sea salt and pour the warm (not hot!) brown butter into the food processor. Blend thoroughly until the cookie butter is perfectly smooth, thick, and fully emulsified. Transfer the homemade cookie butter into an airtight container or jar. Place it in the fridge for approximately 1-2 hours to allow it to thicken, set, and for the flavors to fully develop before enjoying.⅛ teaspoon sea salt
Notes
Make it vegan: To create a delicious vegan cookie butter, substitute the dairy butter with refined solid coconut oil. There’s no need to brown the coconut oil; simply melt it gently and add it at the specified step. It is crucial to use *refined* coconut oil to avoid a strong coconut flavor, and ensure it’s solid at room temperature so the cookie butter will properly thicken when chilled. Also, verify that your chosen cookies are vegan-friendly.
Storage: Your homemade cookie butter will stay fresh and delicious in an airtight container in the refrigerator for one to two weeks. Refrigeration is recommended over room temperature storage to prolong its shelf life and maintain its thick, spreadable consistency. For longer storage, freeze the cookie butter in a freezer-safe bag or container for 2-3 months. Thaw in the refrigerator before use.
Expert cookie butter tips for the best results:
- For the most exquisite, nutty flavor, use good quality unsalted butter when making your brown butter. Salted butter can develop an undesirable metallic taste when browned.
- Achieve an ultra-smooth cookie butter by blending the finely ground cookie crumbs with the hot water and brown sugar mixture first. This step helps soften the crumbs and ensures a superior, creamy texture.
- Always allow your cookie butter ample time to cool and set in the fridge before serving. Chilling not only thickens it to a perfect spreadable consistency but also significantly deepens and enhances all the wonderful flavors.
Nutrition Information
