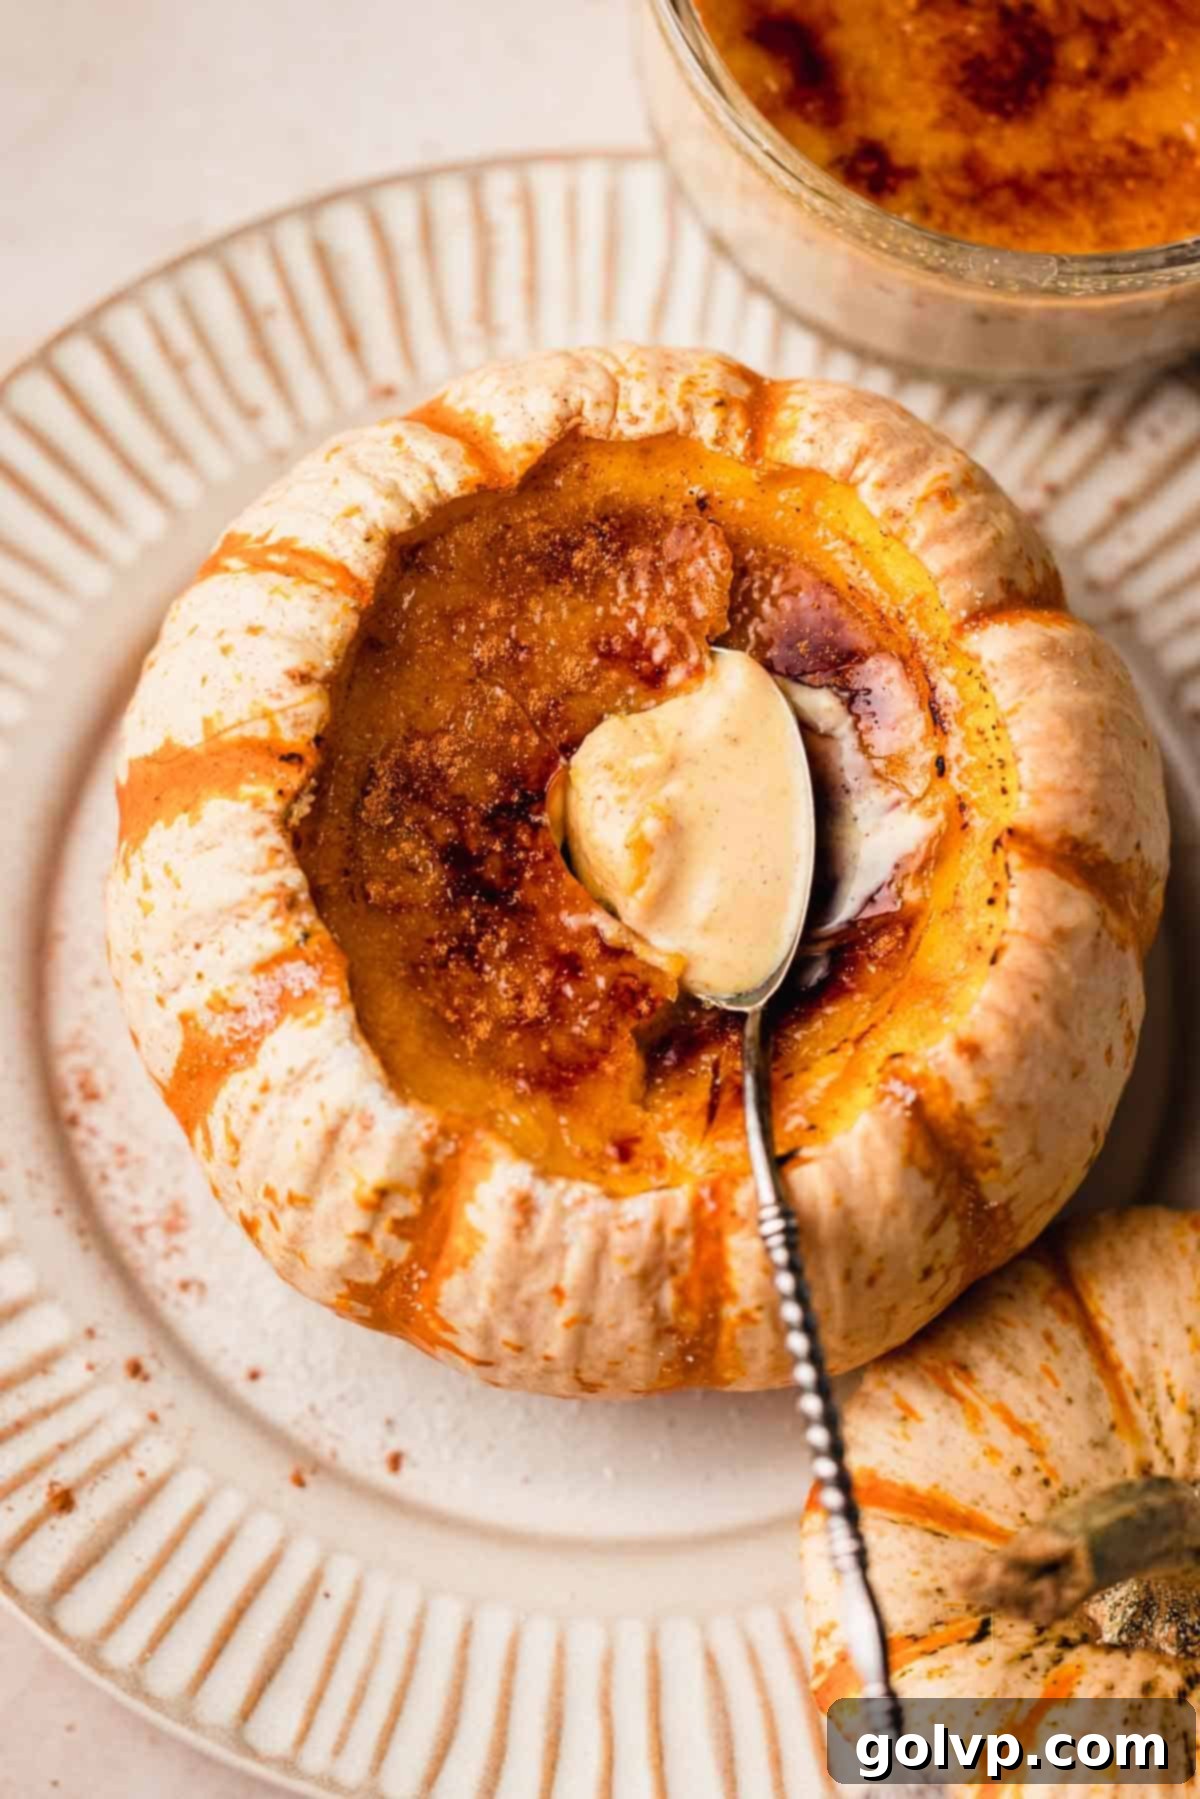
Decadent Pumpkin Creme Brulee: The Ultimate Fall Dessert (Baked in Edible Mini Pumpkins!)
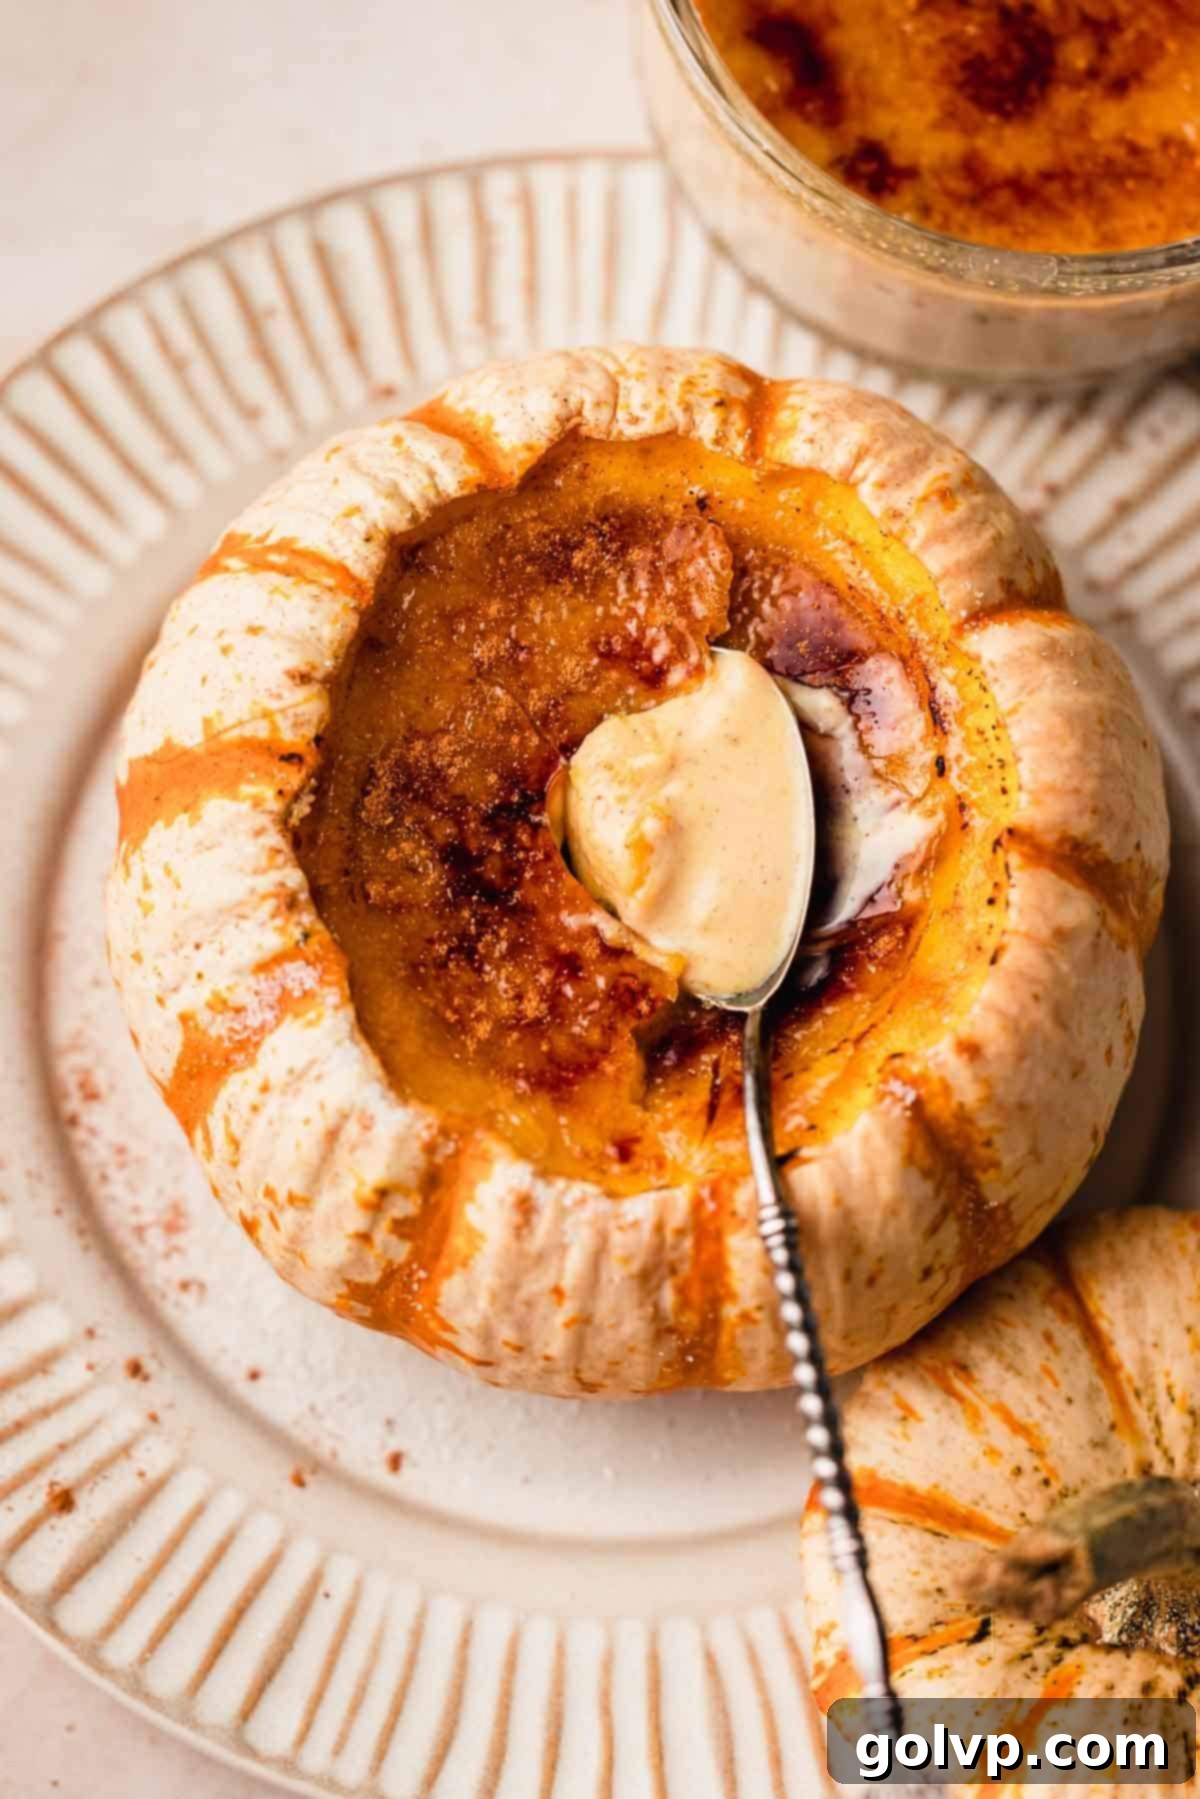
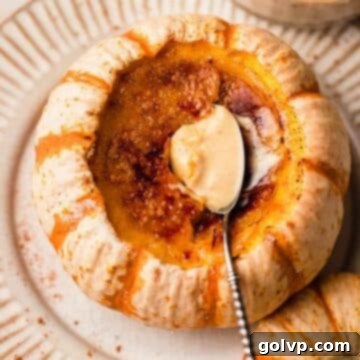
Embrace the cozy flavors of autumn with this incredibly rich and creamy pumpkin creme brulee. Imagine a velvety smooth custard, infused with warm spiced pumpkin, topped with a perfectly crisp, caramelized sugar crust that cracks with a satisfying snap. This isn’t just any dessert; it’s a culinary experience that captures the essence of fall in every spoonful. Best of all, this recipe is surprisingly simple to master, coming together in just about 5 minutes of active prep time before baking. For a truly show-stopping presentation, we’ll guide you on how to bake these delightful custards inside charming mini pumpkins that are not only edible but add a unique, rustic touch to your table. If mini pumpkins aren’t available, don’t worry – traditional ramekins work perfectly too! This detailed guide provides instructions for both methods, ensuring you can create this impressive dessert regardless of your chosen vessel.
[feast_advanced_jump_to]
🍮 Why You’ll LOVE This Pumpkin Creme Brulee Recipe
This pumpkin creme brulee isn’t just a dessert; it’s a celebration of fall that’s designed to impress with minimal effort. Here’s why you’ll absolutely adore it:
- Unbelievably Creamy Texture: Prepare for a truly luxurious experience. This pumpkin creme brulee boasts an incredibly smooth, melt-in-your-mouth custard. The combination of egg yolks, heavy cream, and pumpkin puree creates a velvety consistency that’s perfectly set, never runny or overly firm. It’s the ideal canvas for the vibrant pumpkin and spice flavors.
- Quick & Easy Preparation: Don’t let the elegant appearance fool you; this recipe is a breeze! The custard base requires just a few minutes of whisking together simple ingredients. No complicated techniques or extensive steps. Once combined, it’s poured into your chosen baking vessels and baked to perfection, making it an ideal dessert for both novice and experienced bakers.
- Baked Inside Edible Mini Pumpkins: Elevate your dessert game with an optional, yet highly recommended, presentation that’s both adorable and delicious! Baking these creme brulees inside hollowed-out mini pumpkins not only creates a stunning visual centerpiece but also infuses the pumpkin flesh with a subtle, caramelized sweetness, allowing you to truly eat your vessel. This unique method also cleverly eliminates the need for a water bath, as the pumpkin’s natural thick walls provide perfect insulation for an even bake.
- Bursting with Spiced Pumpkin Flavor: Each bite delivers a harmonious blend of earthy pumpkin and a comforting medley of fall spices. The pumpkin pie spice enhances the natural sweetness of the pumpkin puree, creating a warm, aromatic profile that is quintessential for the autumn season. It’s the perfect balance of sweet and spicy, without being overpowering.
- Impressive for Any Occasion: Whether it’s a cozy family dinner, a festive Halloween party, or a grand Thanksgiving feast, this pumpkin creme brulee is guaranteed to be a crowd-pleaser. Its elegant presentation and rich flavor make it feel special, yet its ease of preparation means you can enjoy it without stress.
For an ultimate pumpkin-themed spread, consider serving this decadent dessert alongside a creamy pumpkin spice chai latte, a dollop of pumpkin cold foam, or a cloud of pumpkin whipped cream. Fresh berries on the side add a touch of brightness, completing a truly memorable brunch or dessert experience.
📝 Key Ingredients for Perfect Pumpkin Creme Brulee
Crafting this delightful pumpkin creme brulee requires only a handful of essential ingredients, with a few special additions to infuse it with that irresistible pumpkin flavor. You’ll be surprised how simple it is to achieve such a sophisticated dessert!
While baking in mini pumpkins adds an undeniable charm, it’s entirely optional. If you prefer a more traditional approach, classic ramekins will yield equally delicious results. Below are the core components you’ll need to gather:
Read through for all the tips you will need for success!
Full steps and ingredients in recipe card below.
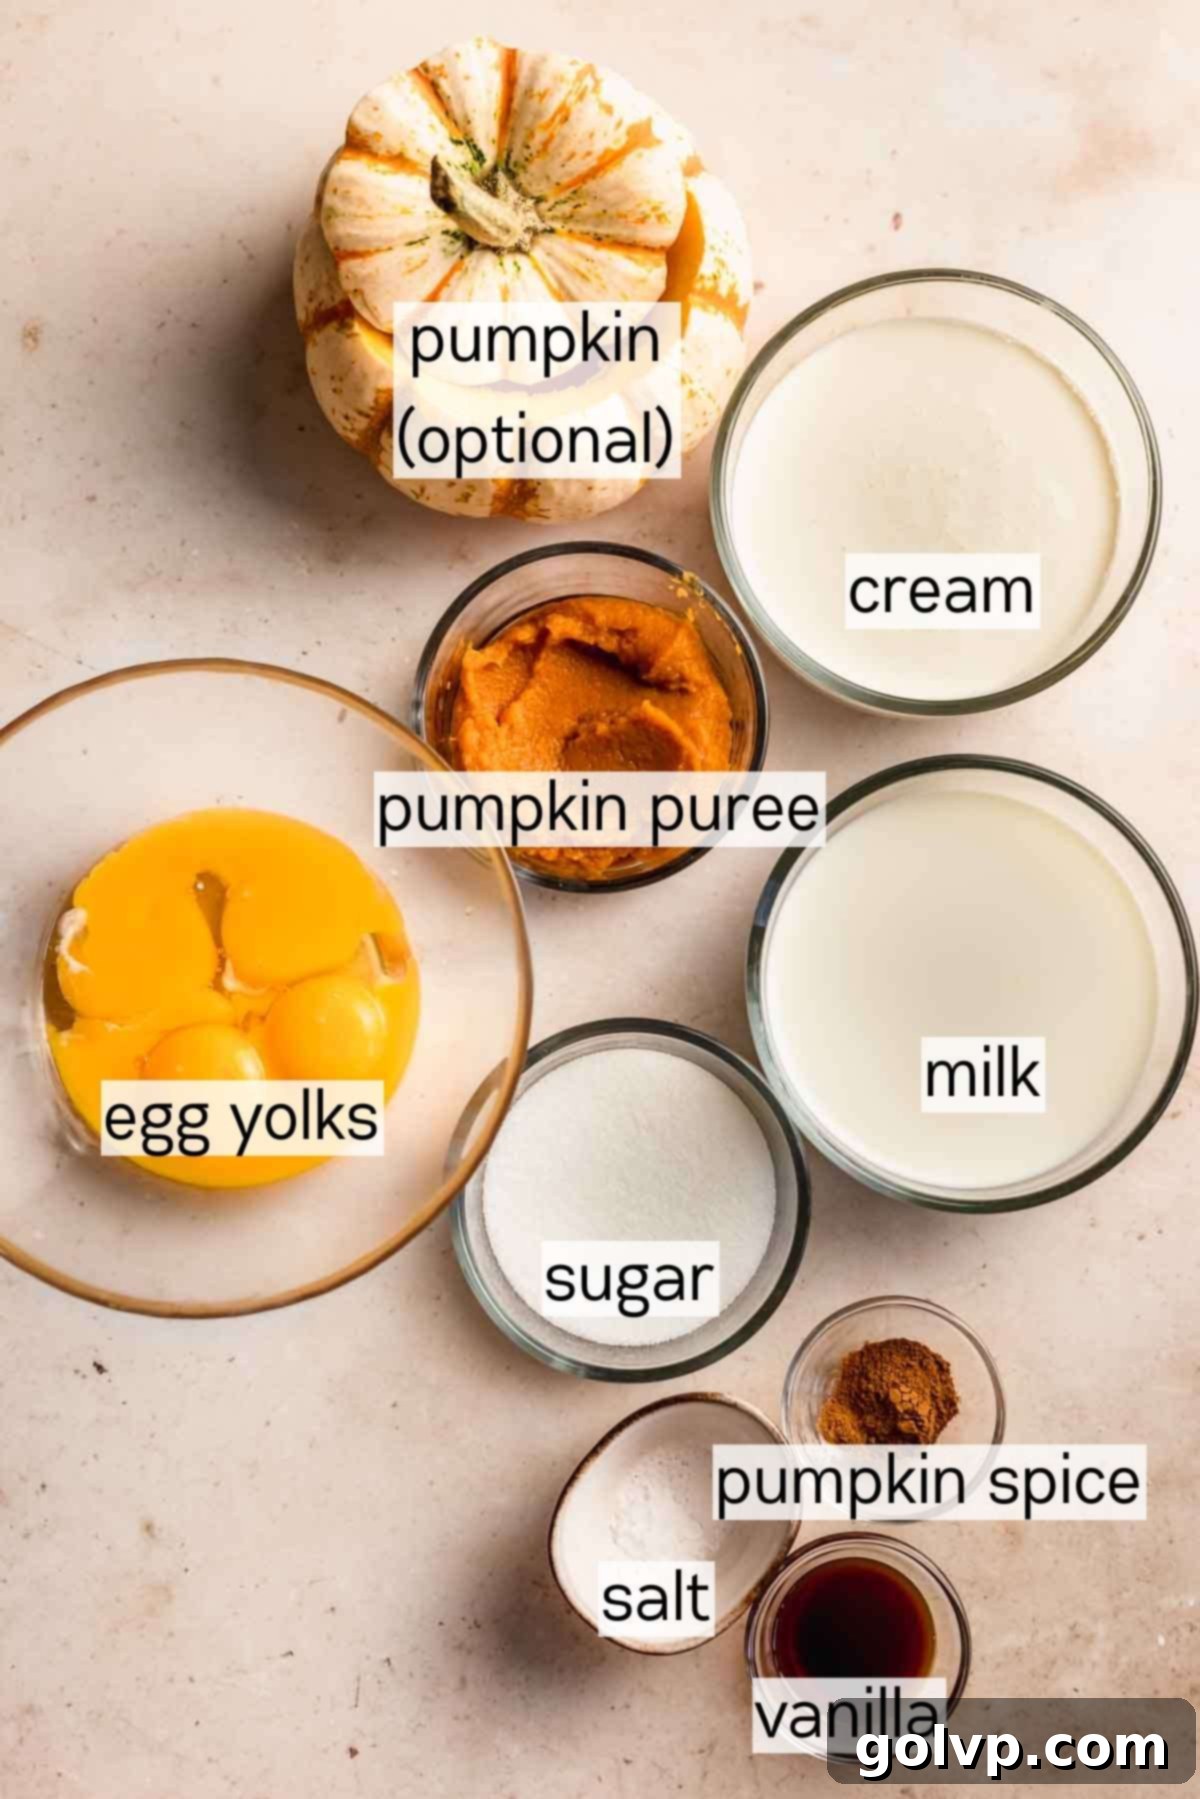
- Pumpkin Puree: The star of the show! For optimal consistency and convenience, I highly recommend using store-bought canned pumpkin puree. It’s consistently smooth and has the right moisture content. If you opt for homemade pumpkin puree, be sure to achieve a thick consistency similar to hummus. Excess moisture will thin out your custard, preventing it from setting properly. You may need to squeeze out extra water using a cheesecloth or gently cook it down in a dry pan on the stovetop until thickened.
- Mini Pumpkins (Optional, but Recommended for Charm): These aren’t just for decoration anymore! Baking your creme brulee inside mini pumpkins creates the most adorable, festive individual desserts. Plus, the cooked pumpkin flesh becomes tender and delicious, allowing you to scoop and enjoy it along with your custard. This is a fantastic and eco-friendly way to repurpose your decorative fall pumpkins after the season. Alternatively, if you prefer, standard oven-safe ramekins are a perfect substitute.
- Egg Yolks: These are the essential thickening agents for creme brulee. They contribute to the custard’s rich, luxurious texture and its beautiful golden hue. Using only the yolks ensures a smooth, silky consistency without the chewiness that egg whites can sometimes impart.
- Granulated Sugar: Crucial for both sweetening the custard and creating that signature crunchy caramelized top. Granulated sugar melts evenly and caramelizes beautifully under a torch or broiler, forming a perfectly brittle crust that’s the hallmark of a good creme brulee.
- Heavy Whipping Cream & Milk: The combination of heavy cream and milk creates a perfectly balanced custard. The high-fat content of the heavy cream contributes to the incredible richness and creamy mouthfeel, while the milk lightens it just enough to keep it from being too heavy. Using full-fat dairy is key for the best texture and flavor.
- Pumpkin Pie Spice: This blend of cinnamon, nutmeg, ginger, and cloves is what truly brings out the festive fall flavor in your creme brulee. It beautifully complements and enhances the natural taste of the pumpkin. If you don’t have a pre-made blend, you can easily use cinnamon as a primary spice or make your own pumpkin pie spice at home for a custom flavor.
- Pure Vanilla Extract: A touch of pure vanilla extract adds depth and warmth to the custard, complementing the pumpkin and spices without overpowering them. Always opt for pure vanilla for the best flavor.
- Pinch of Salt: Don’t skip the salt! A small amount of sea salt helps to balance the sweetness and brings out all the wonderful flavors in the custard, making the pumpkin and spices truly shine.
If you find yourself with leftover pumpkin puree after making this delightful dessert, consider whipping up some no-bake pumpkin cheesecake bars or these charming mini pumpkin hand pies. There are truly so many creative ways to enjoy pumpkin during the fall season!
And if you’re a fan of exploring different creme brulee flavors, you might also love this sophisticated Earl Grey creme brulee recipe for another unique twist on a classic dessert.
👩🍳 How to Make the Best Pumpkin Creme Brulee
Creating this stunning pumpkin creme brulee is a straightforward process, broken down into easy-to-follow steps. Whether you choose to bake in decorative mini pumpkins or classic ramekins, the results will be equally delicious and impressive.
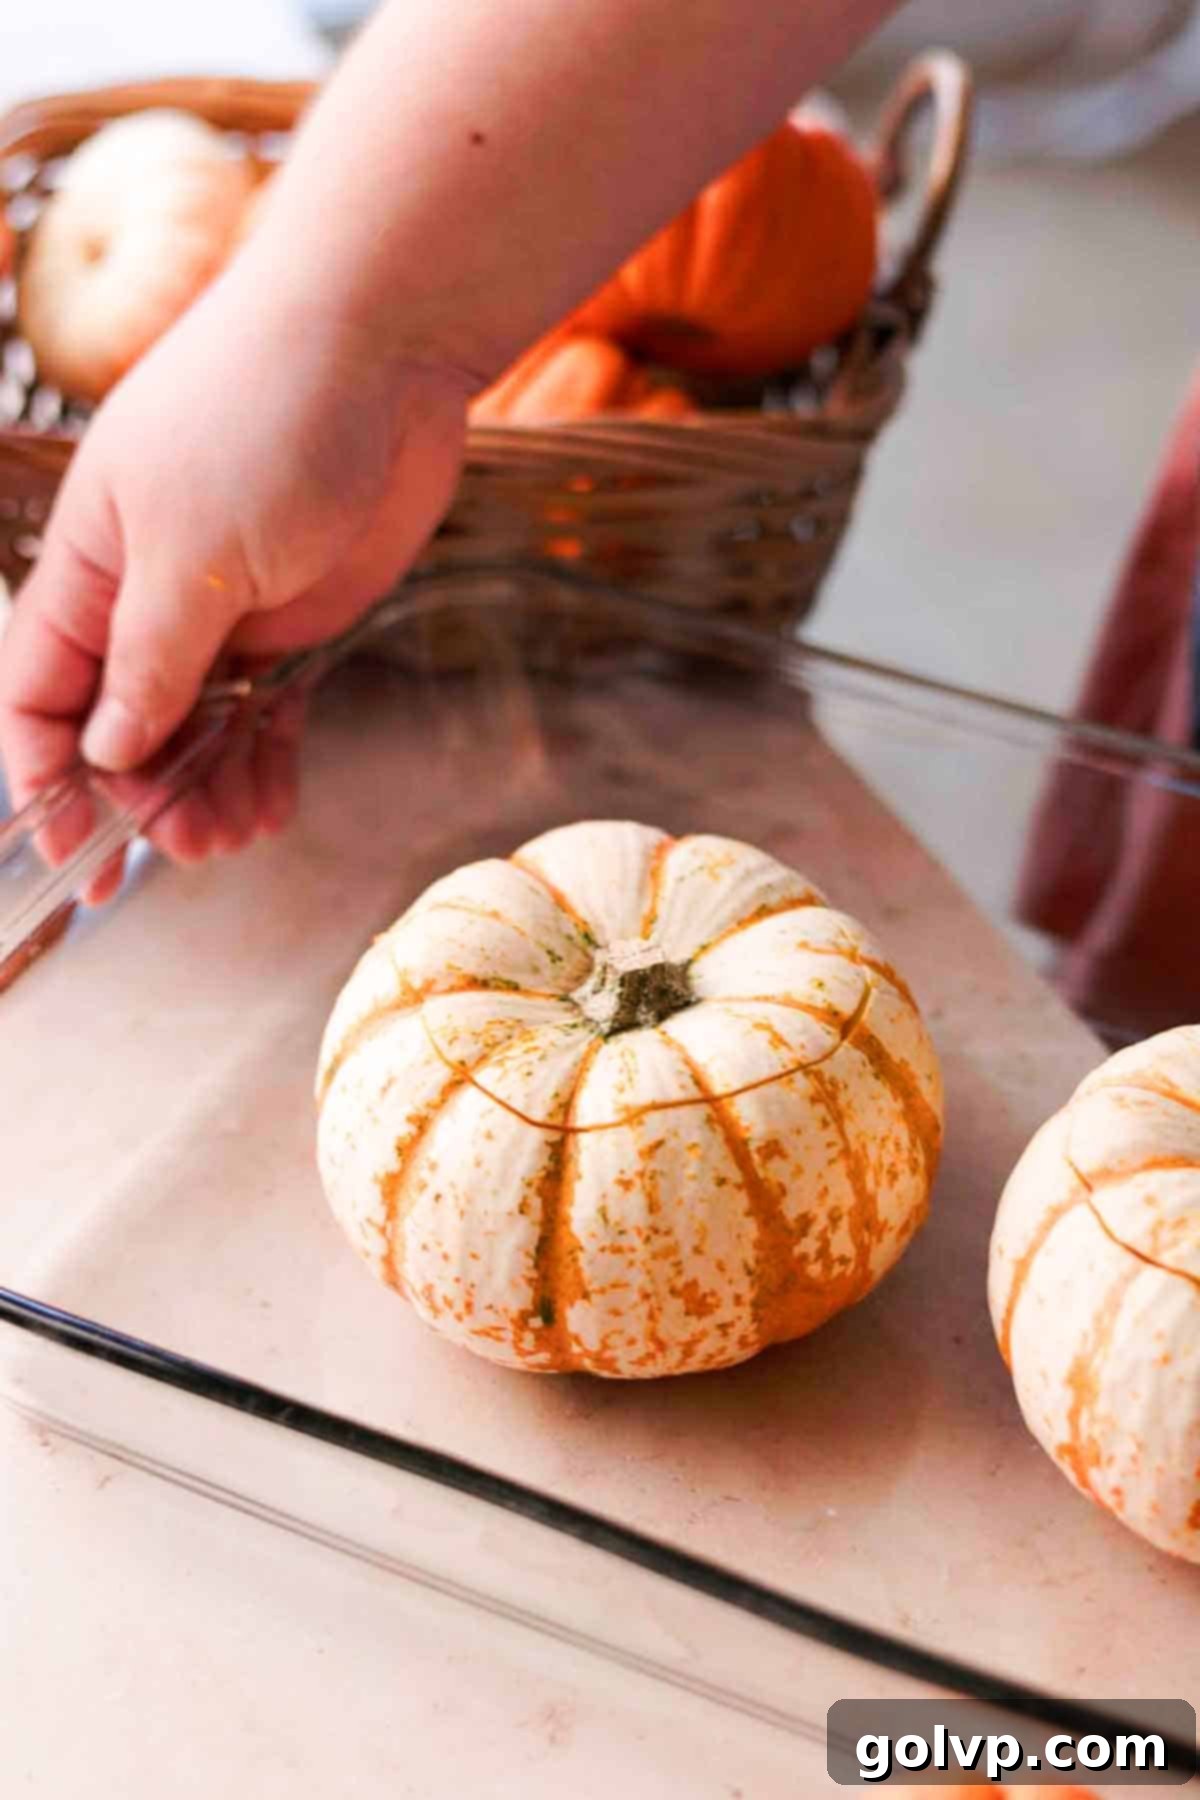
Step 1 (Optional – Preparing Mini Pumpkins): If you’re going for the ultimate festive presentation, begin by preparing your mini pumpkins. Preheat your oven to 355°F (180°C). Carefully slice off the tops of your chosen pumpkins (aim for a clean, even cut that can serve as a lid). Using a spoon, thoroughly scoop out all the seeds and fibrous strings from the inside. Once clean, lightly spread softened butter, a sprinkle of sugar, and a pinch of pumpkin spice all over the interior of each pumpkin. This step not only seasons the pumpkin flesh but also helps it to caramelize slightly as it bakes. Place the tops back on, arrange the pumpkins in a baking dish, and bake for 30-40 minutes, or until the pumpkin flesh is tender when pierced with a fork but still firm enough to hold its shape.
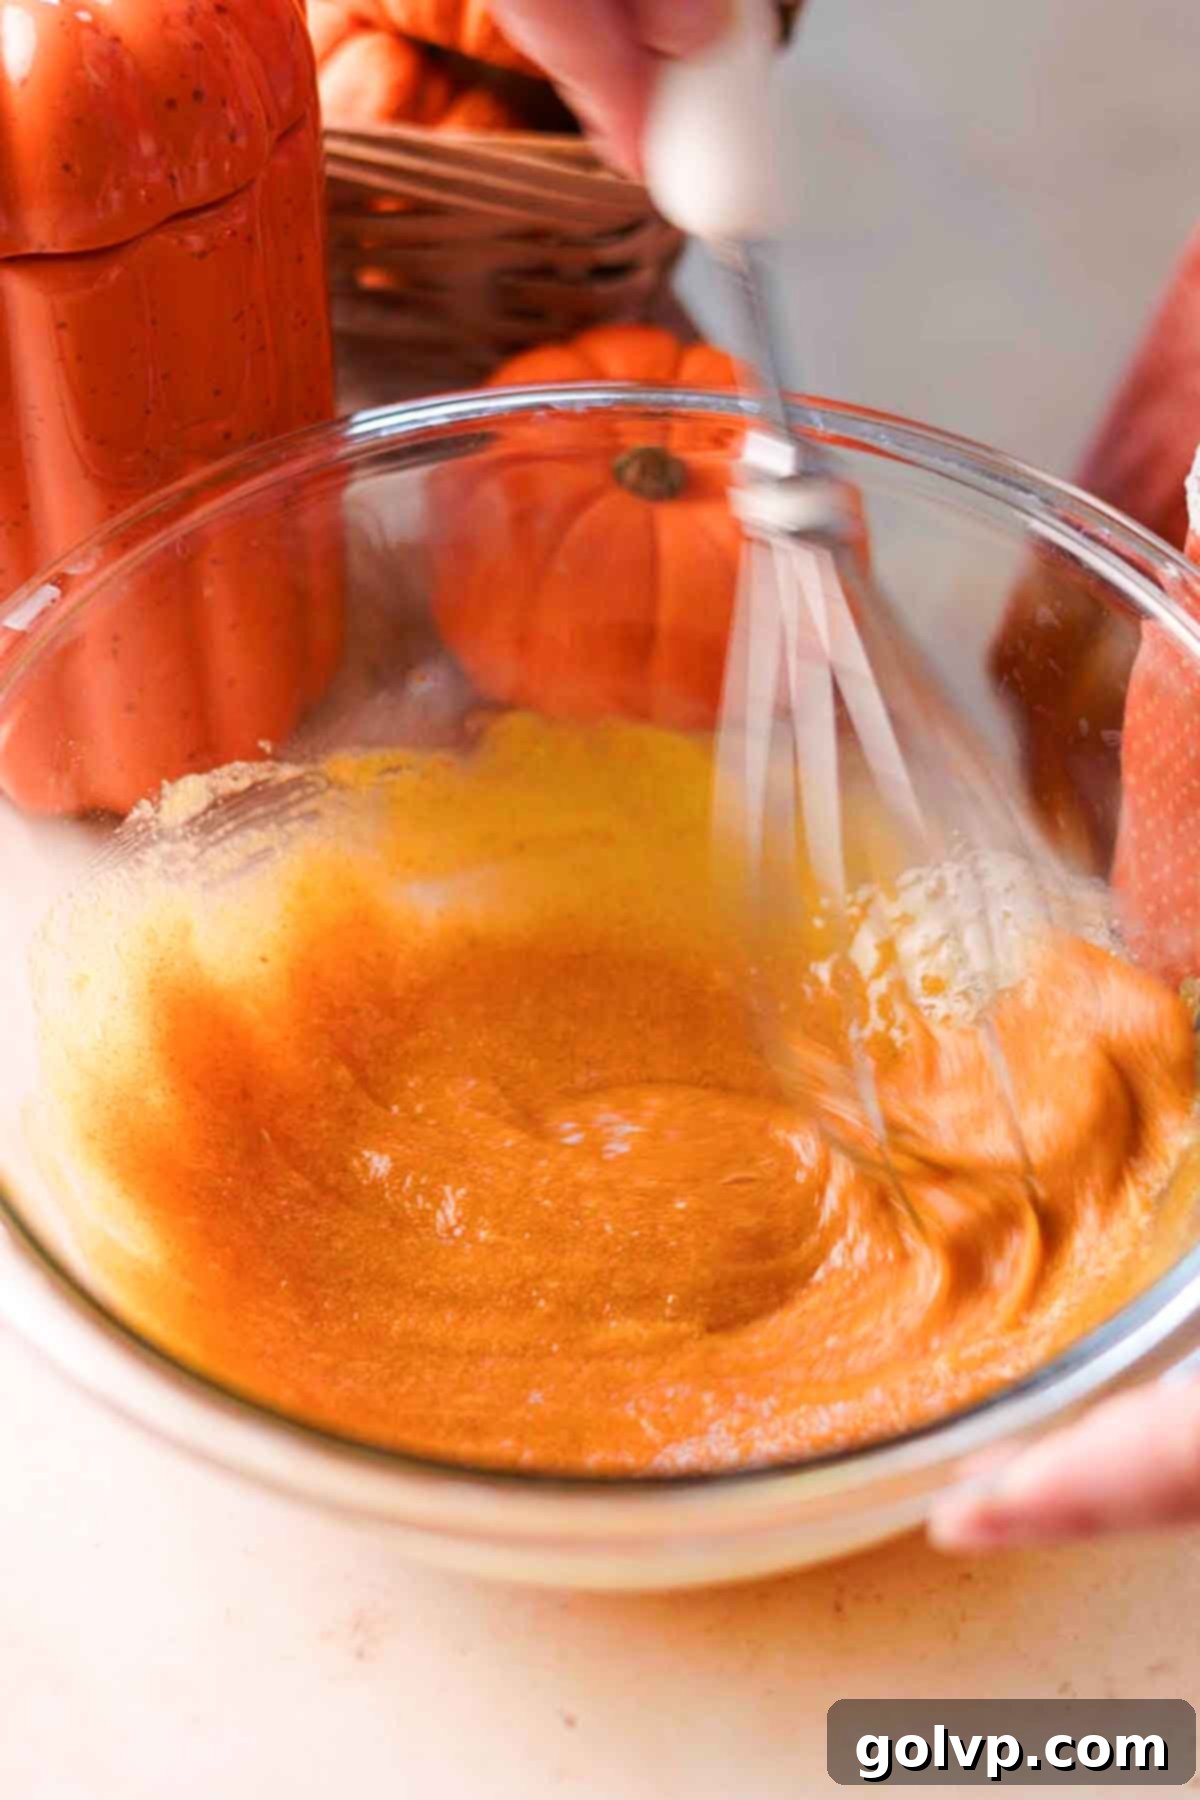
Step 2 (Prepare the Custard Base): In a large mixing bowl, combine the egg yolks, granulated sugar, sea salt, pure vanilla extract, and pumpkin spice. Using a whisk, gently mix these ingredients together until they are just smooth and thoroughly combined. The goal here is to integrate everything without incorporating too much air, which can lead to a foamy or bubbly custard. Do not whisk vigorously until the mixture becomes lightened in color; a smooth, cohesive liquid is what you’re looking for.
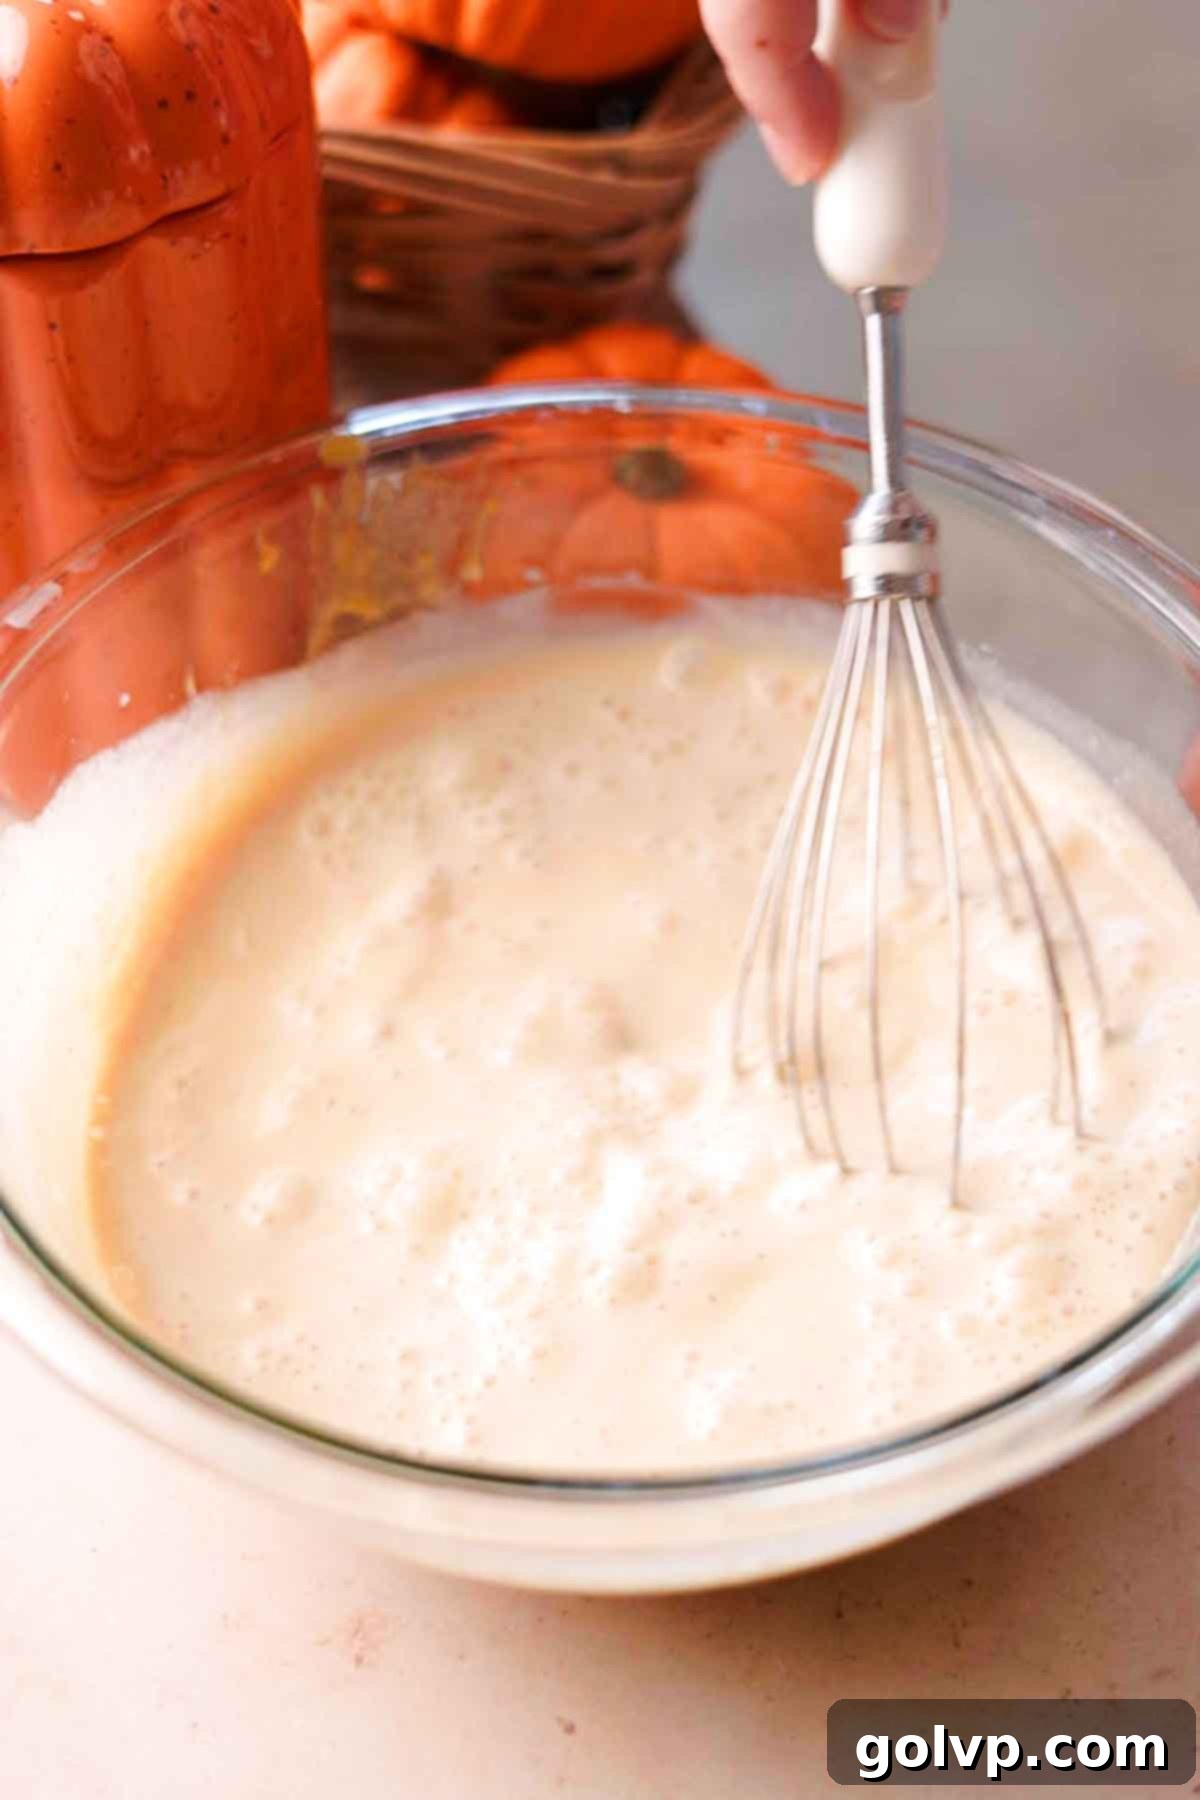
Step 3 (Incorporate Pumpkin and Dairy): Now, add the pumpkin puree to your egg yolk mixture. Whisk gently until the pumpkin puree is fully incorporated and the mixture is uniformly colored and smooth. Next, slowly pour in the heavy whipping cream and milk. Continue to whisk gently until all ingredients are perfectly blended. At this point, you should have a smooth, beautifully orange-hued liquid custard base, ready for baking.
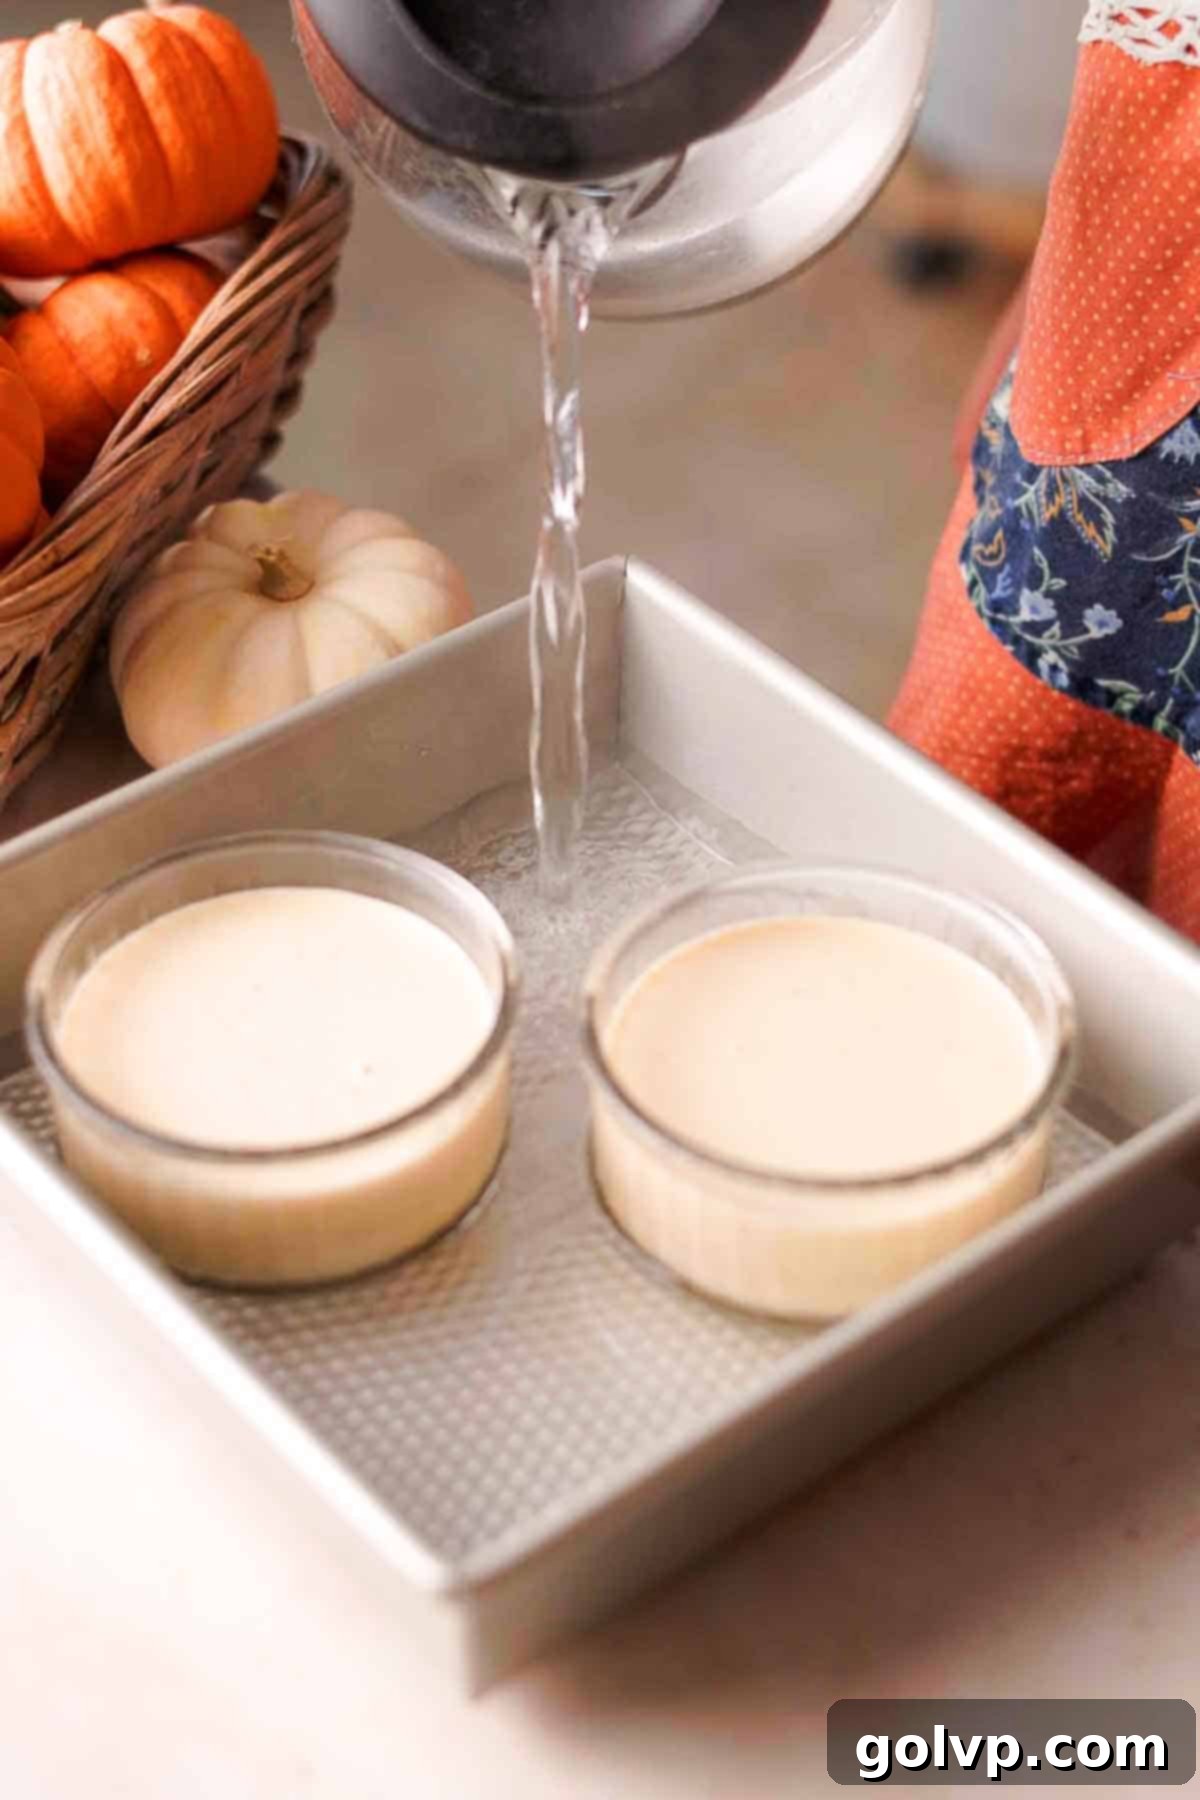
Step 4 (Prepare for Baking): Adjust your oven temperature (or preheat) to 320°F (160°C). Carefully pour the prepared creme brulee mixture into your chosen vessels – either the pre-baked mini pumpkins or your ramekins. If you are using ramekins, place them into a larger baking dish with high walls. Then, fill the baking dish halfway up the sides of the ramekins with boiling water. This creates a water bath (bain-marie), which ensures even, gentle cooking. If you are baking in the mini pumpkins, you can skip the water bath entirely, as their thick walls provide natural insulation and moisture for a perfect bake.
Tip: For quick and easy boiling water, a kettle is your best friend! A water bath is essential for ramekins as it helps the creme brulee cook evenly, preventing the edges from over-baking and becoming rubbery while the center remains unset. The consistent temperature provided by the water ensures a silky, perfectly set custard. Conversely, mini pumpkins, with their natural moisture and insulated walls, create a similar gentle baking environment, making a separate water bath unnecessary. Think of the pumpkin itself as a natural, edible ramekin and water bath all in one!
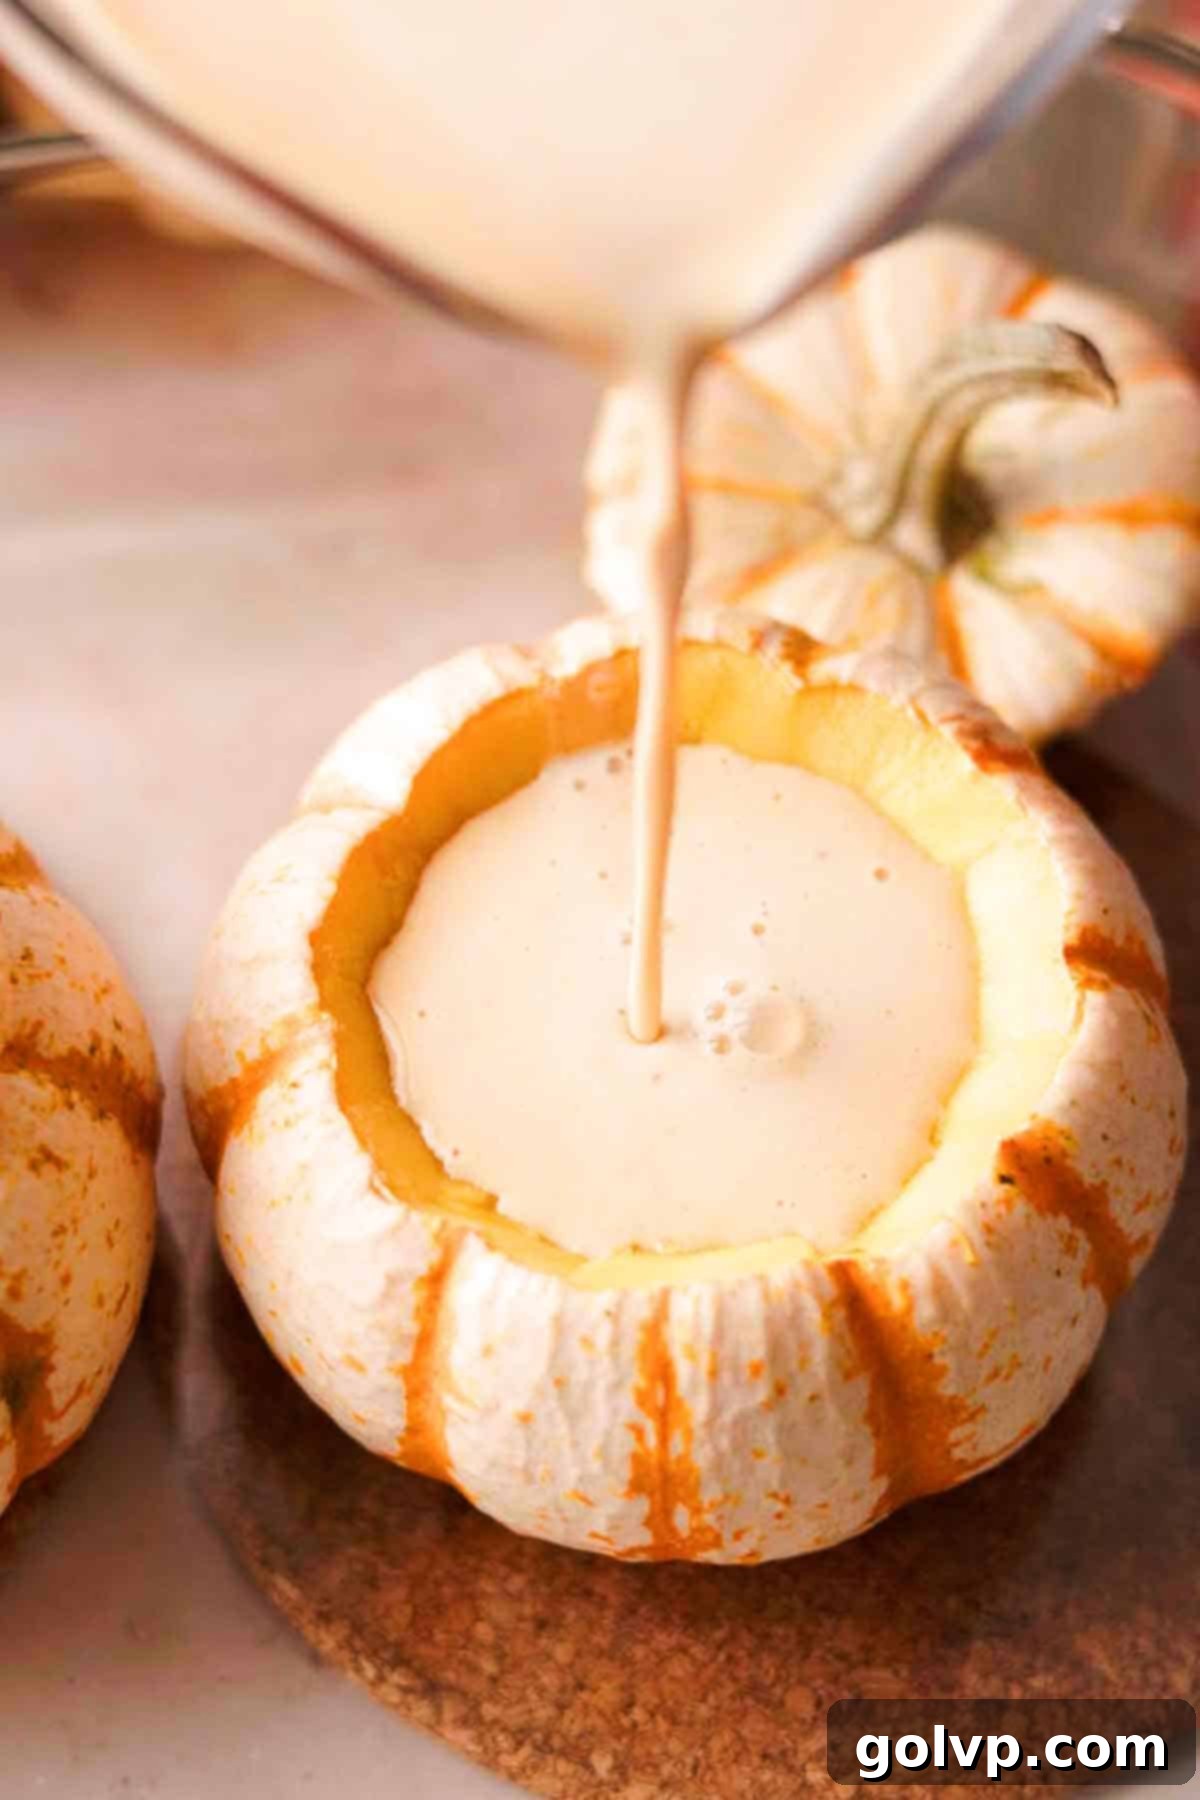
Step 5 (Bake until Set): Carefully transfer the baking dish (with ramekins and water bath, or just pumpkins) into the preheated oven. Bake for approximately 25-30 minutes. The creme brulee is ready when the edges appear set and firm, but the center still has a slight, delicate jiggle when gently nudged. Over-baking can lead to a curdled or rubbery texture, so keep a close eye on them! The residual heat will continue to cook the custard as it cools.
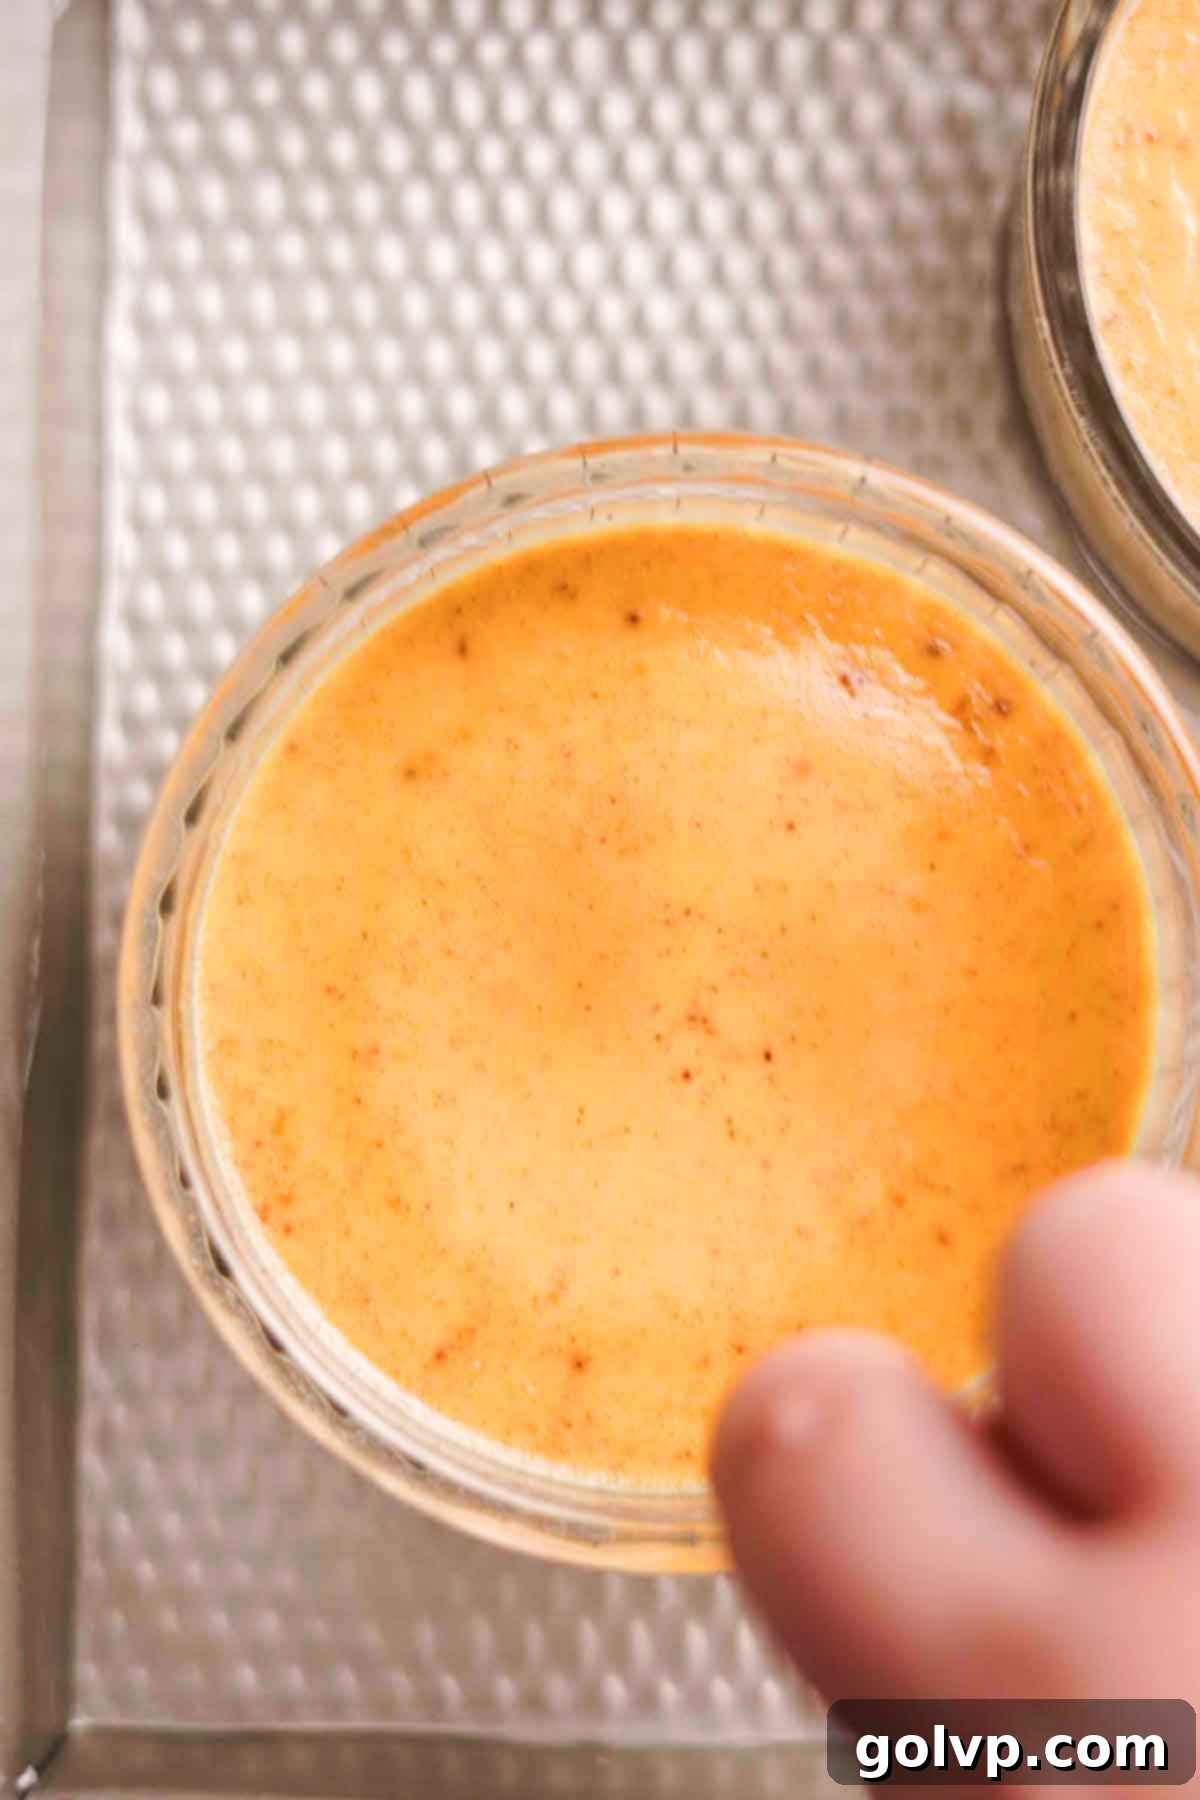
Step 6 (Cooling & Chilling): Once baked, carefully remove the ramekins from the hot water bath (if applicable) and allow them, or the pumpkins, to cool completely to room temperature on a wire rack. This is a crucial step for setting. After reaching room temperature, cover each creme brulee loosely with plastic wrap and transfer them to the refrigerator. Chill for a minimum of 8 hours, or ideally overnight, up to 48 hours. Proper chilling ensures the custard is fully set, firm, and boasts the perfect creamy consistency.
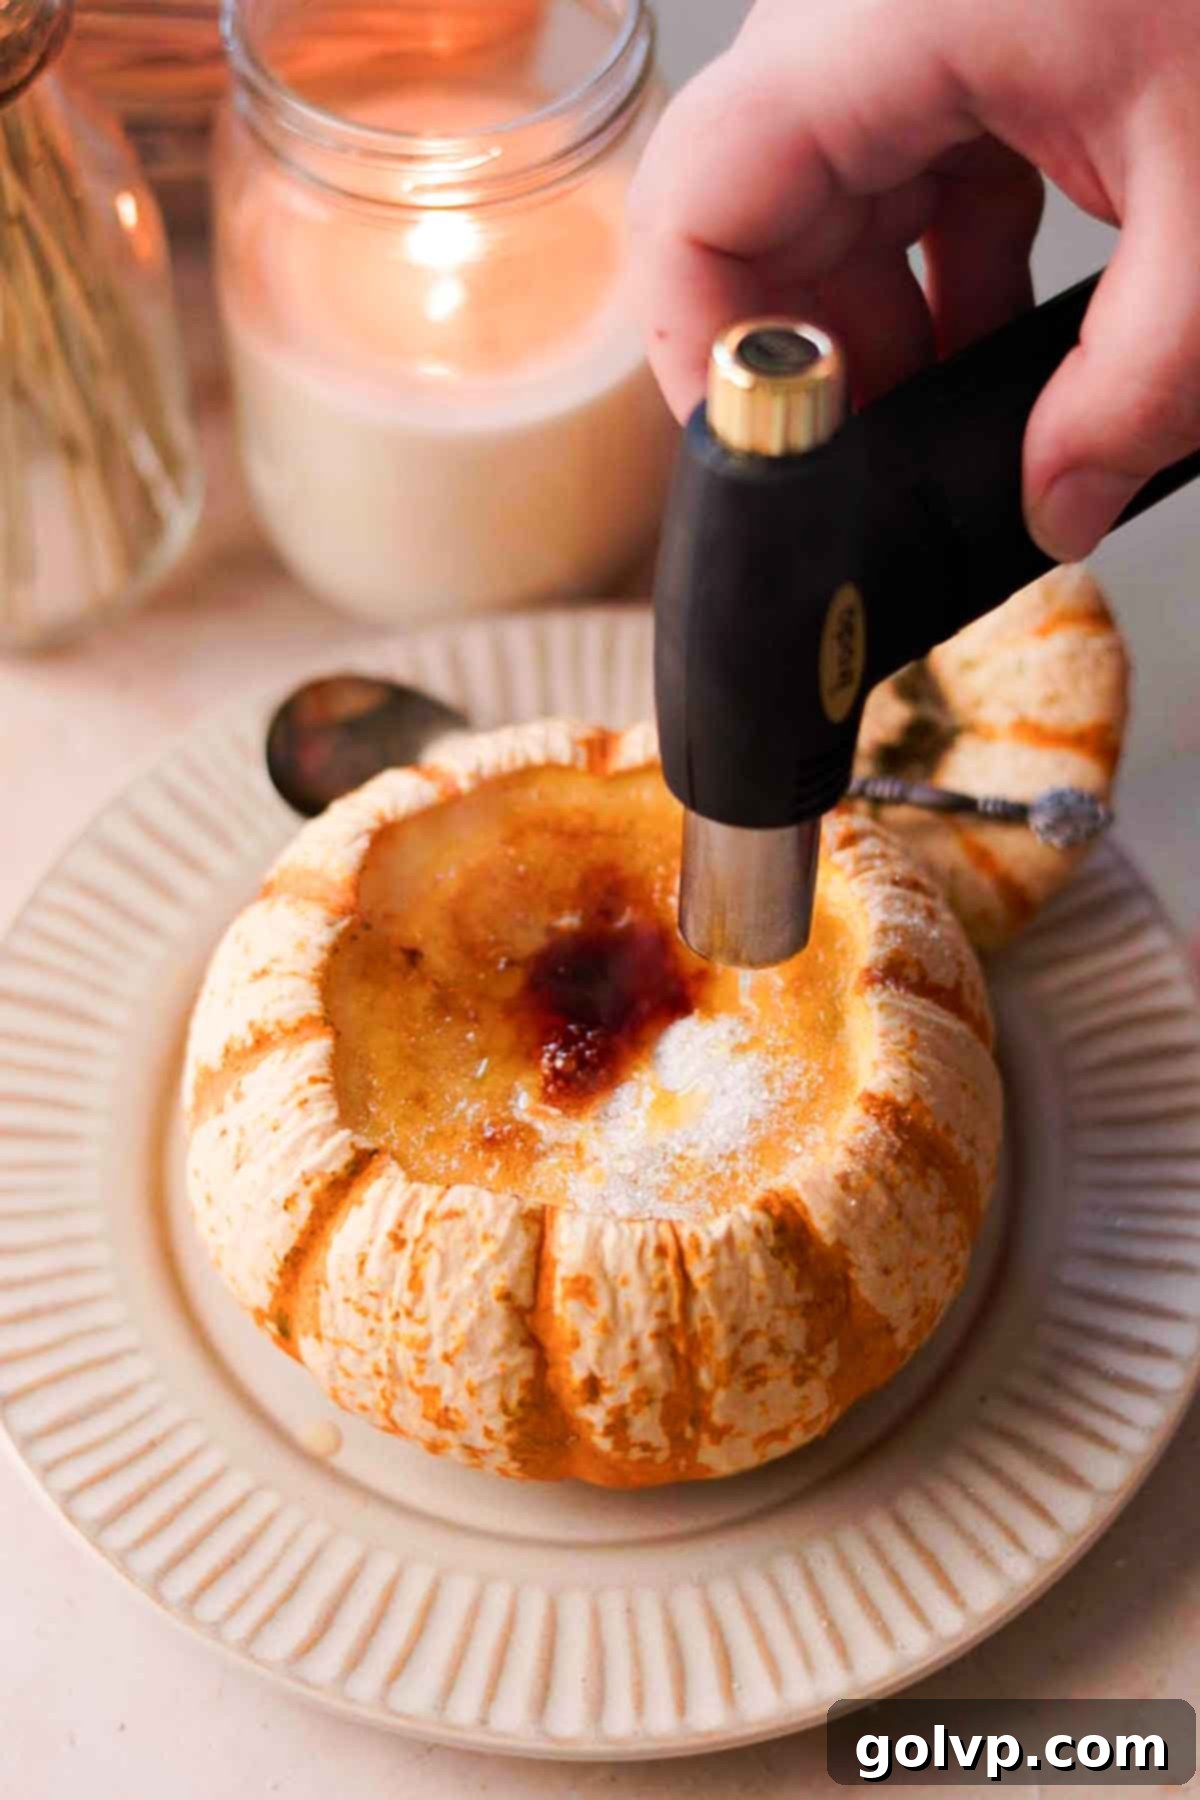
Step 7 (Caramelize the Sugar Top): This is the moment of magic! Just before serving, generously sprinkle a layer of granulated sugar evenly over the chilled surface of each creme brulee. Using a kitchen torch, carefully caramelize the sugar. Hold the torch a few inches above the sugar, moving it constantly in a circular motion until the sugar melts, bubbles, and transforms into a deep, golden-brown, crackly crust. Alternatively, you can caramelize the top by placing the creme brulees on the top rack under your oven broiler. Watch them very closely, as the sugar can burn rapidly; remove as soon as a golden-brown crust forms. Ensure the custard remains cold underneath the warm, brittle sugar shell.
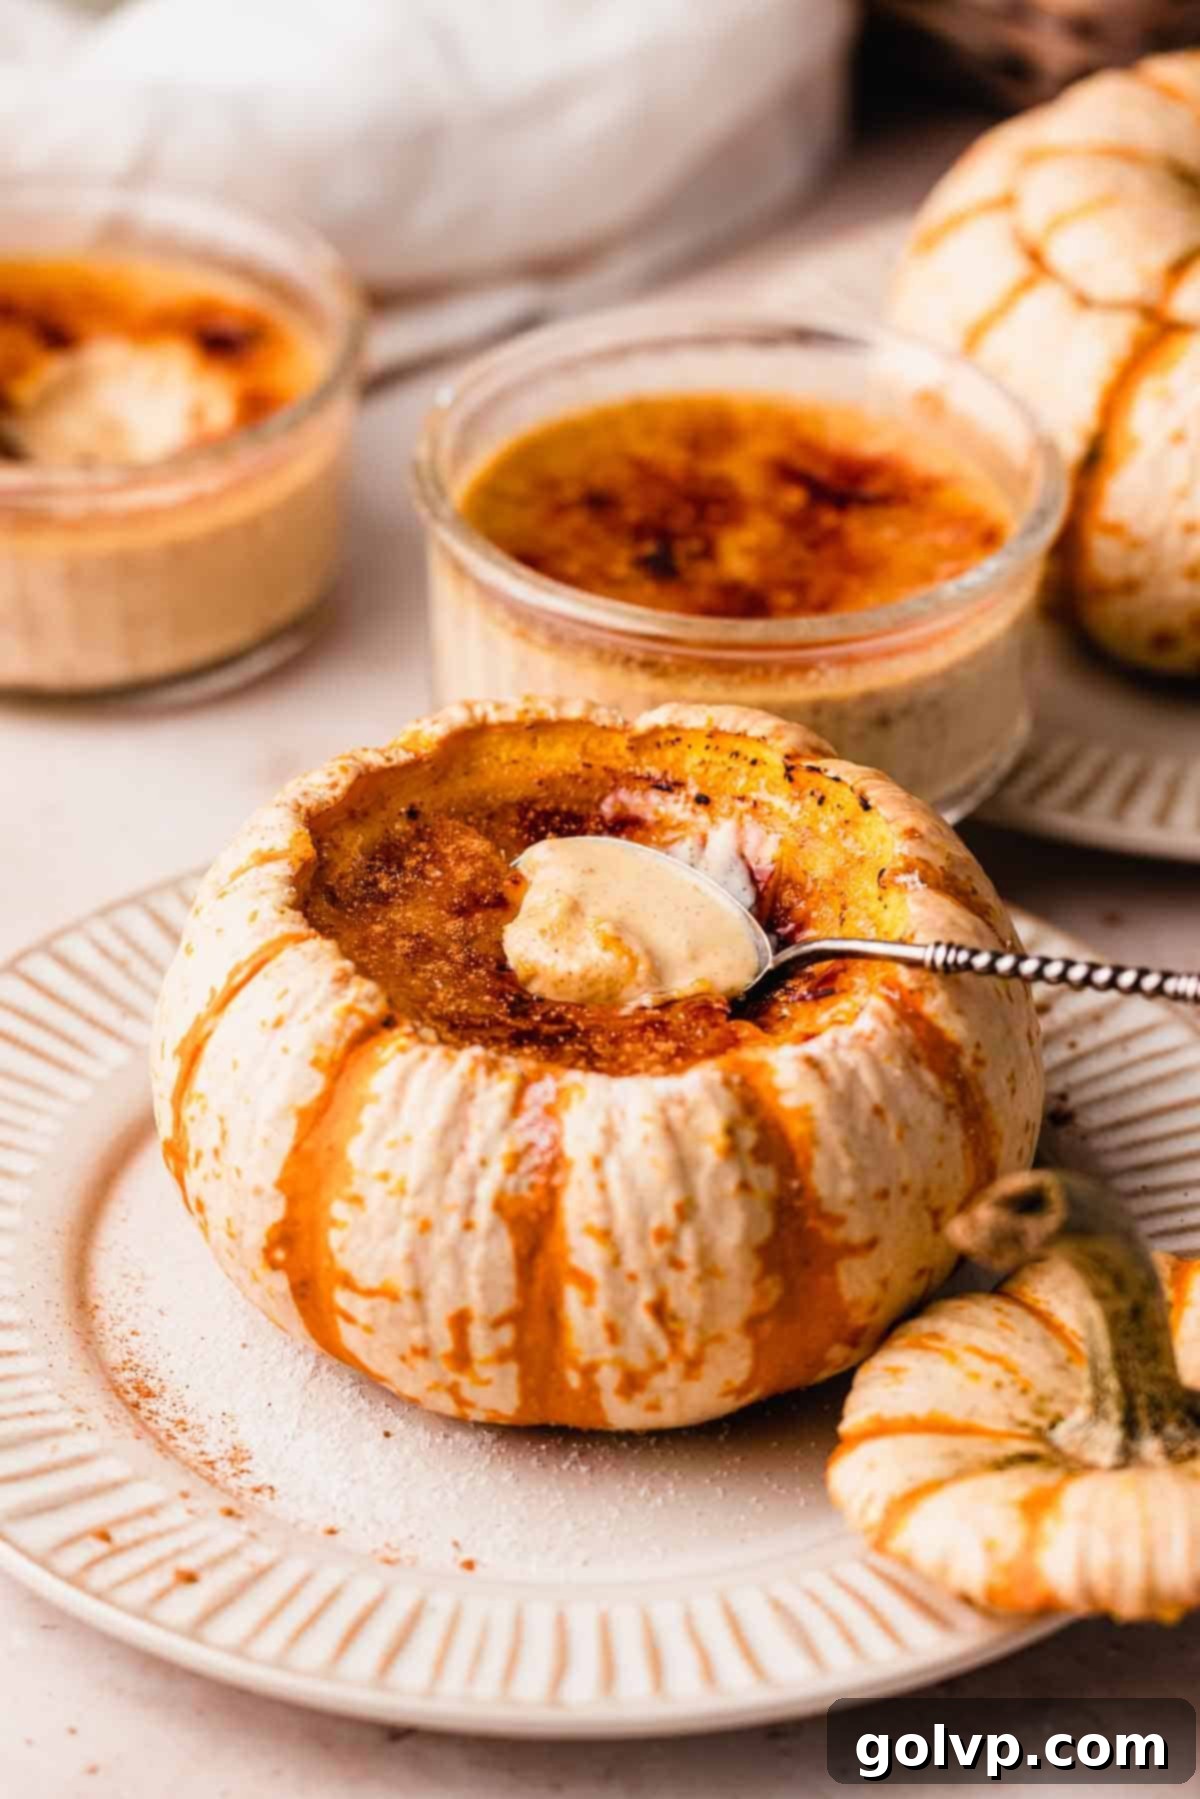
Step 8 (Serve and Enjoy): After caramelizing, allow the sugar to cool and harden for a few minutes – this is essential for achieving that satisfying “crack.” Serve your pumpkin creme brulee immediately and savor the moment as you break through the brittle, caramelized sugar topping with a spoon, revealing the smooth, creamy pumpkin custard beneath. The contrast of textures and flavors is simply divine!
🥄 Make Ahead & Storage Tips for Pumpkin Creme Brulee
Creme brulee is an ideal make-ahead dessert, perfect for entertaining or enjoying throughout the week. Planning ahead allows the custard ample time to chill and fully set, resulting in the best possible texture and flavor. Here’s how to manage your time and store your delicious creations:
- Make Ahead: The beauty of creme brulee is that the custard base can be baked and chilled well in advance. I often prepare and bake them a full day or even two days before serving. Once the custards are completely cooled to room temperature after baking, cover each ramekin or pumpkin with plastic wrap, ensuring it doesn’t touch the surface of the custard. Refrigerate for at least 8 hours, but they can happily chill for up to 48 hours (2 days). This extended chilling time is crucial for the custard to firm up properly and for the flavors to fully meld.
- When to Caramelize: For the ultimate satisfying crack and crispy texture, it is absolutely essential to torch or broil the sugar topping just before serving. If you caramelize the sugar too far in advance, the moisture from the custard (or simply the humidity in the air) will cause the sugar crust to soften and become syrupy, losing its signature brittle quality. This last-minute step is quick and dramatically enhances the experience.
- Storing Leftovers: If you happen to have any leftover pumpkin creme brulee (a rare occurrence, but it happens!), it’s best to store them in the refrigerator. Transfer them to an airtight container to prevent them from absorbing other odors in your fridge and to maintain their freshness. They will keep well for up to 2 days. Be aware that the caramelized sugar topping may soften over time in the refrigerator. If this happens, you can scrape it off, sprinkle with new sugar, and re-torch or re-broil for a fresh crust.
- Freezing: For longer storage, creme brulee can be frozen. Once completely cooled and set, wrap each ramekin tightly in plastic wrap, then an additional layer of aluminum foil to prevent freezer burn. They can be stored in the freezer for up to 2 months. To serve, thaw them slowly in the refrigerator overnight. Once thawed, proceed with the caramelization step as usual, just before serving.
Following these make-ahead and storage tips will ensure your pumpkin creme brulee is always a perfect, delightful treat, ready to impress whenever you need it!
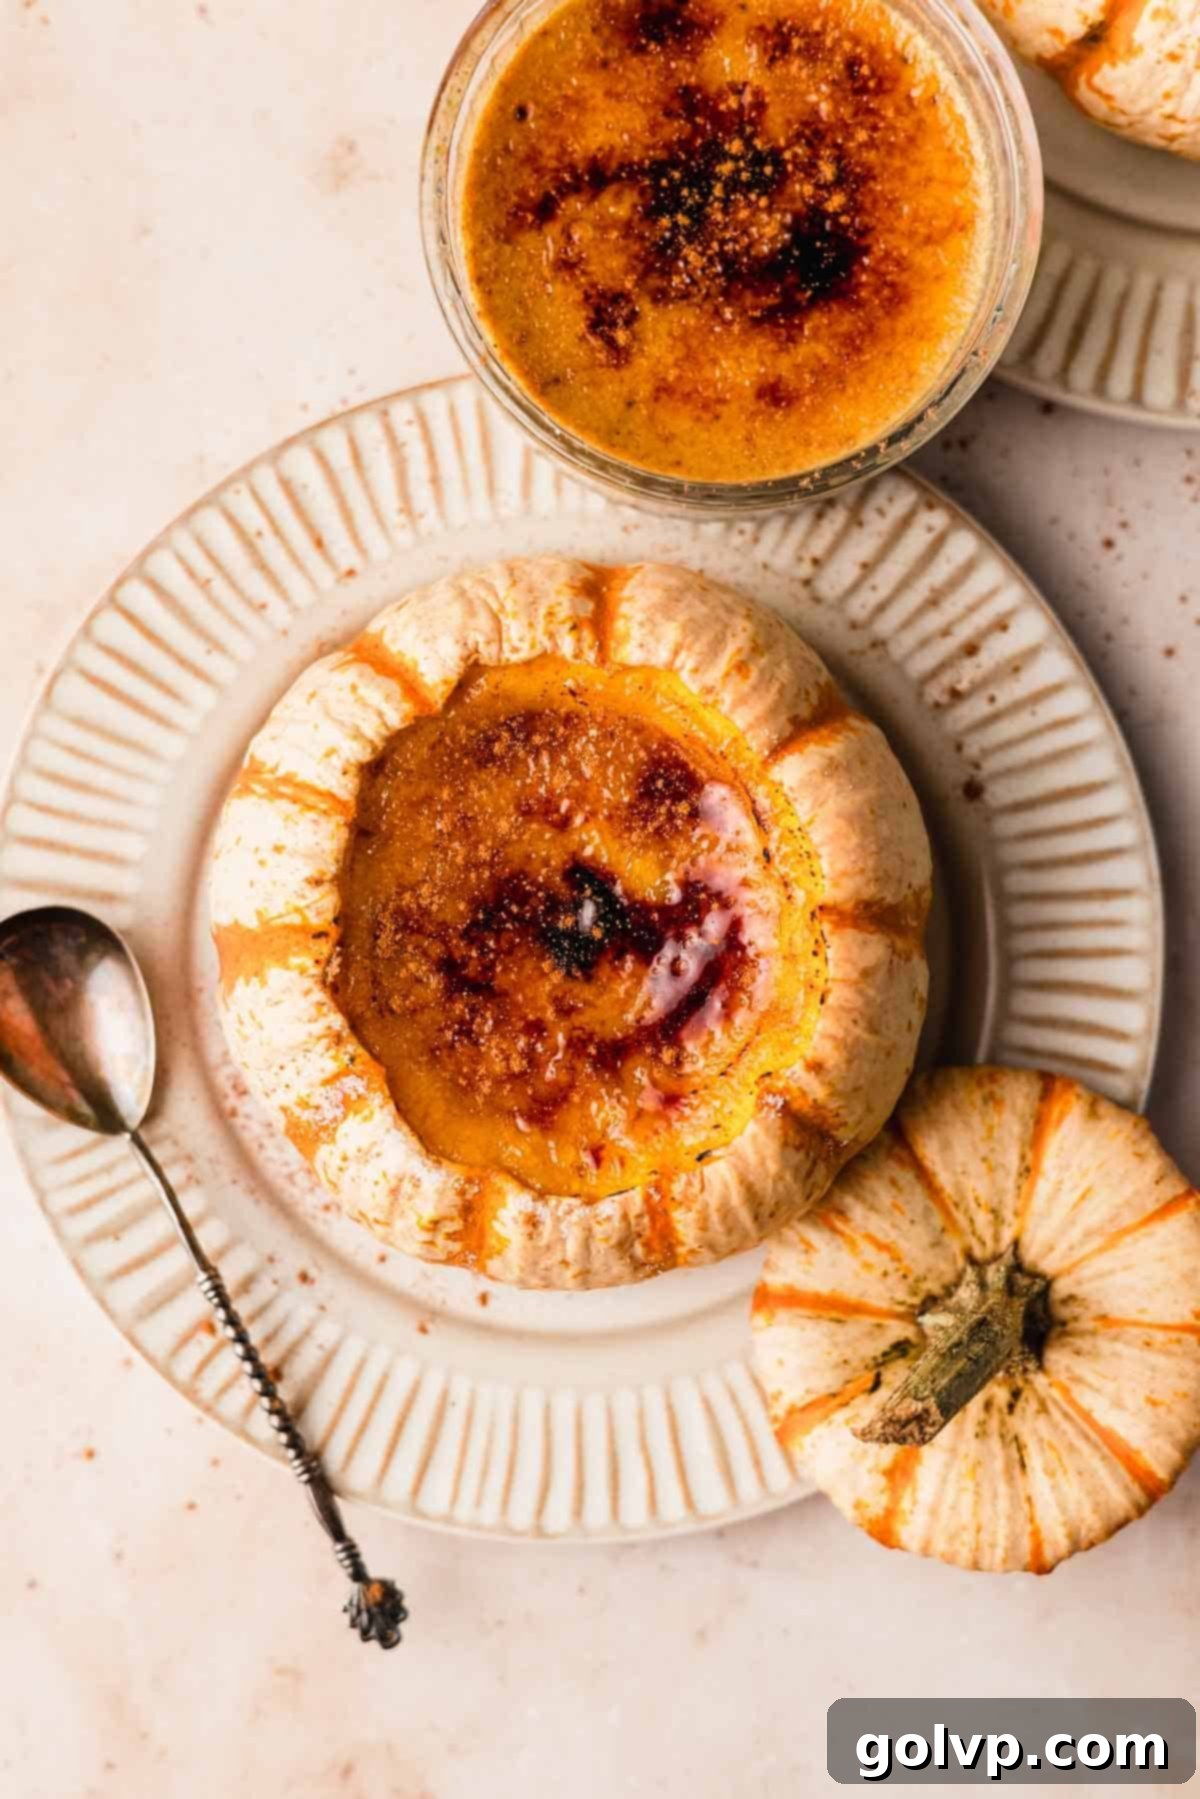
❔ Frequently Asked Questions About Pumpkin Creme Brulee
Here are answers to some common questions you might have when making this delightful pumpkin creme brulee:
Making your own pumpkin puree is a rewarding process, especially if you have fresh pumpkins or squash. Start by cutting your pumpkin or squash in half and scooping out all the seeds and fibrous strands. Place the halves cut-side down on a parchment-lined baking sheet. Bake in a preheated oven at 355°F (180°C) for approximately 50-60 minutes, or until the flesh is very tender when pierced with a fork. Once cooled slightly, scoop out the flesh. You can then mash it with a fork for a rustic texture or blend it in a food processor until completely smooth. The crucial step for creme brulee is ensuring your homemade puree isn’t too wet. If it’s watery, it will dilute your custard and prevent it from setting properly. To fix this, either squeeze the puree in a cheesecloth to remove excess moisture or cook it down in a dry pan on the stovetop over low heat, stirring frequently, until it thickens to the consistency of a thick hummus. This concentrated puree will give you the best creme brulee results.
For achieving that perfectly smooth, continuous, and crunchy caramelized crust on top of your creme brulee, granulated (white) sugar or cane sugar is undeniably the best choice. These sugars have fine crystals that melt and caramelize evenly under direct heat, forming a beautiful, brittle glass-like layer. I’ve experimented with brown sugar and golden sugar in the past, but they tend to burn much faster than they caramelize, often resulting in a dark, bitter crust before fully melting. Granulated sugar provides the ideal balance for a stunning golden-brown finish and that satisfying crack.
I strongly advise against torching or broiling the sugar topping on your creme brulee ahead of serving. The beautiful, brittle sugar crust is best enjoyed immediately after caramelization. After just a few hours, the sugar will absorb moisture from the custard and the surrounding air, causing it to melt and turn into a sticky, messy syrup rather than a crisp topping. If this happens and you still want to serve it, you can carefully pour off the syrup, gently dab the top with a clean paper towel to remove any stickiness, then sprinkle more granulated sugar and torch or broil it again just before serving. This last-minute step is quick and ensures the ultimate satisfying texture contrast.
No kitchen torch? No problem! You can still achieve that glorious caramelized crust using your oven’s broiler. First, ensure your chilled creme brulees are placed on a baking sheet. Sprinkle a generous, even layer of granulated sugar over the top of each custard. Place the baking sheet on the top rack of your oven, directly under the broiler. This method requires constant vigilance! Keep a very close eye on them, watching continuously. The sugar will melt and caramelize rapidly – often in just 1-3 minutes. As soon as it turns a deep, golden brown with a few perfectly burnt spots, remove them immediately. The goal is to melt and caramelize the sugar without warming up the underlying custard too much. This careful timing will give you that perfectly set, cold custard with a crisp, warm sugar topping.
If you are baking creme brulee in traditional ramekins, I highly recommend using a water bath (bain-marie). A water bath provides a gentle, even heat that slowly cooks the delicate custard, preventing it from curdling, cracking, or becoming rubbery around the edges while the center is still unset. It ensures a silky-smooth, uniformly baked texture. However, if you’re baking your creme brulee inside mini pumpkins, you can absolutely skip the water bath! The thick walls of the pumpkin, along with its natural water content, act as a fantastic insulator, creating a self-contained, gentle baking environment that mimics the effects of a water bath. This is one of the charming advantages of using mini pumpkins! Creme brulee shares this delicate baking requirement with other custards and cheesecakes, which also greatly benefit from a water bath for an even, smooth result, much like this chocolate orange cheesecake or this Nutella chocolate cheesecake.
Absolutely! Many varieties of mini pumpkins are entirely edible and delicious, making them perfect for this recipe. This pumpkin creme brulee offers the cutest and most creative way to utilize those decorative pumpkins leftover from fall, Thanksgiving, or Halloween displays. Mini pumpkins transform into ideal, charming, and fully edible vessels for your custards. When selecting your pumpkins, aim for varieties that are 5-6 inches in diameter, as these provide a good balance between portion size and ease of handling. Very small pumpkins (around 4 inches) might not hold much creme brulee, and you may need to reduce the baking time by about 10 minutes to prevent overcooking. Flavor-wise, white mini pumpkin varieties often have a milder, more squash-like taste, while the classic orange mini pumpkins tend to taste more like traditional baking pumpkins, offering a slightly sweeter and earthier flavor profile. Whichever you choose, ensure they are firm and free of soft spots before using.
🍂 Related Fall Recipes to Enjoy
If you’re loving the cozy flavors of fall and can’t get enough of pumpkin, be sure to explore my collection of best pumpkin desserts for even more easy and delicious recipe ideas that are perfect for the season!
- Salted Caramel Apple Pie Bars
- Pumpkin Biscotti
- Pumpkin Cheesecake Cookies
- Pumpkin Spice Cake
Did you make this recipe? I would love for you to rate this recipe and hear what you think in the comments below! Share your creation on Instagram and tag @flouringkitchen. Follow me on Pinterestto save and for more recipe ideas.
📖 Recipe
Pumpkin Creme Brulee
Mary
Pin Recipe
Shop Ingredients
Equipment
-
4 oven safe ramekins optionally, use mini pumpkins instead of ramekins
Ingredients
Mini pumpkin shell (optional)
- 4 pumpkins 5-6 inch diameter
- 4 tablespoons butter softened
- 4 tablespoons sugar
- 4 pinches pumpkin spice
Creme brulee
- 5 large egg yolks
- ⅓ cup granulated sugar
- ⅛ teaspoon sea salt
- 1 teaspoon pumpkin spice
- 1 tablespoon pure vanilla extract
- ⅓ cup pumpkin puree
- 1 cup heavy whipping cream
- 1 cup milk
Shop Ingredients on Jupiter
Instructions
-
Skip this step if using regular ramekins: Preheat oven to 355°F (180°C) if using mini pumpkins as ramekins. Carefully cut the tops off your pumpkins, then thoroughly clean out all the seeds and strings with a spoon. Spread 1 tablespoon of softened butter, 1 tablespoon of sugar, and a pinch of pumpkin spice evenly all over the inside of each pumpkin. Cover them with their tops and bake for 30-40 minutes until the pumpkin flesh is tender when pierced but still firm enough to hold its shape.4 pumpkins, 4 tablespoons butter, 4 tablespoons sugar, 4 pinches pumpkin spice
-
In a large bowl, whisk together the egg yolks, granulated sugar, sea salt, vanilla extract, and pumpkin spice until the mixture is just smooth and fully combined. Be careful not to over-whisk, as incorporating too much air can lead to a foamy or bubbly custard.5 large egg yolks, ⅓ cup granulated sugar, ⅛ teaspoon sea salt, 1 teaspoon pumpkin spice, 1 tablespoon pure vanilla extract
-
Add the pumpkin puree to the egg yolk mixture and whisk until thoroughly combined. Then, gradually whisk in the heavy whipping cream and milk until the entire custard base is smooth and homogeneous.⅓ cup pumpkin puree, 1 cup heavy whipping cream, 1 cup milk
-
Lower or preheat the oven temperature to 320°F (160°C). Carefully pour the pumpkin creme brulee mixture into the baked mini pumpkins and/or ramekins. If using ramekins, place them in a larger baking dish with taller walls and fill the baking dish halfway with boiling water to create a water bath. If baking in pumpkins, a water bath is not necessary as their thick walls provide natural insulation.
-
Very carefully place the creme brulee into the preheated oven. Bake for approximately 25-30 minutes, or until the edges are set and the center still has a slight, delicate jiggle. Avoid over-baking to maintain the creamy texture.
-
Once baked, remove the ramekins from the hot water bath (if applicable) and allow them to cool completely to room temperature on a wire rack. Then, refrigerate the creme brulees for a minimum of 8 hours, or ideally overnight (up to 48 hours), to allow them to set properly.
-
Right before serving, generously sprinkle a layer of granulated sugar over the chilled creme brulee. Use a kitchen torch to caramelize the sugar until it forms a deep, golden-brown, crunchy crust. Alternatively, you can place the creme brulee on the top rack under your oven broiler, watching very closely to prevent burning.
-
Allow the caramelized sugar to cool and harden for a few minutes. Serve immediately and enjoy the satisfying crack as you break through the sugar topping with a spoon.
Video
Notes
Serving: The iconic crisp, caramelized sugar topping is a highlight of creme brulee. To ensure the ultimate satisfying crack, it’s always best to torch or broil the sugar just before you plan to serve the dessert.
Storage: Any leftover creme brulee should be stored in an airtight container in the refrigerator for up to 2 days. For longer storage, you can freeze them for up to 2 months. Be sure to wrap them well to prevent freezer burn and thaw in the refrigerator before caramelizing.
