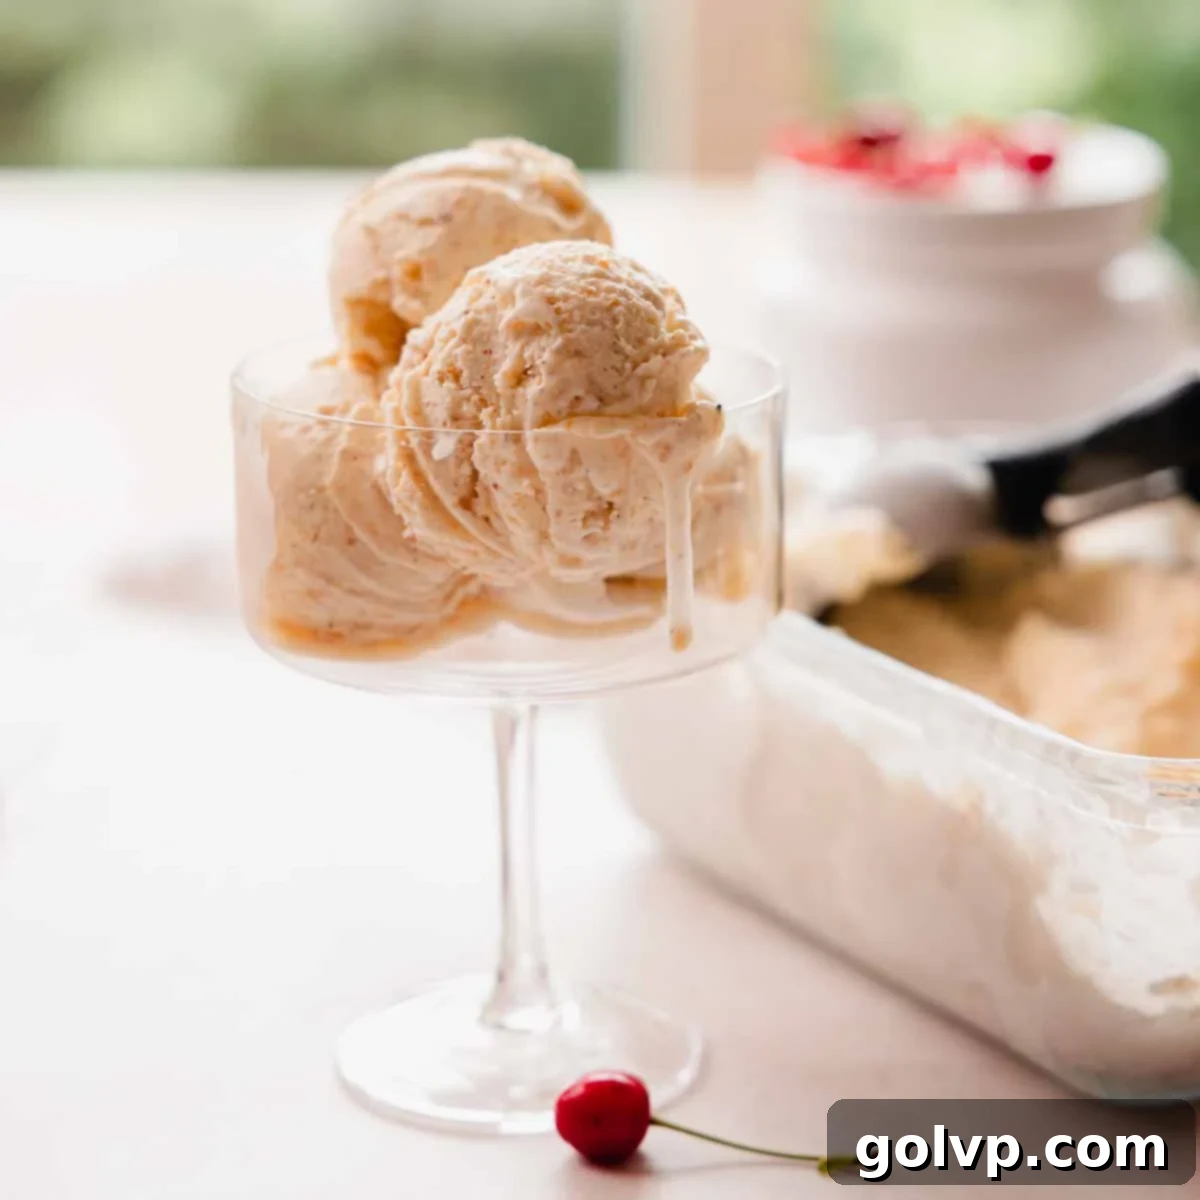
Ultimate No-Churn Brown Butter Vanilla Bean Ice Cream: Rich, Creamy & Easy Homemade Delight
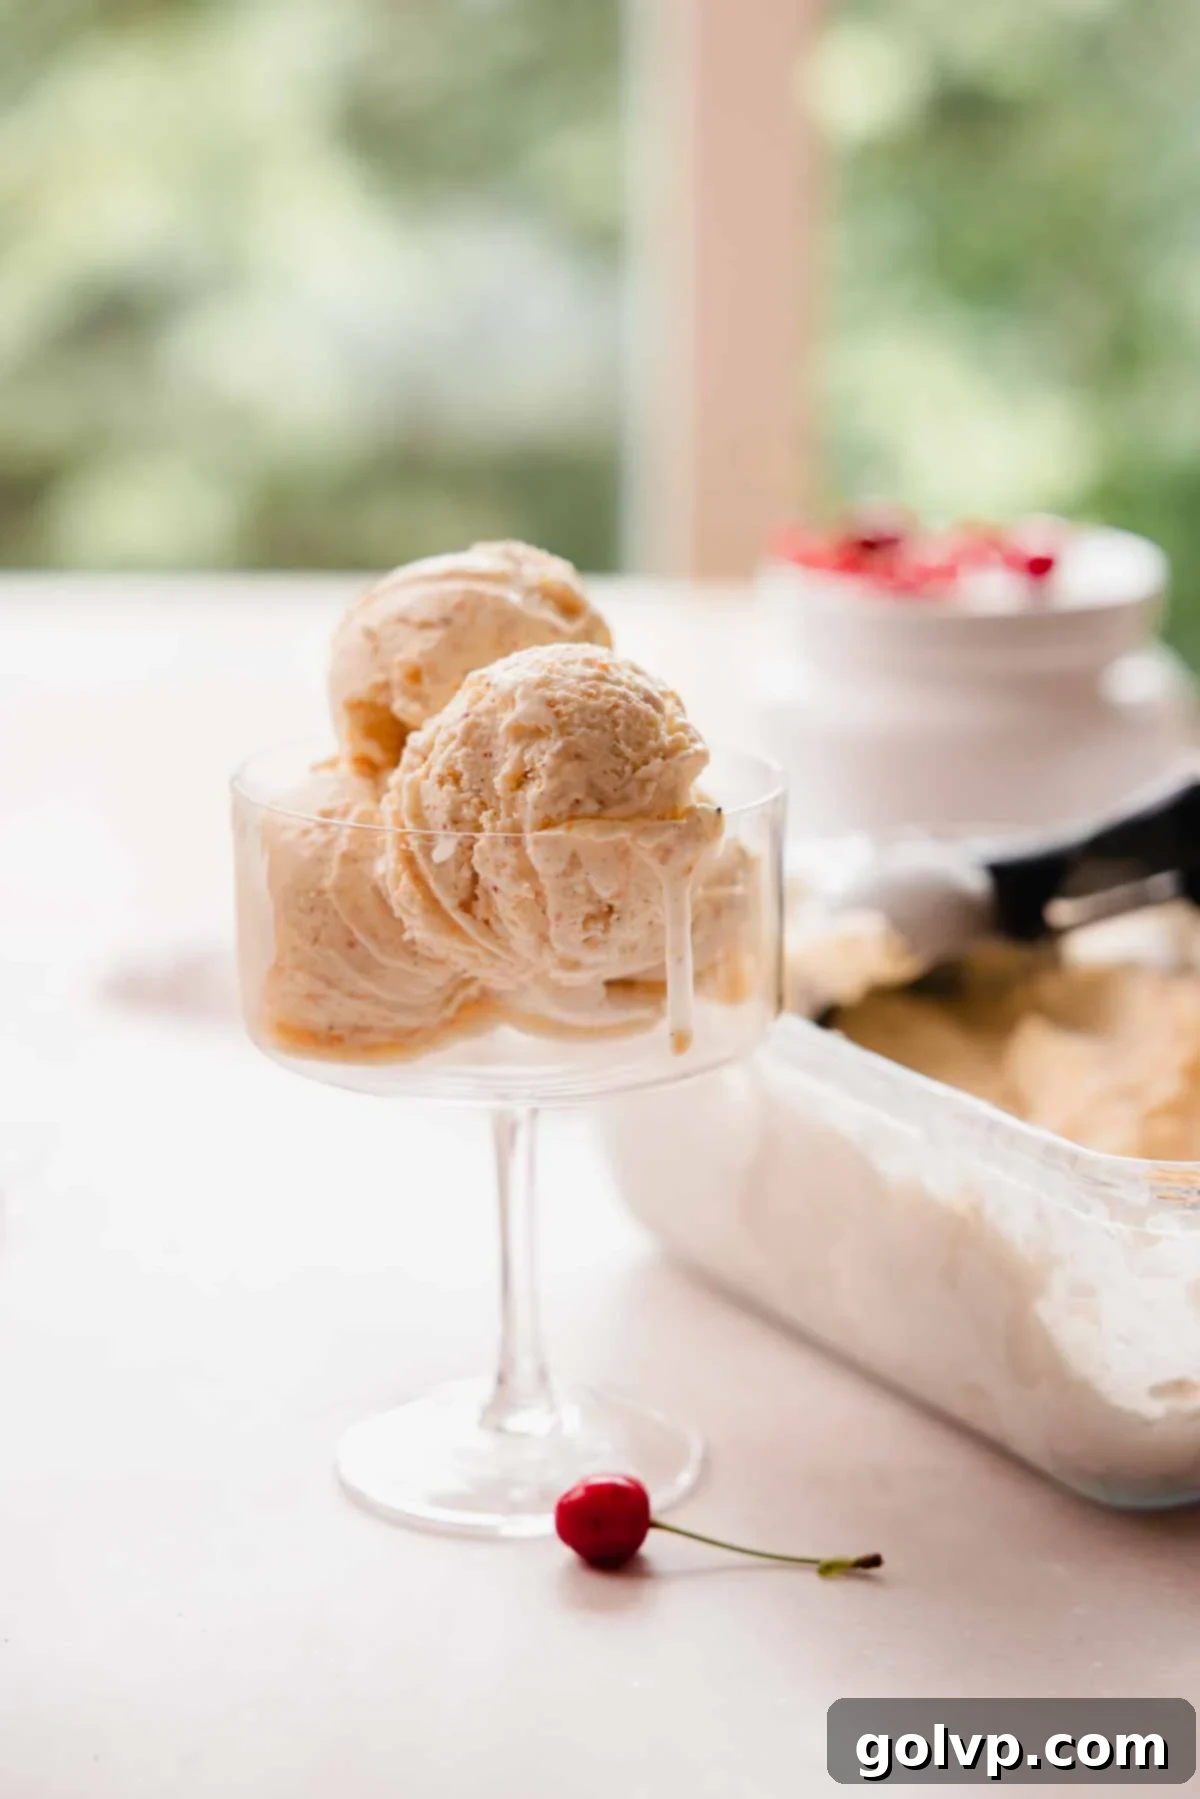
Prepare to elevate your dessert experience with this exceptional no-churn brown butter ice cream. Featuring delightful crispy bits of perfectly toasted brown butter and the fragrant speckles of real vanilla bean seeds, this recipe offers a depth of flavor that transcends ordinary vanilla. What makes it even more appealing? You don’t need a fancy ice cream maker to achieve its incredibly rich, smooth, and creamy texture. This isn’t just ice cream; it’s a sophisticated yet comforting treat that can stand proudly on its own, serve as the perfect accompaniment to almost any dessert, or form the indulgent base for an unforgettable ice cream sundae.
Unlike some overly rich butter-flavored desserts, this brown butter ice cream strikes a beautiful balance. It’s profoundly flavorful with those warm, nutty, caramelized notes, yet remains light and balanced on the palate, never overwhelming. It quickly becomes a staple in any freezer, especially during the warmer months, making it ideal for impromptu gatherings or a personal indulgence. I always keep a batch ready for guests, or simply to enjoy a scoop (or two!) on its own. It’s also divine when served warm over a cherry brownie or topped with a spoonful of bright, tangy cherry curd.
[feast_advanced_jump_to]
🍨 Why You’ll LOVE This Brown Butter Ice Cream Recipe
- Unparalleled Rich, Caramelized Flavor: This isn’t your grandma’s vanilla! The star of the show, brown butter, undergoes a magical transformation through the Maillard reaction, developing deep, nutty, and intensely caramelized notes. These complex flavors beautifully complement and elevate the sweet, aromatic vanilla bean, resulting in an ice cream that’s both familiar and extraordinarily sophisticated. Each spoonful offers a delightful interplay of warmth and sweetness, with subtle hints of toffee and butterscotch.
- Effortlessly Creamy, No Ice Cream Maker Needed: Say goodbye to bulky equipment and tedious churning! This “no-churn” method relies on whipping heavy cream to stiff peaks and folding it with sweetened condensed milk and our irresistible brown butter mixture. The result is a remarkably smooth, light, and airy texture that rivals traditionally churned ice cream, completely free from icy crystals. It’s a game-changer for homemade ice cream enthusiasts who crave gourmet results with minimal fuss.
- Simple, Minimal Ingredients: Don’t let the luxurious flavor fool you; this recipe calls for just a handful of readily available ingredients. You’ll likely have most of them in your pantry already! The simplicity of the ingredient list makes this recipe accessible to anyone, ensuring that you can whip up a batch of this exquisite ice cream whenever the craving strikes, without a special shopping trip.
- Incredibly Versatile: While utterly delicious on its own, this brown butter vanilla bean ice cream is also an incredibly adaptable dessert base. Its elevated yet balanced flavor profile means it pairs wonderfully with a wide array of toppings and warm desserts, from fruit crumbles and pies to brownies and even a simple drizzle of chocolate sauce. It’s the perfect canvas for creative dessert masterpieces or a comforting classic enjoyed plain.
Beyond being a standalone treat, this ice cream base is fantastic for creative dessert applications. I’ve personally used it to make delectable homemade puff pastry ice cream sandwiches – a truly unique and impressive way to enjoy its rich flavor and smooth texture.
📝 Key Ingredients for Perfection
Mastering this recipe starts with understanding each ingredient’s role. Read through for all the tips you will need for success!
Full steps and ingredients in recipe card below.
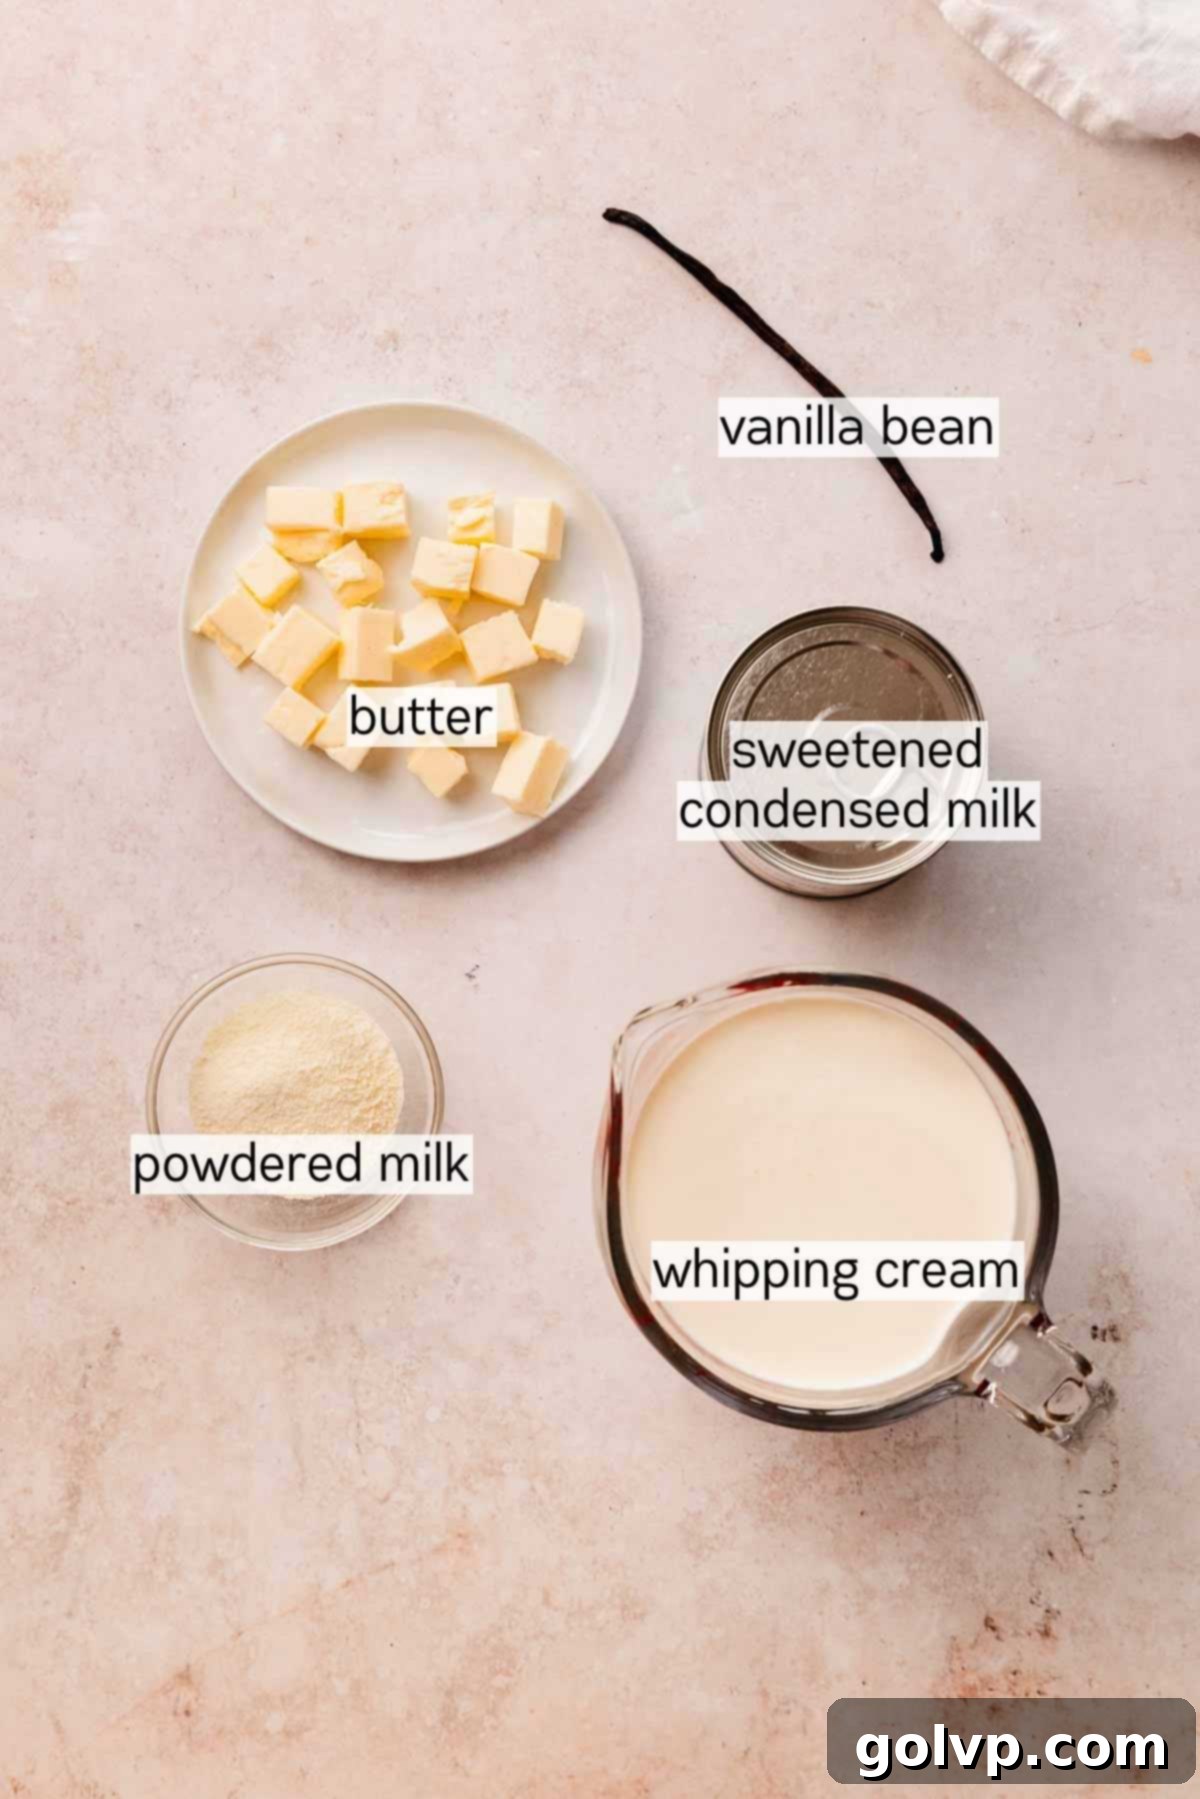
Heavy Whipping Cream (35%): This is the foundation of our no-churn ice cream’s creamy texture. Using a heavy cream with at least 35% fat content is crucial for achieving stiff peaks when whipped. The air incorporated during whipping gives the ice cream its light, airy, and fluffy consistency before freezing. Always ensure your cream is thoroughly chilled before whipping; a cold cream whips up much faster, with more volume and better stability, creating a superior texture for your final product.
Unsalted Butter: The star ingredient for browning! A high-quality unsalted butter is recommended to give you the best, purest brown butter flavor. Unsalted butter allows you to control the overall saltiness of your ice cream. Avoid using salted butter for browning, as the salt content can become more concentrated and develop an off, slightly metallic aftertaste once the butter solids caramelize. The goal is pure, nutty, caramelized bliss.
Dry Milk Powder (Skim or Whole): This is an optional but highly recommended secret weapon for intensifying the brown butter flavor and enhancing texture. I’ve tested this recipe extensively both with and without milk powder, and while it’s delicious either way, the addition of milk powder truly elevates the experience. Milk powder contains extra milk solids, which toast and brown alongside the butter’s natural milk solids, leading to a much richer, more pronounced caramelization and nutty depth. Without it, the ice cream is creamier with a subtler brown butter note. Both skim and whole milk powder work beautifully.
Vanilla Bean: For an authentic, visually stunning, and intensely flavorful vanilla experience, a whole vanilla bean is indispensable. The tiny, beautiful crunchy specks of vanilla seeds are not just for aesthetics; they infuse the entire ice cream with complex floral and sweet notes that synthetic extracts can’t replicate. If a whole vanilla bean is outside your budget or not readily available, 1 tablespoon of good quality vanilla bean paste is a fantastic alternative, offering a similar speckle effect and robust flavor, though perhaps slightly less complex than a fresh bean.
Sweetened Condensed Milk: This ingredient is absolutely vital for any no-churn ice cream recipe. It serves multiple crucial functions: it sweetens the ice cream, adds a significant amount of milk protein, and contributes to the overall fat content. Both the sugar and milk proteins are essential for creating an incredibly smooth texture, preventing the formation of undesirable ice crystals, and giving the ice cream its signature rich, almost chewy consistency. It is absolutely critical not to substitute this with evaporated milk; evaporated milk is a completely different product with a much thinner consistency and no added sugar, which will result in an icy, flavorless dessert.
Sea Salt: Just a small pinch of sea salt makes a world of difference. It perfectly balances the sweetness of the ice cream and, more importantly, enhances all the complex caramelized and vanilla flavors, making them pop. Don’t skip it!
👩🍳 How to Make the Perfect No-Churn Brown Butter Ice Cream
Ice Cream Step by Step Guide
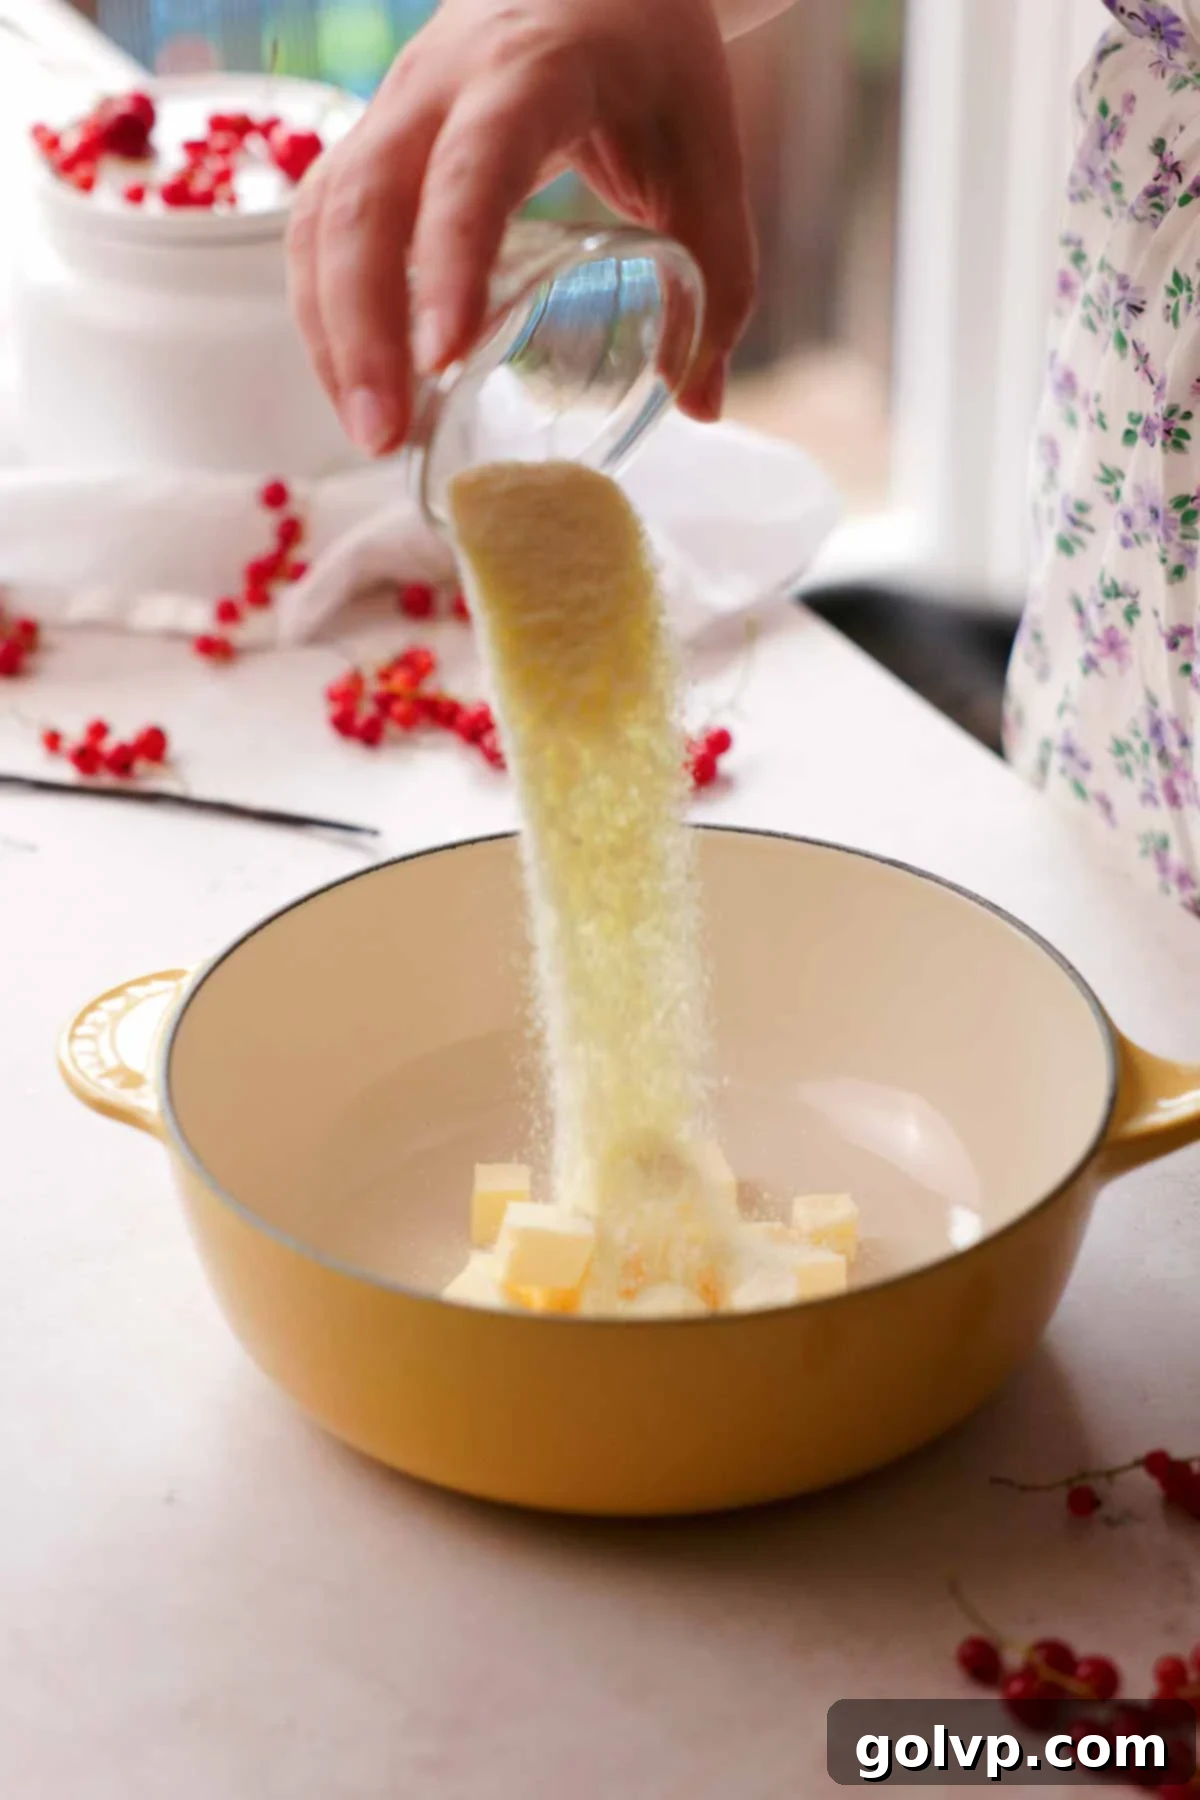
Step 1: Create the Brown Butter Base. In a small, light-colored saucepan (this helps you see the color change), combine the cubed unsalted butter and the dry milk powder (if using). Melt the mixture gently over medium-low heat. Stir continuously with a spoon or spatula, making sure to scrape the bottom of the pan to prevent the milk solids from sticking and burning prematurely. Patience is key here; don’t rush the browning process.
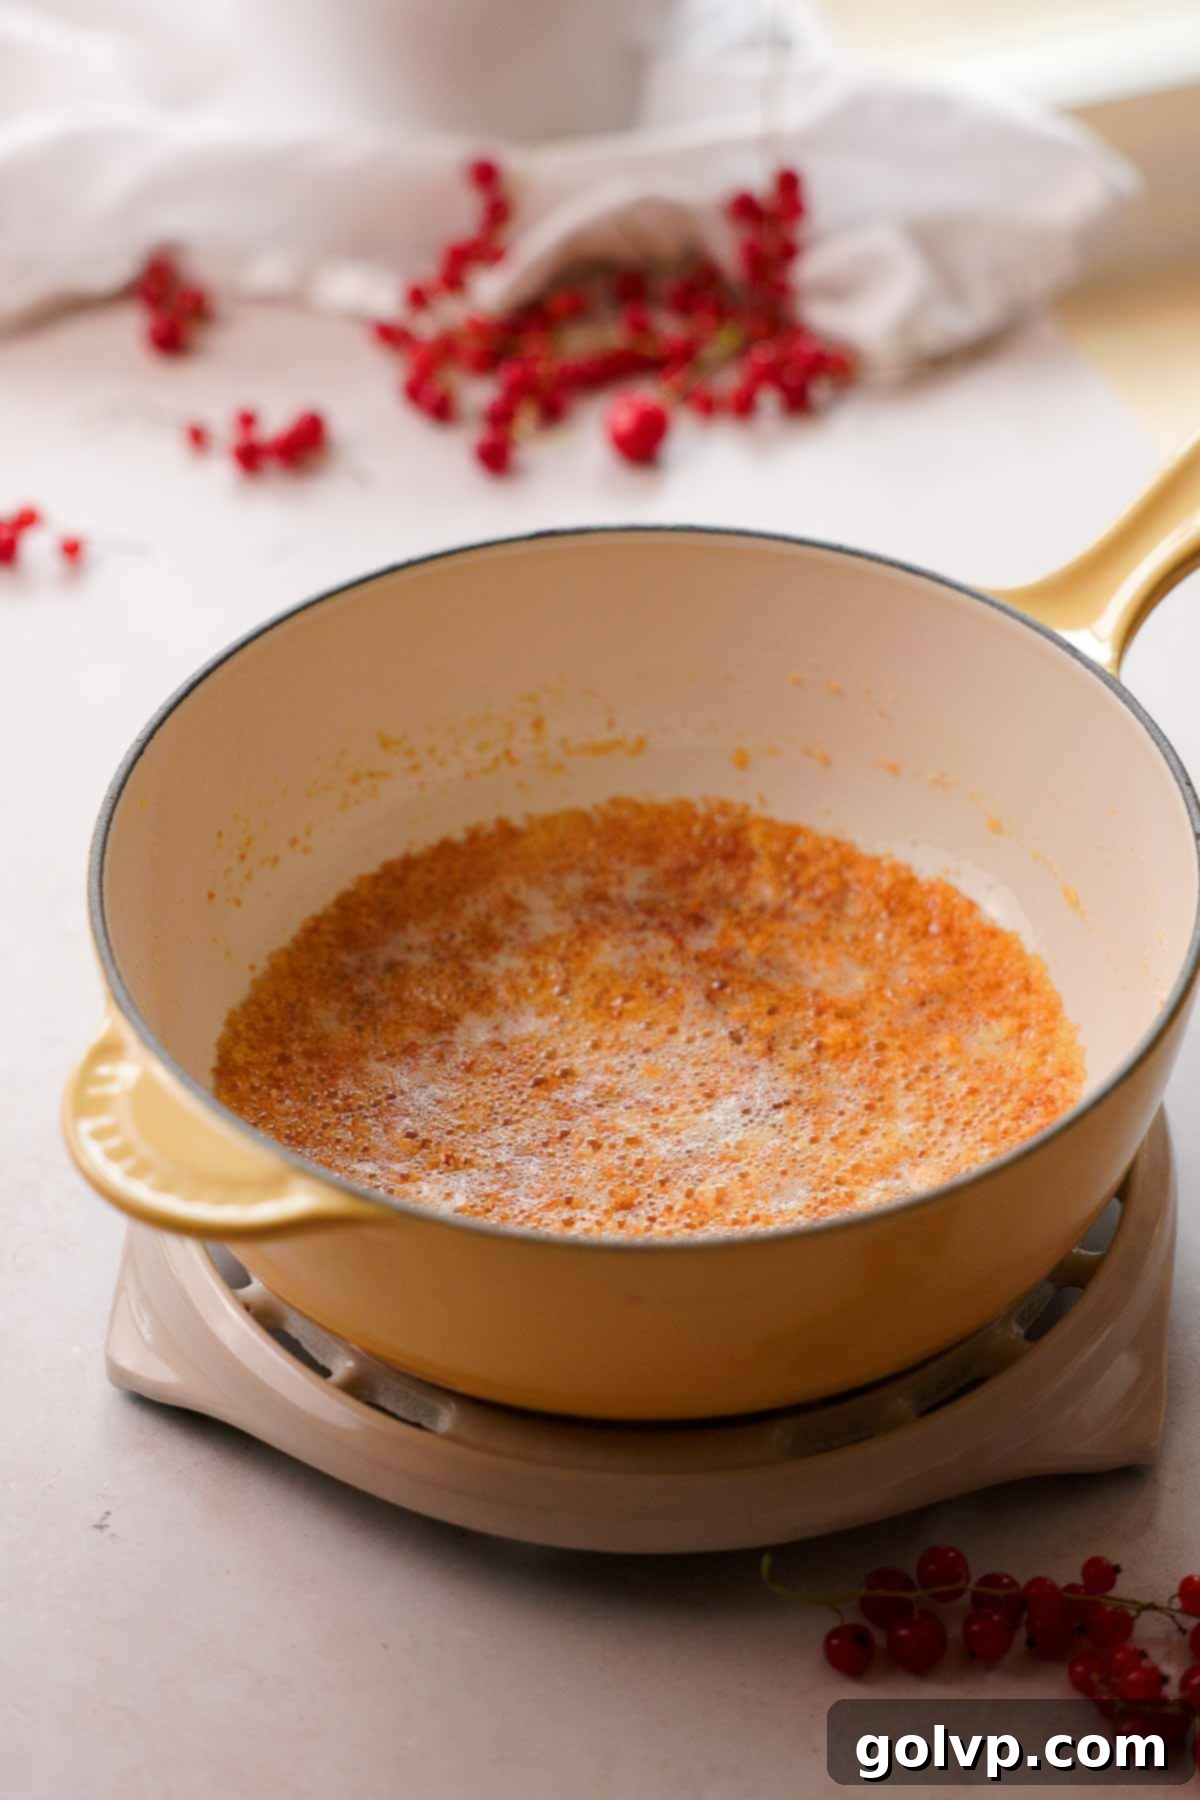
Step 2: Achieve Perfect Browning. As the butter melts and cooks, it will first foam up, then the foam will subside. Continue stirring, and it will begin to foam vigorously again. This is your cue! Keep a close eye on the bottom of the pan as the white milk solids will start to turn a beautiful deep golden brown, emitting a wonderfully nutty, caramelized aroma. The moment they reach this rich color, immediately remove the saucepan from the heat to prevent burning, as brown butter can go from perfect to burnt in a matter of seconds.
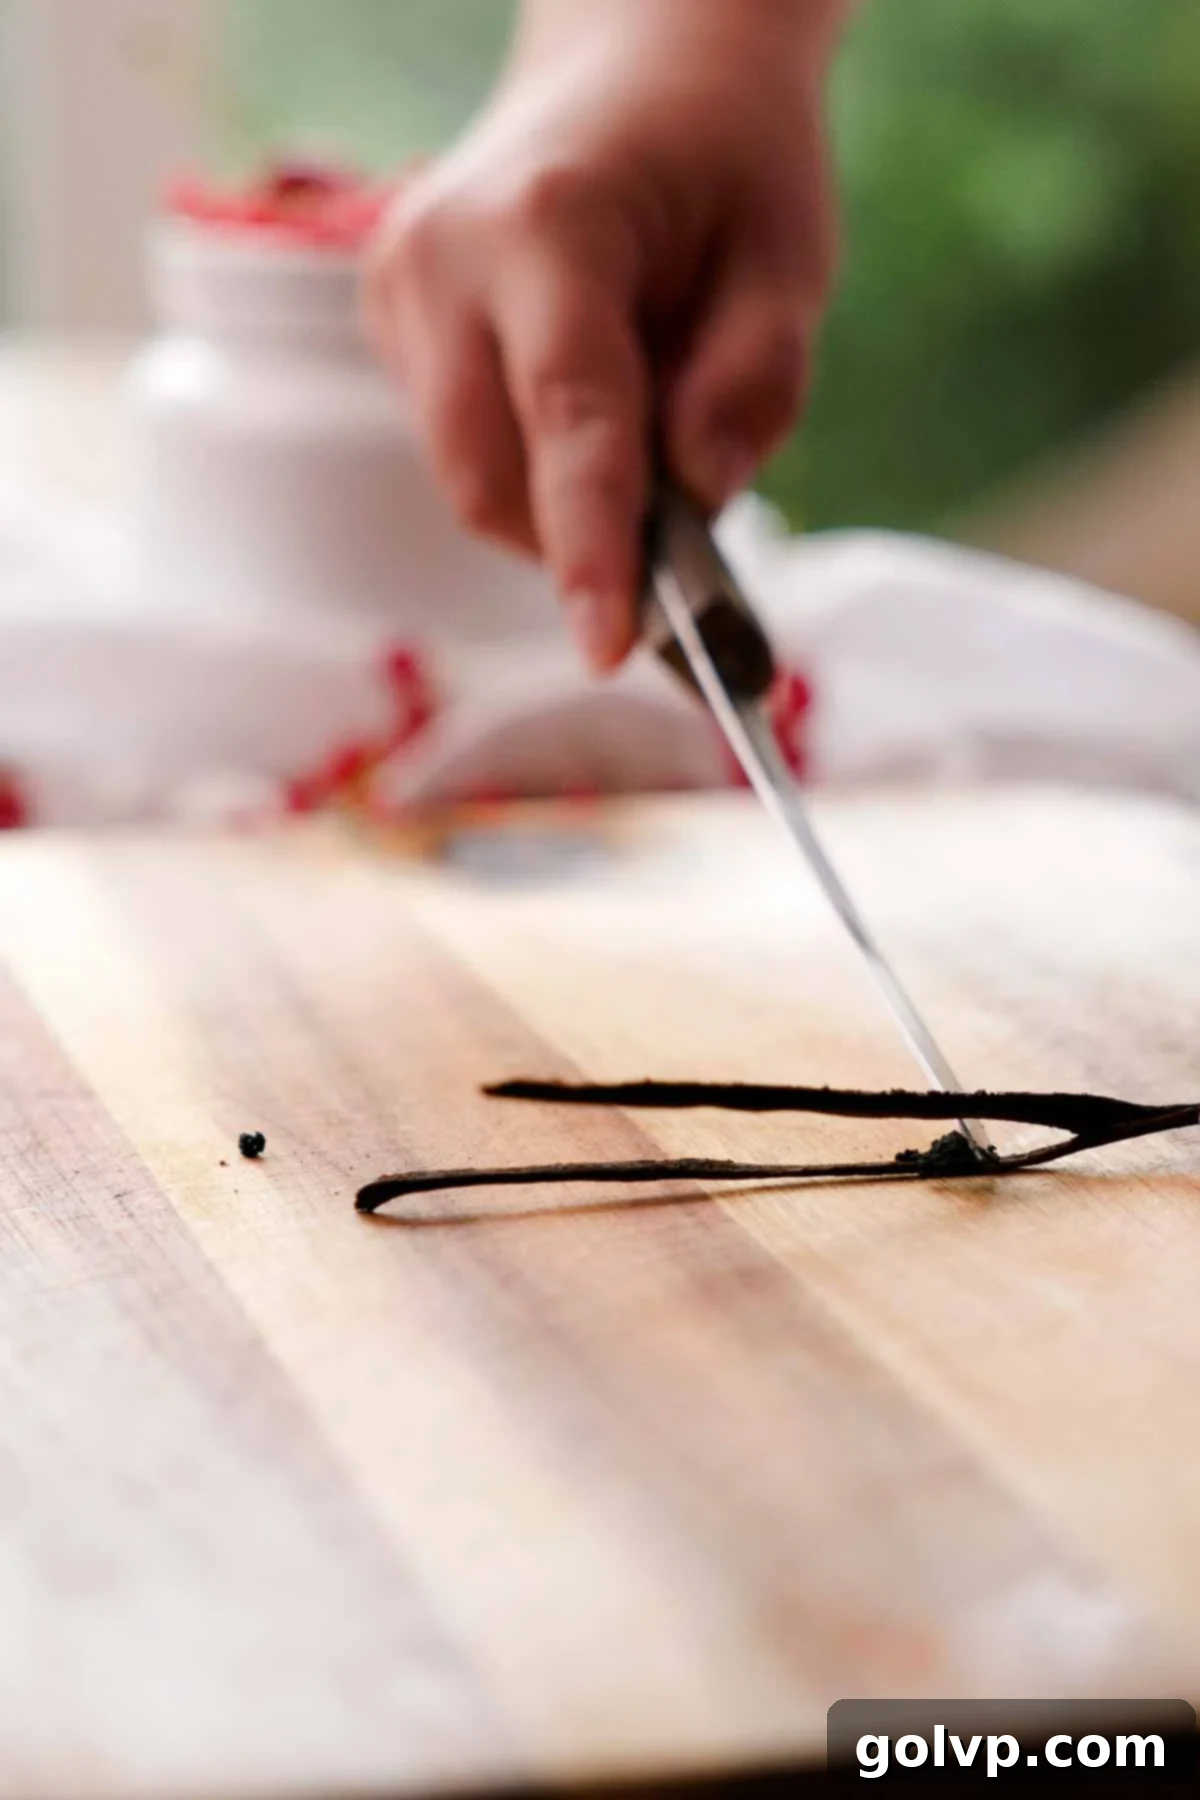
Step 3: Infuse with Vanilla Bean. While the brown butter cools slightly (you still want it liquid), prepare your vanilla bean. Carefully cut the vanilla bean in half lengthwise and use the back of a knife or a small spoon to scrape out all the tiny, aromatic seeds. Add both the seeds and the spent vanilla pod to the warm brown butter, stirring gently to ensure the seeds are coated. Let this mixture steep for a few minutes; the residual heat will help infuse maximum vanilla flavor. Set aside to cool to room temperature, ensuring it remains in liquid form.
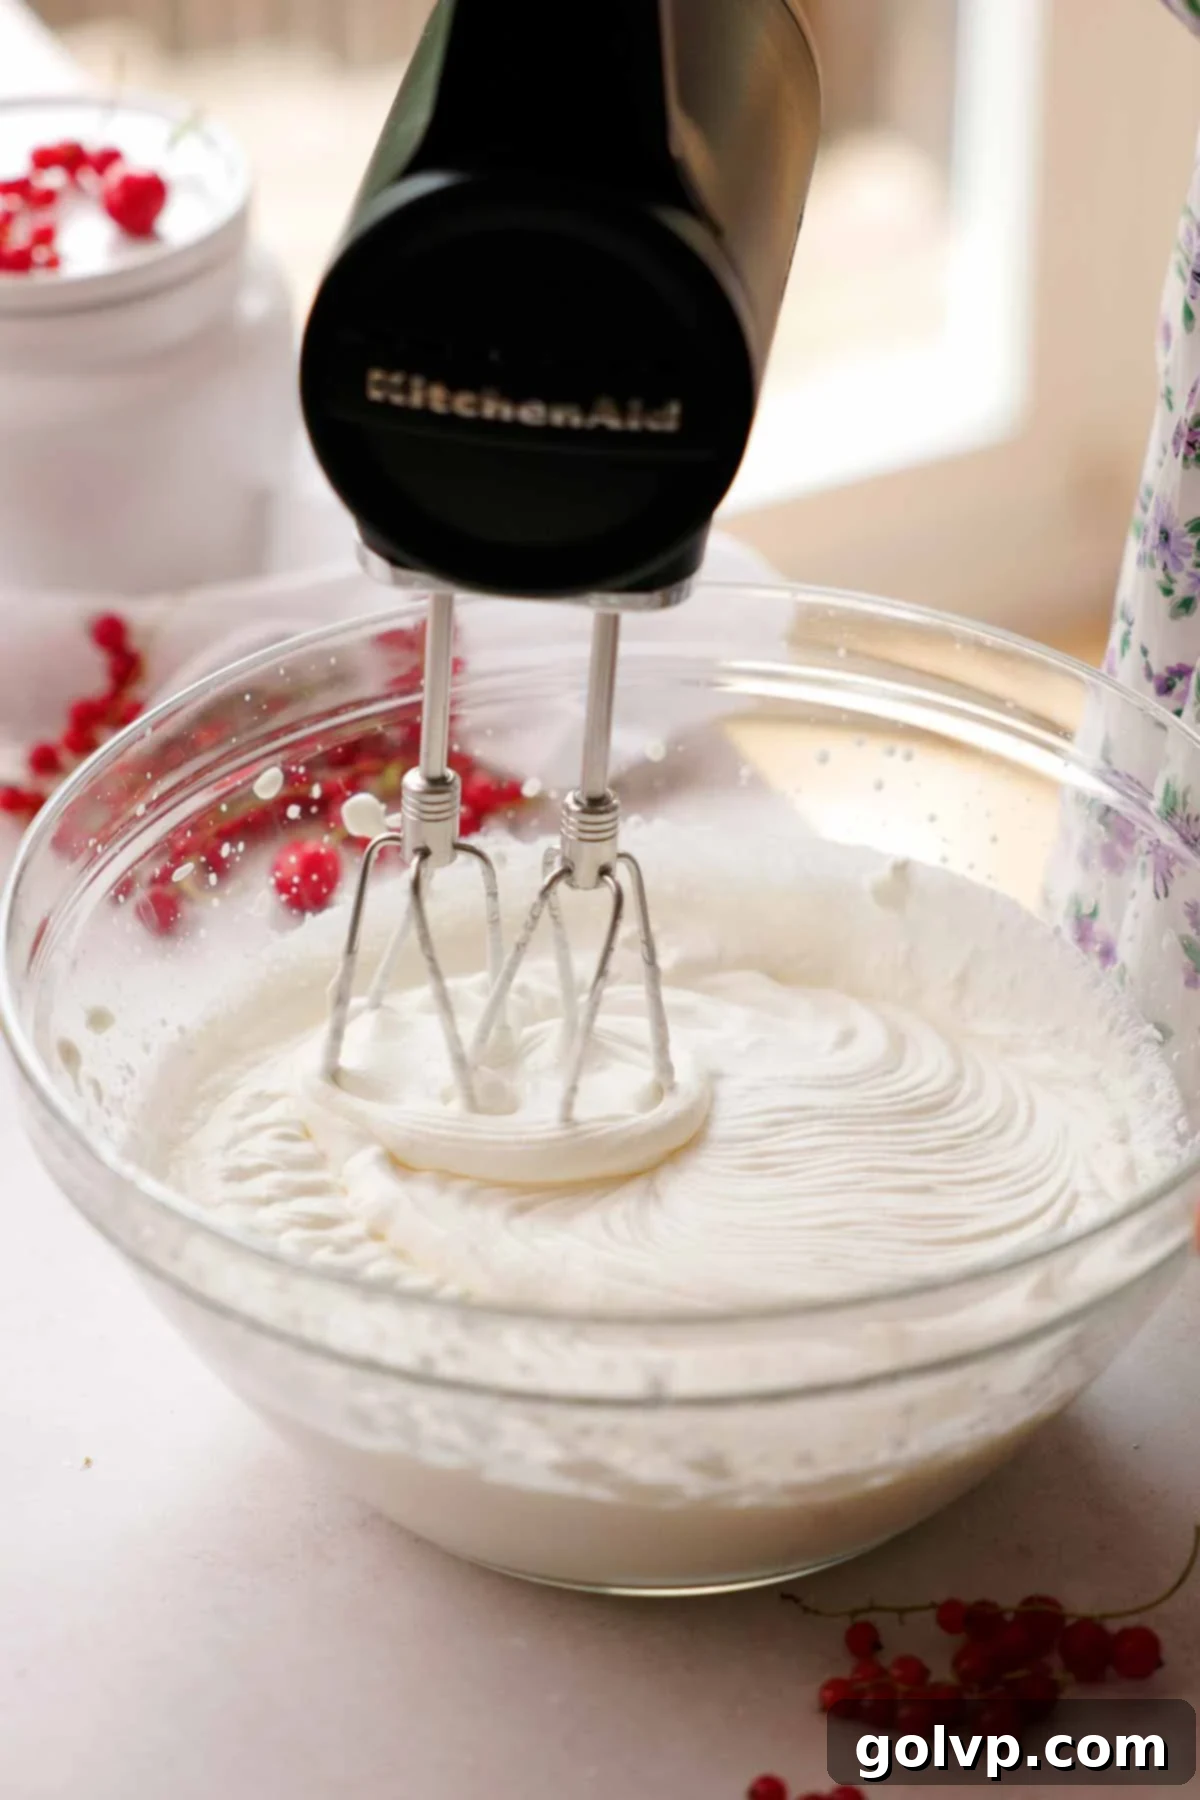
Step 4: Whip the Heavy Cream. In a large, chilled mixing bowl (metal bowls work best when chilled) or the bowl of a stand mixer fitted with a whisk attachment, whip the very cold heavy cream to stiff peaks. This means the cream should hold its shape firmly when the whisk is lifted. Be careful not to overwhip, as this can lead to a grainy texture or even butter! Stop as soon as stiff peaks are formed.
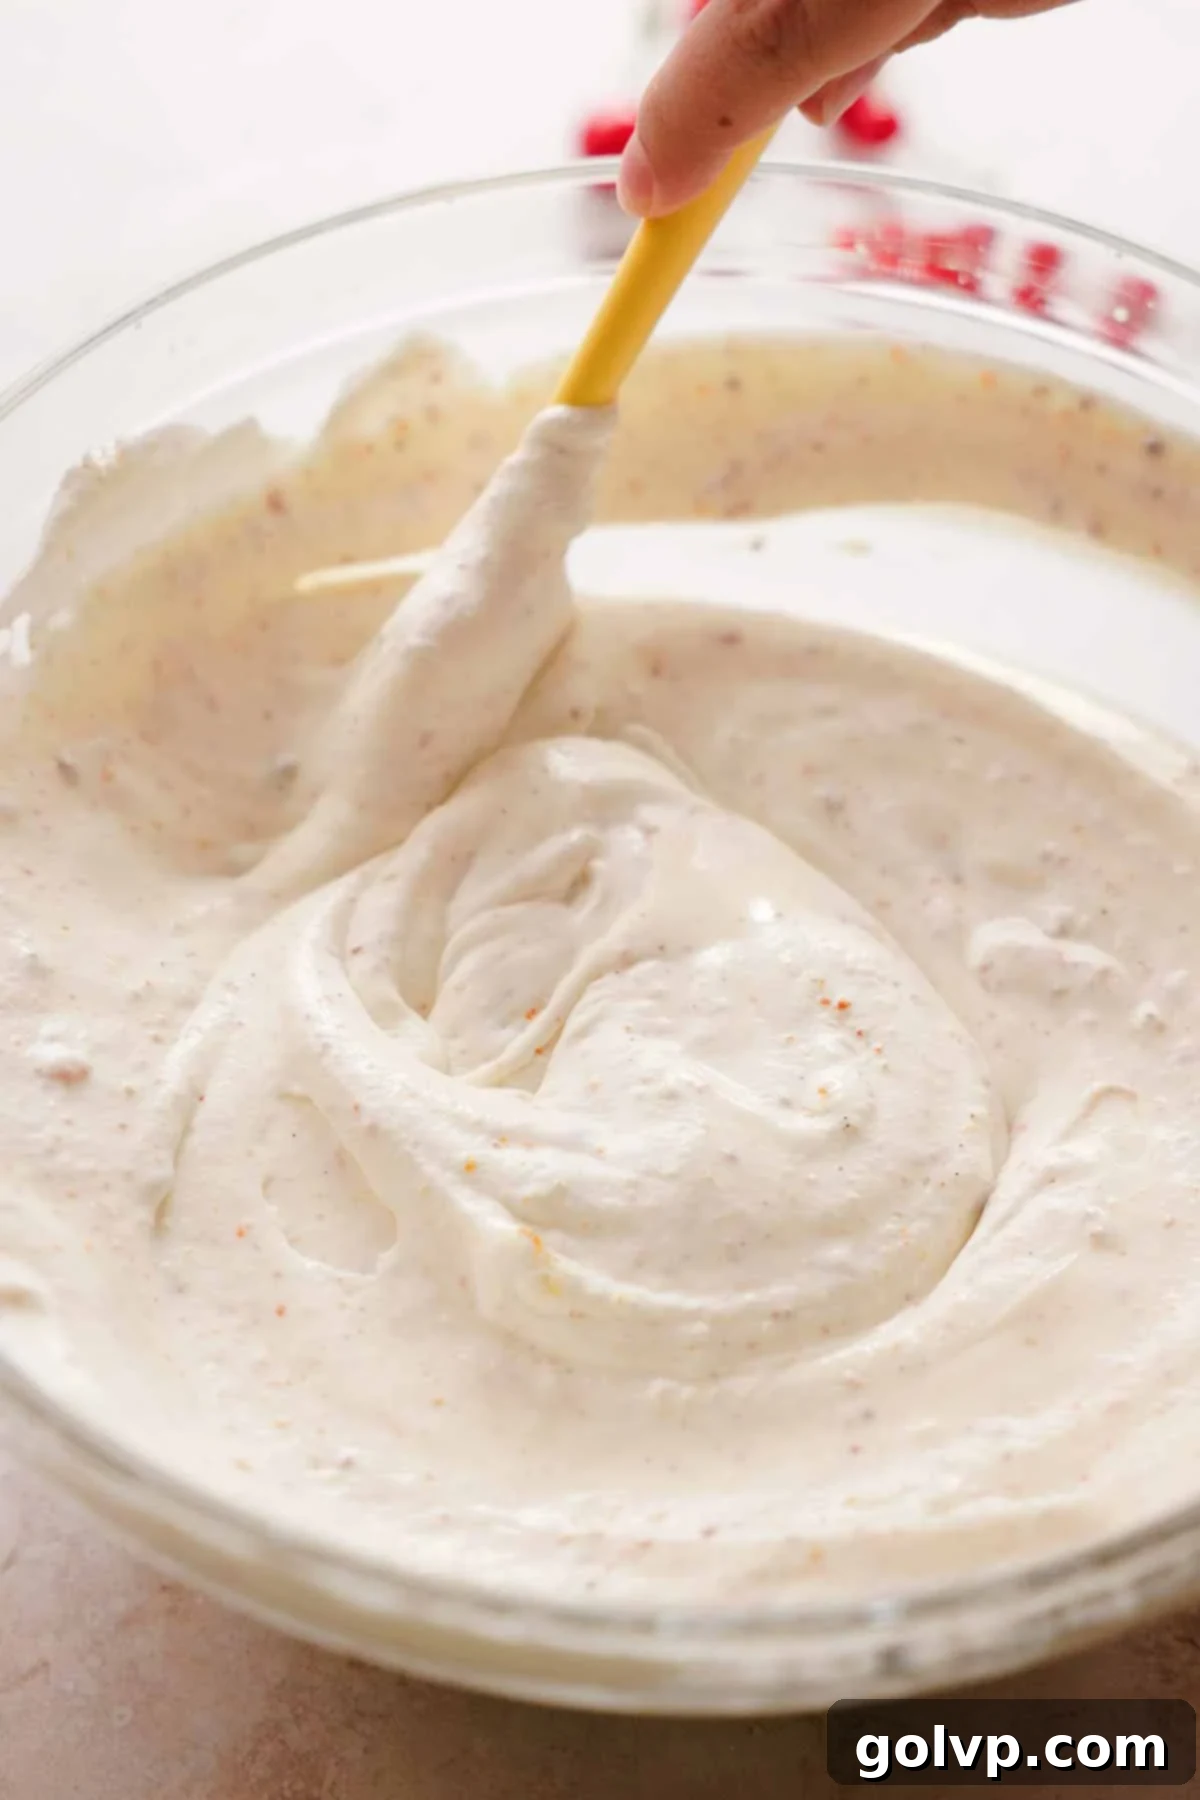
Step 5: Gently Combine All Ingredients. First, add the sweetened condensed milk and a pinch of sea salt into the whipped cream. Gently fold it in until just combined. Next, retrieve your cooled brown butter mixture. Remove the vanilla pods from the brown butter and scrape any clinging butter and vanilla seeds back into the liquid butter (discard the pods). Pour the liquid brown butter into the whipped cream mixture. Using a spatula, fold everything together very gently until no streaks remain. The key is to maintain as much air in the whipped cream as possible for the creamiest ice cream.
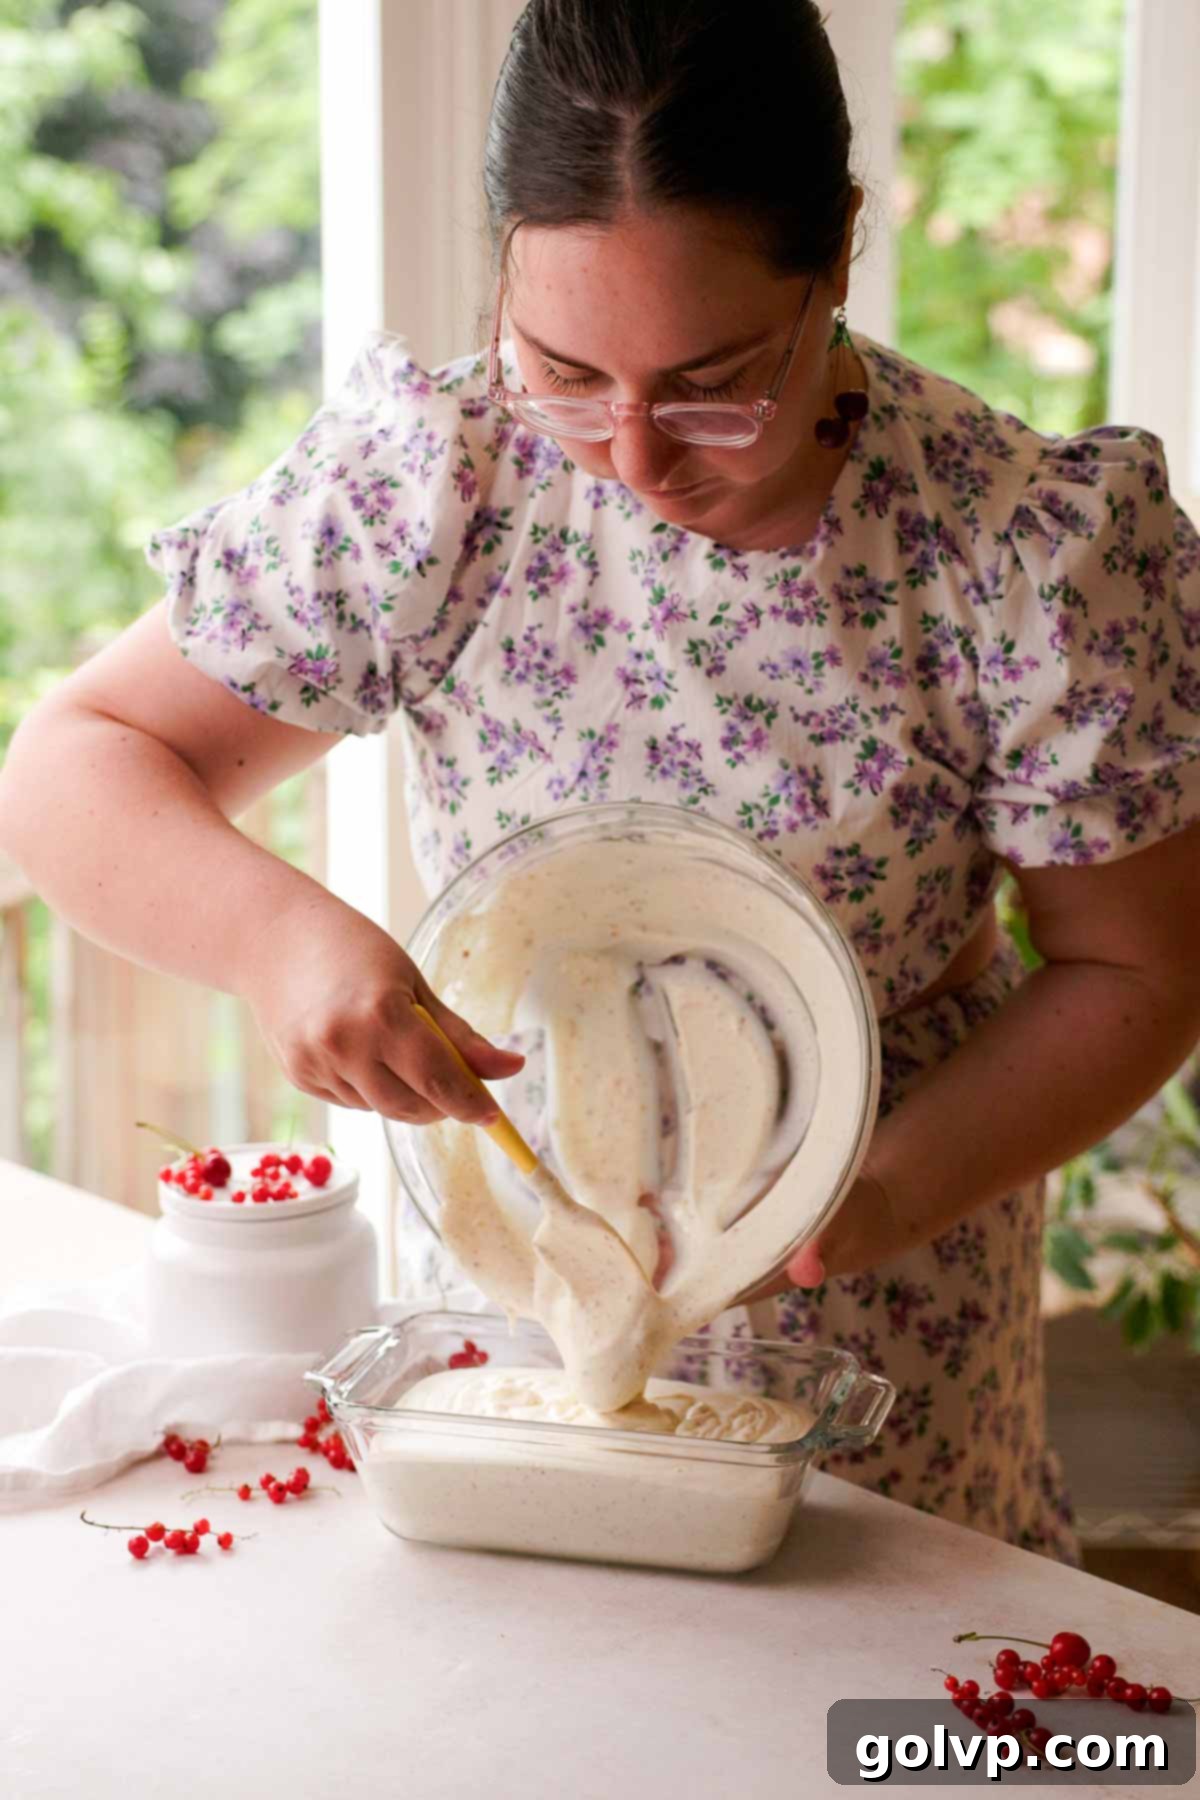
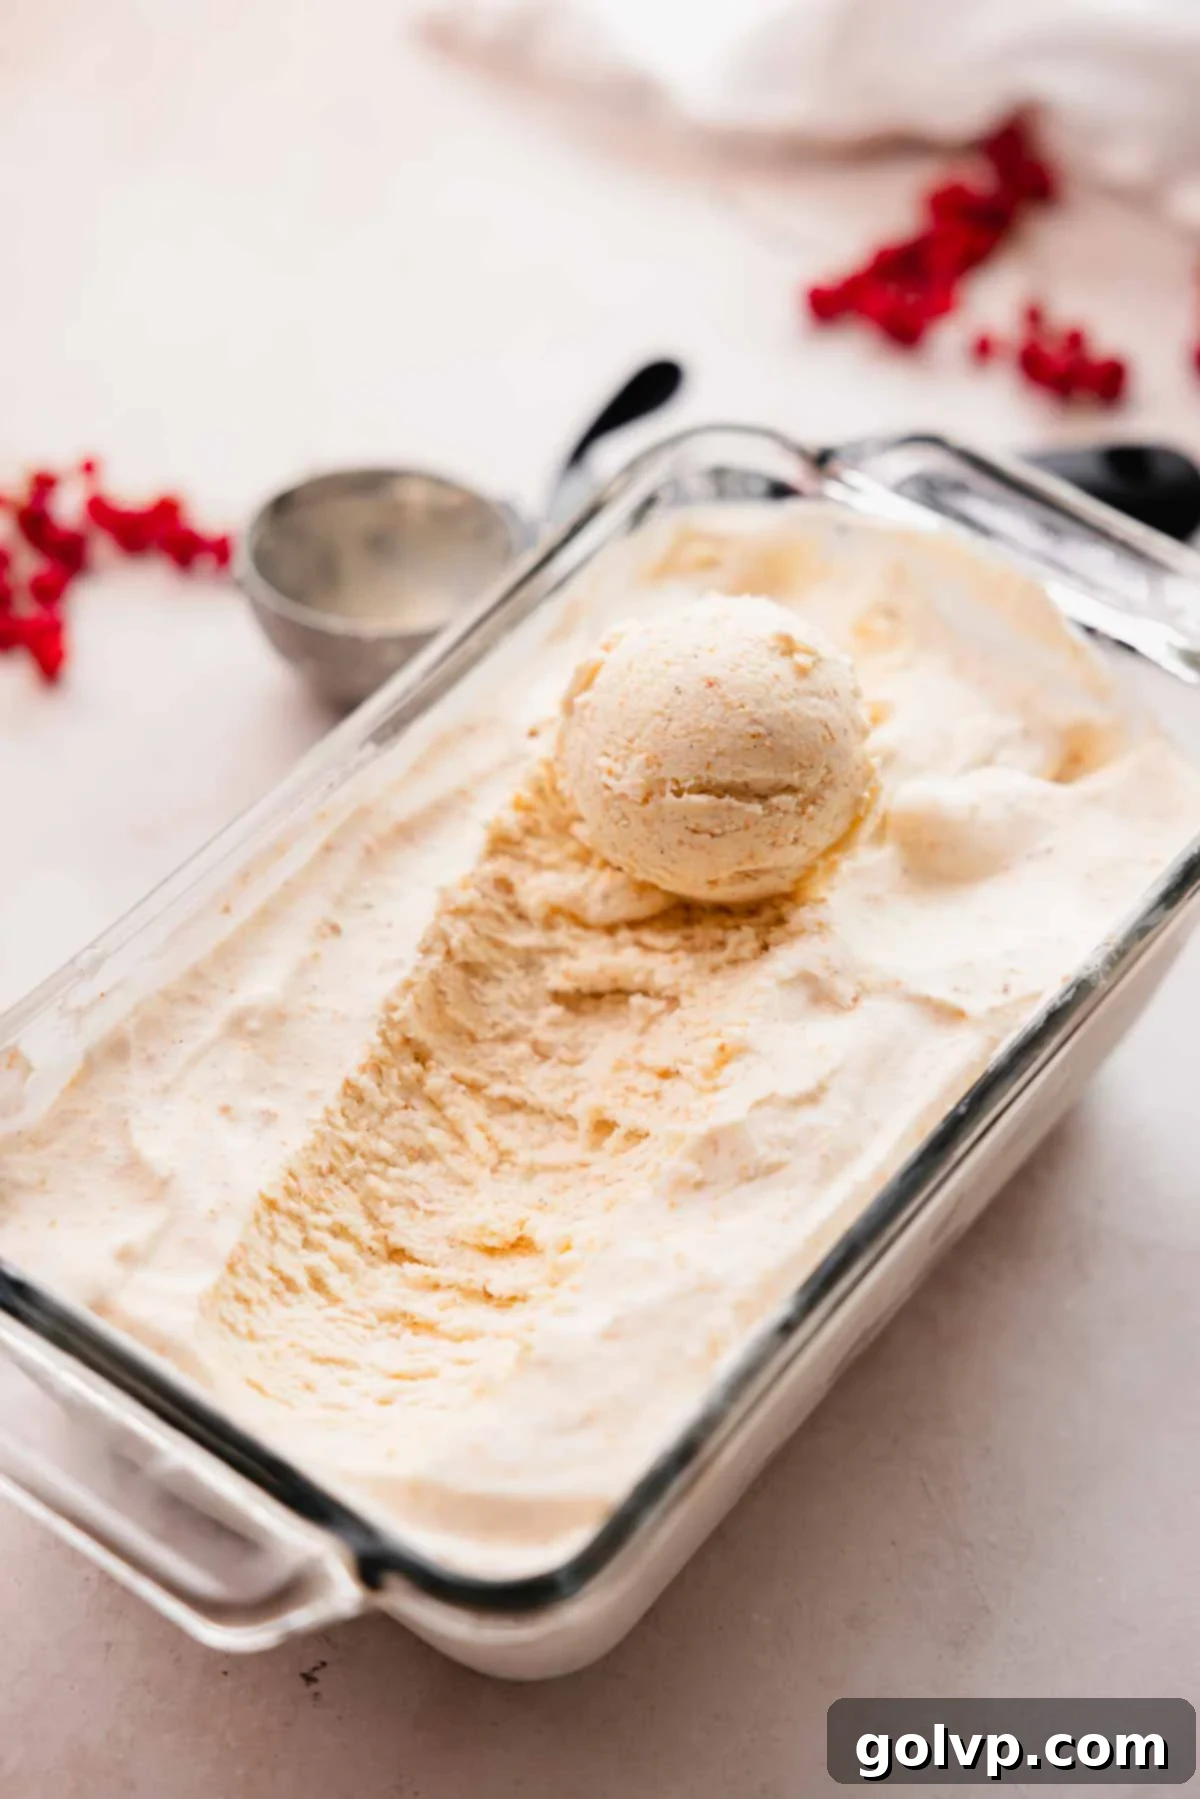
Step 6: Freeze to Perfection. Transfer the entire ice cream mixture into an airtight ice cream container, a loaf tin, or any freezer-safe dish. Smooth the top with a spatula. Cover the container tightly to prevent ice crystals from forming on the surface. Freeze for a minimum of 8 hours, or ideally overnight, until the ice cream is completely solid and firm. Once frozen, scoop generously and savor every delightful bite!
✔️ Expert Brown Butter Ice Cream Tips for Success
- Monitor Your Brown Butter Carefully: The difference between perfectly nutty brown butter and burnt, bitter butter is incredibly slim. Always use a light-colored saucepan so you can clearly see the color change of the milk solids. Keep the heat at medium-low and stir frequently. The goal is a deep golden-brown color and a rich, nutty aroma, not a dark, acrid smell. Remove it from the heat as soon as it reaches that golden stage to halt the cooking process.
- Achieve Stiff Peaks, But Don’t Overwhip: For the lightest and creamiest no-churn ice cream, whipping your heavy cream to stiff peaks is paramount. This incorporates the maximum amount of air, which translates to a wonderfully light and fluffy texture in the final frozen product. However, be vigilant against overwhipping. Overwhipped cream can become grainy or even turn into butter, compromising the smooth consistency of your ice cream. Stop just as the cream holds its shape firmly. Using a chilled bowl and whisk can significantly help in achieving perfect peaks.
- Ensure Brown Butter is Liquid and Cooled: When folding the brown butter into the whipped cream mixture, it should still be liquid but cooled to room temperature. If it’s too hot, it can deflate the whipped cream. If it’s too solid, it won’t incorporate evenly, leading to lumps. A slightly warm liquid state is ideal for smooth incorporation.
- Gentle Folding is Key: Once your cream is perfectly whipped, handle it with care. When adding the sweetened condensed milk and the brown butter mixture, use a gentle folding technique with a spatula. This means incorporating the ingredients slowly and deliberately, preserving as much of the air in the whipped cream as possible. Overmixing will deflate the cream, resulting in a denser, less airy ice cream.
- Freeze in an Airtight Container: To prevent the formation of large, unappealing ice crystals on the surface of your ice cream during freezing, always store it in a tightly sealed, airtight container. If using a loaf pan, cover the surface directly with plastic wrap before sealing the whole pan with foil. This minimizes exposure to air and maintains the ice cream’s smooth texture.
- Allow for Softening Before Scooping: For the best scooping experience and optimal texture enjoyment, let your frozen ice cream sit at room temperature for 5-10 minutes before serving. This allows it to soften slightly, making it easier to scoop and enhancing its creamy mouthfeel.
🥄 Make Ahead and Storage Instructions
This brown butter ice cream is an absolute dream for meal prep and future enjoyment. It’s the perfect make-ahead dessert, allowing you to whip up a batch and stash it in the freezer for whenever a craving strikes or unexpected guests arrive. Its rich flavor and creamy texture hold up beautifully over time, making it an ideal candidate for entertaining.
To ensure its pristine quality, store the ice cream tightly wrapped or in an airtight container in the coldest part of your freezer. When stored correctly, it will maintain its delicious flavor and texture for up to one month. While you might notice some minor ice crystal formation on the very top surface of the ice cream over prolonged storage, rest assured that these crystals won’t penetrate the creamy interior. To minimize this, you can press a piece of parchment paper or plastic wrap directly onto the surface of the ice cream before covering the container.
❔ Why Adding Milk Powder Levels Up the Brown Butter Flavor
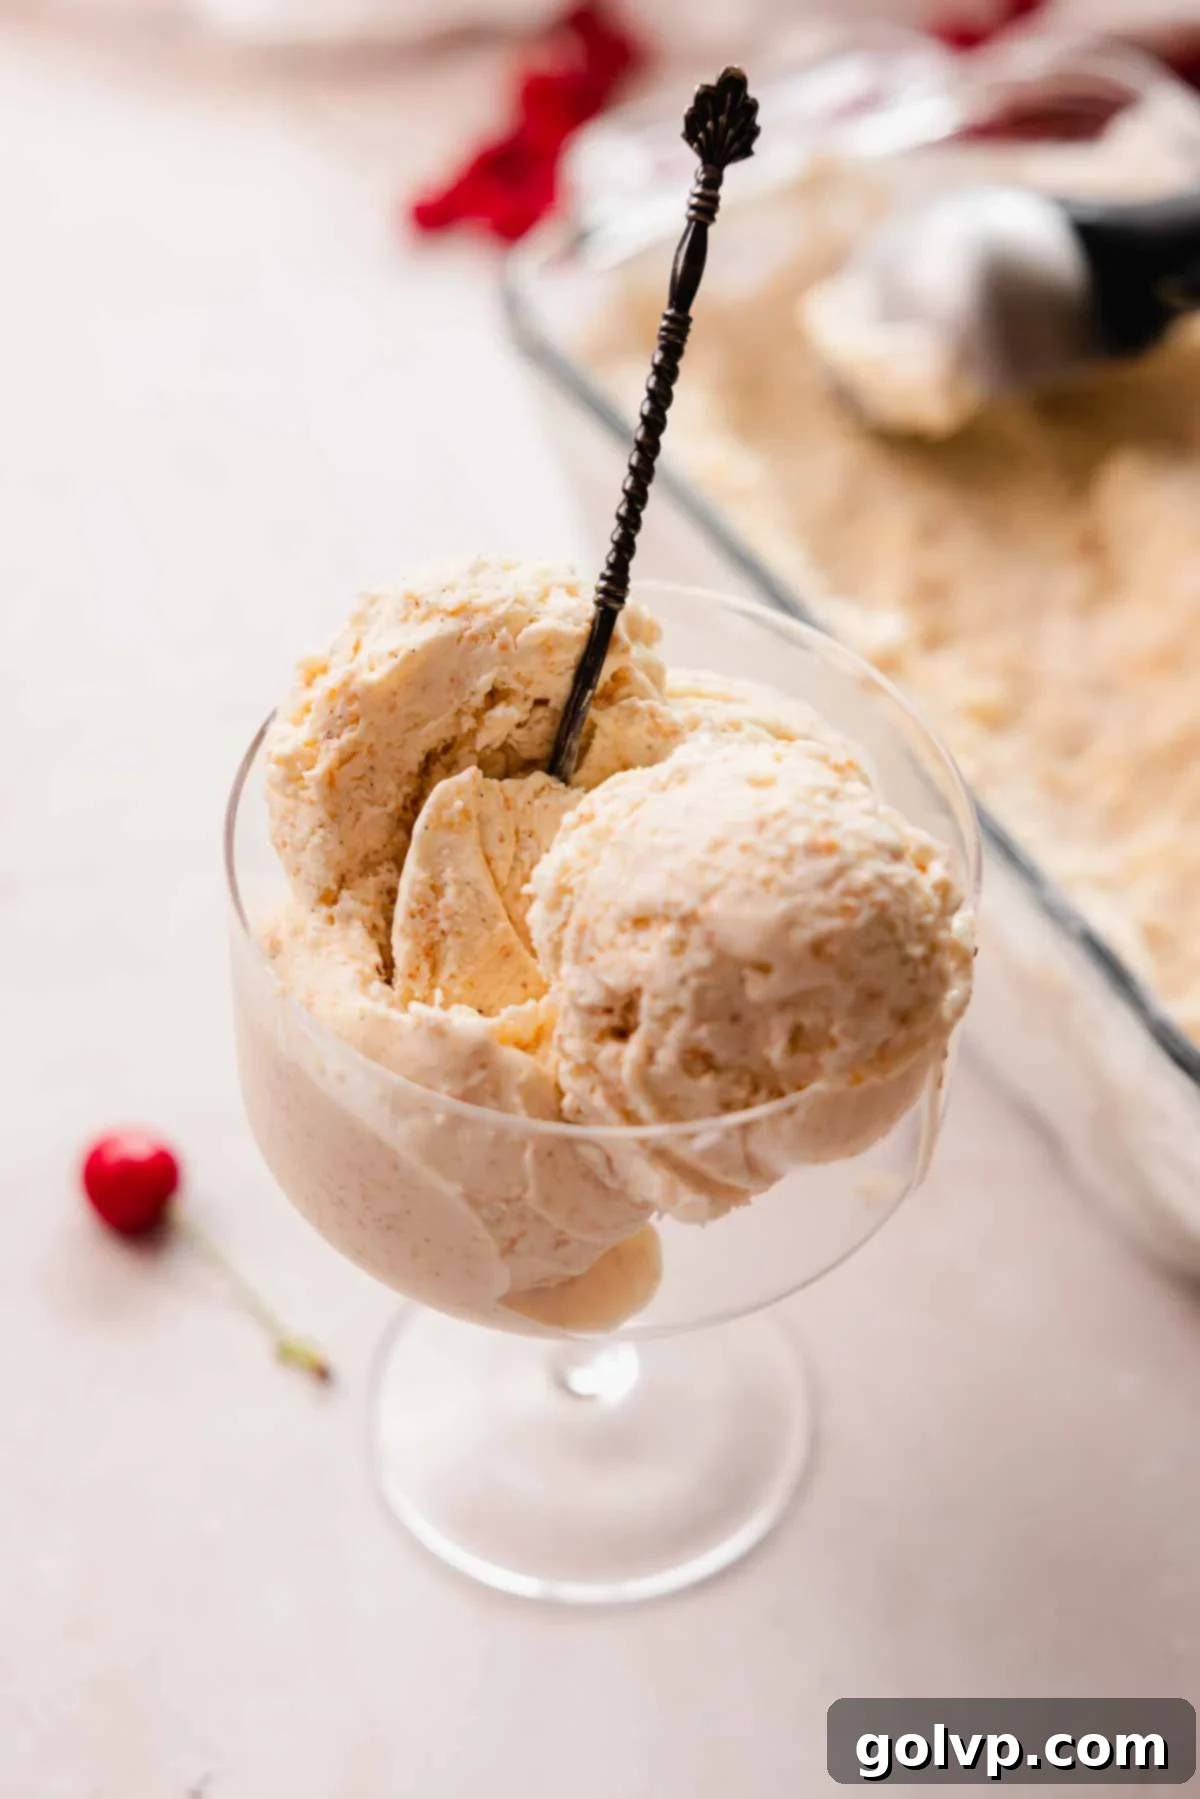
The secret to an even more intensely flavorful brown butter lies in the addition of milk powder. When you make traditional brown butter (beurre noisette), the milk solids present in the butter caramelize and toast through the Maillard reaction, producing those coveted nutty, deep, and caramelized notes. By introducing dry milk powder into the butter at the beginning of the browning process, you are essentially increasing the concentration of milk solids available.
This increased amount of milk protein and sugars means that a greater quantity of these solids will toast and brown, resulting in a significantly amplified Maillard reaction. This leads to a brown butter that is much more aromatic, with a more profound and complex nutty, toasty, and butterscotch-like flavor. Since brown butter is the primary flavor profile of this ice cream, boosting it with milk powder truly makes the flavor pop and become the undeniable star.
I’ve experimented with this brown butter ice cream recipe both with and without the milk powder, and while the brown butter flavor is still present without it, it’s notably more subtle. The ice cream made without milk powder tends to have a slightly creamier, smoother texture, as there are fewer browned milk solids contributing to a subtle “crispy bits” texture. However, for maximum brown butter impact and a delightful textural contrast, the milk powder is a highly recommended addition that you won’t regret!
🍒 Irresistible Serving Suggestions for Brown Butter Ice Cream
The beauty of this brown butter vanilla bean ice cream lies in its incredible versatility. It boasts a sophisticated yet universally appealing flavor that allows it to shine whether enjoyed on its own or paired with a myriad of desserts. Think of it as an elevated classic vanilla ice cream – familiar, comforting, but with an intriguing depth.
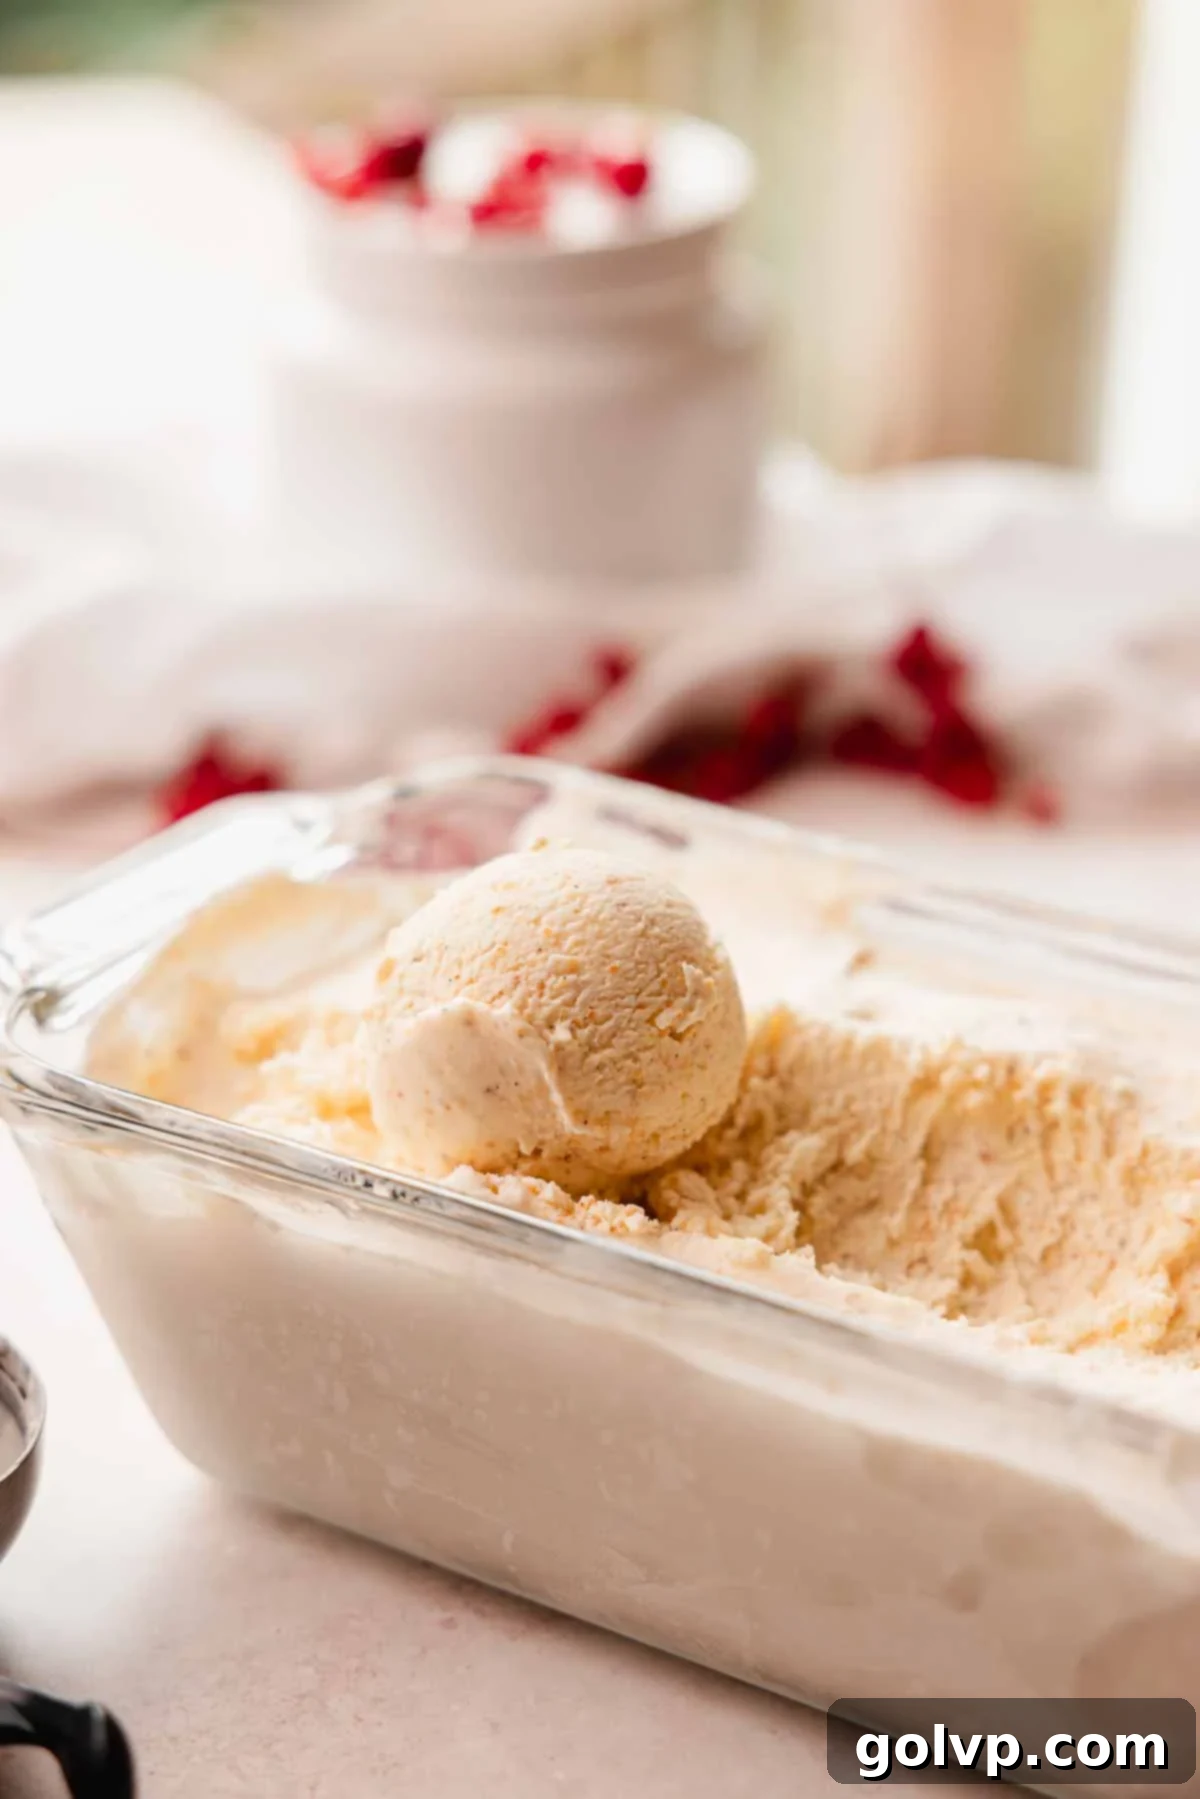
For the purists, serving this brown butter ice cream simply in a cone or a bowl allows those exquisite toasty, nutty, and caramel flavor notes to truly take center stage. Each spoonful is a symphony of rich, complex sweetness that doesn’t need any embellishment to be appreciated.
However, this ice cream truly excels as the ultimate à la mode companion. Its creamy texture and warm flavor profile make it the perfect pairing for a variety of warm, baked goods. Imagine a scoop melting lusciously over a warm pecan pie brownie, creating a delicious contrast of textures and temperatures. It’s equally phenomenal alongside a vibrant strawberry crumble, where its rich notes balance the fruit’s tartness, or perched atop some flaky mini blueberry pies, adding a creamy dimension to the fruity filling.
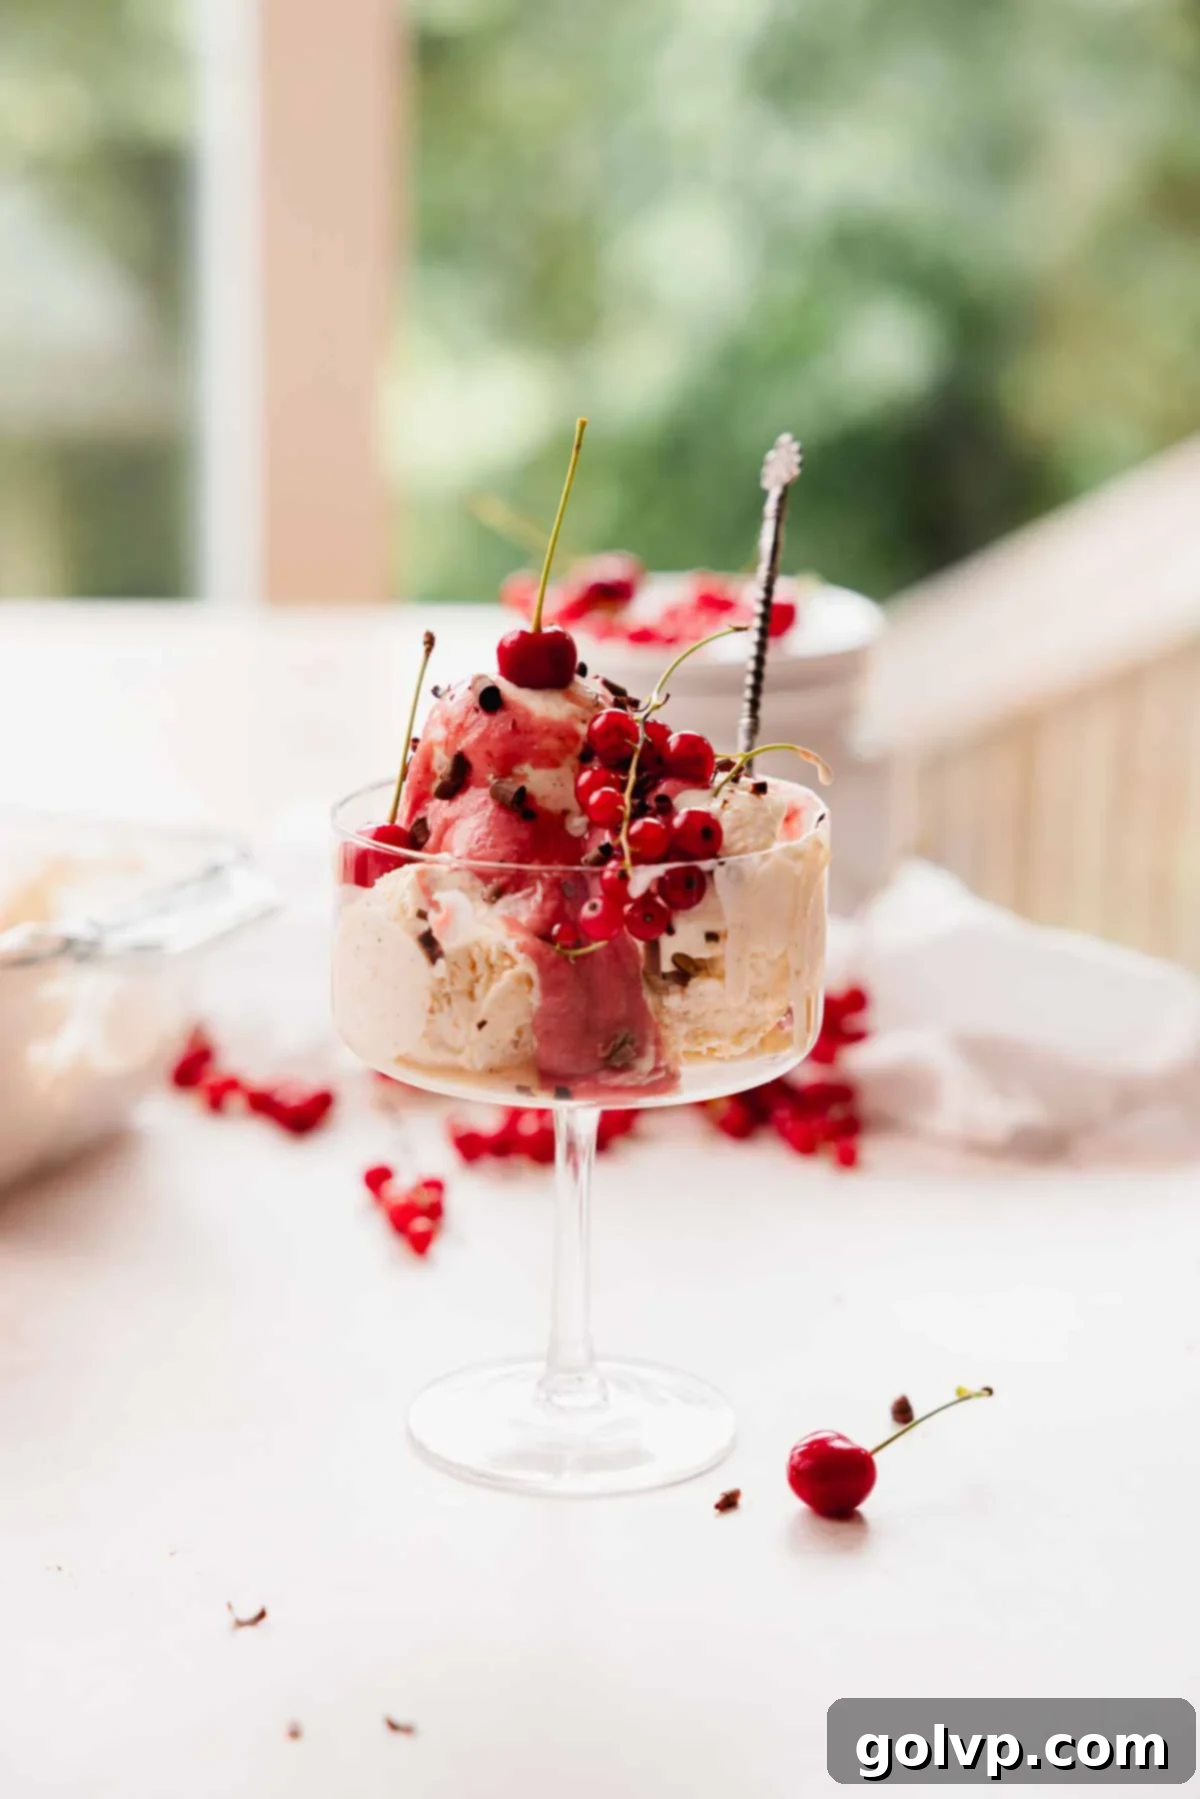
Lately, my absolute favorite way to serve this brown butter ice cream has been as a gourmet sundae, generously topped with a bright and tangy cherry curd. The smooth, tart acidity of the cherry curd provides a stunning counterpoint to the sweetness, richness, and deep caramel undertones of the ice cream. This creates a uniquely balanced and utterly delicious sundae experience that my friends and family consistently rave about. To make it truly seasonal and visually stunning, crown it with fresh, in-season cherries and berries. This combination yields a refreshingly creamy summer dessert that’s not only easy to prepare in advance but also incredibly satisfying and memorable.
📖 Recipe FAQs for No-Churn Brown Butter Ice Cream
No, absolutely not. It’s crucial not to substitute sweetened condensed milk with evaporated milk, as they are entirely different products. Sweetened condensed milk is thick, very sweet, and contains high amounts of sugar and milk proteins that are essential for the smooth, no-churn ice cream texture, preventing ice crystal formation. Evaporated milk is thin, unsweetened, and lacks these crucial properties, which would result in an icy, flavorless, and disappointing ice cream.
While the recipe will still produce delicious brown butter ice cream without it, I highly recommend using dry milk powder. It significantly amplifies the brown butter flavor by providing more milk solids to caramelize during the browning process, leading to a richer, nuttier taste. Without it, the brown butter flavor will be more subtle, and the texture will be slightly smoother since there are fewer toasted milk solids. It’s an easy-to-find ingredient that makes a noticeable difference.
Yes, you can. I understand that vanilla beans can be a bit of an investment. If you don’t have a whole vanilla bean or prefer an alternative, you can substitute it with 1 tablespoon of good quality vanilla bean paste. Vanilla bean paste offers a rich vanilla flavor and typically includes visible vanilla specks, providing a similar aesthetic to using a whole bean.
This recipe is specifically designed to be “no-churn,” meaning it doesn’t require an ice cream maker. The method of whipping cream and folding it with sweetened condensed milk provides a perfectly creamy result. If you prefer to use an ice cream maker, you would typically need a custard-based ice cream recipe, which involves cooking eggs and milk. While you could potentially adapt a custard base with brown butter and vanilla, this specific recipe is formulated for maximum ease and no special equipment.
🍦 More Related Ice Cream Recipes You’ll Love
- Homemade Puff Pastry Ice Cream Sandwiches
- Lavender Ice Cream
- Carrot Cake Ice Cream
- Raspberry Cheesecake Ice Cream
Did you make this recipe? I would love for you to rate this recipe and hear what you think in the comments below! Share your creation on Instagram and tag @flouringkitchen. Follow me on Pinterestto save and for more recipe ideas.
📖 Recipe
Brown Butter Ice Cream
Mary
Pin Recipe
Shop Ingredients
Equipment
-
electric mixer
Ingredients
- ¼ cup unsalted butter
- 3 tablespoons dry milk powder skim or whole (optional, but highly recommended)
- 1 whole vanilla bean or 1 tablespoon vanilla bean paste
- 2 cups heavy whipping cream
- 1 can sweetened condensed milk 300 mL, 14 oz
- ¼ teaspoon sea salt
Shop Ingredients on Jupiter
Instructions
-
In a small, light-colored saucepan, combine butter and dry milk powder. Melt it on medium-low heat, stirring with a spoon or spatula to prevent sticking and burning.¼ cup unsalted butter, 3 tablespoons dry milk powder
-
The butter will foam, then settle, then foam again. Watch for the milk solids to turn a deep golden brown and smell nutty. Immediately remove from heat to avoid burning.
-
Cut the vanilla bean lengthwise, scrape out seeds with a knife, and add seeds and pod to the hot brown butter. Stir to coat. Let cool slightly while remaining liquid.1 whole vanilla bean
-
In a chilled bowl or stand mixer, whip the cold heavy cream to stiff peaks using a whisk attachment. Be careful not to overwhip.2 cups heavy whipping cream
-
Add the sweetened condensed milk and sea salt into the whipped cream. Gently fold until just combined.1 can sweetened condensed milk, ¼ teaspoon sea salt
-
Remove vanilla pods from brown butter (scrape off excess). Add the liquid brown butter into the whipped cream mixture. Gently fold until well combined, being careful not to deflate the cream.
-
Transfer the mixture to an ice cream container or loaf tin. Cover tightly and freeze for 8 hours or until completely frozen. Scoop and enjoy!
Notes
This ice cream is perfect to make ahead and store in the freezer for whenever you want to fix yourself some ice cream, or to keep on hand for hosting. Store it wrapped tightly or in an airtight container in the freezer, for up to one month.
Tips for success:
- Don’t burn the butter: Use a light-colored pan and remove from heat as soon as milk solids are deep golden brown.
- Whip cream to stiff peaks: Ensure cream is very cold, use a chilled bowl and whisk for maximum air and a light, creamy texture. Avoid overwhipping.
- Ensure brown butter is liquid and cooled before folding into the cream.
- Gently fold ingredients to maintain air in the whipped cream.
- Cover tightly in an airtight container to prevent ice crystal formation.
- Allow ice cream to soften for 5-10 minutes before scooping for the best texture.
