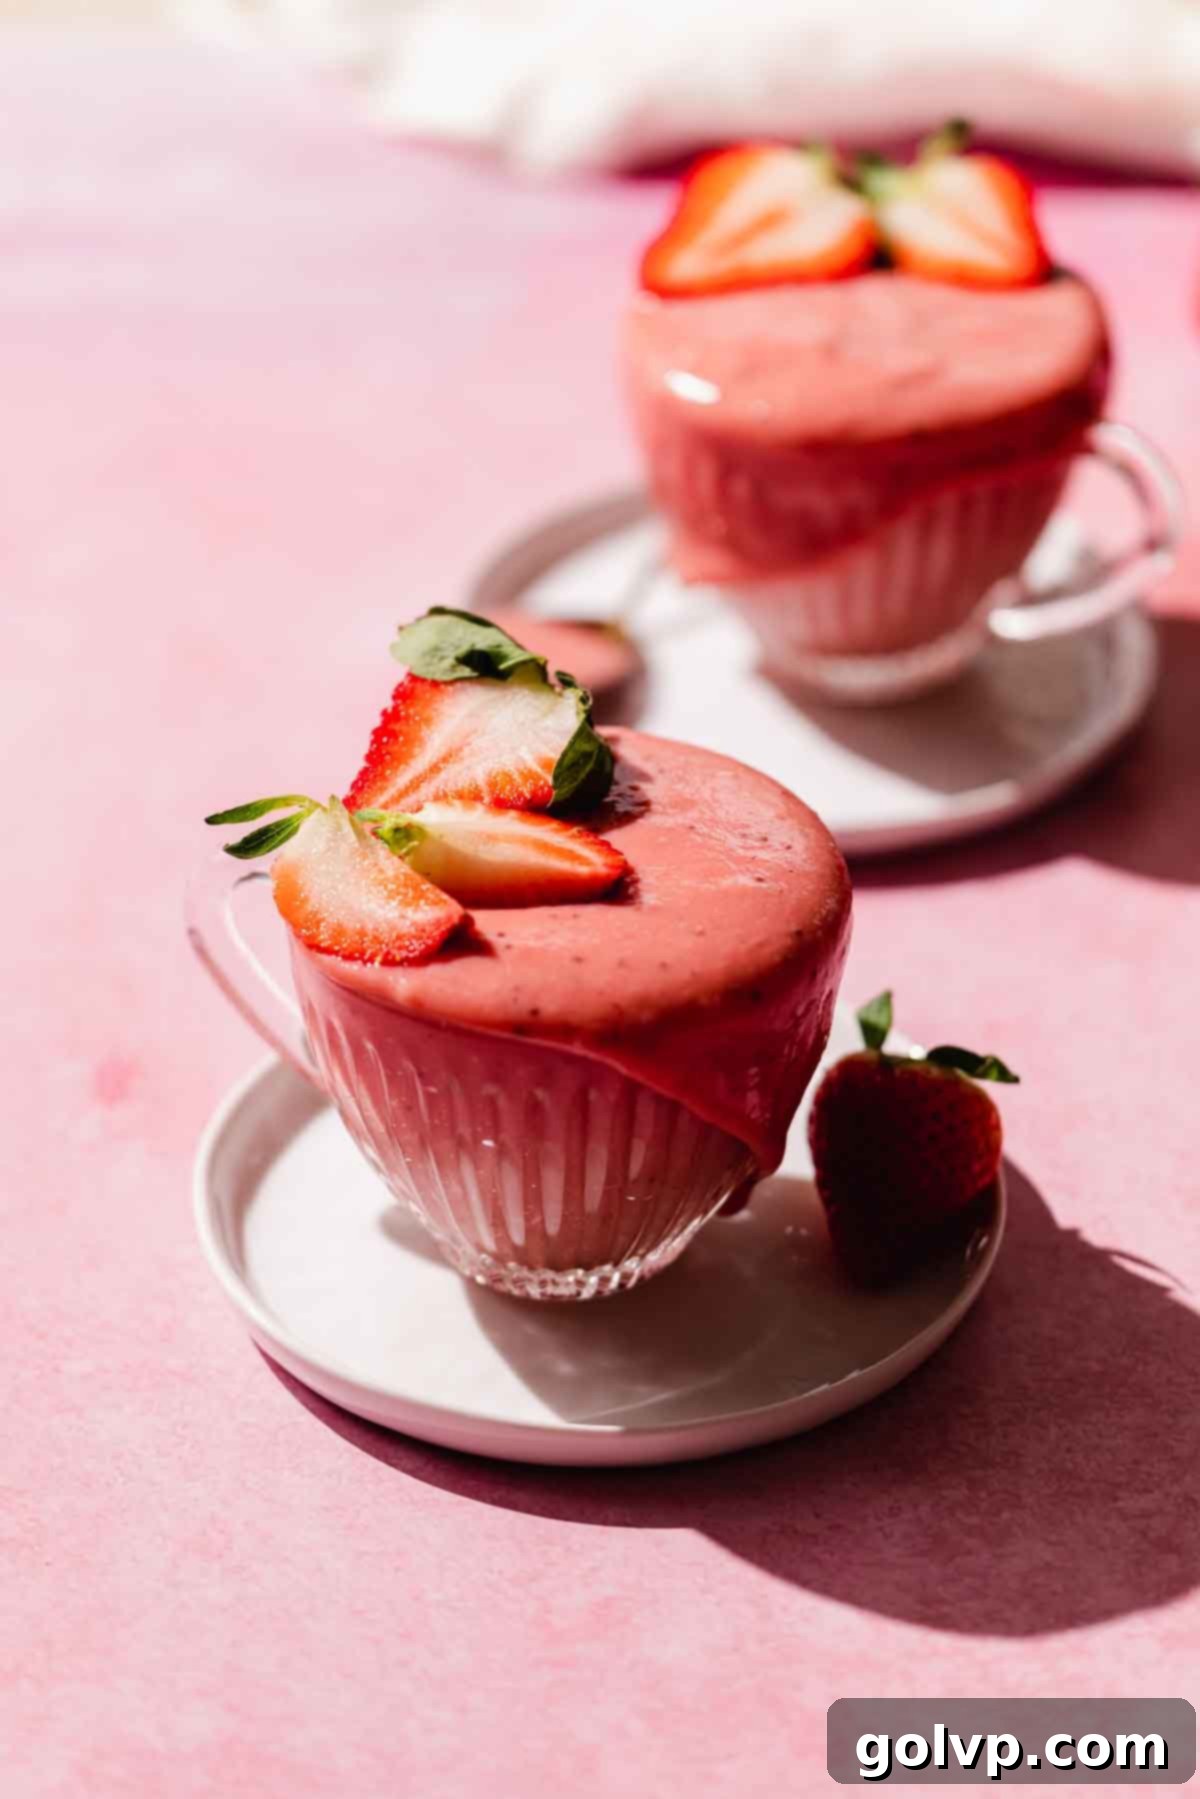
Homemade Strawberry Curd: The Ultimate Creamy, Silky, and Flavor-Packed Recipe
Prepare to fall in love with this incredible homemade strawberry curd recipe! It’s an absolute game-changer, boasting an ultra-creamy, lusciously thick texture that simply melts in your mouth. Every spoonful is packed with an intense, bright, and genuinely rich strawberry flavor that tastes remarkably fresh, without being overly sweet. Forget artificial tasting strawberry desserts; this curd captures the true essence of summer berries in a silky-smooth, decadent spread.
Making this delightful strawberry curd is surprisingly easy, making it the perfect project for both novice and experienced home bakers. Once you master this simple technique, you’ll find countless ways to incorporate it into your culinary creations. Think of it as a vibrant, more exciting alternative to traditional jam or lemon curd. Spread it generously on warm toast or flaky scones, use it as a luxurious filling for cakes, cupcakes, tarts, or even macarons. It’s equally irresistible enjoyed straight from the spoon! Whether you have a bounty of fresh strawberries or a stash of frozen ones, this versatile recipe works wonderfully with either.
[feast_advanced_jump_to]
🍓 Why You’ll Adore This Easy Strawberry Curd Recipe
- Authentic Strawberry Flavor: Unlike some strawberry recipes that can taste bland or artificial, this curd delivers an intensely rich, bright, and authentic strawberry taste. By reducing the fresh or frozen strawberries into a concentrated sauce first, we ensure every bit of natural fruit sweetness and tang shines through, creating a flavor profile that is beautifully balanced and not cloyingly sweet.
- Lusciously Thick & Creamy Texture: This recipe achieves a perfectly thick, spreadable, and incredibly creamy texture without relying on any starches. The magic lies in using whole eggs, which not only thicken the curd to an ideal consistency that holds its shape beautifully but also impart a luxurious richness. The result is a silky-smooth mouthfeel that’s utterly decadent and far superior to curds made with cornstarch or flour.
- Effortlessly Simple to Make: Don’t let the gourmet taste fool you; making this strawberry curd is surprisingly straightforward. If you can make a basic fruit sauce, you can make this curd! The process involves just a few simple steps and readily available ingredients, transforming fresh or frozen berries into a sophisticated, vibrant topping or filling that tastes like it took hours of effort. It’s a truly rewarding recipe for any home baker.
Once you taste the incredible flavor and texture of this homemade strawberry curd, you’ll want to put it on everything! In fact, it’s a star ingredient in my highly popular strawberry tiramisu recipe, where it adds a burst of fruity brightness to the creamy filling. Give it a try and elevate your dessert game!
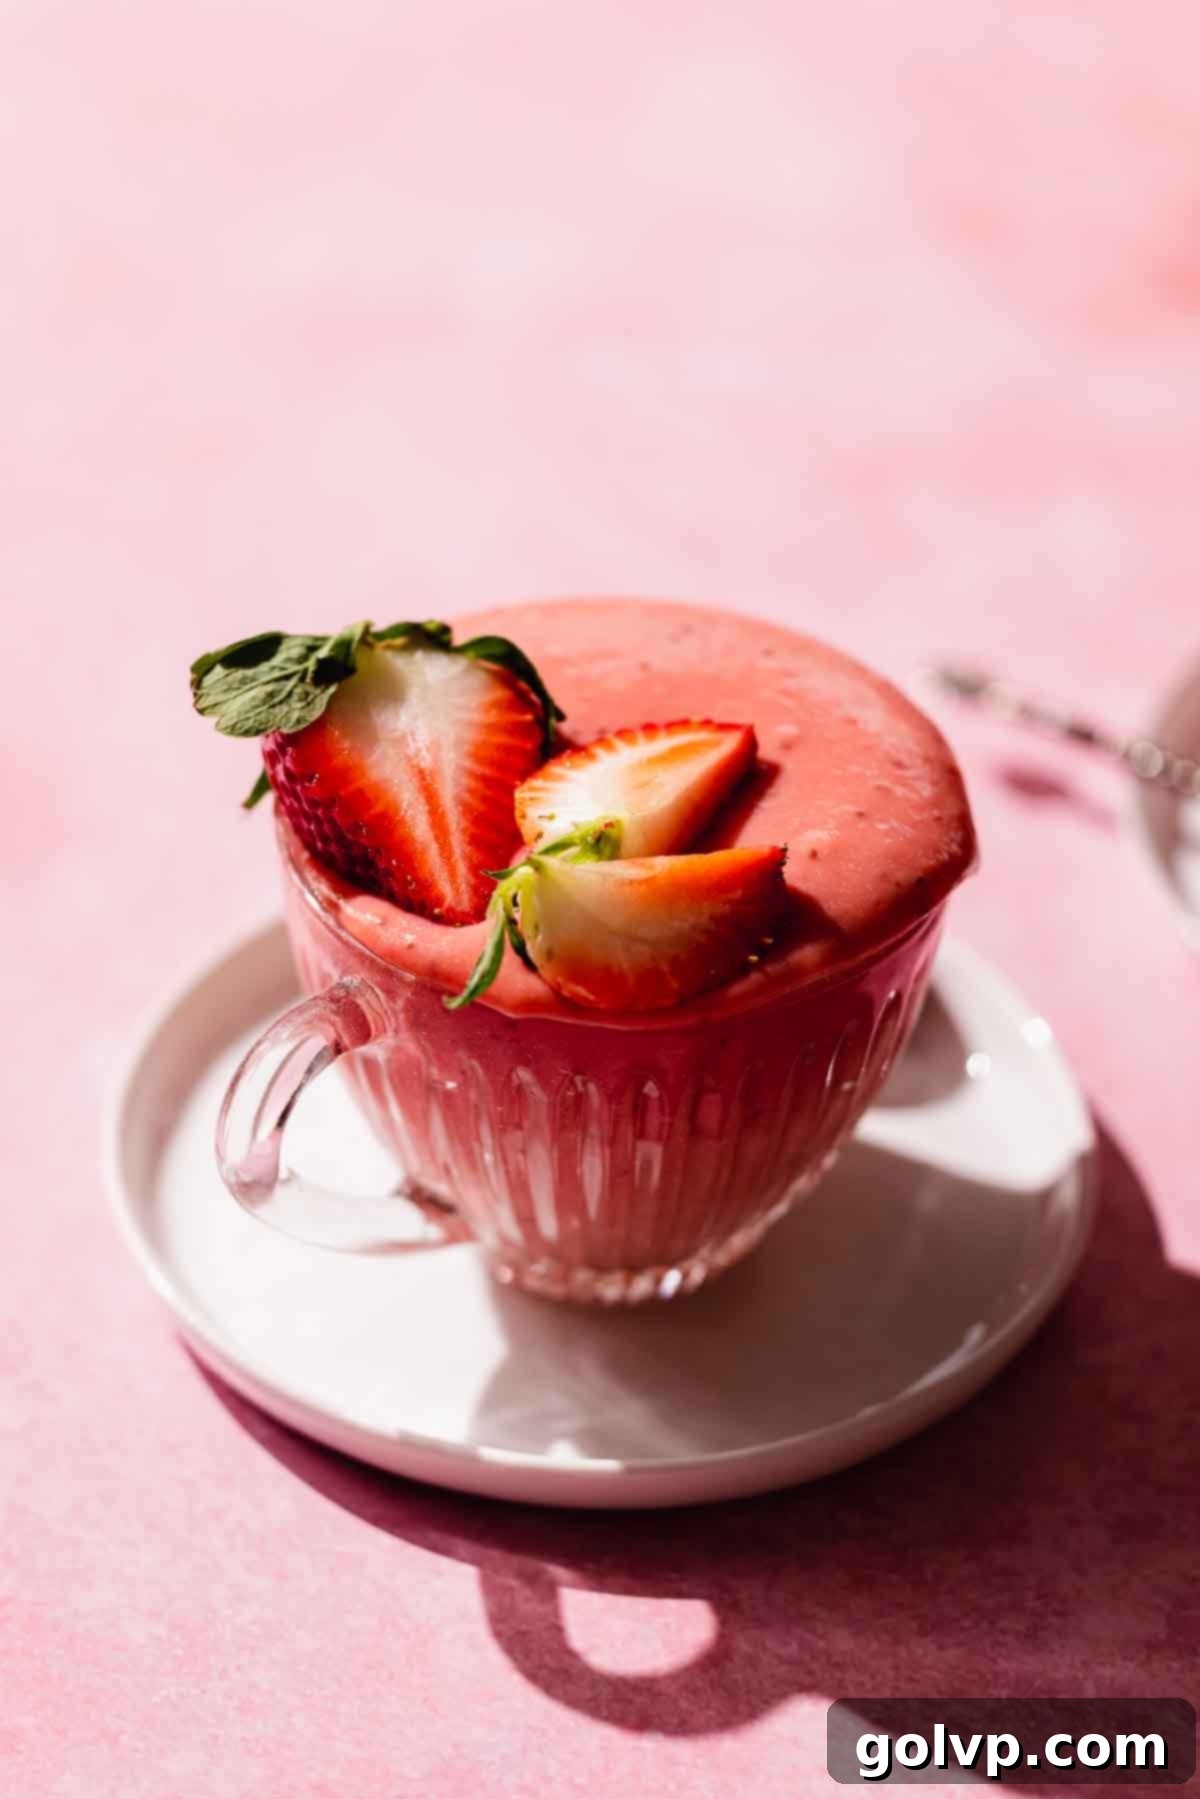
📝 Essential Ingredients for Perfect Strawberry Curd
Mastering this recipe starts with understanding the role of each ingredient. Read through for all the tips you will need for success!
Full steps and ingredients with precise measurements are in the recipe card below.
You’ll be delighted to know that you only need a handful of simple, fresh ingredients to create this incredibly flavorful strawberry curd. Each component plays a vital role in achieving that perfect balance of taste and texture.
- Strawberries: The star of our show! Both fresh and frozen strawberries work beautifully for this recipe, offering flexibility year-round. If using fresh, opt for ripe, fragrant berries for the best flavor. For frozen, there’s no need to defrost them first, saving you valuable time. Using a good quantity of strawberries ensures a deep, natural fruit flavor that truly stands out.
- Eggs: Four large whole eggs are crucial for thickening this curd and imparting its signature rich, creamy texture. Unlike many curd recipes that rely on egg yolks alone or add starches, using whole eggs provides both structure and emulsification, resulting in an incredibly smooth, velvety finish without any starchy aftertaste. The protein in the egg whites helps create a stronger set, while the yolks contribute richness and a subtle color.
- Lemon Juice: A splash of freshly squeezed lemon juice is essential. While you won’t taste a distinct “lemon” flavor in the finished product, it plays a critical role in balancing the sweetness of the strawberries, enhancing their natural tartness, and making the overall strawberry flavor pop. The acidity also aids in the thickening process and helps prevent the curd from becoming overly sweet.
- Granulated Sugar: Sweetness is key to balancing the tartness of the strawberries and lemon. Granulated sugar provides the necessary sweetness without overpowering the delicate fruit flavor. The amount is carefully calibrated to ensure a vibrant, fresh taste.
- Unsalted Butter: Added at the end, cold, cubed unsalted butter is whisked into the hot curd. This step is vital for achieving that luscious, silky-smooth texture and adding a beautiful sheen. The butter emulsifies with the curd, enriching its flavor and contributing to its luxurious mouthfeel. Using cold butter helps it melt gradually and incorporate smoothly.
- Sea Salt: Just a tiny pinch of sea salt makes a significant difference. It’s a flavor enhancer, sharpening the sweetness of the strawberries and balancing the overall profile of the curd, ensuring every spoonful is perfectly seasoned.
Curds are a personal favorite of mine, offering endless possibilities for delicious desserts and breakfast treats! Once you’ve mastered this strawberry version, I highly recommend exploring other delightful flavors like these:
- Luscious Raspberry Curd
- Classic Lemon Curd
- Vibrant Blueberry Curd
👩🍳 Step-by-Step Guide: Crafting Your Perfect Strawberry Curd
Making homemade strawberry curd is a surprisingly simple process that yields incredibly impressive results. Follow these detailed steps to achieve a perfectly creamy, thick, and flavorful curd every time.
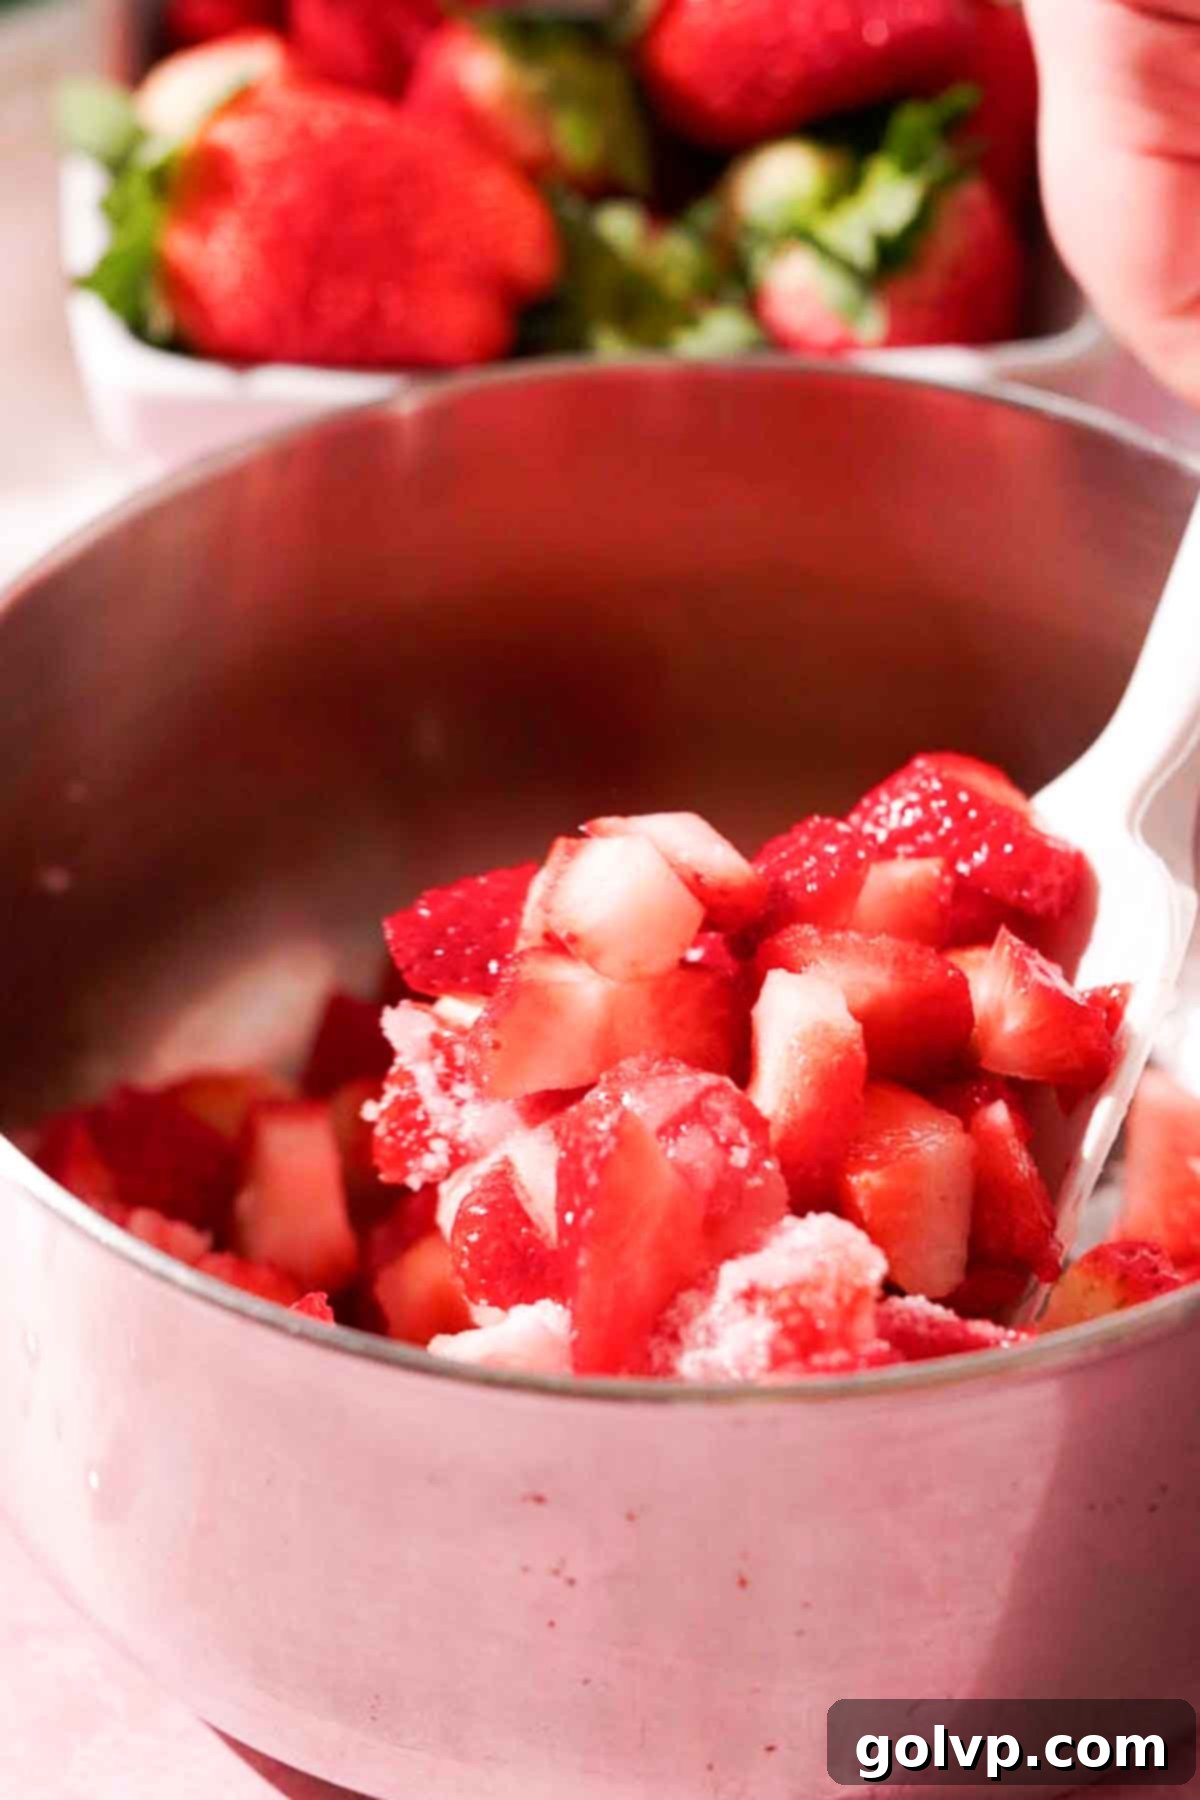
Step 1: Prepare the Strawberries. If you’re working with fresh strawberries, start by thoroughly washing them, removing their green stems (hulling), and then cutting them into smaller pieces. This helps them break down more easily and release their juices. If you’re using frozen strawberries, there’s no need to defrost them; simply add them directly to a medium-sized, non-metal saucepan. Once the strawberries are in the pan, add the freshly squeezed lemon juice and granulated sugar. Stir everything together to combine, ensuring the strawberries are coated.
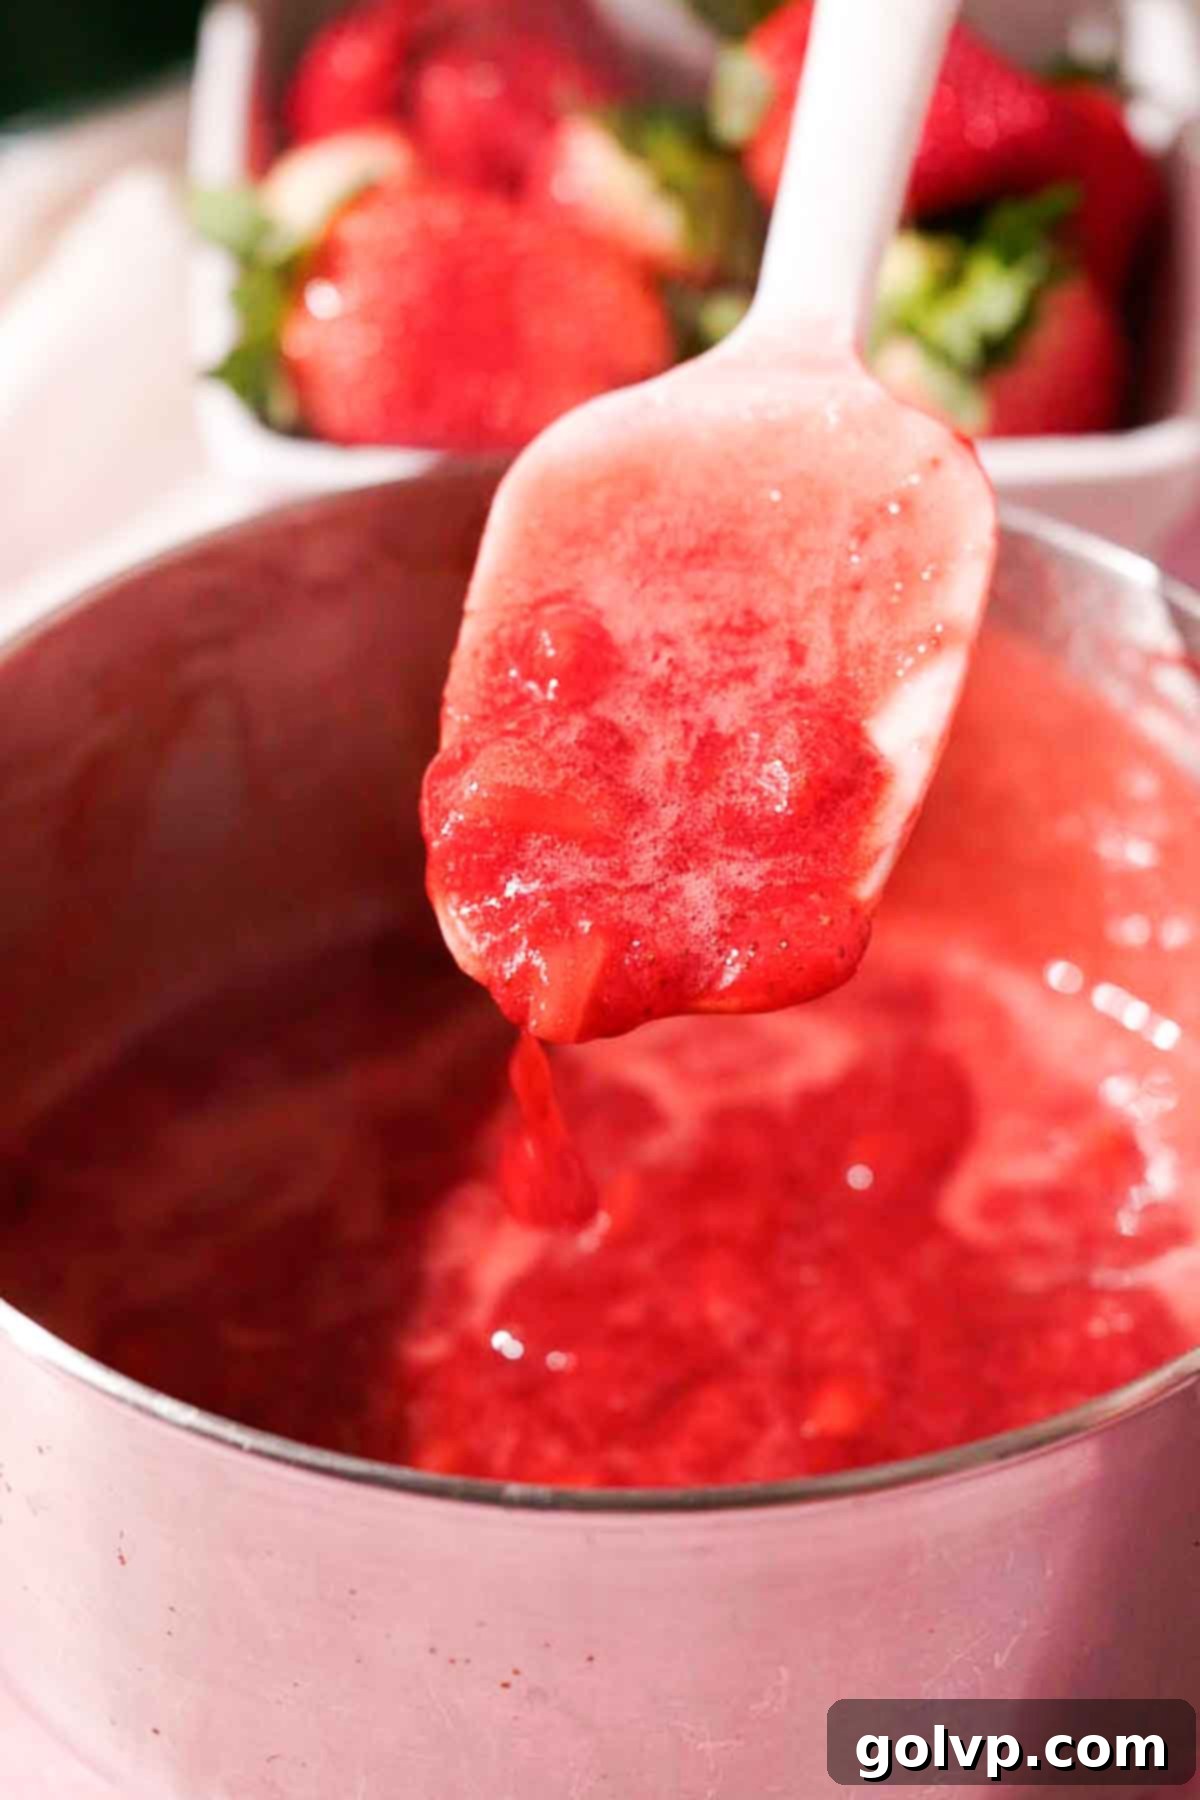
Step 2: Create the Strawberry Sauce. Place the saucepan over medium heat. As the mixture heats up, the strawberries will begin to release their juices. Bring the mixture to a gentle simmer, then continue to cook, stirring frequently to prevent burning. This simmering process reduces the liquid, concentrating the strawberry flavor and creating a thicker sauce. Aim to reduce it to approximately 1 ½ to 1 ¾ cups of thick strawberry sauce, which should take about 7 minutes. Once reduced, remove it from the heat and allow it to cool slightly, just enough so it’s safe to handle and blend without splattering. Then, transfer the sauce to a blender and process until it’s completely smooth and free of any fruit chunks.
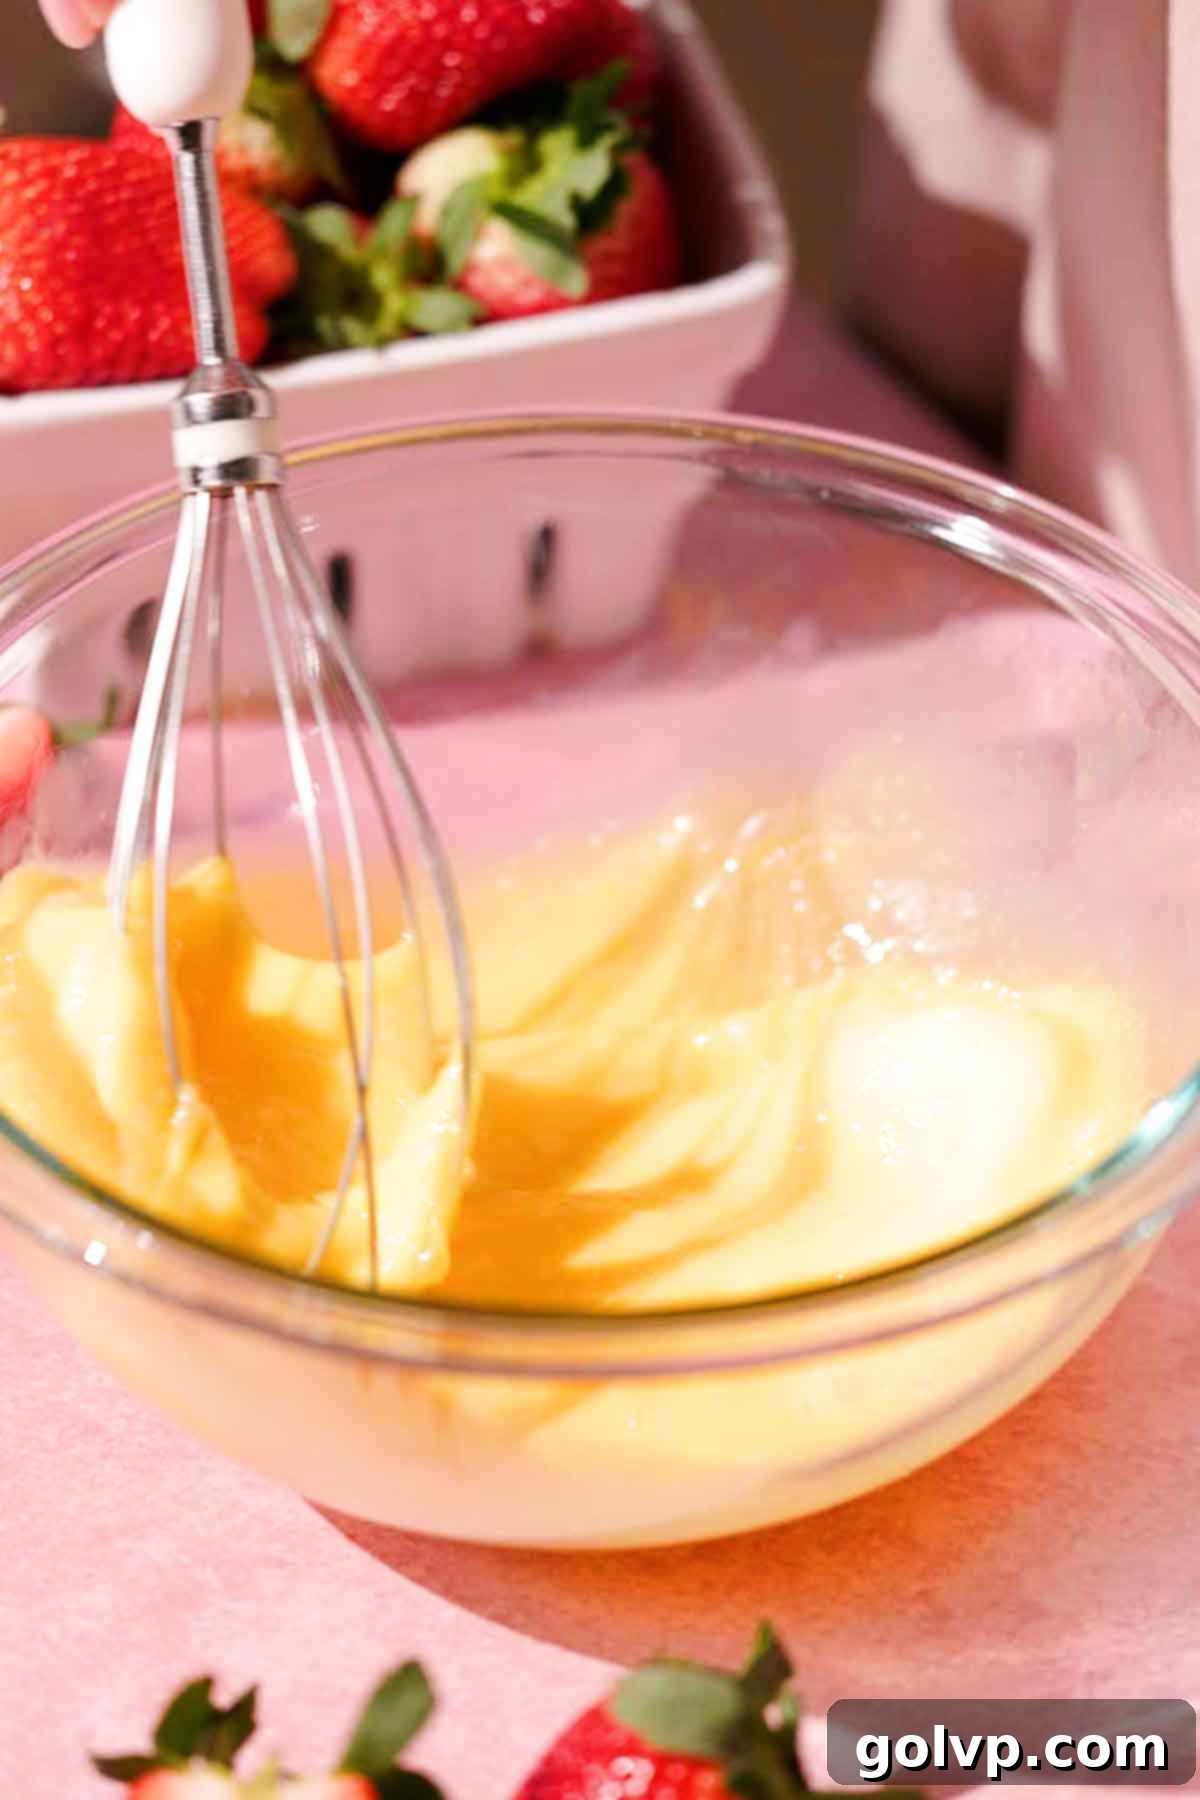
Step 3: Prepare the Eggs for Tempering. In a separate, medium-sized heat-safe bowl (preferably glass or stainless steel), whisk the four whole eggs together until they are completely smooth and homogenous. It’s crucial that there are no visible streaks of egg white or yolk. This thorough whisking prepares the eggs for tempering, a technique that prevents them from scrambling when hot liquid is added, ensuring a smooth, custard-like texture in your final curd.
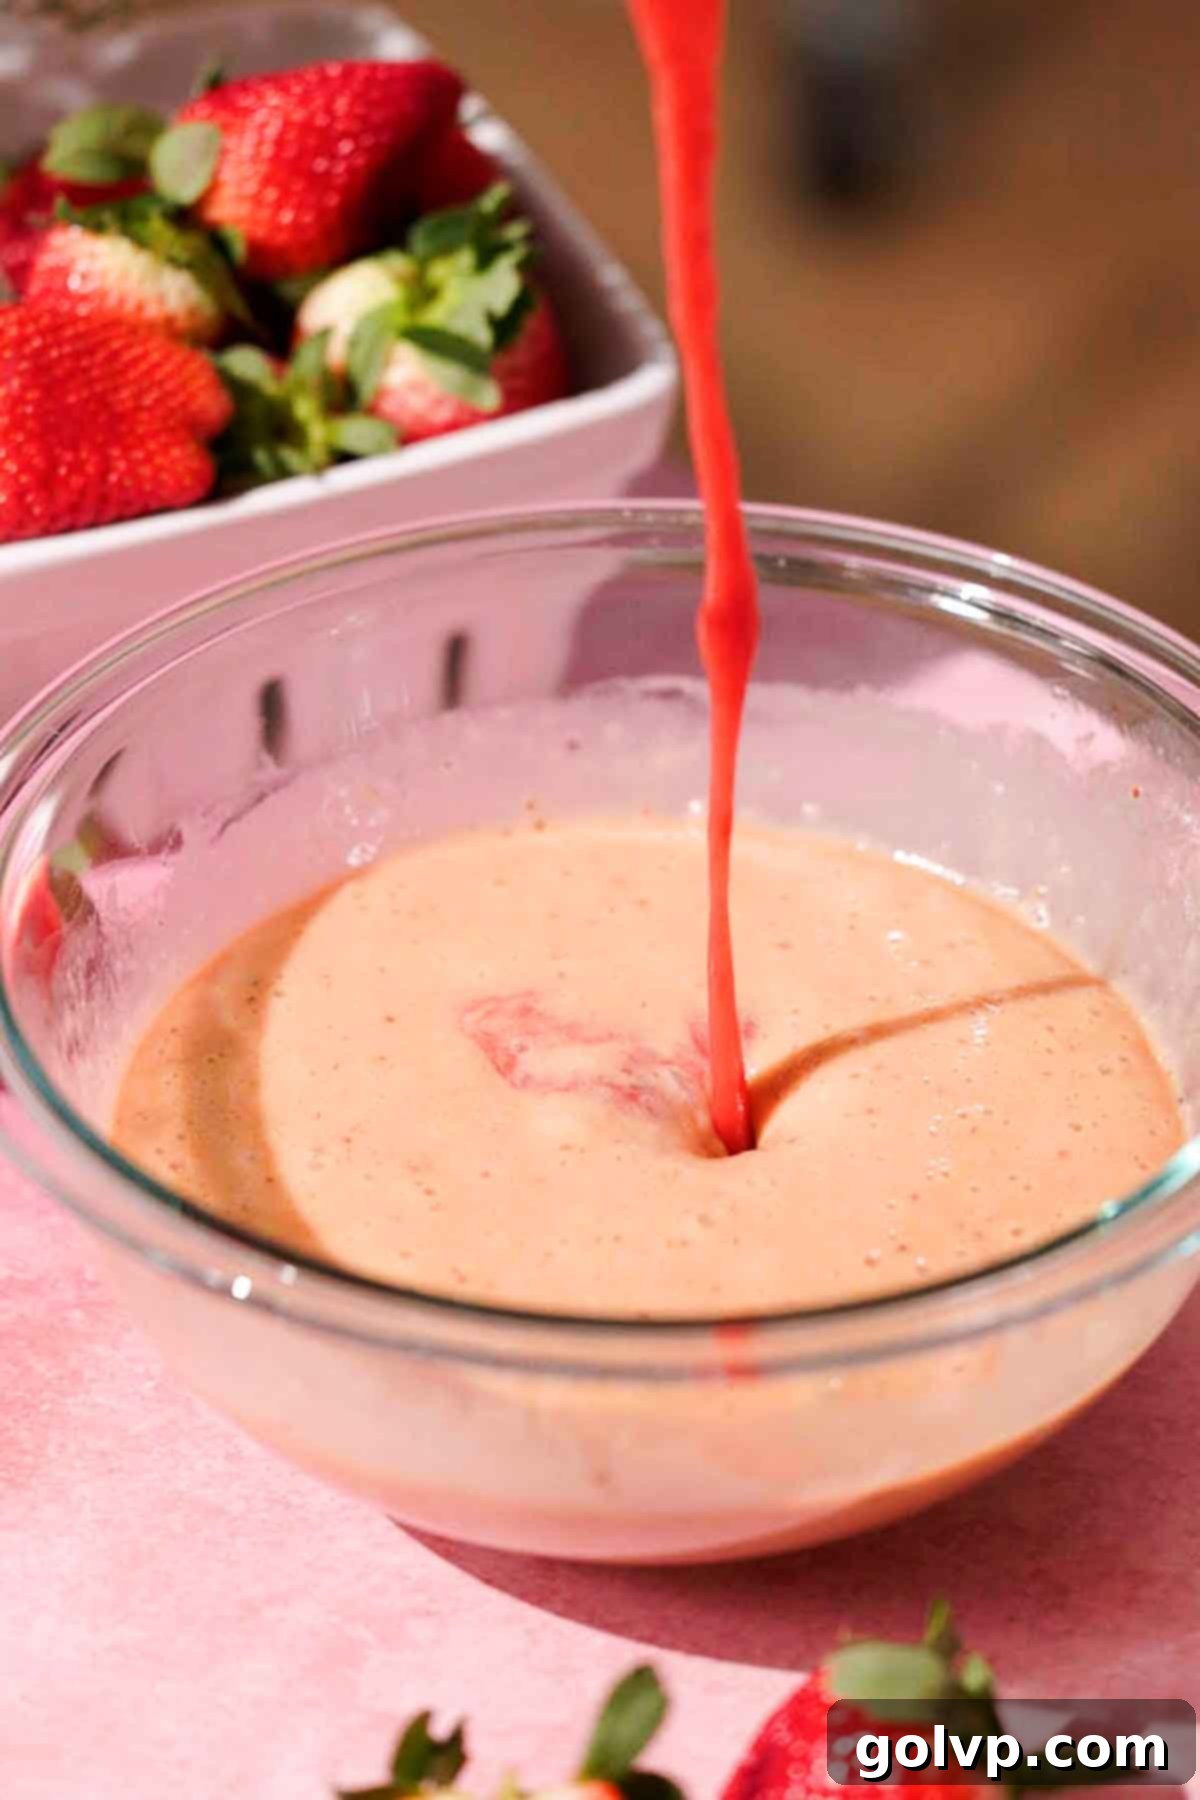
Step 4: Temper the Eggs. This is a critical step for a silky curd. Slowly pour about half of your warm, blended strawberry sauce into the bowl with the whisked eggs while continuously whisking vigorously. This gradual addition of hot liquid slowly raises the temperature of the eggs without cooking them, thereby “tempering” them. Once well combined, pour this tempered egg-and-strawberry mixture back into the saucepan with the remaining strawberry sauce. Whisk again until everything is fully incorporated and smooth.
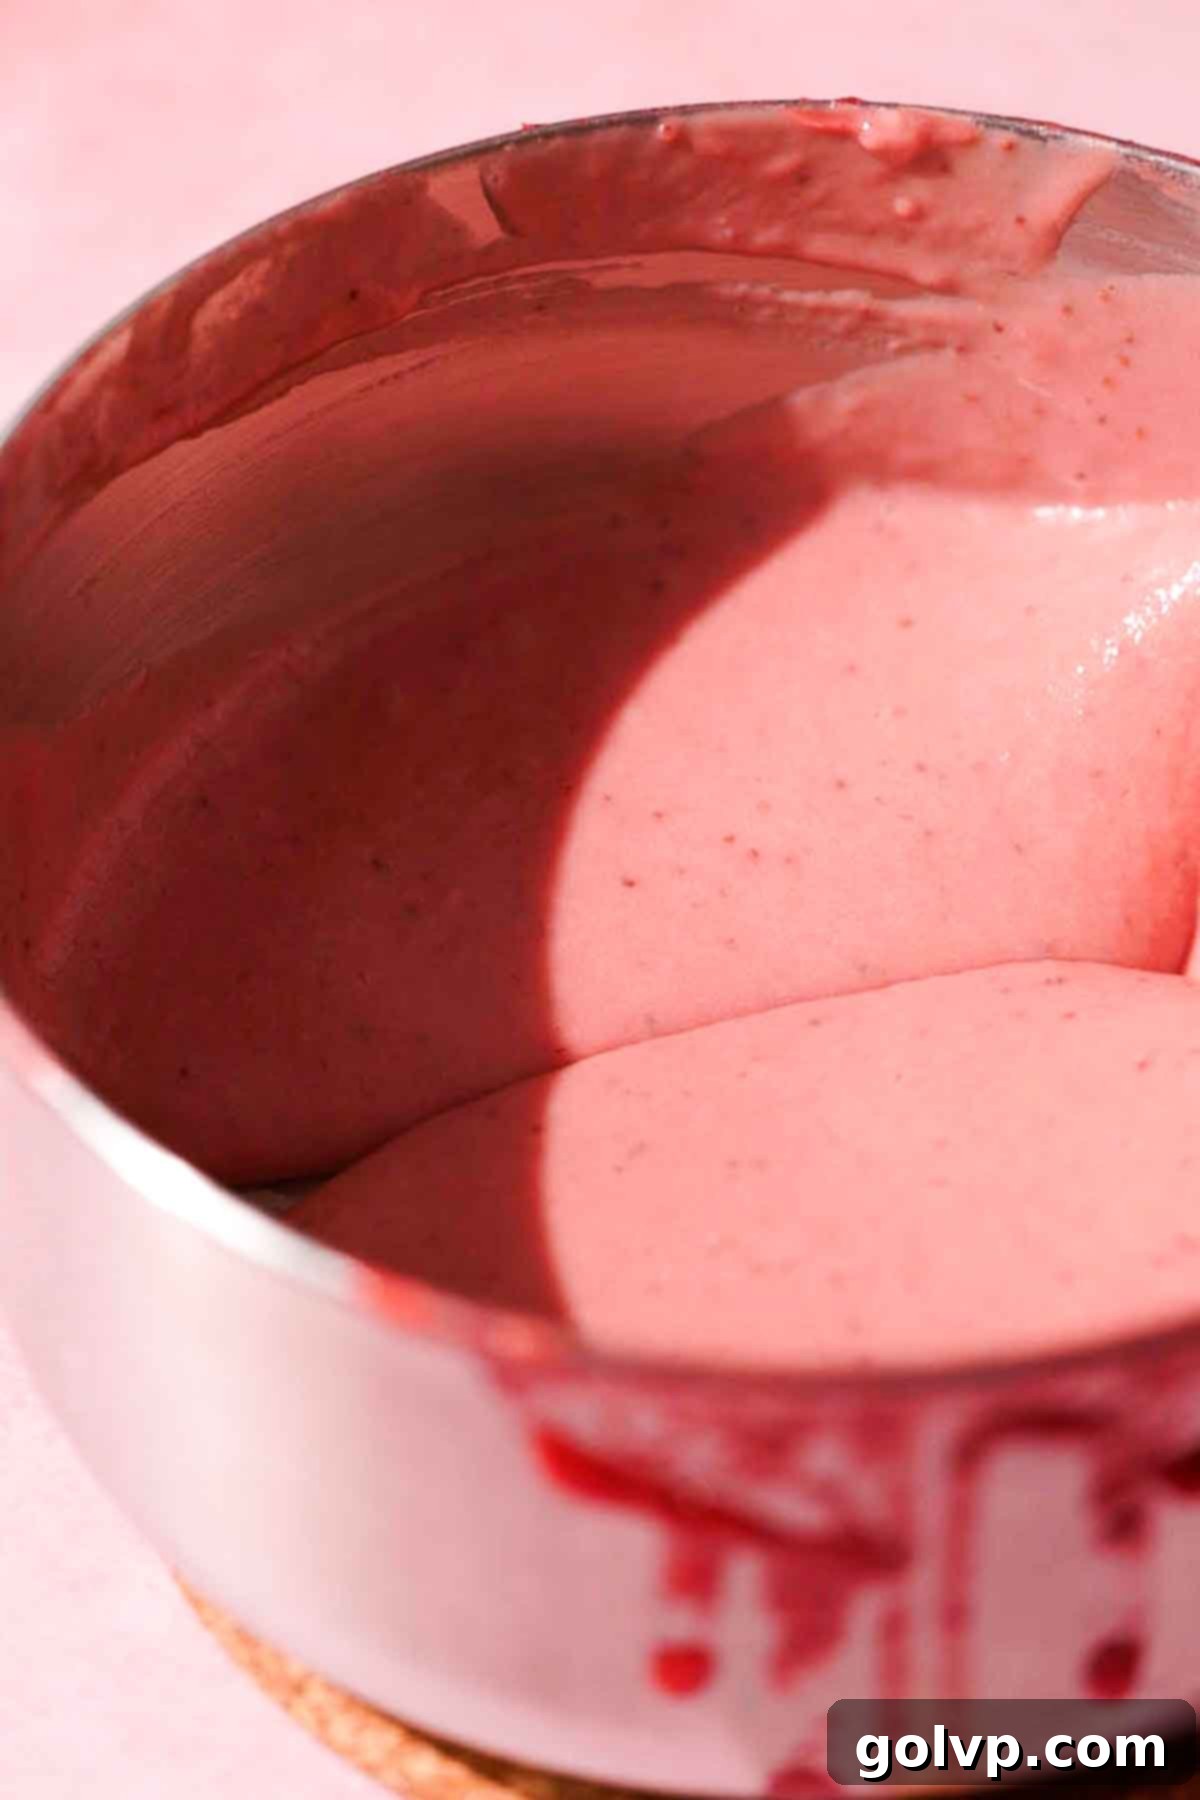
Step 5: Cook the Curd to Perfection. Return the saucepan with the combined strawberry-egg mixture to medium-low heat. Cook, whisking frequently and gently, until the curd visibly thickens. This usually takes around 5-10 minutes. You’ll know it’s ready when it coats the back of a spoon and leaves a clear trail when you run your finger across it (known as “nappe” consistency), or when it starts to gently bubble. Immediately pour the hot curd into a non-metal bowl or container. If you notice any small lumps or want an exceptionally smooth curd, strain it through a fine-mesh sieve at this point.
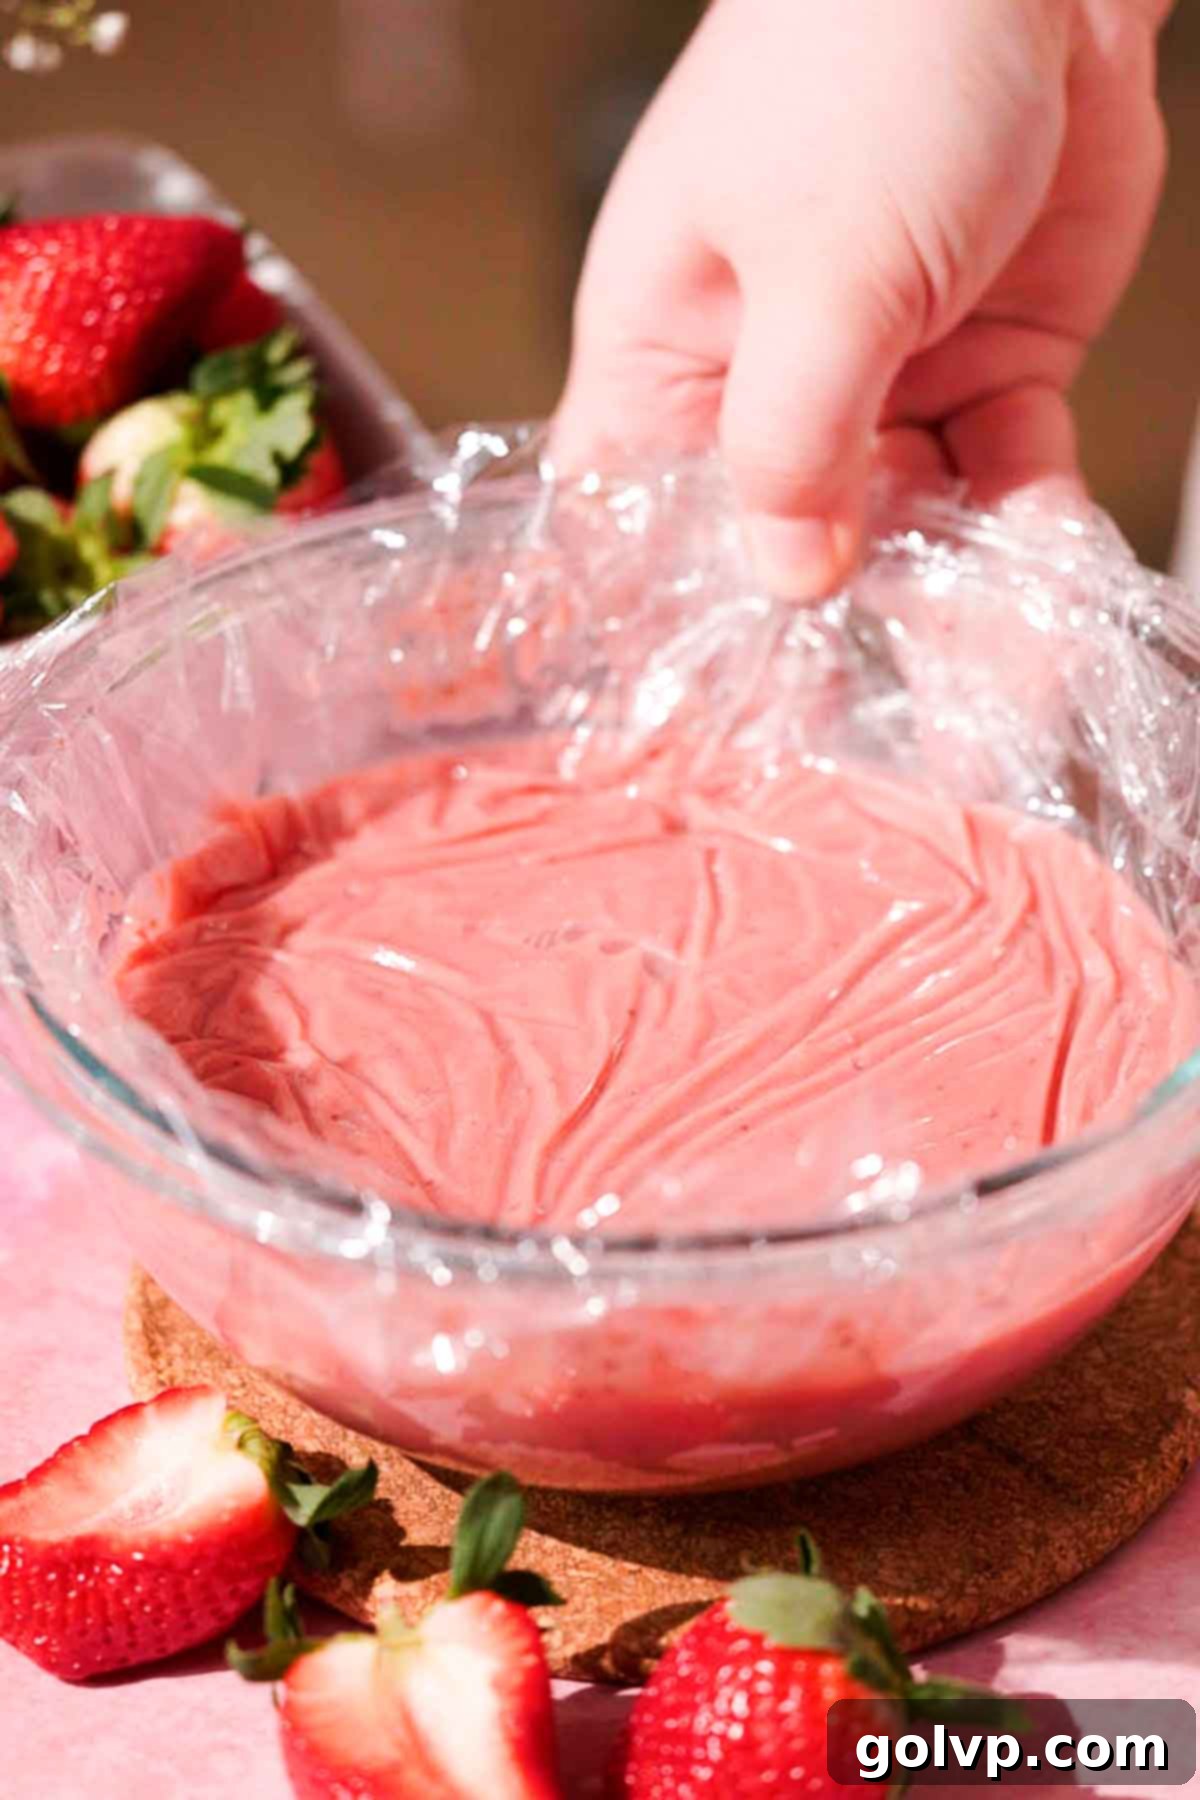
Step 6: Enrich and Chill the Curd. To finish, add the cubed cold unsalted butter and the pinch of sea salt to the hot curd. Whisk continuously until the butter completely melts and is fully incorporated, creating a gorgeously smooth and shiny curd. The butter adds richness and enhances the silky texture. To prevent a skin from forming on top as it cools, place a piece of parchment paper or plastic wrap directly onto the surface of the hot curd, ensuring it touches the entire surface. Refrigerate the curd until it is completely cold, ideally for at least 1 hour, or until firm and thoroughly chilled. This chilling process is essential for the curd to set properly and achieve its final thick, luxurious consistency. Enjoy your homemade strawberry curd!
✔️ Expert Tips for the Best Strawberry Curd
Achieving the perfect, silky-smooth strawberry curd is easy with a few insider tricks. Keep these expert tips in mind for consistently delicious results:
- Prevent a Metallic Flavor: When cooking your strawberry curd, it’s highly recommended to use a non-metal or enamel-coated saucepan. Acidic ingredients like strawberries and lemon juice can react with certain metals, especially aluminum or cast iron, potentially imparting a noticeable metallic off-flavor to your delicate curd. Similarly, always store the finished curd in a non-metal container, such as a glass jar or a food-grade plastic container, to maintain its pure, vibrant taste.
- Optimize for a Brighter Pink Color: The natural color of your strawberry curd can vary depending on the strawberries and the eggs used. For a brighter, more vibrant pink hue, try to use eggs with paler yolks, as darker yolks can sometimes result in a slightly more orange tint. If you desire an even more intense pink color, a tiny drop of natural red or pink food coloring can be added after the curd has finished cooking and before it chills. Stir it in thoroughly for an even shade.
- Cook Until Bubbling and Thickened: The key to a properly set curd is adequate cooking. If you don’t cook the mixture long enough, the egg proteins won’t have sufficient time to coagulate and thicken, leaving you with a runny curd. Cook the curd over medium-low heat, whisking constantly, until it reaches a visible simmer (gentle bubbles around the edges) and is thick enough to coat the back of a spoon. It should leave a clear path when you draw your finger across the coated spoon. This ensures the eggs are cooked through and the curd will set beautifully.
- Always Chill Until Cold: While the curd will thicken somewhat on the stovetop, its final, luscious consistency is achieved during the chilling process. As it cools in the refrigerator, the butter solids firm up, and the egg proteins continue to set, transforming the warm sauce into a wonderfully thick, spreadable, and spoonable curd. Allow at least 1-2 hours for proper chilling, or even longer if needed, for the best texture.
🥄 Make Ahead and Storage for Strawberry Curd
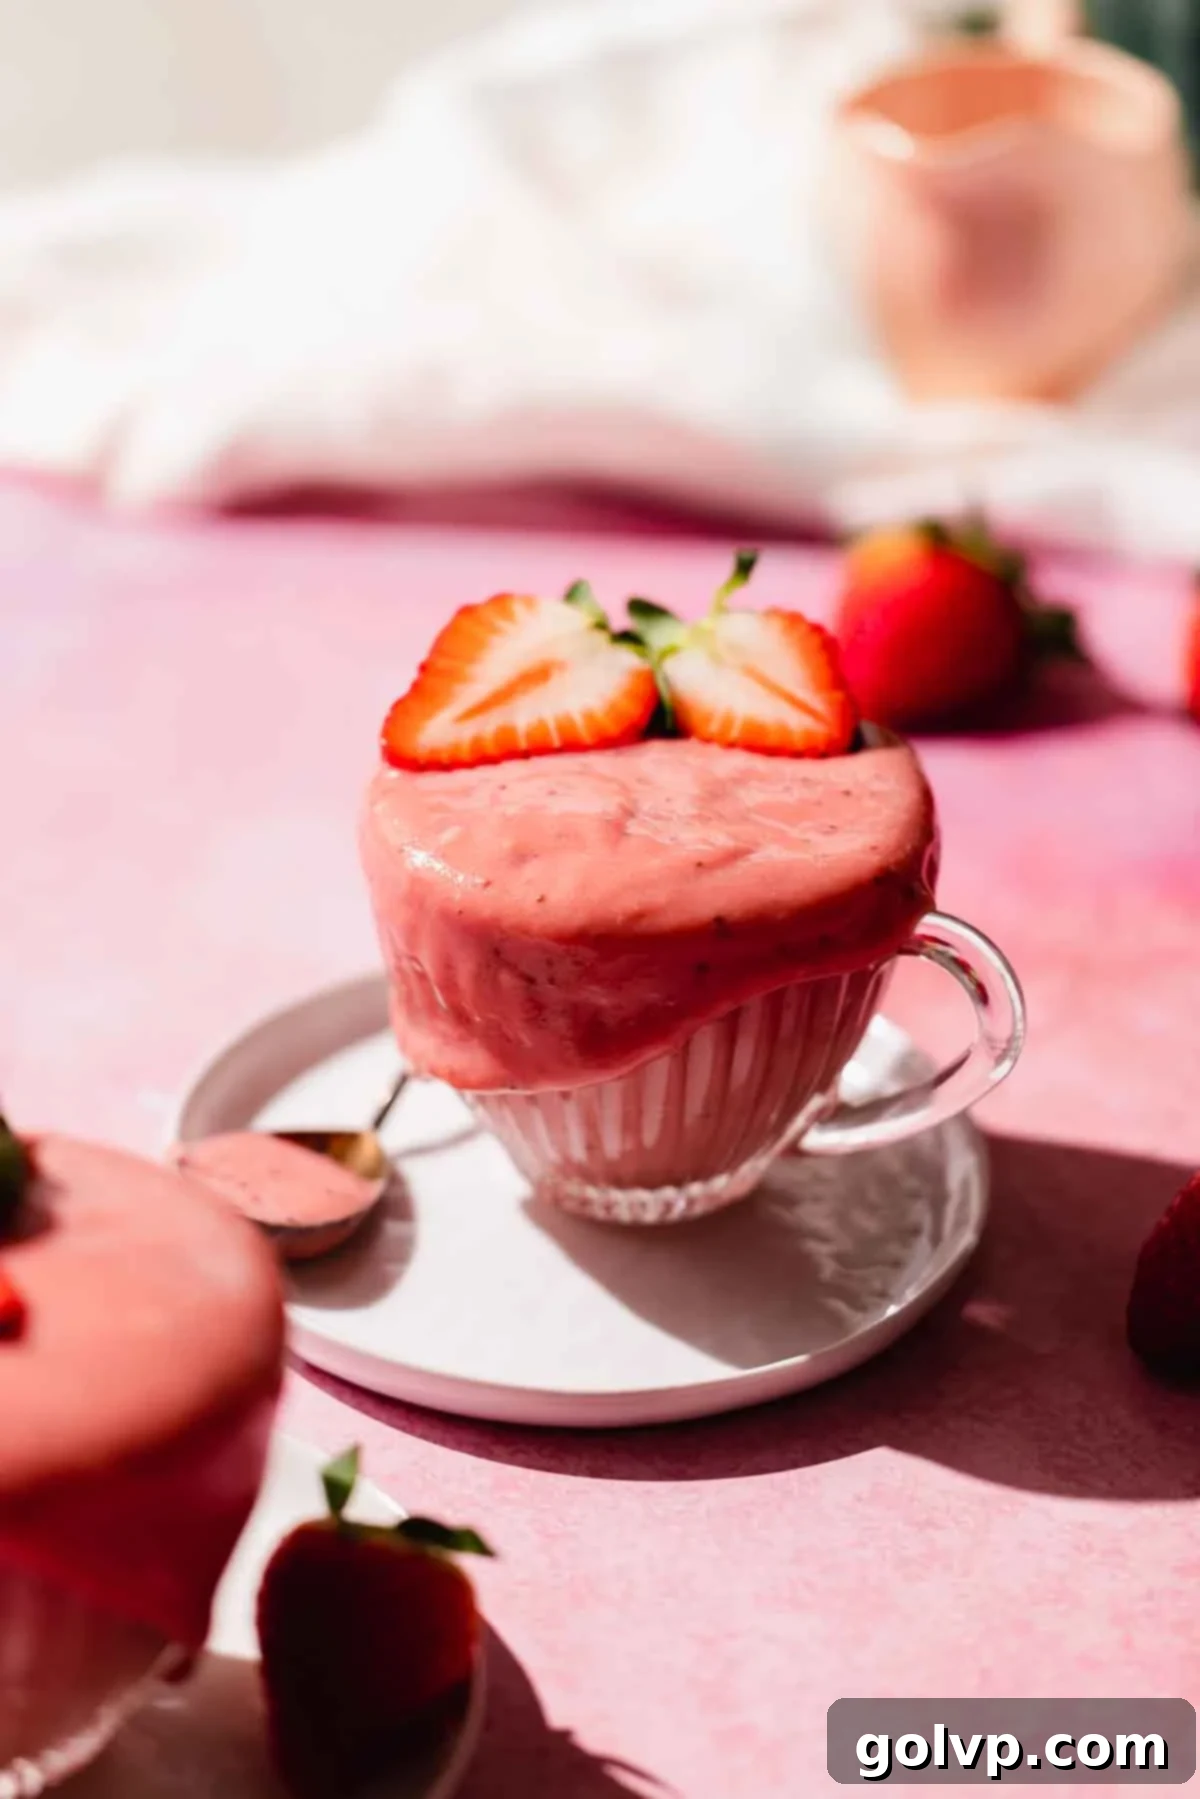
This homemade strawberry curd is a fantastic item to prepare in advance, making your entertaining or meal prep much easier. Once cooled and properly chilled, it maintains its delightful flavor and texture for several days, allowing you to enjoy it at your leisure.
For immediate use, this strawberry curd will keep beautifully when stored in an airtight container in the refrigerator for up to 4 days. Always ensure the container is clean and dry to maximize freshness. Placing a piece of parchment paper or plastic wrap directly on the surface of the curd before sealing the container will help prevent any air exposure and keep a skin from forming.
If you wish to extend the life of your strawberry curd, it freezes exceptionally well! Transfer the cooled curd into an airtight, freezer-safe container or a heavy-duty freezer bag. Be sure to leave a little headspace for expansion. It can be stored in the freezer for up to 2 months. To use, simply thaw the frozen curd in the refrigerator overnight. Once thawed, give it a good whisk to restore its smooth consistency before serving. It will be just as delicious as when it was freshly made.
🥧 Delicious Ways to Enjoy Your Strawberry Curd
The versatility of this creamy strawberry curd is truly remarkable. Its vibrant flavor and silky texture make it a delightful addition to an array of dishes, from breakfast to sophisticated desserts. Think of it as a flavorful upgrade to your usual fruit spreads or lemon curd!
Here are just a few scrumptious serving suggestions to inspire you:
- Classic Spreads: Enjoy it simply spread over warm, buttery toast, delicate English scones, fluffy pancakes, crispy waffles, or light crêpes. It’s a perfect breakfast or brunch accompaniment.
- Dessert Fillings: Use it as a luxurious filling for cakes, cupcakes, tarts, and pie crusts. Its thickness makes it hold up beautifully. It also makes an exceptional topping for cheesecakes or pavlovas.
- Yogurt & Parfaits: Swirl it into Greek yogurt or use it to layer fruit parfaits for an added burst of berry flavor.
- With Baked Goods: It pairs wonderfully with many of my other recipes, such as light and fluffy blackberry buttermilk muffins, blueberry lemon ricotta pancakes, or elegant lemon poppy seed scones.
- Straight Up: Don’t underestimate the joy of enjoying a spoonful (or three!) of this delightful curd all on its own.
Beyond these, I even use this super delicious strawberry curd to make an irresistible strawberry tiramisu – a recipe that truly highlights its fantastic flavor and texture!
📖 Recipe FAQs About Strawberry Curd
Lumps can sometimes occur if the eggs aren’t whisked thoroughly before tempering, or if the curd overheats during cooking. If your curd has just a few small lumps, the easiest solution is to strain it through a fine-mesh sieve immediately after cooking and before adding the butter. This will capture any cooked egg bits or fruit pulp, leaving you with a perfectly smooth texture. If the curd is very lumpy or appears to have split (looking grainy or curdled), transfer it to a high-speed blender and blend until completely smooth. This aggressive blending can often rescue a grainy curd, restoring its silky consistency.
For an exceptionally thick strawberry curd that holds its shape beautifully – ideal for tart fillings or piping – you can adjust the initial strawberry sauce reduction. Instead of reducing the sauce to 1 ¾ cups, aim for a slightly more concentrated 1 ½ cups. This means there’s less liquid for the eggs to thicken, resulting in a denser, firmer curd. Be mindful not to reduce it too much, as that can lead to an overly sweet or overly acidic flavor. Also, ensuring the curd is cooked until it properly coats a spoon and then thoroughly chilled will naturally contribute to a thicker final product.
Making a completely dairy-free strawberry curd that maintains the same luscious texture as a traditional curd can be challenging, primarily because eggs are a core ingredient and not dairy. However, if you are looking to replace the butter, you can substitute it with a high-quality plant-based butter alternative. Ensure the plant-based butter is unsalted and has a good fat content to mimic the richness of dairy butter. The texture might be slightly different, but it will still be a delicious, creamy fruit spread.
Making the strawberry sauce first by simmering and reducing the fruit with sugar and lemon juice is a crucial step for several reasons. Firstly, strawberries naturally contain a high water content and a subtler flavor compared to more intense berries or citrus. Reducing them concentrates their flavor significantly, intensifying the natural sweetness and tang, which is vital for a truly “strawberry” curd. Secondly, it removes excess liquid, which helps create a thicker, more stable curd that won’t be too runny. This pre-cooking step ensures a deep, vibrant strawberry essence that truly shines in the final curd.
🍰 Explore More Delicious Curd and Strawberry Recipes
If you’ve enjoyed making and tasting this delightful strawberry curd, you’ll surely love exploring other similar recipes. Whether you’re craving more luscious fruit curds or fantastic strawberry-themed desserts, here are some of my top recommendations:
- Strawberry Tiramisu
- Raspberry Curd
- Lemon Curd
- Blueberry Curd
Did you make this recipe? I would love for you to rate this recipe and hear what you think in the comments below! Share your creation on Instagram and tag @flouringkitchen. Follow me on Pinterestto save and for more recipe ideas.
📖 Recipe Card
Strawberry Curd
Mary
Pin Recipe
Shop Ingredients
Equipment
-
Medium saucepan preferably non-metal (ceramic or coated saucepan) to prevent metallic flavor.
-
Blender (handheld immersion blender or stand blender)
-
Fine-mesh sieve (optional, for extra smooth curd)
Ingredients
- 1 lb strawberries (approx. 3 ½ cups / 454 g / 16 oz), fresh (hulled and chopped) or frozen
- 2 tablespoons lemon juice (freshly squeezed from about 1 lemon)
- ½ cup granulated sugar
- 4 large eggs
- ⅓ cup unsalted butter (cubed and cold)
- ⅛ teaspoon sea salt
Shop Ingredients on Jupiter
Instructions
-
If using fresh strawberries: Wash, de-stem, and cut strawberries into small pieces. If using frozen strawberries, add them directly to a medium-sized, non-metal saucepan without defrosting. Add the lemon juice and granulated sugar into the saucepan with the strawberries. Stir to combine.1 lb strawberries, 2 tablespoons lemon juice, ½ cup granulated sugar
-
Heat the mixture over medium heat to encourage the strawberries to release their juices. Once it comes to a gentle simmer, continue to simmer, stirring frequently, until the mixture reduces to about 1 ½ to 1 ¾ cups of concentrated strawberry sauce. This typically takes about 7 minutes and helps to intensify the flavor. Remove from heat and let it cool slightly. Once cool enough to handle, blend the sauce until completely smooth using an immersion blender or a regular blender.
-
In a separate medium heat-safe bowl, whisk the four large eggs together thoroughly until they are smooth and fully combined, with no streaks of white or yolk. Gradually pour about half of the warm strawberry sauce into the whisked eggs, whisking constantly and vigorously to temper the eggs and prevent scrambling. Once fully combined, pour this tempered egg and strawberry mixture back into the saucepan with the remaining strawberry sauce. Whisk again until smooth.4 large eggs
-
Return the saucepan to medium-low heat. Cook, whisking frequently and gently, until the curd thickens considerably. It should be thick enough to coat the back of a spoon and register a temperature of about 170°F (77°C). Pour the hot curd immediately into a clean, non-metal bowl or container. For an ultra-smooth curd, strain it through a fine-mesh sieve at this stage.
-
Add the cubed cold unsalted butter and sea salt to the hot curd. Whisk continuously until the butter completely melts and is fully incorporated, making the curd smooth and glossy. To prevent a skin from forming, press a piece of parchment paper or plastic wrap directly onto the surface of the curd, ensuring it touches the entire surface. Refrigerate until completely cold, at least 1 hour, or until firm and fully set. Serve chilled and enjoy!⅓ cup unsalted butter, ⅛ teaspoon sea salt
Video
Notes
Tips for success:
- Use a Non-Metal Pan: Always use a non-metal or enamel-coated saucepan for cooking your curd to prevent a metallic flavor from leaching into the acidic fruit mixture. Store in non-reactive containers as well.
- Pale Yolks for Color: For a brighter, more vibrant pink color, choose eggs with paler yolks. If a stronger pink is desired, a tiny amount of food coloring can be added after cooking.
- Cook Until Visibly Thickened: Ensure the curd is cooked long enough, whisking frequently, until it comes to a gentle simmer and is thick enough to generously coat the back of a spoon. This ensures the eggs are properly cooked and the curd will set.
- Chill Thoroughly: Proper chilling is essential! Refrigerate the curd until it’s completely cold for at least 1 hour (or longer), allowing it to achieve its final thick and luxurious consistency.
