The Ultimate One-Bowl Small Batch Chocolate Chip Cookies with Melted Butter
Jump to Recipe
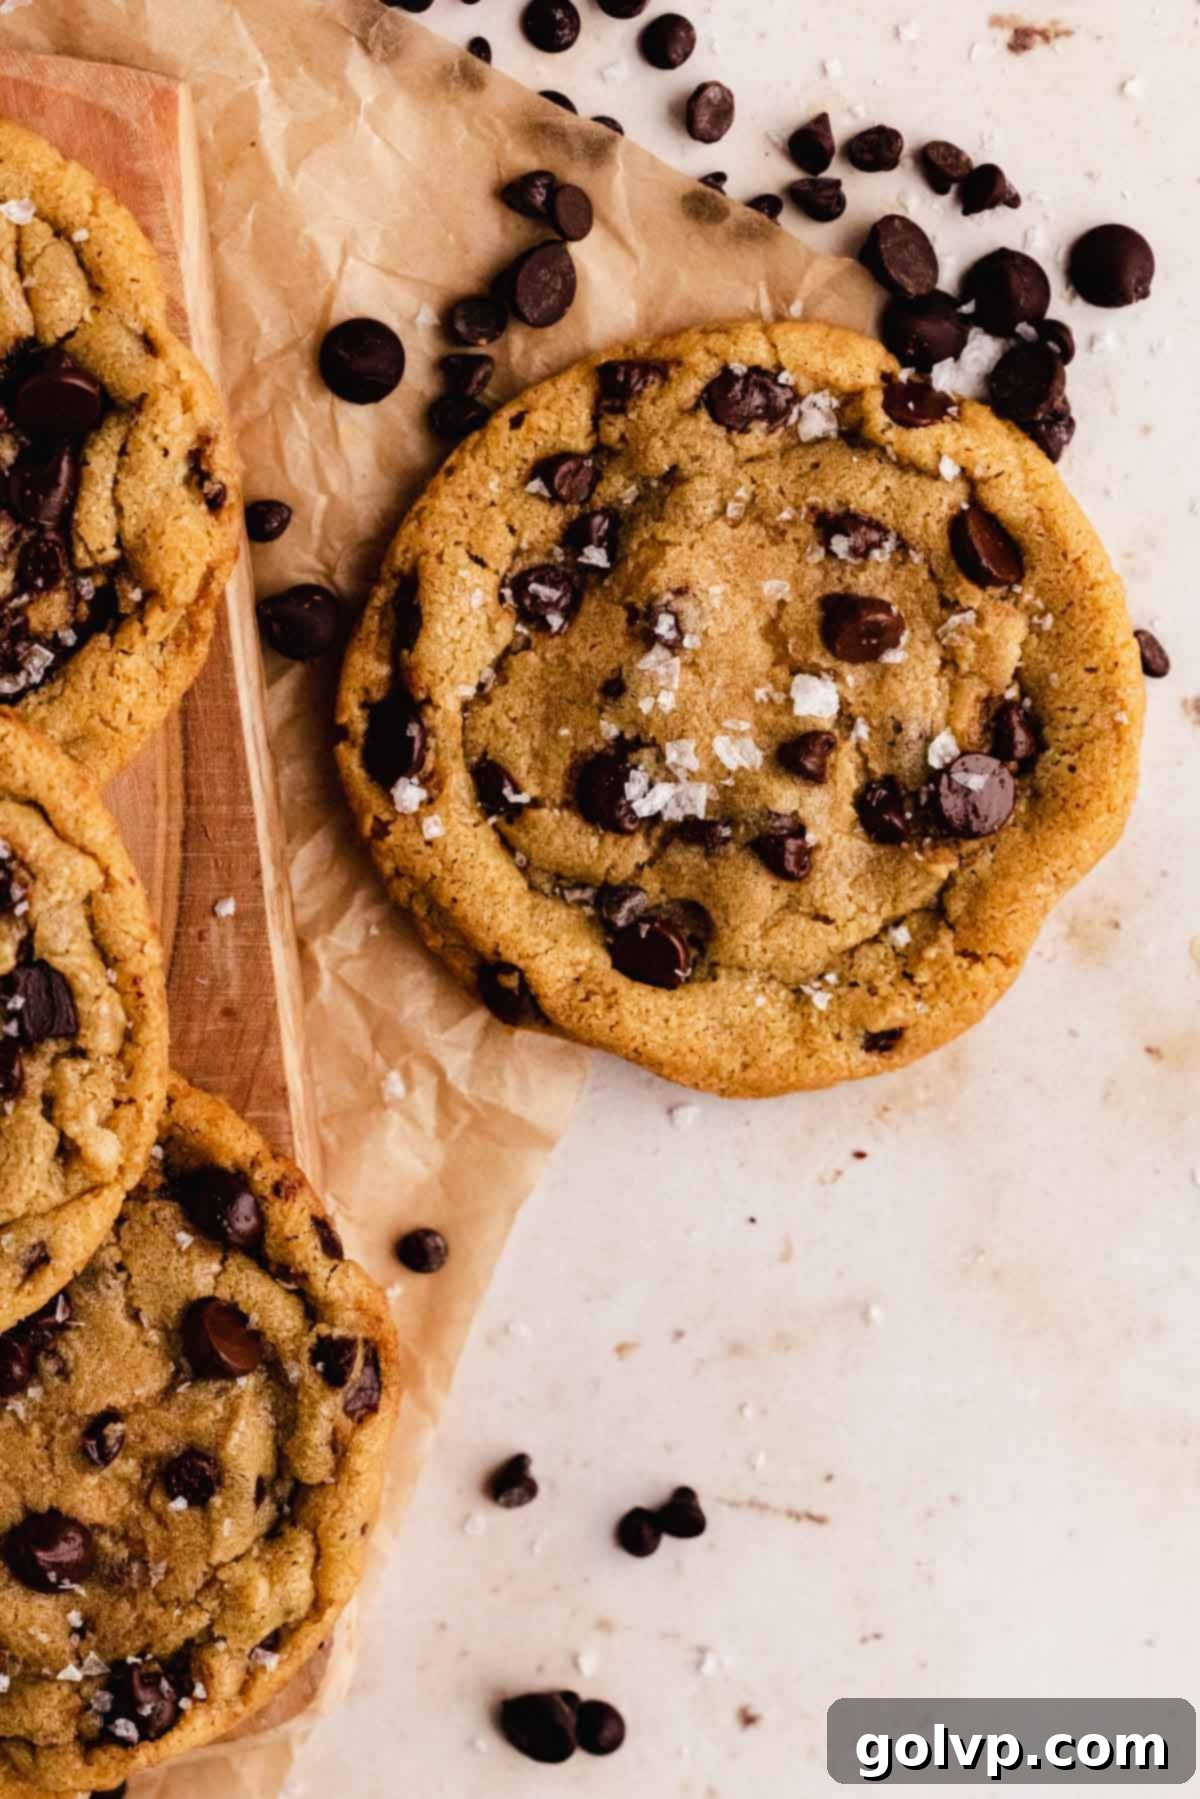
Indulge in the pure joy of freshly baked cookies without the overwhelming quantity! These irresistible small batch chocolate chip cookies are designed for perfection: crisp on the edges, wonderfully soft and delightfully gooey in the middles. What makes them truly special is their incredible ease of preparation—everything comes together seamlessly in just one bowl, and you won’t even need an electric mixer. Thanks to the magic of melted butter, a simple wire whisk and a large bowl are all the equipment you’ll require. This recipe yields six perfectly portioned, bakery-style cookies, ideal for satisfying a craving or sharing with a close friend. Plus, we’ve included comprehensive make-ahead instructions, along with tips for freezing leftover cookie dough, ensuring you can enjoy warm, homemade cookies whenever the mood strikes.
Purchasing the items in this post supports this blog, at no additional cost to you. As an Affiliate Product marketer and Amazon Associate, I earn from qualifying purchases, helping to keep delicious recipes like this one coming your way.
Why You Will Absolutely LOVE This Small Batch Chocolate Chip Cookie Recipe:
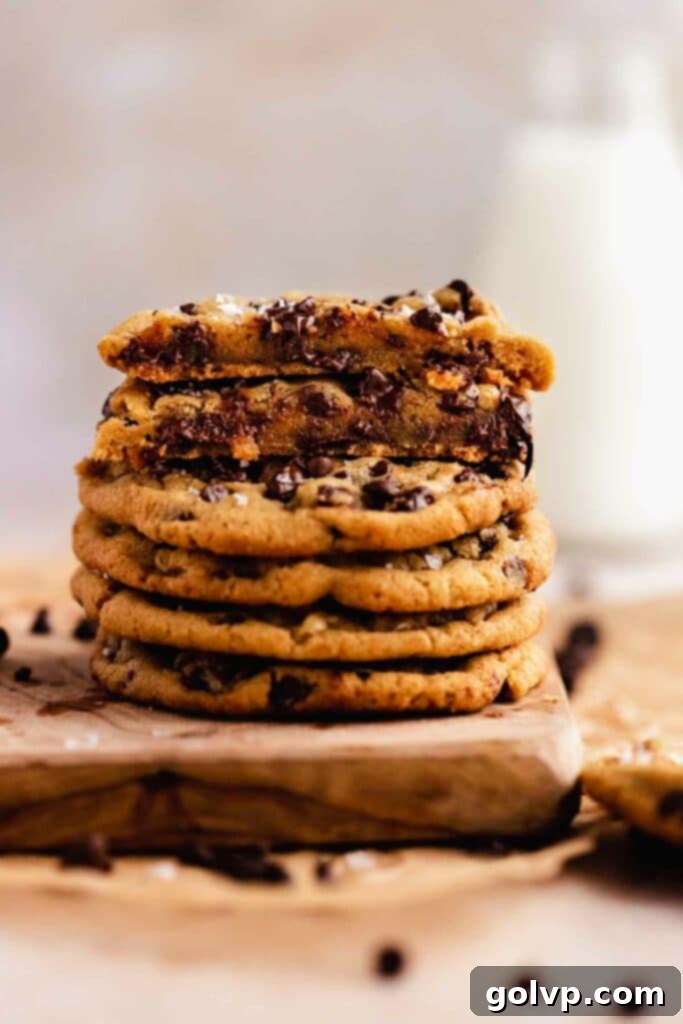
- Unbeatable Texture: Prepare for a sensory delight! Each cookie boasts a perfectly crisp, golden-brown edge that gives way to an incredibly soft, chewy, and gooey center. This highly coveted texture is achieved effortlessly, largely due to the use of melted butter, which contributes to those coveted buttery, crisp edges while maintaining a moist interior. It’s the quintessential chocolate chip cookie experience, ensuring every bite is a harmonious blend of textures.
- Effortless Preparation: Say goodbye to waiting for butter to soften or hauling out heavy kitchen appliances. This recipe truly lives up to its “one-bowl” promise. All you need is a sturdy wire whisk and a large mixing bowl, making cleanup a breeze and the baking process incredibly fast. The melted butter eliminates the biggest time-consuming step in many cookie recipes, allowing you to whip up these delicious treats in a fraction of the usual time. It’s perfect for impromptu baking sessions or when you need a quick dessert fix.
- Optimal Chocolate Distribution: We believe in a generous and balanced chocolate experience! These cookies feature a thoughtful combination of both mini and regular-sized chocolate chips. This clever mix ensures that every single bite delivers a burst of rich, melted chocolate, from the edges to the very heart of the cookie. While we prefer a mix of semi-sweet, feel free to experiment with your favorite chocolate varieties—milk, dark, or even white chocolate chips—to customize the flavor profile to your liking.
- Perfectly Portioned Yield: Craving homemade cookies but don’t want a giant batch tempting you for days? This recipe is your answer! Making just six cookies, it’s the ideal quantity for a single serving, a cozy date night, or a small family treat. No more wasted cookies, no more overindulging, just fresh, warm goodness, perfectly portioned for immediate enjoyment. You can always double or triple the recipe if you need more, but this small batch keeps things manageable and fresh.
Your New Go-To Recipe for Quick & Delicious Chocolate Chip Cookies
In our kitchen, this small batch chocolate chip cookie recipe has quickly become a beloved staple, and for good reason. Its sheer simplicity, combined with the consistently perfect texture—crispy edges giving way to delightfully soft and chewy middles—makes it an absolute winner every single time. There’s an undeniable charm in not having to wait for butter to soften, a common hurdle in many traditional cookie recipes. This convenience means you can go from craving to biting into a warm cookie in no time at all.
Beyond its deliciousness, this versatile dough serves as an excellent foundation for countless other cookie creations. Its reliability and ease make it a fantastic base for experimenting with different mix-ins and flavor profiles. If you’re like me, constantly seeking that ideal balance of a slight crisp on the outside and a melt-in-your-mouth interior, then this recipe will surely earn a permanent spot in your recipe collection. It’s truly the benchmark for what a perfect chocolate chip cookie should be.
The Secret Weapon: Why Melted Butter is Essential for Ultimate Chocolate Chip Cookies
Many traditional chocolate chip cookie recipes call for softened butter, which requires planning and can often lead to inconsistent results if not at the exact right temperature. This recipe, however, champions the use of melted butter, and for very good reasons. Melted butter is a game-changer, consistently producing cookies with distinctively crisp, golden edges and an unbelievably soft, almost gooey middle. We find that melted butter, when compared to softened butter, yields a more pronounced crispness and a deeper golden hue on the cookie’s exterior, adding another layer of textural complexity.
Beyond the superior texture, the practicality of using melted butter cannot be overstated. There’s no need to wait around for butter to come to room temperature, instantly streamlining your baking process. This key ingredient also eliminates the necessity of an electric mixer, allowing you to achieve fantastic results with just a handheld whisk and any large bowl you have on hand. It’s the ultimate convenience hack for busy bakers, ensuring perfectly textured cookies without the fuss.
Achieving Bakery-Perfect Round Cookies: A Simple Trick!
While scooping or rolling your cookie dough into uniform balls is a great first step towards achieving perfectly round cookies, don’t fret if they emerge from the oven looking a little less than perfect. Even “wonky” cookies are incredibly delicious, but if you’re aiming for that professional, aesthetically pleasing bakery look, there’s an incredibly easy fix you can employ immediately after baking.
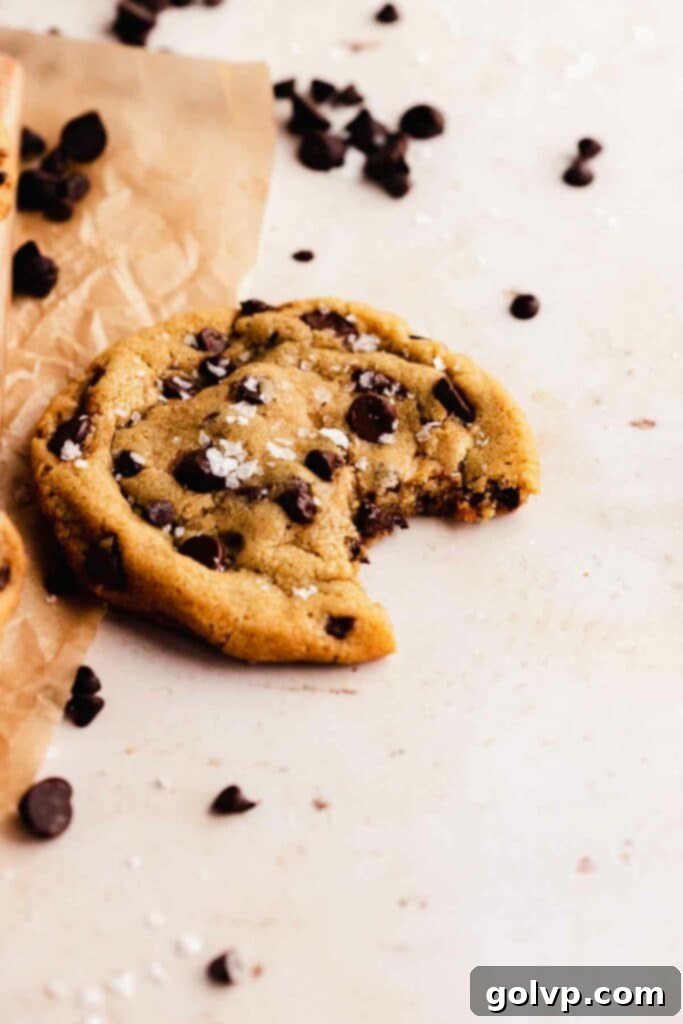
The trick lies in shaping them while they’re still hot and pliable. As soon as your small batch chocolate chip cookies come out of the oven, while they are still on the warm baking sheet, gently “scoot” them into a perfect circle. To do this, simply place an inverted bowl or a large round cookie cutter over each warm cookie. Then, gently shake and rotate the bowl or cutter around the cookie. This simple motion helps to smooth out any uneven edges, creating a beautifully round and even thicker cookie. This technique not only enhances their appearance but also subtly concentrates the gooey center. Finish with a sprinkle of flaky sea salt for an extra touch of gourmet appeal, and serve immediately for the ultimate warm cookie experience.
Unleash Your Creativity: Adding Your Own Unique Twist to the Dough
While these small batch chocolate chip cookies are perfect as is, they also serve as an incredible canvas for your culinary creativity. Feel free to personalize your cookies by adding your favorite mix-ins to the dough. This is where you can truly make the recipe your own and explore endless flavor combinations:
- Different Chocolate Varieties: Beyond classic semi-sweet, try milk chocolate chips for a sweeter profile, rich dark chocolate for intensity, or vibrant white chocolate chips for a creamy contrast. You can even chop up your favorite chocolate bars for unique chunks!
- Crushed Cookies & Candies: Elevate the fun factor by folding in crushed sandwich cookies like Oreos, broken pieces of butterscotch or toffee candy bars, or even M&M’s for a pop of color and extra sweetness.
- Salty & Sweet Enhancements: For an irresistible sweet and salty combination, pretzels are an excellent addition. Their crunch and saltiness perfectly complement the sweet, gooey cookie dough.
- Toasted Nuts: Add a layer of sophisticated flavor and satisfying crunch with toasted nuts. Pecans, walnuts, almonds, or even macadamia nuts, lightly toasted, will bring a delightful depth to your cookies.
- Dried Fruits: For a different kind of chewiness and a touch of fruitiness, consider adding dried cranberries, cherries, or finely chopped apricots.
- Spices & Zests: A pinch of cinnamon, nutmeg, or a dash of orange or lemon zest can subtly transform the flavor profile, adding warmth or brightness to your cookies.
Don’t be afraid to experiment! Just ensure that any mix-ins are roughly the same size as chocolate chips to ensure even distribution and baking.
Bake Anytime: Brilliant Make-Ahead & Freezing Strategies
One of the fantastic advantages of this small batch cookie recipe is how incredibly easy it is to prepare ahead of time. This convenience means you can always have delicious, homemade cookies ready to bake, whether for an unexpected guest, a sudden craving, or simply to ensure fresh treats without the last-minute rush.
To make the dough ahead, simply prepare and scoop the cookie dough balls as instructed, then store them in the refrigerator for one to two days. Chilling the dough isn’t just for convenience; it actually allows the flavors to meld and deepen, resulting in an even richer, more complex cookie once baked. The longer the dough chills, the more developed and nuanced the taste becomes, truly enhancing the overall experience.
For ultimate flexibility, you can freeze the scooped cookie dough for up to three months. Place the dough balls on a parchment-lined baking sheet and freeze until solid, then transfer them to an airtight container or freezer-safe bag. This way, you have “on-demand” cookies at your fingertips! When you’re ready to bake, simply place the frozen dough balls directly onto a baking sheet and add a few extra minutes to the suggested cooking time. Baking from frozen means you’re only ever minutes away from a warm, chewy chocolate chip cookie.

Essential Ingredients for Perfect Small Batch Cookies
The full, detailed steps and complete ingredient list are provided in the recipe card below. However, take a moment to read through these key ingredient insights and tips to guarantee your cookies turn out perfectly!
Chocolate Chips: We recommend using a mix of mini and regular-sized semi-sweet chocolate chips. This combination ensures a fantastic distribution of chocolate throughout the cookie, giving you a delightful chocolatey burst in every bite. Feel free to substitute with any other type of chocolate chips you prefer, or even finely chopped chocolate bars for a more artisanal touch. High-quality chocolate makes a noticeable difference!
Butter: For the best flavor and texture, always opt for a good quality, unsalted real butter. Melting the butter is crucial for this recipe, as it contributes significantly to the crisp edges and chewy texture. Ensure it’s melted and then cooled slightly before mixing, preventing it from scrambling the egg yolk or cooking the sugars.
Brown Sugar: This ingredient is key for achieving the wonderful chewiness and depth of flavor in your cookies. Brown sugar not only adds moisture but also imparts a delicious caramel-like note. We used a medium brown sugar, but light or dark brown sugar will also work, each contributing a slightly different flavor profile and moisture content.
Granulated Sugar: Working in tandem with brown sugar, granulated sugar is responsible for those coveted crisp edges. It helps the cookies spread slightly and promotes a beautiful golden-brown color on the exterior, creating a delightful contrast with the soft interior.
Egg Yolk: Unlike many cookie recipes that use a whole egg, this small batch recipe specifically calls for just one egg yolk. This is a deliberate choice to add incredible richness and tenderness to the cookies without introducing too much moisture (which egg whites would do), thereby ensuring that perfect soft and gooey texture.
All-Purpose Flour: Accuracy in measuring flour is paramount for cookie success. For the most precise results, we highly recommend weighing your flour using a kitchen scale. If you don’t have a scale, properly measure by first stirring the flour in its bag to loosen it, then gently spooning it into your measuring cup. Level off any excess with the flat edge of a knife, being careful not to pack the flour down into the cup.
Pure Vanilla Extract: A crucial flavor enhancer, pure vanilla extract adds warmth and depth to the overall cookie flavor, complementing the chocolate and butter beautifully.
Baking Soda: This leavening agent reacts with the acidic brown sugar to help the cookies rise slightly and contribute to their tender texture and characteristic spread. Ensure it’s fresh for optimal results.
Step-by-Step Guide to Baking Your Perfect Small Batch Chocolate Chip Cookies
Here’s how to create these delectable cookies, with helpful tips for each stage:
Step 1 – Prep Your Workspace: Begin by preheating your oven to a precise 180°C (350°F). Line a baking sheet with parchment paper. This step is crucial for preventing sticking and ensuring even baking, as well as making cleanup a breeze. Having everything ready before you start mixing makes the process much smoother.
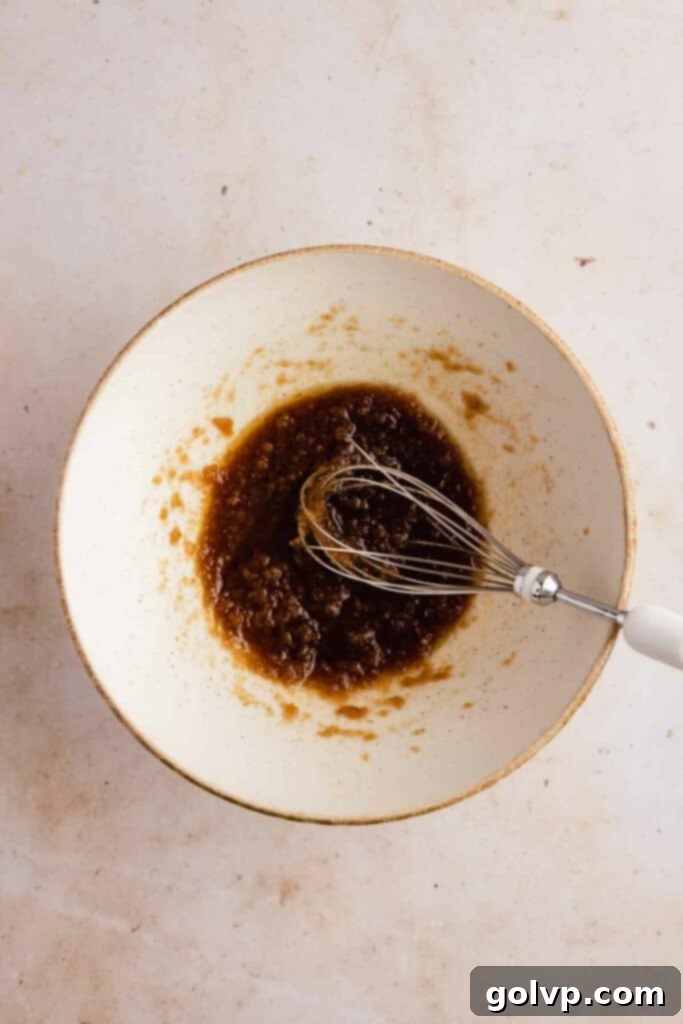
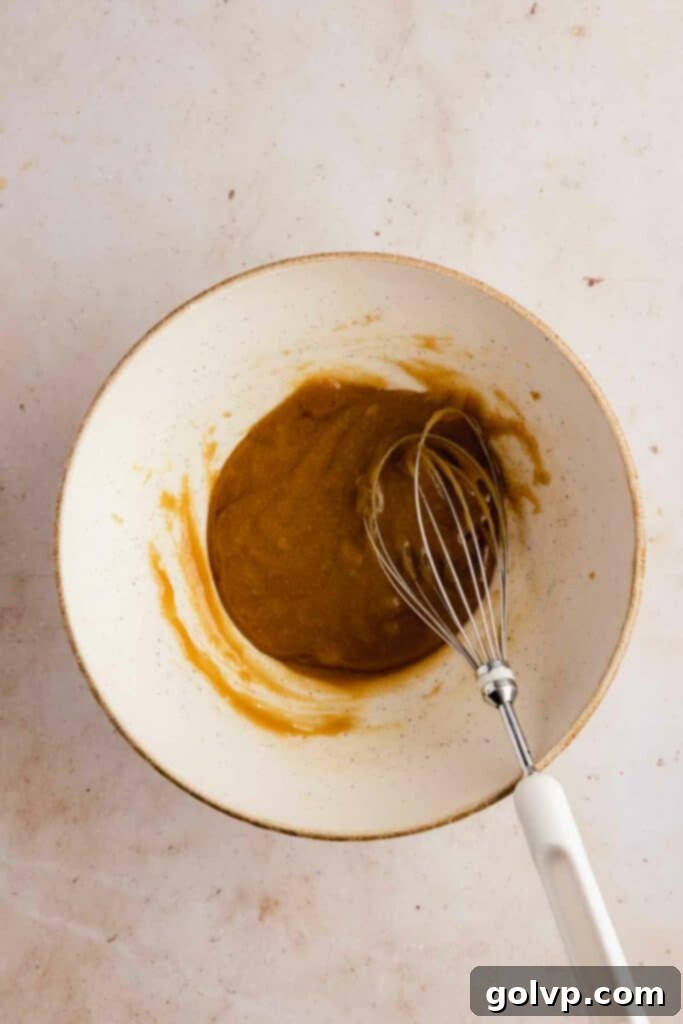
Step 2 – Combine Wet Ingredients: In your large mixing bowl, whisk together the melted (and slightly cooled) butter, brown sugar, and granulated sugar until well combined and smooth. The melted butter helps the sugars dissolve better, contributing to the cookie’s texture. Next, add the egg yolk and pure vanilla extract. Continue whisking vigorously until the mixture becomes noticeably thickened and lightens in color, indicating that air has been incorporated and the sugars are fully integrated. This creates a stable base for your dough.
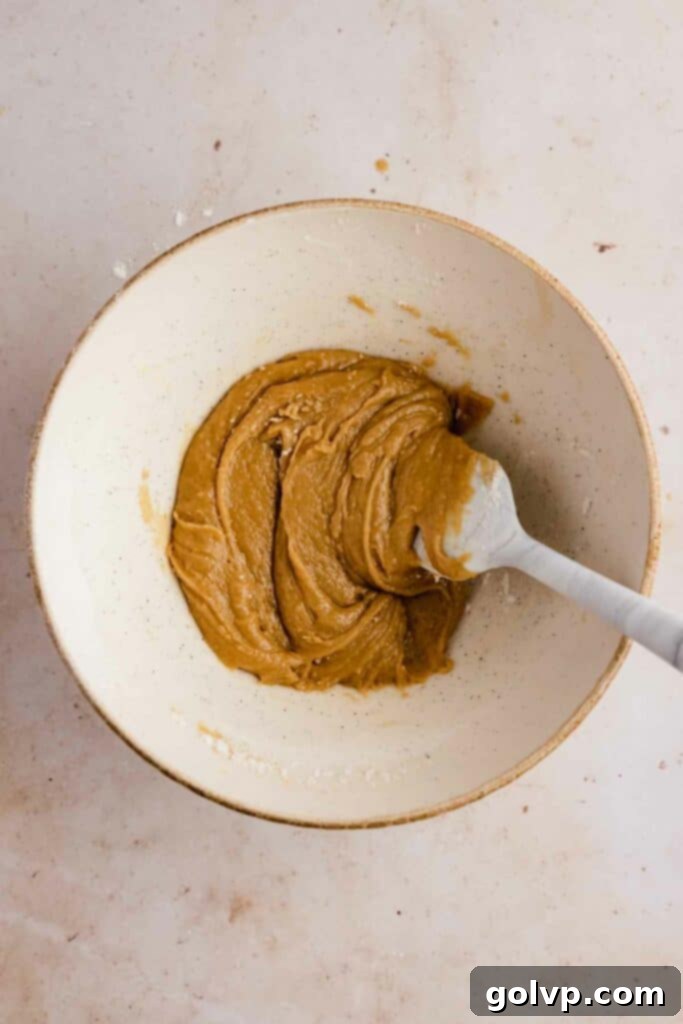
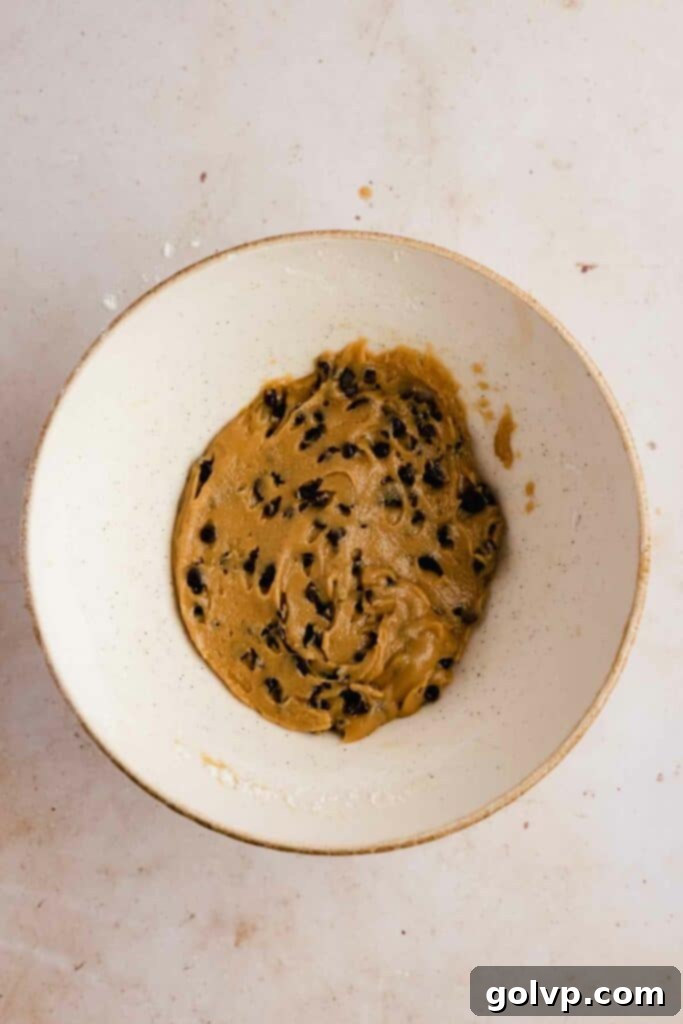
Step 3 – Fold in Dry Ingredients & Chocolate: Sift the all-purpose flour and baking soda directly into the same bowl containing your wet ingredients. Sifting helps prevent lumps and ensures a light, even texture. Gently fold the dry ingredients into the wet mixture using a spatula or wooden spoon, mixing just until no streaks of flour remain. Be careful not to overmix, as this can develop the gluten too much, resulting in tough cookies. Add the chocolate chips, reserving a few tablespoons for later. Fold them in until evenly distributed. If your dough feels too soft to scoop easily at this point, pop it into the freezer for 5 minutes to firm up slightly.
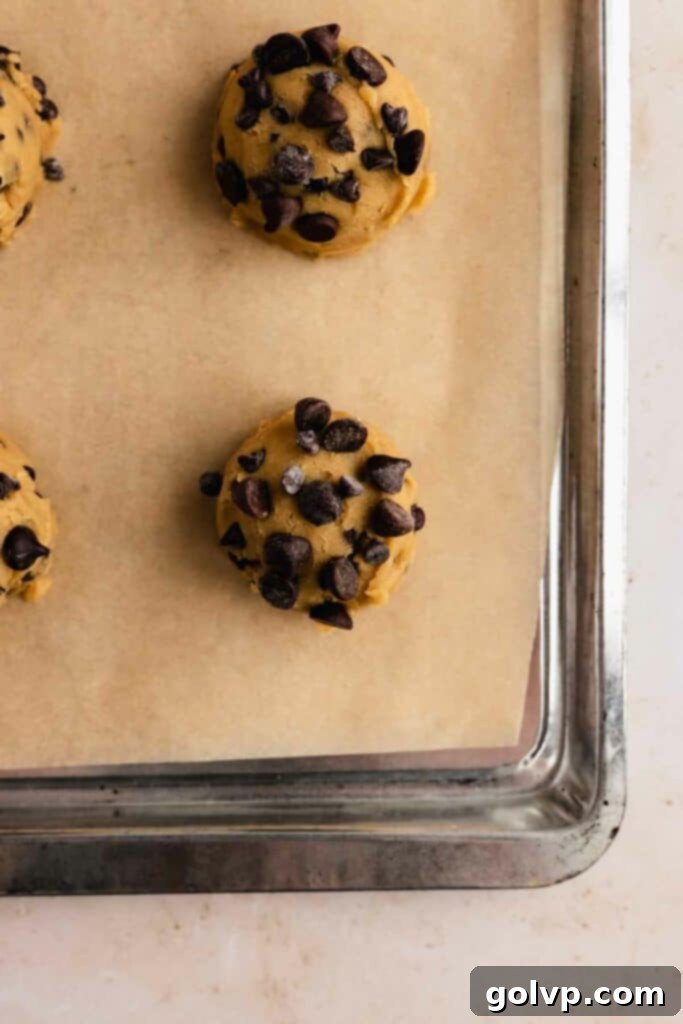
Step 4 – Scoop and Chill the Dough: Using a large cookie scoop or your hands, form the cookie dough into 6 uniform balls. This ensures even baking. Take the reserved chocolate chips and gently press them onto the tops and sides of each dough ball. This simple trick makes your baked cookies look incredibly appealing, like they came straight from a bakery! Place the scooped dough balls onto your lined baking sheet or a plate. Now, it’s crucial to chill the dough: place them in the freezer for 15 minutes, or in the fridge for at least 45 minutes up to 48 hours. Chilling helps to prevent the cookies from spreading too much in the oven, ensuring a thicker, chewier cookie.
Step 5 – Bake to Perfection: Arrange the chilled cookie dough balls onto your prepared baking tray, making sure to leave at least 4 inches of space between each cookie. This allows them to spread without merging. Bake for 8-10 minutes. The cookies are ready when their edges turn a beautiful golden brown, the middles are puffed up, and they still appear slightly underdone in the very center. They will continue to set as they cool, so don’t overbake them if you want that desirable gooey middle!
Step 6 – The “Scoot” and Serve: This is a game-changing tip for perfect presentation! Immediately after removing the cookies from the oven, while they are still warm and pliable on the baking sheet, “scoot” them into perfectly round shapes. Place an inverted bowl or a large round cookie cutter over each cookie and gently shake the bowl/cutter around the cookie. This simple motion evens out the edges and makes the cookie appear even thicker and more uniform. For an elevated finish, sprinkle the warm cookies with a pinch of flaky sea salt. Serve these warm, gooey, and perfectly shaped small batch chocolate chip cookies and enjoy your culinary masterpiece!
Frequently Asked Questions (FAQ) About Small Batch Chocolate Chip Cookies
Absolutely! Chilling the cookie dough in this recipe is not just recommended, it’s extremely important for achieving the perfect cookie texture. The chilling process allows the melted butter to re-solidify and firm up within the dough. This significantly reduces spreading during baking, resulting in thicker cookies with those desirable crisp edges and soft, gooey centers. Without chilling, your cookies are more likely to spread thin and lose their chewiness.
While I haven’t personally tested this recipe with dairy-free butter alternatives or oil, I can’t definitively recommend them for the same results. The unique properties of melted dairy butter play a significant role in the cookie’s final texture and flavor profile. However, if you are strictly dairy-free, you could certainly try experimenting with a high-quality dairy-free butter alternative. Keep in mind that the texture and spread might vary.
Yes, freezing the cookie dough is one of the best ways to enjoy fresh cookies whenever you want them! Simply scoop the dough into individual balls as per the recipe, then place them on a parchment-lined tray and freeze until solid. Once frozen, transfer the dough balls to an airtight container or freezer bag. They will keep well for up to 3 months. When you’re ready to bake, there’s no need to thaw—just add a few extra minutes to the baking time and bake directly from frozen. It’s incredibly convenient for having warm cookies on demand!
Small batch baking is fantastic for several reasons! It’s perfect when you’re craving just a few fresh, warm cookies without the temptation of an entire batch. It helps with portion control, reduces food waste, and ensures you always have the freshest possible cookies. Plus, it’s quicker to prepare and clean up, making it ideal for spontaneous baking moments or for smaller households.
Yes, you absolutely can double this recipe! If you need more than six cookies, simply multiply all the ingredient quantities by two. The steps remain the same. Just be sure to use a larger bowl for mixing and ensure your baking sheet has enough space for all the cookies to spread properly without touching.
Once baked and completely cooled, store your chocolate chip cookies in an airtight container at room temperature. They will remain wonderfully fresh and delicious for up to 3 days. To keep them extra soft, you can even place a slice of bread in the container with them—the cookies will absorb moisture from the bread!
Explore More Delicious Baking Recipes:
- The Best Brown Butter Chocolate Chip Cookies
- Blueberry Cream Cheese Cookies – Soft & Chewy
- Toffee Cookies with Foolproof Homemade Toffee
Happy baking, and enjoy every single bite of these perfectly crafted small batch chocolate chip cookies!
Did you make this incredible recipe? We would love for you to show your support by starring this recipe and sharing your thoughts in the comments below. Your feedback helps us grow!
Don’t forget to share your delicious creation on Instagram and tag @flouringkitchen. Follow me on Pinterestto save and discover even more inspiring recipe ideas.
📖 Recipe

Small Batch Chocolate Chip Cookies
Mary
Pin Recipe
Shop Ingredients
Equipment
-
1 large cookie scoop
-
1 Cookie sheet
Ingredients
- ½ cup butter melted and cooled slightly
- ⅓ cup brown sugar packed
- ¼ cup granulated sugar
- ¼ teaspoon sea salt
- 1 teaspoon pure vanilla extract
- 1 egg yolk
- ⅔ cup all purpose flour 80g
- ¼ teaspoon baking soda
- ¾ cup chocolate chips mini and semisweet
- ½ teaspoon flaky salt optional
Shop Ingredients on Jupiter
Instructions
-
Preheat oven to 180°C (350°F). Line a baking sheet with parchment paper.
-
In a large bowl whisk together melted butter, brown sugar, and granulated sugar. Add egg yolk and vanilla and whisk until thickened and lightens in colour.½ cup butter, ⅓ cup brown sugar, ¼ cup granulated sugar, ¼ teaspoon sea salt, 1 teaspoon pure vanilla extract, 1 egg yolk
-
Sift flour and baking soda right into the same bowl. Fold just until no more streaks remain. Add chocolate chips (reserve a few tablespoons of chocolate chips) and fold. Pop the dough into the freezer for 5 minutes if it’s too soft to scoop.⅔ cup all purpose flour, ¼ teaspoon baking soda, ¾ cup chocolate chips
-
Scoop the cookie dough into 6 large balls and push reserved chocolate chips onto the tops of the dough balls. Place onto a lined baking sheet or plate. Chill in the freezer for 15 minutes (or in the fridge for at least 45 minutes up to 48 hours).¾ cup chocolate chips
-
Place chilled cookie dough balls onto baking tray, leaving at least 4” between each cookie.
-
Bake for 8-10 minutes. The cookies are ready when the edges are golden brown and the middle is puffed and still a little underdone.
-
As soon as they are out of the oven, scoot the cookies to make them round right on the baking sheet: place a bowl flipped upside down or a large round cookie cutter over the cookie. Shake the bowl/cookie cutter around the cookie gently to even out the edges and make the cookie even thicker. Sprinkle the cookies with flaky salt and serve!½ teaspoon flaky salt
Video
Notes
Make ahead:
Make and scoop the cookie dough a day or two ahead and keep in the fridge. This allows flavors to deepen and results in a richer cookie.
Freeze the cookie dough for up to 3 months in an airtight container for cookies anytime! Add a few more minutes to the cooking time and bake from frozen (no need to thaw).
