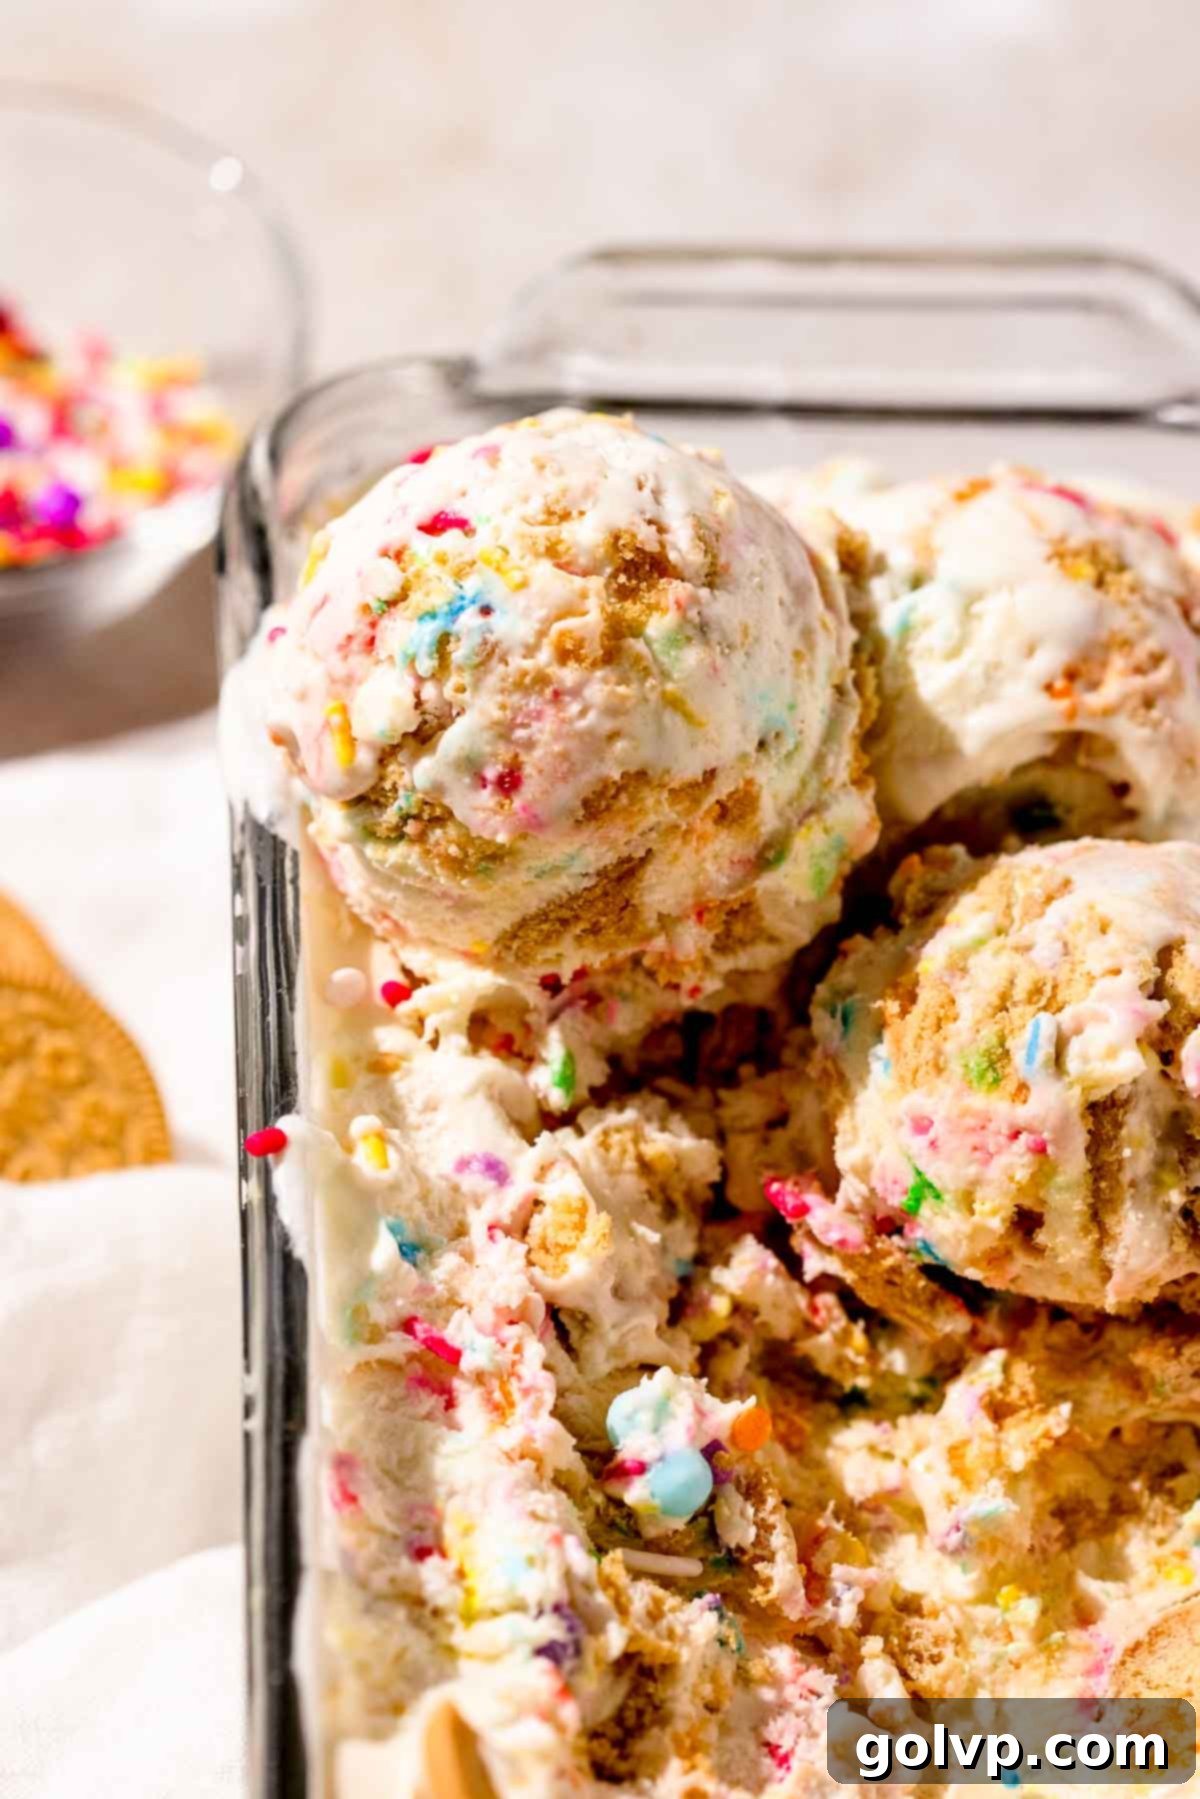
Irresistibly Creamy No-Churn Funfetti Ice Cream: Your Easiest Summer Dessert!
Get ready to indulge in the ultimate homemade dessert experience with this incredibly easy and ultra-creamy no-churn Funfetti ice cream. This vibrant treat is a celebration in every scoop, generously packed with crushed golden Oreos that magically transform into soft, cake-like bits, and an abundance of colorful sprinkles. It’s the perfect low-effort, high-reward dessert for hot summer days, impromptu parties, or simply satisfying that sweet tooth craving. The best part? You won’t need any fancy equipment – no ice cream maker required! While an electric mixer will certainly speed up the process, achieving that perfect fluffy base is absolutely doable with just a trusty wire whisk and a little arm power.
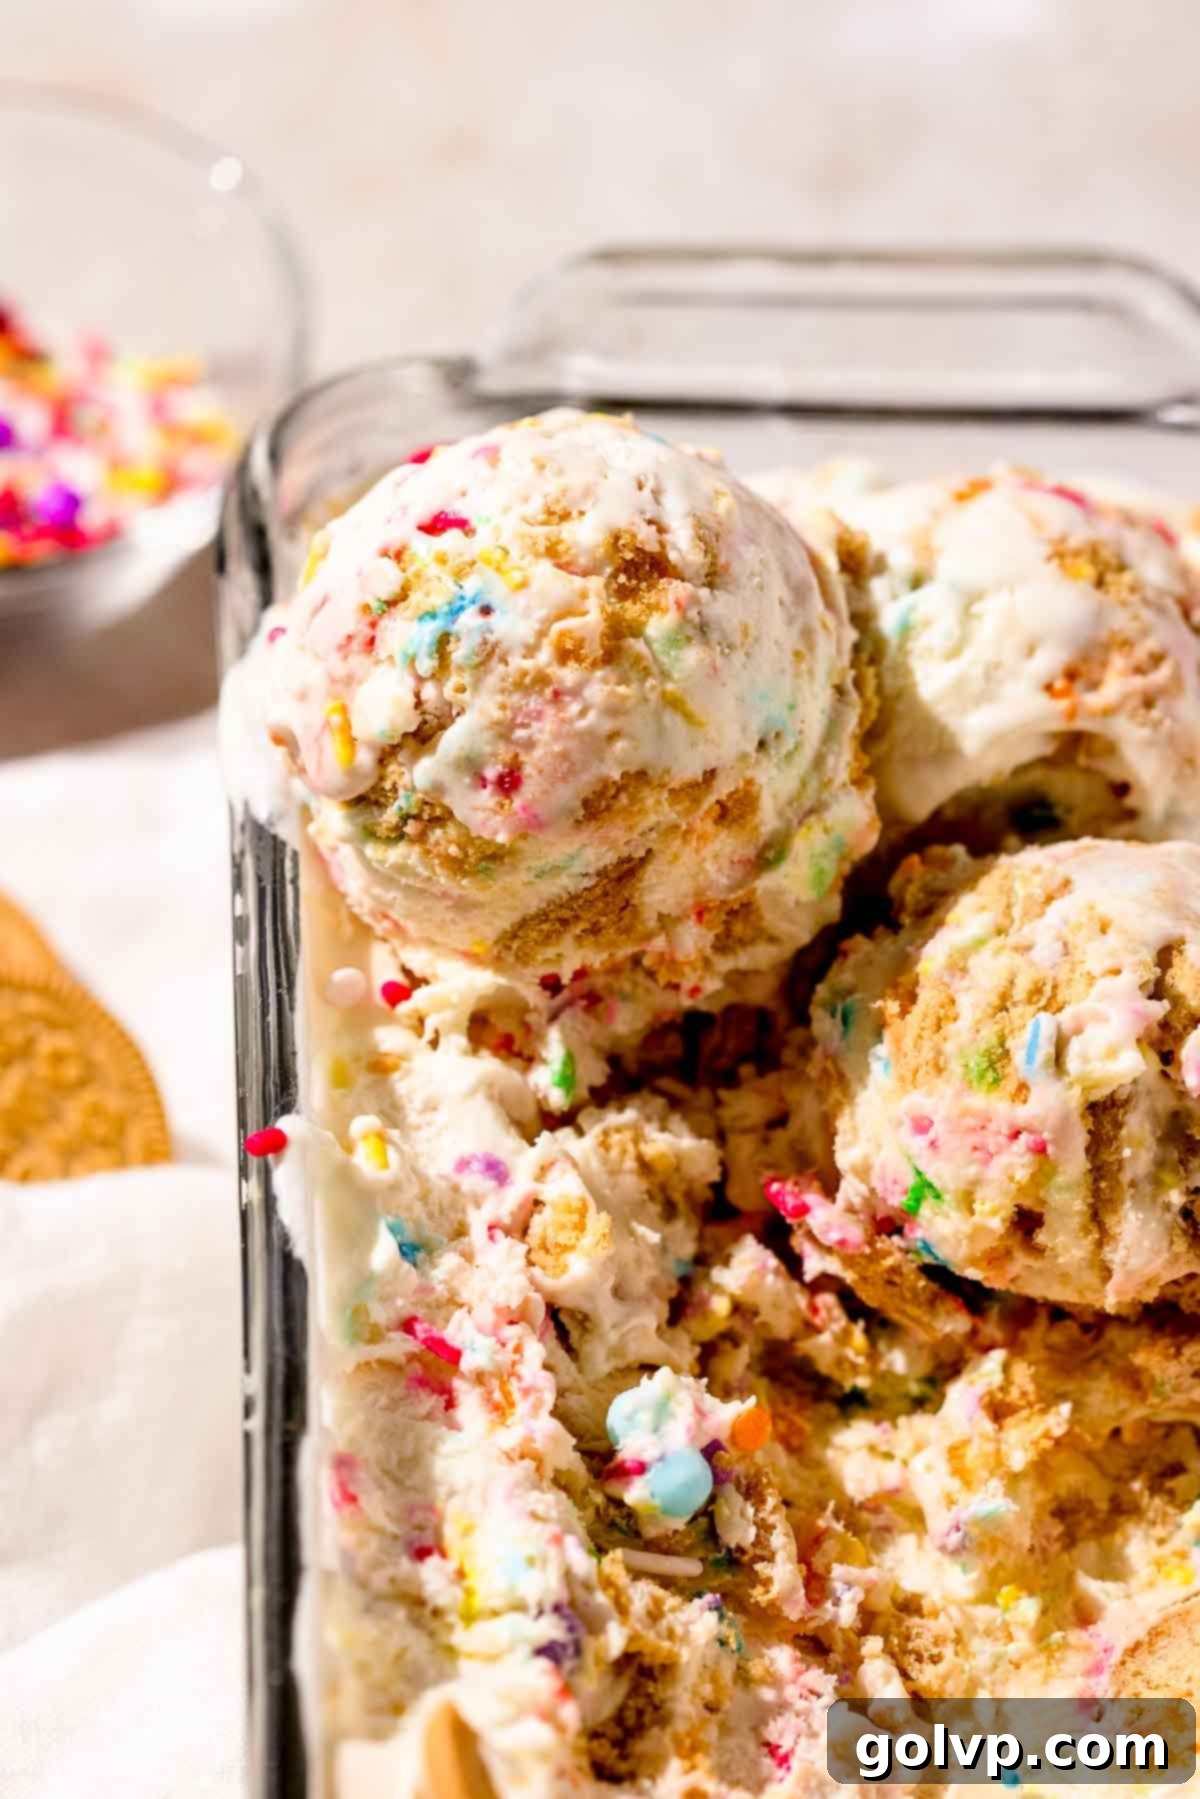
This recipe brings all the joy and deliciousness of a classic funfetti cake straight into a cool, refreshing ice cream format, making it an instant crowd-pleaser for birthdays, holidays, or any day that calls for a dash of edible festivity. The combination of rich cream, sweet condensed milk, nostalgic vanilla, and delightful mix-ins creates a texture that rivals churned ice cream without any of the fuss.
[feast_advanced_jump_to]
🍨 Why You’ll Absolutely LOVE This Easy Funfetti Ice Cream Recipe
There are countless reasons why this no-churn Funfetti ice cream will become your go-to dessert. From its incredible flavor to its effortless preparation, it’s designed to bring smiles with minimal stress.
- Explosion of Funfetti Flavor: This ice cream isn’t just sprinkled with color; it’s infused with that iconic, nostalgic funfetti cake flavor that transports you back to childhood birthday parties. The combination of sweet vanilla and vibrant sprinkles creates a truly celebratory taste that’s hard to resist. Every spoonful is a burst of joy and a visual delight, making it perfect for any occasion that calls for a bit of cheer.
- Delightful Oreo Inclusions: We take this funfetti experience to the next level by loading it with crushed Golden Oreos. These cookies don’t just add a lovely crunch; they soften beautifully in the ice cream, creating tender, cake-like bits that mimic actual cake crumbs with a hint of creamy frosting. It’s like having tiny pieces of vanilla cake mixed into your ice cream, adding an incredible depth of flavor and texture that makes this recipe truly unique and utterly addictive.
- Effortless No-Churn Method: Forget about bulky ice cream makers taking up precious counter space! This recipe is completely no-churn, meaning you don’t need any special equipment to achieve perfectly smooth, scoopable ice cream. It relies on the magic of whipped cream and sweetened condensed milk to create a wonderfully creamy base that sets beautifully in your freezer. This simplicity makes it accessible for anyone, regardless of their baking experience or kitchen gadget collection, delivering professional-quality ice cream with minimal fuss.
- Perfect for Customization: While our recipe focuses on the classic funfetti and Golden Oreo combination, it’s incredibly versatile. You can easily swap out the Golden Oreos for other cookie varieties, add different types of candies, or even swirl in some fruit purees to create your own unique flavor combinations. It’s a fantastic base for culinary creativity!
- Ideal Make-Ahead Dessert: This ice cream is a dream come true for meal preppers and party planners. It requires at least 8 hours of freezing time, making it the perfect dessert to prepare in advance. Simply whip it up, freeze it, and it’s ready to serve whenever you need a show-stopping treat. This convenience reduces last-minute stress and allows you to enjoy your guests (or just relax!) without worrying about dessert.
Looking for another easy, no-bake treat that’s bursting with funfetti goodness? You’ll also love this simple funfetti cheesecake recipe – it’s equally delicious and just as fun!
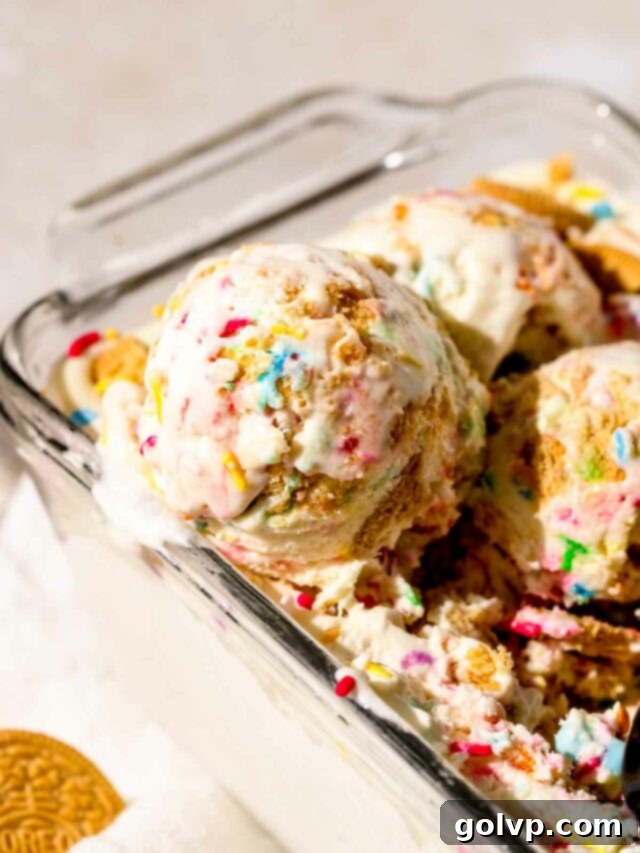
📝 Key Ingredients for the Perfect No-Churn Funfetti Ice Cream
Achieving the perfect creamy texture and vibrant funfetti flavor starts with understanding the role of each key ingredient. Read through for all the tips you will need for success!
Full steps and ingredients in recipe card below.
- Heavy Whipping Cream (35% Fat or Higher): This is the backbone of our no-churn ice cream, providing the essential fat content needed for a rich, creamy, and airy base. When whipped, the high fat content traps air, creating the light, voluminous texture that mimics traditional churned ice cream. For the best results, ensure your heavy cream is very well chilled before whipping. Cold cream whips faster, holds its peaks better, and yields a more stable and luxurious ice cream base. Avoid using lighter creams or half-and-half, as they lack the necessary fat to achieve the desired consistency.
- Sweetened Condensed Milk: This magical ingredient is absolutely non-negotiable for no-churn ice cream. It serves multiple crucial purposes: it provides the perfect level of sweetness, contributes to the incredibly smooth and scoopable texture, and most importantly, its high sugar content and milk proteins prevent the formation of large ice crystals during freezing. This is what gives no-churn ice cream its signature soft, velvety consistency. Do not substitute it with evaporated milk or any other dairy product, as the results will be icy and grainy rather than creamy.
- Colorful Sprinkles: Sprinkles are what make “funfetti” truly fun! For the best visual appeal and enjoyable texture, we recommend using jimmies (the small rod-shaped sprinkles) and confetti sprinkles (flat, pastel shapes or circles). These types tend to remain softer when frozen and offer a pleasant bite. Avoid using nonpareils (tiny, hard, spherical sprinkles) as they can become very hard and unpleasant to eat when frozen, and their small size might not provide the visual impact you’re looking for. Keep in mind that naturally colored sprinkles may bleed their colors more easily into the cream mixture, so be mindful of that if color integrity is a priority for you.
- Golden Oreos: These delicious vanilla sandwich cookies are crushed and folded into the ice cream, contributing a delightful texture and a “cake batter” flavor that perfectly complements the funfetti theme. As they freeze, the Oreos soften, creating tender morsels that truly taste like bits of cake with a creamy frosting. They add an essential chewiness and depth of flavor. Feel free to experiment with other types of Oreos or your favorite vanilla sandwich cookies for a slightly different twist.
- Vanilla Extract: To achieve that authentic, nostalgic funfetti cake flavor, we recommend using artificial or clear vanilla extract. This type of vanilla is often found in cake mixes and gives that distinct “birthday cake” taste. If you prefer, pure vanilla extract will also work beautifully, imparting a more natural vanilla flavor. The key is to use enough vanilla to make its presence known, enhancing the overall sweetness and complexity of the ice cream.
👩🍳 How to Make Delicious No-Churn Funfetti Ice Cream: A Step-by-Step Guide
Making this funfetti ice cream is surprisingly simple, requiring just a few steps and minimal hands-on time. Follow these instructions carefully for the best results.
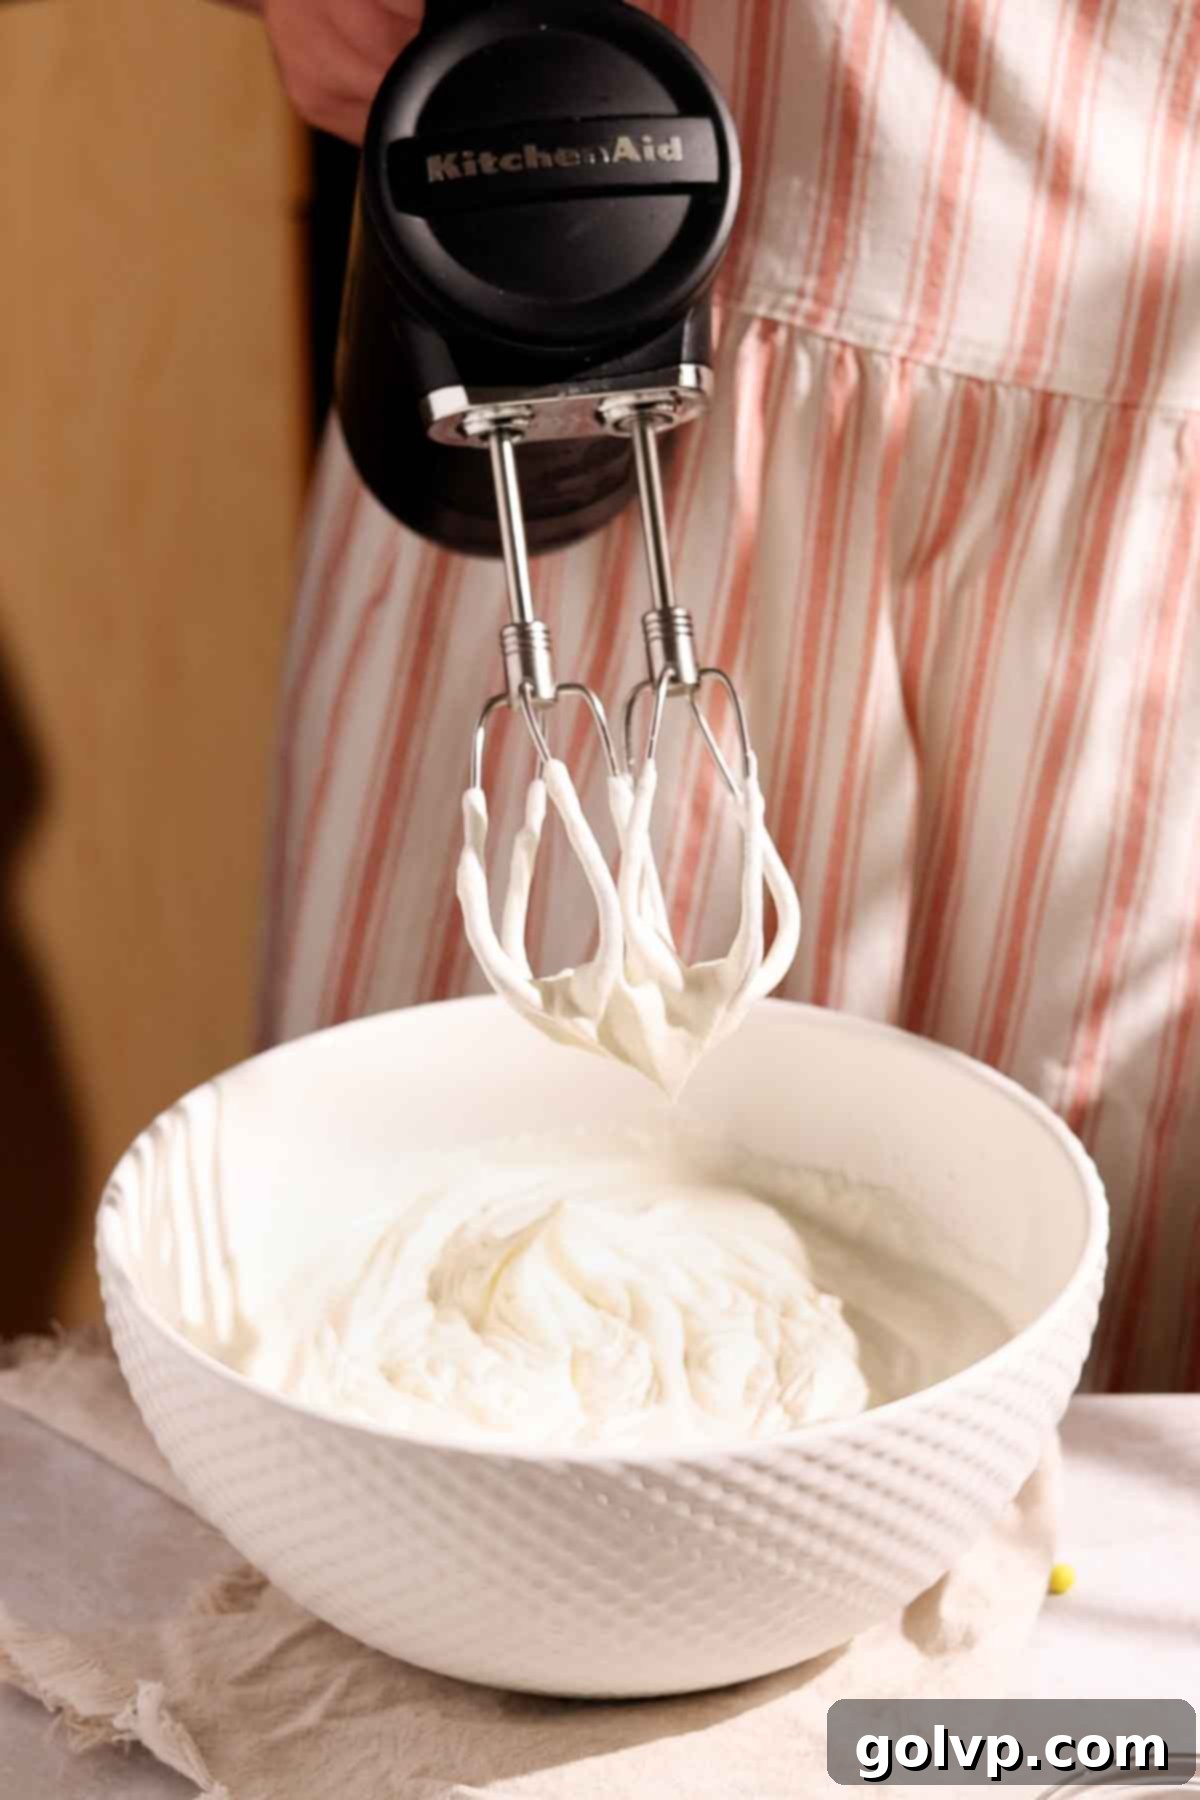
Step 1: Prepare the Whipped Cream Base. Begin by placing a large mixing bowl (preferably metal) and your whisk attachment (or wire whisk if doing by hand) into the freezer for at least 10-15 minutes. This chilling step is crucial as it helps the heavy cream whip up faster and achieve a more stable consistency. Once chilled, pour the very cold heavy cream into the bowl. Using an electric mixer on medium-high speed (or vigorous whisking by hand), whip the cream until it reaches medium-stiff peaks. The cream should be thick enough to hold its shape, with a slight curl at the tip when you lift the whisk. Be careful not to overwhip at this stage, as it can turn grainy.
Next, gently pour the sweetened condensed milk and vanilla extract into the whipped cream. Continue to whip on a low speed or fold carefully with a spatula until everything is just fully combined and the mixture is smooth. Overmixing here can deflate the air you’ve incorporated, so mix only until no streaks of condensed milk remain. Use a spatula to scrape down the sides of the bowl to ensure even mixing.
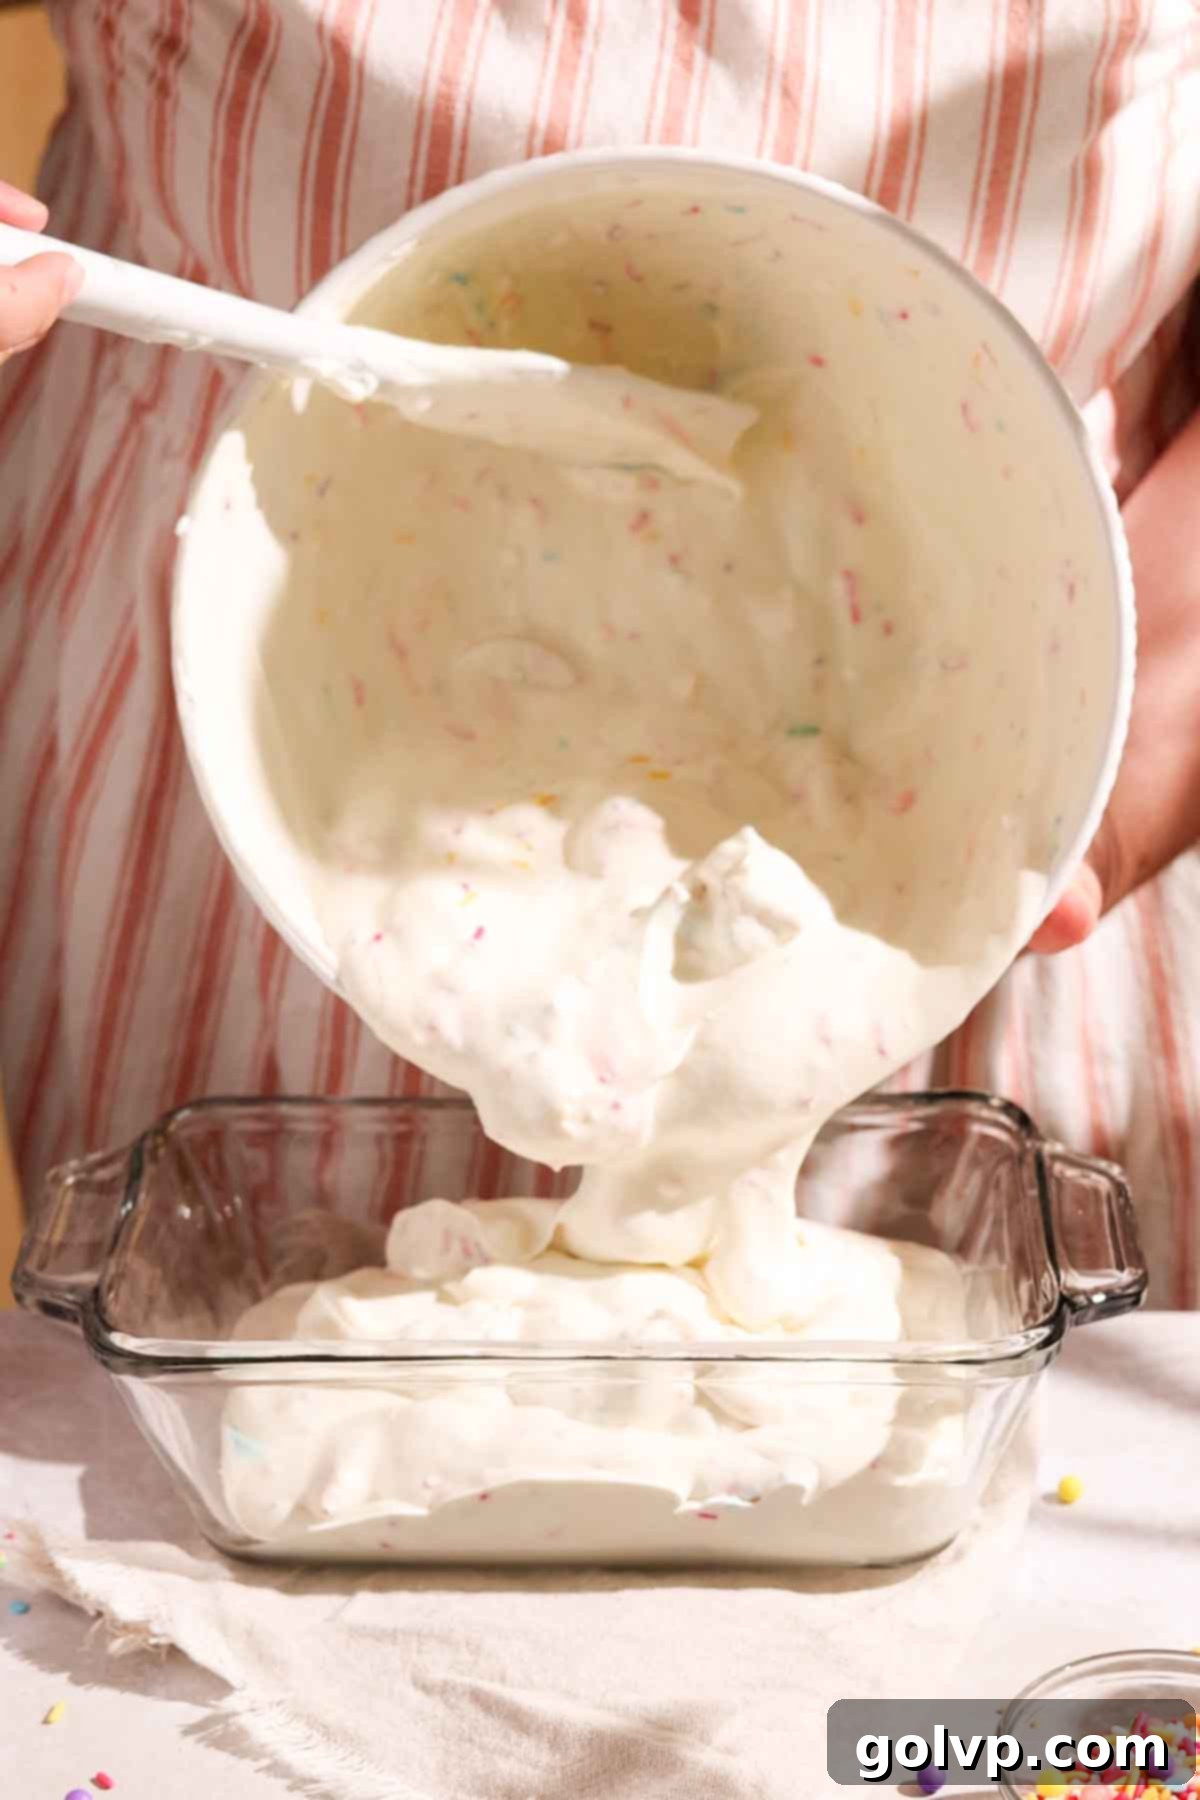
Step 2: Fold in Mix-Ins and Freeze. Have your loaf pan (a standard 9×5 inch pan works perfectly) or another freezer-safe container ready. Working quickly to prevent the cream from deflating, gently add the chopped Golden Oreos into the whipped cream mixture. Make sure to reserve a small handful of chopped Oreos for topping later. Next, add the colorful sprinkles. Using a spatula, carefully fold the Oreos and sprinkles into the cream mixture until they are evenly distributed throughout. Remember, less folding is more to keep the mixture light and airy, and to prevent the sprinkles from bleeding their color too much.
Immediately transfer the funfetti ice cream mixture into your prepared freezer-safe container, smoothing the top with your spatula. Sprinkle the reserved chopped Oreos over the top for an attractive finish. Cover the container tightly with plastic wrap, pressing it directly onto the surface of the ice cream to prevent ice crystals from forming (this is key to avoiding freezer burn!). Freeze for at least 8 hours, or ideally, overnight, until the ice cream is firm and fully set. Once frozen through, remove from the freezer a few minutes before serving to soften slightly, then top with extra sprinkles, scoop generously, and serve with your favorite additional toppings!
✔️ Expert No-Churn Ice Cream Tips for Ultimate Creaminess
While this recipe is simple, a few expert tips can elevate your homemade no-churn funfetti ice cream from good to absolutely phenomenal.
- Whip the cream to medium stiff peaks, not beyond. This is perhaps the most critical step for no-churn ice cream. Whipping the heavy cream incorporates air, which gives the ice cream its light, fluffy texture and increases its volume. Aim for medium-stiff peaks where the cream holds its shape well but still has a slight curl at the tip. Overwhipping will result in a grainy texture, while underwhipping won’t provide enough air, leading to a denser, icier ice cream.
- Use sweetened condensed milk – no substitutes! As mentioned in the ingredients section, sweetened condensed milk is essential. Its unique composition of sugar and milk solids acts as a natural anti-freeze, preventing large ice crystals from forming and ensuring a smooth, scoopable consistency. Evaporated milk or other milk products lack these properties and will lead to an icy, unpleasant texture. Trust the recipe here!
- Choose the right sprinkles for optimal enjoyment. For a funfetti ice cream that looks amazing and is pleasant to eat, stick with jimmies (rod-shaped) and confetti sprinkles (flat shapes). These types retain a slightly softer texture when frozen compared to tiny, hard nonpareils, which can become rock-hard and uncomfortable to bite into. Add them right before freezing to minimize color bleeding.
- Don’t skip the Oreos for texture and flavor. The crushed Golden Oreos are more than just a mix-in; they play a vital role in the ice cream’s texture. As they absorb some of the moisture, they soften to resemble moist cake pieces, adding a delightful chewiness and a rich “cake batter” flavor. This makes the ice cream more interesting and satisfying. You can certainly experiment with your favorite cookies, like chocolate Oreos, Biscoff cookies, or even graham crackers, to customize the flavor profile.
- Pre-chill your mixing bowl and whisk. For the fastest and most efficient whipping of heavy cream, always place your mixing bowl and whisk attachment (or hand whisk) in the freezer for 10-15 minutes before you start. The colder everything is, the quicker and more effectively the cream will whip up, creating a stable, airy base.
- Use an airtight container. Once your ice cream is transferred to the loaf pan, cover it tightly with plastic wrap, pressing the wrap directly onto the surface of the ice cream to create an airtight seal. Then, if possible, place a lid over the loaf pan. This double protection is crucial for preventing freezer burn and the formation of ice crystals on the surface, ensuring your ice cream stays perfectly smooth and fresh.
🥄 Make Ahead and Storage Tips for Your Funfetti Ice Cream
One of the many charms of this funfetti ice cream is its fantastic make-ahead potential, making it an ideal dessert for any occasion. Once prepared, this ice cream needs to be stored properly in the freezer to maintain its delightful texture and flavor.
To prevent the dreaded freezer burn and the formation of gritty ice crystals, it’s crucial to wrap your ice cream tightly. After transferring the mixture to a loaf pan or other freezer-safe container, press a layer of plastic wrap directly onto the surface of the ice cream. This barrier prevents air from touching the delicate surface, which is the main cause of ice crystal development. For extra protection, you can then cover the entire container with a lid or another layer of aluminum foil.
This funfetti ice cream is best enjoyed within the first few weeks of making it. While it will remain safe to eat for longer, its peak creamy texture and fresh flavor are most prominent during this initial period. Its “set it and forget it” nature makes it the perfect make-ahead dessert – simply prepare it when you have time, let it freeze, and it will be patiently waiting in the freezer whenever you’re ready to scoop and serve a joyful treat!
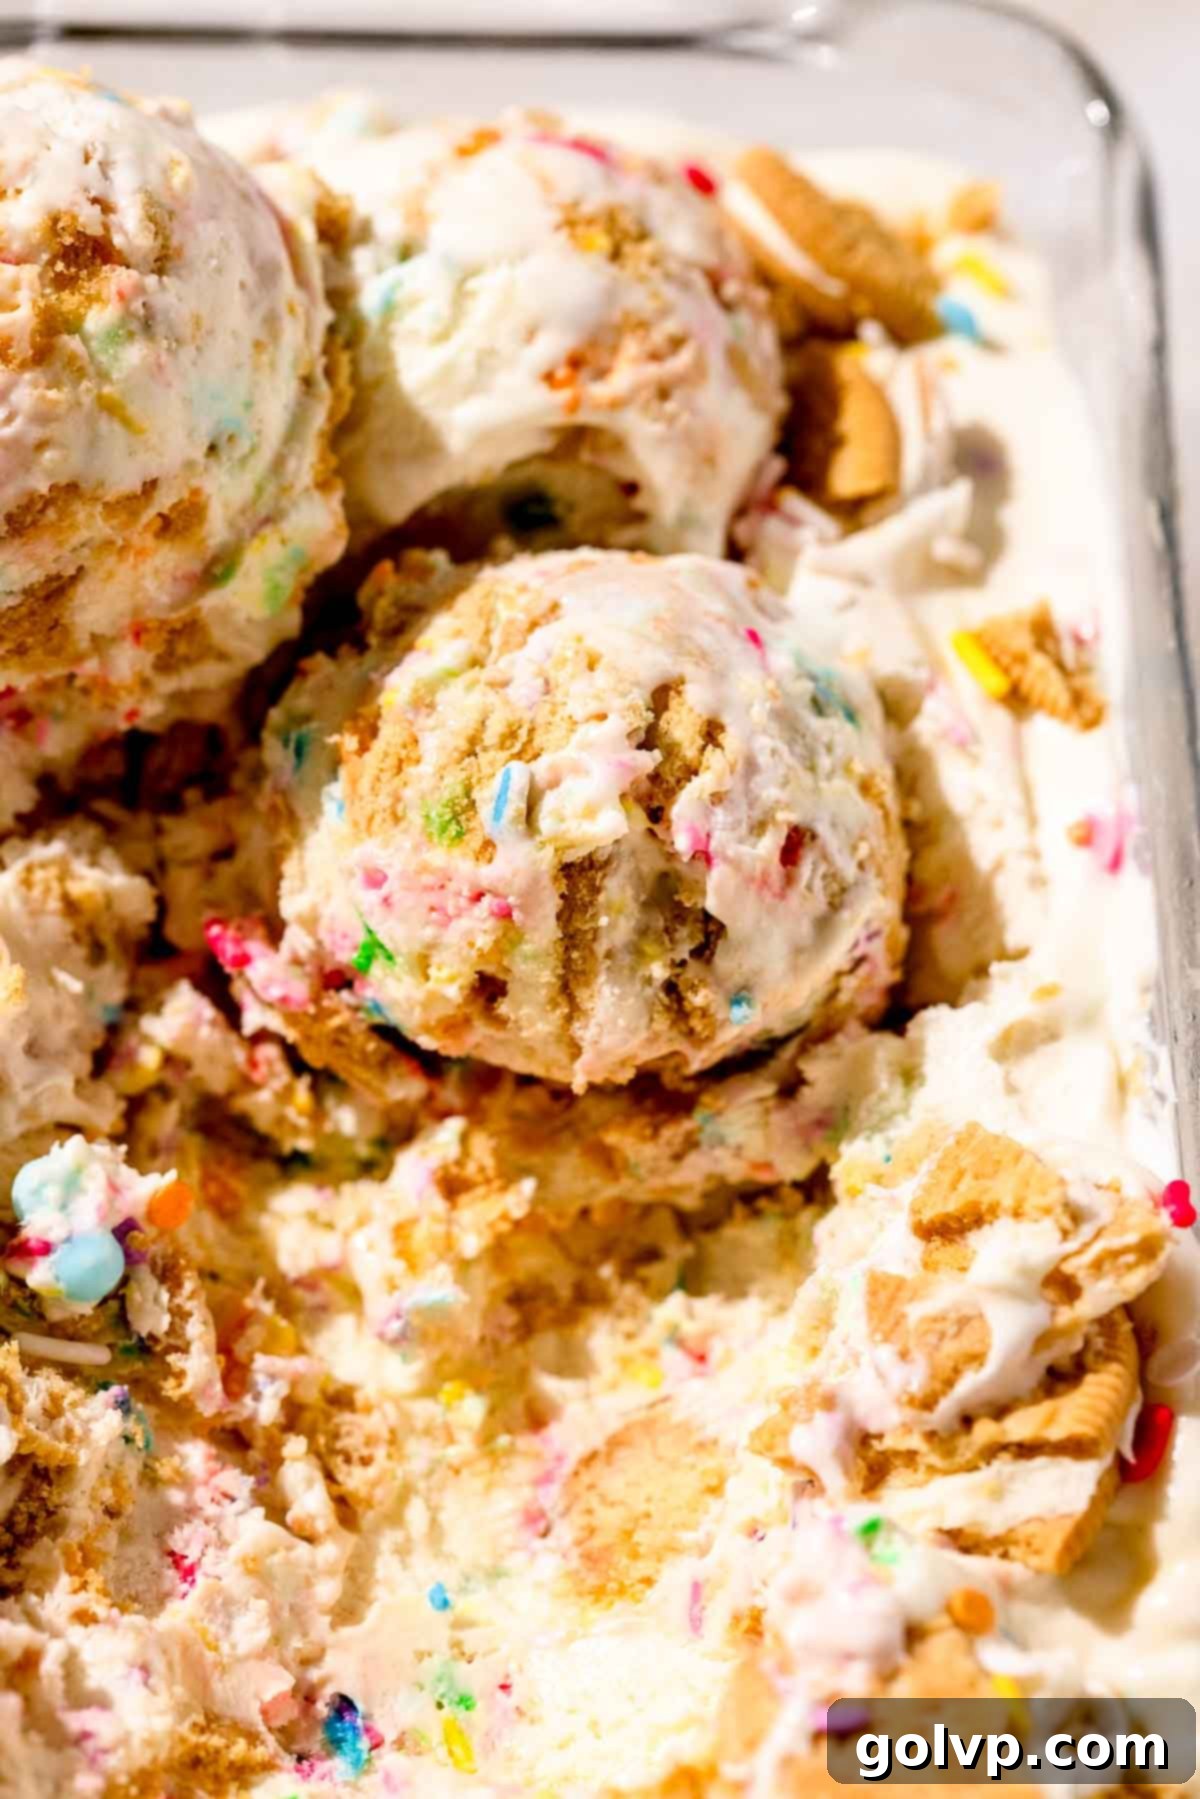
🌈 How to Choose What Sprinkles to Use for Maximum Fun and Flavor
Sprinkles are truly the heart and soul of funfetti desserts, adding not only a burst of beautiful color but also an exciting textural element. However, not all sprinkles are created equal, especially when it comes to frozen treats like ice cream!
My absolute favorite sprinkles to use for no-churn ice cream, which won’t leave you worried about breaking a tooth, are jimmies (the classic little rod-shaped sprinkles) and confetti sprinkles (flat pastel shapes and circles). These varieties tend to stay relatively soft even after being frozen solid, providing a pleasant and satisfying chew without becoming overly hard.
On the other hand, nonpareils (those tiny, round, hard sprinkles) are generally not recommended for ice cream. If they are very small, they might not offer much visual impact once mixed in. More importantly, due to their hard nature, they can become extremely rigid when frozen, making them quite hard to bite into and potentially unpleasant. Save nonpareils for frosted cakes or cookies where they don’t get fully frozen.
A crucial tip for maintaining the vibrant colors of your sprinkles: make sure to add them into the ice cream mixture right before you transfer it into the container to be frozen. The longer the sprinkles sit in the liquid cream mixture, the higher the risk of the colors bleeding and mixing together, which can result in a muted or muddy appearance. A quick fold and immediate transfer to the freezer will help keep those colors bright and distinct.
If you’re as much of a sprinkle enthusiast as I am, you absolutely must try these incredible funfetti cinnamon rolls (no-knead!). They offer all the warm, comforting goodness of classic cinnamon rolls but with an extra dose of funfetti magic!
✔️ Alternative Flavor Combinations for Your No-Churn Ice Cream
While the classic funfetti and Golden Oreo combination is a winner, the beauty of no-churn ice cream lies in its versatility. The creamy base is a blank canvas for endless flavor creativity. Feel free to experiment and add your favorite ice cream mix-ins to customize your batch:
- Chocolate Oreos: For a delicious cookies-and-cream twist, swap the Golden Oreos for classic chocolate Oreos. Their rich cocoa flavor pairs wonderfully with the sweet cream base, creating a darker, more intense contrast.
- Chopped Chocolate: Elevate the richness by folding in chunks of your favorite chocolate – milk, dark, or white chocolate work equally well. The chocolate pieces provide a delightful snap and intense flavor pockets.
- Brownie Pieces: Transform your funfetti ice cream into a brownie batter dream by adding crumbled brownie pieces. Their fudgy texture and deep chocolate flavor are an irresistible addition.
- Edible Cookie Dough Bits: If you’re a fan of raw cookie dough, this is a must-try! Small chunks of safe-to-eat cookie dough (ensure it’s made without raw eggs and heat-treated flour) add a delightful chewiness and classic cookie flavor. For inspiration, check out this easy cookie dough no-churn ice cream with brown butter cookie dough recipe.
- Jam Swirls: For a fruity and tangy contrast, gently swirl in dollops of your favorite fruit jam or preserves (raspberry, strawberry, or blueberry would be fantastic) after layering the ice cream into the pan. This creates beautiful ribbons of fruit flavor throughout. Our raspberry cheesecake no-churn ice cream is a great example of this technique.
- Caramel or Fudge Swirl: A drizzle of homemade or store-bought caramel or hot fudge sauce can add an extra layer of decadence. Swirl it in as you layer the ice cream into the container for a beautiful marbled effect.
- Toasted Coconut: For a tropical twist, gently fold in some toasted shredded coconut. It adds a lovely nutty flavor and a delicate chewiness.
Don’t be afraid to mix and match these ideas to create your signature no-churn ice cream flavor!
👨🍳 How to Whip Cream by Hand: No Electric Mixer, No Problem!
While an electric mixer is certainly a convenience that speeds up the whipping process significantly, you absolutely do not need one to make perfect whipped cream for this no-churn ice cream. It’s a fantastic arm workout, and with a little patience and the right technique, you can achieve beautiful, fluffy peaks by hand!
The key to successful hand-whipping lies in temperature. To get stiffer peaks faster and with less effort, start by placing your large mixing bowl (preferably metal or glass, which retain cold better) and your wire whisk into the refrigerator or freezer for about 10-15 minutes before you begin. Make sure your heavy whipping cream is also refrigerator cold – the colder the better! The colder temperature helps the fat molecules in the cream remain firm, which allows them to trap air more efficiently as you whisk.
Pour the chilled heavy cream into your chilled bowl. Then, using a sturdy wire whisk, start whisking vigorously in a circular motion. Try to incorporate as much air as possible by making broad, sweeping strokes. You’ll notice the cream slowly thicken, first becoming frothy, then soft, and eventually reaching medium-stiff peaks where it holds its shape with a gentle curl. This process can take anywhere from 5 to 15 minutes, depending on your strength and whisking technique. If your arm gets tired, simply pop the bowl back into the fridge for a few minutes to keep everything cold, then resume whisking. Patience and consistency are your best friends here!
Alternatively, if you’re feeling adventurous and have a very large jar with a tight-fitting lid, you can pour the cold heavy cream into it (filling it no more than halfway). Secure the lid tightly and shake vigorously. This method also works to incorporate air and will eventually yield whipped cream with medium peaks, where it holds its shape but might flop a bit at the top. This can be a fun activity for kids (with supervision, of course!).
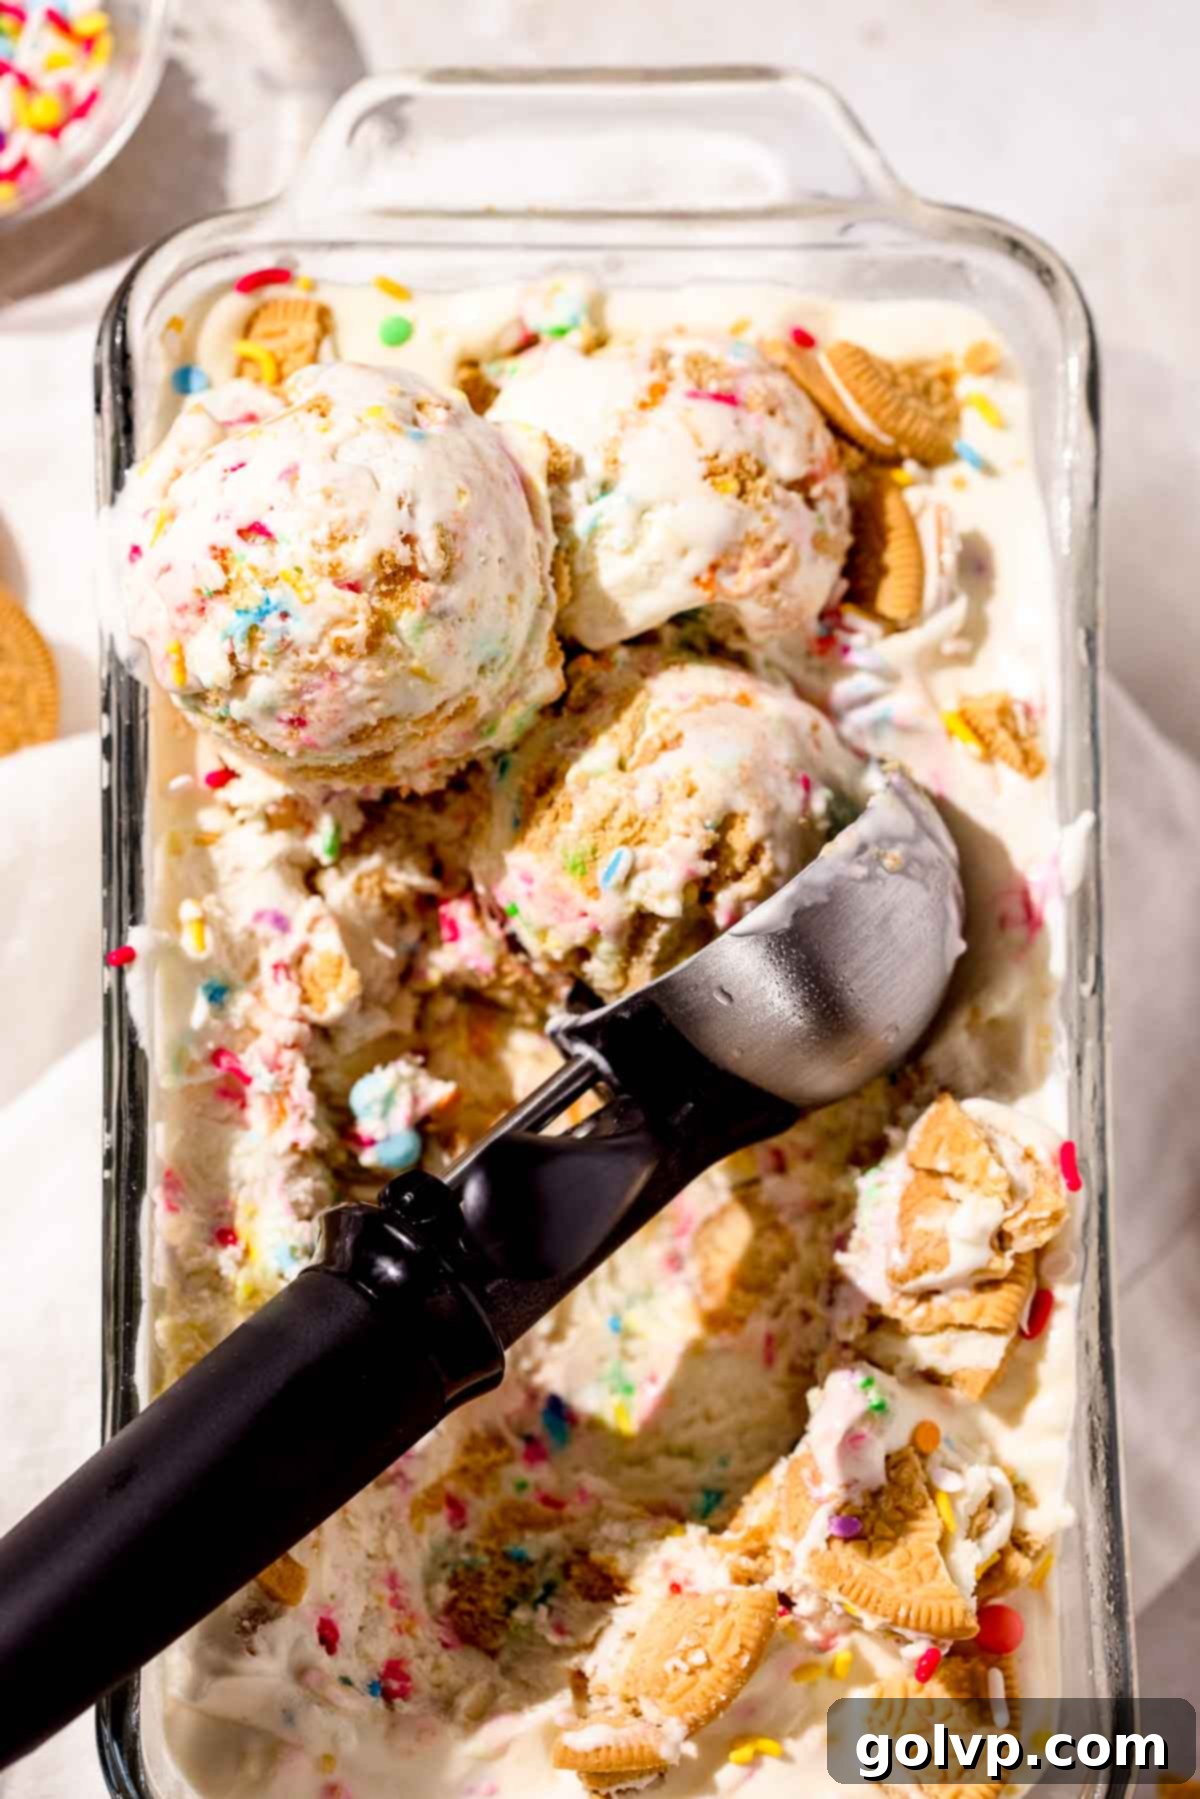
📖 Recipe FAQs: All Your Funfetti Ice Cream Questions Answered
I strongly advise against substituting sweetened condensed milk with anything else. It is the absolute cornerstone of a successful no-churn ice cream recipe. Unlike regular milk or even evaporated milk, sweetened condensed milk has a very specific balance of high sugar content and milk proteins. This unique composition is what prevents large, gritty ice crystals from forming during freezing, giving the ice cream its signature creamy, scoopable, and soft texture. Without it, your ice cream will likely be icy, hard, and far from the delightful treat you’re aiming for.
For the best results in terms of both appearance and texture, I recommend using jimmies (the small rod-shaped sprinkles) and confetti sprinkles (flat pastel shapes and circles). These types remain relatively soft when frozen, providing a pleasant chew without becoming hard or crunchy. You’ll want to avoid nonpareils (the tiny, hard, round sprinkles) as they tend to become very hard and can be unpleasant to eat when frozen.
Absolutely! While Golden Oreos contribute that perfect “birthday cake” flavor and a wonderful soft texture, you can easily customize this recipe by using your favorite cookies. Crisp chocolate chip cookies, classic chocolate Oreos, Biscoff cookies, or even crushed graham crackers would all work wonderfully. The key is to use a cookie that crumbles well and will soften nicely within the ice cream, adding a delightful textural contrast.
I do not recommend using an ice cream maker for this particular recipe. This recipe is specifically formulated as a “no-churn” ice cream, meaning it’s designed to achieve its creamy texture without the need for churning. The ingredients and their proportions are optimized for freezing directly. Attempting to churn this mixture in an ice cream machine may not yield the expected results and could potentially impact the final texture.
The best way to prevent ice crystals is by using sweetened condensed milk (as it helps inhibit their formation) and by covering your ice cream properly. After transferring the mixture to your container, press a layer of plastic wrap directly onto the surface of the ice cream, ensuring no air gaps. Then, place a tight-fitting lid on the container. This double barrier prevents air exposure, which is the primary cause of freezer burn and ice crystal growth.
No, for the best results, always use heavy whipping cream with a fat content of 35% or higher. Lower-fat creams will not whip up to the necessary volume and stability, nor will they provide the rich, creamy mouthfeel essential for this no-churn ice cream. The fat is crucial for creating that luxurious texture.
🍦 More Related Recipes You’ll Love
If you enjoyed this easy funfetti ice cream, here are some other delightful recipes from our kitchen that you might love. They’re perfect for satisfying your sweet tooth or impressing guests!
- Carrot Cake Ice Cream
- Funfetti Cheesecake
- Funfetti Cinnamon Rolls – No Knead
- Raspberry Cheesecake Ice Cream
Did you make this recipe? I would love for you to rate this recipe and hear what you think in the comments below! Share your creation on Instagram and tag @flouringkitchen. Follow me on Pinterestto save and for more recipe ideas.
📖 Recipe
Funfetti Ice Cream
Mary
Pin Recipe
Shop Ingredients
Equipment
-
electric mixer or a sturdy wire whisk
-
Large mixing bowl
-
Loaf pan or freezer-safe container
-
Spatula
Ingredients
- 2 cups heavy whipping cream (35% fat or higher, well chilled)
- 14 oz sweetened condensed milk (1 can, approximately 300mL)
- 2 teaspoons pure vanilla extract (artificial or clear vanilla extract is best for that classic funfetti cake flavor)
- 1 ½ cup golden oreos (chopped into small pieces, reserve some for topping)
- ¼ cup sprinkles (jimmies or confetti type recommended, plus extra for serving)
Shop Ingredients on Jupiter
Instructions
-
Chill Equipment: Place a large mixing bowl (preferably metal for better chilling) and your whisk attachment (or a sturdy wire whisk if whipping by hand) into the freezer for at least 10-15 minutes to ensure they are very cold. This step is crucial for whipping the cream efficiently.
-
Whip Cream: Pour the well-chilled heavy cream into your chilled bowl. Using an electric mixer on medium-high speed (or whisking vigorously by hand), whip the cream until medium stiff peaks form. The cream should be thick enough to hold its shape, with a gentle curl at the top when the whisk is lifted. Be careful not to overwhip, which can make it grainy.2 cups heavy whipping cream
-
Combine Base Ingredients: Gently pour the sweetened condensed milk and vanilla extract into the whipped cream. Whip on a low speed or fold with a spatula until everything is just fully combined and the mixture is smooth, being careful not to overwhip until grainy. Use a spatula to scrape down the sides of the bowl to ensure all ingredients are evenly incorporated.14 oz sweetened condensed milk, 2 teaspoons pure vanilla extract
-
Fold in Mix-ins: Have a loaf pan (standard 9×5 inch) or another freezer-safe container ready. Working quickly to maintain the airy texture, add the chopped Golden Oreos to the cream mixture (remember to reserve a small amount for topping). Add the colorful sprinkles next. Gently fold the Oreos and sprinkles into the cream until they are just evenly distributed.¼ cup sprinkles, 1 ½ cup golden oreos
-
Freeze: Immediately transfer the ice cream mixture into your prepared container, smoothing the top with a spatula. Sprinkle the reserved chopped Oreos over the top. Cover the container tightly with plastic wrap, pressing it directly onto the surface of the ice cream to prevent ice crystals. Freeze for at least 8 hours, or ideally, overnight, until completely solid. Once frozen through, let it sit at room temperature for a few minutes to soften slightly before scooping. Top with extra sprinkles, scoop, and serve with your favorite toppings!
Notes
Tips for Success:
- Whip the cream to medium stiff peaks: This ensures enough air is incorporated for a light and creamy texture.
- Do not substitute sweetened condensed milk: It’s essential for preventing ice crystals and achieving the correct, smooth consistency.
- Choose jimmies and confetti sprinkles: These types of sprinkles work best and remain soft enough when frozen, avoiding hard bits that can hurt your teeth.
- Don’t skip the Oreos (or similar cookies)! They provide a wonderful textural contrast, softening into cake-like pieces and adding a delicious “birthday cake” flavor. Feel free to use other similar cookies like Biscoff, chocolate Oreos, or even graham crackers if you prefer.
- Pre-chill your mixing bowl and whisk: This helps the cream whip faster and creates a more stable whipped cream.
- Work quickly when folding in mix-ins: Minimize stirring once the condensed milk is added to retain as much air as possible in the mixture.
