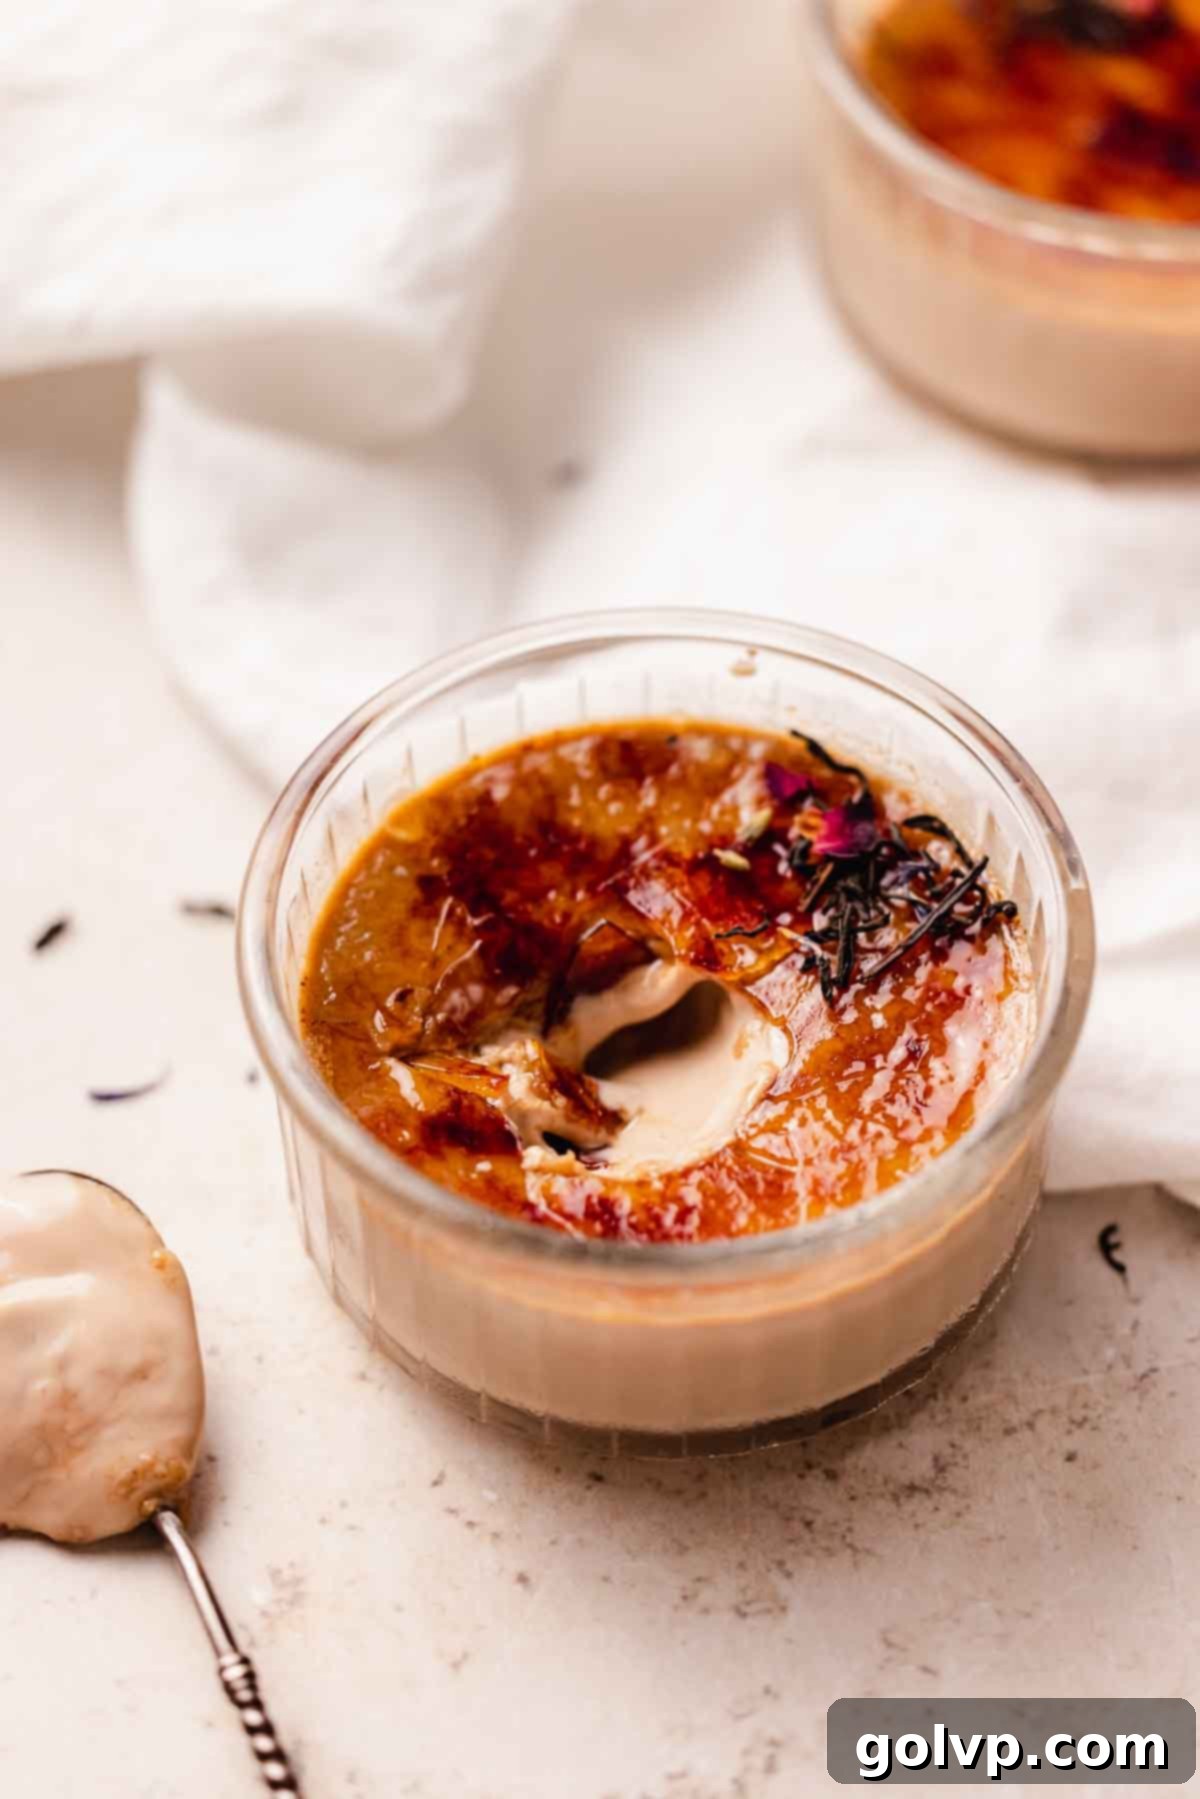
Indulge in the Velvety Smoothness of Earl Grey Crème Brûlée: A Sophisticated Dessert Recipe
Prepare to be enchanted by our exquisite Earl Grey Crème Brûlée recipe, a dessert that masterfully blends classic French elegance with the sophisticated notes of Earl Grey tea. This culinary creation promises a silky smooth, rich, and incredibly creamy custard, generously infused with the distinctive aroma of Earl Grey tea and the warm, inviting essence of vanilla. Imagine the comforting embrace of a London Fog latte, transformed into a luxuriously indulgent dessert. Our recipe takes pride in deeply infusing the milk with high-quality Earl Grey tea leaves and a whole vanilla bean, ensuring every spoonful is bursting with complex, aromatic flavor.
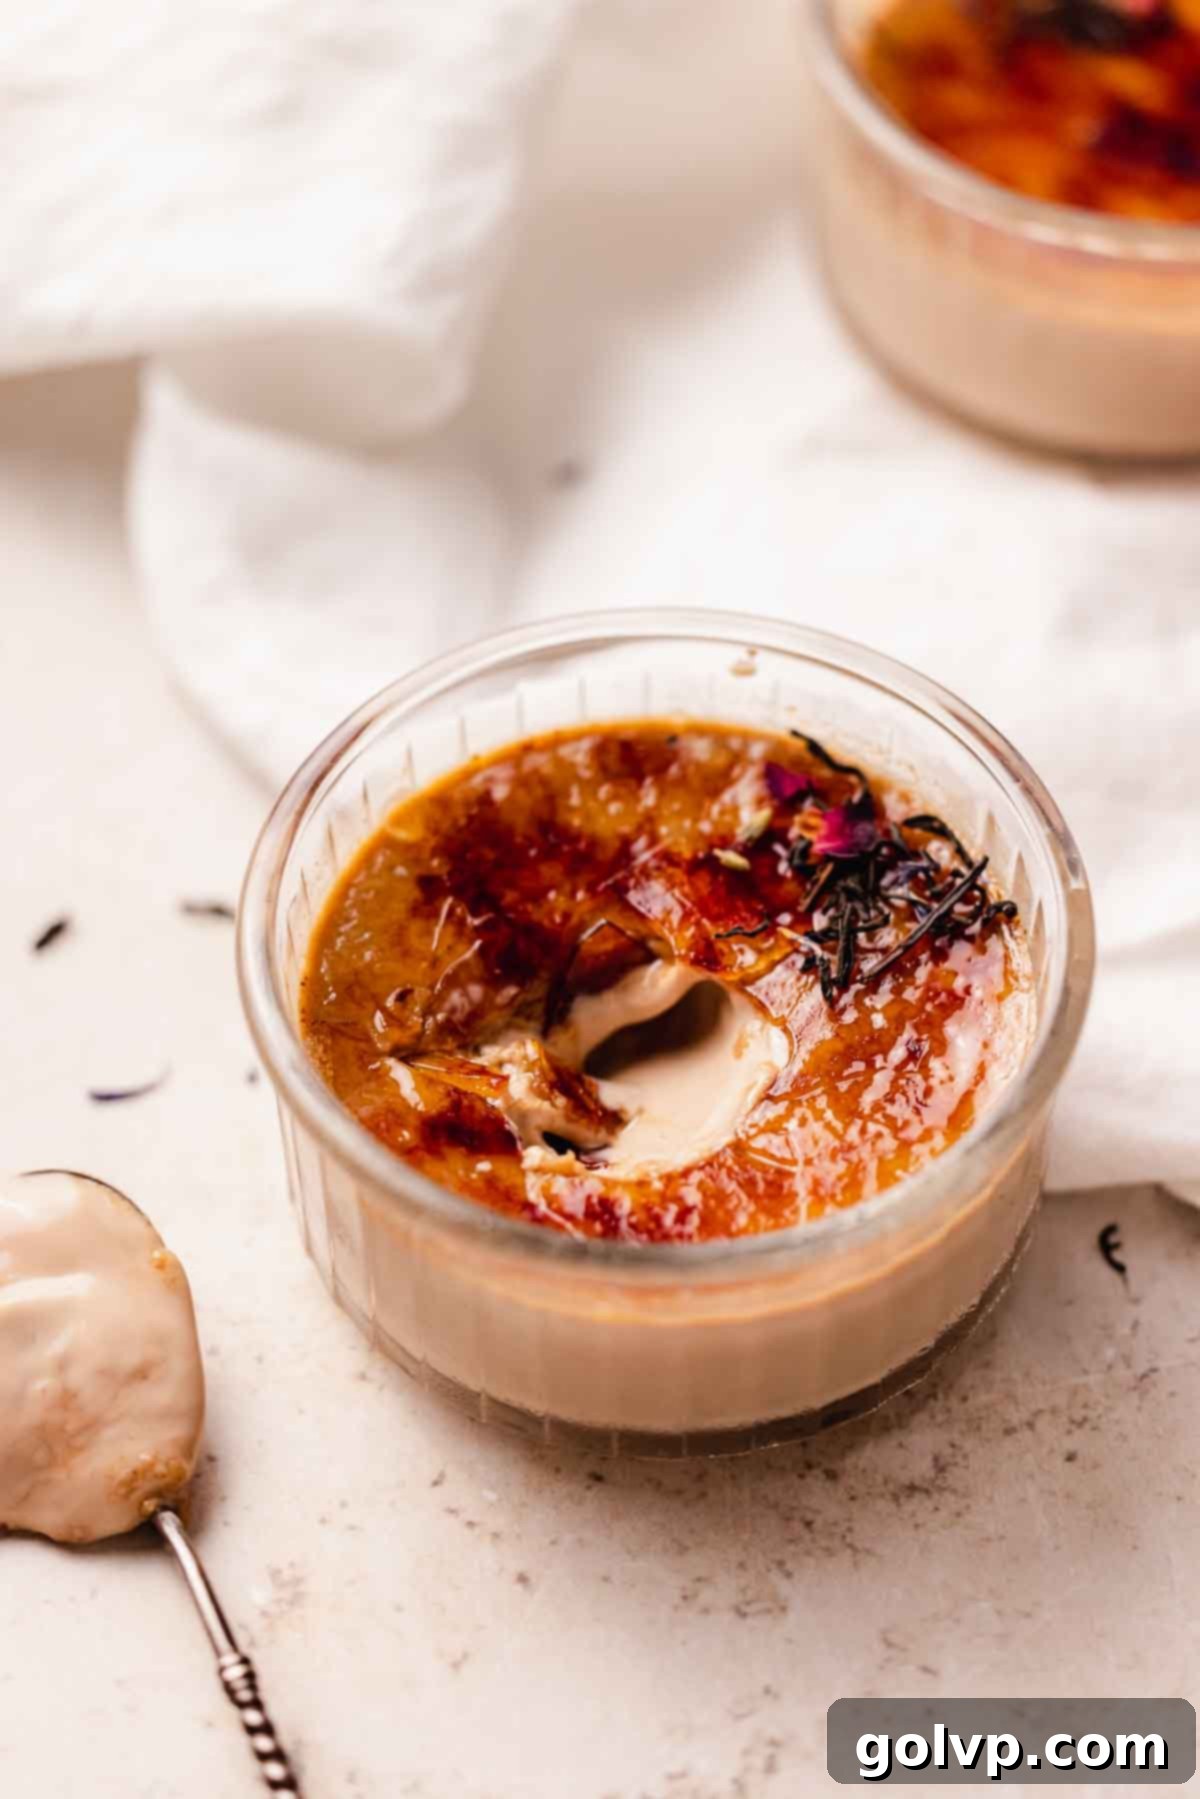
☕ Why You’ll Adore This Earl Grey Crème Brûlée Recipe
- Effortlessly Impressive: Don’t let its sophisticated appearance fool you – making homemade crème brûlée is surprisingly straightforward. Our detailed, step-by-step instructions ensure a perfect result every time, making it an ideal dessert for both novice bakers and seasoned pros looking for an elegant yet simple treat to impress family and friends.
- Unforgettable Earl Grey Flavor: This isn’t just a hint of tea; it’s a full-bodied celebration of Earl Grey. We achieve a profound flavor by infusing both high-quality loose-leaf Earl Grey tea and a whole vanilla bean directly into the milk. This creates a deeply aromatic, complex custard that evokes the cozy comfort of a London Fog, offering a unique twist on a classic dessert.
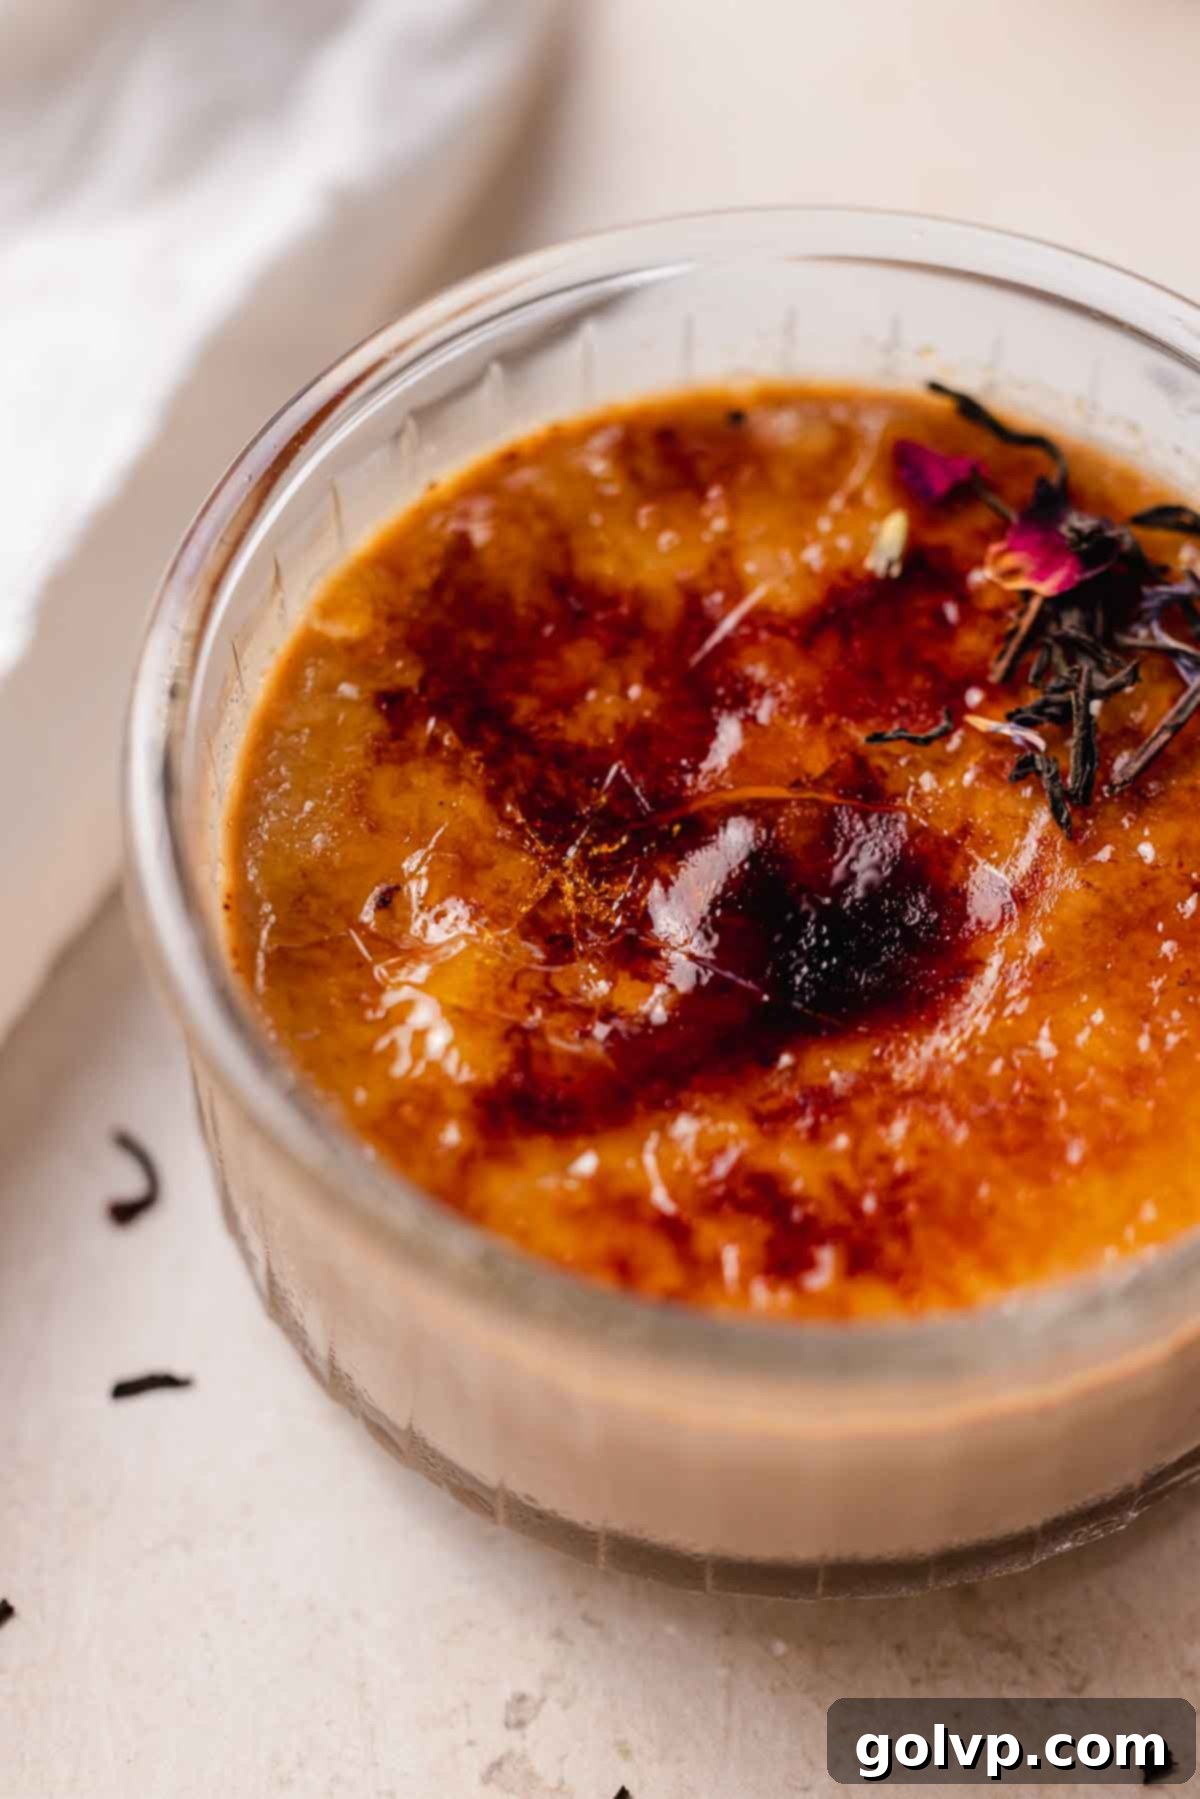
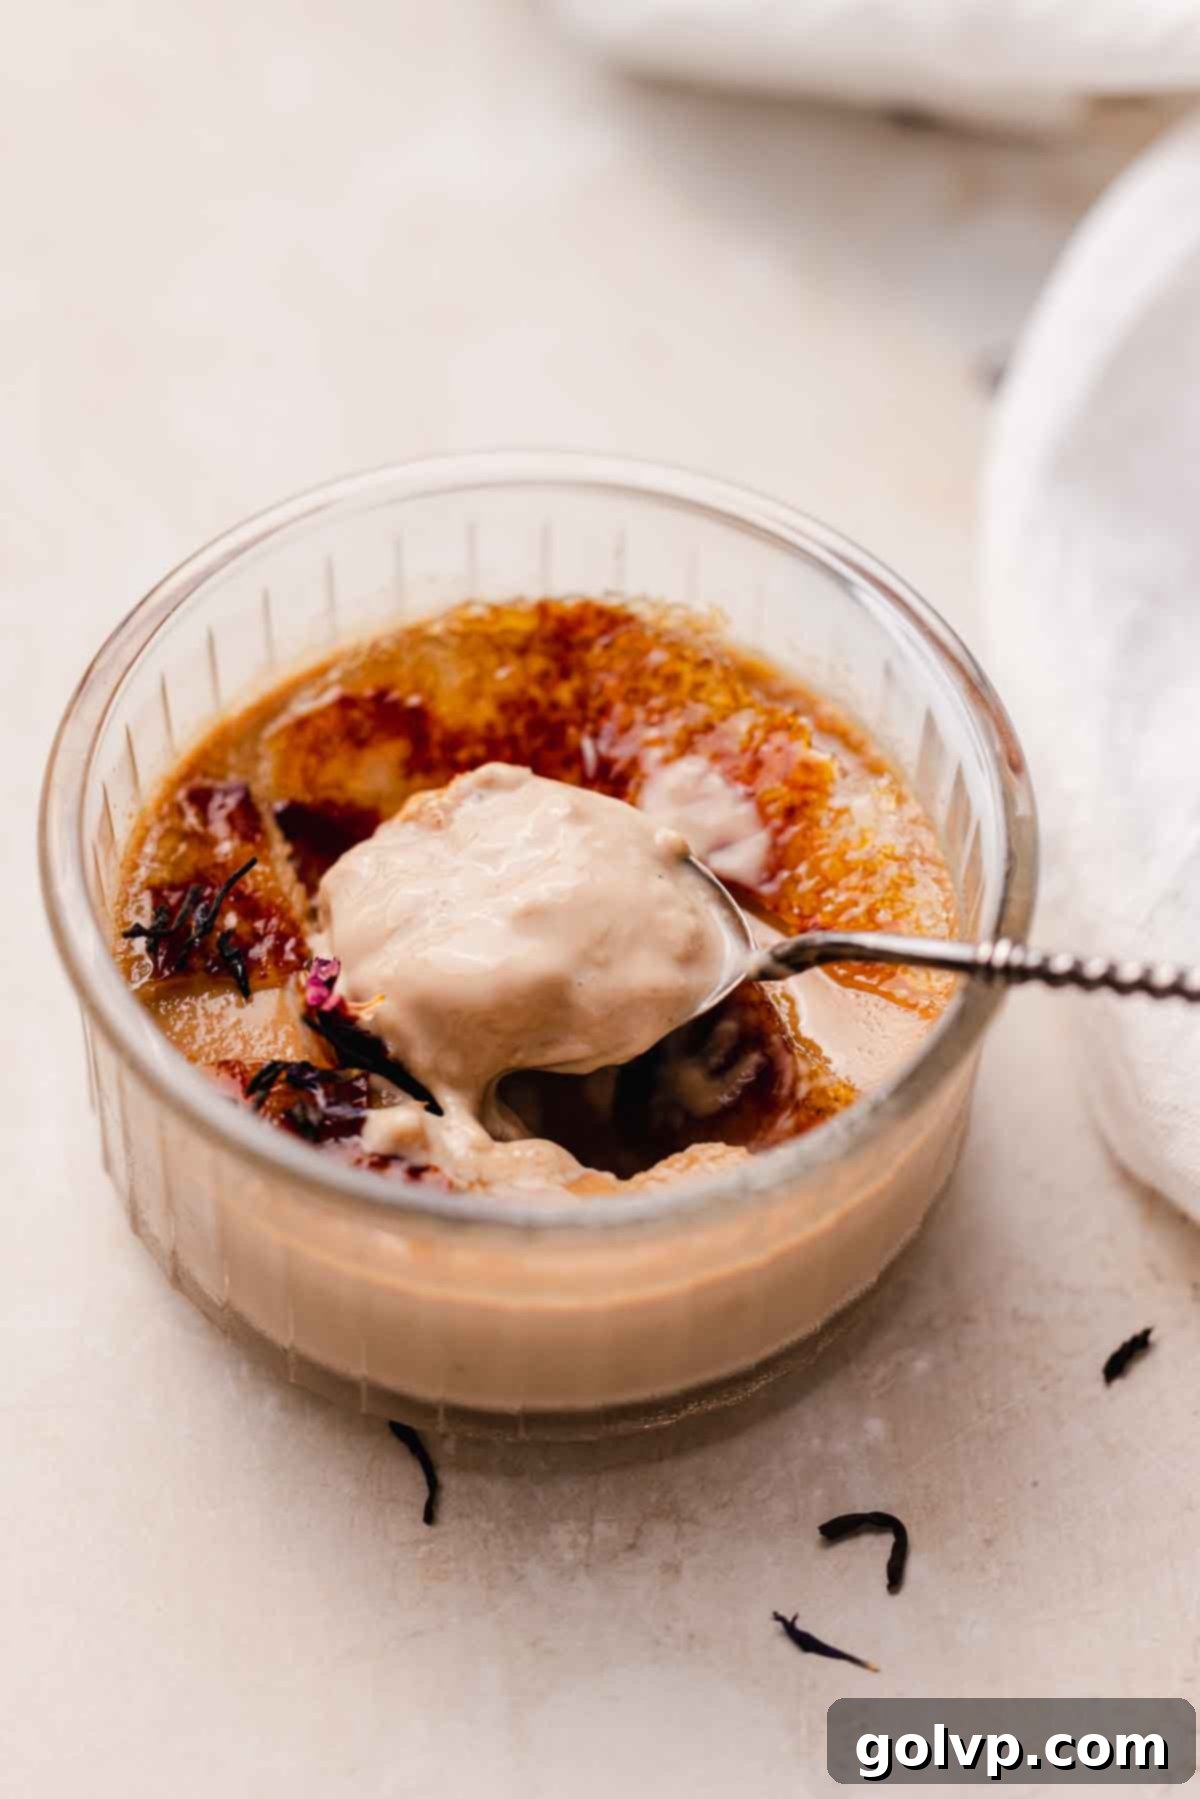
- Luxuriously Creamy Texture with the Perfect Crack: Experience the ultimate contrast: a velvety smooth, melt-in-your-mouth custard beneath a spectacularly crisp, caramelized sugar crust. The distinct “crack” as you tap your spoon is incredibly satisfying and highlights the rich, creamy texture of the brûlée. It’s a culinary delight that engages all your senses.
If you have a passion for elegant, tea-infused desserts that boast an irresistible creamy texture, then this Earl Grey Crème Brûlée is an absolute must-try. You’ll also likely fall in love with our Matcha Tiramisu, offering another delightful fusion of tea and dessert, or perhaps indulge in the simple elegance of our easy creamy Lemon Posset recipe. These recipes all share a common thread of rich, smooth finishes that are sure to please any palate.
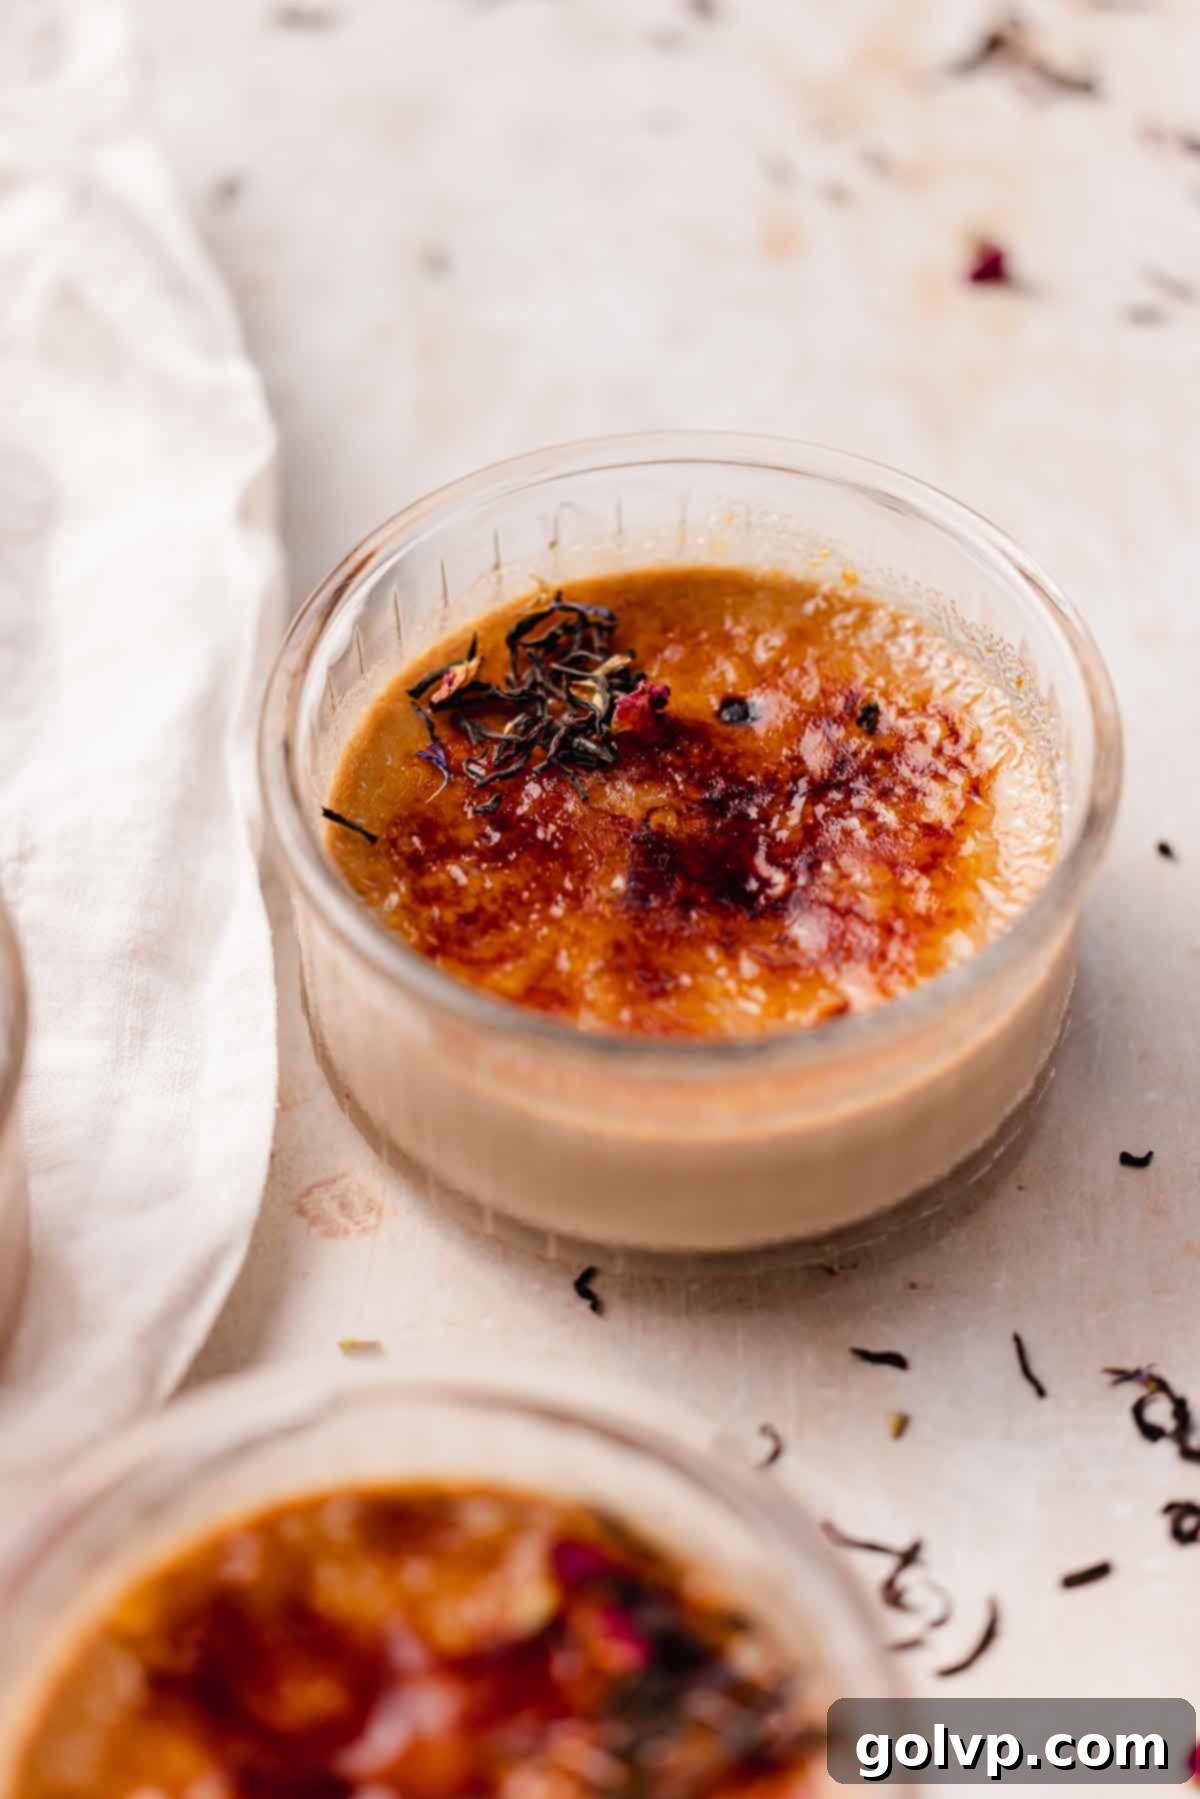
📝 Essential Ingredients for Your Perfect Earl Grey Crème Brûlée
Dive into the details of each ingredient to ensure your Earl Grey Crème Brûlée achieves its ultimate flavor and texture. Understanding the role of each component is key to culinary success!
For precise measurements and a full list, please refer to the recipe card below.
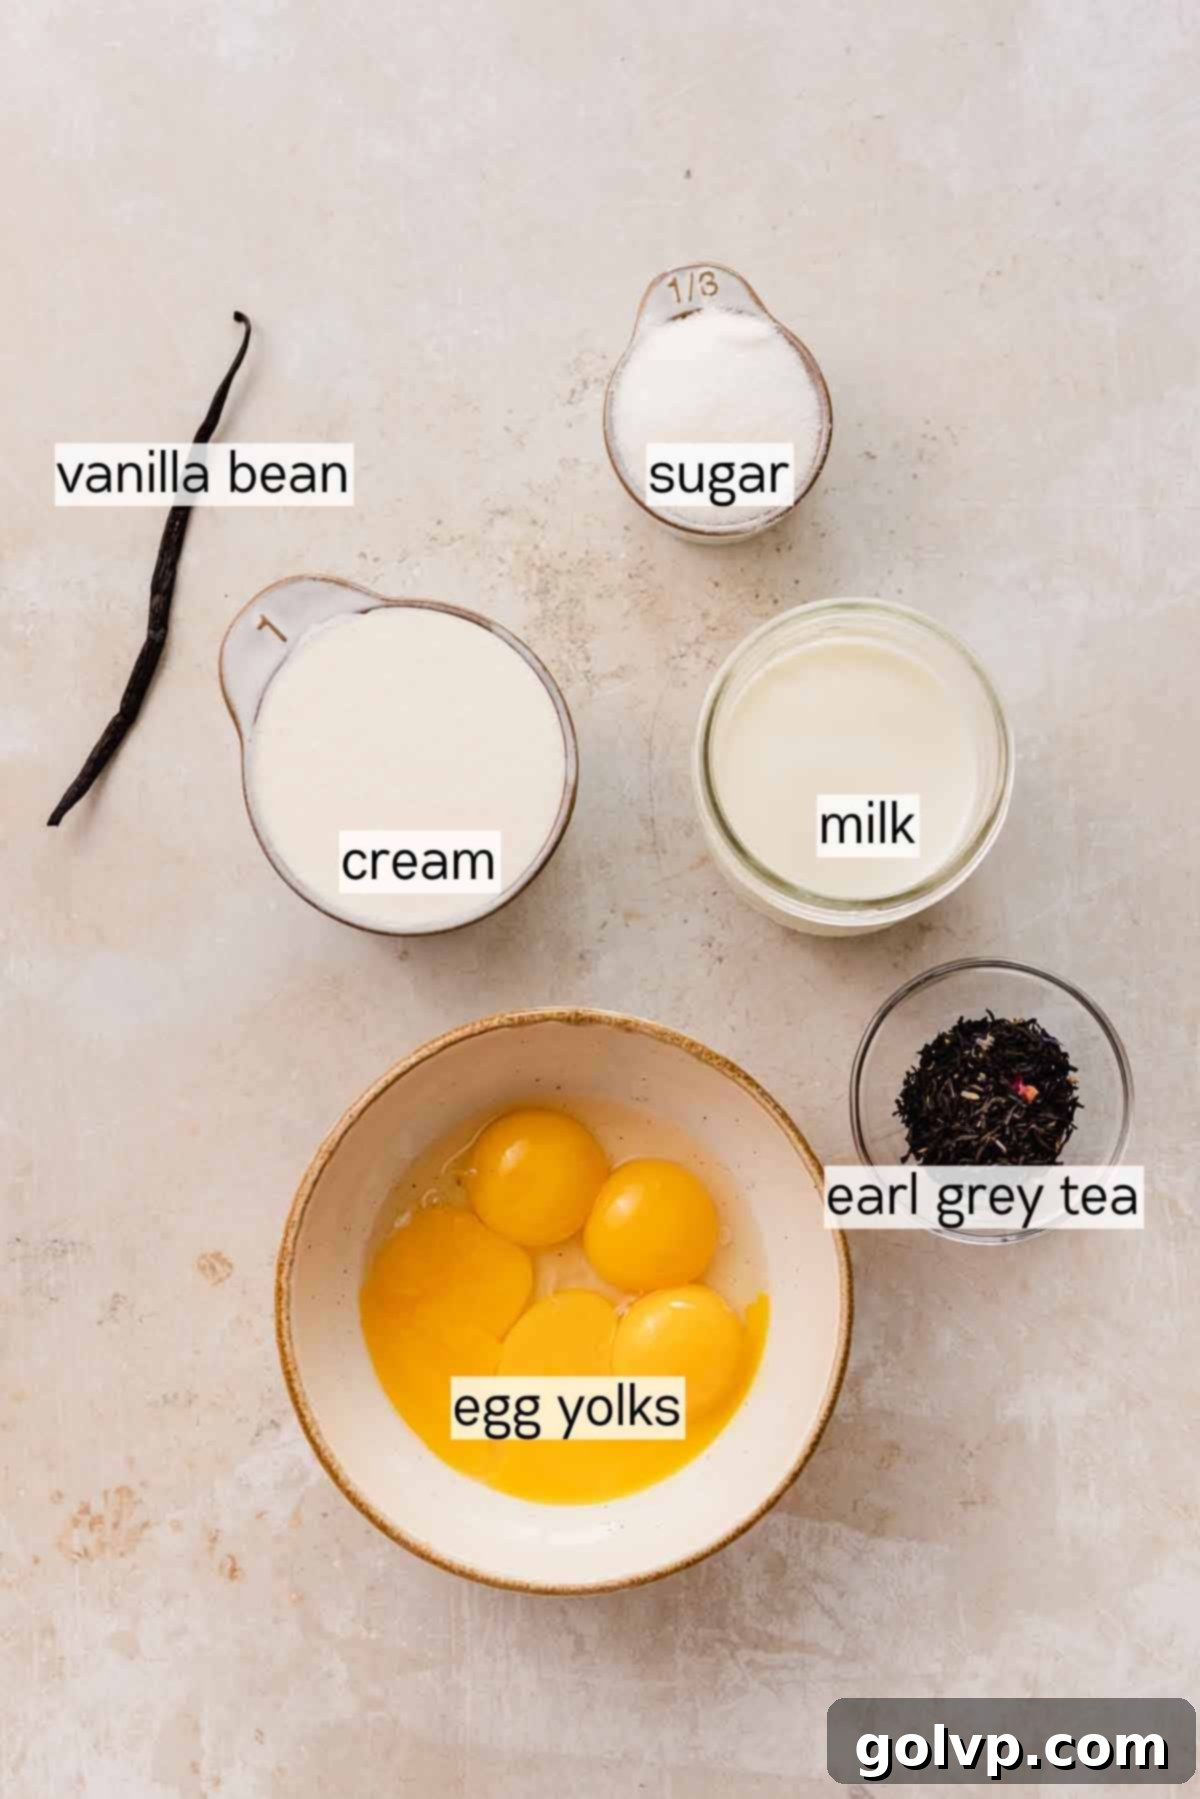
- Whole Milk: While whole milk is our top recommendation for achieving the richest, most decadent custard base, its higher fat content contributes significantly to the silky texture. However, if 2% milk is what you have on hand, it can certainly be used, though the final product might be slightly less rich. We advise against using skim milk as it will compromise the creamy consistency of your crème brûlée.
- High-Quality Earl Grey Tea (Loose-leaf or Teabags): The star of this dessert, Earl Grey tea, needs to shine. Opt for a premium loose-leaf tea for the most intense and authentic bergamot flavor. Loose-leaf varieties generally offer a superior aroma and taste compared to teabags, allowing for a deeper infusion. The fresher your tea, the more vibrant the flavor it will impart into your milk, creating that wonderful “London Fog” essence. If using teabags, ensure they are good quality, and perhaps use an extra one for stronger flavor.
- Whole Vanilla Bean: This ingredient is crucial for adding a layer of warm, sweet complexity that perfectly complements the Earl Grey. Scraping the seeds from a fresh vanilla bean and infusing both the seeds and the pod into the milk will release an unparalleled depth of vanilla flavor. If a whole vanilla bean is unavailable, you can substitute with 1 tablespoon of good quality vanilla bean paste for visible specks and rich flavor, or 1 tablespoon of pure vanilla extract, adding it after the milk has steeped and cooled slightly.
- Large Egg Yolks: These are the magic behind the crème brûlée’s luxurious set and thickening. The egg yolks emulsify with the cream and milk, creating the custard’s signature rich texture. Don’t throw away those egg whites! They can be frozen for later use in delicious meringues, pavlovas, or a healthy egg white omelet. Using large eggs is important for consistent results.
- Heavy Whipping Cream (35% Fat): For an ultra-rich and undeniably creamy crème brûlée, heavy whipping cream with a fat content of around 35% is essential. This high fat content provides the decadent mouthfeel and stability that defines a truly exceptional crème brûlée. Do not substitute with half-and-half or light cream, as it will result in a less satisfying, thinner custard.
- Granulated Sugar for Custard & Topping: While some recipes call for different sugars, we recommend plain granulated (white) sugar for both the custard base and, crucially, for creating that iconic crunchy caramel topping. For the topping, granulated sugar melts evenly and caramelizes beautifully under a torch or broiler, achieving a pristine, hard crack. Coarser sugars or brown sugars tend to burn before fully melting, leading to a bitter, lumpy, and less satisfying crust. Stick to the classic for the best results!
👩🍳 Step-by-Step Guide: Crafting Your Earl Grey Crème Brûlée
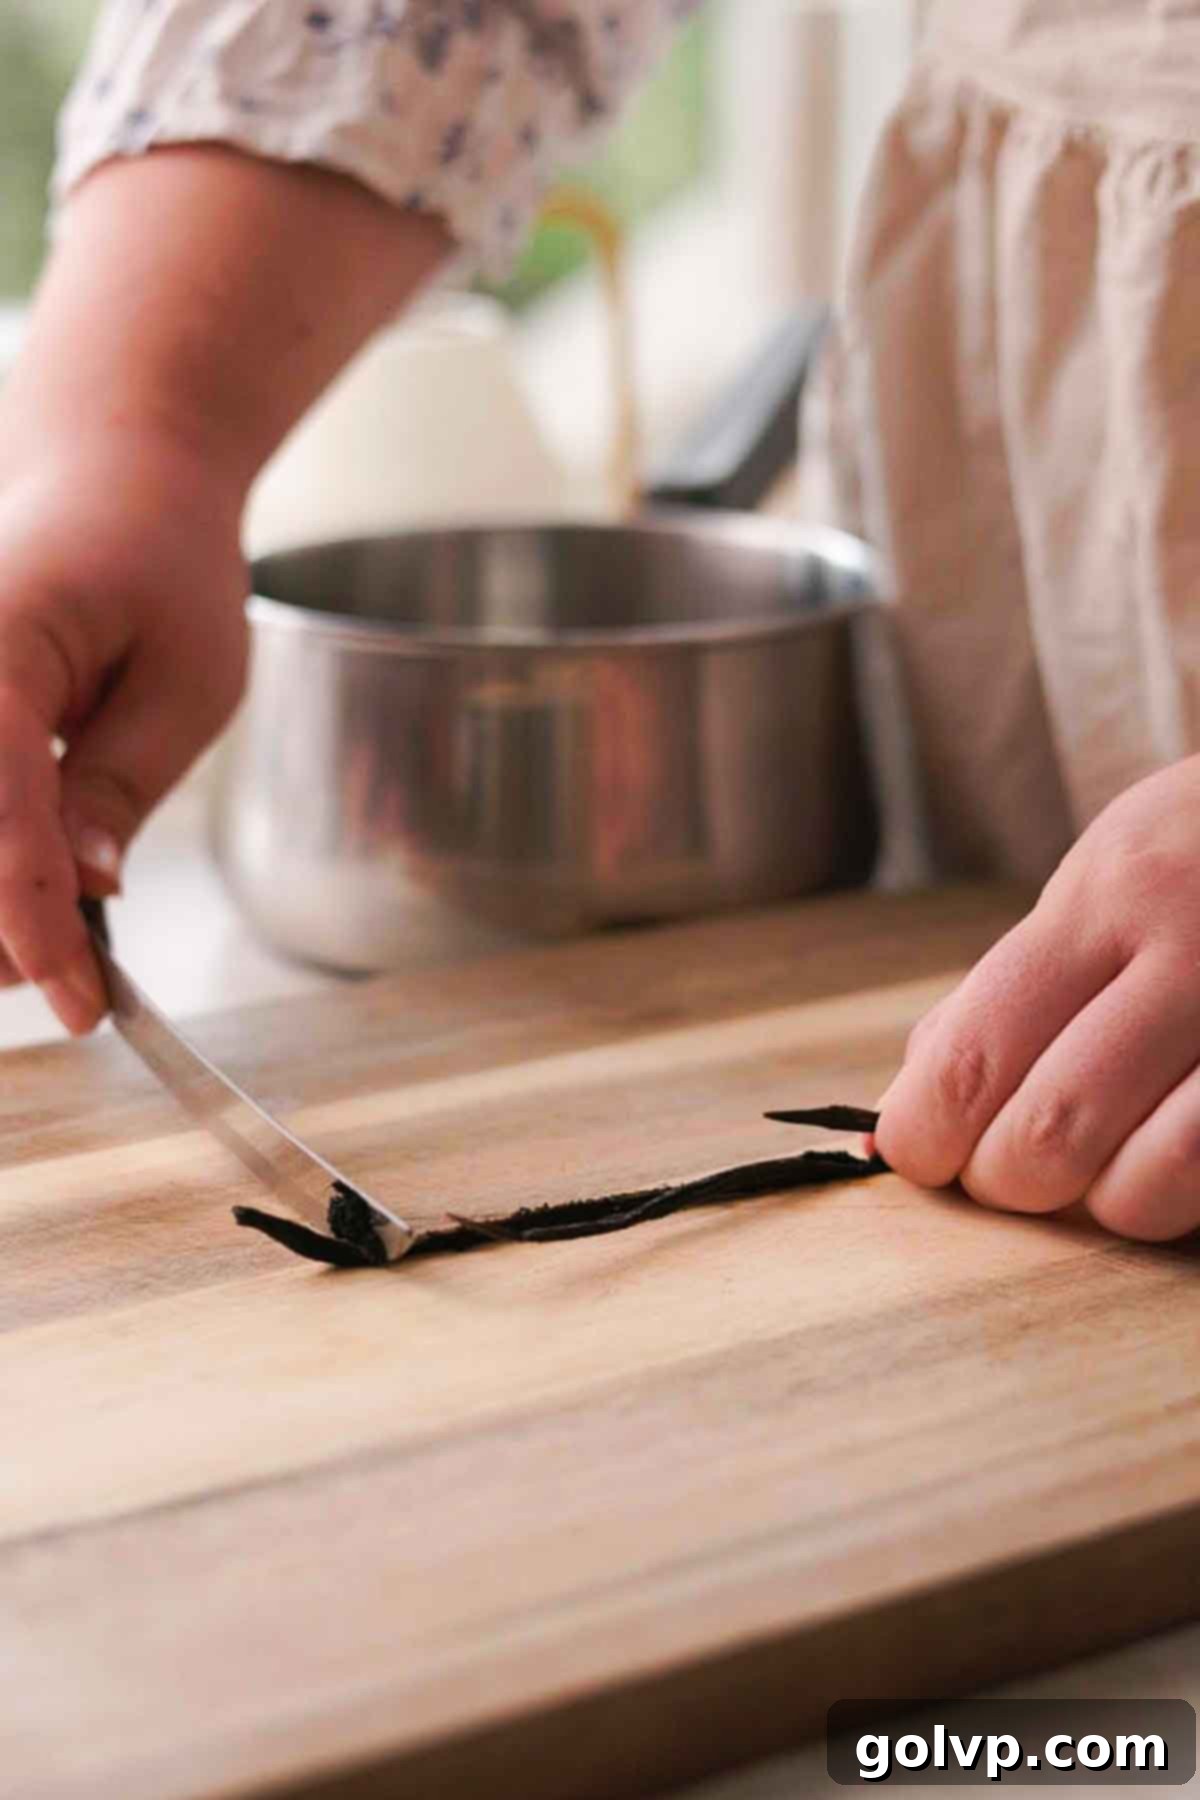
Step 1: Prepare the Infusion. Begin by taking your whole vanilla bean. Using a sharp paring knife, carefully slice the bean lengthwise down the center to expose the tiny, aromatic seeds. With the dull side of your knife, scrape out all the seeds and transfer them to a medium saucepan. Add the now-empty vanilla bean pod to the saucepan, along with your preferred quantity of Earl Grey tea leaves (or teabags) and the specified amount of whole milk. This is where the magic begins, as these elements will infuse to create the distinctive flavor profile.
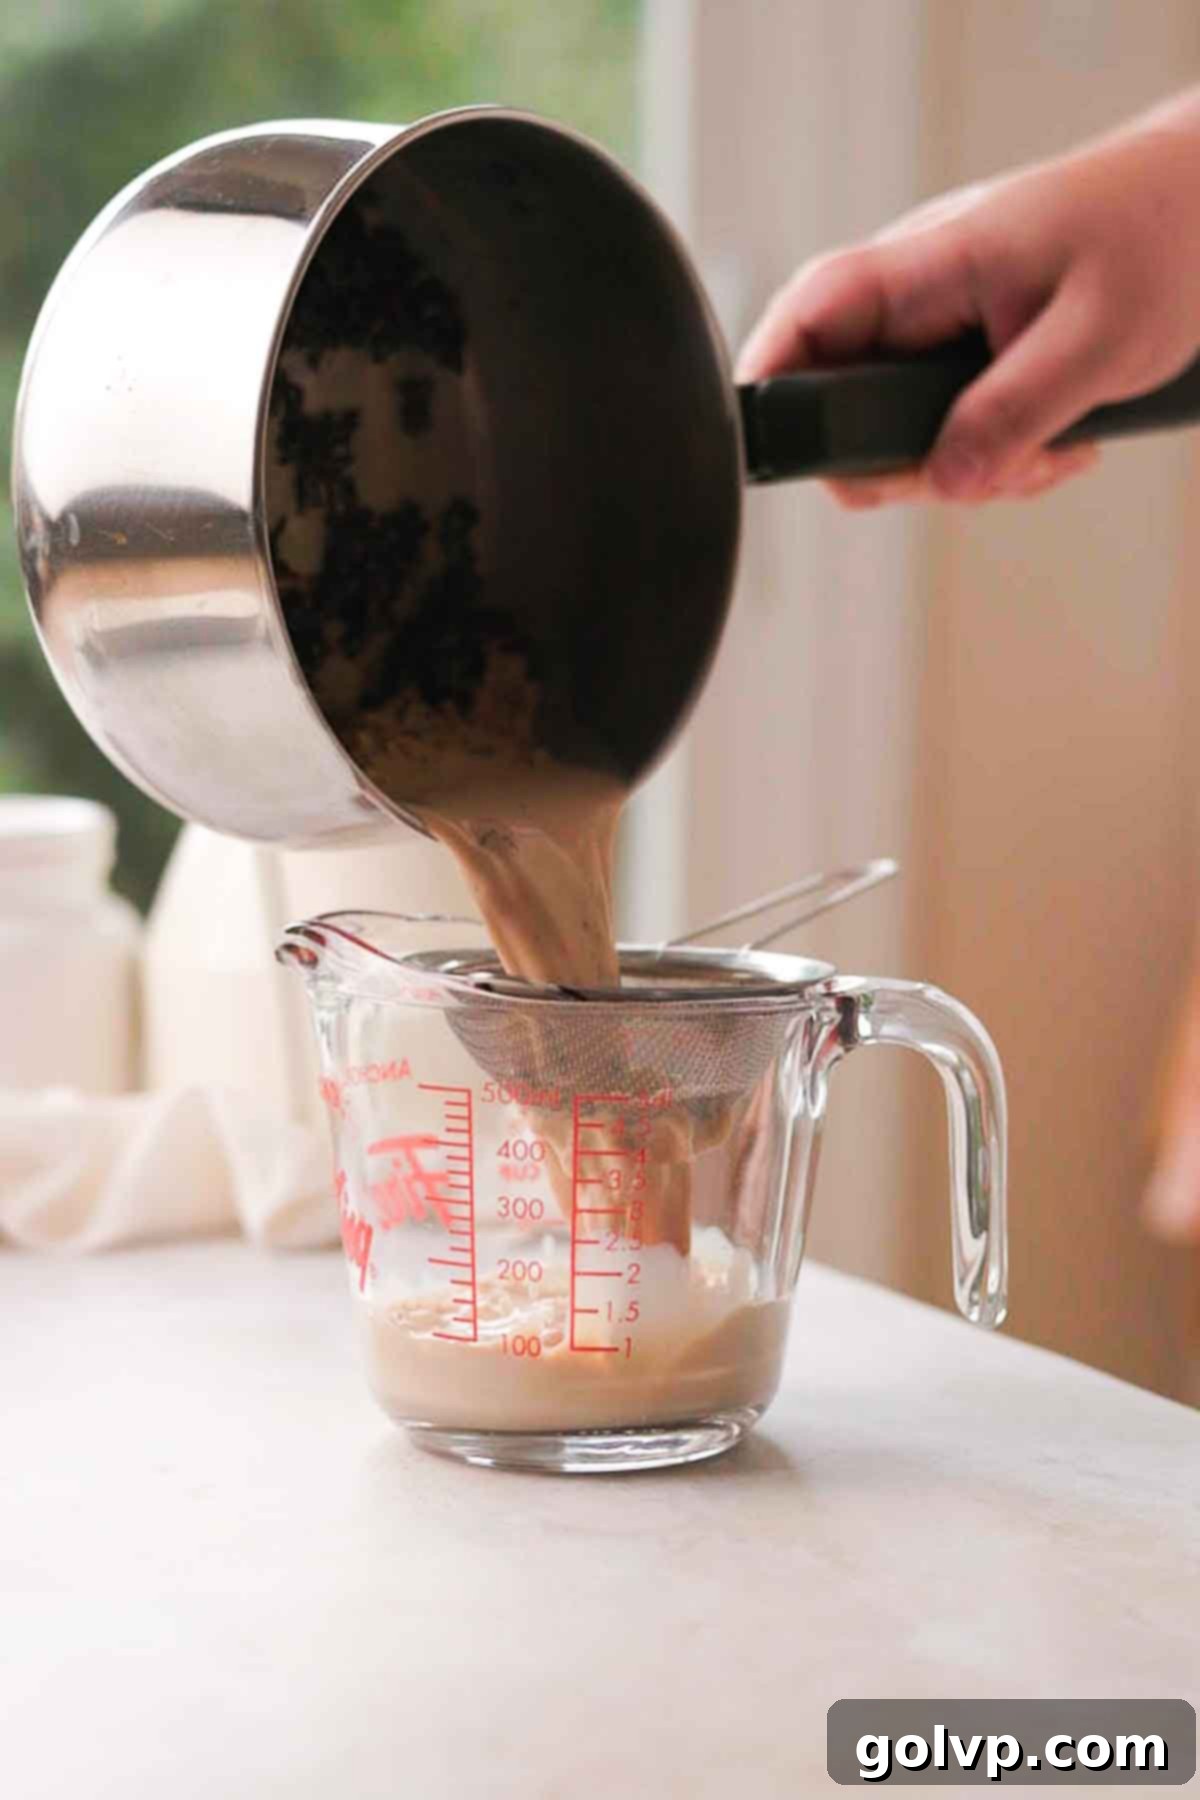
Step 2: Steep for Flavor. Place the saucepan over medium heat and gently bring the mixture to a low simmer. Be careful not to let it boil vigorously; you’re looking for small bubbles to appear around the edges. Once simmering, immediately remove the saucepan from the heat, cover it, and allow the tea and vanilla to steep for a good 10-15 minutes. This crucial steeping time allows the flavors to fully develop and meld into the milk. After steeping, pour the infused milk through a fine-mesh sieve into a clean bowl, discarding the spent tea leaves and vanilla bean pod. This ensures a perfectly smooth custard.
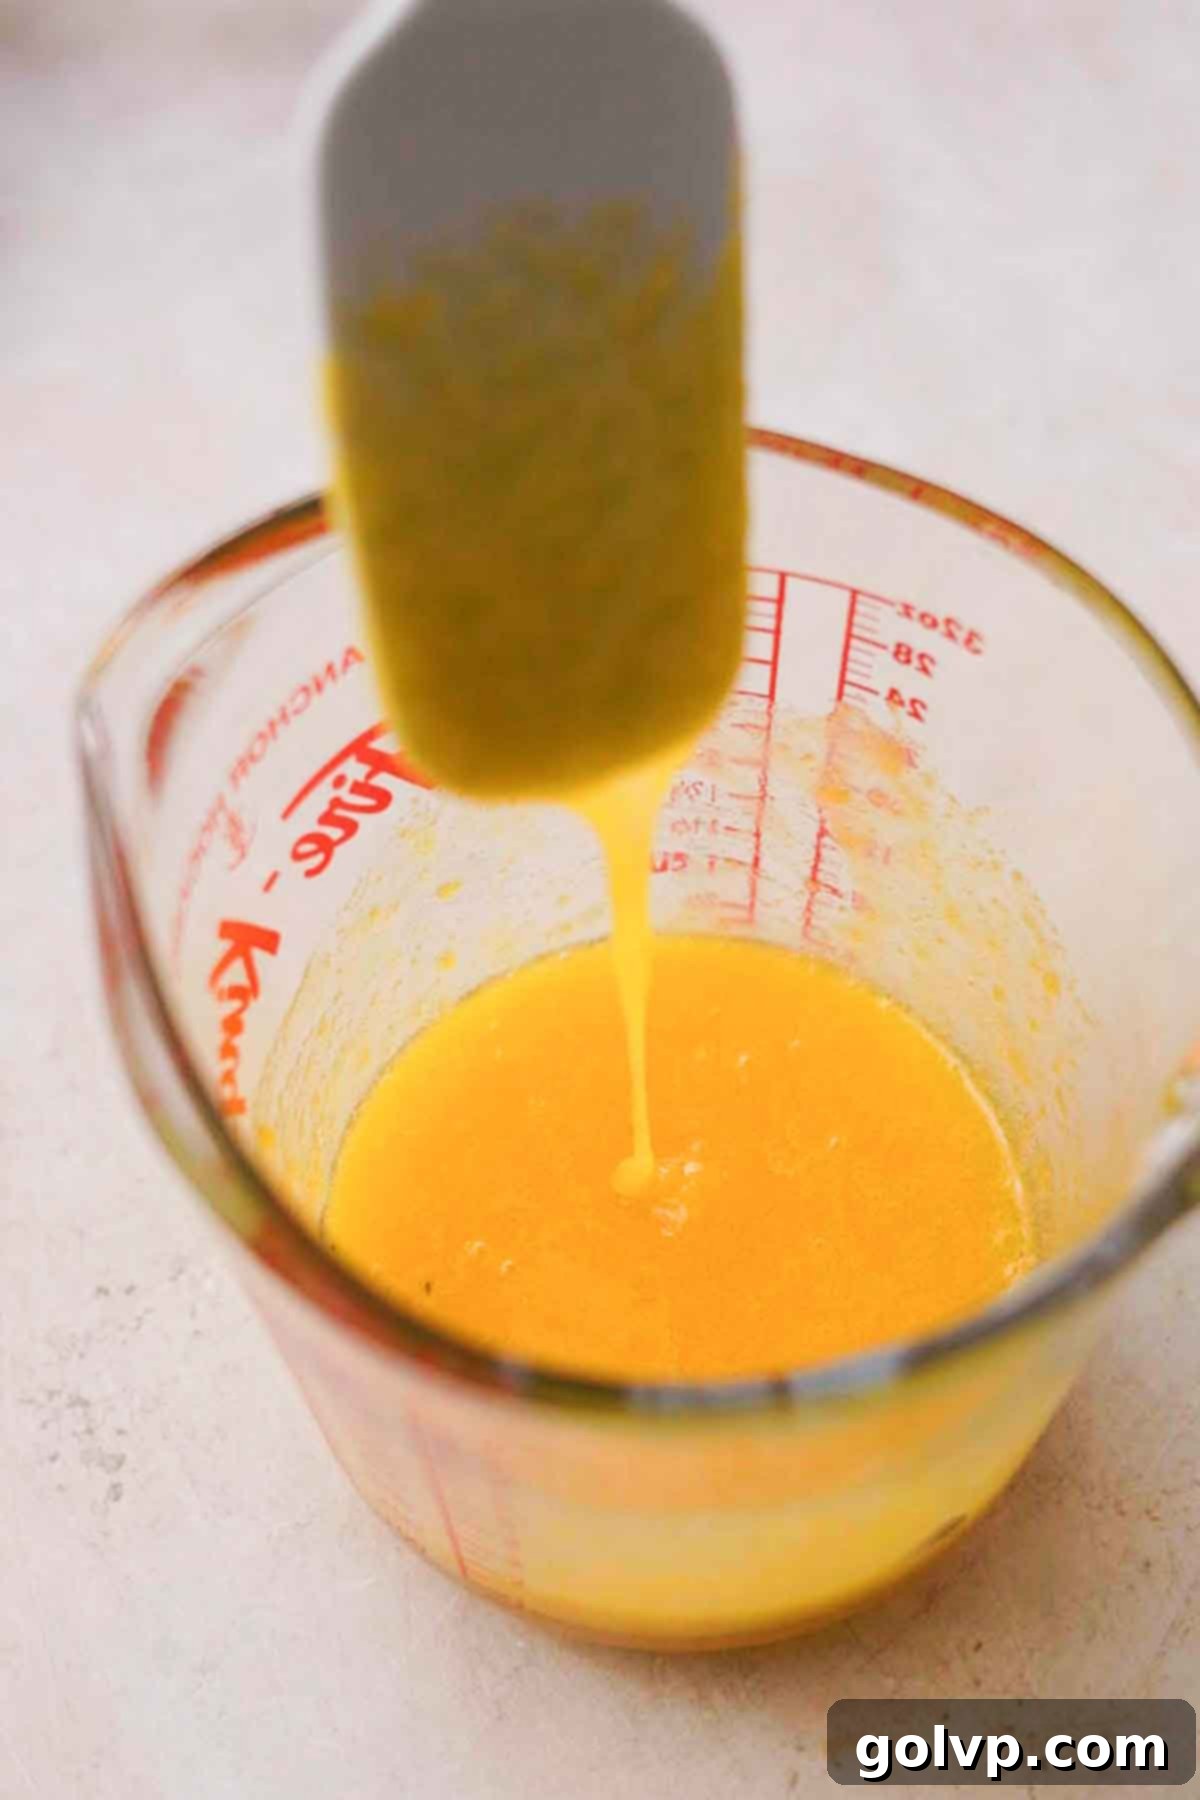
Step 3: Combine Yolks and Sugar. In a separate, large mixing bowl – or ideally, a pitcher with a spout for easy pouring – gently whisk together the granulated sugar and egg yolks. The key here is to stir just until they are smoothly combined and uniform in color. Avoid over-whisking, as incorporating too much air can lead to a frothy custard rather than the desired dense, creamy texture. You don’t want the mixture to become light and fluffy, but rather thick and well-blended.
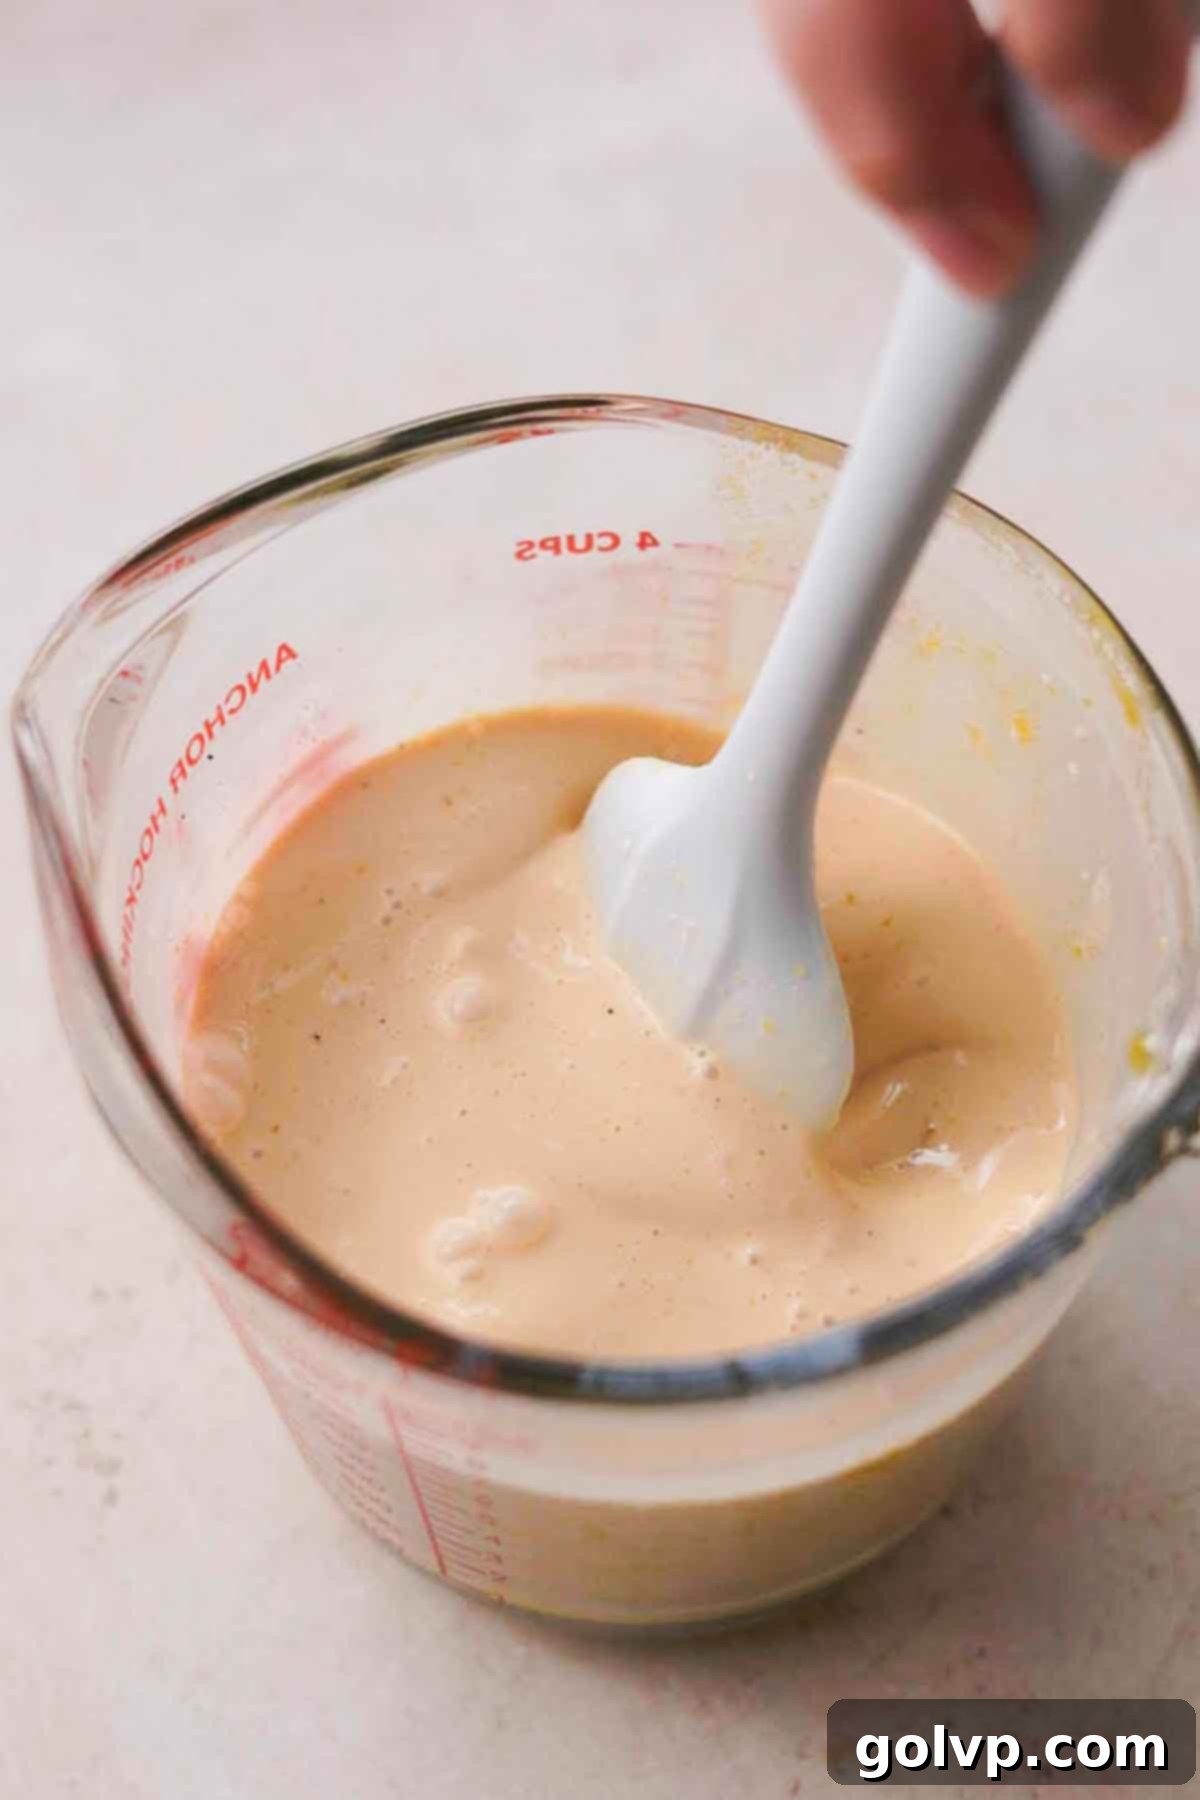
Step 4: Incorporate Wet Ingredients. To the egg yolk and sugar mixture, add the heavy whipping cream, the strained Earl Grey and vanilla-infused milk, and a pinch of sea salt. Stir these ingredients together carefully until they are fully incorporated and the mixture is homogeneous. Again, a gentle stirring motion is preferred over vigorous whisking to maintain the smooth consistency and prevent excess air bubbles from forming, which could affect the final texture of your crème brûlée.
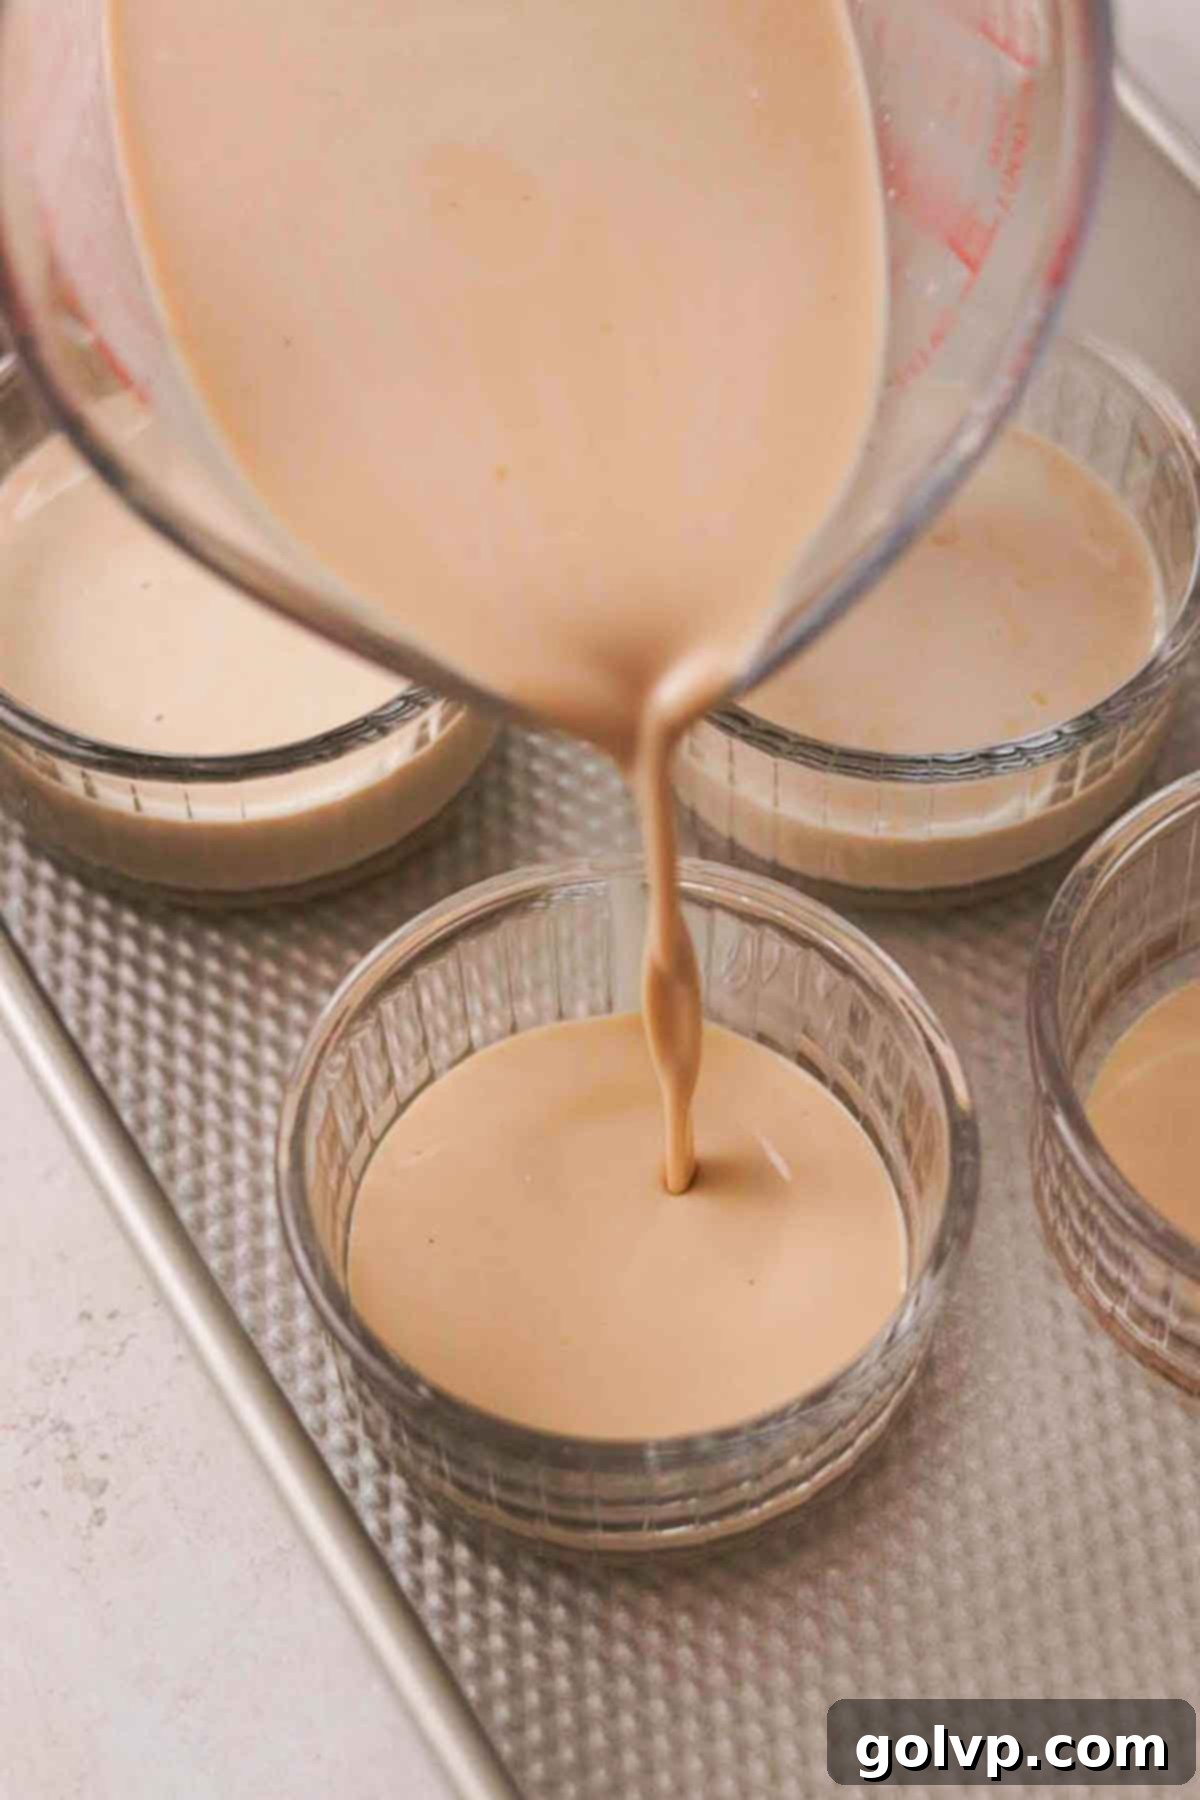
Step 5: Prepare for Baking. Evenly divide the custard mixture among four oven-safe ramekins. It’s often helpful to place the ramekins directly into your baking pan before pouring, to make moving them easier. Choose a baking pan that is deep enough to accommodate a water bath – a 9×13 inch pan typically works well. The goal is to create a stable environment for your ramekins during baking.
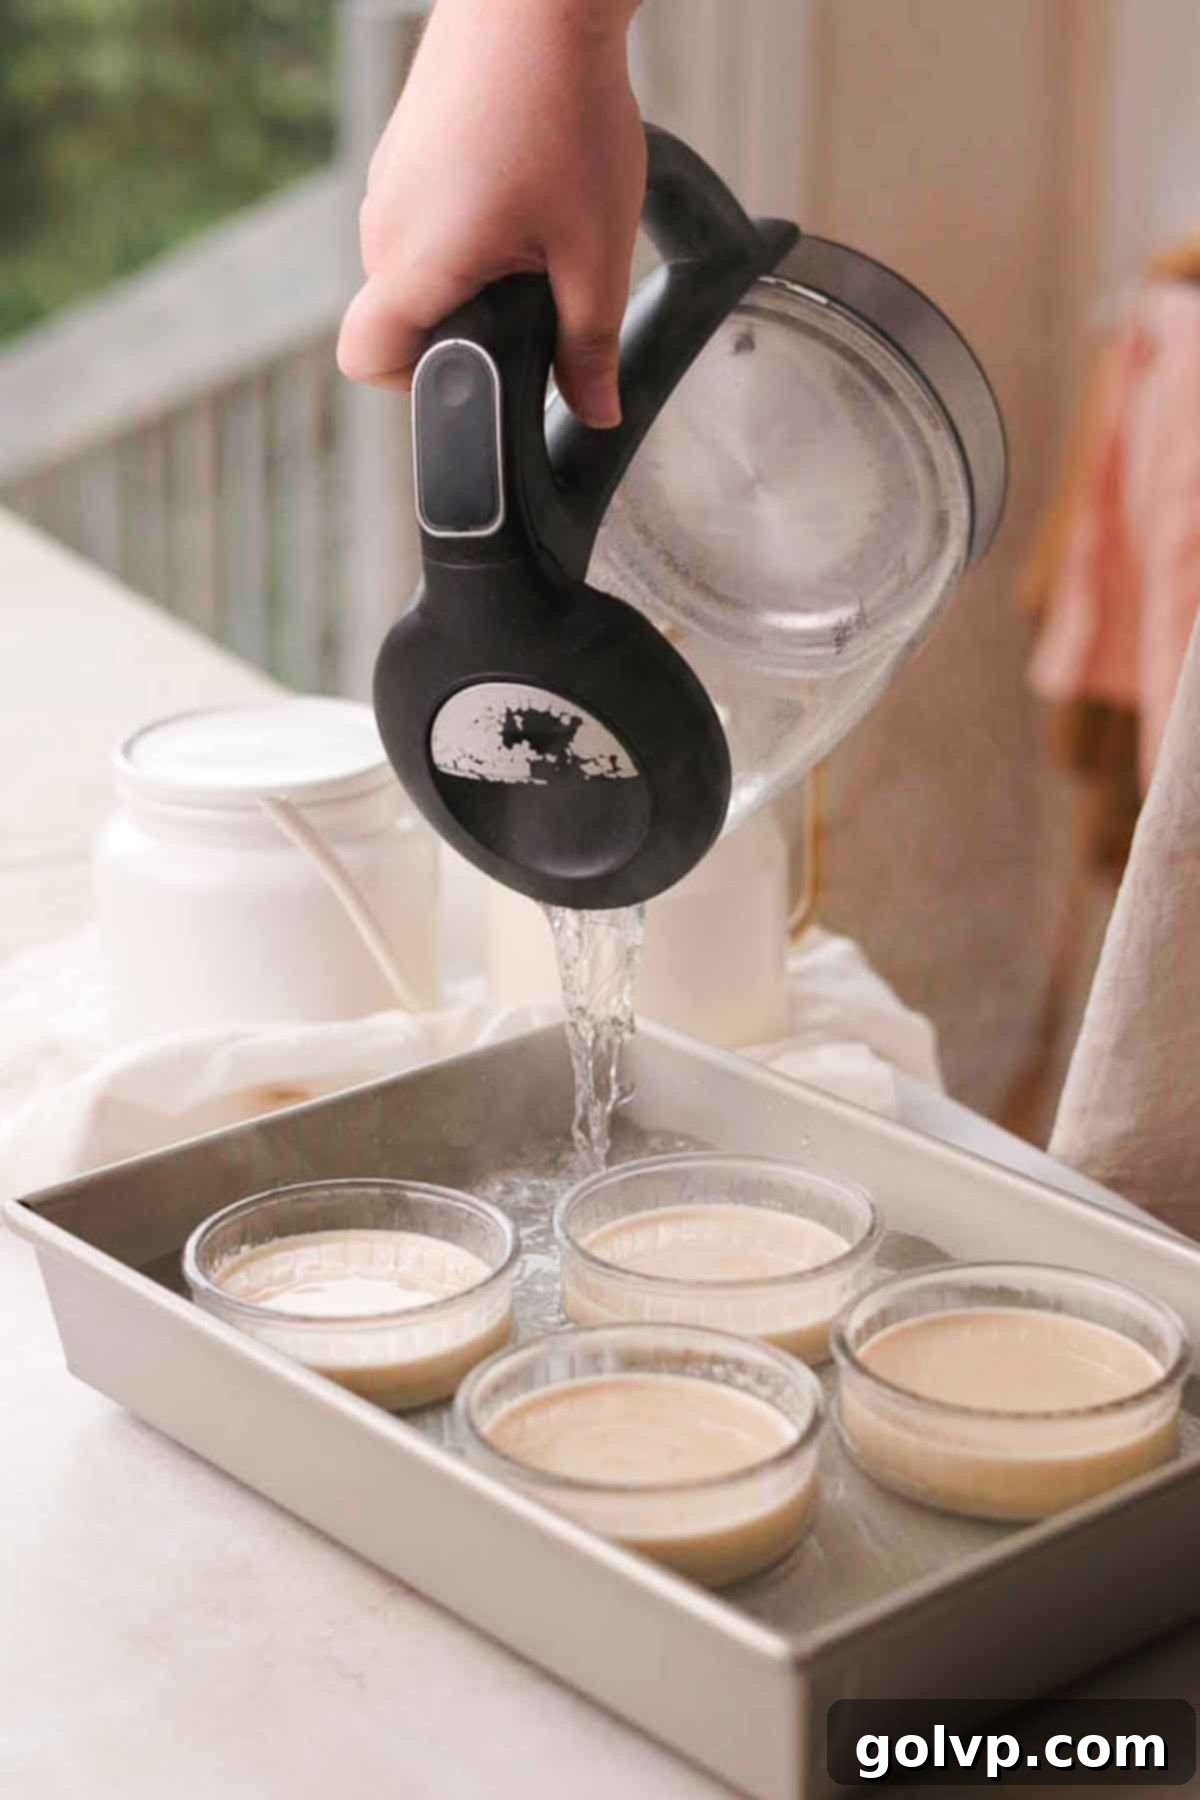
Step 6: Create the Water Bath. Carefully pour boiling water into the baking tray, ensuring it reaches about halfway up the sides of the ramekins. This water bath (bain-marie) is a critical step for crème brûlée. It helps the custards bake gently and evenly, preventing them from curdling or developing cracks, and results in that perfectly smooth, silky texture we crave. Take caution while handling hot water to avoid any splashes.
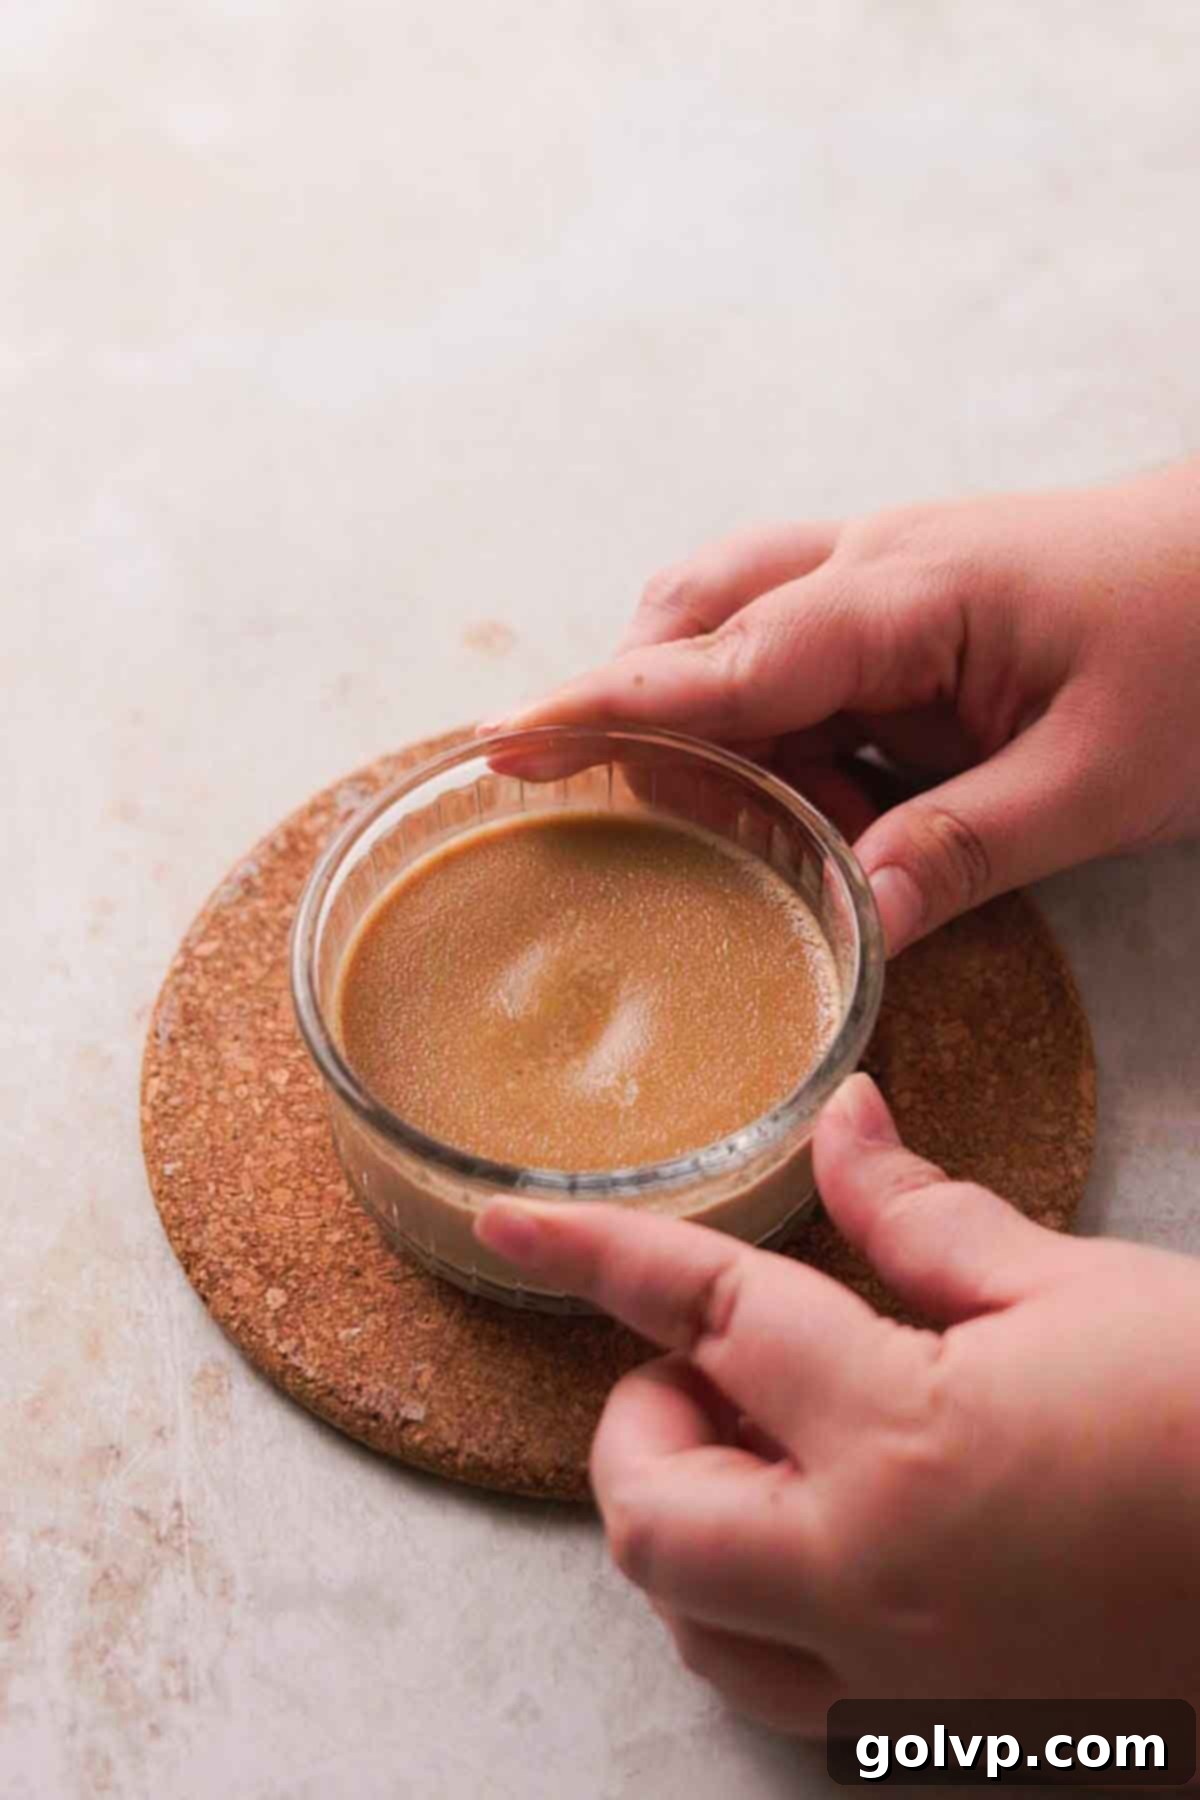
Step 7: Bake and Chill. Transfer the baking pan with the ramekins and water bath to your preheated oven at 320°F (160°C). Bake for approximately 25-30 minutes, or until the edges are set but the center still has a slight, delicate jiggle when gently nudged. Overbaking can lead to a rubbery texture, so keep a close eye on them. Once baked, carefully remove the ramekins from the hot water bath using tongs. Allow them to cool on a wire rack at room temperature before transferring them to the refrigerator. Chilling for at least 2-3 hours, or preferably overnight, is essential for the custards to fully set and for the flavors to deepen and mature.
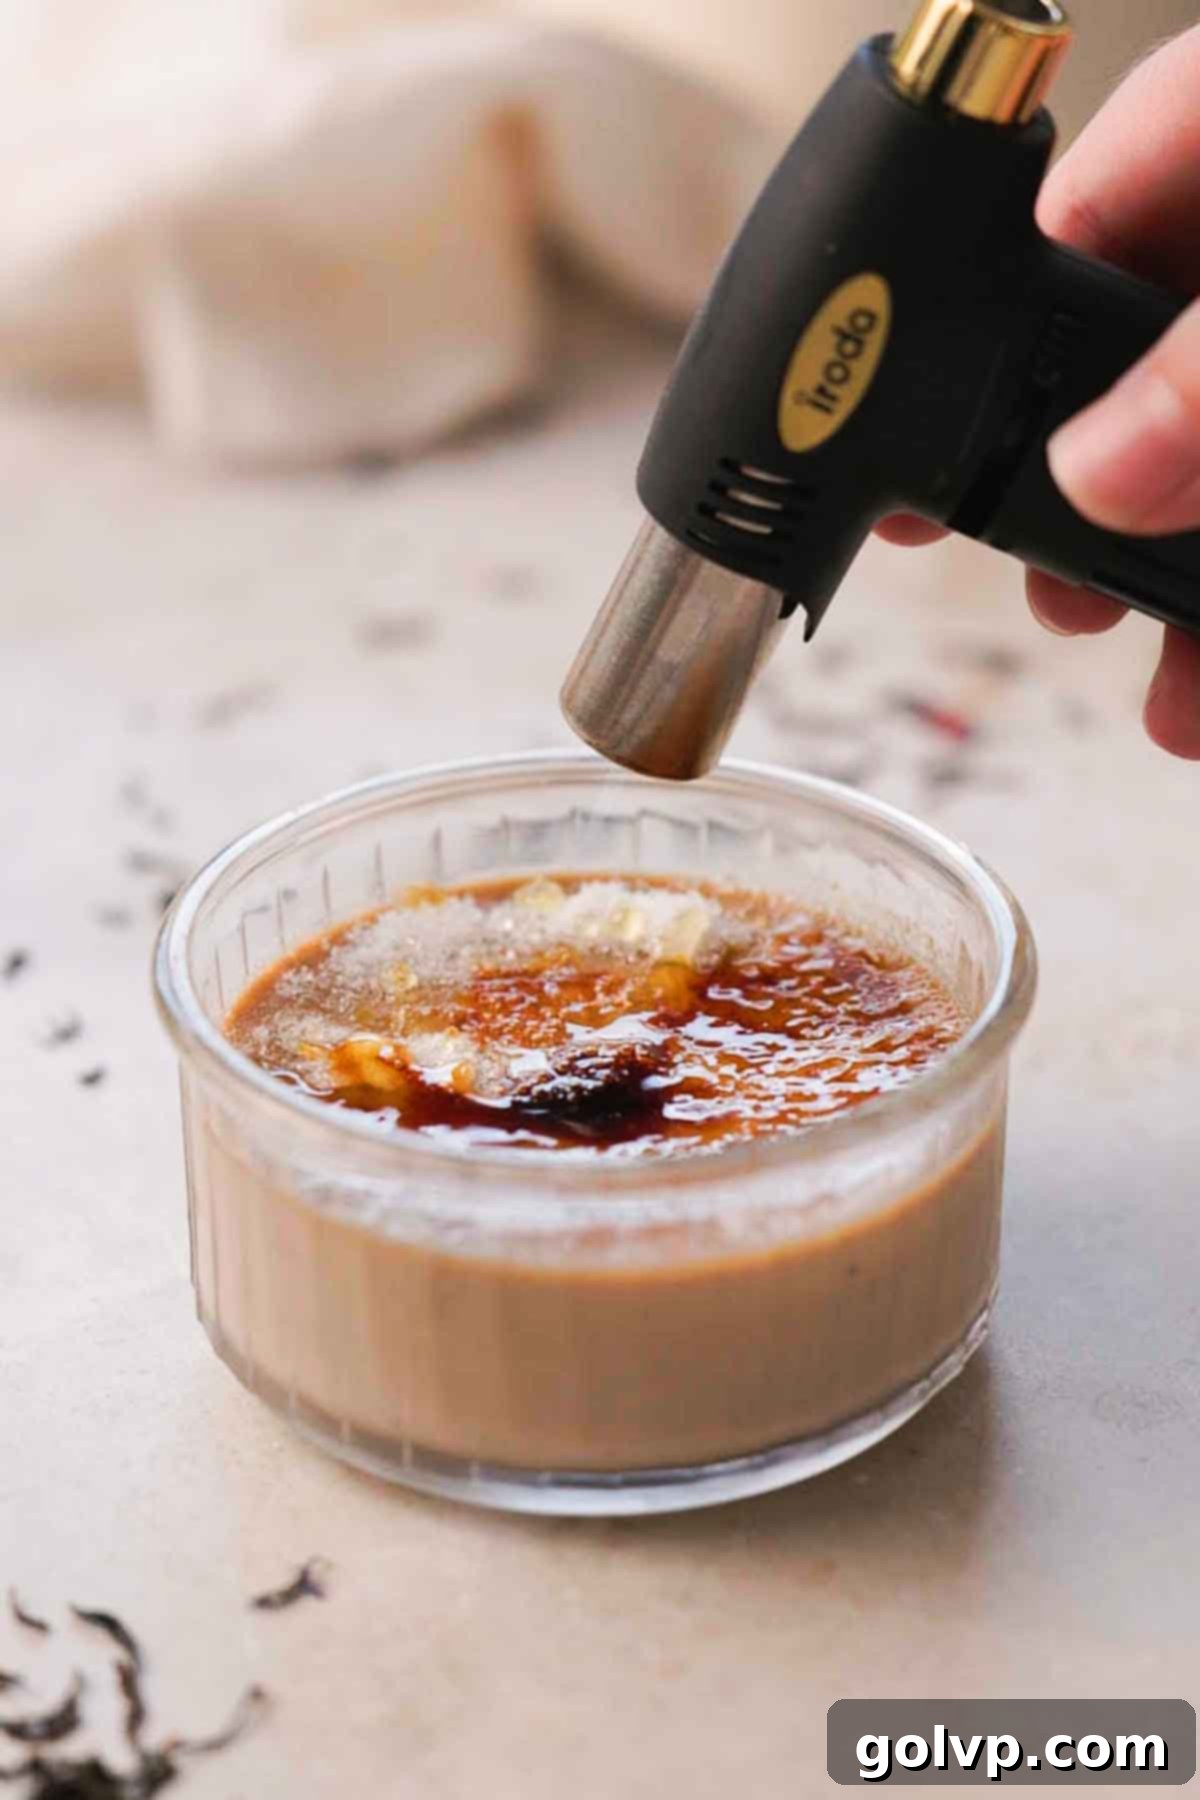
Step 8: The Signature Caramelized Topping. Just before you’re ready to serve, evenly sprinkle about 1 tablespoon of granulated sugar over the surface of each chilled crème brûlée. This is the moment to grab your kitchen torch! Hold the torch a few inches away from the sugar and move it continuously in a circular motion until the sugar melts, bubbles, and transforms into a beautiful, amber-colored caramel. Alternatively, you can use the broiler setting in your oven; place the ramekins on the top rack and watch them very closely, as caramelization happens quickly. Once caramelized, allow the sugar to cool for a minute or two until it hardens into a crisp, crackable shell. Serve immediately to enjoy the delightful contrast of warm, crunchy topping and cold, creamy custard.
✔️ Expert Tips for Flawless Earl Grey Crème Brûlée Every Time
- Avoid Over-Whisking Egg Yolks and Sugar: This is a common pitfall for many aspiring crème brûlée makers. When combining your egg yolks and sugar, stir them gently until they are just smooth and uniformly blended. Vigorous whisking introduces excessive air bubbles into the mixture, which can result in a frothy, aerated custard rather than the desired dense, silky-smooth texture. A gentle hand will ensure your brûlée is perfectly creamy.
- Always Bake in a Water Bath (Bain-Marie): The water bath is non-negotiable for achieving a perfectly cooked crème brûlée. It insulates the ramekins, providing a gentle, even heat that prevents the custard from cooking too quickly, curdling, or cracking on the surface. This controlled environment ensures your Earl Grey custard sets beautifully and evenly from edge to center, resulting in that exquisite, uniform texture.
- Thoroughly Chill Before Serving: Patience is a virtue when it comes to crème brûlée. After baking, allow your custards to cool completely at room temperature before transferring them to the refrigerator. They require a minimum of 2-3 hours of chilling, or ideally overnight, to fully set and allow the delicate Earl Grey and vanilla flavors to properly develop and deepen. A well-chilled crème brûlée also provides the perfect temperature contrast to the freshly torched warm caramel topping.
- Insist on Granulated Sugar for the Topping: While it might be tempting to experiment with other sugars, regular granulated (white) sugar is the undisputed champion for creating the signature crunchy caramel top. Brown sugar or coarser sugars contain more moisture and larger crystals, which means they tend to burn unevenly and quickly before forming a smooth, hard crust. For that satisfying, glass-like crack and perfectly balanced caramel flavor, granulated sugar is your best friend.
🥄 Make Ahead and Storage for Your Earl Grey Crème Brûlée
One of the many beauties of this Earl Grey Crème Brûlée recipe is its fantastic make-ahead potential. You can prepare the custards up to 2-3 days in advance, allowing them ample time to chill and for the infused flavors to truly mature. Simply ensure they are thoroughly cooled after baking, then cover each ramekin tightly with plastic wrap to prevent any absorption of refrigerator odors or surface drying. Store them in the coldest part of your refrigerator until you are ready for the final step.
However, there’s a crucial point regarding the caramelized sugar topping: it must be added just before serving. Once the sugar has been torched and allowed to harden into its glorious, crackable crust, it is highly susceptible to moisture. Storing a crème brûlée with its caramelized top in the fridge will cause the sugar to absorb moisture from the air, resulting in a sticky, gooey, and ultimately disappointing topping that lacks its iconic crunch. For the best experience, caramelize, cool, and serve immediately!
❔ Can You Experiment with Other Tea Flavors in Crème Brûlée?
Absolutely! The beauty of this crème brûlée base lies in its versatility. While Earl Grey offers a uniquely sophisticated profile, feel free to unleash your creativity and infuse your favorite teas. Imagine a robust English Breakfast crème brûlée, a warming Chai spiced version, or even a soothing herbal tea like chamomile or lavender for a more delicate touch. The possibilities are endless, allowing you to tailor this dessert to your personal taste or specific occasion. Just ensure you use high-quality loose-leaf tea for the best infusion, and adjust steeping times slightly based on the tea’s strength.
If you’re looking for more seasonal variations, don’t miss our indulgent Pumpkin Crème Brûlée recipe, which is absolutely perfect for embracing the cozy flavors of fall and winter. It offers a different, yet equally delightful, creamy custard experience.
🍯 What is the Ideal Sugar for that Signature Crème Brûlée Topping?
For achieving the perfect, glass-like, crunchy caramel topping on your crème brûlée, granulated sugar (regular white sugar) is unequivocally the best choice. Its fine crystals melt quickly and evenly under the heat of a kitchen torch or broiler, transforming into a smooth, consistent layer of golden-amber caramel. This results in the ideal texture and a wonderfully balanced caramelized flavor that isn’t overly bitter, making that satisfying crack truly memorable.
While various sugars are available, coarser or darker sugars – such as demerara, turbinado, or brown sugar – are generally not recommended for the brûlée topping. These sugars have larger crystals and/or higher molasses content, which means they require more heat and a longer time to melt completely into a smooth, liquid caramel. Consequently, they tend to burn before fully caramelizing, leading to a much more bitter taste and an uneven, often lumpy, crust that lacks the delicate snap. My own experiments with brown and light brown sugar have consistently resulted in a less-than-ideal topping, missing that essential satisfying crack and often carrying an unpleasant, acrid burnt flavor that overpowers the delicate custard beneath. Stick with granulated for guaranteed success.
📖 Frequently Asked Questions About Earl Grey Crème Brûlée
The name “crème brûlée” literally translates to “burnt cream,” which gives us a clue! You’re aiming for a beautiful, deep golden-brown sugar crust, ideally with a few darker, almost charred spots. These darker areas contribute a delightful, slightly smoky bitterness that perfectly balances the sweetness of the caramel and the rich creaminess of the custard. This depth of flavor, combined with a truly hard, satisfying crack when you tap it with your spoon, is the hallmark of a perfectly brûléed top. Avoid a light caramel; go for the rich, complex notes that come with a good char.
Yes, absolutely! While a kitchen torch offers the most control and precision, you can achieve a wonderfully caramelized top using your oven’s broiler function. Simply set your broiler to high and place the chilled ramekins on the top rack, ensuring they are a safe distance from the heating element. It’s crucial to watch them continuously, as the sugar can go from perfectly golden to burnt in a matter of seconds. Keep a keen eye, and as soon as you see an even caramelization, remove them immediately. While effective, a kitchen torch remains my preferred method as it allows for precise targeting of heat, ensuring a more uniform and beautifully browned crust across the entire surface.
Based on extensive testing, I strongly advise against using brown sugar for the crème brûlée topping. Its higher moisture content and often larger crystal size make it prone to burning before it fully melts and forms a smooth, hard crust. This typically results in an uneven, grainy, and often bitter topping that lacks the satisfying crack characteristic of a well-made crème brûlée. For the best possible results – a consistent, crisp, and delicious caramel layer – stick to regular granulated (white) sugar.
The distinctive flavor of Earl Grey tea is derived from bergamot, a highly aromatic citrus fruit. Bergamot comes from the Citrus bergamia plant, predominantly cultivated in the sun-drenched Mediterranean regions. This fruit is roughly the size of an orange, with a color spectrum ranging from green to yellow, and its essential oil is what imparts Earl Grey with its signature floral and citrusy aroma. The exact origins of Earl Grey tea are shrouded in fascinating speculation. A charming and widely popular theory suggests that the unique infusion occurred accidentally when a shipment of tea and bergamot oranges were transported together from Chinese diplomats to an English Earl Grey. During the long voyage, the aromatic oils from the bergamot fruit naturally permeated the tea leaves, creating the beloved flavor we know today.
🍮 More Related Recipes to Explore
- Pumpkin Creme Brulee
- Matcha Tiramisu
- Matcha White Chocolate Ganache Truffles
- Lemon Posset
Did you make this recipe? I would love for you to rate this recipe and hear what you think in the comments below! Share your creation on Instagram and tag @flouringkitchen. Follow me on Pinterestto save and for more recipe ideas.
📖 Recipe
Earl Grey Crème Brûlée
Mary
Pin Recipe
Shop Ingredients
Equipment
-
4 oven safe ramekins
-
Deep baking tray for water bath
Ingredients
- 1 ⅓ cups milk preferably 2%
- 2 tablespoons loose leaf earl grey tea or 2 teabags
- 1 whole vanilla bean whole
- 5 egg yolks large
- ⅓ cup granulated sugar
- ⅛ teaspoon sea salt
- 1 cup heavy cream or whipping cream (35%)
Before Serving
- 4 tablespoons granulated sugar
Shop Ingredients on Jupiter
Instructions
-
Split the vanilla bean lengthwise and scrape out the seeds. Combine vanilla bean pod, seeds, tea, and milk in a medium saucepan over medium heat. Bring to a boil. Remove from heat and let stand for 10 minutes. Strain through a sieve and discard the tea leaves and vanilla pod.1 ⅓ cups milk, 1 whole vanilla bean, 2 tablespoons loose leaf earl grey tea
-
Fill a kettle to the top with water and set to boil. Preheat oven to 160°C (320°F).
-
In a large bowl, stir together sugar and egg yolks just until smooth. Do not whisk until lightened in color. Add cream, infused milk, and salt and stir.5 egg yolks, ⅓ cup granulated sugar, 1 cup heavy cream, ⅛ teaspoon sea salt
-
Pour evenly into 4 individual ramekins. Place ramekins in a large and deep baking tray (9″ by 12″ or 9″ by 13″). Carefully pour boiling water into the tray to about halfway up the ramekins.
-
Bake at 320°F (160°C) for 25-30 minutes (depending on the size of the ramekins). They should be mostly set with a slight jiggle in the center.
-
Carefully remove ramekins from the water bath with tongs while still hot. Let cool until room temperature then cool in the fridge for at least 3 hours until completely chilled or overnight.
-
Just before serving, sprinkle 1 tablespoon granulated sugar on the surface of each crème brûlée. Heat with a torch or directly under a broiler until the sugar melts and caramelizes. Let the sugar cool completely before serving. Serve immediately.4 tablespoons granulated sugar
Notes
Tips for success:
- Don’t over whisk the yolks and sugar
- Bake in a water bath for an even set texture
- Chill before serving
- Use granulated sugar for the topping – not brown sugar
