Irresistibly Fudgy One-Bowl Red Velvet Brownies with a Perfect Crinkly Top (No Mixer Needed!)
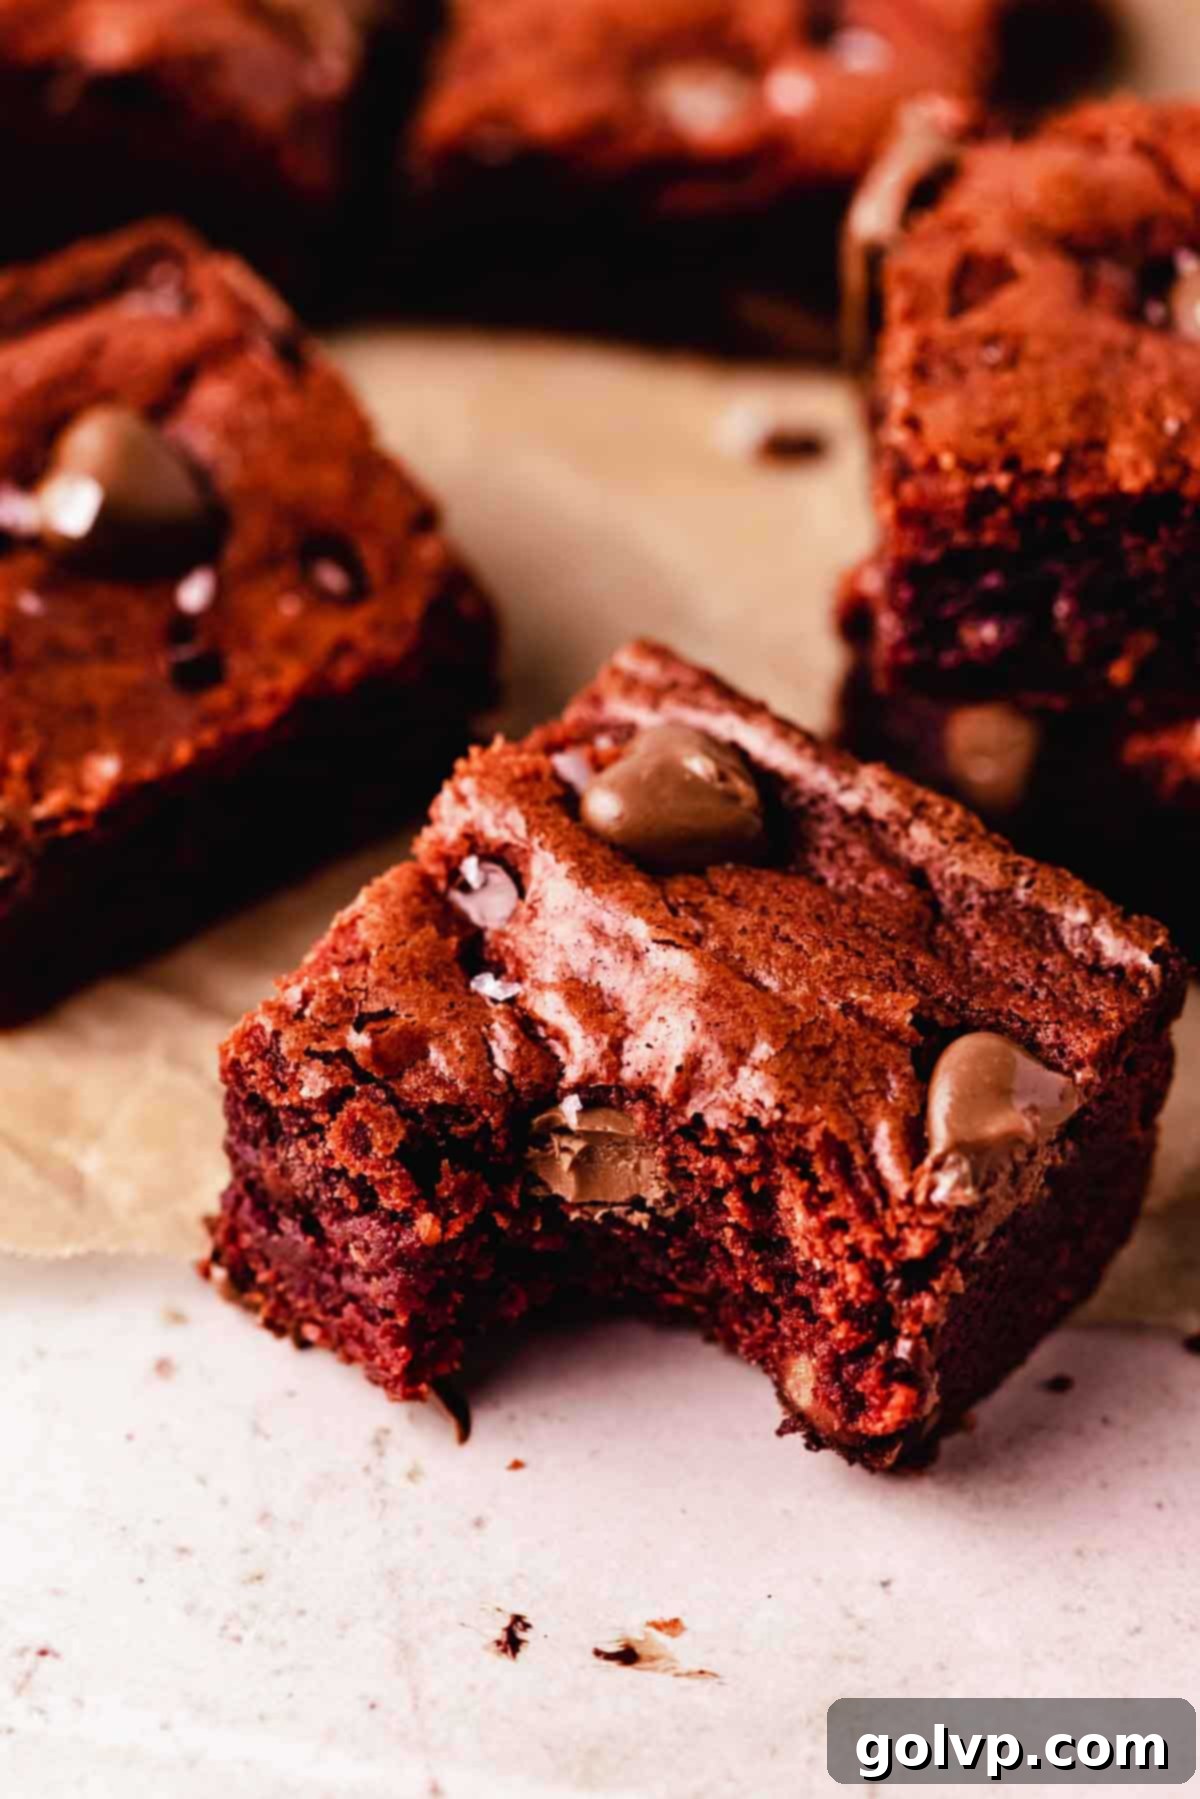
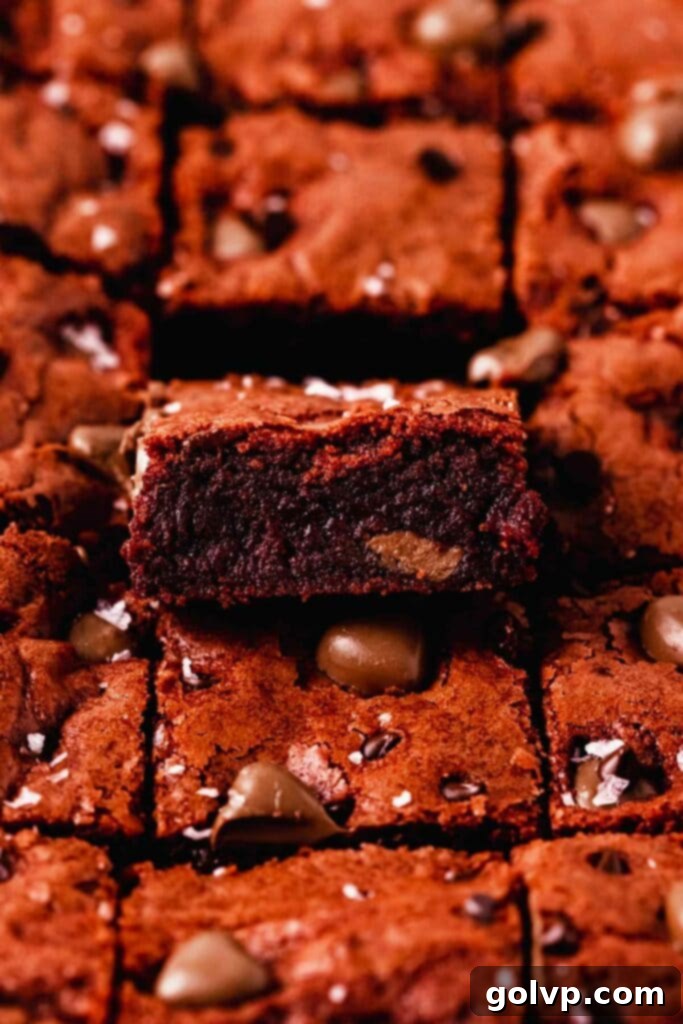
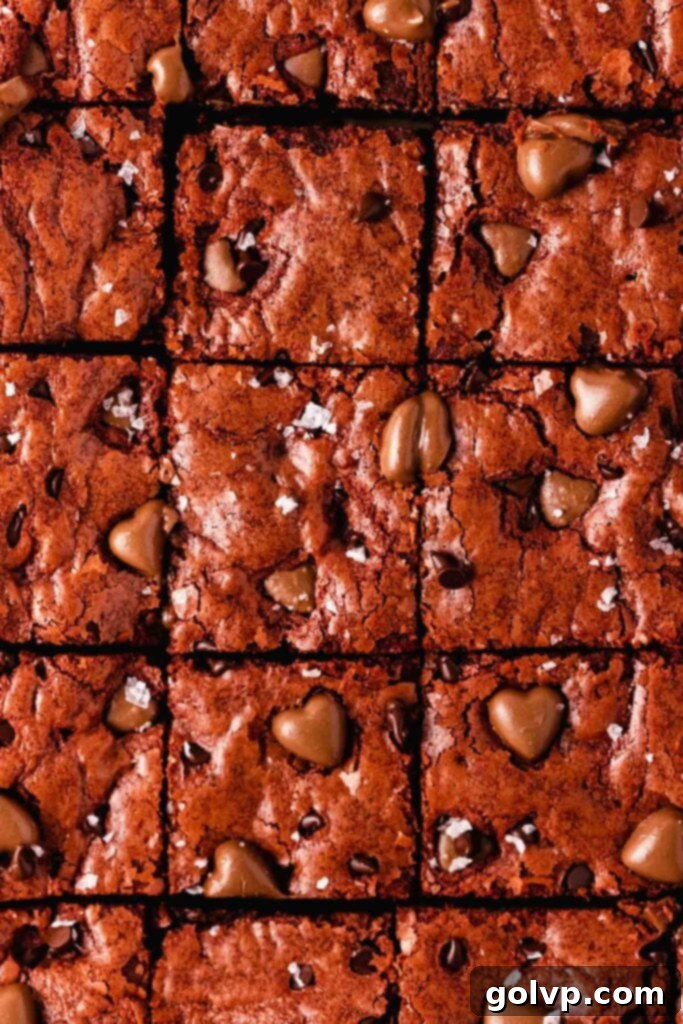
Prepare to fall in love with these incredibly easy red velvet brownies! They are the epitome of fudgy perfection, boasting a luscious, dense texture that melts in your mouth. What makes them even more magical? You can whip them up in just one bowl, without the need for an electric mixer! A simple whisk is all it takes to achieve their signature crackly, glossy top. Each bite is packed with a delightful combination of milk and semisweet chocolate chips, creating an explosion of rich, velvety flavor. If you’re a fan of classic red velvet cake but crave it in a convenient brownie form, this recipe is tailor-made for you. For a truly special treat, especially around holidays like Valentine’s Day, consider topping them with extra chocolate chips, charming heart-shaped chocolates, or a sprinkle of flaky sea salt to elevate their appeal. These brownies aren’t just a dessert; they’re a celebration in every square!
Purchasing the items in this post supports this blog, at no additional cost to you. As an Affiliate Product marketer and Amazon Associate, I earn from qualifying purchases.
Why You Will Absolutely LOVE This Easy Red Velvet Brownie Recipe:
There are countless reasons to adore these red velvet brownies, making them a consistent favorite for both seasoned bakers and beginners alike. Their simplicity is matched only by their incredible flavor and delightful texture.
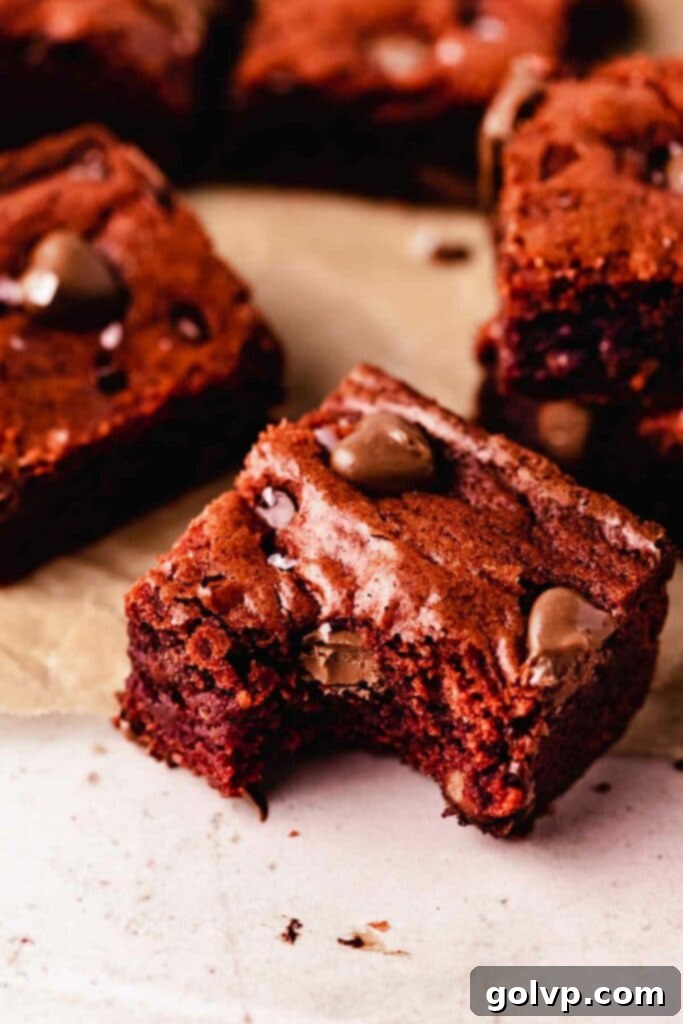
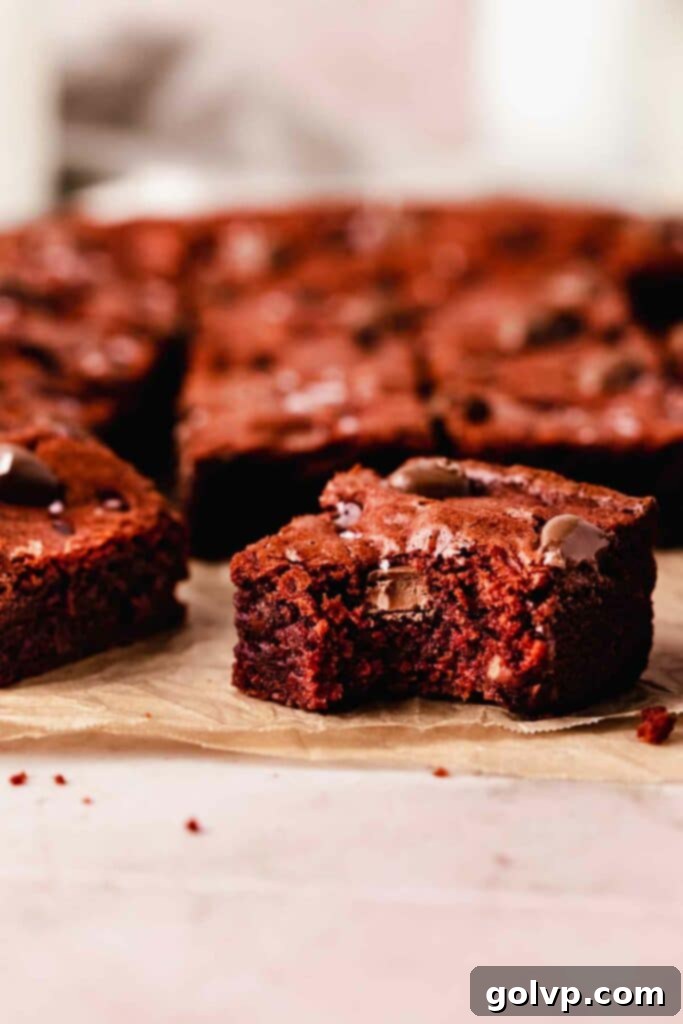
- Unbelievably Fudgy: Beyond just being “fudgy,” these brownies are *ultra* fudgy. They achieve that perfect dense, chewy, and moist consistency that every brownie enthusiast dreams of. They are perfectly sweet without being cloyingly so, allowing the subtle cocoa and tangy notes of red velvet to shine through. The high fat content and precise sugar-to-flour ratio contribute to this luxurious, melt-in-your-mouth texture that will have you reaching for a second (or third!) piece.
- Effortlessly Easy (One Bowl, No Mixer!): Forget about hauling out heavy equipment or tackling a mountain of dishes. This recipe is designed for maximum convenience. Everything comes together in a single large bowl using just a handheld whisk. It’s ideal for busy weeknights, impromptu dessert cravings, or when you simply don’t want the fuss of a complex baking project. The streamlined process means less cleanup and more time enjoying your delicious creation.
- Authentic Red Velvet Flavor: These brownies capture the essence of classic red velvet cake. They offer a delightful balance of a mild, subtly chocolatey flavor, a distinct tang from the vinegar and cocoa, and a soft, tender crumb. The vibrant red hue is visually striking, hinting at the rich and unique taste experience within. It’s truly red velvet cake transformed into a portable, intensely fudgy brownie square.
- Chocolate Lover’s Dream: We don’t skimp on the chocolate here! These brownies are generously studded with a harmonious blend of both milk and semisweet chocolate chips. This combination ensures a varied chocolate experience in every bite – the sweetness of milk chocolate perfectly complementing the deeper notes of semisweet. This robust chocolate presence elevates the overall flavor and adds pockets of gooey melted chocolate throughout the brownies.
Mastering the Art of the Crinkly, Crackly Top
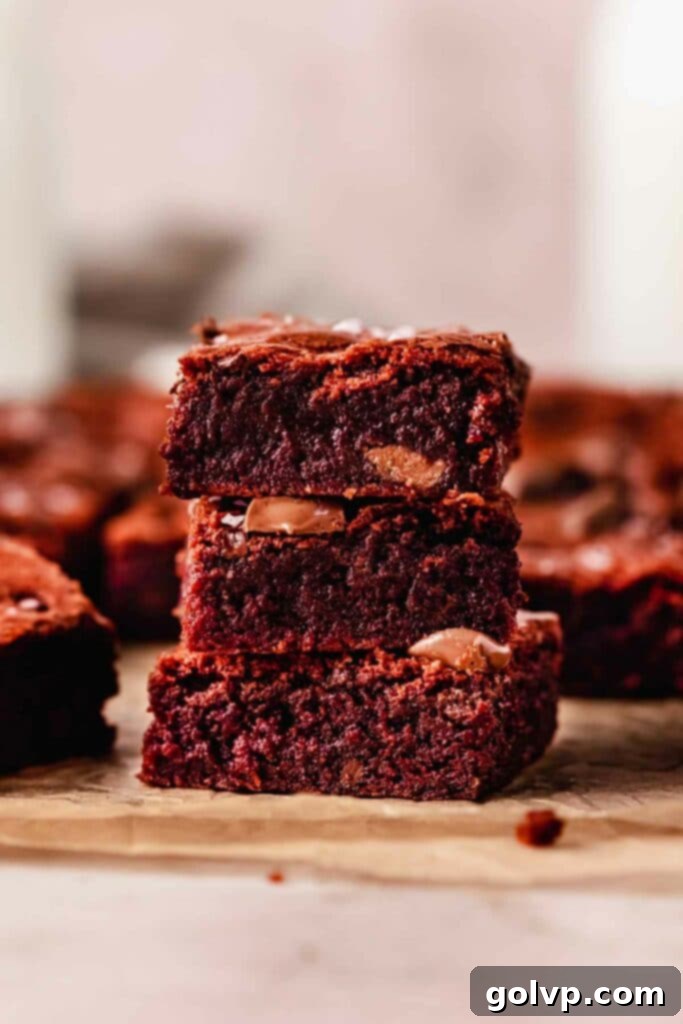
Achieving that coveted, thin, glossy, and slightly crisp crackly top on your brownies is simpler than you might think, and it’s a hallmark of a perfectly baked brownie. The secret lies in one crucial step: vigorously whisking the butter, sugar, and eggs. This process, often referred to as creating a “ribbon stage,” is essential for trapping air and dissolving the sugar crystals, which then caramelize during baking to form that beautiful, distinctive crust.
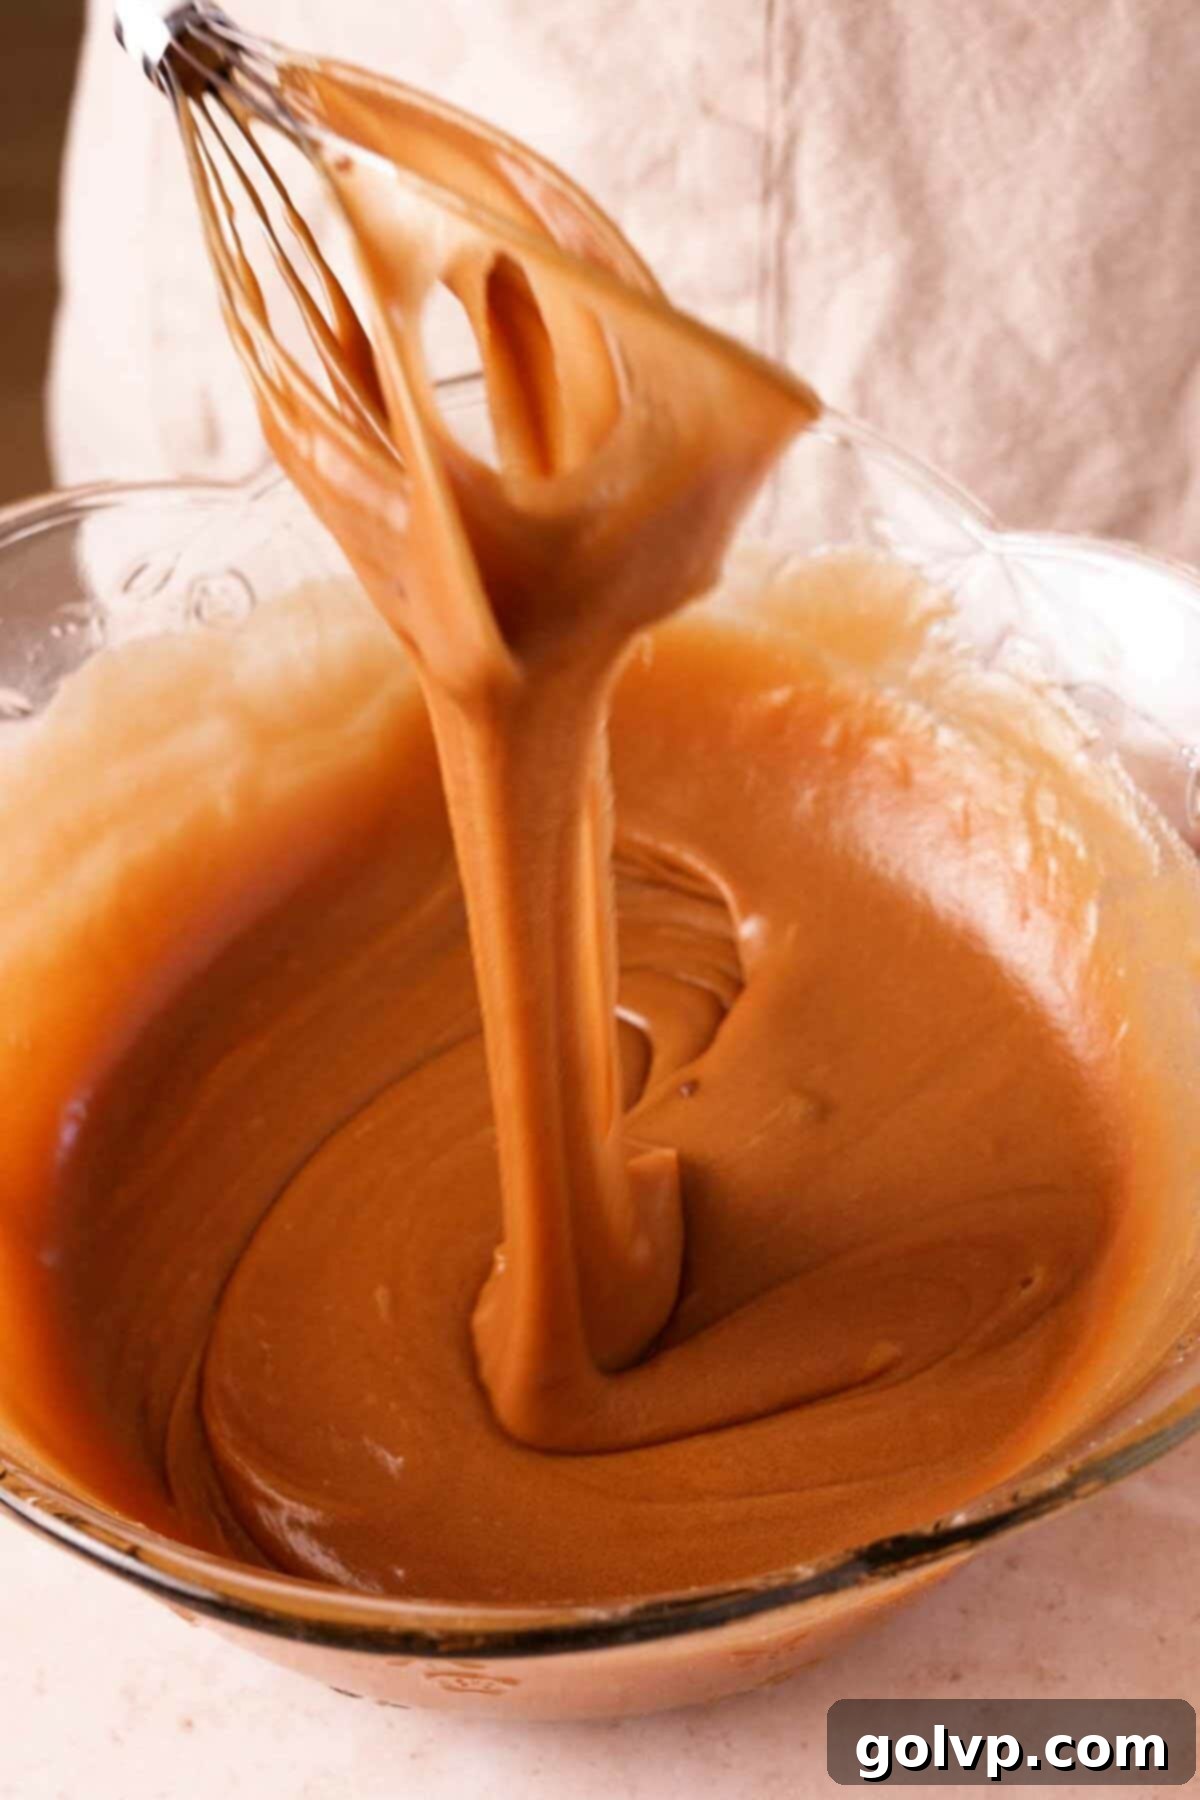
With just a wire whisk and about 30 seconds of enthusiastic effort by hand, you can reach this stage. You’ll know it’s ready when the mixture lightens significantly in color, becoming pale and thick, and when it falls off the whisk in slow, smooth ribbons rather than dripping quickly. This initial aeration and sugar dissolution are key not only for the crinkly top but also for contributing to the brownies’ overall fudgy texture. Don’t rush this step, as it’s truly foundational to the final result!
Endless Flavor Variations to Make Them Your Own
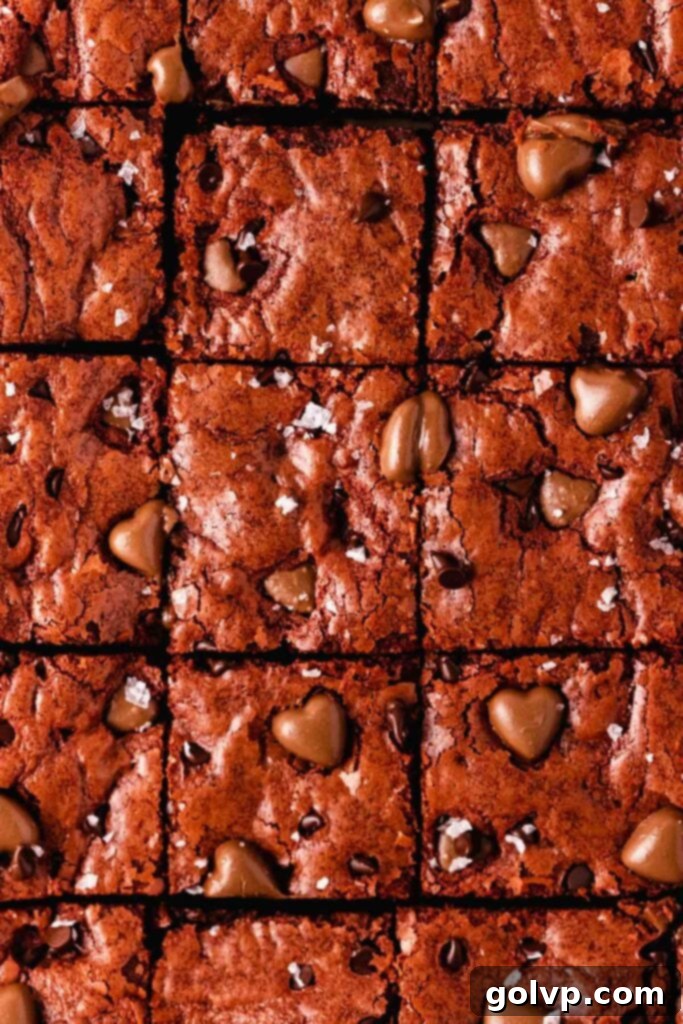
While these red velvet brownies are absolutely divine as is, they also serve as a fantastic canvas for your creativity! Feel free to customize them with your favorite mix-ins and toppings to create a personalized treat. Remember to gently press some of your chosen additions into the top of the batter before baking for maximum visual appeal and an extra textural pop. Here are some delectable ideas to inspire you:
- White Chocolate Chips: These would not only add a lovely contrasting sweetness but also create a striking visual against the deep red brownie, especially when sprinkled on top.
- Caramel Baking Chips: For a buttery, sweet, and slightly chewy dimension, caramel chips are an excellent choice. They melt beautifully and add a rich depth of flavor.
- Pretzels: If you’re a fan of the salty-sweet combination, crushed pretzels stirred into the batter or sprinkled on top before baking will provide a fantastic crunch and a delightful savory counterpoint to the sweet brownies.
- Chopped Chocolate Bars: Elevate the chocolate factor by using high-quality chopped chocolate bars instead of, or in addition to, chocolate chips. Different types of chocolate (dark, milk, even flavored bars) can introduce unique nuances.
- Chopped Candy Bars: Get playful with your favorite candy! Chopped Snickers, Rolo, or even peppermint patties can add exciting textures and flavors.
- Cream Cheese Swirl: For a truly decadent red velvet experience, prepare a simple cream cheese frosting (cream cheese, powdered sugar, a touch of vanilla) and swirl dollops of it into the brownie batter before baking. This adds a classic tang and creamy texture.
- Toasted Nuts: Walnuts, pecans, or almonds can add a wonderful crunch and earthy flavor that pairs well with chocolate and red velvet. Lightly toast them beforehand to enhance their aroma.
- Espresso Powder: A teaspoon of instant espresso powder added to the dry ingredients won’t make the brownies taste like coffee, but it will significantly deepen and intensify the chocolate flavor.
- Top with Ice Cream: While not a mix-in, my absolute favorite way to enjoy a warm brownie is with a scoop of vanilla bean ice cream. The contrast of warm fudginess and cold creaminess is simply heavenly.
Make-Ahead Tips for Perfect Brownies Every Time
While these red velvet brownies are undeniably at their peak deliciousness on the day they’re baked – when the edges are perfectly crisp and the center is incredibly gooey – they do store remarkably well. This makes them a fantastic option for meal prepping desserts or for having a sweet treat ready on demand. Proper storage ensures they retain their wonderful texture and flavor for a few days.
To store your baked brownies, allow them to cool completely before transferring them to an airtight container. Keep them at room temperature for up to three days. For longer storage, you can refrigerate them for up to a week. When you’re ready to enjoy them, especially if they’ve been refrigerated, I highly recommend a quick reheat. Pop a brownie square into the oven at a low temperature (around 150°C / 300°F) for 5-7 minutes, or simply microwave it for 15-20 seconds, until it’s just warm through. This gentle warming process works wonders, melting the chocolate chips inside and restoring that ultra-soft, gooey, freshly-baked texture that makes these red velvet brownies so irresistible.
Essential Tips for Red Velvet Brownie Success
To ensure your red velvet brownies turn out perfectly fudgy with that beautiful crackly top every single time, pay close attention to these key tips. They cover crucial steps from preparation to baking, designed to guarantee a successful and delicious outcome:
- Bring Ingredients to Room Temperature: This is a fundamental step for baking success. Room temperature butter, eggs, and other dairy ingredients emulsify much better, resulting in a smoother, more uniform batter and a finer crumb. If you’re short on time, quickly bring eggs to room temperature by submerging them in a bowl of warm (not hot!) water for about a minute. Always wipe them dry before cracking.
- Whisk Eggs, Butter, and Sugar to Ribbon Stage: As mentioned earlier, this step is vital for the crinkly top. After adding the eggs to the butter and sugar mixture, beat them vigorously with a wire whisk until the mixture becomes significantly lighter in color and thicker. It should fall off the whisk in thick ribbons, not just drips. This process incorporates air and thoroughly dissolves the sugar, which creates the desired shiny, cracked crust.
- Measure Flour Accurately: Precision in flour measurement is key to achieving the perfect brownie texture. The most accurate method is to weigh your flour using a kitchen scale (420g is specified in the recipe card). If you don’t have a scale, use the spoon-and-level method: gently stir the flour in its bag or container, then lightly spoon it into your measuring cup until it’s overflowing. Level off the excess with the flat edge of a knife, ensuring you don’t pack the flour down into the cup. Over-measured flour leads to dry, cakey brownies.
- Avoid Overmixing Once Flour is Added: Once you incorporate the dry ingredients (flour, cocoa powder, baking soda), it’s crucial to mix as little as possible. Overmixing develops the gluten in the flour, which can lead to tough, dense brownies instead of the desired fudgy texture. Fold gently with a spatula just until no dry streaks of flour remain in the batter. A few small lumps are perfectly fine.
- Do Not Overbake Your Red Velvet Brownies: This is arguably the most common mistake when baking brownies. Overbaked brownies become dry and cakey. For ultra-fudgy brownies, the edges should appear set and slightly puffed, but the very center should still be a bit jiggly when you gently shake the pan. A wooden skewer inserted into the center should come out with moist crumbs attached, not wet batter, and certainly not completely clean. Remember, brownies continue to cook from residual heat as they cool in the pan.
- Tap the Pan After Baking: Immediately after removing the brownies from the oven, carefully tap the hot pan firmly on your countertop a few times. This simple technique helps to release trapped air, compress the brownie layers, and contributes significantly to both the fudgy texture and the development of that beautiful crinkly top. It forces the brownie to settle, creating a denser, more decadent result.
Decoding the Key Ingredients for Perfect Red Velvet Brownies
Understanding the role each ingredient plays can make a significant difference in your baking success. While the full list of steps and ingredients is in the recipe card below, take a moment to read through these key ingredient insights for all the tips you’ll need for perfect red velvet brownies!
- Butter: For the richest flavor and best texture, always opt for good quality, real butter. You can use either salted or unsalted; just remember to adjust the added salt in the recipe if using salted butter. Butter provides essential fat for moisture and tenderness, contributing greatly to the fudgy consistency.
- Brown Sugar: Brown sugar is a hero in fudgy brownie recipes! Its molasses content not only adds a wonderful depth of flavor but also contributes significantly to the moist, chewy, and undeniably fudgy texture. Always make sure to pack it in tightly when measuring for an accurate amount.
- Red Gel Food Colouring: To achieve that iconic vibrant red hue, a gel food coloring is highly recommended. Gel colors are concentrated, providing intense pigment without adding excess moisture to your batter, which can alter the brownie’s texture. Avoid liquid food coloring, as you would need a large amount to get a deep red, leading to a watery batter. If you prefer a natural option, a powdered natural food coloring can also work well.
- Cocoa Powder: For a deeper, richer chocolate flavor that complements the red velvet profile, Dutch-processed cocoa powder is the preferred choice. It’s less acidic than natural cocoa, which allows the red color to stand out more. However, natural unprocessed cocoa powder can also be used; just be aware the color might be slightly less intense.
- All-Purpose Flour: As previously emphasized, proper flour measurement is critical. Weighing the flour (420g) will yield the most accurate results. If using measuring cups, employ the spoon-and-level technique to avoid compacting the flour and adding too much, which can make your brownies dry and cakey. Flour provides the necessary structure to hold your brownies together.
- Vinegar (Apple Cider or White Vinegar): This might seem like an unusual ingredient for brownies, but it’s a classic component of red velvet! The vinegar reacts with the baking soda and cocoa powder (especially natural cocoa) to create a gentle leavening action and also contributes to the characteristic subtle tanginess of red velvet flavor. Don’t skip it!
Step-by-Step Instructions to Bake Your Perfect Red Velvet Brownies
Follow these detailed steps to create a batch of incredibly fudgy and beautiful red velvet brownies. Precision and care in each stage will ensure the best possible results.
Step 1 – Prepare Your Baking Pan and Oven: Begin by lining a 9” by 12” rectangular baking pan with parchment paper. Ensure the parchment paper extends over the edges, creating “handles” on both sides. These will be invaluable for easily lifting the cooled brownies out of the pan later. Preheat your oven to 180°C (355°F). Having your oven at the correct temperature from the start is important for even baking.
Step 2 – Combine Wet Ingredients (Part 1): In a large mixing bowl (remember, just one bowl!), combine the melted butter, packed brown sugar, and sea salt. Whisk these ingredients together vigorously until they are well combined and the sugar starts to dissolve into the butter. This initial whisking is important for developing flavor and texture.
Step 3 – Incorporate Eggs and Achieve Ribbon Stage: Add the large eggs to the butter-sugar mixture, one at a time. After each egg, whisk thoroughly to combine before adding the next. Continue whisking by hand for about 30 seconds after the last egg is added, or until the mixture becomes significantly lighter in color and thicker, falling off the whisk in slow, distinct ribbons. This is the crucial step for achieving that signature crinkly top.
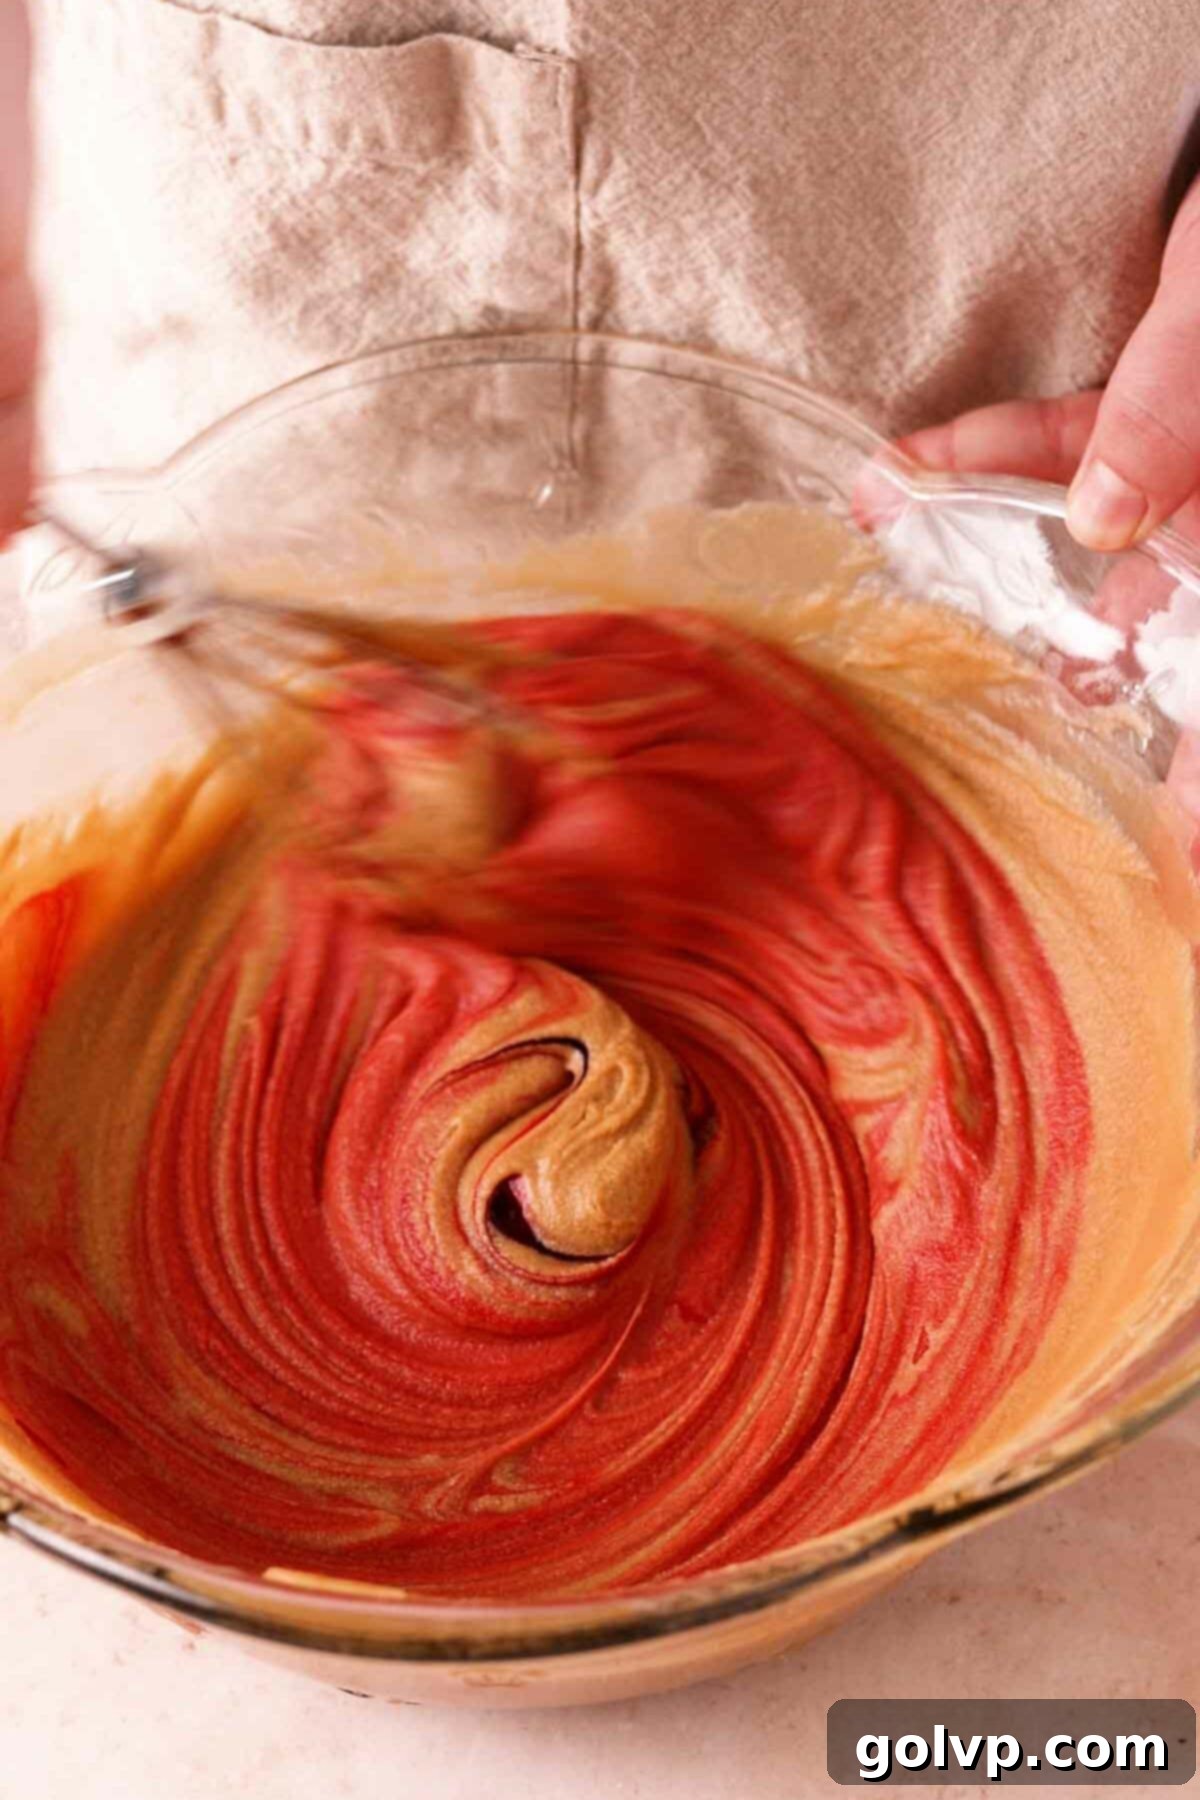
Step 4 – Add Flavorings and Color: Stir in the pure vanilla extract, vinegar (which adds a classic red velvet tang and helps activate the baking soda), and the red gel food coloring (add as much as needed to reach your desired vibrant red hue). Whisk until all these ingredients are fully combined and the color is evenly distributed throughout the batter.
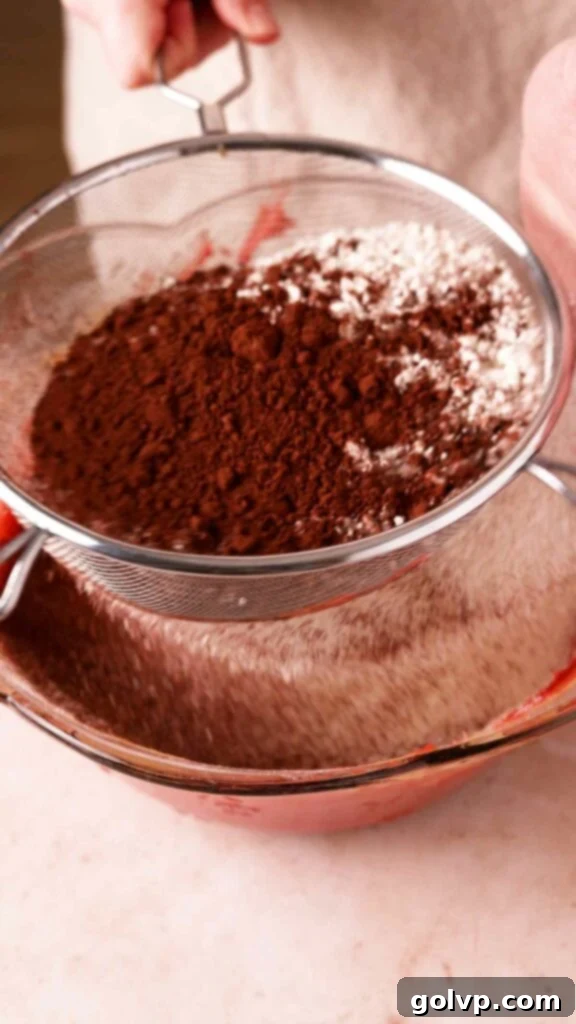
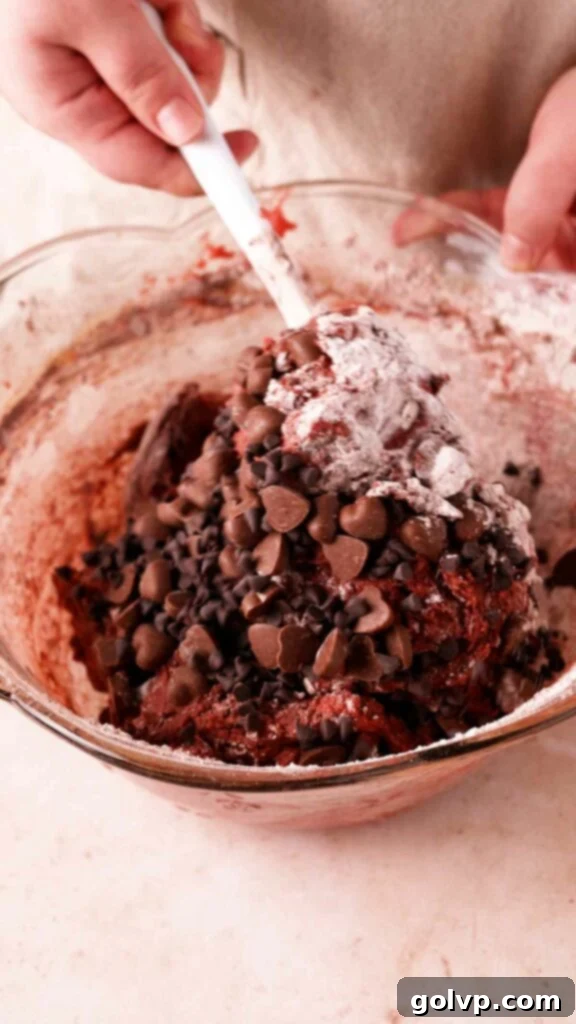
Step 5 – Gently Fold in Dry Ingredients and Chocolate Chips: Sift the all-purpose flour, Dutch-processed cocoa powder, and baking soda directly into the same large bowl with the wet ingredients. Using a spatula, gently fold the dry ingredients into the wet mixture until they are almost fully incorporated, with only a few dry streaks remaining. Then, add most of your milk and semisweet chocolate chips (reserve some for topping). Continue to fold gently, just until no more dry streaks of flour are visible and the chocolate chips are evenly distributed. Be very careful not to overmix at this stage to ensure a tender, fudgy brownie.
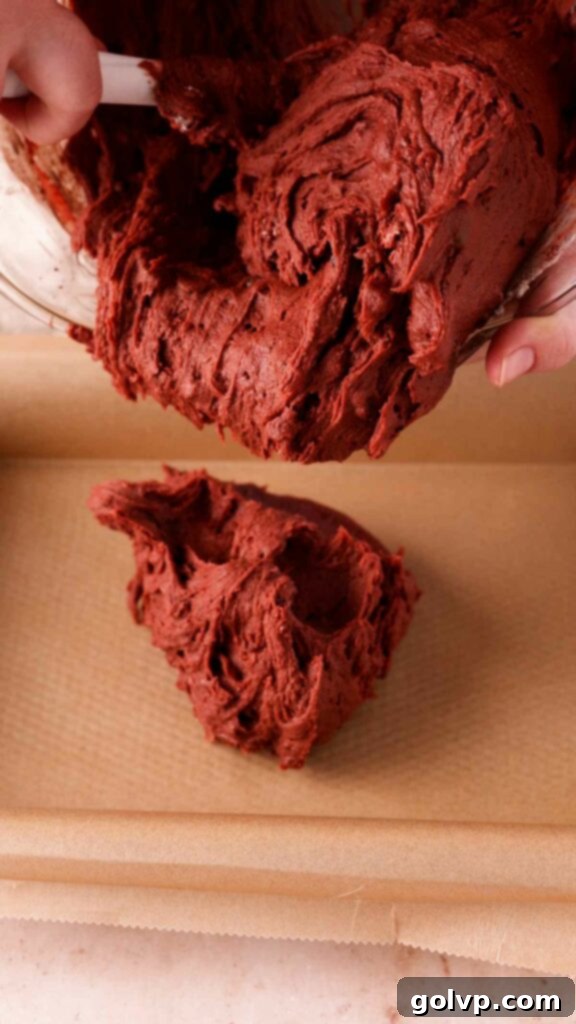
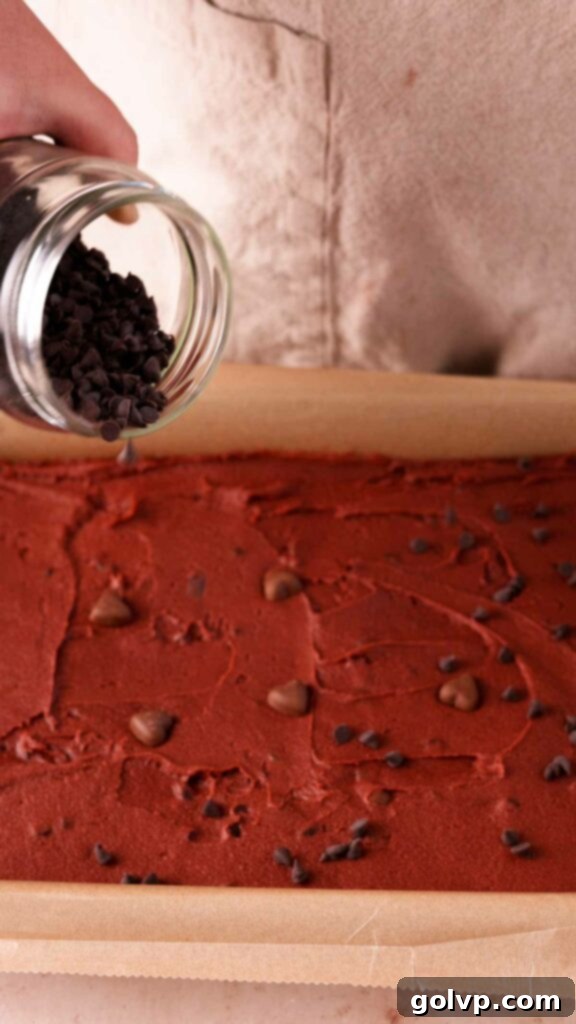
Step 6 – Bake to Fudgy Perfection: Pour the luscious red velvet brownie batter into your prepared lined baking pan and spread it evenly with the spatula. Sprinkle the reserved chocolate chips over the top. Bake for 30-35 minutes. The brownies are done when the edges are set and slightly puffed, but the center still appears a little jiggly. This indicates a perfectly fudgy interior. Remember, they will continue to set as they cool.
Step 7 – Cool and Enjoy: Once baked, remove the pan from the oven and carefully tap it on your countertop a few times. This helps create that desirable fudgy texture and crinkly top. If desired, sprinkle with even more chocolate chips (the residual heat will melt them slightly) and a touch of flaky sea salt for an extra layer of flavor. It’s crucial to let the brownies cool completely in the pan before attempting to lift them out using the parchment paper handles and cutting them into squares. This patience is rewarded with perfectly set, easy-to-cut brownies. Enjoy!
Frequently Asked Questions (FAQ) About Red Velvet Brownies
Here are answers to some common questions you might have while making these delicious red velvet brownies. These insights will help you achieve the best results and troubleshoot any concerns.
While you certainly can use an electric mixer if you prefer, it’s absolutely not necessary for this recipe. In fact, I often find that a simple wire whisk and some good old-fashioned arm power work perfectly, and sometimes even better for control, especially when aiming for that distinctive crinkly top. The key is thorough whisking of the butter, sugar, and eggs to the “ribbon stage.”
This particular recipe is designed for a larger 9″ by 12″ pan, yielding a generous batch of brownies. If you only have a 9″ by 9″ pan, you have a couple of options: you can divide the recipe in half to make a single, slightly thicker batch in the smaller pan, or you could prepare the full recipe and bake it across two separate 9″ by 9″ pans. Remember that baking times might need slight adjustment if you alter the pan size or batter thickness.
I strongly advise against using liquid food coloring for these red velvet brownies. To achieve a vibrant red, you would need to add a significant amount of liquid coloring, which would unfortunately introduce too much moisture into the batter. This excess liquid can negatively impact the final texture, making your brownies cakey or even tough. For the best color payoff without compromising texture, always opt for a concentrated gel food coloring.
Yes, you can certainly explore natural food coloring options! To achieve a bright red color naturally, look for powdered natural food colorings derived from ingredients like beet powder or pomegranate. When using natural options, especially powders, be mindful of the quantity. Adding too much can dry out your brownies or introduce an unwanted earthy flavor, so always add gradually and taste if possible.
Absolutely! Red velvet brownies freeze beautifully. Once completely cooled, cut them into individual squares. Wrap each brownie tightly in plastic wrap, then place them in an airtight freezer-safe container or bag. They can be stored in the freezer for up to 2-3 months. To enjoy, simply thaw them at room temperature for a few hours or warm gently in the microwave or oven until soft and gooey.
Explore More Red Velvet and Brownie Delights:
If you loved these fudgy red velvet brownies, you’re in for a treat! The world of red velvet and other delicious baked goods is vast and exciting. Dive into some of these other fantastic recipes from my kitchen that share the same love for flavor and ease:
- Red Velvet Donuts
- Red Velvet Bundt Cake with Cream Cheese Swirl
- Red Velvet Oreo Cheesecake
- Butterscotch Blondies with Butterscotch Cream Cheese Frosting
Happy baking, and enjoy every single bite of these delectable treats!
Did you make this recipe? I would love for you to rate this recipe and hear what you think in the comments below! Share your creation on Instagram and tag @flouringkitchen. Follow me on Pinterestto save and for more recipe ideas.
📖 Recipe
Red Velvet Brownies
Mary
Pin Recipe
Shop Ingredients
Equipment
-
nine inch by twelve inch baking pan
Ingredients
- 2 cups butter melted and room temperature
- 3 ½ cups brown sugar packed
- ½ teaspoon sea salt
- 4 large eggs room temperature
- 2 tablespoons pure vanilla extract
- 1 teaspoon vinegar apple cider or white vinegar
- red gel food colouring
- 3 ½ cups all purpose flour 420 g
- ¼ cup cocoa powder dutch processed
- ¼ teaspoon baking soda
- ¾ cup semisweet chocolate chips or chopped chocolate
- 1 cup milk chocolate chips or chopped chocolate
- ½ teaspoon sea salt flakes
Shop Ingredients on Jupiter
Instructions
-
Line a 9” by 12” rectangle baking pan with parchment paper, leaving long handles on both sides to help lift out afterwards. Preheat oven to 180°C (355°F).
-
In a large bowl combine melted butter, brown sugar, salt, and whisk until combined.2 cups butter, 3 ½ cups brown sugar, ½ teaspoon sea salt
-
Add eggs one at a time, whisking to combine between each egg. Whisk until light in colour and falls of the whisk in ribbons, about 30 seconds of whisking by hand.4 large eggs
-
Add vanilla extract, vinegar, food colouring (as needed), whisk until combined.2 tablespoons pure vanilla extract, 1 teaspoon vinegar, red gel food colouring
-
Sift flour, cocoa powder, and baking soda right into the same bowl. Fold with a spatula until almost all incorporated. Add most of the chocolate chips and fold just until no more dry streaks remain and the chocolate chips are fully incorporated.3 ½ cups all purpose flour, ¼ cup cocoa powder, ¼ teaspoon baking soda, 1 cup milk chocolate chips, ¾ cup semisweet chocolate chips
-
Smooth into lined baking pan and top with reserved chocolate chips. Bake for 30-35 minutes or until the edges are set and the middle is slightly puffed. It should still be jiggly in the center.
-
Remove from the oven, and carefully tap on the counter a few times. Top with even more chocolate chips (optional) and flaky salt. Let cool completely before lifting out of the pan and cutting into pieces.½ teaspoon sea salt flakes
