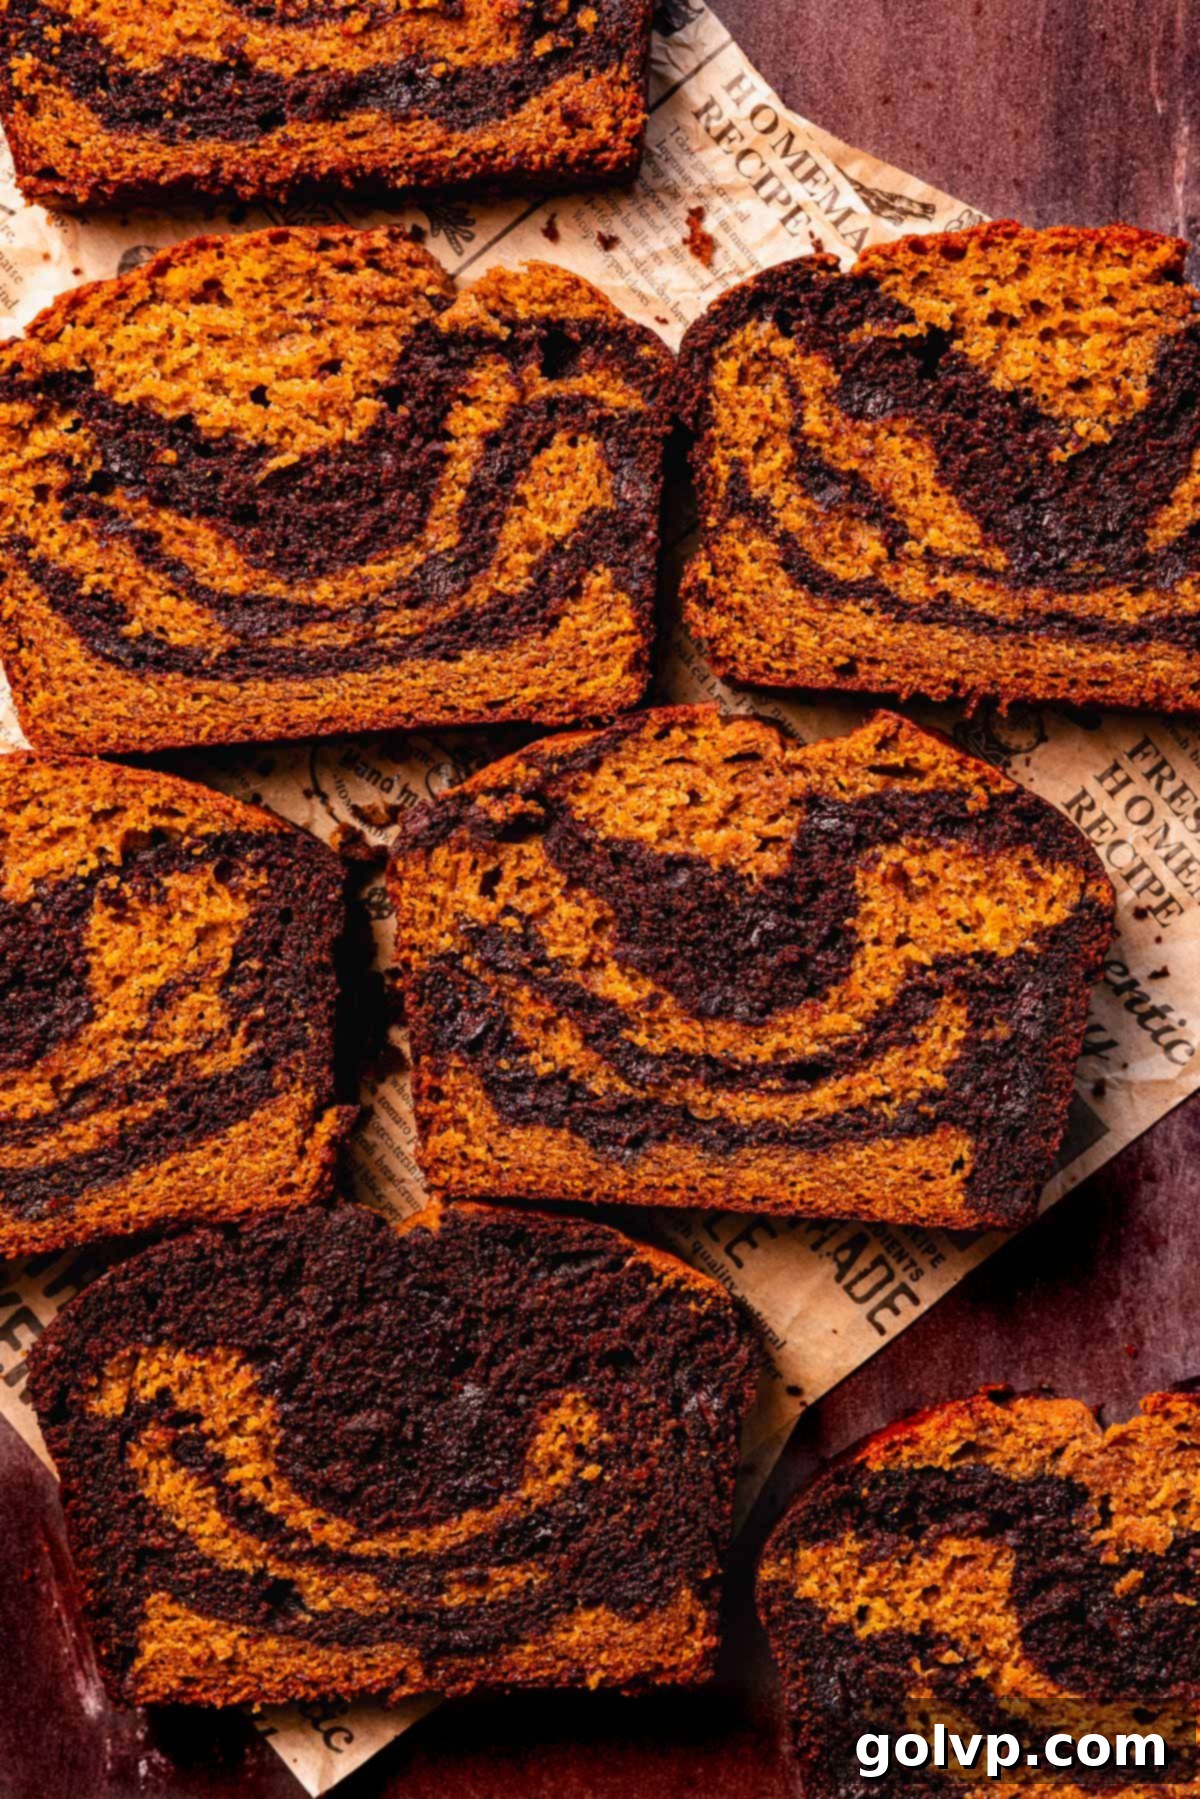
Decadent Pumpkin Chocolate Swirl Bread: The Ultimate Moist & Flavorful Fall Loaf Recipe
Prepare to fall in love with this extraordinary pumpkin chocolate swirl bread, a delightful masterpiece featuring vibrant stripes of orange-spiced pumpkin batter beautifully interwoven with rich, indulgent layers of gooey chocolate. This isn’t just any loaf cake; it’s the result of seven meticulous tests, ensuring a perfect, consistently rich, soft, and wonderfully moist texture. It’s the ideal treat to savor during autumn, whether you’re enjoying it as a delightful snack or pairing it with your morning coffee for a cozy start to the day. To elevate the chocolate experience, we’ve folded in mini chocolate chips, creating pockets of melty, gooey goodness, and bloomed the cocoa powder in hot water to unleash its most intense, deep chocolate flavor. This loaf rises majestically in the oven, promising a visually stunning and incredibly delicious sweet bread that truly captures the essence of fall baking.
[feast_advanced_jump_to]
🍞 Why You’ll Absolutely Love This Pumpkin Chocolate Bread
- The Ultimate Chocolate Pumpkin Bread: After extensive testing, experimenting, and fine-tuning over 7 iterations, this recipe has been perfected to deliver the ultimate soft, incredibly moist, and wonderfully dense loaf. Each bite is a testament to the decadent chocolate layers perfectly balanced with spiced pumpkin, creating a truly unforgettable fall treat. You’ll taste the dedication in every slice!
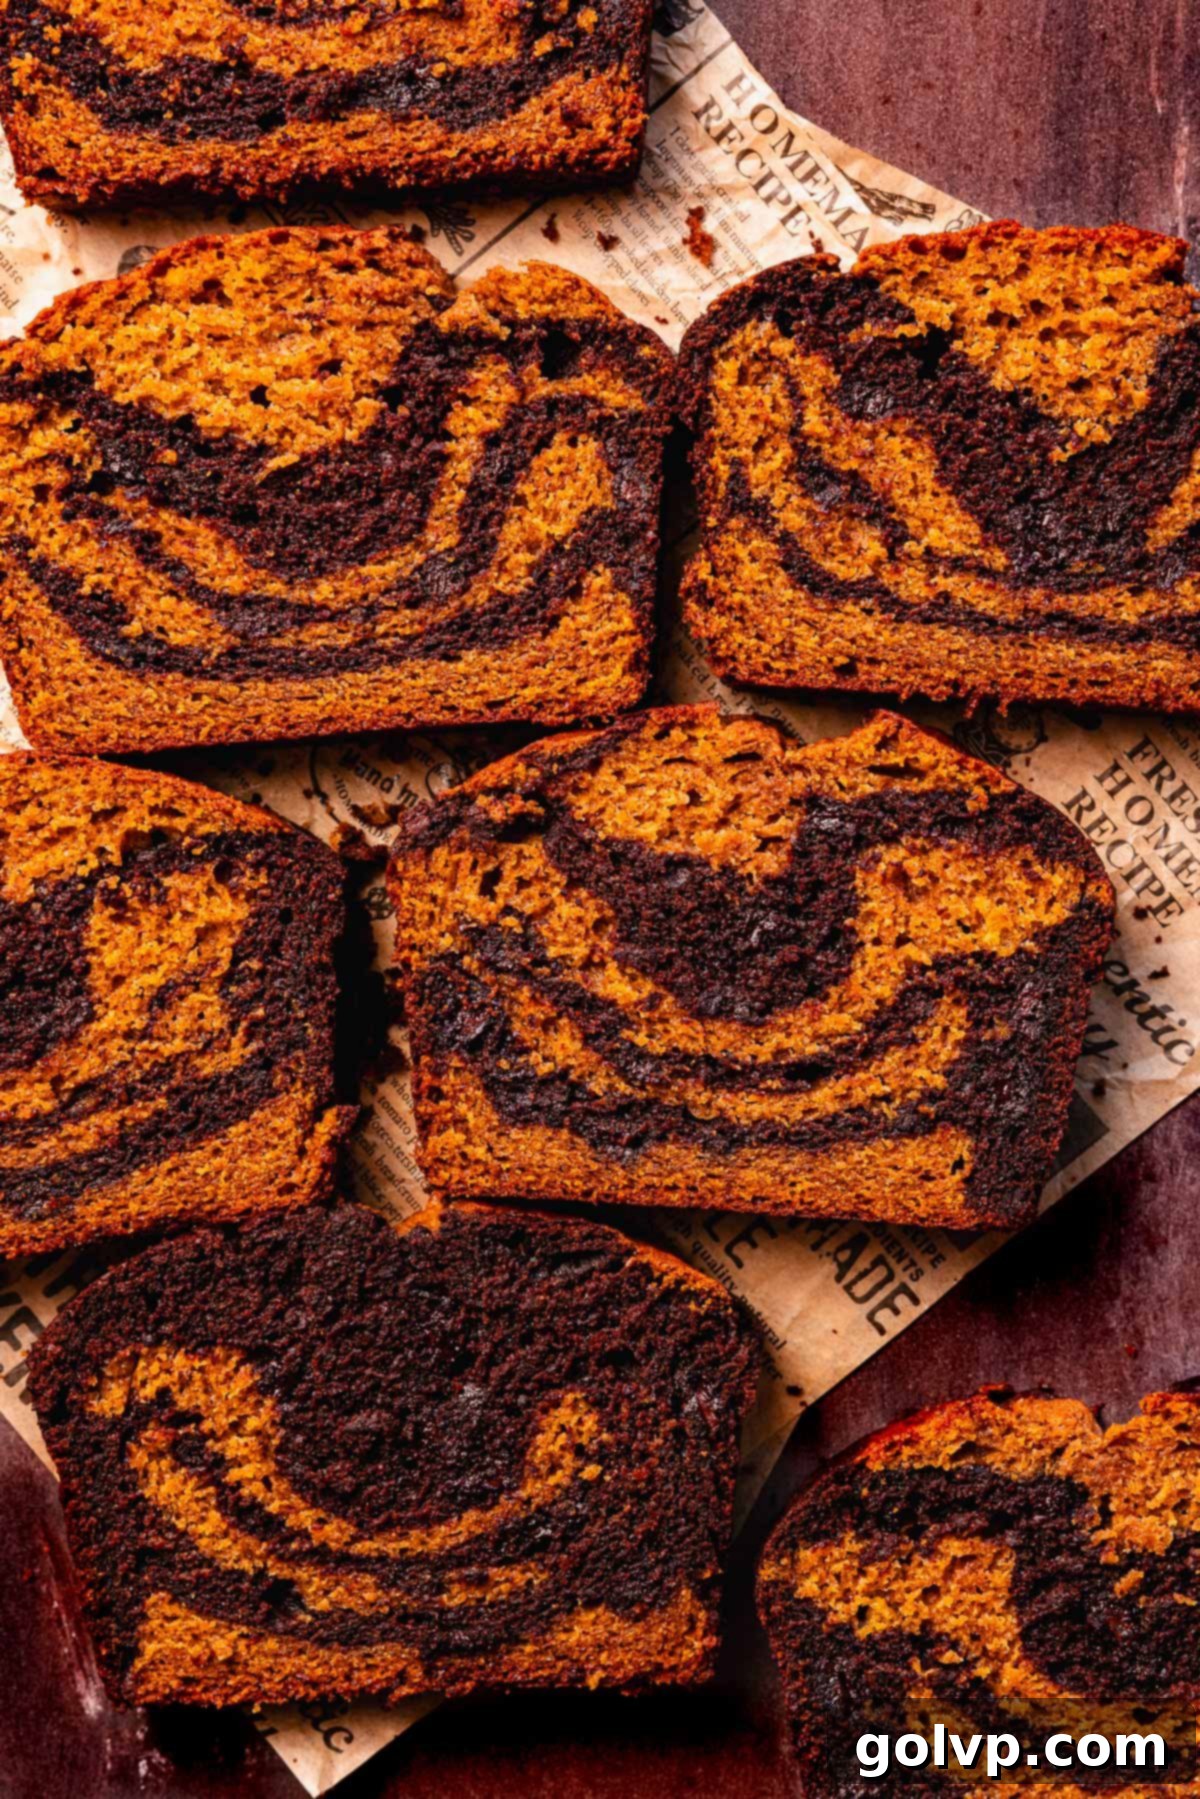
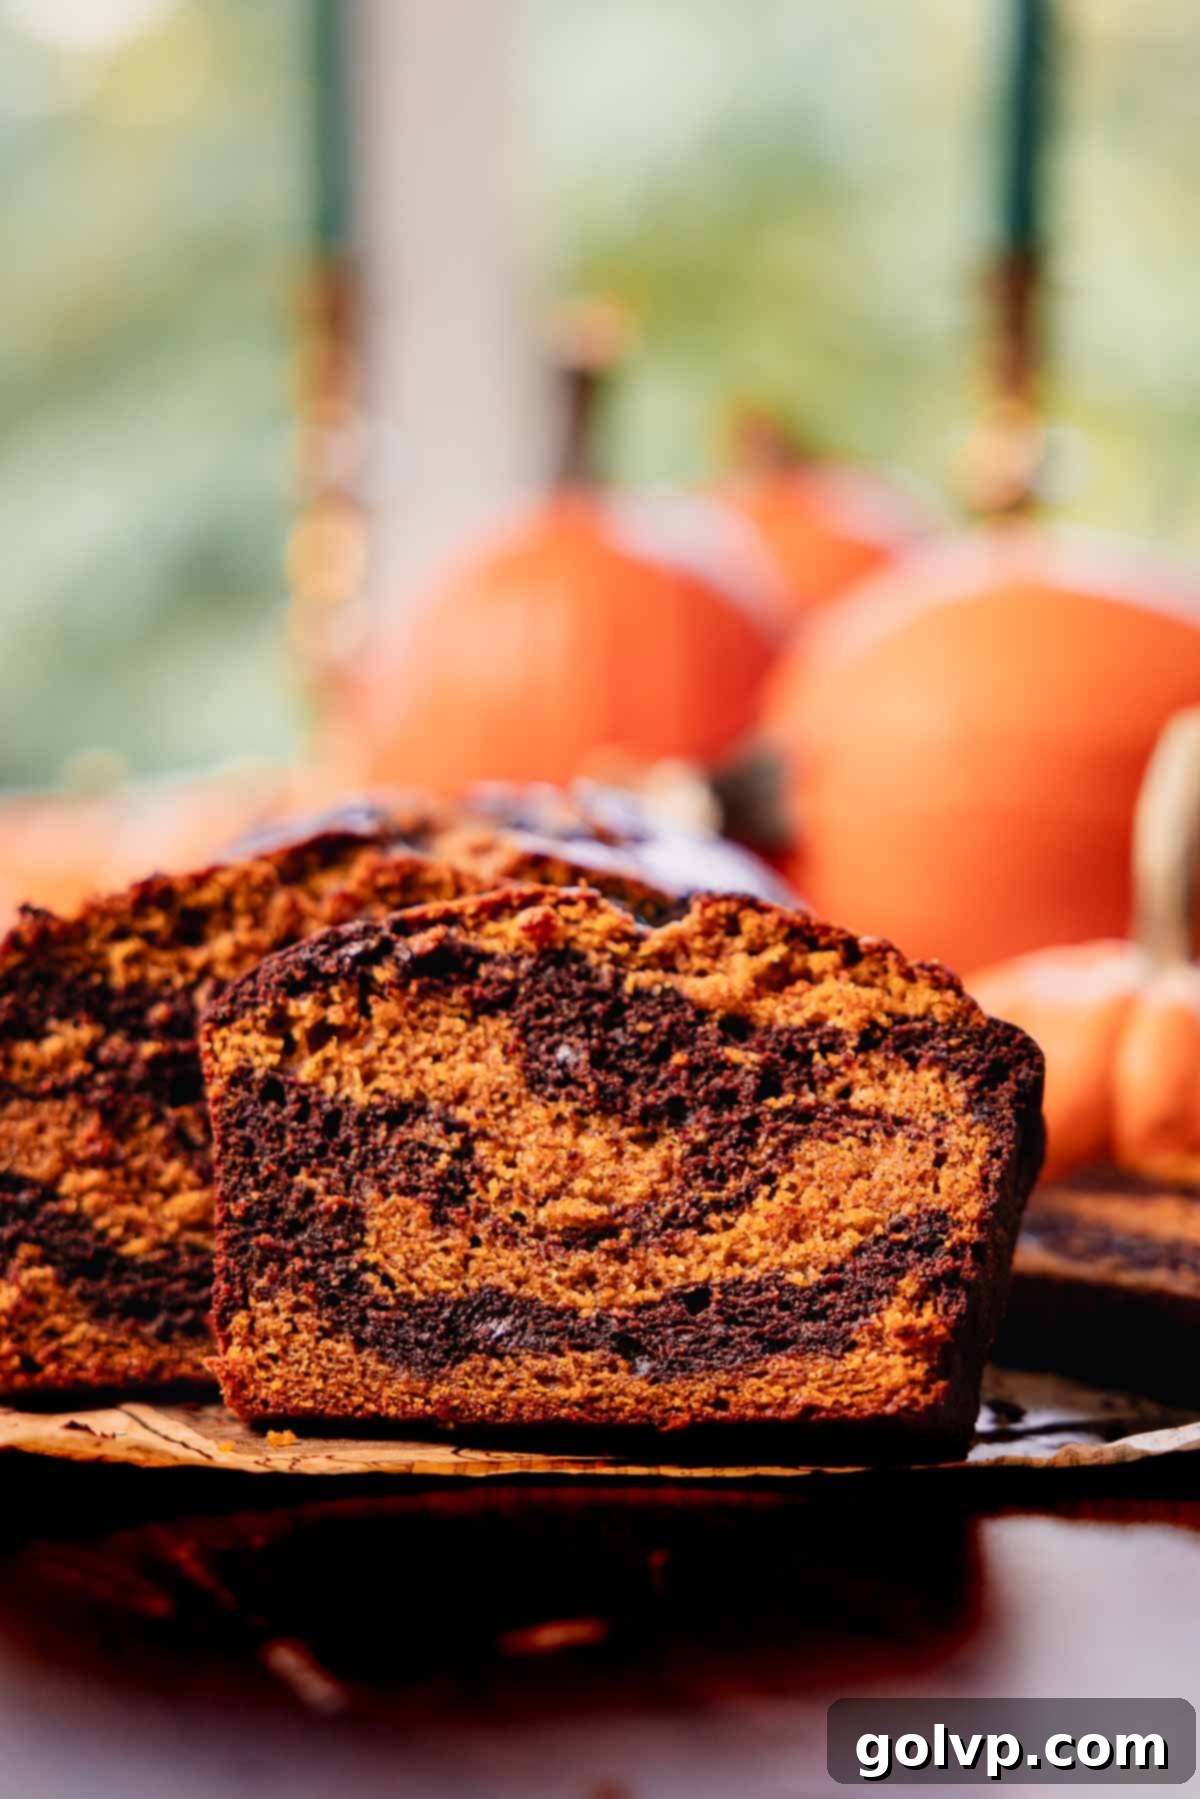
- Visually Stunning & Distinct Layers: One of the most captivating aspects of this loaf is its striking appearance. It features clearly defined, distinct layers where the bright, orange-spiced pumpkin cake boldly alternates with the deep, rich, and decadent chocolate cake. The chocolate sections are generously packed with gooey mini chocolate chips, adding an extra dimension of texture and flavor. This vibrant contrast not only makes it a feast for the eyes but also a delightful culinary experience, perfect for festive occasions or a cozy autumn afternoon.
- Effortlessly Easy to Make: Don’t let the elegant appearance fool you – this loaf cake is incredibly straightforward and simple to prepare. Unlike more complex desserts, loaf cakes are known for their ease of assembly and baking. With clear, step-by-step instructions, even novice bakers can achieve impressive results, making it a stress-free addition to your baking repertoire. You’ll be amazed at how quickly you can whip up such a delicious and beautiful dessert.
- The Perfect Harmony of Chocolate and Pumpkin: The combination of warmly spiced, naturally sweet pumpkin and rich, deep chocolate is an iconic duo, especially cherished during the autumn season. This recipe perfectly marries these two beloved flavors, creating a symphony for your taste buds. The spices in the pumpkin batter beautifully complement the cocoa, while the contrasting colors add to its festive appeal, making it a quintessential fall delight.
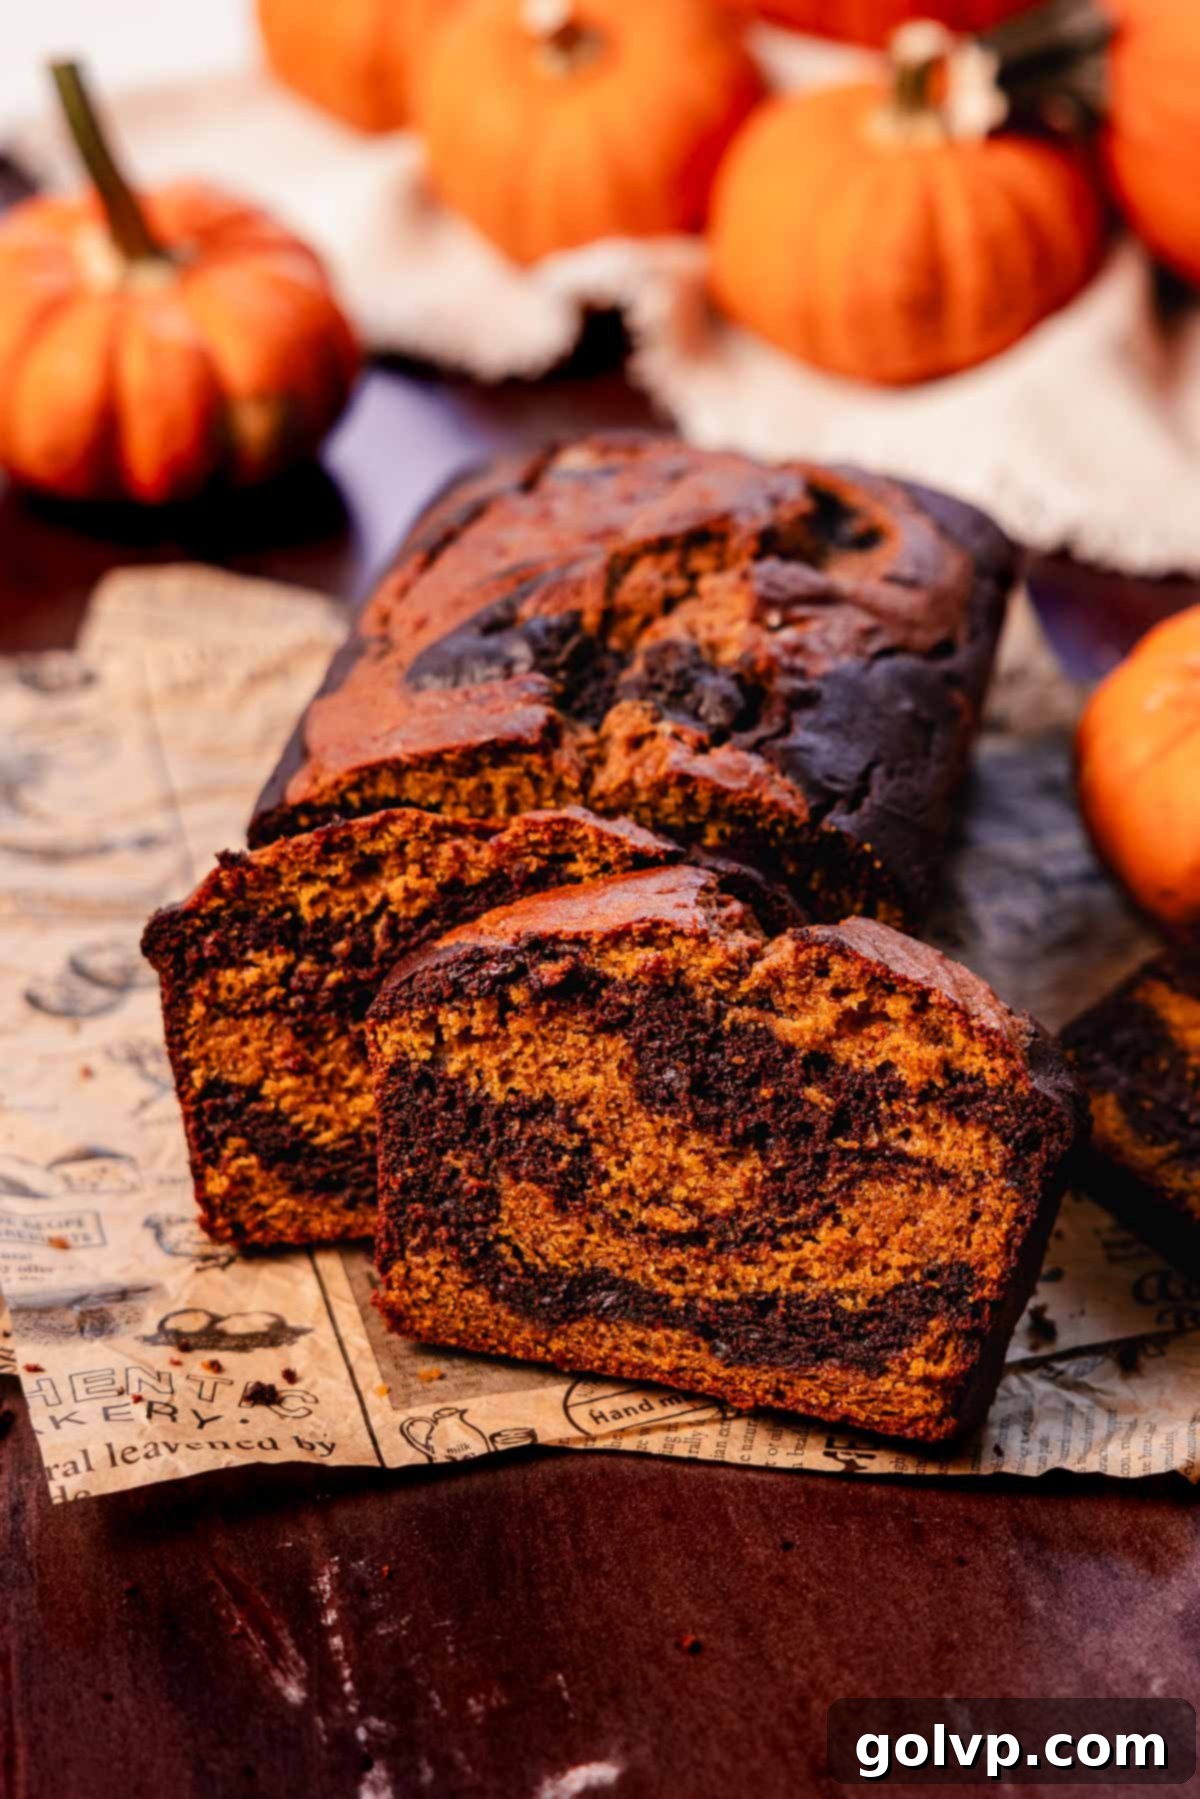
📝 Key Ingredients for the Best Pumpkin Chocolate Loaf
For optimal results, thoroughly read through these essential tips.
Full steps and ingredients can be found in the comprehensive recipe card below.
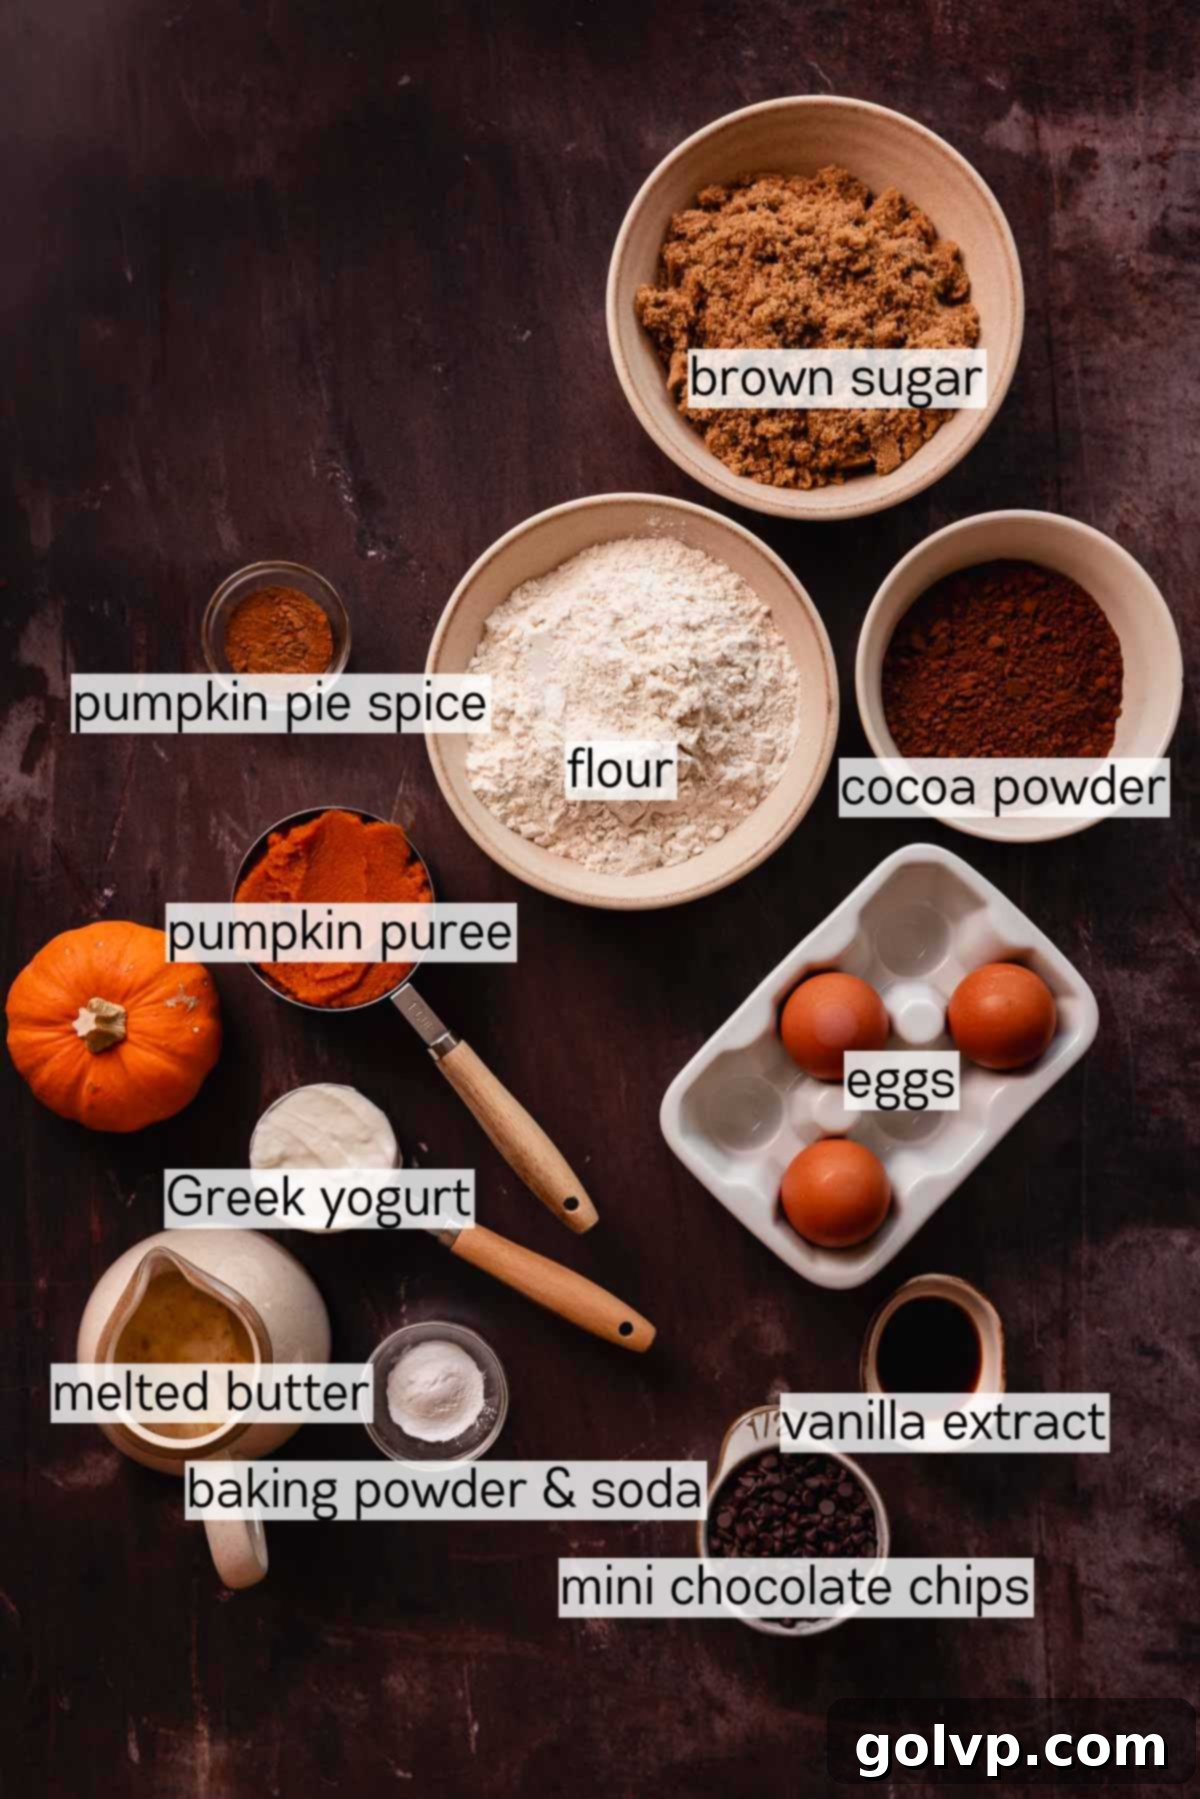
All-Purpose Flour: Achieving the perfect texture in your pumpkin chocolate bread starts with precise flour measurement. For the most accurate and consistent results, we highly recommend weighing your flour using a kitchen scale. If you don’t have a scale, measure correctly by first stirring the flour in its bag or container to aerate it, then gently spooning it into a measuring cup without packing it down. Finally, level off the excess from the top with the flat edge of a knife. Improperly measured flour can lead to a dense or dry loaf, so this step is crucial.
Pumpkin Puree: For this recipe, we rely on store-bought pumpkin puree due to its consistent texture and strong, concentrated pumpkin flavor. It ensures reliable results every time. If you opt for homemade pumpkin puree, it’s essential to ensure it has a very thick consistency, similar to thick hummus or Greek yogurt. Excess moisture in homemade puree can lead to a watery batter and a dense, gummy loaf. Make sure to drain any excess liquid if necessary.
Don’t let leftover pumpkin puree go to waste! Use it to create my highly-rated pumpkin spice snickerdoodle cookies, or whip up a batch of my indulgent pumpkin spice pancakes for a delightful breakfast! These recipes are perfect for extending the fall flavor fun.
Pumpkin Pie Spice: This aromatic blend of spices is a hallmark of fall baking, most commonly associated with pumpkin pie. You can easily purchase it pre-mixed at any grocery store, or for a fresher, more customizable flavor, you can mix it yourself using common pantry spices like cinnamon, nutmeg, ginger, and cloves. I often use my own proven pumpkin pie spice mix recipe, which guarantees a balanced and fragrant spice profile for this loaf.
Cocoa Powder: For this recipe, I’ve chosen Dutch-processed cocoa powder. This type of cocoa is treated with an alkali to reduce its acidity, resulting in a darker color and a milder, smoother, and richer chocolate flavor. However, natural cocoa powder will also work beautifully, though it will yield a slightly lighter color and a more intense, acidic chocolate note. The key is to bloom the cocoa powder (see expert tips) to unlock its full flavor potential, regardless of the type you choose.
Mini Chocolate Chips: I firmly believe this pumpkin chocolate loaf cake is elevated by the inclusion of mini chocolate chips within the chocolate batter. These tiny morsels create delightful, gooey pockets of melted chocolate that distribute evenly throughout the loaf, enhancing both texture and flavor. While optional, they are highly recommended for an extra layer of chocolatey indulgence. I prefer semisweet chocolate chips for a balanced sweetness, but milk chocolate chips can be used if you desire a sweeter profile, or dark chocolate for a more intense bitter-sweetness.
Greek Yogurt: Incorporating plain Greek yogurt into the batter serves multiple purposes. Its inherent tanginess adds a subtle depth of flavor that complements both the pumpkin and chocolate. More importantly, its high protein and fat content contribute significantly to the loaf’s tender crumb and moist texture, ensuring a wonderfully rich mouthfeel. If Greek yogurt isn’t available, sour cream makes an excellent substitute, offering similar benefits in terms of moisture and tang.
Large Eggs (Room Temperature): Using room temperature eggs is crucial for baking success. They emulsify more easily with other ingredients, creating a smoother, more uniform batter. This leads to a better rise and a more tender, less dense final product.
👩🍳 How to Make the Ultimate Chocolate Pumpkin Swirl Bread
Prep: Begin by preheating your oven to 355°F (180°C). Prepare a 9×5 inch (23×13 cm) loaf pan. You can either line it with parchment paper, leaving an overhang on the longer sides to easily lift the loaf out later, or thoroughly spray it with baking spray. Baking spray is specifically designed for baking as it contains flour, which helps prevent sticking more effectively than plain cooking spray. This is especially useful if you’re using an intricate pan like a Nordic Ware pumpkin loaf pan, ensuring a clean release.
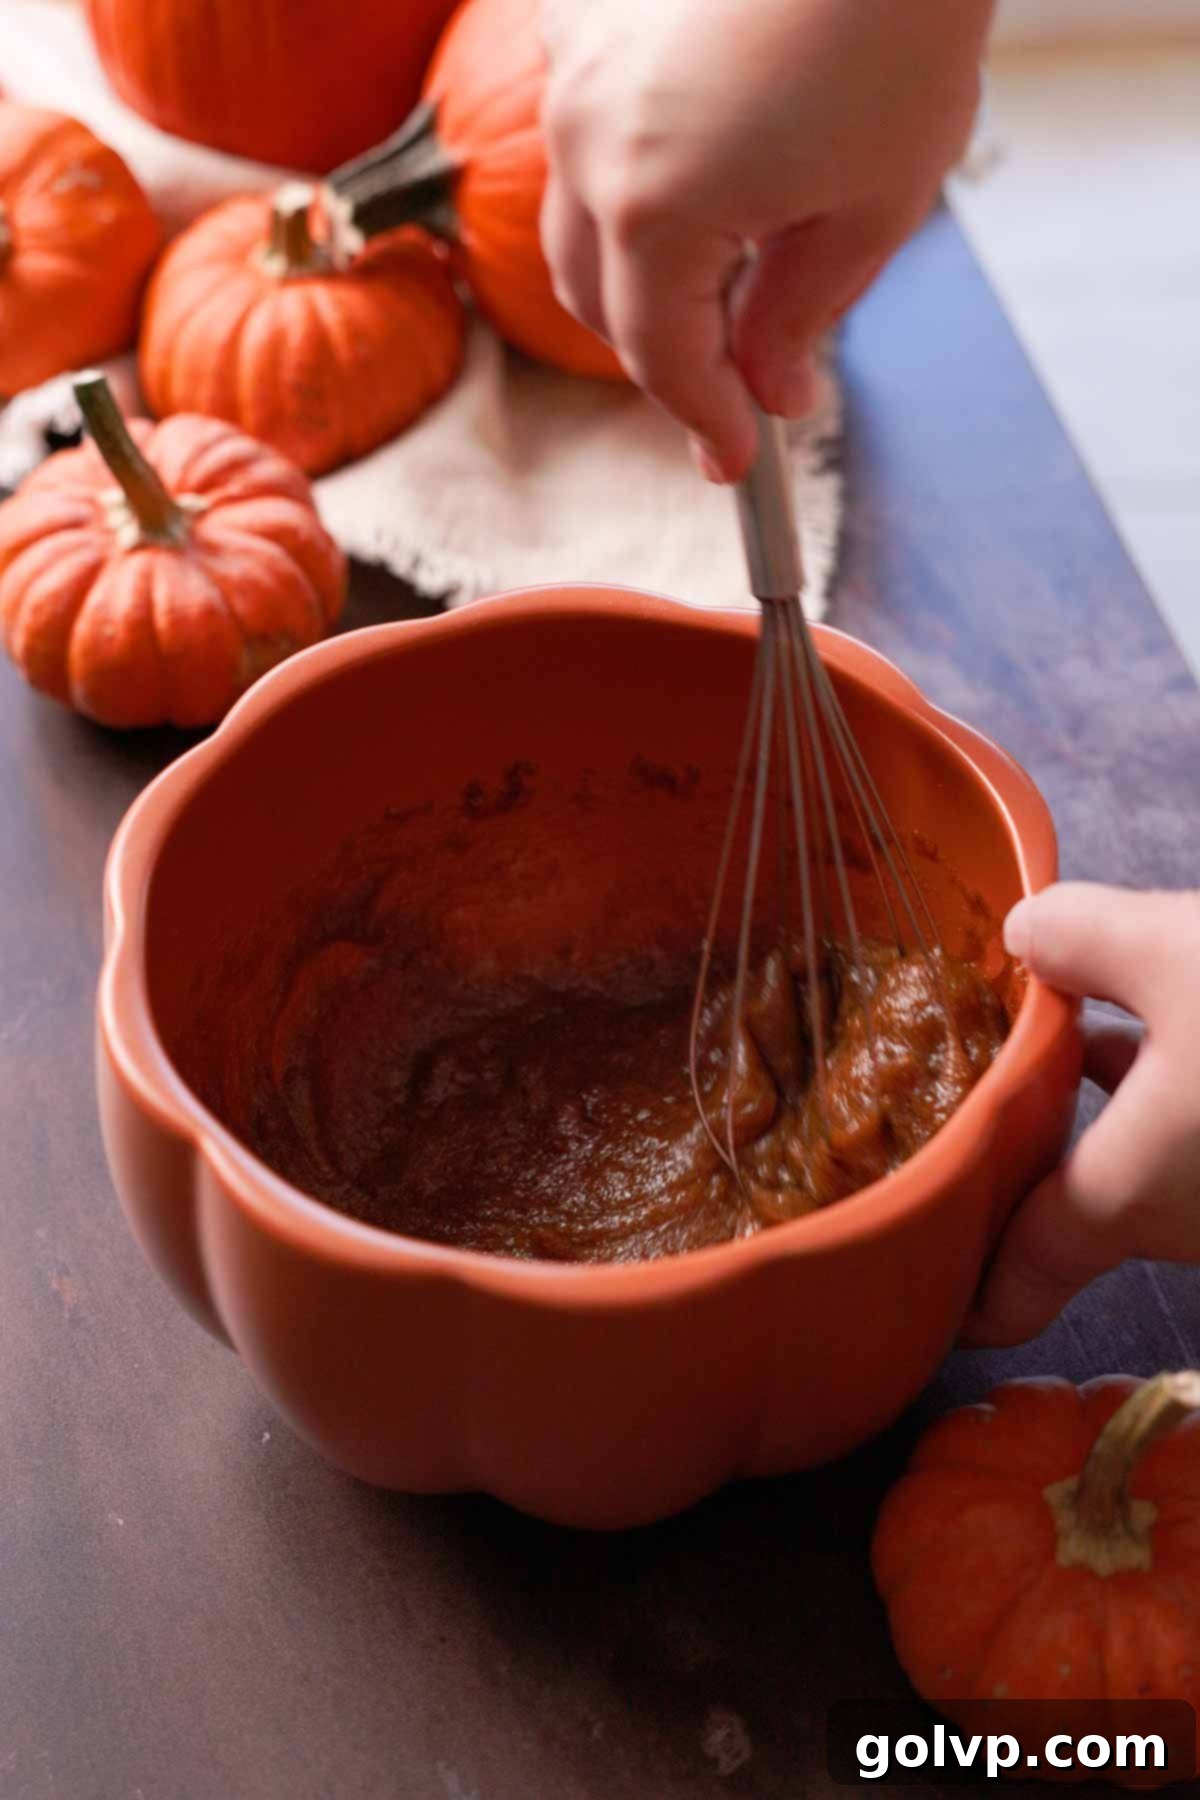
Step 1: In a spacious mixing bowl, combine the room temperature large eggs and brown sugar. Whisk vigorously with a sturdy wire whisk for about 30 seconds, or until the mixture thickens slightly and a light, foamy layer forms on top. This step incorporates air into the batter, contributing to the loaf’s soft and tender texture.
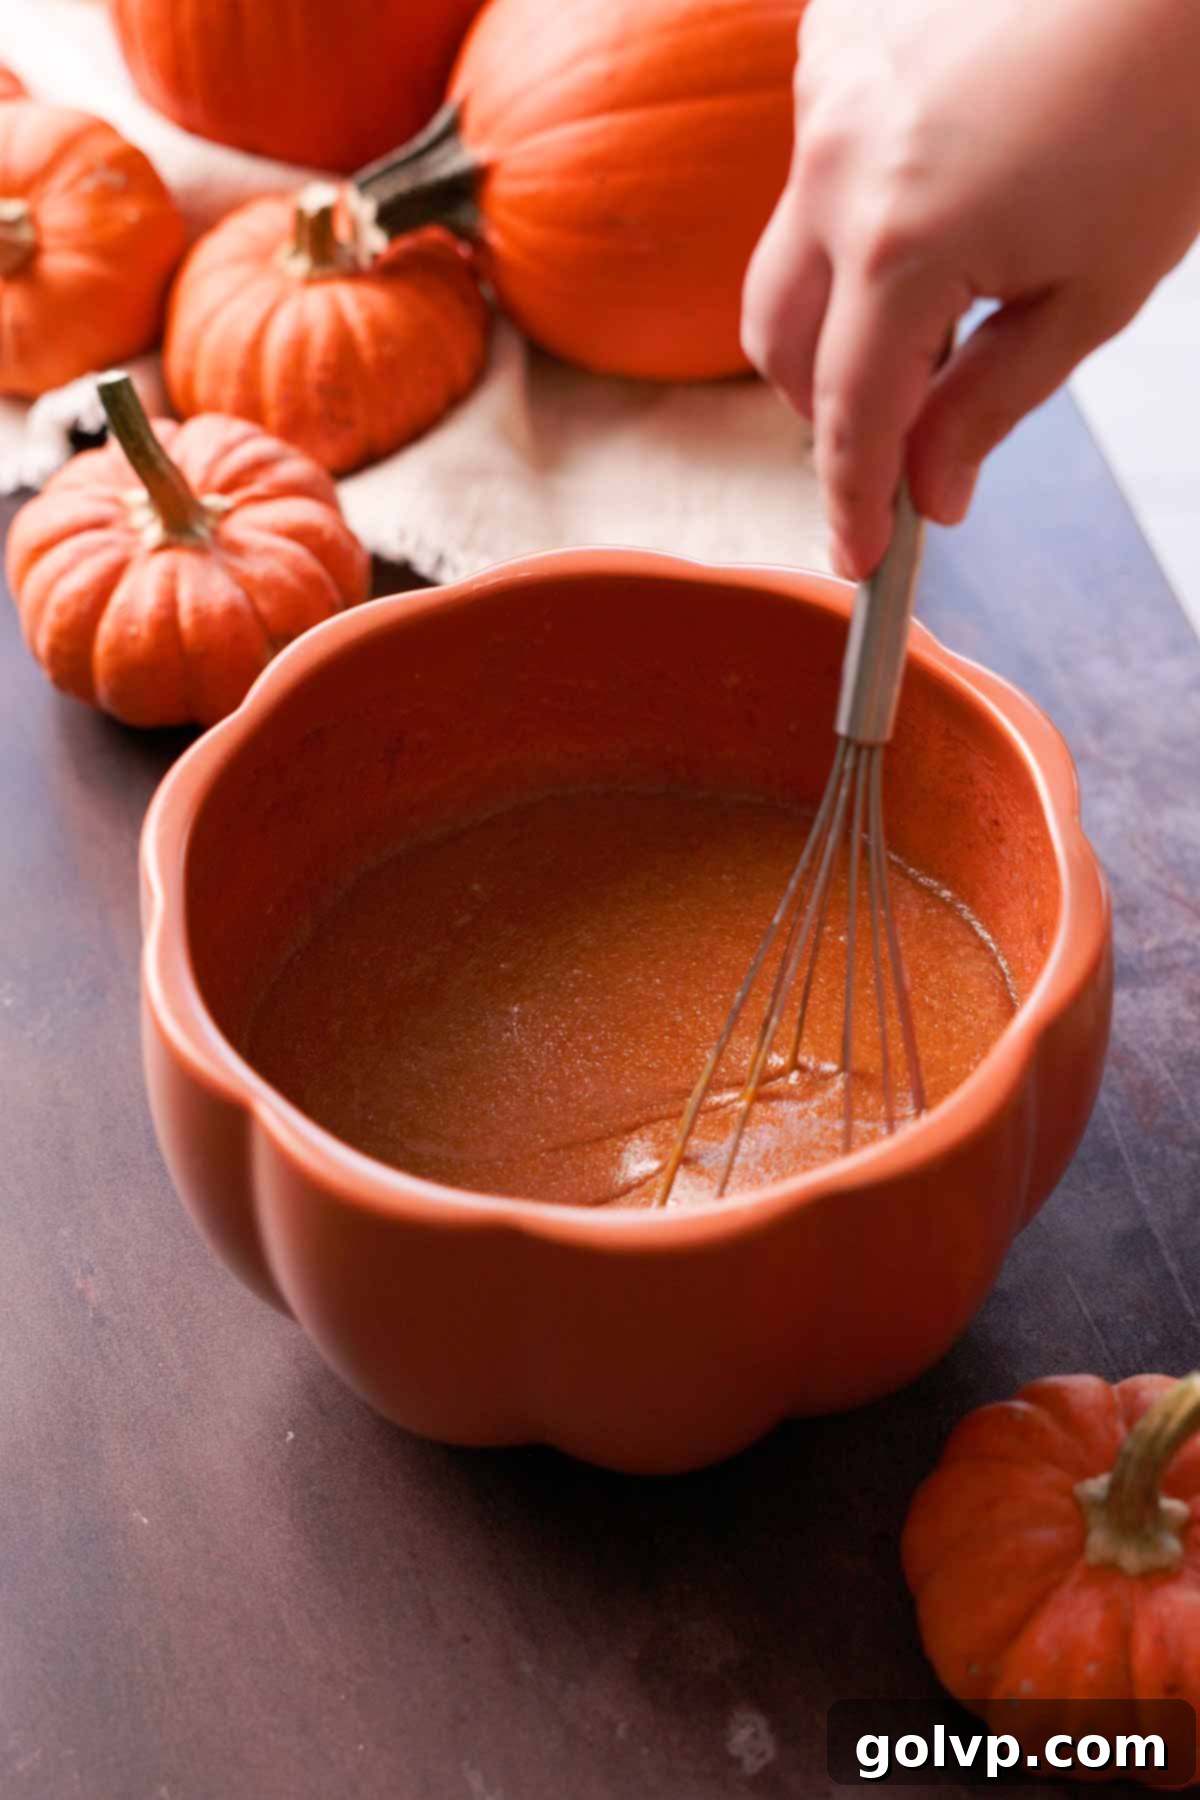
Step 2: Next, incorporate the melted butter, pumpkin puree, Greek yogurt, pure vanilla extract, sea salt, and pumpkin pie spice into the egg and sugar mixture. Continue to beat or whisk until all the wet ingredients are thoroughly combined and the batter appears smooth and uniform. Ensure there are no lumps of pumpkin or yogurt.
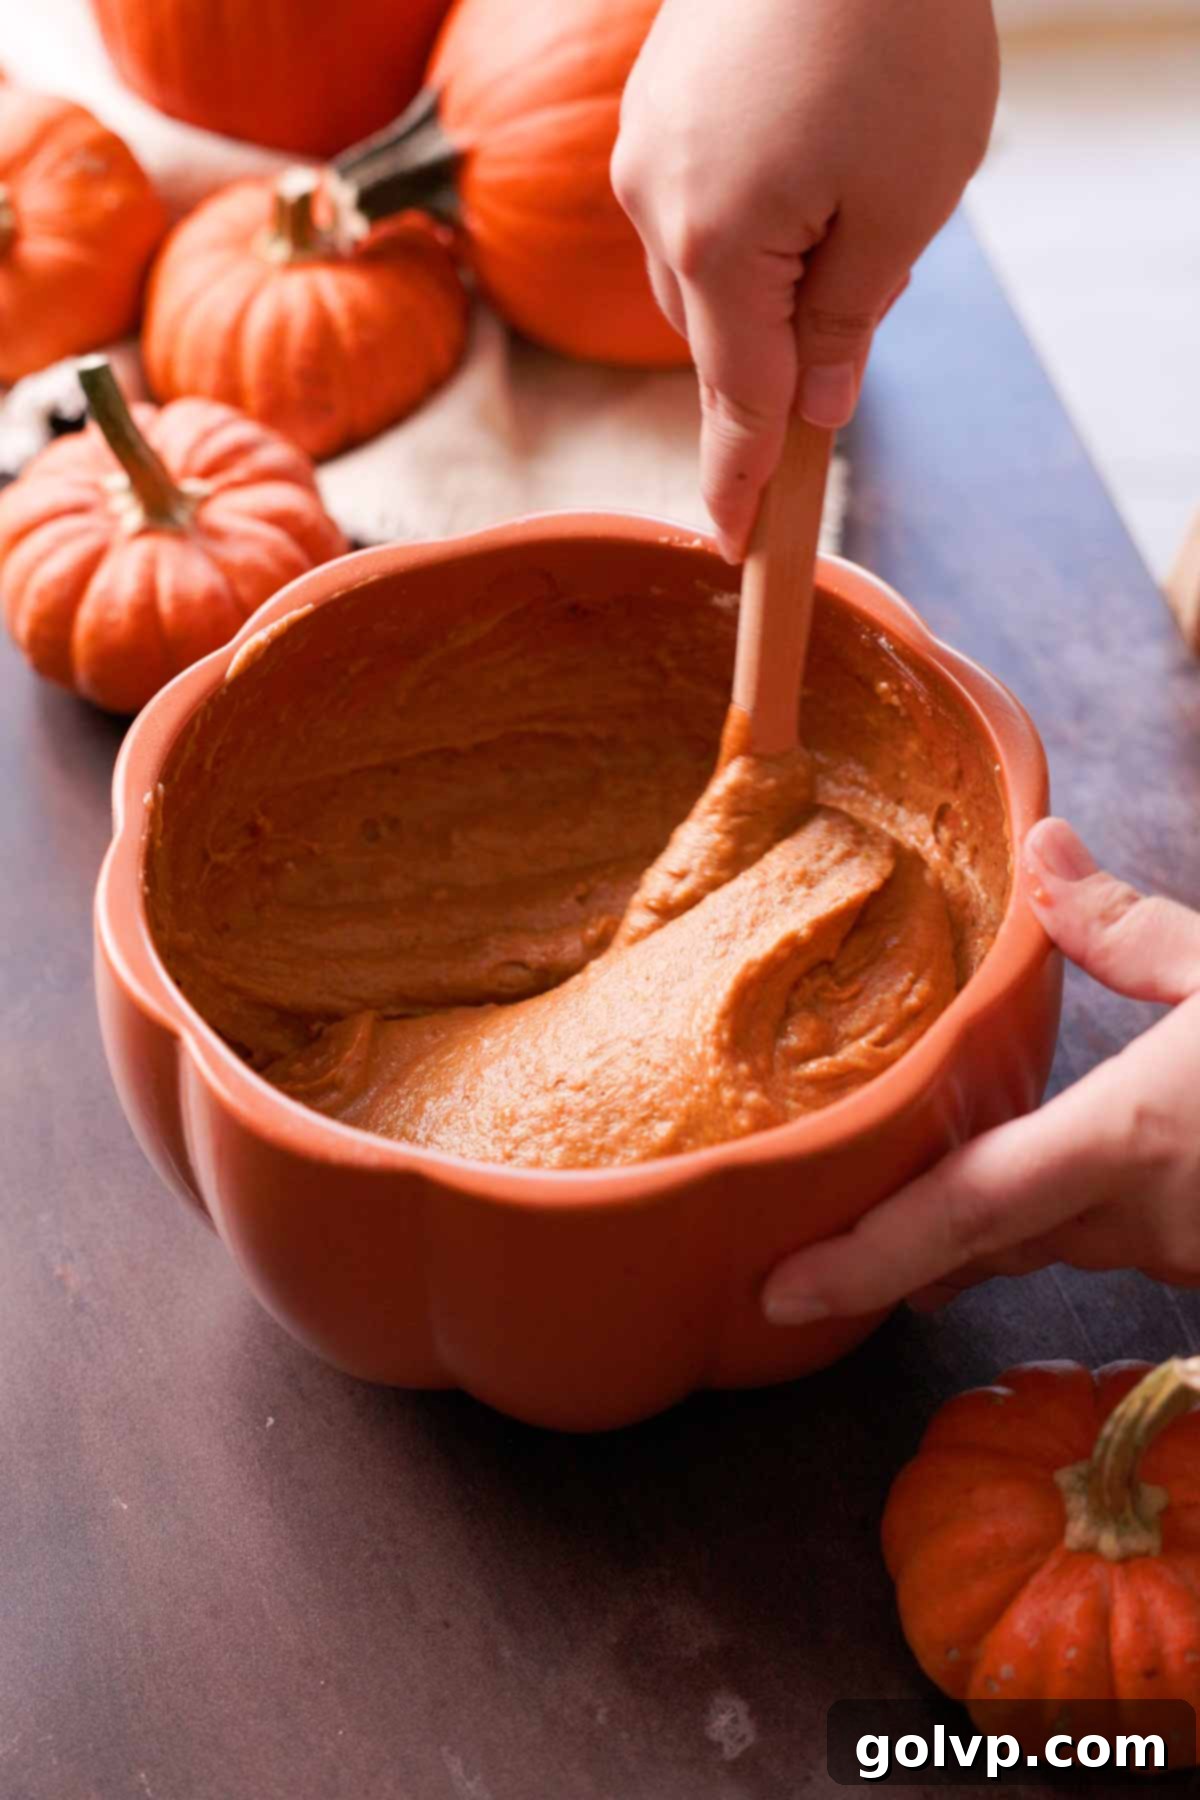
Step 3: Sift the all-purpose flour, baking powder, and baking soda directly into the same bowl containing your wet mixture. Sifting helps to aerate the dry ingredients and prevent lumps. With a silicone spatula or wooden spoon, gently stir or fold the dry ingredients into the wet mixture just until a cohesive batter forms. Be careful not to overmix, as this can develop the gluten too much, resulting in a tough and dry loaf.
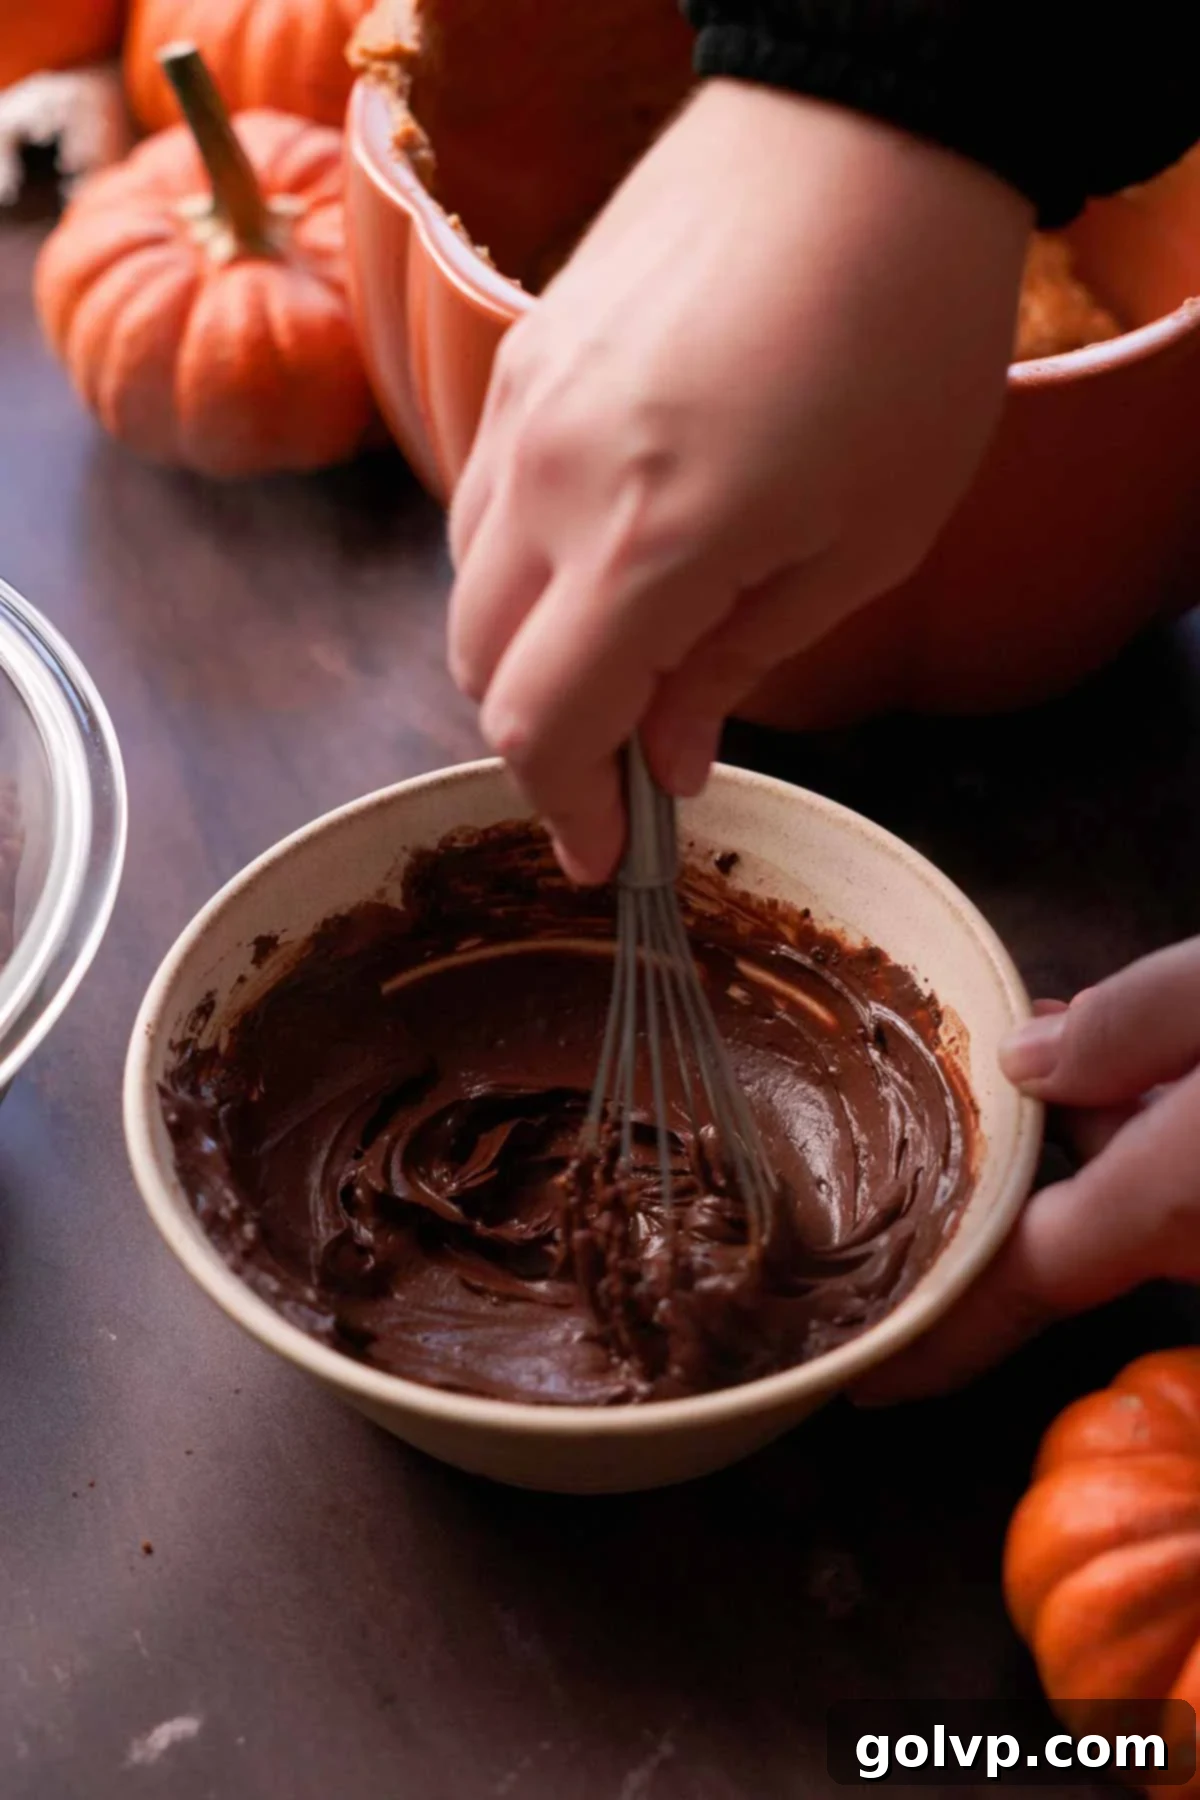
Step 4: In a separate, smaller bowl, carefully combine the cocoa powder, boiling hot water, and the optional instant espresso powder. The hot water helps to “bloom” the cocoa, dissolving the particles and intensifying its chocolate flavor. The espresso powder, though optional, deepens the chocolate notes without adding a distinct coffee taste. Whisk these ingredients together until you achieve a smooth, thick, and glossy chocolate mixture. This concentrated chocolate paste will ensure a vibrant chocolate flavor in your loaf.
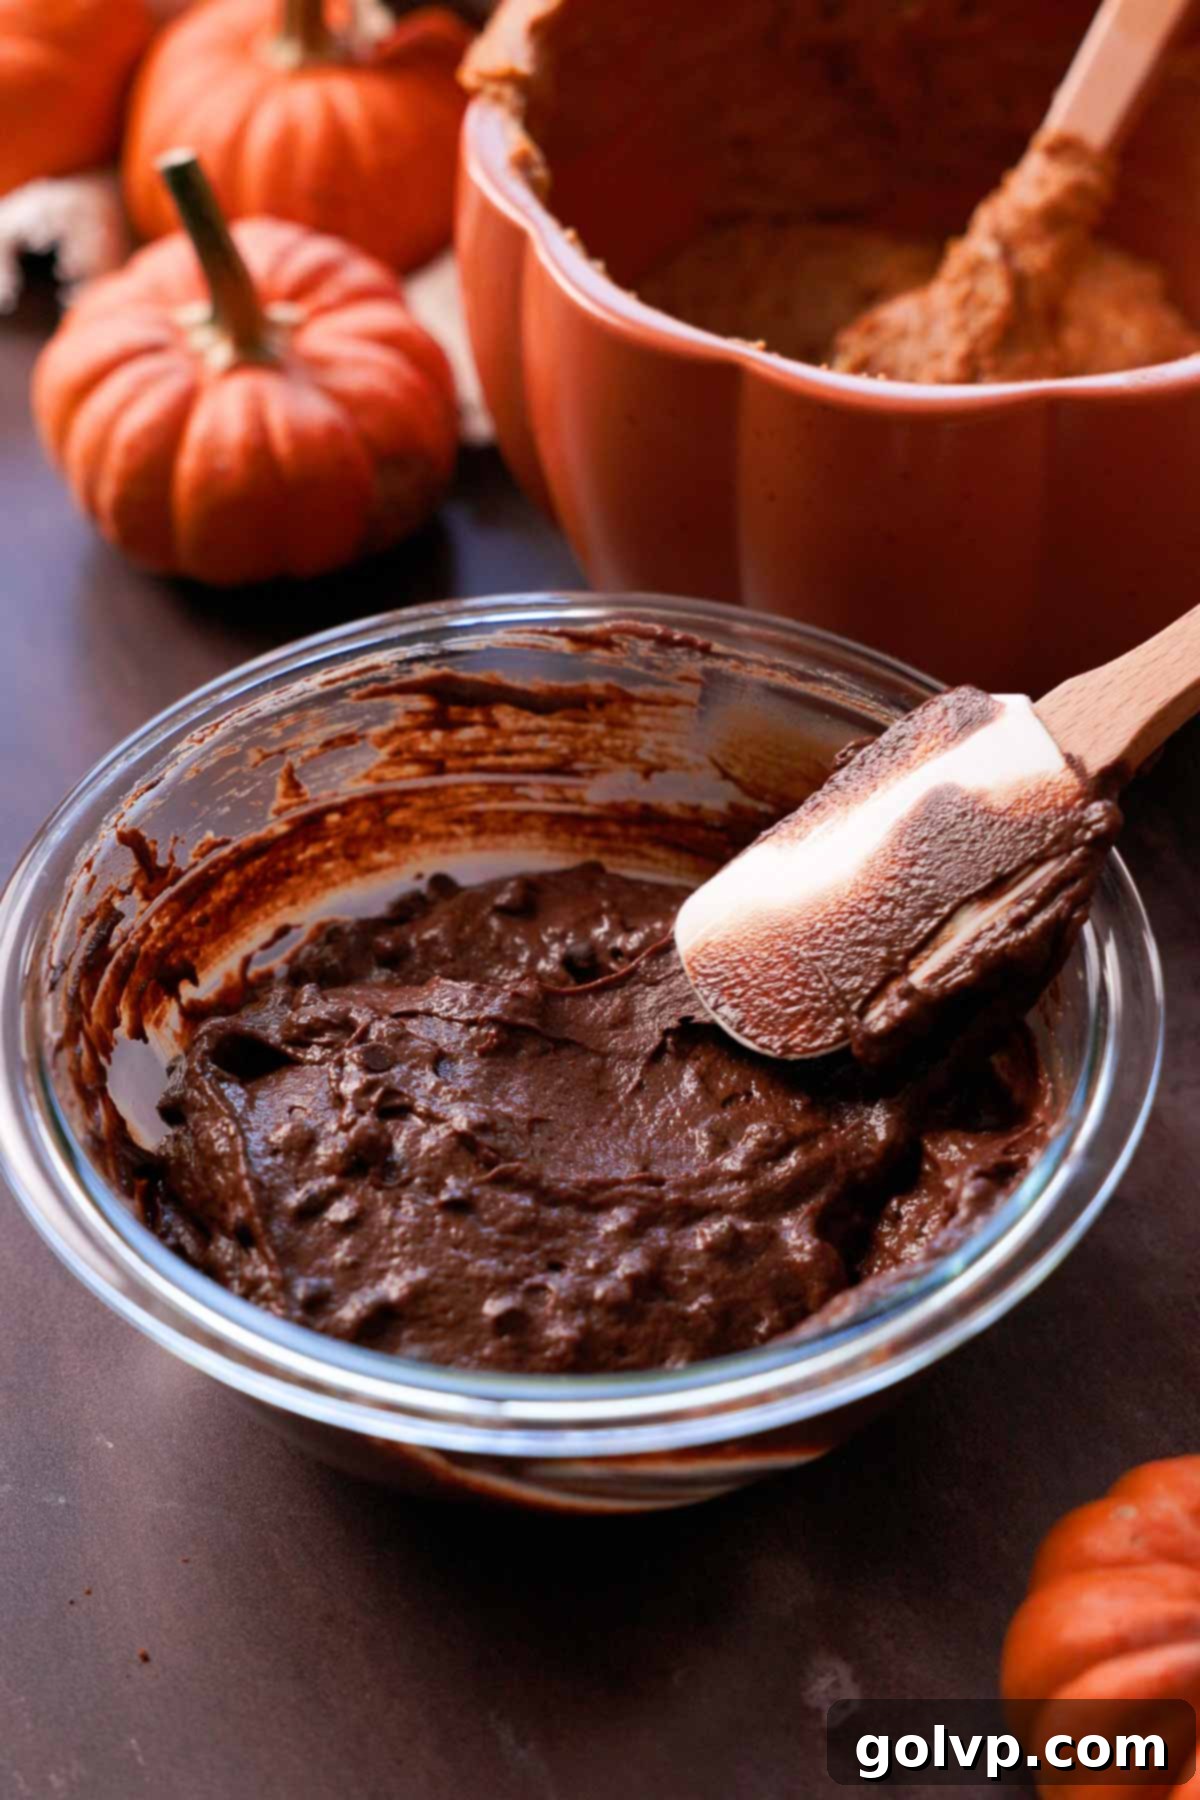
Step 5: Divide the pumpkin batter equally into two separate bowls. Into one of these halves, gently fold in the prepared cocoa powder mixture from Step 4. Mix just until the chocolate is fully incorporated, creating a rich chocolate batter. Then, carefully fold the mini chocolate chips into this chocolate batter, ensuring they are evenly distributed without overmixing.
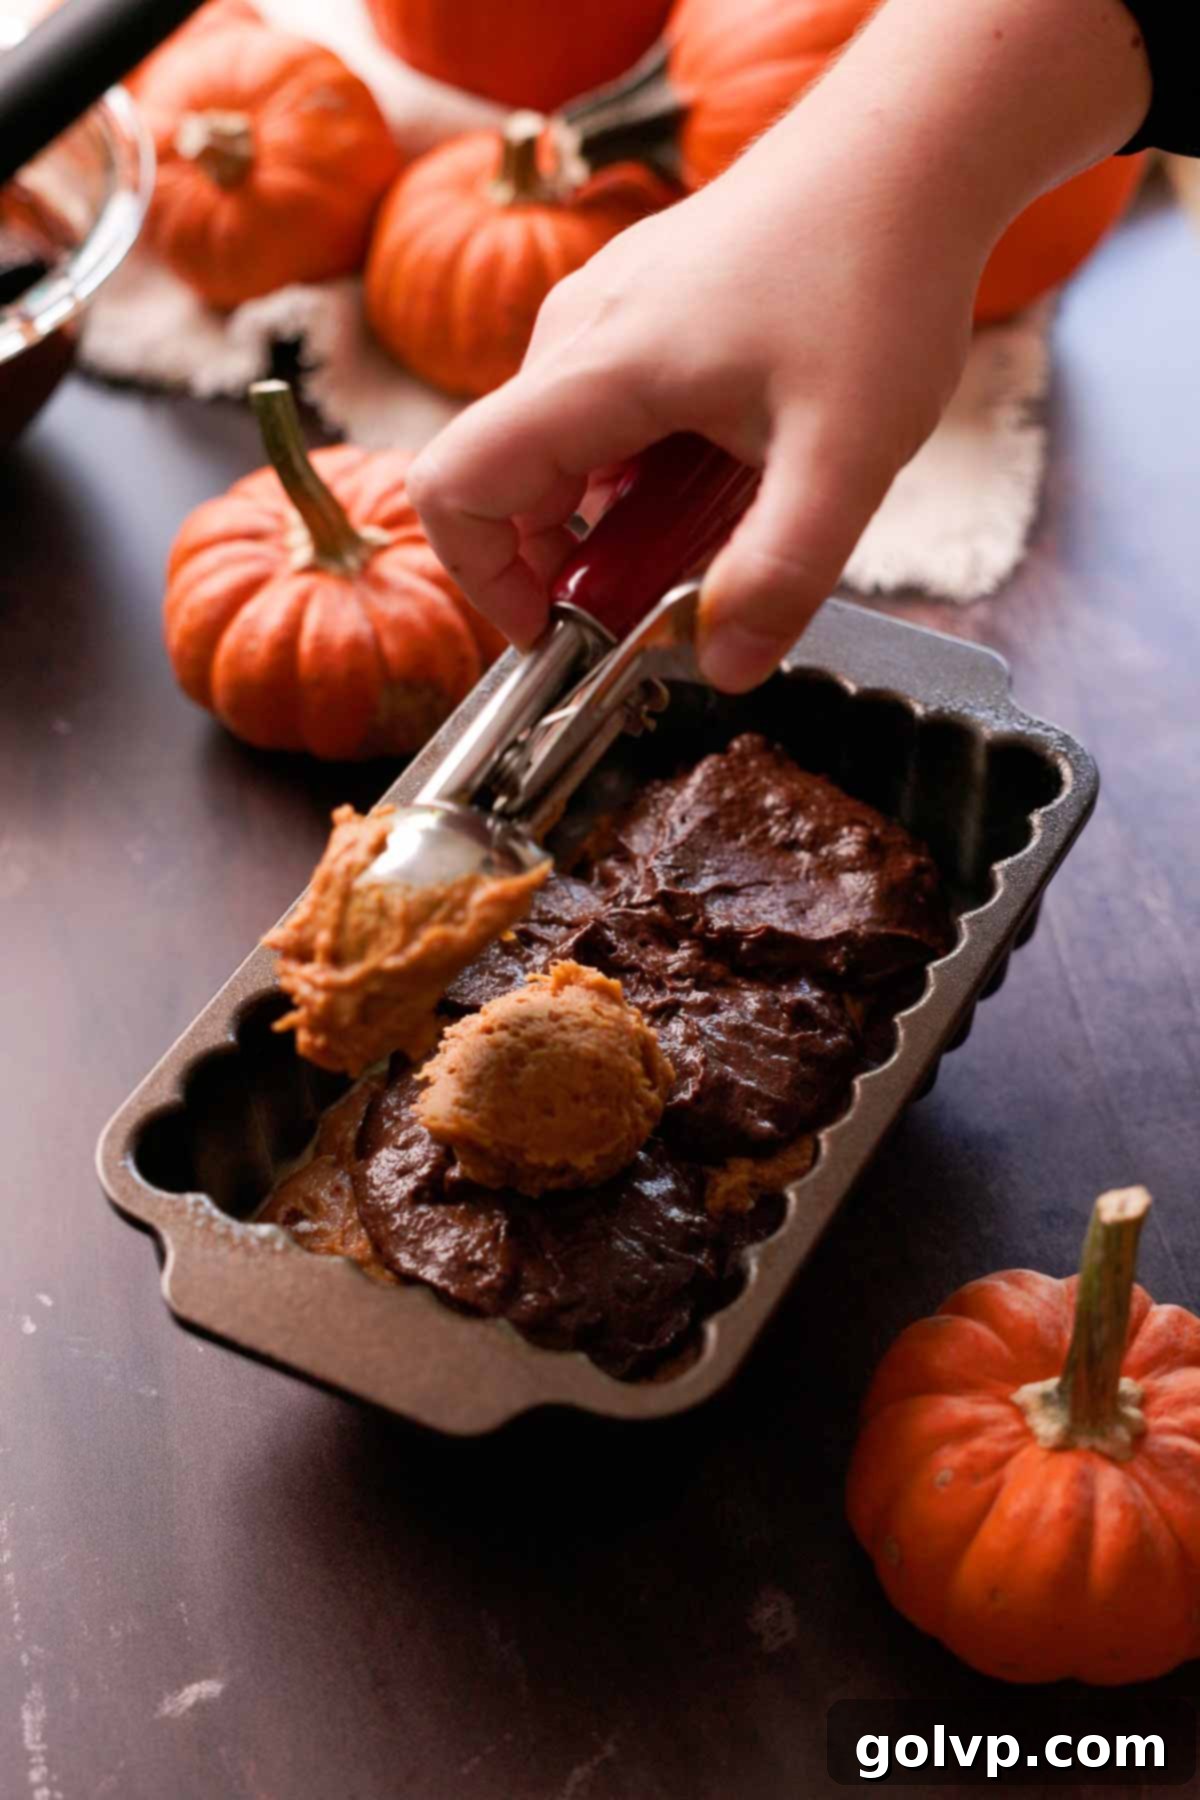
Step 6: Now it’s time to create those beautiful layers! Alternate adding spoonfuls of the pumpkin batter and the chocolate batter into your prepared loaf pan. I recommend spooning them in, about a third of a cup at a time, distributing them somewhat evenly. For a more pronounced swirl, after adding all the batter, you can gently drag a knife or skewer through the mixture once or twice. Be careful not to over-swirl, or the colors will blend too much.
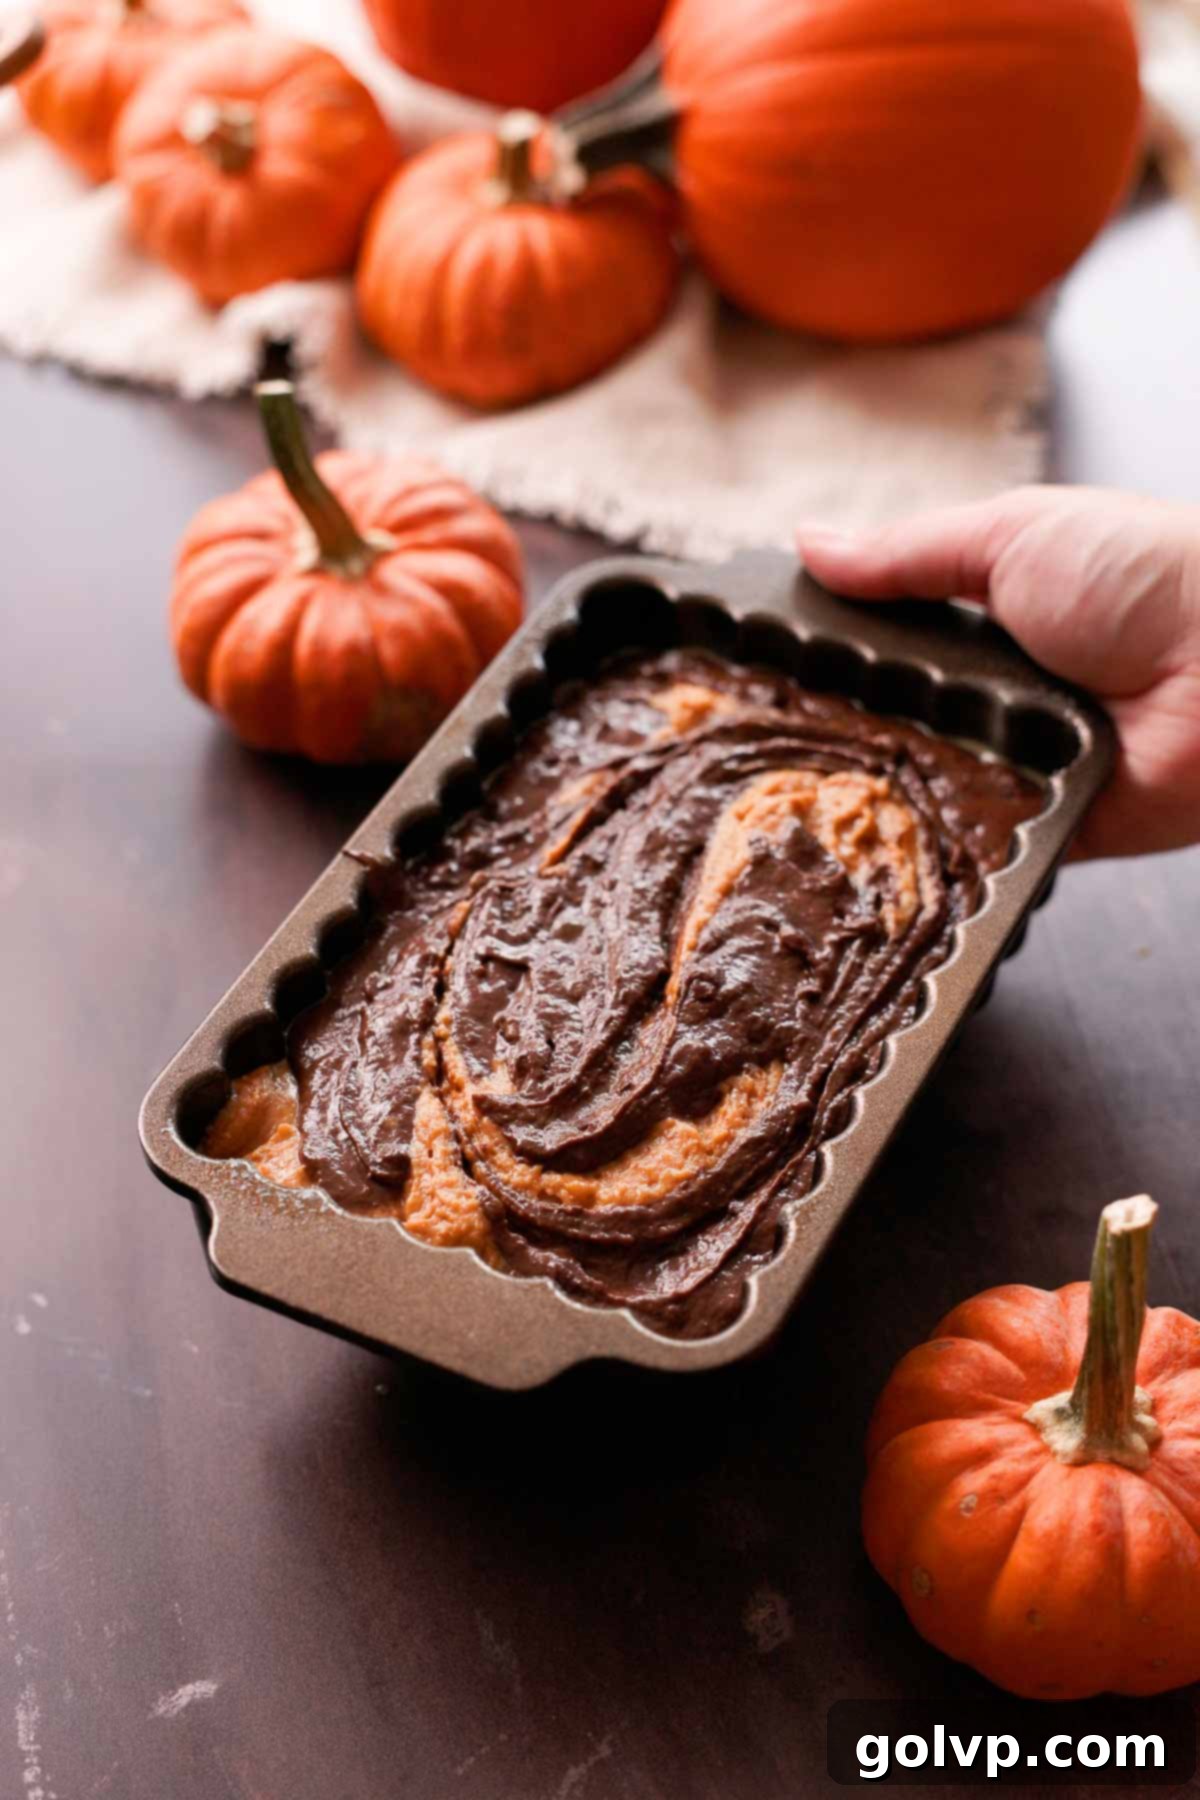
Step 7: Carefully place the loaf pan into your preheated oven. Bake the chocolate pumpkin loaf for 55-60 minutes. The loaf is done when a toothpick inserted into the very center comes out clean or with just a few moist crumbs attached. Begin checking the loaf at the 55-minute mark to prevent overbaking. The top should be golden brown and the edges slightly pulled away from the pan. If the top is browning too quickly, loosely tent it with aluminum foil for the remaining baking time.
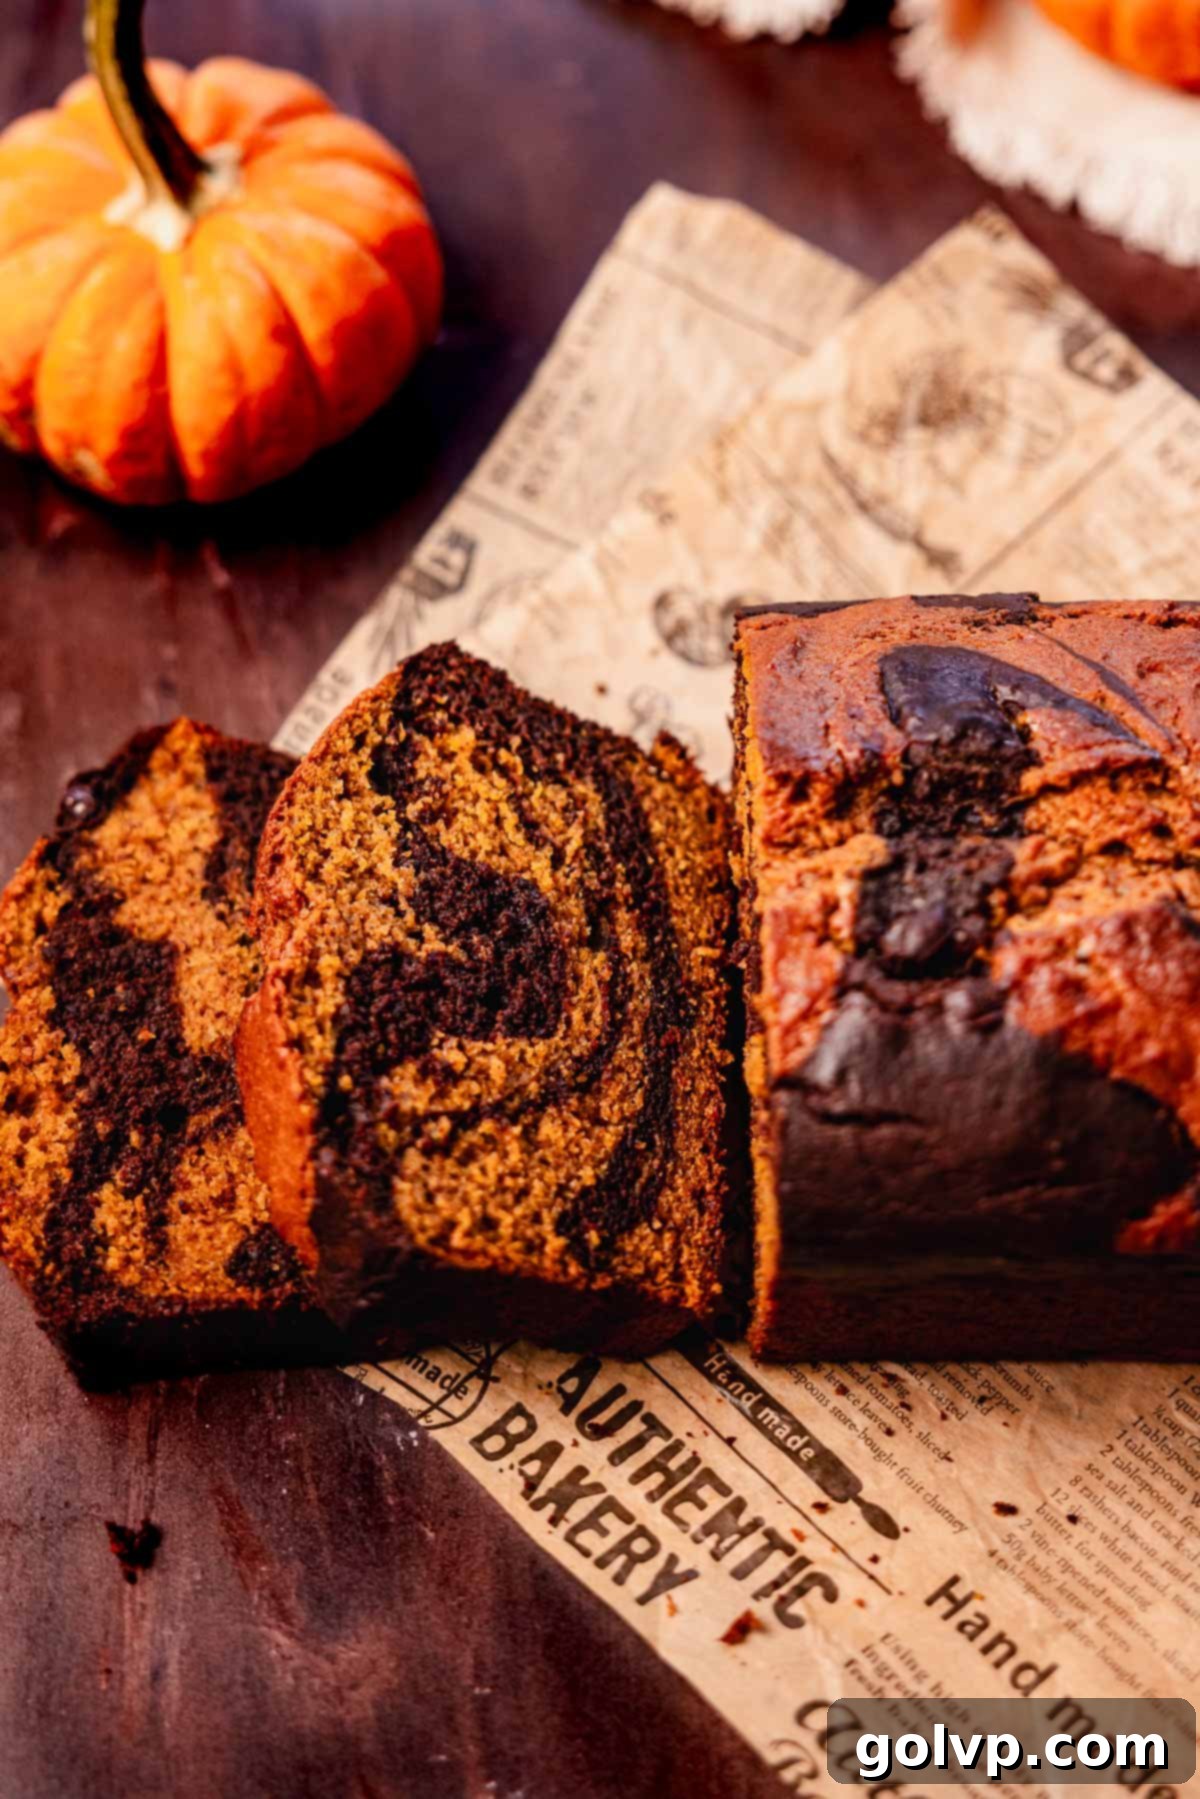
Step 8: Once baked, remove the loaf from the oven and let it rest in the pan for about 10 minutes. This allows the loaf to set and firm up, making it easier to remove without breaking. After 10 minutes, carefully lift the loaf out of the pan (using the parchment paper overhang if applicable) and transfer it to a wire rack to cool completely to room temperature. Slicing into a warm loaf can result in a gummy texture; patience will be rewarded with perfectly defined slices and full flavor development. Serve and enjoy!
✔️ Expert Pumpkin Chocolate Swirl Bread Tips for Success
- Bloom the Cocoa Powder for Intense Flavor: This is a game-changer for chocolate baked goods! By combining cocoa powder with hot, boiling water (and optional espresso powder), you’re essentially “blooming” it. This process dissolves the cocoa solids, releases trapped flavor compounds, and significantly intensifies the chocolate flavor, making it richer and deeper. It also creates a smooth paste that’s much easier to incorporate into the batter without creating lumps, ensuring an even chocolate distribution.
- Avoid Overmixing the Batter: Loaf cakes, and especially this one with its two distinct batters, require careful handling once the flour is added. Overmixing develops the gluten in the flour, which can lead to a tough, dry, and chewy cake rather than the desired soft, tender, and moist crumb. Always fold the dry ingredients into the wet ingredients gently, mixing only until just combined and no streaks of flour remain. A few small lumps are better than an overmixed, tough batter.
- Don’t Overbake Your Pumpkin and Chocolate Bread: Overbaking is the quickest way to end up with a dry, crumbly loaf. Begin checking for doneness around the 50-minute mark with a toothpick inserted into the center. It should come out clean or with a few moist crumbs, but not wet batter. The internal temperature should be between 200-205°F (93-96°C). If the top of the loaf is browning too quickly before the center is cooked through, loosely tent it with aluminum foil to prevent further browning while allowing the inside to finish baking.
- Use Room Temperature Ingredients: Ensure your eggs, Greek yogurt, and pumpkin puree are at room temperature. Room temperature ingredients emulsify more easily, creating a smoother, more uniform batter. This results in a better rise, finer crumb, and a more consistently moist loaf.
- Achieve the Perfect Swirl: For those beautiful, distinct layers, alternate spoonfuls of each batter evenly into the prepared loaf pan. Once all the batter is in, gently drag a butter knife or skewer through the batter in a zig-zag or figure-eight pattern, just once or twice. Resist the urge to over-swirl, as this will cause the colors to blend into a muddy brown rather than creating vibrant, separated stripes.
- Weigh Your Ingredients: While cup measurements are provided, using a kitchen scale to weigh your flour and other dry ingredients (like sugar) offers the most accurate results. This eliminates inconsistencies that can arise from how ingredients are scooped and leveled, leading to a consistently perfect loaf every time.
🥄 Make Ahead and Storage for Your Pumpkin Chocolate Loaf
This delectable pumpkin chocolate swirl bread is not only delicious fresh from the oven but also keeps beautifully, making it an excellent candidate for making ahead or enjoying over the course of the week. Proper storage is key to maintaining its wonderful texture and flavor.
Room Temperature Storage: To enjoy your loaf within a couple of days, store it in an airtight container or wrap it tightly in plastic wrap at room temperature. This will help prevent it from drying out and keep it fresh for up to 2 days. For best results, avoid direct sunlight or warm areas.
Refrigeration: If you plan to store the loaf for a longer period, it can be kept in the refrigerator for up to 5 days. Ensure it is wrapped securely in plastic wrap or placed in an airtight container to prevent it from absorbing any odors from the fridge and to maintain its moisture. Bring slices to room temperature or gently warm before serving for the best experience.
Freezing for Longer Enjoyment: This loaf freezes exceptionally well, allowing you to savor its flavors for months. For convenience, slice the cooled loaf into individual portions. Place a small piece of parchment paper between each slice to prevent them from sticking together. Then, arrange the slices in a single layer in a freezer-safe bag or an airtight container that seals tightly. This method allows you to remove and thaw individual slices as needed. The frozen bread will maintain its quality for up to 2 months. Thaw individual slices at room temperature or gently reheat in the microwave or oven until warmed through.
📖 Recipe FAQs for Pumpkin Chocolate Loaf
Yes, absolutely! While I haven’t personally tested a gluten-free version of this specific recipe, many bakers have great success by substituting the all-purpose flour with a high-quality 1:1 gluten-free flour blend. Look for a blend that contains xanthan gum for best results. Be aware that the texture might be slightly different, perhaps a bit more delicate. If you try it, please share your experience and any tips in the comments below!
Certainly! If you’re a true chocolate lover and want an entirely chocolate loaf, you can easily adapt this recipe. Simply double the amount of cocoa powder and boiling water (and optional espresso powder) in Step 4. Instead of dividing the batter in half, incorporate the entire bloomed cocoa mixture into the full batch of the pumpkin batter (before adding pumpkin puree) and mix well. You can also double the amount of mini chocolate chips and fold them into the entire batter for an extra chocolatey punch.
Greasing intricate Nordic Ware pans or other detailed molds requires a bit more care than a standard pan to ensure a perfect release and preserve the beautiful design. Typically, for bundt-style pans, I rub a generous amount of softened (but not melted) cold butter all over the inside surface, making sure to get into every crevice. Then, I dust it thoroughly with flour (or cocoa powder if it’s a chocolate cake) and tap out the excess. This creates a fool-proof, non-stick coating. However, for very intricate patterns, such as the detailed harvest loaf pans, I find it even more reliable to use a non-stick baking spray that explicitly states it “contains flour” or is “for baking.” This type of spray gets into all the tiny nooks and crannies, providing excellent coverage for a clean release every time.
Yes, you can, but with a crucial caveat: homemade pumpkin puree tends to be much wetter than store-bought. If using fresh pumpkin, ensure it is thoroughly drained and has a very thick consistency, similar to Greek yogurt or hummus. Excess moisture will thin out the batter, potentially leading to a dense, gummy loaf that doesn’t rise properly. You might even need to press it through a fine-mesh sieve or blot it with paper towels to remove as much liquid as possible.
A dry loaf is typically a result of one of two common baking errors: overmixing the batter or overbaking the loaf. Overmixing develops the gluten in the flour, making the cake tough and dry. Always mix only until the ingredients are just combined. Overbaking, even by a few minutes, can evaporate too much moisture from the loaf. Start checking for doneness at the earlier end of the suggested baking time and use a toothpick test (clean with a few moist crumbs is ideal).
The key to beautiful, distinct layers is gentle handling. When alternating the batters in the pan, spoon them in carefully without forcefully spreading them. Once both batters are in the pan, use a butter knife or skewer to gently swirl through the batter just once or twice. Think of it as creating a “figure 8” or zig-zag pattern, but do not mix vigorously. Over-swirling will cause the colors to blend too much, resulting in a less defined, muddier appearance.
🍂 More Related Fall Baking Recipes You’ll Love
- Pumpkin Cream Cheese Streusel Bread
- Pumpkin Cheesecake Brownies
- Pumpkin Spice Snickerdoodle Cookies
- Pumpkin Spice Pancakes with Pumpkin Spice Swirl
Did you try this irresistible Pumpkin Chocolate Swirl Bread? We would absolutely love to hear your thoughts and see your creations! Please take a moment to rate this recipe and share your feedback in the comments section below. Your experience helps other home bakers! Don’t forget to share your beautifully swirled loaf on Instagram and tag @flouringkitchen. For more delicious recipe ideas and baking inspiration, be sure to follow me on Pinterest to save your favorites!
📖 Recipe
Pumpkin and Chocolate Swirl Bread
Mary
Pin Recipe
Shop Ingredients
Equipment
-
9×5 inch (23×13 cm) loaf pan
-
Large mixing bowl
-
Wire whisk
-
Silicone spatula
-
Fine-mesh sieve (for sifting flour)
Ingredients
- 3 large eggs room temperature
- 1 ¼ cup brown sugar
- ¾ cup butter melted
- 1 cup pumpkin puree
- ⅓ cup plain Greek yogurt
- 1 teaspoon pure vanilla extract
- ¼ teaspoon sea salt
- 1 tablespoon pumpkin pie spice
- 2 cups all purpose flour 240g, spooned & leveled
- ½ teaspoon baking powder
- 1 teaspoon baking soda
- ½ cup Dutch-processed cocoa powder
- ⅓ cup boiling water
- ½ teaspoon instant espresso optional, enhances chocolate flavor
- ½ cup mini semisweet chocolate chips
Shop Ingredients on Jupiter
Instructions
-
Preheat the oven to 355°F (180°C). Prepare a 9×5 inch (23×13 cm) loaf pan by lining it with parchment paper, leaving an overhang on the longer sides, or by spraying it thoroughly with a baking spray that contains flour (especially for intricate pans like Nordic Ware).
-
In a large bowl, combine the room temperature eggs and brown sugar. Whisk vigorously with a wire whisk until the mixture thickens slightly and has a light, foamy top, usually about 30 seconds by hand.3 large eggs, 1 ¼ cup brown sugar
-
Add the melted butter, pumpkin puree, Greek yogurt, vanilla extract, sea salt, and pumpkin pie spice into the egg mixture. Beat again until all ingredients are well combined and the mixture is smooth.¾ cup butter, 1 cup pumpkin puree, ⅓ cup plain Greek yogurt, 1 teaspoon pure vanilla extract, ¼ teaspoon sea salt, 1 tablespoon pumpkin pie spice
-
Sift the all-purpose flour, baking powder, and baking soda directly into the same bowl with the wet ingredients. Gently stir or fold with a spatula just until the dry ingredients are incorporated and a smooth batter forms. Be careful not to overmix.2 cups all purpose flour, 1 teaspoon baking soda, ½ teaspoon baking powder
-
In a separate smaller bowl, carefully combine the cocoa powder, boiling hot water, and the optional instant espresso powder. Whisk together until it forms a smooth, thick, and glossy chocolate mixture. This “blooming” process intensifies the chocolate flavor.½ cup cocoa powder, ⅓ cup boiling water, ½ teaspoon instant espresso
-
Divide the prepared pumpkin batter equally into two separate bowls. Add the bloomed cocoa powder mixture into one of these halves and gently fold it in just until it forms a uniform chocolate batter. Then, fold the mini chocolate chips gently into this chocolate batter.½ cup mini semisweet chocolate chips
-
To create the swirl, alternate adding spoonfuls (about a third of a cup at a time) of the pumpkin batter and the chocolate batter into the prepared loaf pan. Once all batter is in, gently drag a knife or skewer through the batters once or twice to create a subtle swirl pattern. Avoid over-swirling to keep the layers distinct.
-
Bake the chocolate pumpkin loaf in the preheated oven for 55-60 minutes. Begin checking for doneness at 55 minutes by inserting a toothpick into the center; it should come out clean with only a few moist crumbs attached. If the top browns too quickly, loosely tent the loaf with aluminum foil.
-
Allow the baked loaf to rest in the pan for 10 minutes before carefully removing it and transferring it to a wire rack. Let it cool completely to room temperature before slicing and serving. This ensures a clean cut and the best texture.
Notes
Tips for success:
- Bloom the cocoa powder with boiling hot water and optional espresso powder for an intensely rich and deep chocolate flavor.
- Ensure all cold ingredients (eggs, Greek yogurt, pumpkin puree) are at room temperature for a smoother batter and better-textured loaf.
- Do not overmix the batter once the flour is added. Mix gently until just combined to prevent developing gluten, which can lead to a tough and dry cake.
- Avoid overbaking the pumpkin and chocolate bread. Start testing for doneness with a toothpick at 50 minutes. If the top browns too quickly, loosely tent it with aluminum foil for the remainder of the baking time.
- For distinct swirls, spoon batters alternately and only gently swirl once or twice with a knife. Over-swirling will blend the colors too much.
