Irresistible No-Knead Cookies and Cream Cinnamon Rolls: Your Easiest Path to Gooey, Fluffy Perfection
Jump to Recipe
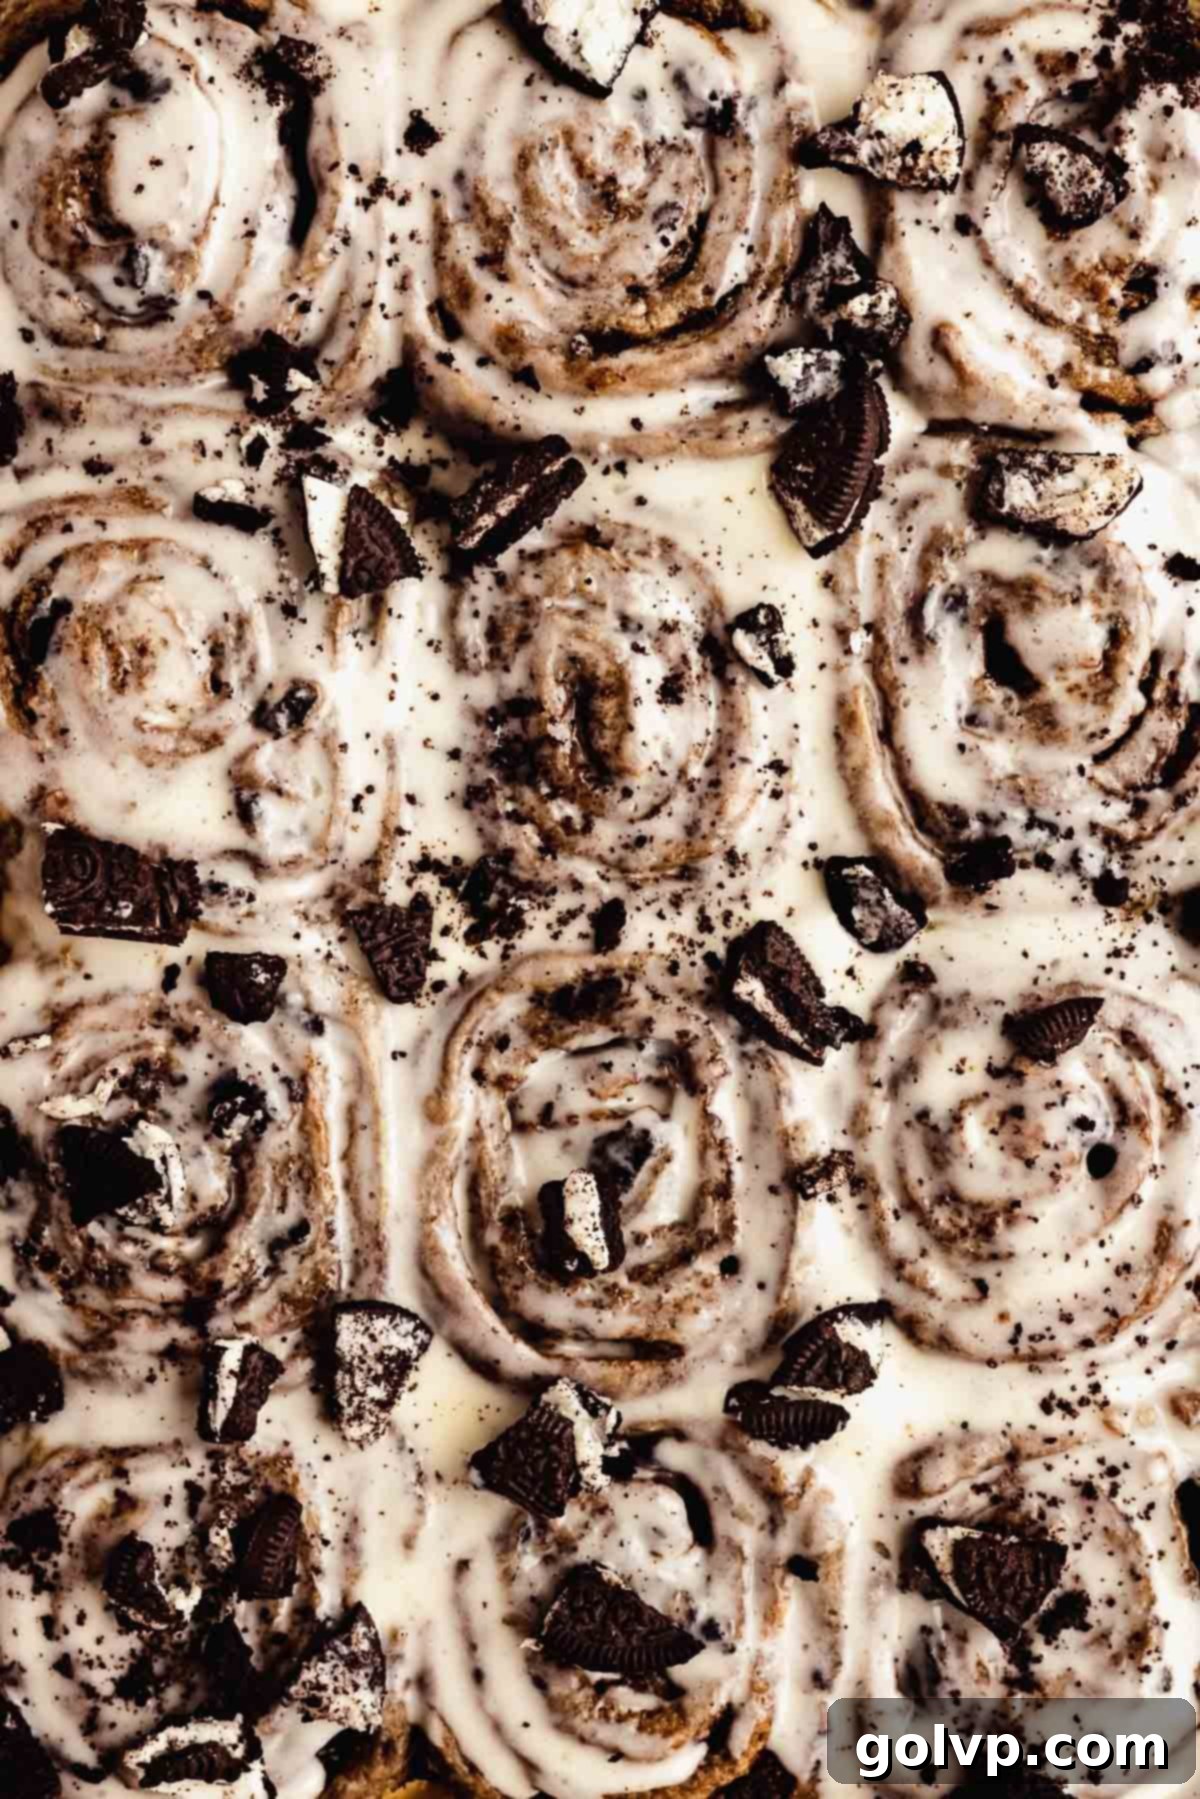
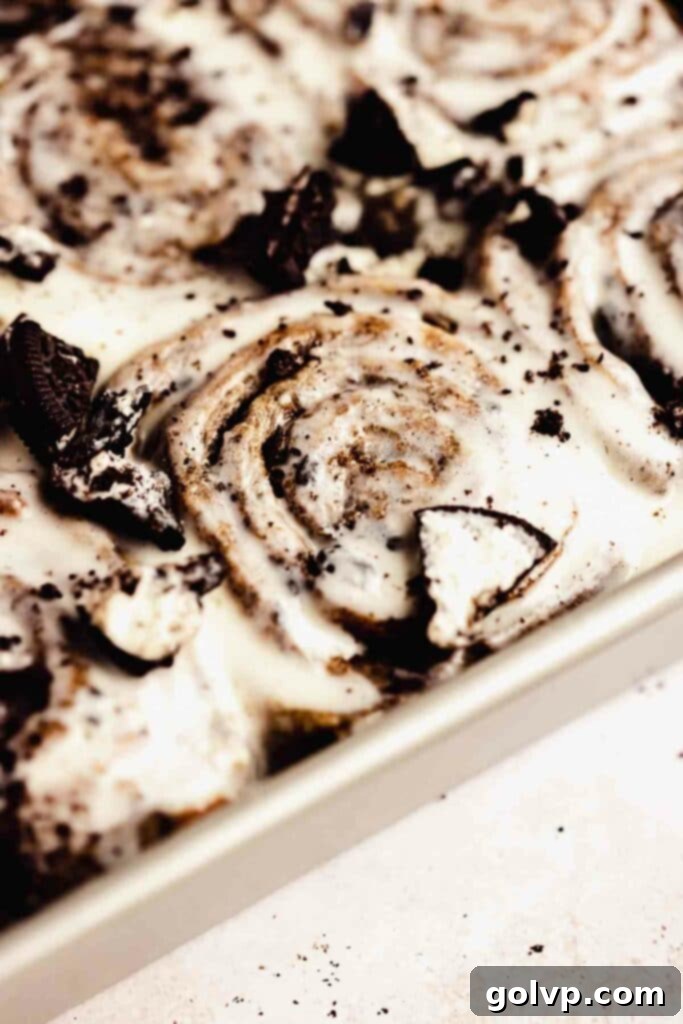
Imagine waking up to the aroma of freshly baked cinnamon rolls, but with a delightful twist: the beloved cookies and cream flavor. These no-knead cookies and cream cinnamon rolls are a dream come true for any dessert lover. They are incredibly fluffy, generously gooey, and absolutely packed with crushed Oreos, all crowned with a luscious, tangy cream cheese frosting. What makes them truly special is the thoughtful integration of Oreos (or your favorite chocolate sandwich cookie) not just into the topping, but also directly into the dough and the rich cinnamon filling, ensuring an explosion of cookies and cream goodness in every single bite. And for those busy mornings, I’ve included a convenient overnight option, making it a breeze to enjoy these decadent treats whenever the craving strikes.
The beauty of this recipe starts with its incredibly simple no-knead dough. It’s a variation of my go-to enriched dough recipe, elevated with the addition of crushed Oreos. This secret ingredient infuses the dough with a beautiful, subtle chocolate flavor that perfectly complements the classic cinnamon. What I love most about this dough is how unfussy it is – simply combine all the ingredients in a large bowl, give it a good mix with a sturdy spoon or your hands, and let time do the rest as it rises. No laborious kneading required! This hands-off approach makes it my absolute favorite dough to prepare, promising consistently fluffy and soft cinnamon rolls with minimal effort. Seriously, once you try this method, you’ll understand why it’s truly the best dough ever for these kinds of sweet rolls.
A surprising yet crucial secret to achieving the ultimate fluffiness and softness in these cookies and cream cinnamon rolls lies in how little you handle the dough. Paradoxically, the less you manipulate it, the more tender and airy the final product will be! This foolproof method ensures a light, melt-in-your-mouth texture that traditional kneading often struggles to achieve. This versatile no-knead dough is a star in my kitchen and has been successfully adapted for other popular recipes, including my Twisted Gooey Cinnamon Rolls, delightful Blueberry Cinnamon Rolls – No Knead, and festive Funfetti Cinnamon Rolls – No Knead. Each recipe demonstrates the incredible adaptability and consistent quality of this simple, no-fuss technique.
The Key to Irresistibly Gooey and Fluffy Cinnamon Rolls
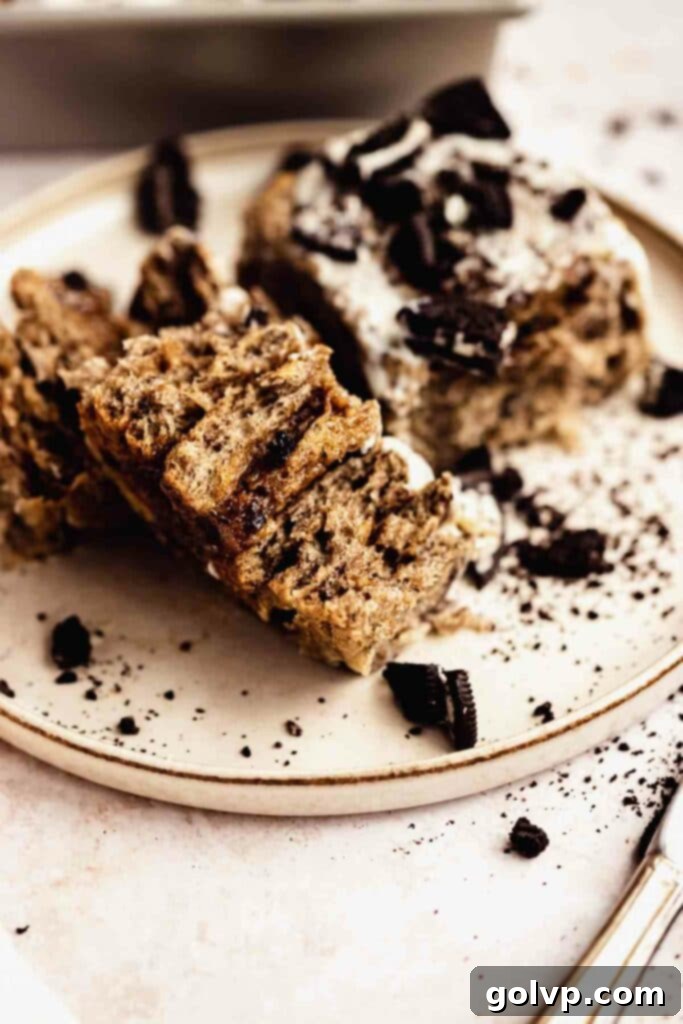
For truly exceptional cinnamon rolls that are both wonderfully gooey on the bottom and incredibly fluffy throughout, there’s one simple yet indispensable ingredient: heavy cream! Just before baking, generously pour heavy cream (whipping cream works perfectly) over the assembled rolls. This step is a game-changer. As the rolls bake, the cream transforms into a magical steaming agent, creating a super-humid environment in your oven that helps the dough become unbelievably soft and light. More importantly, this rich cream mixes with the cinnamon sugar filling, caramelizing into an intensely gooey, buttery bottom layer that is the hallmark of the best cinnamon rolls. Do not substitute with regular milk; its lower fat content simply won’t yield the same rich, gooey, and fluffy results. For those who prefer a dairy-free option, coconut cream or a homemade cashew cream can be used to achieve a similar luscious texture, though the flavor profile will naturally vary slightly.
Effortless Mornings with the Overnight Option
To make your life even easier and ensure fresh, warm cinnamon rolls are ready with minimal morning fuss, I’ve thoughtfully included an overnight option for these delectable cookies and cream cinnamon rolls. This method allows you to do most of the preparation the night before. Simply prepare the rolls as instructed, but stop before the second rise (the final proofing of the assembled rolls in the baking pan). Once the rolls are arranged in their baking dish, tightly wrap the entire tray with plastic wrap, ensuring it’s completely sealed to prevent drying out. Immediately place the wrapped tray in the refrigerator for up to 12 hours. This slow, cold fermentation develops deeper flavors in the dough. When you’re ready to bake the next day, remove the rolls from the fridge and allow them to come to room temperature and complete their final rise. This usually takes about 60-90 minutes, allowing the dough to puff up and fill any gaps in the pan. Once adequately risen, pour the heavy cream over them and proceed with baking according to the remaining instructions. This simple trick ensures a stress-free morning and a warm, indulgent breakfast or brunch.
Key Ingredients for Unforgettable Rolls
You’ll find the full list of ingredients and detailed recipe in the recipe card below. But first, let’s dive into some essential tips and potential substitutions for our star ingredients to ensure your baking success!
Oreos: It wouldn’t be “cookies and cream” without them! Feel free to use your absolute favorite Oreo flavor, or any similar chocolate sandwich cookie you adore. Golden Oreos, for instance, are a fantastic vanilla alternative if you’re looking for a different spin. For crushing, a food processor makes quick work of it, but a cutting board and a good knife, or even a large plastic bag and a rolling pin, will achieve the same perfect crumb. Aim for a mix of fine crumbs and small chunks for the best texture in the dough and filling.
Active Dry Yeast: While instant dry yeast can be used, I personally find active dry yeast imparts a slightly richer and more nuanced flavor to the dough, enhancing the overall profile of the rolls. One packet, typically 7 grams, is all you’ll need. Remember to properly activate it first to ensure your dough rises beautifully.
All-Purpose Flour: Precision in measuring flour is paramount for the ideal texture. For the most accurate and consistent results, I highly recommend weighing your flour using a kitchen scale. If you don’t have one, the “spoon and level” method is the next best thing: gently stir the flour in its bag, then spoon it lightly into your measuring cup without packing it down. Use the flat edge of a knife to scrape off any excess from the top, ensuring an accurate volume measurement.
Butter: For superior flavor and texture, always opt for a good quality, real unsalted butter. It’s crucial that your butter is very soft – almost at the point of being melted – for both the dough and the filling. This ensures it incorporates smoothly and evenly, leading to a tender dough and a perfectly spreadable, rich filling.
Eggs: Room temperature eggs are vital for the dough’s structure and rise. Cold eggs can stiffen the butter in the dough, hindering the yeast’s activity and resulting in a less airy final product. Plan ahead by taking them out of the fridge about 30 minutes to an hour before you start baking.
Milk: Any type of milk will work wonderfully for both the dough and the glaze, whether it’s whole milk, 2%, or a non-dairy alternative. The key is to ensure the milk is slightly warmed (lukewarm) for the dough, as this helps to activate the yeast effectively and create a hospitable environment for it to thrive.
Heavy Cream: This is the secret weapon for those coveted gooey bottoms and incredibly fluffy insides. Using heavy cream (or whipping cream) with its higher fat content is non-negotiable for success. Lower fat alternatives like milk or half-and-half will lead to soggy, rather than gloriously gooey, rolls. If you’re dairy-sensitive, unsweetened coconut cream or a rich cashew cream can provide a similar luxurious texture, just ensure they are full-fat versions.
Icing Sugar (Powdered Sugar): Essential for both dusting and creating that smooth, dreamy cream cheese glaze. Icing sugar and powdered sugar are interchangeable terms for the same finely milled sugar that dissolves easily, creating a silky frosting without any granular texture.
Brown Sugar: This provides the deep, caramel-like notes and moistness essential for the perfect gooey cinnamon filling. I prefer an old-fashioned, medium brown sugar for a balanced flavor—not too mild, not too intensely molasses-rich. Do not substitute with granulated sugar, as it will result in a drier, less flavorful, and undeniably bland filling.
Ground Cinnamon: The undeniable star of the cinnamon roll show! Ensure your ground cinnamon is fresh and vibrant. Very old or expired cinnamon loses its potency, and you’ll miss out on that warm, aromatic burst of flavor that truly defines a great cinnamon roll.
Crafting Your Heavenly Rolls: Step-by-Step
- In a small bowl, combine ½ cup warm water, 1 teaspoon granulated sugar, and the packet of active dry yeast. Stir gently until the yeast is fully dissolved. Let this mixture sit undisturbed for approximately 5 minutes. You should see a frothy foam appear on the surface, indicating the yeast is active and ready to work its magic. If no foam forms within 10 minutes, your yeast may be old or the water temperature incorrect; discard and try again with a fresh packet and correctly warmed water.
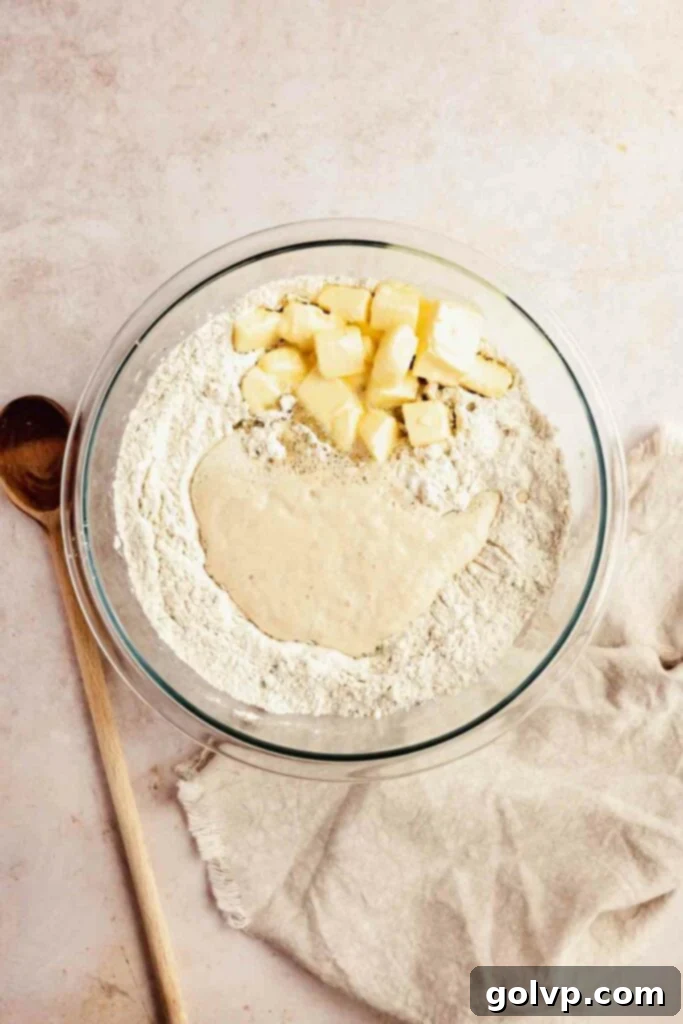
- In a large mixing bowl, combine the all-purpose flour and sea salt. Give it a good stir to ensure even distribution. Create a well in the center of the flour mixture. Into this well, add the ½ cup crushed Oreos, softened butter, room temperature eggs, vanilla extract, warm milk, and the activated yeast mixture.
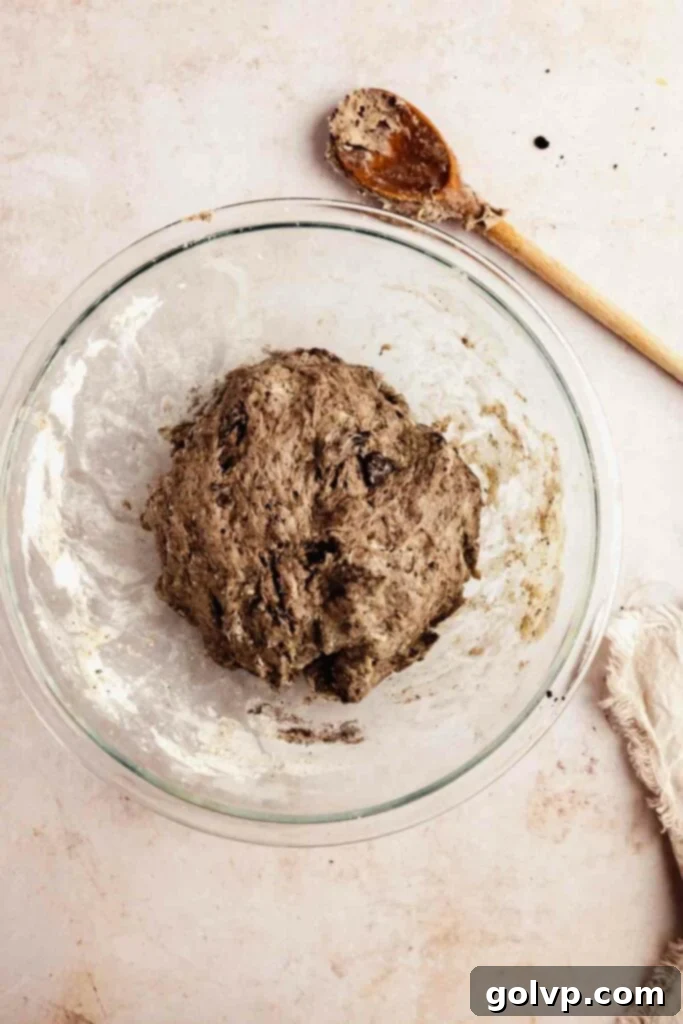
- Using a large spoon or your hands, mix all the ingredients until a cohesive, slightly sticky dough forms. Avoid overmixing; just combine until no dry streaks of flour remain. Cover the bowl tightly with a clean dish cloth and place it in a warm, draft-free place (refer to notes below for tips on creating the perfect warm environment) to rise until doubled in size, which typically takes about 45 minutes to 1 hour, depending on your room temperature. While the dough is rising, butter a 9”x12” baking pan thoroughly. This is also the perfect time to prepare your cinnamon filling: In a medium bowl, combine the ⅓ cup softened butter, 1 cup packed brown sugar, and 2 tablespoons ground cinnamon. Mix these ingredients well until a smooth, spreadable paste forms. Ensure the butter is very soft, almost melted, to achieve the easiest blending. Set this flavorful filling aside.
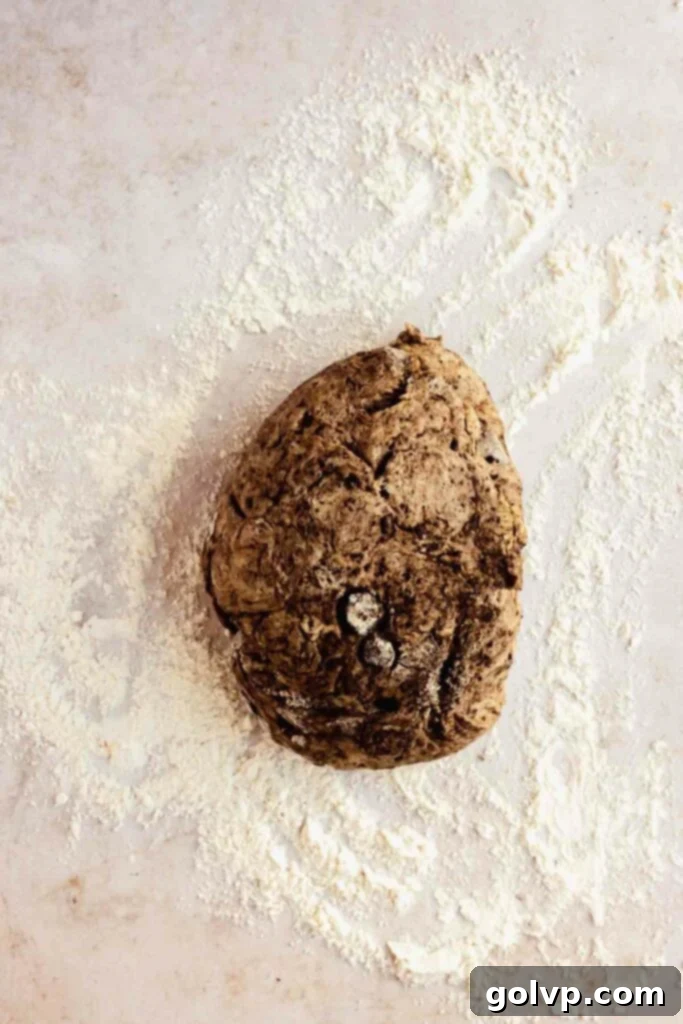
- Once your dough has doubled, gently punch it down to release the air. Transfer the dough onto a lightly floured surface. Using a rolling pin, roll the dough into a large rectangle, aiming for dimensions of approximately 18” by 24”. Work gently to maintain the tender structure of the dough.
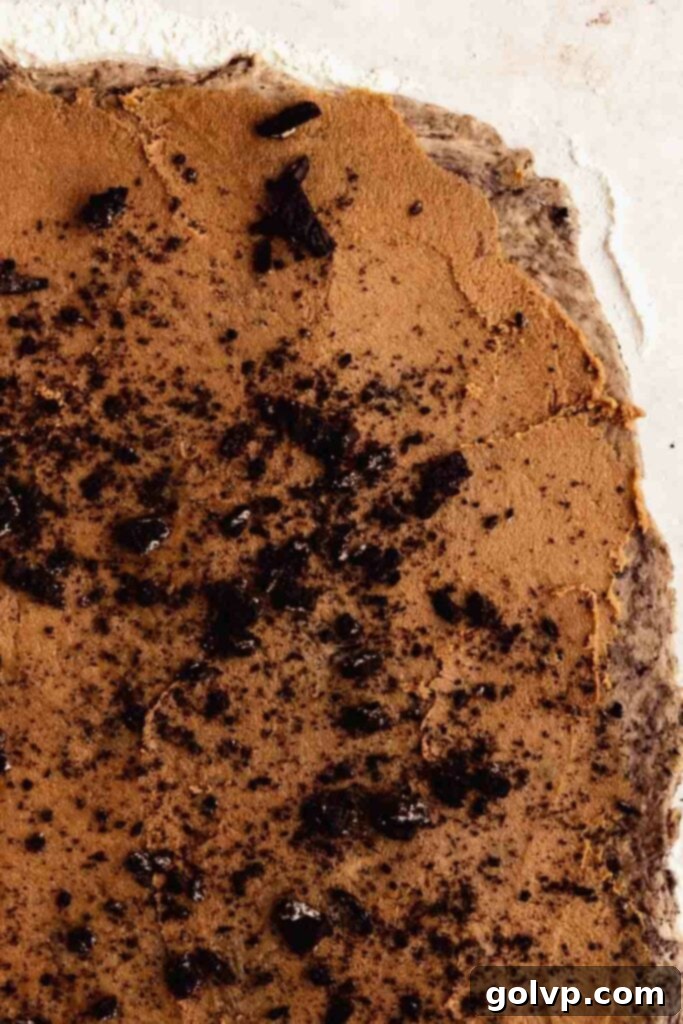
- Evenly spread the prepared cinnamon filling over the entire surface of the rolled dough, leaving a clear 1-inch border along the top long edge. This border will help seal the roll. Now, generously sprinkle the 1 cup of crushed Oreos over the entire cinnamon filling, ensuring every bite will be packed with cookies and cream flavor.
- Carefully, starting from the long bottom edge of the dough, tightly roll the dough into a log. Aim for a snug roll to prevent gaps in your finished cinnamon swirls. Once rolled, use a ruler or visual estimation to mark the log into 12 equal pieces. With a large, sharp knife or a piece of unflavored dental floss, cut the log into 12 individual rolls. Arrange each cut roll into the buttered 9”x12” baking pan. (STOP HERE for the overnight option! Refer to the recipe notes for detailed instructions on preparing these for an easy morning bake.) Once all rolls are in the pan, cover it again with a dishcloth and let them rise in a warm place until doubled in size and visibly puffy, approximately 30-45 minutes.
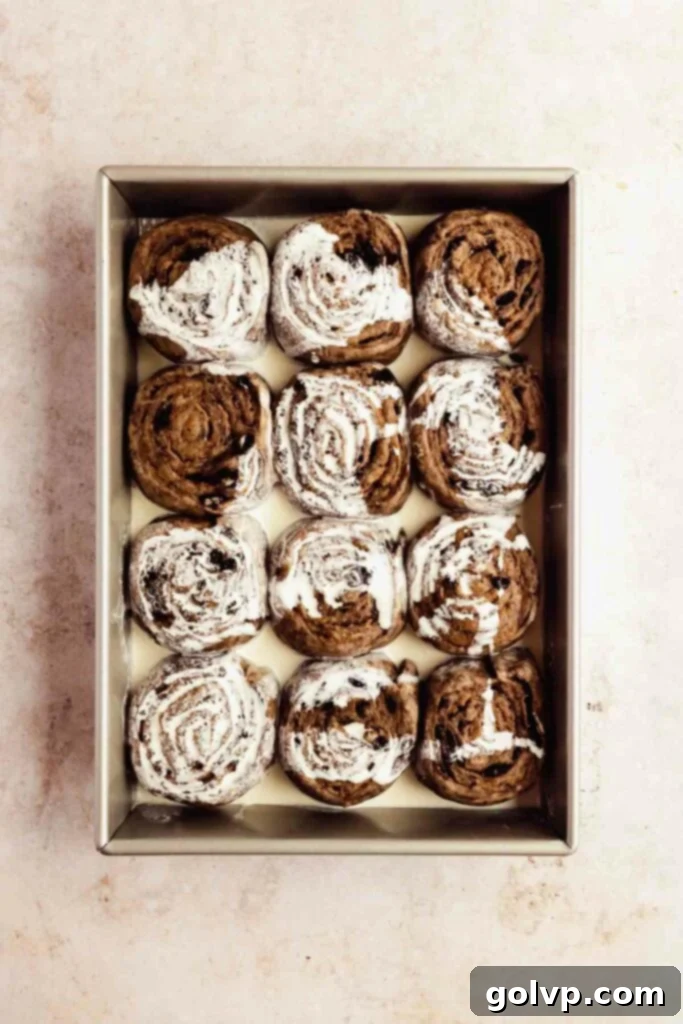
- Preheat your oven to 180°C (350°F). Just before placing them in the oven, pour the ½ cup of heavy cream evenly over the risen rolls in the baking pan. This step is crucial for achieving that signature gooey bottom. Bake for 25-30 minutes, or until the tops are beautifully golden brown and the centers are puffed and set. Once baked, remove the pan from the oven and let the cookies and cream cinnamon rolls cool slightly inside the pan while you prepare the irresistible frosting.
Decadent Cream Cheese Frosting
- In a stand mixer fitted with the paddle attachment, or using electric hand beaters, beat the softened unsalted butter, powdered sugar, and a pinch of sea salt together. Beat on medium-high speed until the mixture is light, creamy, and wonderfully fluffy. This step is essential for incorporating air and creating a smooth base.
- Gradually add the softened cream cheese, cut into chunks, into the butter mixture. Beat very well after each addition, ensuring the cream cheese is fully incorporated and the frosting remains light and fluffy. Scrape down the sides of the bowl as needed. Once smooth, beat in the vanilla extract and 3 tablespoons of heavy cream (or milk for a slightly runnier consistency). Continue beating until the frosting is velvety smooth and luxuriously fluffy.
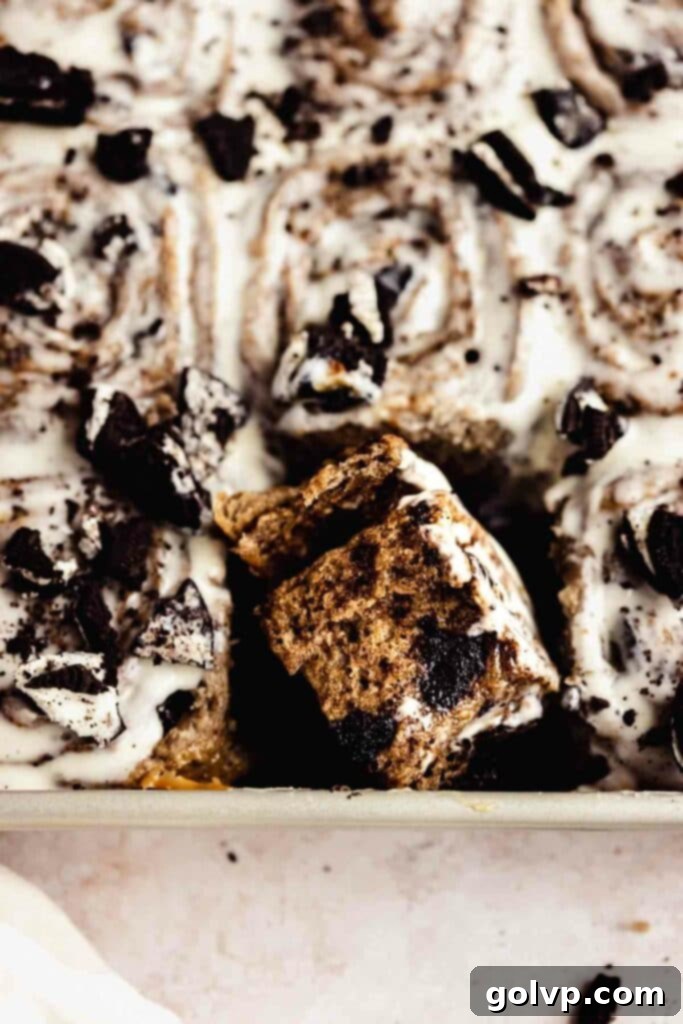
- Generously spread the cream cheese frosting over the warm cinnamon rolls while they are still in the pan. The residual warmth from the rolls will cause the frosting to melt slightly, creating a beautiful, glossy glaze that seeps into every crevice. For the ultimate cookies and cream experience, top with even more crushed Oreos. Serve these divine rolls warm and prepare for pure indulgence!
Frequently Asked Questions (FAQ)
Getting buttery, light, and fluffy cinnamon rolls is a combination of a few key factors. Firstly, precise flour measurement is crucial. I strongly advocate for using a cheap kitchen scale to weigh your flour for the most accurate results. If a scale isn’t available, properly measure using the “spoon and level” method: fluff the flour with a spoon, gently spoon it into your measuring cup, and level off the top with the flat edge of a knife, without packing it in. This is the next best option for achieving a lighter crumb. Secondly, and perhaps my favorite tip, is to handle the dough as little as possible with this no-knead recipe. The less you work the dough after the initial mix, the softer and fluffier the rolls consistently turn out. Finally, the heavy cream poured over the rolls just before baking makes an enormous difference! It creates a steaming effect in the oven, transforming the dough into soft puffs of clouds, and simultaneously turns the cinnamon-sugar filling into that beautiful, gooey, irresistible mess.
Yes, absolutely! It’s completely normal for this no-knead dough to be quite sticky and feel a bit wet right after you’ve mixed all the ingredients. Don’t be alarmed; this high hydration is part of what makes it so tender and easy to work with later. As the dough rests and goes through its first rise, the flour will continue to absorb the liquid, and the dough will become less sticky and more manageable, resembling a proper dough. If, however, it appears excessively sticky or runny—more like a pancake batter than a thick dough—you can cautiously add a tiny bit more flour, a tablespoon at a time, until it reaches a more workable consistency.
Shrinking or gaps in the swirls of your cinnamon rolls can often be attributed to two main issues: over-proofing or over-baking. Over-proofing means the dough has risen too much, and its delicate structure can collapse in the heat of the oven, leading to a deflated or shrinking appearance. To avoid this, only let the dough rise until it has clearly doubled in volume, and not significantly more. Sometimes, I even aim for a slightly shorter rise to ensure tighter, more defined rolls. Additionally, over-baking can cause the rolls to dry out and stiffen, which may also lead to shrinkage and a less pleasant texture. Keep a close eye on your rolls and remove them from the oven as soon as they are golden brown on top and set in the center.
While Oreos are the classic choice, you have plenty of delicious alternatives! Any other brand of chocolate sandwich cookie will work beautifully. For a fun flavor twist, consider using different flavored Oreos like mint, peanut butter, or even seasonal varieties. If you’re aiming for a vanilla cookies and cream version, Golden Oreos or similar vanilla-flavored sandwich cookies are an excellent substitute. You could also experiment with chocolate chip cookies or even homemade chocolate wafers for a gourmet touch, though the “sandwich” cookie aspect really enhances the classic feel.
Pouring heavy cream over your cinnamon rolls just before they go into the oven is a non-negotiable step for achieving truly superior results. This magical liquid serves two critical purposes: First, it creates a steamy environment during baking, which significantly contributes to the dough becoming incredibly soft and fluffy. Second, and equally important, as the heavy cream heats, its fat and liquid combine with the brown sugar and cinnamon in the filling. This mixture then caramelizes and melts down, transforming into that irresistibly gooey, luscious bottom layer that defines the best cinnamon rolls. Skipping this step would result in drier, less tender rolls with a much less exciting filling. If you need a non-dairy option, a full-fat coconut cream or cashew cream can mimic this effect, providing richness and moisture.
Explore More Easy No-Knead Recipes:
- Chocolate Tahini Babka (No Knead Recipe) – A rich and flavorful twist on a classic.
- Gooey Strawberry Cream Cheese Rolls – No Knead – A fruity, creamy delight for any time of year.
- Funfetti Cinnamon Rolls – No Knead – Bring a burst of color and joy to your breakfast table.
Happy baking, and enjoy every single bite! xx
Did you make this recipe? I would love for you to rate this recipe and hear what you think in the comments! Your feedback helps me create even better recipes for you.
Share your delicious creation on Instagram and don’t forget to tag @flouringkitchen so I can see your masterpieces!
📖 Recipe

Cookies and Cream Cinnamon Rolls
Mary
Pin Recipe
Shop Ingredients
Equipment
-
9″x12″ baking pan
Ingredients
No Knead Dough
- ½ cup water warm
- 1 teaspoon granulated sugar
- 1 packet activated dry yeast 7g
- 4 ⅔ cups all purpose flour 560g
- ½ cup crushed oreos about 4 oreos
- ¼ teaspoon sea salt
- ¾ cup unsalted butter softened
- 2 large eggs room temperature
- 1 teaspoon pure vanilla extract
- ¾ cup milk warm
- ½ cup heavy cream (whipping cream)
Filling
- ⅓ cup unsalted butter softened
- 1 cup brown sugar packed
- 2 tablespoon ground cinnamon
- 1 cup crushed oreos about 7 oreos
Cream Cheese Frosting
- ½ cup unsalted butter softened
- 1 cup powdered sugar
- ⅛ teaspoon sea salt
- 4 oz cream cheese softened (113g)
- 1 teaspoon pure vanilla extract
- 3 tablespoon heavy cream or milk for a runnier frosting
- 4 oreos crushed
Shop Ingredients on Jupiter
Instructions
Dough
-
Combine warm water, 1 teaspoon sugar, and yeast in a small bowl. Stir until yeast dissolves. Let it sit for about 5 minutes so that a foam starts to form on top. If a foam doesn’t form in 10 minutes, discard and try again with another packet of yeast.½ cup water, 1 teaspoon granulated sugar, 1 packet activated dry yeast
-
In a large bowl combine flour, salt, and stir. Make a well in the middle and add the crushed oreos, butter, eggs, vanilla, milk, and yeast mixture.4 ⅔ cups all purpose flour, ½ cup crushed oreos, ¼ teaspoon sea salt, ¾ cup unsalted butter, 2 large eggs, 1 teaspoon pure vanilla extract, ¾ cup milk
-
Mix until a cohesive dough forms. Cover the bowl with a dish cloth and place in a warm place (see notes) to rise until doubled, about 45 minutes. Butter a 9”x12” baking pan while it rises and prepare the cinnamon filling.
-
Punch down the dough and transfer onto a floured surface. Roll the dough into a large rectangle, about 18” by 24”.
-
Spread the filling on top of the dough, leaving a 1” border on the top edge. Sprinkle crushed oreos over the filling.1 cup crushed oreos
-
Roll into a log, starting at the long bottom edge. Mark the roll into 12 equal pieces. Using a large sharp knife, cut into 12 equal rolls. Arrange each roll into the baking pan. (Stop HERE for overnight option – check notes!) Let rise until doubled in size in a warm place, about 30 minutes.
-
Preheat oven to 180°C (350°F). Pour the heavy cream evenly over the rolls. Bake for 25-30 minutes or until the rolls are golden brown on top. Let cool inside the pan – make the frosting while it cools.½ cup heavy cream
Filling
-
I like to make the filling as the dough rises to save on time. Combine cinnamon, sugar, and butter in a medium bowl and mix well to combine. Have the butter very soft, almost melted to blend easier. Set aside to use later.⅓ cup unsalted butter, 1 cup brown sugar, 2 tablespoon ground cinnamon
Frosting
-
Beat the butter, sugar, and salt in a stand mixer or with electric hand beaters until light and fluffy.½ cup unsalted butter, 1 cup powdered sugar, ⅛ teaspoon sea salt
-
Add chunks of cream cheese into the butter in a few additions, beating very well in between. It should be fluffy. Add vanilla and cream, and beat until fluffy.4 oz cream cheese, 1 teaspoon pure vanilla extract, 3 tablespoon heavy cream
-
Spread on top of the rolls while they are still warm so that the frosting melts into the rolls a little bit. Top with more crushed oreos. Serve warm!4 oreos
Video
Notes
The Best Way to Let Your Dough Rise: For a consistently perfect rise, especially with enriched doughs like this one (which contains a good amount of butter and sugar), I have a foolproof method. Preheat your oven to its lowest setting, typically around 180°C (350°F), for just 3 minutes, then immediately turn it OFF. Place your covered dough in this gently warmed, off-oven. This creates an ideal warm, draft-free environment for the yeast to thrive. It’s crucial that the oven is not hot (above 55°C/130°F), as excessive heat will kill the yeast, preventing your dough from rising. The goal is warmth, not heat.
Tips for Crushing Oreos: While a food processor is the quickest and easiest way to achieve uniform crushed Oreos, don’t worry if you don’t have one. You can simply chop them coarsely on a cutting board with a sharp knife, or for a more tactile experience, place them in a large, sturdy plastic bag and crush them with a rolling pin. Aim for a mix of fine crumbs and small, recognizable pieces to add both flavor and textural interest to your rolls.
Make Ahead – The Overnight Option for Stress-Free Baking: To enjoy fresh, warm cinnamon rolls with minimal morning effort, prepare the rolls the night before. Follow all instructions up to the point of assembling the rolls in the baking pan, but stop before the second rise (the final proofing). Once the rolls are arranged, tightly wrap the baking tray with plastic wrap, ensuring it’s airtight to prevent the dough from drying out. Immediately transfer the wrapped tray to the refrigerator, where it can be stored for up to 12 hours. The next morning, remove the rolls from the fridge and let them come to room temperature and complete their final rise in a warm spot, which will typically take 60-90 minutes. They should visibly puff up and fill any remaining gaps in the pan. Once adequately risen, pour the heavy cream over them and bake according to the recipe instructions. This method allows for a delicious, fresh-baked breakfast without the early start!
