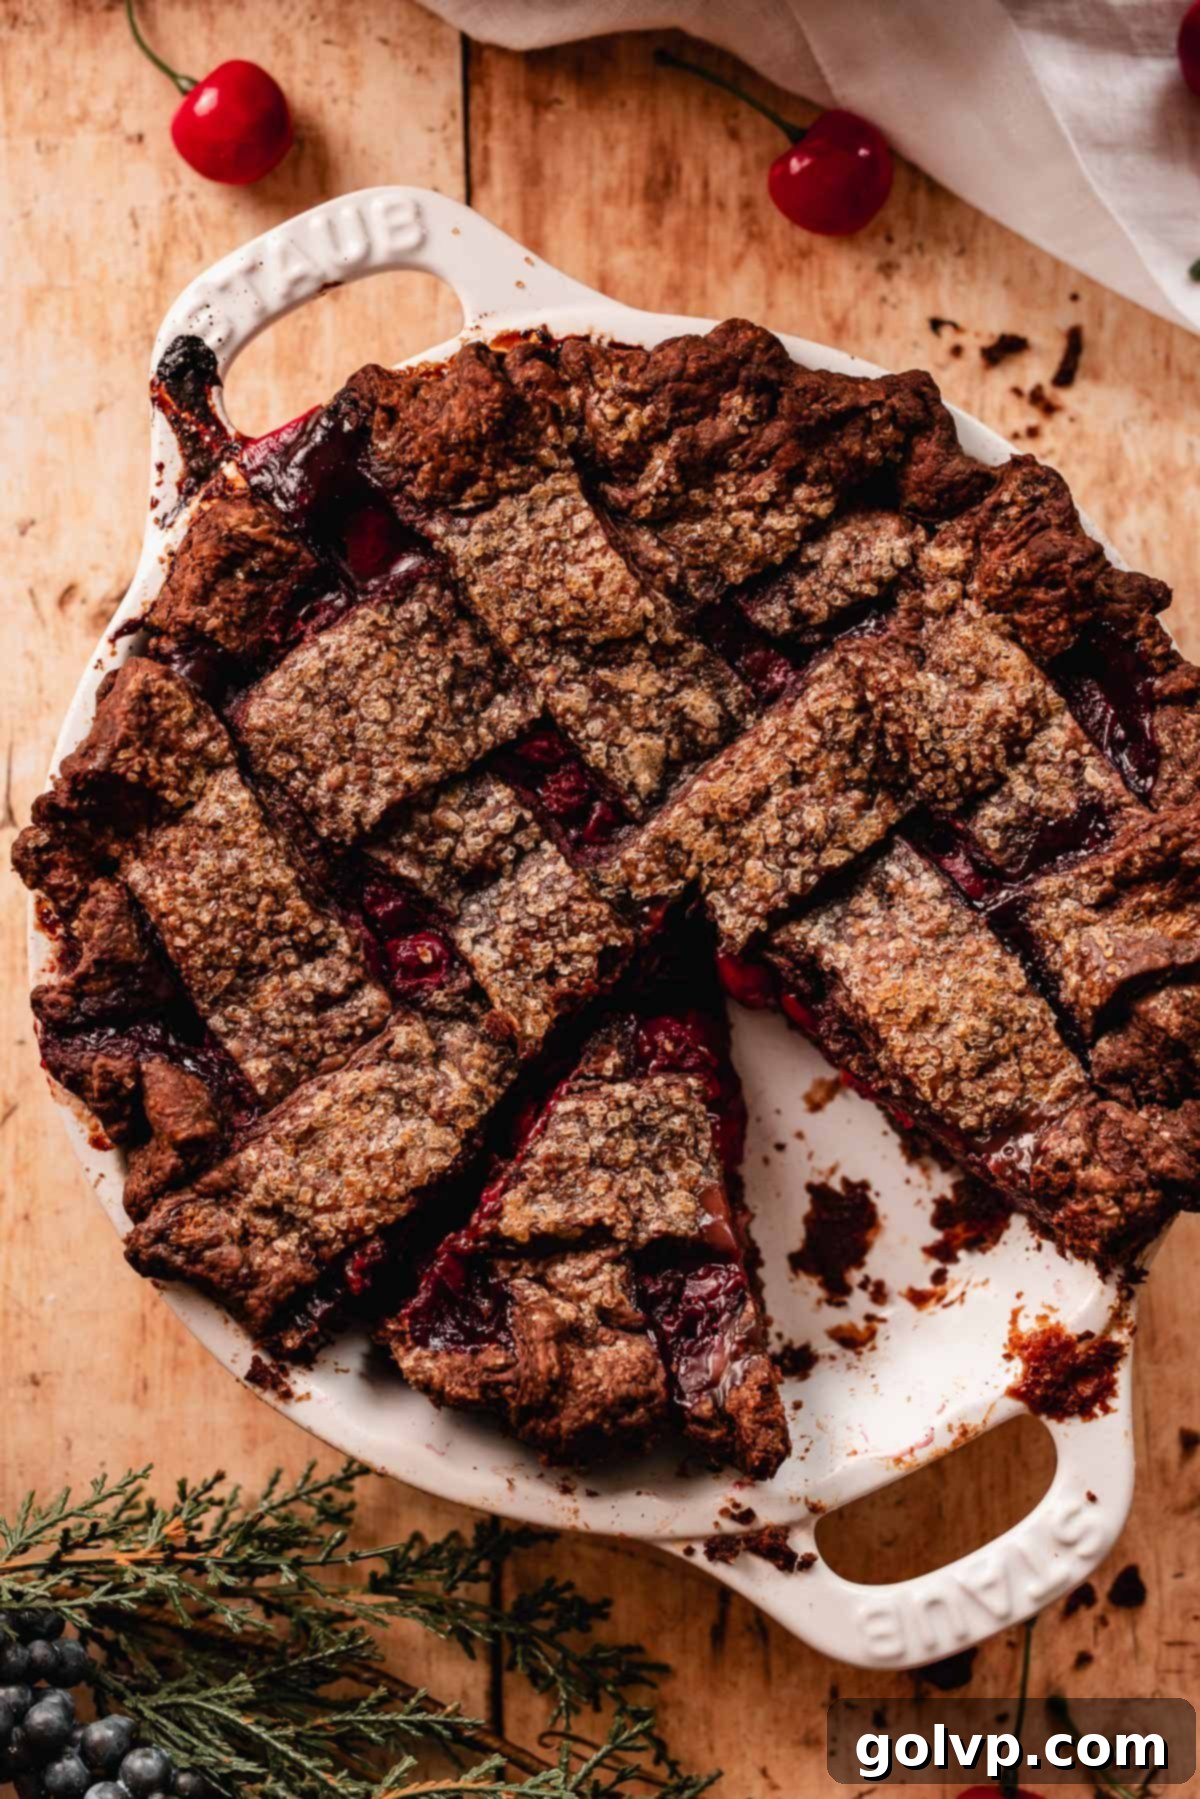
Decadent Chocolate Cherry Pie: A Black Forest Inspired Recipe with Flaky Butter Sour Cream Crust
Prepare to be enchanted by this extraordinary Chocolate Cherry Pie, a true celebration of flavors that marries the richness of a buttery, sour cream chocolate pie crust with a luscious, tart cherry filling. Each slice offers a delightful balance of sweet and tangy, reminiscent of a classic Black Forest Cake, but in an irresistible pie form. Imagine a generous scoop of vanilla whipped cream melting over a warm slice, creating a dessert experience that is both comforting and sophisticated, perfect for any special occasion or simply to indulge your sweet cravings.
Our unique filling is thoughtfully infused with a hint of cherry liquor and a touch of warm cinnamon, adding layers of complexity and depth that beautifully complement the chocolate. The crust, a marvel in itself, bakes to a deep, rich chocolate hue with a satisfying crunch, while the abundant cherry filling remains perfectly gooey yet holds its shape, ensuring every forkful is pure bliss. This isn’t just a pie; it’s a culinary masterpiece that promises to be the star of your dessert table.
If you’re searching for that show-stopping dessert for Thanksgiving, Christmas, or any festive gathering, look no further. This Chocolate Cherry Pie is not just a recipe; it’s an invitation to create unforgettable memories around the table.
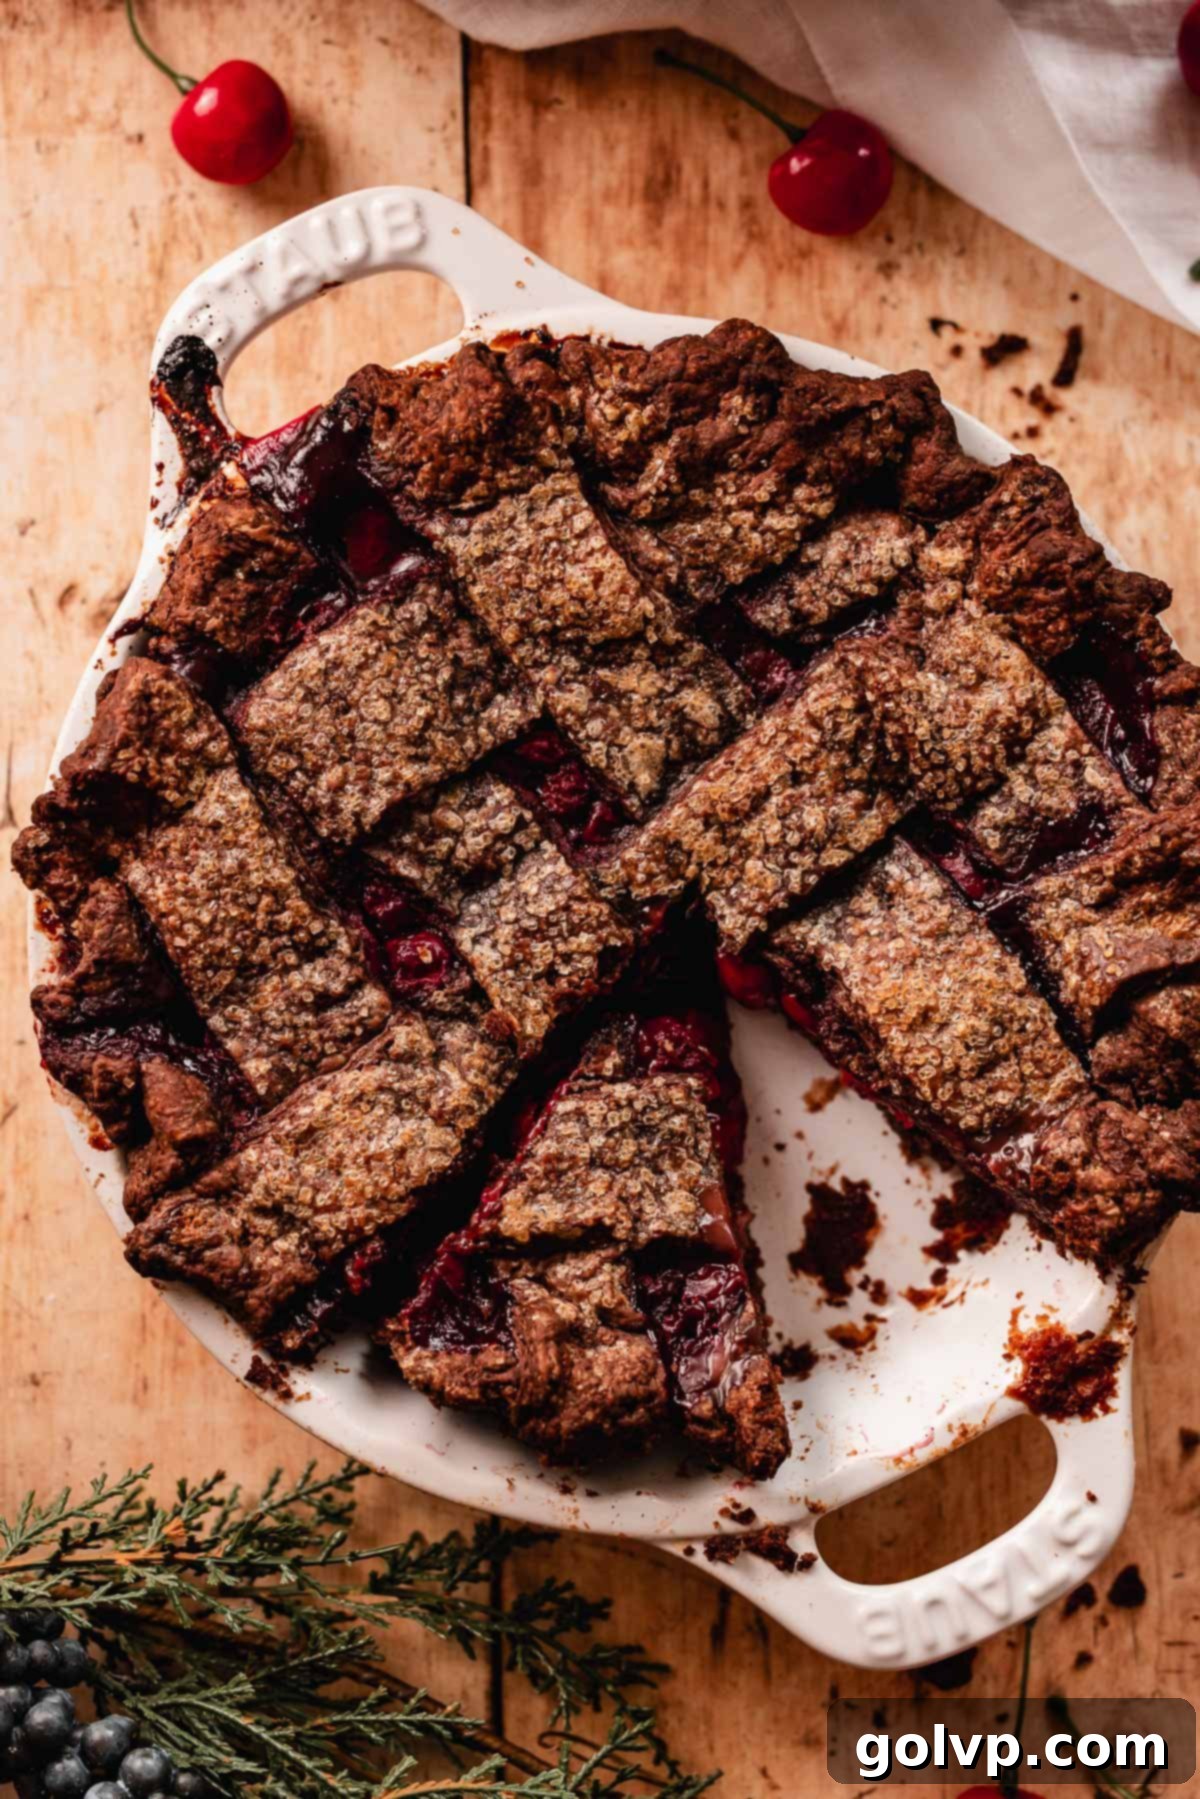
🥧 Why You’ll Adore This Chocolate Cherry Pie
This isn’t just another pie recipe; it’s a unique dessert experience designed to captivate your taste buds and impress your guests. Here’s why this Chocolate Cherry Pie will quickly become your new favorite:
- Unforgettable Chocolate Butter Sour Cream Pie Crust: Forget bland, conventional pie crusts. Our signature crust is a game-changer. It’s crafted with real butter and sour cream, yielding an incredibly crisp, flaky texture that quite literally melts in your mouth. The addition of cocoa powder transforms it into a rich, deeply chocolatey foundation that perfectly contrasts the tart cherry filling, making every bite a luxurious experience. This crust isn’t just a container; it’s an integral part of the pie’s exquisite flavor profile.
- Gourmet Cherry Pie Filling with Depth: The star of this pie is its vibrant cherry filling, bursting with the bright, tangy flavor of tart cherries. We elevate this classic filling with a secret touch: a hint of cinnamon and an optional splash of cherry liquor (or brandy). These additions infuse the filling with a warm, complex aroma and a subtle depth that pairs harmoniously with the chocolate crust. It’s a sophisticated twist that takes the cherry flavor from good to absolutely extraordinary, creating a truly comforting and inviting dessert.
- Surprisingly Easy to Make: Despite its gourmet appeal, this recipe is remarkably straightforward. Both the decadent chocolate crust and the flavorful cherry filling come together quickly and effortlessly. There’s no need for fussy pre-cooking the filling or time-consuming pre-baking the crust, streamlining the preparation process. This means you can achieve impressive results without spending hours in the kitchen, making it perfect for busy holidays or when you want a homemade treat without the fuss.
- A Black Forest Cake in Pie Form: If you adore the rich, fruity, and boozy flavors of a traditional Black Forest Cake, you will fall head over heels for this pie. It was specifically inspired by the German classic, offering all the beloved elements – chocolate, cherries, and a hint of liquor – meticulously re-imagined into an elegant pie. Serve warm slices with generous scoops of homemade vanilla whipped cream or even a dollop of vanilla ice cream, and you’ll instantly recognize the familiar, comforting notes of Black Forest dessert, but with the delightful texture of a flaky, buttery pie. It’s a delightful and unexpected twist on a beloved favorite.
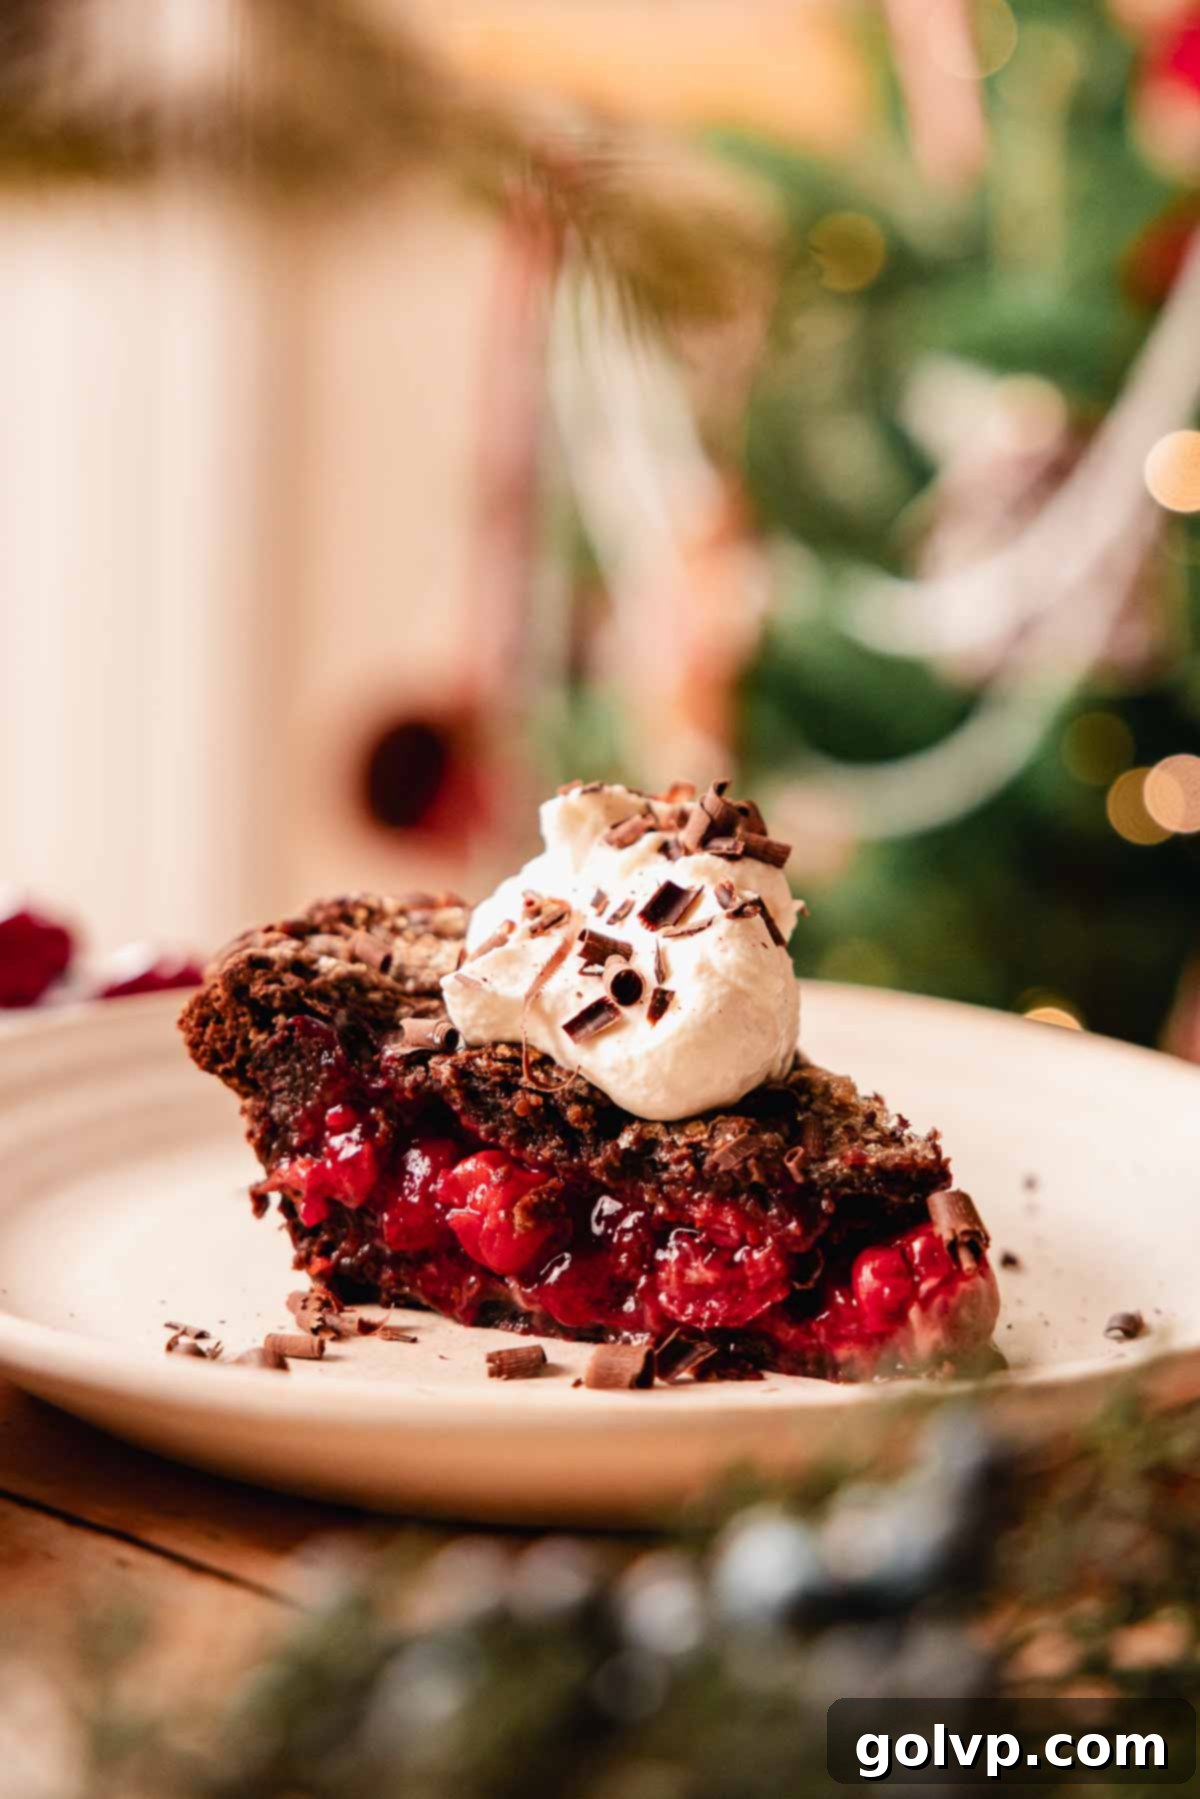
📝 Key Ingredients for Your Perfect Pie
For a truly successful pie, understanding each ingredient’s role is crucial.
Full steps and ingredients can be found in the comprehensive recipe card below.
All-Purpose Flour: The backbone of our pie crust. For the most accurate and consistent results, always weigh your flour. If you don’t have a kitchen scale, use the “spoon and level” method: gently stir the flour in its bag, then spoon it into a measuring cup without packing it down. Use the flat edge of a knife to scrape off any excess from the top. This prevents adding too much flour, which can lead to a tough crust.
Cocoa Powder: This is what gives our crust its incredible chocolate flavor and rich color. I highly recommend using Dutch-processed cocoa powder. It has a less acidic, smoother flavor than natural cocoa, resulting in a deeper, more pronounced chocolate taste in your baked goods. While natural cocoa powder can be used, Dutch-processed will provide a superior flavor profile for this pie.
Unsalted Butter: High-quality butter is absolutely essential for a truly flaky and flavorful pie crust. The fat in the butter creates steam during baking, separating the layers of dough and resulting in that desirable flakiness. Using unsalted butter allows you to control the exact amount of salt in the recipe. If you only have lightly salted butter, simply omit the additional salt specified for the crust.
Sour Cream: A secret ingredient for an exceptionally tender and rich pie crust. Sour cream adds a wonderful tang and moisture, contributing to the crust’s incredible melt-in-your-mouth texture without making it dense. Its acidity also helps tenderize the gluten in the flour, resulting in a more delicate crust.
Tart Cherries: For the most authentic and intensely flavored cherry pie, tart Montmorency cherries are your best friend. These cherries maintain their vibrant red color beautifully during baking and deliver that classic, bright cherry pie flavor we all adore. They are typically found in the freezer section of most grocery stores or health food stores, and sometimes fresh at farmers’ markets during their season. Avoid using sweet cherries as they won’t provide the necessary tartness to balance the sweetness of the pie. If you’re a fan of tart cherries, consider trying our Cherry Meringue Pie or Cherry Curd recipes too!
Cornstarch: This acts as our primary thickening agent for the pie filling, ensuring it sets perfectly into a delicious, gooey consistency. It’s crucial for preventing a runny pie. However, if you plan to freeze your pie for later enjoyment, I recommend substituting cornstarch with arrowroot starch. Cornstarch doesn’t hold up well during the freezing and thawing process, often becoming spongy. Arrowroot starch, on the other hand, maintains its smooth texture. I prefer both cornstarch and arrowroot over flour for thickening fruit pies, as flour can sometimes lead to a cloudy appearance in the filling.
Cinnamon: Just a touch of ground cinnamon in the filling adds a layer of warmth and spice, enhancing the overall flavor without overpowering the cherries. It’s a subtle addition that brings a comforting depth, creating a more complex and inviting taste.
Cherry Liquor (Optional): Following the tradition of Black Forest Cake, a touch of cherry liquor (Kirschwasser is ideal, but any cherry brandy or even regular brandy works) is added to the filling. This not only deepens the cherry flavor but also introduces a sophisticated warmth that pairs exquisitely with the chocolate crust. If you prefer to avoid alcohol, simply omit it; the pie will still be delicious.
Almond Extract: This ingredient is a personal favorite for cherry pies. A small amount of almond extract magically intensifies and brightens the natural cherry flavor, making it truly pop. It’s a subtle addition that makes a significant difference.
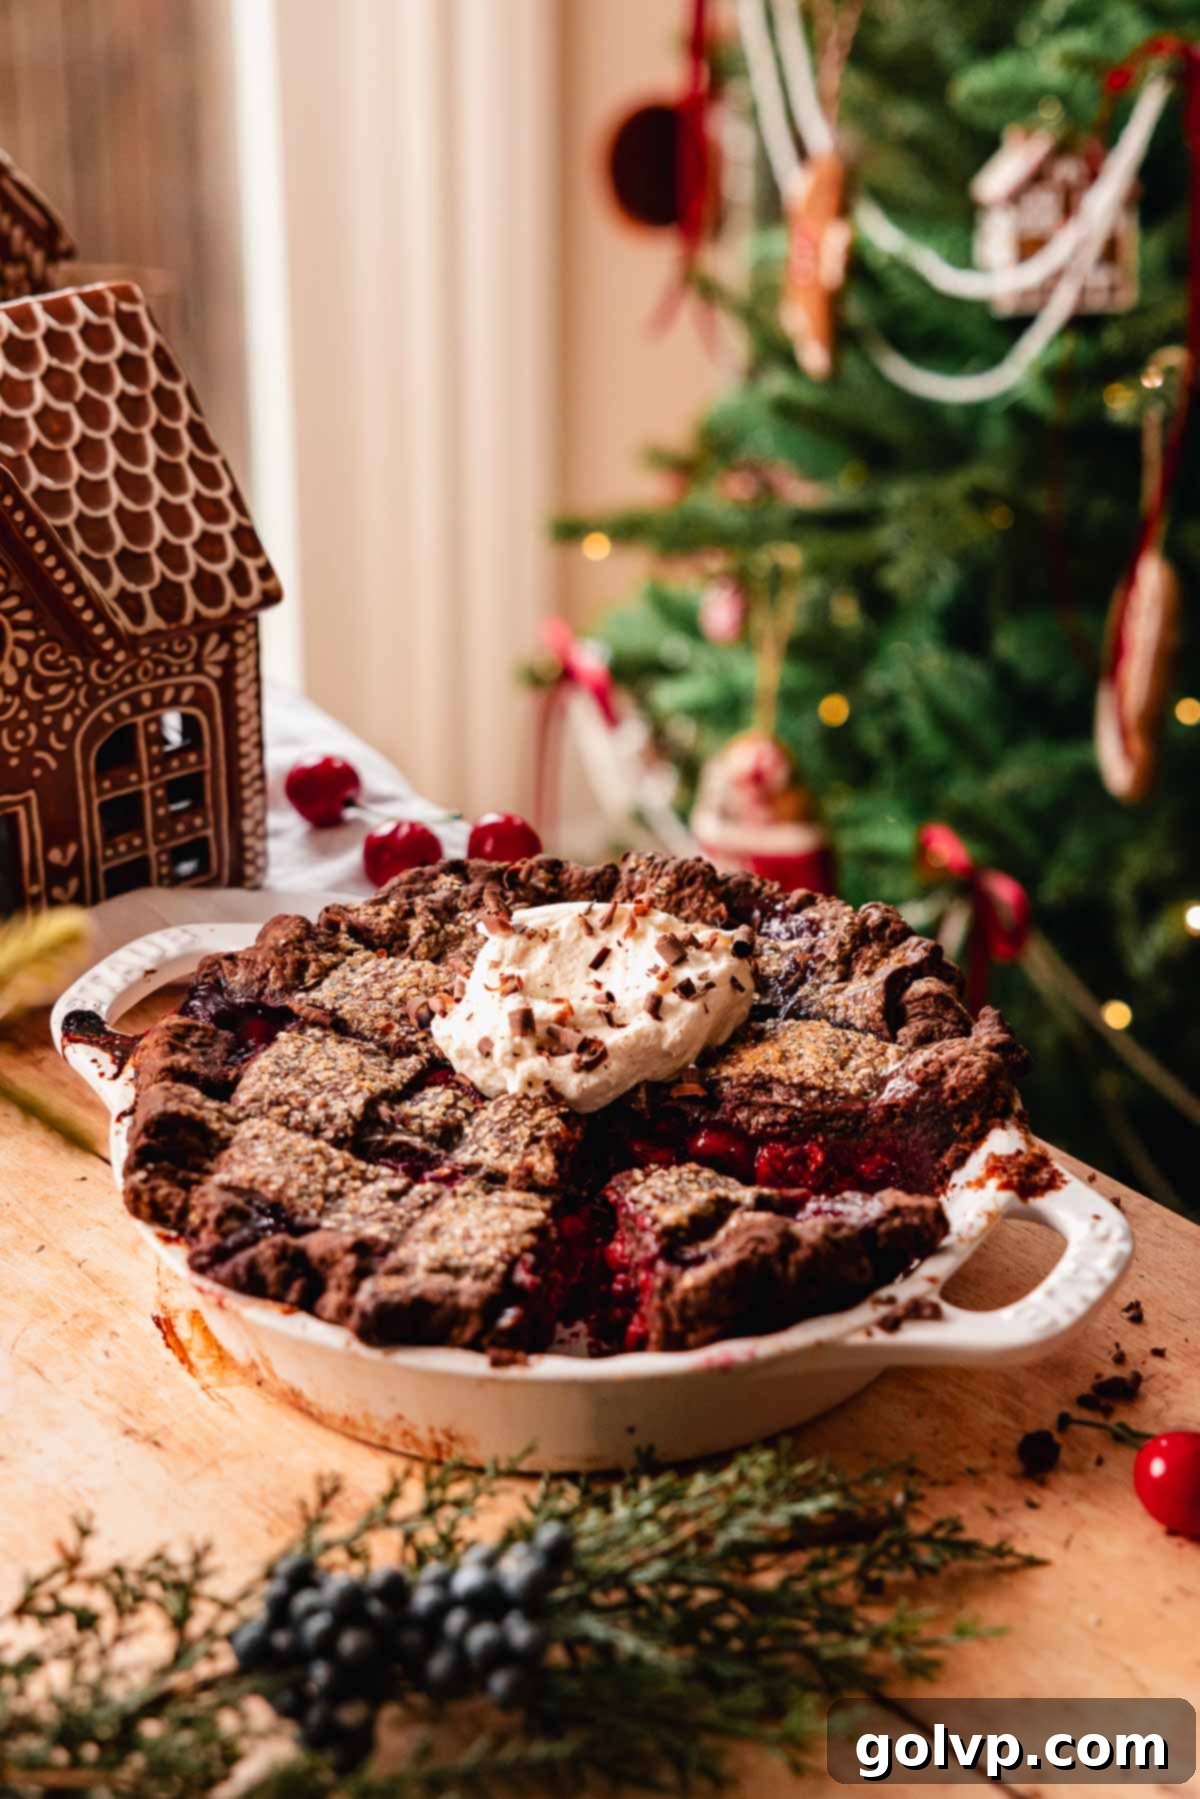
👩🍳 How to Make This Decadent Chocolate Cherry Pie
Crafting this stunning Chocolate Cherry Pie is a rewarding process, yielding a dessert that looks as impressive as it tastes. Follow these step-by-step instructions for a perfect bake every time.
Cherry Pie Filling and Assembly Step-by-Step
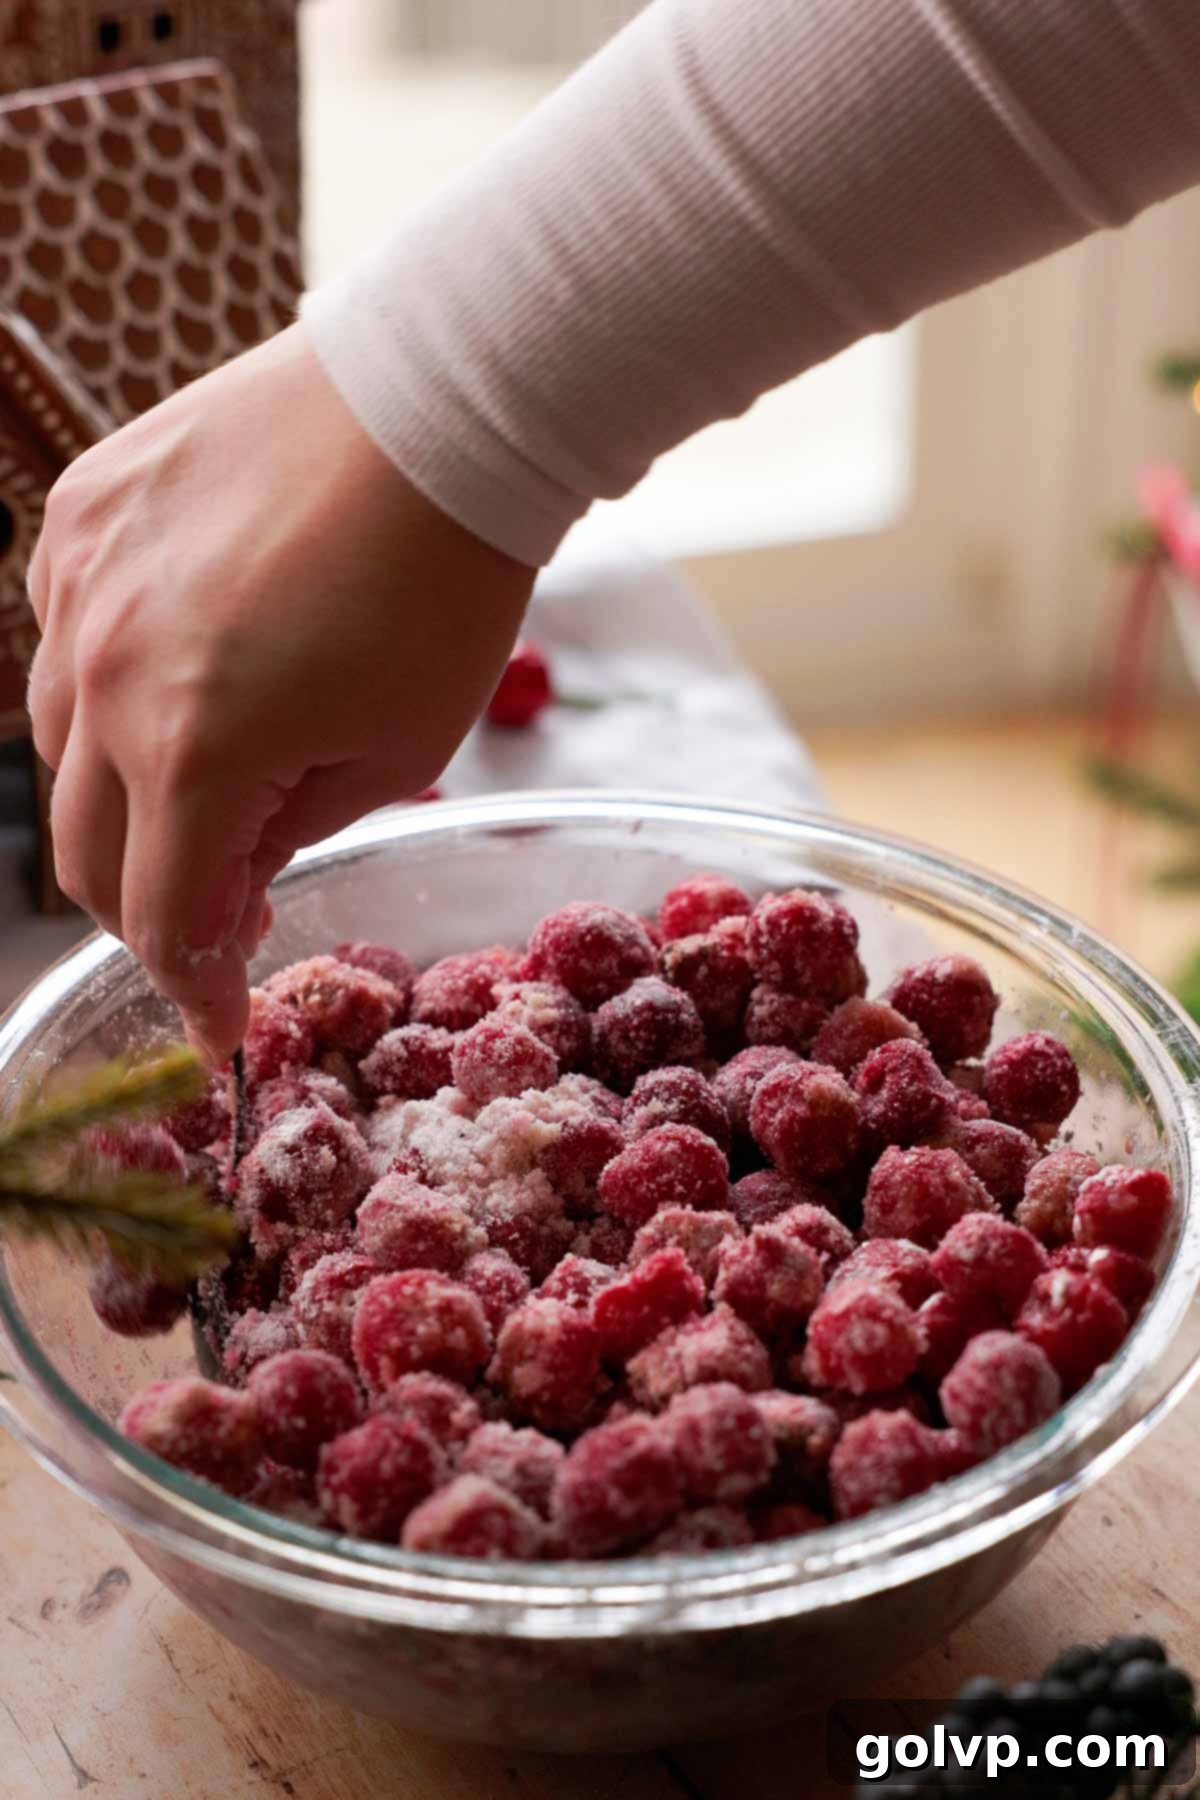
Step 1: Prepare the Cherry Filling. In a large mixing bowl, combine the frozen tart cherries, granulated sugar, cornstarch, salt, ground cinnamon, lemon juice, and almond extract. Toss gently until all the cherries are thoroughly coated with the dry ingredients. Place the bowl in the refrigerator while you prepare the crust to keep the cherries cold and minimize juice release.
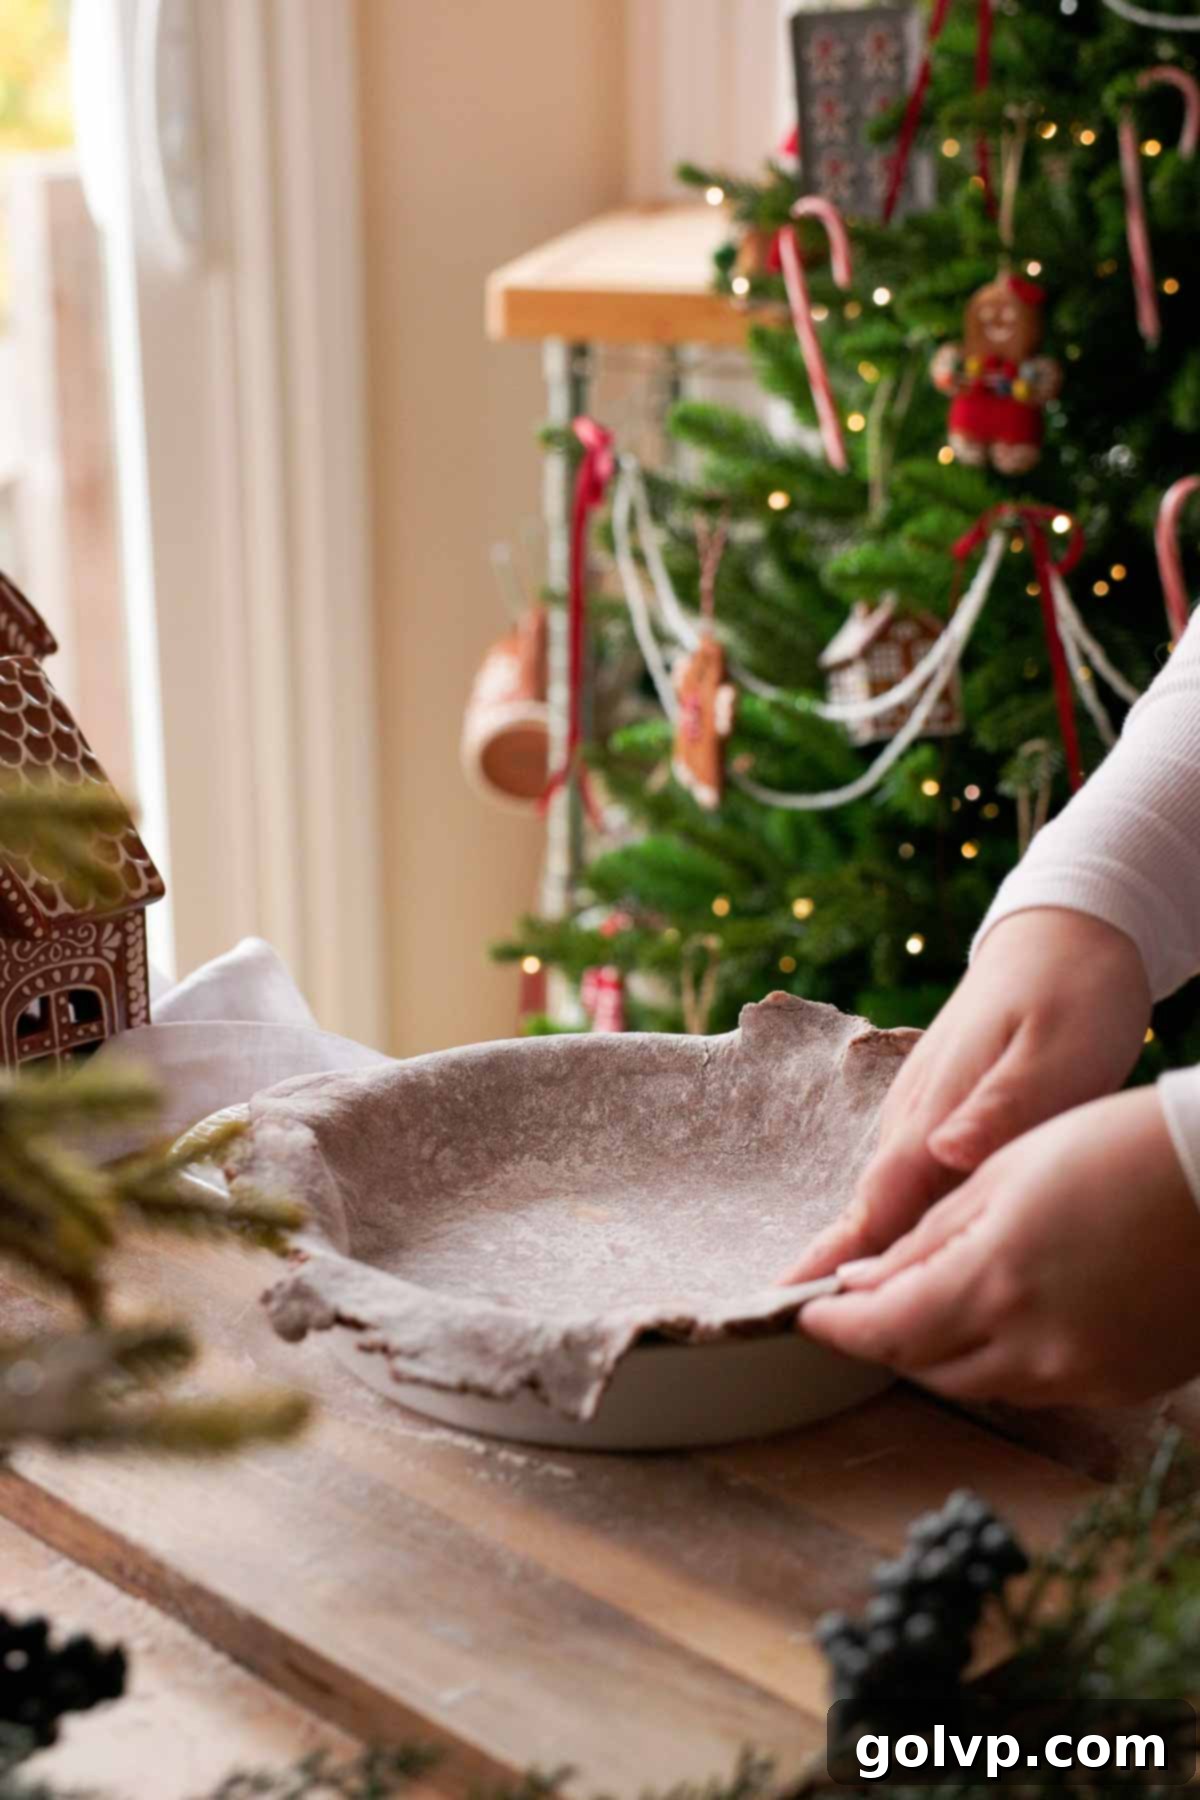
Step 2: Roll Out the Bottom Crust. On a lightly floured, clean surface, roll out one disk of your chilled chocolate pie crust dough to about ¼-inch thickness. Carefully transfer the rolled dough into a 9-inch pie plate. Allow the crust to gently settle into the bottom and sides of the plate without stretching it, which can cause it to shrink during baking. Trim any excess, leaving a slight overhang.
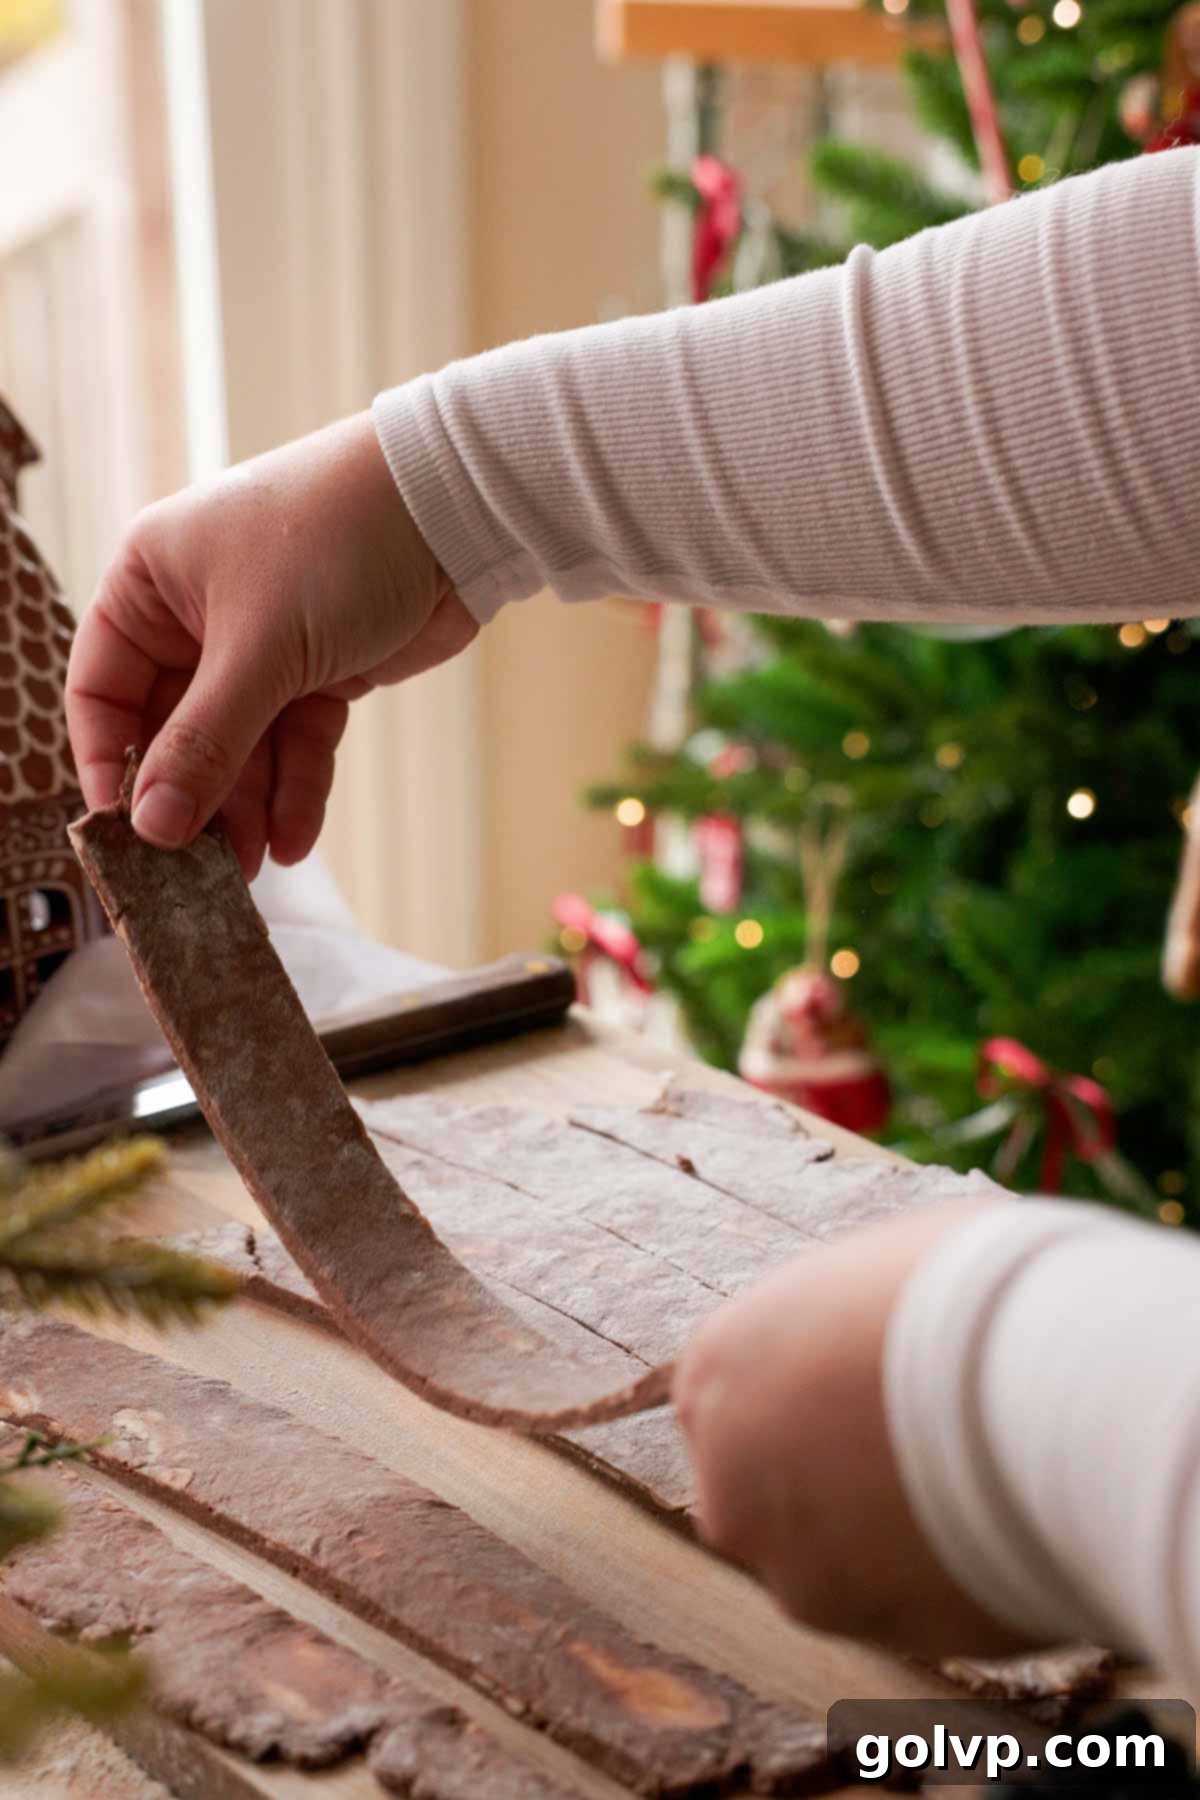
Step 3: Fill the Pie and Prepare Top Crust. Retrieve the cherry filling from the fridge and pour it into the prepared pie shell. Ensure all the dry bits from the bowl are included, as they contain important thickening agents. Pile the filling neatly into the center of the pie. Next, roll out the second disk of chocolate pie crust dough in the same manner as the first. Using a sharp knife or pastry wheel, cut it into thick, even strips for your lattice topping.
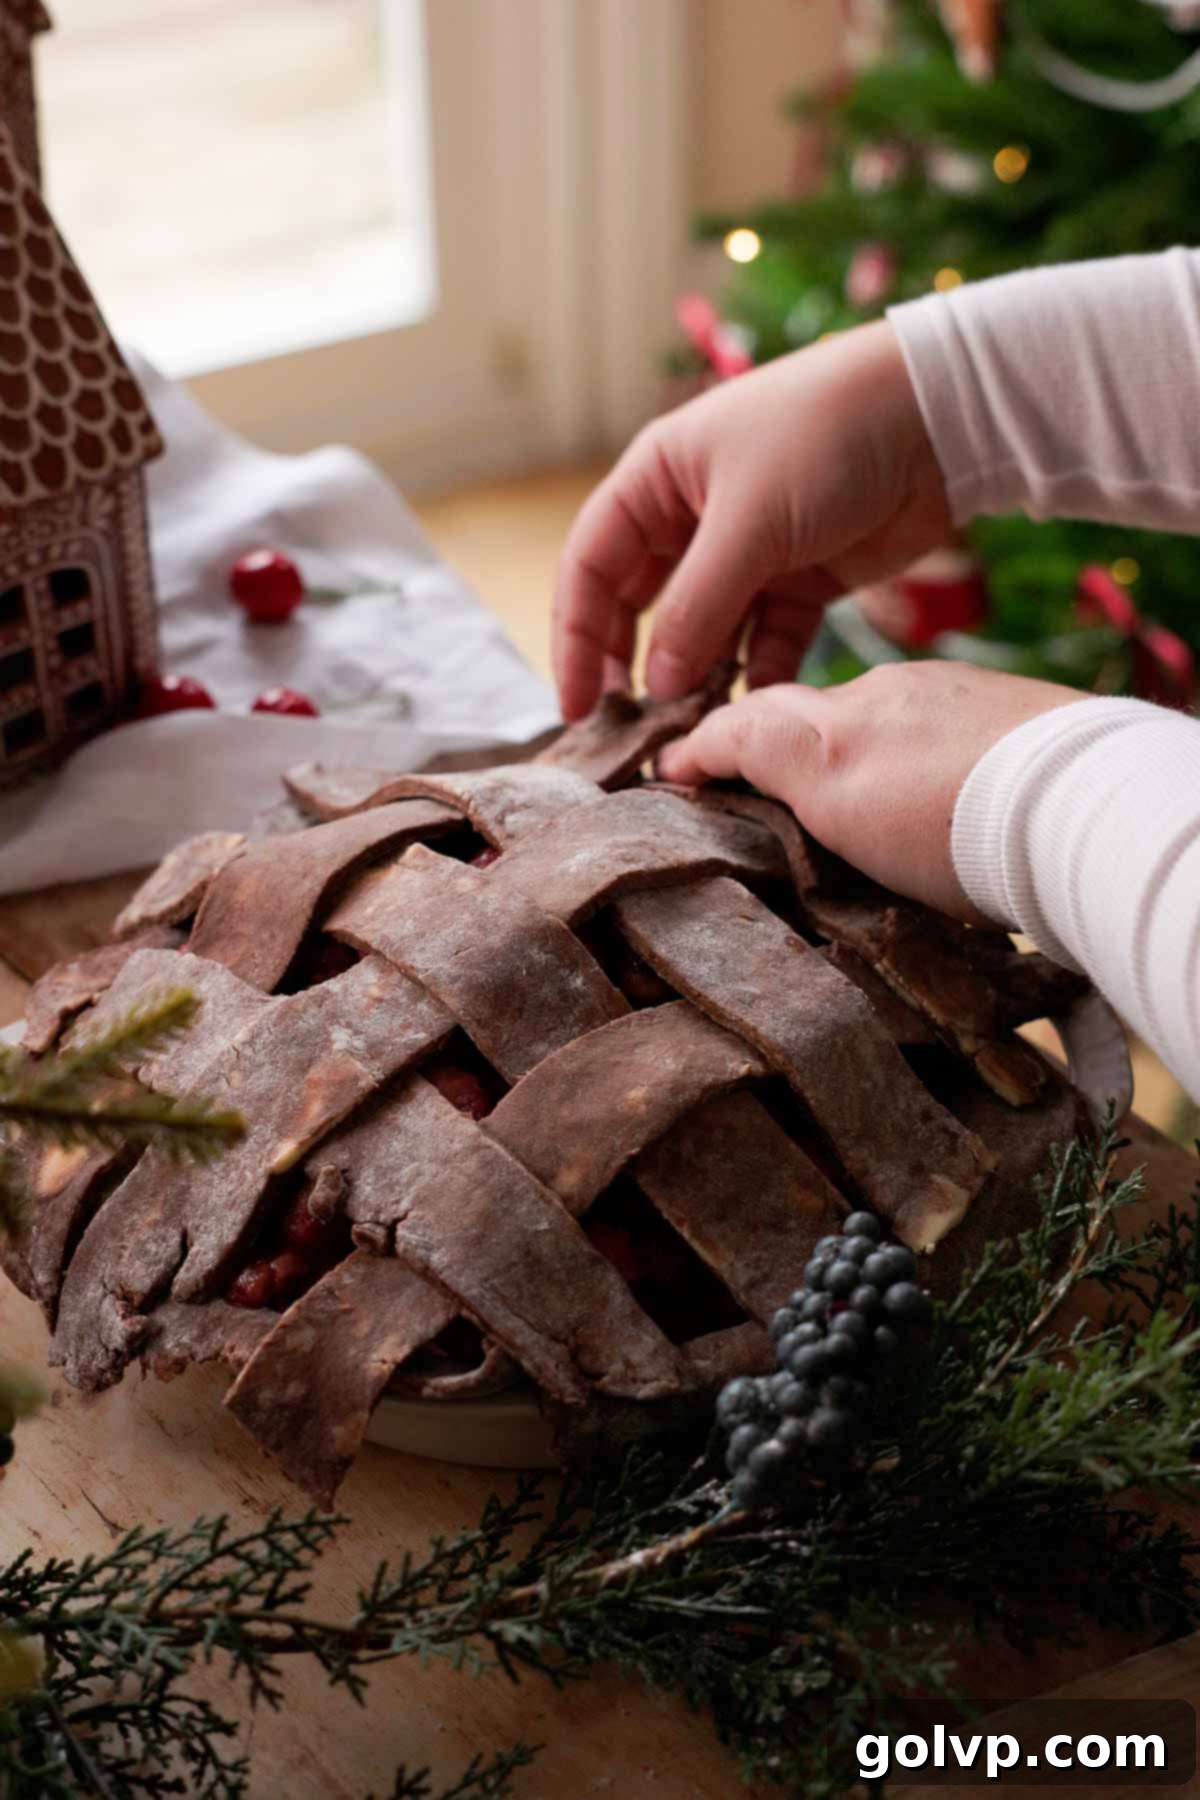
Step 4: Create the Lattice Top. Artfully arrange the cut strips of pie dough over the cherry filling to form a beautiful lattice pattern. Weave the strips by folding back alternating pieces, laying a new strip, and then unfolding, creating an interwoven design. This not only looks stunning but also allows steam to escape during baking.
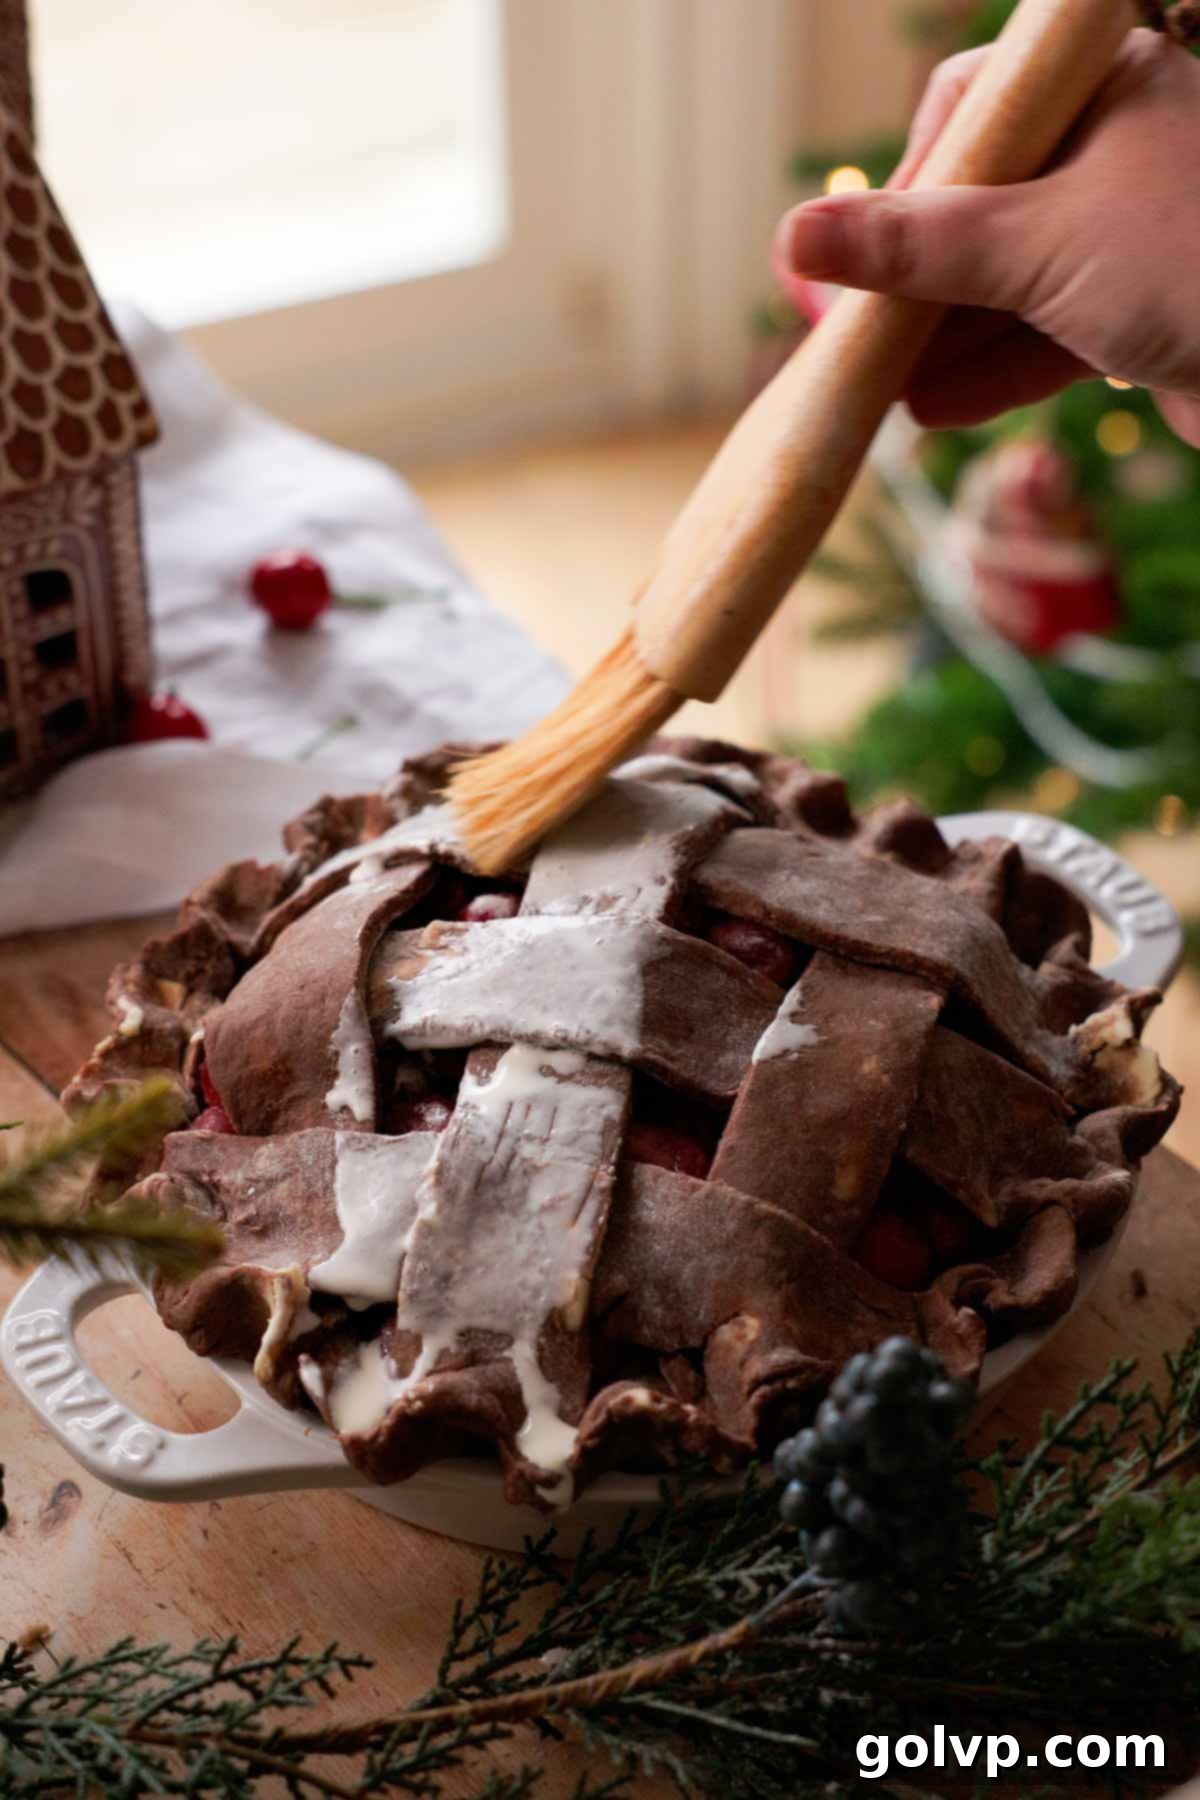
Step 5: Finish the Crust and Prepare for Baking. Trim any excess pie crust from around the edges, leaving about 1 inch. Fold this excess crust edge towards the bottom of the pie. Use your fingers or a fork to crimp the edges, sealing the pie and creating a decorative border. For a beautiful golden finish and added texture, brush the top of the pie lightly with heavy cream and then generously sprinkle with coarse demerara sugar.
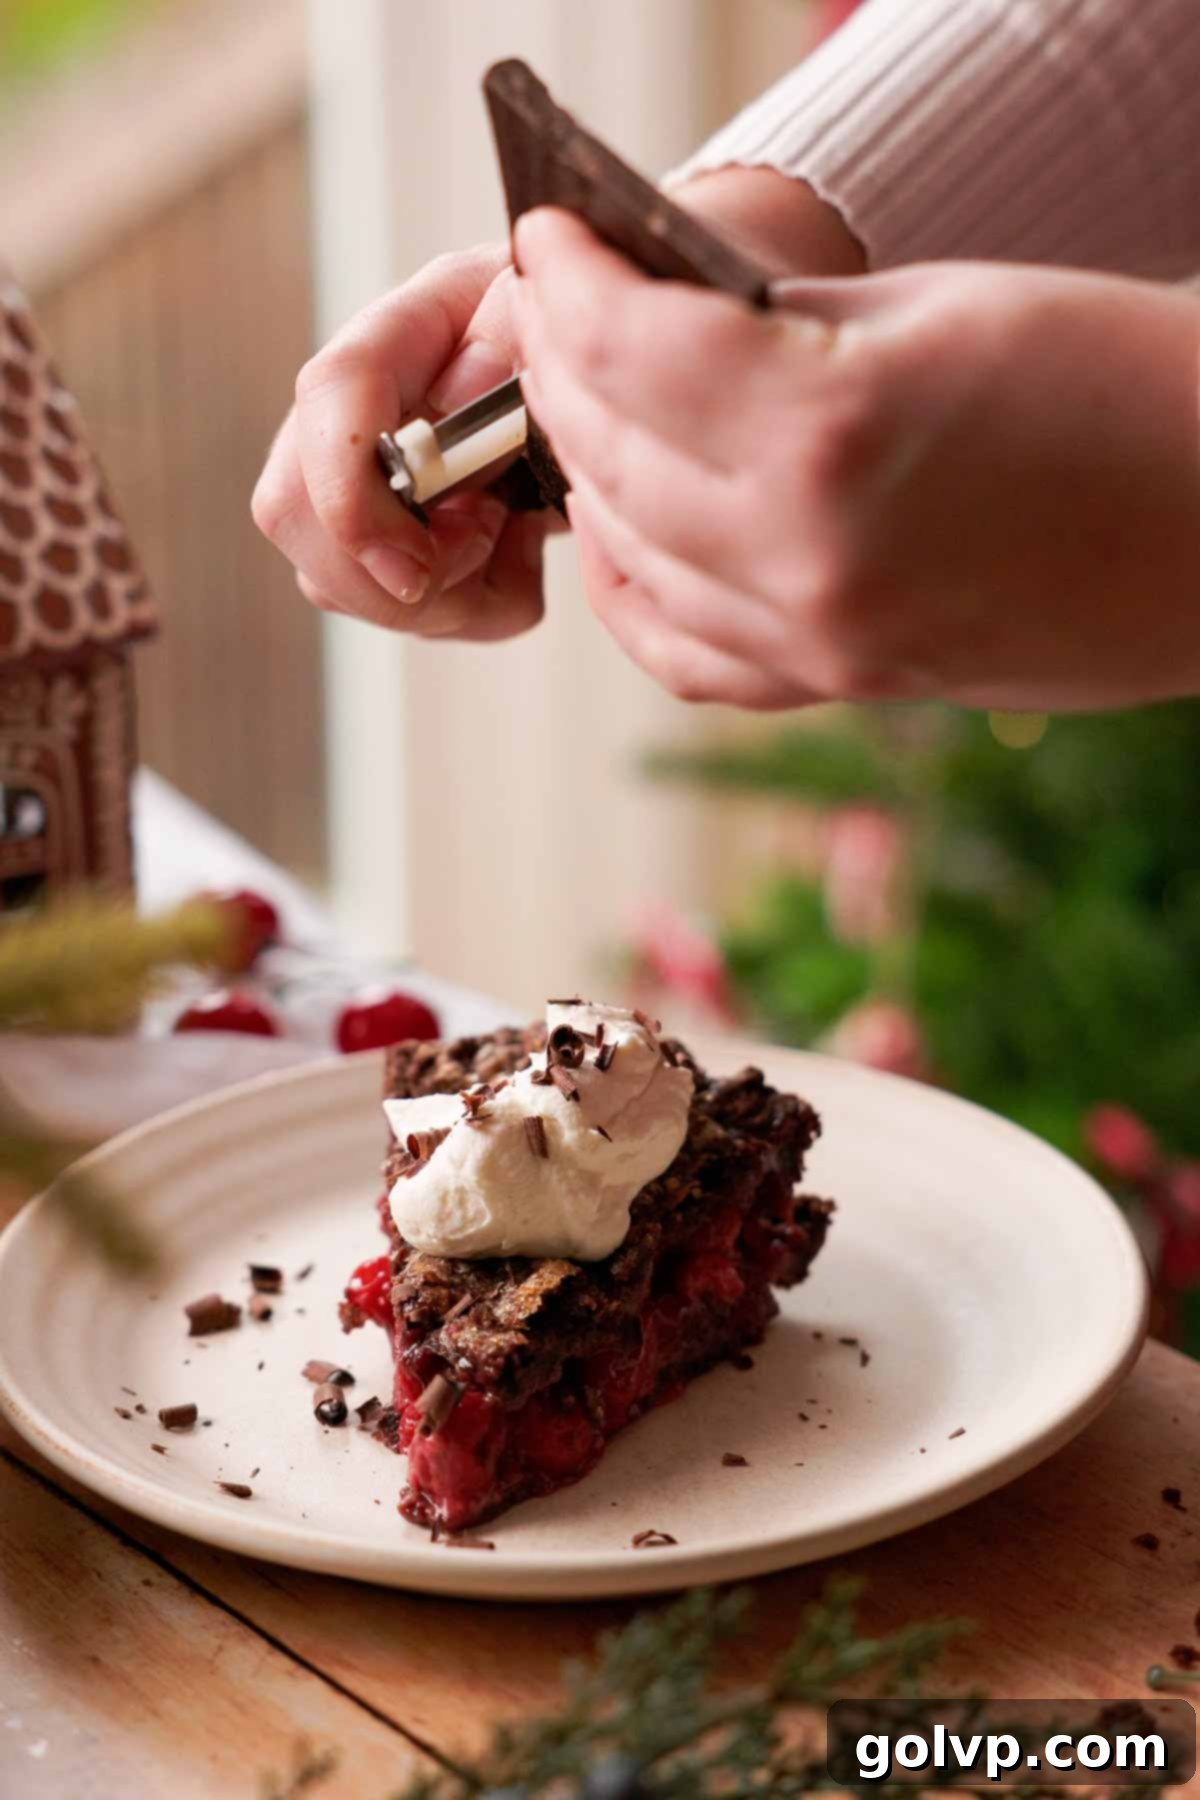
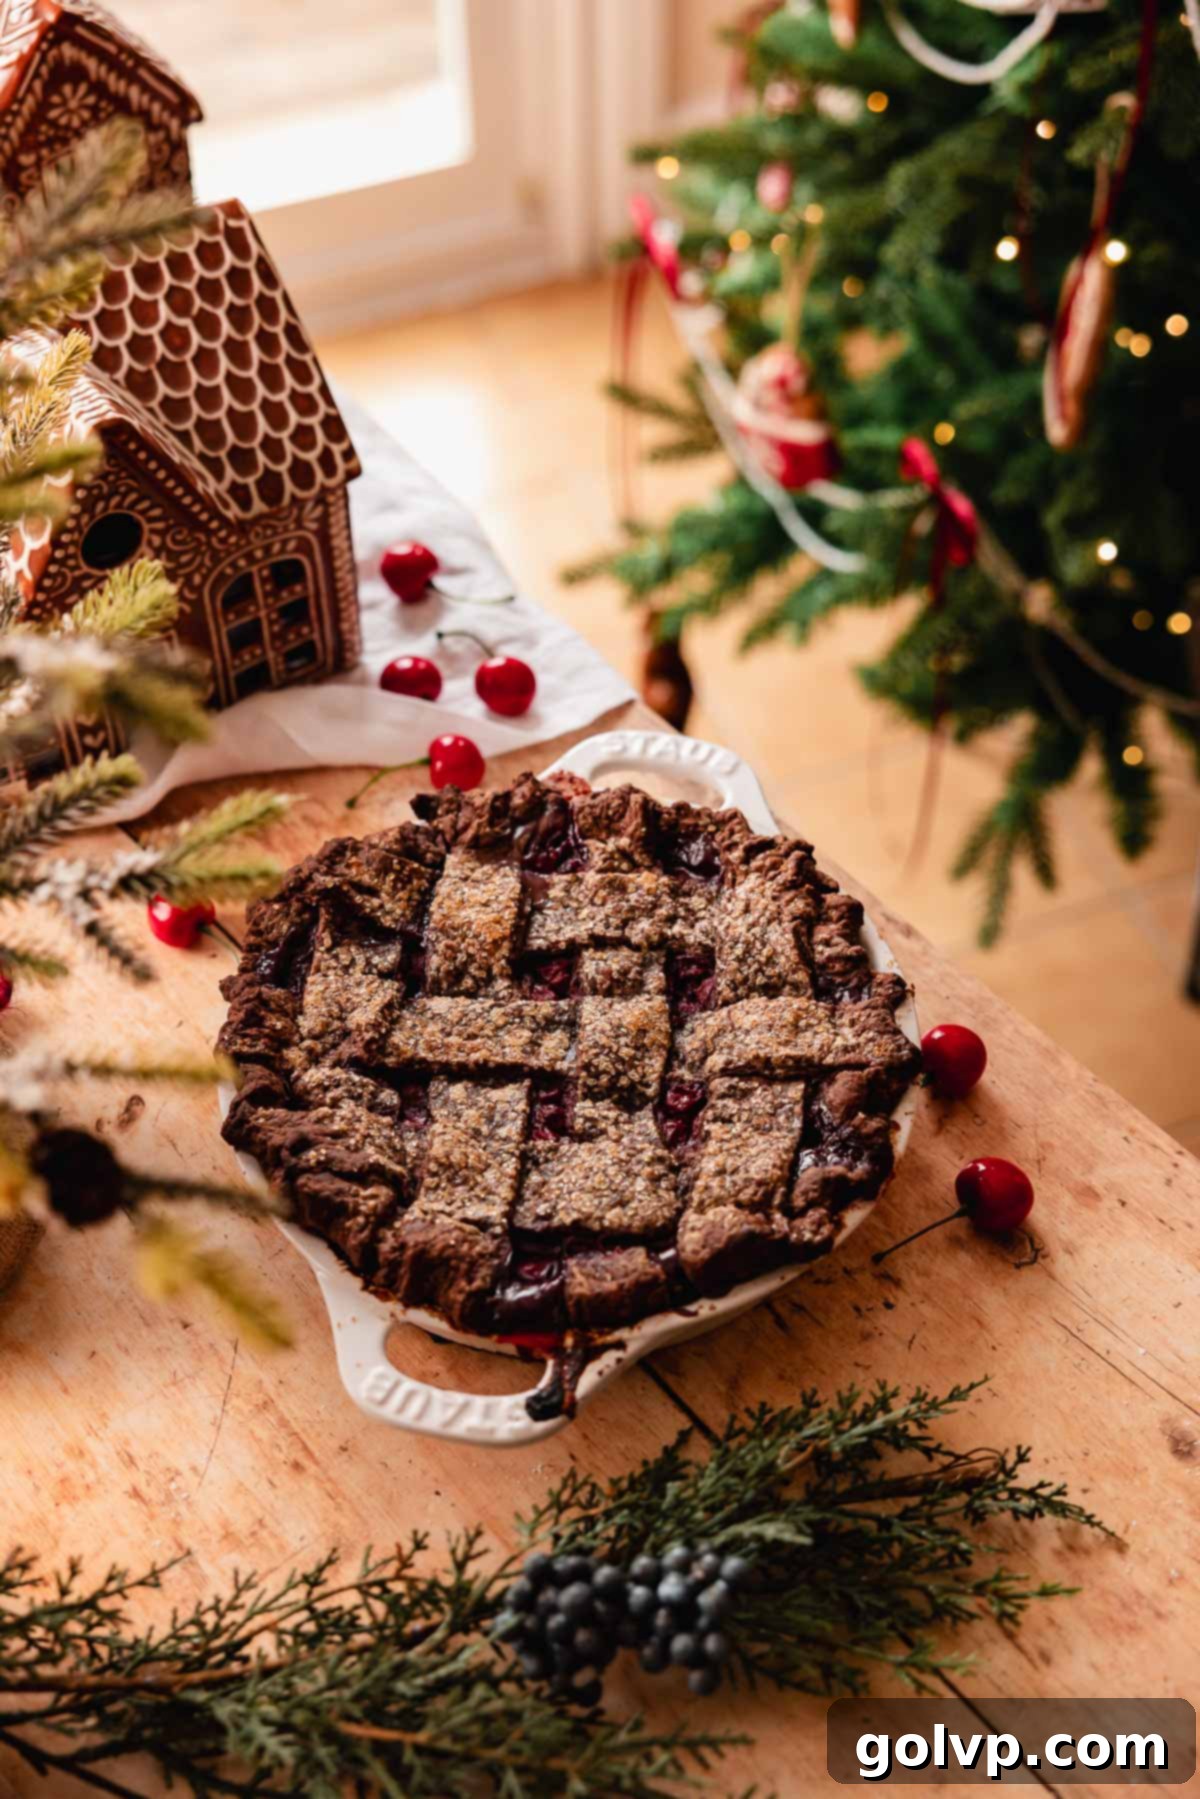
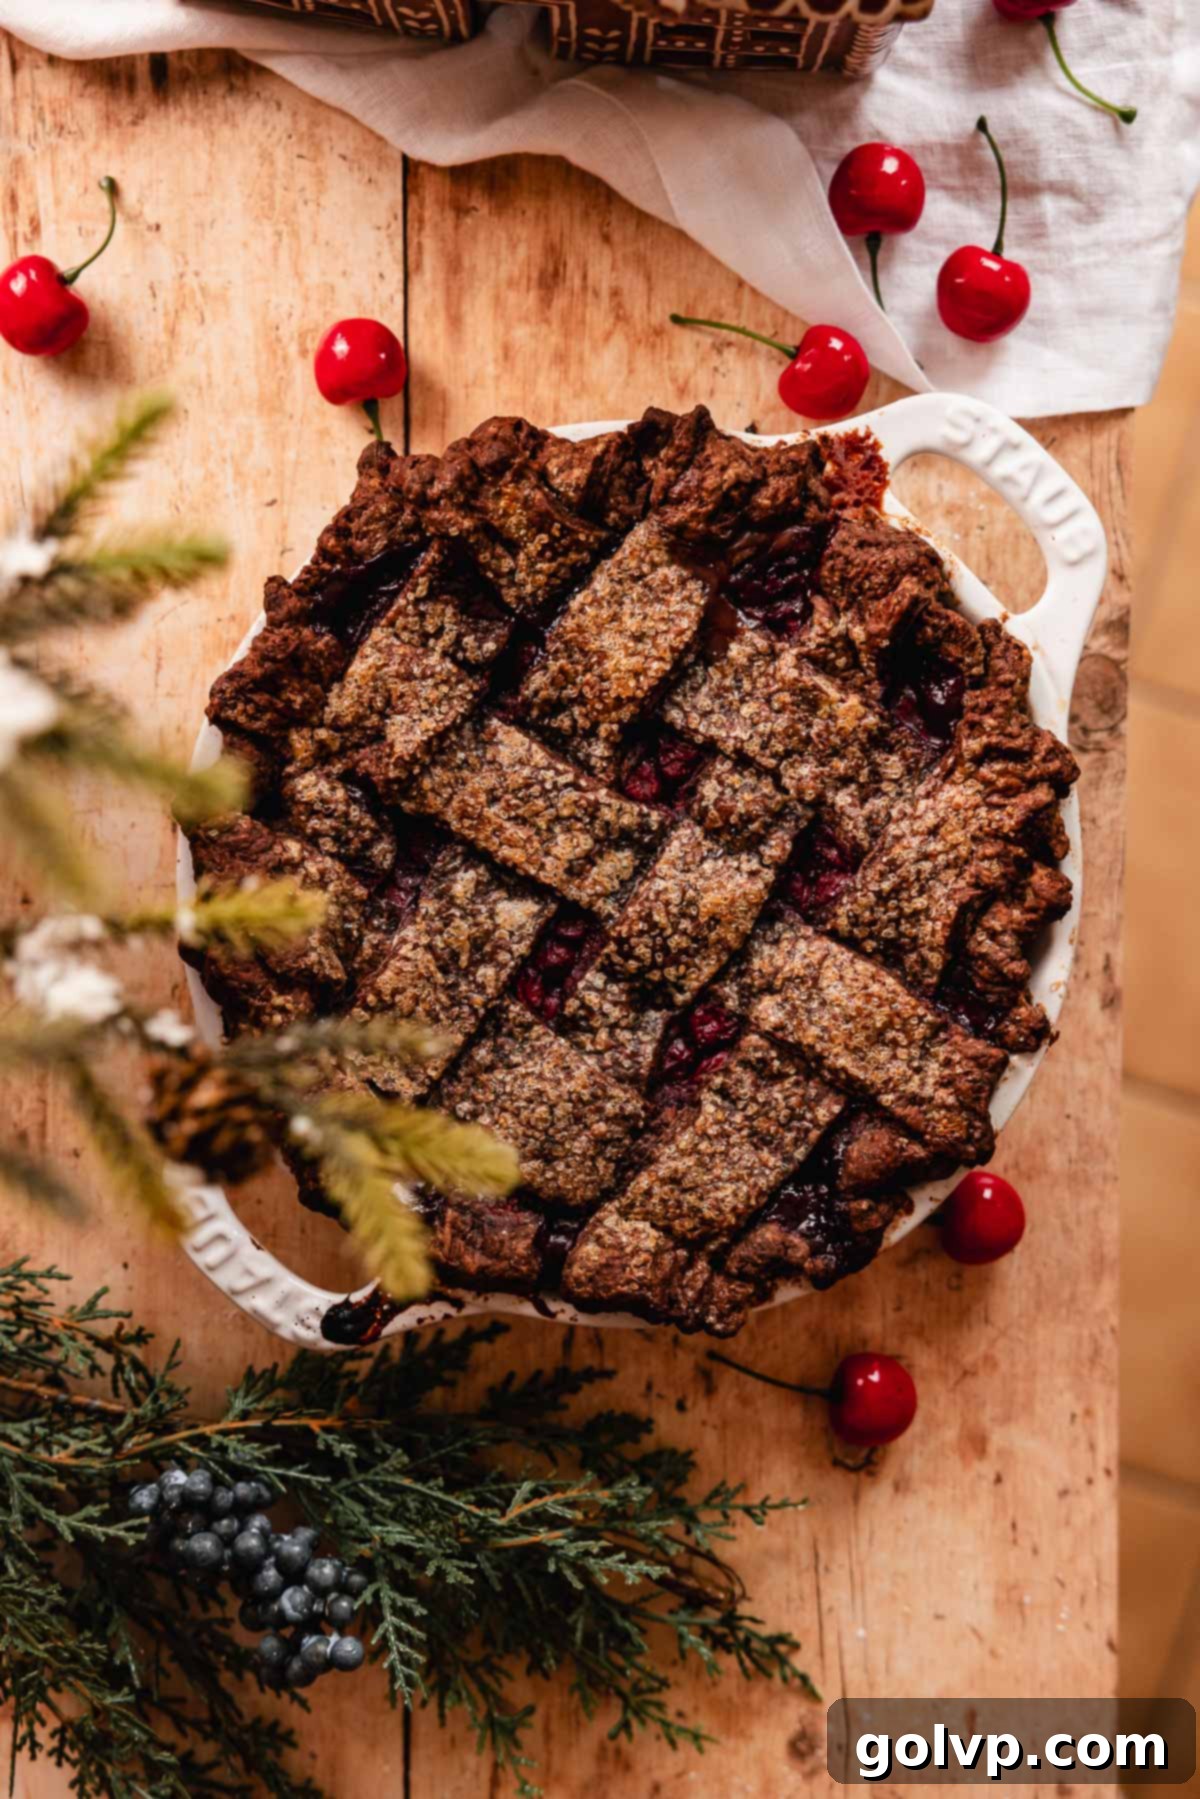
Step 6: Bake and Cool. Place the pie plate onto a larger cookie sheet to catch any potential drips and ensure even heating. Bake in the bottom half of your oven, preheated to 355°F (180°C), for 60-75 minutes. The pie is ready when the filling is visibly bubbling through the lattice and the crust is golden and crisp. If the top crust or edges start to brown too quickly, loosely tent them with a piece of aluminum foil to prevent burning. Once baked, remove the pie from the oven and allow it to cool completely, or at least until warm, before slicing. This cooling period is crucial for the filling to fully set. Serve with a dollop of fresh vanilla whipped cream (or a scoop of homemade brown butter ice cream) and a sprinkle of shaved dark chocolate for the full Black Forest experience.
✔️ Expert Pie-Making Tips for Success
Achieving a perfect pie requires a few key techniques. Keep these expert tips in mind to ensure your Chocolate Cherry Pie turns out beautifully every time:
- Don’t Overwork the Butter for a Flaky Crust: The secret to a super flaky pie crust lies in keeping your butter cold and in distinct, pea-sized chunks. When you mix the butter into the flour, aim for a coarse, sandy texture with visible pieces of butter. These butter chunks create pockets of steam during baking, which separate the layers of dough, resulting in that desirable flaky texture. Overworking the butter will melt it and develop the gluten too much, leading to a tough, rather than tender, crust.
- Keep the Cherries Frozen: Tart cherries are often purchased frozen, and for good reason. It’s best not to defrost them before mixing the filling. Frozen cherries are easier to handle, and their juices are contained, preventing the filling from becoming excessively watery during preparation. Working with frozen cherries also helps keep the overall pie cool before it hits the oven, contributing to a better crust texture.
- Don’t Underbake the Pie – Look for Bubbles!: This is perhaps the most critical tip for any fruit pie. An underbaked cherry pie will result in a runny, unset filling. It’s always better to slightly overbake a fruit pie than to underbake it. You’ll know your pie is perfectly baked when you see the filling actively bubbling up through the lattice top or any vents in a solid crust. The bubbling indicates that the starch has fully activated and thickened the filling. If your crust starts to brown too quickly before the filling is bubbling, simply tent the pie loosely with aluminum foil to protect the crust while the filling finishes cooking.
- Serve Pie Warm for Optimal Flavor and Texture: While delicious at room temperature, a slice of this chocolate cherry pie truly shines when served warm. Gently warming the pie before serving allows the butter within the crust to re-melt slightly, enhancing its tender, crisp, and flaky texture. The warm filling also releases its aromatic flavors more intensely, creating a more comforting and indulgent experience.
🥄 Make Ahead and Storage Tips
Pies are wonderful make-ahead desserts, as they benefit from a cooling period to allow the filling to set properly before slicing. This Chocolate Cherry Pie is no exception, making it an excellent choice for entertaining or meal prep.
You can easily prepare the entire pie and the whipped cream topping a day in advance. Store the baked pie, loosely covered, at room temperature for up to 24 hours (if your kitchen isn’t too warm) or in the refrigerator. Store the prepared vanilla mascarpone whipped cream in an airtight container in the fridge separately. When you’re ready to serve, simply warm up the pie gently in a low oven for about 15-20 minutes until just warm, then slice and dollop with the chilled whipped cream. Serving a warm slice with a crunchy, buttery crust is truly unbeatable!
For longer storage, keep any leftover pie covered in the fridge for up to 5 days. It’s important to note that I don’t recommend freezing this pie if you used cornstarch to thicken the filling. Cornstarch tends to become spongy and less appealing in texture after being frozen and thawed. However, if you plan on freezing the pie, a simple substitution can solve this: replace the cornstarch with arrowroot starch in the filling recipe. Arrowroot starch maintains its smooth consistency beautifully through the freezing and thawing process, ensuring your pie remains delicious even after being frozen.
How to Ensure Your Cherry Pie Filling Sets Perfectly
A runny pie filling is a baker’s lament! To avoid this disappointment and achieve that perfectly gooey, sliceable cherry filling, here are the crucial steps and insights:
First and foremost, the starch you use to thicken the filling—whether it’s cornstarch or arrowroot starch—must be fully activated by heat. This is the key to a set filling.
The most reliable way to check for starch activation is to observe the filling while the pie bakes. You’ll know it’s ready when the filling is actively bubbling up through the vents in your top crust. If you don’t see vigorous bubbling, the pie needs more time in the oven. Return it for another 10-15 minutes, checking periodically. Don’t be afraid to let it bake a little longer if needed; an overbaked fruit pie is almost always preferable to an underbaked one.
Another critical step is allowing the pie to cool completely to room temperature before slicing. The filling continues to thicken significantly as it cools. Slicing into a hot pie might lead to a seemingly runny filling, even if it would have set perfectly once cooled. Patience is a virtue when it comes to pie!
Lastly, be mindful of the moisture content of your cherries. The juiciness of tart cherries can vary slightly depending on the specific variety, growing conditions, and whether they were freshly picked or frozen. While my recipe calls for ¼ cup of cornstarch, which I’ve found to be the perfect amount for various batches of tart cherries, if you suspect your cherries are particularly juicy (perhaps a different variety or a very wet batch), consider adding an extra tablespoon of cornstarch or arrowroot starch to the filling mixture. Remember, tart cherries are far juicier than the typical dark, sweet table cherries, which is why they require a good amount of thickener.
📖 Recipe FAQs
While technically possible, I highly recommend sticking to tart cherries for this recipe. Dark, sweet cherries are primarily for eating fresh, whereas tart cherries possess a brighter, more intense flavor profile that truly shines in baked goods. Their natural acidity provides a crucial balance to the sugar in the pie, creating a more complex and desirable taste. If you opt for dark cherries, you would need to significantly reduce both the sugar and the cornstarch in the filling, as they are less tart and less juicy than their tart counterparts. Finding tart Montmorency cherries is usually easy in the freezer section of most grocery stores, health food stores, or through specialty baking suppliers online.
Yes, you absolutely can use a good quality store-bought pie crust for convenience. However, please be aware that using a premade crust will alter the unique flavor profile of this pie. A key highlight of this recipe is its homemade butter sour cream chocolate pie crust, which contributes significantly to the “Black Forest” character with its rich chocolatey notes and flaky texture. A standard premade crust won’t offer that distinctive chocolate flavor, making the pie less akin to a Black Forest dessert.
Indeed, you can! Using store-bought cherry pie filling is a great shortcut if you’re short on time, and it will still result in a delicious pie. To bring it closer to the unique flavor of my homemade filling, I suggest stirring in a little ground cinnamon and a tablespoon or two of cherry liquor (or brandy) to the store-bought filling before pouring it into your pie crust. These additions will infuse it with the warmth and depth that make this Black Forest-inspired pie so special.
🍒 More Delightful Cherry and Pie Recipes
If you loved this Chocolate Cherry Pie, you might enjoy exploring these other delightful recipes that celebrate the magic of cherries and delectable baked goods:
- Cherry Meringue Pie
- Chocolate Cherry Galette
- Crème Brûlée Pie
- The Best Black Velvet Cake
Did you make this delectable Chocolate Cherry Pie? We’d love to hear your thoughts! Please take a moment to rate this recipe and share your experience in the comments below. Don’t forget to share your beautiful creation on Instagram and tag @flouringkitchen. Follow us on Pinterest for more inspiring recipes and baking ideas!
📖 Recipe
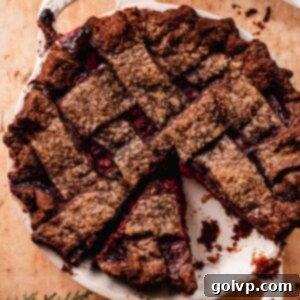
Chocolate Cherry Black Forest Pie
MaryEquipment
- 9 inch round pie plate
Ingredients
Chocolate Sour Cream Pie Crust
- 2 ¼ cup all purpose flour
- ⅓ cup cocoa powder
- ½ teaspoon sea salt
- ¼ cup granulated sugar
- 1 cup unsalted butter cut into 1 cm cubes and frozen
- ⅓ cup sour cream cold
- 1 tablespoon pure vanilla extract
- ¼ cup cold water
Tart Cherry Pie Filling
- 1 ½ lbs tart cherries frozen, don’t defrost, about 6 cups
- ¾ cup granulated sugar
- 4 tablespoons cornstarch (use 3 tablespoons for a saucier pie)
- ¼ teaspoon sea salt
- ½ teaspoon ground cinnamon
- 2 tablespoons cherry liquor optional
- ½ teaspoon almond extract
- 2 tablespoons heavy whipping cream
- 2 tablespoons coarse demerara sugar
Vanilla Mascarpone Whipped Cream
- ¾ cup heavy whipping cream cold
- 2 tablespoons granulated sugar
- ½ teaspoon vanilla extract
- ⅛ teaspoon sea salt
- ½ cup mascarpone cheese cold
- ¼ bar dark chocolate for shaving on top
Instructions
Chocolate Sour Cream Pie Crust
- In a large mixing bowl, combine the all-purpose flour, rich cocoa powder, sea salt, and granulated sugar. Whisk or mix these dry ingredients thoroughly to ensure they are well combined.2 ¼ cup all purpose flour, ⅓ cup cocoa powder, ½ teaspoon sea salt, ¼ cup granulated sugar
- Add the cold, cubed unsalted butter to the dry mixture. Using a pastry blender, your fingertips, or a food processor, work the butter into the flour until the mixture resembles coarse peas and flour. Be careful not to overwork the butter, as keeping it in small chunks is key to a flaky crust.1 cup unsalted butter
- In a separate small bowl, whisk together the cold sour cream and pure vanilla extract. Add this mixture to the butter-flour mixture and begin to mix it in well with a spoon. Then, gradually add cold water, one tablespoon at a time, mixing lightly with your hands until the dough just comes together. You’ll likely need about two tablespoons of water, but adjust based on the dough’s consistency – it should be moist enough to hold together but not sticky.⅓ cup sour cream, 1 tablespoon pure vanilla extract, ¼ cup cold water
- Gently flatten and fold the dough three times directly in the bowl to create some layers. Divide the dough into two equal halves. Form each half into a flat disk. Wrap each disk tightly in plastic wrap and refrigerate for at least one hour, or ideally overnight, to allow the gluten to relax and the butter to firm up.
Tart Cherry Pie Filling & Assembly
- Before you begin assembling the pie, preheat your oven to 355°F (180°C).
- In a large bowl, combine the frozen tart cherries, granulated sugar, cornstarch (or arrowroot starch if freezing), sea salt, ground cinnamon, cherry liquor (if using), and almond extract. Toss the ingredients together thoroughly until all the cherries are evenly coated. Place the bowl back in the fridge while you prepare the crust to keep the cherries cold.1 ½ lbs tart cherries, ¾ cup granulated sugar, 4 tablespoons cornstarch, ¼ teaspoon sea salt, ½ teaspoon ground cinnamon, 2 tablespoons cherry liquor, ½ teaspoon almond extract
- On a lightly floured, clean surface, roll out one of the chilled pie crust disks into a circle approximately ¼-inch thick and large enough to fit your 9-inch pie plate with some overhang. Carefully transfer the rolled crust into the pie plate, allowing it to gently fall into the bottom and sides without stretching. This prevents shrinking during baking.
- Pour the prepared cherry filling into the pie crust. Ensure you get all the dry bits of coating mixture into the pie, as these are crucial for proper thickening. Pile the cherries into a slight mound in the center of the pie.
- Roll out the second pie crust disk in the same manner as the first. Using a sharp knife or pastry wheel, cut the dough into uniform 1.5-inch thick strips. Carefully arrange these strips over the cherry filling to create an attractive lattice design, weaving them over and under for a classic look.
- Trim any excess pie crust from around the perimeter of the pie, leaving about 1 inch of overhang to form your decorative edge.
- Tuck the overhanging pie crust edge underneath itself, creating a neat, thicker border. Use your fingers or the tines of a fork to crimp the edges, sealing the pie and adding a rustic, beautiful finish.
- For a golden and sparkling top crust, brush the entire surface of the pie (including the lattice and crimped edges) with heavy whipping cream, then generously sprinkle with coarse demerara sugar.2 tablespoons heavy whipping cream, 2 tablespoons coarse demerara sugar
- Carefully place the pie plate onto a larger baking sheet (this helps catch any potential drips and makes transferring easier). Bake in the preheated oven for 60-75 minutes. The pie is fully baked when the cherry filling is visibly bubbling actively through the lattice openings and the top crust is a rich golden brown and crisp. If the edges or top begin to brown too quickly before the filling is ready, loosely shield them with aluminum foil to prevent burning.
- Once baked, remove the pie from the oven and allow it to cool completely on a wire rack until it’s warm or reaches room temperature. This crucial cooling period allows the filling to thicken and set properly. Do not slice while hot.
Vanilla Mascarpone Whipped Cream
- In a large, chilled bowl (preferably from an electric mixer), combine the cold heavy whipping cream, granulated sugar, vanilla extract, and sea salt. Using a wire whisk attachment, whip the cream on medium-high speed until it forms medium-stiff peaks – meaning the peaks will hold their shape but still have a slight curl at the tip.¾ cup heavy whipping cream, 2 tablespoons granulated sugar, ½ teaspoon vanilla extract, ⅛ teaspoon sea salt
- Add the cold mascarpone cheese to the whipped cream mixture. Continue whipping until stiff peaks form, indicating a firm and stable whipped cream. Use this delightful topping immediately or refrigerate it in an airtight container for up to 3 days.½ cup mascarpone cheese
- To serve, place a generous dollop of the vanilla mascarpone whipped cream over each slice of warm or room-temperature pie. For an elegant finish, use a vegetable peeler to shave curls of dark chocolate directly over the whipped cream, mirroring the classic Black Forest cake presentation.¼ bar dark chocolate
Notes
- Keep Butter Chunky: Do not overwork the butter into the pie crust dough. Visible chunks of cold butter are essential for creating those irresistible flaky layers during baking.
- Cherries Stay Frozen: Always use frozen tart cherries directly from the freezer; do not defrost them. This makes them much easier to work with and helps prevent the filling from becoming too watery.
- Bake Until Bubbly: Ensure the pie is fully baked by looking for the filling to be actively bubbling through the top crust. If the crust begins to brown too quickly, tent it loosely with aluminum foil to protect it while the filling finishes setting.
- Serve Warm: For the most tender, crisp, and buttery crust, and for the flavors to truly sing, serve this pie warm. The slight warmth enhances the entire dessert experience.
