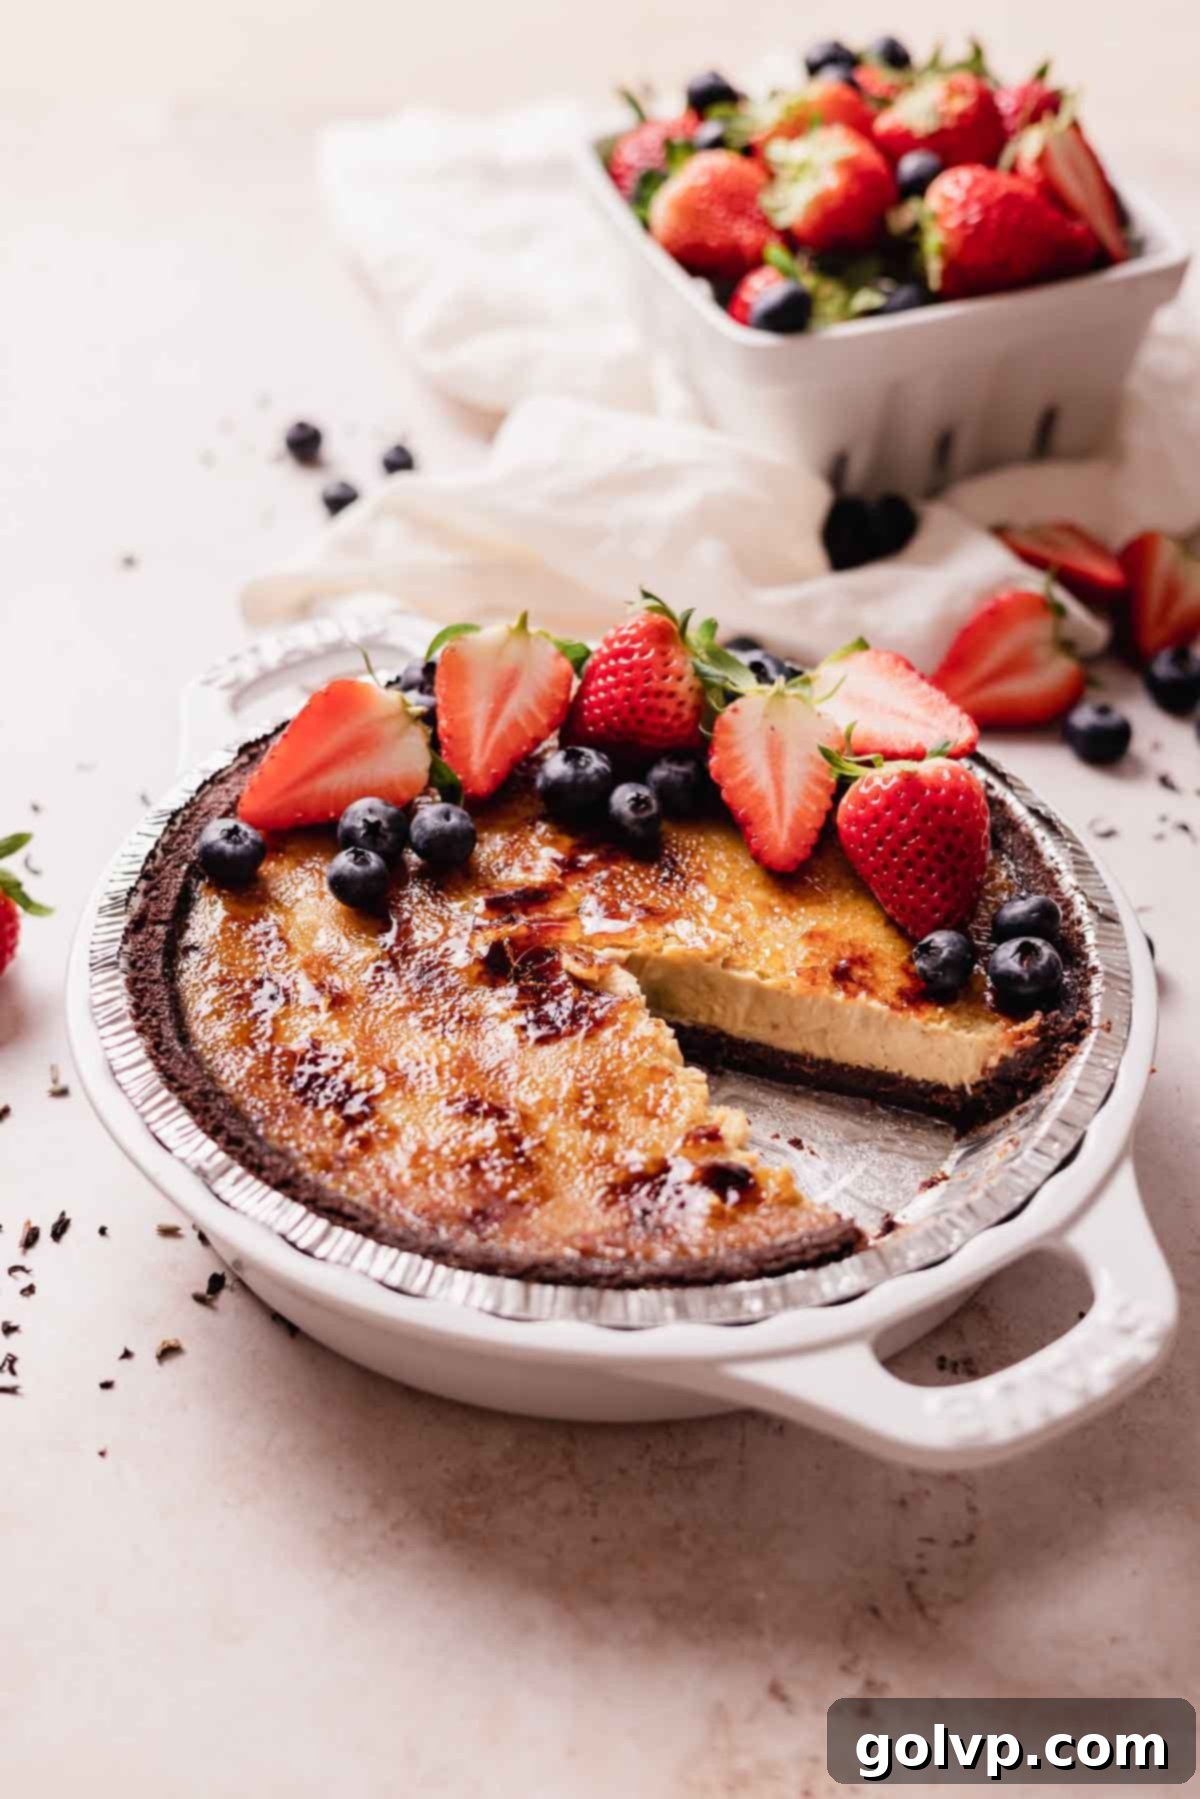
Decadent Earl Grey Crème Brûlée Pie with Rich Chocolate Crust: A Silky Delight
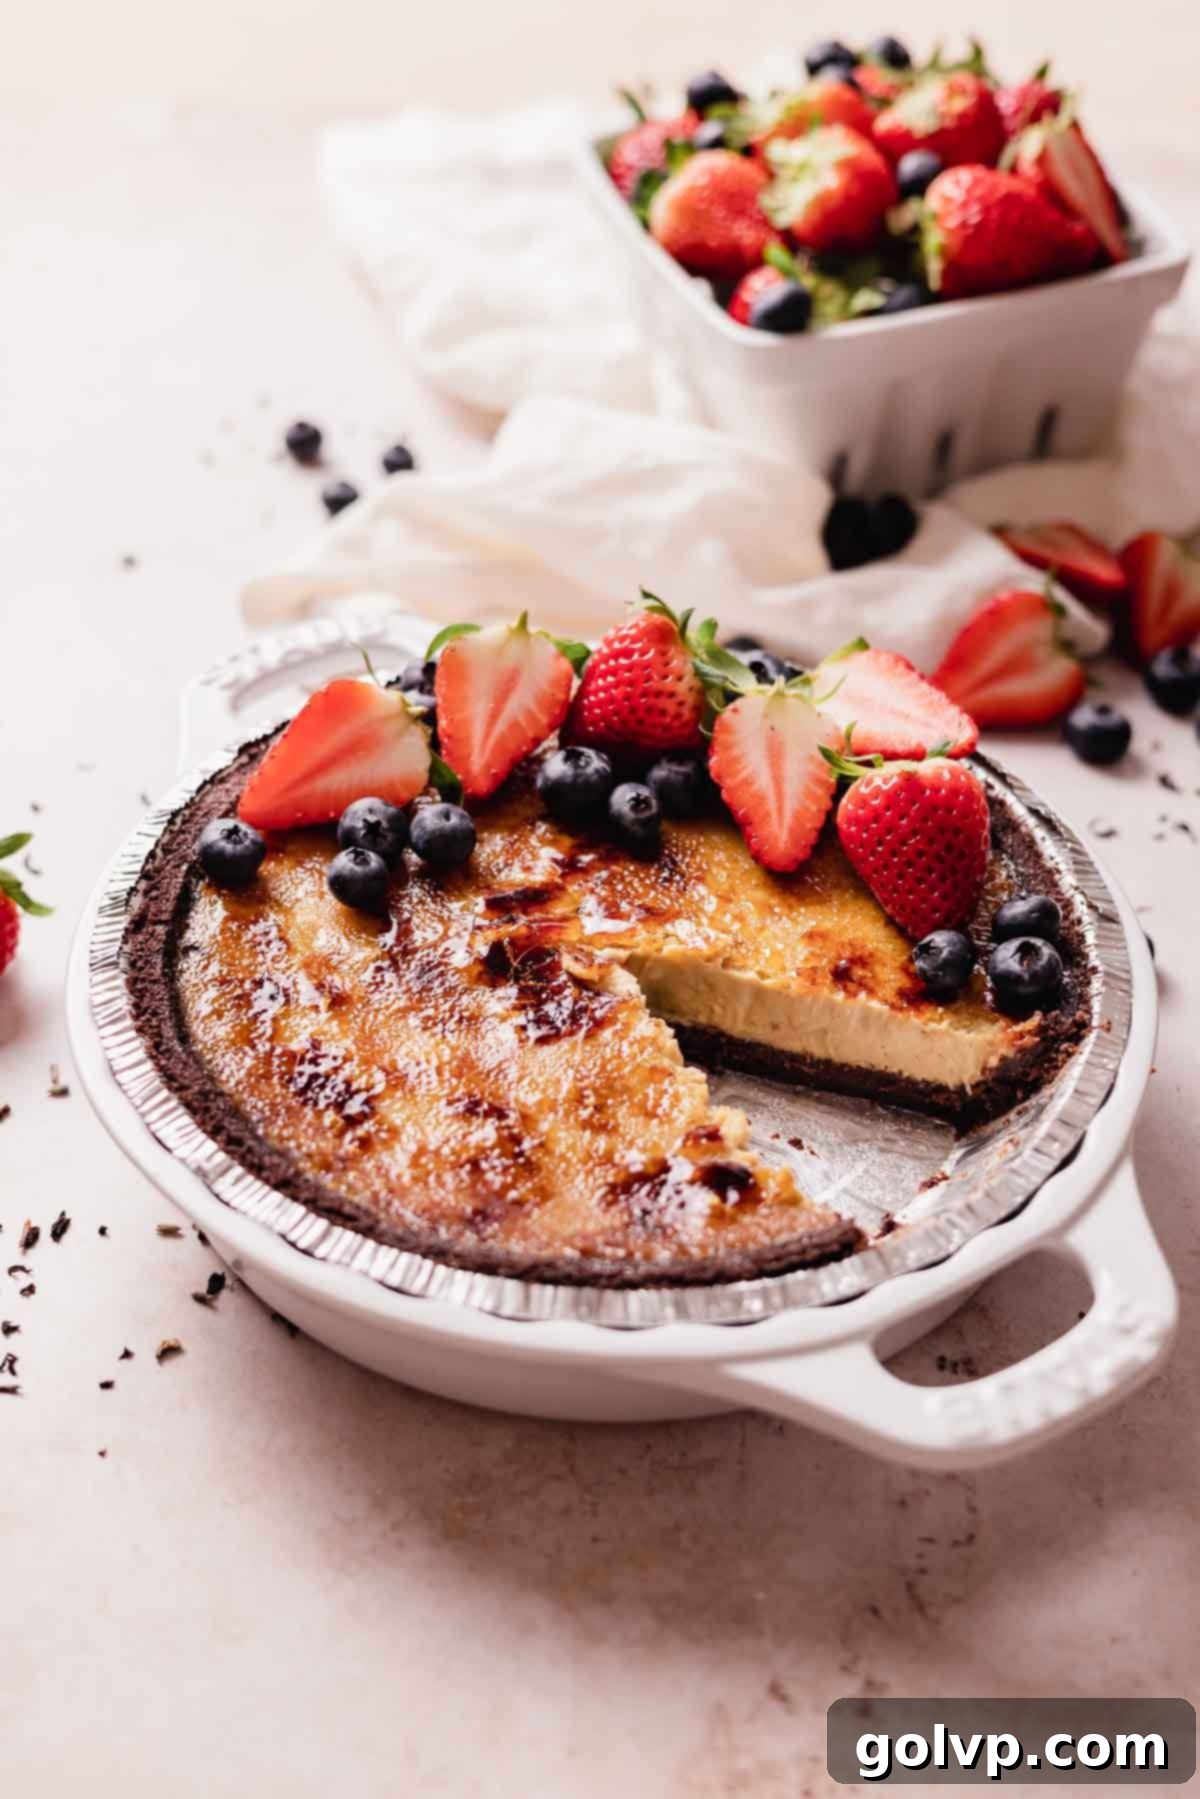
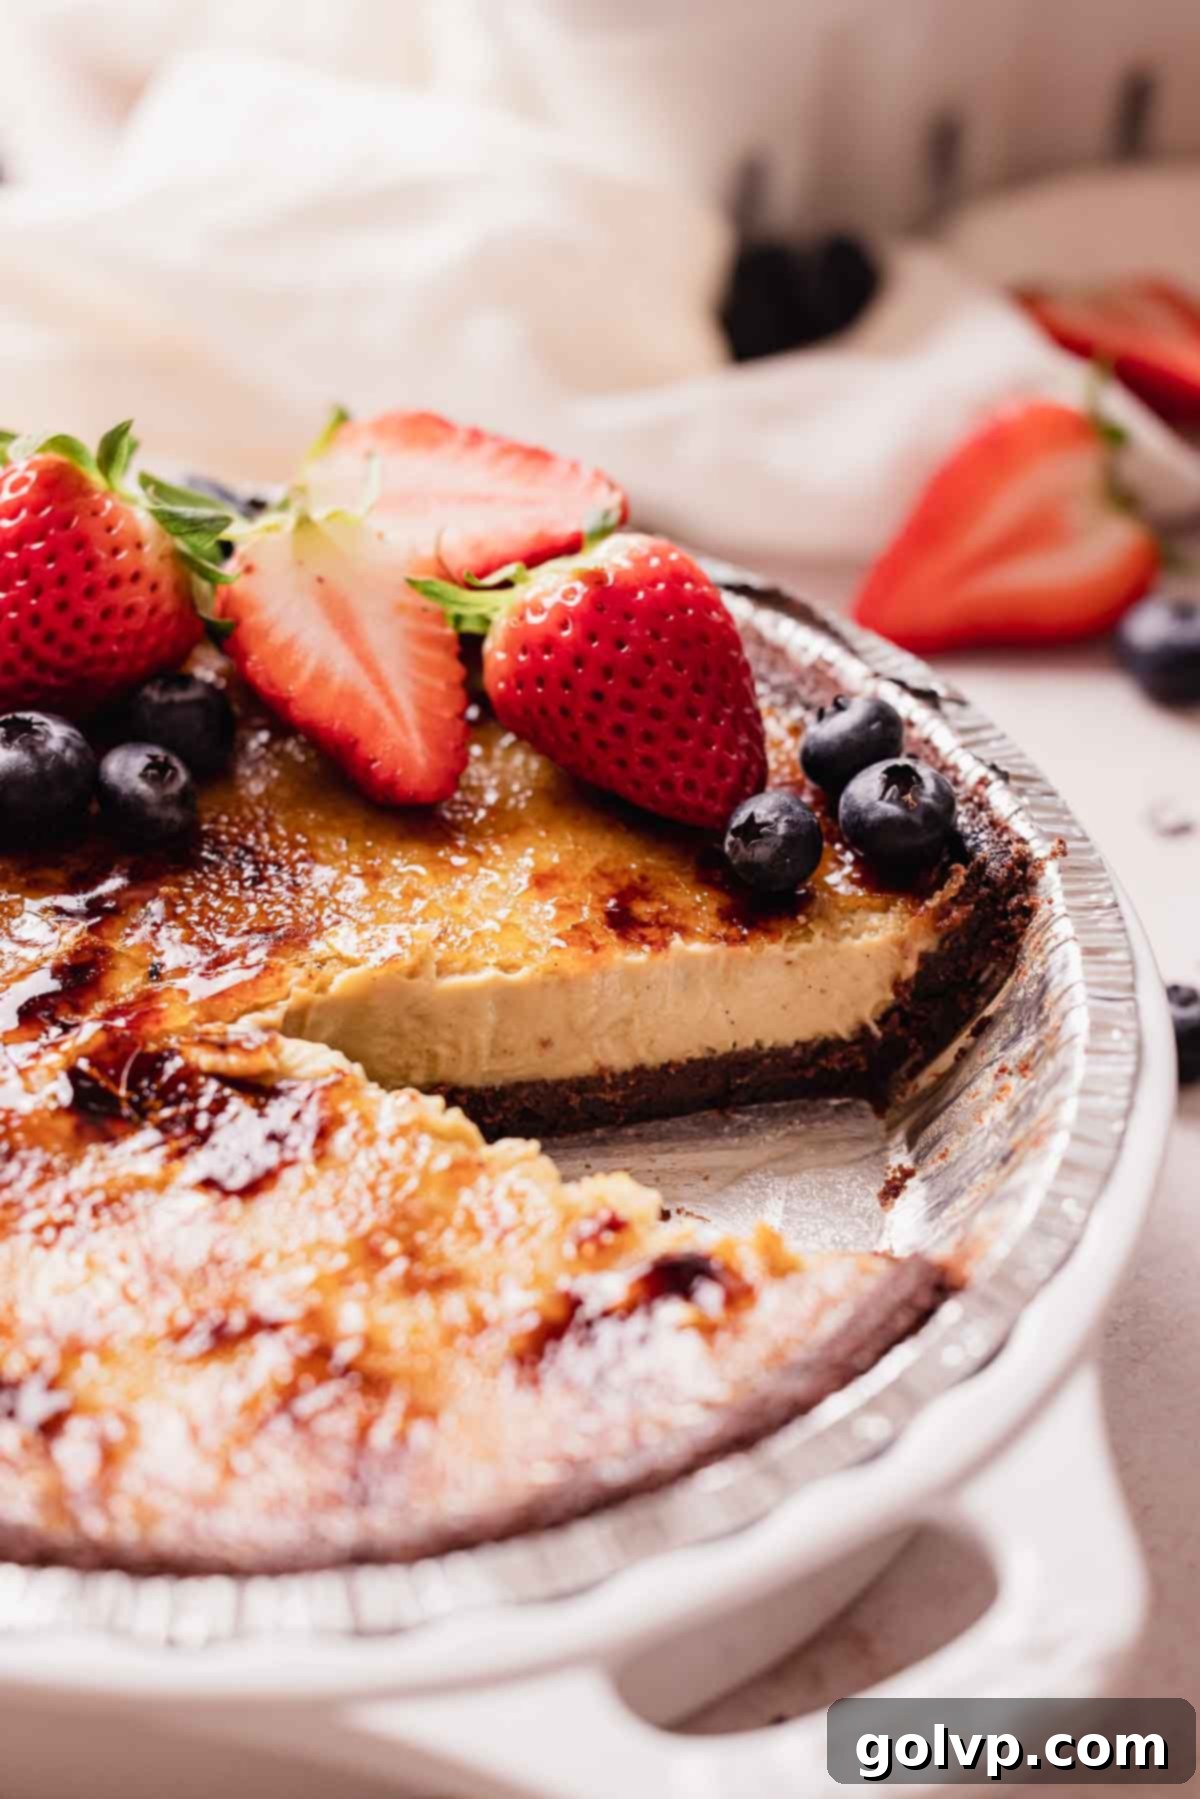
Prepare to impress with this truly exceptional Earl Grey Crème Brûlée Pie. It’s a dessert that perfectly balances sophistication with pure indulgence. Imagine a silky-smooth, custardy filling, deeply infused with the aromatic notes of Earl Grey tea and warm vanilla bean. This luxurious base is nestled within a rich, brownie-like chocolate crumb crust, creating a harmonious blend of flavors and textures. But the real showstopper? The classic, irresistible crunchy sugar topping that shatters with a satisfying tap, revealing the creamy delight beneath. This pie is surprisingly easy to make, requiring no electric mixer for the filling, yet it presents as an incredibly elegant dessert, perfect for any special occasion – be it a refined brunch, a memorable dinner, or a delightful tea-time gathering.
One of the beauties of this crème brûlée pie is its versatility. While the Earl Grey infusion offers a unique and sophisticated twist, you can easily customize the flavor to suit your preference. Feel free to experiment with other tea varieties for an exciting new experience, or simply omit the tea leaves entirely for a timeless, classic vanilla bean crème brûlée pie that’s equally enchanting. The possibilities are endless, allowing you to create a personalized dessert that will truly captivate your guests.
[feast_advanced_jump_to]
🥧 Why You’ll Adore This Earl Grey Crème Brûlée Pie
This Earl Grey Crème Brûlée Pie isn’t just another dessert; it’s an experience. Here’s why this recipe will quickly become a cherished favorite in your culinary repertoire:
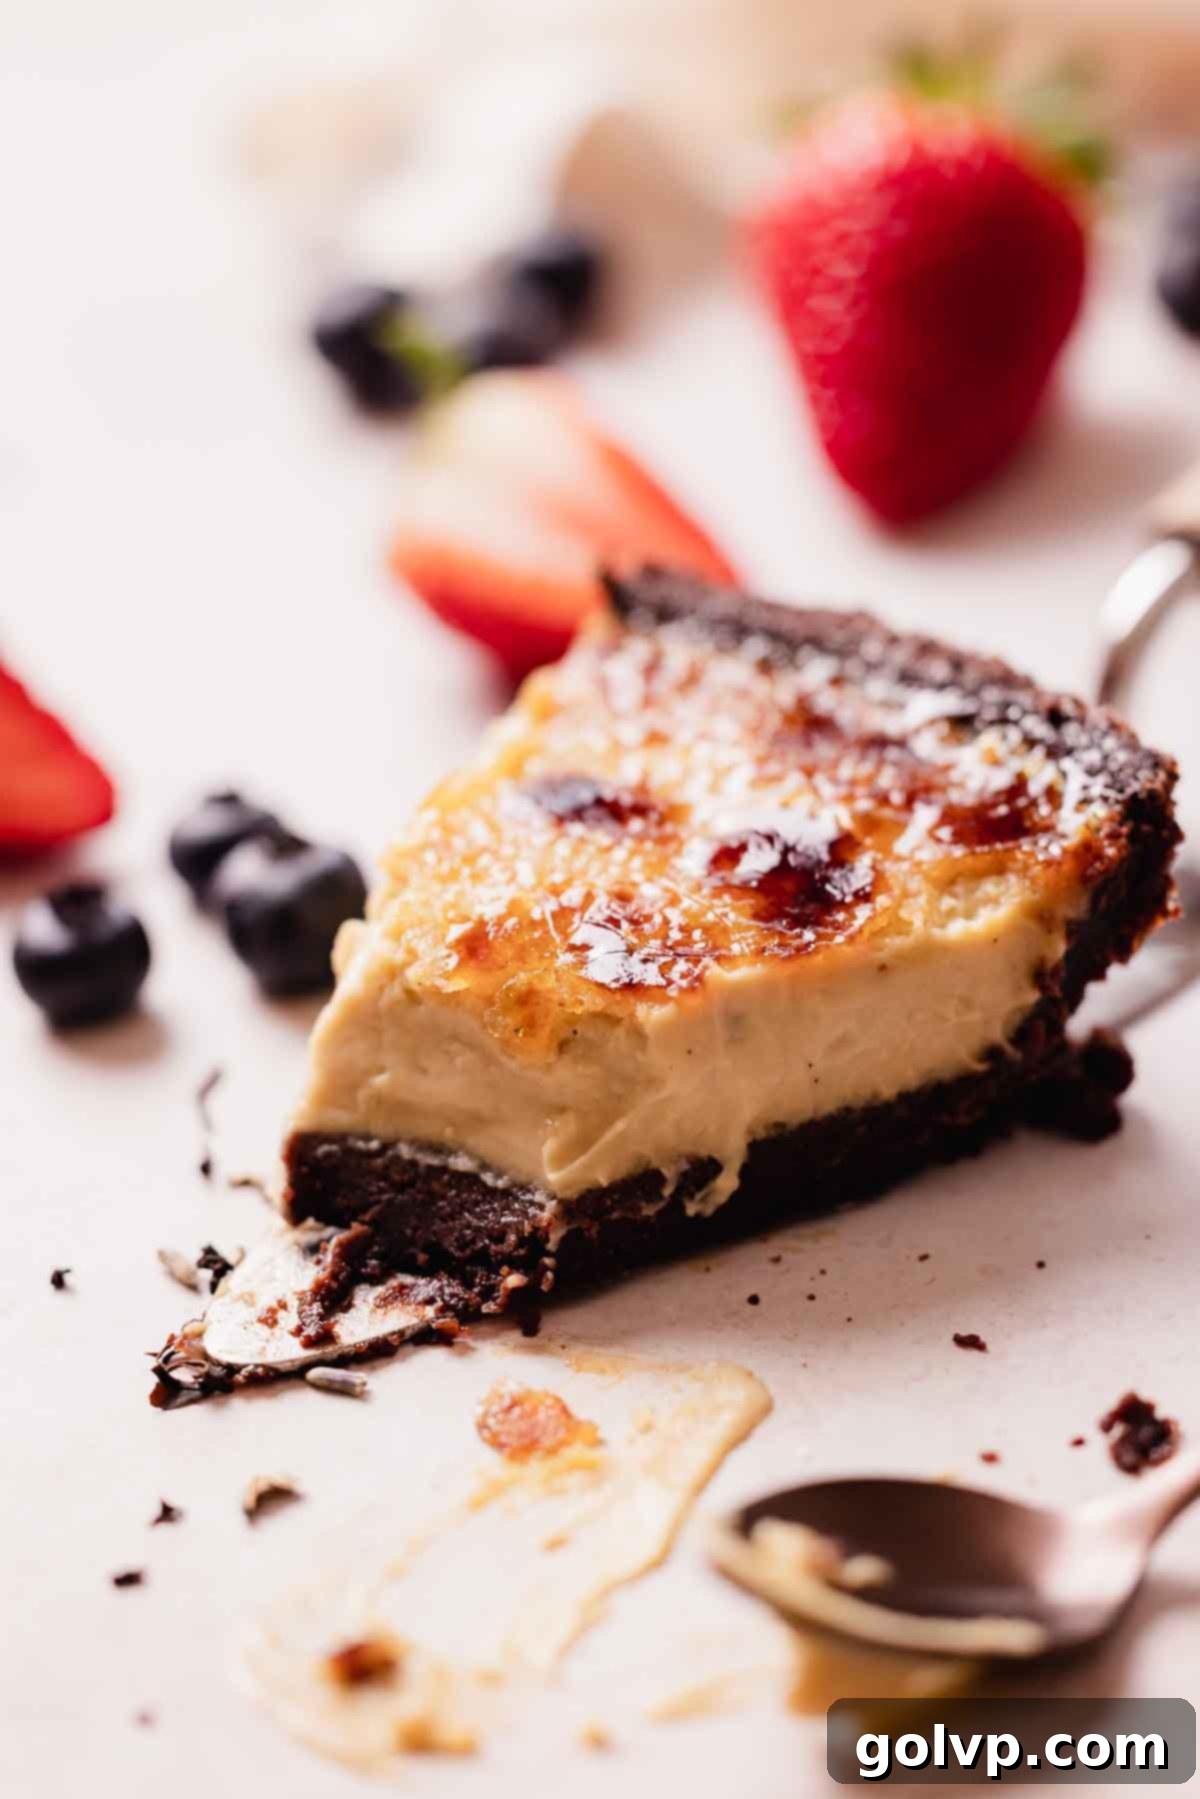
- Unparalleled Smoothness & Contrasting Crunch: The heart of any great crème brûlée is its exquisite texture. Our pie delivers a filling that is impossibly silky and melts in your mouth, a testament to its carefully balanced ingredients and gentle baking. This luxurious creaminess is perfectly juxtaposed with the iconic, glass-like layer of burnt sugar on top. The satisfying crack as you break through it is part of the magic, offering an irresistible textural contrast that makes every bite memorable.
- Effortlessly Elegant & Surprisingly Simple: Don’t let its sophisticated appearance fool you; this pie is remarkably straightforward to prepare. The crème brûlée filling comes together in mere minutes, requiring no fancy equipment—just a whisk and a saucepan. To make it even easier, we leverage a premade chocolate crumb crust, eliminating the need for complex pastry work. This means you can create a truly stunning and impressive dessert without spending hours in the kitchen, making it ideal for both seasoned bakers and beginners alike.
- Aromatic Vanilla Earl Grey Infusion: What sets this pie apart is its unique and delightful flavor profile. By steeping a whole vanilla bean and fragrant Earl Grey tea leaves directly into the cream, we infuse the custard with a complex, floral, and deeply comforting aroma. The distinctive bergamot orange notes of Earl Grey beautifully complement the sweet warmth of vanilla, creating a sophisticated taste that’s both familiar and exciting. It’s a flavor combination that will transport you to an English tea garden with every spoonful.
- The Perfect Chocolate Crumb Crust: While a classic crème brûlée often stands alone, pairing it with a rich chocolate crumb crust elevates this dessert to new heights. The dark, slightly bitter notes of chocolate provide a wonderful counterpoint to the sweet, creamy custard and the floral tea. The crumbly, brownie-like texture of the crust adds another layer of enjoyment, ensuring that each slice is a perfectly balanced symphony of flavor and texture. It’s a match made in heaven that truly completes the experience.
This recipe was inspired by my individual earl grey crème brûlée recipe, adapting its beloved flavors into an impressive pie format.
📝 Essential Ingredients for Your Crème Brûlée Pie
Read through for all the tips you will need for success!
Full steps and ingredients in recipe card below.
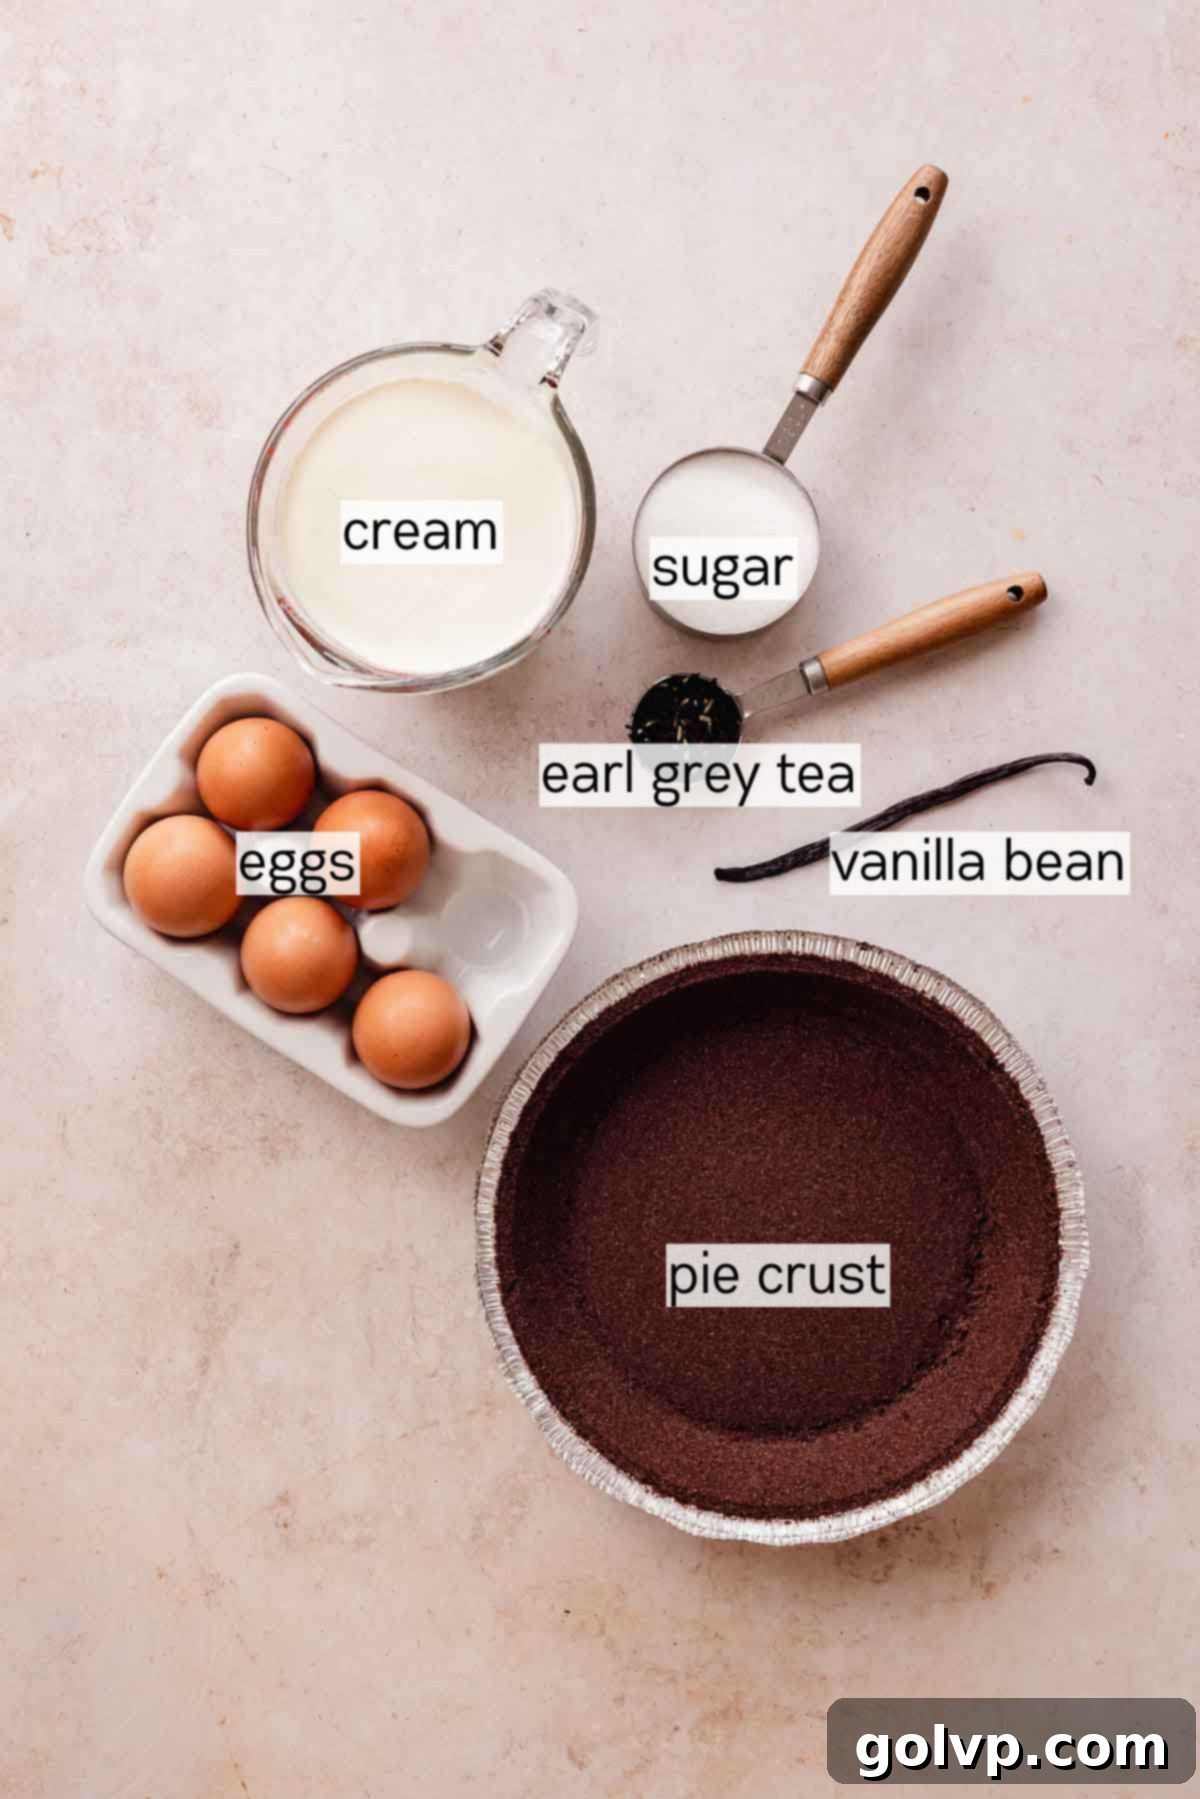
Earl Grey Tea: The star of our unique flavor profile! Infusing the cream with Earl Grey tea leaves imbues the crème brûlée with its signature fragrant, citrusy, and slightly floral notes from the bergamot oil. Both loose-leaf tea and teabags work beautifully in this recipe, just ensure you’re using a good quality brand for the best flavor. For an extra special touch, consider “Cream of Earl Grey” for a creamier vanilla hint, or “Lavender Earl Grey” for an even more pronounced floral aroma, as I did in this recipe. If you prefer a more traditional or different flavor, simply omit the tea for a pure vanilla crème brûlée pie.
Idea: experiment with other tea flavors for a fun twist!
Vanilla Bean: For the most profound and authentic vanilla flavor, a whole vanilla bean is indispensable. Slicing it lengthwise and scraping out the tiny, fragrant seeds allows the vanilla to fully permeate the cream as it steeps, creating a depth of flavor that is truly unparalleled. The pod itself also contributes to the infusion, so don’t discard it prematurely! If a fresh vanilla bean isn’t accessible, high-quality vanilla bean paste is an excellent substitute, offering those visible vanilla specks and a robust flavor. Pure vanilla extract can also be used, though the flavor may be slightly less intense.
Pie Crust: To simplify this elegant dessert, I opted for a pre-made (specifically Mi-del) chocolate crumb crust. This choice not only saves time but also introduces a rich, brownie-like texture and deep cocoa flavor that beautifully complements and contrasts the Earl Grey crème brûlée filling. The convenience of a premade crust doesn’t detract from the pie’s gourmet feel. However, you’re welcome to use any premade crumb crust you prefer, or even create your own from scratch. For those who love a traditional feel, a pre-baked flaky pastry crust would also be a fantastic option, offering a different textural experience that works wonderfully with the creamy custard.
Cream: Heavy whipping cream, typically with a fat content of 35%, is absolutely crucial for this recipe. The high-fat content is what gives the crème brûlée its characteristic richness and allows it to set firmly into a luscious custard. While 32% cream can also work, ensure it’s specifically heavy cream, not half-and-half or lighter cream, as these will not provide the necessary body and structure for a perfectly set pie.
Egg Yolks: The foundation of any classic custard, egg yolks are vital for achieving that signature custardy flavor and unbelievably smooth, rich texture. They act as the primary thickener for our crème brûlée filling. It’s important to use large egg yolks for consistency. If your eggs are smaller, it’s a good idea to add an extra yolk to ensure the pie sets perfectly and achieves that ideal, luxurious mouthfeel without being too runny or overly firm.
👩🍳 How to Craft Your Decadent Crème Brûlée Pie
Crème Brûlée Pie: Step-by-Step Instructions
Prep: Begin by preheating your oven to 325°F (165°C) to ensure it’s at the ideal temperature when your filling is ready. This gentle heat is key for a slowly baked, perfectly smooth custard.
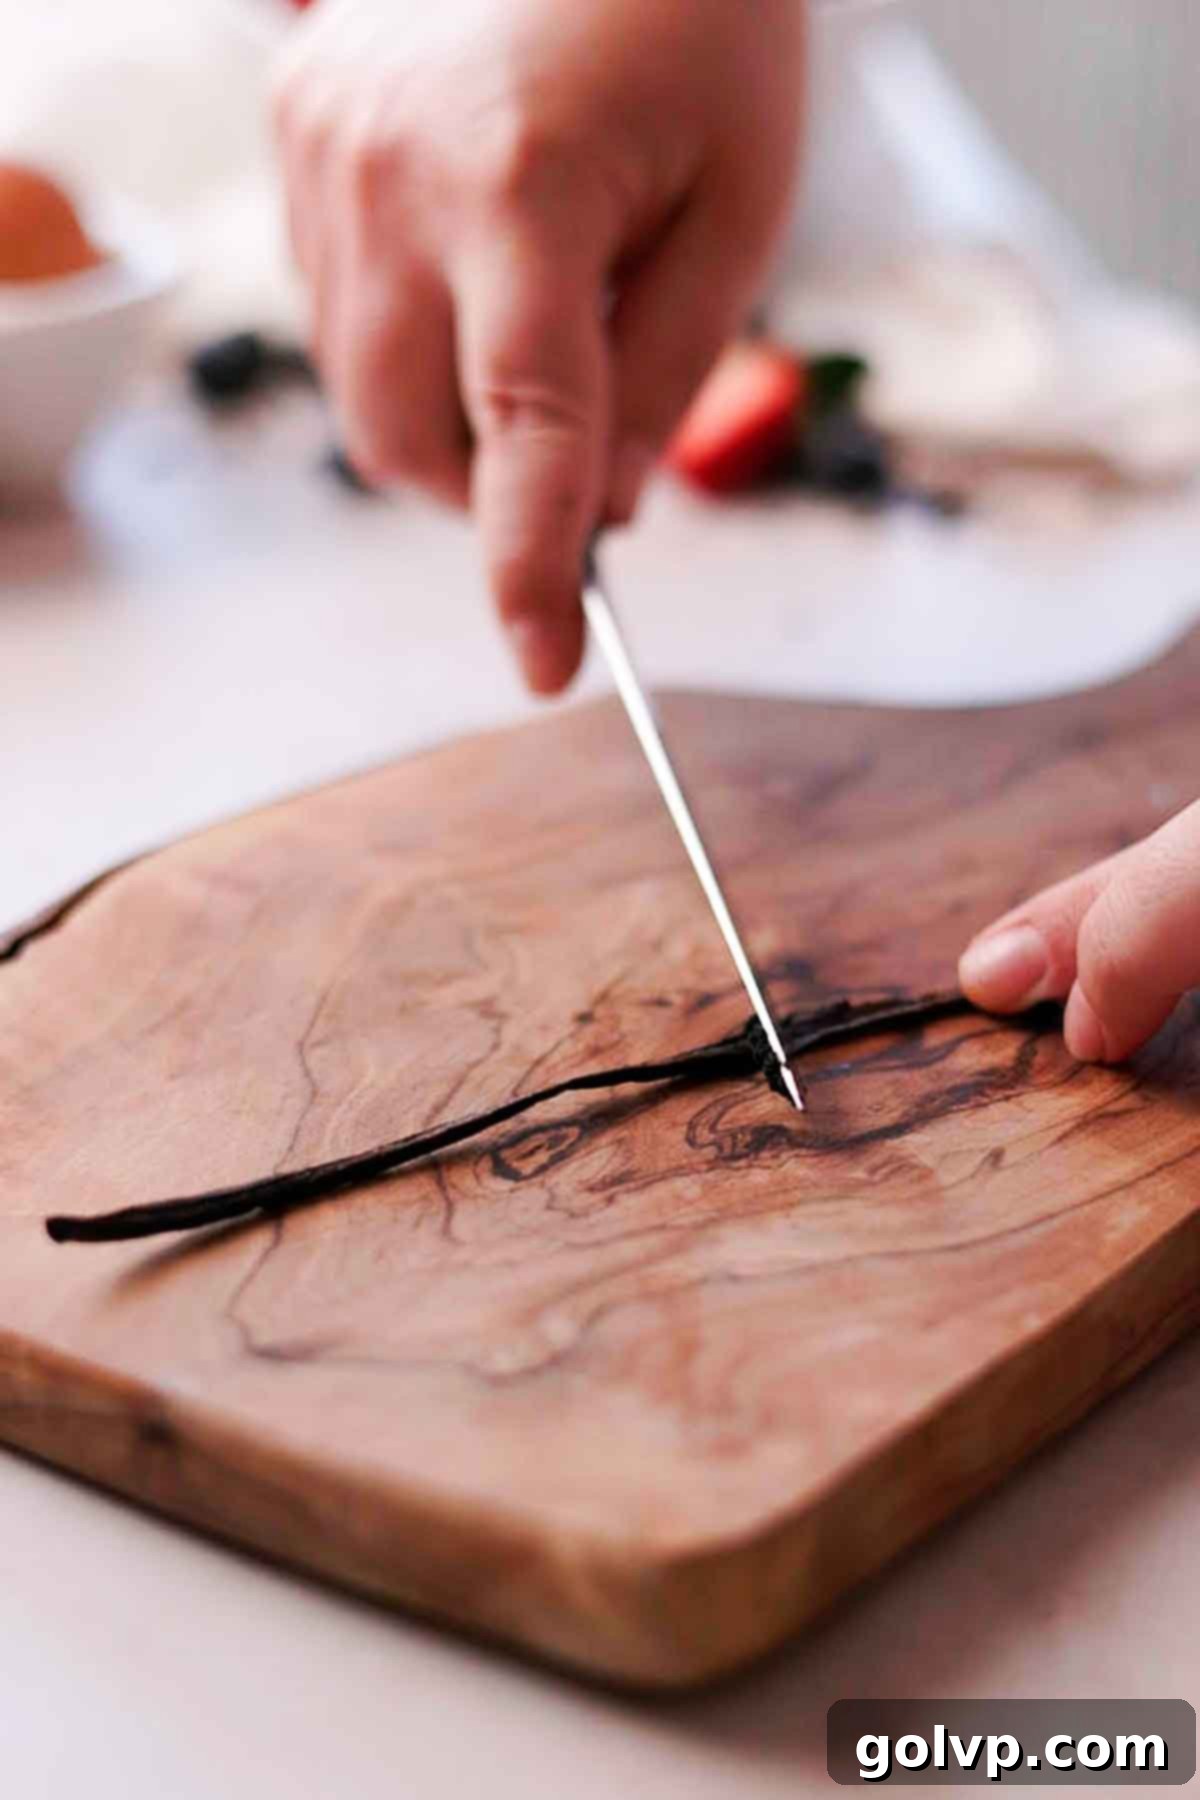
Step 1: Take your vanilla bean pod and carefully slice it in half lengthwise. Using the back of a knife or a small spoon, scrape out all those tiny, fragrant vanilla seeds. Place both the scraped seeds and the bean pod into a medium saucepan. Pour in the heavy cream and, if using, add your Earl Grey tea leaves or teabags. This initial step is crucial for infusing the cream with deep, aromatic flavor.
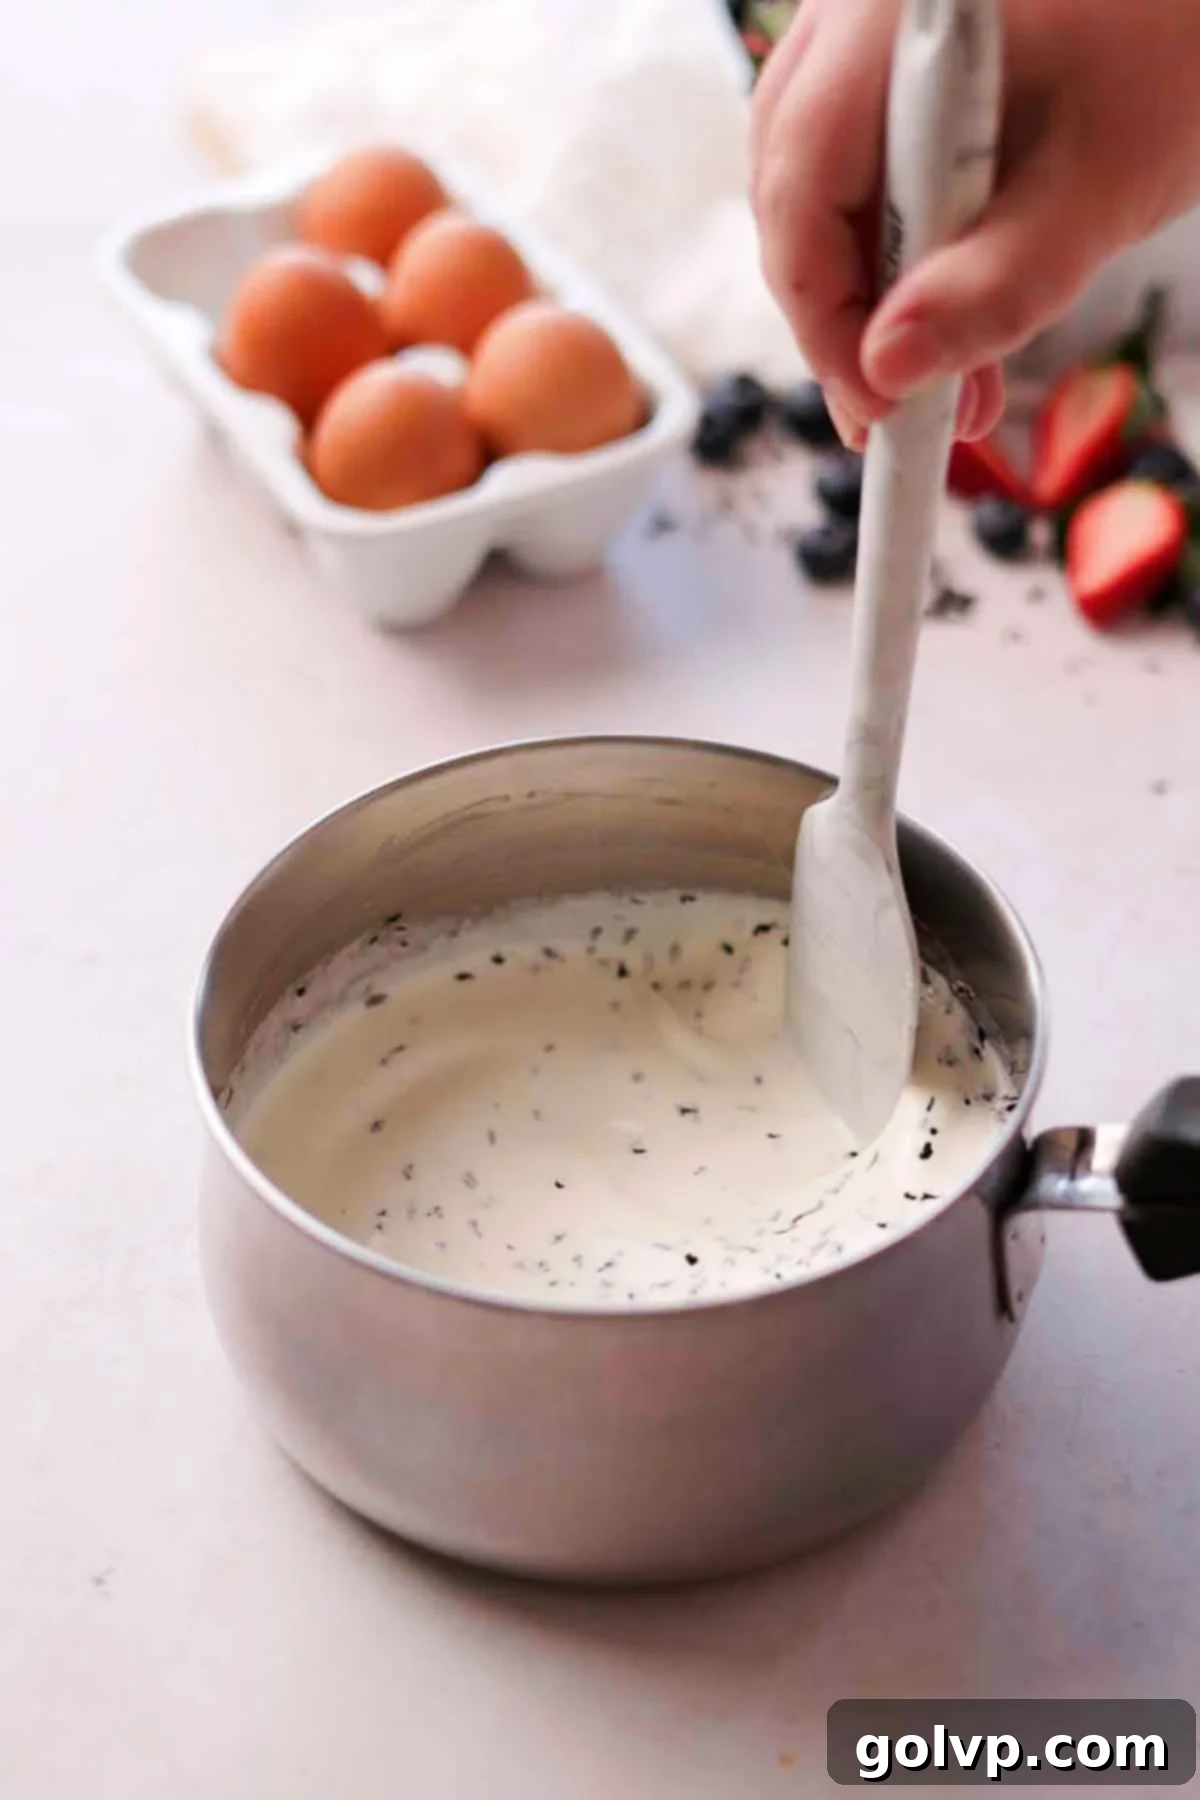
Step 2: Gently heat the cream mixture over medium-low heat. The goal is to get it steaming hot, but be very careful not to let it boil, as boiling can scorch the cream and compromise the flavor. Once you see steam rising and small bubbles forming around the edges, immediately remove the saucepan from the heat. Allow the vanilla bean and tea leaves to steep in the hot cream for at least 10 minutes. This steeping time is essential for the flavors to fully develop. After steeping, remove the tea leaves (squeezing teabags to extract all flavor) and the vanilla pod from the cream. If using loose-leaf tea, strain the cream through a fine-mesh sieve to remove all solids, ensuring a smooth custard.
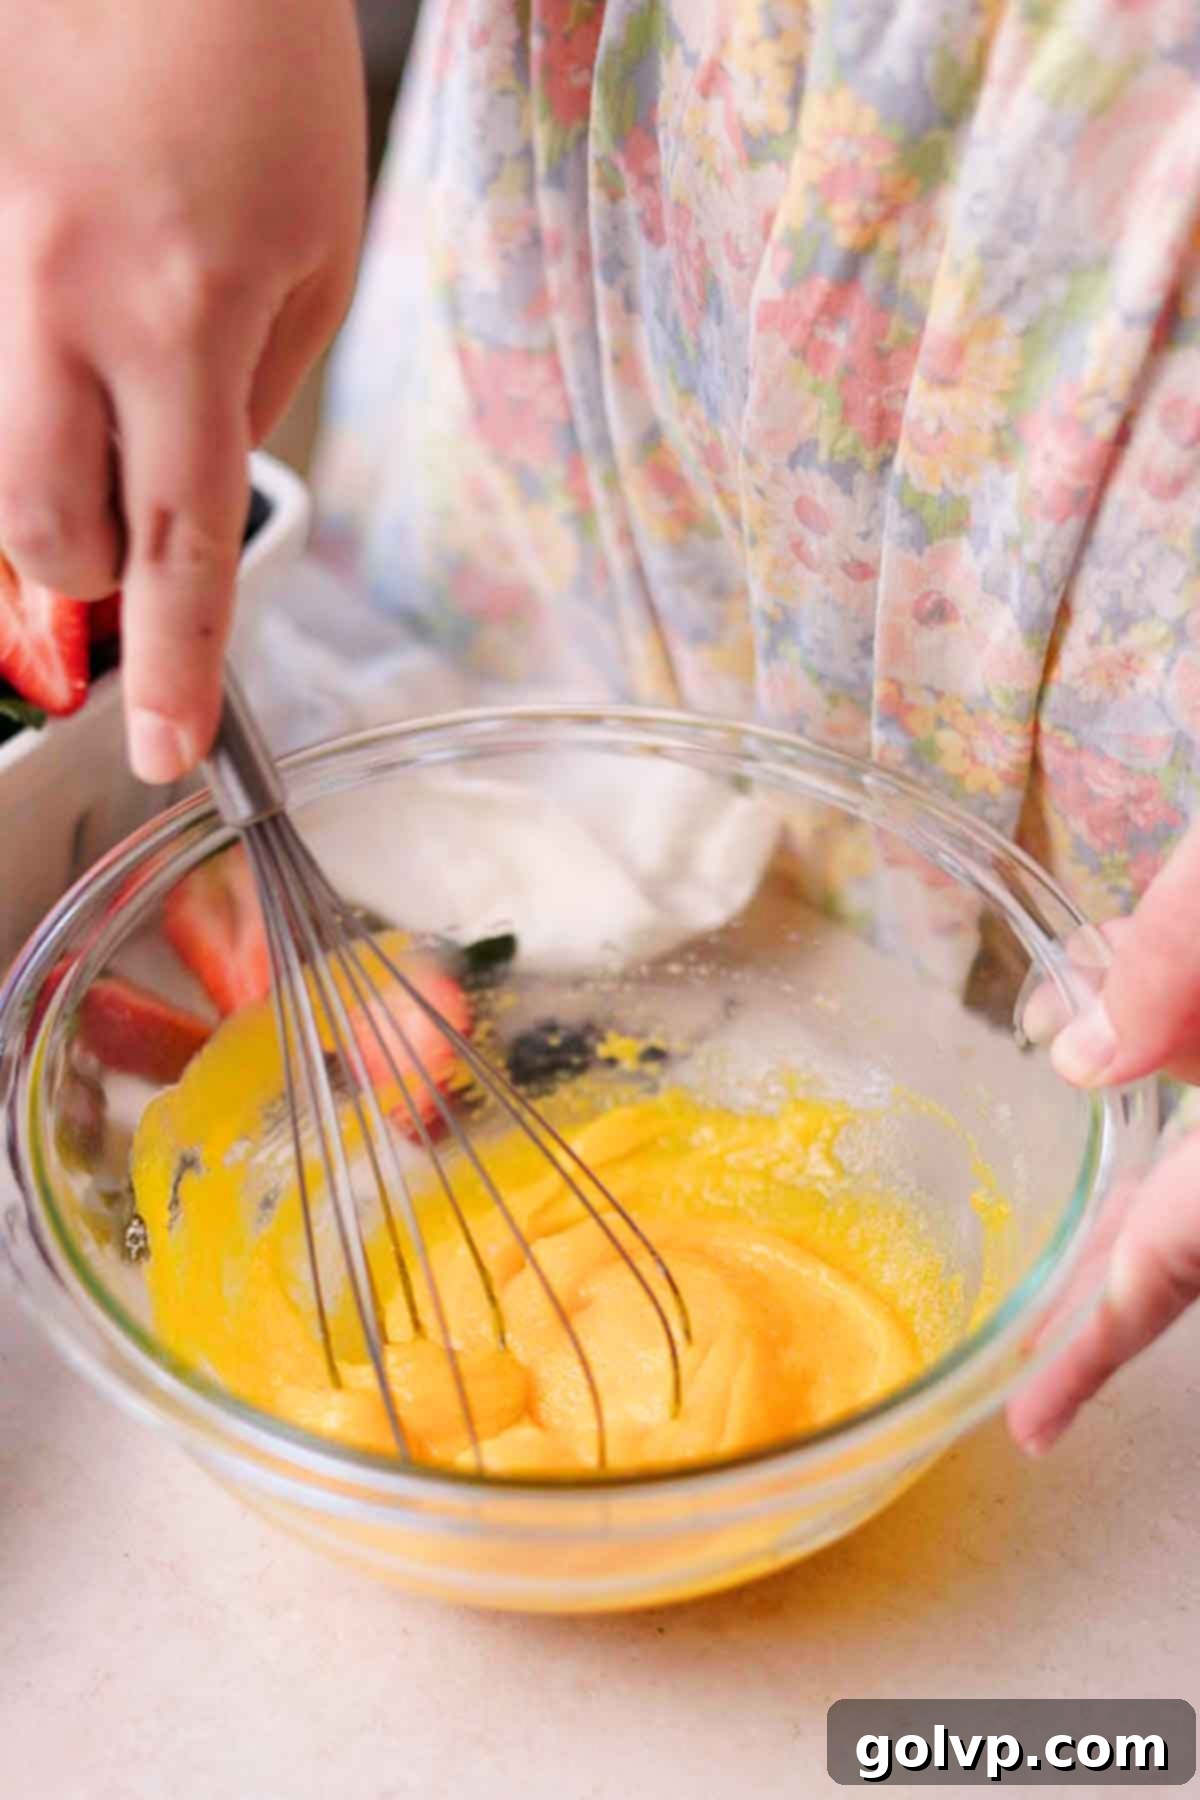
Step 3: While your cream is steeping, prepare the egg yolk mixture. In a separate bowl, whisk together the egg yolks, granulated sugar, and a pinch of sea salt. Whisk them just until they are fully combined and the mixture is smooth; it’s important not to over-whisk until it becomes foamy. Over-whisking can incorporate too much air, which can lead to cracks in your finished crème brûlée and a less perfectly smooth texture. Set this mixture aside briefly.
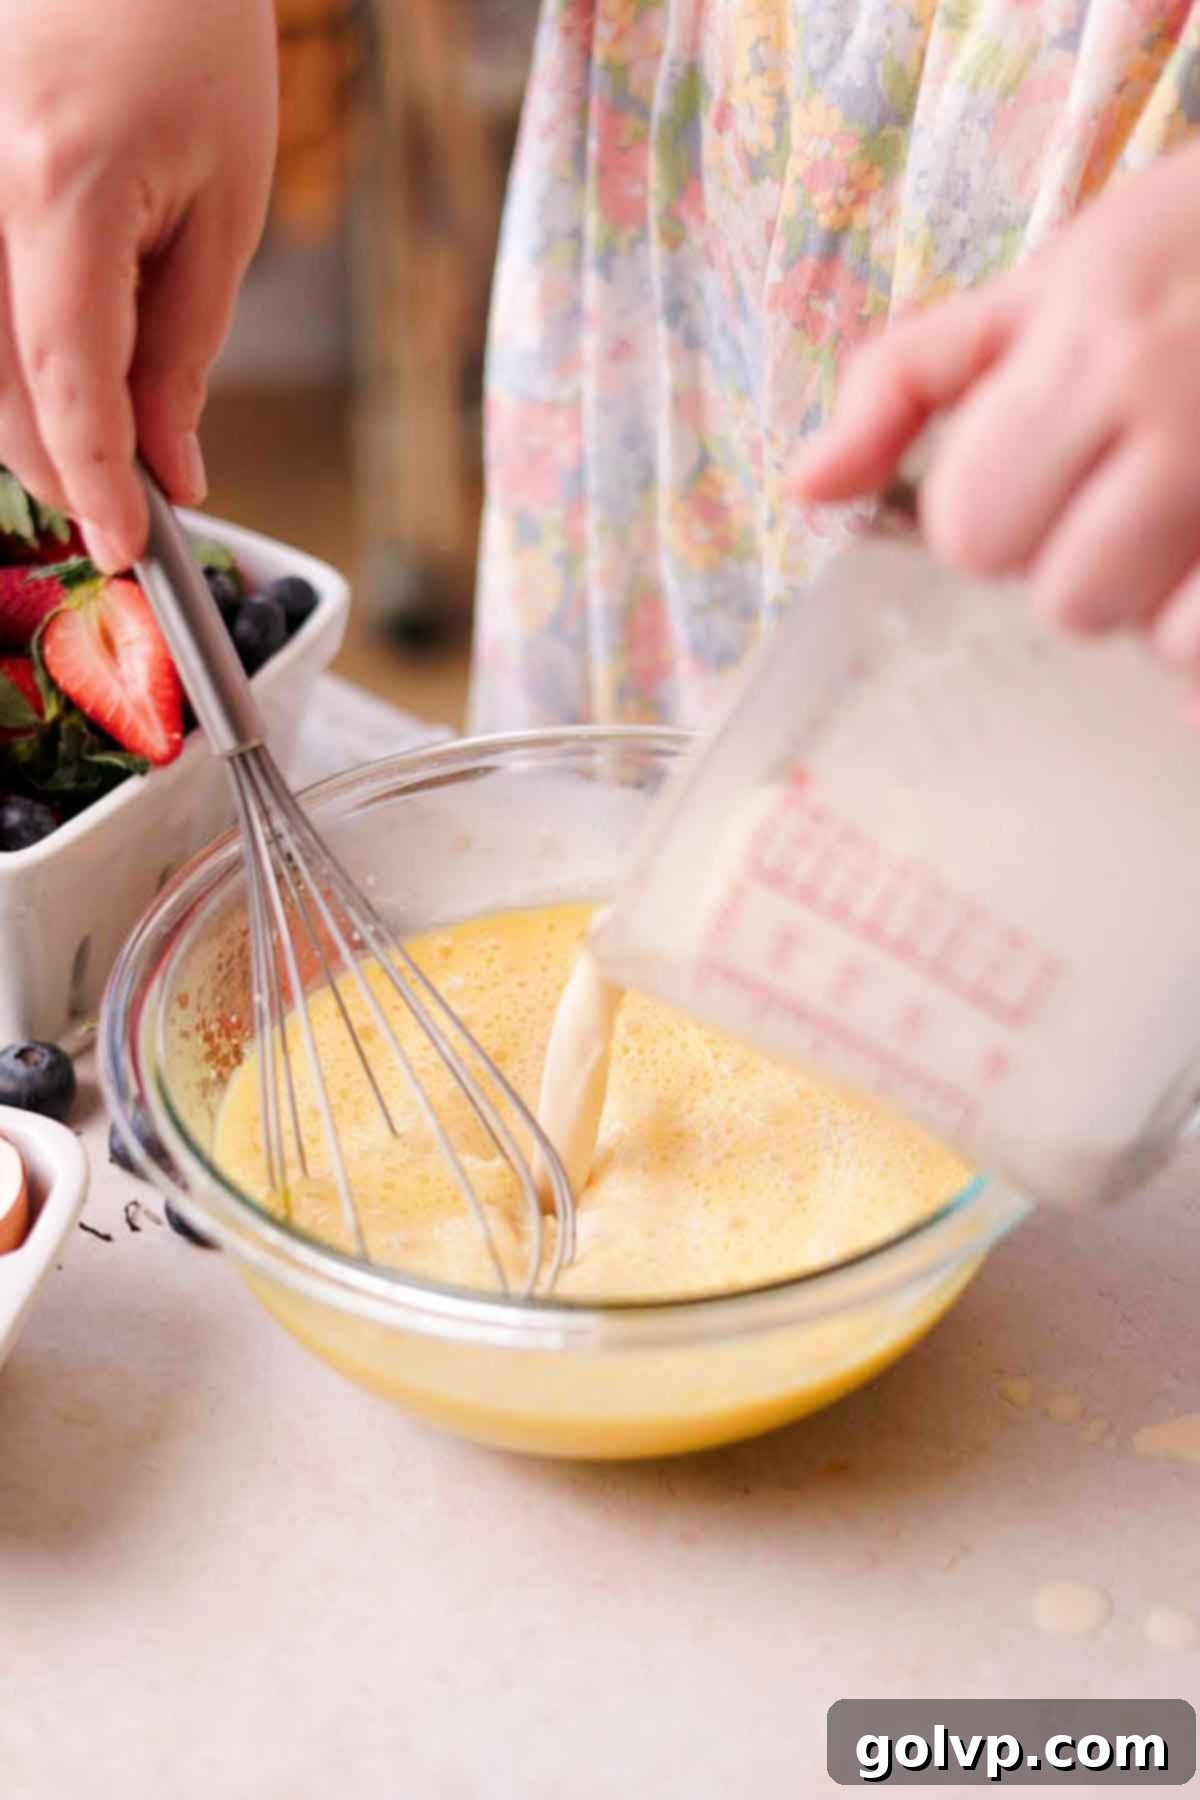
Step 4: Now it’s time to temper the egg yolks, a crucial step to prevent them from scrambling. Slowly, gradually add the steeped, warm cream into the yolk mixture, starting with about half a cup at a time. Whisk continuously and thoroughly as you add each portion. This slow incorporation allows the egg yolks to gently come up to temperature without cooking. Continue to gradually add the remaining cream, whisking well throughout the entire process until the mixture is completely homogenous and smooth.
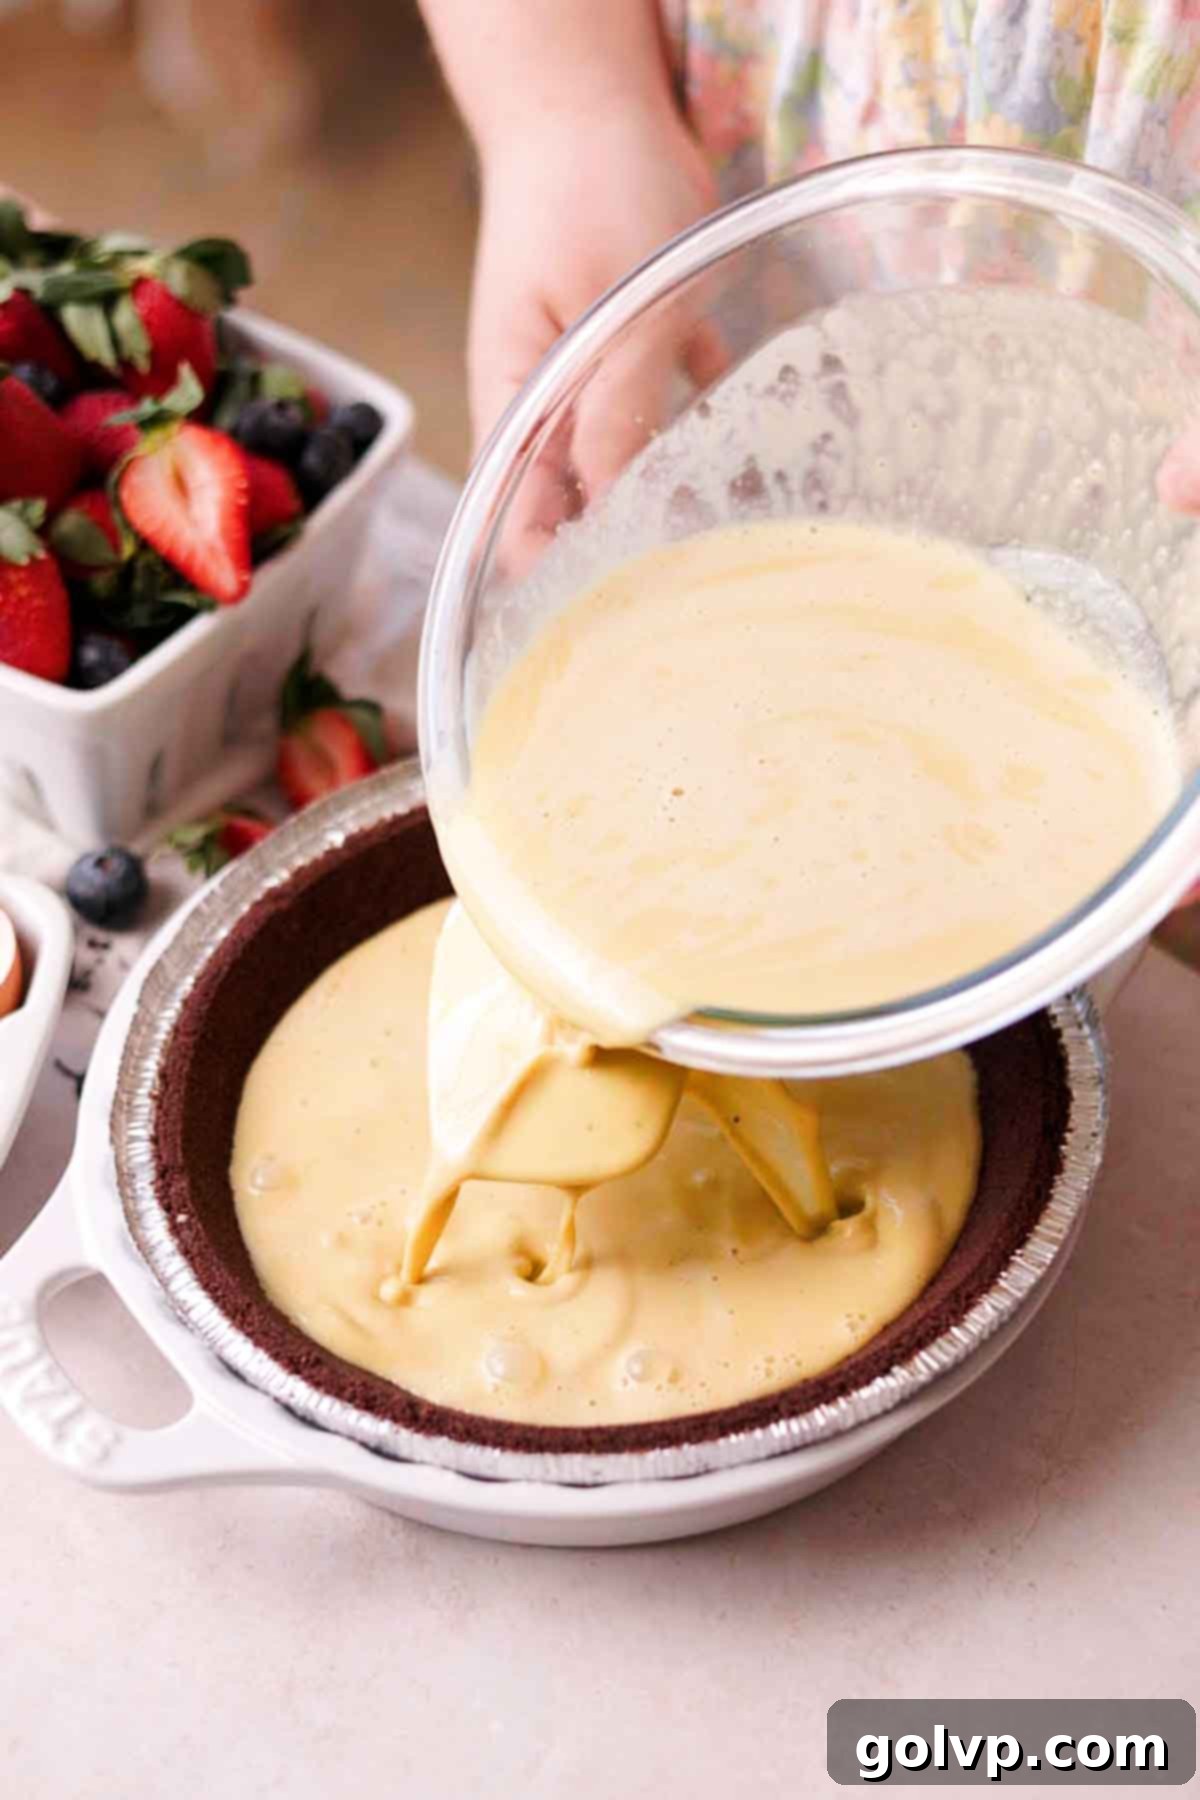
Step 5: Carefully place your chosen pie crust (premade or pre-baked) onto a larger baking pan. This makes it easier to handle and provides a stable surface. Gently pour the prepared cream and egg mixture into the pie crust. If you’re using a delicate crumb crust (like the chocolate one recommended), it’s a good idea to pour the cream over the back of a spatula or a spoon directly into the crust. This technique helps to evenly distribute the liquid and prevents the stream of liquid from disturbing the crumb base, keeping your crust intact and neat.
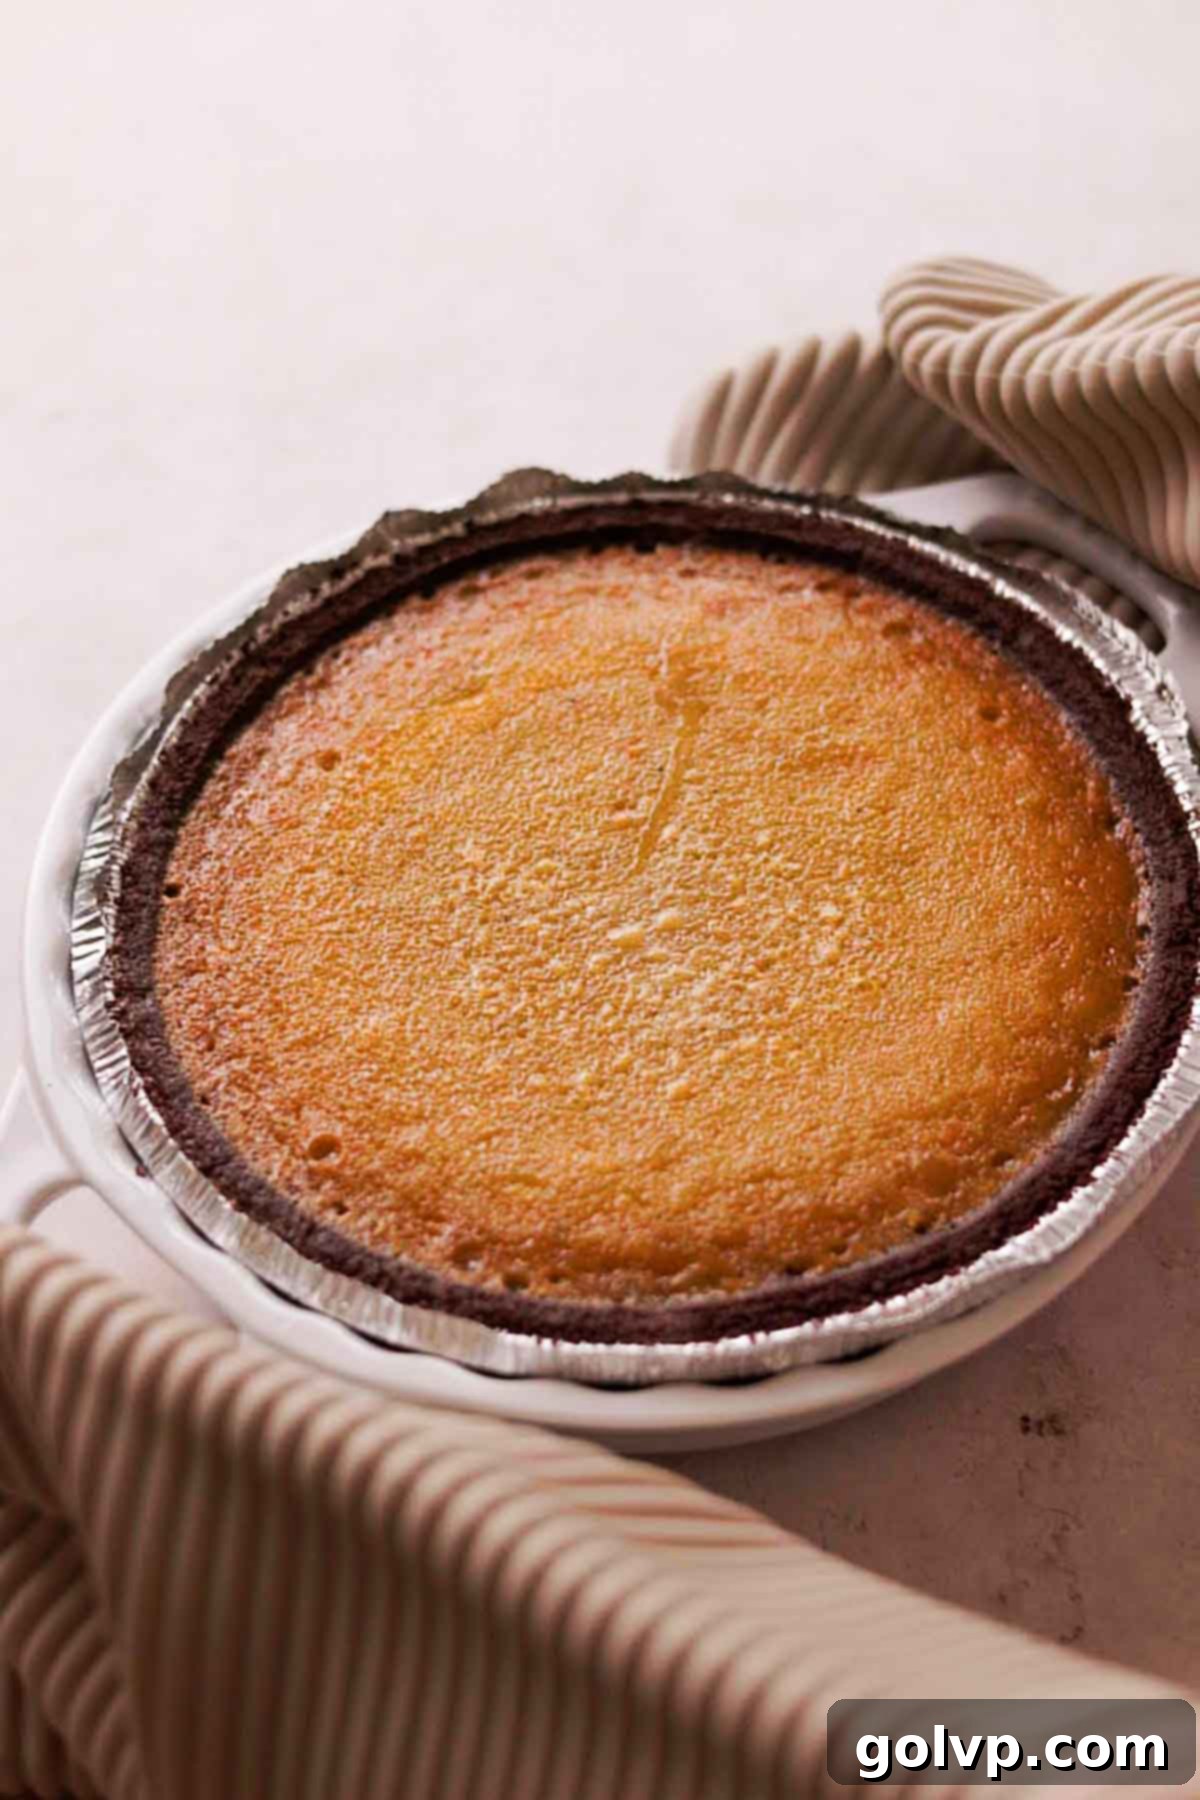
Step 6: Bake the pie in your preheated oven for approximately 30-35 minutes. The key is to bake it just until the edges are set, but the very center still has a slight, delicate jiggle, much like a firm jello. It should not be liquidy. Overbaking can lead to a rubbery texture or cracks. Once baked to perfection, remove the pie from the oven and allow it to cool completely to room temperature on a wire rack. This gradual cooling helps the custard continue to set. After cooling, transfer the pie to the refrigerator and chill it completely for at least 3 hours. This chilling step is absolutely essential for the pie to fully set and allow for clean, smooth slices.
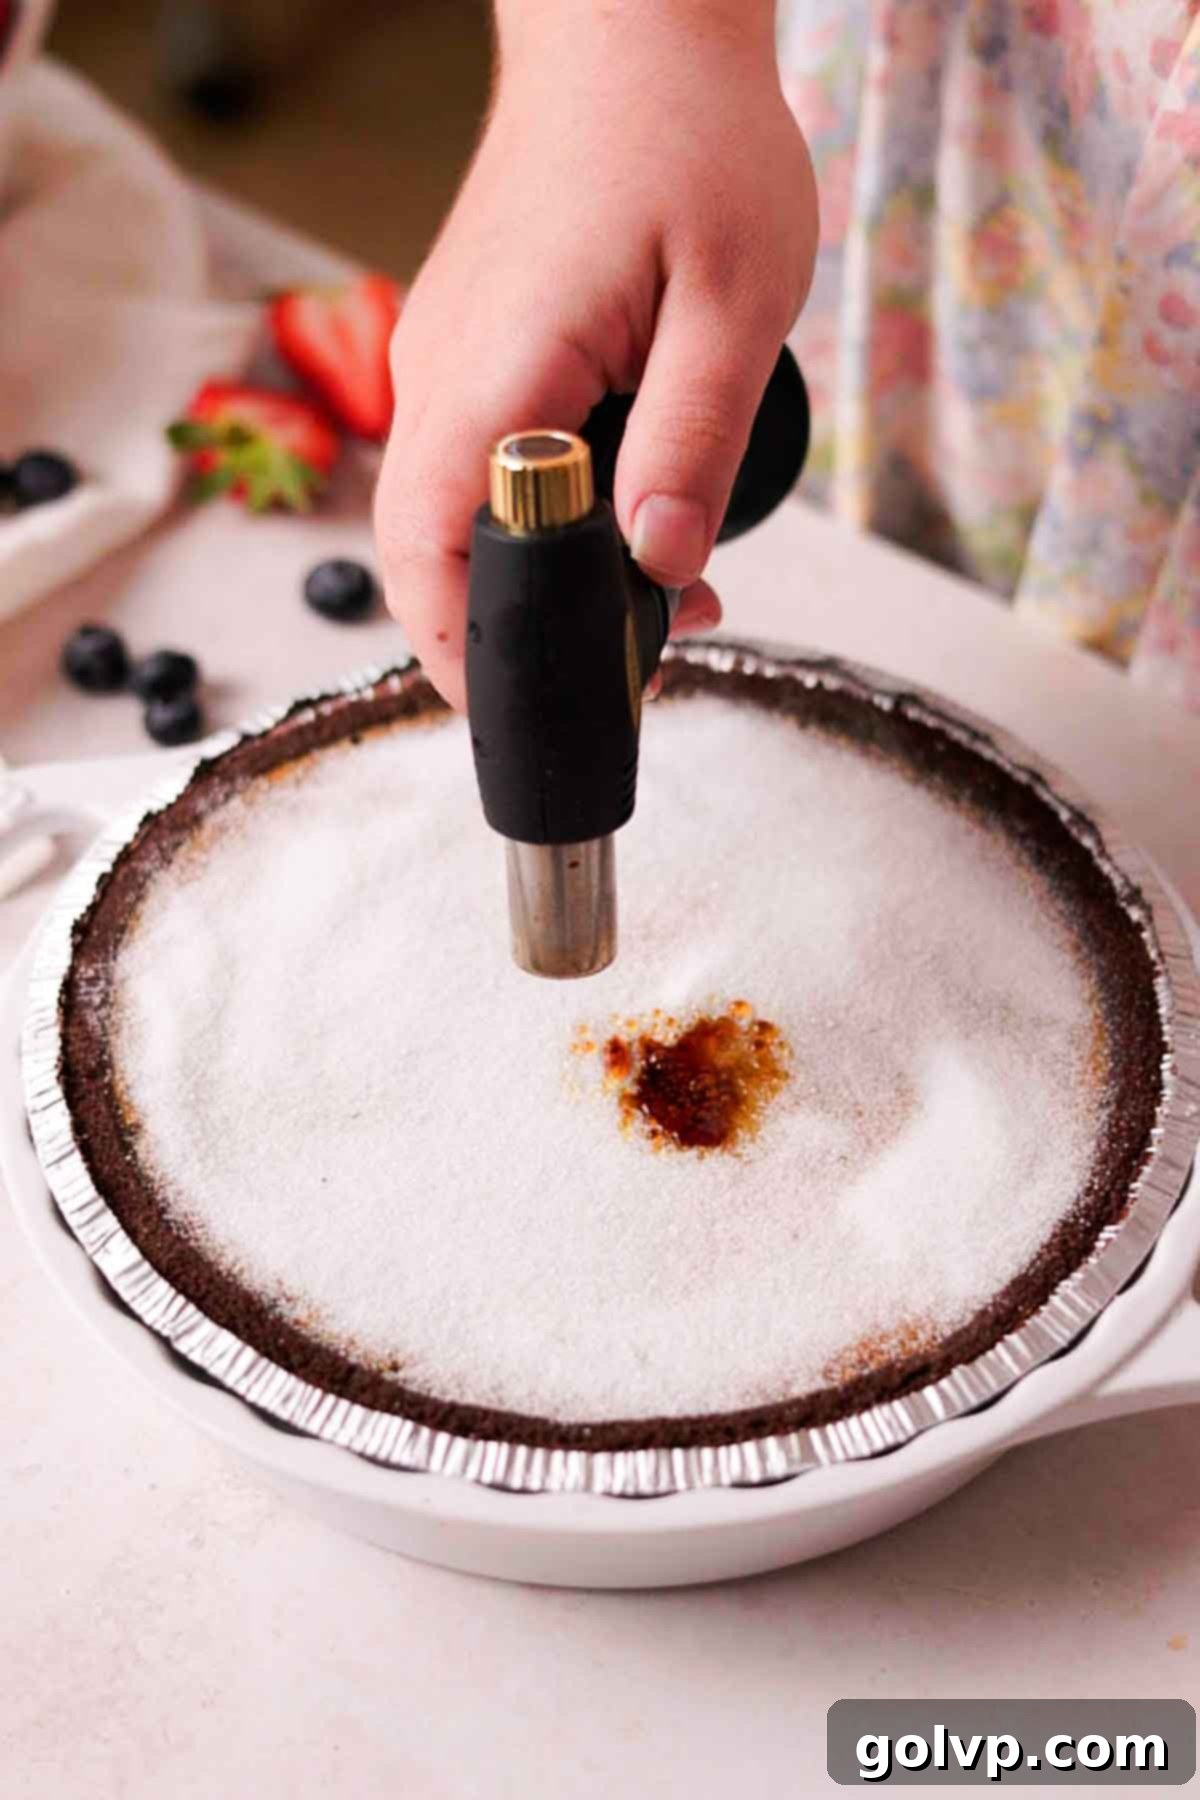
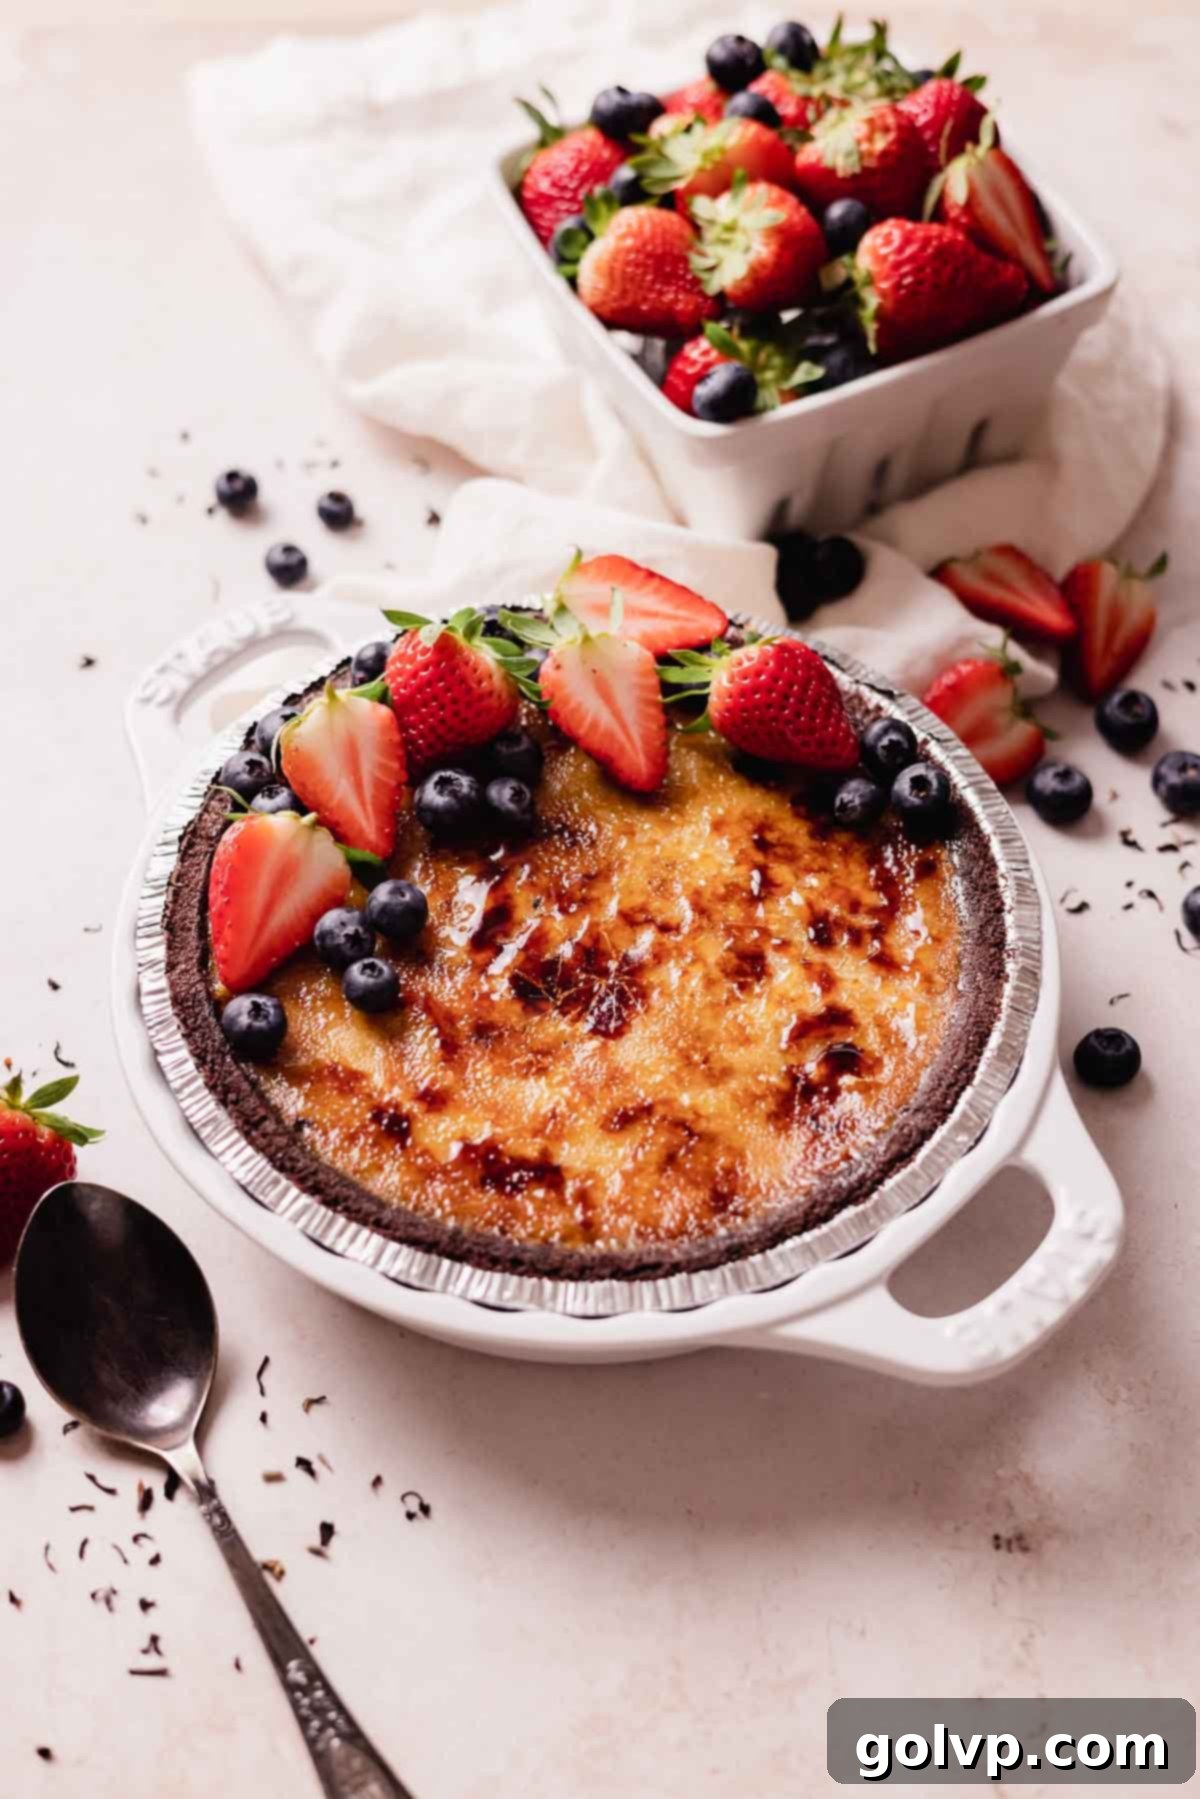
Step 7: Just before you plan to serve, generously cover the entire top surface of the chilled pie with about 3 tablespoons of granulated sugar. For that iconic caramelized crust, you have two options: use a kitchen torch for precise control, or place the pie under your oven’s broiler. If using a broiler, ensure the pie is on a baking sheet and positioned on the top rack. Watch it continuously, as the sugar will caramelize and burn very quickly, usually within 1-2 minutes. The goal is a deep amber, crunchy top.
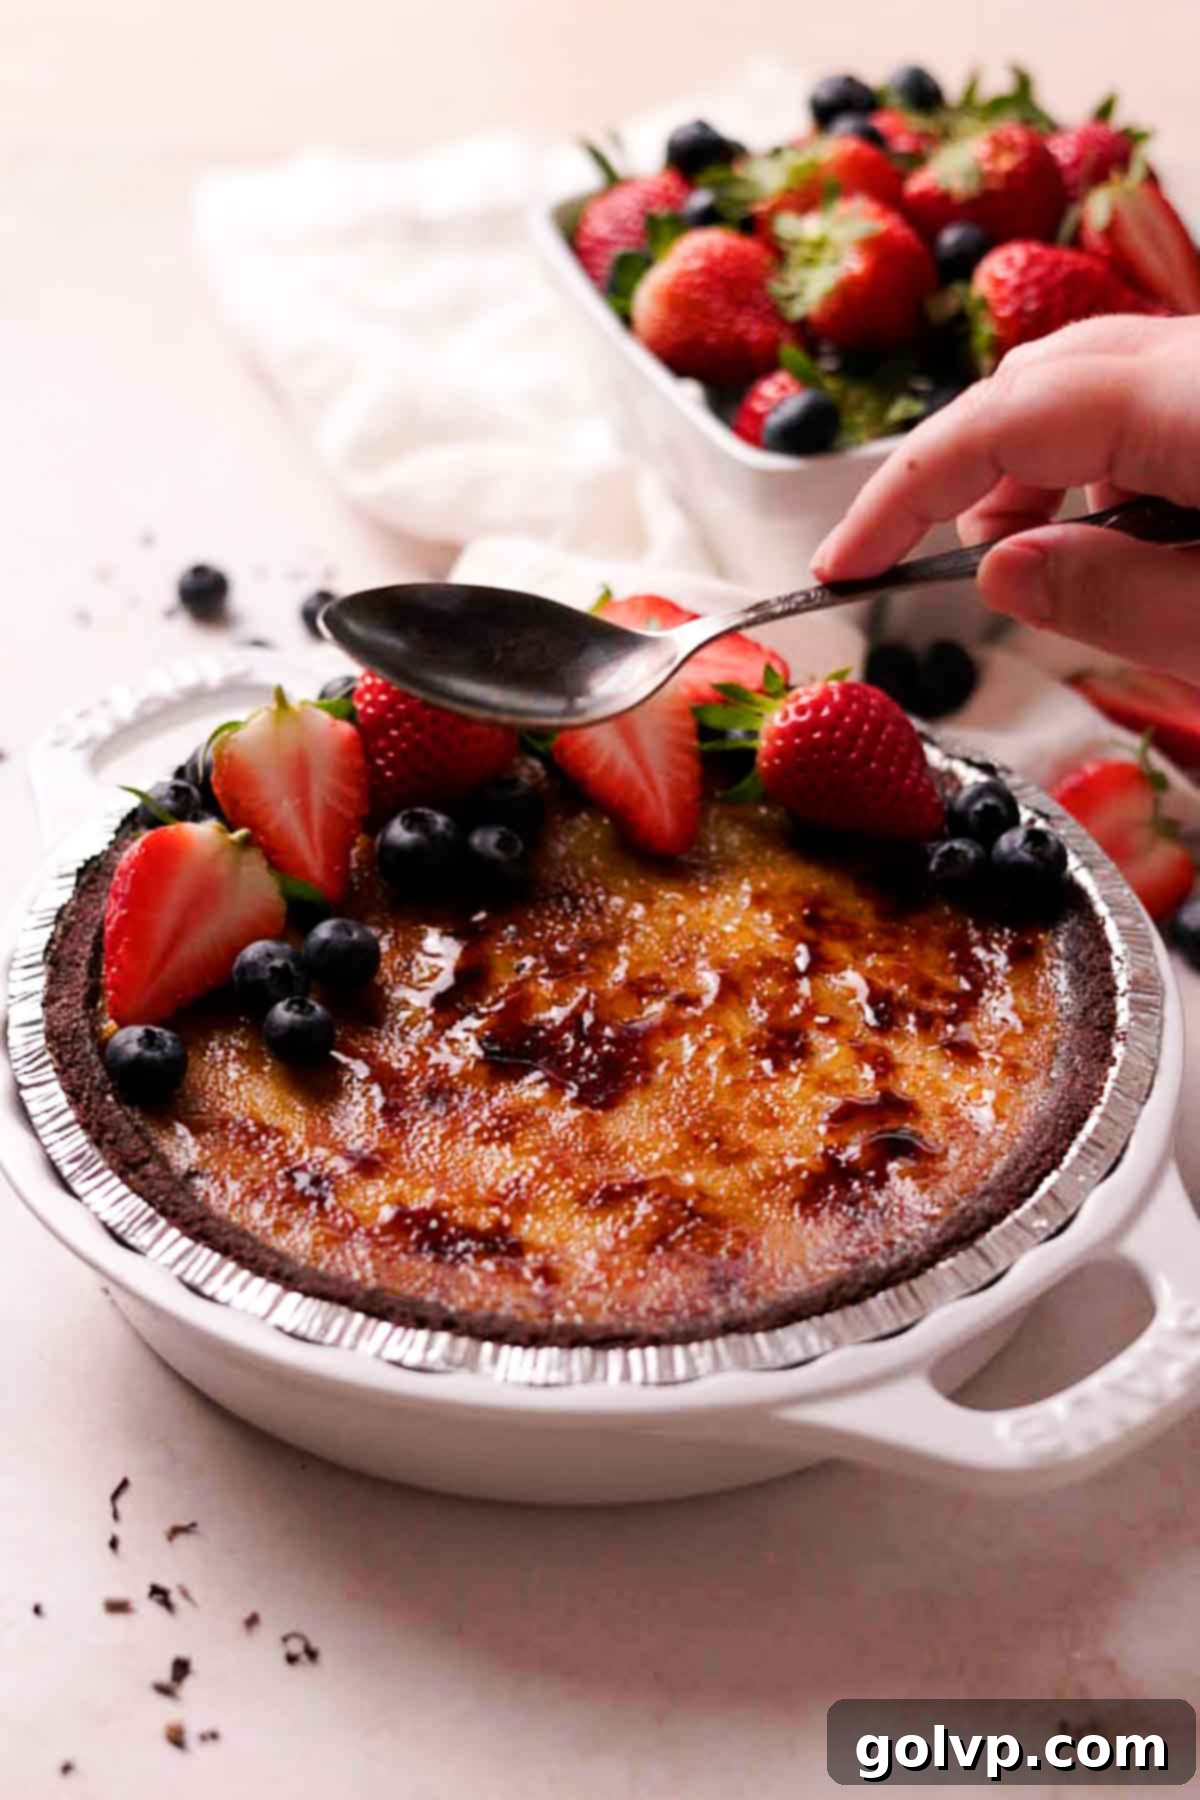
Step 8: Once the sugar topping has cooled and hardened, gently tap the back of a spoon across the caramelized surface. This will create small cracks, making it much easier to slice through the crunchy top without damaging the creamy custard underneath. Carefully slice the pie into individual portions. Serve immediately, garnished with fresh berries like raspberries, blueberries, or sliced strawberries for a burst of color and a touch of fresh tartness that beautifully complements the rich pie.
Tip: If using the broiler setting in the oven, keep a close eye on it because it will burn quickly! The broiler generates intense heat very fast. After broiling, it’s highly recommended to pop the pie into the freezer for about 15 minutes. This quick chill helps to firm up the middle of the pie again, which might have warmed up from the broiler’s heat, ensuring your slices remain perfectly clean and set.
✔️ Expert Tips for the Perfect Crème Brûlée Pie
- Master the Bake for a Silky Custard: Achieving the perfect consistency is key for this crème brûlée pie. The pie is fully baked when the edges appear set and firm, but the center still exhibits a delicate, slight wobble, much like a perfectly set jello. It should not be liquid or watery. Since oven temperatures can vary significantly, and even the size of your egg yolks plays a role, relying on visual cues rather than just a timer is paramount. Keep a watchful eye on the pie after the 30-minute mark, and trust the “jiggle test” for that ideal, custardy result.
- The Importance of Thorough Chilling: Patience is a virtue when it comes to crème brûlée pie. This dessert absolutely requires thorough chilling to achieve its final, firm set. Rushing this step will result in messy, unappetizing slices. Refrigerating the pie for at least 3 hours (or even overnight) allows the custard to firm up completely, ensuring you can cut perfect, smooth, and elegant slices that hold their shape beautifully. If you’re short on time, a quick 30-60 minute stint in the freezer can help speed up the setting process.
- Avoid Over-Whisking Egg Yolks: When combining the egg yolks, sugar, and salt, whisk them just until they are smooth and uniformly mixed. Resist the temptation to whisk vigorously until the mixture lightens in color and becomes foamy. Over-whisking incorporates too much air into the custard base, which can lead to undesirable air pockets during baking. These air bubbles can expand and cause cracks on the surface of your beautiful crème brûlée, preventing the perfectly smooth and unblemished custard texture we’re aiming for.
🥄 Make Ahead & Storage Suggestions
This Earl Grey Crème Brûlée Pie is an absolute dream for entertaining, as it’s the perfect make-ahead dessert. Since it requires a significant chilling period in the refrigerator to fully set, you can easily prepare it the morning of your event, or even the night before. This allows you to focus on other tasks and reduces last-minute stress. After baking and cooling, simply cover the pie loosely with plastic wrap or foil and store it in the fridge until ready to serve.
The crucial part of making ahead is to apply and torch the sugar topping *just before serving*. If you caramelize the sugar too far in advance, the moisture from the custard will cause the crunchy sugar layer to melt and turn into a sticky, goopy mixture, losing its signature satisfying shatter. If you find yourself with any delicious leftover slices, store them promptly in the refrigerator, covered. They’ll be delightful for the next couple of days, though the sugar topping will soften. Should any melted sugar drips form on the sides of the pie as it sits, simply wipe them away gently before enjoying another slice.
☕ Unleash Your Creativity: Flavor Possibili-Teas
The inherent versatility of crème brûlée is one of its most delightful characteristics. The creamy custard base is an excellent canvas for various infusions, allowing you to easily adjust the flavor profile to match your preferences or the occasion. Simply add your favorite teas or aromatics into the cream as it steeps, just as we did with the Earl Grey. Here are some inspiring ideas to get your creativity brewing:
Lemon: For a bright and zesty twist, omit the Earl Grey tea entirely. Instead, add the finely grated zest from one large lemon directly into the cream along with the vanilla bean during the steeping process. The vibrant citrus notes will infuse the custard, creating a refreshingly tangy and aromatic pie.
English Tea: If you enjoy a more robust and malty flavor, substitute the Earl Grey with a strong English breakfast tea. This will yield a comforting and classic tea-infused custard, perfect for a traditional tea-time treat with a deeper, richer flavor profile.
Jasmine Green Tea: For a delicate and exquisitely floral experience, replace the Earl Grey with high-quality Jasmine green tea leaves. The fragrant jasmine blossoms will impart a subtle yet captivating perfume to the crème brûlée, offering a lighter and more ethereal dessert.
Chamomile: Seeking a soothing and subtly sweet flavor? Infuse the cream with chamomile tea. Chamomile offers gentle, apple-like notes and a calming aroma, creating a wonderfully comforting and unique crème brûlée. For another delightful chamomile-infused dessert, check out my lemon posset!
Matcha: For an earthy, vibrant, and slightly bitter green tea flavor, incorporate matcha. Dissolve 1 teaspoon of ceremonial-grade matcha powder in one tablespoon of hot water to create a smooth paste, then add it to the cream as it steeps. You can add more matcha, if needed, to achieve your desired intensity of flavor and a beautiful green hue.
Spiced Chai: For a warm and comforting dessert, infuse the cream with a tablespoon of chai tea spices (like cinnamon, cardamom, ginger, and cloves) or a few chai tea bags. This will create a fragrant, spiced custard, especially delightful during cooler months.
📖 Crème Brûlée Pie Recipe FAQs
Both a broiler and a kitchen torch are effective for caramelizing the sugar top, and each has its own advantages and considerations. A kitchen torch offers more precise control over the browning process, allowing you to carefully target specific areas and achieve an even caramelization without heating the entire pie. However, it can take a bit longer. An oven broiler, on the other hand, is faster and provides a very intense heat, quickly creating a beautiful, crunchy crust. The downside is that the broiler’s heat penetrates deeper into the pie, which can warm up the custard. If you opt for the broiler, it’s essential to immediately pop the pie into the freezer for 10-20 minutes afterward to re-chill the filling and ensure it’s perfectly set and cold for slicing.
For the perfect crunchy top on your crème brûlée, I highly recommend using regular granulated sugar. It melts and caramelizes most evenly, forming that desirable thin, crisp layer that shatters so satisfyingly. While you might be tempted to try brown sugar or other types, granulated sugar consistently yields the best results. It browns quickly and uniformly, giving you that beautiful amber finish without creating a sticky or uneven texture. Granulated cane sugar works wonderfully as well.
The necessity of prebaking your crust depends on the type you choose. If you’re using a store-bought, premade crumb crust (like the chocolate crumb crust suggested in this recipe), prebaking is generally not required, as these crusts are designed to be used as-is. However, if you’re making a homemade crumb crust, I recommend baking it for about 7 minutes before adding the filling. This brief bake helps to firm up the crust, preventing crumbs from integrating into your smooth custard and ensuring a more stable base. For a traditional pastry crust, prebaking (or “blind baking”) is absolutely essential. Failing to prebake a pastry crust will leave you with a raw, soggy dough bottom once the custard is baked. Always follow the specific instructions on your pastry crust package or recipe for proper prebaking.
🍮 More Delightful Recipes
- Earl Grey Crème Brûlée
- Lemon Posset
- Sweet Potato Crème Brûlée
- Pumpkin Creme Brulee
Did you make this recipe? I would love for you to rate this recipe and hear what you think in the comments below! Share your creation on Instagram and tag @flouringkitchen. Follow me on Pinterestto save and for more recipe ideas.
📖 Recipe

Earl Grey Creme Brulee Pie
Mary
Pin Recipe
Shop Ingredients
Equipment
-
pie plate or baking sheet
-
wire whisk
Ingredients
- 1 vanilla bean or 2 teaspoons vanilla paste (can be subbed with vanilla extract)
- 2 cups heavy whipping cream 35%
- 2 tablespoons earl grey tea optional
- 5 large egg yolks
- ½ cup granulated sugar
- ⅛ teaspoon sea salt
- 1 pie crust I used Mi-del chocolate gluten free pie crust
- 3 tablespoons granulated sugar for topping
- Fresh berries for decoration and serving
Shop Ingredients on Jupiter
Instructions
-
Preheat oven to 325°F (165°C).
-
Slice vanilla bean pod in half lengthwise and scrape out the seeds with the knife. Place the seeds and the bean pod into a medium saucepan. Add the cream and earl grey tea leaves (optional).1 vanilla bean, 2 tablespoons earl grey tea, 2 cups heavy whipping cream
-
Heat the cream on medium low heat until steaming hot, don’t let it boil! Once steaming hot, take the saucepan off the heat and let the vanilla and tea steep for 10 minutes.
-
While the cream steeps, whisk together egg yolks, sugar, and salt until just combined – don’t mix until foamy. Set aside.5 large egg yolks, ½ cup granulated sugar, ⅛ teaspoon sea salt
-
Remove the tea leaves and vanilla pod from the cream. Squeeze the teabag well to release all of that flavor. If you’re using looseleaf tea, strain the leaves out.
-
Slowly, half a cup at a time, add the steeped cream into the yolk mixture, whisking well. Gradually add the rest of the cream and whisk well throughout.
-
Place the pie crust on a larger baking pan. Pour the cream and egg mixture into the pie crust. If using a crumb crust (like I did), pour the cream on top of a spatula into the crust to prevent the bottom of the crust from being disturbed.1 pie crust
-
Bake the pie for 30-35 minutes just until the center is set and not liquidy. The center will still be slightly jiggly, like jello. Remove the pie from the oven and let cool to room temperature. Refrigerate the pie to chill completely, about 3 hours.
-
Before serving, cover the top of the pie liberally with 3 tablespoons of sugar. Place it on a baking sheet right under the broiler in the top portion of the oven. Broil the top of the pie until all of the sugar melts and caramelizes. Keep a close eye on it because it will burn quickly! This will take about 1-2 minutes. After broiling, pop the pie into the freezer for 15 minutes to chill because broiling can make the middle of the pie too warm to slice.3 tablespoons granulated sugar
-
If you don’t have a broiler, you can use a kitchen torch – it will just take longer. But I found that using a torch doesn’t heat the pie up as much.
-
Crack the top of the pie with the back of the spoon to make it easier to slice. Slice and serve with fresh berries.Fresh berries
Notes
Storage: If you have any leftover slices of pie, pop them in the fridge and enjoy them within the next couple of days. Wipe away any melted sugar drips from the sides of the pie that form as it sits in the fridge.
Tips for success:
- Bake the pie until fully set – the edges and center will be set. The center will be a little jiggly like jello. Oven temperatures can vary, so it’s important to pull the pie out based on visual cues.
- Chill the pie before slicing to completely set. This will give you perfect, smooth slices.
- Don’t overwhisk the egg yolks for a perfectly smooth pie.
