Ultimate Gooey S’mores Rice Krispies Treats: The Best No-Bake Recipe with Brown Butter
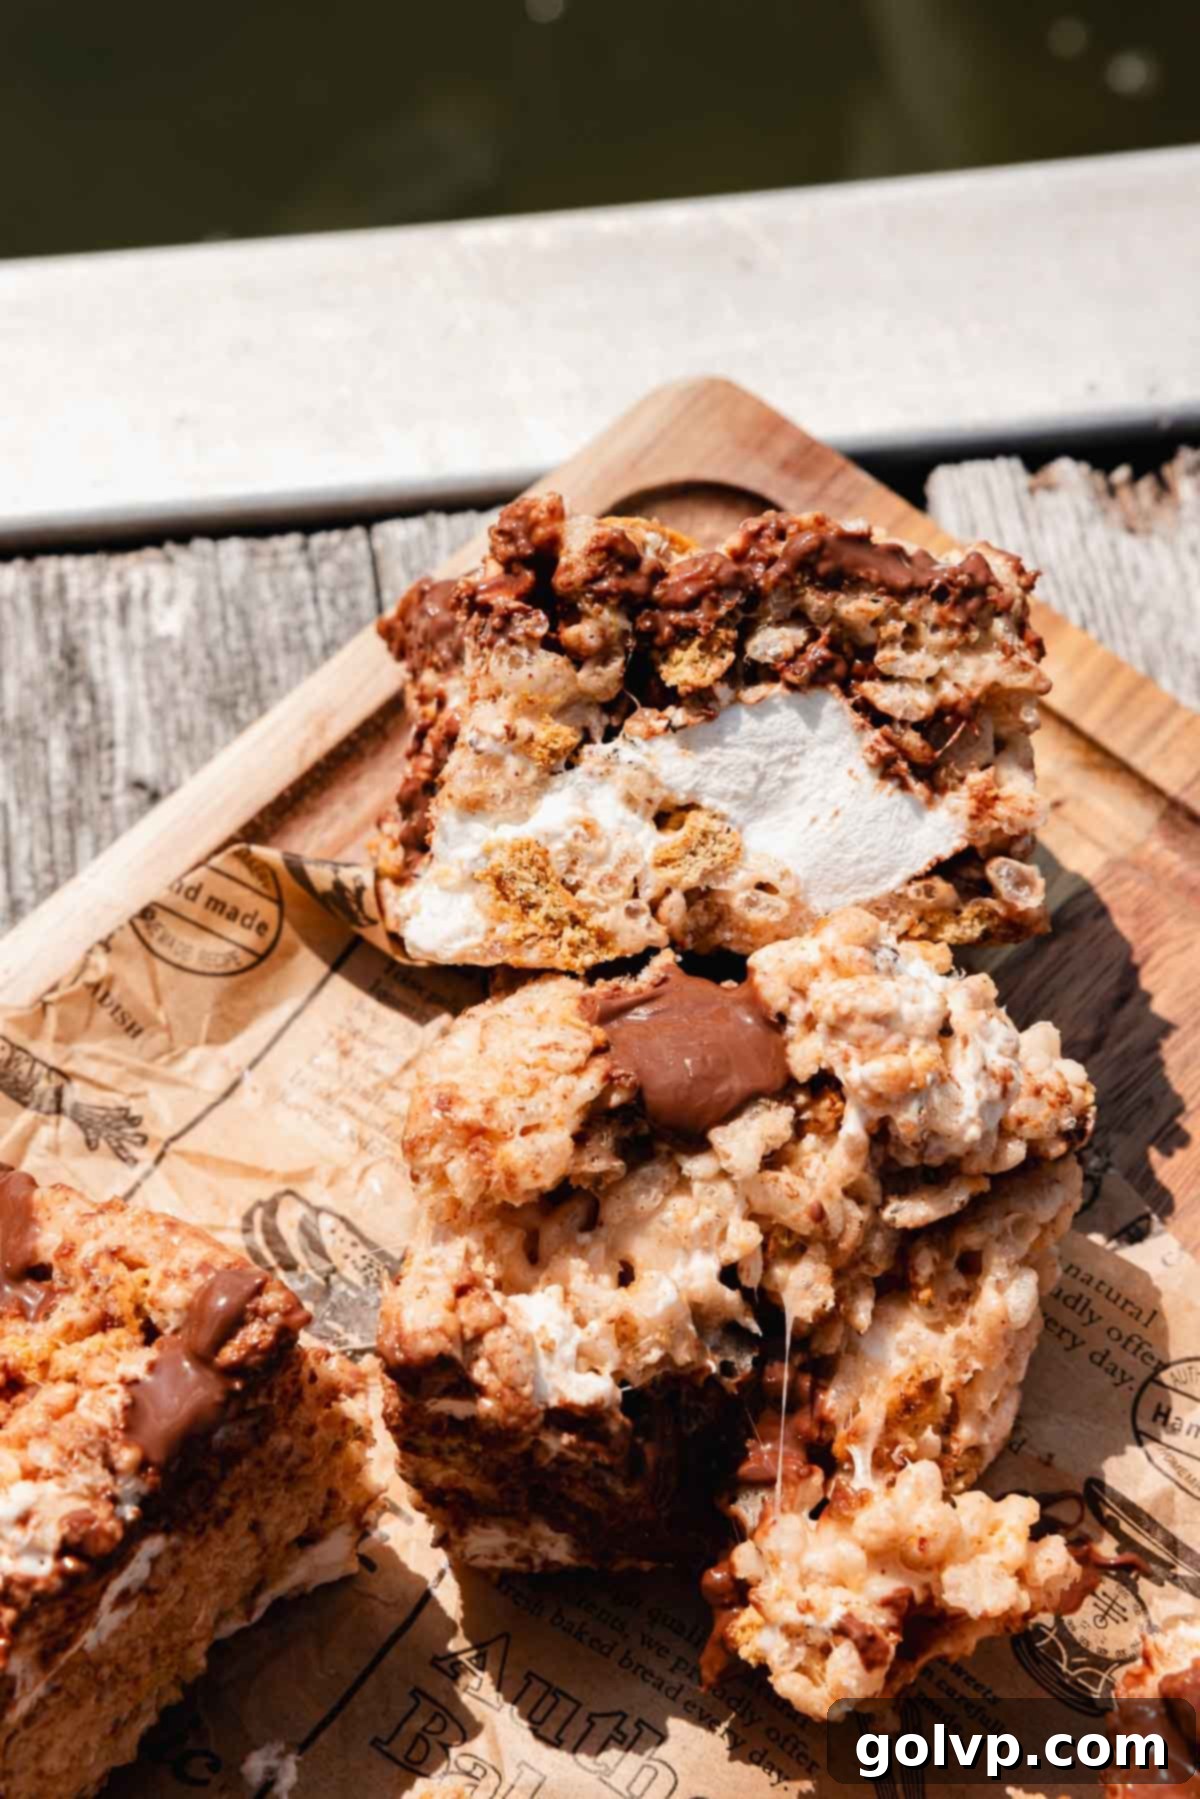
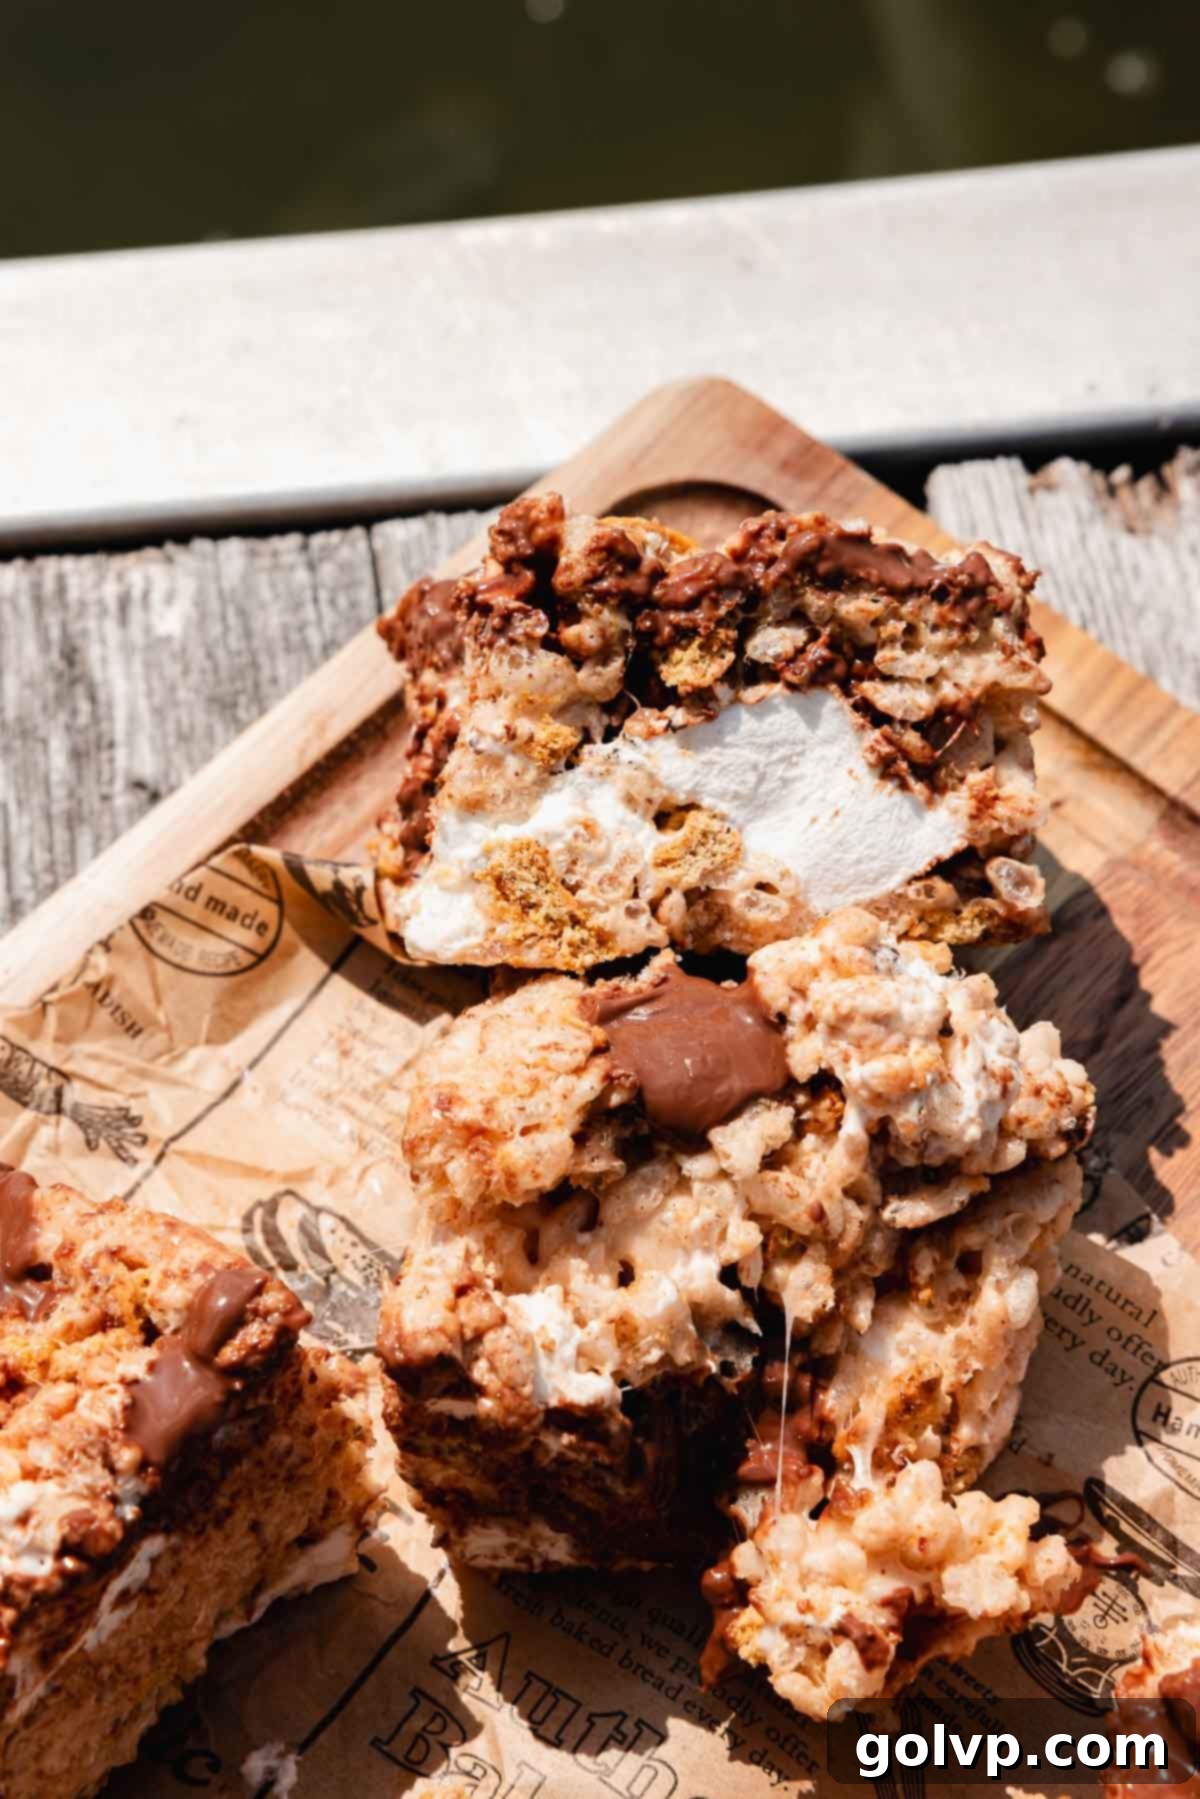
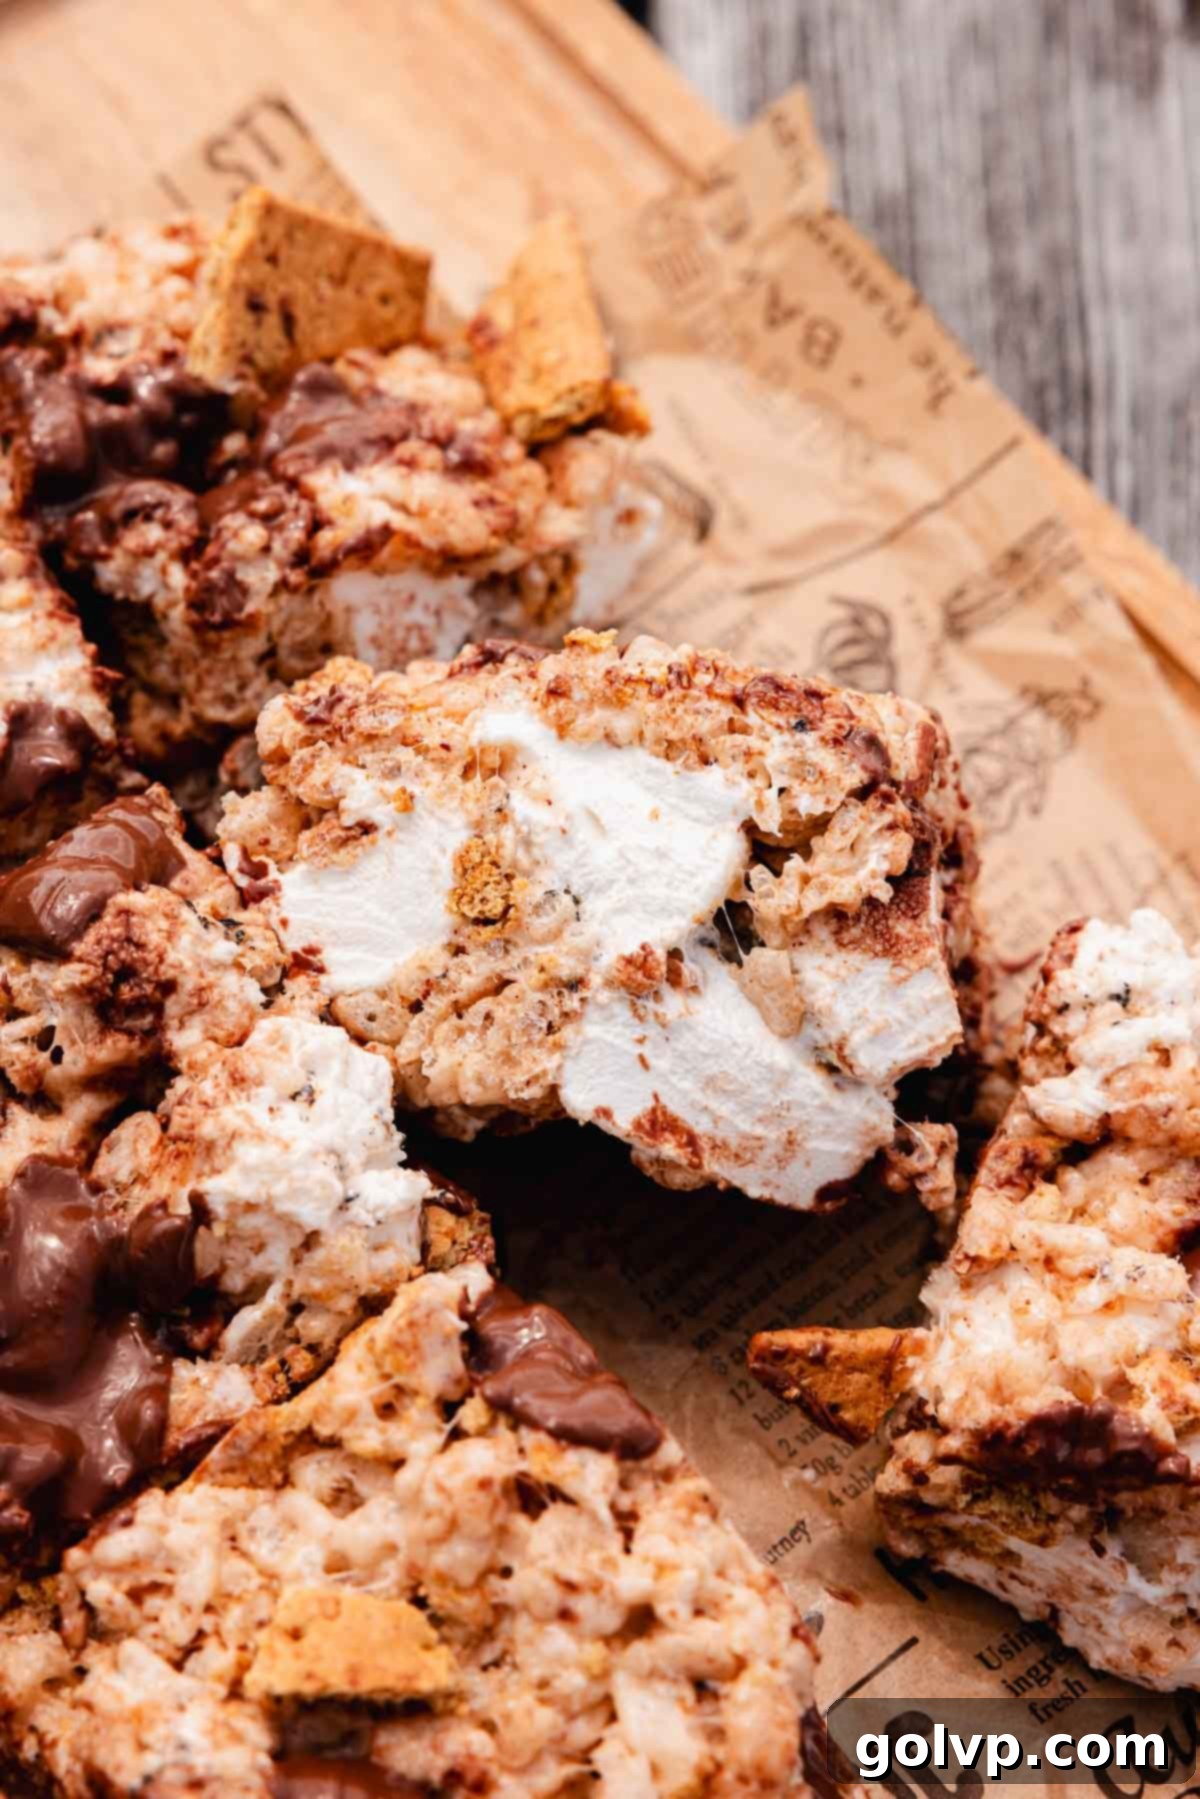
Prepare to elevate your dessert game with these incredible S’mores Rice Krispies Treats! Forget the campfire fuss; this recipe brings all the beloved flavors of classic s’mores – toasty marshmallows, crisp graham crackers, and rich milk chocolate – into a convenient, no-bake bar. Each bite offers an irresistible combination of crisp rice cereal, a soft, incredibly gooey marshmallow pull, and a delightful crunch from graham cracker bits. What truly sets these treats apart is the secret ingredient: brown butter, which infuses every square with a deep, caramelized, and nutty flavor that’s simply unmatched. A hint of vanilla, a dash of warm cinnamon, and a pinch of sea salt are carefully added to boost the overall taste, transforming these nostalgic snacks into a truly gourmet experience. They’re not just easy to whip up; they’re also the ultimate summer indulgence, perfect for road trips, picnics, or a sweet escape right in your kitchen. Get ready for a treat that tastes even better than traditional s’mores!
[feast_advanced_jump_to]
Why You’ll Love These S’mores Rice Krispies Treats
- Authentic S’mores Experience: This recipe captures the essence of classic s’mores with perfectly toasted marshmallows, crunchy graham cracker pieces, and creamy milk chocolate. But we don’t stop there! An extra touch of pure vanilla extract, a pinch of sea salt, and a dash of cinnamon are added to create a complex flavor profile that elevates these treats far beyond the ordinary. You get all the smoky, sweet, and comforting notes without the need for a campfire, making them accessible anytime, anywhere.
- Superior Rice Krispies Treats: Prepare for a revelation in texture! These aren’t your average, bland rice krispies squares. They are wonderfully crisp, delightfully chewy, incredibly soft, and boast a rich buttery foundation from the browned butter. The generous amount of marshmallows ensures an extra stretchy, gooey pull that is incredibly satisfying and utterly moreish. It’s a nostalgic treat made even better, designed to be a true crowd-plepleaser.
- Quick, Easy, and One-Pot Wonder: Life is busy, and sometimes you need a delicious dessert that doesn’t demand hours in the kitchen. This recipe delivers! It comes together efficiently in a single pot, minimizing cleanup and maximizing your enjoyment. With straightforward steps and minimal prep, you’ll have these delectable s’mores bars ready in no time, making them perfect for last-minute gatherings or a spontaneous sweet craving.
- The Ultimate Summer-Ready Dessert: Imagine biting into a chewy, chocolatey, marshmallow-studded treat on a warm summer evening. These S’mores Rice Krispies Treats are designed for summer enjoyment. You can make them ahead of time and pack them for beach days, camping trips (especially when campfires aren’t an option due to fire bans), or simply enjoy them on your patio. They offer all the nostalgic comfort of a campfire s’more without any of the hassle or smoke.
Key Ingredients for Perfect S’mores Rice Krispies Treats
Read through for all the tips you will need for success!
Full steps and ingredients in recipe card below.
Large Marshmallows: The choice of marshmallows is crucial for that signature gooey pull. I highly recommend using large marshmallows because they provide those delightful, stretchy chunks of marshmallow throughout the treats. If you only have jumbo marshmallows, simply cut them into smaller pieces with kitchen scissors. This increases their surface area for roasting and helps them melt more evenly into the mixture. While mini marshmallows can work in a pinch, they tend to disappear more readily into the mix, making for less distinct marshmallow pockets. Using a new, fresh bag of marshmallows is key to achieving that soft, plump texture and prevents the treats from becoming hard or overly chewy. Stale marshmallows lead to stale treats, so don’t cut corners here!
Marshmallow tip:
Use a new bag of marshmallows to make sure that your marshmallows are plump and soft and to prevent hard, chewy marshmallow treats. This simple tip makes a huge difference!
Graham Crackers: To keep these true to the s’mores tradition, I use classic graham crackers. You can break them into varied pieces for different textures – some fine crumbs, some larger shards. For convenience or a slightly different twist, you could also use mini graham crackers or even Golden Grahams cereal for a fun alternative that already has a similar flavor profile and a satisfying crunch. Just ensure they are broken down enough to distribute well throughout the mixture.
Milk Chocolate: Sticking to the iconic s’mores flavor, I opted for Hershey’s milk chocolate bars. Their creamy texture and familiar taste are perfect here. However, any good quality milk chocolate bar will work beautifully. If you only have milk chocolate chips on hand, they can be used, but be aware that chocolate chips contain stabilizers to hold their shape during baking, which means they won’t melt quite as creamily or spread as smoothly as chopped chocolate bar pieces. For the best gooey chocolate experience, go for chopped bars.
Butter (Browned!): Butter is a fundamental ingredient in any rice krispies treat, providing richness and helping bind everything together. But for these s’mores treats, we’re taking it a step further by browning the butter. This extra step, which only adds a minute or two to your prep time, unlocks an incredible depth of caramelized, nutty, and toasty flavor that significantly elevates the entire dessert. I prefer using unsalted butter for browning, as salted butter can sometimes develop a slightly bitter or metallic undertone when browned to this extent. The rich aroma alone will tell you it’s worth the effort!
Cinnamon: A subtle but impactful addition! A touch of ground cinnamon harmonizes wonderfully with the sweet notes of marshmallow and chocolate, and it especially complements the warm, slightly spicy flavor of the graham crackers, tying all the s’mores elements together beautifully. Don’t skip this, as it adds a layer of complexity that really makes these treats sing.
Vanilla Extract: Another essential flavor enhancer! Pure vanilla extract brightens all the other ingredients and adds a warmth that makes these treats taste truly homemade and special. It’s often overlooked in simple recipes, but it makes a noticeable difference in the overall deliciousness of your rice krispies treats. Make sure to use pure vanilla for the best flavor.
Rice Krispies Cereal: This is a non-negotiable cornerstone of the recipe. For the crispiest, best-textured S’mores Rice Krispies Treats, I strongly recommend using the name-brand Kellogg’s Rice Krispies cereal. Generic brands can sometimes become soggy more quickly or have a different texture, compromising the satisfying crunch that makes these treats so enjoyable.
How to Make the Best S’mores Rice Krispies Treats
Making these S’mores Rice Krispies Treats is an enjoyable and straightforward process. Follow these detailed steps to create a batch of perfectly gooey, crunchy, and flavorful bars that will be an instant hit!
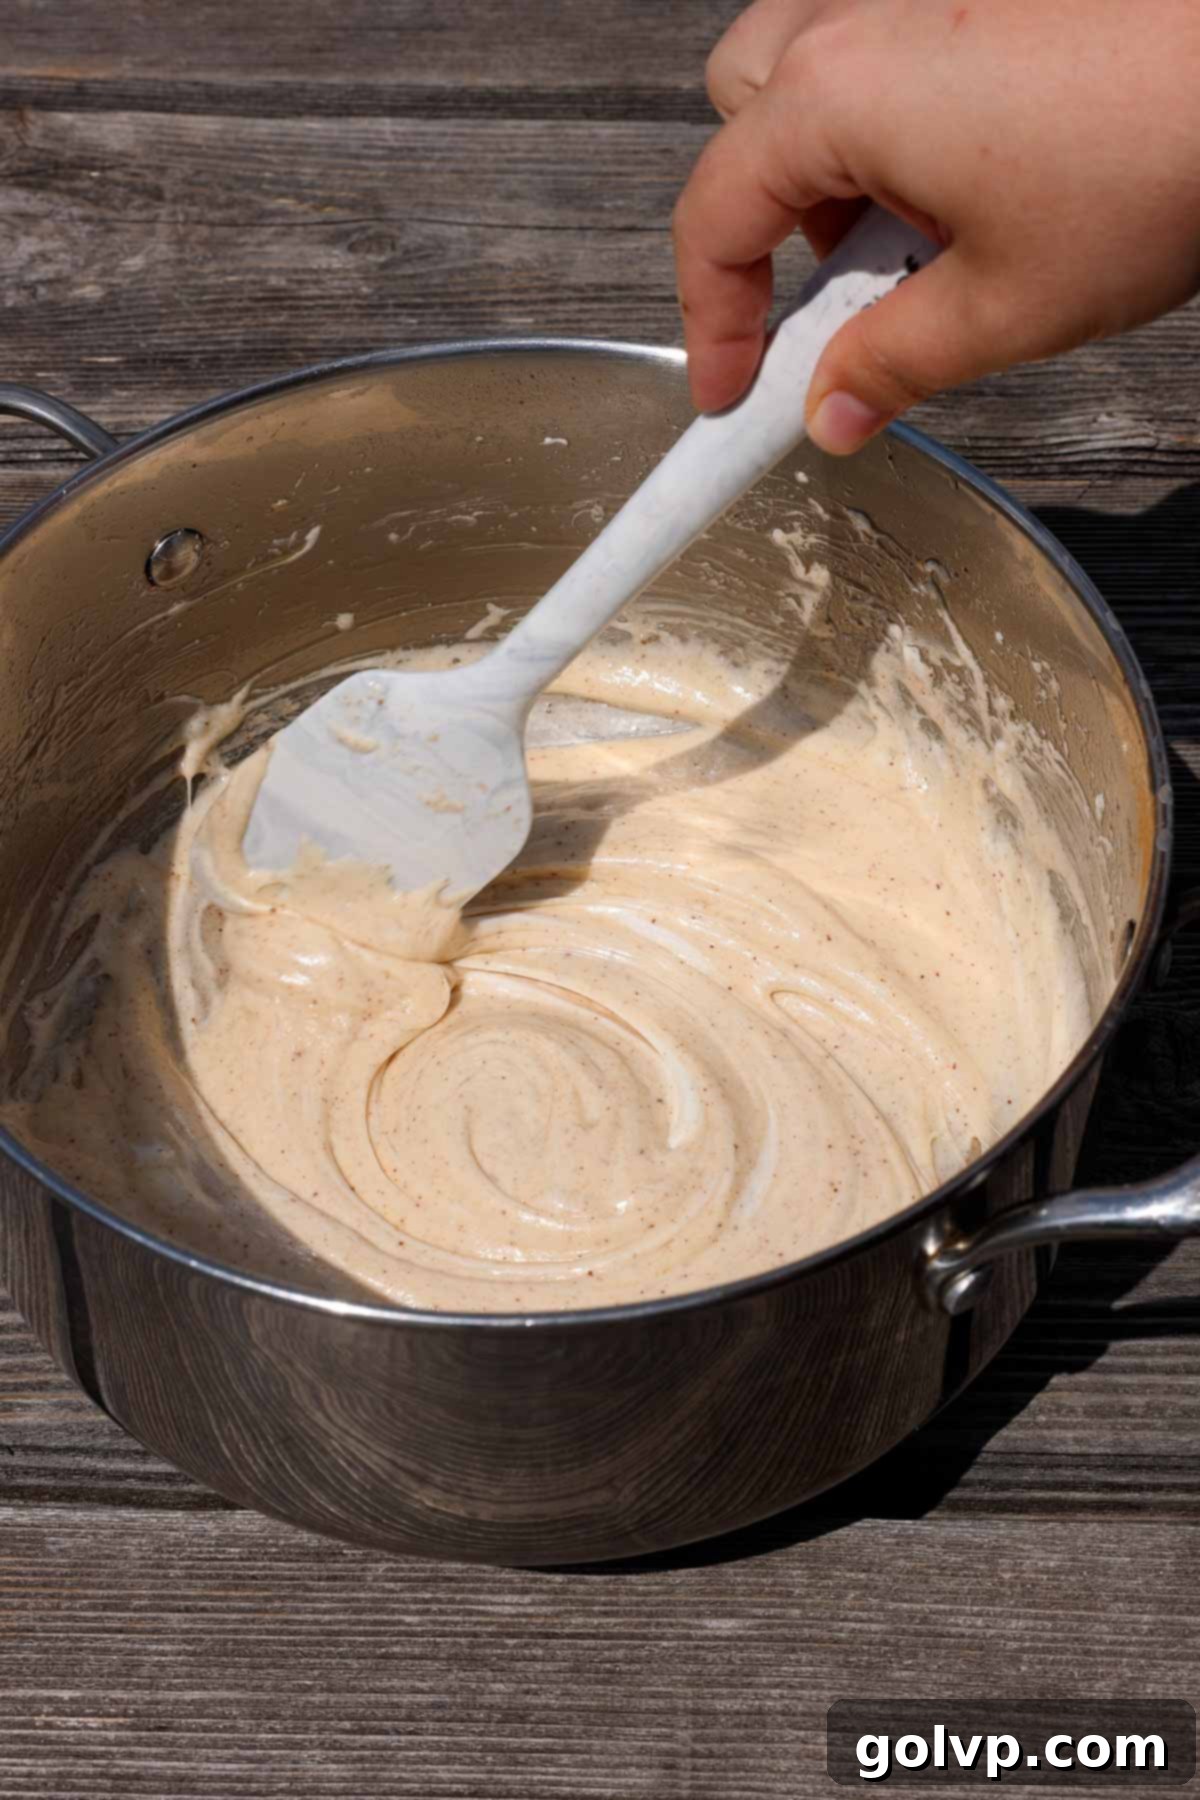
Step 1: Brown the Butter and Melt Marshmallows. Begin by browning your butter in a heavy-bottomed pot over medium-low heat. Stir occasionally. Once it starts to foam, keep stirring until the foam subsides and then reappears, turning golden brown. Remove it from the heat immediately to prevent burning. Into this fragrant brown butter, add half of your large marshmallows, vanilla extract, sea salt, and cinnamon. Stir continuously until all the marshmallows are completely melted and smoothly incorporated into the butter mixture. The residual heat from the pot should be sufficient to melt them, but if needed, return the pot to very low heat for a moment until fully melted.
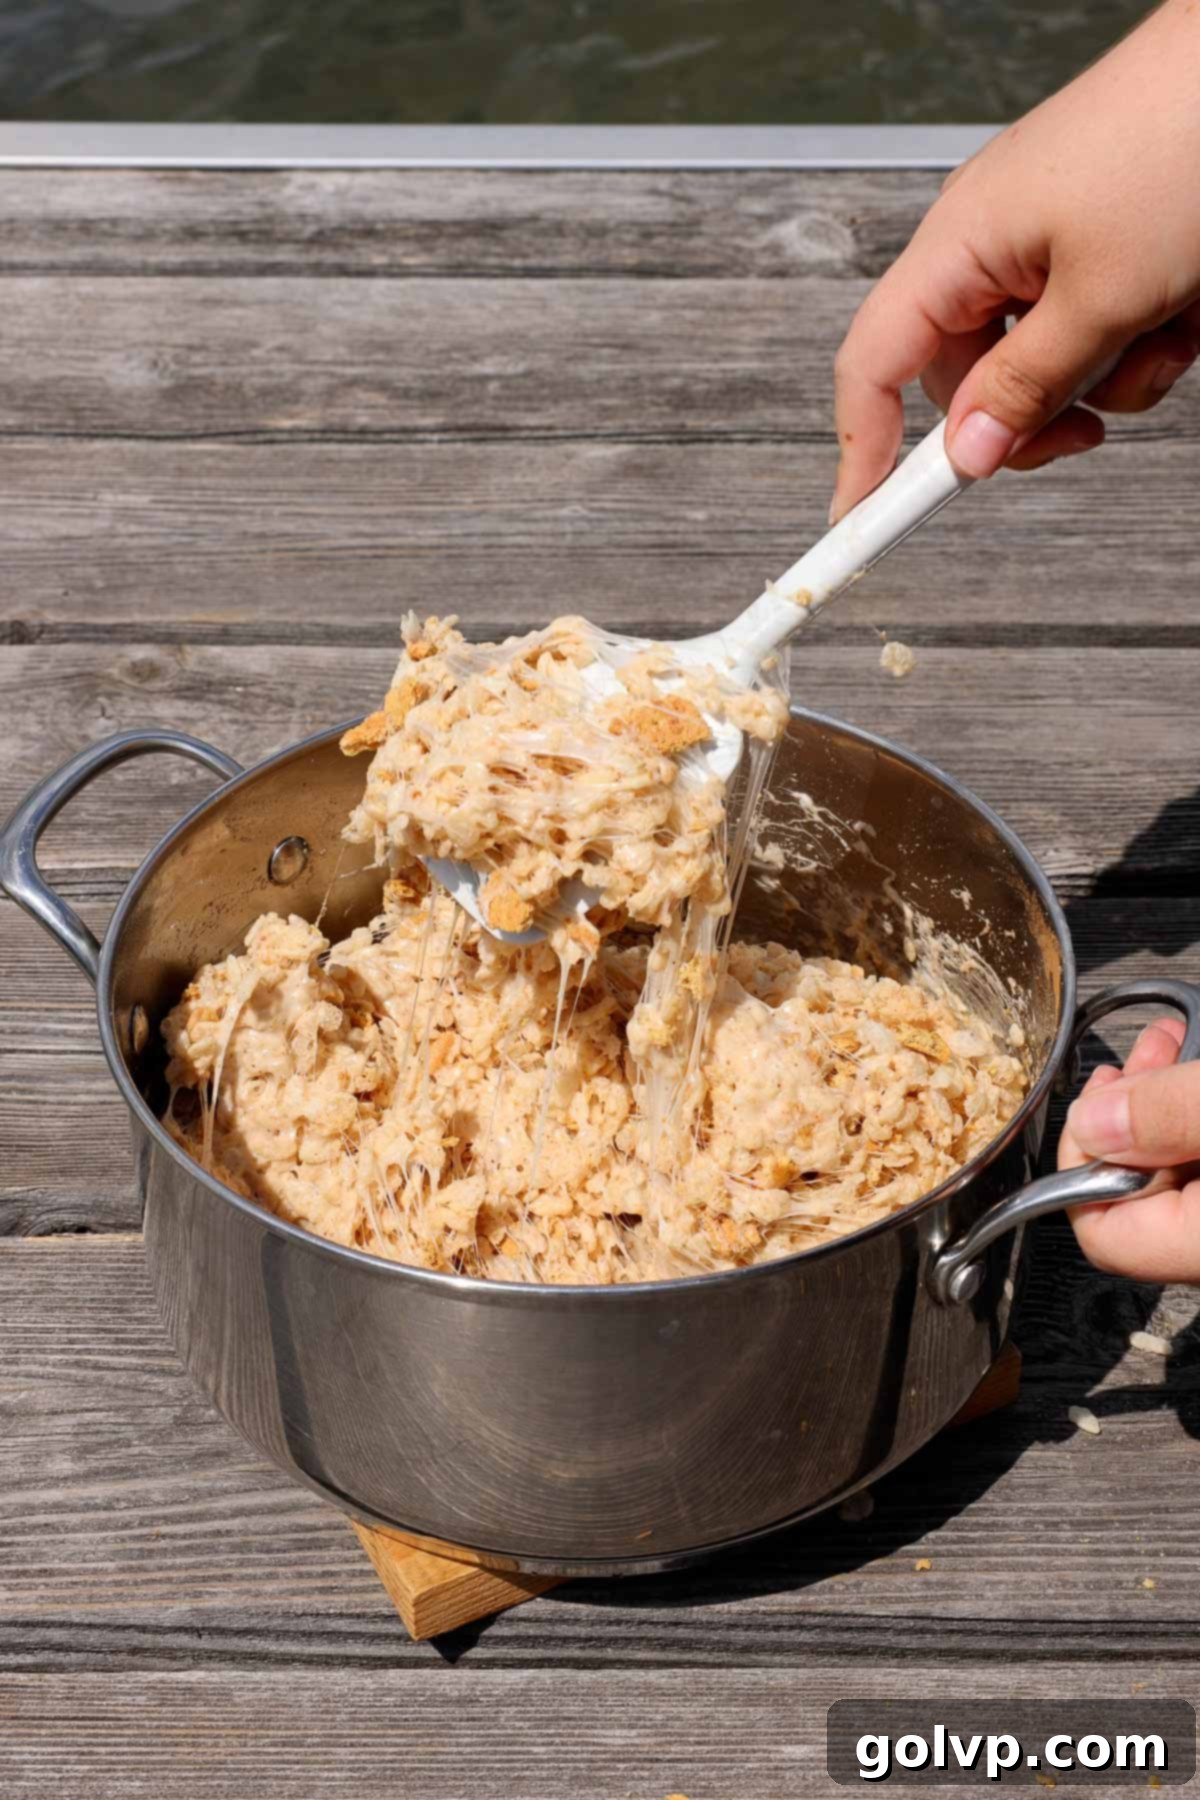
Step 2: Combine Cereal and Graham Crackers. Once your marshmallow mixture is smooth, add the Rice Krispies cereal and the broken graham cracker pieces into the pot. Using a sturdy spatula, stir gently but thoroughly until the cereal and graham crackers are evenly coated with the sticky marshmallow-butter mixture. Take care not to crush the cereal too much. Once combined, set the pot aside for a few minutes to allow the mixture to cool slightly. This brief cooling period is crucial for the next step, as it prevents the added marshmallows and chocolate from melting too quickly.
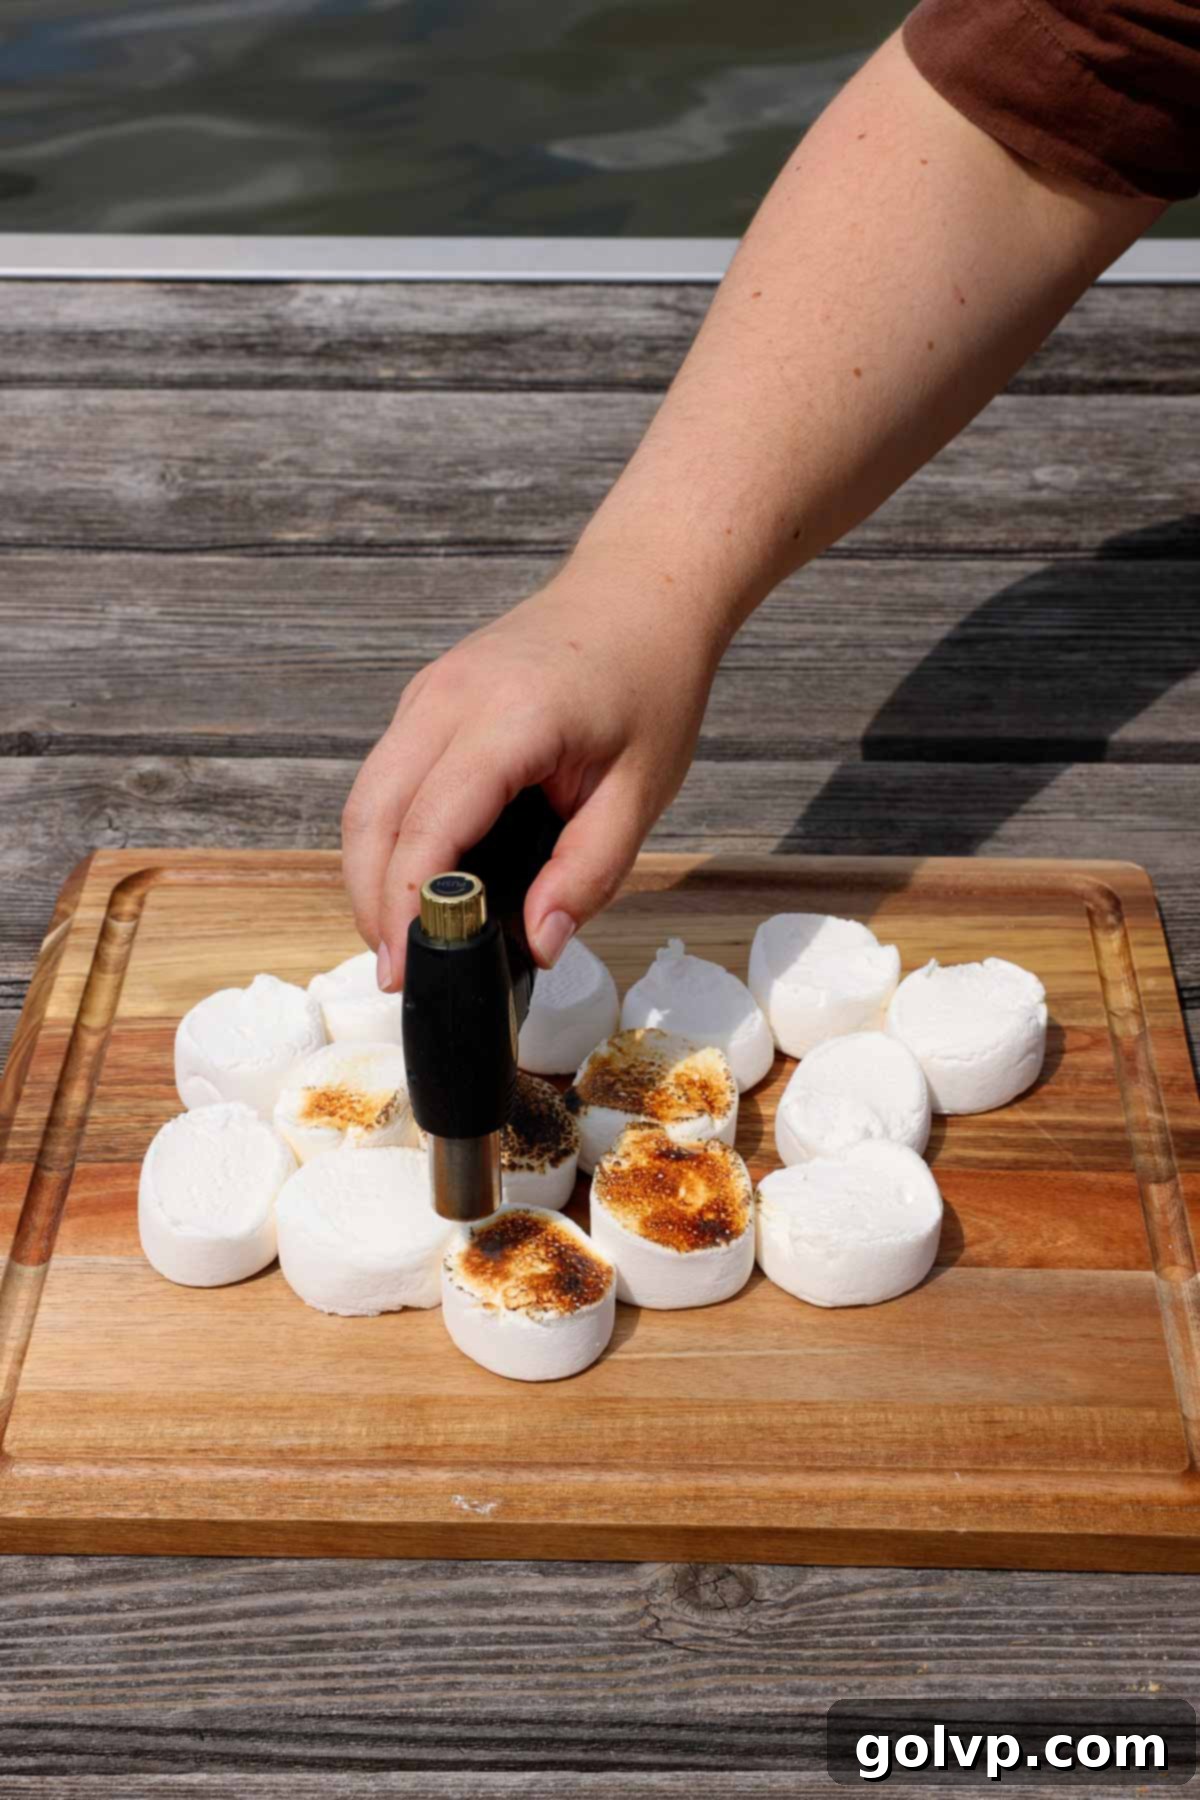
Step 3: Char the Remaining Marshmallows. This step is where the ‘s’mores’ magic truly happens! Take the other half of your large marshmallows and use a kitchen torch to gently char their exteriors. The goal is to get a nice, smoky black char on the outside, mimicking a campfire roast, without completely melting the marshmallow all the way through to its core. This preserves their structure and ensures you’ll have distinct, gooey pockets of toasted marshmallow in your finished treats. If you don’t have a torch, see the “Notes” section in the recipe card for broiler instructions, but a torch is highly recommended for best results.
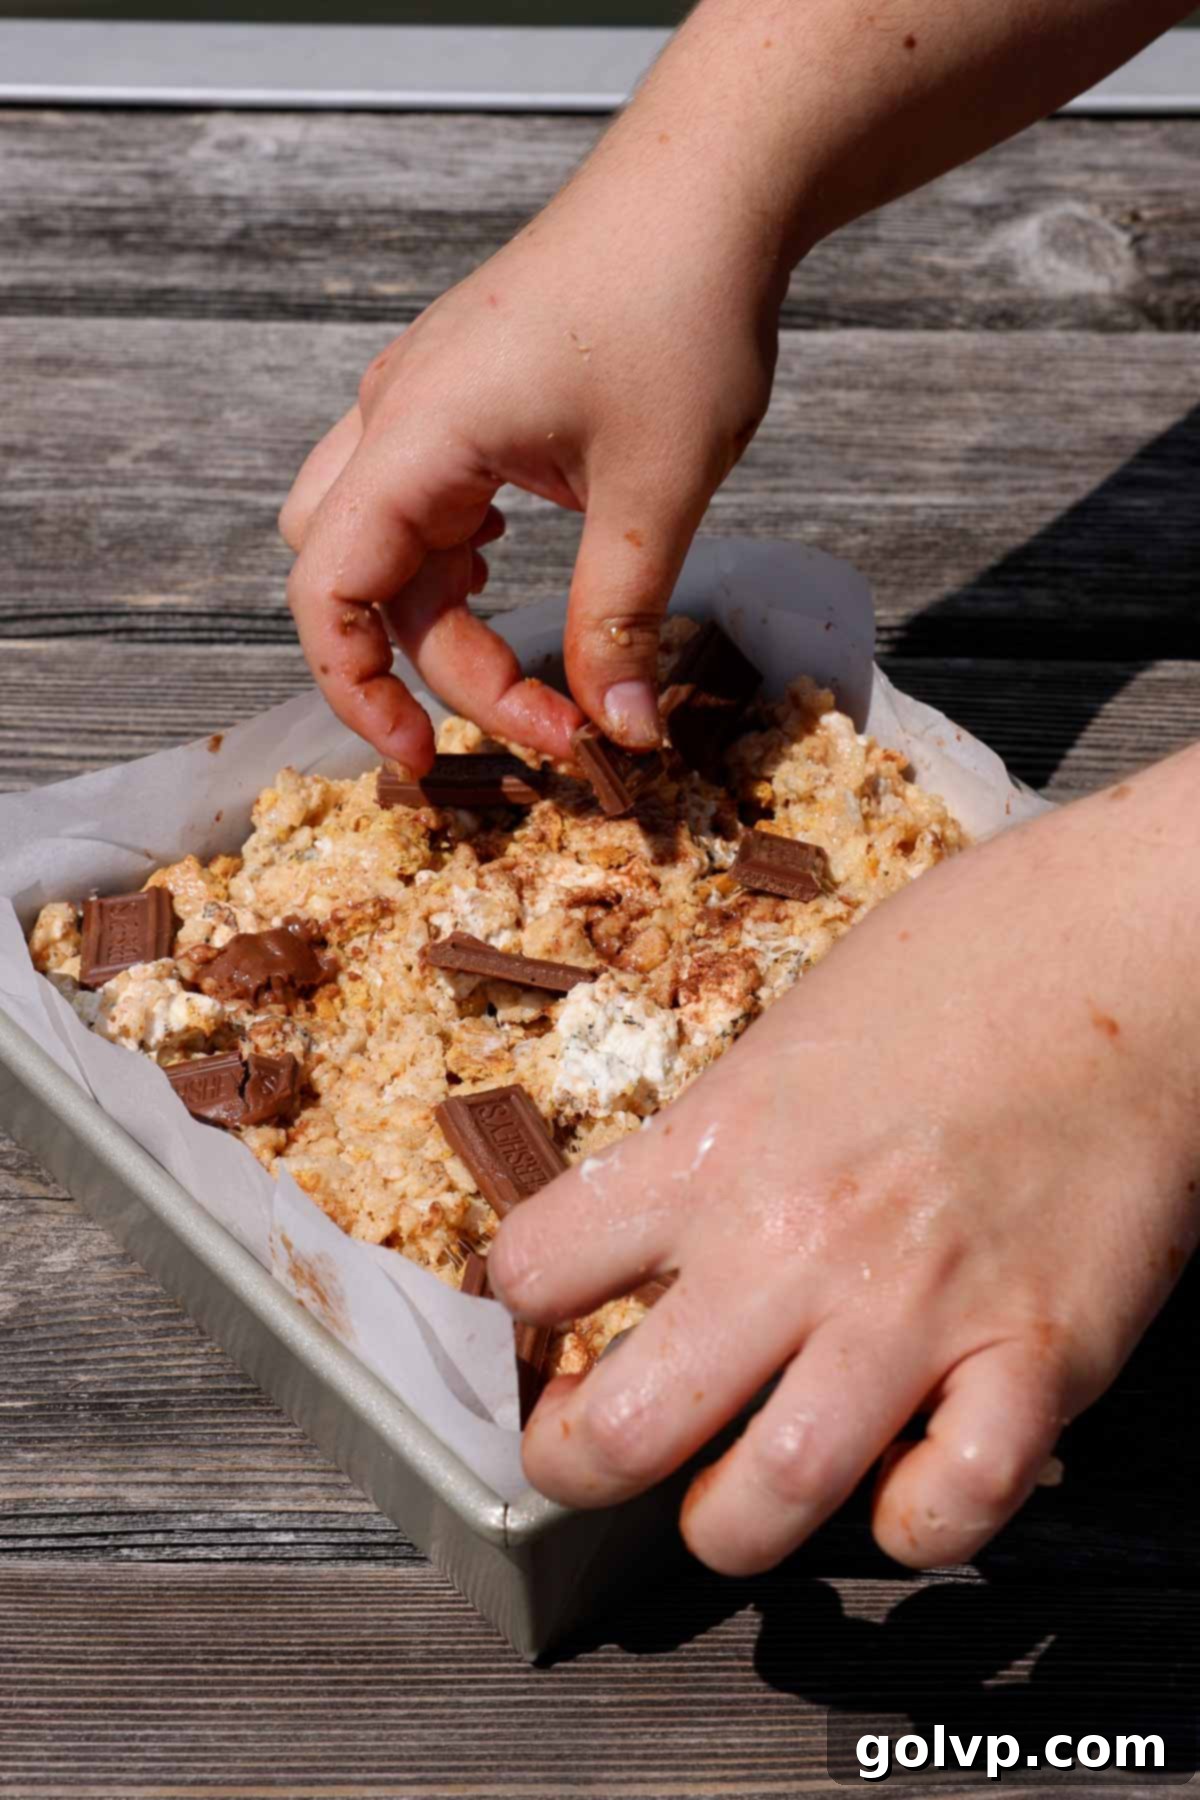
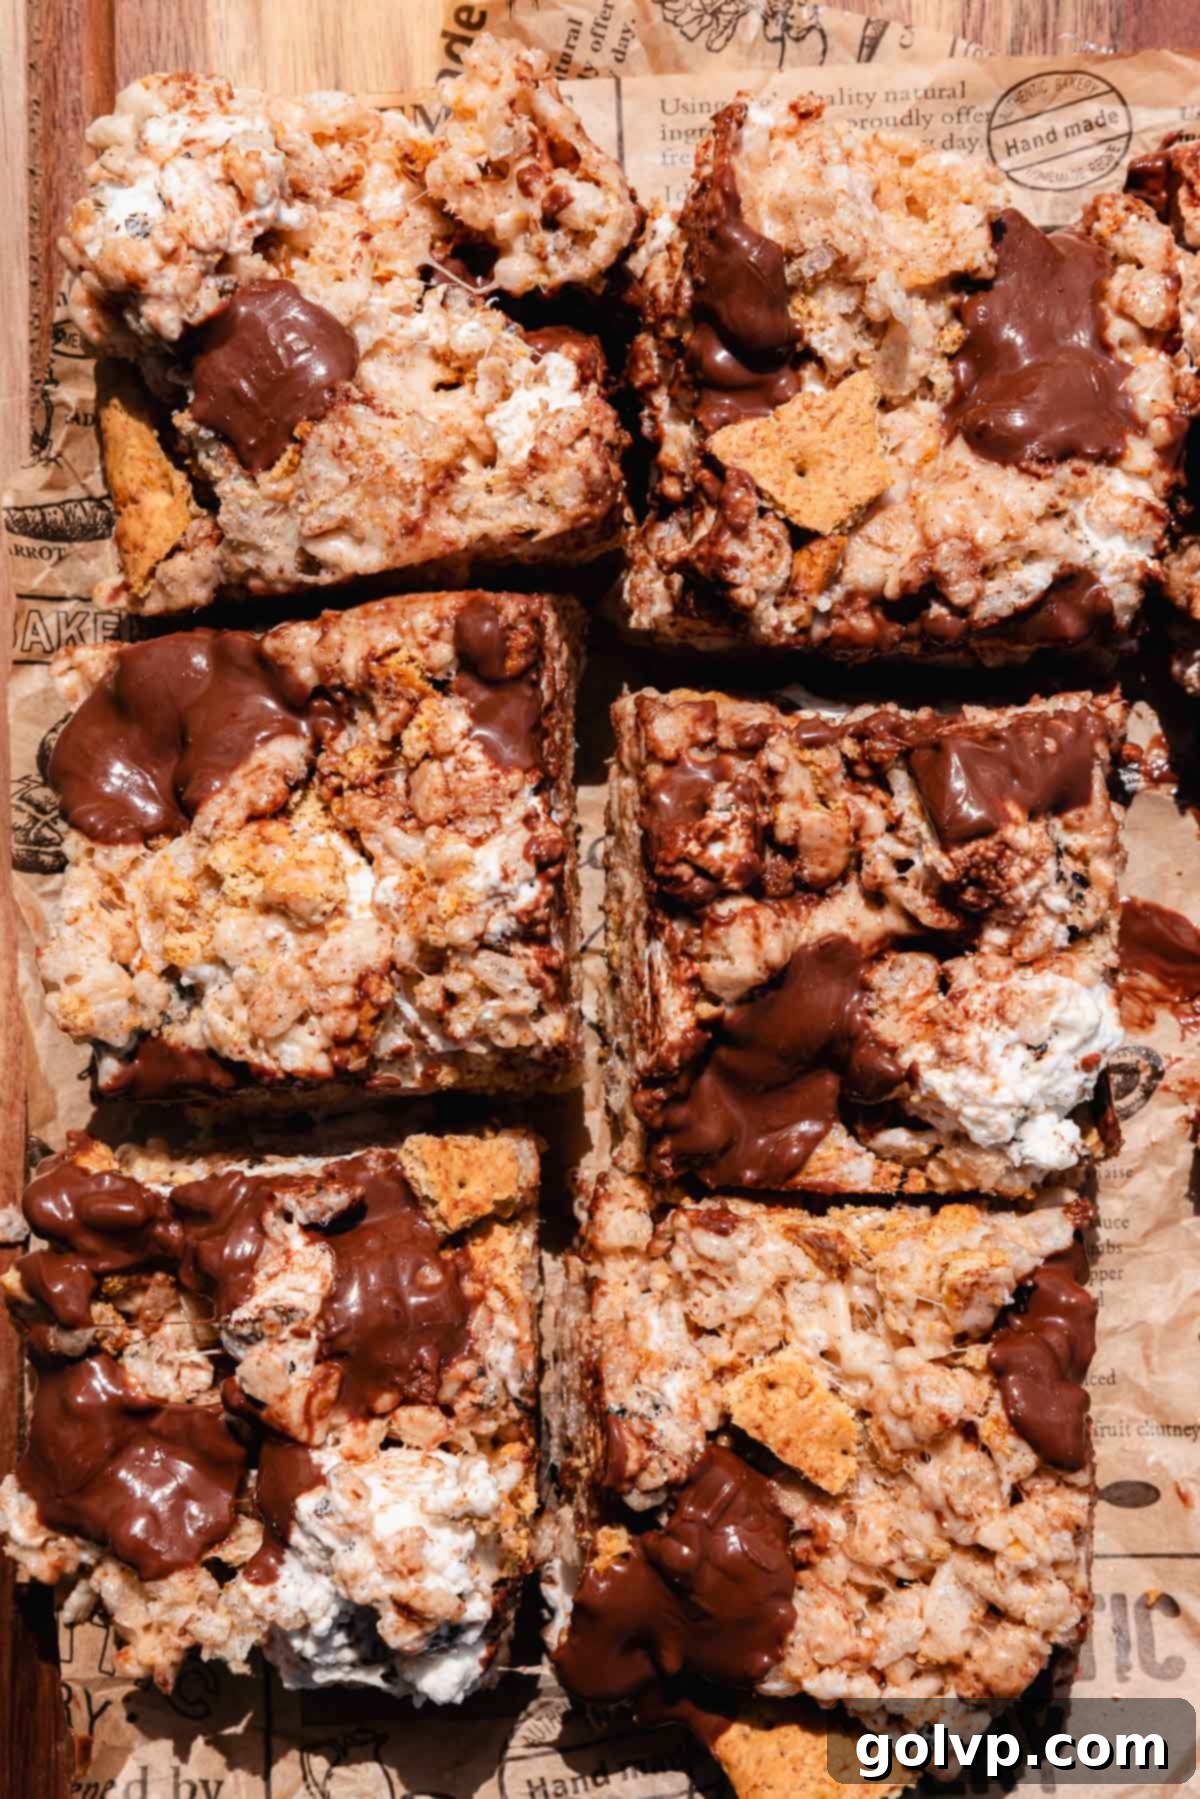
Step 4: Incorporate Toasted Elements and Finish. Once the cereal mixture has cooled slightly and your marshmallows are perfectly charred, add the broiled marshmallows and half of your chopped milk chocolate into the Rice Krispies mix. Stir gently to combine everything. If the mixture is a bit stiff, don’t hesitate to use your hands (lightly buttered, perhaps) to mix it through evenly. Now, gently press the mixture into a parchment-lined 8-inch or 9-inch square pan. Avoid pressing too firmly, as this can make the treats dense. Distribute the remaining chocolate pieces generously over the top of the pressed mixture for an extra touch of deliciousness. Allow the treats to set at room temperature for approximately 30 minutes to an hour until firm. Once set, cut them into 9 equal bars, and prepare to enjoy the ultimate S’mores Rice Krispies Treat experience!
Expert Tips for Irresistible Rice Krispies Treats
Achieving the perfect balance of crisp, chewy, and gooey in your S’mores Rice Krispies Treats is an art, but these expert tips will guide you to success every time:
- Always Use Fresh Marshmallows: This is arguably the most critical tip for outstanding rice krispies treats. A freshly opened bag of plump, soft marshmallows is essential. Stale marshmallows, even if they melt, will result in stiff, hard, and unpleasantly chewy treats that lack that coveted gooey marshmallow pull. Invest in fresh marshmallows for the best texture and flavor.
- Don’t Melt Toasted Marshmallows Completely: When torching or broiling the marshmallows, the goal is to char the exterior while keeping the interior mostly intact. If you melt them all the way through, they will simply dissolve into the cereal mixture, leaving you with a denser, chewier bar and none of those delightful stretchy chunks of marshmallow that are so characteristic of s’mores rice krispies treats. A quick char is all you need.
- Toast the Marshmallows Well for Authentic Flavor: Don’t be shy with the torch! You want to achieve a distinct layer of char on the outside of your marshmallows. This char isn’t bitter; instead, it provides a crucial smoky flavor that perfectly mimics the campfire experience of traditional s’mores. Without adequate toasting, your treats won’t have that authentic s’mores taste, missing a key element of their appeal.
- Cool the Mixture Before Adding Toasted Marshmallows and Chocolate: Patience is a virtue in this step! After combining the cereal with the melted marshmallow and brown butter mixture, allow it to cool for a few minutes. If the mixture is too warm when you add the charred marshmallows and chocolate pieces, they will simply melt and disappear, becoming homogenous with the rest of the treat. Cooling ensures that you get delightful, distinct chunks of gooey marshmallow and pockets of melted (but not dissolved) chocolate in every single square, creating a more dynamic and satisfying eating experience.
Make Ahead and Storage Tips for S’mores Rice Krispies Treats
One of the many benefits of these S’mores Rice Krispies Treats is how well they store, making them a fantastic make-ahead dessert for any occasion. Proper storage ensures they remain fresh, crisp, and wonderfully gooey for days.
To keep your treats at their best, store them sealed tightly in an airtight container or a heavy-duty ziplock bag. For ultimate freshness and convenience, you can also wrap individual squares in plastic wrap. This not only preserves their texture but also makes them easy to grab-and-go for snacks or lunchboxes.
Always store your S’mores Rice Krispies Treats at room temperature. They will maintain their optimal soft, chewy, and gooey texture for up to 4 days. It’s crucial to avoid refrigerating marshmallow treats. The cold environment of a refrigerator causes the marshmallows to harden and become overly chewy, resulting in a less enjoyable texture. So, resist the urge to pop them in the fridge; a cool, dry spot in your pantry is their ideal home.
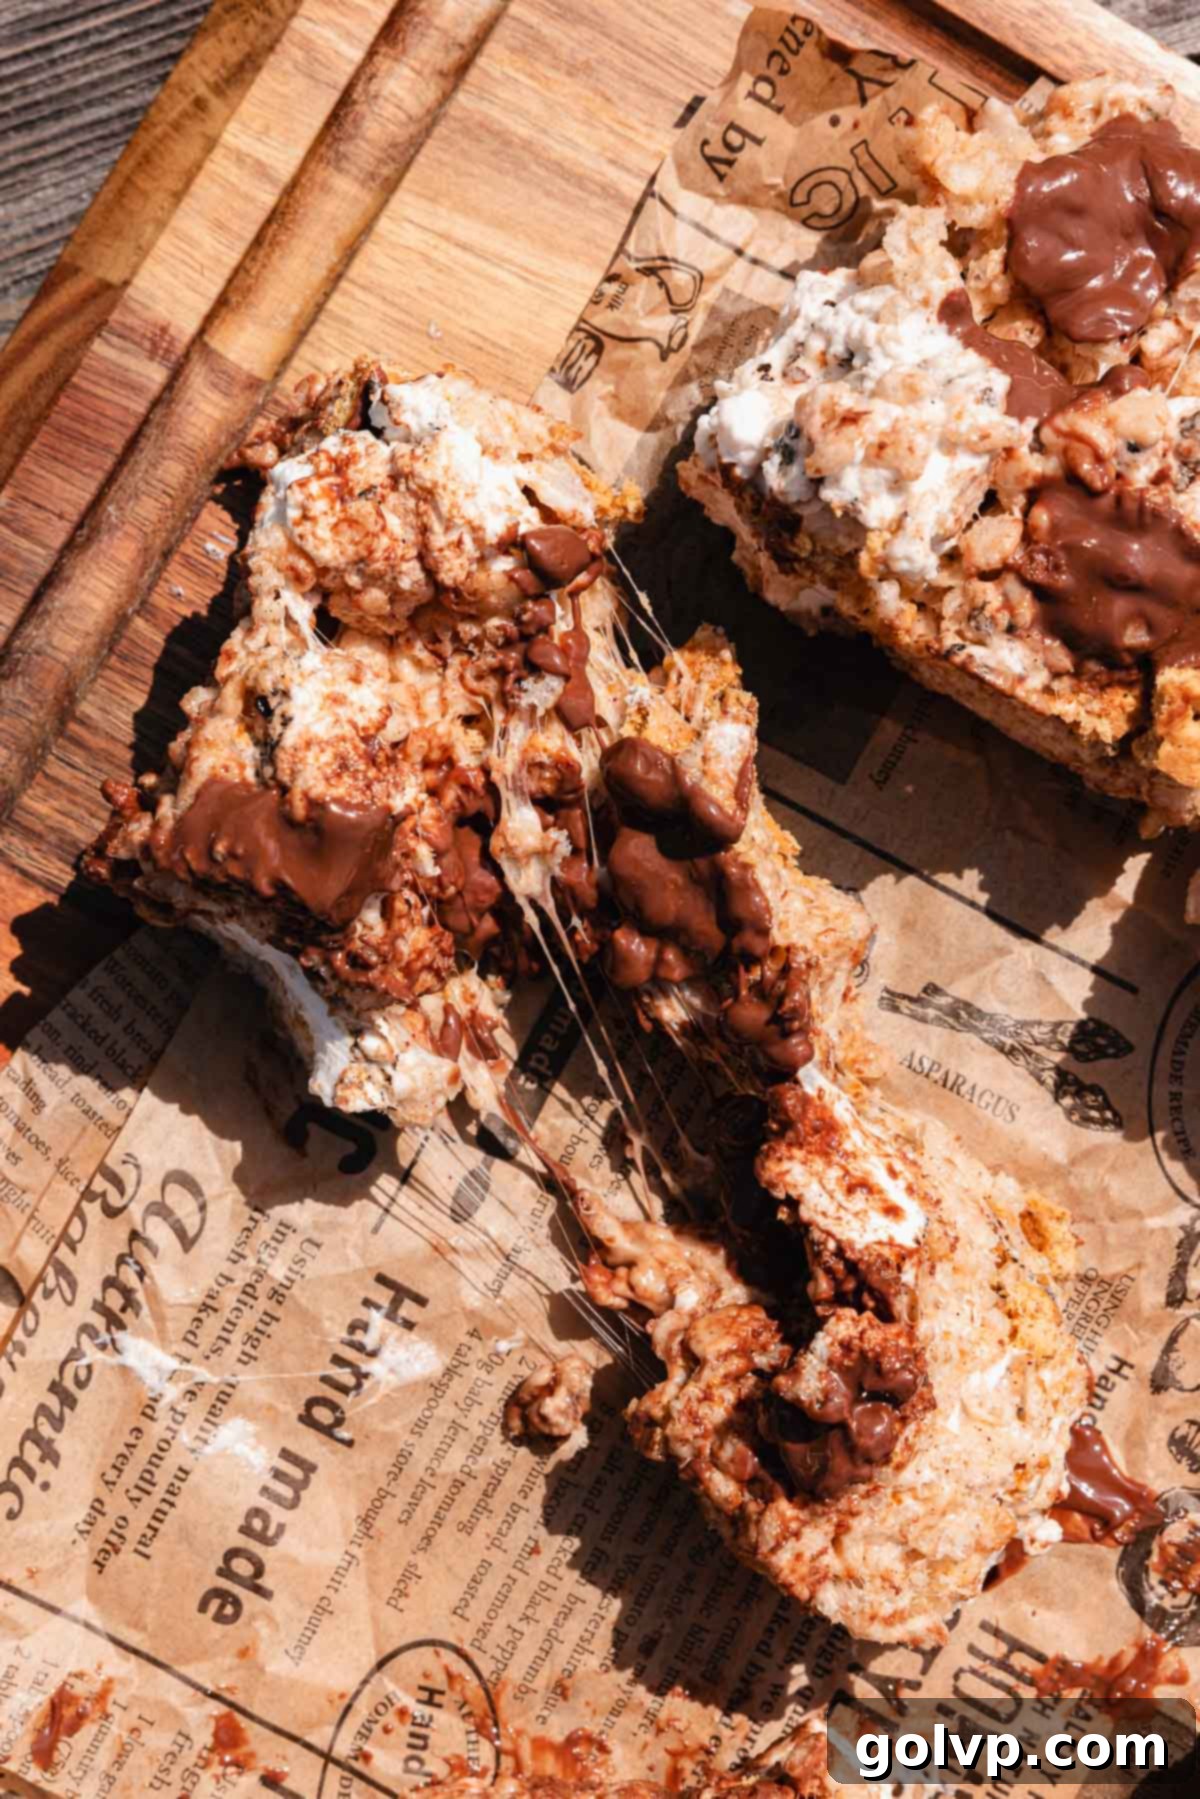
How to Make Rice Krispies Treats with a Gooey Marshmallow Pull
Everyone loves that satisfying, stretchy marshmallow pull! Achieving it in your S’mores Rice Krispies Treats is simpler than you might think with a few key techniques:
- Start with a Fresh Bag of Marshmallows: This cannot be stressed enough! The freshness of your marshmallows directly impacts the texture of your treats. Older, stale marshmallows tend to produce harder, less pliable treats without much of a pull. A newly opened bag ensures maximum softness and elasticity.
- Generous Marshmallow Usage (Melted and Unmelted): The secret to an amazing gooey pull lies in using a substantial amount of marshmallows. Our recipe incorporates marshmallows in two ways: a large portion melted down to bind the cereal, and another portion added whole (and lightly charred) towards the end. This combination creates a rich, soft base and then introduces distinct, stretchy pockets of marshmallow that truly deliver that elite pull.
- Don’t Over-Pack the Mixture: After combining all the ingredients, resist the urge to press the mixture too tightly into your pan. I recommend letting the mixture cool slightly before gently pressing it into the parchment-lined pan. Over-compacting the treats forces out air, resulting in dense, hard, and overly chewy squares instead of light, fluffy, and perfectly crisp treats with that desirable gooey center. A gentle hand is key for light and airy results!
S’mores Rice Krispies Treats Recipe FAQs
Absolutely! To make these S’mores Rice Krispies Treats suitable for a gluten-free diet, you will need to ensure two main ingredient substitutions. First, use a certified gluten-free rice cereal (most generic rice crisps are gluten-free, but always check the label). Second, choose gluten-free graham crackers, which are readily available in many grocery stores. With these two simple changes, you can enjoy all the deliciousness of these treats without the gluten.
While it’s technically possible to use a broiler, I generally don’t recommend it, and prefer a kitchen torch for precision. My experience with broiling marshmallows often results in them melting all the way through their centers very quickly, leading to a denser, chewier marshmallow square that lacks those desirable gooey pockets. If you must use a broiler, set it to high and place the marshmallows on a foil-lined baking sheet on the top rack of your oven for a very brief period – typically 15-30 seconds. Watch them extremely carefully, only aiming to toast the tops without allowing them to melt entirely. The advantage of a torch is that it provides direct heat, allowing you to achieve a beautiful char on the outside while maintaining the soft, un-melted core for the perfect texture.
No, I strongly advise against refrigerating S’mores Rice Krispies Treats. Marshmallow-based treats, when exposed to the cold, tend to become very hard, overly chewy, and quickly lose their desirable soft and gooey texture. Refrigeration essentially makes them stale prematurely. For the best enjoyment and to preserve their intended texture, always store these treats at room temperature in an airtight container.
🍪 More Related Recipes & No-Bake Desserts
- Hot Chocolate Cookies
- Marshmallow Cookies
- Lemon Bars with Graham Cracker Crust
- Oatmeal Fudge Bars
Did you make this recipe? I would love for you to rate this recipe and hear what you think in the comments below! Share your creation on Instagram and tag @flouringkitchen. Follow me on Pinterestto save and for more recipe ideas. Your feedback truly helps me create more delicious content!
📖 Recipe

Smores Rice Krispies Treats
Mary
Pin Recipe
Shop Ingredients
Equipment
-
parchment paper
-
eight inch square baking pan
Ingredients
- ½ cup unsalted butter
- 14 oz large marshmallows 400g, divided in half
- 1 teaspoon pure vanilla extract
- ½ teaspoon sea salt
- ½ teaspoon cinnamon
- 5 cups rice krispies cereal
- 1 cup graham crackers broken into pieces
- ½ cup chopped milk chocolate I used two 43g (1.55oz) hersheys milk chocolate bars
Shop Ingredients on Jupiter
Instructions
-
Line an 8″ or 9″ square pan with parchment paper.
-
Add the butter into a heavy bottomed saucepan. Melt on medium-low heat and stir occasionally. Once it starts to foam, keep stirring and the foam will subside. Once it starts foaming again, watch it carefully because it will start to turn brown. Remove it from the heat immediately.½ cup unsalted butter
-
Add half of the marshmallows, vanilla extract, salt, and cinnamon into the browned butter and stir until they melt. It should melt off the heat. If it doesn’t, place it back onto low heat just until everything melts.14 oz large marshmallows, 1 teaspoon pure vanilla extract, ½ teaspoon sea salt, ½ teaspoon cinnamon
-
Add the cereal and graham cracker pieces into the melted marshmallows. Stir to combine and set aside to cool for a few minutes while you burn the marshmallows.5 cups rice krispies cereal, 1 cup graham crackers
-
Use a torch to burn the other half of the marshmallows. You only want to char the outside of them without melting the middle. Read the notes for broiling instructions.14 oz large marshmallows
-
Add the broiled marshmallows and half of the milk chocolate into the rice krispies mix. Stir to combine. If it’s difficult to stir then use your hands to mix as best as you can.½ cup chopped milk chocolate
-
Place the mixture into the parchment lined pan and gently press it in. You don’t want to be forceful. Add the remaining chocolate on top. Let the treats set for about 30 minutes to 1 hour to set.
-
Cut the smores rice krispies treats into 9 bars and enjoy! Store them in an airtight bag or container, or wrap the squares individually in plastic wrap. Store them at room temperature as they will get hard in the fridge.
Notes
Storage: Store them at room temperature for up to 4 days, wrapped tightly or in an airtight container. Don’t store them in the fridge or freezer or they’ll become hard.
Tips for success:
- Don’t melt the marshmallows all the way through when toasting them.
- Give the marshmallows a good char for that campfire flavor.
- Let the rice krispies mixture cool slightly before adding the toasted marshmallow and pieces of chocolate.
