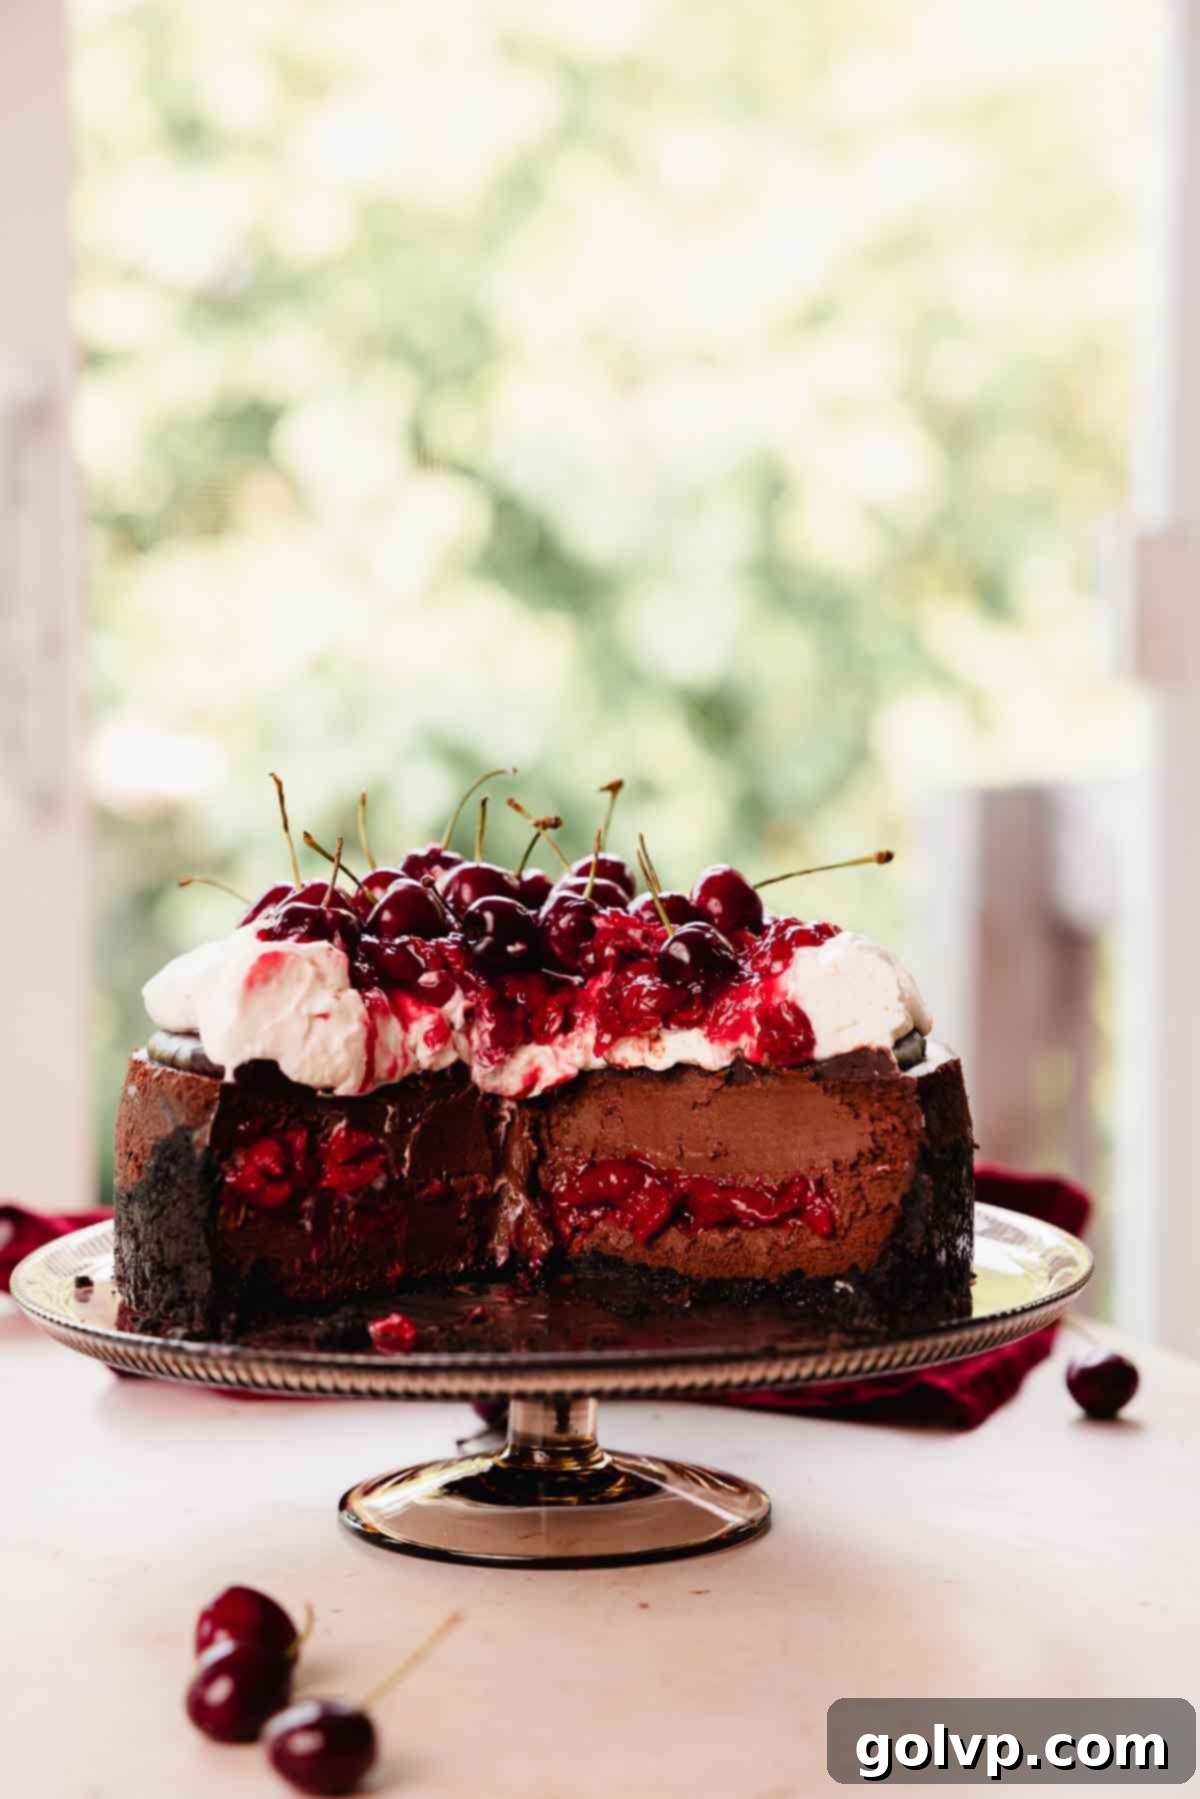
The Ultimate Black Forest Cheesecake: Creamy Chocolate & Tart Cherry Perfection
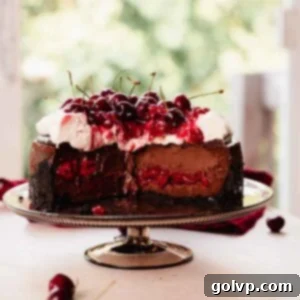
Prepare to be captivated by this extraordinary Black Forest Cheesecake, a truly decadent dessert that elevates the classic German cake to new heights of creamy indulgence. This exquisite cheesecake features a rich, intensely chocolatey base, layered with a vibrant tart cherry and kirsch sauce, and crowned with a generous mound of light vanilla whipped cream. What sets this recipe apart is the dual-chocolate approach in the cheesecake batter: a harmonious blend of both melted dark chocolate and rich cocoa powder. This combination isn’t just for flavor; it’s the secret to achieving an unparalleled, ultra-creamy texture that beautifully straddles the line between a traditional baked cheesecake and a luxurious chocolate mousse. Each bite offers a velvety smooth experience, bursting with deep chocolate notes complemented by the bright, tangy zest of cherries. While traditional Black Forest cakes famously use tart cherries for their distinctive flavor profile, this recipe stays true to that heritage, leveraging their perfect balance of sweetness and acidity. Should tart cherries be unavailable, dark sweet cherries offer a delightful alternative, lending a slightly milder, sweeter touch. And for those who prefer to skip the spirits, a simple alcohol-free substitution ensures everyone can enjoy this magnificent creation.
🍒 Why you’ll LOVE this recipe
- Chocolate + Cherry = A Timeless Combination: This Black Forest Cheesecake pays homage to the beloved German Schwarzwälder Kirschtorte, expertly blending the robust intensity of dark chocolate with the bright, tangy sweetness of cherries, all unified by a cloud of airy whipped cream. It’s a flavor marriage celebrated worldwide, perfectly reimagined in cheesecake form.
- Irresistible Crunchy Oreo Crust: Forget plain graham crackers! Our secret to the ultimate chocolate cheesecake experience begins with a deeply chocolatey, perfectly crunchy crust made from finely crushed Oreo cookies. This robust base provides a delightful textural contrast to the smooth filling and ensures every slice starts with a burst of chocolate flavor.
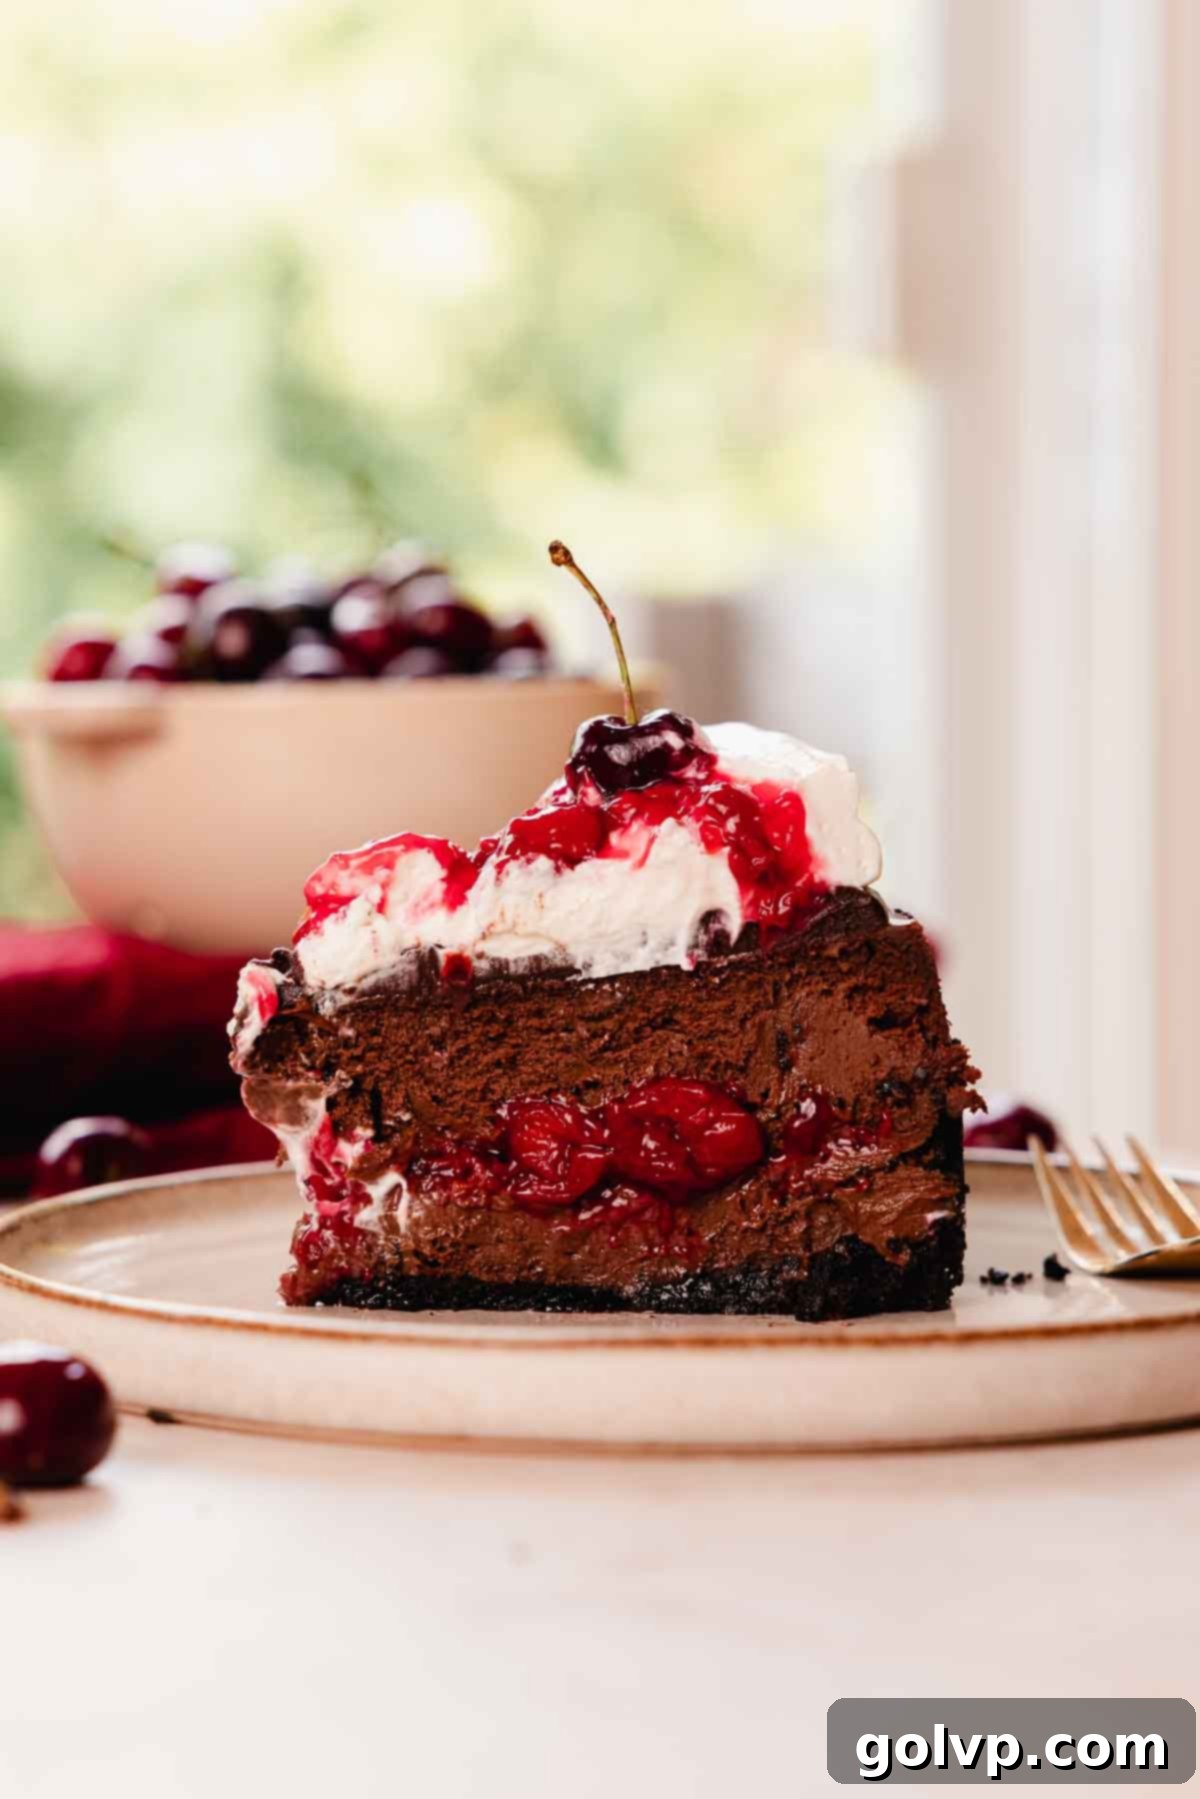
- Luxuriously Ultra-Creamy Chocolate Cheesecake Filling: Prepare for an extraordinary texture that blurs the lines between a classic baked cheesecake and a sophisticated chocolate mousse. This rich filling is dense yet incredibly luscious, offering a melt-in-your-mouth creaminess that’s intensely flavored with decadent chocolate. It’s a truly indulgent experience unlike any other cheesecake you’ve tasted.
- Light & Tangy Whipped Greek Yogurt Cream: To perfectly balance the richness of the chocolate and cherry, we crown this cheesecake with a unique whipped cream. Infused with Greek yogurt, it offers a subtle tanginess and an ethereal fluffiness, creating a topping that is wonderfully light and not overly sweet, making each bite a symphony of balanced flavors.
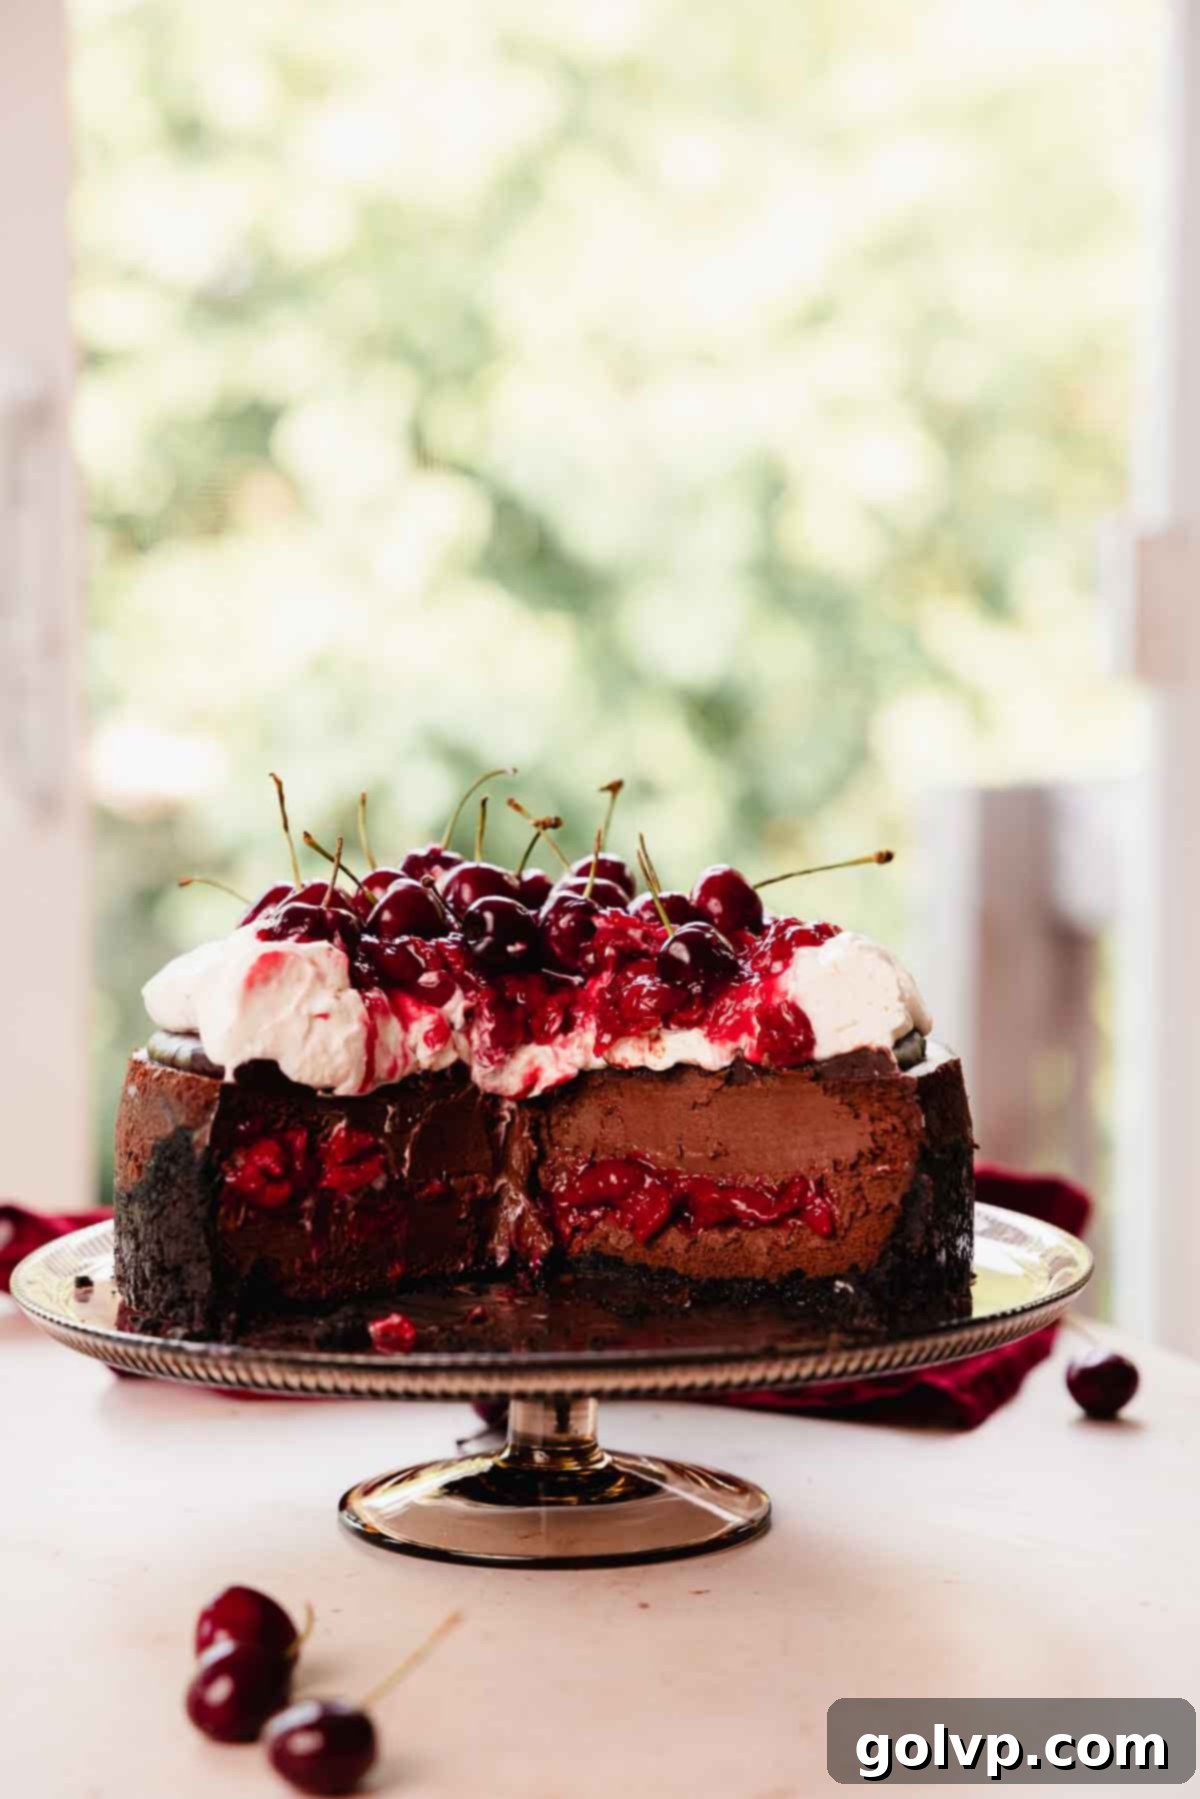
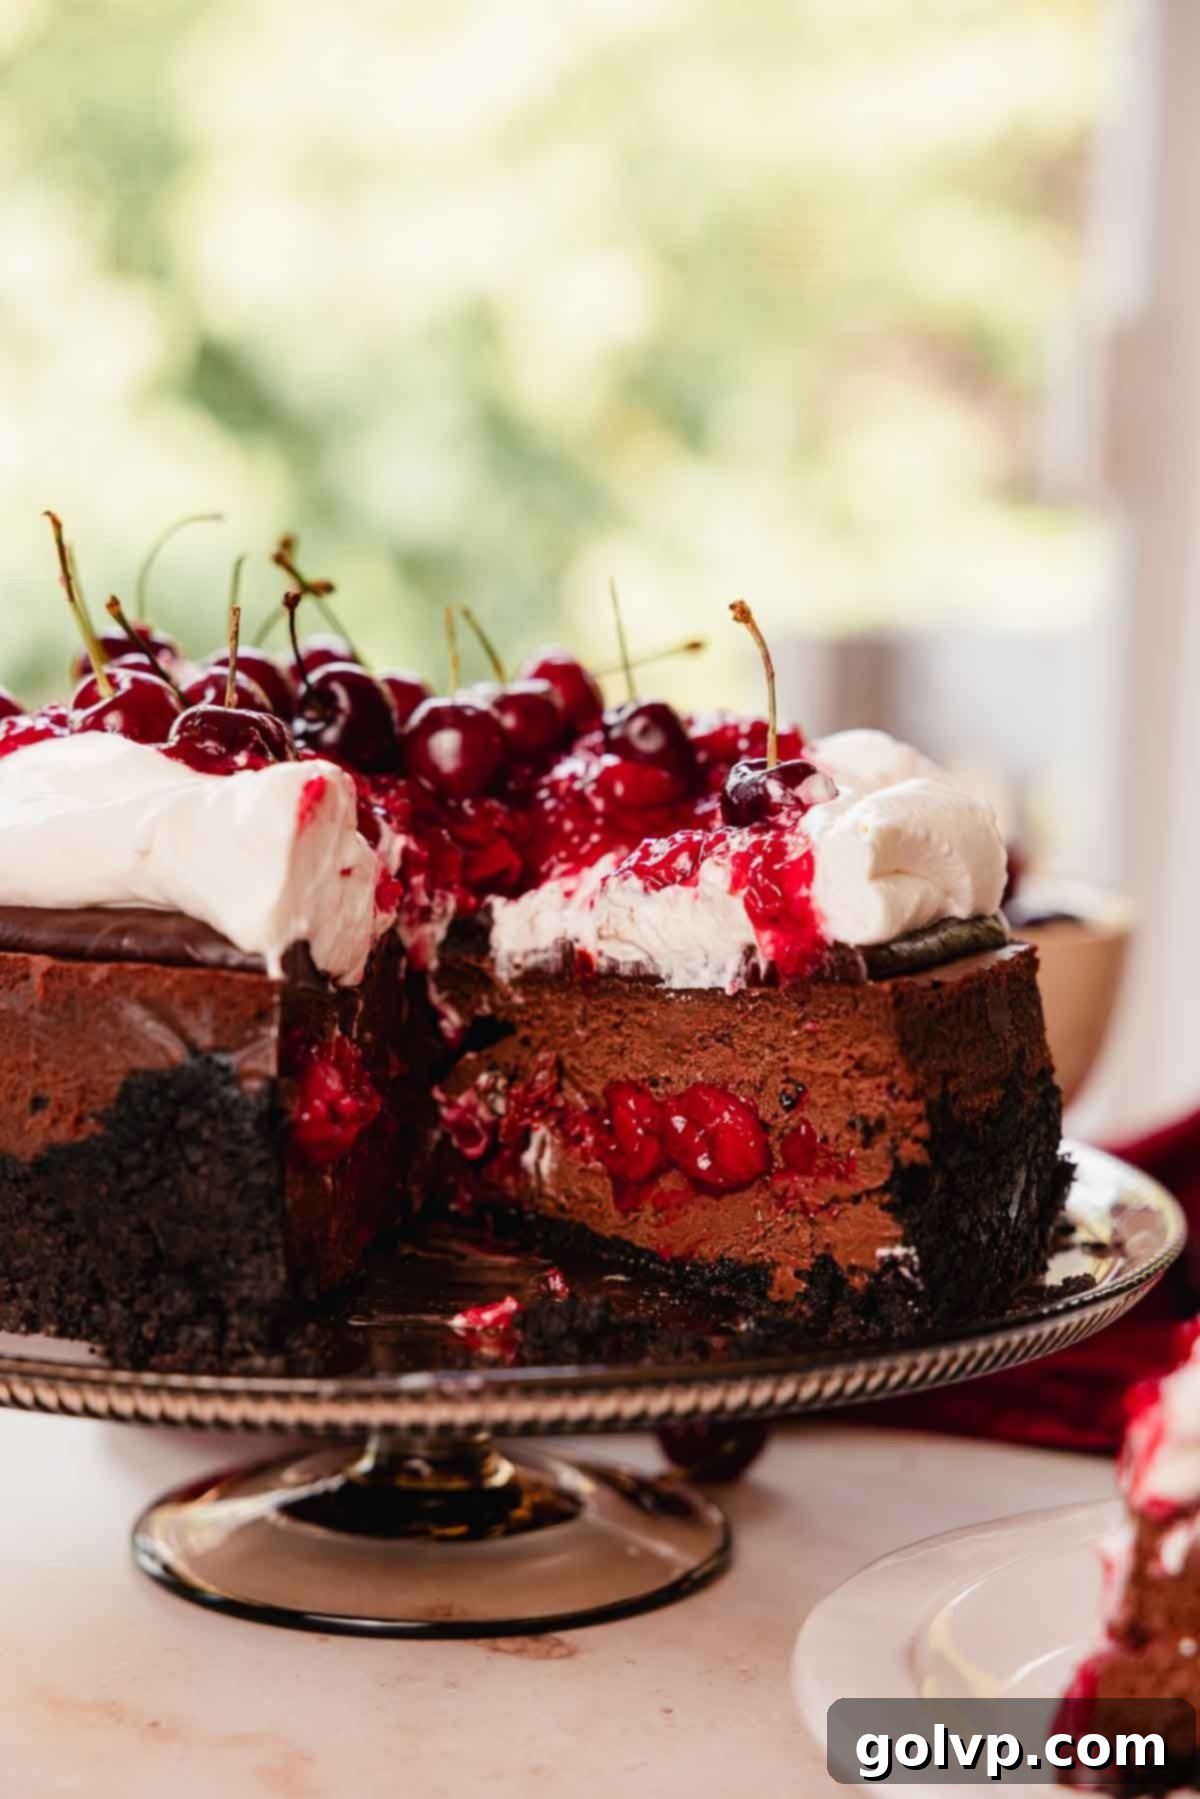
- Vibrant Tart Cherry Filling with a Delightful Surprise: Hidden within the layers of chocolate cheesecake is a vivid, ruby-red tart cherry sauce. This stunning surprise burst of color and flavor emerges when you slice into the cheesecake. Optionally infused with kirsch, the traditional cherry brandy used in Black Forest desserts, this filling adds an authentic, aromatic warmth and a beautiful fruity counterpoint.
📝 Key ingredients
Read through for all the tips you will need for success!
Full steps and ingredients in recipe card below.
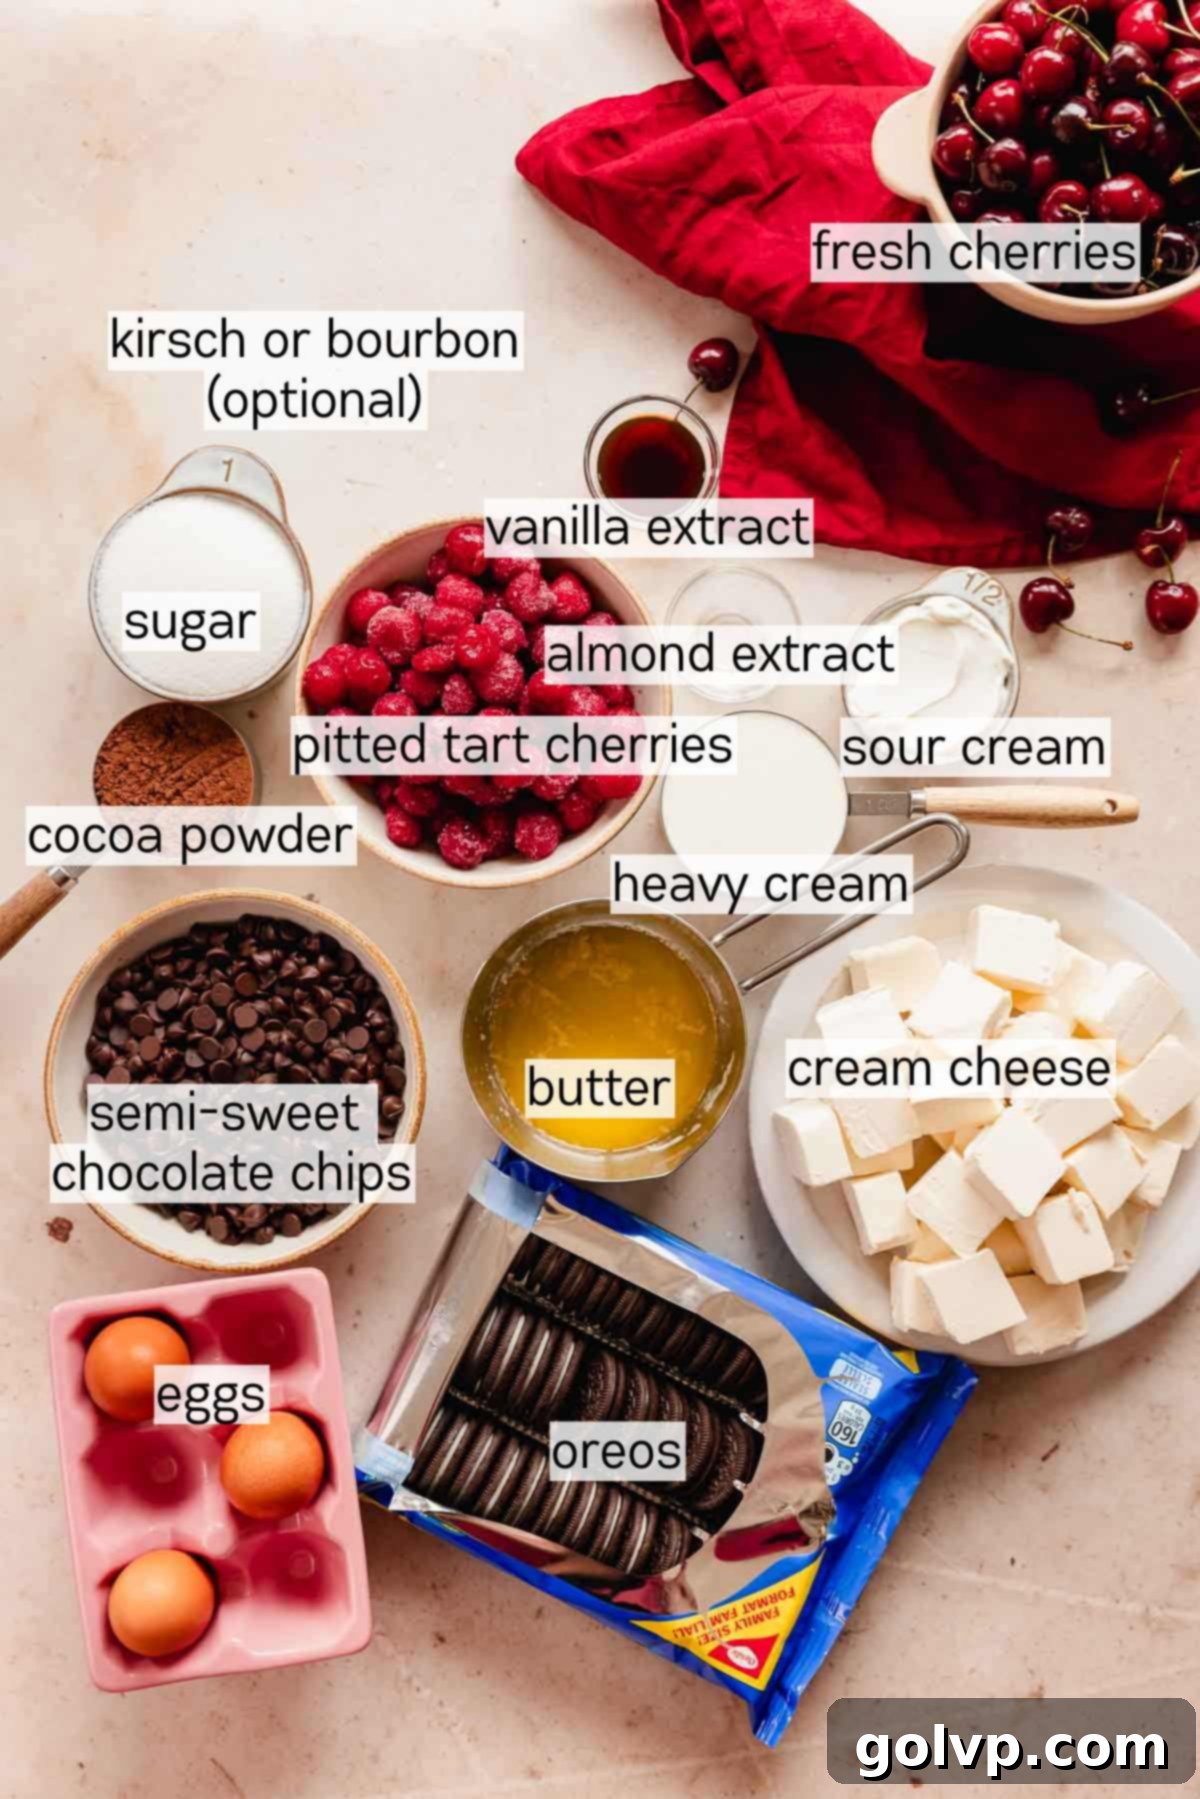
Oreos: Used as the foundational layer for our delectable crust, Oreos provide an intensely chocolatey flavor and a satisfying crunch. There’s no need to remove the cream filling; crush the cookies whole for ease and maximum flavor, ensuring a cohesive and rich base.
Butter: A touch of melted butter is crucial for binding the crushed Oreo crumbs, transforming them into a firm, perfectly bakeable crust. It ensures the crust holds its shape beautifully and adds to its rich flavor.
Full fat brick style cream cheese: The bedrock of any truly great cheesecake, full-fat brick-style cream cheese is absolutely essential. Its high fat content is key to achieving that signature dense, velvety, and properly set texture. Always opt for the solid blocks, not whipped or spreadable varieties, as these are formulated for baking and yield the best results.
Eggs: Three large eggs are vital for the structure and setting of the cheesecake, providing a silky smooth consistency once baked. The golden rule here is to avoid overmixing the batter after adding the eggs; mix only until each egg is just incorporated to prevent excess air from creating cracks.
Dutch processed cocoa powder: This alkalized cocoa powder is a game-changer for deep chocolate flavor and color. By reducing acidity, it delivers a smooth, profound chocolate taste and a distinctively dark hue, ideal for creating an intense Black Forest aesthetic. It’s particularly well-suited for cheesecakes where baking soda isn’t present to react with natural cocoa.
Chocolate chips: Semi-sweet chocolate chips are ingeniously incorporated in two ways: first, melted into a rich ganache folded directly into the cheesecake batter for an extra layer of chocolatey depth, and second, used to create the luscious ganache topping. While high-quality bar chocolate can be used, good semi-sweet chocolate chips work wonderfully. Just ensure they are real chocolate chips, not chocolate-flavored morsels, for the best melting and flavor.
Heavy whipping cream: A cornerstone ingredient, heavy whipping cream (with at least 35% milkfat) serves multiple purposes. It creates the smooth, rich ganache for both the filling and topping, and, when whipped to stiff peaks, forms the airy, luxurious crown for the cheesecake. Lower fat creams will not achieve the desired volume or stability.
Plain Greek yogurt: Incorporating plain Greek yogurt into the whipped cream topping is a clever addition that balances the cheesecake’s richness. It imparts a delightful, subtle tang and also acts as a stabilizer, helping the whipped cream hold its fluffy shape longer, making for a perfectly balanced finish.
Almond extract: Just a small amount of almond extract works wonders in amplifying and brightening the natural cherry flavor in the filling. Its subtle, nutty undertones complement the fruit beautifully, making the cherry notes truly shine without overpowering them. Don’t skip this ingredient; a little goes a long way to enhance the overall flavor profile.
Kirsch (optional): Kirsch, a traditional clear cherry brandy, is the authentic choice for Black Forest desserts. It infuses the cherry filling with a unique depth, a warm aromatic quality, and a hint of sophistication. If kirsch is hard to find, a good quality brandy can be substituted. For an equally delicious alcohol-free version, simply use water, which still allows the cherry flavor to dominate.
Tart cherries: For an authentic Black Forest experience, pitted sour cherries (also known as tart cherries) are indispensable for the filling. Their vibrant acidity and concentrated flavor are superior to sweet cherries, providing that classic ‘cherry pie’ zest. Frozen tart cherries are often the best choice, as they are picked at peak ripeness and conveniently pitted. While jarred cherries in syrup are an option, they often lack the intense flavor of frozen varieties. Look for them in the frozen fruit section of your grocery store, health food markets, or specialty European delis.
Fresh cherries: Beyond their flavorful role, a handful of fresh dark cherries serves as a beautiful and inviting garnish, adding a burst of color and natural elegance to the finished cheesecake. They are optional but highly recommended for presentation.
Sour cream: Sour cream is a key player in the cheesecake batter, contributing to its signature tanginess and an incredibly smooth, creamy texture. It helps to soften the crumb without diminishing the richness, resulting in a cheesecake that is both luxurious and bright.
👩🍳 How to make black forest cheesecake
Oreo cheesecake crust step by step
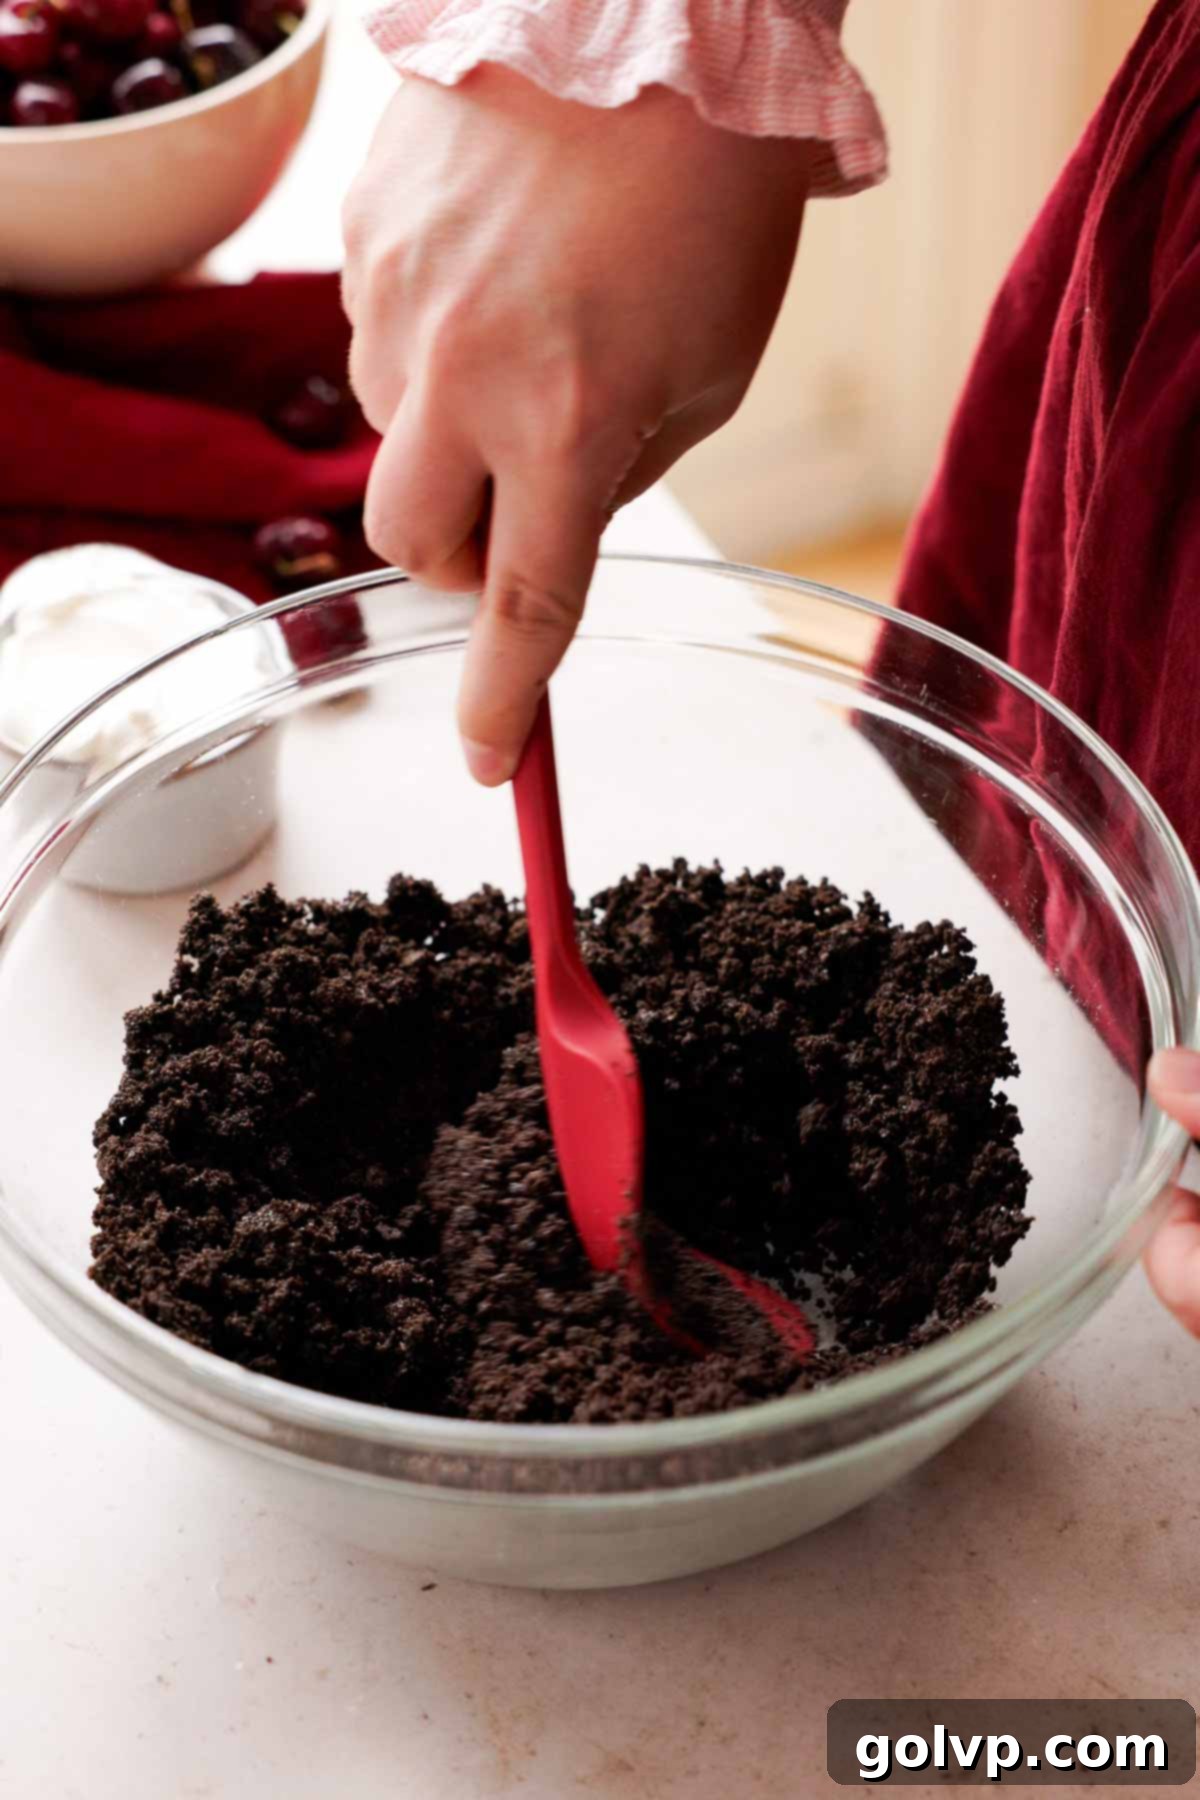
Step 1: Preheat your oven to 340°F (170°C). Begin by crushing the Oreo cookies into a fine, uniform crumb using a blender or food processor. Transfer these crumbs to a large mixing bowl. Pour in the melted butter and stir thoroughly until all the crumbs are evenly moistened and resemble wet sand, ensuring a cohesive crust.
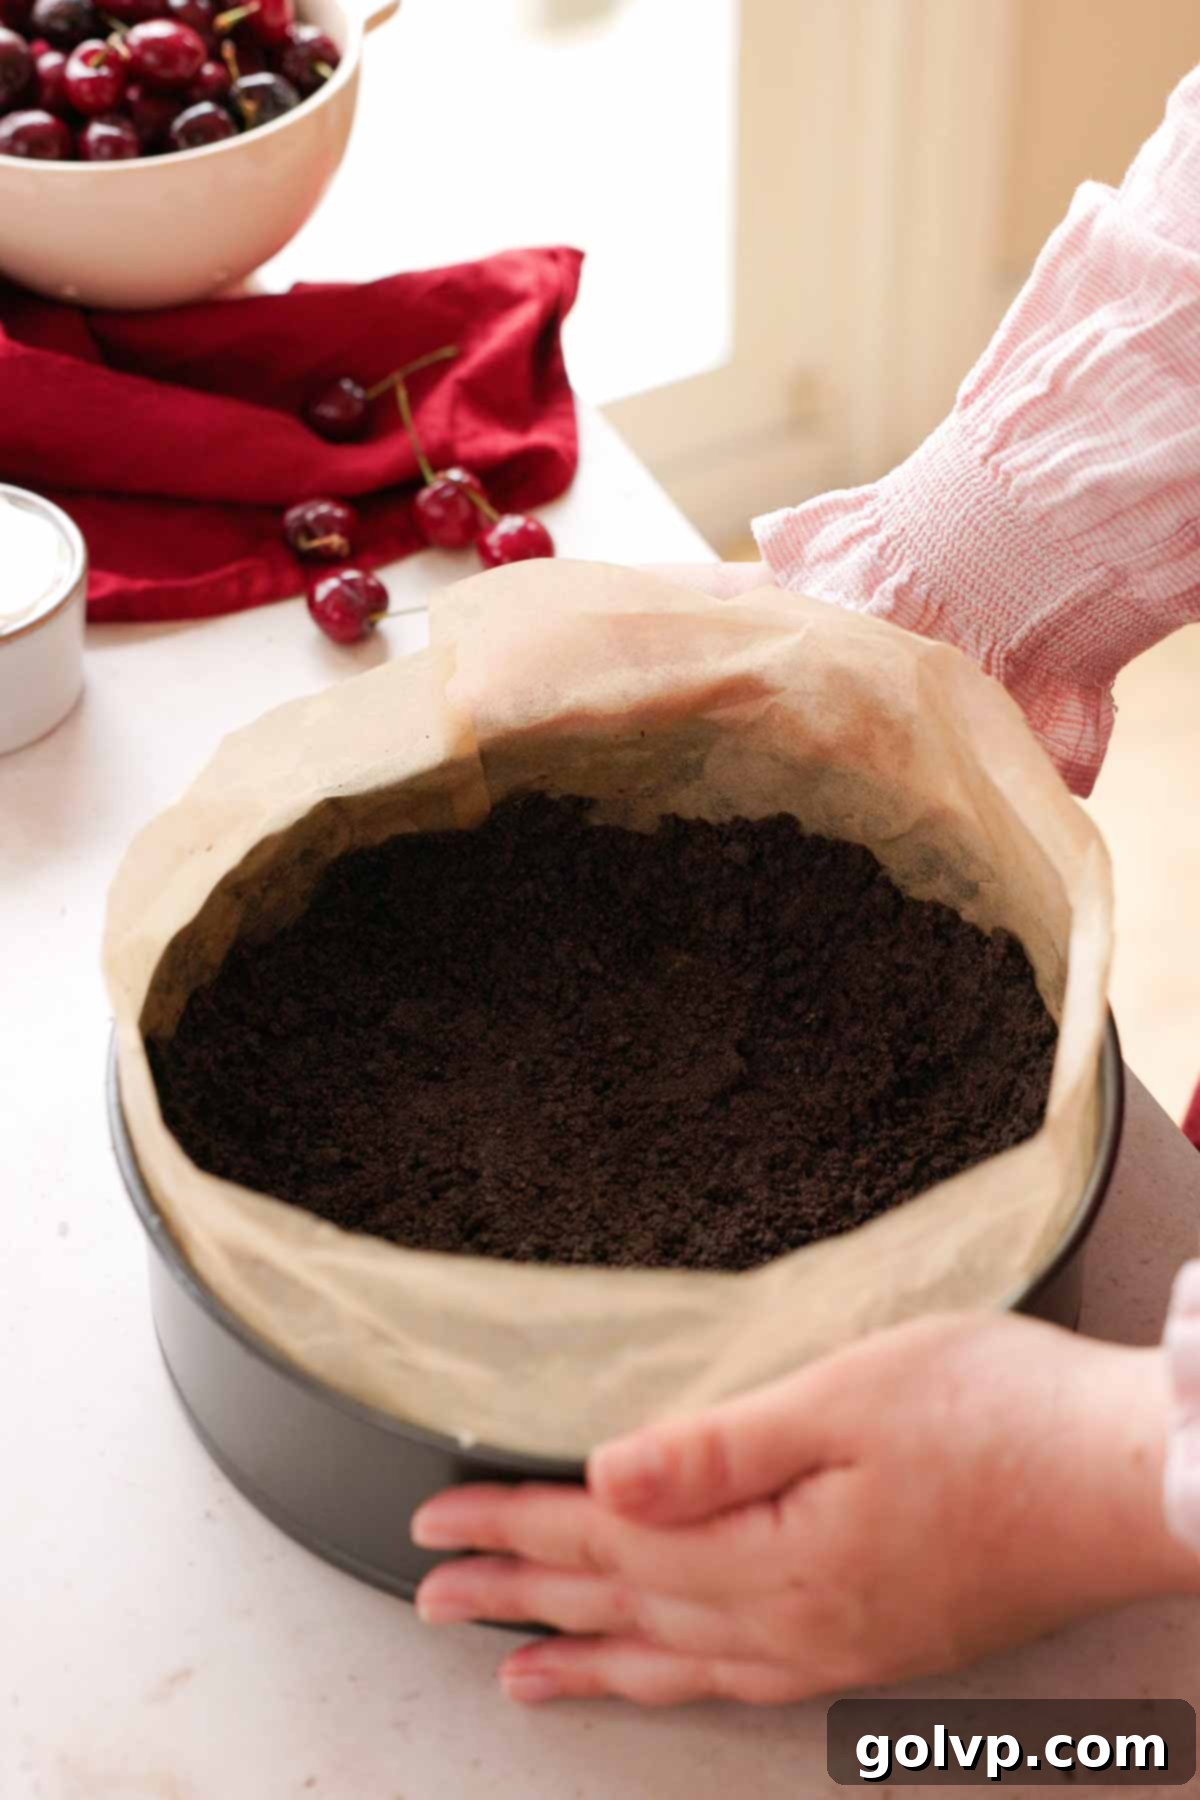
Step 2: Prepare your springform pan by lightly greasing the inside walls with a piece of cold butter. Cut a long strip of parchment paper to size and press it against the buttered sides – this technique is vital as it prevents the cheesecake batter from overflowing during baking and ensures a clean release. Transfer the buttery Oreo mixture into the prepared pan, pressing it firmly and evenly into the bottom and about halfway up the sides. A flat-bottomed glass or measuring cup can help you pack it tightly for a sturdy crust. Bake the crust in the preheated oven for 8 minutes, then remove and allow it to cool completely while you prepare the fillings.
Cherry filling step by step
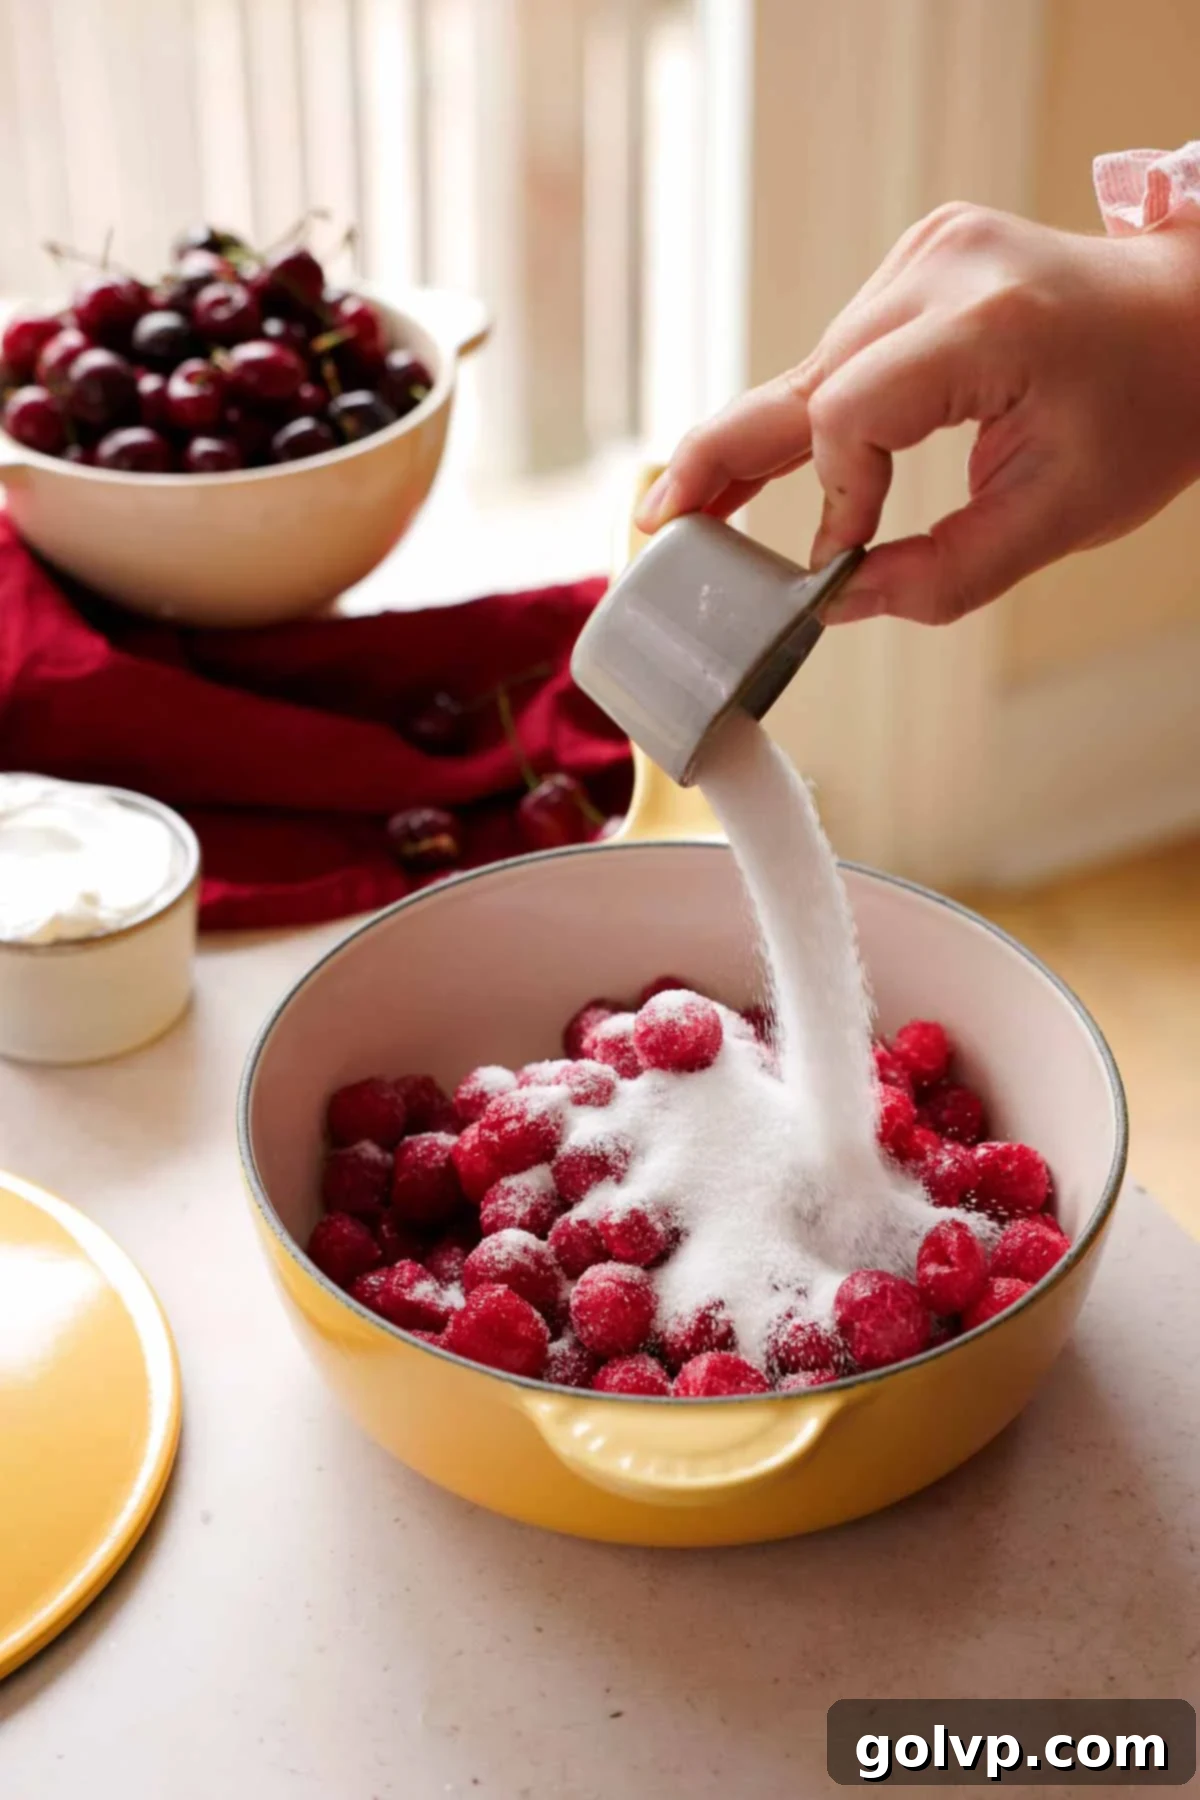
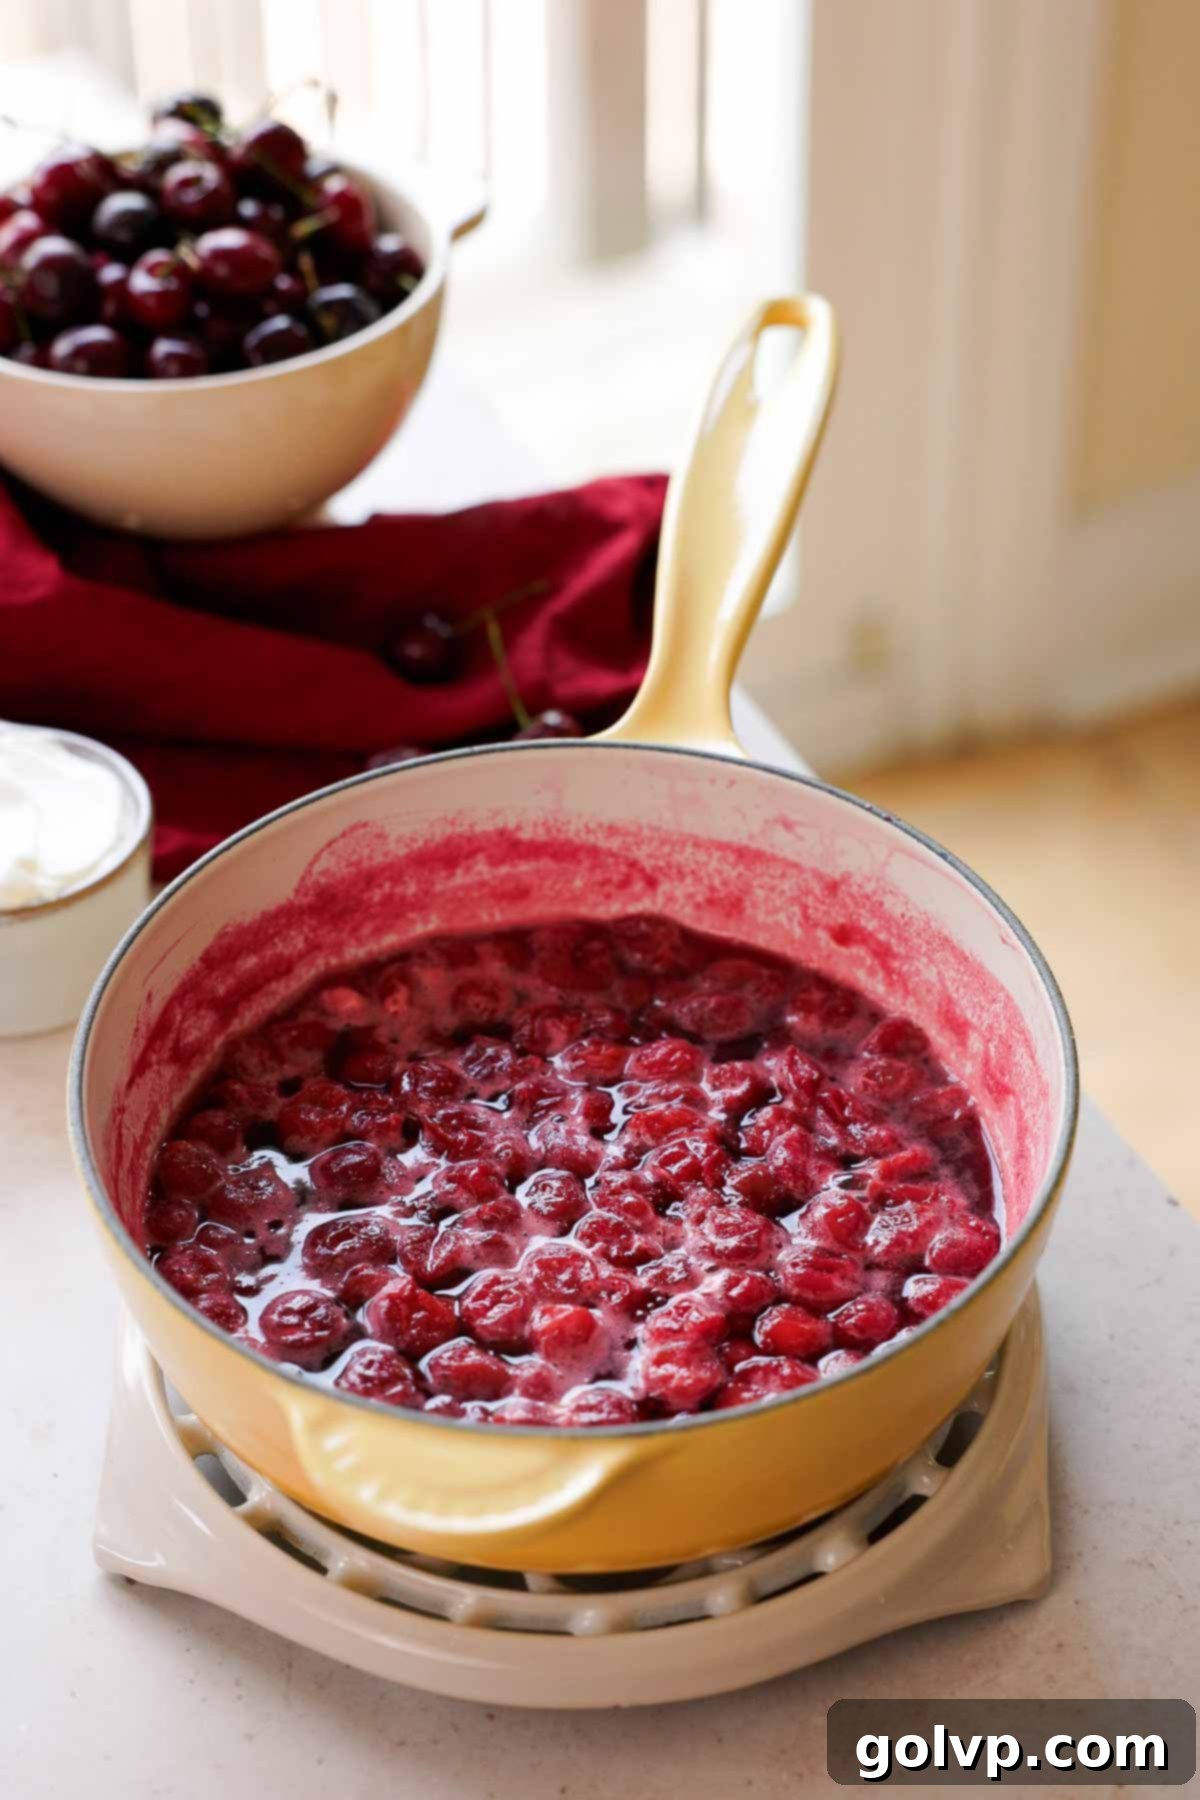
Step 1: In a medium saucepan, combine the pitted sour cherries, granulated sugar, kirsch (or water for an alcohol-free option), and almond extract. Place the saucepan over medium heat, stirring occasionally to help the sugar dissolve and the cherries release their juices. Bring the mixture to a gentle simmer and let it bubble for about 10 minutes, continuing to stir periodically to prevent sticking.
Step 2: While the cherries are simmering, prepare a cornstarch slurry. In a separate small bowl, whisk together the cornstarch and 2 tablespoons of cold water until smooth and lump-free. This slurry will act as the thickening agent for your cherry filling.
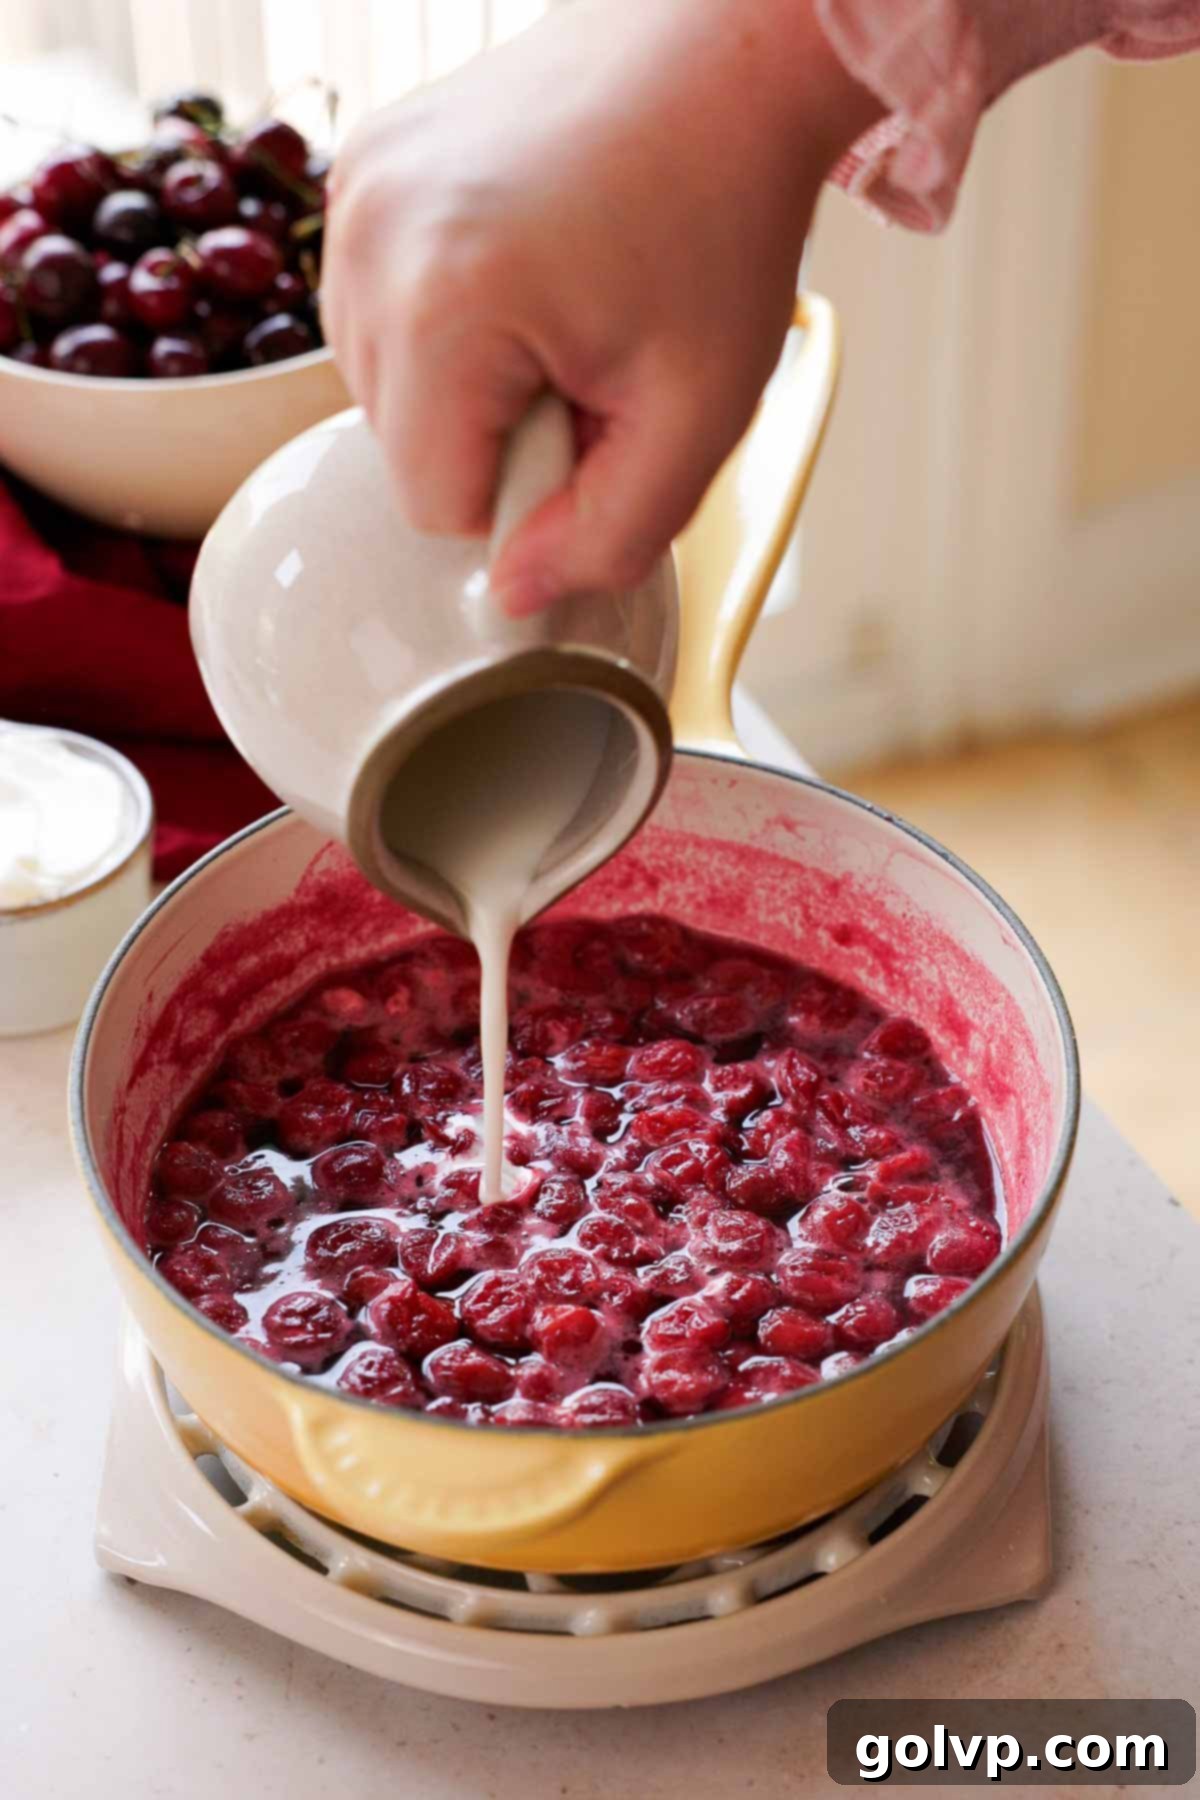
Step 3: After the cherries have simmered for 10 minutes, rapidly stir in the cornstarch and water mixture into the hot cherry filling. It’s crucial to stir quickly and continuously as you add it to prevent lumps and ensure even thickening.
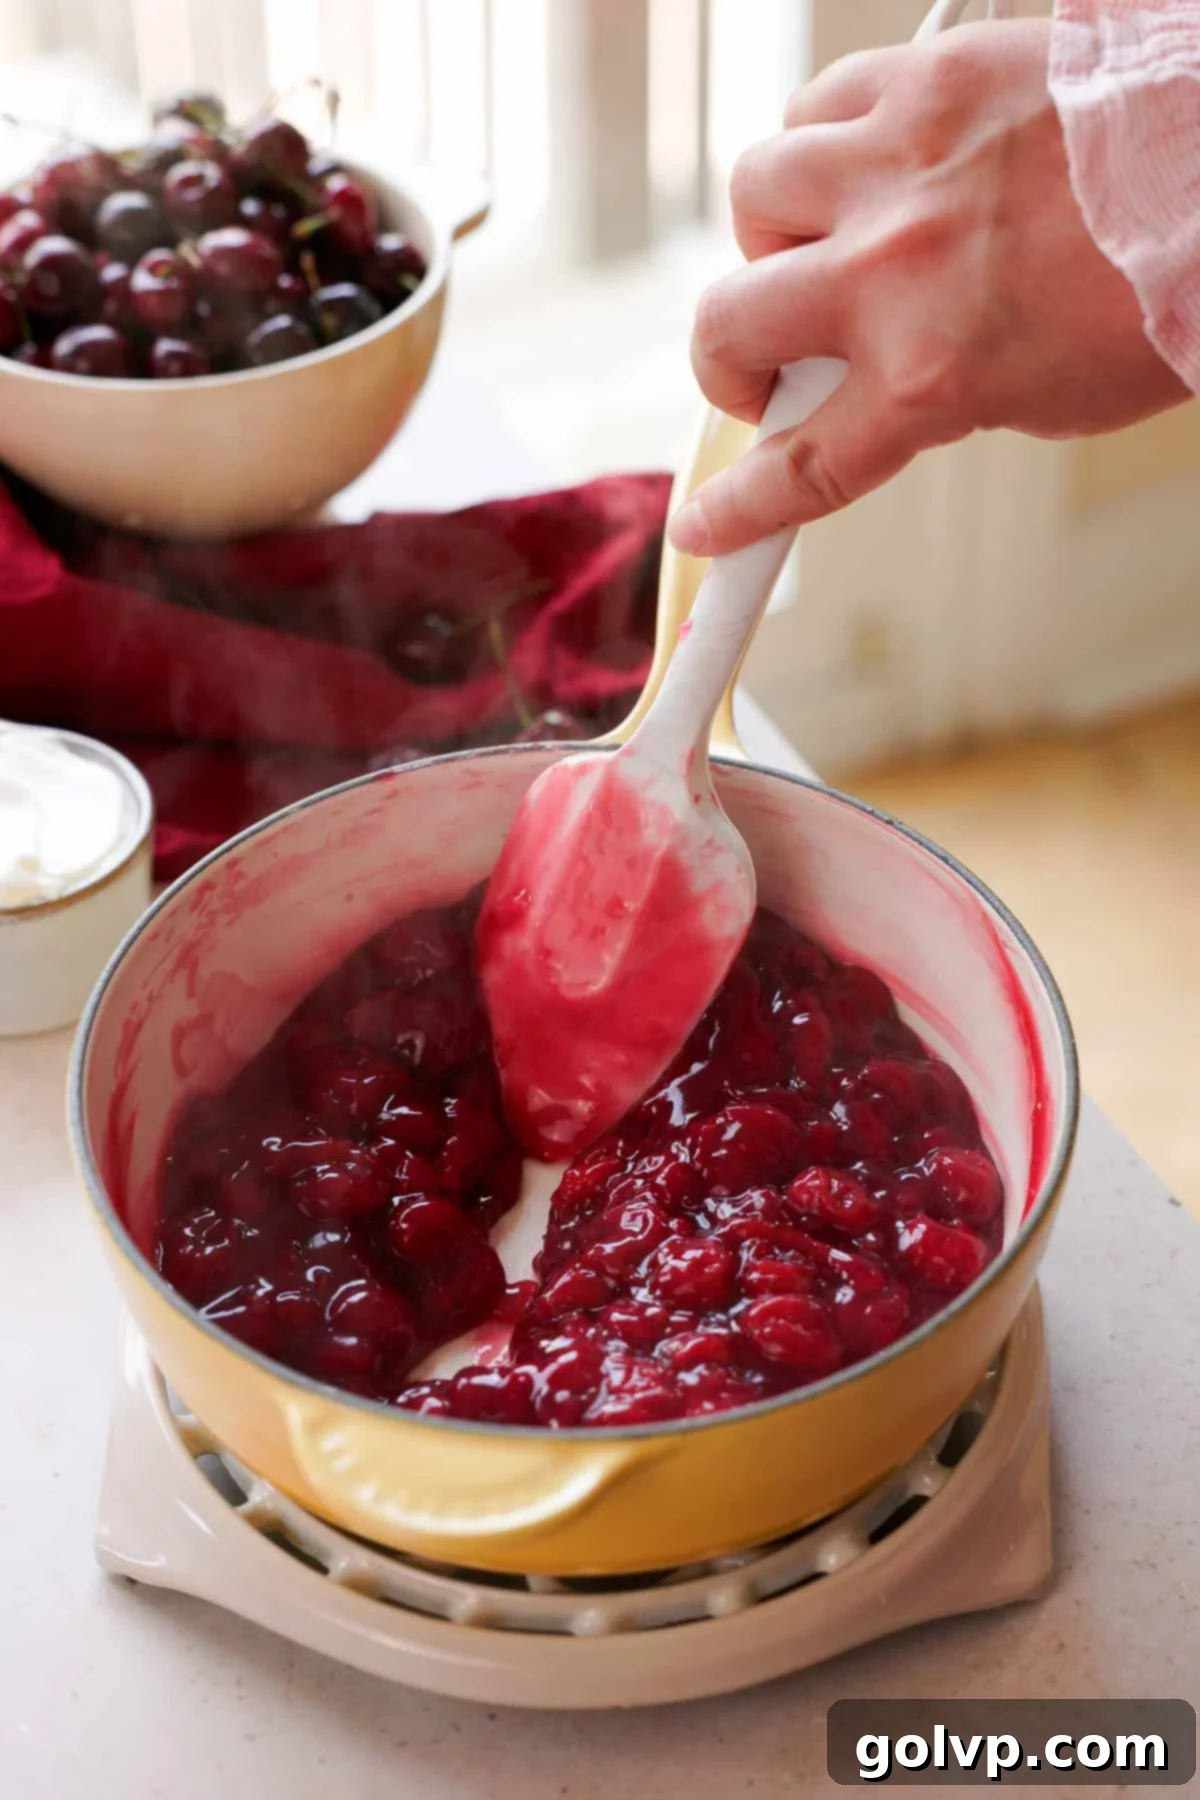
Step 4: Continue to cook the cherry mixture for another minute or so, stirring constantly, until it visibly thickens and becomes glossy and clear. Remove the saucepan from the heat immediately. This rich, vibrant cherry filling will be divided: half will be layered within the cheesecake, and the remaining half will be reserved for the final topping.
Chocolate cheesecake step by step
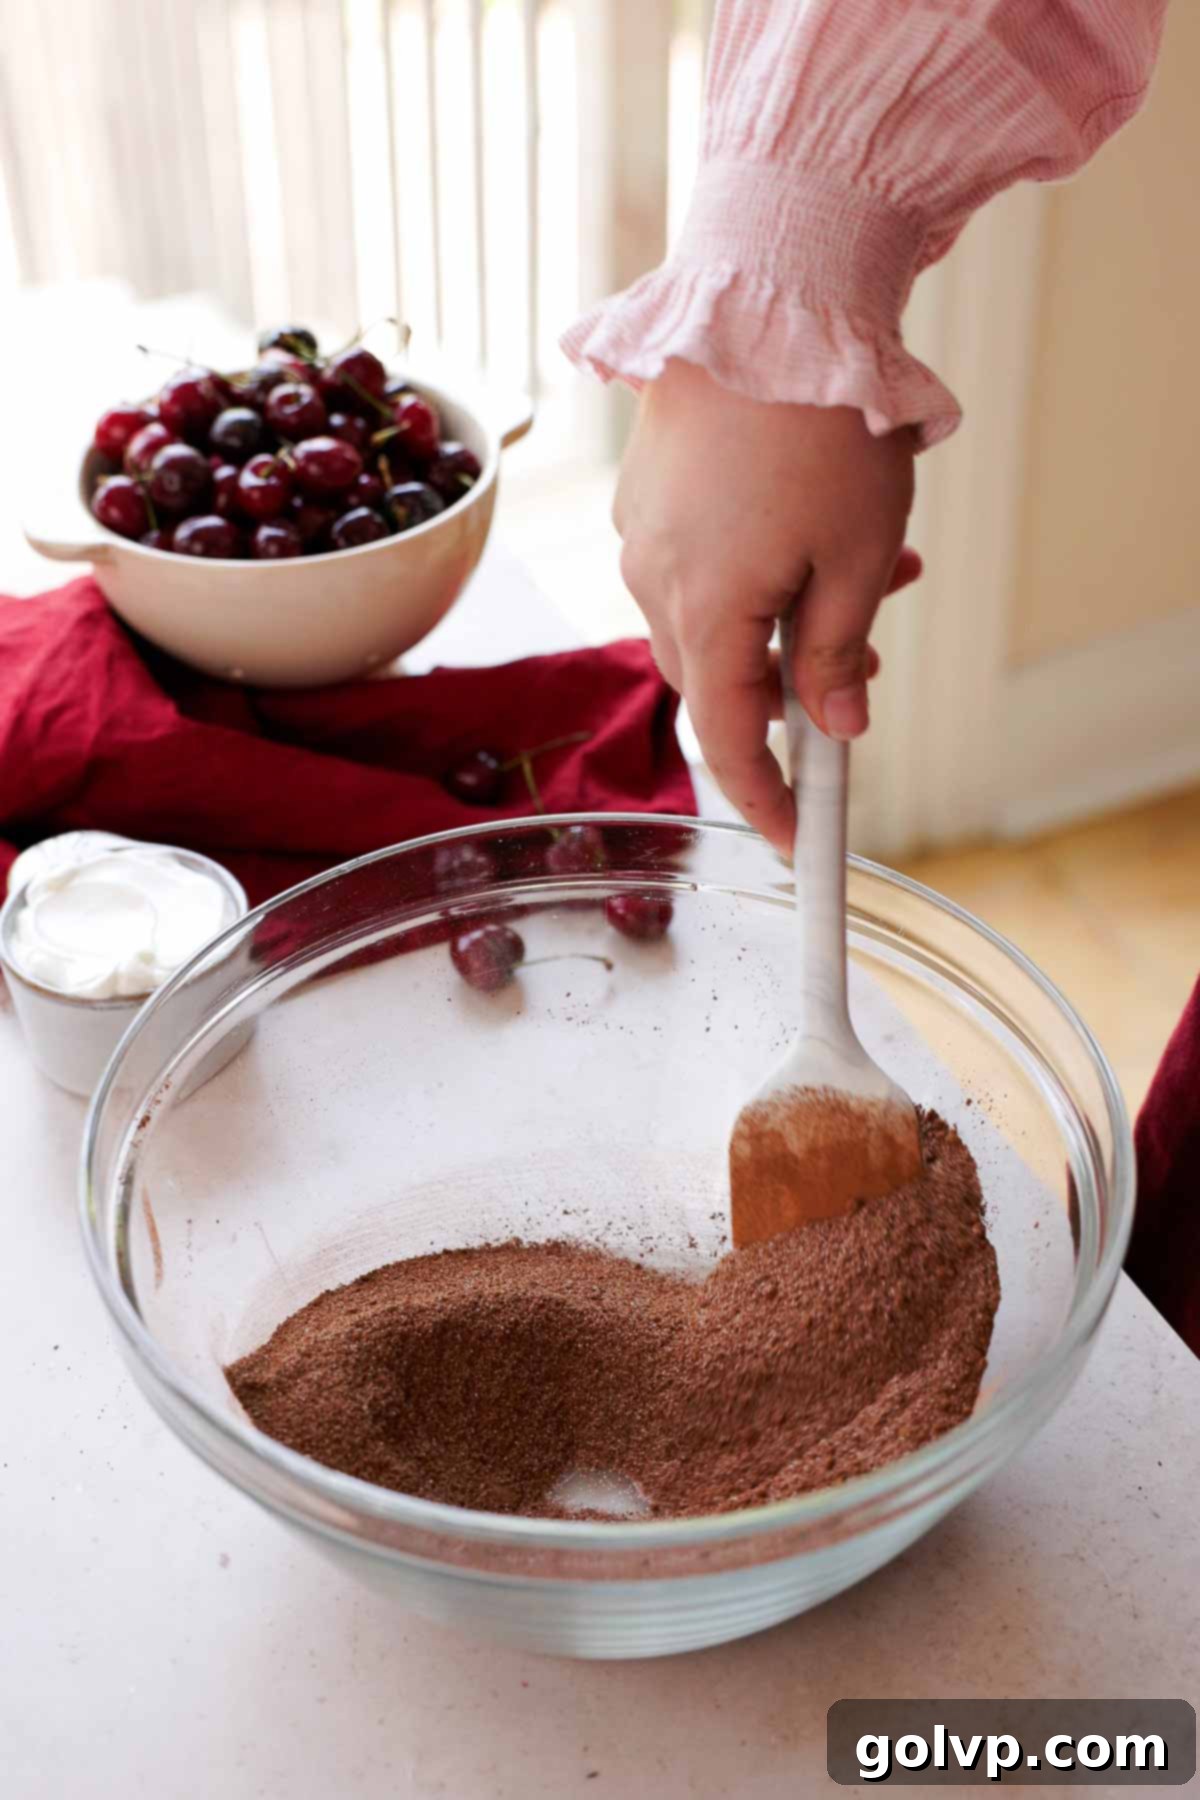
Step 1: First, prepare the chocolate ganache. In a small saucepan, gently heat the heavy whipping cream until it just begins to simmer around the edges (or heat in the microwave). Place the semi-sweet chocolate chips in a heatproof bowl. Pour the hot cream over the chocolate chips, allowing it to sit undisturbed for three minutes to melt the chocolate. Then, stir gently with a spatula until the ganache is completely smooth and luscious. Set this aside to cool slightly. In a large mixing bowl or the bowl of a stand mixer fitted with the paddle attachment, combine the granulated sugar and Dutch-processed cocoa powder. Stir these dry ingredients together, breaking up any lumps, to ensure an even distribution of chocolate flavor.
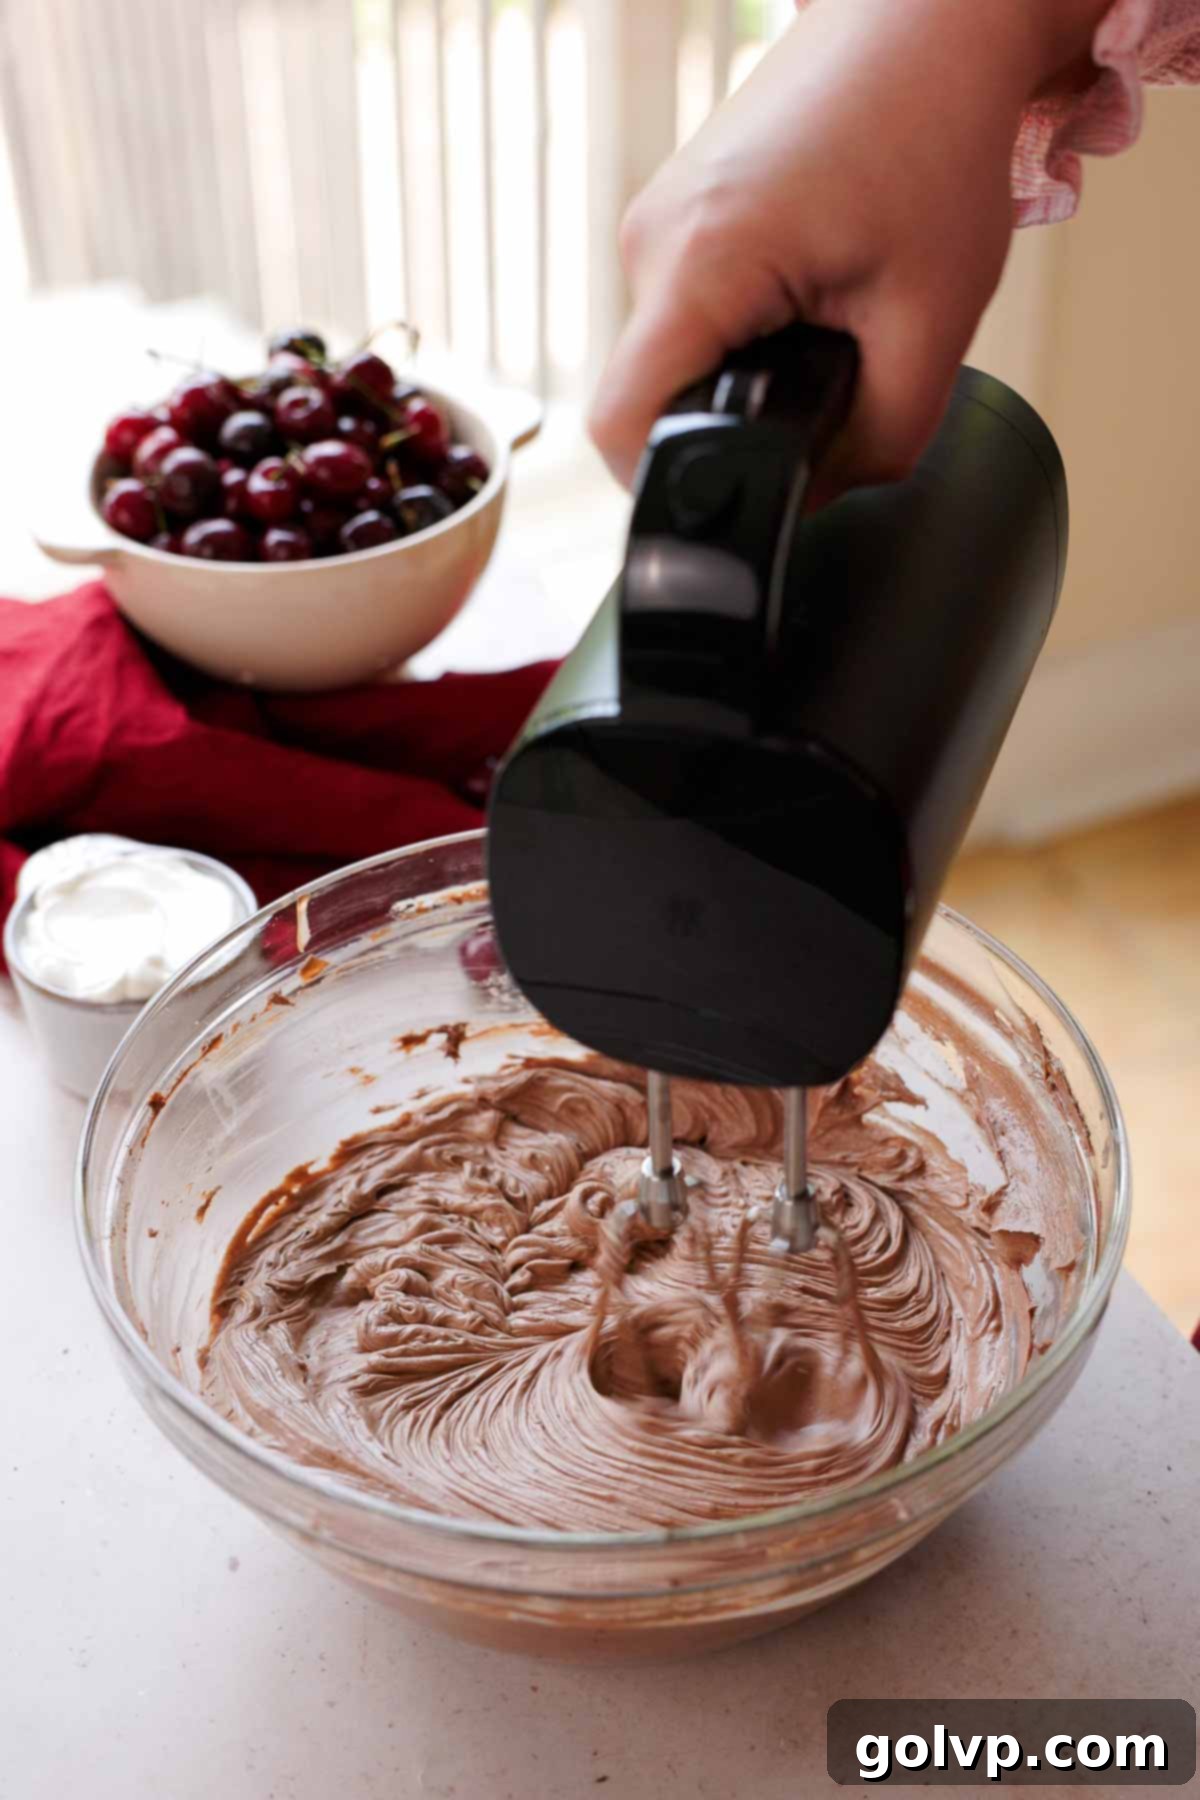
Step 2: Add the softened, full-fat brick-style cream cheese to the sugar and cocoa powder mixture. Using the paddle attachment, mix on low speed until the mixture is completely creamy and smooth, without any lumps. Be sure to scrape down the sides and bottom of the bowl frequently to ensure everything is thoroughly combined.
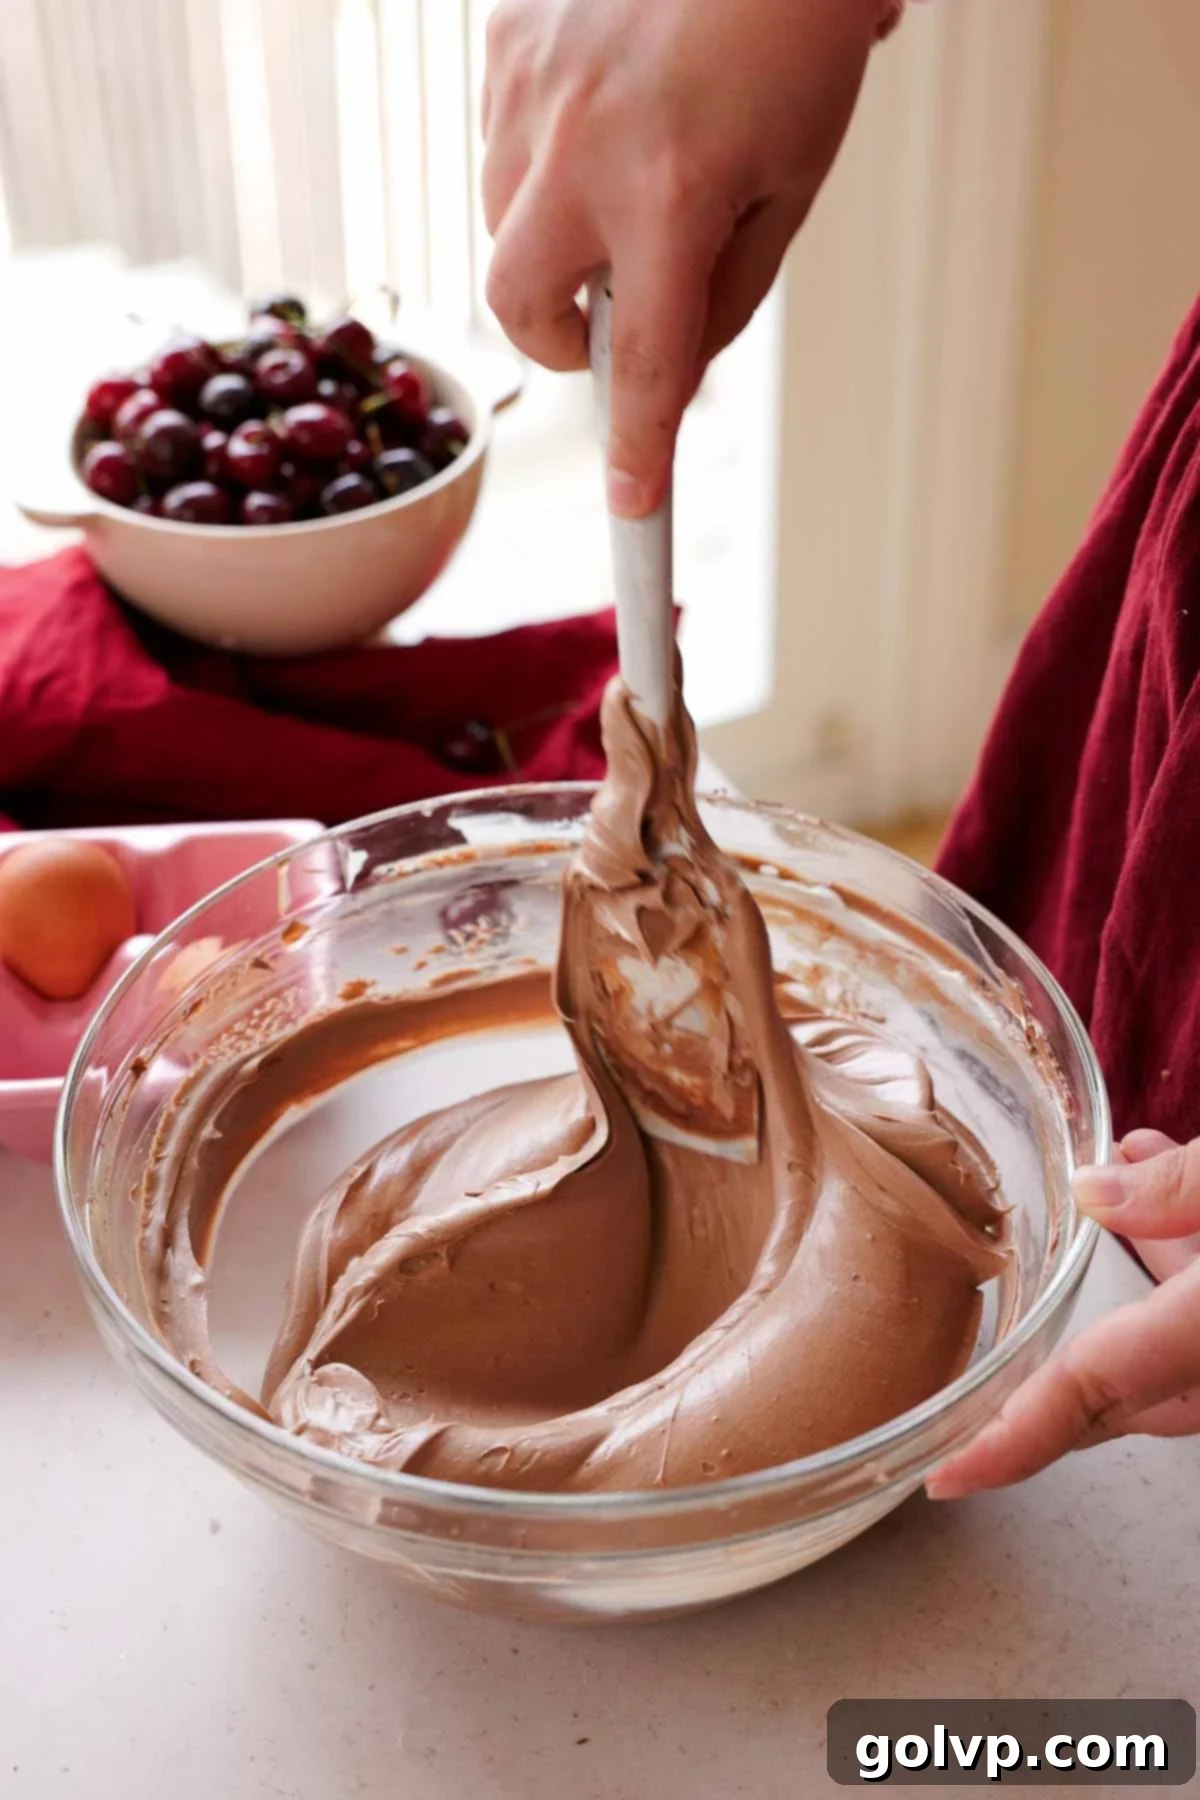
Step 3: Next, incorporate the room temperature sour cream, pure vanilla extract, and sea salt into the cheesecake batter. Continue to mix on low speed until just combined, then stop and scrape down the bowl once more to ensure a uniform batter.
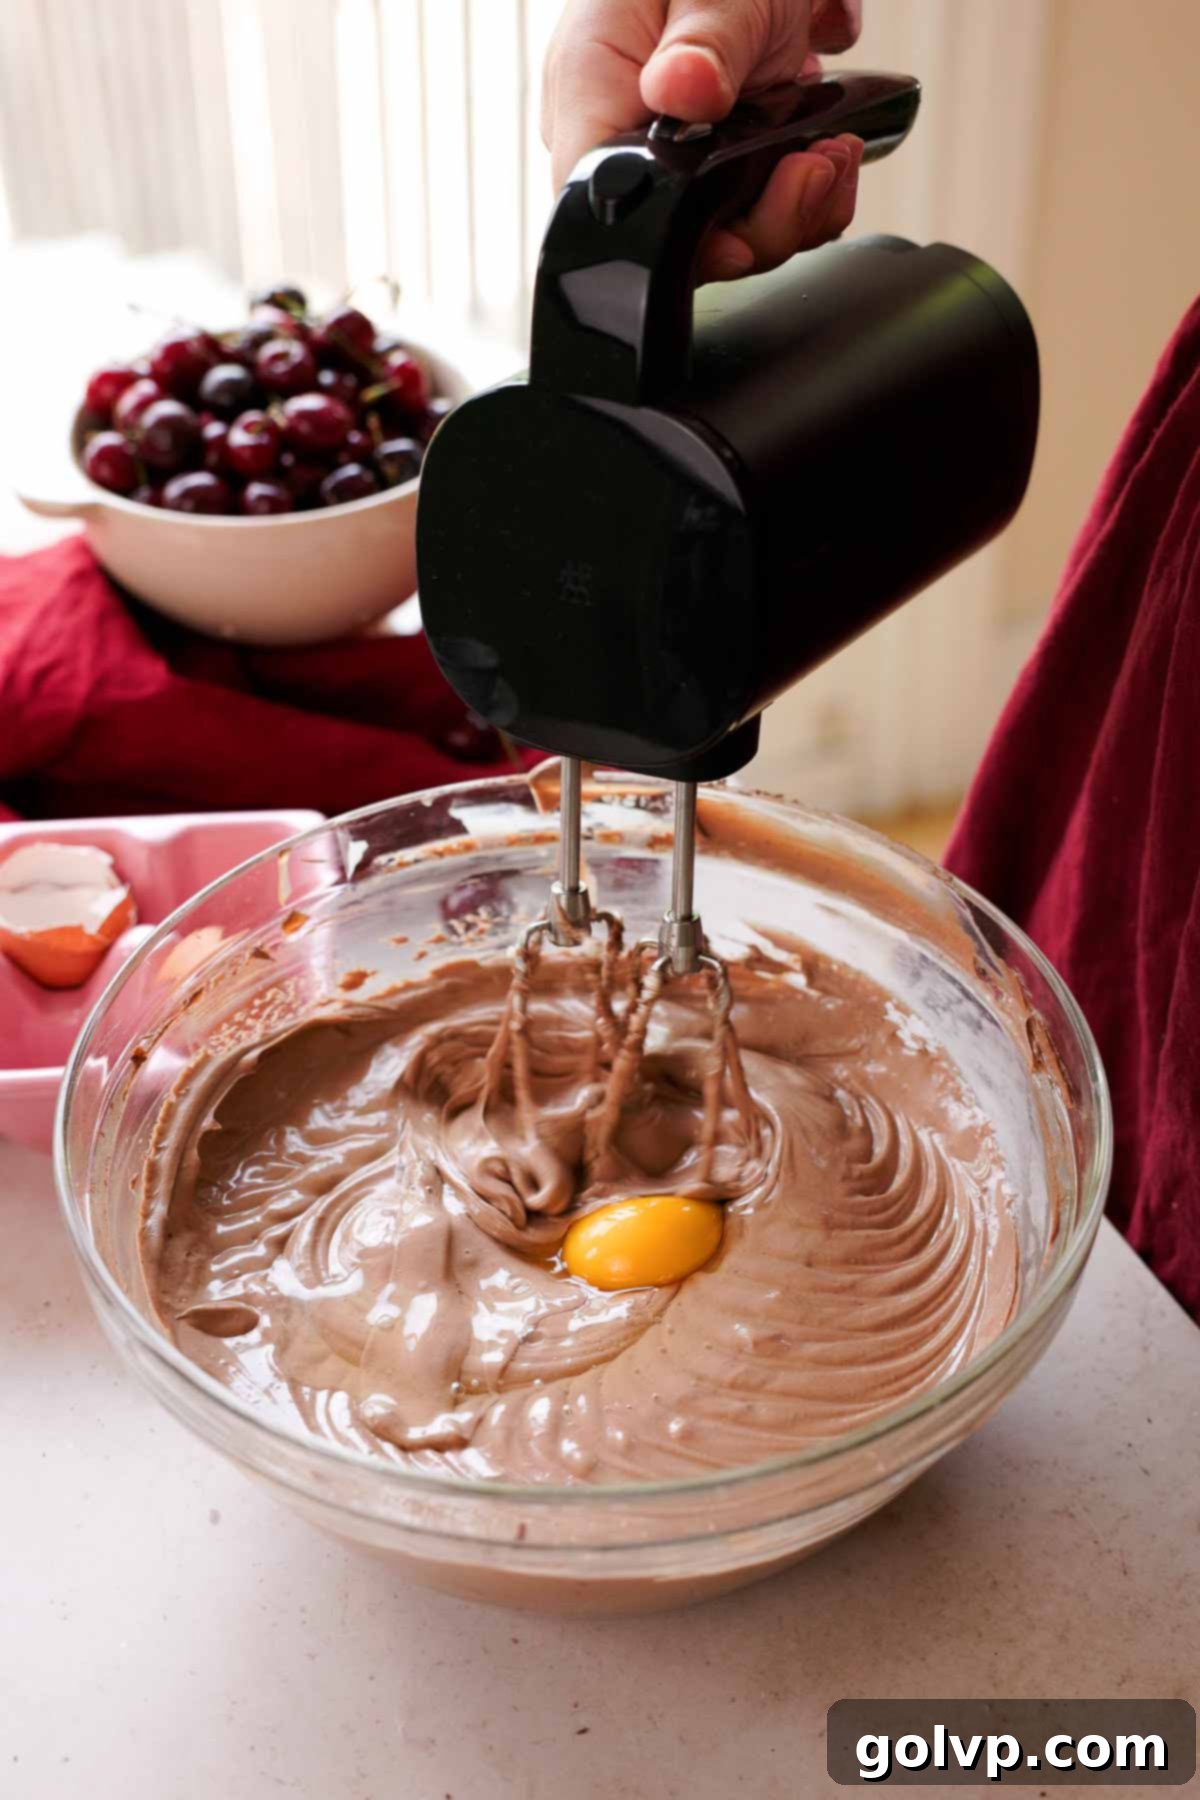
Step 4: Add the large eggs one at a time, mixing only until each egg is just incorporated before adding the next. This step is crucial: avoid overmixing the batter after the eggs are added, as this can introduce too much air, leading to cracks in the finished cheesecake.
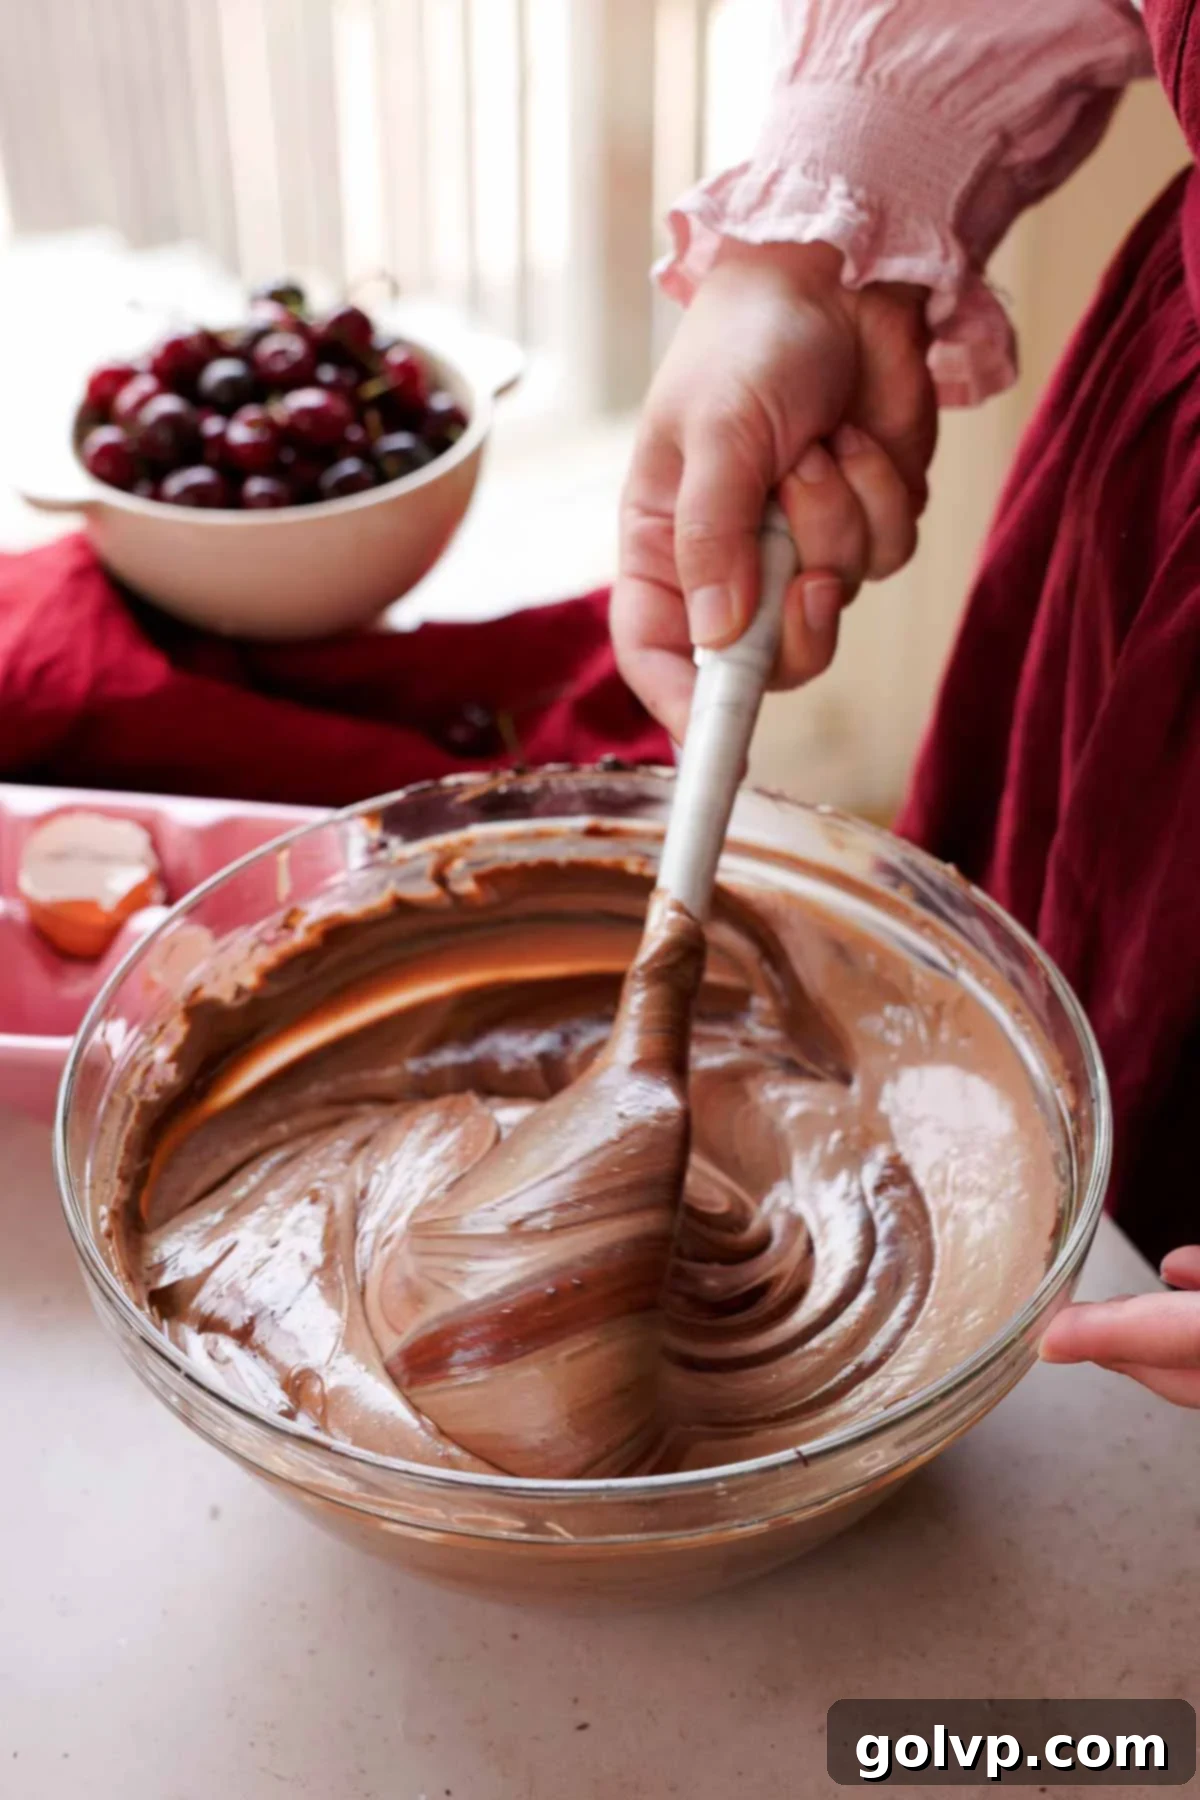
Step 5: Gently fold the slightly cooled melted chocolate ganache into the cheesecake batter. Mix just until it’s combined and streaks of chocolate are no longer visible. Overmixing at this stage can also lead to a less desirable texture. Scrape down the bowl one final time to ensure all ingredients are well blended.
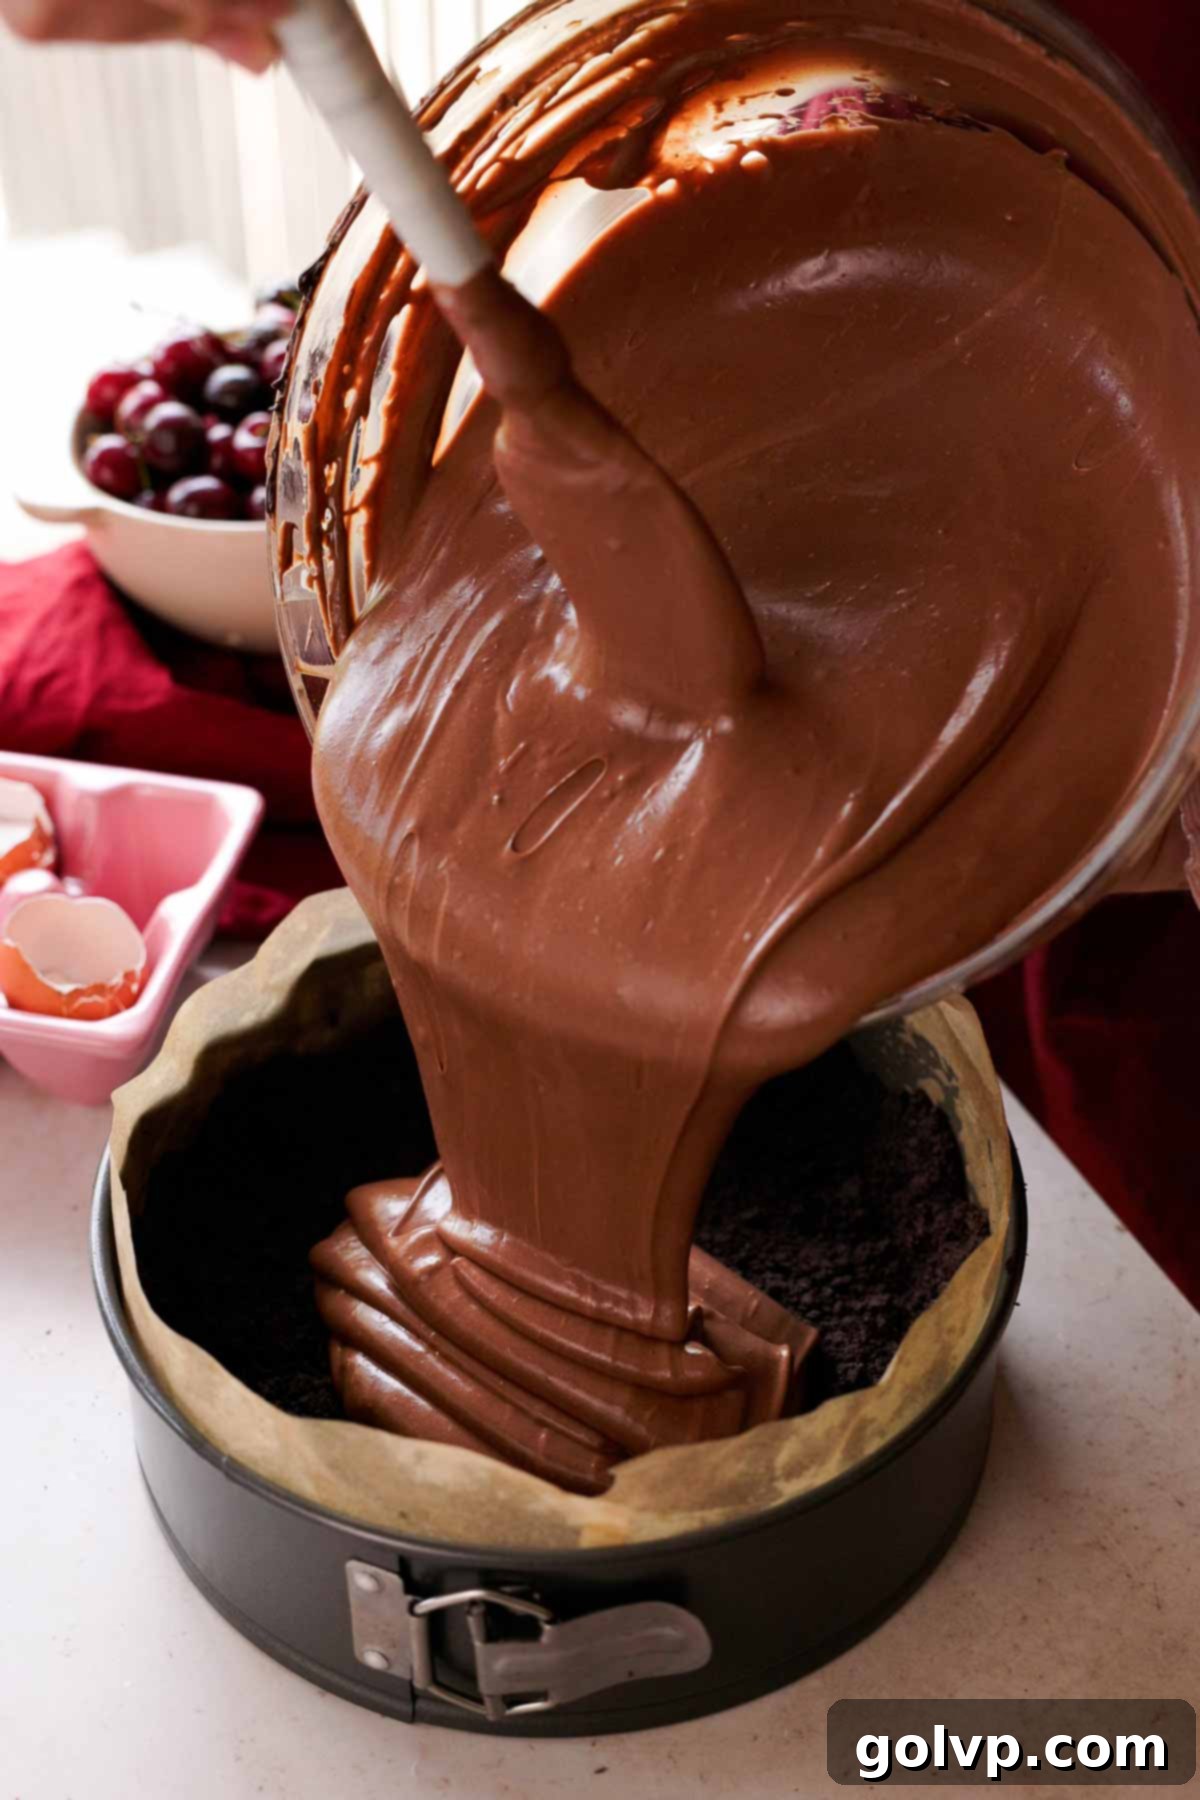
Step 6: Pour exactly half of the decadent chocolate cheesecake batter into the pre-baked and cooled Oreo crust. Use an offset spatula or the back of a spoon to gently smooth the top surface of the batter, creating an even layer.
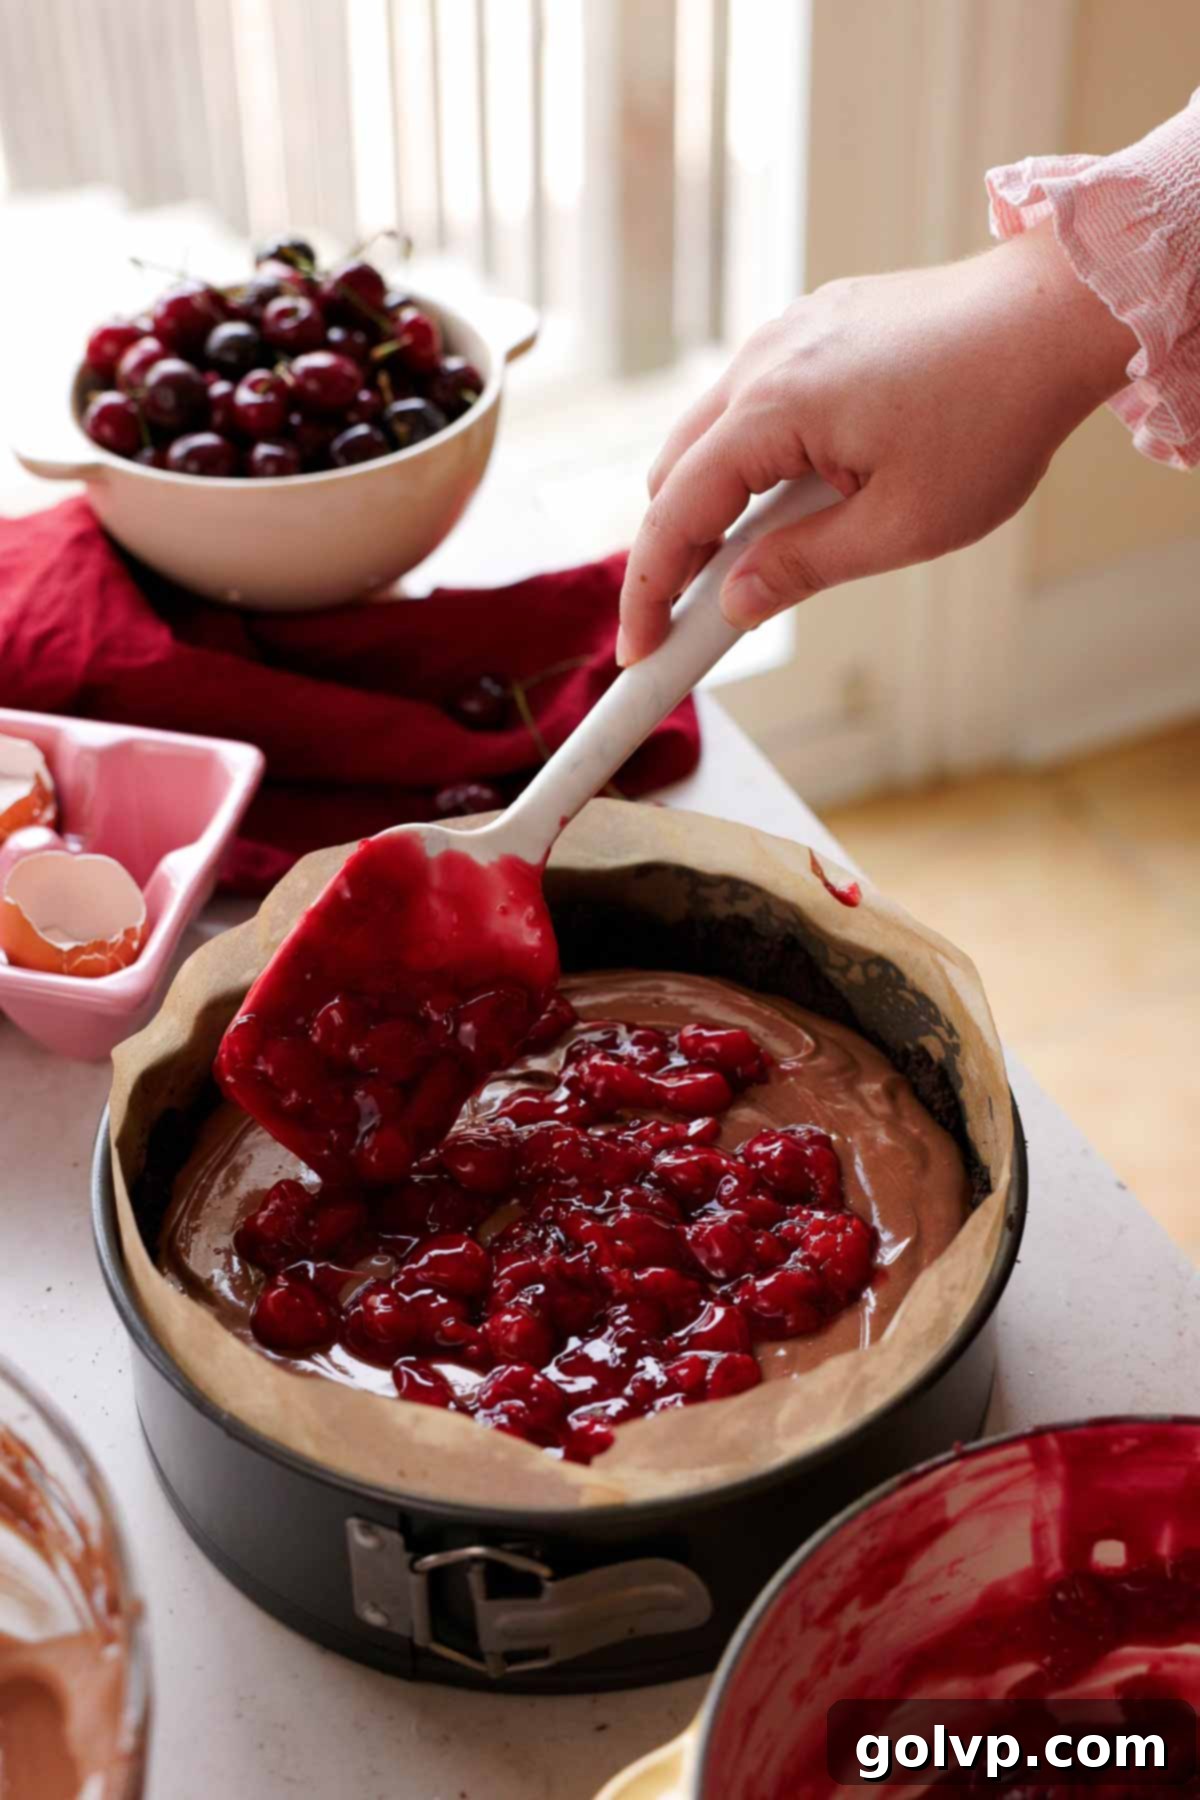
Step 7: Carefully spoon three-quarters of the prepared cherry filling onto the center of the chocolate cheesecake layer. Don’t worry if the cherry filling is still warm; it won’t affect the final product. Then, gently spoon the remaining cheesecake batter evenly over the cherry layer, taking care not to disturb the filling too much.
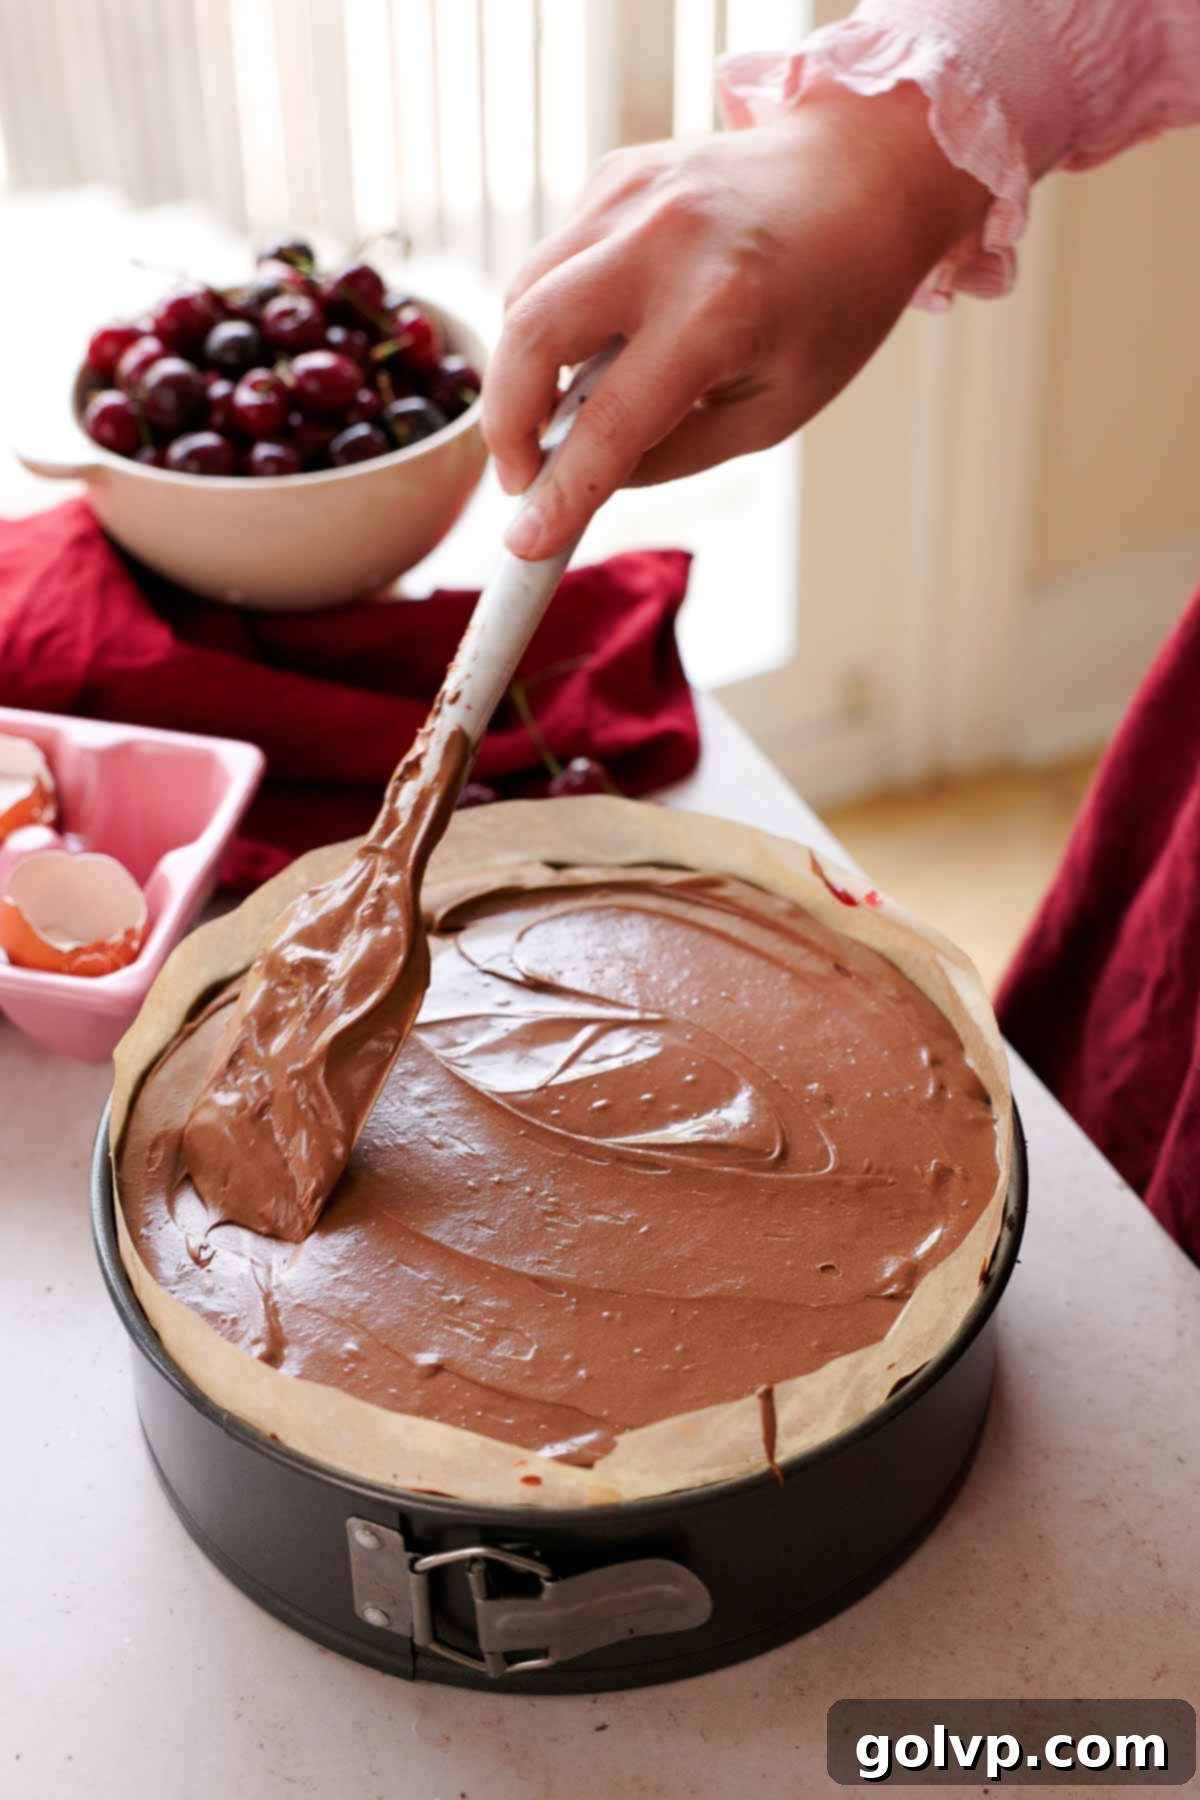
Step 8: To bake the cheesecake in a water bath (which is highly recommended for a smooth, crack-free surface), you will need a large roasting pan and a smaller baking pan that can comfortably fit your springform pan. Alternatively, you can securely wrap the bottom and sides of your springform pan with a very large piece of heavy-duty aluminum foil to prevent water from seeping in.
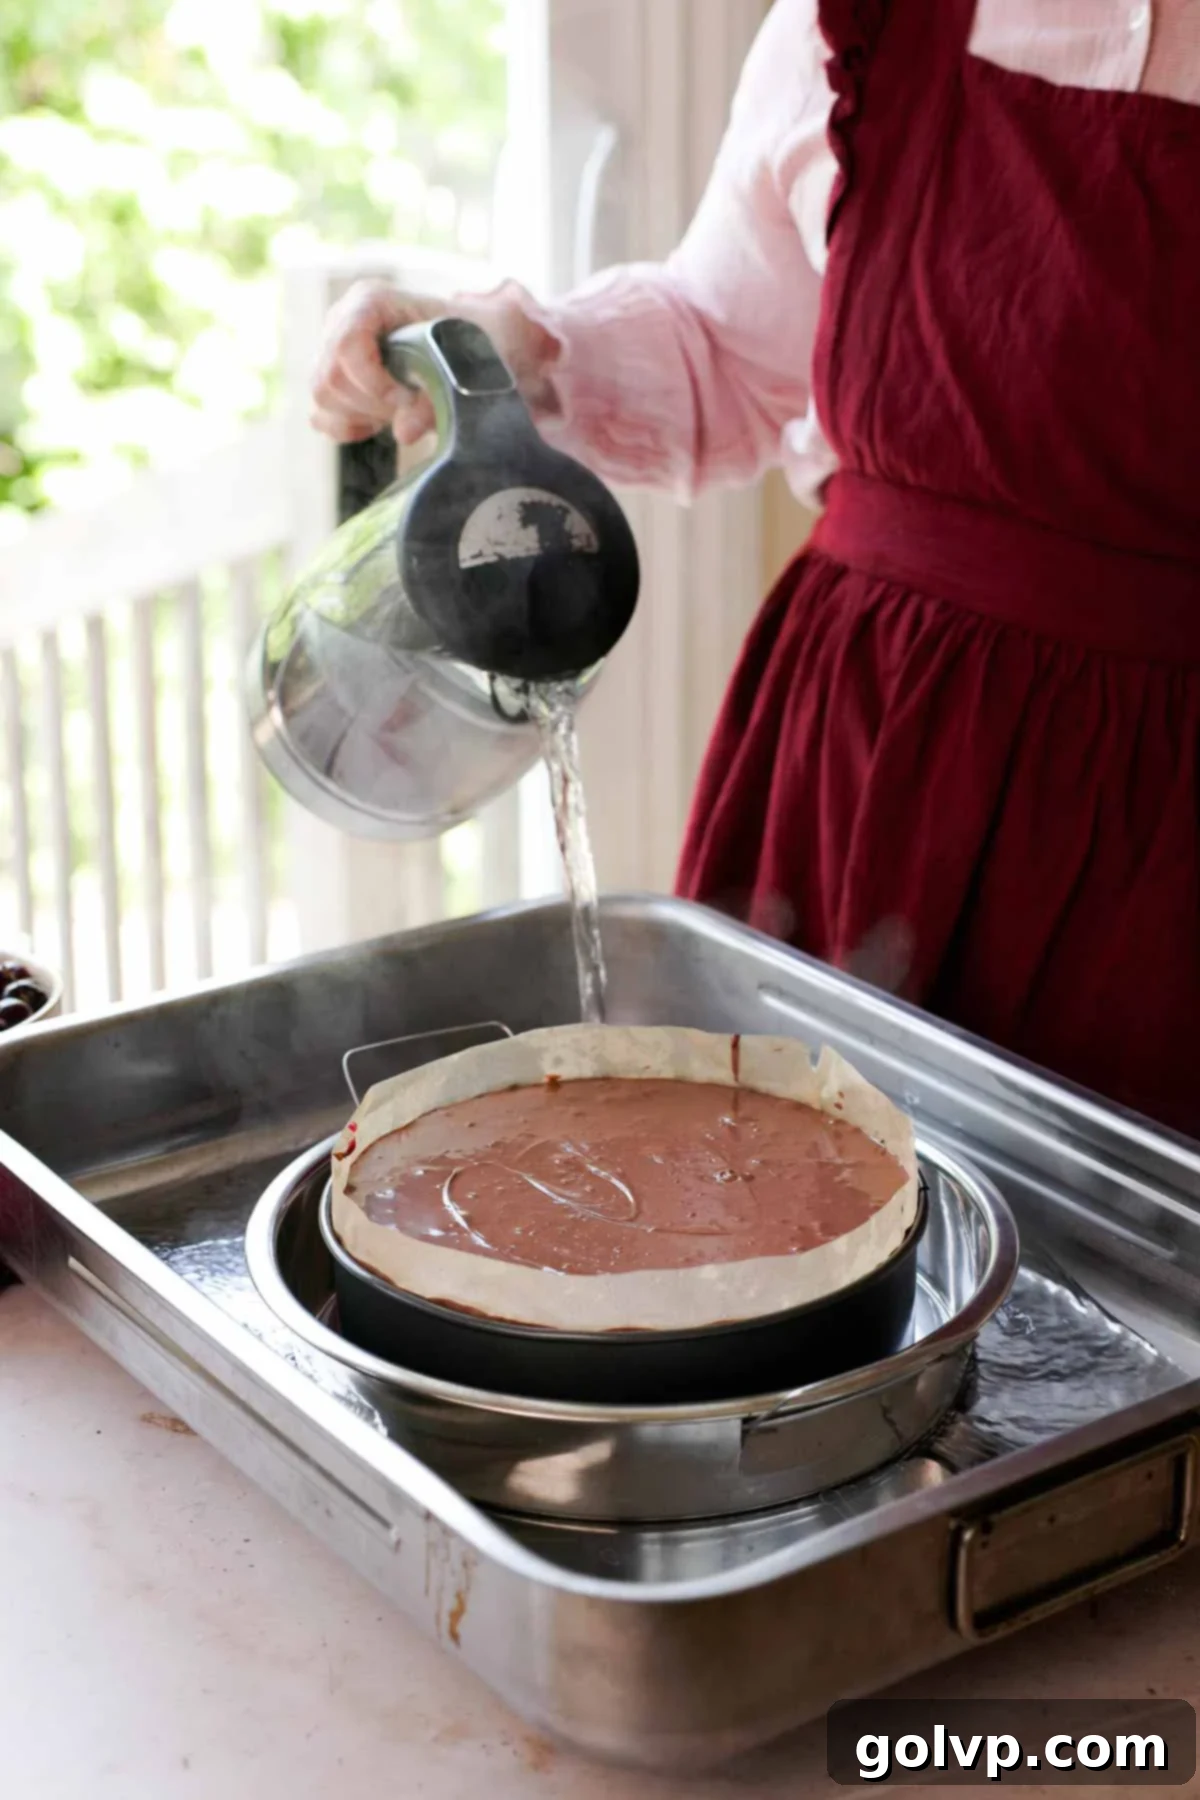
Step 9: Place the prepared springform pan (either inside a smaller pan or wrapped in foil) into the larger roasting pan. Carefully transfer this assembly into the preheated oven. Once in the oven, then carefully pour boiling water into the outermost roasting pan, ensuring the water level comes about halfway up the sides of the springform pan. Bake at 340°F (170°C) for 1 hour and 15 minutes. The cheesecake is done when the edges are set and appear slightly puffed, but the very center still has a slight, gentle jiggle when the pan is carefully wiggled. Turn off the oven, prop the oven door slightly ajar, and leave the cheesecake inside for another 15 minutes to cool gradually. This slow cooling helps prevent cracks.
Remove the cheesecake from the oven and the water bath. Allow it to cool completely at room temperature on a wire rack. Once fully cooled, transfer the cheesecake to the refrigerator and let it chill and set for a minimum of 8 hours, or ideally overnight. This chilling period is crucial for the cheesecake to firm up properly and for its flavors to fully develop.
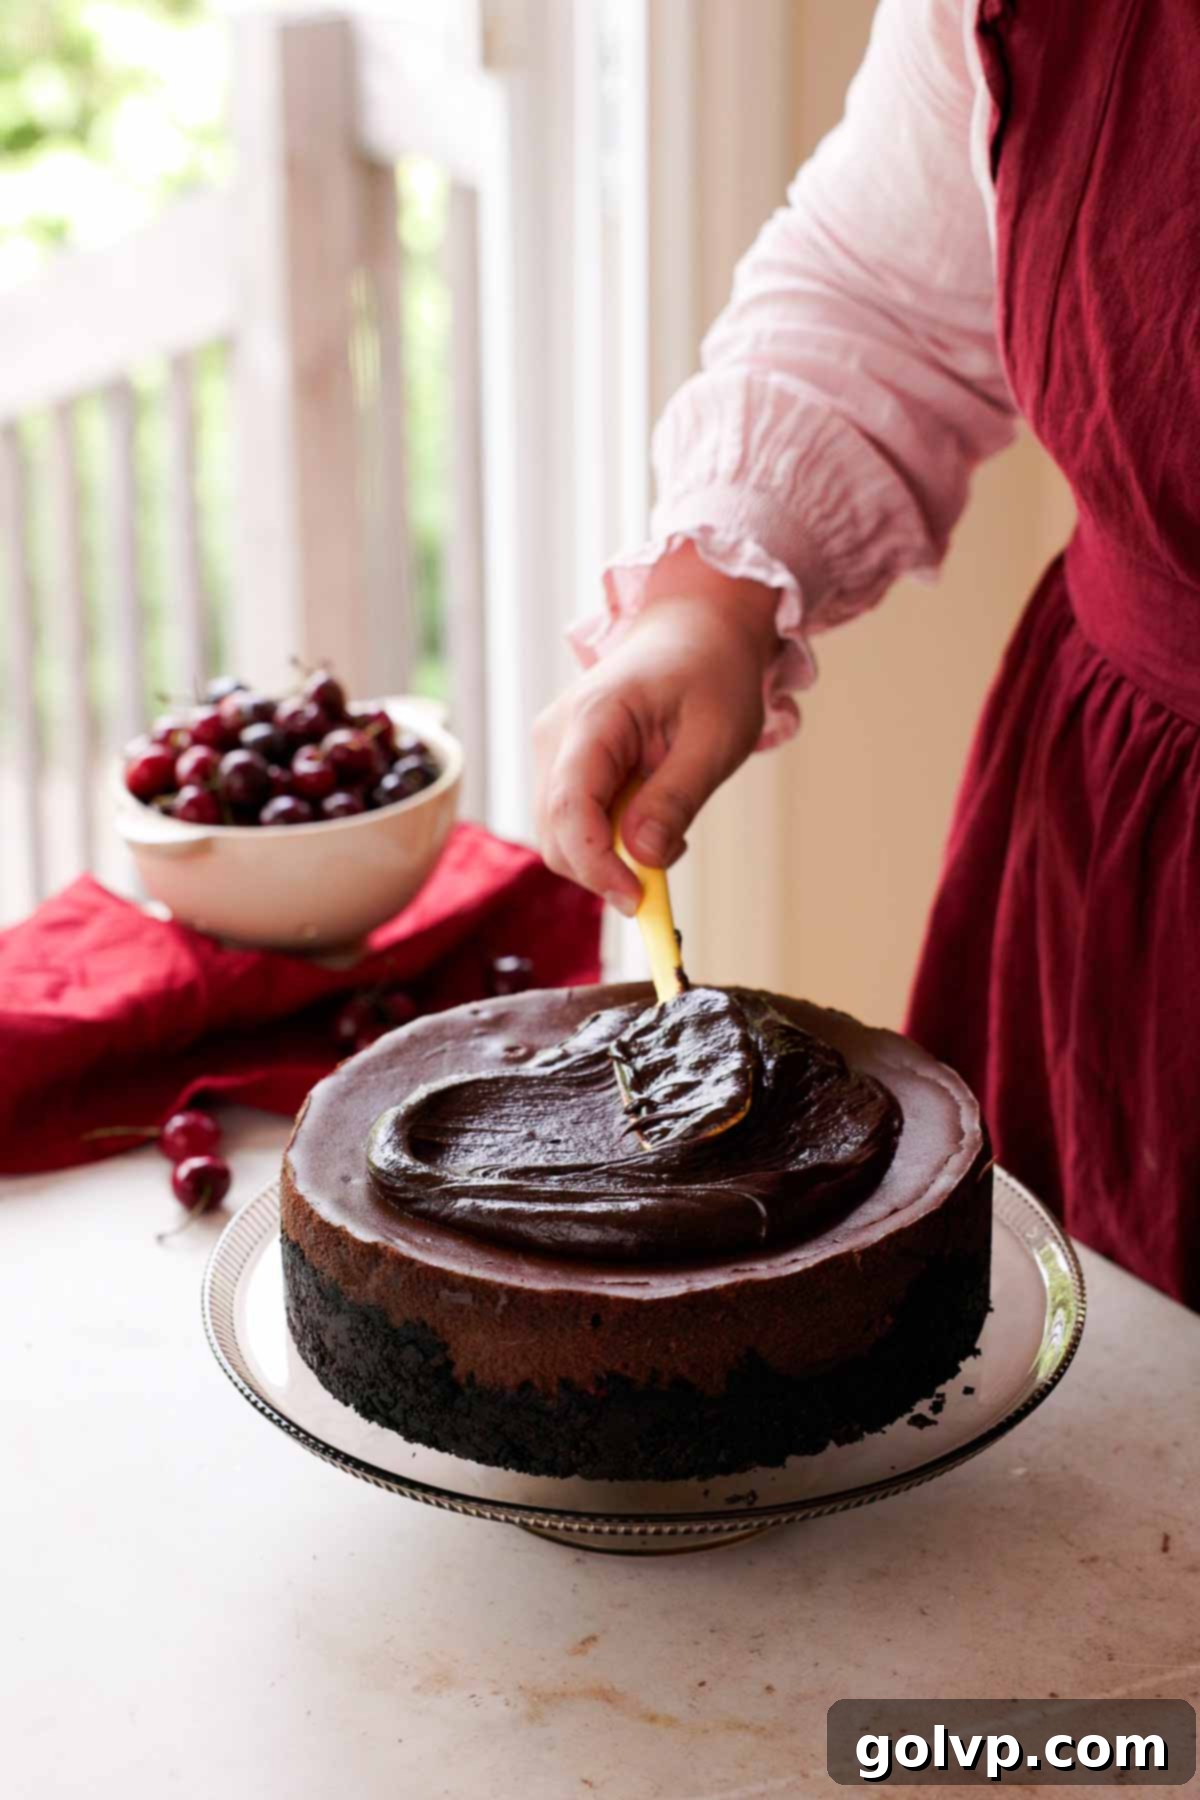
Step 10: Once the cheesecake is thoroughly chilled, gently run a thin knife around the edge of the pan before releasing the springform ring and carefully removing the parchment paper lining. For the ganache topping, bring half a cup of heavy whipping cream to a simmer. Place one cup of semi-sweet chocolate chips in a bowl. Pour the hot cream over the chocolate and let it sit for one minute without stirring, allowing the chocolate to melt. Then, stir quickly until the ganache is smooth and glossy. Pour this ganache over the top of the chilled cheesecake and gently spread it evenly to the edges.
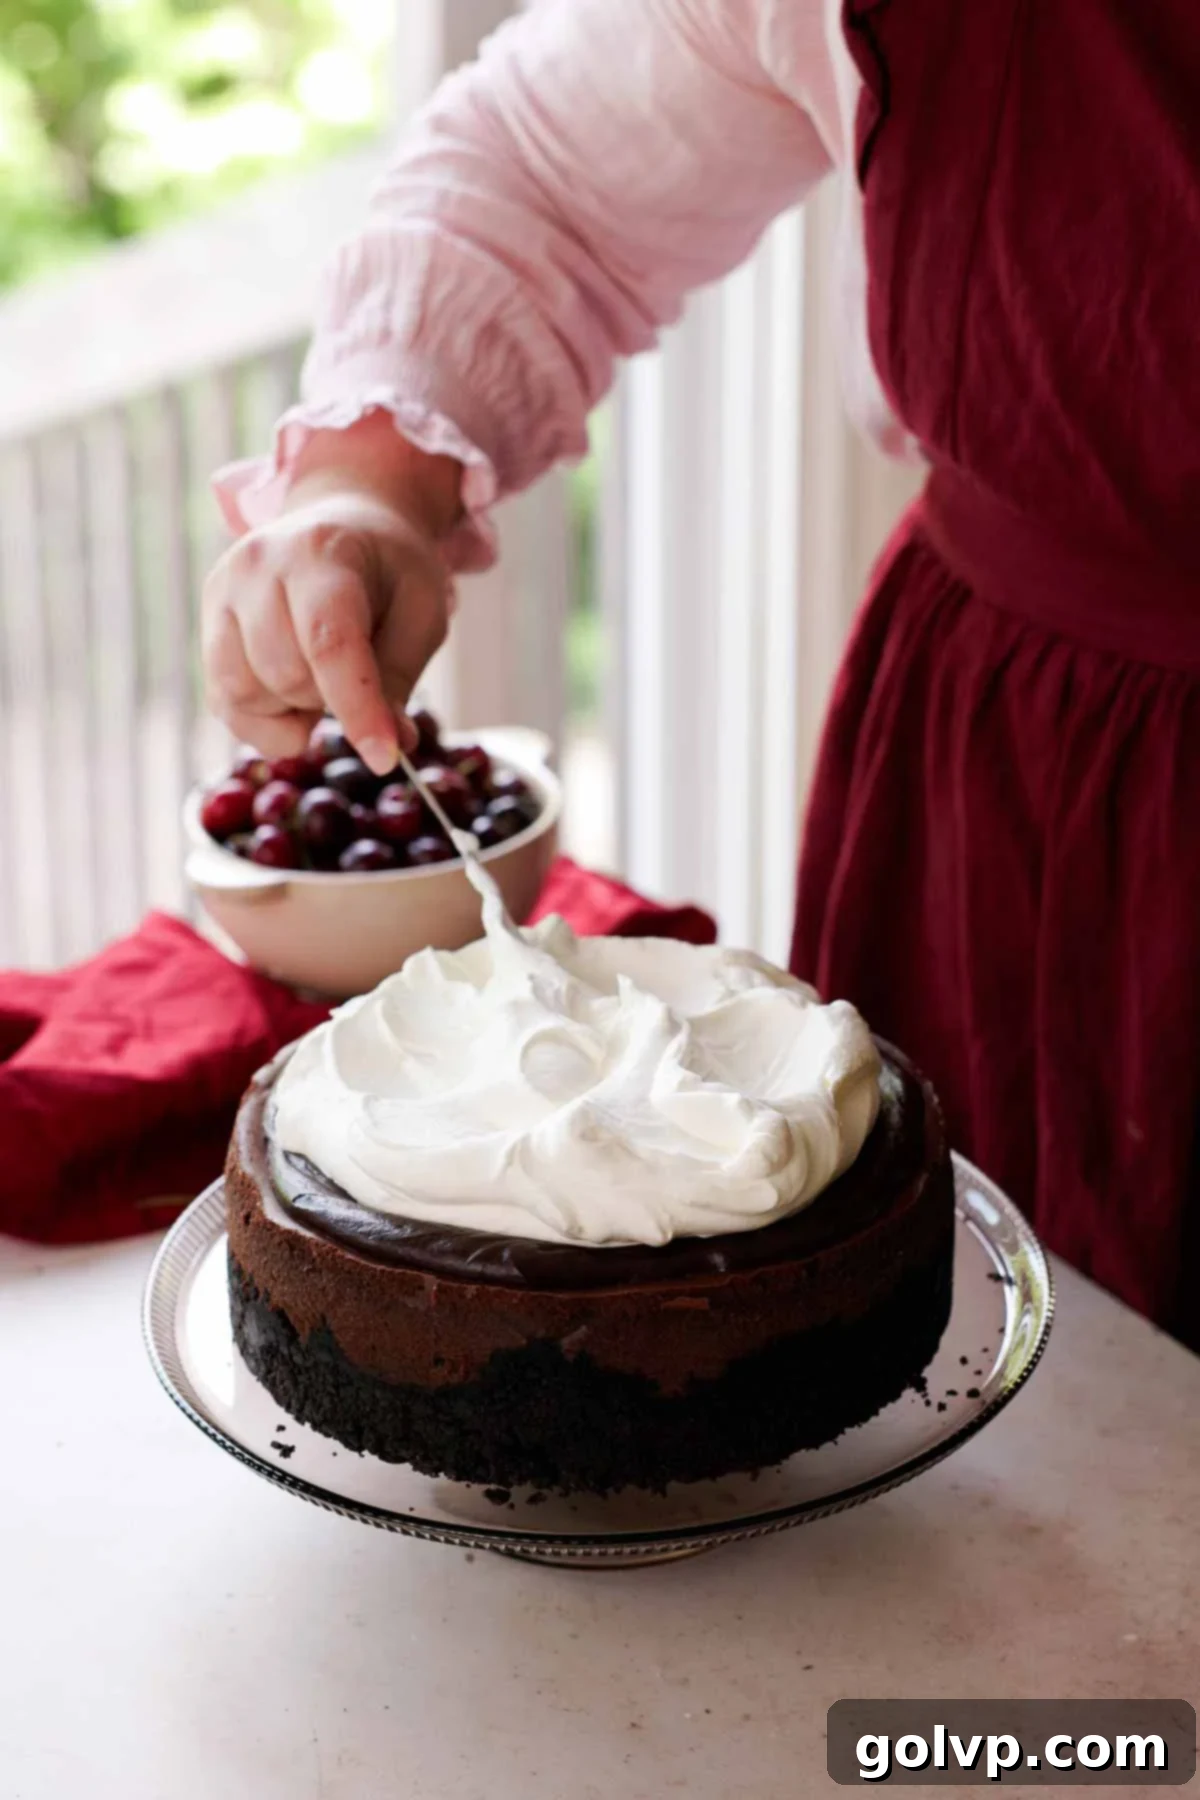
Step 11: For the whipped cream topping, add one cup of cold heavy whipping cream, granulated sugar, and vanilla extract into a large bowl or the bowl of a stand mixer. Using an electric mixer with a whisk attachment, whip the cream to medium peaks. Incorporate the plain Greek yogurt and continue whipping until stiff peaks form. Generously pile this fluffy, tangy whipped cream onto the chocolate ganache layer. Use the back of a spoon to create beautiful swirls and peaks on top, giving it an inviting, rustic look.
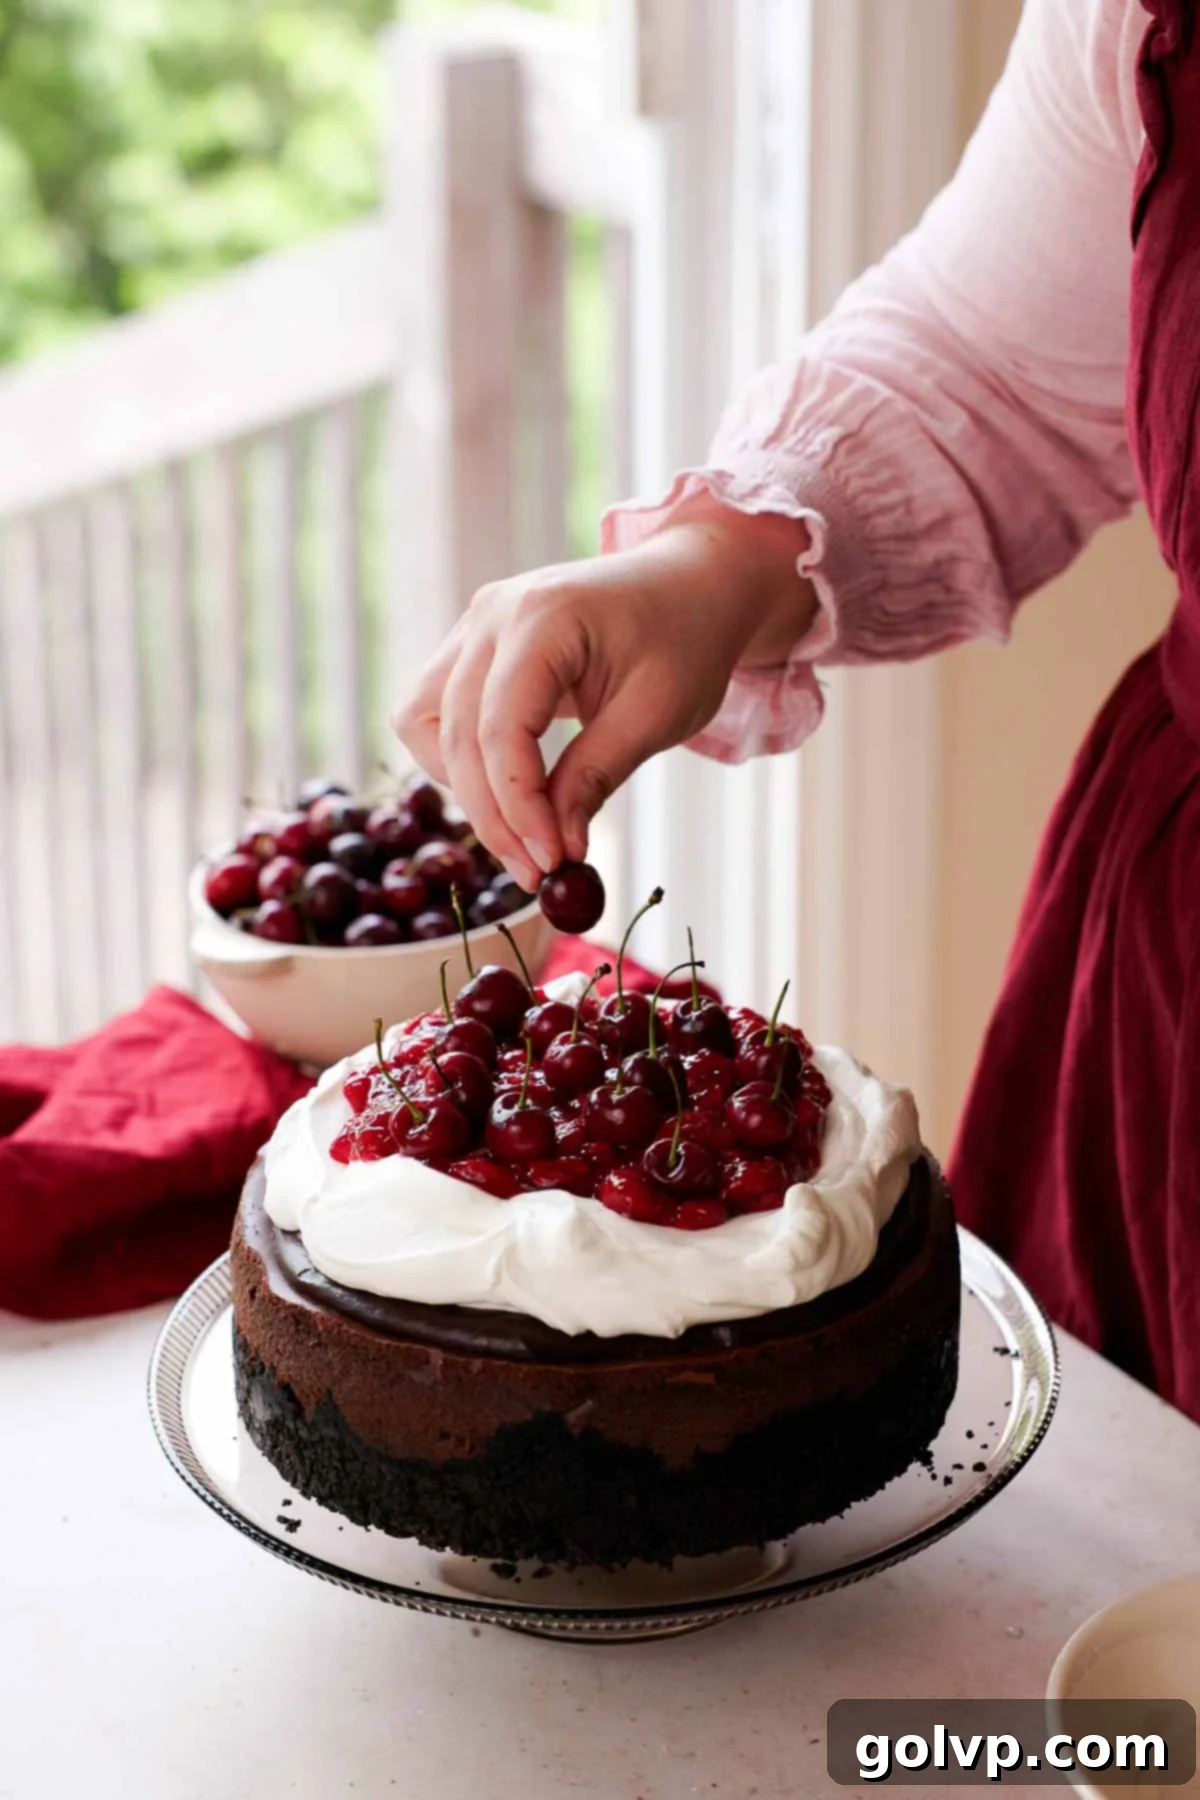
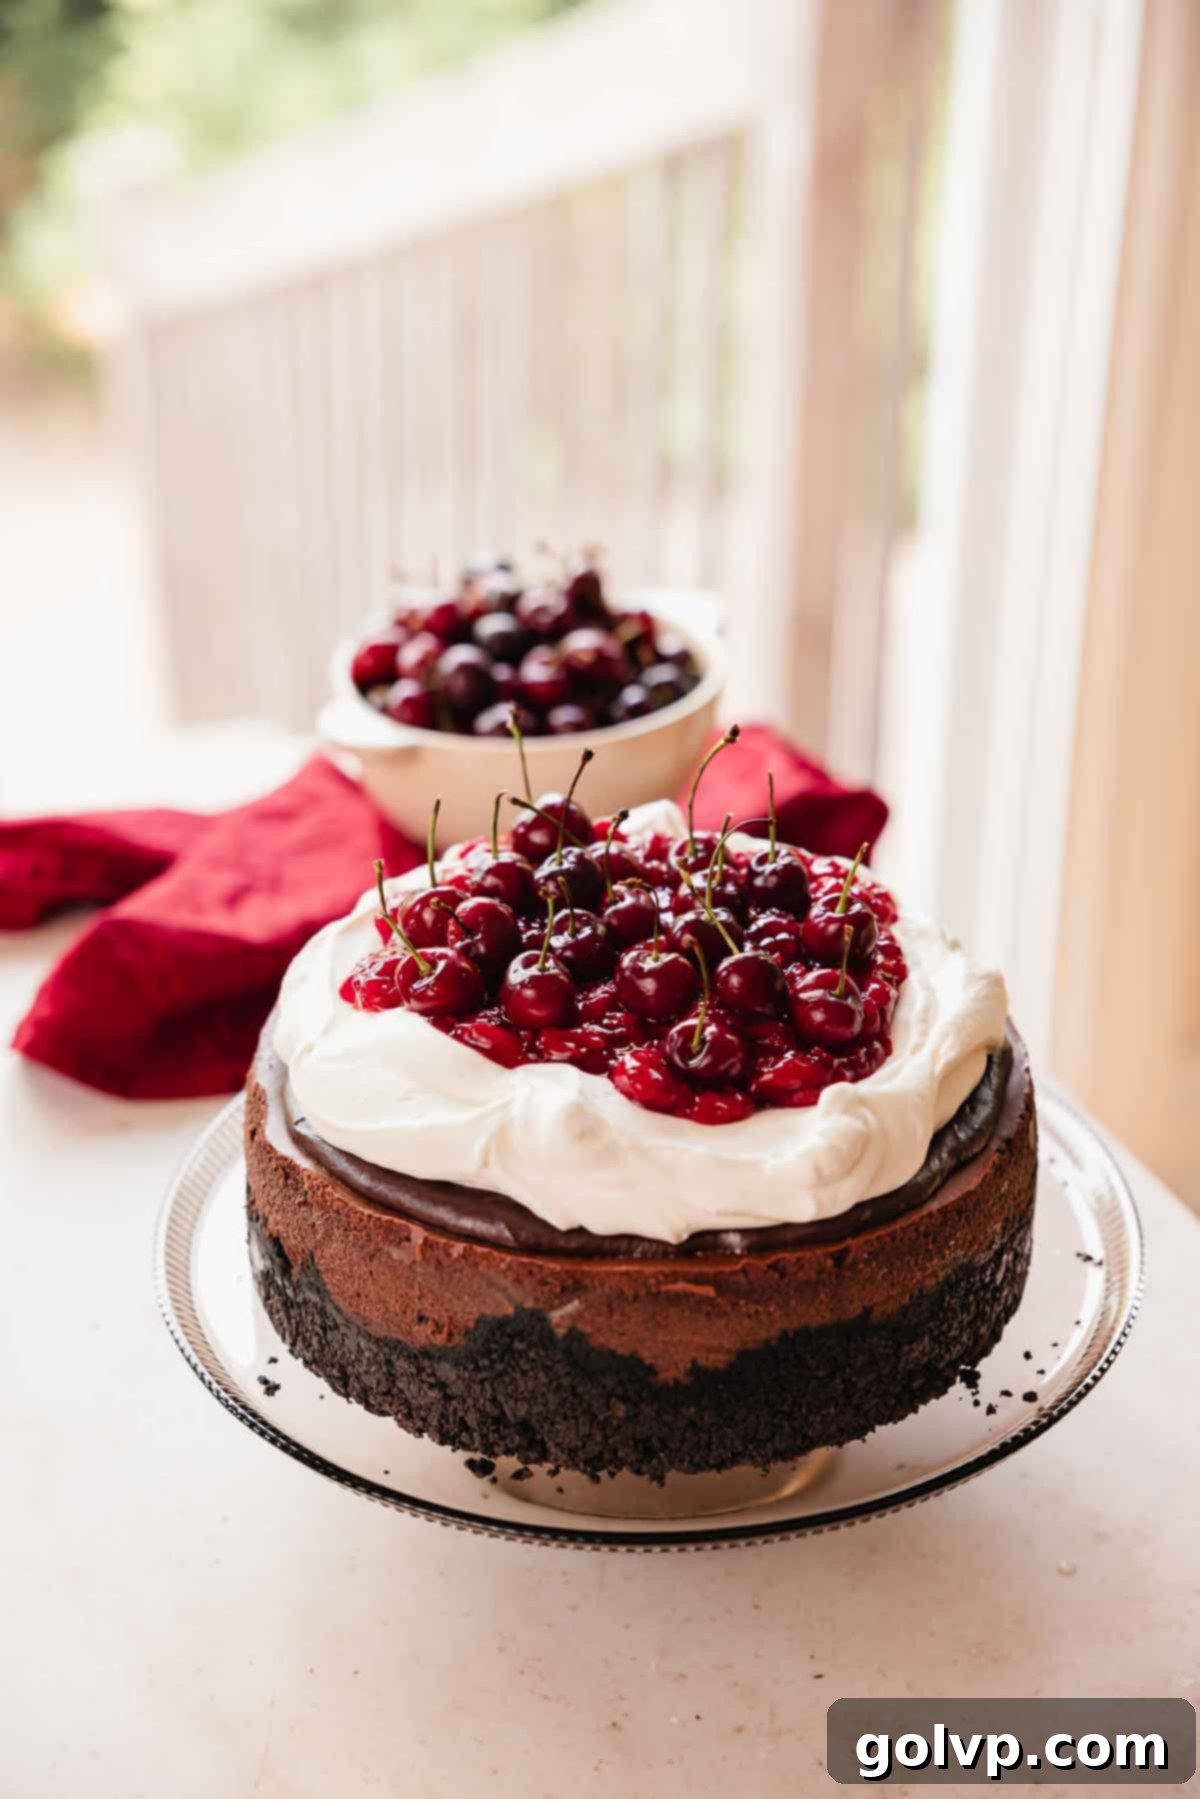
Step 12: Finish your masterpiece by generously topping the cheesecake with the reserved cherry filling. For an extra touch of elegance and fresh flavor, decorate with fresh cherries (this step is optional but highly recommended for presentation).
✔️ Expert black forest cheesecake tips
- Use tart cherries for the best flavor: While sweet cherries are delicious, tart (or sour) cherries are truly superior for baking, especially in a Black Forest dessert. When cooked, their intense, concentrated flavor and higher acidity create a much more dynamic and authentic contrast to the rich chocolate. This is why they are traditionally used in German Schwarzwälder Kirschtorte – they provide that essential tangy balance that makes the overall dessert so memorable.
- Always use a water bath: This crucial technique is your best friend for baking cheesecakes. A water bath (or bain-marie) provides a moist, even heat environment, ensuring the cheesecake bakes gently from all sides. This significantly reduces the risk of the top cracking and results in an incredibly smooth, creamy texture throughout, setting uniformly without drying out.
- Don’t overbake the cheesecake: Overbaking is a common culprit for dry, cracked cheesecakes. You’ll know your cheesecake is perfectly baked when the outer edges are set and firm, but the very center still has a slight, gentle jiggle – like firm Jell-O – when you carefully wiggle the pan. It will continue to cook and set as it cools, so trust the wiggle test!
- Chill for optimal setting and flavor: Patience is a virtue when it comes to cheesecake! Chilling your Black Forest Cheesecake for a minimum of 8 hours, or preferably overnight, is absolutely essential. This extended cooling period allows the chocolate and fat content in the cheesecake to fully firm up, ensuring clean, perfect slices and allowing all the beautiful layers of flavor – chocolate, cherry, and vanilla – to meld and deepen for an irresistible taste experience.
🥄 Make ahead and storage
This Black Forest Cheesecake is an ideal make-ahead dessert, perfectly suited for entertaining or enjoying over several days, thanks to its mandatory minimum 8-hour (or overnight) chilling period. Planning ahead ensures the best flavor and texture.
Oreo Crust
The crunchy Oreo crust can be prepared and baked 1–2 days in advance. Once fully cooled, cover it tightly with plastic wrap and refrigerate until you’re ready to assemble the cheesecake. This saves valuable time on baking day.
Chocolate Cheesecake Filling
The entire chocolate cheesecake can be baked and prepared 1-3 days prior to serving. After baking, ensure it cools completely at room temperature before covering it tightly and refrigerating. The cheesecake’s texture improves, and its rich flavors deepen beautifully as it rests and sets in the fridge.
Cherry Filling (Compote)
The vibrant cherry filling can be cooked up to 2 days ahead of time. Store it in an airtight container in the refrigerator to maintain its freshness and flavor. Just give it a gentle stir before using.
Whipped Yogurt Cream
For the freshest and fluffiest results, it’s best to whip the cream topping the day of or the day before serving. Store it covered in the refrigerator. If made too far in advance, it might lose some of its volume.
Final Assembly
For optimal presentation and enjoyment, assemble the cheesecake with the cherry topping and whipped cream either the night before or on the day you plan to serve it. Add any fresh cherry garnishes just before serving to ensure they look their absolute best.
Freezing: It is generally not recommended to freeze this cheesecake due to the cornstarch in the cherry filling. Cornstarch-thickened fillings can sometimes develop an undesirable texture when frozen and thawed, becoming watery or grainy. For best results, enjoy this cheesecake fresh from the refrigerator.
❔ Why use tart or sour cherries when baking
When it comes to baking, especially for classic desserts like Black Forest cake or this cheesecake, tart cherries (also known as sour cherries) are unequivocally the superior choice over dark sweet cherries. Their flavor is far more concentrated and intense, delivering a bright, tangy counterpoint that beautifully cuts through the richness of chocolate and cream. This acidity is what creates that quintessential ‘cherry pie’ flavor profile that is so sought after in baked goods.
Finding tart cherries is often easier than you might think. Many grocery stores stock pitted and individually quick-frozen (IQF) sour cherries in their frozen berry sections. These are excellent as they are picked at peak freshness and ready to use. If your local grocery store doesn’t carry them, try searching health food stores, as tart cherries are often recognized for their health benefits. Additionally, European grocery stores or delis are fantastic resources, as sour cherries are a staple in many traditional European desserts.
If you’re inspired to explore more delicious possibilities with tart cherries, consider trying other recipes such as a classic tart cherry meringue pie, a rich chocolate cherry pie, or charming chocolate almond cherry linzer cookies. Their versatility and distinct flavor truly elevate any dessert.
📖 Recipe FAQs
If authentic Kirsch is unavailable, or you prefer an alternative spirit to impart a similar depth and warmth, a good quality brandy is an excellent substitute. Brandy, also derived from fruit, harmonizes beautifully with the rich flavors of chocolate and cherry. While it introduces alcohol, most of it cooks off during the simmering process, leaving behind its distinctive aroma and warmth. I highly recommend including it for that authentic Black Forest ‘kick.’ For a completely alcohol-free version, simply replace the Kirsch with an equal amount of water; the cherry and almond flavors will still shine through beautifully.
After baking, it’s crucial to allow your cheesecake to cool gradually. First, let it sit at room temperature for 1–2 hours. This slow transition prevents rapid temperature changes that can cause cracks. Once it has reached room temperature, transfer it to the refrigerator and chill for a minimum of 8 hours, or ideally overnight. This extended chilling period is vital for the cheesecake to fully set, firm up, and for its rich flavors to properly develop, ensuring a perfect slice every time.
Determining the perfect doneness for a cheesecake is key to its creamy texture. Your Black Forest Cheesecake is ready when its edges appear visibly set and slightly puffed, but the very center still exhibits a slight, gentle wobble when you carefully jiggle the springform pan. It should look like a firm custard, not liquid. Don’t worry about the jiggly center; it will continue to firm up beautifully as it cools and chills in the refrigerator, resulting in a flawless, velvety consistency.
While it is technically possible to bake a cheesecake without a water bath, I strongly advise against it for this recipe and most baked cheesecakes. A water bath creates a moist, consistent baking environment, which is paramount for a perfectly smooth, crack-free cheesecake with an even, creamy texture. Without it, cheesecakes are more prone to drying out, developing cracks, and having an unevenly baked consistency. It’s a small extra step that makes a monumental difference in the final quality.
Cheesecake cracks are a common frustration but are usually preventable. They are primarily caused by three factors: overmixing the batter, overbaking the cheesecake, or sudden, drastic temperature changes during cooling. To achieve a flawless surface:
1. Avoid overmixing, especially after adding the eggs; mix only until just combined.
2. Always bake your cheesecake in a water bath for gentle, even cooking.
3. Allow the cheesecake to cool gradually – first in the turned-off oven with the door slightly ajar, then at room temperature, before finally chilling in the refrigerator.
A lumpy cheesecake batter typically indicates that the ingredients, particularly the cream cheese and eggs, were not sufficiently softened or thoroughly mixed at each stage. To ensure a silky-smooth batter, always start with room temperature cream cheese and eggs. Additionally, remember to scrape down the sides and bottom of your mixing bowl frequently during each mixing step; batter often clings to the bowl, leading to unmixed pockets.
Achieving picture-perfect, clean slices of cheesecake is simple with the right technique. Always use a sharp, thin-bladed knife. For each slice, dip the knife in hot water and then wipe the blade completely clean with a towel. Slice through the cheesecake, then repeat the process – dip in hot water and wipe clean – before making the next cut. This ensures beautifully neat edges and prevents the cheesecake from sticking to the knife.
🍒 More related recipes
- Cherry Brownies
- Chocolate Cherry Black Forest Pie
- Black Forest Cupcakes
- The Best Black Velvet Cake
Did you make this recipe? I would love for you to rate this recipe and hear what you think in the comments below! Share your creation on Instagram and tag @flouringkitchen. Follow me on Pinterestto save and for more recipe ideas.
📖 Recipe
Black Forest Cheesecake
MaryEquipment
- electric mixer
- nine inch springform round baking pan
- parchment paper
Ingredients
Oreo Cheesecake Crust
- 3 cups oreo crumbs 36 whole oreo cookies crushed
- ¼ cup melted butter
Cherry Filling
- 5 cups sour cherries pitted and frozen, 600g
- ½ cup granulated sugar
- ¼ cup kirsch brandy, or water
- 1 teaspoon almond extract
- 3 tablespoons cornstarch
- 2 tablespoons water
Chocolate Cheesecake
- 1 cup heavy whipping cream
- 2 cups semisweet chocolate chips
- 1 cup granulated sugar
- ½ cup cocoa powder dutch processed
- 24 oz cream cheese three 8oz full fat bricks, softened
- ½ cup sour cream room temperature
- 1 tablespoon pure vanilla extract
- ¼ teaspoon sea salt
- 3 large eggs room temperature
Toppings
- ½ cup heavy whipping cream
- 1 cup semisweet chocolate chips
- 1 cup heavy whipping cream
- 3 tablespoons granulated sugar
- ½ cup plain greek yogurt
- 1 teaspoon pure vanilla extract
- 1 cup fresh cherries for garnish optional
Instructions
Oreo Cheesecake Crust
- Preheat your oven to 340°F (170°C). Begin by crushing the Oreo cookies into a fine, uniform crumb using a blender or food processor. Transfer these crumbs to a large mixing bowl. Pour in the melted butter and stir thoroughly until all the crumbs are evenly moistened and resemble wet sand, ensuring a cohesive crust.3 cups oreo crumbs, ¼ cup melted butter
- Prepare your springform pan by lightly greasing the inside walls with a piece of cold butter. Cut a long strip of parchment paper to size and press it against the buttered sides – this technique is vital as it prevents the cheesecake batter from overflowing during baking and ensures a clean release. Transfer the buttery Oreo mixture into the prepared pan, pressing it firmly and evenly into the bottom and about halfway up the sides. A flat-bottomed glass or measuring cup can help you pack it tightly for a sturdy crust. Bake the crust in the preheated oven for 8 minutes, then remove and allow it to cool completely while you prepare the fillings.
Cherry Filling
- Combine cherries, sugar, kirsch (or water), and almond extract in a medium saucepan. Heat on medium heat and stir occasionally. Let it come to a simmer and bubble for 10 minutes, stirring occasionally.5 cups sour cherries, ½ cup granulated sugar, ¼ cup kirsch, 1 teaspoon almond extract
- While it simmers, combine cornstarch and 2 tablespoons of water in a separate bowl, stir together.3 tablespoons cornstarch, 2 tablespoons water
- After 10 minutes of simmering, add the cornstarch and water mixture into the cherry mixture and stir quickly immediately.
- Cook the cherry mixture until it thickens and becomes clear, this will happen very quickly. Remove it from the heat. Half will go inside the cheesecake and the other half will go on top.
Chocolate Cheesecake
- In a small saucepan or the microwave, heat up the cream until it starts bubbling. Add the chocolate chips into a bowl and pour the cream on top. Let the ganache sit for a three minutes then stir until smooth. Set aside.2 cups semisweet chocolate chips, 1 cup heavy whipping cream
- In a large bowl or stand mixer, combine sugar and cocoa powder. Stir together and break up any lumps.1 cup granulated sugar, ½ cup cocoa powder
- Add cream cheese into the cocoa powder mixture and use the paddle attachment to mix until creamy. Scrape down the bowl.24 oz cream cheese
- Add sour cream, vanilla extract, and salt into the cheesecake batter. Mix and scrape down the bowl.½ cup sour cream, 1 tablespoon pure vanilla extract, ¼ teaspoon sea salt
- Add eggs, one by one, mixing and scraping down the bowl in between each egg. Mix just until each egg is incorporated.3 large eggs
- Add the melted chocolate ganache into the cheesecake batter and mix just until combined. Scrape down the bowl.
- Add half of the cheesecake batter into the Oreo crust and smooth the top.
- Add three quarters of the cherry filling carefully on top – it’s ok if it’s still hot. Then, carefully spoon the rest of the cheesecake batter evenly on top.
- You will need a large baking tray and a smaller baking pan that will fit the cheesecake springform pan. Alternatively, use an extra large piece of foil and wrap it around the bottom of the springform pan.
- Place the baking pans into the oven and carefully pour boiling water into the outermost baking pan. Bake at 340°F (170°C) for 1 hour and 15 minutes. It’s ready when the edges are set and the inside is puffed and jiggly. Turn the oven off and leave the cheesecake in the oven for 15 minutes.
- Remove the cheesecake and let it cool at room temperature before refrigerating and letting it set in the fridge for at least 8 hours.
Toppings
- Remove the ring and parchment paper from the cheesecake.
- Bring half a cup of heavy whipping cream to a simmer. Add 1 cup of semi-sweet chocolate chips. Let the chocolate melt without stirring for one minute. Then stir it together quickly to combine. Top the cheesecake with the ganache and smooth it out.½ cup heavy whipping cream, 1 cup semisweet chocolate chips
- Add 1 cup cold cream, sugar, and vanilla extract into a large bowl or stand mixer. Use an electric mixer with a whisk attachment to whip the cream to medium peaks. Add yogurt and whip to stiff peaks. Pile it onto the ganache and use a spoon to create swirls on top.1 cup heavy whipping cream, 3 tablespoons granulated sugar, ½ cup plain greek yogurt, 1 teaspoon pure vanilla extract
- Top the cheesecake with remaining cherry filling and fresh cherries.1 cup fresh cherries for garnish
Notes
- Use tart cherries for a vibrant cherry flavor
- Use a water bath for even baking and texture
- The cheesecake is ready when the center is puffed and jiggles when you wiggle the pan.
- Make sure you chill the cheesecake before slicing and serving.
