Irresistible Pumpkin Chocolate Cake with Silky Pumpkin Buttercream: The Perfect Fall Dessert Recipe
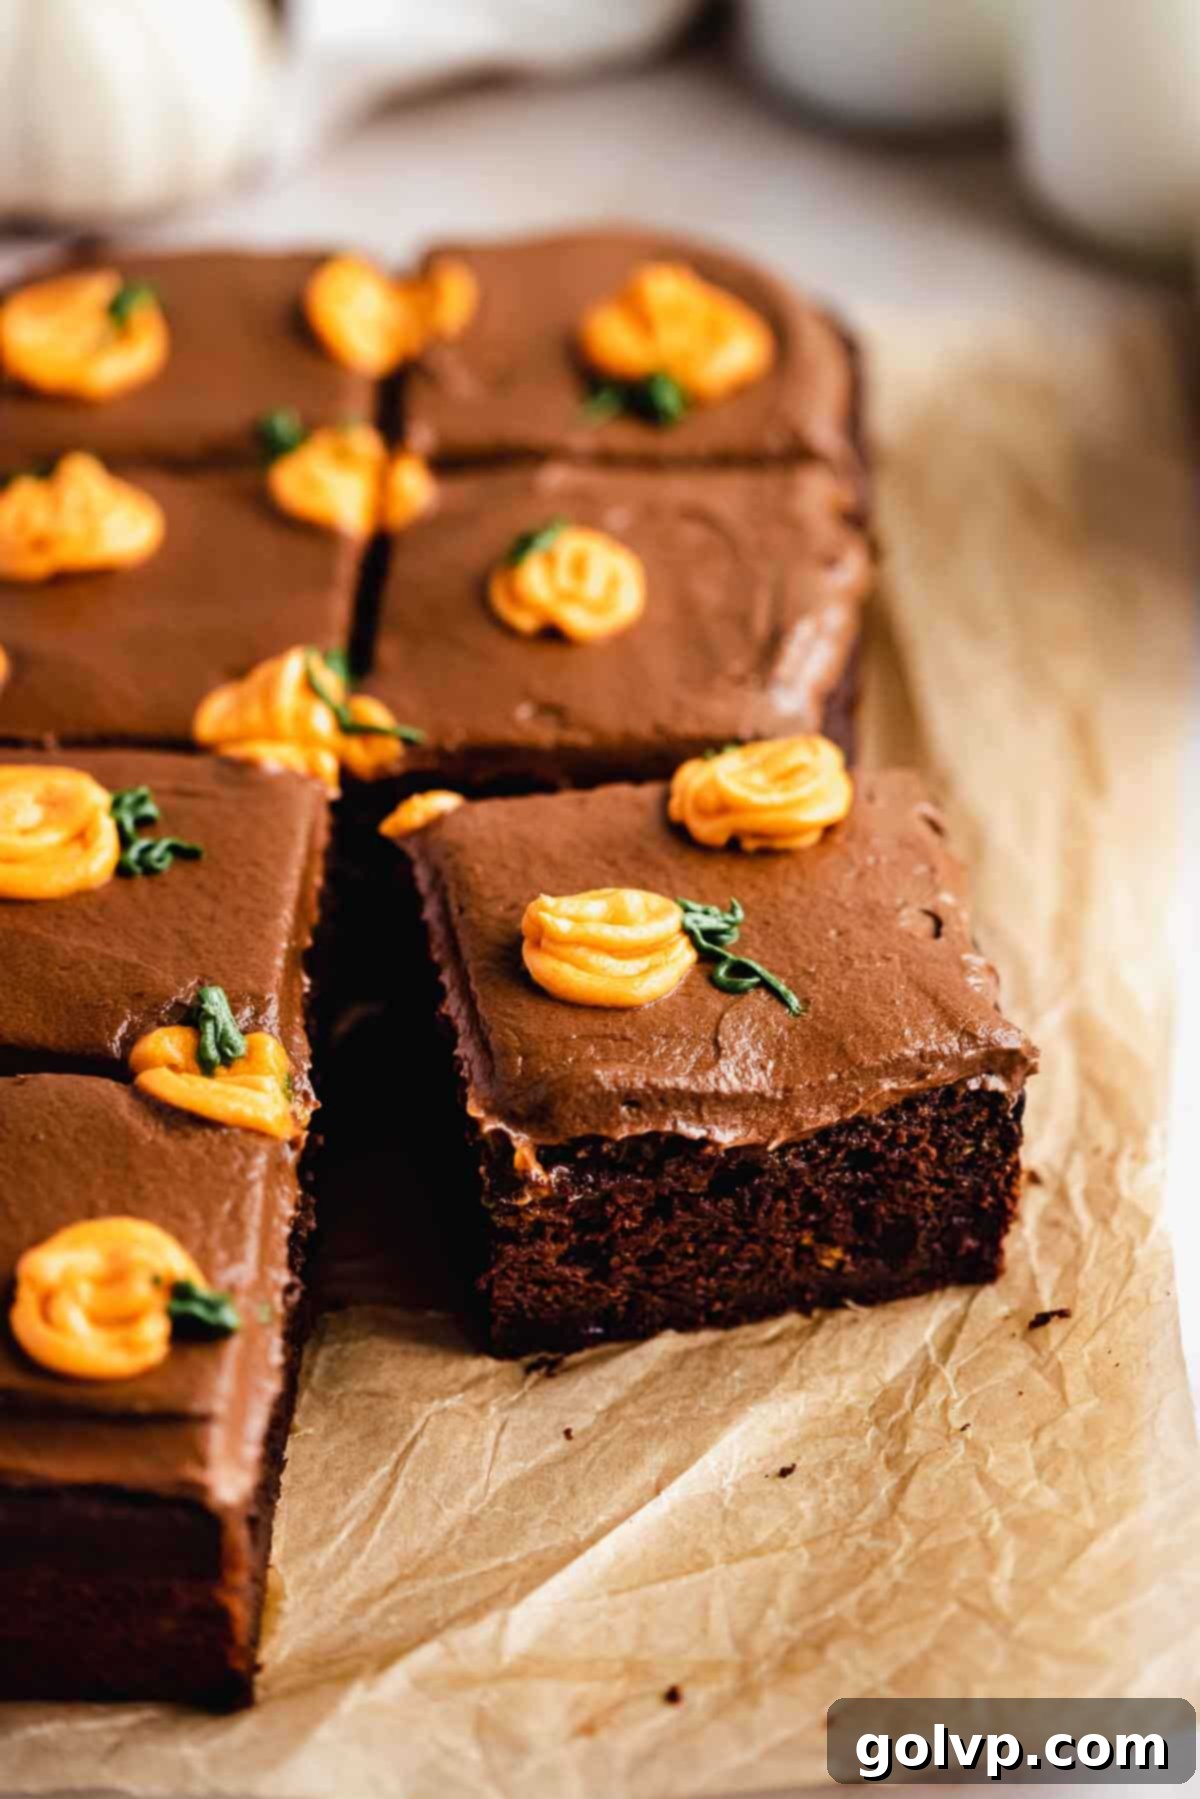
As the leaves begin to turn and the air cools, there’s nothing quite like a comforting slice of this incredibly moist and flavorful pumpkin chocolate cake. This seasonal delight is generously packed with real pumpkin puree, lending it an unparalleled richness and a tender crumb that melts in your mouth. Crowned with the silkiest, most luscious pumpkin chocolate buttercream, every bite delivers a harmonious blend of deep cocoa notes, subtle autumnal spices, and the sweet earthiness of pumpkin. It’s a truly addictive combination that captures the essence of fall.
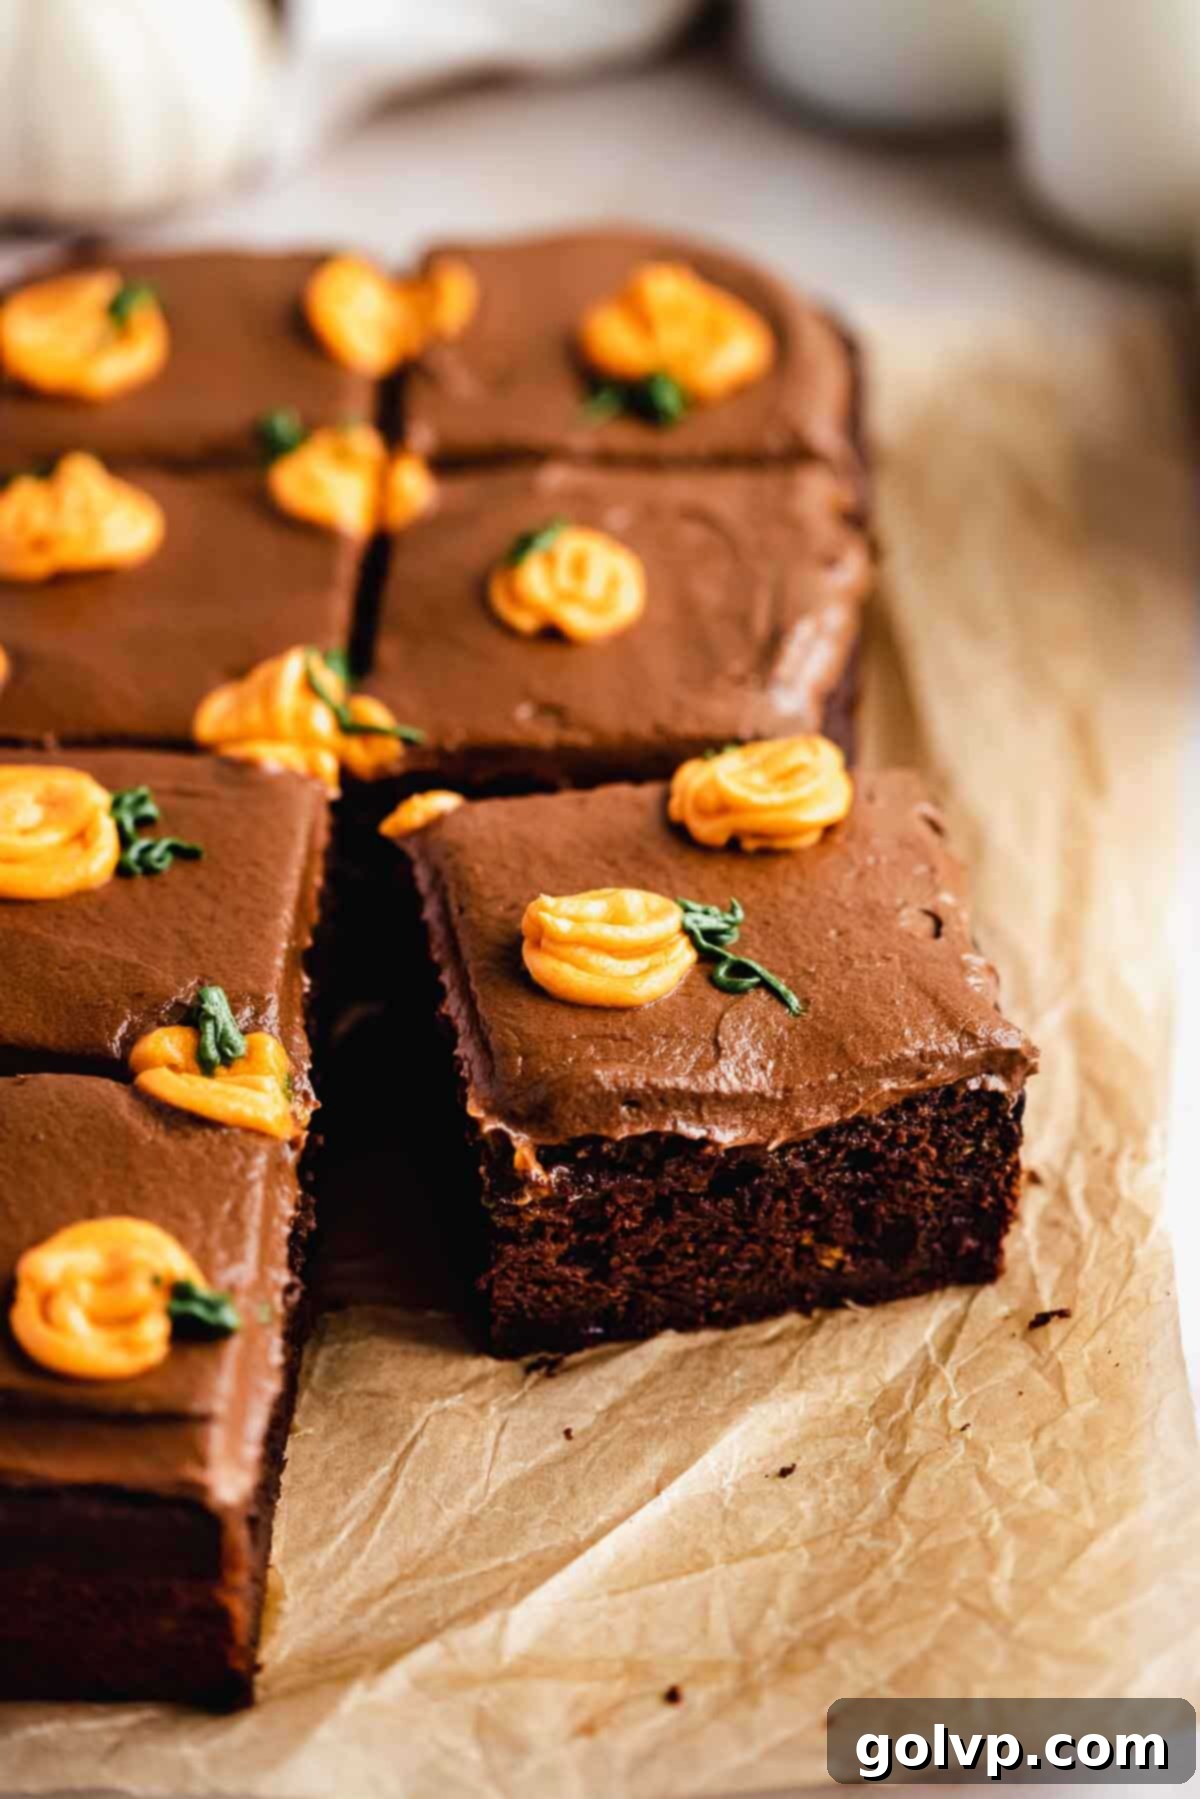
Crafting this masterpiece is surprisingly simple thanks to its one-bowl cake batter recipe, minimizing cleanup and making it accessible for bakers of all skill levels. Designed to be baked in a convenient sheet pan, this cake eliminates the need for complex stacking or intricate side frosting, allowing you to achieve a beautiful presentation with minimal effort. However, for those who dream of a grander centerpiece, options for transforming this into a stunning layer cake are thoughtfully provided in the recipe notes. The cake’s charm is further elevated by adorable mini piped pumpkins adorning its top, making it not just a treat for the taste buds but also a festive visual delight. This makes it an absolutely perfect dessert for any fall celebration, from cozy family gatherings to elaborate holiday feasts.
🥧 Why you’ll LOVE this recipe
- Rich Pumpkin Flavor: This recipe doesn’t shy away from pumpkin! It incorporates over two cups of pure pumpkin puree into the cake batter, ensuring a deep, authentic pumpkin flavor and exceptional moisture. Unlike recipes that merely hint at pumpkin, this cake truly celebrates it, infusing every crumb with that beloved autumnal taste.
- Unforgettable Texture: Prepare for a culinary marvel that’s a delightful cross between a classic chocolate cake and a dense, fudgy brownie, all with a sophisticated hint of pumpkin. The texture is incredibly rich, wonderfully moist, and utterly addictive, offering a satisfying chewiness characteristic of a premium brownie, coupled with the light tenderness of a cake.
- Luxurious Chocolate Pumpkin Frosting: The secret to this buttercream’s ethereal silkiness lies in the addition of pumpkin puree directly into the frosting. This not only enhances the flavor profile but also contributes to an incredibly smooth, melt-in-your-mouth texture that perfectly complements the cake. It’s less cloyingly sweet than traditional buttercreams and boasts a unique, creamy consistency.
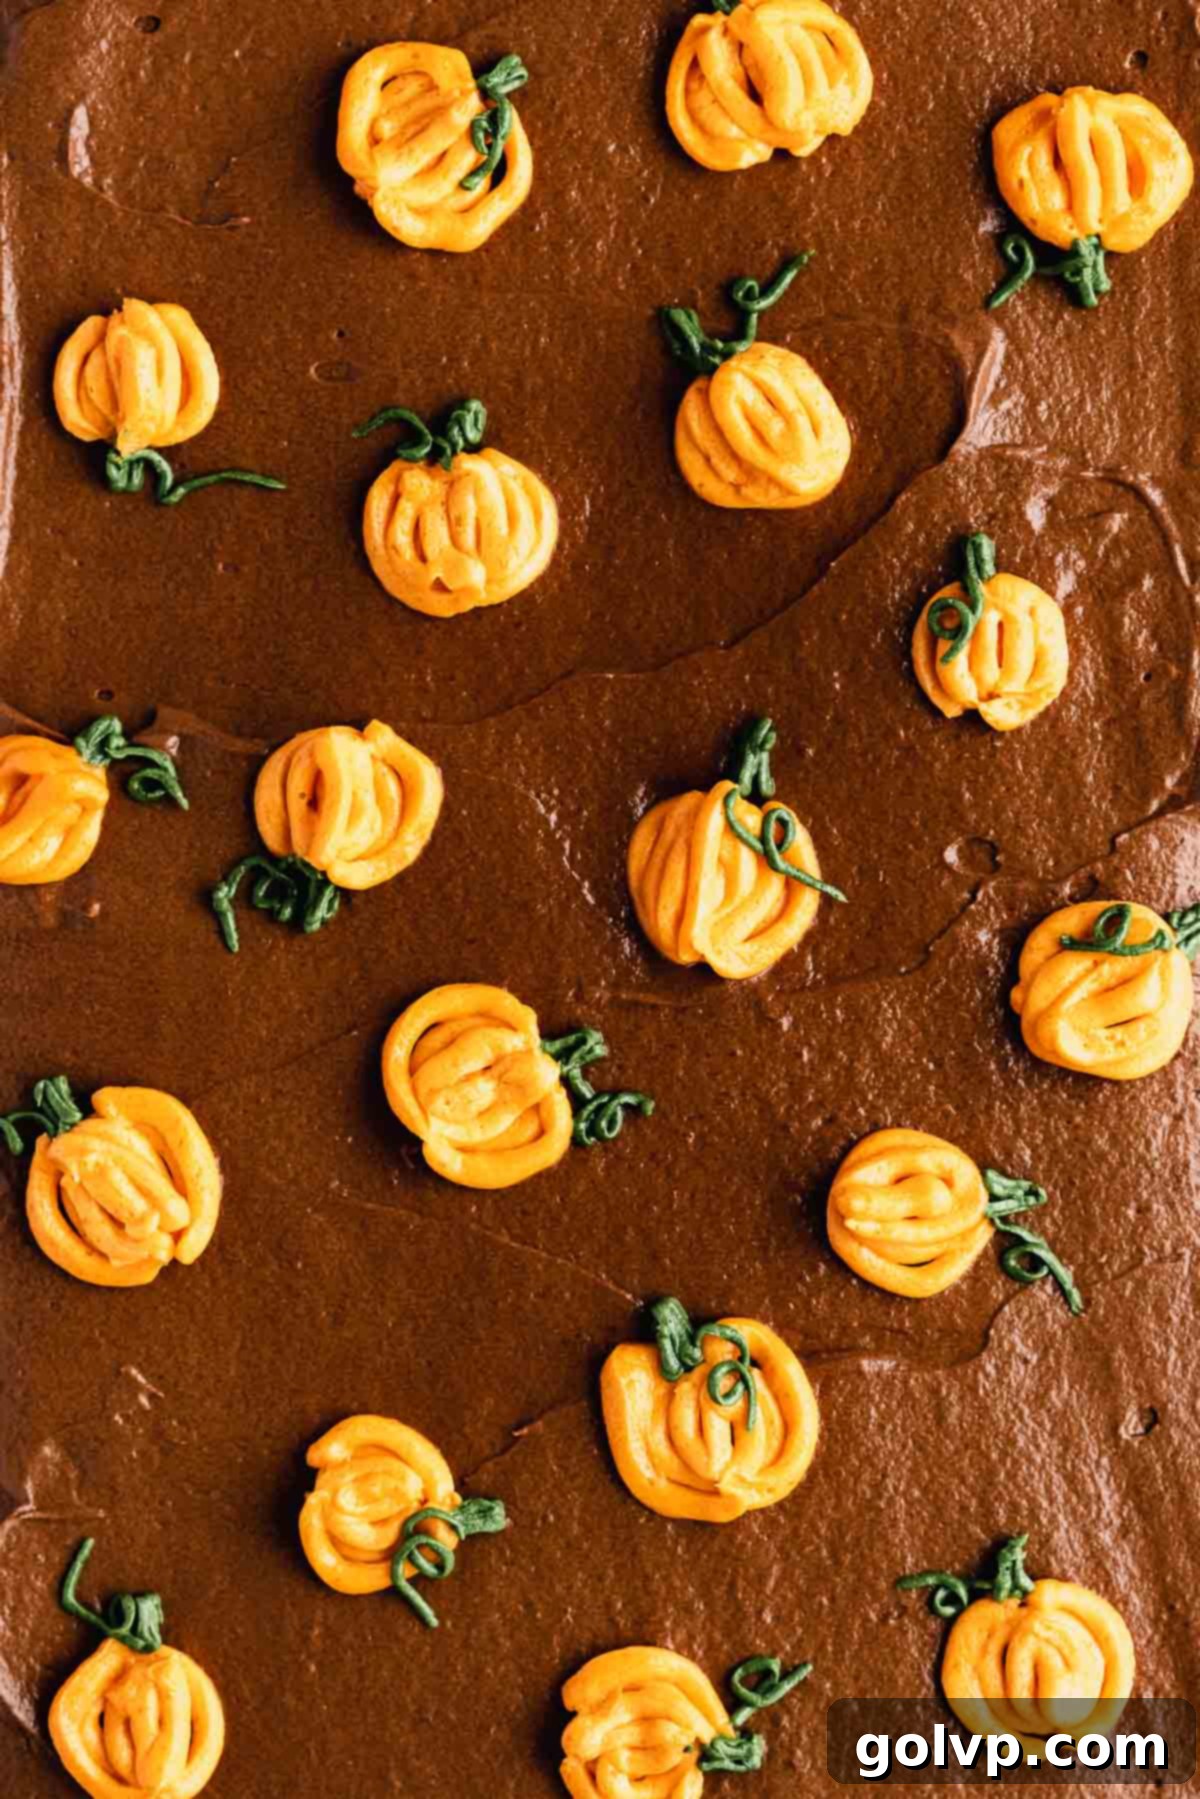
- Charming Mini Piped Pumpkins: Elevate your presentation with these adorable mini pumpkins piped skillfully over the cake’s surface. They are surprisingly fun and easy to create, making this dessert not only delicious but also a fantastic conversation starter. This charming detail transforms it into the quintessential pumpkin-themed cake for any fall occasion, adding a playful and festive touch that everyone will adore.
- Effortless Preparation: This recipe truly shines in its simplicity. It’s the perfect easy, one-bowl pumpkin chocolate cake, making it incredibly convenient to whip up for impromptu gatherings or planned parties. The straightforward method means less time spent on complex techniques and more time enjoying the delightful process and, of course, the finished product.
📝 Key ingredients
Read through for all the tips you will need for success!
Full steps and ingredients in recipe card below.
- Pumpkin Puree: The heart of our cake batter, with a generous two cups to ensure maximum pumpkin flavor and moisture. When choosing your pumpkin, opt for canned 100% pumpkin puree, not pumpkin pie filling, which contains added spices and sugar that will throw off the recipe balance. If you’re using homemade pumpkin puree, make absolutely certain it’s very thick, similar to a rich Greek yogurt. Excess moisture can lead to a soggy cake, so if your puree is watery, take the time to reduce it on the stovetop or strain it thoroughly with a cheesecloth. This step is crucial for the perfect cake texture.
- Pumpkin Spice + Cinnamon: A carefully balanced touch of cinnamon and a high-quality pumpkin spice blend allows the natural pumpkin flavor to truly sing, cutting through the richness of the chocolate. This combination creates a subtly spiced and wonderfully fragrant cake, evoking the warm, comforting aromas of autumn. If pumpkin spice isn’t readily available, you can easily make your own pumpkin spice blend at home, ensuring you never miss out on that essential fall flavor.
- Buttermilk: This acidic ingredient plays a vital role in activating the baking soda, creating a lighter, more tender cake. Its acidity also helps break down gluten, resulting in a softer crumb. If you don’t have buttermilk on hand, don’t fret! You can easily make a homemade substitute by combining 1 cup of room temperature milk with 1 tablespoon of white vinegar or apple cider vinegar. Stir it gently and let it sit for about 5 minutes until it visibly thickens and appears slightly curdled. Remember, always use room temperature milk for this trick; hot milk will curdle too aggressively and create something akin to ricotta, which isn’t what we want for our cake.
- Sour Cream: A true MVP for moisture and richness, full-fat sour cream contributes a tender crumb and a delightful tang that balances the sweetness of the cake. Its high fat content ensures a moist cake that stays fresh longer. Always opt for full-fat sour cream for the best results, as low-fat versions can introduce unwanted moisture and compromise the texture.
- Natural Cocoa Powder: This is key to achieving the cake’s robust chocolate flavor. It’s crucial to use natural (non-alkalized) cocoa powder in this recipe. Natural cocoa powder is acidic and designed to react with baking soda, producing carbon dioxide that helps the cake rise and contributes to a rich, moist texture. Dutch-processed cocoa powder, which has been alkalized, lacks this acidity and will not react properly with the baking soda, potentially leading to a dense, less flavorful cake.
- Heavy Whipping Cream: Essential for crafting a luscious and exceptionally silky buttercream frosting. Use heavy cream or whipping cream with at least 35% fat content. The high fat content contributes to the frosting’s stability, richness, and that coveted smooth, airy texture. Avoid using milk, as it will make the frosting too thin and less luxurious.
- All-Purpose Flour: For the most precise and consistent baking results, weighing your flour with a kitchen scale is highly recommended. If a scale isn’t available, proper measurement by volume is vital: stir the flour in its bag or container to aerate it, then gently spoon it into your measuring cup. Level off the excess with the flat edge of a knife, taking care not to pack the flour into the cup. Over-packed flour can lead to a dry, dense cake.
For a delicious chocolate-free alternative that still celebrates the flavors of autumn, be sure to check out my pumpkin spice cake recipe.
👩🍳 How to make pumpkin chocolate cake
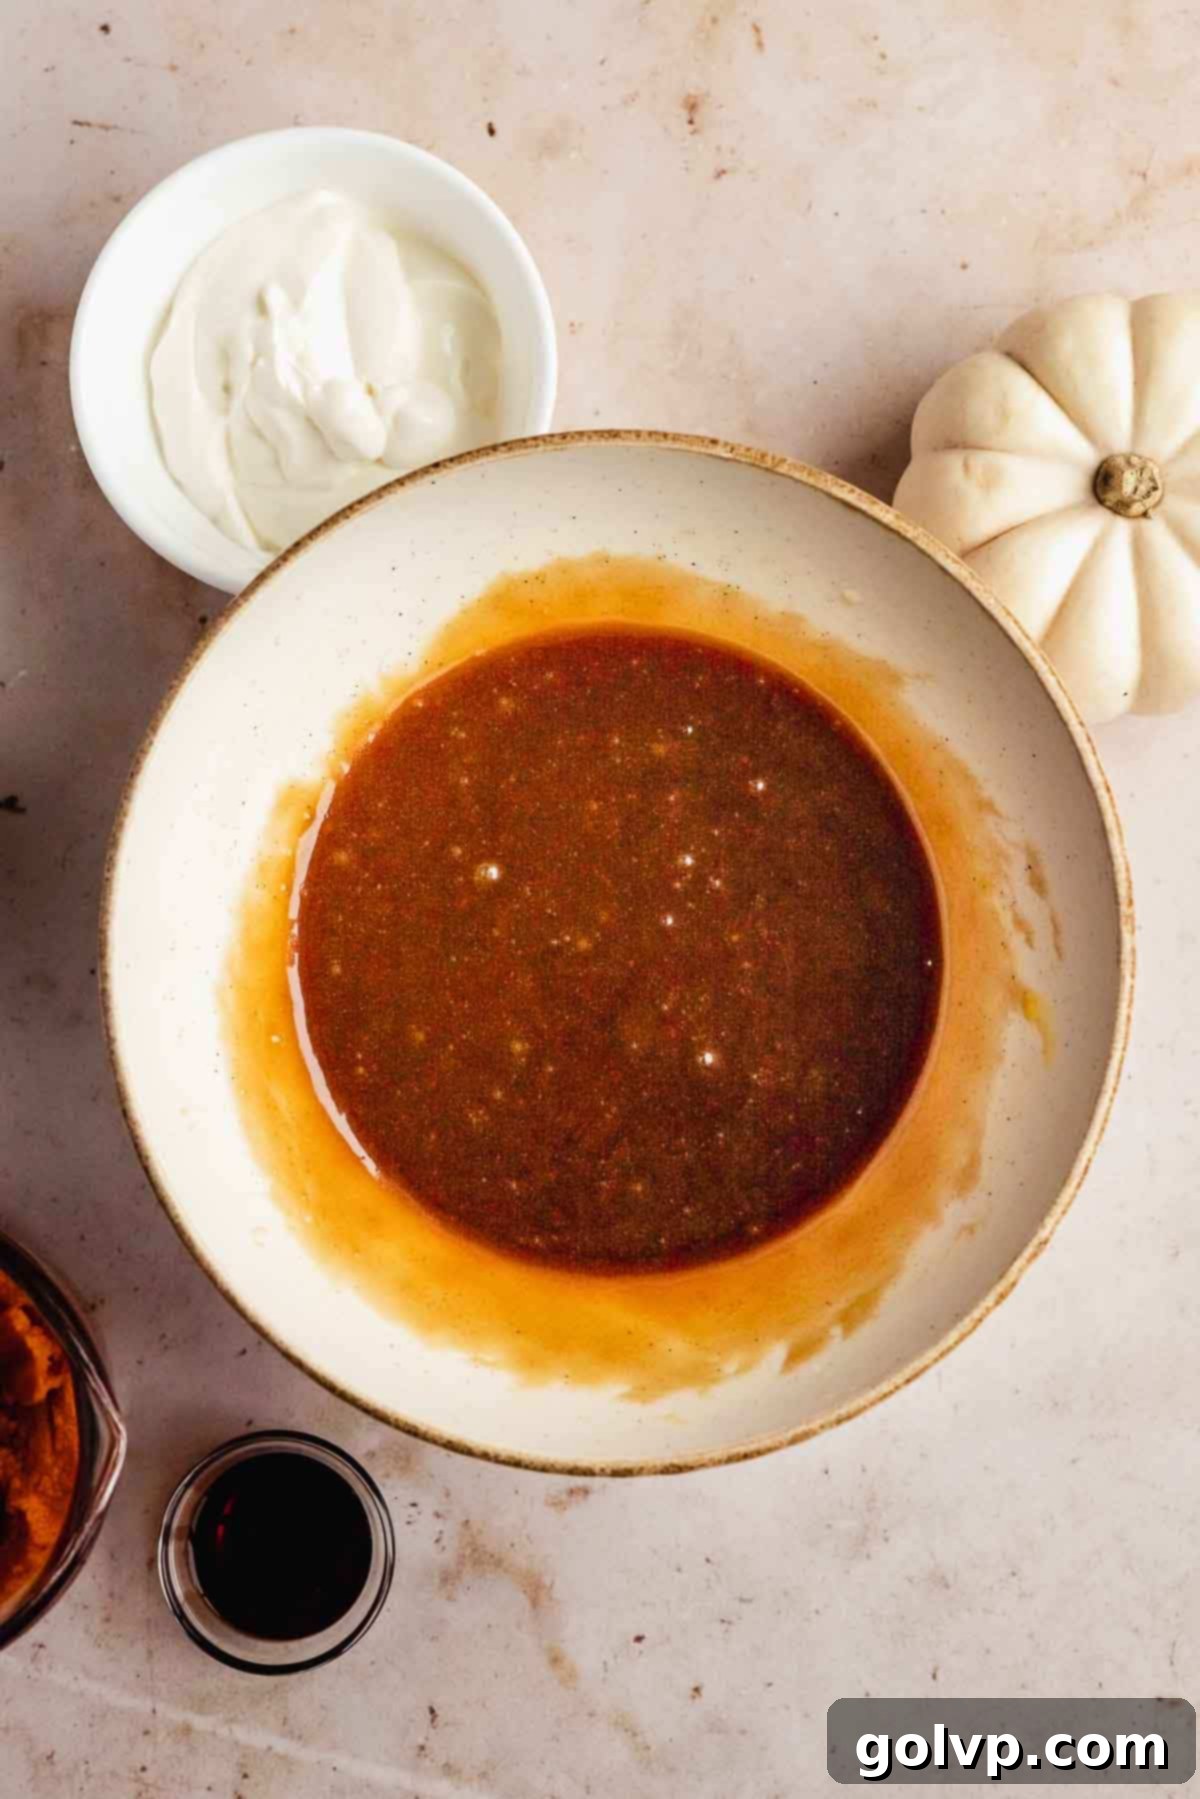
Step 1: Prepare the Wet Ingredients. In a generously sized mixing bowl, combine the room-temperature eggs, cooled melted butter, packed brown sugar, a pinch of sea salt, and pure vanilla extract. Whisk these ingredients vigorously until the mixture is smooth, well-combined, and slightly lightened in color. Ensuring the butter is cooled prevents it from scrambling the eggs or dissolving the sugar too quickly, leading to a more consistent batter.
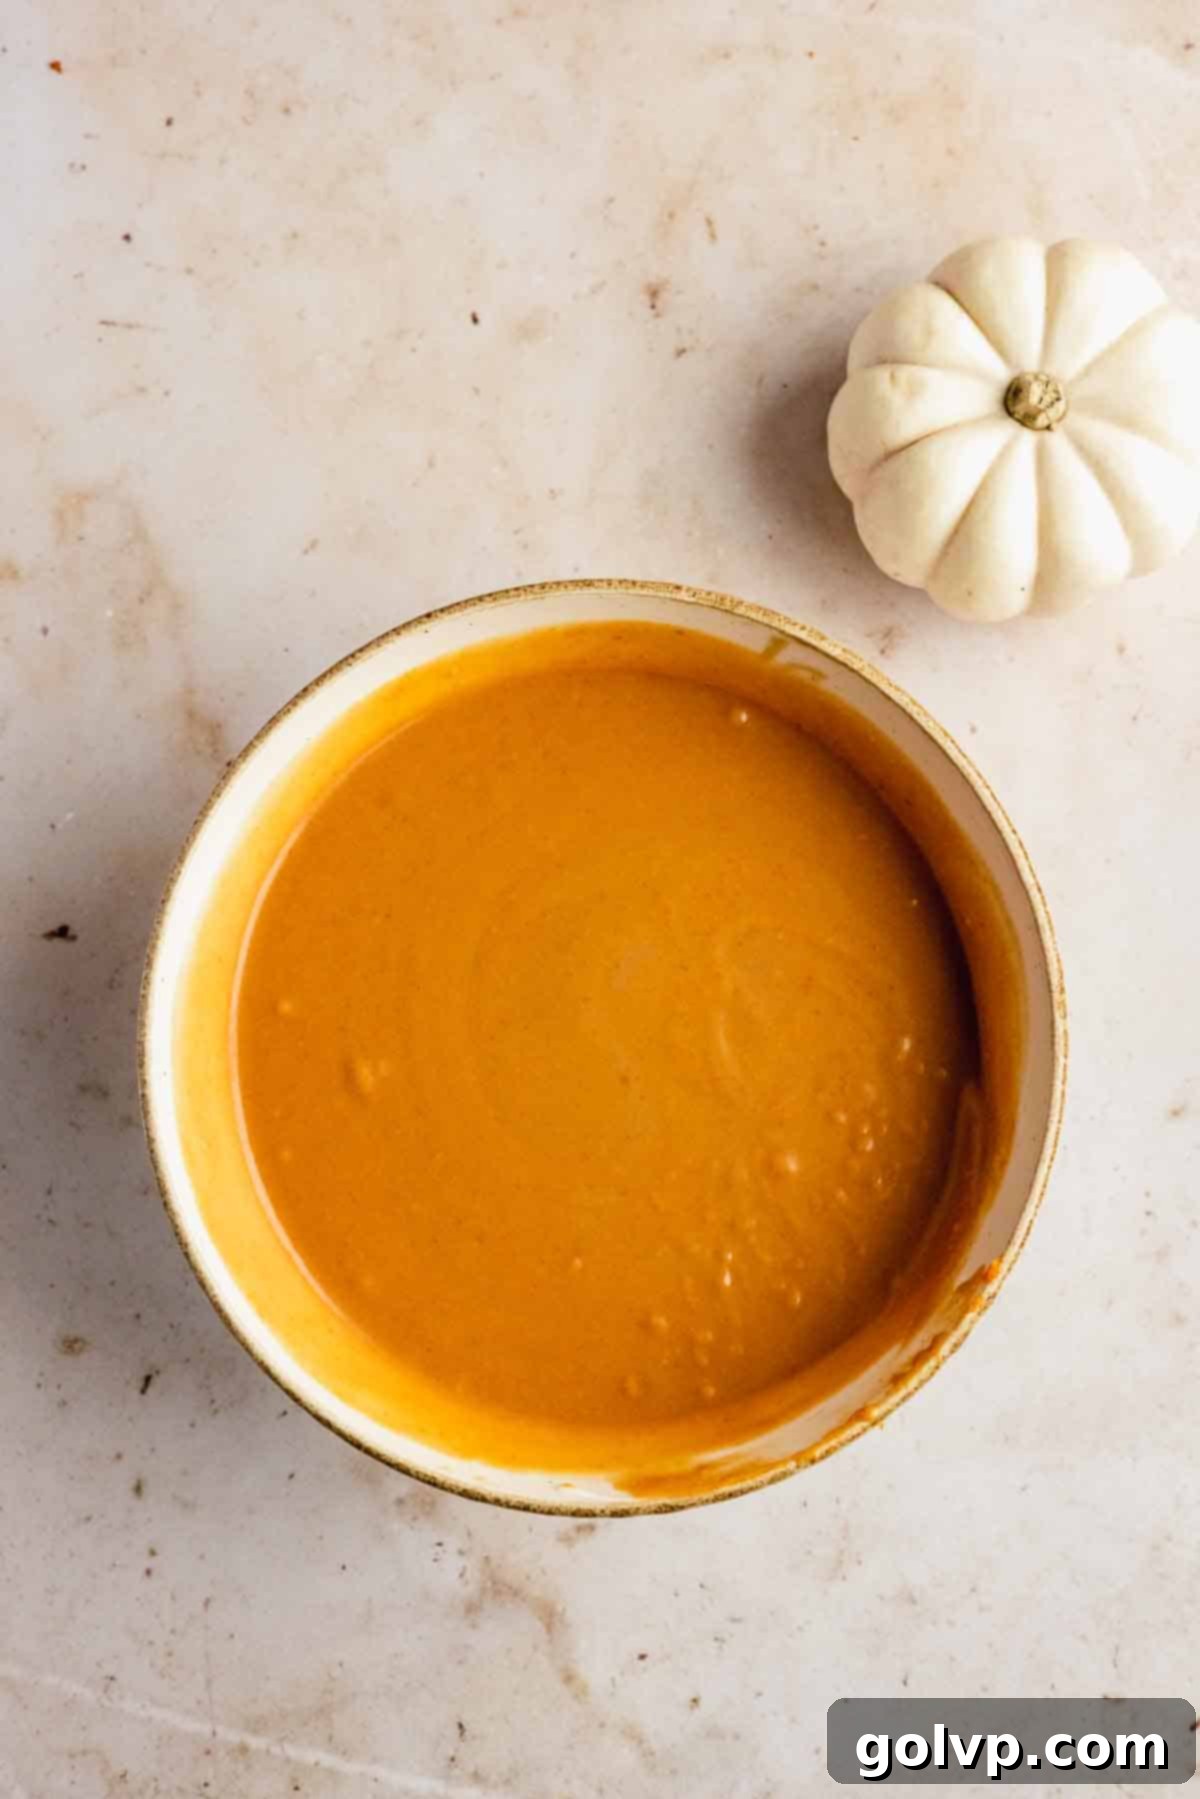
Step 2: Combine Wet and Dry Ingredients, Then Bake. To the whisked mixture, gradually incorporate the pumpkin puree, followed by the buttermilk, and finally the sour cream, whisking thoroughly after each addition to ensure a smooth, uniform consistency. Next, use a fine-mesh sieve to sift in the all-purpose flour, natural cocoa powder, baking powder, baking soda, pumpkin spice, and cinnamon directly into the bowl. Sifting is crucial as it removes lumps and aerates the dry ingredients, promoting an even bake. Gently fold the batter using a spatula until just combined, with no visible streaks of dry flour remaining. Be careful not to overmix, as this can develop gluten and result in a tough cake. The batter will be delightfully thick. Stir in the chocolate chips just until they are evenly distributed. Pour the batter into a greased and parchment-lined 9″x12″ baking pan, then bake in an oven preheated to 355°F (180°C) for 50-65 minutes, or until a toothpick inserted into the center comes out clean or with a few moist crumbs attached. Allow the cake to cool completely in the pan on a wire rack before attempting to frost it.
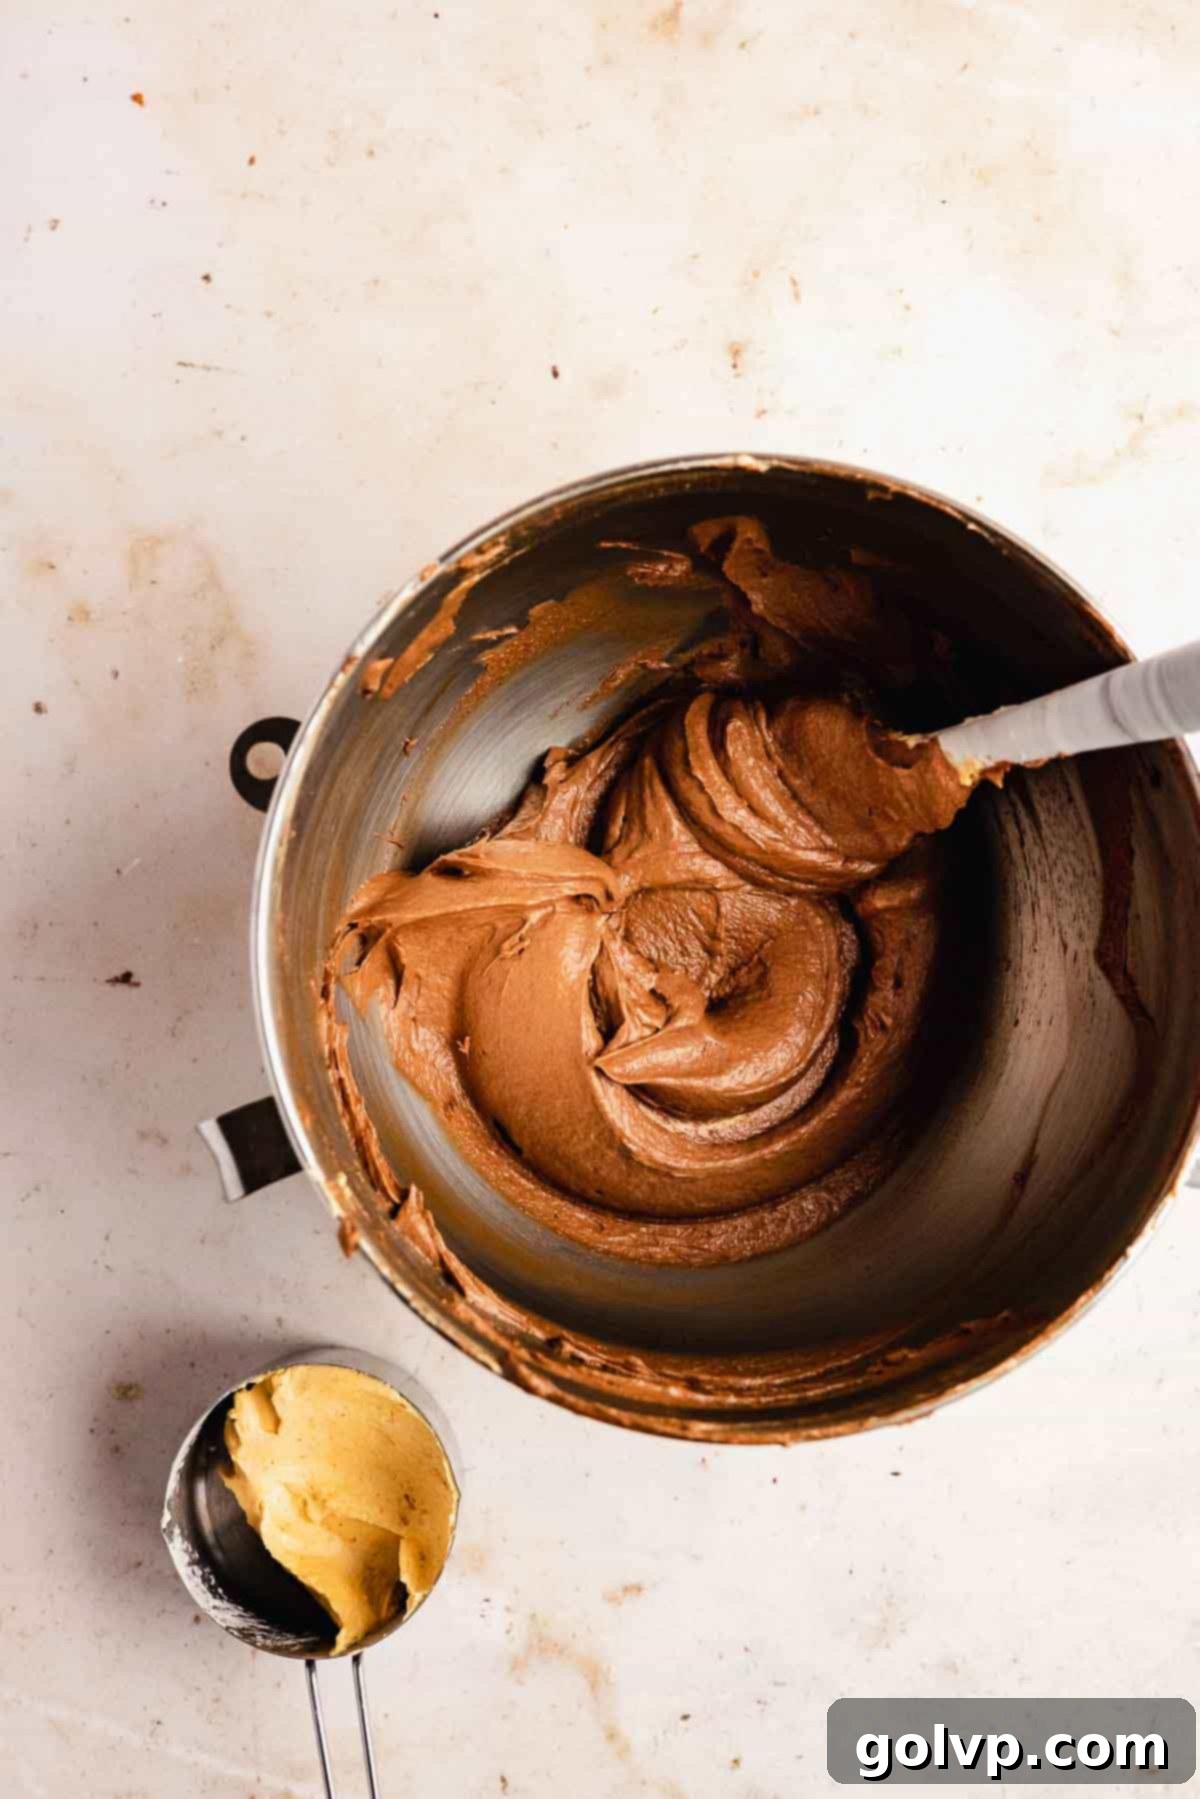
Step 3: Prepare the Silky Buttercream. In a large mixing bowl or the bowl of a stand mixer fitted with a paddle attachment, beat the softened butter on medium-high speed for 5-10 minutes until it becomes exceptionally light, airy, and fluffy. This aeration is key to a truly smooth buttercream. Gradually add the powdered sugar (sifted, for best results), vanilla extract, and a pinch of sea salt, beating on low speed until combined, then increasing to medium-high for another 5-10 minutes until the mixture is very light and creamy. Scrape down the sides of the bowl frequently to ensure even mixing. Next, add the pumpkin puree and beat for another 30 seconds until it’s fully incorporated and the frosting appears even fluffier. Set aside half a cup of this un-cocoa’d frosting and three tablespoons into separate small bowls for coloring later.
To the remaining main batch of frosting, add the sifted natural cocoa powder. Beat well until it’s perfectly smooth and no streaks of cocoa remain. Finally, gradually pour in the heavy whipping cream, two tablespoons at a time, beating thoroughly after each addition. Continue adding cream until the frosting achieves a wonderfully silky, spreadable consistency. Be mindful not to add too much cream, as this can make the frosting too runny.
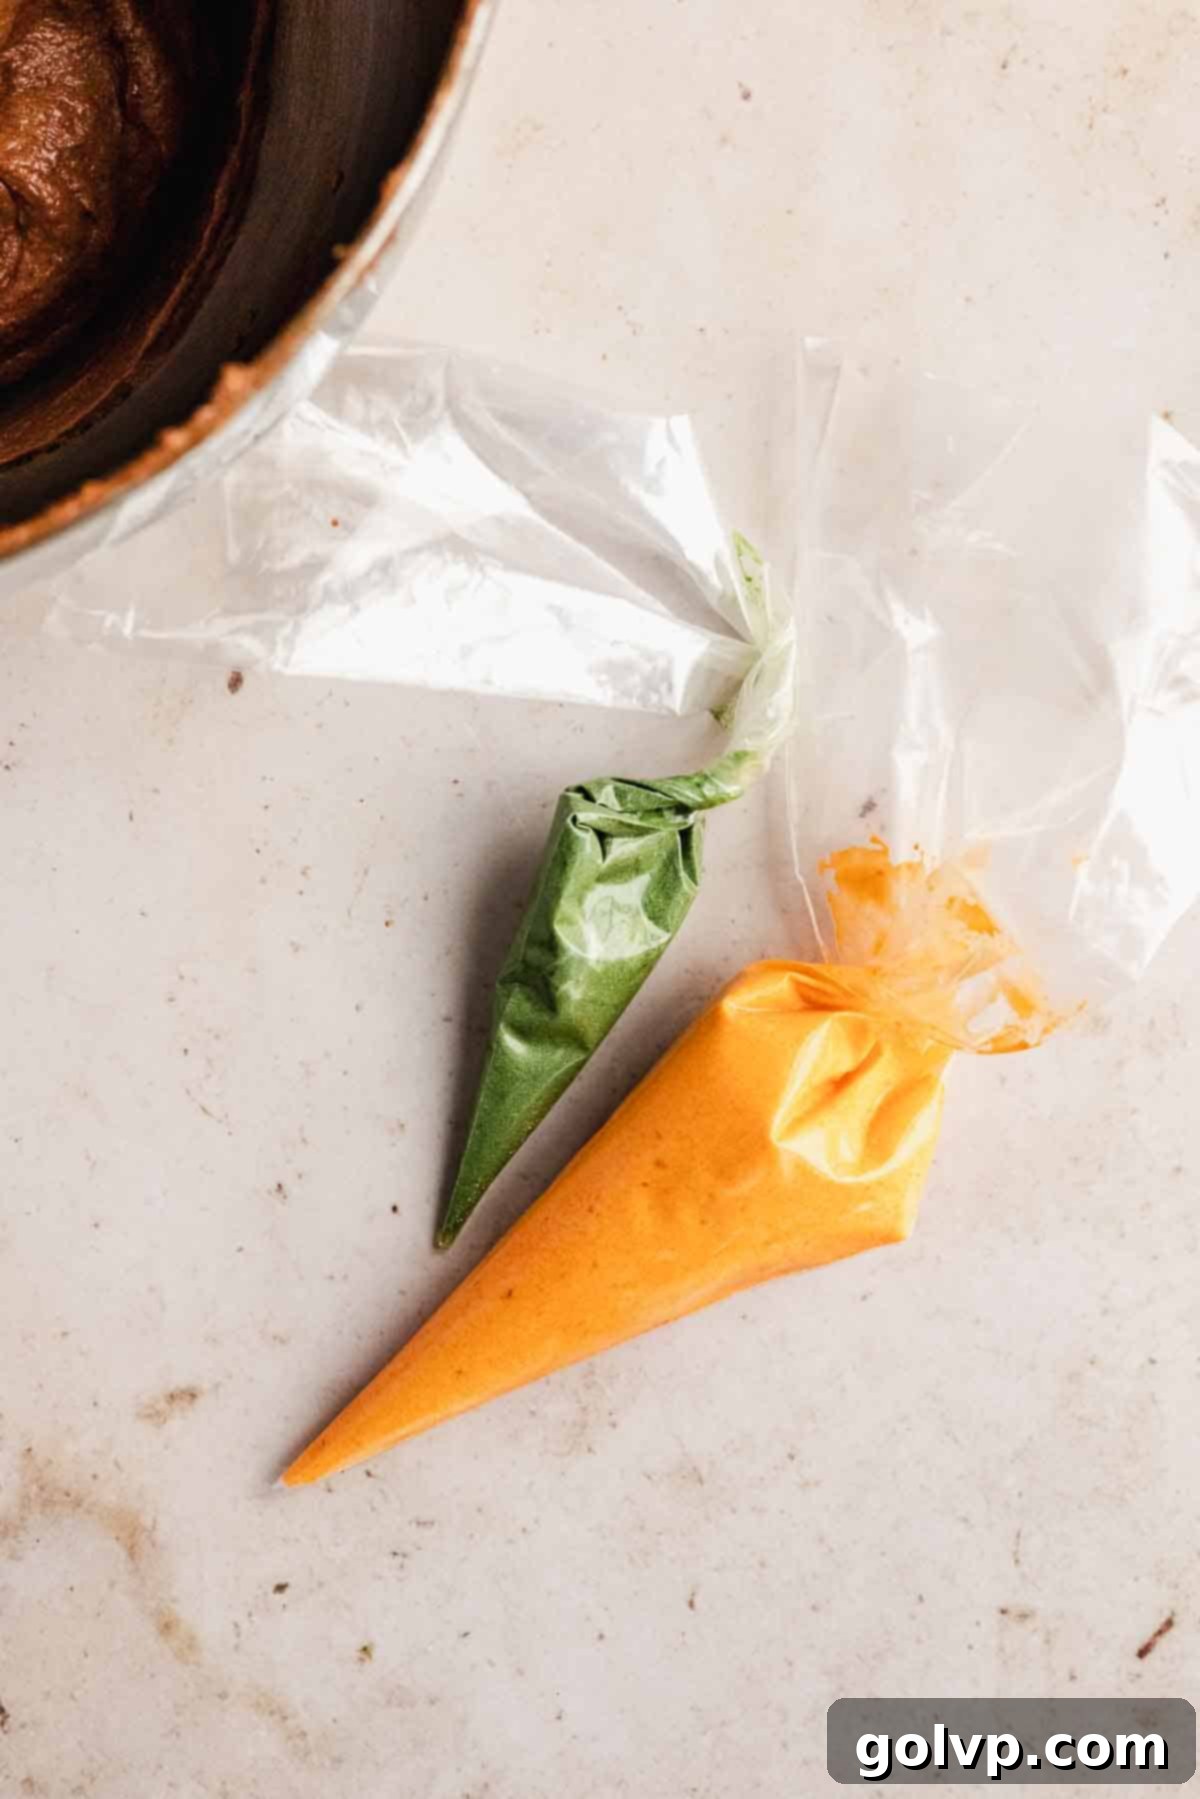
Step 4: Color the Frosting for Decoration. Take the three tablespoons of frosting you set aside earlier and incorporate a few drops of green food coloring (or a tiny pinch of matcha powder for a natural option) until you achieve a vibrant green hue. This will be used for the pumpkin stems and vines. In the separate half-cup portion of frosting, add orange food coloring (or a tiny pinch of turmeric for a natural, subtle orange) to create a bright, festive orange for the mini pumpkins themselves. Transfer each colored frosting into individual piping bags. If you don’t have piping bags, a small Ziploc bag with a corner snipped off will work just as well.
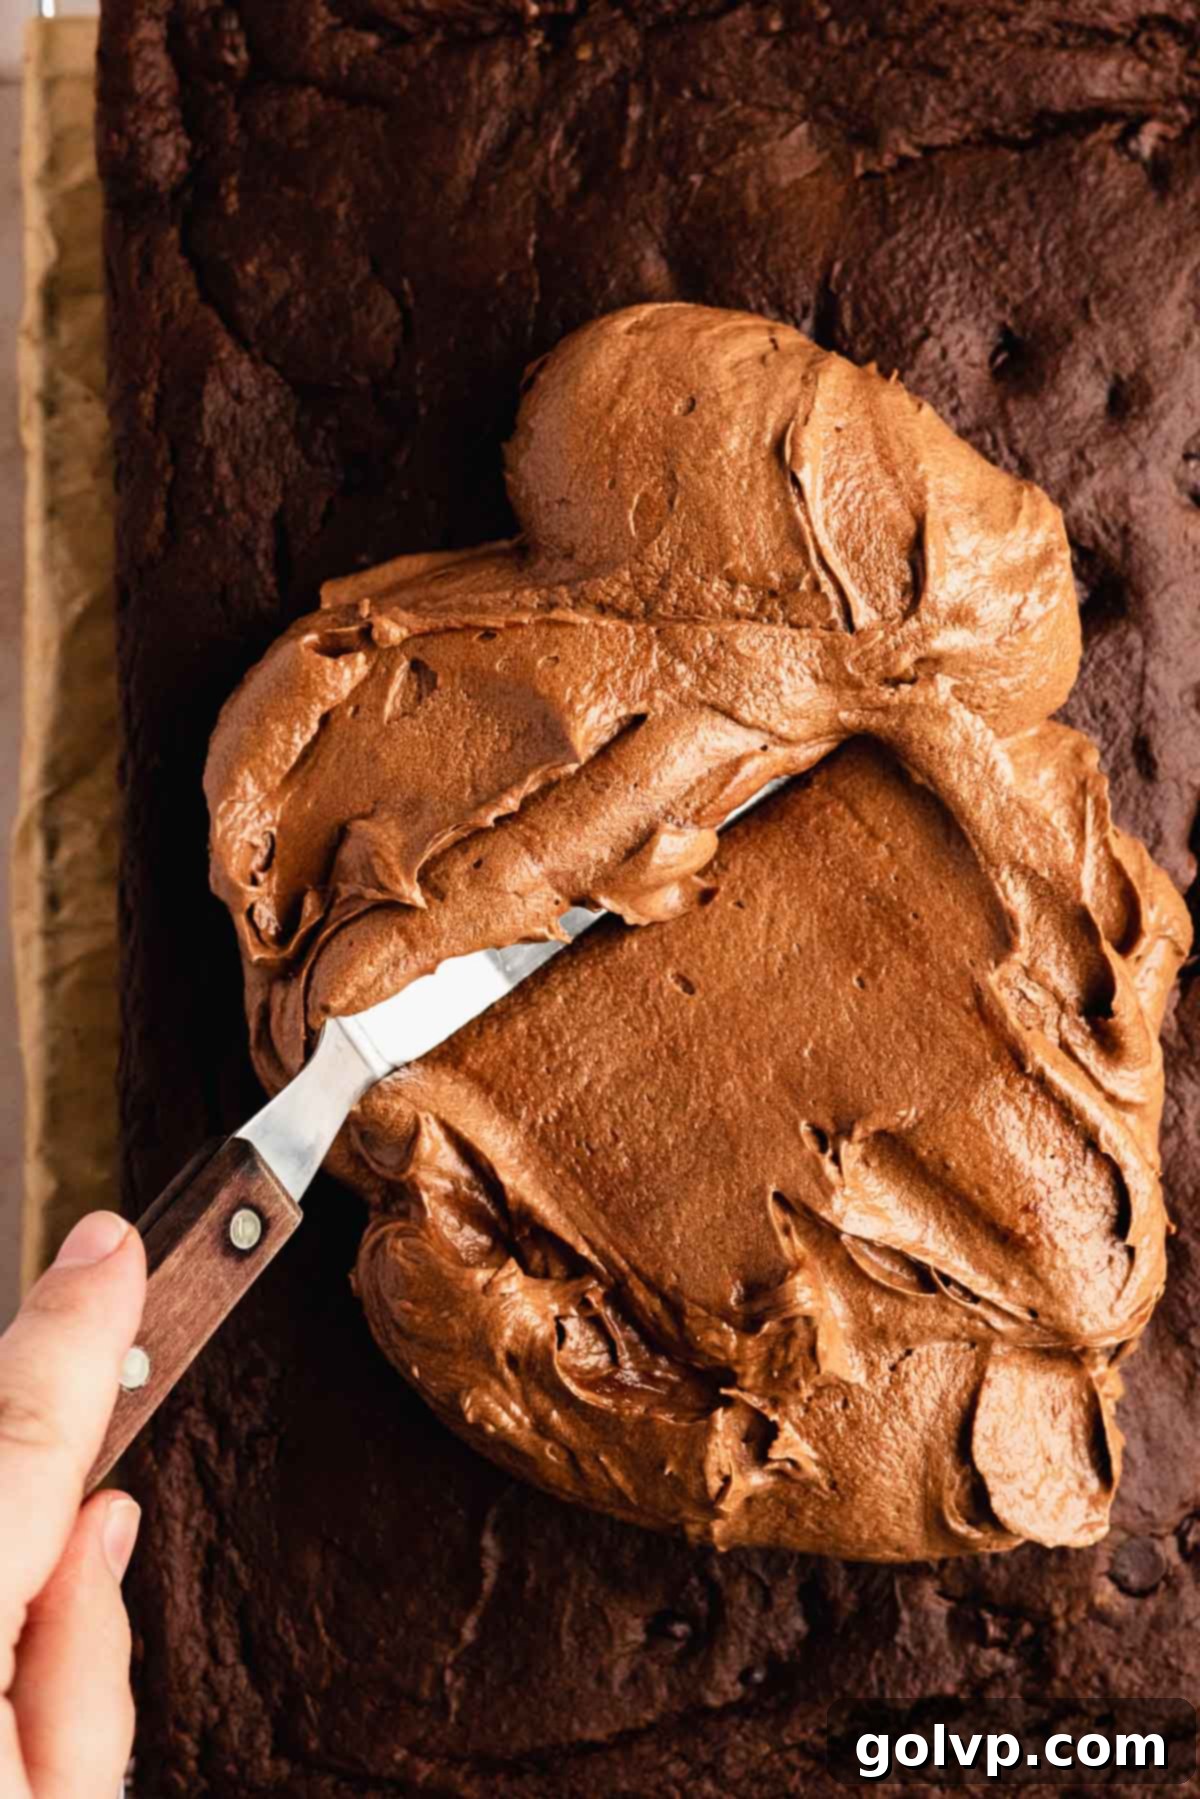
Step 5: Frost the Cake Base and Mark Pumpkin Placement. Once your cake is completely cooled, use an offset spatula or the back of a spoon to spread the rich chocolate pumpkin frosting evenly over the entire top surface. Aim for a smooth, inviting layer. To guide your pumpkin piping, gently mark small, evenly spaced circles on the frosted cake using a toothpick. Position these marks approximately 2.5 inches apart to ensure a balanced and appealing design across the cake.
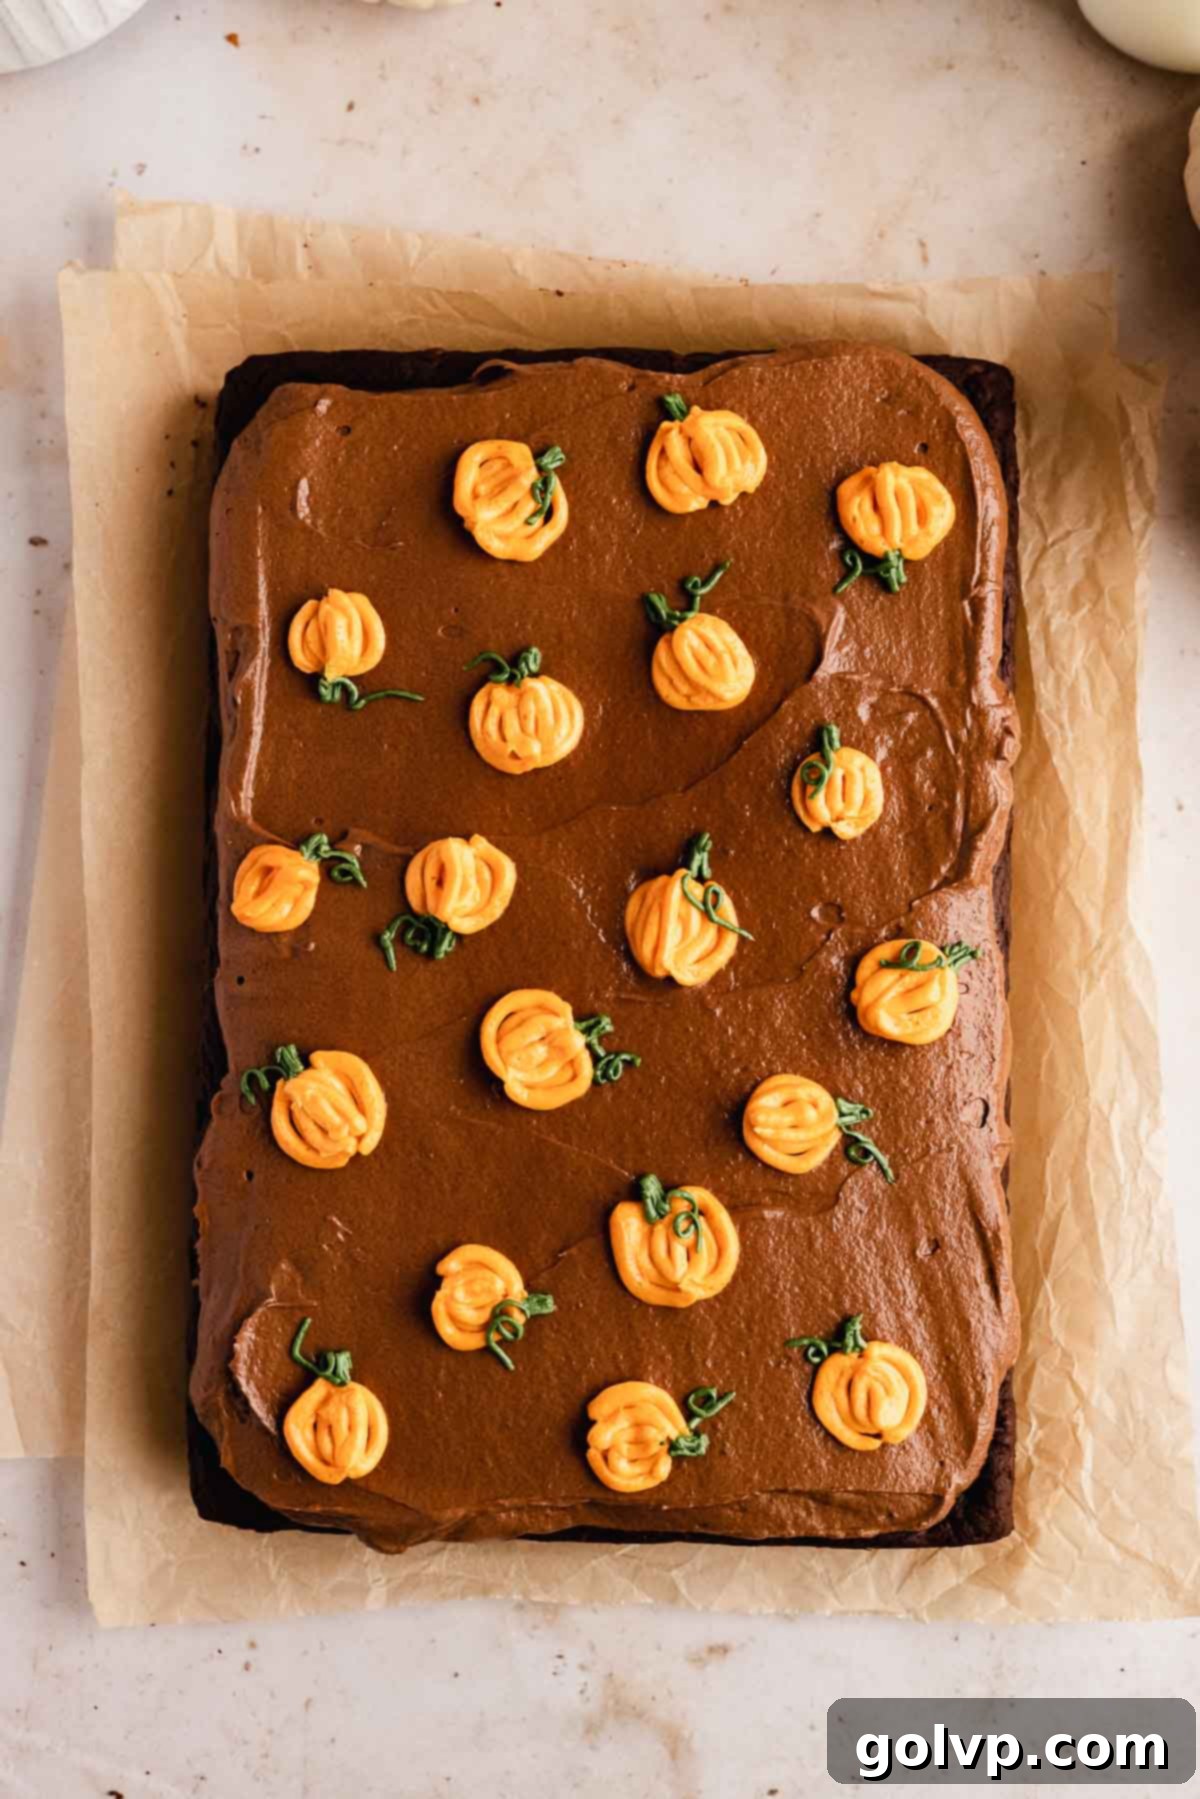
Step 6: Pipe the Decorative Pumpkins. Snip a small tip off the ends of your orange and green piping bags. Begin by piping the orange frosting onto each marked area, forming a small circle. Then, fill in the circle with a few gentle, curved lines to create the characteristic ridges of a pumpkin. Once your orange pumpkins are complete, switch to the green frosting. Pipe a small stem on top of each orange pumpkin, then add a delicate little vine swirl for an extra touch of charm. These simple piping techniques are easy for beginners and add a festive flair. Your beautifully decorated pumpkin chocolate cake is now ready to be sliced and served!
✔️ Expert pumpkin cake tips
- Ensure All Ingredients Are at Room Temperature: This fundamental rule of baking cannot be overstated. Room temperature ingredients—especially eggs, butter, buttermilk, and sour cream—emulsify much more smoothly with each other, creating a homogenous batter. This even incorporation is critical for achieving a uniform texture, preventing a dense or crumbly cake, and ultimately contributing to a more tender and consistent crumb. Plan ahead and take your refrigerated ingredients out at least 30-60 minutes before you begin baking.
- Accurately Measure Flour by Weight: For the most precise and reliable baking results, using a kitchen scale to weigh your flour is highly recommended (3 cups is approximately 360g). Volume measurements can vary significantly depending on how the flour is scooped and packed. If a scale isn’t available, employ the “spoon and level” method: gently stir the flour in its bag or container to aerate it, then lightly spoon it into your measuring cup until it overflows. Finally, scrape off the excess with the flat edge of a knife, being careful not to pack the flour down. Over-measuring flour is a common pitfall that leads to dry, dense cakes.
- Avoid Overmixing the Batter: Once the dry ingredients (flour, cocoa powder, leavening agents) are added, mix the batter only until no more streaks of dry flour are visible. Overmixing develops gluten, which can result in a tough, chewy, and dense cake, rather than the light, moist texture we are aiming for. A gentle folding motion is often best during this stage.
- Do Not Overbake Your Cake: An overbaked cake is a dry cake. Begin checking for doneness around the lower end of the recommended baking time. The cake is perfectly baked when a clean wooden toothpick or cake tester inserted into the very center comes out clean or with only a few moist crumbs attached. I personally prefer toothpicks over cake testers because their smaller surface area tends to provide a more accurate indication of doneness. Remove the cake from the oven promptly to prevent it from drying out.
- Whip the Frosting Thoroughly for Ultimate Creaminess: The key to a light, airy, and incredibly creamy frosting is patient and thorough beating. Start with softened, room temperature butter and beat it vigorously until it’s light and fluffy before adding other ingredients. The more you whip the frosting, introducing air, the less pronounced the butter flavor will be, and the silkier and airier its final texture will become. This process takes time – typically 5-10 minutes for each stage of beating. A stand mixer is ideal for this, but a handheld electric mixer will also work, just be prepared to beat it for the full duration to achieve that luxurious consistency.
🥄 Make ahead and storage
This delightful pumpkin chocolate cake is as convenient as it is delicious, offering excellent make-ahead and storage options. Once frosted, the cake will maintain its superb quality when stored properly in an airtight cake container in the refrigerator for up to 4 days. This allows you to prepare it in advance for parties or simply enjoy leftovers throughout the week.
Should you have any delectable slices remaining, you can freeze them for longer storage. Place individual slices or the entire cake (if unfrosted, wrap tightly in plastic wrap and then foil; if frosted, flash freeze slices until firm, then wrap) in an airtight container for up to 3 months. When you’re ready to enjoy a frozen slice, simply let the cake come to room temperature for a few hours. This step is crucial, as it allows the butter in both the cake and frosting to soften back to its creamy, original texture, restoring the cake’s moistness and flavor.
For convenience, you can bake the cake a day or two before your event. After it has completely cooled, leave it covered tightly with plastic wrap or in an airtight container at room temperature to prevent it from drying out. Frost the cake shortly before serving to ensure the freshest presentation and texture. I always recommend frosting the cake immediately after the frosting has been prepared, as buttercream tends to firm up as it cools, making it harder to spread smoothly.
Don’t let any leftover cake go to waste! Transform any remaining pieces into these fun and festive pumpkin cake pops for another delicious treat.
🎃 Why pumpkin is so good in cake
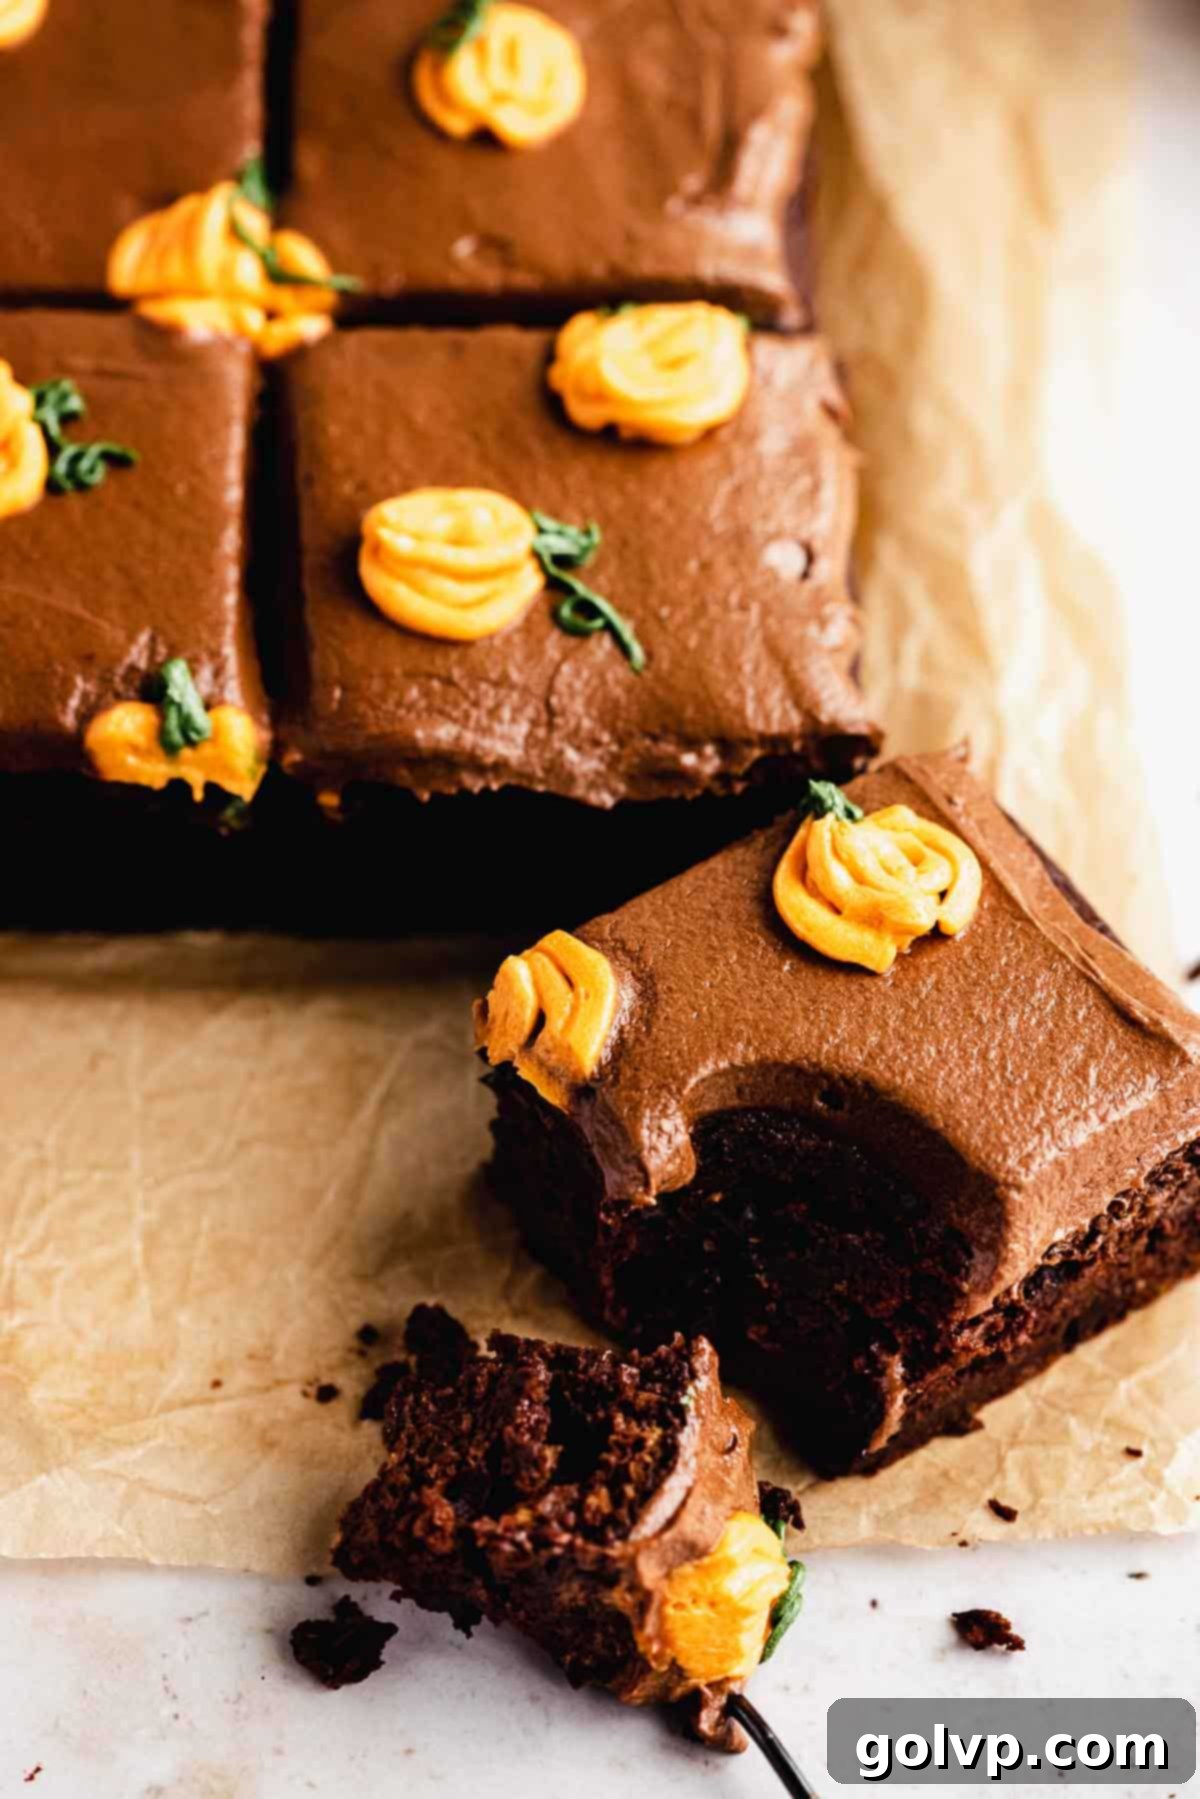
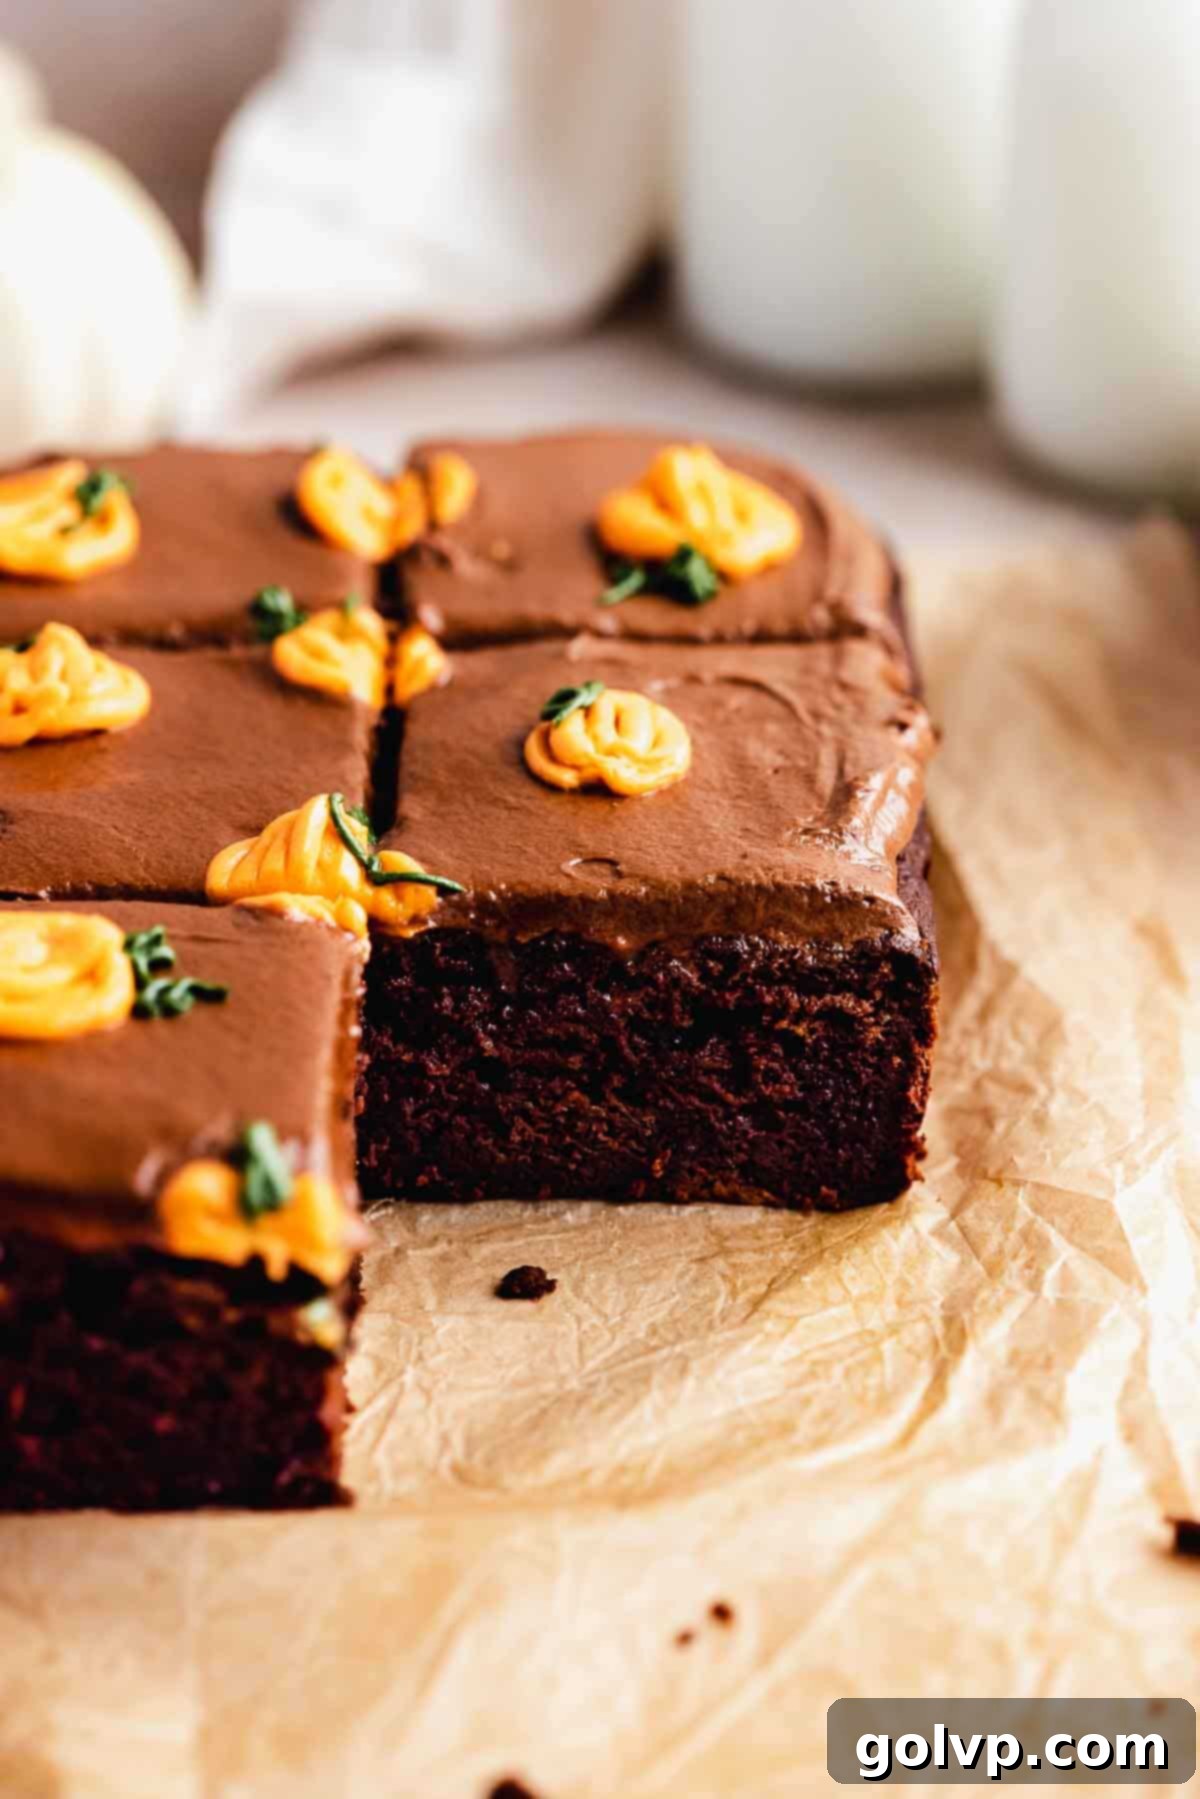
The inclusion of pumpkin puree in the cake batter is a game-changer for this chocolate cake. It imbues the cake with an extraordinary amount of moisture, ensuring that it remains incredibly rich, tender, and fresh for days. Achieving this perfect balance of texture and flavor took careful experimentation, but the final result was undeniably worth every effort. The pumpkin’s natural sweetness and subtle earthy notes complement the deep chocolate beautifully, creating a complex and satisfying flavor profile that is truly unique. I am confident you will adore it as much as I do!
Furthermore, the pumpkin’s magic extends to the frosting. The luscious buttercream features a generous amount of pumpkin puree mixed directly into it, which is the secret behind its unbelievably silky texture. This addition not only enhances the flavor with a hint of autumn spice but also contributes to a smoother, less dense frosting that is simply divine. To create the decorative mini pumpkins on top, I thoughtfully set aside a portion of the un-cocoa’d buttercream just before adding the cocoa powder, allowing me to color it orange and green. However, if you prefer a simpler design or are short on time, you can easily skip the piped pumpkins and make the entire frosting chocolate-flavored for a decadent and equally delicious result.
For another exquisite treat that perfectly captures the spirit of pumpkin season, don’t miss trying this delightful pumpkin cheesecake roll.
📖 Recipe FAQs
For consistent and reliable results, I recommend using store-bought 100% pumpkin puree that comes in a can. It’s readily available and typically has a consistent texture. If you opt to use homemade pumpkin puree, it’s absolutely vital that its consistency mimics that of a very thick Greek yogurt. If your homemade puree is too thin or watery, it can introduce excess moisture into the cake, leading to a dense or soggy outcome. To achieve the desired thickness, you can either gently reduce the puree on the stovetop by simmering it until thickened, or strain it through a cheesecloth-lined sieve to remove excess liquid.
No, canned pumpkin pie filling is not a suitable substitute for 100% pumpkin puree in this recipe. Pumpkin pie filling is a pre-mixed product that contains added spices, sugars, and often other ingredients like evaporated milk, which will significantly alter the flavor profile and moisture content of your cake. Using it will result in a cake that is overly sweet, potentially too wet, and with an unbalanced spice blend. Always ensure you are using pure, unsweetened 100% pumpkin puree for the best results.
The secret to an exceptionally creamy and smooth frosting begins with room temperature butter. It is paramount to beat the butter extensively—both before and after incorporating the powdered sugar. The longer and more thoroughly you whip the butter, the more air it incorporates, leading to a fluffier, lighter, and less intensely buttery-tasting frosting. If you have a stand mixer, let it run on medium-high speed for a full 10 minutes at each stage; otherwise, an electric handheld mixer will also achieve great results with persistent beating. Additionally, to loosen the buttercream to a silky-smooth consistency, always opt for heavy cream instead of milk. Heavy cream’s higher fat content provides richness and helps maintain thickness while still creating that luxurious, spreadable texture.
Yes, I highly recommend sifting powdered sugar before adding it to your buttercream. Powdered sugar often contains small lumps due to moisture absorption during storage. Sifting effectively breaks up these lumps, ensuring a perfectly smooth and uniform frosting texture. This small extra step makes a significant difference in achieving that professional-looking, fluffy, and lump-free buttercream that’s a joy to spread and pipe.
Absolutely! While designed as a convenient sheet cake, this recipe can be easily adapted for a stunning layered presentation. You have a couple of options: you can either cut the baked sheet cake in half lengthwise and stack the two halves on top of each other, creating a two-layer rectangular cake. Alternatively, for traditional round layers, you can bake the batter in two 8-inch round cake pans or even three 6-inch round pans. Keep in mind that for a layered cake, you will need ample frosting to cover the sides as well as the top. Therefore, I highly recommend doubling the frosting recipe to ensure you have enough to generously fill and frost all layers.
🍁 More related fall recipes
If you’re eager to explore more delightful pumpkin and fall-themed treats, delve into my collection of the best pumpkin desserts for an abundance of easy and inspiring recipe ideas that are perfect for the season!
- Pumpkin Spice Cake
- No Bake Pumpkin Cheesecake Bars
- Pumpkin Cheesecake Roll
- Easy Triple Chocolate Cake with Chocolate Drip
Did you make this recipe? I would love for you to rate this recipe and hear what you think in the comments below! Share your creation on Instagram and tag @flouringkitchen. Follow me on Pinterestto save and for more recipe ideas.
📖 Recipe
Pumpkin Chocolate Cake
Mary
Pin Recipe
Shop Ingredients
Equipment
-
9″ by 12″ baking pan
Ingredients
Cake
- 2 large eggs room temperature
- 1 cup butter melted and cooled
- 1 ½ cup brown sugar packed
- ½ teaspoon sea salt
- 1 tablespoon pure vanilla extract
- 2 cups pumpkin puree
- 1 cup buttermilk room temperature
- ¾ cup sour cream room temperature
- 3 cups all purpose flour 360g
- 1 cup natural cocoa powder
- 2 tablespoons baking powder
- 1 teaspoon baking soda
- 1 tablespoon pumpkin spice
- 1 teaspoon cinnamon
- 1 cup chocolate chips
Frosting
- 1 cup butter softened
- ¼ teaspoon sea salt
- 1 tablespoon pure vanilla extract
- 3 ½ cups powdered sugar icing sugar
- ½ cup pumpkin puree
- 5 tablespoons natural cocoa powder sifted
- 3-6 tablespoons heavy whipping cream
- 1-3 drops green food colouring or matcha powder
- 1-3 drops orange food colouring or turmeric
Shop Ingredients on Jupiter
Instructions
Cake
-
Grease and line a 9” by 12” baking pan with parchment paper. Preheat oven to 355°F (180°C).
-
In a very large bowl, combine eggs, butter, brown sugar, salt, and vanilla extract. Whisk until smooth and combined.2 large eggs, 1 cup butter, 1 ½ cup brown sugar, ½ teaspoon sea salt, 1 tablespoon pure vanilla extract
-
Add pumpkin puree, buttermilk, and sour cream, whisking in between each addition.2 cups pumpkin puree, 1 cup buttermilk, ¾ cup sour cream
-
Sift flour, cocoa powder, baking powder, baking soda, pumpkin spice, and cinnamon right into the bowl. Fold the batter well, just until no more streaks remain. It will be a thick batter. Add chocolate chips and fold just until incorporated.3 cups all purpose flour, 1 cup natural cocoa powder, 2 tablespoons baking powder, 1 teaspoon baking soda, 1 tablespoon pumpkin spice, 1 teaspoon cinnamon, 1 cup chocolate chips
-
Spread into the prepared baking pan and bake for 50-65 minutes, or until a toothpick inserted into the center comes out clean. Let cool completely in pan before lifting out.
Frosting
-
Beat softened butter in a large bowl or stand mixer (with paddle attachment) until light and fluffy; 5-10 minutes. Scrape the bowl down frequently.1 cup butter
-
Add powdered sugar a half cup at a time, vanilla, and salt. Beat for 5-10 minutes until very light and creamy. Scrape sides down a few times.1 tablespoon pure vanilla extract, 3 ½ cups powdered sugar, ¼ teaspoon sea salt
-
Add pumpkin puree and beat until well incorporated and the frosting becomes even fluffier, about 30 seconds. Set aside half a cup of frosting and three tablespoons of frosting.½ cup pumpkin puree
-
Into the remaining frosting, add sifted cocoa powder and beat well until smooth. Pour in the cream two tablespoons at a time, beating in between additions. Stop adding cream when the frosting becomes silky smooth.5 tablespoons natural cocoa powder, 3-6 tablespoons heavy whipping cream
-
Into the set aside three tablespoons of frosting add green food colouring to get a green frosting. Add orange food colouring to the half cup set aside frosting for the pumpkins. Transfer into separate piping bags.1-3 drops green food colouring, 1-3 drops orange food colouring
Assembly
-
Spread chocolate frosting on top of completely cooled cake. With a toothpick, mark where the pumpkins will be, about 2.5” apart.
-
Snip the ends off the piping bags and pipe pumpkins on the marked areas. Start off with piping a circle and filling it in with lines to make it look like a pumpkin. Pipe a stem on each pumpkin with the green frosting and a little vine swirl. Cut the cake and serve!
Notes
Make ahead: You can make and frost the cake a day before serving. Let the cake come to room temperature so the frosting becomes creamy and soft again.
To make this into a layered cake: You can cut the sheet cake in half and stack the halves on top of each other. For enough frosting to cover the sides, you will need to double the frosting recipe. Alternatively bake into two 8” round pans or three 6” round pans.
