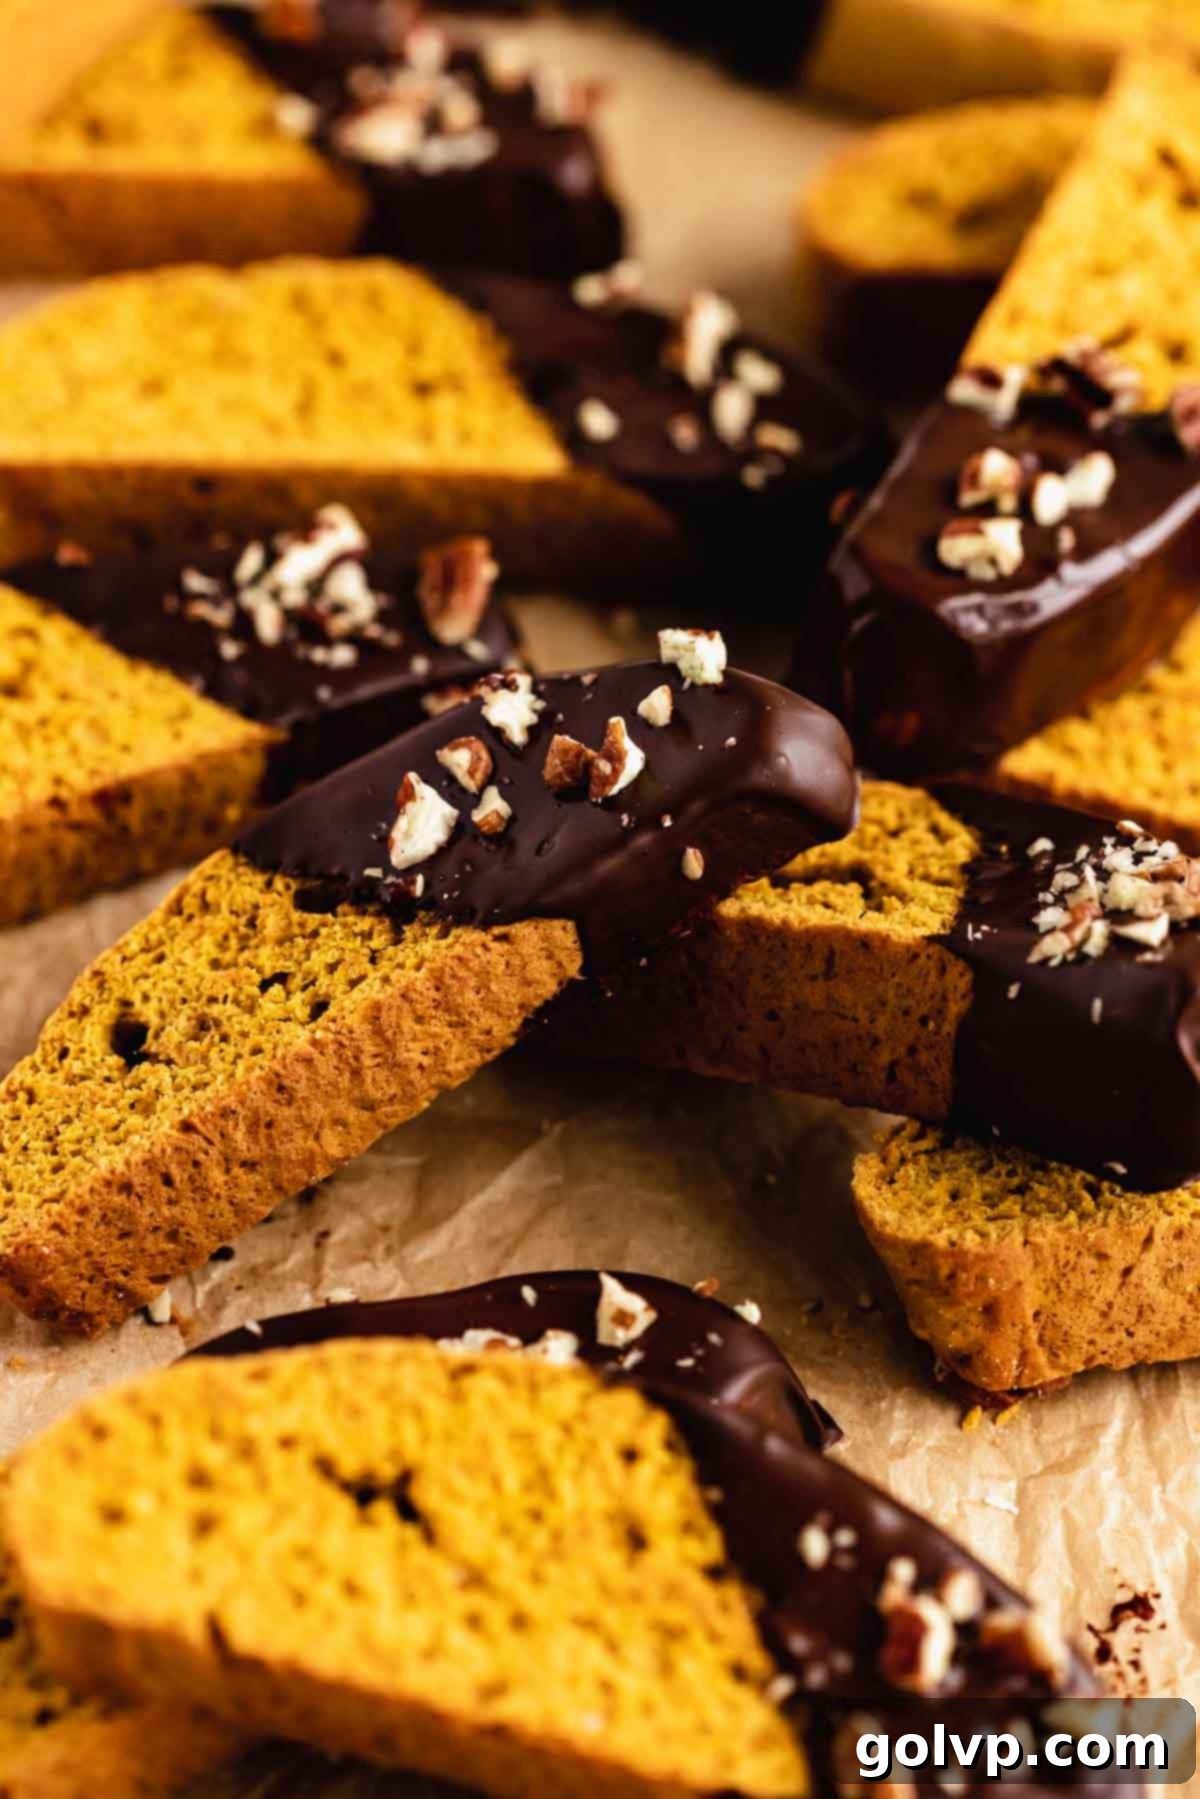
Irresistible Chocolate-Dipped Pumpkin Biscotti: Your Perfect Fall & Holiday Treat
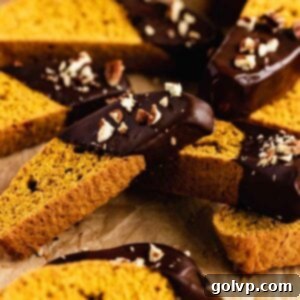
Embrace the cozy flavors of autumn and the festive spirit of the holidays with these truly irresistible pumpkin biscotti. Each piece is bursting with warm pumpkin spice, delivering a delightful flavor that perfectly captures the essence of the season. These aren’t just any biscotti; they’re meticulously crafted to be wonderfully crispy without being overly hard, offering a satisfying crunch that’s simply addictive. Dipped in a luscious layer of rich, melted chocolate, they transform into an elegant and indulgent treat. Best of all, this recipe is incredibly easy to make, requiring just a large bowl and a wire whisk – no fancy electric mixer needed! You likely already have most of the ingredients in your pantry, making it a convenient choice for your next baking adventure. Get ready to elevate your coffee breaks and dessert tables with these sensational chocolate-dipped pumpkin biscotti.
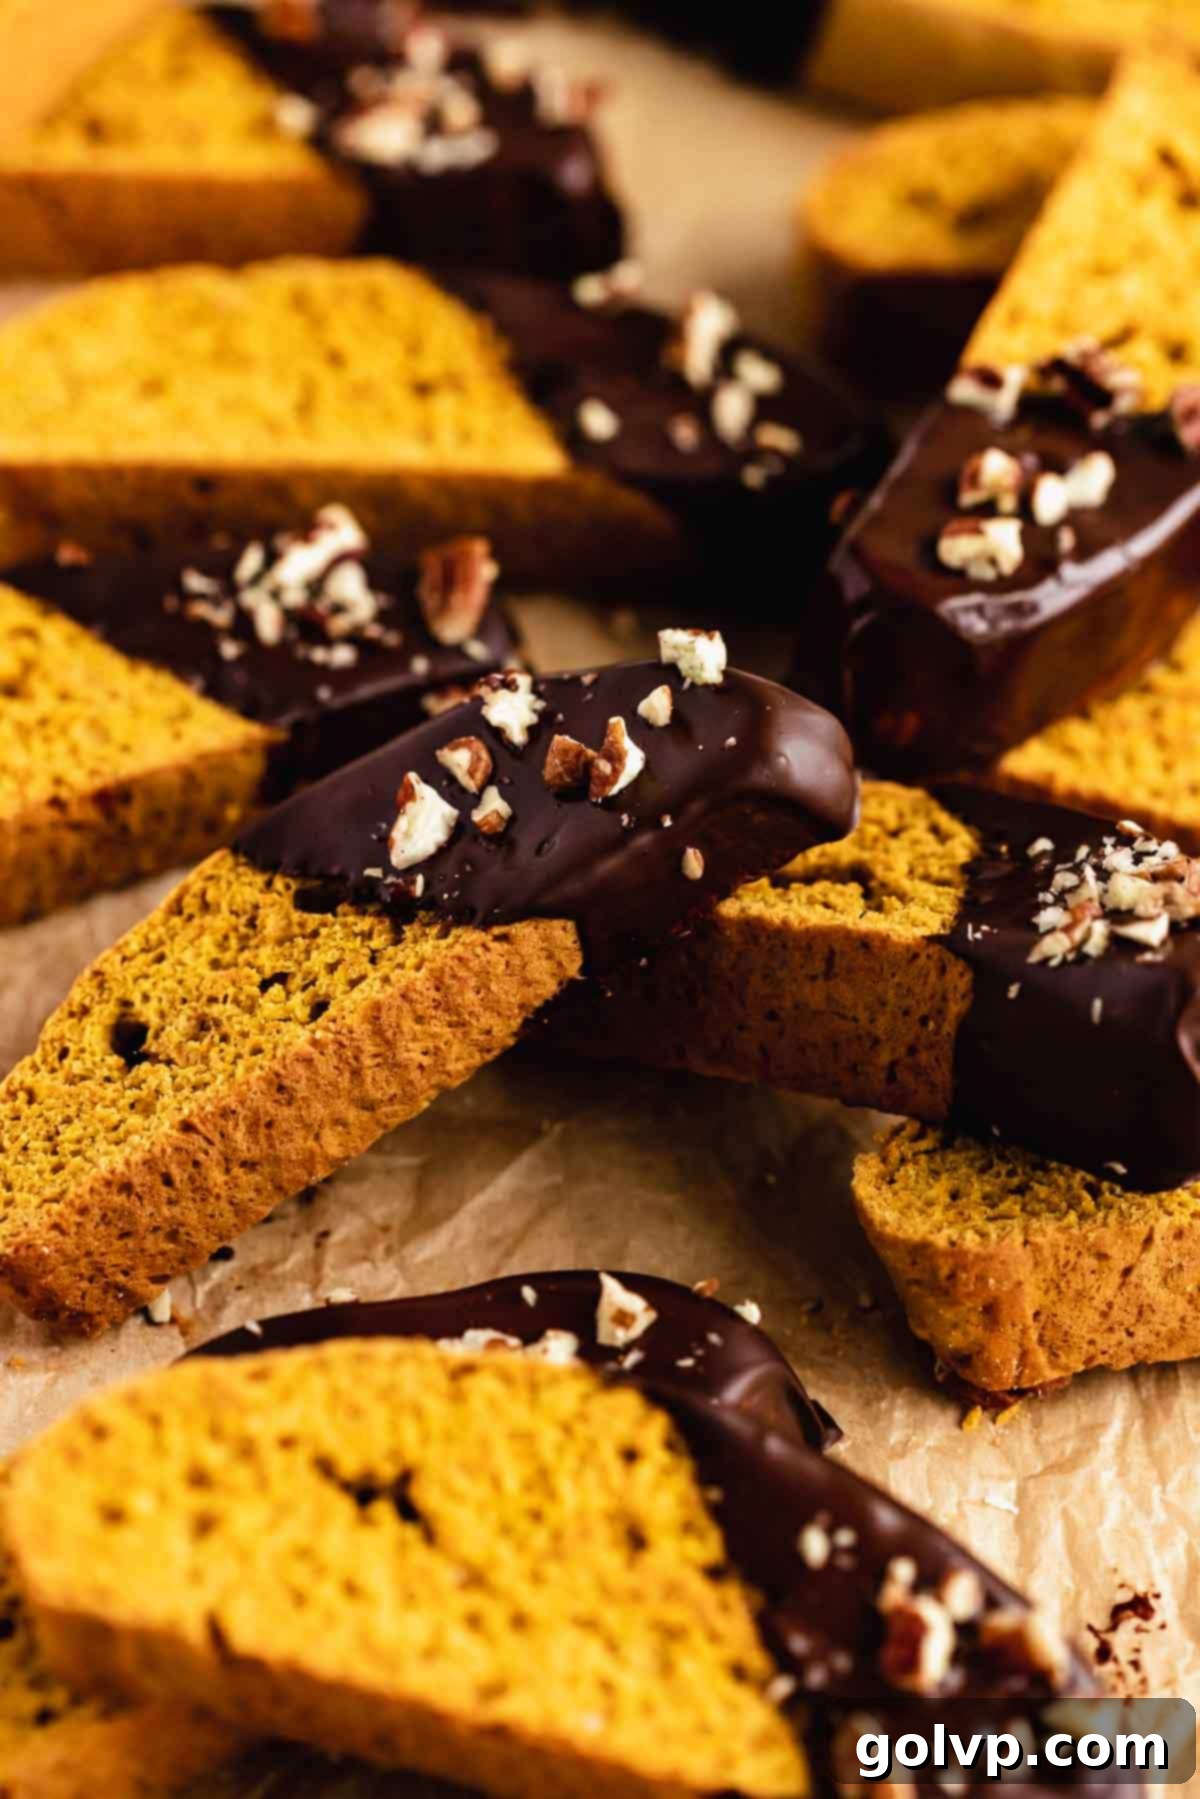
Why You’ll Absolutely LOVE This Pumpkin Biscotti Recipe:
There’s a reason these chocolate-dipped pumpkin biscotti are a fan favorite, especially during the cooler months. Their unique combination of flavors and textures, coupled with a simple baking process, makes them an absolute delight. Here’s a deeper look into why this recipe will become a cherished part of your fall and holiday baking traditions:
- Authentic Pumpkin Perfection: These biscotti are generously spiced and truly packed with that comforting, authentic pumpkin flavor. Each bite transports you to a crisp autumn day, making them the ideal treat for fall festivities and a delightful addition to your holiday dessert spread. The warmth of cinnamon, nutmeg, ginger, and cloves (the classic pumpkin spice blend) infuses the dough, creating a harmonious and inviting taste that’s simply unmatched.
- Luxurious Chocolate Indulgence: What could be more elegant and indulgent than dipping a perfectly spiced biscotti into rich, velvety chocolate? This recipe uses semi-sweet chocolate chips, which provide a balanced sweetness that complements the pumpkin beautifully. However, don’t hesitate to experiment! Dark chocolate offers a sophisticated, slightly bitter contrast, while milk chocolate provides a sweeter, creamier finish. You can even try white chocolate for a different aesthetic and flavor profile. The chocolate coating not only adds a layer of decadence but also enhances the overall experience.
- Effortlessly Easy to Make: Forget the stress of complicated baking. This is truly a one-bowl recipe that streamlines the entire process, minimizing cleanup and maximizing enjoyment. All you need is a sturdy wire whisk to bring the dough together – no electric mixer required, making it accessible even for novice bakers. The most challenging part, honestly, is patiently waiting for these aromatic delights to bake and cool before you can enjoy them!
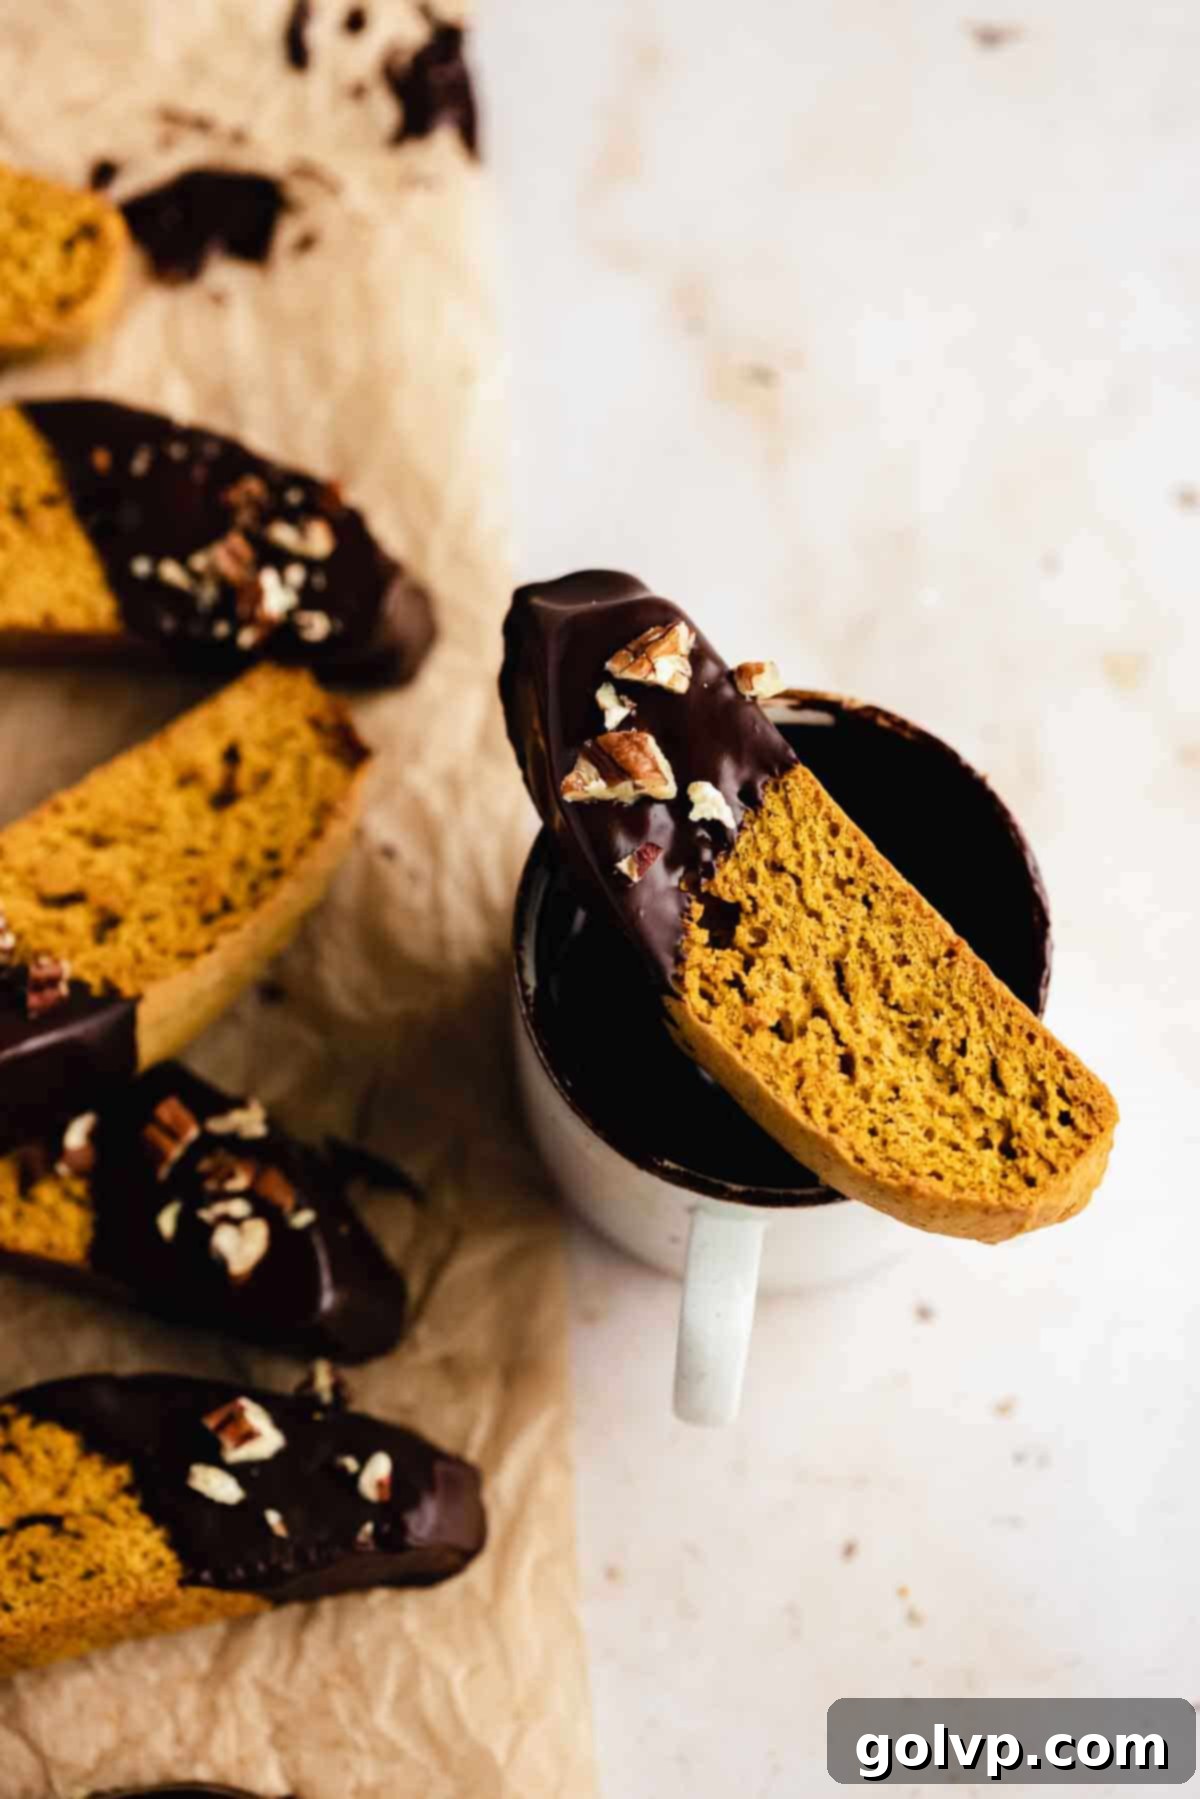
- Perfectly Crisp, Never Hard Texture: The hallmark of a great biscotti is its texture, and this recipe absolutely nails it. These biscotti achieve a delightful crispness without becoming rock-hard, meaning they won’t threaten your dental work! They boast an incredibly satisfying, addictive crunch that makes them ideal for dipping. Whether it’s into your morning coffee, a mug of steaming hot chocolate, or a calming cup of tea, these biscotti absorb just enough liquid to soften slightly while still maintaining their structural integrity, offering a truly blissful dipping experience.
📝 Key Ingredients for Perfect Pumpkin Biscotti
Achieving bakery-quality pumpkin biscotti starts with understanding your ingredients. Read through for all the essential tips you will need for baking success!
Full step-by-step instructions and detailed ingredient measurements are provided in the recipe card below.
- Butter: For the most exquisite flavor and texture, always opt for a good quality, real unsalted butter. Butter plays a crucial role in developing the signature crisp and tender crumb of the biscotti, contributing a rich depth of flavor that can’t be replicated by substitutes. Ensure it’s melted as specified in the recipe for proper integration with the wet ingredients.
- Pumpkin Puree: This recipe calls for 100% canned pumpkin puree, not pumpkin pie filling. Pumpkin pie filling contains added sugars and spices that will throw off the balance of this recipe. If you prefer to use homemade pumpkin puree, it’s vital to ensure it has a very thick consistency, similar to a rich Greek yogurt. Excess moisture can make your dough too wet, affecting the final texture of the biscotti. To achieve the right thickness, you can strain homemade puree through a cheesecloth for several hours or gently reduce it on the stovetop over low heat until much of the liquid has evaporated.
- Pumpkin Spice: A good pumpkin spice blend is key to achieving that authentic fall flavor. You can use a high-quality premixed pumpkin spice blend, readily available in most grocery stores, or easily make your own at home using a blend of cinnamon, nutmeg, ginger, and cloves. Crafting your own allows you to customize the intensity of each spice to your preference.
- All-Purpose Flour: Precision in measuring flour is paramount for baking, especially for biscotti where texture is everything. We highly recommend weighing your flour using a kitchen scale for the most accurate results, typically aiming for 300g for this recipe. If you don’t have a scale, measure properly by gently stirring the flour in its bag or container to aerate it, then spooning it lightly into a dry measuring cup. Use the flat edge of a knife to level off the excess from the top without packing the flour into the cup. Over-packed flour can lead to a dense, dry biscotti.
Don’t let any leftover pumpkin puree go to waste! It’s incredibly versatile. Use it to whip up these delightful no-bake pumpkin cheesecake bars for another easy dessert, or indulge in the creamy decadence of this pumpkin creme brulee.
👩🍳 How to Make Perfect Chocolate-Dipped Pumpkin Biscotti
Making homemade biscotti might sound intimidating, but it’s surprisingly straightforward. This recipe breaks down the process into easy-to-follow steps, ensuring a delicious outcome every time. Get ready to bake a batch of these spiced, chocolate-dipped delights!
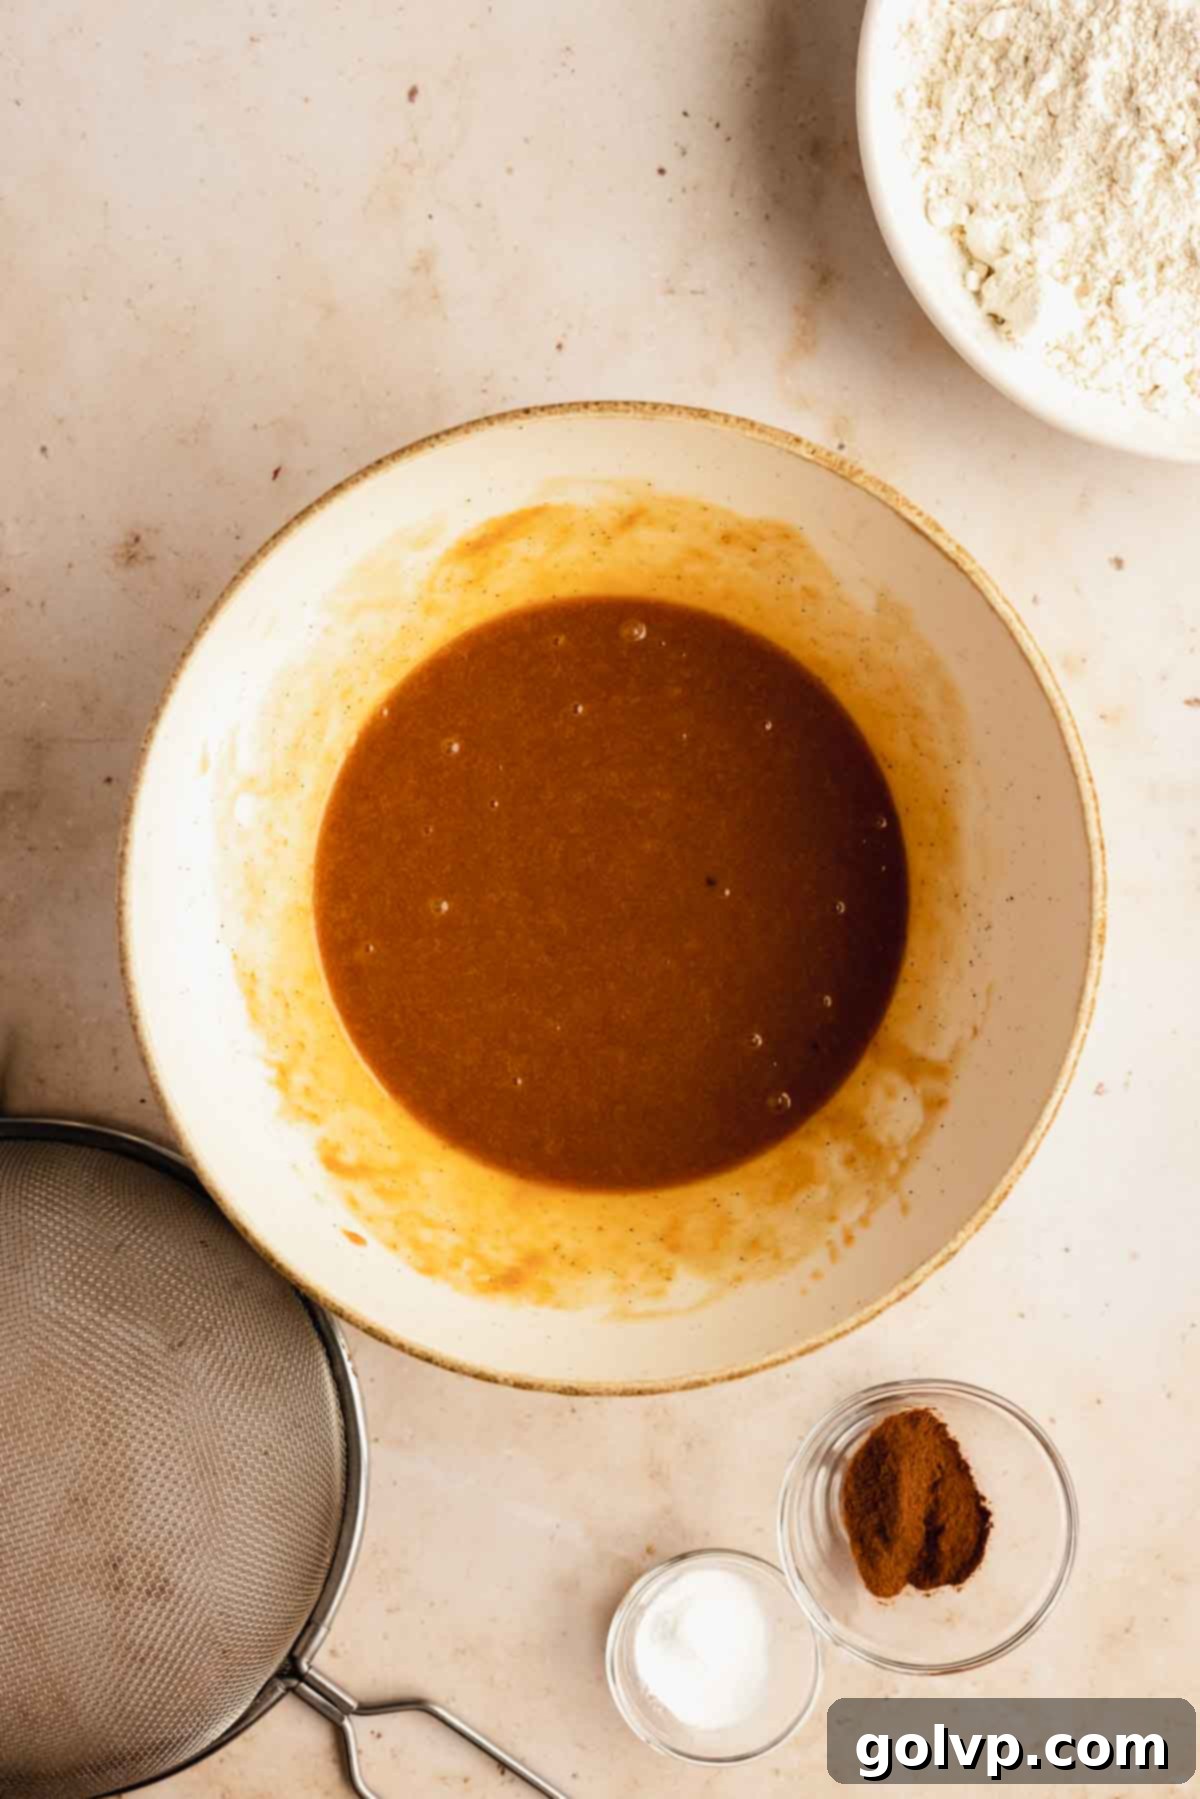
Step 1: Whisk Wet Ingredients & Sugar. In a large mixing bowl, combine the melted butter, eggs, both granulated and brown sugars, sea salt, vanilla extract, and pumpkin puree. Using a wire whisk, vigorously mix these ingredients until the mixture is completely smooth, well-combined, and slightly thickened. This ensures all the sugars are dissolved and the flavors are evenly distributed.
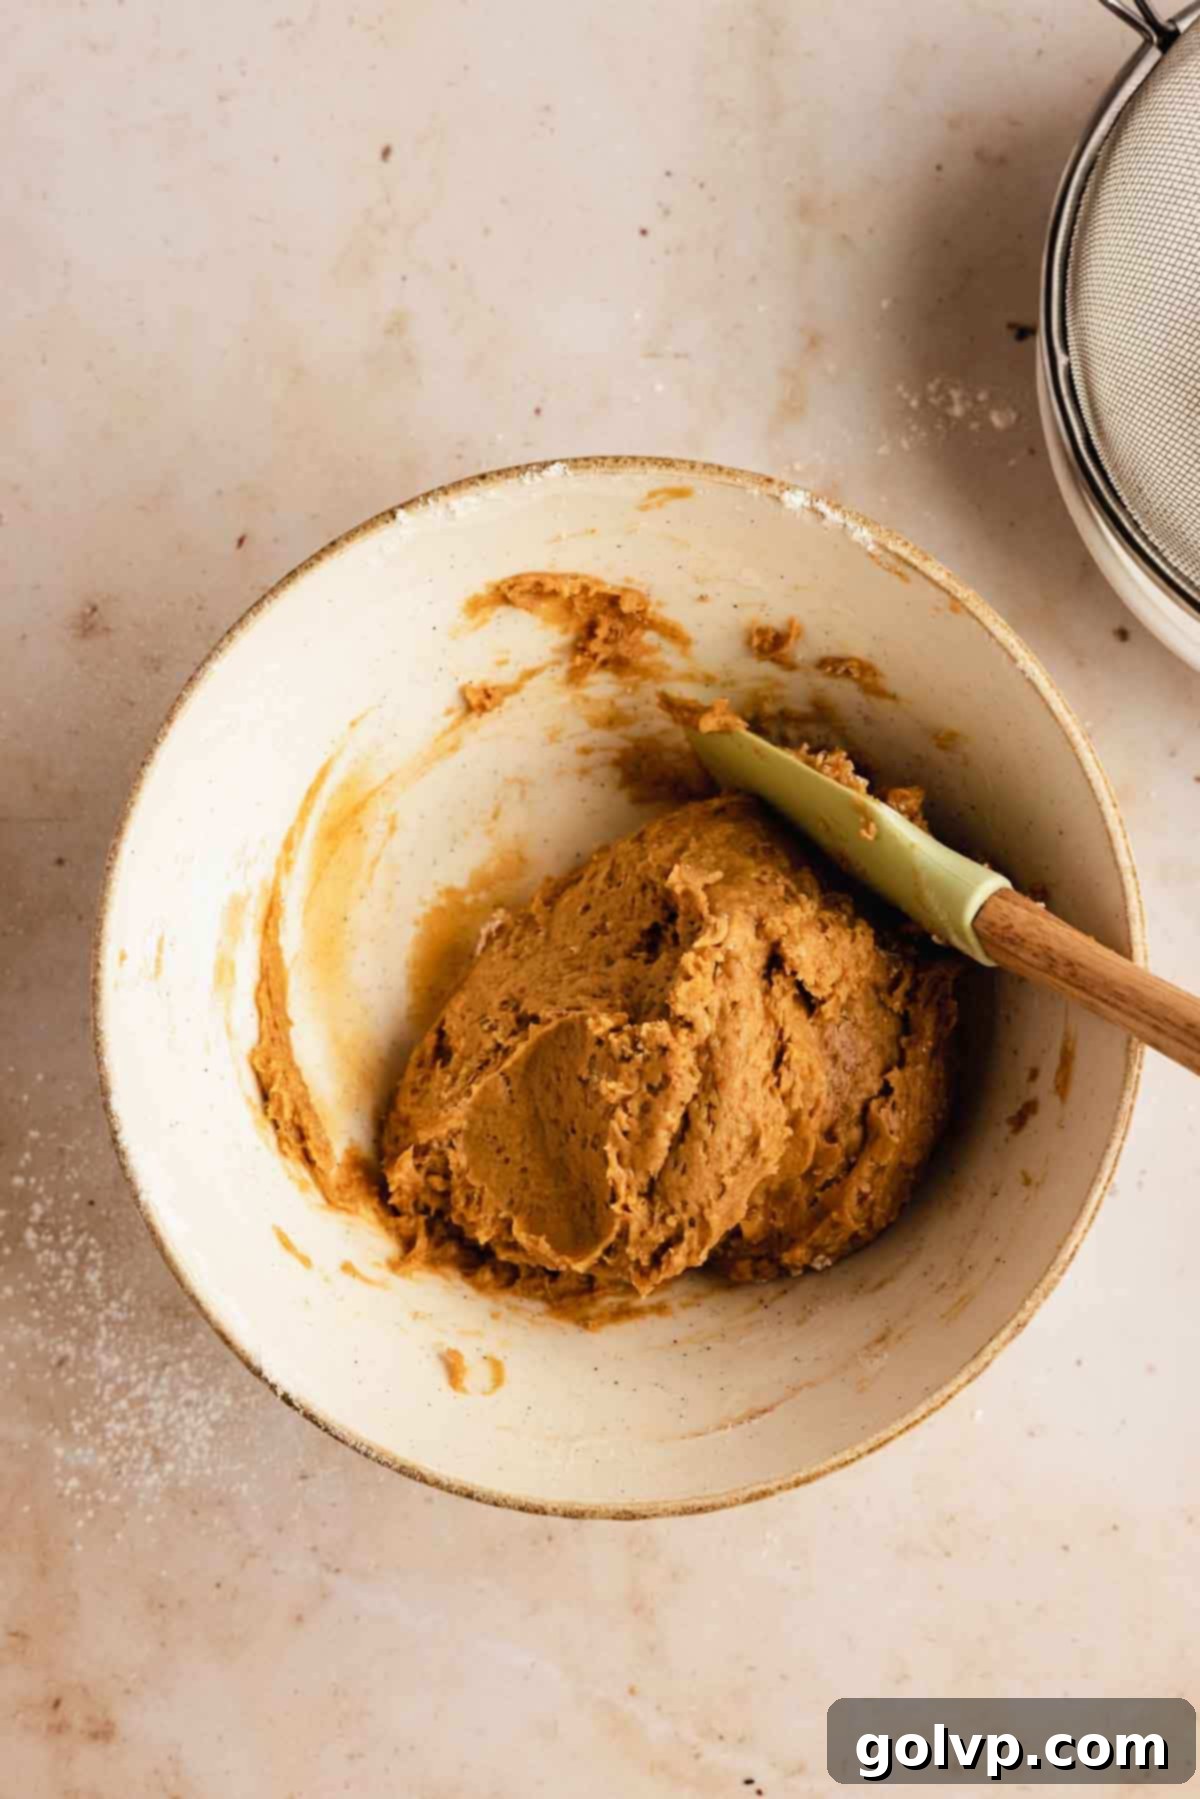
Step 2: Fold in Dry Ingredients. Directly into the same bowl containing your wet mixture, sift in the all-purpose flour, baking powder, pumpkin spice, and ground cinnamon. Sifting helps to aerate the flour and prevent lumps. Using a rubber spatula, gently fold the dry ingredients into the wet mixture. Mix just until a cohesive dough forms and no dry streaks of flour remain. Be careful not to overmix, as this can lead to tough biscotti.
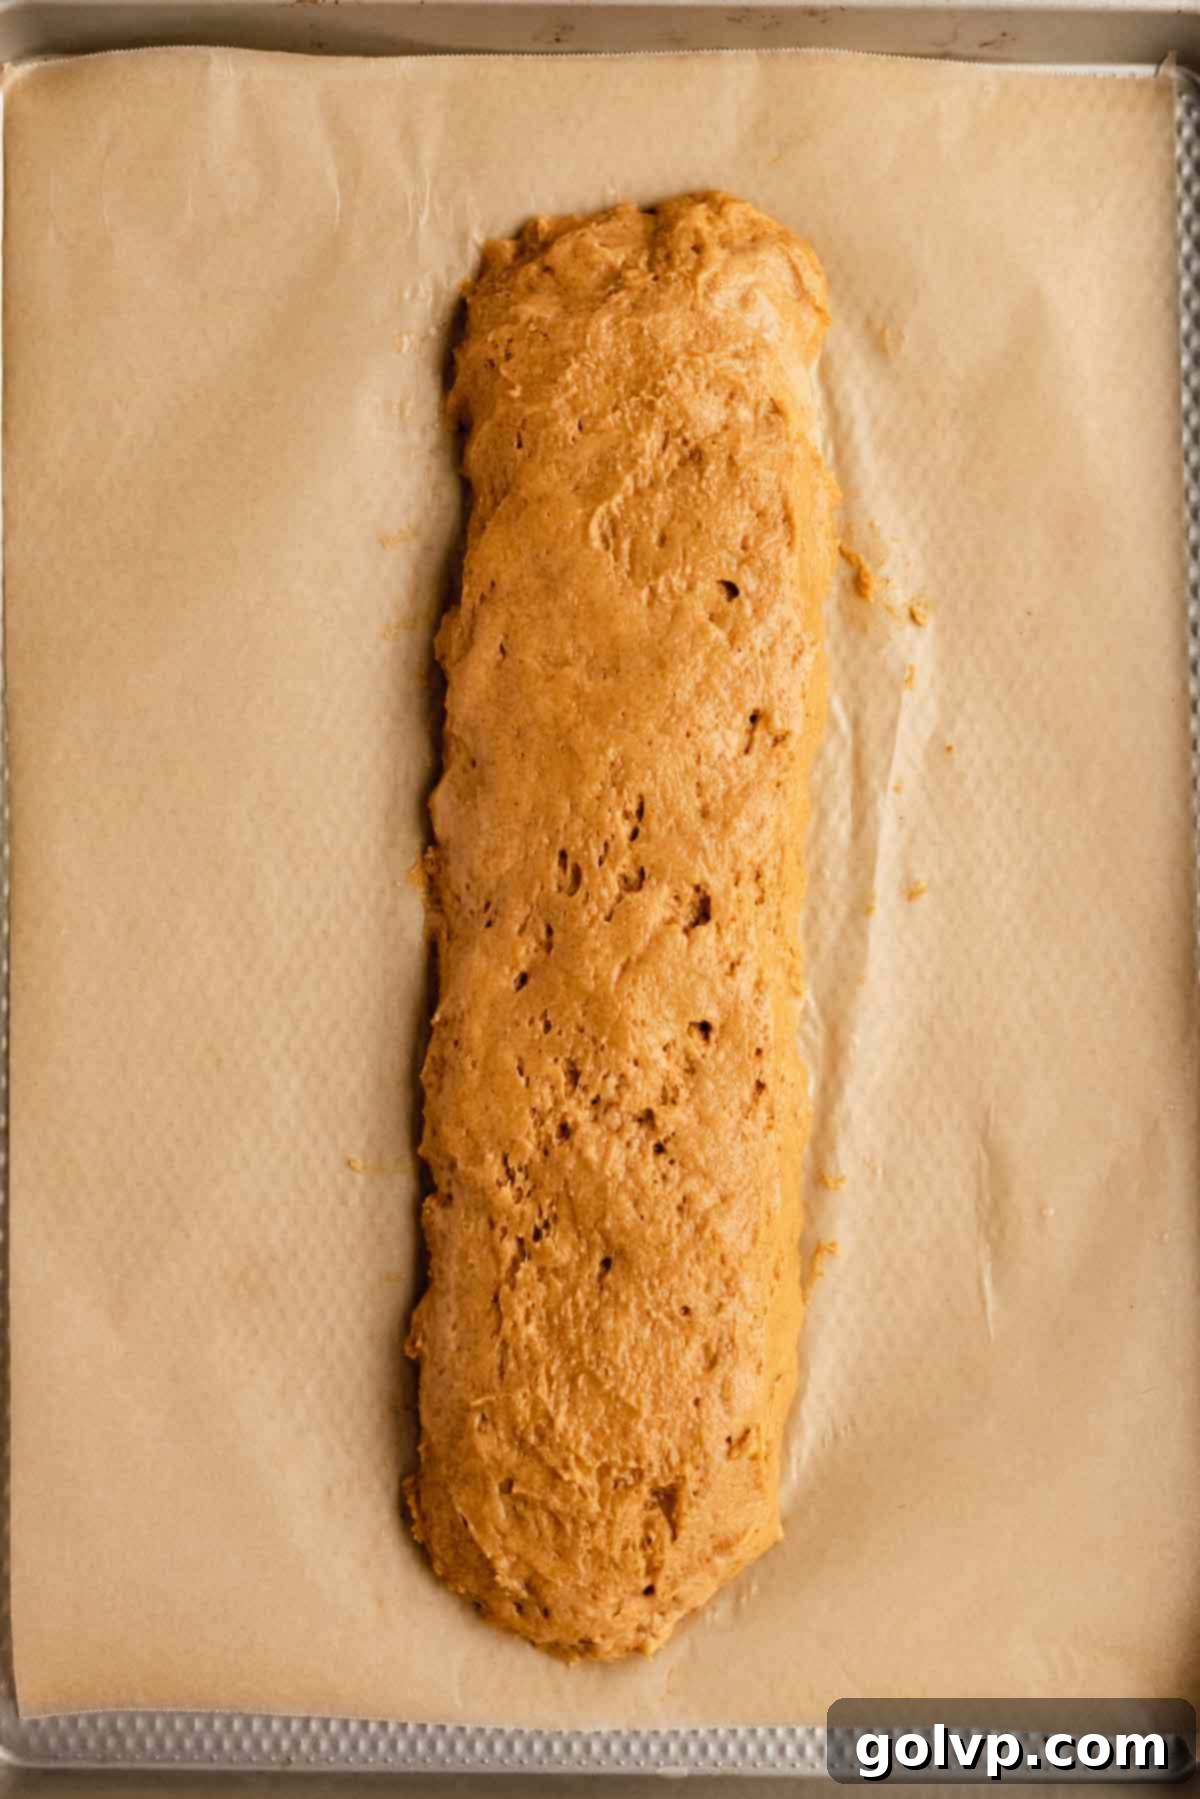
Step 3: Shape the Dough Loaf. Transfer the soft, slightly sticky dough onto a baking sheet lined with parchment paper. Using a rubber spatula and/or lightly wetted hands, carefully shape the dough into a long, even loaf (or two smaller ones if preferred). Aim for a log that is approximately 12-14 inches long and about 2-3 inches wide. Wetting your hands helps prevent the dough from sticking and allows for a smoother, more uniform shape, which is essential for evenly sized biscotti slices.
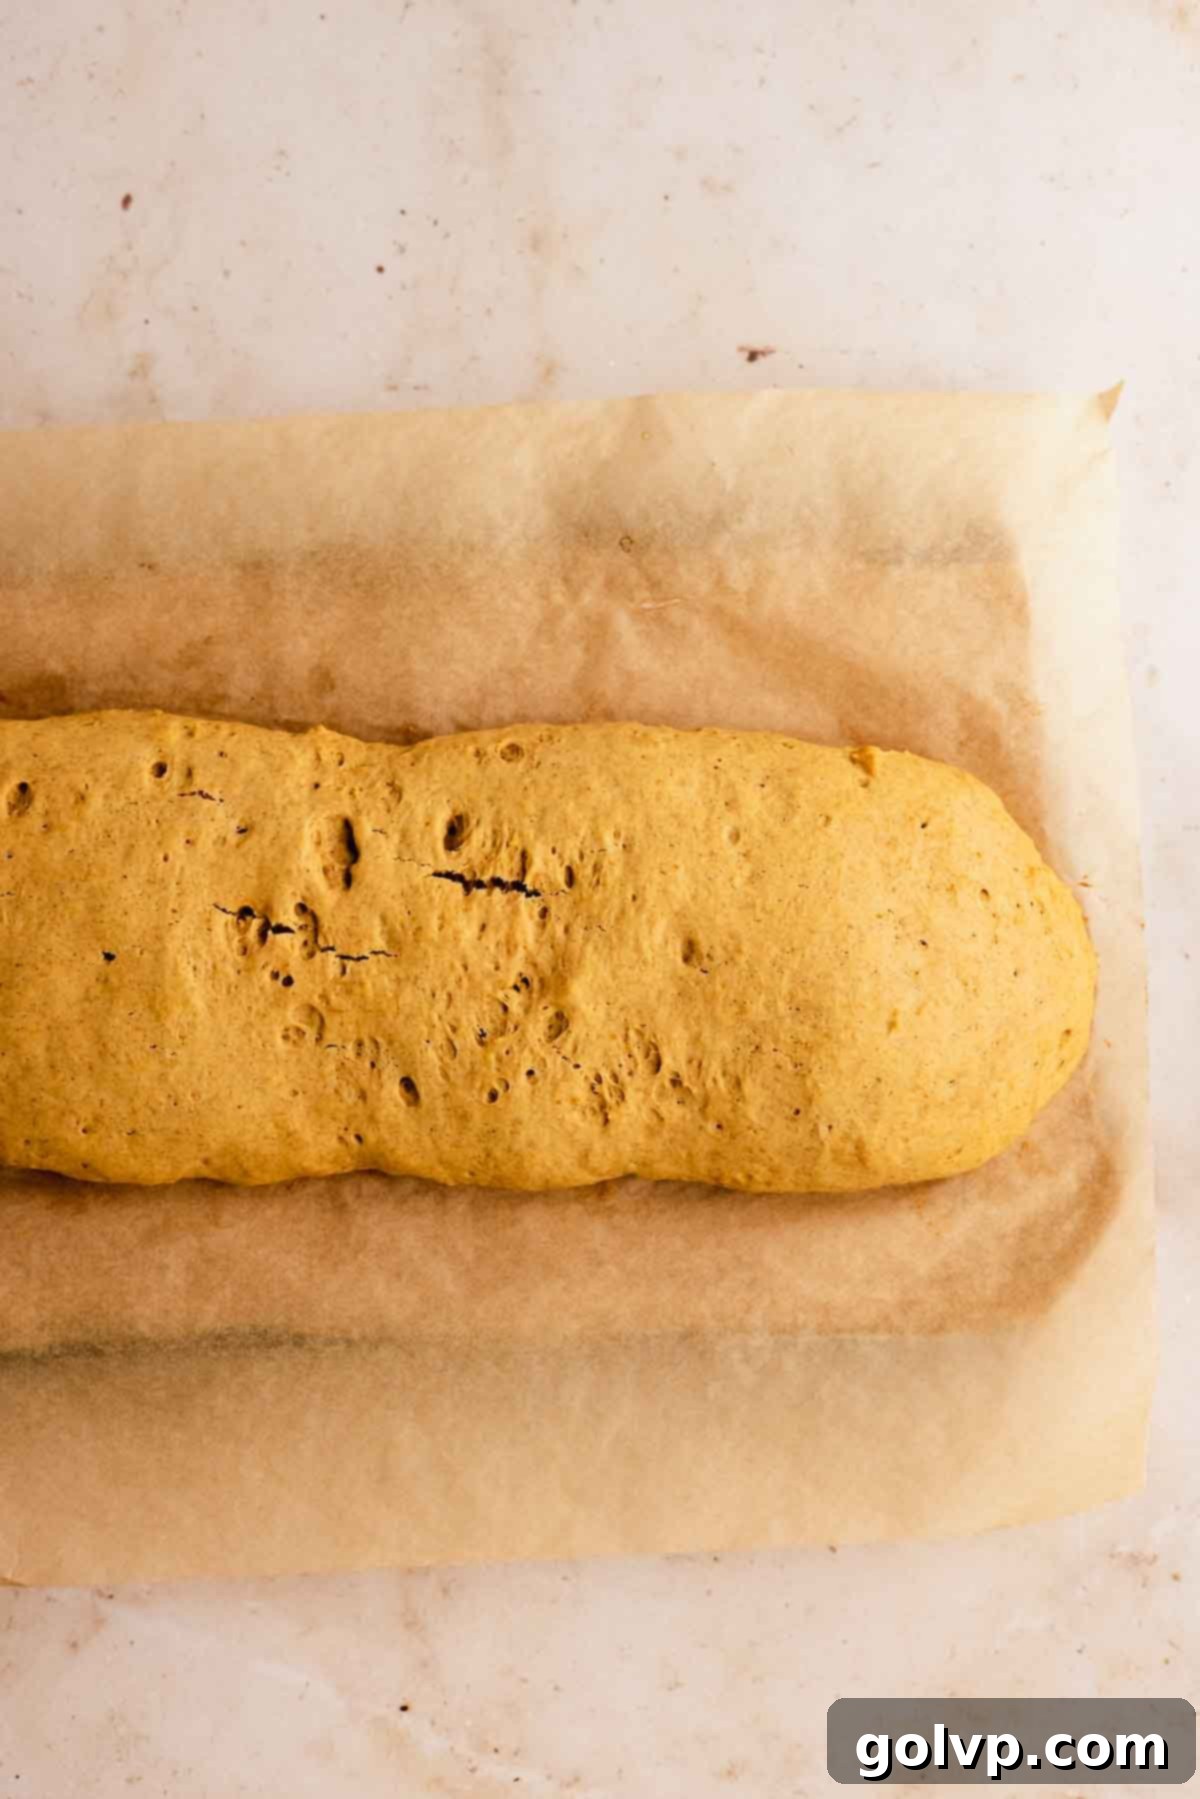
Step 4: First Bake & Cool. Preheat your oven to 355°F (180°C). Bake the shaped dough loaf for about 25-27 minutes, or until a wooden toothpick inserted into the center comes out clean. The loaf should be firm to the touch and lightly golden. Once baked, remove the loaf from the oven and let it cool on the baking sheet for approximately 10 minutes. This crucial cooling period allows the loaf to set slightly, making it easier to slice without crumbling. While it cools, reduce your oven temperature to 340°F (170°C) for the second bake.
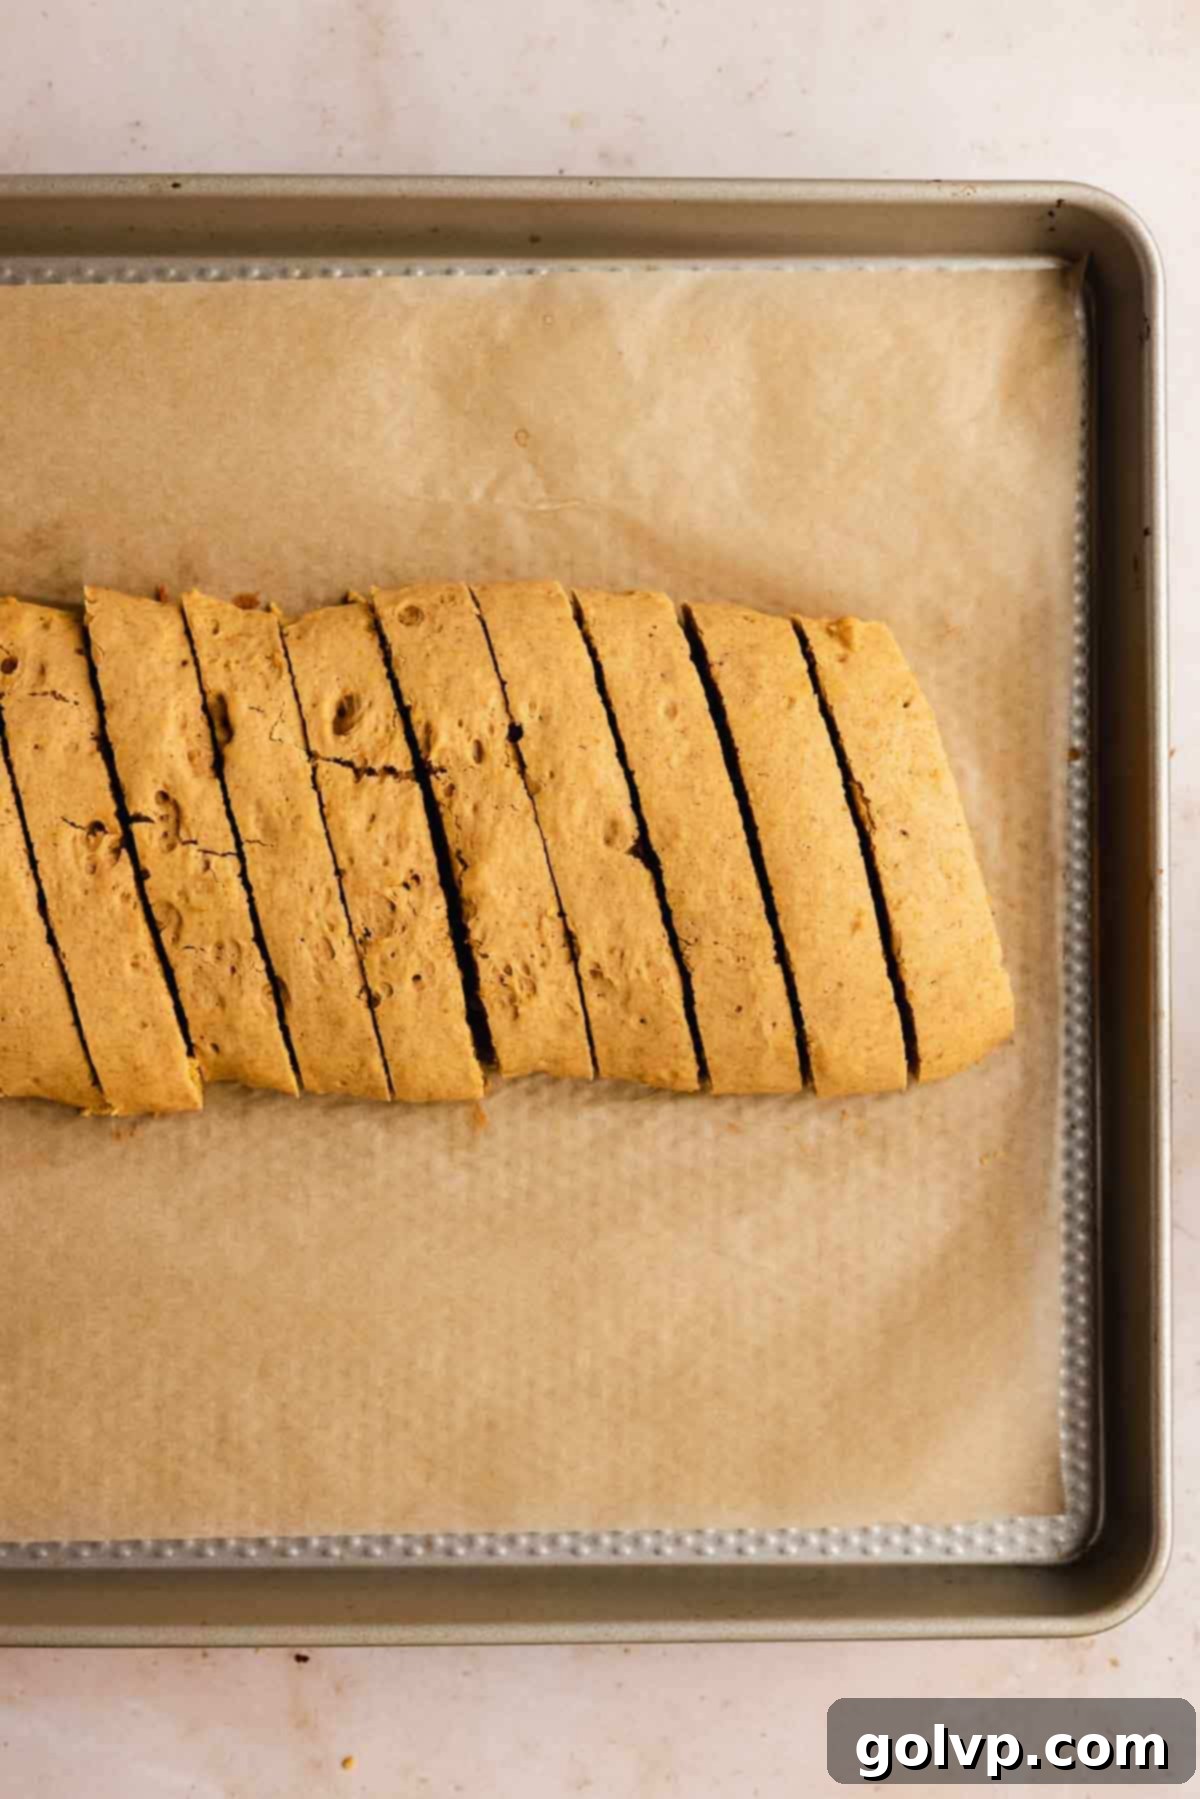
Step 5: Slice the Loaf. After the initial 10-minute cooling period, carefully transfer the loaf to a cutting board. Using a sharp serrated bread knife, slice the loaf into ¾-inch thick pieces on a slight diagonal. Cutting on an angle not only gives the biscotti its classic elegant shape but also creates a larger surface area for that beautiful golden crisp during the second bake. Aim for consistent thickness to ensure even toasting.
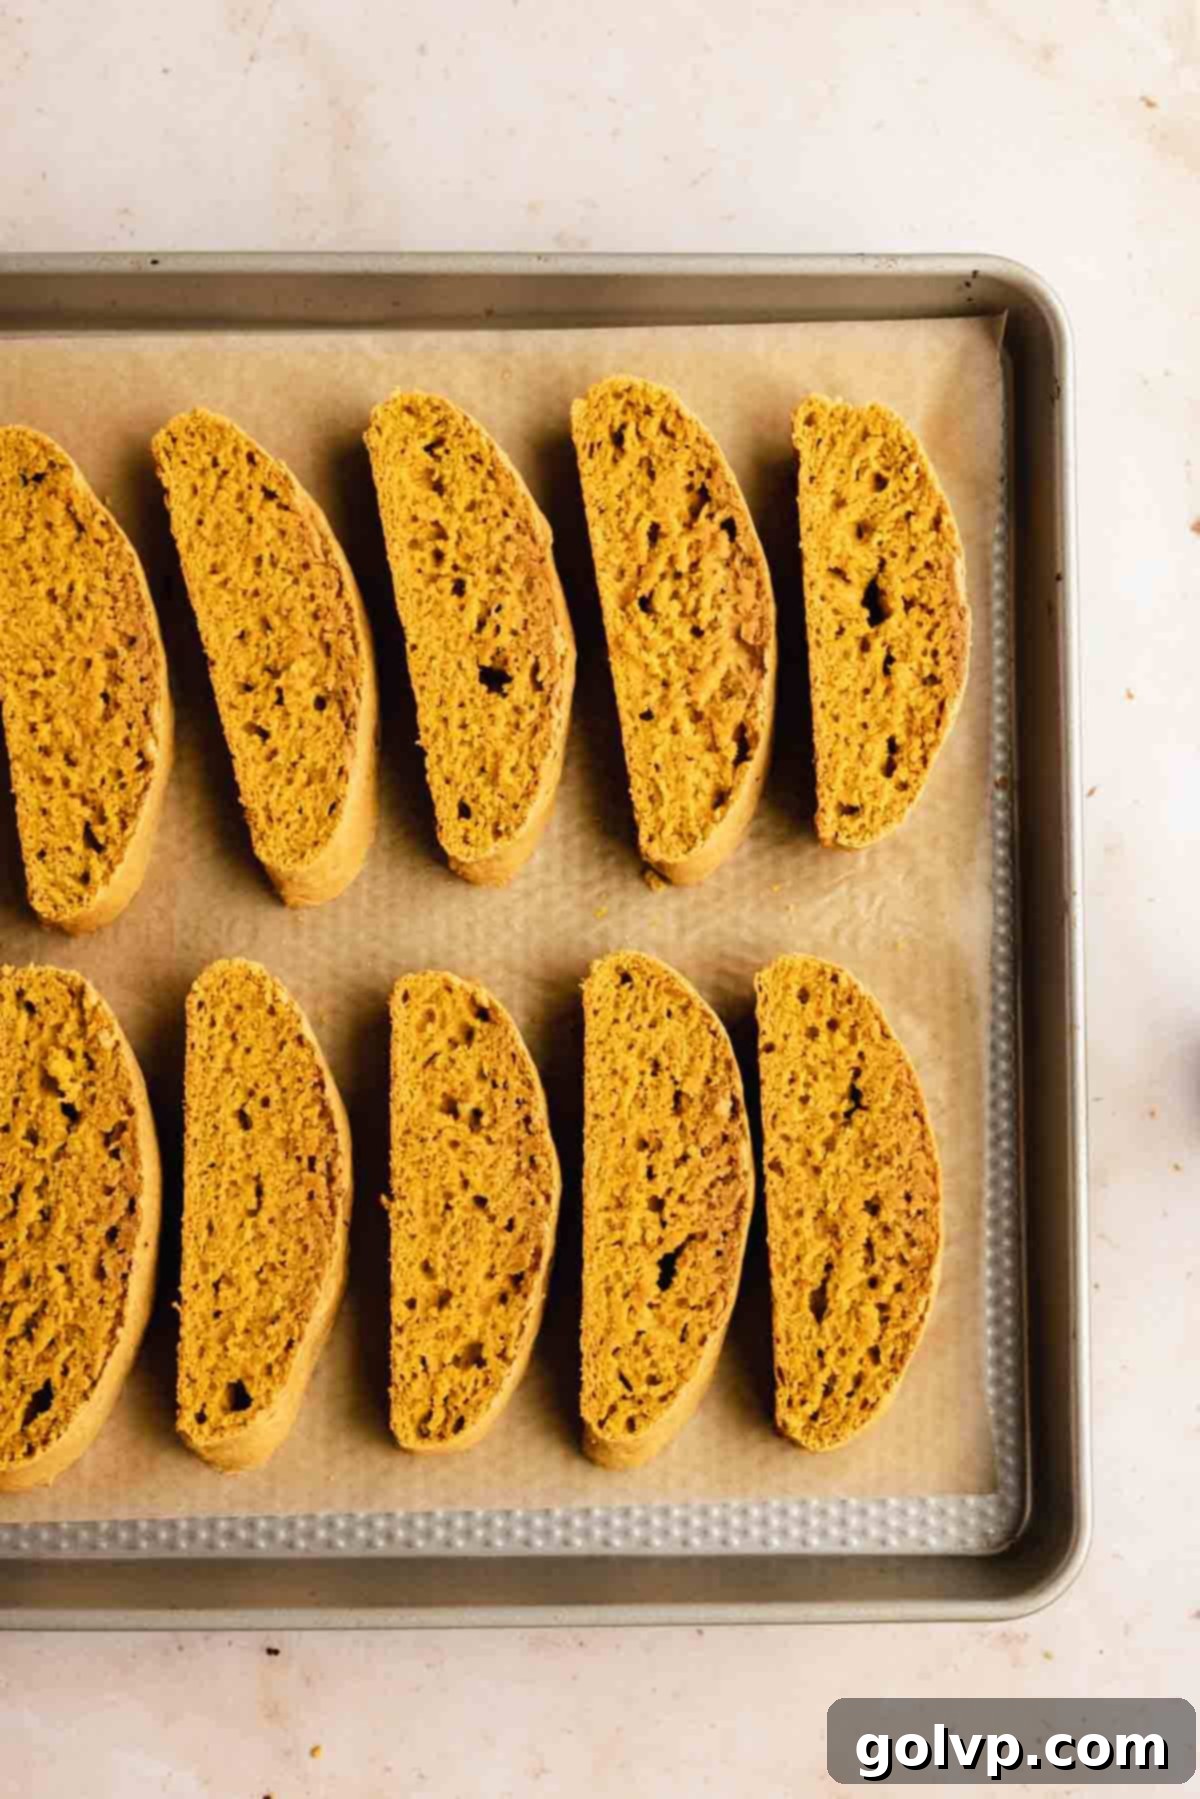
Step 6: Second Bake for Crispness. Arrange the sliced biscotti pieces cut-side down back onto the same parchment-lined baking sheet. Return them to the preheated 340°F (170°C) oven and bake for an additional 30-40 minutes. Remember to flip the biscotti halfway through the baking time (around 15-20 minutes) to ensure even toasting and crispness on both sides. The biscotti are ready when their edges are lightly golden brown and they feel firm. Don’t worry if they aren’t fully crisp directly out of the oven; they will continue to crisp up significantly as they cool completely.
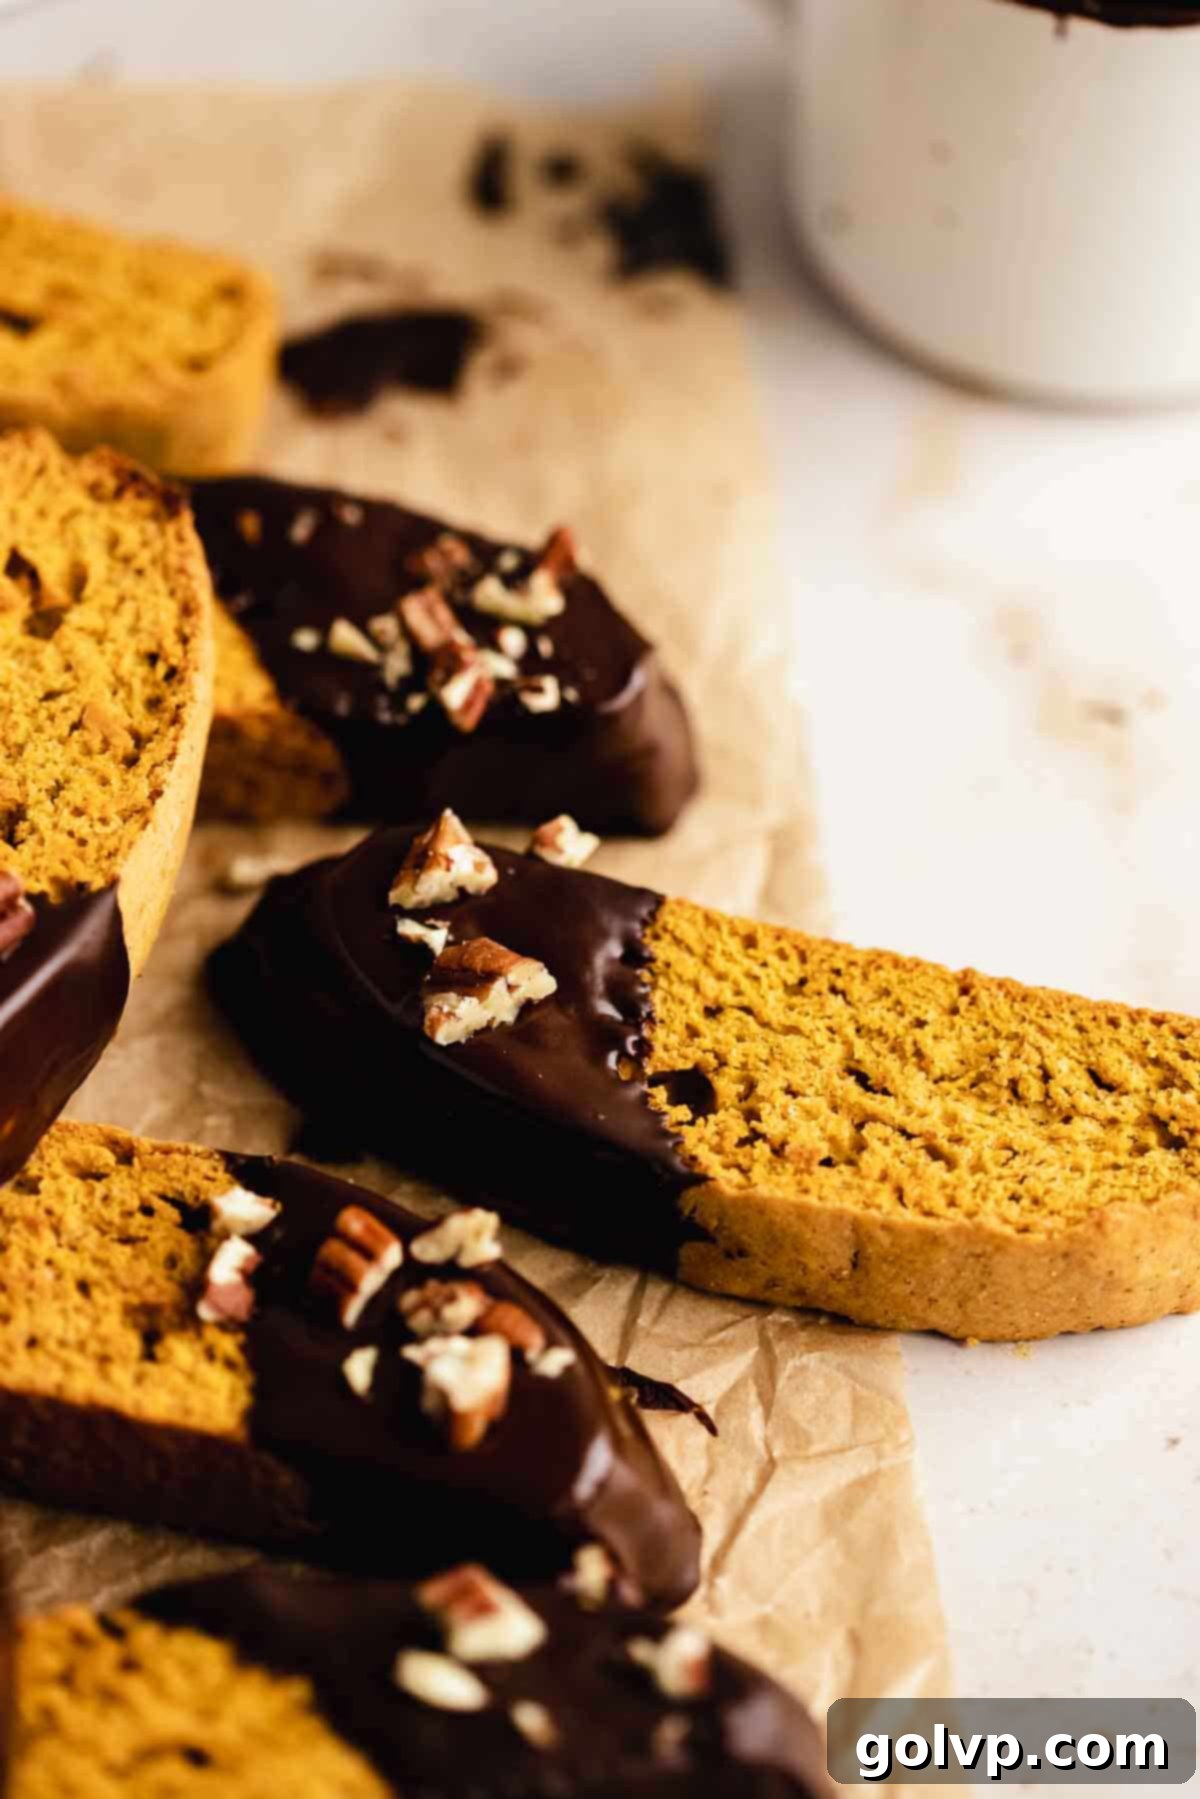
Step 7: Dip in Chocolate & Garnish. Once your biscotti have cooled completely to room temperature, it’s time for the chocolate magic! Melt your chosen chocolate chips (semi-sweet, dark, or milk) with a small amount of butter or refined coconut oil in a double boiler. This method ensures gentle, even melting without burning. Once smooth and glossy, pour the melted chocolate into a narrow glass or a small, deep bowl for easier dipping. Dip one end of each cooled pumpkin biscotti into the chocolate, allowing any excess to drip off. Immediately sprinkle the chocolate-dipped end with finely chopped nuts, such as pecans or walnuts, for added texture and visual appeal. Place the dipped biscotti back on the parchment paper and chill them in the freezer for about 10 minutes to quickly set the chocolate. Serve and enjoy!
✔️ Expert Biscotti Tips for Baking Success
Even though this pumpkin biscotti recipe is incredibly easy, a few expert tips can elevate your baking experience and ensure perfect results every single time:
- Don’t Let the Biscotti Cool Completely After the First Bake: This is a common mistake that can make slicing difficult. After the first bake, the loaf needs to cool for only about 10 minutes. This brief cooling period is just enough to allow the loaf to firm up slightly without becoming so rigid that it crumbles or cracks when you try to slice it. Warm biscotti is much easier to cut cleanly and evenly.
- Cut with a Serrated Knife and a Sawing Motion: For smooth, perfectly shaped biscotti slices, a sharp serrated bread knife is your best friend. Instead of pressing straight down, use a gentle sawing motion to cut through the loaf. This technique prevents the biscotti from crushing or breaking, giving you those beautiful, clean edges that are characteristic of traditional biscotti. Cutting on a slight angle also helps create a larger surface area for a more satisfying crunch.
- Flip Biscotti Halves During the Second Bake: To achieve that wonderfully uniform crispness and golden-brown color on both sides of your biscotti, make sure to flip them halfway through their second baking session. This ensures that each side is exposed evenly to the oven’s heat, guaranteeing a consistent crunchy texture throughout.
🥄 Make Ahead and Storage Tips for Pumpkin Biscotti
These chocolate-dipped pumpkin biscotti are not only delicious but also convenient for make-ahead preparations and extended enjoyment. Proper storage is key to maintaining their delightful crispness and rich flavor:
Store your chocolate-covered biscotti in an airtight container at room temperature in a cool, dry place for up to 1 week. For even longer freshness, they can be stored in the freezer for up to 2 months. Be aware that the longer they sit, especially at room temperature, the softer their texture will typically become due to moisture absorption. While still delicious, they may lose some of their initial crispness.
It’s crucial to avoid storing them in a warm environment, as the chocolate coating will melt, resulting in a sticky, messy situation. If you live in a warm or humid climate, or if your kitchen tends to be on the warmer side, consider storing them in the refrigerator to keep the chocolate firm and prevent softening. Just remember to let them come to room temperature for a few minutes before serving for optimal flavor and texture.
Make Ahead Advantage: You can bake the biscotti loaves a day or two in advance and store the un-dipped slices in an airtight container. Dip them in chocolate just before serving for the freshest presentation. Undipped biscotti also freezes exceptionally well, allowing you to have a delicious treat ready to go whenever a craving strikes.
❔ Why Do You Bake Biscotti Twice? The Secret to Crispness
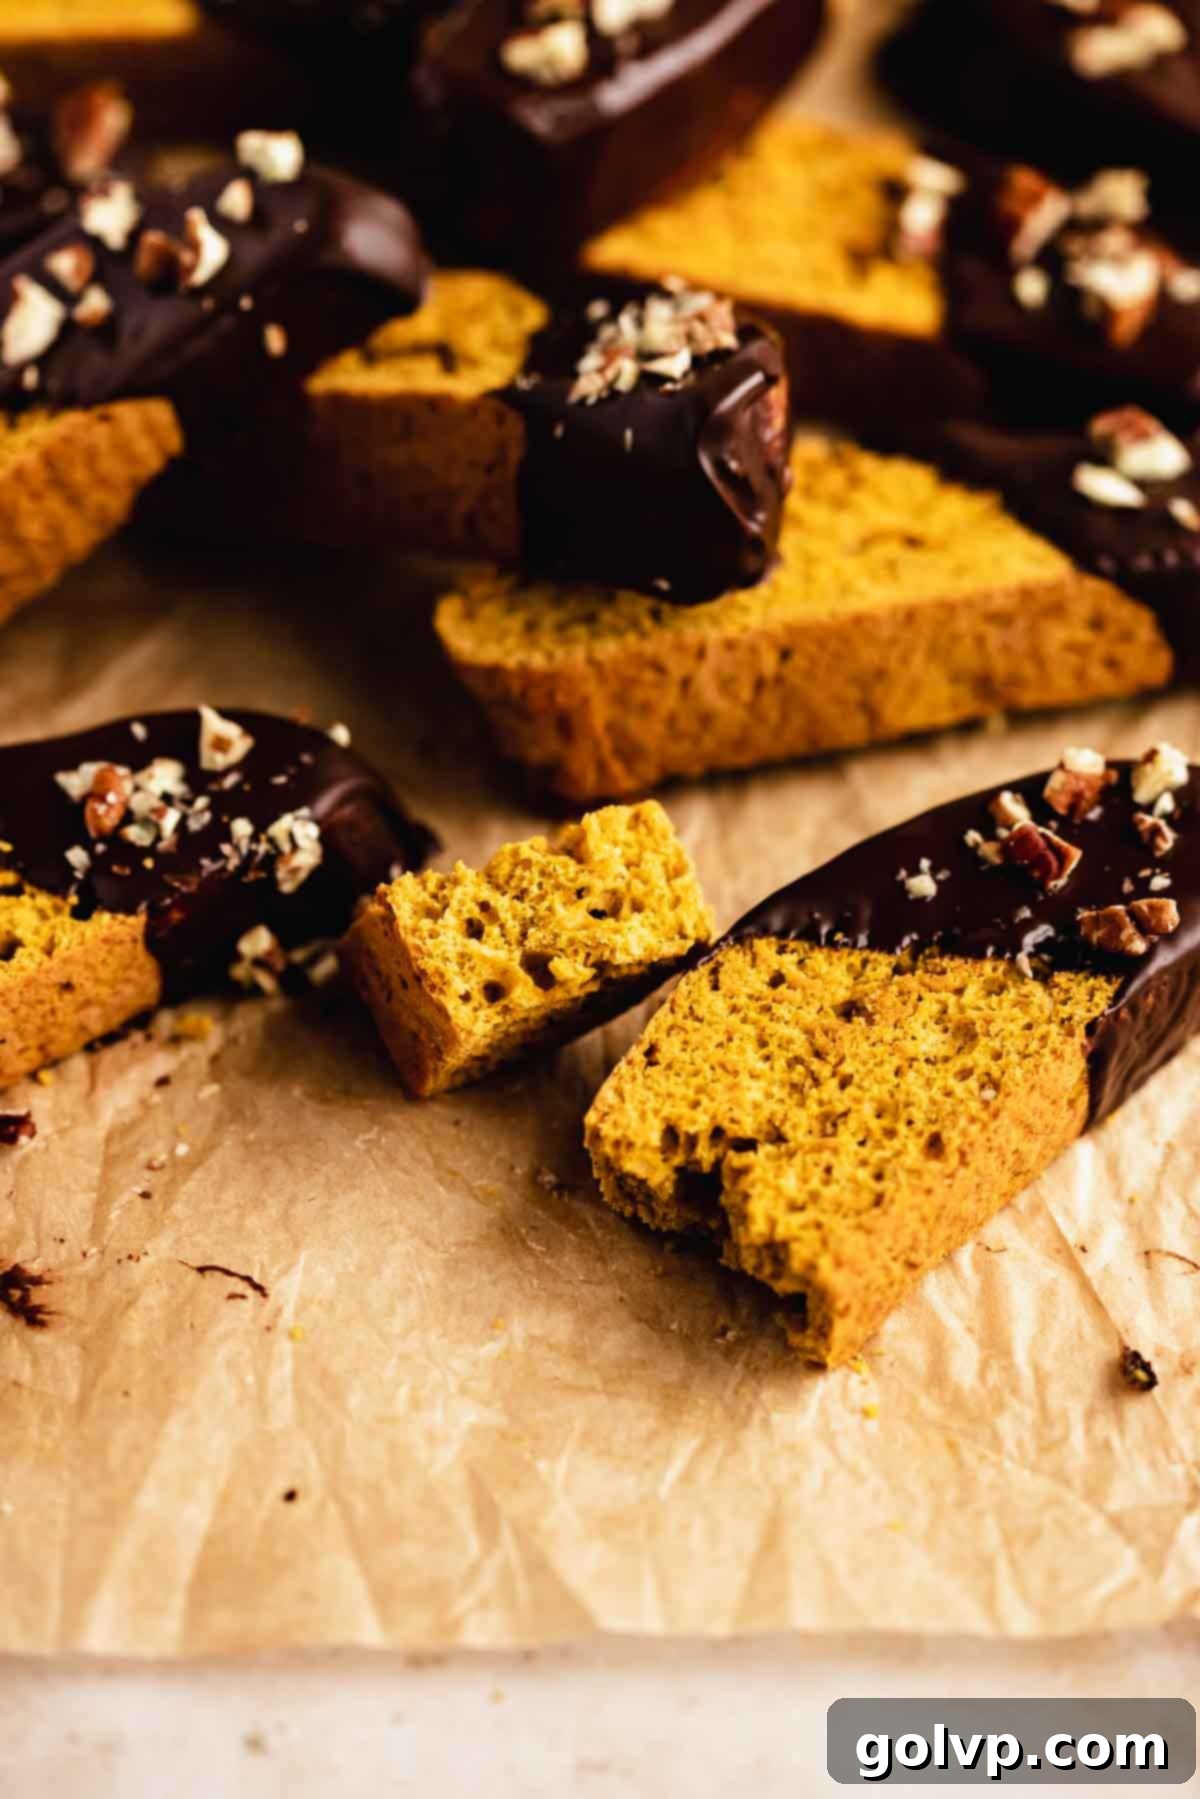
The term “biscotti” itself offers a clue to its unique preparation: it literally means “twice-baked” in Italian! This dual baking process is the very secret behind its characteristic crisp and dry texture, which makes it perfect for dipping.
The process is much simpler than it sounds. First, the dough is mixed and shaped into a single, large loaf (or two smaller ones). This loaf undergoes its initial bake just until a toothpick inserted into the center emerges clean, indicating it’s fully cooked through and set. This first bake, typically around 25 minutes, establishes the shape and internal structure of the cookie.
Once the baked loaf has cooled just enough to handle – usually about 10 minutes – it’s carefully sliced into individual pieces. These slices are then arranged, cut side down, back onto the baking sheet. They re-enter the oven for a second, longer bake at a lower temperature, typically for 30-40 minutes. During this crucial second bake, the remaining moisture within the biscotti evaporates, transforming the texture from a soft cookie to a beautifully crisp, golden-brown treat. The magic continues even after they leave the oven; as they cool completely, they’ll crisp up even further, reaching their ideal dippable texture. This two-step baking process is what gives biscotti its unique, long-lasting crunch and makes it such a satisfying accompaniment to your favorite hot beverages.
If you’re looking for a pumpkin cookie with a shorter baking time that’s equally delicious, try these delightful pumpkin cheesecake cookies.
📖 Recipe FAQs: Frequently Asked Questions About Pumpkin Biscotti
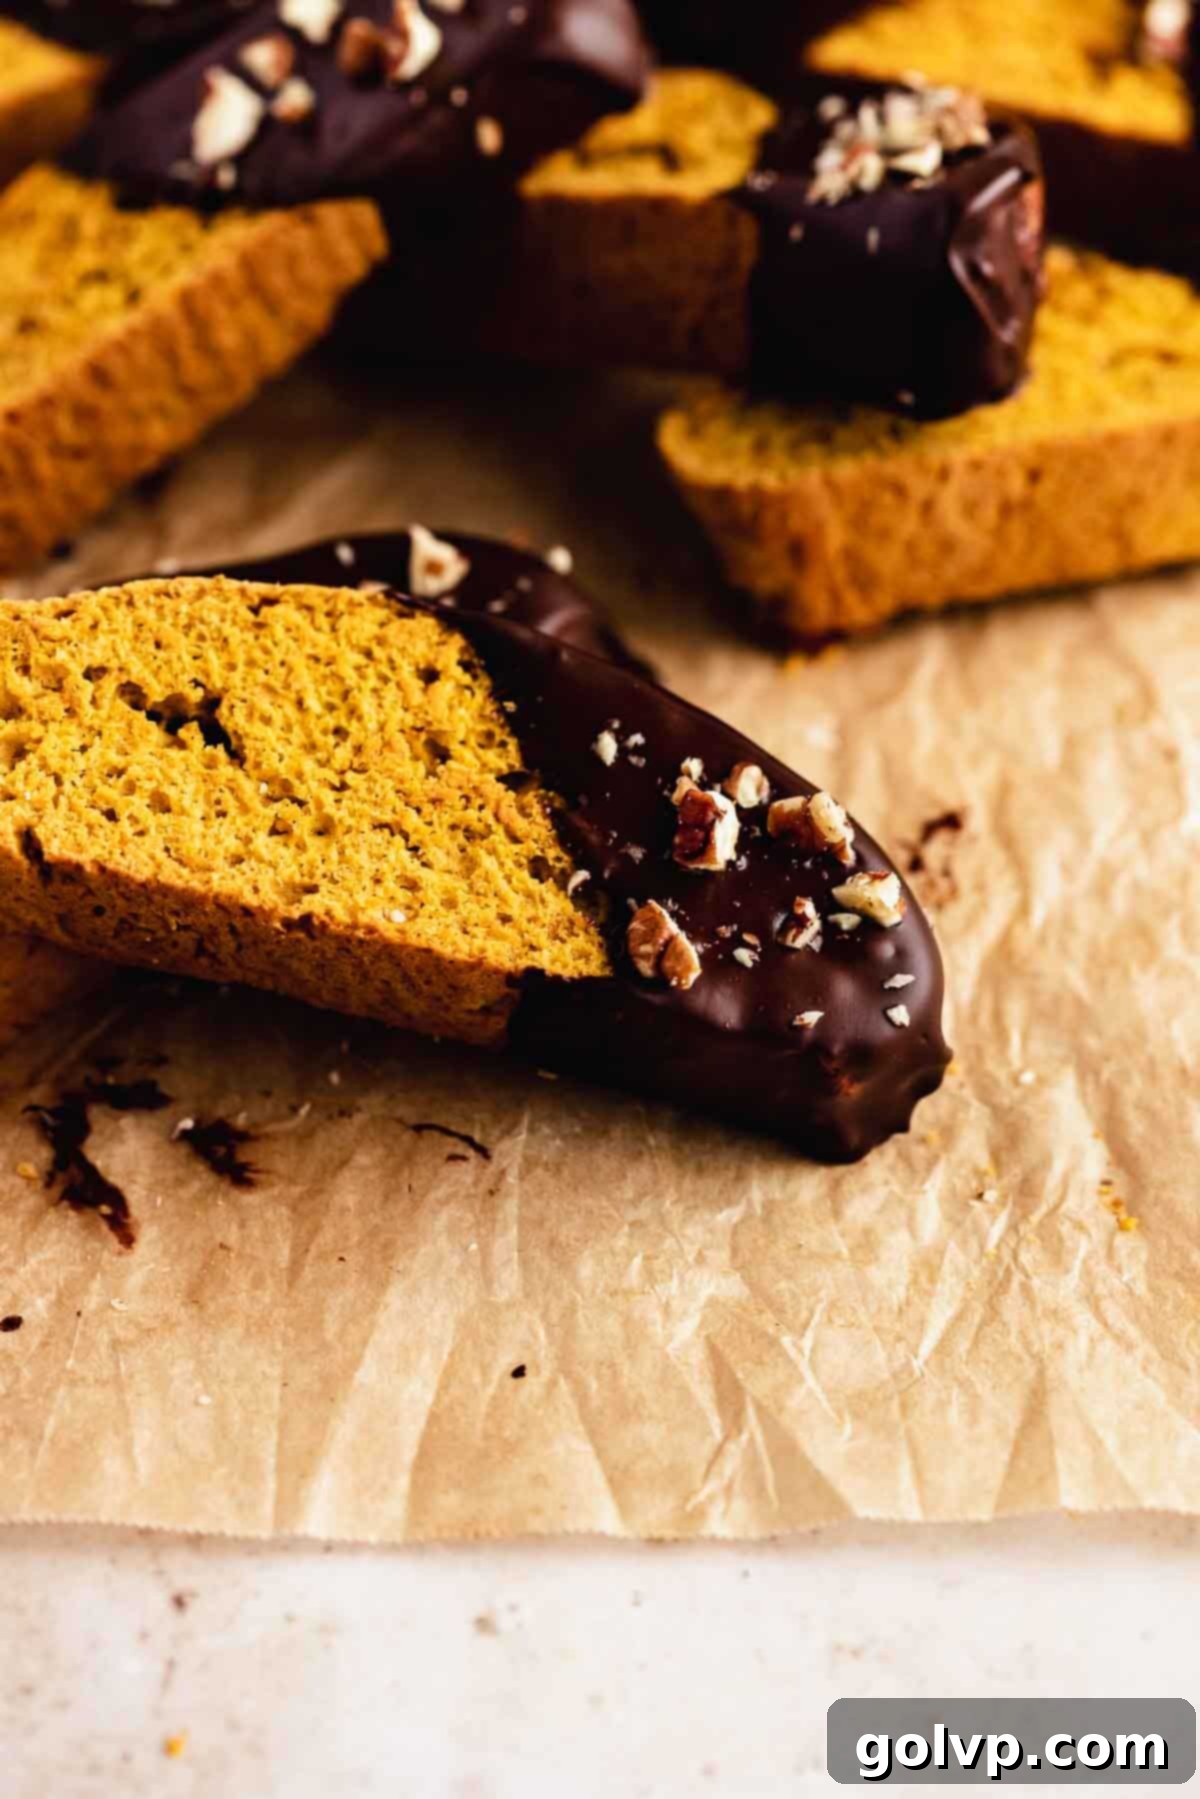
When stored properly, these chocolate-covered pumpkin biscotti will maintain their best quality in an airtight container in the refrigerator for up to 3 days. If you’re planning to enjoy them over a longer period, they can be safely stored in the freezer for up to 2 months. Keep in mind that as time passes, especially at room temperature, the biscotti may gradually lose some of their initial crispness and become slightly softer. For optimal crispness, consume them within the first few days.
While classic chocolate is always a hit, the versatility of biscotti allows for numerous creative dipping and drizzling options! You can certainly swap out the semi-sweet chocolate for your preferred variety, such as rich dark chocolate for an intense flavor, creamy milk chocolate for a sweeter touch, or even vibrant white chocolate for a different aesthetic. Beyond chocolate, consider melted butterscotch chips for a warm, caramel-like note, or a luscious caramel sauce for a truly indulgent “caramel apple” inspired treat. If dipping seems too messy, a simple drizzle of any of these options can be just as appealing and easier to apply.
It’s a common misconception that biscotti will emerge from the oven fully crisp. In fact, they usually won’t be at their peak crispness immediately after the second bake. The magic truly happens during the cooling process. As the biscotti cool down to room temperature, any residual moisture continues to evaporate, allowing them to crisp up significantly. You’ll know they’re ready and well-baked when the edges are lightly golden and they feel firm. Give them ample time to cool completely for that ultimate, satisfying crunch!
Biscotti is inherently designed for dipping, and these pumpkin biscotti are no exception! They are the quintessential dipping cookie, perfectly complementing a variety of warm beverages. Enjoy them with your morning coffee for a delightful start to the day, or with a rich, creamy hot chocolate for an indulgent evening treat. They also pair wonderfully with different types of tea, from a robust black tea to a fragrant chai. The biscotti’s porous texture allows it to absorb the liquid beautifully, softening slightly while retaining its structure, making for a truly enjoyable pairing. For a sophisticated touch, they can even be enjoyed alongside a dessert wine or a glass of cold milk.
More Related Pumpkin Recipes You’ll Adore
If you’ve fallen in love with the comforting flavors of pumpkin in these biscotti, you’re in for a treat! Explore more delightful pumpkin-inspired creations from my collection of best pumpkin desserts. Here are a few favorites:
- Pumpkin Spice Cake
Indulge in a super moist pumpkin cake crowned with a dreamy brown butter cream cheese frosting – an absolute showstopper for Thanksgiving and beyond.
- Vegan Pumpkin Chocolate Chip Cookies
These incredibly easy, one-bowl cookies are not only vegan but also bursting with pumpkin flavor and gooey chocolate chips, making them a perfect fall treat.
- Pumpkin Cheesecake Cookies
Experience the best of both worlds with these cookies featuring crisp edges, a buttery soft and gooey middle, and a delightful molten pumpkin cheesecake filling – surprisingly easy to whip up!
- Pumpkin Cheesecake Roll
This stunning pumpkin cheesecake roll combines a soft sponge cake with a creamy no-bake cheesecake filling, all infused with perfectly spiced pumpkin flavor and topped with fluffy whipped cream.
Did you give this amazing pumpkin biscotti recipe a try? I would absolutely love to hear your thoughts and see your beautiful creations! Please rate this recipe and share what you think in the comments below. Don’t forget to share your delicious results on Instagram and tag @flouringkitchen so I can see! For more inspiring recipe ideas and to save your favorites, follow me on Pinterest.
📖 Recipe
Pumpkin Biscotti
Mary
Pin Recipe
Shop Ingredients
Equipment
-
Cookie sheet
-
parchment paper
Ingredients
- ⅓ cup unsalted butter melted
- 2 large eggs room temperature
- ⅓ cup granulated sugar
- ⅓ cup brown sugar packed
- ⅛ teaspoon sea salt
- 1 teaspoon pure vanilla extract
- ½ cup pumpkin puree
- 2 ½ cups all purpose flour 300g
- 1 ½ teaspoon baking powder
- 1 teaspoon pumpkin spice
- ½ teaspoon cinnamon ground
Chocolate
- 1 cup chocolate chips semisweet, milk, or white
- ½ teaspoon butter or refined coconut oil
- 3 tablespoons pecans or walnuts toasted and chopped
Shop Ingredients on Jupiter
Instructions
-
Preheat your oven to 355°F (180°C). Prepare your baking sheets by lining 1 large or 2 smaller cookie sheets with parchment paper. This prevents sticking and ensures easy removal.
-
In a large mixing bowl, combine the melted butter, room temperature eggs, granulated sugar, packed brown sugar, sea salt, and pure vanilla extract. Whisk these ingredients together until they are thoroughly combined and the mixture appears slightly thickened. Next, add the pumpkin puree and continue whisking until it is fully incorporated into the wet mixture, creating a smooth consistency.⅓ cup unsalted butter, 2 large eggs, ⅓ cup granulated sugar, ⅓ cup brown sugar, ⅛ teaspoon sea salt, 1 teaspoon pure vanilla extract, ½ cup pumpkin puree
-
Directly into the same bowl, sift the all-purpose flour, baking powder, pumpkin spice, and ground cinnamon. Using a rubber spatula, gently fold the dry ingredients into the wet mixture. Continue folding just until the dough comes together and no dry streaks of flour are visible. Be careful not to overmix, as this can develop gluten and lead to a tougher biscotti.2 ½ cups all purpose flour, 1 ½ teaspoon baking powder, 1 teaspoon pumpkin spice, ½ teaspoon cinnamon
-
Transfer the dough onto your parchment-lined baking sheet(s). Using a rubber spatula and/or lightly wetted fingers (this helps prevent sticking), carefully shape the dough into one large loaf or two smaller, even logs. Aim for a log that is approximately 12-14 inches long and 2-3 inches wide, ensuring even thickness for uniform baking.
-
Bake the loaf in the preheated oven for 25-27 minutes, or until a toothpick inserted into the center comes out clean, indicating it’s fully cooked. Remove the baked loaf from the oven and let it cool on the baking sheet for 10 minutes. This short cooling period makes slicing easier. While it cools, reduce your oven temperature to 340°F (170°C) for the second bake.
-
After cooling for 10 minutes, carefully transfer the loaf to a cutting board. Using a sharp serrated knife, cut the loaf into ¾-inch thick slices on a slight angle to create the classic biscotti shape. Arrange the sliced biscotti pieces cut side down back onto the same parchment-lined baking sheet. Bake for an additional 30-40 minutes, making sure to flip them halfway through (around 15 minutes) to ensure even crisping and golden color on both sides. Once baked, you can either crack open the oven door and leave them inside overnight to cool completely and crisp up further, or take them out of the oven to cool fully on a wire rack.
Chocolate Topping
-
To prepare your double boiler, find a medium saucepan and a heat-safe bowl that fits snugly on top without touching the water. Add about 1 inch of water to the saucepan and bring it to a gentle simmer over medium heat.
-
In the heat-safe bowl, combine your chocolate chips (semisweet, milk, or white) and the ½ teaspoon of butter or refined coconut oil. Place the bowl on top of the simmering saucepan, ensuring the bottom of the bowl does not touch the water. Stir continuously with a spatula until the chocolate is completely melted and smooth. The gentle heat of the steam will melt the chocolate without burning it.1 cup chocolate chips, ½ teaspoon butter or refined coconut oil
-
Carefully pour the melted chocolate into a narrow glass or a small, deep bowl; this makes the dipping process much easier. Take one cooled pumpkin biscotti at a time and dip one end into the melted chocolate, allowing any excess to drip back into the bowl. Immediately after dipping, sprinkle the chocolate-covered end with the chopped pecans or walnuts for an extra layer of flavor and texture. Arrange the dipped biscotti back onto the baking sheet lined with parchment paper.3 tablespoons pecans or walnuts
-
To set the chocolate quickly, place the tray of dipped biscotti into the freezer for about 10 minutes. Once the chocolate has hardened, your delicious pumpkin biscotti are ready to serve and enjoy!
Notes
Make Ahead: This recipe is fantastic for making ahead! You can bake the biscotti loaves the night before, let them cool completely in the oven (or on a rack), and then dip them in chocolate on the day you plan to serve. Undipped biscotti also freeze exceptionally well, so you can bake the slices and freeze them, then thaw and dip as needed.
Tips for Success: Achieving perfect biscotti is simple with these pointers:
- Avoid letting the biscotti cool completely after the first bake; a 10-minute cool-down period makes slicing easier and prevents crumbling.
- Always use a sharp serrated knife and a gentle sawing motion when cutting the loaf into slices to ensure clean, even pieces.
- Ensure even toasting and crispness by flipping the biscotti pieces halfway through their second bake in the oven.
