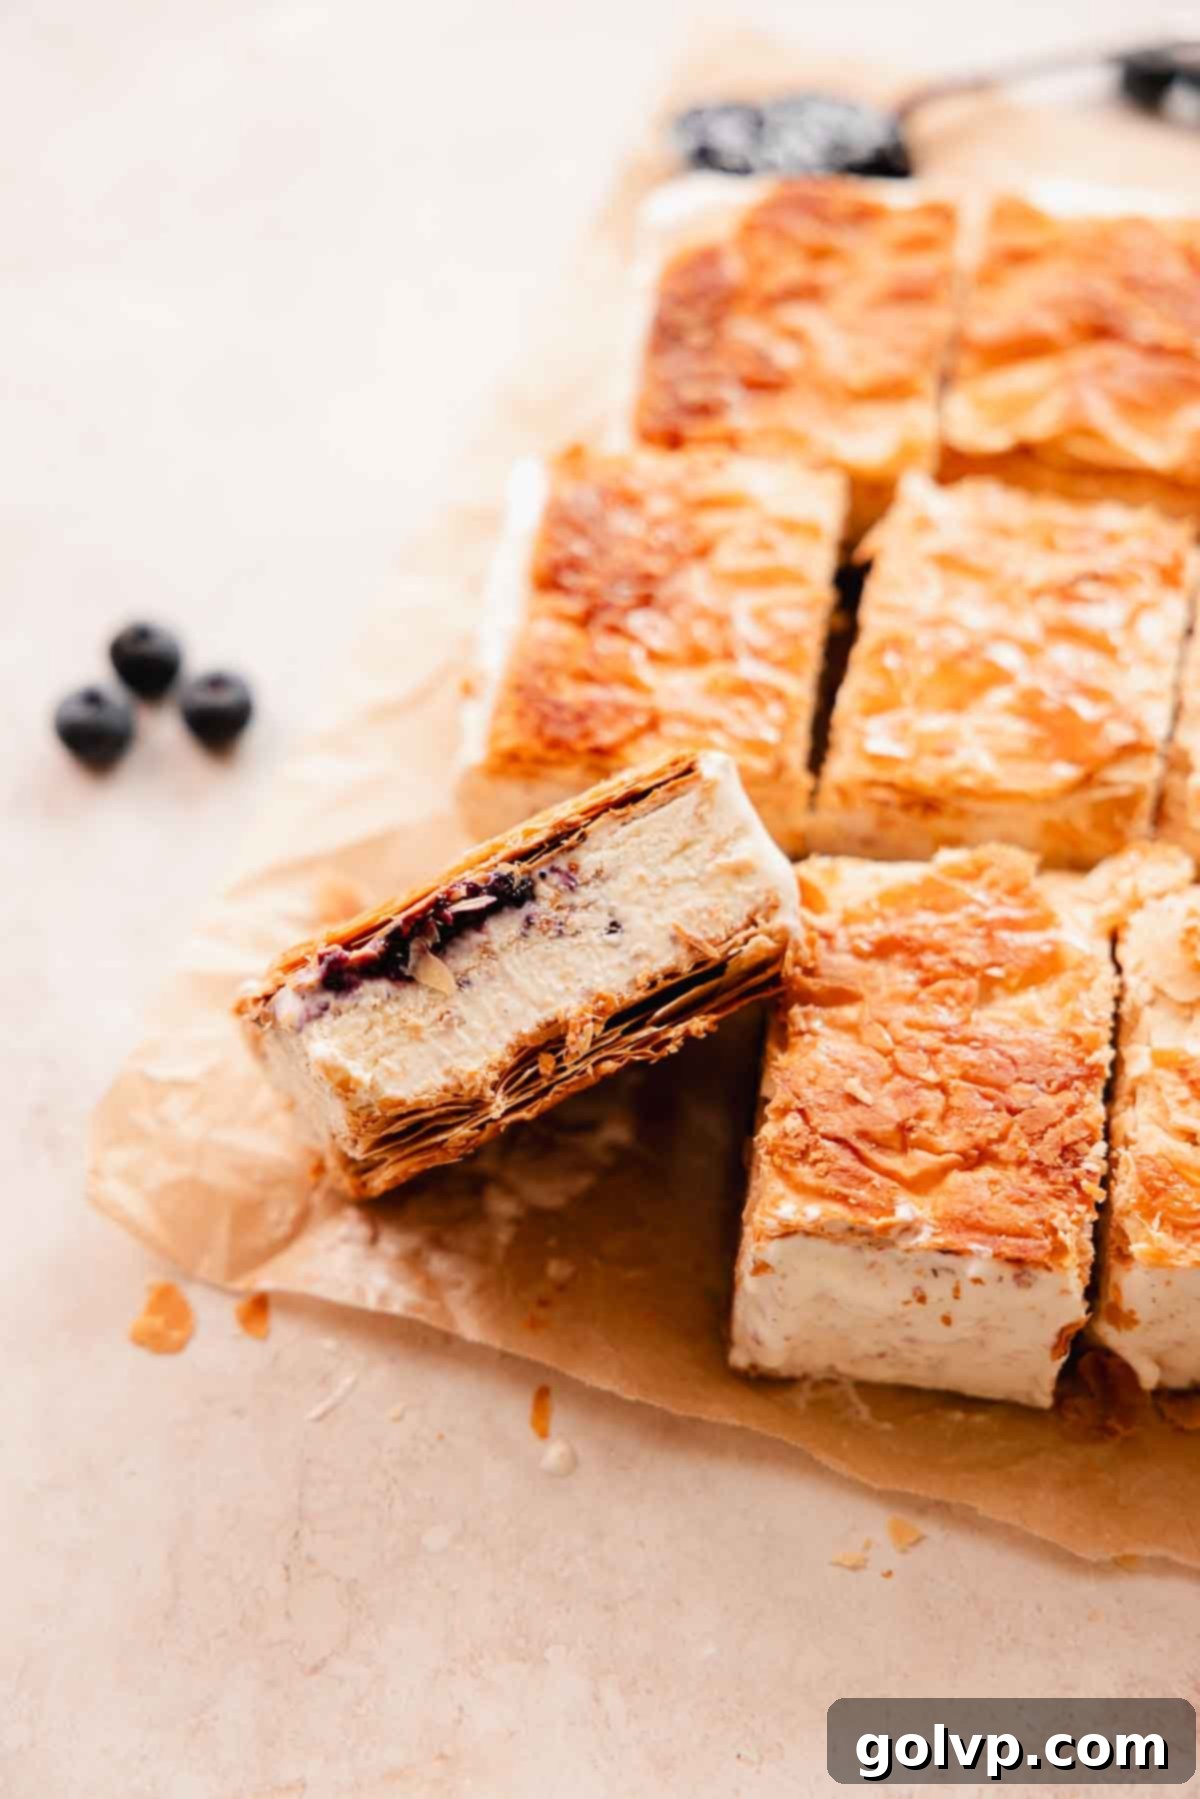
Crispy Puff Pastry Ice Cream Sandwiches with Brown Butter Blueberry Swirl: A Gourmet Homemade Treat
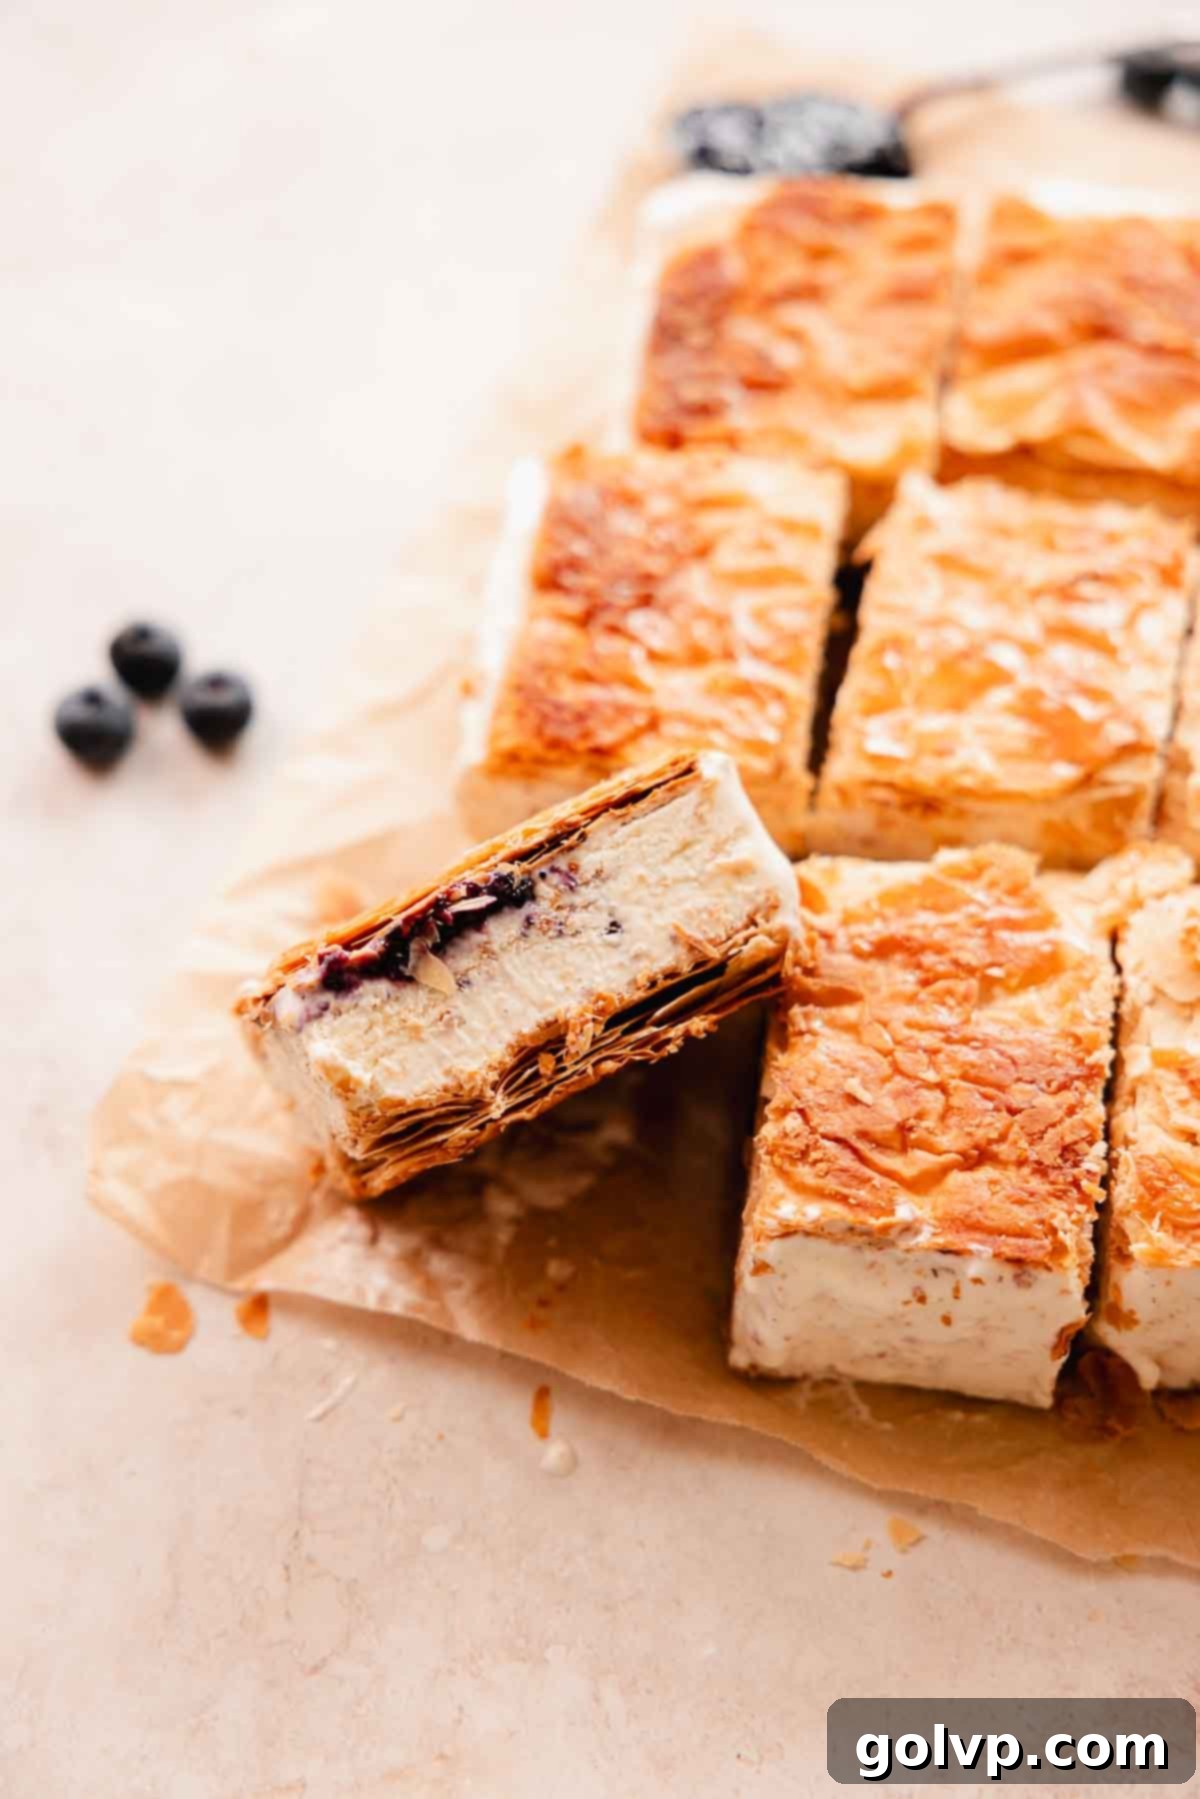
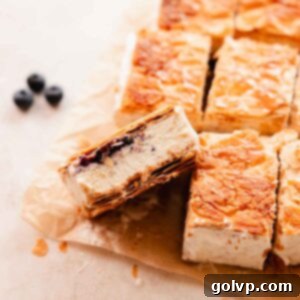
Prepare to be enchanted by these extraordinary homemade puff pastry ice cream sandwiches. They feature an impossibly crisp, beautifully caramelized puff pastry shell that encases a velvety, no-churn brown butter ice cream. For an added layer of delight, we’ve swirled in some luscious wild blueberry jam, creating a gooey, fruity contrast that perfectly complements the rich flavors. Each bite offers a satisfying crunch, followed by the melt-in-your-mouth creaminess of the ice cream, boasting deep caramelized, nutty, and fragrant vanilla bean notes. These gourmet ice cream sandwiches draw inspiration from the classic French dessert, millefeuille, also known as the elegant Napoleon cake, transforming a beloved pastry into an innovative frozen dessert.
Crafting homemade ice cream sandwiches might sound daunting, but this recipe makes it surprisingly quick and effortless to assemble. The secret lies in our easy, no-churn brown butter ice cream for the luscious center. Forget about complicated ice cream machines; this recipe brings gourmet flavors right to your kitchen with minimal fuss.
🍨 Why You’ll Absolutely LOVE This Recipe
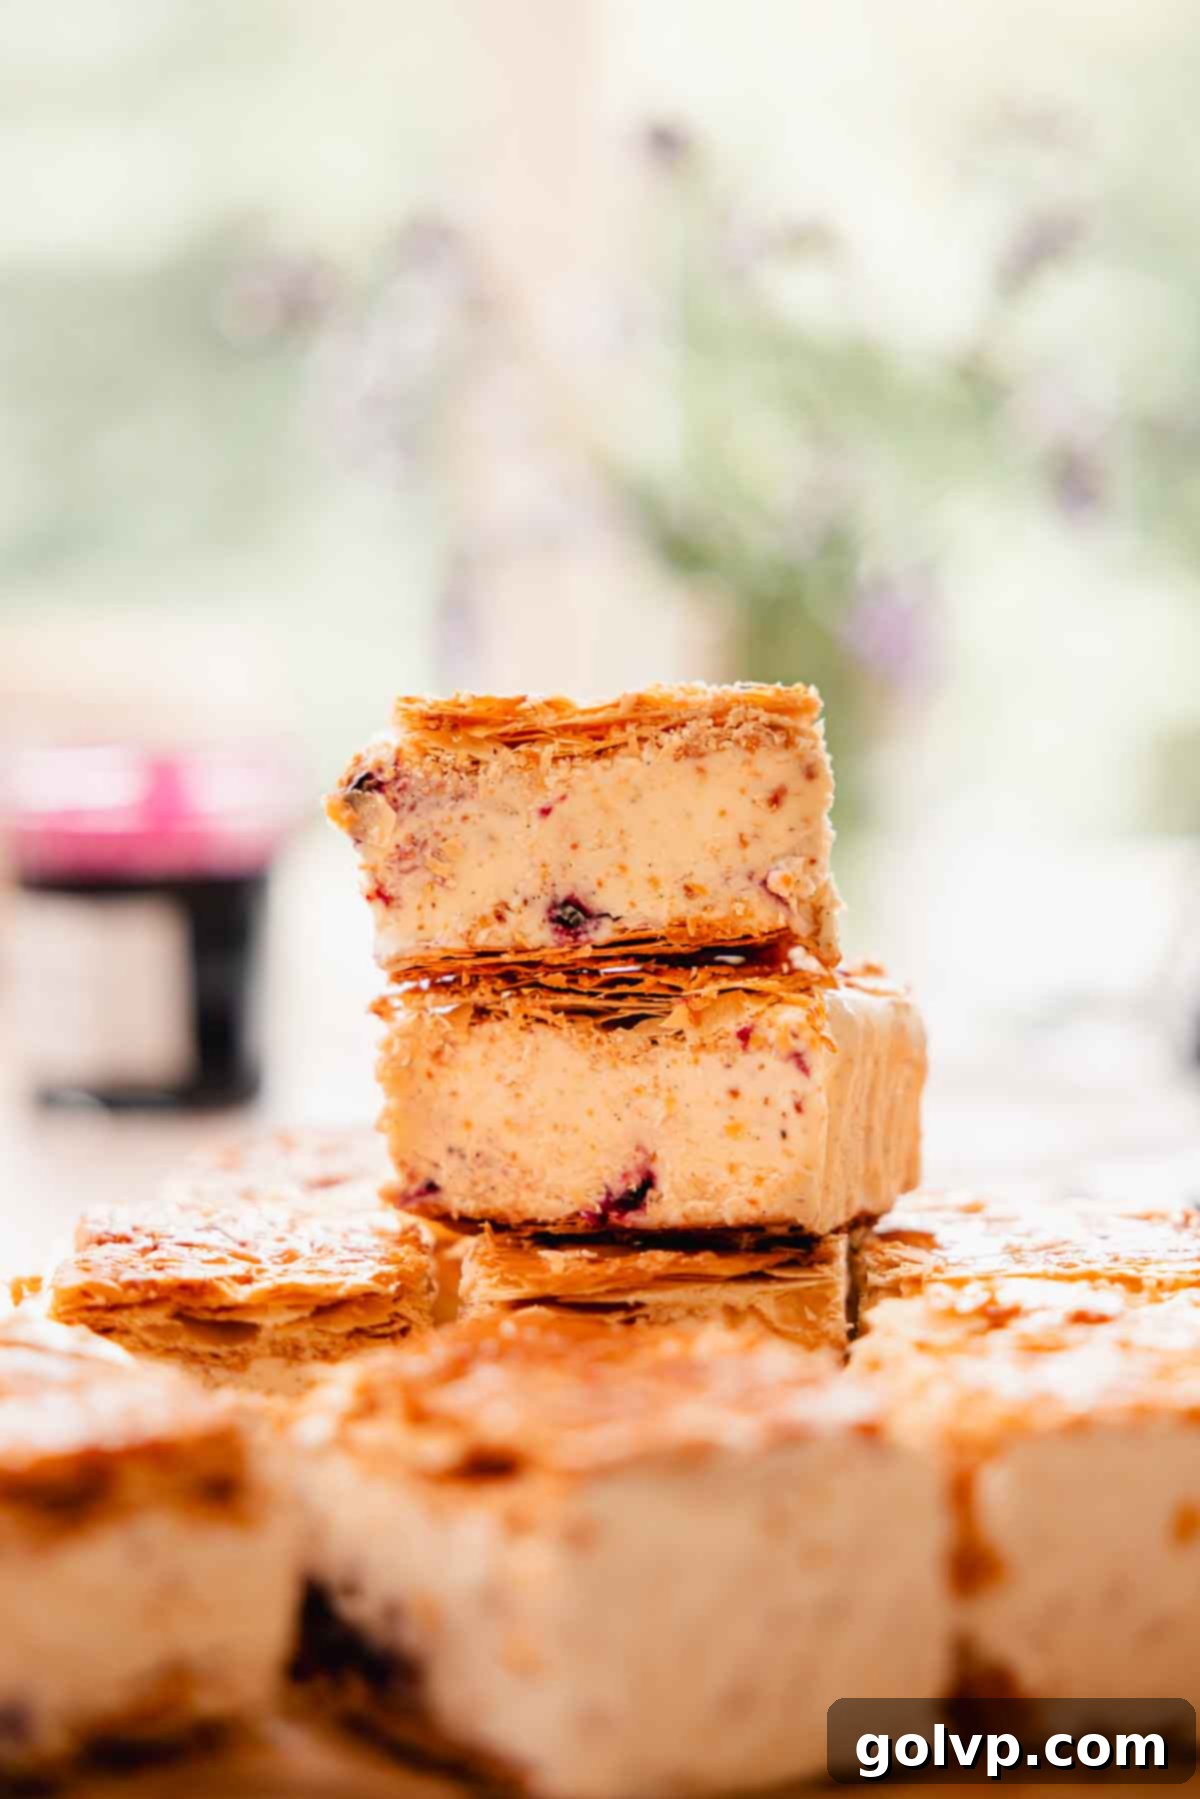
- Incredibly Crisp and Crunchy Outside: The star of this dessert is the caramelized puff pastry. Baked to a perfect golden-brown and coated with sugar, it develops an exquisite crispness. With every bite, it shatters beautifully, creating a textural sensation that’s simply irresistible and provides a delightful contrast to the creamy filling.
- Luxuriously Soft and Creamy Brown Butter Ice Cream: Nestled within the flaky pastry is a rich, no-churn brown butter ice cream. This innovative ice cream boasts a unique, slightly chewy texture that literally melts in your mouth. The brown butter infuses it with a profound, toasty, caramelized flavor, complemented by fragrant vanilla bean. It’s an intensely flavorful and smooth experience that elevates the entire sandwich.
- Gooey Wild Blueberry Swirl: A simple yet impactful swirl of wild blueberry jam is incorporated into the ice cream. This adds a burst of vibrant berry flavor and a delightful gooeyness, cutting through the richness of the brown butter and adding a refreshing, sweet-tart dimension to each bite.
- Surprisingly Easy to Make: Don’t let the gourmet appearance fool you! This recipe is incredibly accessible. By utilizing pre-made, all-butter puff pastry and a straightforward no-churn ice cream method, you can achieve impressive results without extensive effort. It’s perfect for both seasoned bakers and novice dessert enthusiasts looking for a show-stopping treat.
- Millefeuille-Inspired Elegance: This dessert takes the architectural beauty and layered goodness of a traditional French millefeuille and reimagines it as a frozen delight. It offers all the sophistication of a classic pastry with the refreshing coolness of ice cream, making it a truly unique and memorable dessert experience.
📝 Essential Ingredients for Success
Review these tips for optimal results!
Full steps and ingredients can be found in the comprehensive recipe card below.
Puff Pastry: For convenience and consistent results, I highly recommend using ready-made all-butter puff pastry, which you can typically find in the freezer section of most grocery stores. While making your own puff pastry from scratch is a commendable culinary feat, it is incredibly labor-intensive. If you’re feeling adventurous and want to try a homemade version, I suggest opting for a “quick puff pastry.” It’s much simpler to prepare and yields a very similar flaky, buttery texture to a more traditional puff pastry, without the extensive folding and chilling required.
Butter: This ingredient is transformed into brown butter, which forms the heart of our creamy ice cream filling. The process of browning the butter develops deep, complex, nutty, and caramelized notes through the Maillard reaction. These toasted milk solids infuse the ice cream with an unparalleled depth of flavor that is both rich and incredibly appealing, setting it apart from standard vanilla ice cream.
Milk Powder: This is a game-changer for intensifying the brown butter flavor. Adding just a few tablespoons of milk powder (skim or whole) to the butter as it browns provides an extra boost of milk solids. More milk solids mean a more pronounced, toasted flavor, enhancing the caramelization and nutty aroma. While optional, it’s a highly recommended step for achieving the most robust brown butter taste in your ice cream.
Vanilla Bean: To achieve a truly luxurious vanilla flavor and stunning visual appeal, a whole vanilla bean is added to the brown butter. The tiny black specks of vanilla seeds are a hallmark of high-quality vanilla. If a whole vanilla bean is unavailable or too costly, 1 tablespoon of good quality vanilla bean paste is an excellent substitute, delivering a similar rich flavor and visual specks. Avoid using plain vanilla extract here, as it won’t provide the same intensity or visual charm.
Sweetened Condensed Milk: This is a crucial component for our no-churn ice cream. It’s vital not to confuse it with evaporated milk, as they are entirely different products. Sweetened condensed milk is thick, rich, and heavily sweetened, providing both the sweetness and the creamy texture necessary for an ice cream that doesn’t require an ice cream maker. Its unique composition prevents the formation of ice crystals, resulting in a wonderfully smooth, scoopable, and delightfully chewy ice cream filling.
Wild Blueberry Jam: While optional, a swirl of wild blueberry jam adds a fantastic element to these sandwiches. The jam introduces a vibrant, slightly tart fruitiness and a wonderful gooey texture that beautifully contrasts with the crisp pastry and rich brown butter ice cream. You can also experiment with other fruit jams or even a fruit curd if you prefer a different flavor profile.
👩🍳 Step-by-Step Guide: Crafting Your Homemade Ice Cream Sandwiches
Caramelized Puff Pastry: Step-by-Step Instructions
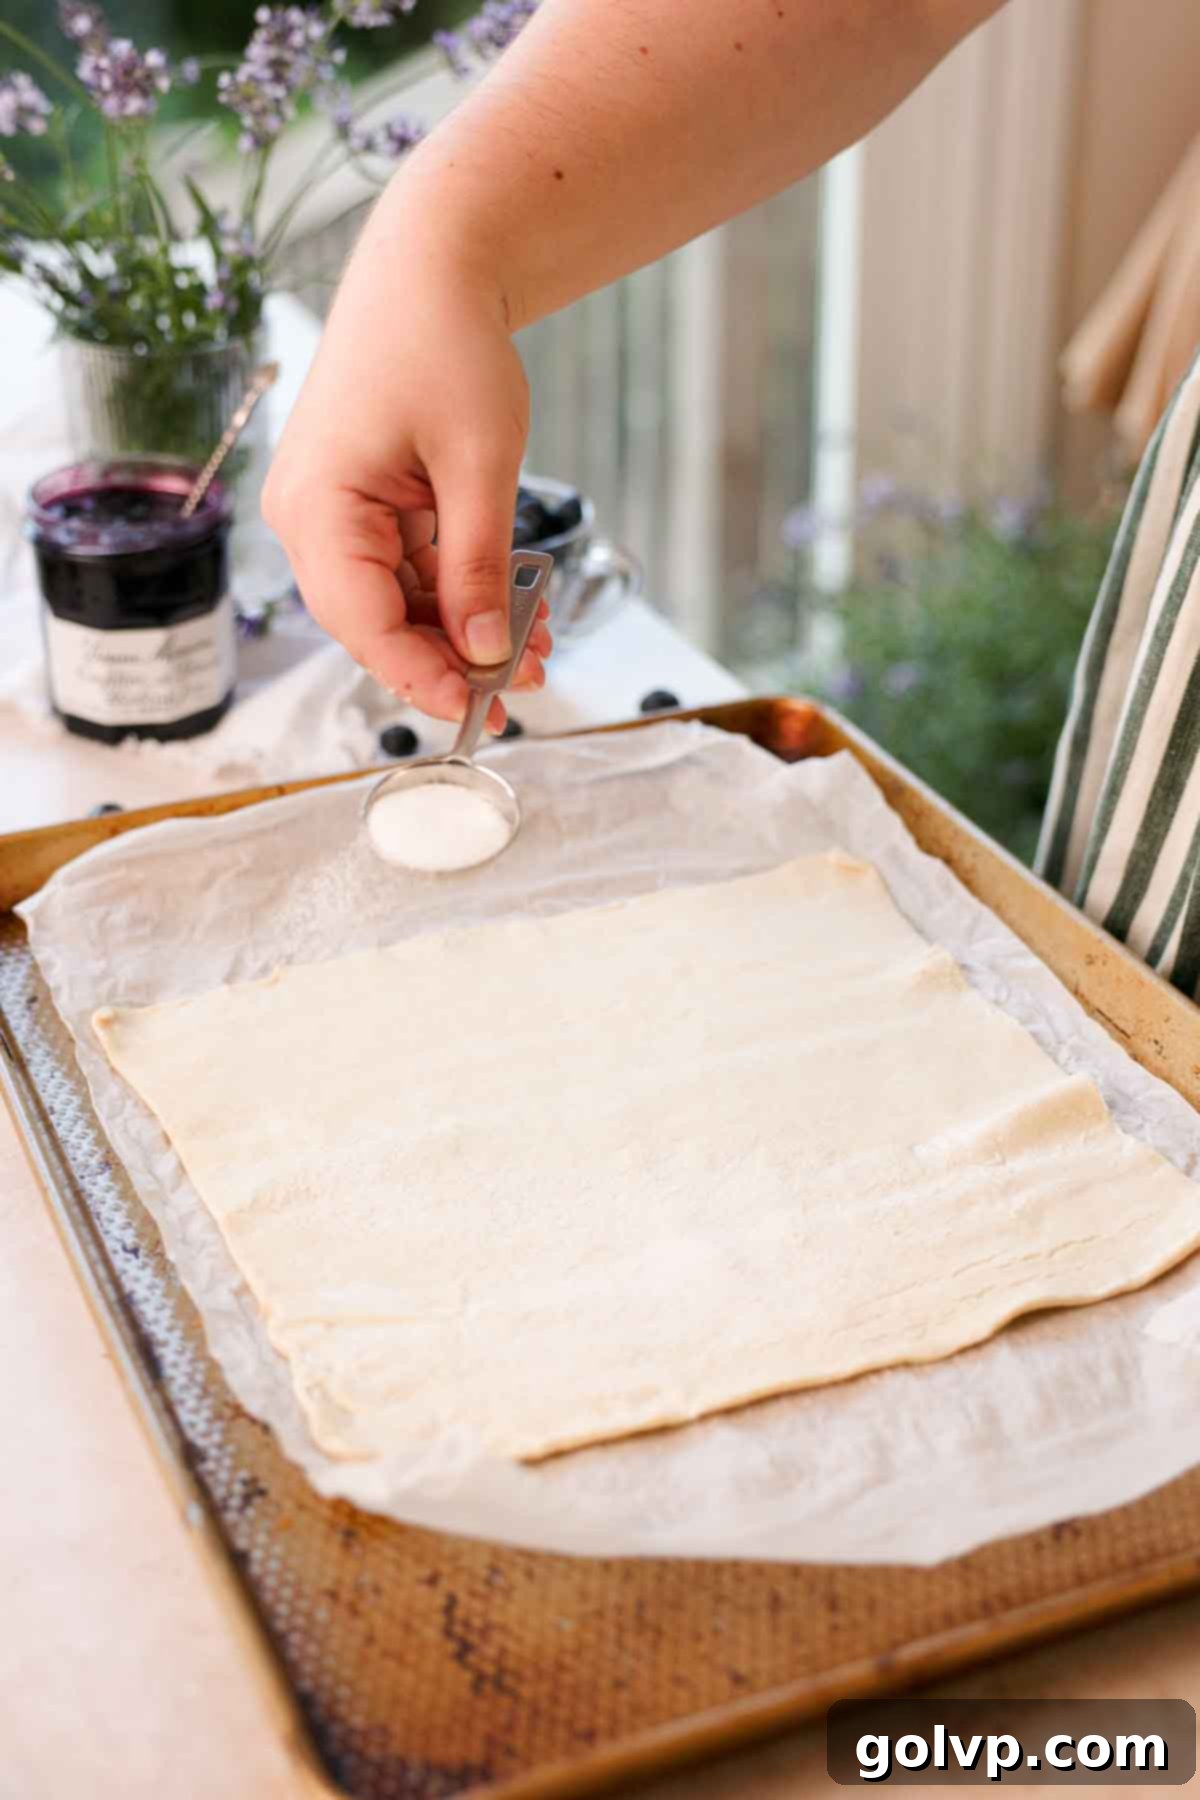
Step 1: Begin by carefully unrolling your pre-made puff pastry sheets. Place one sheet on a baking sheet lined with parchment paper. Evenly sprinkle 1 tablespoon of granulated sugar over the entire surface of the pastry. You will need two pieces of puff pastry for each sandwich, serving as the top and bottom layers. If your baking sheet is generously sized, you might be able to fit both sheets on it; otherwise, you can bake them in two separate batches.
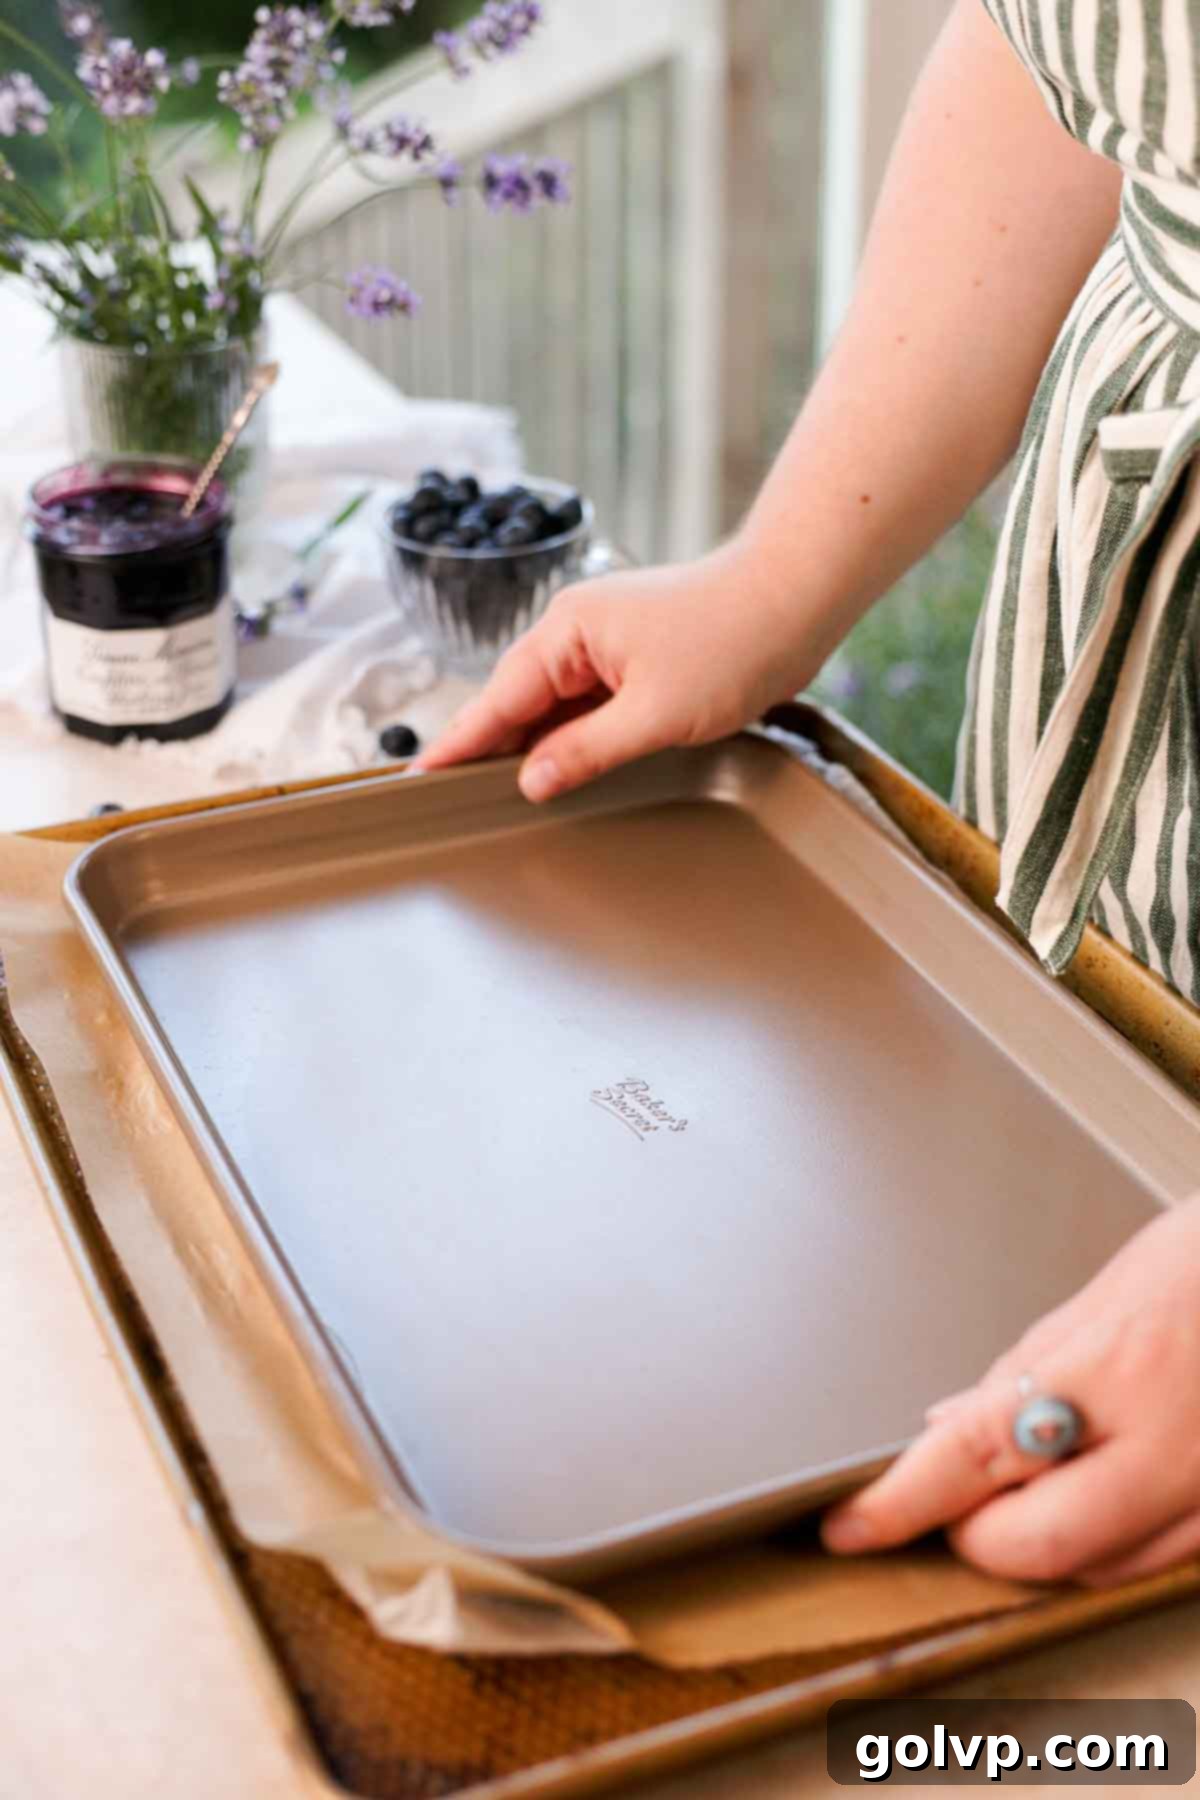
Step 2: To ensure the puff pastry bakes flat and develops that signature crisp, dense texture, cover the sugared pastry with another piece of parchment paper, then gently place a second baking sheet directly on top. This sandwiching technique prevents excessive puffing. Bake the pastry in your preheated oven for 25-30 minutes. Be diligent and check the pastry at the 20-minute mark, then every 5 minutes thereafter, to prevent burning. You’re aiming for a beautiful, deep golden-brown color, indicating optimal caramelization and crispness.
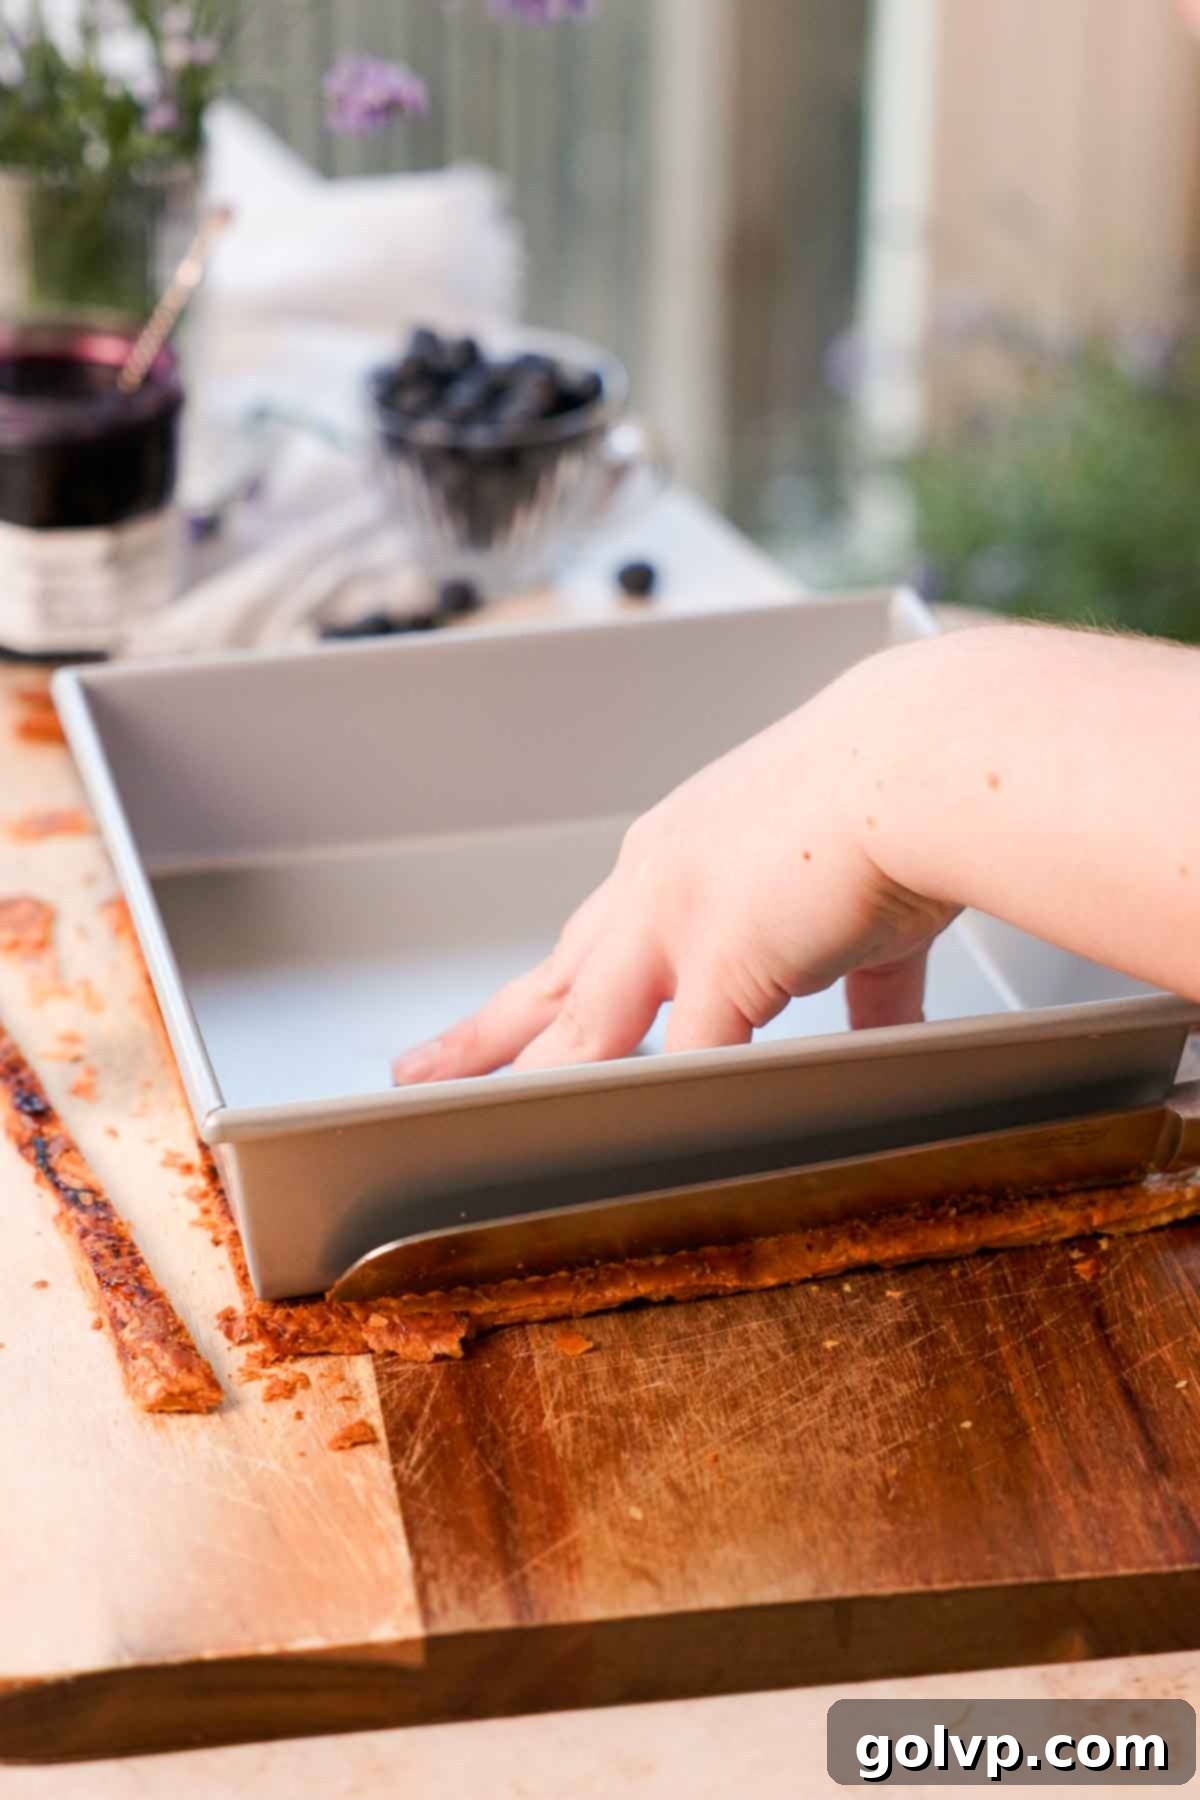
Step 3: Once baked and cooled slightly, use the bottom of an 8″ or 9″ square pan as a precise guide to cut both caramelized puff pastry sheets into perfect squares. For the cleanest cuts that maintain the pastry’s flaky layers without crushing them, it is highly recommended to use a large serrated knife (like a bread knife) and employ a gentle sawing motion rather than pressing straight down. This technique ensures beautifully defined edges for your ice cream sandwiches.
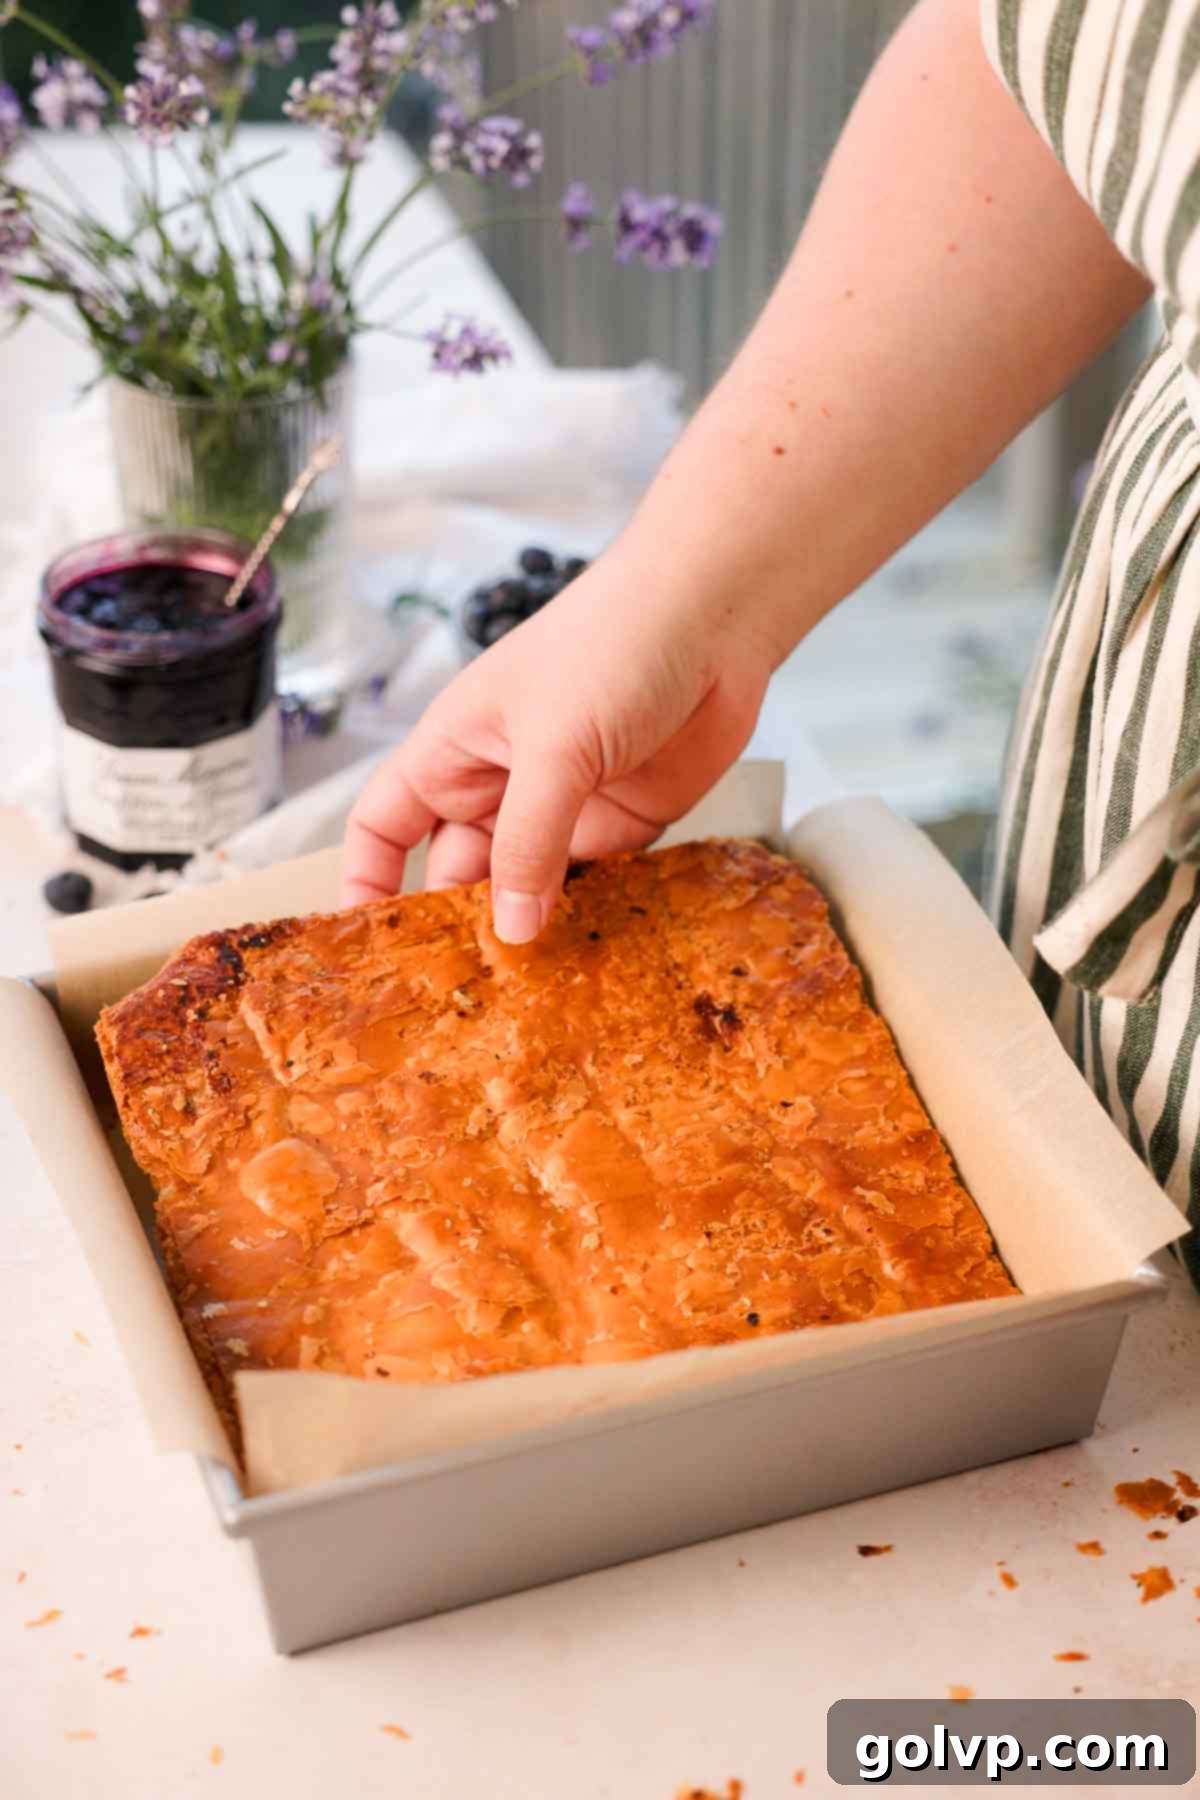
Step 4: Prepare your 8″ or 9″ square pan by lining its bottom and sides with parchment paper. Ensure the parchment extends beyond the edges to create convenient “handles” for easy removal later. Carefully place one of your perfectly cut puff pastry squares into the bottom of the prepared pan. This will serve as the base for your magnificent ice cream sandwich slab.
Homemade Ice Cream & Sandwich Assembly: Step-by-Step
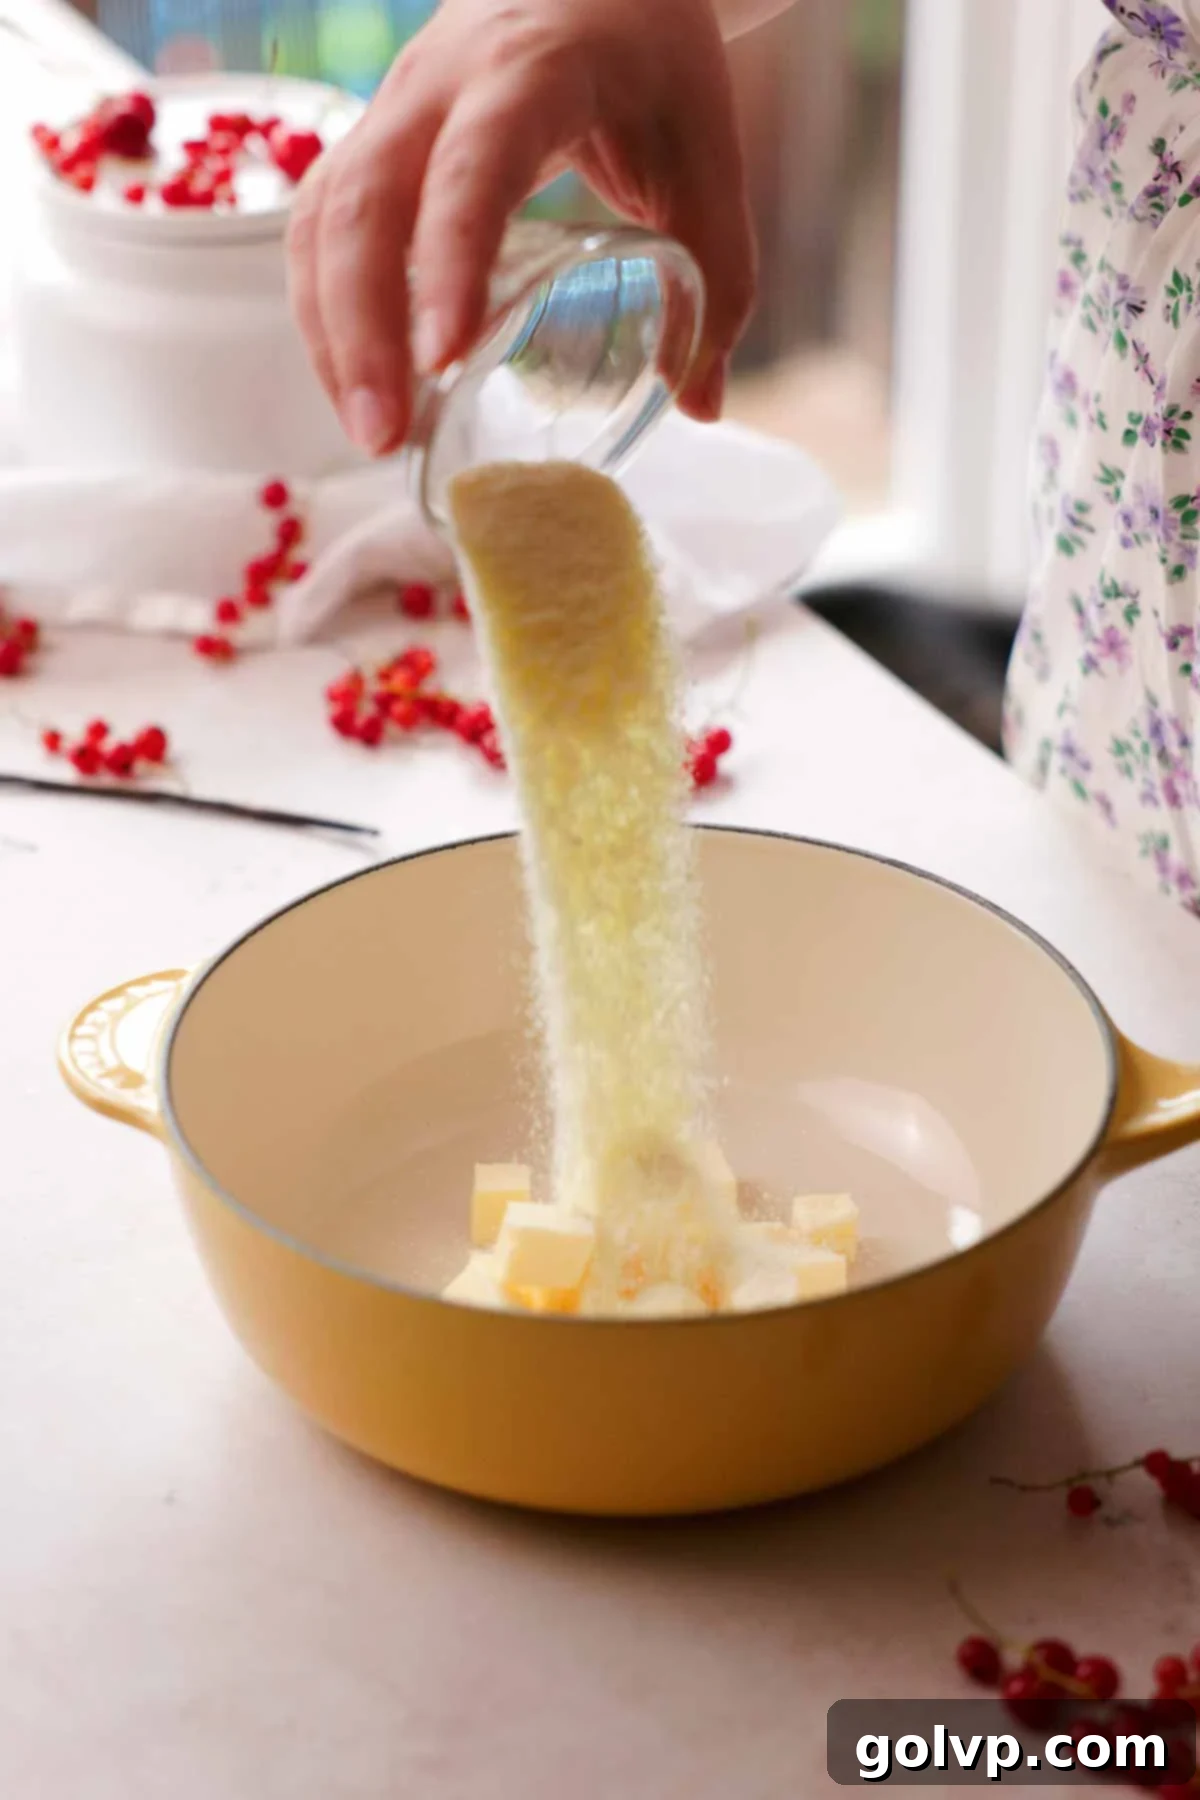
Step 1: To create the rich brown butter, combine the cubed butter and the optional (but highly recommended) milk powder in a small saucepan. Heat this mixture over medium-low heat. The butter will first melt, then begin to simmer and foam on the surface. Stir continuously during this phase to prevent the milk solids from burning at the bottom of the pan. As the mixture cooks, the white specks will gradually turn a beautiful golden-brown color, indicating the development of that signature nutty, caramelized flavor. It will foam up again when it’s ready, signaling peak flavor development. Immediately remove the browned butter from the heat to stop the cooking process and prevent it from burning.
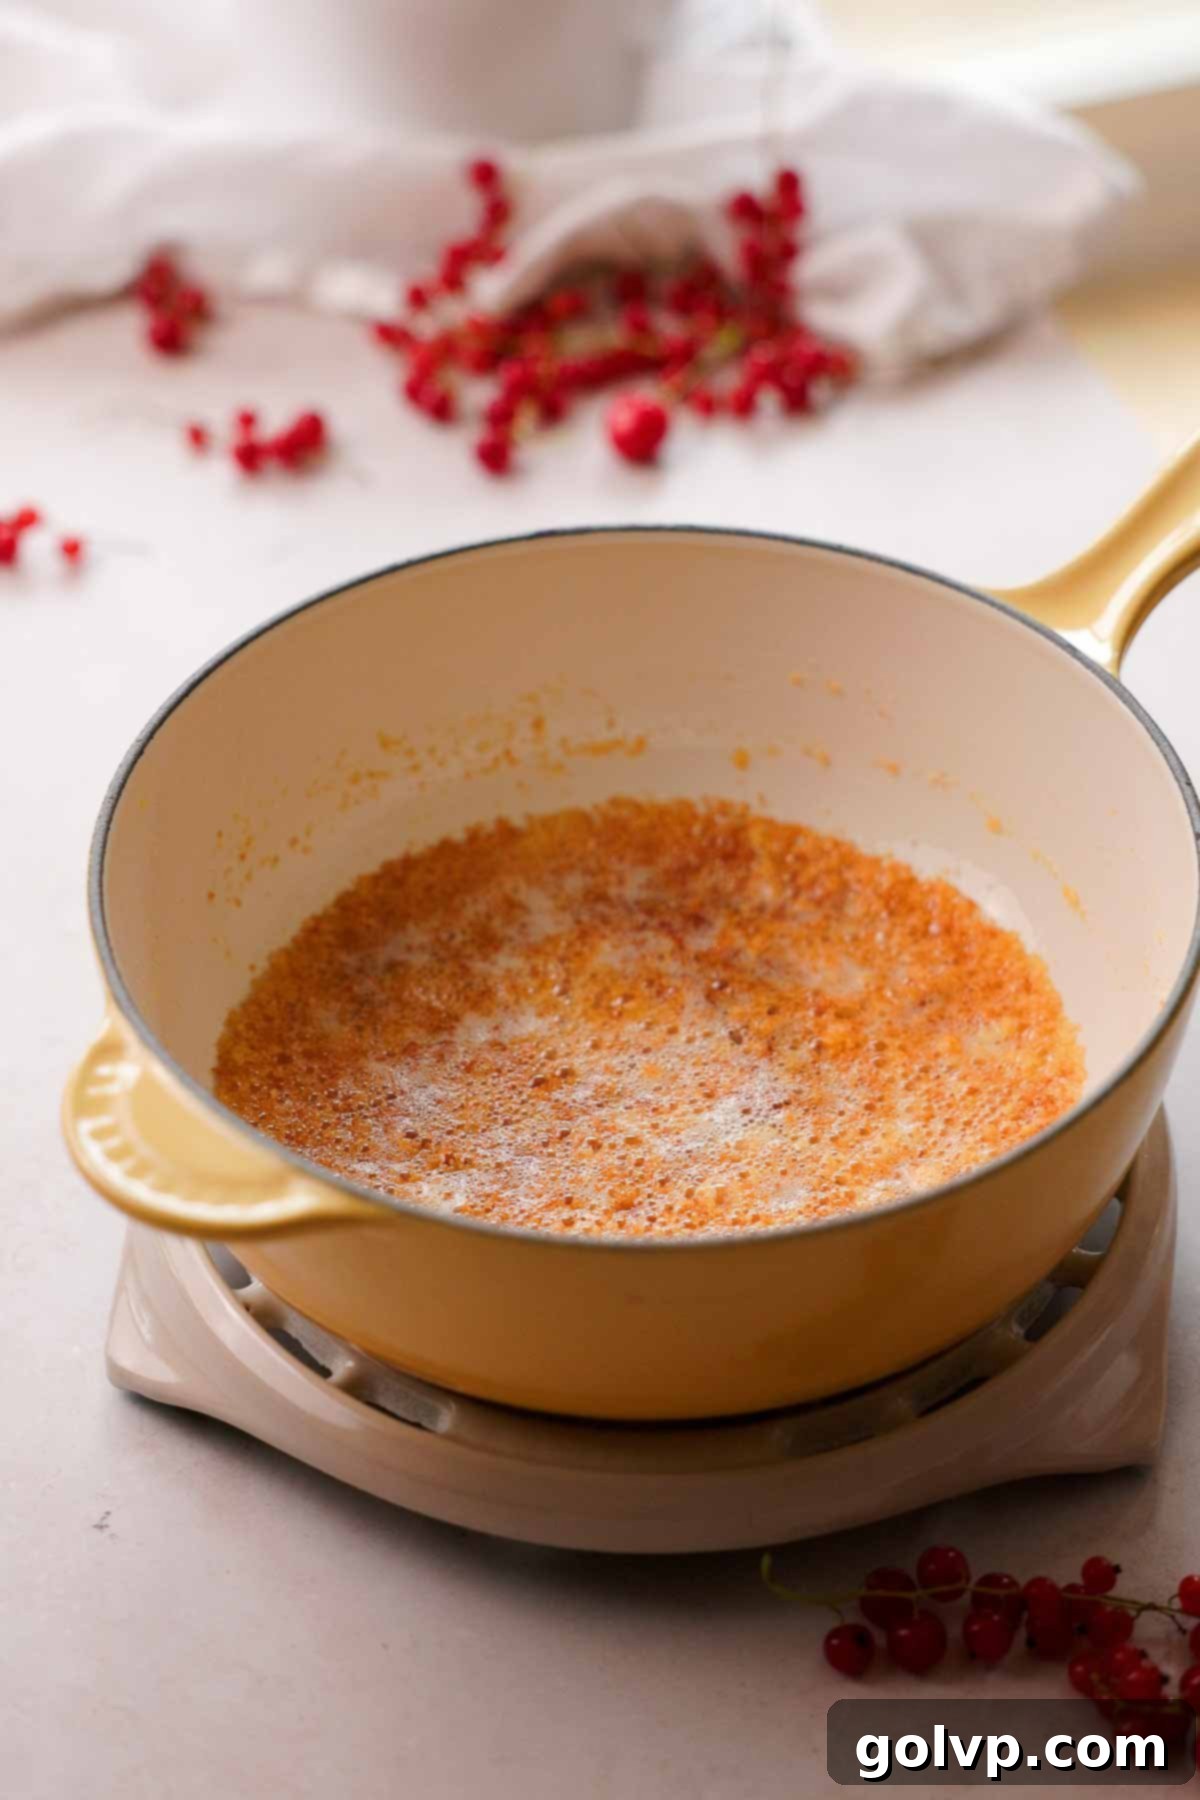
Step 2: Immediately after removing the brown butter from the heat, carefully cut your vanilla bean in half lengthwise using a sharp knife. Scrape out the aromatic vanilla seeds with the back of the knife and add both the vanilla bean pod and seeds into the warm browned butter. Stir gently to ensure they are well coated and allow the vanilla to infuse. Let the butter mixture cool down until it is slightly warmer than room temperature – it should still be liquid but no longer hot, to avoid deflating your whipped cream later.
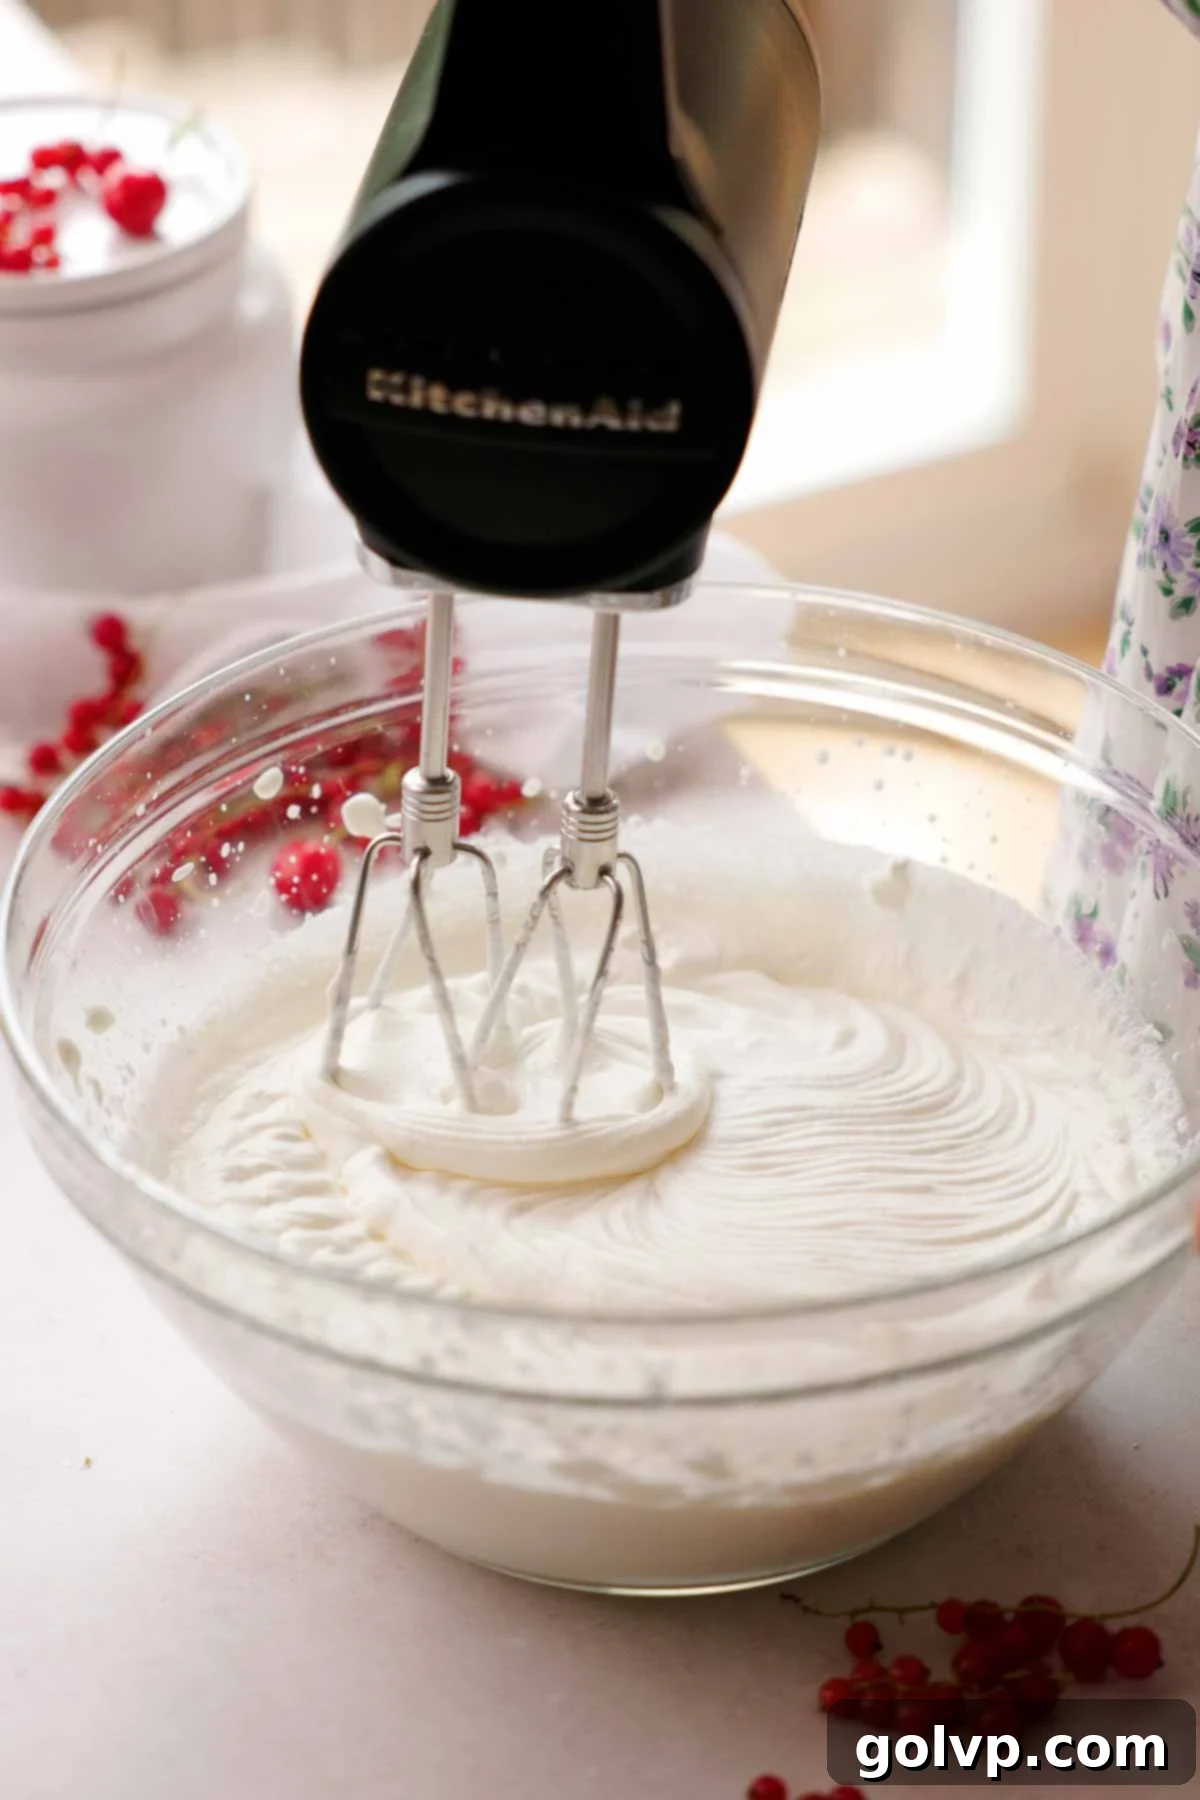
Step 3: In a well-chilled bowl (this helps the cream whip faster and hold its shape better) or a stand mixer fitted with a whisk attachment, whip your cold heavy cream until it forms stiff peaks. Stiff peaks mean that when you lift the whisk, the cream holds its shape firmly and doesn’t droop. Exercise caution here: it’s crucial not to overwhip the cream, as this can result in a grainy texture, which will negatively impact the smoothness of your finished ice cream.
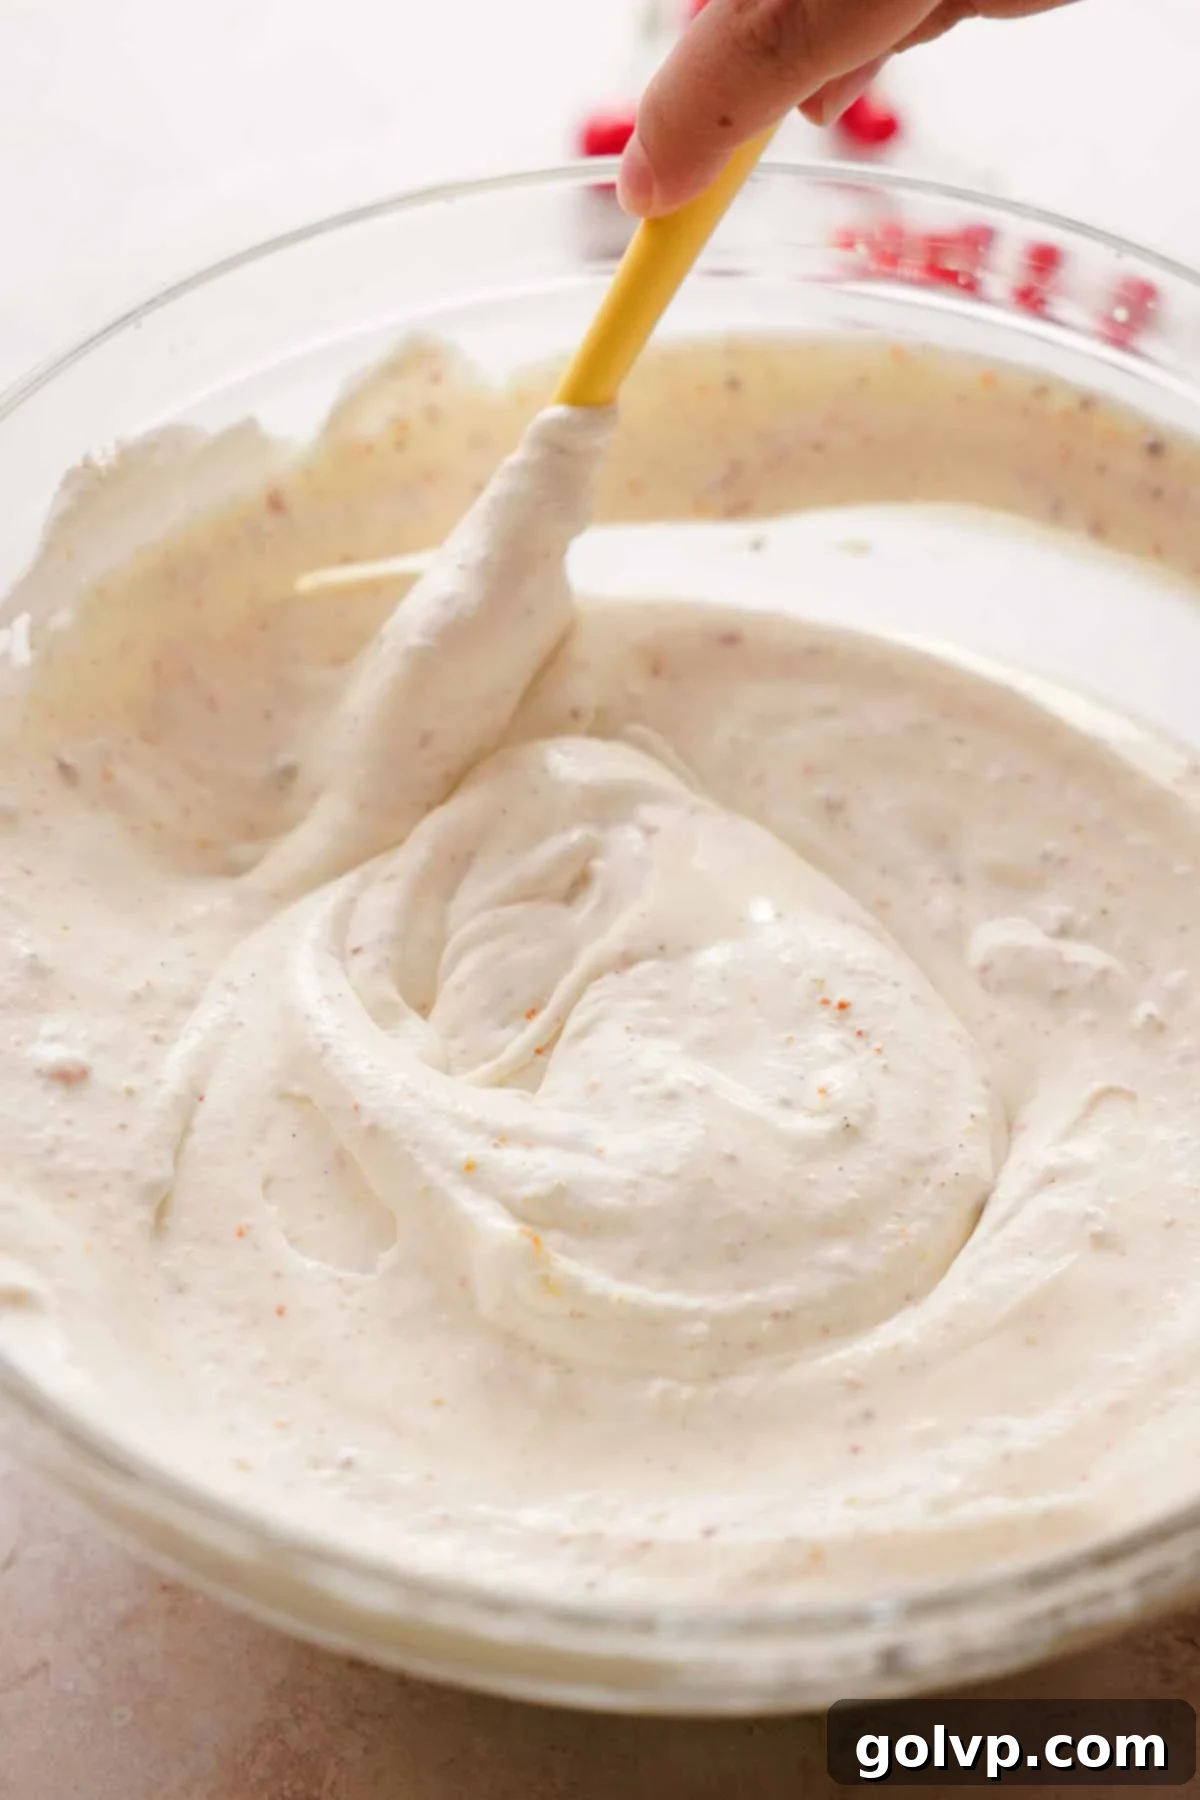
Step 4: Gently fold the sweetened condensed milk and a pinch of sea salt into your whipped cream. Next, retrieve your brown butter mixture. Remove the vanilla bean pods, scraping any remaining vanilla seeds back into the butter, and discard the empty pods. Pour the cooled brown butter into the whipped cream mixture. Using a spatula, carefully fold all the ingredients together until just combined. Be gentle to maintain the volume of the whipped cream, ensuring your ice cream remains light and airy.
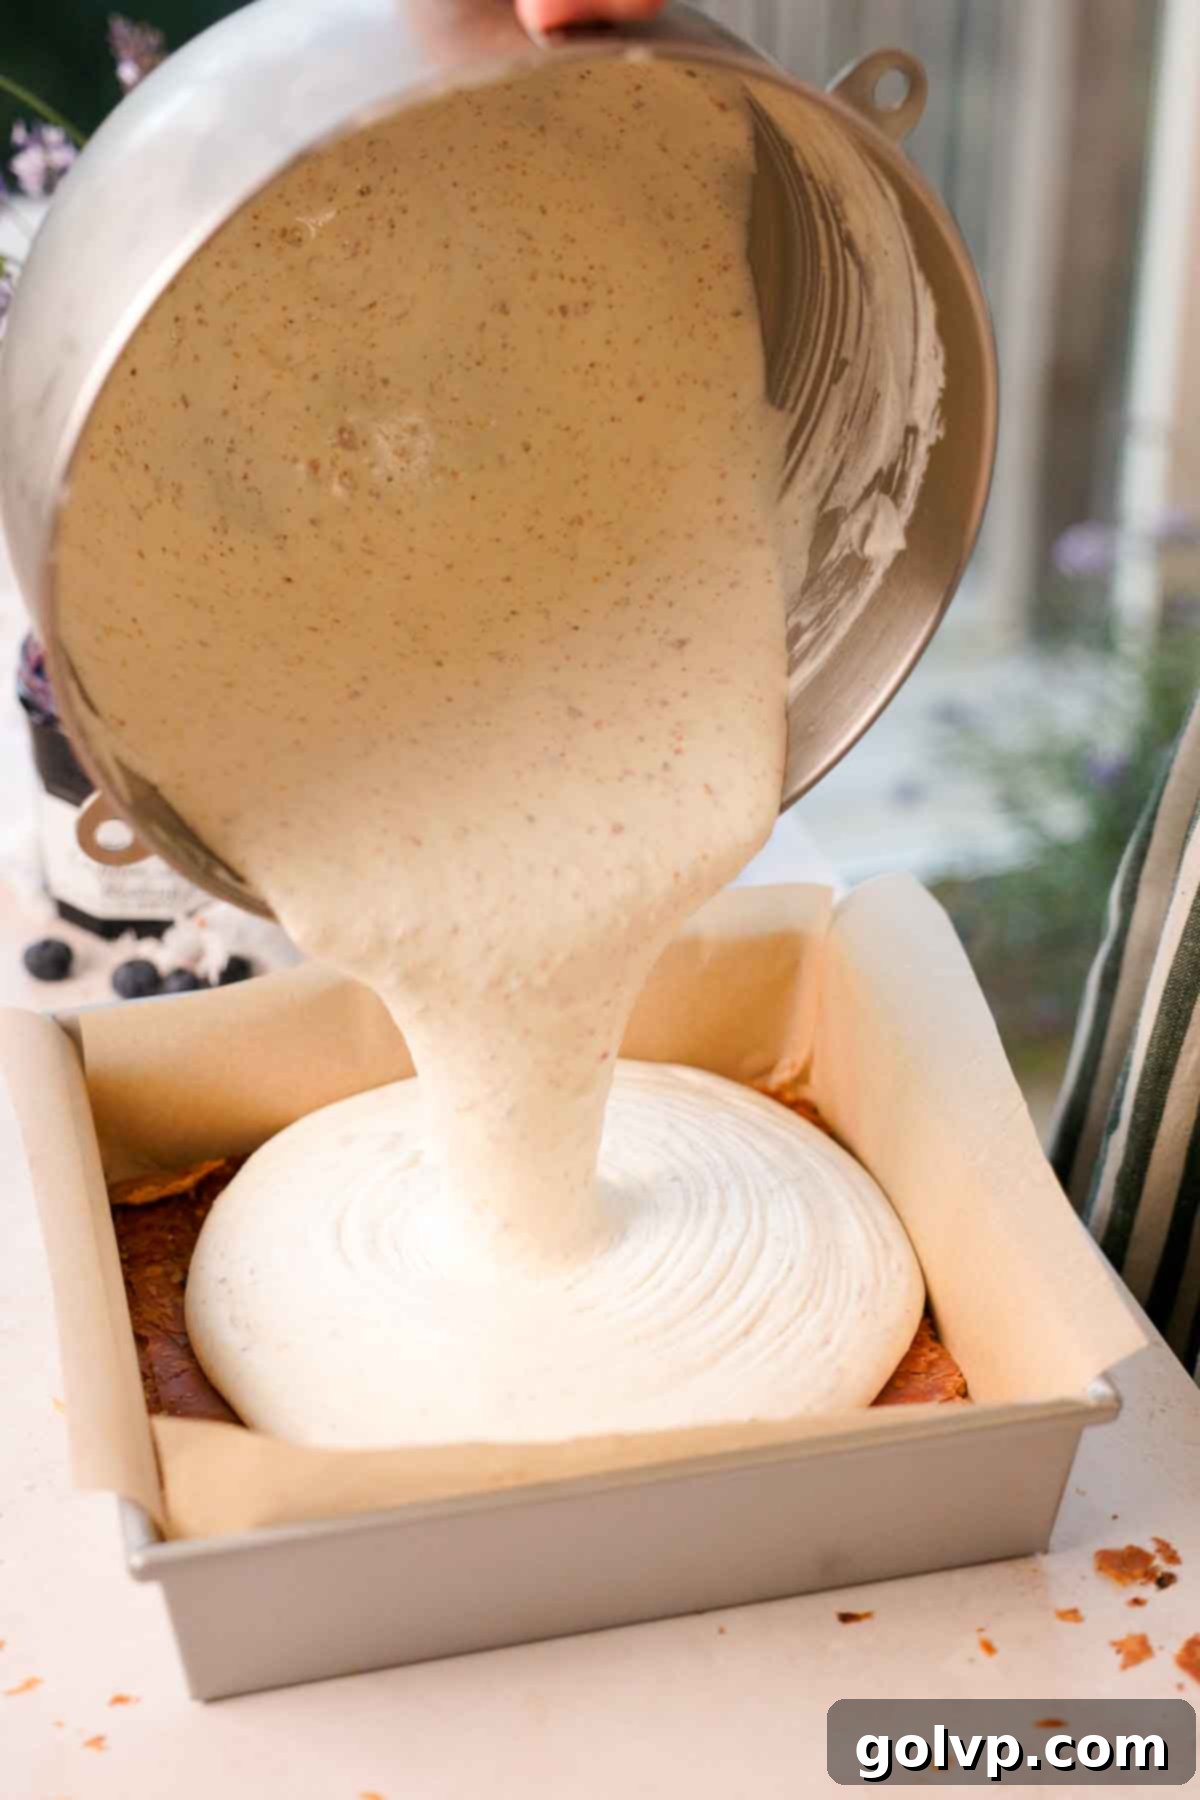
Step 5: Carefully transfer the rich brown butter ice cream mixture into the prepared baking pan, directly over the bottom puff pastry layer. Spread the ice cream evenly across the pastry, creating a smooth, uniform layer. Then, dollop spoonfuls of your wild blueberry jam (or jam of choice) strategically over the ice cream surface. Using a knife or a small spatula, gently swirl the jam into the ice cream, creating beautiful ribbons of berry goodness without fully mixing it in.
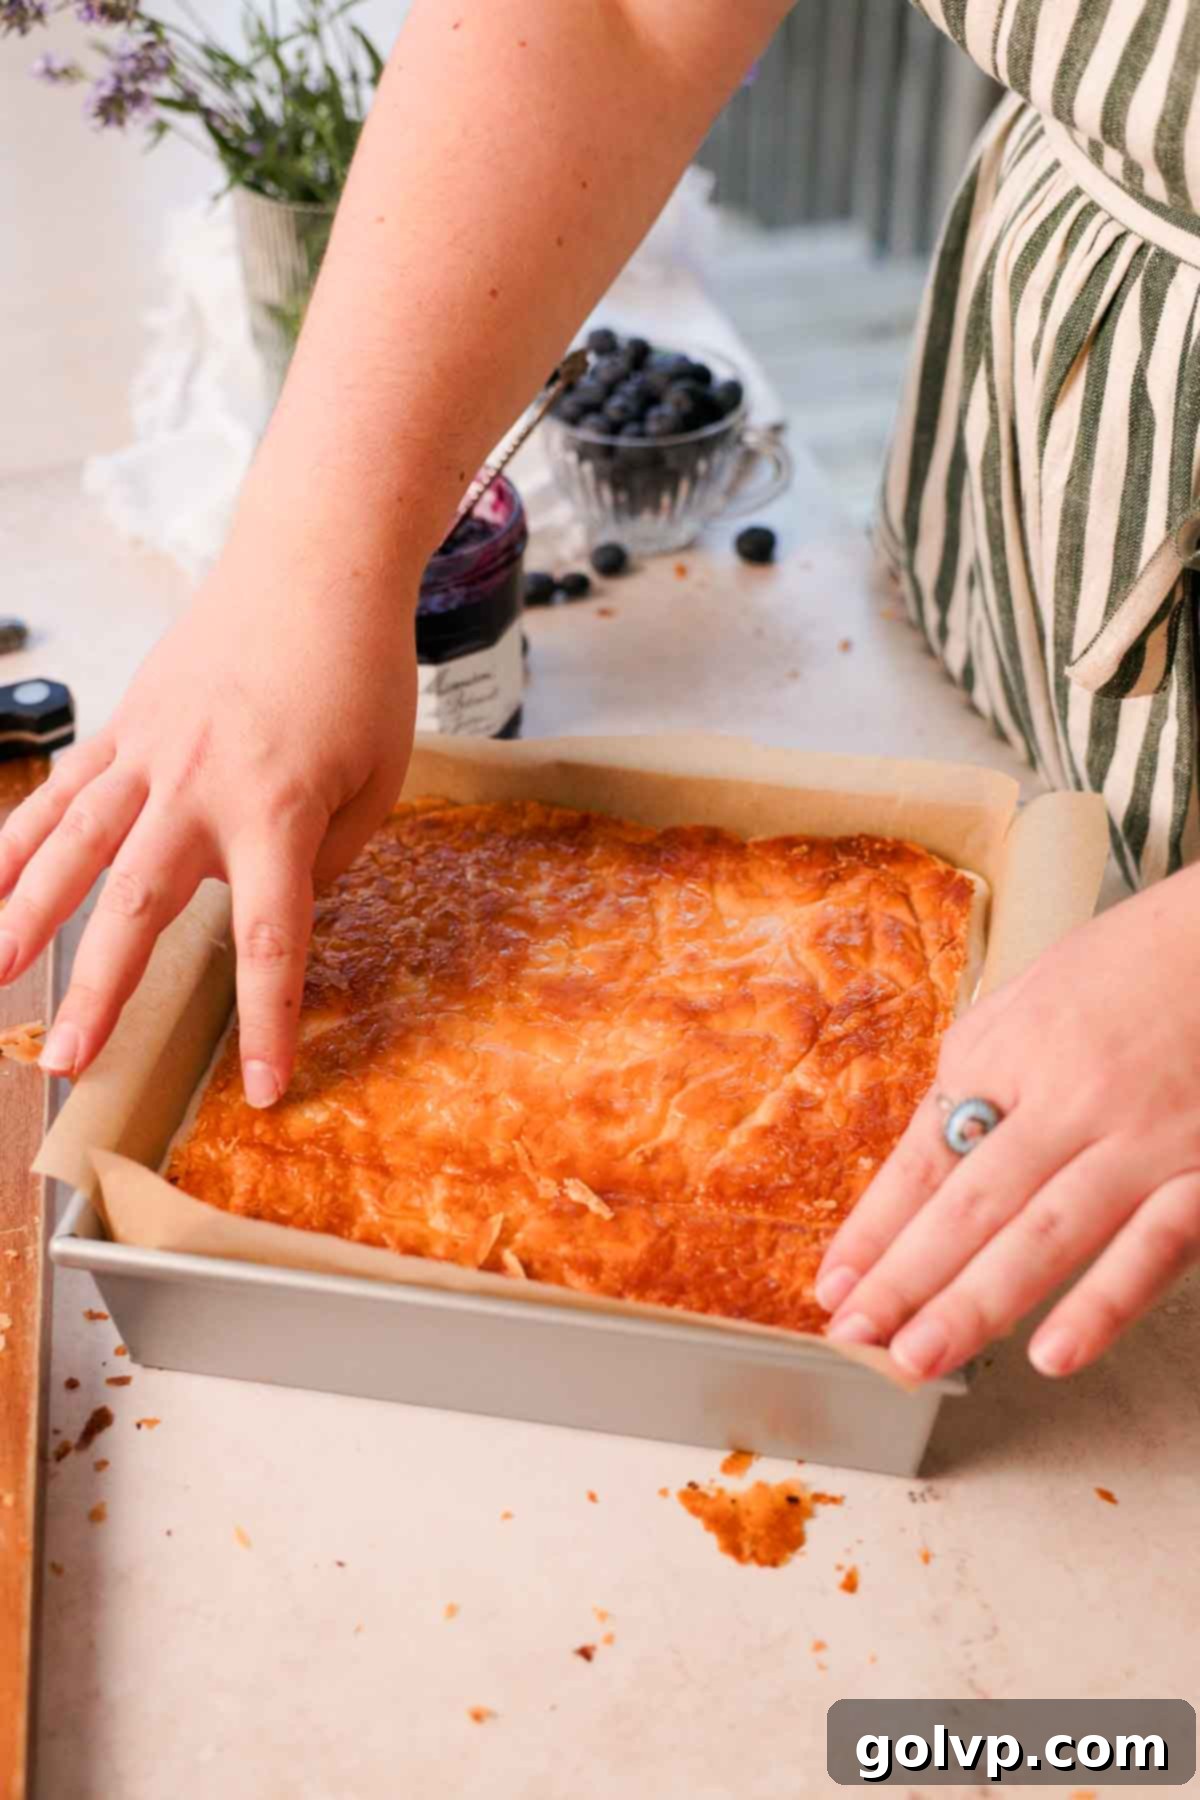
Step 6: The final touch for assembly! Carefully place the second piece of caramelized puff pastry on top of the ice cream layer, pressing down very gently to ensure it makes contact with the ice cream. Cover the top of the pan tightly with plastic wrap or aluminum foil. Transfer the pan to the freezer and allow it to freeze for a minimum of 3-4 hours, or until the ice cream filling is completely firm and set. Adequate freezing time is essential for easy slicing and perfectly structured sandwiches.
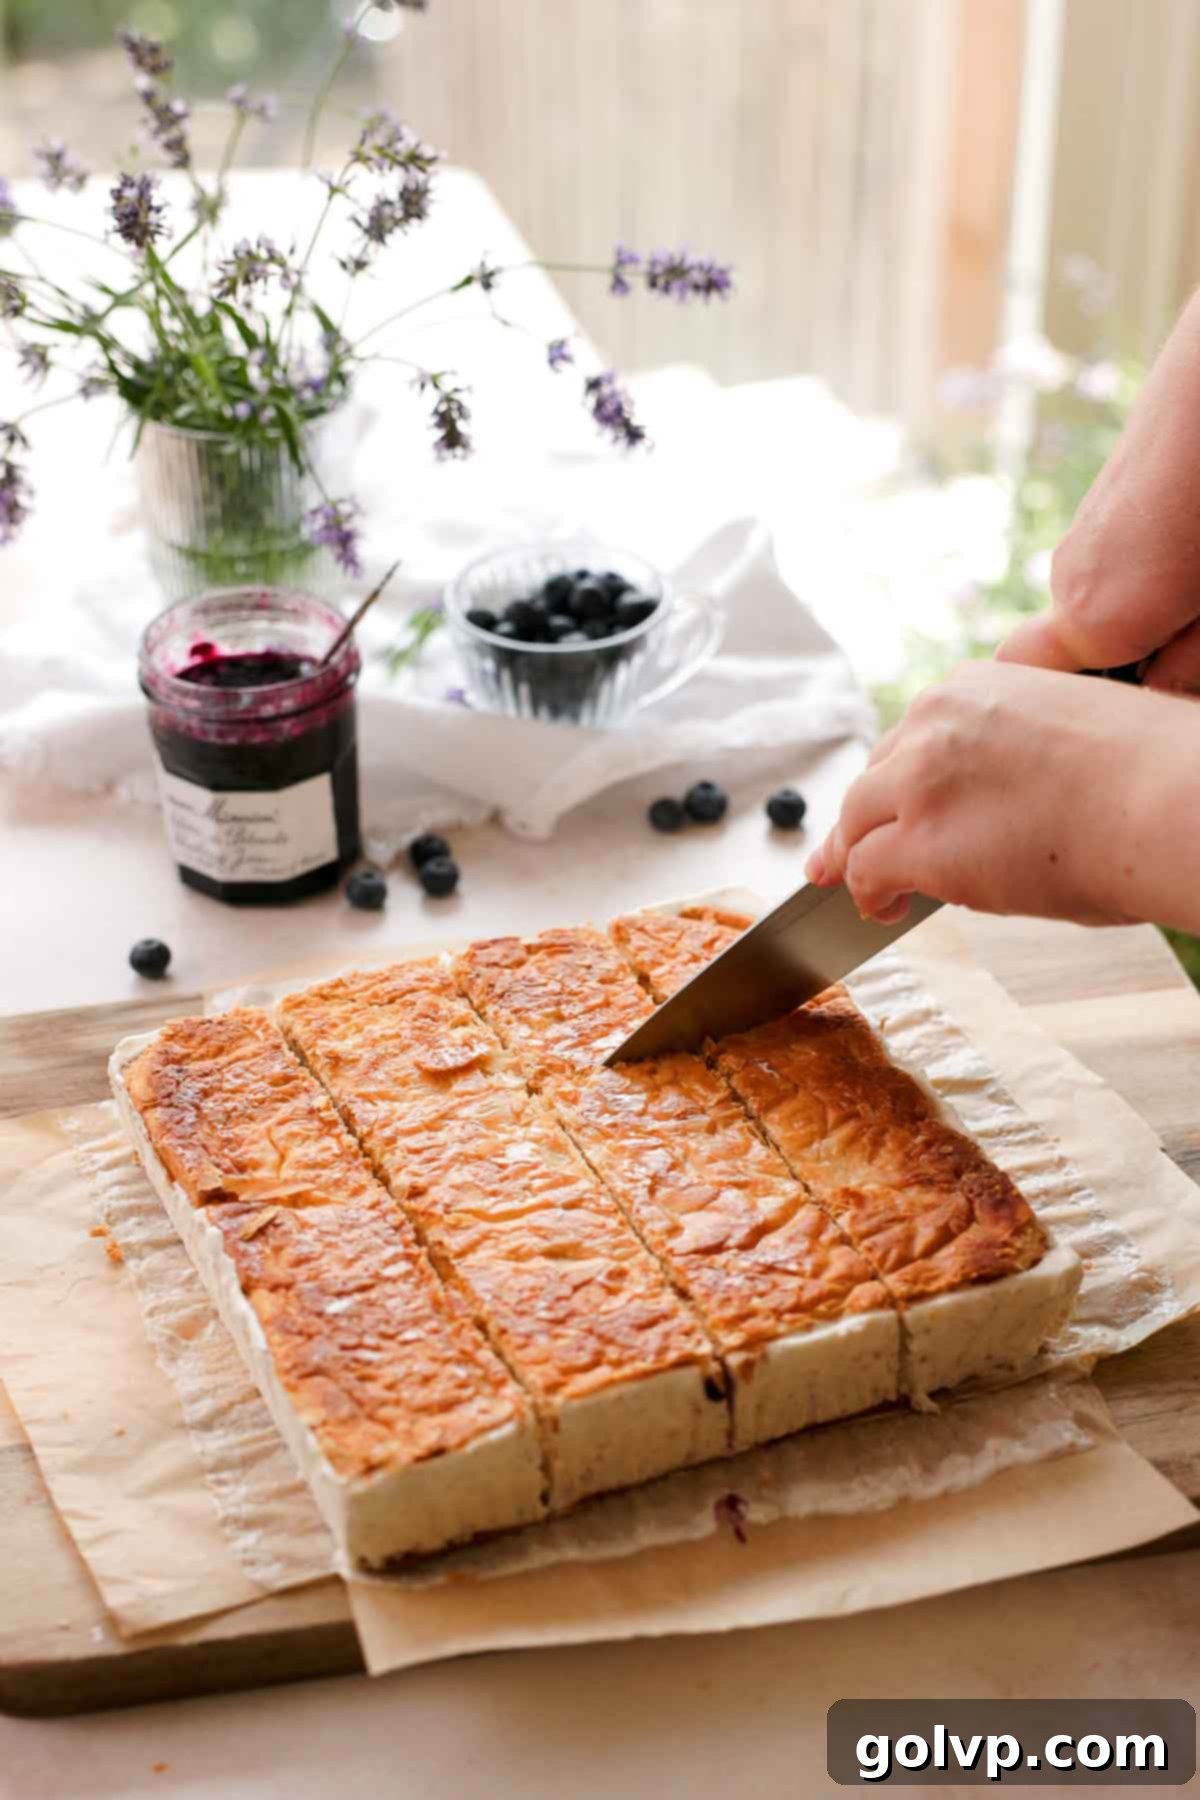
Step 7: Once the ice cream slab is thoroughly frozen, remove the pan from the freezer. Use the parchment paper handles to carefully lift the entire frozen slab out of the baking pan and place it onto a large, sturdy cutting board. For neat and clean slices, use a very sharp knife and a gentle sawing motion to cut the large slab into 6 equally sized ice cream sandwiches. For best results, clean your knife with warm water between cuts to prevent sticking and ensure a smooth finish.
Serve these delectable sandwiches immediately while they are still perfectly frozen. For convenient storage, you can wrap each individual sandwich tightly in wax paper or parchment paper. Then, transfer the wrapped sandwiches to an airtight bag or container and store them in the freezer. This method keeps them fresh and prevents freezer burn, allowing you to enjoy this gourmet treat whenever a craving strikes!
✔️ Expert Tips for Perfect Homemade Ice Cream Sandwiches
- Press the Puff Pastry with a Second Baking Sheet: This seemingly simple step is absolutely critical for achieving the ideal puff pastry base. Placing another baking sheet on top of the pastry as it bakes prevents it from puffing up too much, which can make it fragile and difficult to work with. Instead, it creates a denser, incredibly flaky, and sturdy base that can perfectly support the creamy ice cream filling without crumbling, giving you that delightful crunch every time.
- Allow the Puff Pastry to Brown Thoroughly: Resist the urge to pull the pastry out of the oven too early. You want it to reach a deep golden-brown hue. This color indicates that the sugars on the pastry have caramelized, and the butter within the layers has toasted, developing a complex, slightly nutty, and intensely flavorful profile. This caramelization is what gives the pastry its ultimate crispness, allowing it to shatter beautifully in your mouth – a key textural component of these gourmet sandwiches.
- Be Mindful Not to Overwhip the Heavy Cream: When whipping the heavy cream for your no-churn ice cream, stop as soon as it reaches stiff peaks. Overwhipping the cream past this stage will cause it to separate and become grainy, similar to how butter begins to form. A grainy cream will result in an ice cream filling that lacks the desired smooth, luxurious, and perfectly creamy texture. Pay close attention and whip just until the cream holds its shape firmly.
- Cool Brown Butter Properly: Ensure your brown butter mixture cools sufficiently before folding it into the whipped cream. If the brown butter is too hot, it will melt the delicate whipped cream, deflating its volume and resulting in a less airy, denser ice cream. Aim for it to be slightly warmer than room temperature, still liquid but not hot to the touch.
- Use a Serrated Knife for Slicing: After freezing, the ice cream sandwiches will be firm. A large serrated knife (like a bread knife) is your best tool for cutting them into individual portions. The sawing motion of a serrated blade will cut cleanly through both the crisp pastry and the frozen ice cream, preventing squishing and ensuring neat, attractive slices.
🥄 Make Ahead and Storage
These homemade puff pastry ice cream sandwiches are an ideal dessert for making ahead, as they are designed to be served frozen. This makes them perfect for entertaining or enjoying as a convenient treat whenever you desire. To store them effectively, wrap each individual ice cream sandwich tightly in either parchment paper or wax paper. I personally prefer wax paper for wrapping ice cream sandwiches because its slightly more pliable nature makes it easier to fold neatly and helps it maintain its shape around the sandwich, providing better protection. Once wrapped, place the individual sandwiches in an airtight freezer-safe bag or container. This extra layer of protection prevents freezer burn and keeps them tasting fresh for up to 2-3 weeks in the freezer, ensuring you always have a gourmet dessert ready to enjoy.
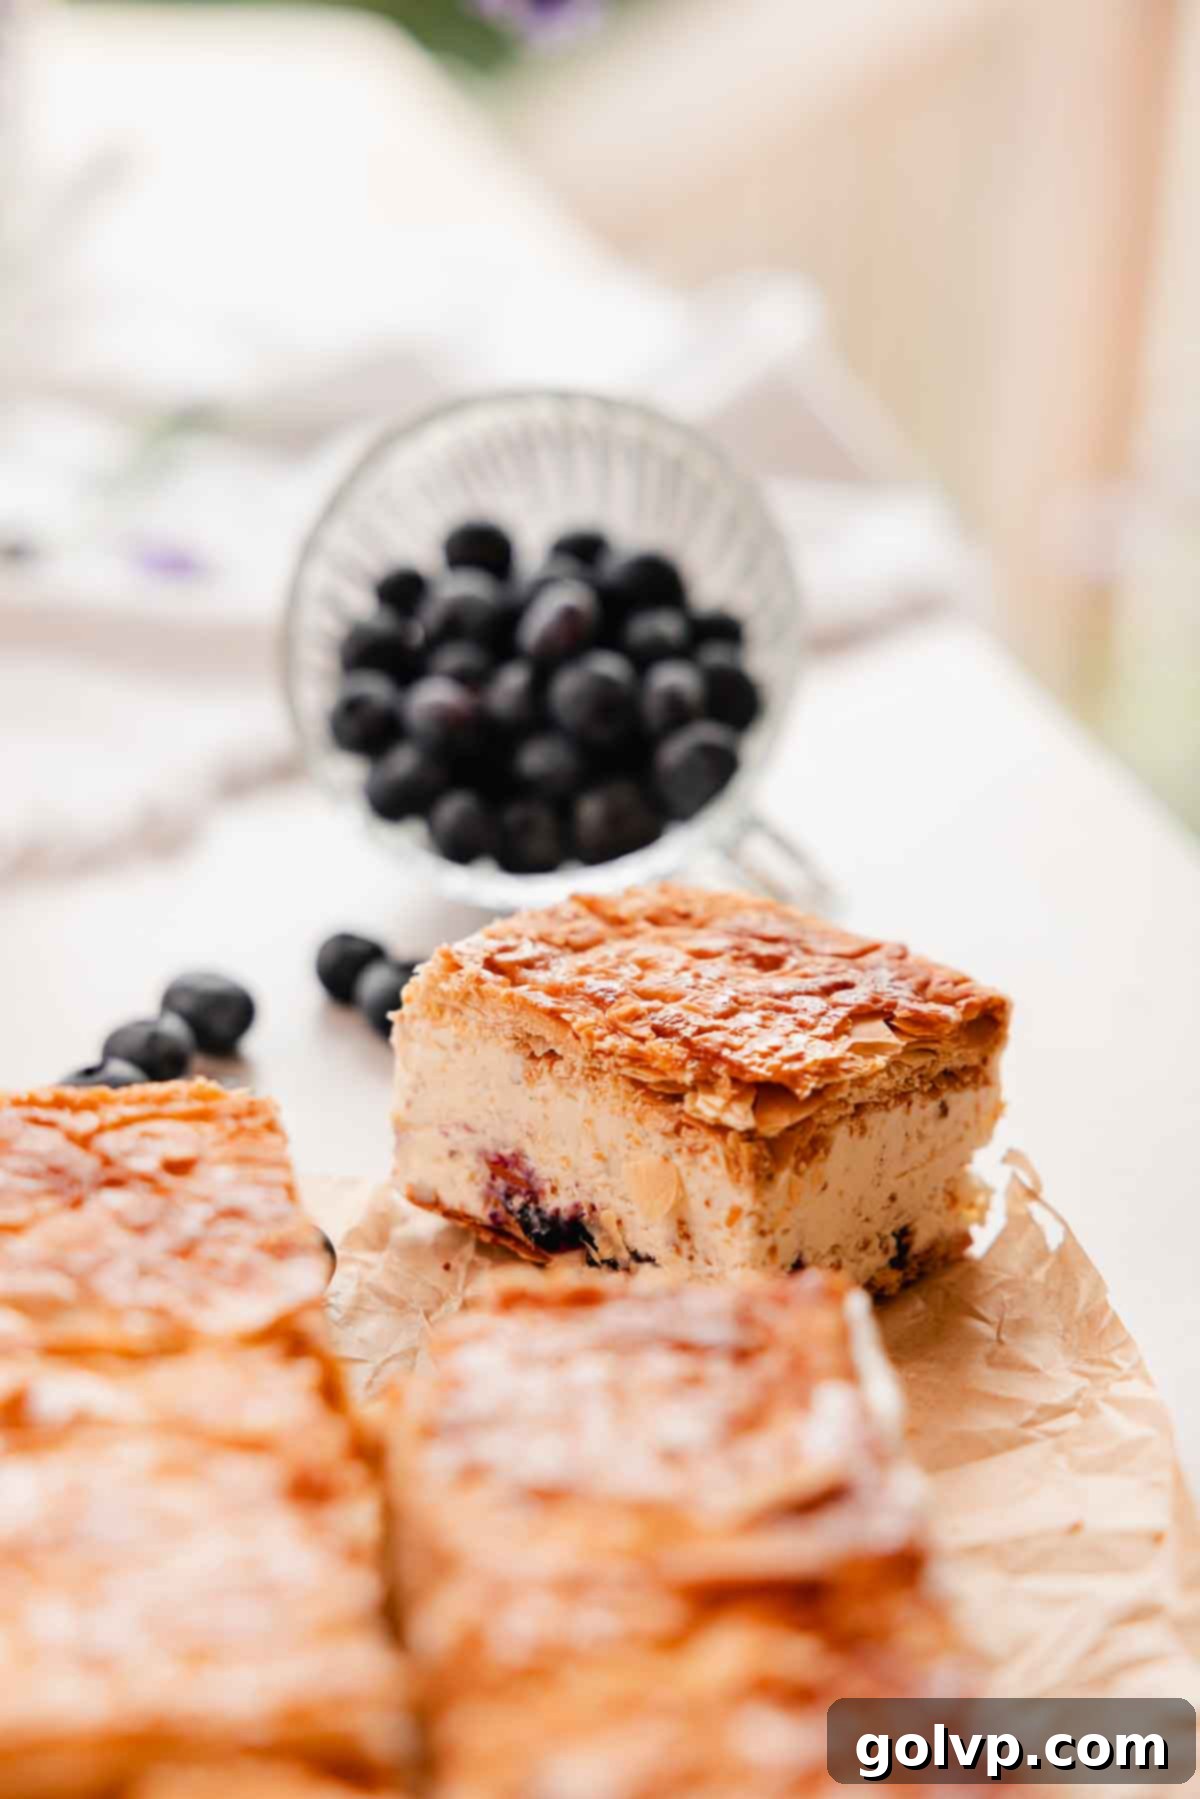
❔ Why You Absolutely Must Make These Homemade Ice Cream Sandwiches
I can personally attest to the universal appeal of these homemade ice cream sandwiches. I’ve brought them to numerous family gatherings and friendly get-togethers, and without fail, they have been an absolute sensation every single time! Guests are consistently amazed by their unique combination of textures and their incredibly rich, nuanced flavors. Many have commented on how distinctive and gourmet they taste, a testament to the special blend of crisp pastry and creamy brown butter ice cream. And the best part? Despite their sophisticated appearance and taste, they are surprisingly easy to create, especially when you leverage the convenience of pre-made puff pastry sheets.
The addition of the wild blueberry swirl is more than just an easy touch; it’s a delicious stroke of genius. The bright, tangy sweetness of the blueberries provides a beautiful counterpoint to the deep, caramelized notes of the brown butter, creating a harmonious flavor balance that makes these sandwiches truly addictive. If you are a fan of elegant puff pastry desserts, particularly the layered perfection of a Napoleon or millefeuille, then you are guaranteed to fall head over heels for these ice cream sandwiches. They offer all the beloved elements of those classic pastries – the flakiness, the richness, the delightful crunch – but with the added refreshing joy of a homemade frozen treat. Prepare to impress everyone and indulge in a dessert that is both innovative and deeply satisfying.
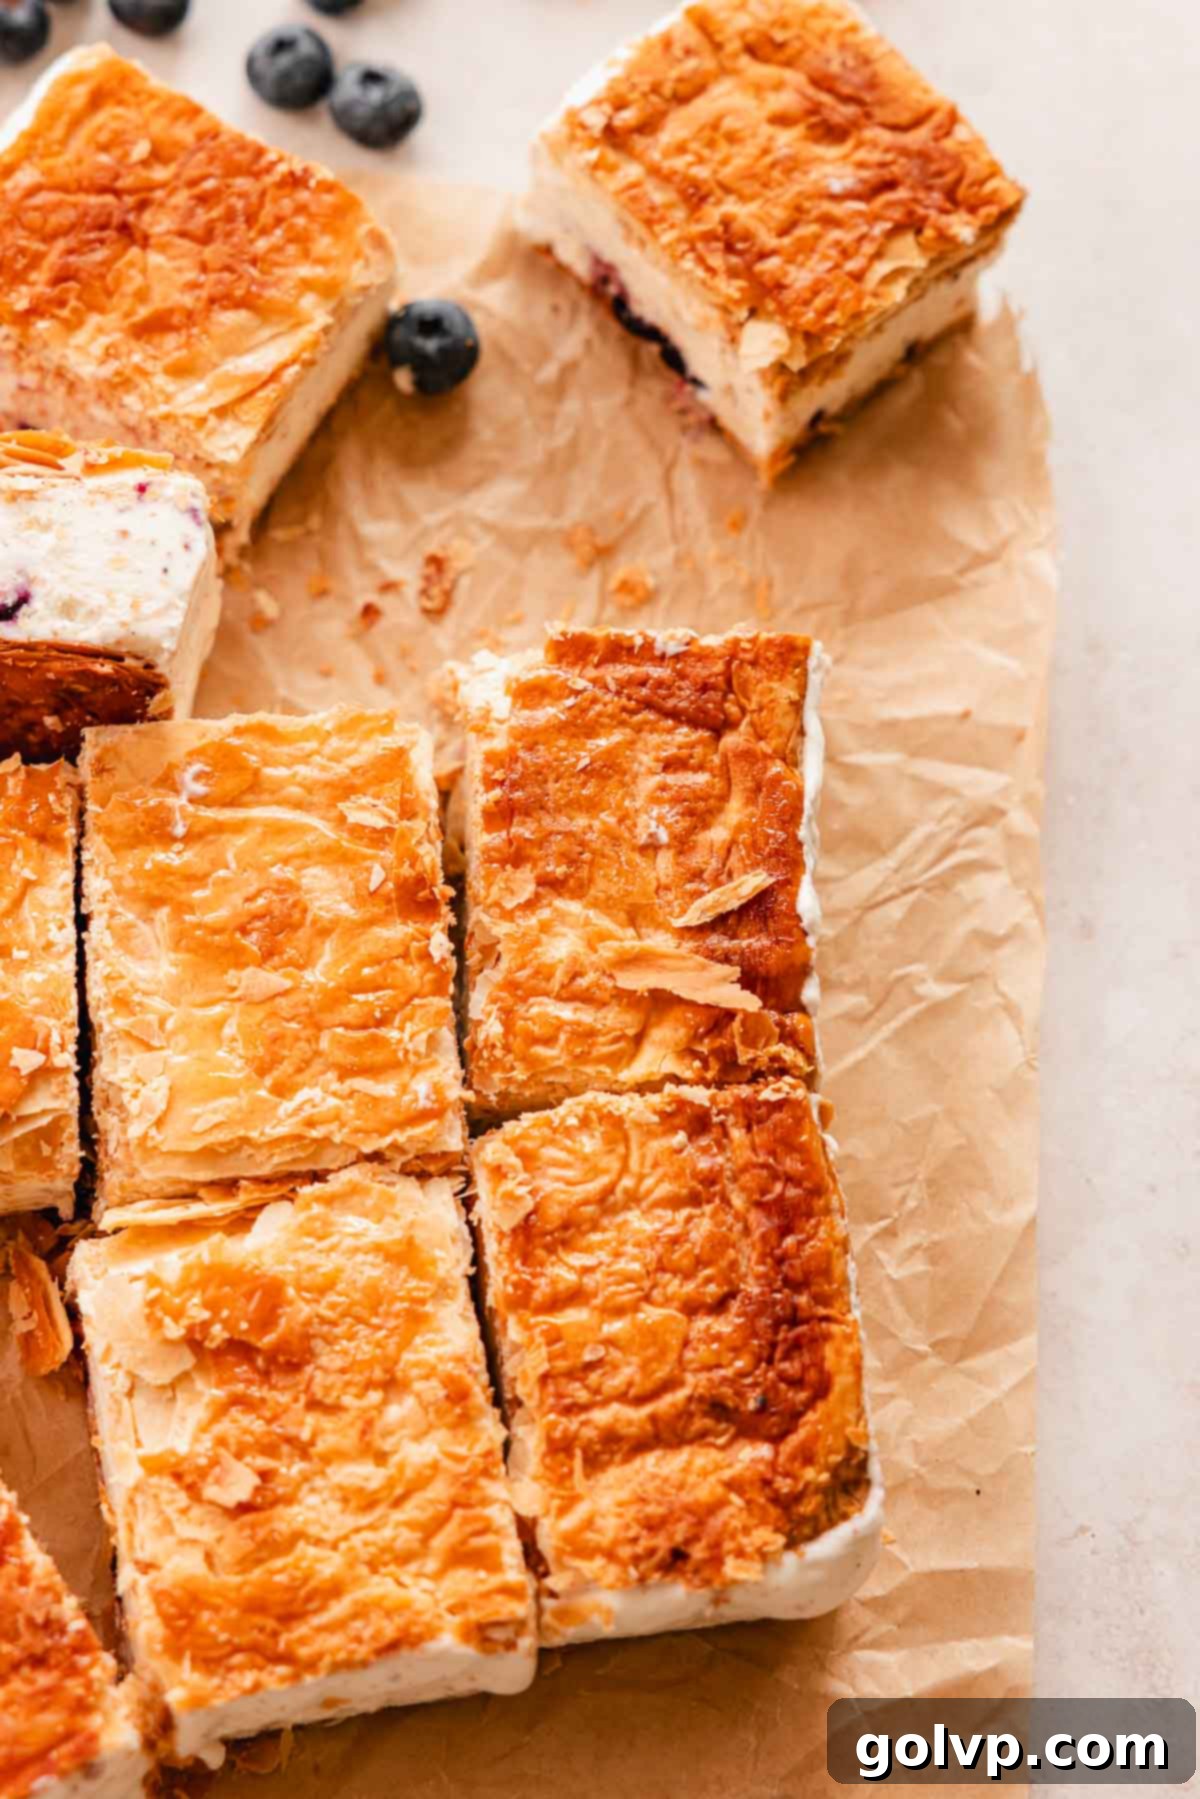
📖 Recipe FAQs
It is strongly advised against substituting evaporated milk for sweetened condensed milk in this no-churn ice cream recipe. Although their cans might appear similar, these are two entirely different dairy products. Sweetened condensed milk is uniquely thick and heavily sweetened, which is precisely what allows it to create a rich, smooth, and sweet ice cream without the need for an ice cream machine. It contains the sugar and consistency required to prevent ice crystals from forming. Evaporated milk, on the other hand, is unsweetened and much thinner, and will not yield the correct texture or sweetness for a successful no-churn ice cream.
I do not recommend using phyllo pastry as a substitute for puff pastry in these ice cream sandwiches. Phyllo is notoriously delicate and flakes apart even more easily than puff pastry, particularly when frozen and bitten into. This inherent fragility means your ice cream sandwich would be much more prone to falling apart in your hand, making it a messy and less enjoyable experience. The sturdier, yet still flaky, layers of caramelized puff pastry are essential for holding the sandwich together while providing that satisfying crunch.
Absolutely, you have full flexibility here! You can certainly choose to omit the wild blueberry jam altogether if you prefer a pure brown butter vanilla bean ice cream experience. Alternatively, feel free to experiment with a different fruit jam that you enjoy, such as raspberry, cherry, or apricot. For an even more decadent twist, you could swirl in a fruit curd like lemon or passionfruit curd. The recipe is versatile, and the ice cream sandwiches will be delicious either way, whether with or without the jam, or with a jam of your choice.
Yes, you can make the brown butter ice cream without milk powder. The milk powder is an optional ingredient that enhances the depth of the brown butter flavor by adding more milk solids to caramelize. If you choose to omit it, your brown butter will still be delicious and nutty, though perhaps slightly less intense in flavor. The overall texture and quality of the no-churn ice cream will not be significantly impacted by its absence, so feel free to proceed if you don’t have it on hand.
🍦 More Irresistible Ice Cream Recipes
- Brown Butter Ice Cream
- Funfetti Ice Cream
- Raspberry Cheesecake Ice Cream
- Lavender Ice Cream
Did you indulge in this incredible recipe? I would be thrilled if you could rate this recipe and share your thoughts in the comments below! Don’t forget to showcase your delicious creation on Instagram and tag @flouringkitchen. For more delightful recipe ideas and inspiration, be sure to follow me on Pinterest.
📖 Recipe
Homemade Puff Pastry Ice Cream Sandwiches
Mary
Pin Recipe
Shop Ingredients
Equipment
-
electric mixer
-
parchment paper
-
2 Cookie sheet
Ingredients
Caramelized puff pastry
- 2 sheets butter puff pastry
- 4 tablespoons granulated sugar
Brown butter ice cream
- ¼ cup unsalted butter
- 3 tablespoons dry milk powder skim or whole milk (optional, but highly recommended)
- 1 whole vanilla bean or 1 tablespoon vanilla bean paste
- 2 cups heavy whipping cream cold
- 1 can sweetened condensed milk 300mL, 14oz ¼ teaspoon sea salt
- 4 tablespoons wild blueberry jam or jam of choice (optional)
Shop Ingredients on Jupiter
Instructions
Caramelized puff Pastry
-
Preheat your oven to 375°F (180°C). Lay out your puff pastry sheets. You will need two pieces of pastry. If necessary, use an 8″ or 9″ square pan as a guide to cut out two squares that are roughly 1 inch larger than the pan’s base.2 sheets butter puff pastry
-
Line a baking sheet with parchment paper. Place one or both pastry pieces on it (if they fit). Sprinkle 1 tablespoon of granulated sugar evenly over each side of the pastry. Cover the puff pastry with another piece of parchment paper and then a second baking sheet. If baking in batches, repeat for the second sheet.4 tablespoons granulated sugar
-
Bake the sandwiched puff pastry for 25-30 minutes. Begin checking at 20 minutes and continue every 5 minutes to ensure it doesn’t burn. The goal is a deep golden, caramelized color.
Brown Butter Ice Cream
-
In a small saucepan, brown the butter with milk powder (if using) over medium-low heat. Stir constantly once it melts and begins to foam to prevent burning. Continue stirring occasionally as the white specks turn golden brown. Remove immediately from heat once it foams again and achieves a rich, nutty aroma.¼ cup unsalted butter, 3 tablespoons dry milk powder
-
Halve the vanilla bean lengthwise, scrape out the seeds, and add both the pod and seeds to the warm brown butter. Stir to combine and let the mixture cool until it’s slightly warmer than room temperature, but still liquid.1 whole vanilla bean
-
In a chilled bowl, whip the cold heavy cream to stiff peaks using an electric mixer. Be careful not to overwhip, as this can make the ice cream grainy.2 cups heavy whipping cream
-
Gently fold the sweetened condensed milk and a pinch of sea salt into the whipped cream until just combined.1 can sweetened condensed milk
-
Remove the vanilla pods from the brown butter, scraping any remaining seeds into the butter. Discard the pods. Add the cooled brown butter to the whipped cream mixture and gently fold everything together until well incorporated, taking care not to deflate the cream.
Assembly
-
Once the puff pastry is cooled, use the bottom of an 8″ or 9″ square pan as a guide to trim both pastry sheets into perfect squares. Use a large serrated knife and a sawing motion for clean cuts.
-
Line an 8″ or 9″ square pan with parchment paper, allowing excess to hang over the sides for handles. Place one trimmed puff pastry square firmly in the bottom of the pan.
-
Carefully transfer the brown butter ice cream mixture into the pan, spreading it evenly over the puff pastry. Drop spoonfuls of blueberry jam (if using) onto the ice cream, then swirl it gently with a knife or spatula for a marbled effect.4 tablespoons wild blueberry jam
-
Finally, place the second piece of puff pastry directly on top of the ice cream layer, pressing down very lightly.
-
Cover the pan tightly with plastic wrap or foil and freeze for 3-4 hours, or until the ice cream filling is completely solid.
-
Once fully frozen, use the parchment paper handles to lift the entire ice cream slab out of the baking pan.
-
Place the frozen slab onto a large cutting board. Using a very sharp serrated knife and a gentle sawing motion, cut the slab into 6 individual ice cream sandwiches.
-
Serve immediately, or wrap individually in wax paper and store in an airtight bag or container in the freezer for later enjoyment.
Notes
Ice cream sandwiches are perfect for making in advance and storing in the freezer. Wrap each sandwich individually in parchment or wax paper (wax paper is often easier to fold). Then, place the wrapped sandwiches in an airtight freezer bag or container to prevent freezer burn and keep them fresh for up to 2-3 weeks.
Tips for success:
- Place another baking sheet directly over the puff pastry while baking. This essential step prevents the pastry from over-puffing, resulting in a denser, flakier, and sturdier base that won’t crumble under the ice cream.
- Ensure the puff pastry bakes to a deep golden-brown, almost caramelized color. This develops deep flavor and ensures maximum crispness, providing a delightful textural contrast to the creamy filling.
- Do not overwhip the heavy cream. Whip it just until stiff peaks form. Overwhipping will lead to a grainy texture in your finished ice cream, compromising its smooth and luxurious consistency.
