Luscious Raspberry Cheesecake No-Churn Ice Cream: An Effortless Homemade Indulgence
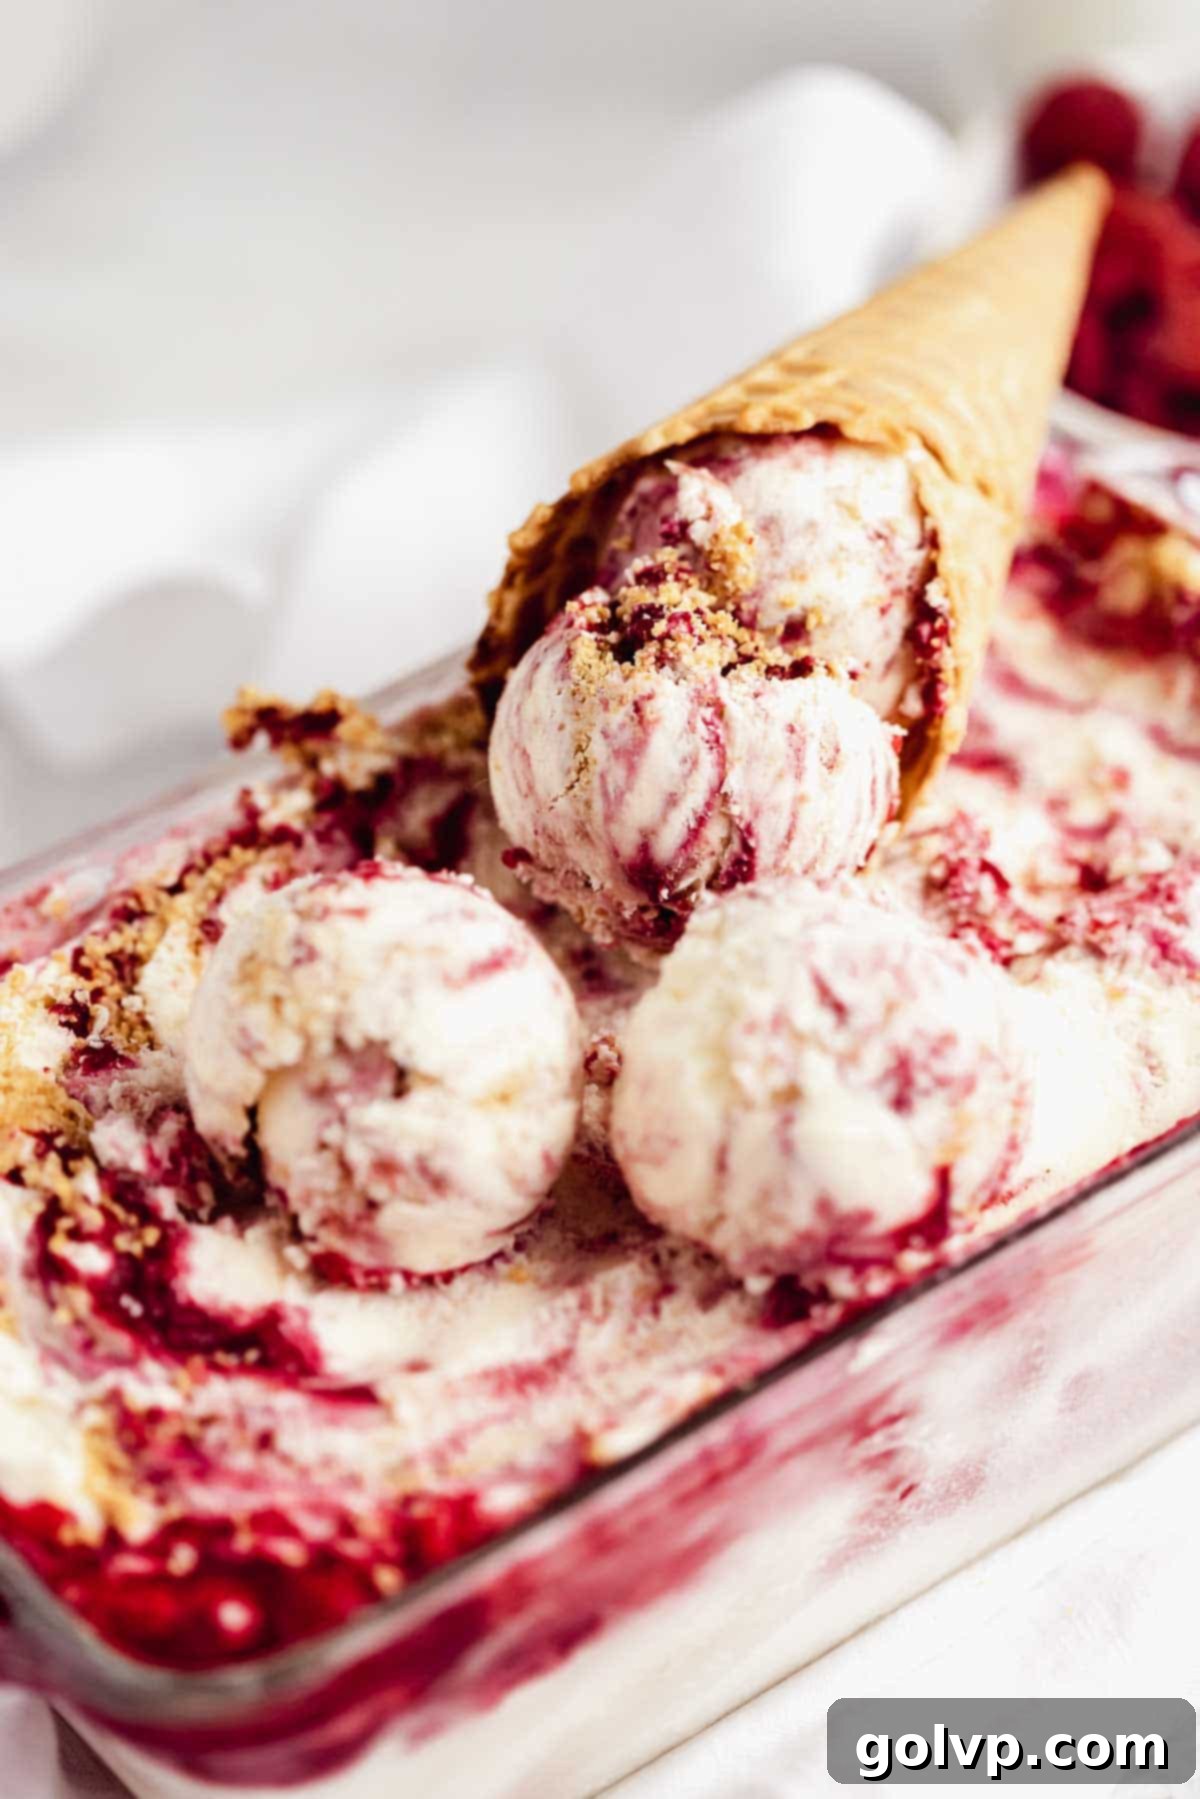
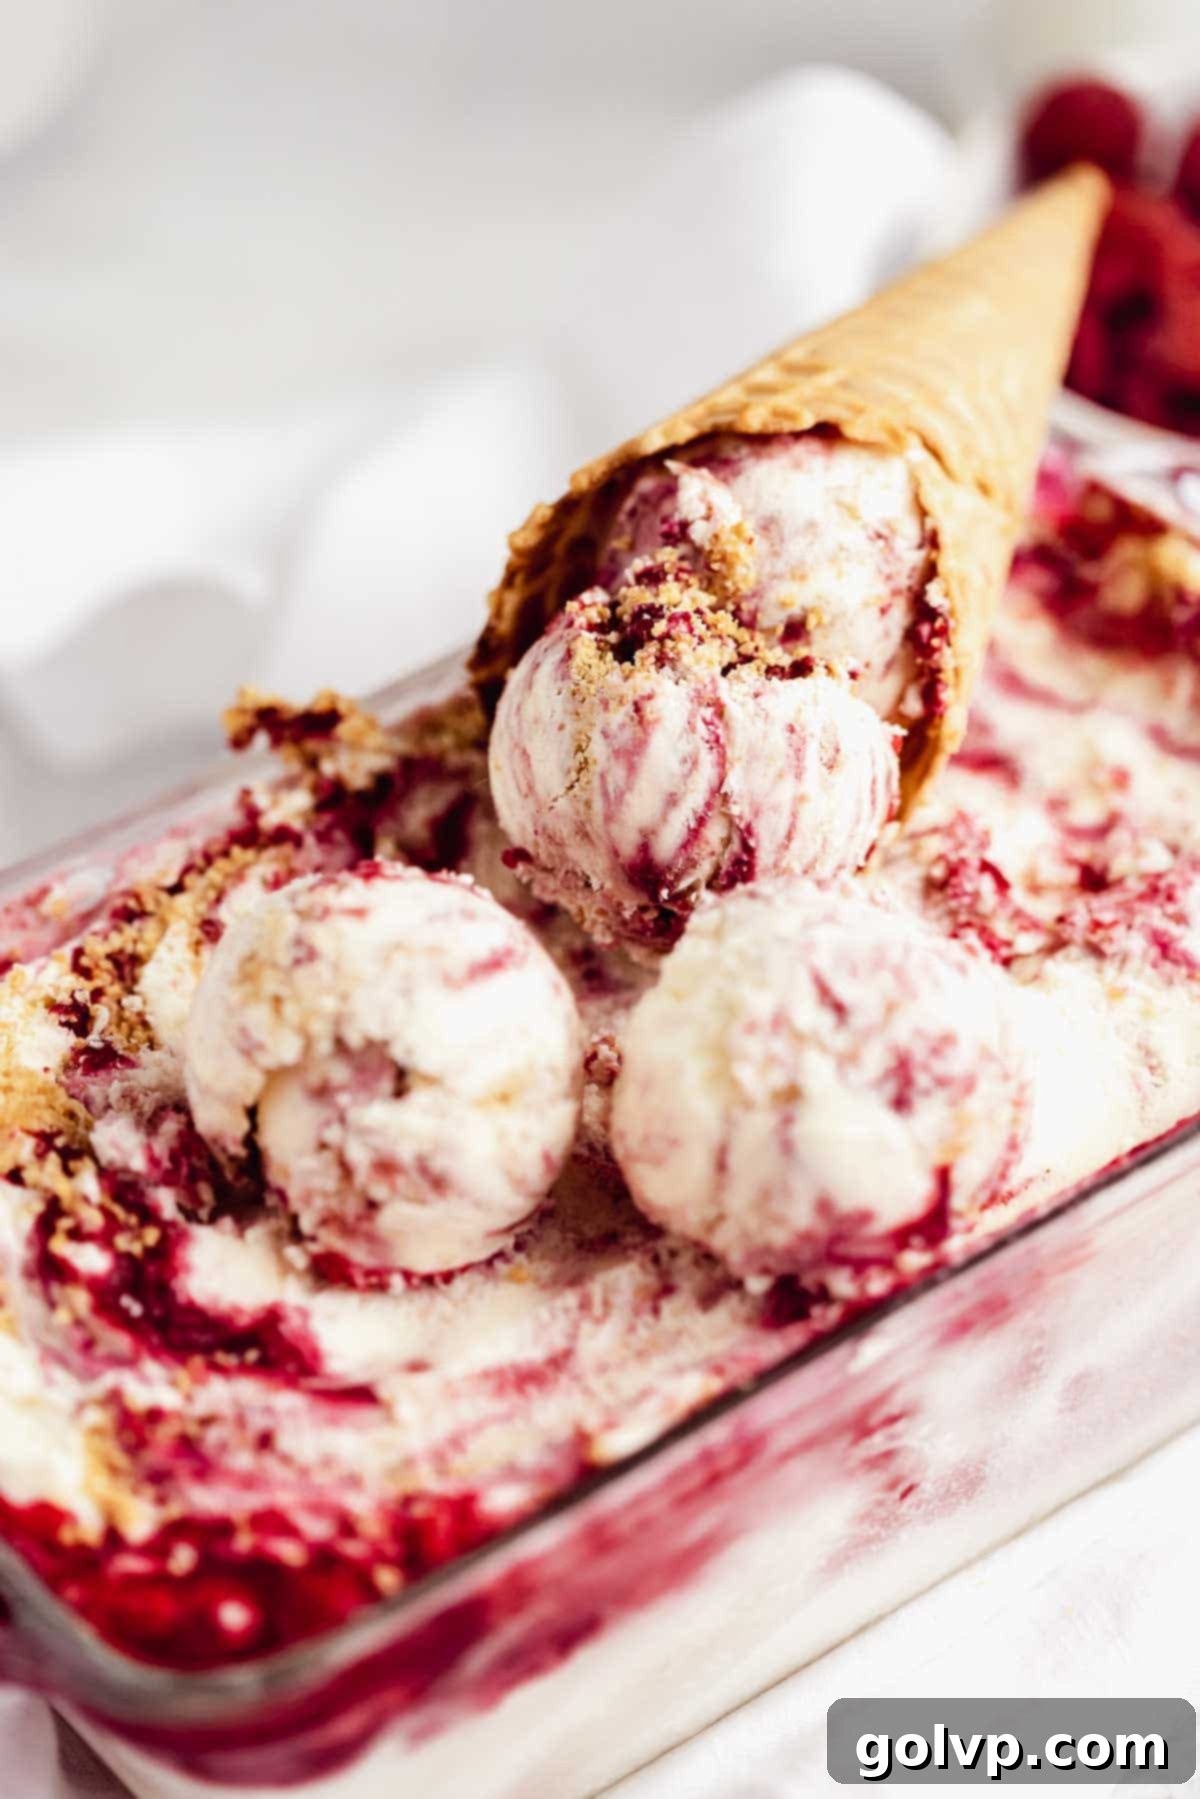
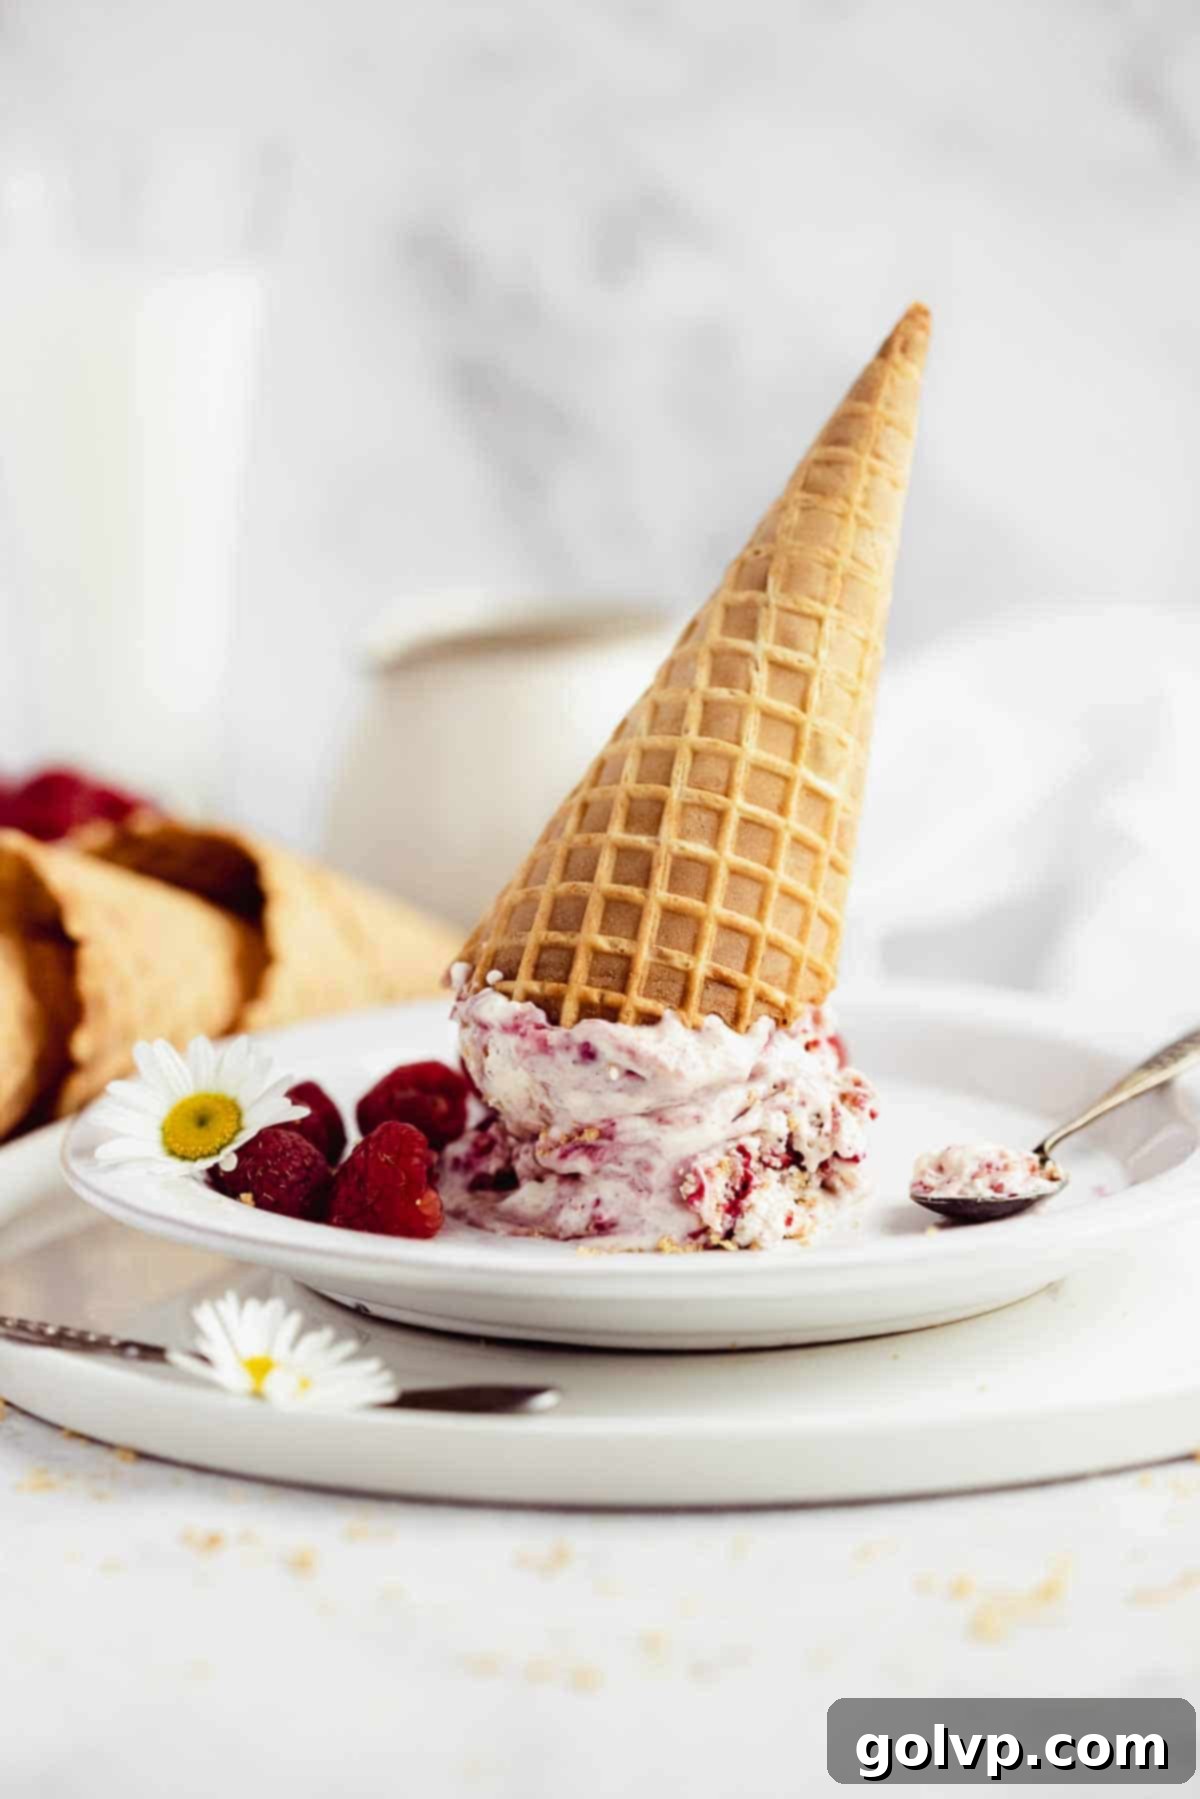
Prepare to be enchanted by this truly spectacular Raspberry Cheesecake No-Churn Ice Cream, a dessert that effortlessly combines the creamy richness of cheesecake with the refreshing delight of homemade ice cream. This easy-to-make, velvety treat is bursting with authentic cheesecake flavor, featuring delightful ribbons of tangy cream cheese, swirls of vibrant homemade raspberry sauce, and crunchy graham cracker crumbs that mimic a perfect cheesecake crust. Every spoonful is a symphony of textures and tastes: rich, thick, and incredibly creamy, yet beautifully balanced and not overly sweet. It’s a dessert that truly celebrates the best of both worlds, offering intense cheesecake goodness without the need for an ice cream maker. Ideal for satisfying your dessert cravings on a warm day or anytime you desire a hassle-free, utterly delicious frozen treat, this recipe promises an unforgettable experience.
🍨 Why You’ll Absolutely LOVE This Raspberry Cheesecake Ice Cream
This isn’t just another ice cream recipe; it’s a culinary triumph designed for maximum flavor and minimal effort. Here’s why this Raspberry Cheesecake No-Churn Ice Cream will become your new favorite:
- Authentic Cheesecake Experience: Indulge in generous swirls of luscious cream cheese filling, expertly blended for that signature tangy, rich cheesecake flavor. These creamy ribbons are perfectly complemented by buttery graham cracker crust crumbles, adding an irresistible textural contrast that truly elevates this ice cream from a simple frozen dessert to a complete cheesecake-inspired masterpiece. You get all the classic notes of a baked cheesecake, but in a refreshing, scoopable form.
- Vibrant Raspberry Swirl: Our simple, homemade raspberry sauce is a game-changer. It’s bursting with fresh, slightly tart raspberry flavor that cuts through the richness of the cream cheese, creating a perfectly balanced taste profile. Swirled generously throughout the ice cream, you’ll experience a delightful berry burst in every single bite or lick, ensuring a harmonious blend of fruitiness and creaminess.
- Effortless No-Churn Method: Say goodbye to bulky, expensive ice cream makers! This recipe achieves a wonderfully smooth, thick, and incredibly creamy texture without any churning. It’s an ideal solution for home bakers and dessert enthusiasts who want gourmet results with everyday kitchen tools. The no-churn technique makes this recipe accessible to everyone, ensuring a flawless dessert every time.
- Perfectly Balanced Sweetness: Unlike many overly sweet ice creams, this recipe is carefully crafted to be rich and indulgent without being cloyingly sweet. The tanginess of the cream cheese and the slight tartness of the raspberries create a superb balance that keeps you coming back for more. It’s a sophisticated sweetness that appeals to all palates.
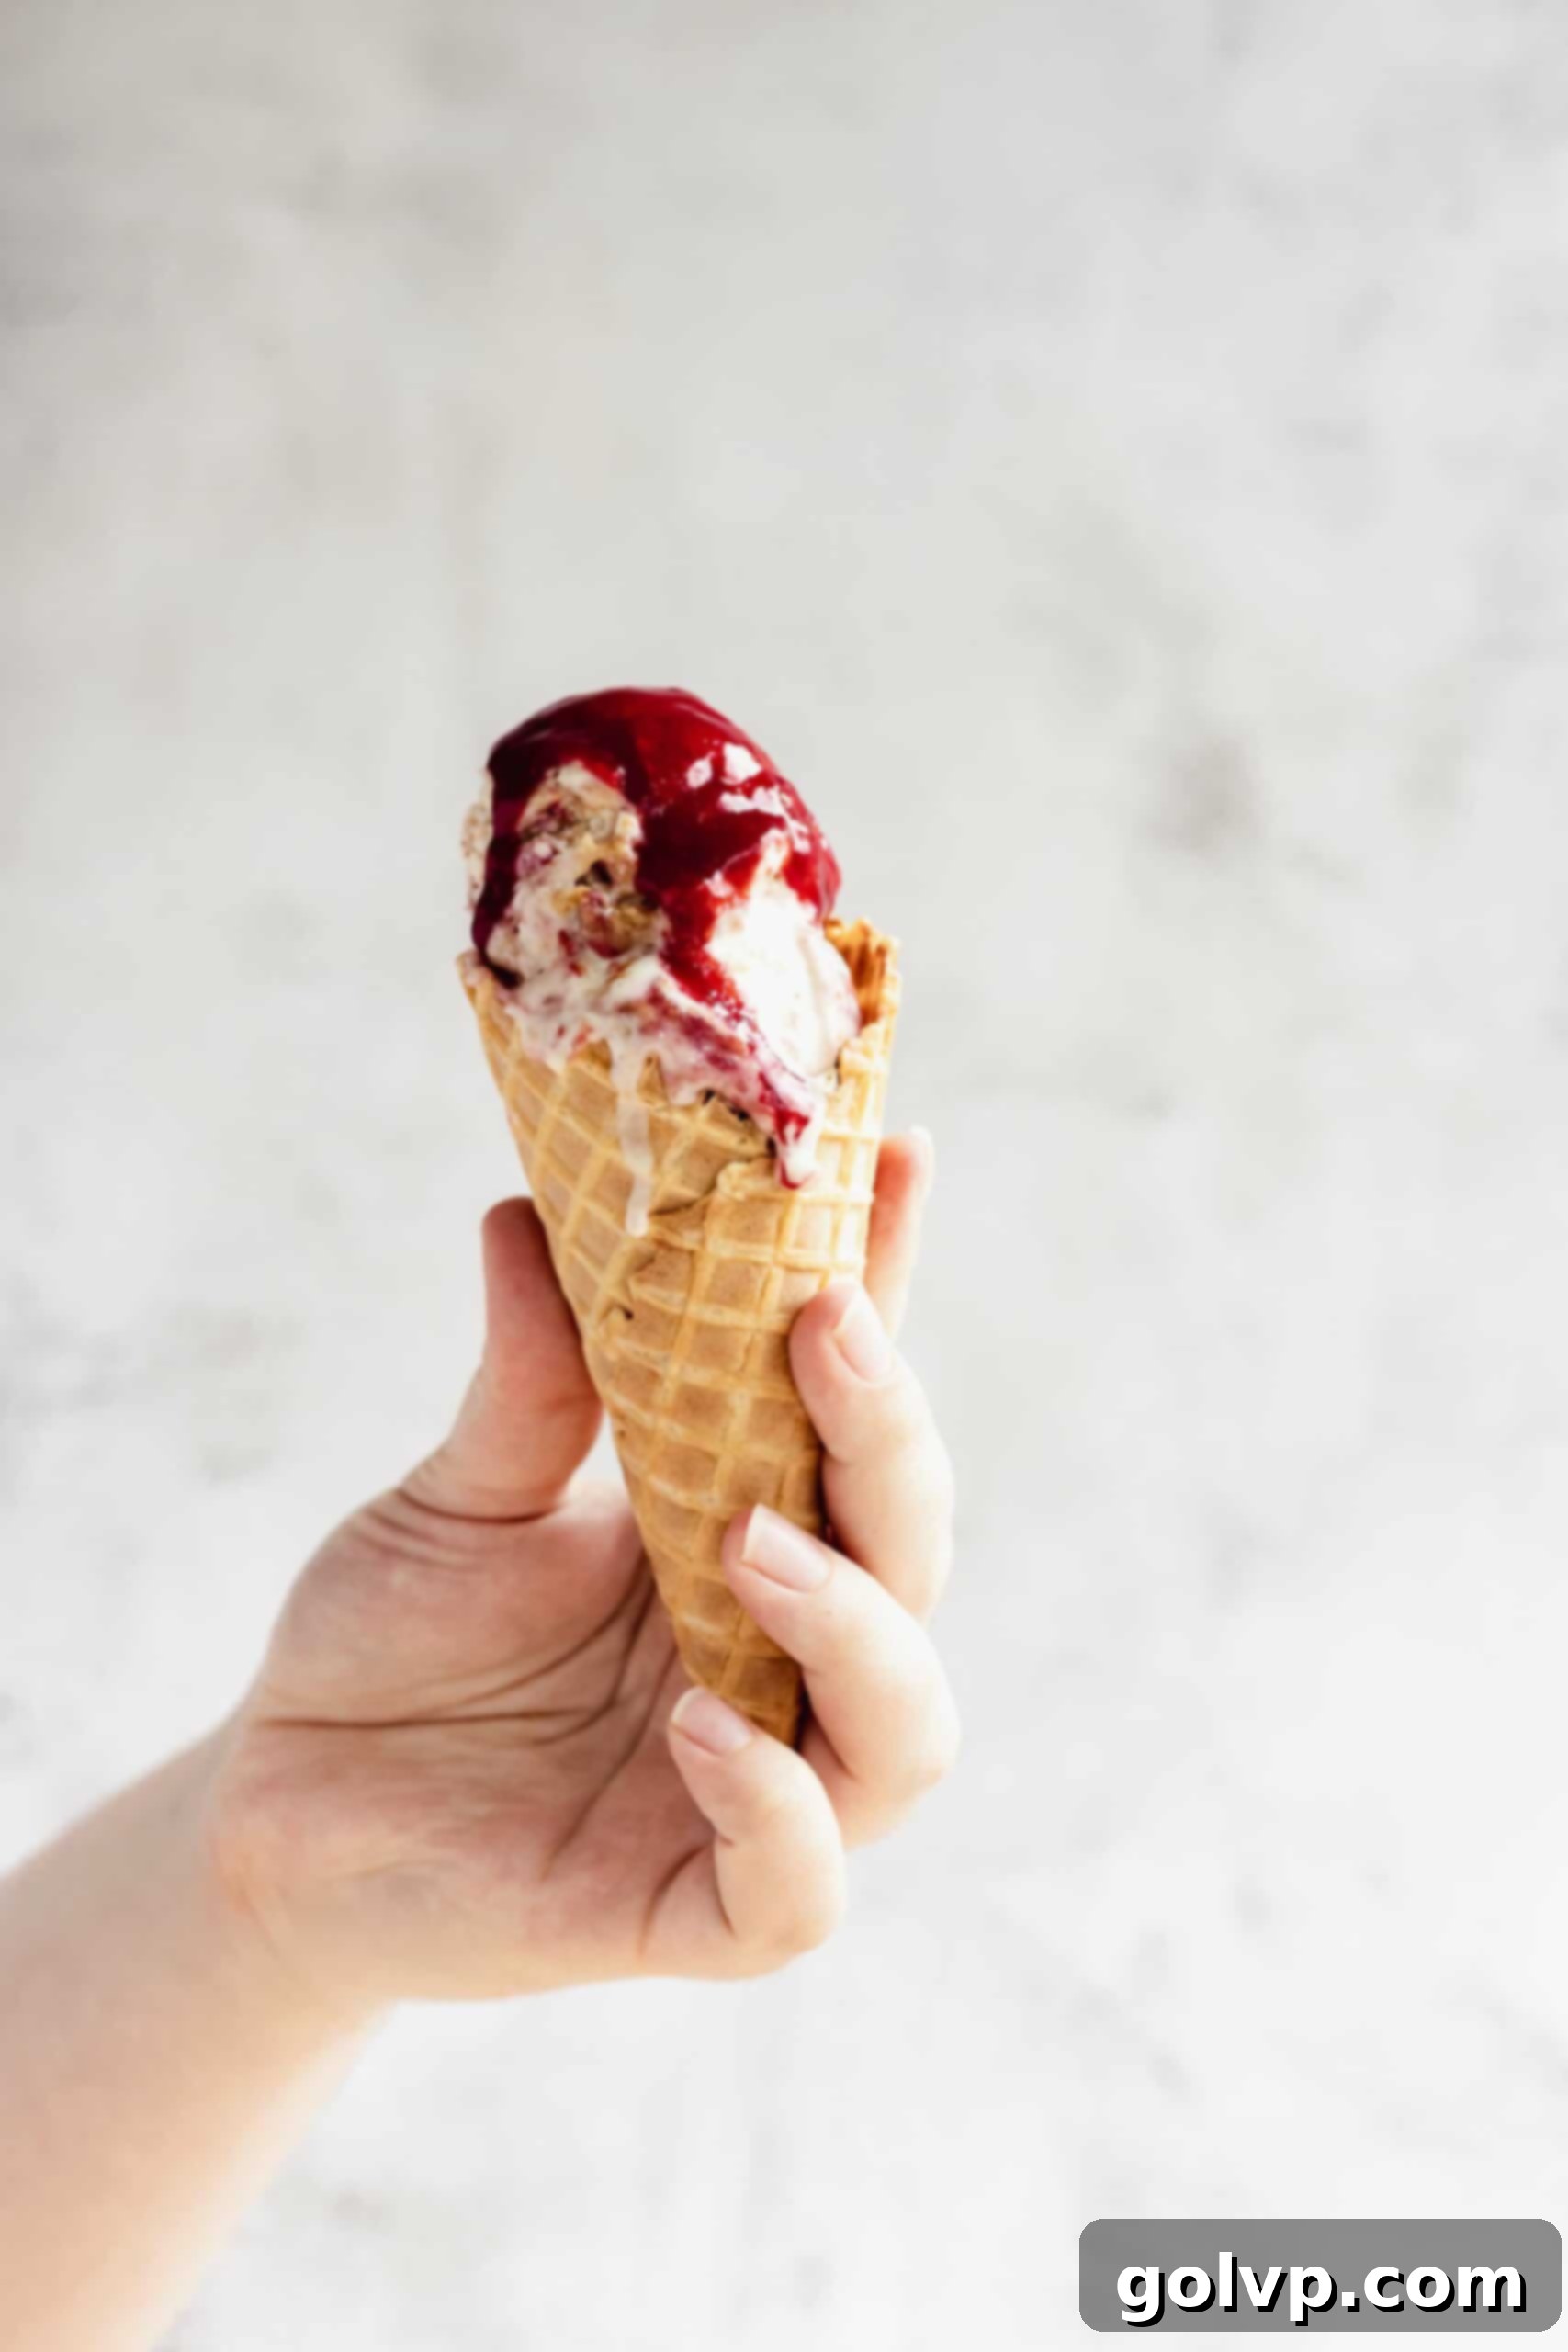
- Customizable and Versatile: While perfect as is, this ice cream can be served in countless ways. Enjoy it in a crisp waffle cone, scoop it into elegant dessert bowls, or even use it as a delightful topping for other treats. Its robust flavor stands alone beautifully but also welcomes additional garnishes like fresh raspberries or a sprinkle of extra graham crumbs.
If your love for raspberry desserts runs deep, you absolutely must explore other delightful recipes like these zesty lemon raspberry bars or these incredibly easy lemon raspberry cookies. They offer similarly bright and refreshing flavors that are perfect for any occasion.
📝 Essential Ingredients for Success
Mastering this recipe starts with understanding the role of each ingredient. Read through these tips for guaranteed success!
Detailed steps and exact measurements can be found in the comprehensive recipe card below.
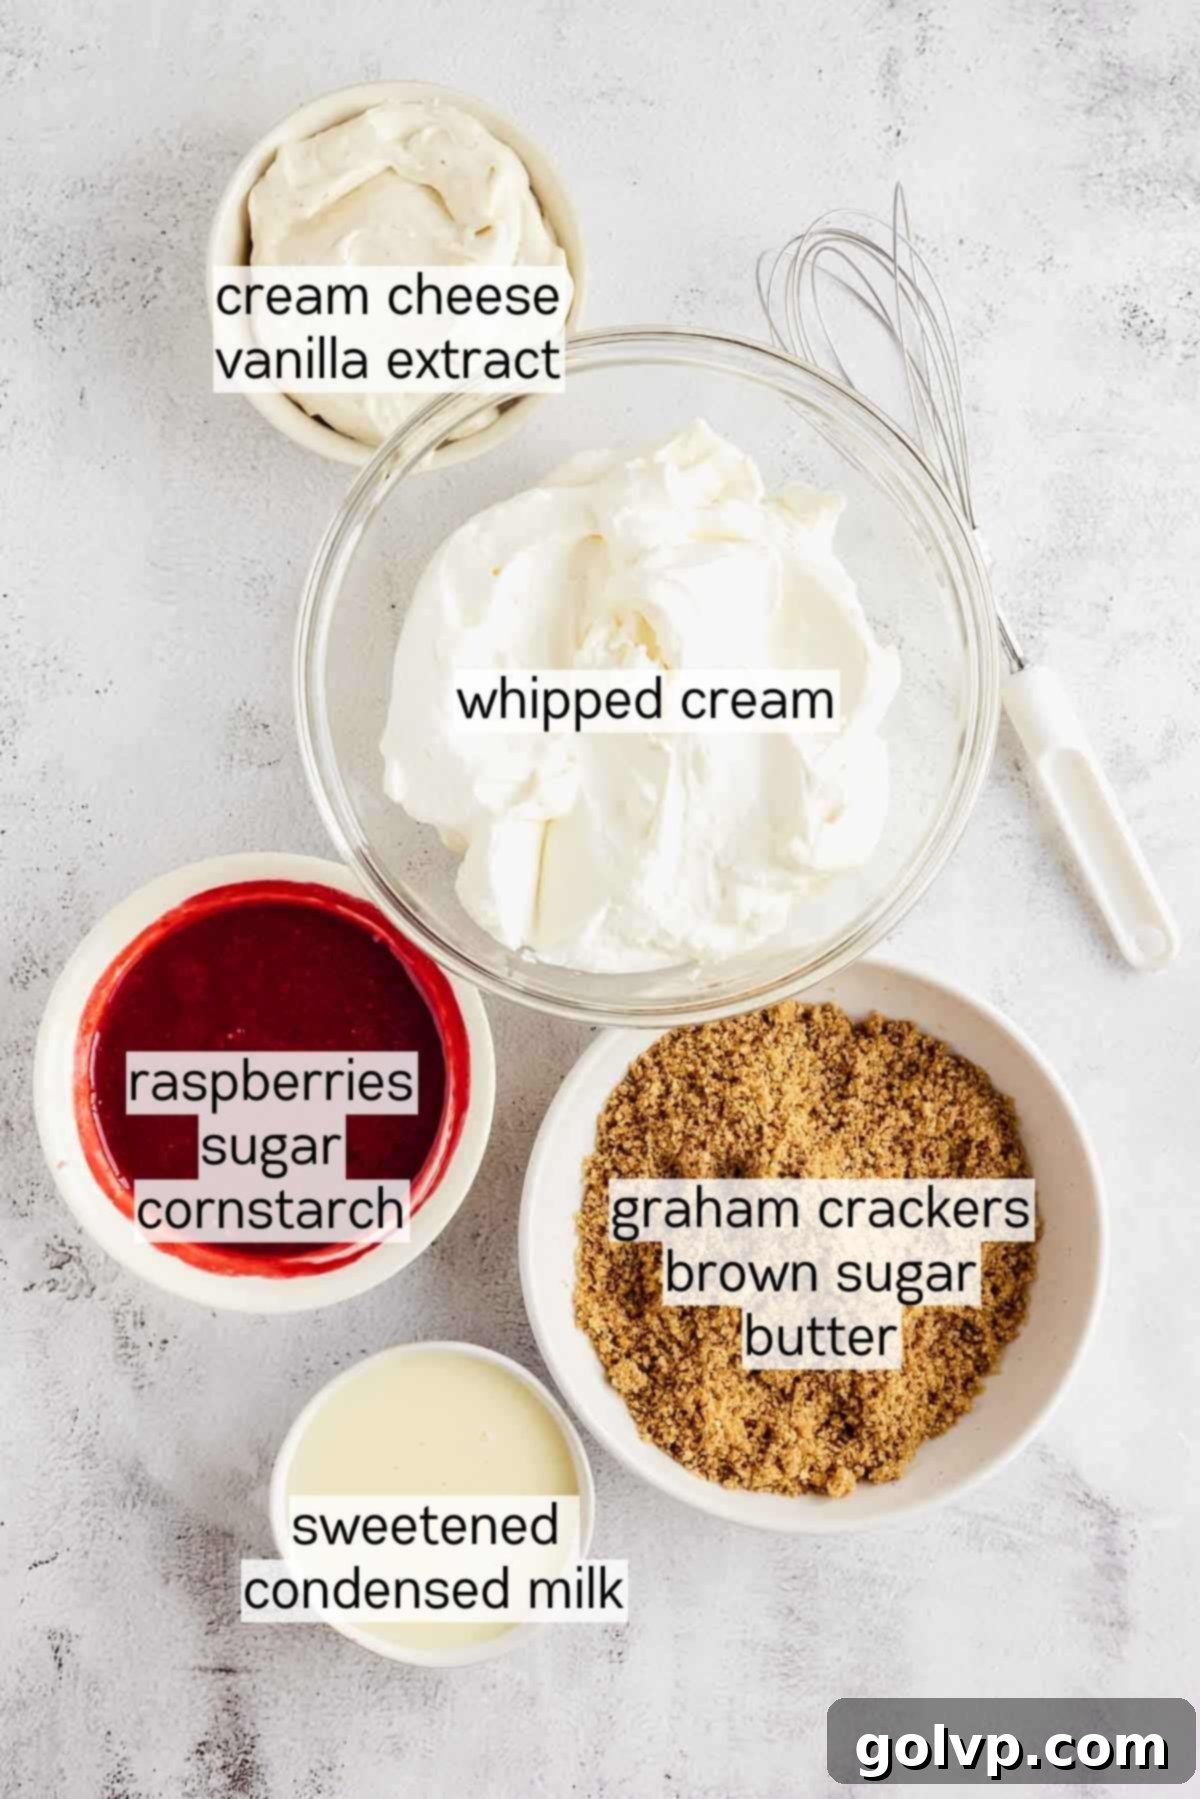
- Raspberries (Frozen or Fresh): While fresh raspberries offer a vibrant pop of color and intense natural flavor during peak season, frozen raspberries are an equally excellent and convenient choice. They are consistently available and affordable year-round, ensuring you can enjoy this treat anytime. Using frozen raspberries also means less prep time, as they can be directly added to the saucepan for sauce preparation. Both options yield a delicious, fruity sauce that is integral to the ice cream’s flavor.
- Cornstarch: This acts as a crucial thickening agent for our homemade raspberry sauce, giving it a luscious, spoonable consistency that swirls beautifully without becoming icy. If cornstarch is unavailable, you can substitute it with an equal amount of all-purpose flour or arrowroot starch. Be mindful that flour might slightly dull the fruit’s brightness, and arrowroot starch thickens at a lower temperature and can become stringy if overcooked.
- Granulated Sugar: Essential for sweetening both the raspberry sauce and contributing to the overall balance of the ice cream. It helps to bring out the natural sweetness of the raspberries while ensuring the dessert is not too tart.
- Graham Crackers: These are vital for creating the signature “cheesecake crust” component of the ice cream. When crushed and combined with butter, they provide a delightful textural contrast and infuse the ice cream with that classic, buttery, slightly honeyed crust flavor. If graham crackers are difficult to find, alternatives like Biscoff cookies (for a spiced flavor) or digestive biscuits can be used. Ensure they are finely crushed for the best integration.
- Melted Butter: Mixed with the crushed graham crackers, melted butter binds them together, much like a traditional cheesecake crust. This prevents the crumbs from becoming soggy or separating in the ice cream, ensuring they maintain their pleasant texture. Make sure it’s cooled slightly before mixing.
- Brown Sugar: A small amount of packed brown sugar adds depth and a hint of molasses flavor to the graham cracker crust mixture, enhancing its richness and complementing the cheesecake notes.
- Sea Salt: A pinch of sea salt in both the graham cracker mixture and the whipped cream base is crucial for enhancing all the other flavors, balancing sweetness, and adding a subtle depth that makes the dessert truly stand out.
- Cream Cheese (Full-Fat, Softened): The cornerstone of the cheesecake flavor! Using a good quality, full-fat brick-style cream cheese (not whipped or spreadable) is paramount for achieving the richest, tangiest, and most authentic cheesecake ribbons. Ensure it is softened to room temperature for smooth whisking, preventing lumps in your creamy swirls.
- Pure Vanilla Extract: A touch of high-quality vanilla extract (or vanilla bean paste for a more intense flavor) enhances the overall sweetness and aromatic depth of the cream cheese mixture, tying all the flavors together beautifully.
- Sweetened Condensed Milk: This is the magical ingredient for any no-churn ice cream! It provides the necessary sweetness and, crucially, prevents the formation of large ice crystals during freezing, resulting in an exceptionally smooth and creamy texture without the need for an ice cream machine. Do not substitute this with evaporated milk or regular milk, as they lack the sugar content and thickness required for the no-churn process.
- Heavy Whipping Cream (35% or higher): The foundation of your creamy ice cream base. When whipped to medium-stiff peaks, it incorporates a significant amount of air, giving the ice cream its light, fluffy, yet rich body. Use cold cream for optimal whipping results.
For those who adore creamy, homemade ice cream but are looking for a raspberry-free adventure, consider trying this vibrant funfetti ice cream or the incredibly decadent cookie dough no-churn ice cream with brown butter cookie dough. Both are fantastic, easy-to-make alternatives!
👩🍳 Step-by-Step Guide: Crafting Your Raspberry Cheesecake Ice Cream
Making this delightful dessert is simpler than you might imagine. Follow these detailed steps to create a show-stopping homemade ice cream with ease.
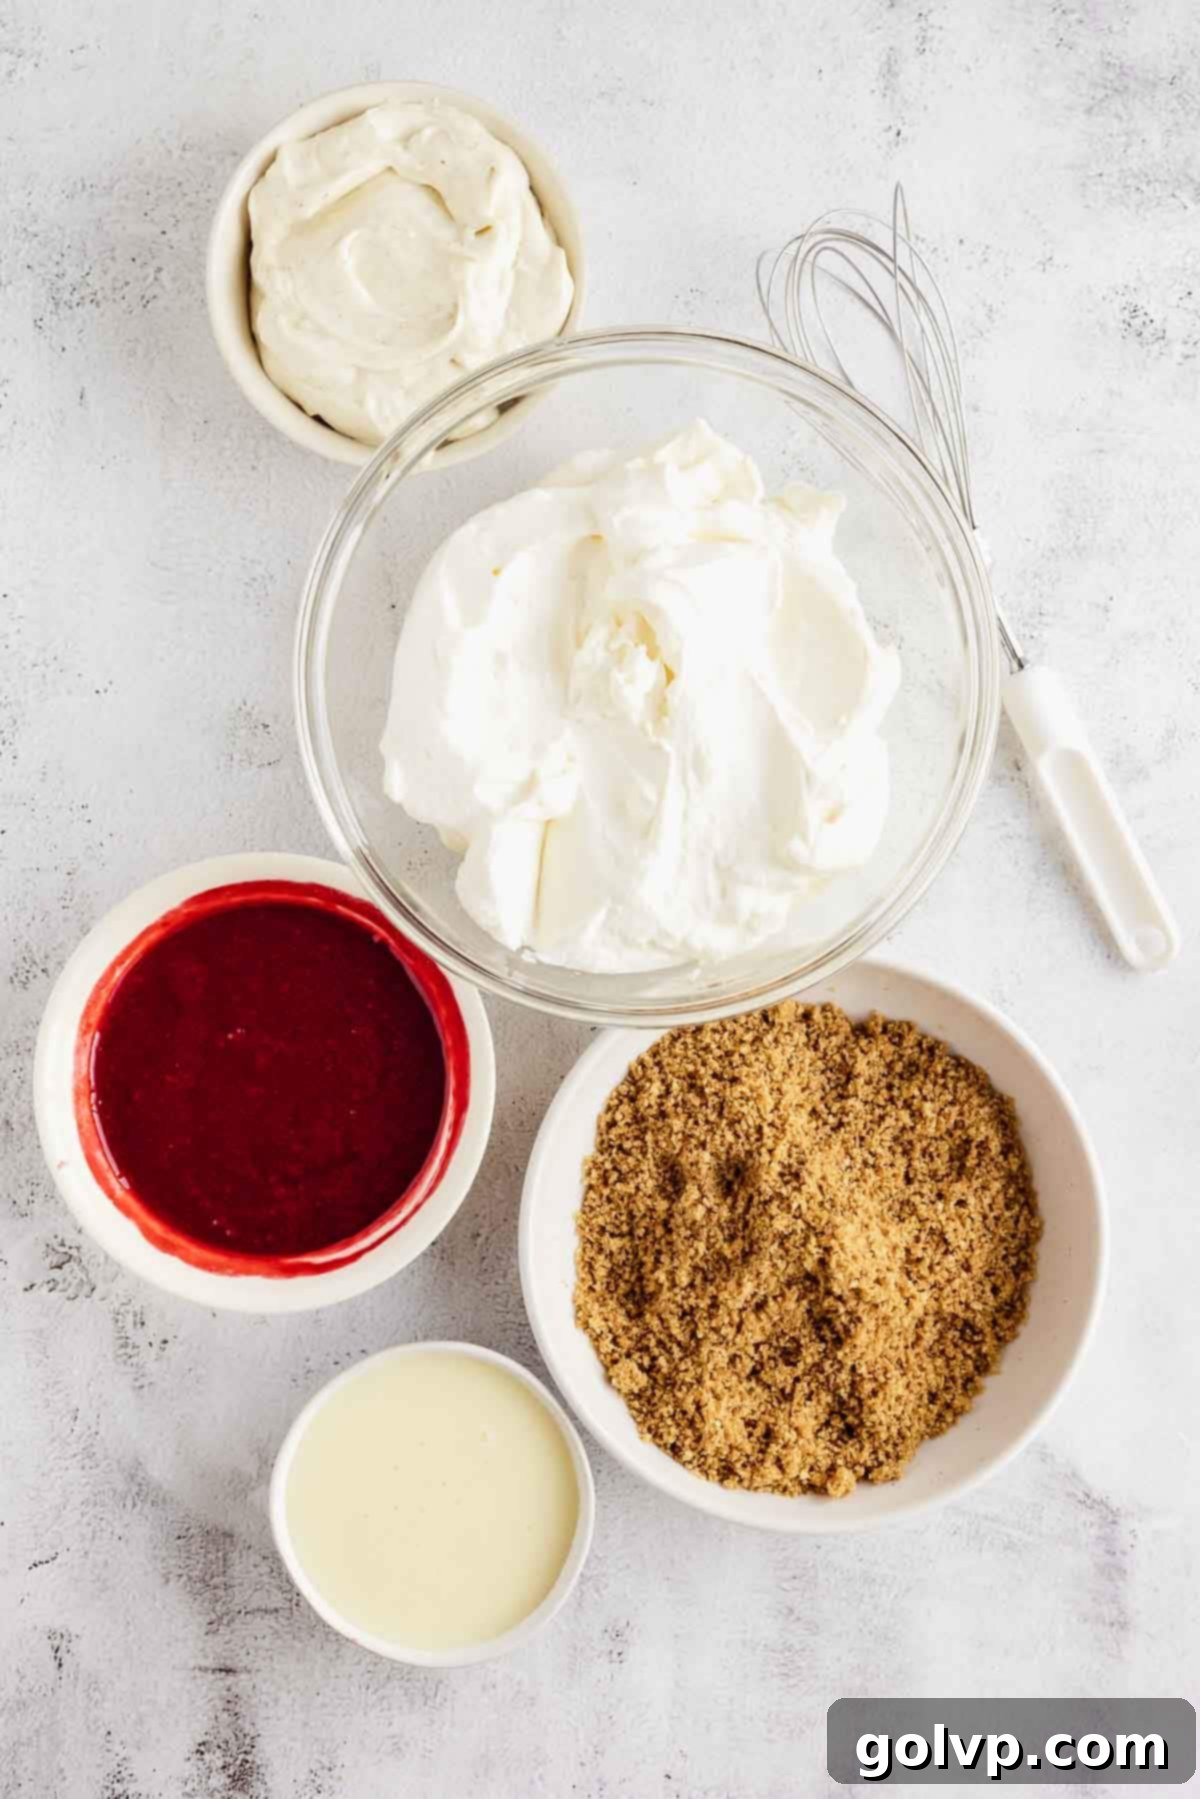
Step 1: Prepare the Individual Components
- Craft the Raspberry Sauce: In a medium saucepan, combine the raspberries (fresh or frozen), granulated sugar, and cornstarch. Heat the mixture over medium heat, stirring occasionally. Bring it to a gentle simmer, then continue to cook for approximately 3 minutes, or until the sauce thickens to a spoonable consistency. Once thickened, pass the sauce through a fine-mesh sieve into a heatproof bowl to remove any seeds, ensuring a smooth, luscious sauce. Allow it to cool completely to room temperature before proceeding. This cooling step is crucial to prevent the sauce from melting your ice cream base.
- Prepare the Graham Cracker Crumbs: Finely crush the graham crackers. You can achieve this using a food processor for quick, even crumbs, or by placing them in a sealed bag and smashing them with a rolling pin for a more rustic texture. Transfer the crumbs to a small bowl, then mix in the brown sugar, a pinch of sea salt, and the cooled melted butter until everything is evenly combined and resembles wet sand. This mixture forms your delicious “cheesecake crust” swirls.
- Create the Cream Cheese Swirl: In a separate medium bowl, combine the softened cream cheese, pure vanilla extract, and about 4 tablespoons of the sweetened condensed milk. Using a whisk or an electric mixer on low speed, whisk these ingredients together until the mixture is completely smooth, lump-free, and creamy. Set this tangy cheesecake base aside.
- Whip the Cream Base: In a large, chilled mixing bowl or the bowl of a stand mixer fitted with a whisk attachment, pour the cold heavy whipping cream. Whip the cream on medium-high speed until it reaches medium-stiff peaks. These peaks should hold their shape well but still have a slight curl at the tip. Be careful not to over-whip into butter! Gently fold in the remaining sweetened condensed milk and about half of the prepared cream cheese mixture until just combined. The goal is to incorporate air for a light texture while maintaining the cream’s structure.
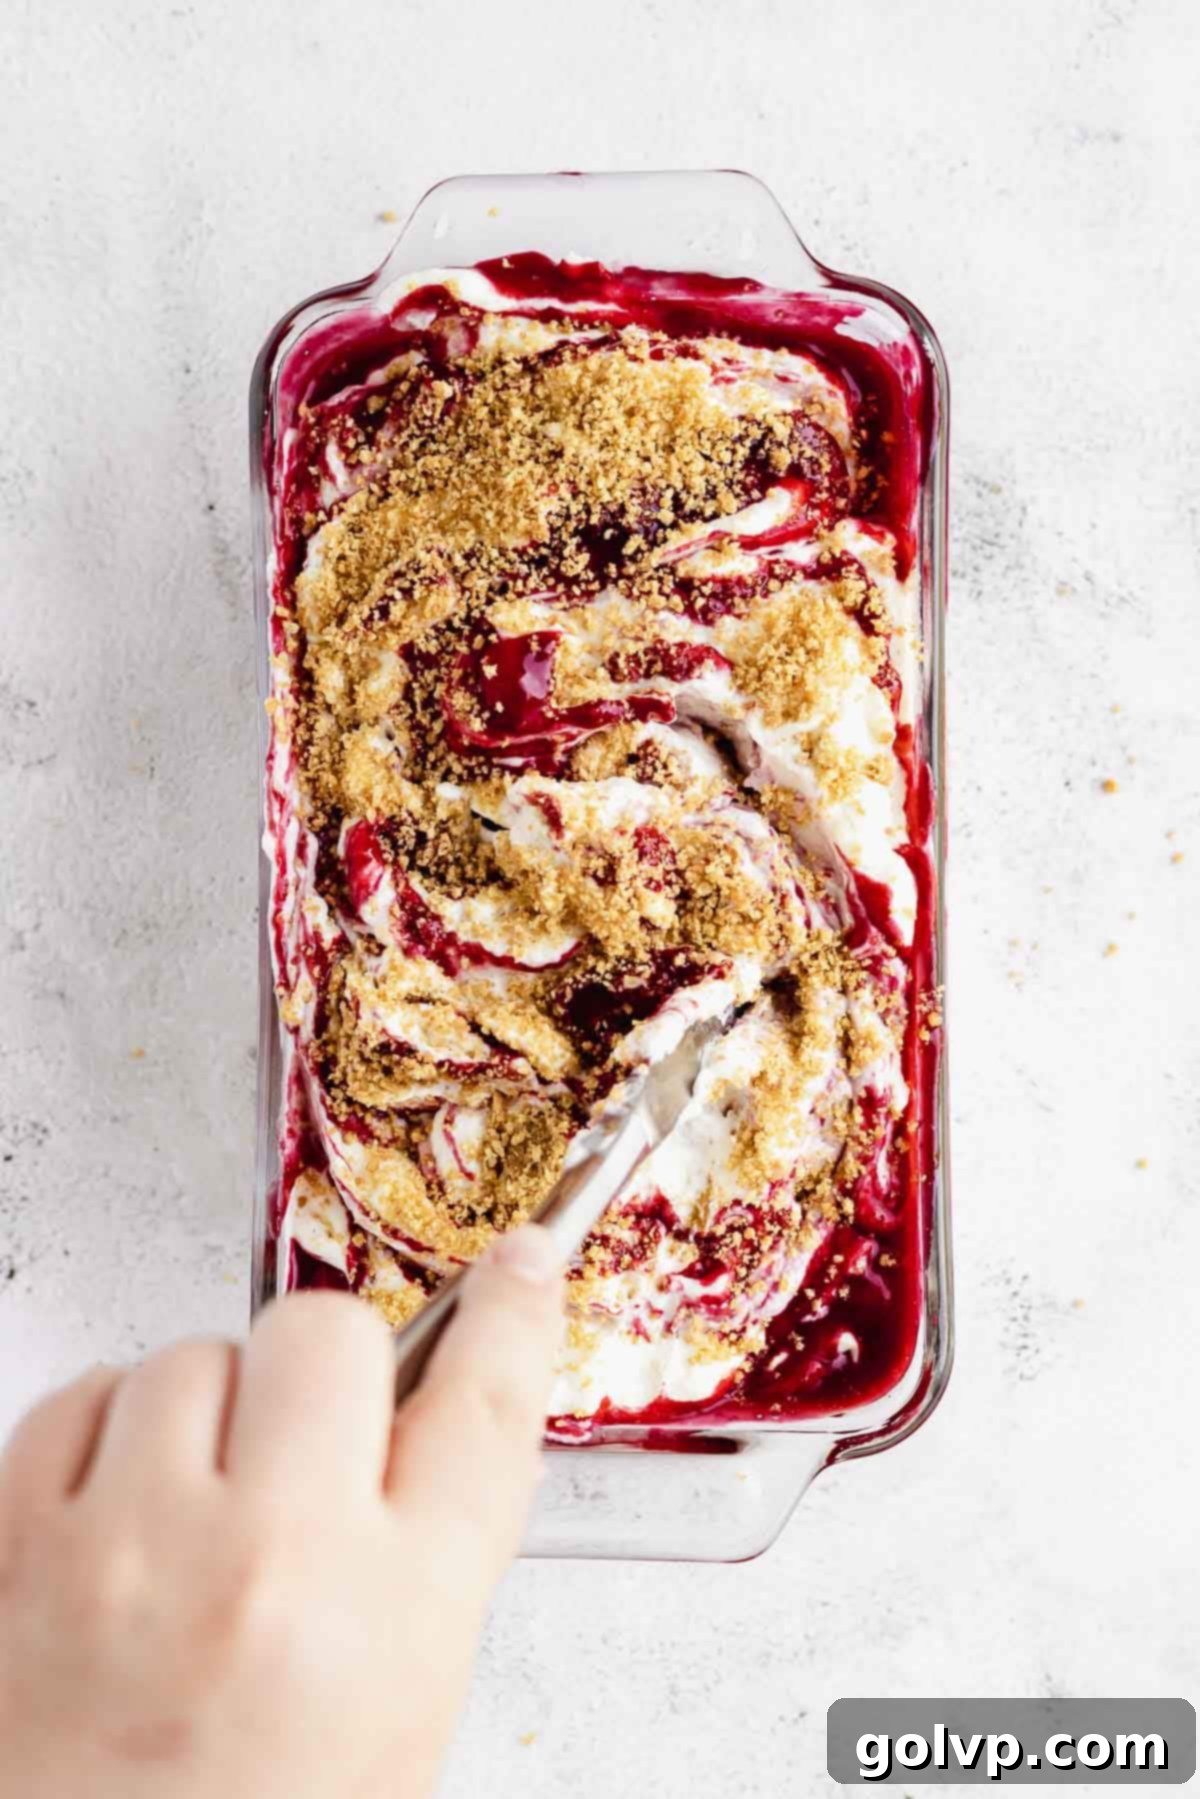
Step 2: Layer and Swirl for Maximum Flavor
Prepare a 9×5 inch loaf pan or any freezer-safe container, lining it with parchment paper for easy removal later if desired. Now, we’ll build our layers for that beautiful swirl effect:
- Spread approximately one-third of the whipped cream mixture evenly into the bottom of the prepared container.
- Generously sprinkle one-third of the graham cracker crumbs over the cream layer.
- Using teaspoons, dollop one-third of the remaining cream cheese mixture randomly over the crumbs.
- Drizzle one-third of the cooled raspberry sauce on top of the cream cheese dollops.
- Repeat this layering process two more times, ensuring you use up all the whipped cream base, graham crumbs, cream cheese mixture, and raspberry sauce. Your loaf pan should be generously filled with these delicious layers.
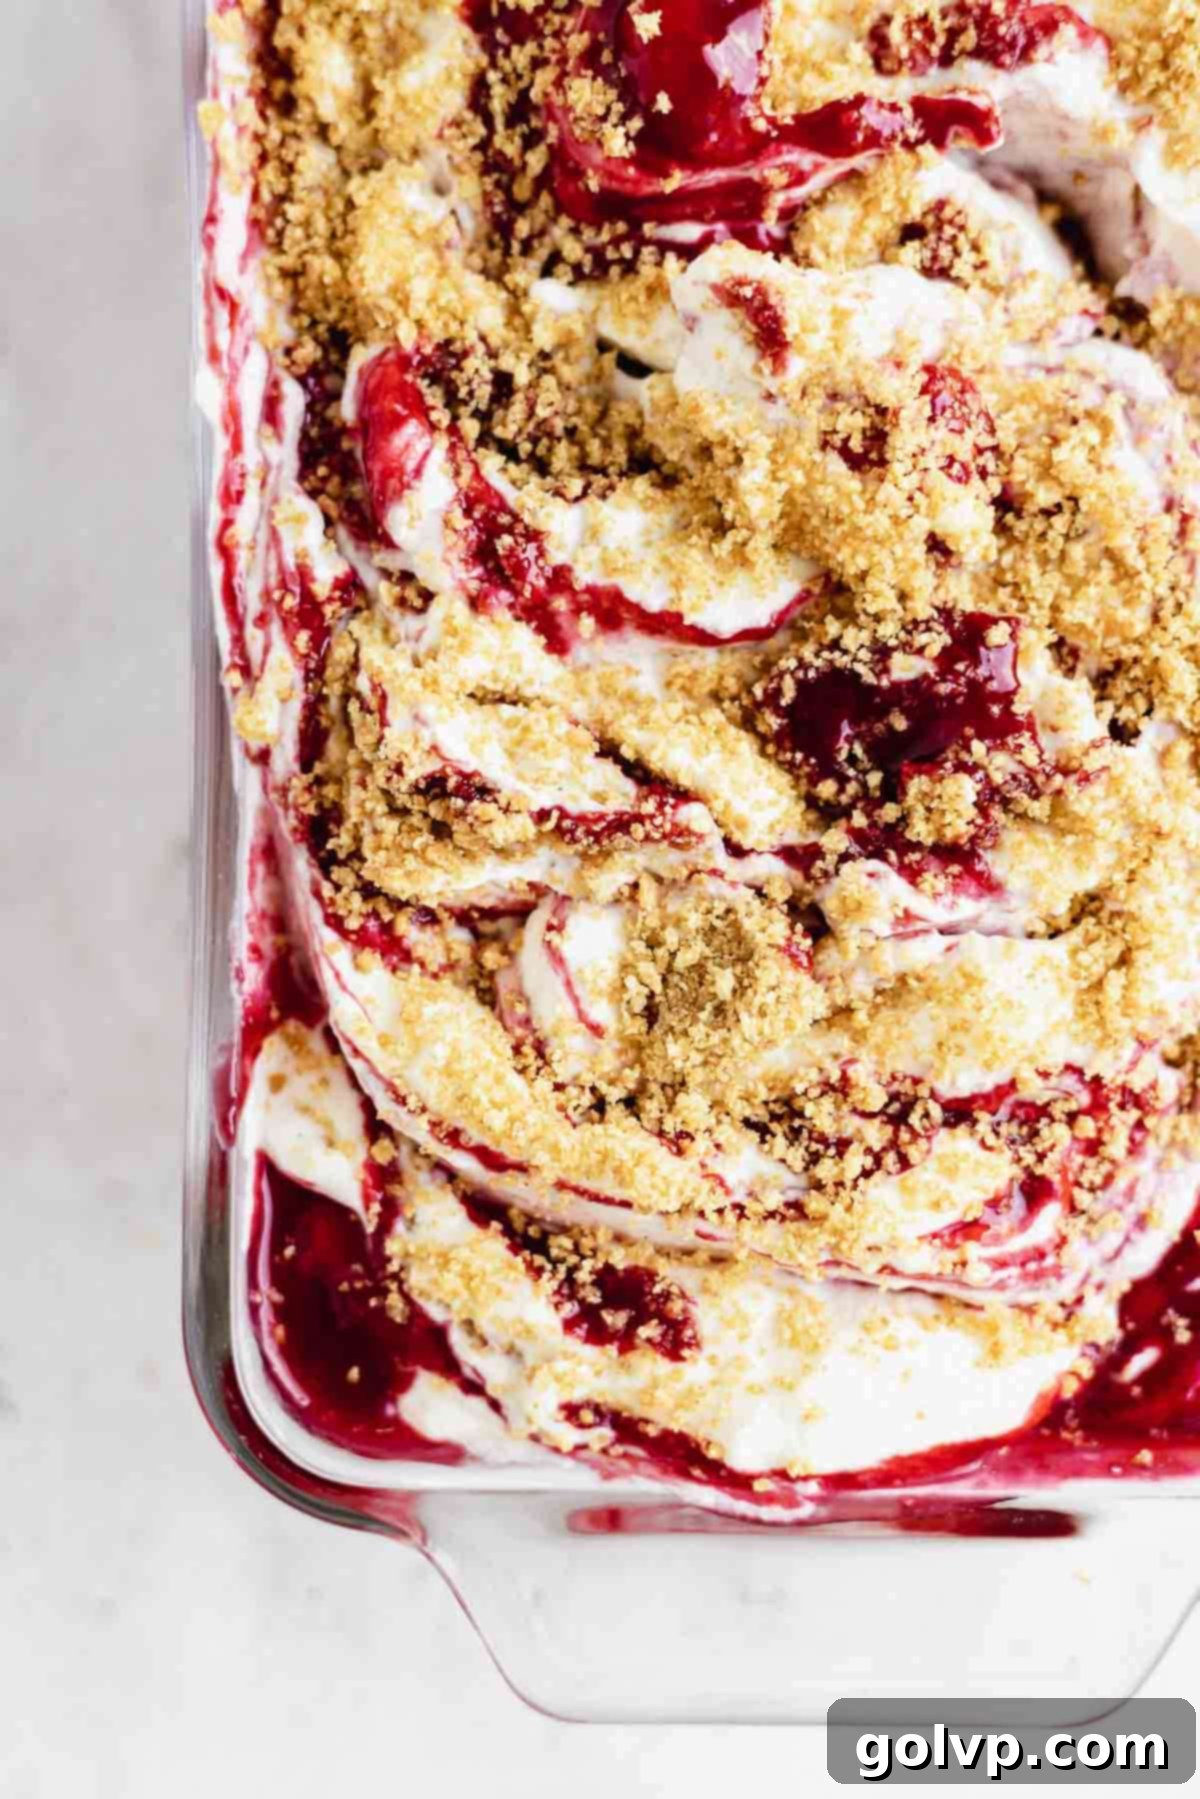
Step 3: The Art of Swirling and Freezing
Once all the layers are assembled, it’s time to create those beautiful, mouth-watering swirls. Take a butter knife or a thin skewer and insert it vertically all the way through the layers in the loaf pan. Gently swirl the mixture in an S-shape or figure-eight pattern, ensuring you draw the raspberry, cream cheese, and graham cracker layers through the cream base. Be careful not to overmix; you want distinct ribbons, not a fully blended color. Cover the loaf pan tightly with plastic wrap or an airtight lid to prevent ice crystals from forming. Freeze the ice cream until it is completely solid and frozen through, which will take at least 8 hours, but ideally overnight, for the best texture.
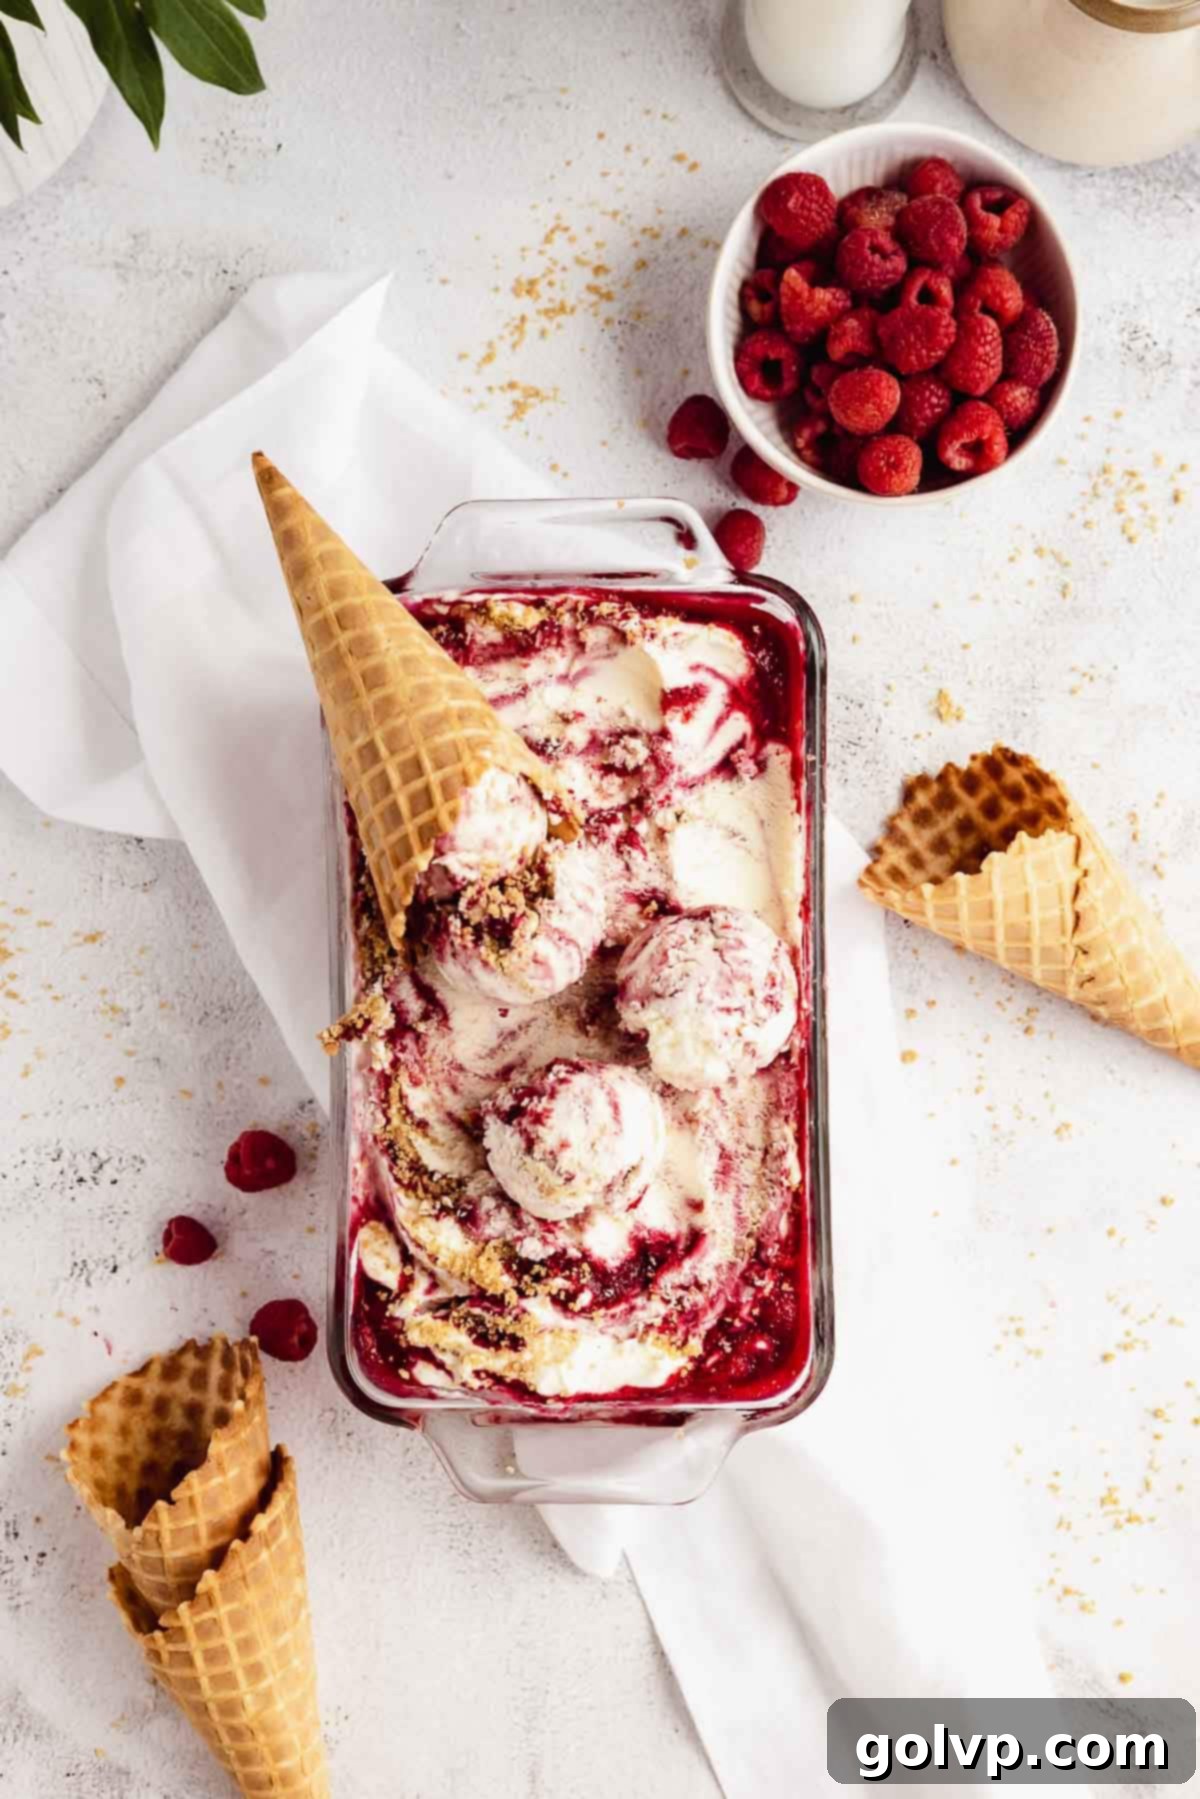
Step 4: Serve and Enjoy Your Masterpiece!
Before you dive into this deliciousness, remember one crucial step for optimal creaminess. About 15 minutes before serving, take the frozen ice cream out of the freezer and let it sit at room temperature. This brief defrosting period will allow it to soften slightly, making it much easier to scoop and enhancing its naturally smooth, creamy texture. Scoop generously into bowls or cones, and prepare for a truly decadent dessert experience!
✔️ Expert Tips for the Ultimate No-Churn Ice Cream
Achieving perfectly creamy, irresistible no-churn ice cream is simple with these pro tips:
- Whip the Cream to Medium Stiff Peaks: This is perhaps the most critical step for light, airy, and creamy no-churn ice cream. Ensure your heavy whipping cream is very cold before whipping. Medium stiff peaks mean the cream holds its shape when you lift the whisk, but the tip of the peak still curls slightly. Under-whipped cream will result in a dense, icy texture, while over-whipped cream can become grainy. Proper aeration is key to the luscious mouthfeel.
- Do NOT Substitute Sweetened Condensed Milk: Sweetened condensed milk is a non-negotiable ingredient in no-churn recipes. Its unique combination of sugar and milk solids, along with its thick consistency, is what prevents ice crystals from forming during freezing, yielding that signature smooth and creamy texture. Substituting it with evaporated milk, regular milk, or even a different type of sugar syrup will lead to an icy, grainy, and disappointing result. Stick to the recipe for guaranteed success.
- Allow to Defrost Slightly Before Scooping: For the absolute best scooping experience and an extra creamy bite, let your frozen ice cream sit at room temperature for about 10-15 minutes before serving. This brief period allows the edges to soften slightly, making it incredibly easy to glide your scoop through and revealing its full, luxurious creaminess. Don’t rush this step – it makes all the difference!
- Use Good Quality Full-Fat Cream Cheese: For the most authentic and robust cheesecake flavor, always opt for full-fat, brick-style cream cheese. Low-fat varieties or whipped cream cheese spreads often contain more water and stabilizers, which can negatively impact the texture and richness of your cheesecake swirls. Ensure it’s softened to room temperature for a smooth, lump-free mixture.
- Cool All Components Completely: Before assembling your ice cream layers, make sure your raspberry sauce and melted butter (for the graham crumbs) are completely cooled. Introducing warm ingredients to the cold whipped cream base will cause it to deflate and melt, compromising the final texture of your ice cream. Patience in cooling pays off!
- Don’t Overmix When Swirling: When creating the swirls, use a gentle hand. You want distinct ribbons of raspberry and cream cheese against the white ice cream base, not a uniform pink or blended color. A few broad strokes with a butter knife are sufficient to create that beautiful marbled effect without losing the distinct layers.
🥄 Make Ahead and Storage Guidelines
This Raspberry Cheesecake No-Churn Ice Cream is an ideal make-ahead dessert, perfect for busy hosts or for simply having a delightful treat ready in your freezer. Proper storage is key to maintaining its exquisite creamy texture and preventing freezer burn.
Always store your homemade ice cream in the freezer. To protect its integrity, transfer the ice cream to an airtight container immediately after it has fully set. If using a loaf pan, ensure it’s tightly wrapped in at least two layers of plastic wrap, followed by a layer of aluminum foil. This meticulous wrapping prevents exposure to air, which is the primary cause of freezer burn and the development of undesirable ice crystals, which can make your ice cream gritty. By keeping air out, you preserve the smooth, creamy consistency you worked so hard to achieve.
For the best flavor and texture, it’s recommended to enjoy this ice cream within the first few weeks of making it. While it will technically remain safe to eat for longer, its quality may gradually diminish. This delightful no-bake summer treat is incredibly convenient to pull out whenever a craving strikes, offering instant indulgence with minimal fuss.
📖 Frequently Asked Questions About This Recipe
While I find cornstarch provides the best flavor and a wonderfully smooth, clear texture for the raspberry sauce, you do have alternatives. You can substitute it with an equal amount of all-purpose flour. However, be aware that flour can sometimes give the sauce a slightly cloudy appearance and a subtle starchy taste if not cooked thoroughly. Another option is arrowroot starch, which also works well but thickens at a lower temperature than cornstarch and can become stringy if overcooked, so add it at the end of cooking and stir quickly.
Sweetened condensed milk is the key ingredient that makes this ice cream a “no-churn” success. It’s a highly concentrated milk product that is already sweetened, and its unique composition (high sugar content, low water content) prevents the formation of large ice crystals during freezing. This is crucial for achieving the ultra-smooth, creamy texture typically associated with churned ice cream, without needing any special equipment. While it contributes sweetness, the tangy cream cheese beautifully masks any strong “condensed milk” flavor, allowing the cheesecake and raspberry notes to truly shine.
No, evaporated milk is not a suitable substitute for sweetened condensed milk in this recipe. They are entirely different products. Evaporated milk is unsweetened and has a different consistency; it’s essentially milk with about 60% of its water removed. Using evaporated milk would result in an ice cream that is not sweet enough and, more importantly, will form numerous ice crystals when frozen, giving you a very icy and uncreamy texture. For the best, smoothest no-churn ice cream, stick to sweetened condensed milk.
Absolutely! Fresh raspberries work wonderfully for the sauce, especially when they are in season and at their peak flavor. The process for making the sauce remains the same, whether you use fresh or frozen berries. Using fresh raspberries might even impart a slightly brighter, more intense flavor. Just ensure they are ripe and sweet for the best results.
This Raspberry Cheesecake No-Churn Ice Cream is delicious on its own, but it’s also incredibly versatile! For additional mix-ins, consider white chocolate chips for extra sweetness, a sprinkle of toasted shredded coconut, or even a different type of crushed cookie like shortbread. When serving, fresh mint leaves, a dollop of whipped cream, or a drizzle of extra raspberry sauce would make fantastic toppings. Feel free to get creative and customize it to your taste!
🍦 More Irresistible Frozen & Sweet Treats
- Funfetti Ice Cream
- Raspberry Tiramisu
- Carrot Cake Ice Cream
- Lavender Ice Cream
Did you fall in love with this recipe? I would absolutely love for you to rate it and share your thoughts in the comments section below! Don’t forget to share your delicious creation on Instagram and tag @flouringkitchen. For more mouth-watering recipe ideas and inspiration, follow me on Pinterest to save your favorites.
📖 Recipe Card
Raspberry Cheesecake No-Churn Ice Cream
Mary
Pin Recipe
Shop Ingredients
Equipment
-
nine inch by five inch loaf pan or any freezer-safe container
Ingredients
- 2 ½ cups raspberries, frozen or fresh 300g
- ½ cup granulated sugar
- 1 ½ teaspoons corn starch
- 6 graham crackers, crushed 84g
- 1 tablespoon packed brown sugar
- ⅛ teaspoon sea salt
- 3 tablespoons melted butter cooled
- 8 oz cream cheese, softened 250g
- 1 teaspoon pure vanilla extract
- 1 can sweetened condensed milk 300 mL, 390 g, or 14 oz by weight
- 2 cups heavy whipping cream 35% fat or higher, well chilled
Shop Ingredients on Jupiter
Instructions
-
In a medium saucepan, combine the raspberries (fresh or frozen), ½ cup granulated sugar, and 1 ½ teaspoons corn starch. Heat over medium heat, stirring occasionally, until the mixture comes to a gentle simmer and visibly thickens, about 3 minutes after simmering begins.2 ½ cups raspberries, frozen or fresh, ½ cup granulated sugar, 1 ½ teaspoons corn starch
-
Strain the warm raspberry sauce through a fine-mesh sieve into a clean bowl to remove seeds, ensuring a smooth consistency. Allow it to cool completely to room temperature before proceeding.
-
Crush the 6 graham crackers into fine crumbs. This can be done efficiently using a food processor or by placing them in a sealed bag and crushing them with a rolling pin.6 graham crackers, crushed
-
To the crushed graham cracker crumbs, add 1 tablespoon packed brown sugar, ⅛ teaspoon sea salt, and 3 tablespoons of cooled melted butter. Mix thoroughly until the crumbs are evenly coated and resemble wet sand.1 tablespoon packed brown sugar, 3 tablespoons melted butter, ⅛ teaspoon sea salt
-
In a separate bowl, whisk together the 8 oz softened cream cheese, 1 teaspoon pure vanilla extract, and 4 tablespoons of the sweetened condensed milk until the mixture is completely smooth and lump-free. Set this cream cheese mixture aside.8 oz cream cheese, softened, 1 teaspoon pure vanilla extract
-
In a large, chilled bowl (or a stand mixer with a whisk attachment), whisk the 2 cups cold heavy whipping cream until medium-stiff peaks form. The cream should hold its shape but still have a slight curl at the tip.2 cups whipping cream
-
Gently fold the remaining sweetened condensed milk and half of the prepared cream cheese mixture into the whipped cream until just evenly incorporated. Be careful not to deflate the whipped cream.1 can sweetened condensed milk
-
Line a 9×5 inch loaf pan (or freezer-safe container) with parchment paper if you wish to easily lift out the frozen ice cream. Spread one-third of the whipped cream mixture into the bottom of the container. Sprinkle one-third of the graham crumbs on top. Then, use teaspoons to dollop one-third of the reserved cream cheese mixture over the crumbs. Drizzle one-third of the cooled raspberry sauce on top. Repeat this layering process two more times until all ingredients are used and the loaf pan is filled.
-
Take a butter knife or a thin skewer and insert it vertically all the way through the layers in the loaf pan. Gently swirl the mixture generously to create beautiful ribbons and marble the flavors throughout. Be careful not to overmix into a single color.
-
Cover the loaf pan tightly with plastic wrap or an airtight lid to prevent freezer burn and ice crystals. Freeze until completely solid, ideally for at least 8 hours or overnight. Before serving, remove the ice cream from the freezer and let it sit at room temperature for about 15 minutes to soften slightly for easier scooping and enhanced creaminess.
Notes
Key Tips for Success:
- Whip the cream properly: Aim for medium stiff peaks. This ensures enough air is incorporated for a light, fluffy, and creamy texture that holds its shape well.
- Do not substitute sweetened condensed milk: It is essential for the no-churn method, providing both sweetness and preventing ice crystals, resulting in a smooth, rich ice cream.
- Allow for slight defrosting: Let the ice cream sit at room temperature for 10-15 minutes before scooping. This step makes it easier to serve and enhances its luscious, creamy consistency.
- Cool all components: Ensure your raspberry sauce and melted butter are completely cool before mixing into the cold cream base to avoid deflating the whipped cream.
- Gentle swirling: When creating the swirls, be gentle and don’t overmix. You want distinct ribbons of flavor and color, not a uniform blend.
