Jump to Recipe
Irresistible Brown Butter Chocolate Chip Cookies: Crispy Edges, Gooey Centers & Deep Flavor
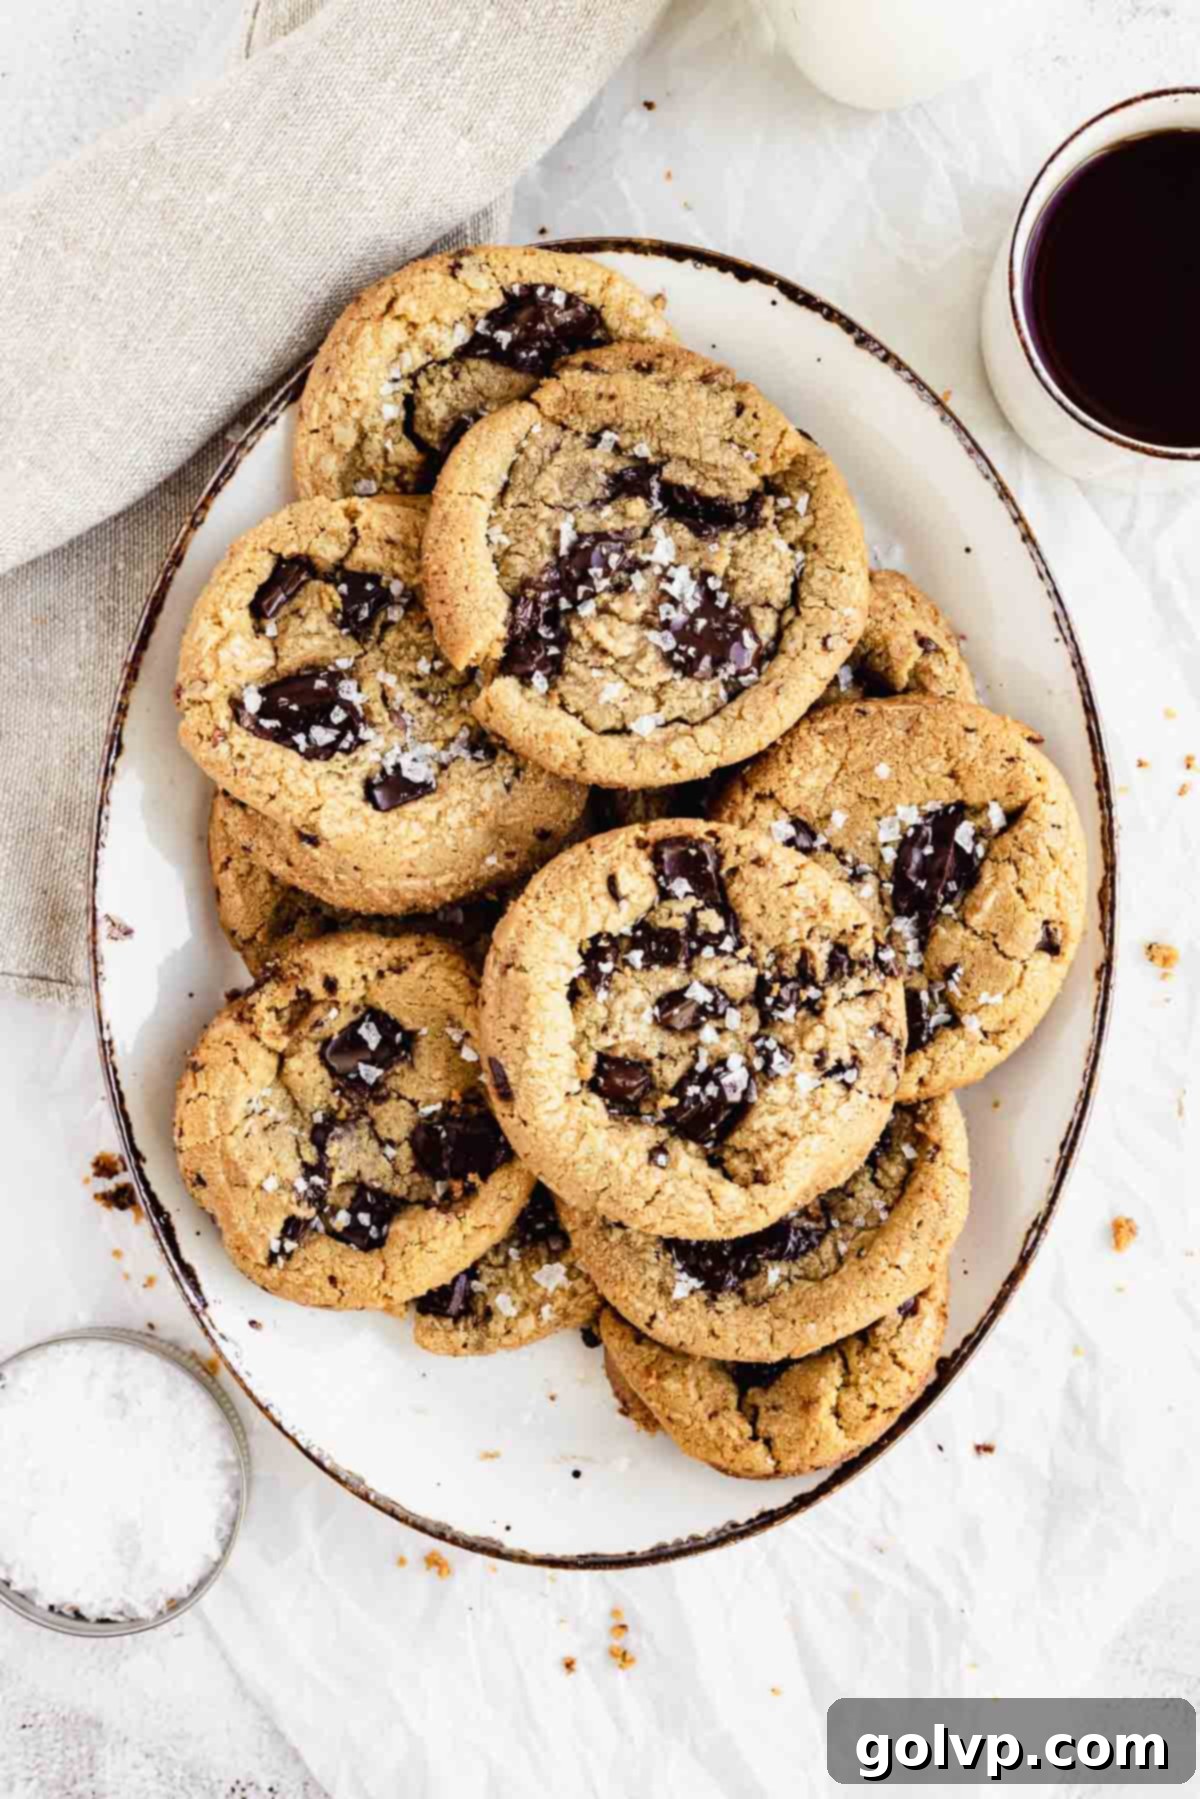
Prepare to fall in love with these phenomenal brown butter chocolate chip cookies! They boast a symphony of textures and flavors – perfectly crispy on the edges, wonderfully soft and gooey in the middle, and infused with an unparalleled depth from rich brown butter. My recipe uniquely combines both milk and semisweet chocolate, ensuring a complex, balanced sweetness that isn’t cloying, allowing those glorious chocolate pools to truly shine. Beyond just a recipe, I’ll guide you through simple techniques to achieve picture-perfect cookies that will undoubtedly impress everyone you share them with. A final sprinkle of flaky sea salt elevates every bite, adding a delightful crunch and a subtle flavor boost. Get ready to bake and dig into your new favorite chocolate chip cookie!
The quest for the ultimate chocolate chip cookie is a journey many bakers undertake. I, too, spent countless hours sifting through food blogs and experimenting with various recipes, always chasing that elusive “perfect” cookie. While I discovered many delightful variations, I eventually realized that to truly find *my* ideal chocolate chip cookie, I needed to craft my own recipe from scratch. My vision was simple: a cookie that delivered on texture, packed maximum flavor, and crucially, didn’t demand softened butter. Let’s be honest, remembering to leave butter out for hours before baking is a luxury few of us have! Browning butter, as it turns out, is not only quicker but also infuses the cookies with a magical nutty, caramel-like essence that softened butter simply can’t provide. And so, after much experimentation, these are born: my perfect brown butter chocolate chip cookies. They’re an absolute game-changer, promising a baking experience as enjoyable as the eating itself.
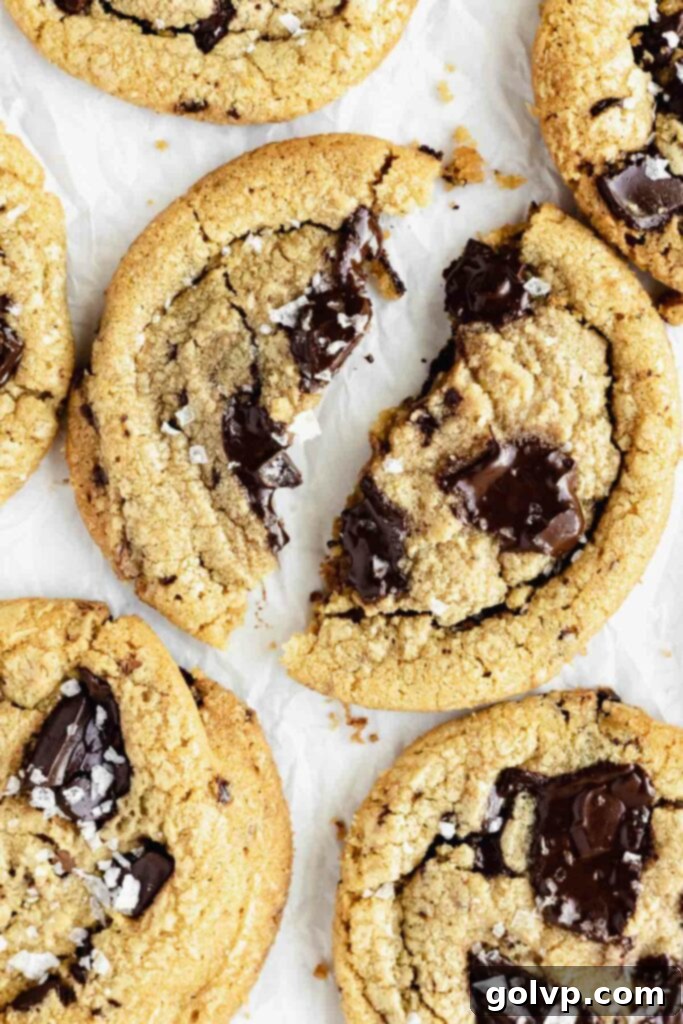
Why This Brown Butter Chocolate Chip Cookie Recipe Stands Out
What makes these cookies truly exceptional? It all comes down to a masterful blend of technique and ingredients that results in a cookie with a delightful contrast in textures. The exterior boasts a crisp, satisfying bite, often adorned with a beautifully crackled top that hints at the deliciousness within. As you break into it, you’re greeted by a soft, warm, and irresistibly gooey interior, a hallmark of a truly well-made chocolate chip cookie. The delicate sprinkle of flaky sea salt on top isn’t just for show; it provides an essential counterpoint to the sweetness, offering a delicious burst of flavor and a subtle textural crunch that elevates the entire experience.
The secret weapon, of course, is the brown butter. It’s no surprise this technique has taken the baking world by storm! As the butter gently browns, its milk solids caramelize, transforming its flavor profile into something profoundly rich and complex. Each bite delivers toasty notes of caramel and hazelnut, swirling harmoniously on your palate. This depth is further enhanced by the generous pools of both semisweet and milk chocolate, which melt wonderfully, coating your tongue with their luxurious sweetness. And let’s not overlook the unsung hero: salt. As a golden rule in my kitchen, I always incorporate a touch of salt into my baked goods. It’s not about making things salty, but rather about deepening and enhancing the overall flavor profile, making the sweet notes sing even louder. In these brown butter chocolate chip cookies, that extra pinch of salt does precisely that, creating a perfectly balanced and incredibly addictive treat. Best of all? This incredible flavor and texture explosion comes from a surprisingly simple, one-bowl recipe, minimizing cleanup and maximizing enjoyment!
🍪 How to Achieve Picture-Perfect Cookies Every Time
Beyond taste, presentation truly makes a difference. Here are my top tips for baking visually stunning brown butter chocolate chip cookies that look as incredible as they taste:
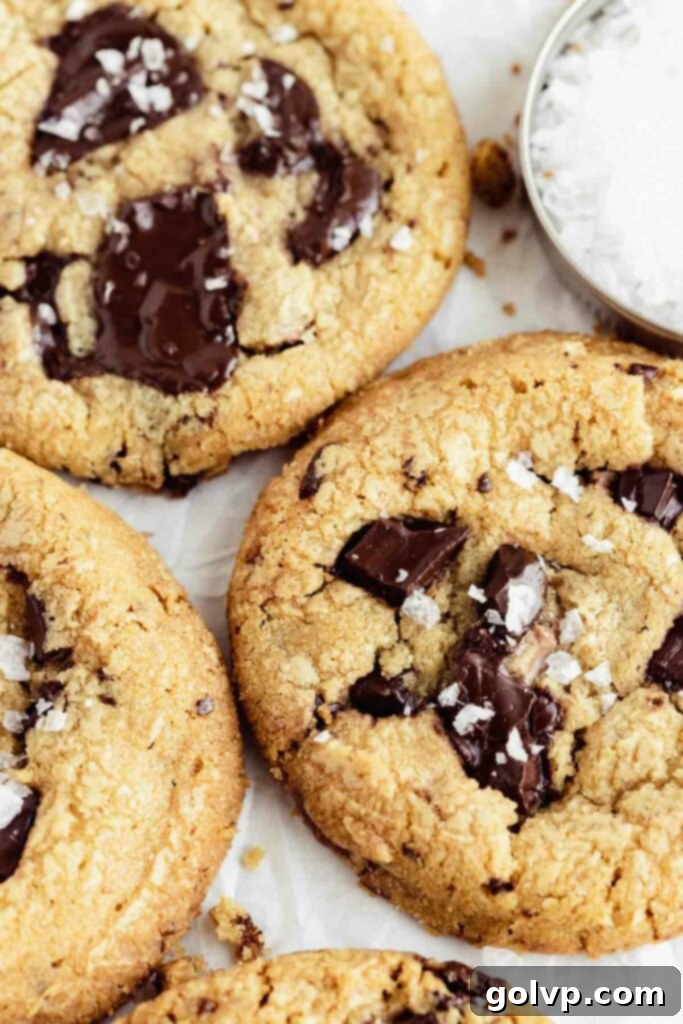
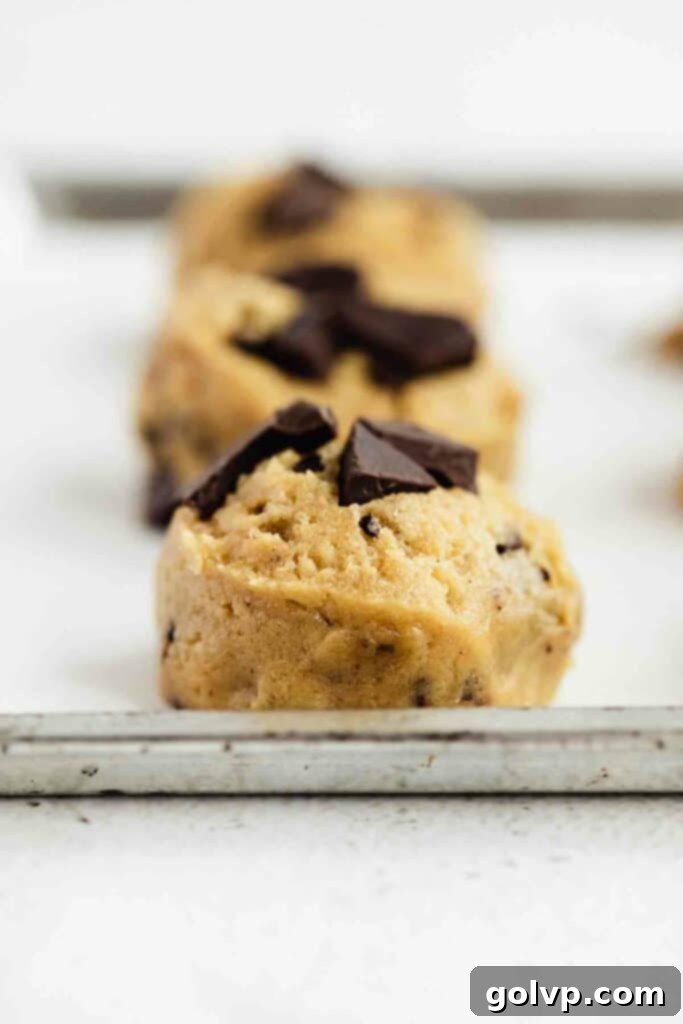
- Press Chopped Chocolate on Top Before Baking: This is a game-changer for those signature molten chocolate pools. Instead of relying solely on chocolate chips mixed into the dough, take some extra chopped chocolate – especially larger shards – and gently press them onto the top of each cookie dough ball before it goes into the oven. As the cookies bake and spread, these chocolate pieces will melt beautifully on the surface, creating irresistible, decadent puddles of chocolate that look incredibly inviting. This technique ensures a visually appealing cookie with plenty of chocolate in every visible crack and crevice.
- “Scoot” the Cookies Immediately After Baking: This professional-level trick helps create perfectly round, thicker cookies. As soon as your cookies come out of the oven, while they are still warm and pliable, use a round cookie cutter or an upside-down bowl that is slightly larger than your baked cookie. Place it over the hot cookie and gently “scoot” or shake the cutter around the cookie in a circular motion. This action pushes in any irregular edges, creating a perfectly circular shape. The longer you “scoot,” the more you’ll push the edges inward, making the cookie thicker and slightly smaller. This simple step transforms rustic-looking cookies into bakery-worthy masterpieces.
- Sprinkle with Flaky Sea Salt: The final flourish! As soon as the cookies are out of the oven and potentially “scooted,” sprinkle them generously with flaky sea salt. The salt adheres beautifully to the warm, melted chocolate and soft cookie surface. This not only enhances the flavor, providing a crucial balance to the sweetness, but also adds a professional, gourmet touch. If flaky sea salt isn’t available, a coarse sea salt or even a good quality kosher salt can be used for a similar effect. It adds visual appeal, making your cookies glisten and enticing everyone to take a bite!
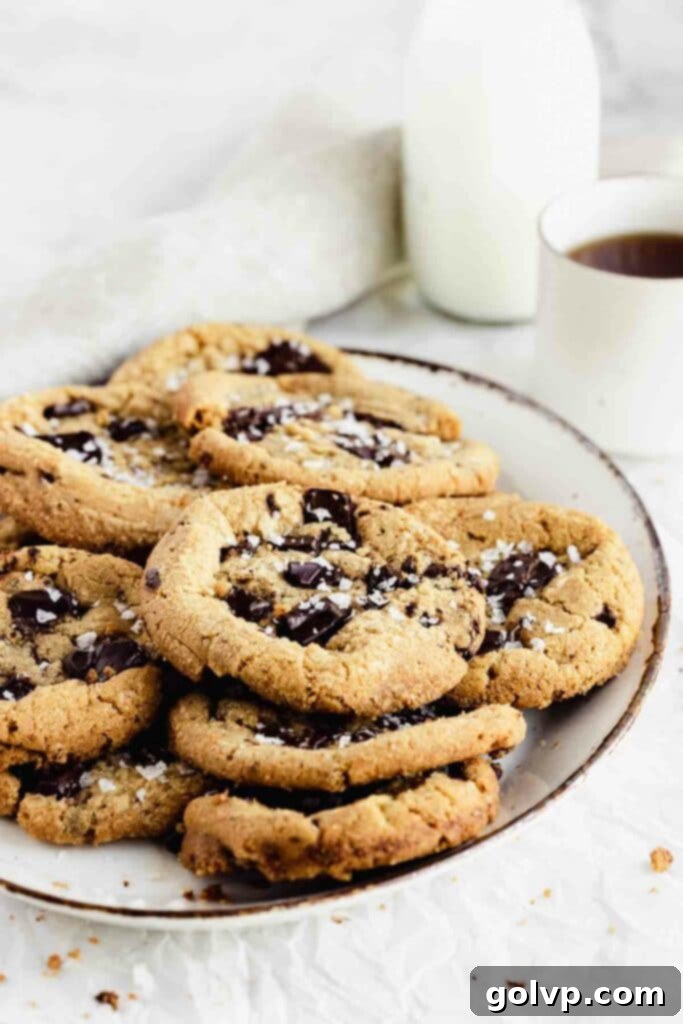
✔️ Essential Tips for Baking Success
Achieving cookie perfection is easier with a few key insights. Here are some frequently asked questions and crucial tips:
Browning butter is an incredibly simple technique that yields profound flavor dividends, elevating your chocolate chip cookies from good to extraordinary. For just an extra 5-7 minutes, you unlock a depth of flavor unrivalled by plain melted butter.
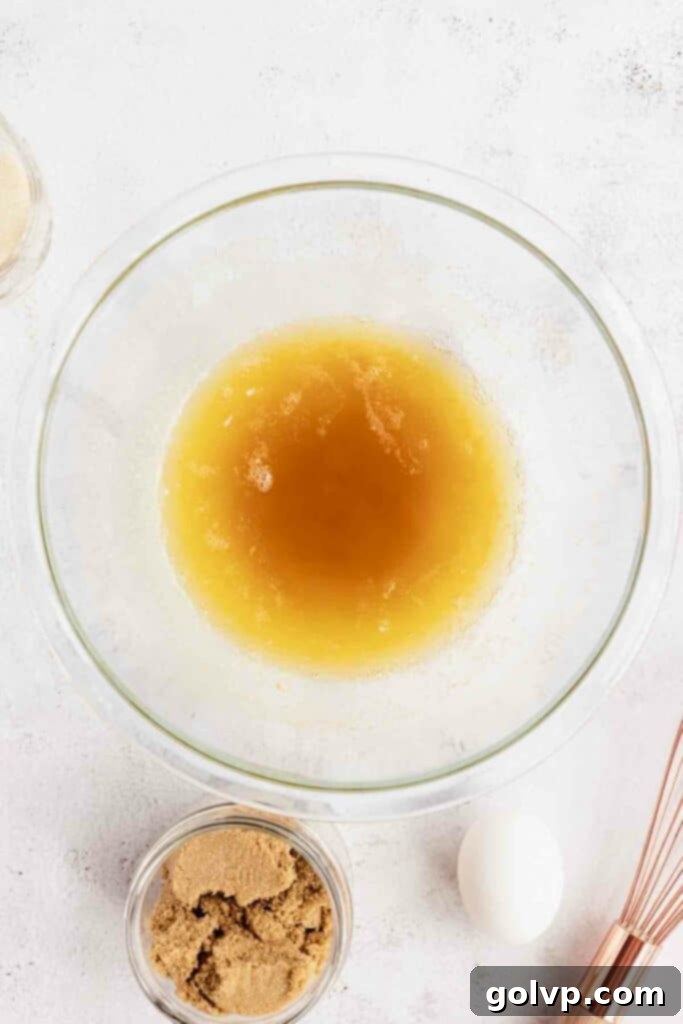
To begin, melt 1 cup of unsalted butter in a heavy-bottomed saucepan over medium-low heat. Stir constantly with a whisk or heat-proof spatula. As the butter melts, it will begin to foam. Continue stirring as the foam gradually subsides. This is when the magic starts to happen! The milk solids in the butter, which are heavier, will sink to the bottom of the pan and slowly begin to caramelize, turning a beautiful golden-brown color. You’ll notice a distinct transformation in aroma – it will shift from a plain buttery smell to a delightful, nutty, toasted scent, reminiscent of hazelnuts and rich caramel. It’s crucial to keep a close eye on the butter during this stage; it can go from perfectly browned to burnt very quickly. The key is to watch for the color of the milk solids at the bottom and to trust your nose. Once it reaches that lovely amber-brown color and emits that intoxicating toasted aroma, it’s done.
As soon as the butter hits that perfect toasty stage (and you might notice a slight re-foaming on top), immediately remove the saucepan from the heat. Stir in the remaining 2 tablespoons of cold butter. This helps to cool down the hot brown butter and stop the cooking process, preventing it from burning. Continue stirring carefully, as it will likely foam up again due to the residual heat. Promptly transfer the browned butter into a large, heatproof bowl to further cool. Allow it to cool for about 10 minutes before incorporating it into your cookie dough. This cooling period is vital, as overly hot butter can cook the eggs in your dough and affect the cookie’s texture.
Chilling cookie dough is arguably one of the most important steps for achieving professional-grade brown butter chocolate chip cookies. It’s not just a suggestion; it’s a non-negotiable step that impacts both texture and flavor.
Firstly, chilling allows the butter within the dough to re-solidify. When butter is warm, it spreads quickly in the oven, leading to thin, flat, and often overly crispy cookies. By firming up the butter, chilling prevents excessive spreading, resulting in a thicker cookie that remains beautifully chewy and delightfully gooey in the center. This creates that desirable contrast of crispy edges and a soft middle.
Secondly, chilling gives the flavors time to meld and deepen. Over several hours, or even overnight, the dry ingredients absorb moisture from the wet ingredients, which concentrates the flavors and creates a more complex, caramel-like taste after baking. The sugars have more time to fully dissolve, contributing to a smoother texture. This process is akin to marinating meat; it allows all the delicious components to become more harmonious and pronounced. Skipping this step will result in a cookie that, while still tasty, lacks the nuanced flavor and ideal texture of a chilled dough cookie.
For consistent and optimal baking results, weighing your flour with a kitchen scale is paramount. Flour is one of the most variable ingredients when measured by volume, as a cup of flour can vary significantly in weight depending on how it’s scooped and packed. This inconsistency can drastically impact your cookie’s texture.
Too much flour can lead to dense, dry, or crumbly cookies, while too little can result in cookies that spread too much and become overly thin and crispy. A cheap kitchen scale (often available for less than $20) is a worthwhile investment for any baker aiming for precision and perfect results every time.
If you absolutely don’t have a scale, you can still measure flour more accurately using a measuring cup with the “spoon and level” method. First, use a spoon to aerate or “fluff up” the flour in its bag or container. Then, gently spoon the fluffed flour into your measuring cup until it’s overflowing. Do not pack it down or tap the cup. Finally, use the flat edge of a knife or a straight-edge utensil to carefully level off the excess flour, ensuring a precise measurement without compacting the flour. This method minimizes the chances of adding too much flour, getting you closer to ideal results.
Absolutely! This recipe is incredibly freezer-friendly, making it perfect for meal prepping your desserts or having fresh-baked cookies on demand. After preparing the cookie dough and rolling it into individual balls (and pressing extra chocolate on top), arrange them on a baking sheet lined with parchment paper. Place the tray in the freezer until the cookie dough balls are completely solid, typically 1-2 hours. Once frozen solid, transfer the dough balls into an airtight freezer-safe bag or container. This prevents freezer burn and keeps them fresh for up to three months.
When you’re ready to bake, simply preheat your oven and bake the cookies directly from frozen. There’s no need to thaw! You will, however, need to adjust the baking time slightly. Add an extra 2-5 minutes to the recommended baking time, keeping a close eye on them to ensure the edges are golden brown and the centers are still wonderfully soft.
While it might seem convenient to use salted butter if that’s all you have on hand, I strongly advise against it for browning. I’ve experimented with several brands of salted butter for browning, and almost without exception, the results have been disappointing. The salt crystals can burn during the browning process, leading to a distinct bitter or even metallic aftertaste that can detract significantly from the delicate, nutty, and caramel notes you want from brown butter. Unsalted butter is the superior choice for browning, allowing you to control the salt content later in the recipe and ensuring the pure, rich flavor of the browned butter shines through without any undesirable off-notes.
Explore More Delicious Recipes:
- Brown Butter Chocolate Chip Edible Cookie Dough
- Decadent Brown Butter Blondies
- Ultimate Cookie Dough Fudgy Brownie Cake
🧈 Key Ingredients for Exceptional Flavor
The full list of ingredients with precise measurements and detailed step-by-step instructions can be found in the comprehensive recipe card below.
- Unsalted Butter: This is the star of our show! Opt for a high-quality, real unsalted butter. Using unsalted butter is crucial because it allows you to control the overall salt content in the recipe. Salted butter, especially when browned, can develop an unpleasant bitter or metallic taste, which we want to avoid for the best brown butter flavor.
- Brown Sugar (Packed): Packed brown sugar is essential for achieving that signature chewy texture and contributes a rich, molasses-infused caramel flavor. Its moisture content helps keep the cookies soft and gooey in the middle.
- Granulated Sugar: Working in harmony with brown sugar, granulated sugar plays a vital role in providing structure and encouraging those coveted crispy edges and a delicate crackle on top. It also ensures the cookies aren’t overly soft.
- Large Egg: A single large egg acts as a binder, providing structure, moisture, and richness to the cookie dough. It helps emulsify the ingredients and contributes to the body and chewiness of the final cookie.
- Pure Vanilla Extract: Don’t skimp on quality here! A good quality pure vanilla extract is indispensable for enhancing and rounding out the overall flavor profile of your cookies, adding a layer of warmth and sweetness.
- Sea Salt (Fine or Flaky): Beyond just balancing sweetness, salt is a flavor enhancer that deepens all the other tastes in the cookie. It won’t make your cookies salty in an unpleasant way; rather, it makes them taste more “complete” and highlights the chocolate and caramel notes. Flaky sea salt for finishing is highly recommended for texture and visual appeal.
- All-Purpose White Flour: The foundation of our cookie structure. Accurate measurement is key! Please weigh your flour for the most consistent results, or use the “spoon and level” method detailed in the tips section above to avoid adding too much, which can lead to dry, dense cookies.
- Baking Soda: This leavening agent helps the cookies spread and puff slightly, contributing to their soft texture and aiding in the beautiful golden-brown color during baking.
- Chopped Semisweet Chocolate or Chocolate Chips: For the most decadent, molten chocolate pools, I highly recommend using a good quality semisweet chocolate bar, roughly chopped. The irregular sizes of chopped chocolate melt more beautifully than uniform chocolate chips. If using chips, ensure they are high quality. You can substitute with a bitter dark chocolate (70% cocoa or higher) for a less sweet, more intense chocolate flavor.
- Chopped Milk Chocolate or Chocolate Chips: Adding a portion of milk chocolate introduces a lovely creamy sweetness and another layer of flavor complexity. This creates a multi-dimensional chocolate experience. If you prefer, you can substitute this with more dark or semisweet chocolate.
🥄 Step-by-Step Baking Instructions
Follow these straightforward steps to create your perfect batch of brown butter chocolate chip cookies:
- Begin by preparing the brown butter: Melt the butter gently, stirring until it turns a beautiful amber color with nutty aromas.
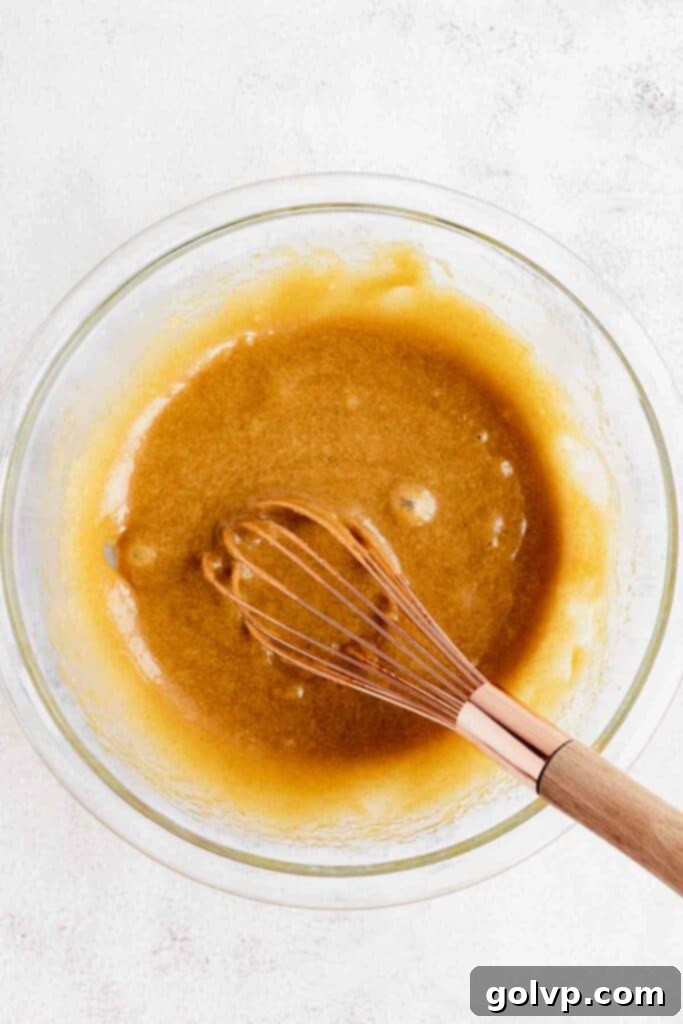
- Combine Sugars with Brown Butter: Once the brown butter has cooled slightly, add both the brown and granulated sugars, whisking until the mixture is smooth and well combined.
- Incorporate Wet Ingredients: Beat in the large egg, salt, and pure vanilla extract until the mixture becomes noticeably lighter in color and fluffy, indicating proper aeration.
- Fold in Dry Ingredients: Sift the all-purpose flour and baking soda directly into the wet mixture. Gently fold with a wooden spoon or spatula until just combined; be careful not to overmix.
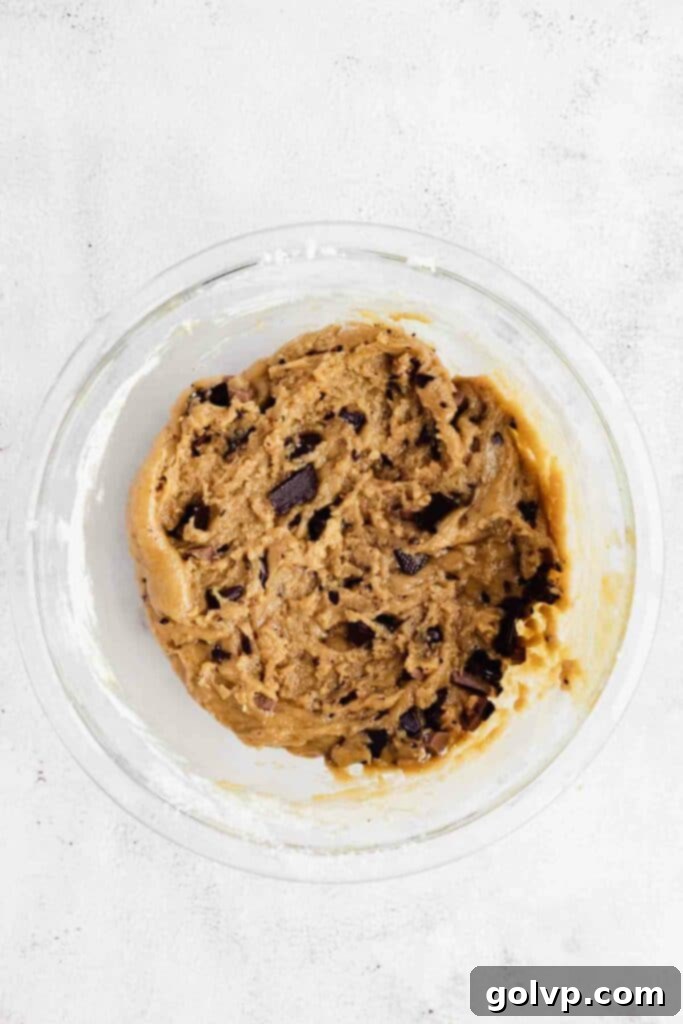
- Add the Chocolate: Stir in the majority of your chopped semisweet and milk chocolate, reserving about ¼ to ⅓ cup for pressing on top later. Fold until the chocolate is evenly distributed.
- Scoop and Chill the Dough: Scoop or roll the dough into 12 evenly sized balls. Press the reserved chocolate pieces onto the tops of each dough ball. Arrange them on a parchment-lined baking sheet and chill in the refrigerator for at least 30 minutes, or even better, overnight.
- Preheat and Bake: Preheat your oven to 180°C (350°F). Bake the chilled cookie dough balls for 12-15 minutes. Look for golden-brown edges; the centers should still appear soft and slightly underbaked for that perfect gooey texture.
- “Scoot” for Perfect Rounds: Immediately after removing from the oven, use a large cookie cutter or an upside-down bowl to “scoot” the warm cookies into perfectly round, thicker shapes.
- Cool and Enjoy: Allow the cookies to cool on the baking sheet for a few minutes before transferring them to a wire rack to cool completely. Sprinkle with flaky salt if desired, then dig in!
Happy baking, and enjoy these truly special brown butter chocolate chip cookies! xx
Have you tried this incredible recipe? I’d absolutely love to hear your thoughts! Please consider leaving a rating and sharing your experience in the comments section below.
Don’t forget to share your beautiful cookie creations on Instagram and tag @flouringkitchen so I can see your masterpieces!
📖 Recipe: Brown Butter Chocolate Chip Cookies

Brown Butter Chocolate Chip Cookies
Mary
Pin Recipe
Shop Ingredients
Equipment
-
Heavy bottomed sauce pan
-
Whisk
-
Parchment paper
-
Baking Sheets
-
Rubber Spatula or Wooden Spoon
-
Cookie Scoop (optional)
-
Kitchen Scale (recommended)
Ingredients
For the Brown Butter
- 1 cup unsalted butter cold, for browning
- 2 tablespoons unsalted butter cold, for cooling brown butter
For the Brown Butter Cookie Dough
- ¾ cup packed light brown sugar
- ½ cup granulated sugar
- 1 large egg
- 1 teaspoon pure vanilla extract
- ¼ teaspoon fine sea salt
- 1 ¼ cup all purpose white flour (150g, weighed for accuracy)
- ½ teaspoon baking soda
- 1 ⅓ cup chopped semisweet chocolate or high-quality chocolate chips (reserve ⅓ cup for topping)
- ¼ cup chopped milk chocolate or high-quality chocolate chips
- Flaky sea salt (for sprinkling on top after baking)
Shop Ingredients on Jupiter
Instructions
Preparing the Brown Butter
-
Melt 1 cup of cold unsalted butter in a heavy-bottomed saucepan over medium-low heat. Stir constantly with a whisk to ensure even cooking. The butter will melt, then foam. Keep stirring as the foam gradually subsides. You’ll notice the milk solids at the bottom of the pan caramelizing into a beautiful golden-brown color, and a rich, nutty, caramel-like aroma will fill your kitchen. It’s crucial to watch it closely during this stage, as it can go from perfectly browned to burnt very quickly.1 cup unsalted butter
-
Immediately remove the saucepan from the heat once the butter achieves that deep, toasty brown color and fragrant aroma. Stir in the remaining 2 tablespoons of cold unsalted butter. This helps to rapidly cool the brown butter and halt the cooking process. Continue stirring carefully as it will likely foam up again. Promptly transfer the browned butter into a large, heatproof bowl to cool. Allow it to cool for at least 10-15 minutes before proceeding; it should still be warm but not scorching hot.2 tablespoons unsalted butter
Making the Cookie Dough
-
Add both sugars (packed brown sugar and granulated sugar) to the slightly cooled brown butter. Whisk vigorously until the mixture is completely smooth, creamy, and thoroughly combined.¾ cup packed light brown sugar, ½ cup granulated sugar
-
Incorporate the egg, fine sea salt, and pure vanilla extract into the sugar-butter mixture. Continue beating with a whisk until the mixture becomes lighter in color, thick, and fluffy, indicating it’s well aerated. This usually takes about 2-3 minutes of vigorous whisking.1 large egg, 1 teaspoon pure vanilla extract, ¼ teaspoon fine sea salt
-
Sift the all-purpose flour and baking soda directly into the wet ingredients. Using a wooden spoon or rubber spatula, gently fold the dry ingredients into the wet mixture until just combined. Be careful not to overmix, as this can lead to tough cookies. Stop folding as soon as most of the flour streaks disappear.1 ¼ cup all purpose white flour, ½ teaspoon baking soda
-
Fold in the chocolate. Add 1 cup of the chopped semisweet chocolate and all of the chopped milk chocolate to the dough. Reserve the remaining ⅓ cup of semisweet chocolate for pressing on top later. Gently fold the chocolate into the dough until it’s evenly distributed. Again, avoid overmixing. You can adjust the chocolate quantity to your preference for more or less chocolatey cookies. Let the dough rest for 5 minutes to hydrate before scooping.1 ⅓ cup chopped semisweet chocolate or chocolate chips, ¼ cup chopped milk chocolate or chocolate chips
-
Scoop and Chill the Dough. Using a 1.5-inch cookie scoop or your hands, roll the dough into 12 uniform balls. Arrange them on a parchment-lined baking pan. Take the reserved ⅓ cup of chopped semisweet chocolate and press additional pieces onto the tops of each cookie dough ball. This creates those beautiful chocolate puddles during baking. Refrigerate the cookie dough balls for a minimum of 30 minutes, or for best flavor development and texture, chill them overnight (up to 24 hours).
-
Preheat oven to 180°C (350°F). While the oven preheats, take the chilled cookie dough out of the refrigerator. Prepare another baking sheet by lining it with fresh parchment paper. Arrange the cookie dough balls on the prepared sheet, ensuring they are spaced 2-3 inches apart to allow for spreading.
-
Bake the cookies at 180°C (350°F) for 12-15 minutes. The baking time can vary slightly depending on your oven. Look for edges that are beautifully golden brown, while the middles should still appear soft, slightly puffy, and perhaps a little underbaked. Do not overbake, as this will prevent them from being delightfully gooey in the center. If baking from frozen dough, add an extra few minutes to the baking time (typically 15-18 minutes), but start checking for doneness after 13 minutes.
-
Scoot the cookies for perfect shape (optional, but recommended): As soon as the cookies come out of the oven, while they are still hot and pliable, use a large cookie cutter or an upside-down bowl that is slightly larger than the cookie. Place it over a cookie and gently “scoot” or shake the cookie cutter around in a circular motion. This technique pushes in any uneven edges, resulting in a perfectly round and thicker cookie. Continue for as long as you like until your desired shape and thickness are achieved.
-
Cool and Serve. Allow the freshly baked cookies to cool on the baking sheet for at least 5-10 minutes before carefully transferring them to a wire rack to cool completely. This resting period allows them to set up properly. Once cooled, they are ready to be devoured! For optimal freshness, store any leftover cookies in an airtight container at room temperature for up to 4 days.
Video Tutorial
Baker’s Notes
This cookie dough is excellent for making ahead! After scooping the dough into balls and pressing the additional chocolate on top, place them on a tray and freeze until completely solid. Once frozen, transfer the individual dough balls into an airtight freezer bag or container. They can be stored in the freezer for up to three months. To bake from frozen, simply add the cookie dough balls to a parchment-lined baking sheet and bake for an extra few minutes (typically 15-18 minutes at 180°C/350°F), keeping a close eye on them to ensure the edges are golden and the centers remain soft.
Key Tips for Ultimate Success:
- Quality Butter Matters: Always use a good quality, unsalted real butter for the best browning results and most superior flavor in your cookies. Avoid salted butter for browning to prevent bitter notes.
- Weigh Your Flour: For precise and consistent results, weigh your all-purpose flour using a kitchen scale. If you don’t have one, refer to the “spoon and level” method in the FAQs above for more accurate volumetric measurement.
- Do Not Overmix the Dough: Once the flour is added, mix only until just combined. Overmixing develops gluten, leading to tougher, less tender cookies.
- Choose High-Quality Chocolate: The type and quality of chocolate significantly impact the final taste and texture. Use good quality chocolate bars, preferably chopped, to create luscious pools of melted chocolate. A serrated knife can make chopping chocolate easier.
- CHILL THE DOUGH: This is a non-negotiable step for achieving that perfect crispy edge and chewy, gooey middle. Chill the dough for at least 30 minutes, or ideally, overnight (8-24 hours). Longer chilling times also allow flavors to deepen, resulting in a more complex and delicious cookie.
- Watch Your Bake Time: Bake the cookies just until the edges are beautifully golden brown. The centers should still look slightly soft and underbaked. This ensures that coveted gooey texture once they cool slightly. Remember, cookies continue to cook for a few minutes after they are removed from the oven.
- Flaky Sea Salt: Don’t skip the sprinkle of flaky sea salt right after baking! It provides a delightful textural contrast and enhances all the incredible flavors.
