Irresistible No-Bake Biscoff Cheesecake: Your Ultimate Guide to a Creamy Cookie Butter Dream
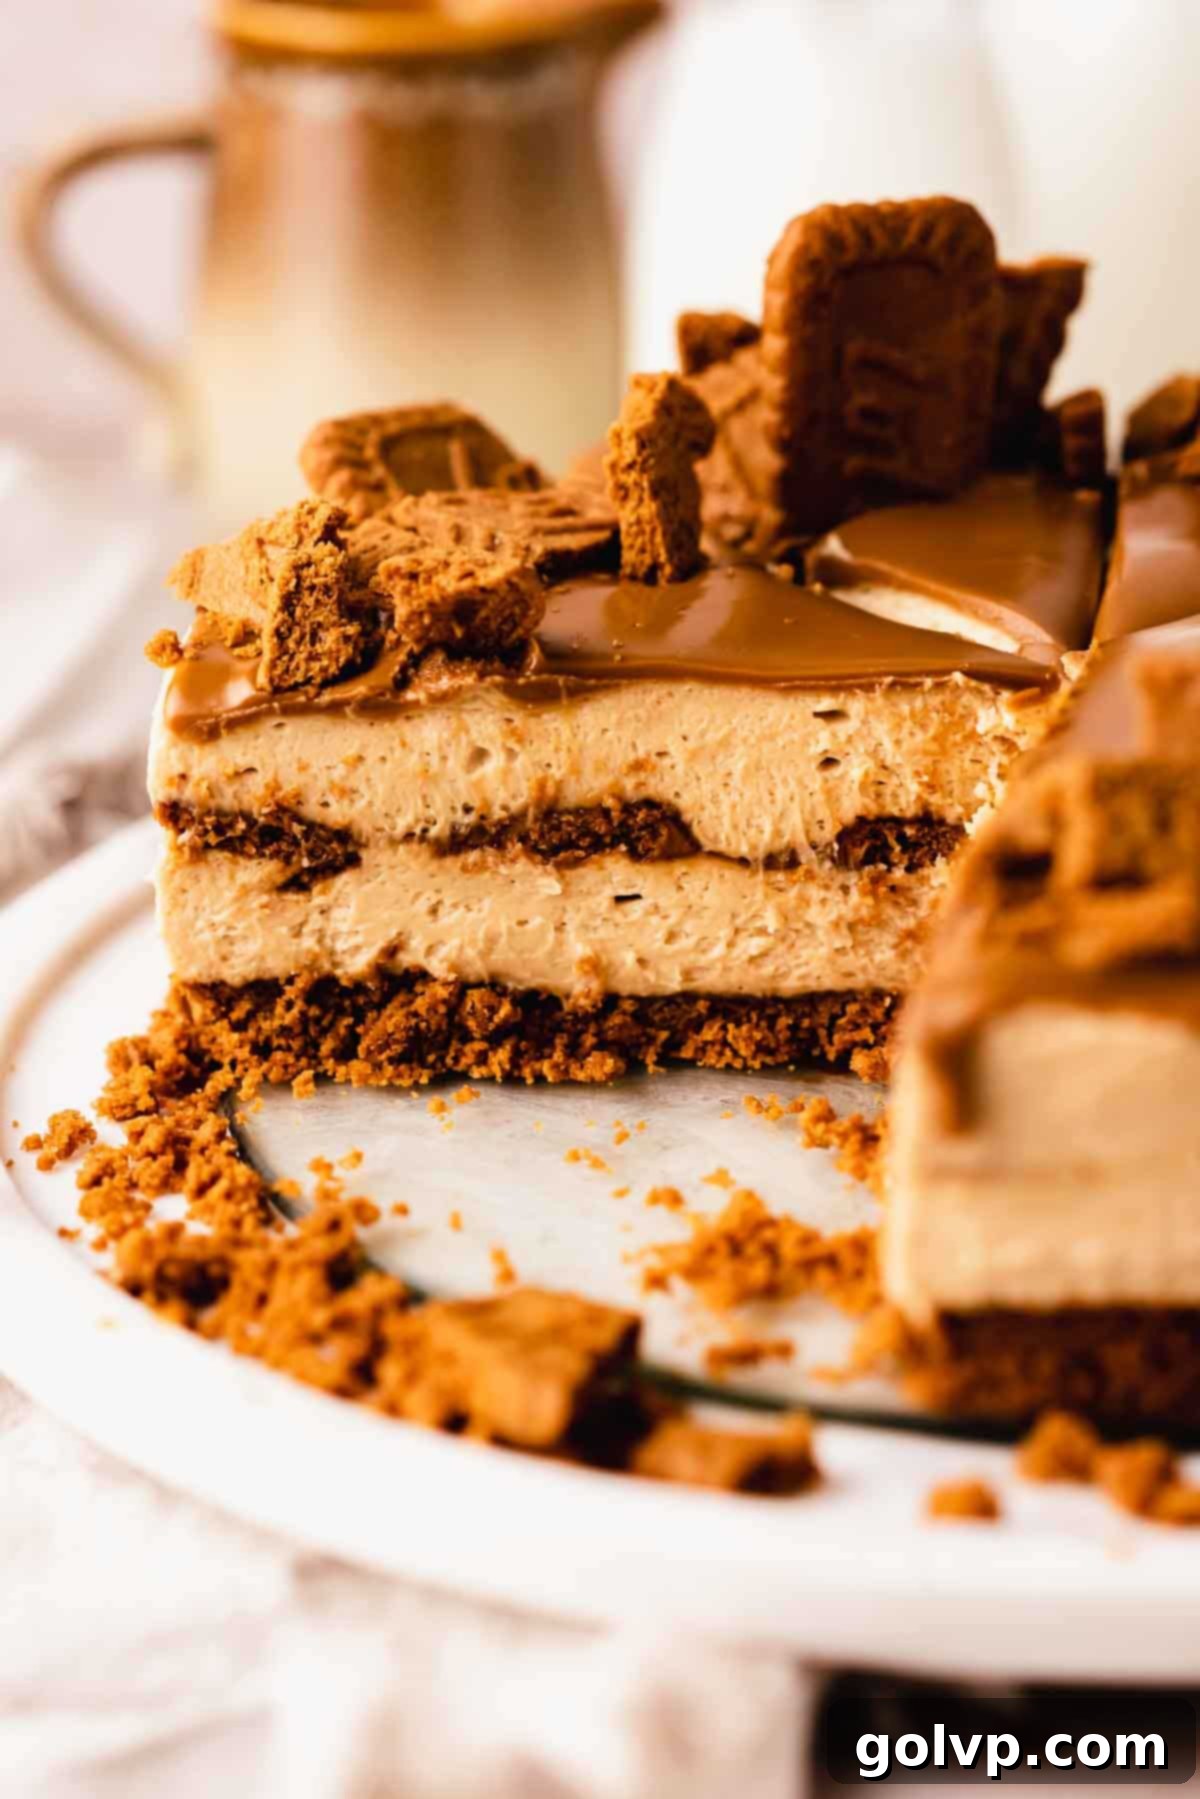
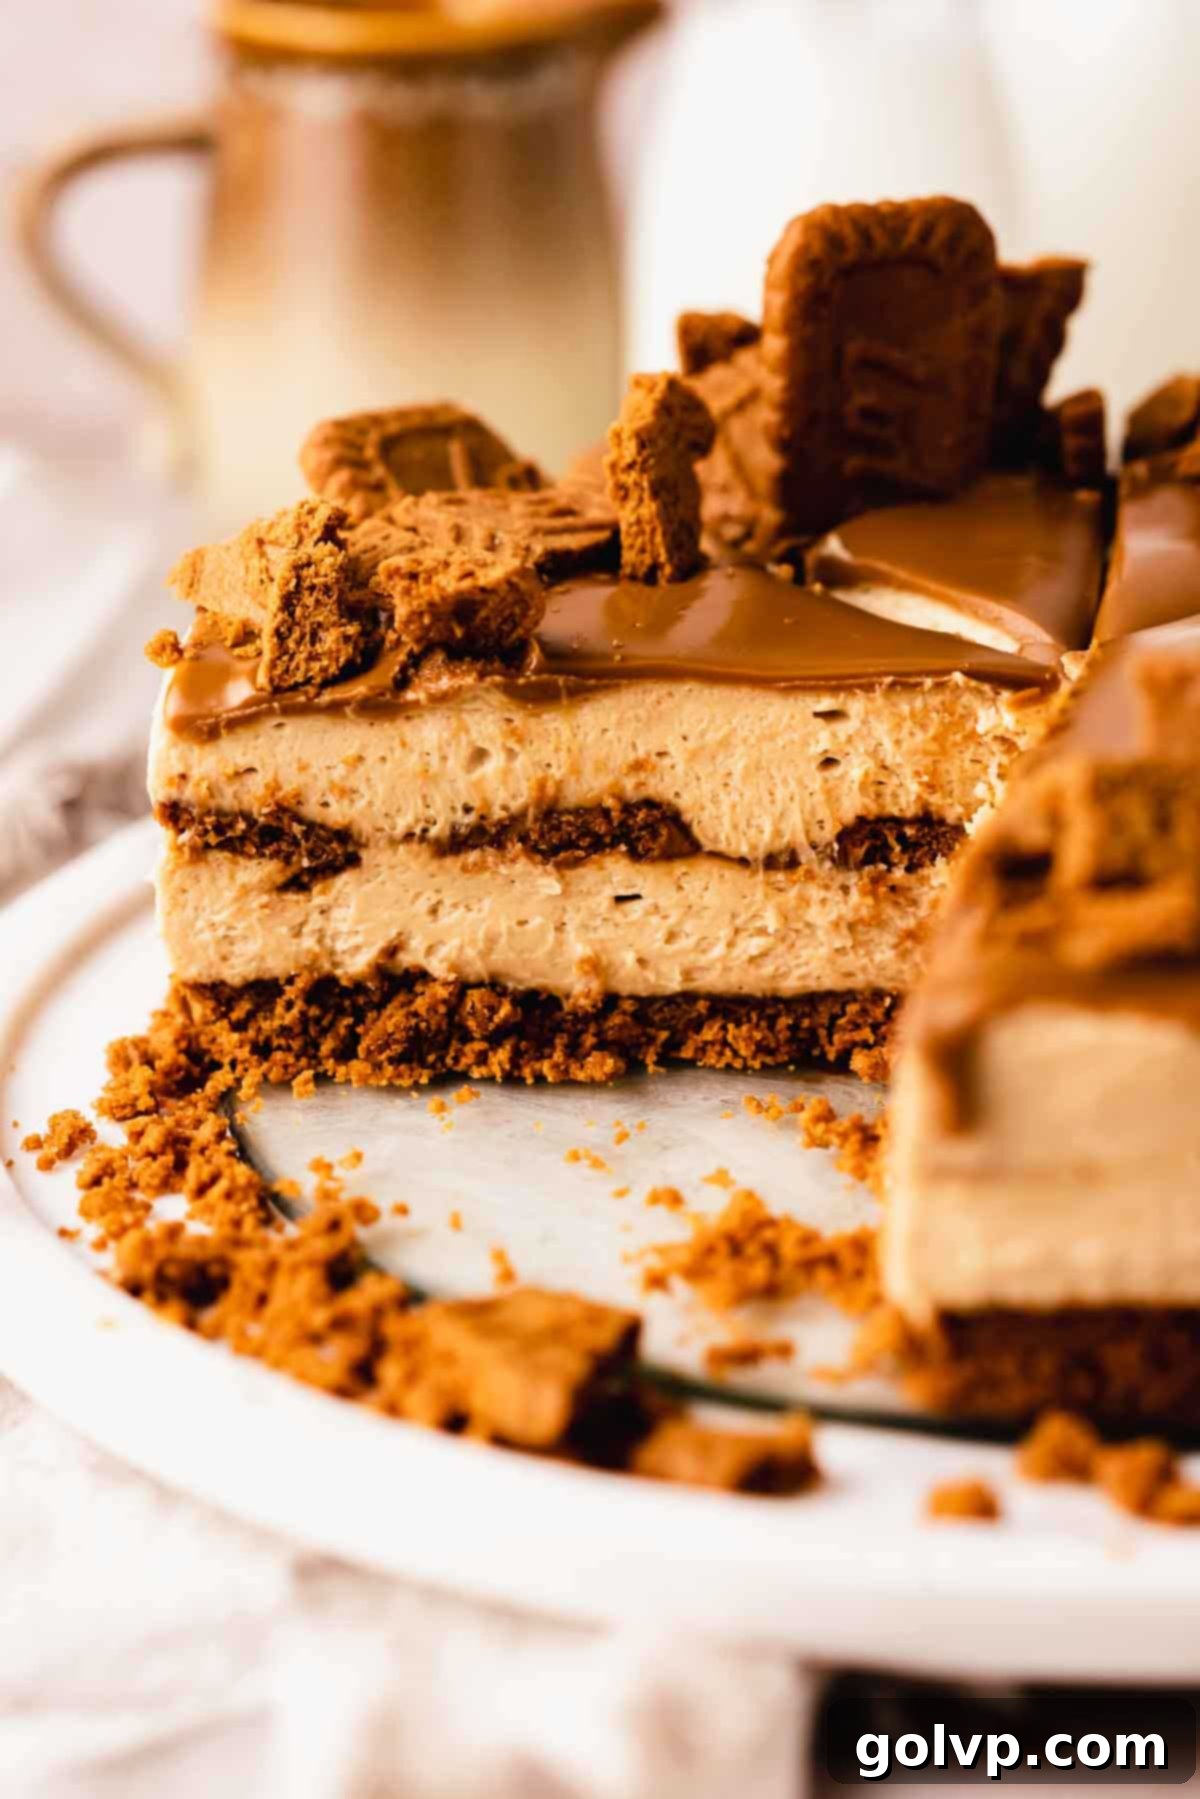
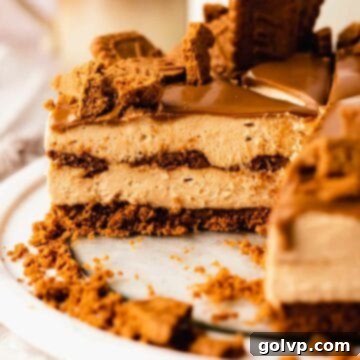
Prepare to be enchanted by this truly irresistible no-bake Biscoff cheesecake. It’s a masterpiece of velvety texture and deep caramelized flavor, designed to delight every palate. This dessert features a robust, crunchy Biscoff cookie crust, a luxuriously creamy filling infused with generous amounts of Biscoff cookie butter, and a delightful surprise: a hidden layer of more Biscoff spread and crushed cookies nestled within. This isn’t just a cheesecake; it’s a cookie butter dream come true, offering an unparalleled experience of sweet, spiced perfection. Best of all, it’s incredibly easy to make with minimal ingredients and absolutely no baking required, meaning you can whip up this showstopper dessert in record time, perfect for any occasion.
[feast_advanced_jump_to]
🎂 Why You’ll Adore This No-Bake Biscoff Cheesecake Recipe
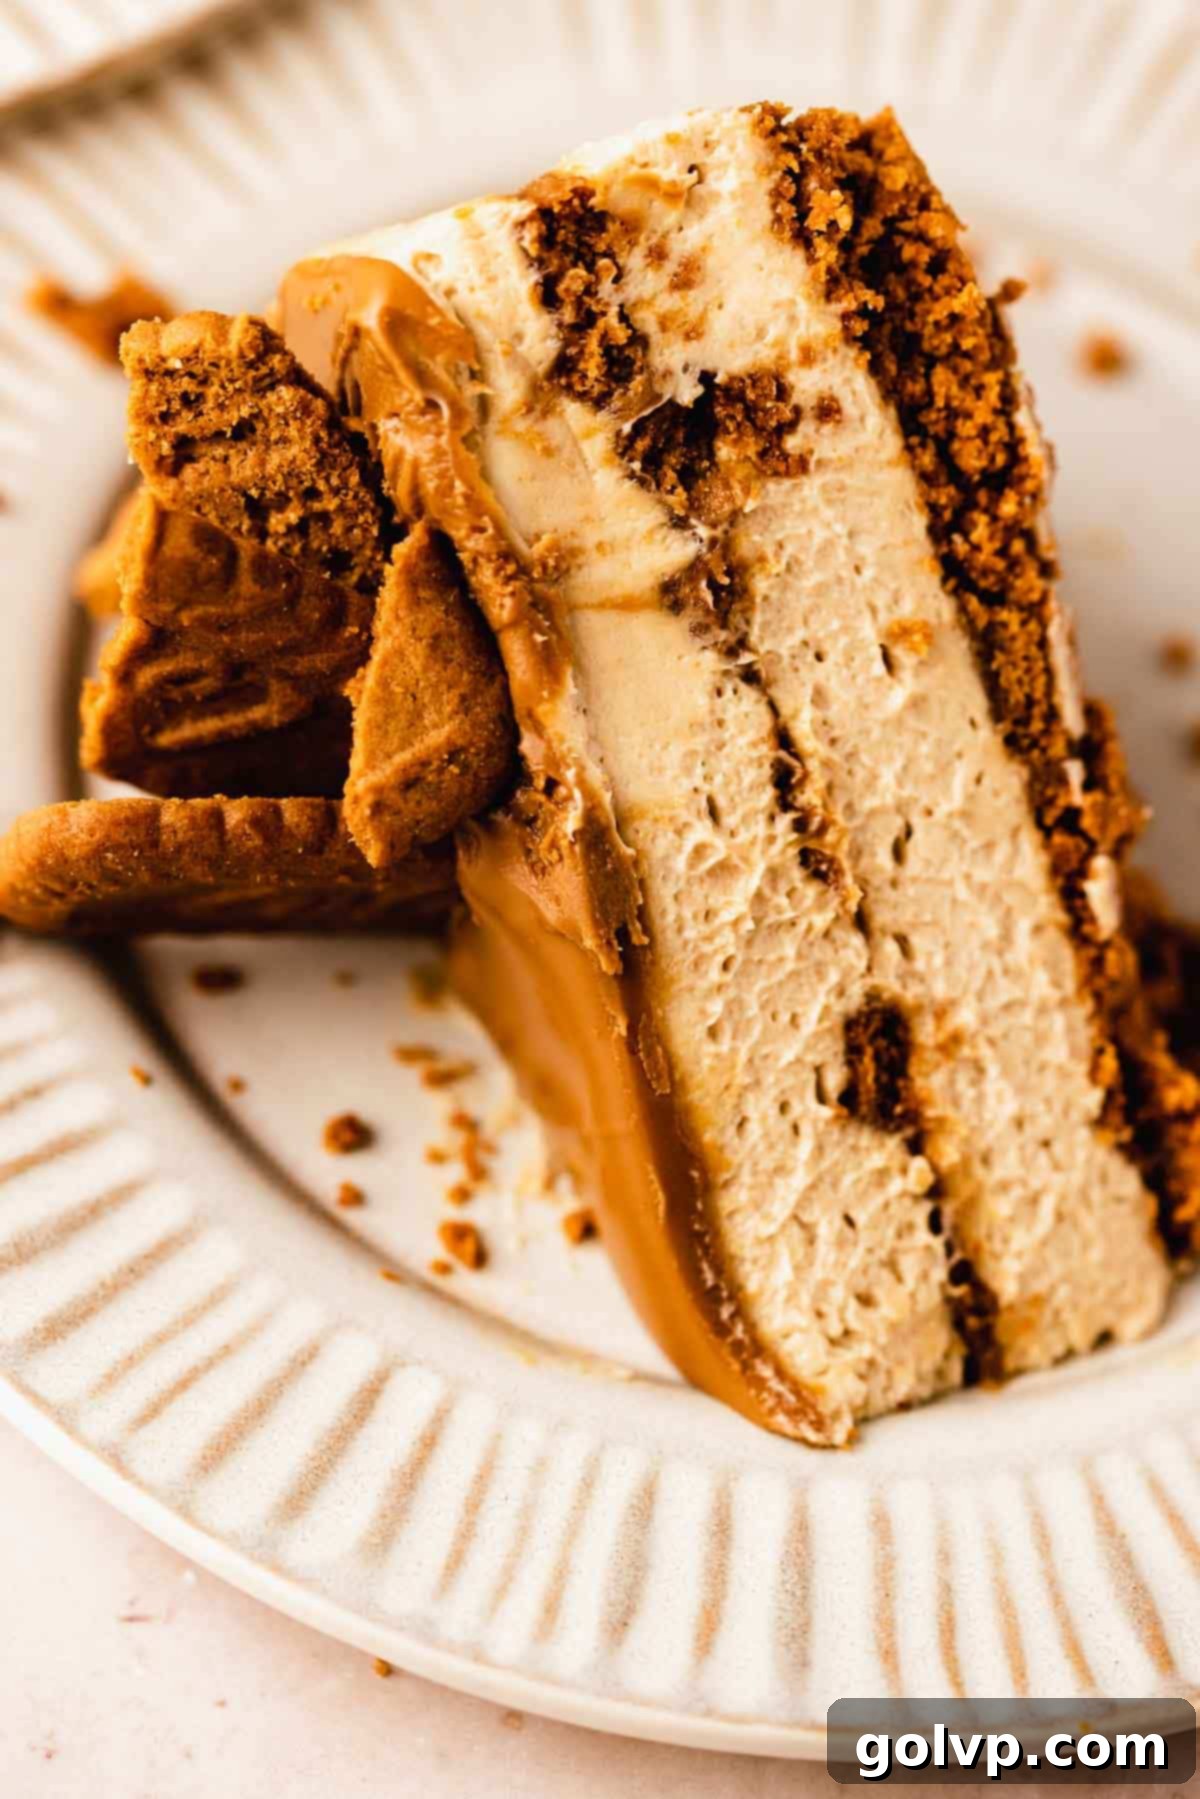
- Unbelievably Creamy: The cheesecake filling is exceptionally smooth and velvety, melting in your mouth with every bite. This rich, luxurious texture is perfectly complemented by the contrasting crunch of the spiced Biscoff cookie crust, creating a harmonious and utterly satisfying dessert experience.
- Abundant Cookie Butter Flavor: If you’re a fan of Biscoff, you’re in for a treat! This recipe maximizes that signature cookie butter taste by incorporating it directly into the creamy filling, creating a decadent middle layer, and adding a generous drizzle on top. Each component is thoughtfully designed to deliver an explosion of warm, caramelized spice.
- Layers of Biscoff Cookie Delight: Not only does this cheesecake feature a foundational crust made from Biscoff cookies, but it also includes delightful pockets of crushed Biscoff cookies in the middle layer. To crown this masterpiece, a scattering of cookies adorns the top, ensuring that every forkful delivers that beloved crunchy Biscoff texture and flavor.
- Effortless & Simple: Say goodbye to complicated baking techniques! This is a true no-bake cheesecake, making it incredibly straightforward and stress-free to prepare. With its minimal ingredient list and simple assembly steps, it’s the perfect dessert for both novice bakers and seasoned pros looking for an easy yet impressive treat.
📝 Essential Ingredients for Your Biscoff Cheesecake
Read through for all the tips you will need for success!
Full steps and ingredients in the comprehensive recipe card below.
- Biscoff Cookies: These iconic Belgian speculoos cookies form the flavorful foundation of our crust. Their unique caramelized flavor and crisp texture are irreplaceable. If Biscoff specifically isn’t available in your region, you can confidently use other speculoos cookies as a substitute; they offer a very similar spiced, buttery profile.
- Biscoff Spread (Cookie Butter): This is the star ingredient that infuses the entire cheesecake with its distinctive taste. You’ll need approximately 1.5 standard jars of Biscoff spread for this recipe, ensuring rich flavor throughout the filling, the luscious middle layer, and the final decadent topping. Look for the smooth variety for the best texture and finish.
- Full-Fat Cream Cheese: For an ultra-creamy, firm, and perfectly set cheesecake, full-fat, brick-style cream cheese is absolutely crucial. Avoid using low-fat or whipped cream cheese varieties, as they contain a higher water content that will prevent your cheesecake from setting correctly, resulting in a runny dessert. Ensure it’s softened to room temperature for a smooth, lump-free filling.
- Heavy Whipping Cream: This ingredient is vital for achieving the cheesecake’s airy and light yet stable structure. Use a whipping cream with a minimum of 35% milk fat (or heavy cream) to guarantee that it whips up to stiff peaks successfully. Proper whipping ensures your cheesecake sets beautifully and maintains its indulgent texture.
Got extra Biscoff on hand after making this amazing cheesecake? Don’t let it go to waste! Try these equally delicious Biscoff stuffed cookies for a chewy, sweet treat, or bake this incredible Biscoff cake for another spiced dessert masterpiece. Your Biscoff cravings will thank you!
👩🍳 Step-by-Step Guide: Crafting Your Biscoff Cheesecake
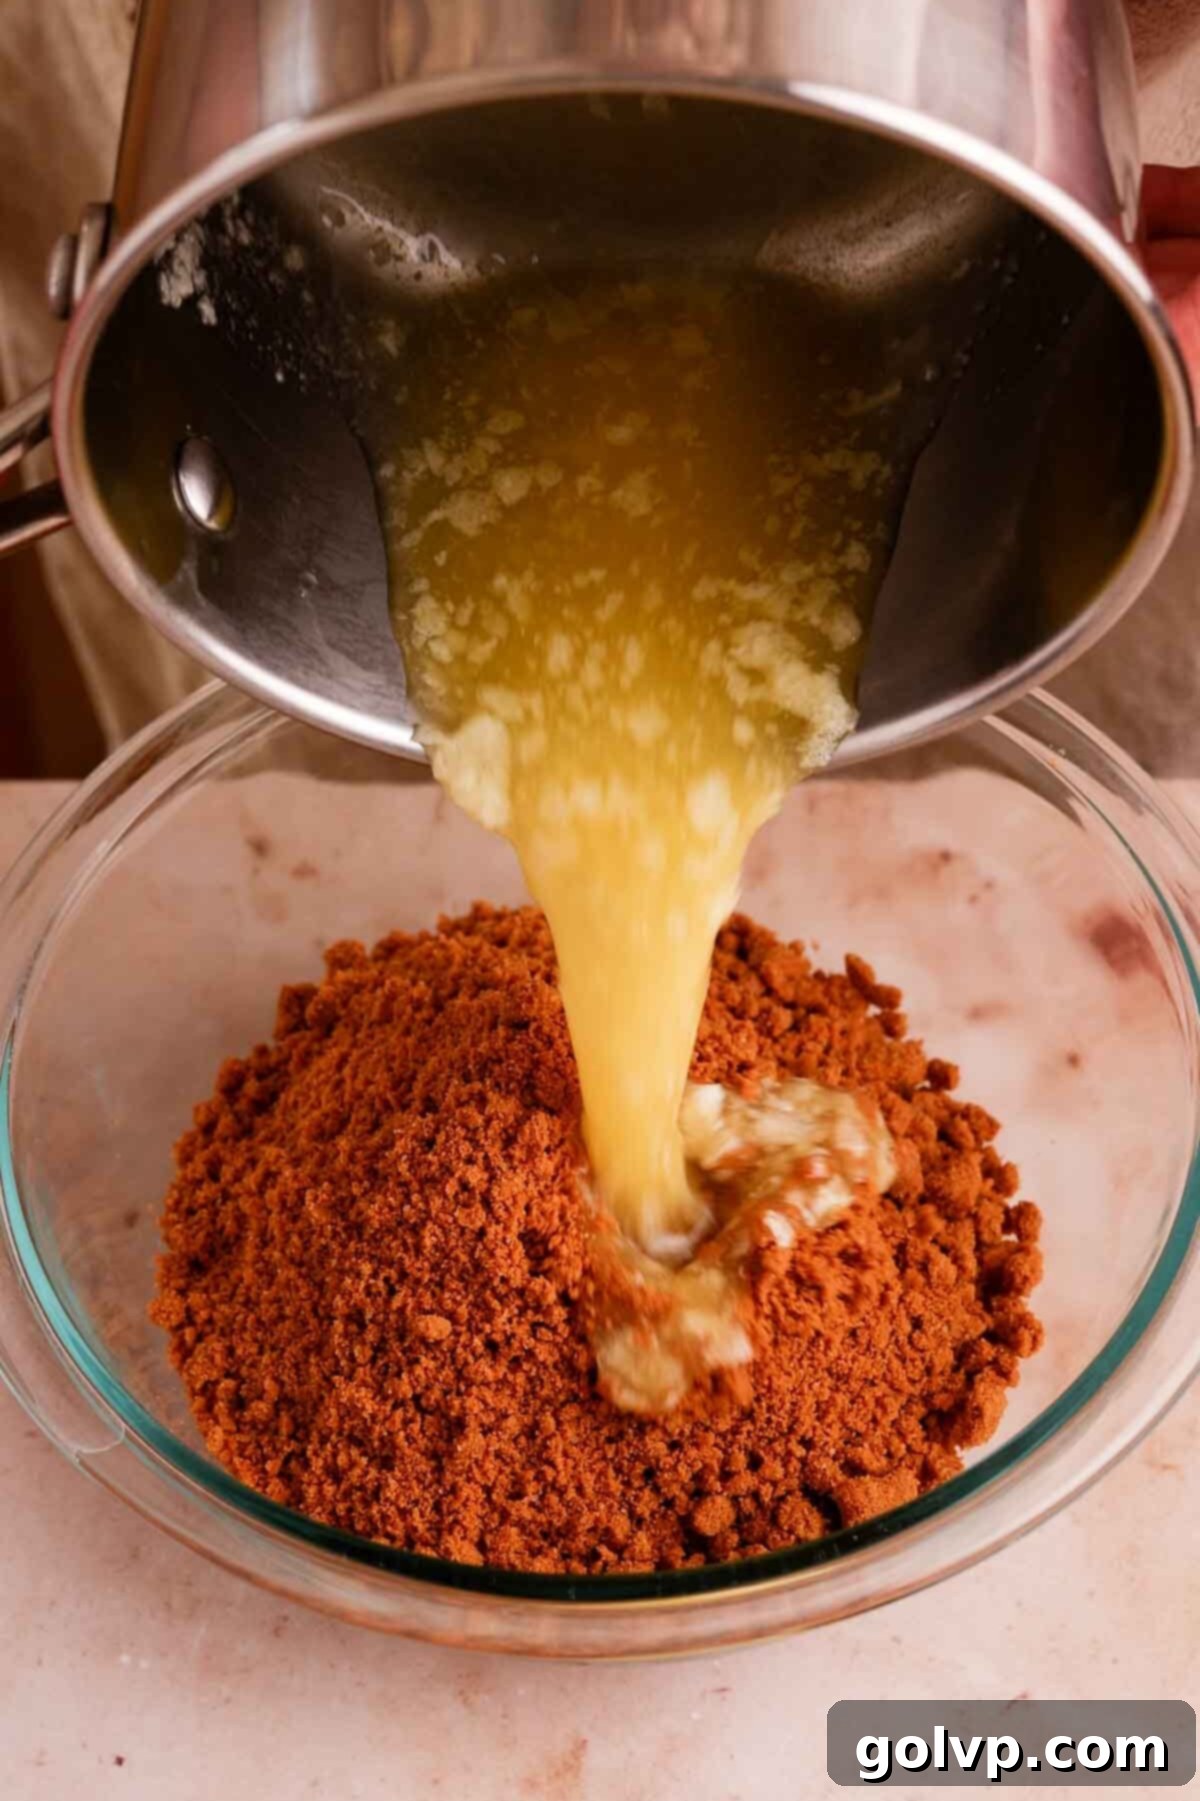
Step 1: Prepare Your Pan and Crust. Begin by lining the bottom of an 8-inch or 9-inch springform round baking pan with a circle of parchment paper. This step is optional but highly recommended as it greatly assists in effortlessly sliding the finished cheesecake onto a serving plate later. Next, take your Biscoff cookies and crush them thoroughly. You can achieve this by pulsing them in a food processor until very fine crumbs are formed, or by placing them in a zippered bag and crushing them with a rolling pin. The finer the crumbs, the more cohesive and sturdy your crust will be. Once crushed, transfer the crumbs to a bowl, add the melted unsalted butter and a pinch of sea salt, then stir everything together until the mixture is evenly moistened.

Step 2: Form the Crust. Carefully pour the prepared Biscoff cookie crust mixture into the lined springform pan. Use the back of a spoon or the bottom of a flat-bottomed glass to spread the mixture out evenly across the base of the pan. It’s crucial to press down very firmly and tightly, compacting the crumbs to create a solid and stable crust. This firm pressing prevents the crust from becoming too crumbly when sliced. Once compacted, place the pan in the refrigerator to chill while you prepare the filling, allowing the butter to solidify and bind the crust together.
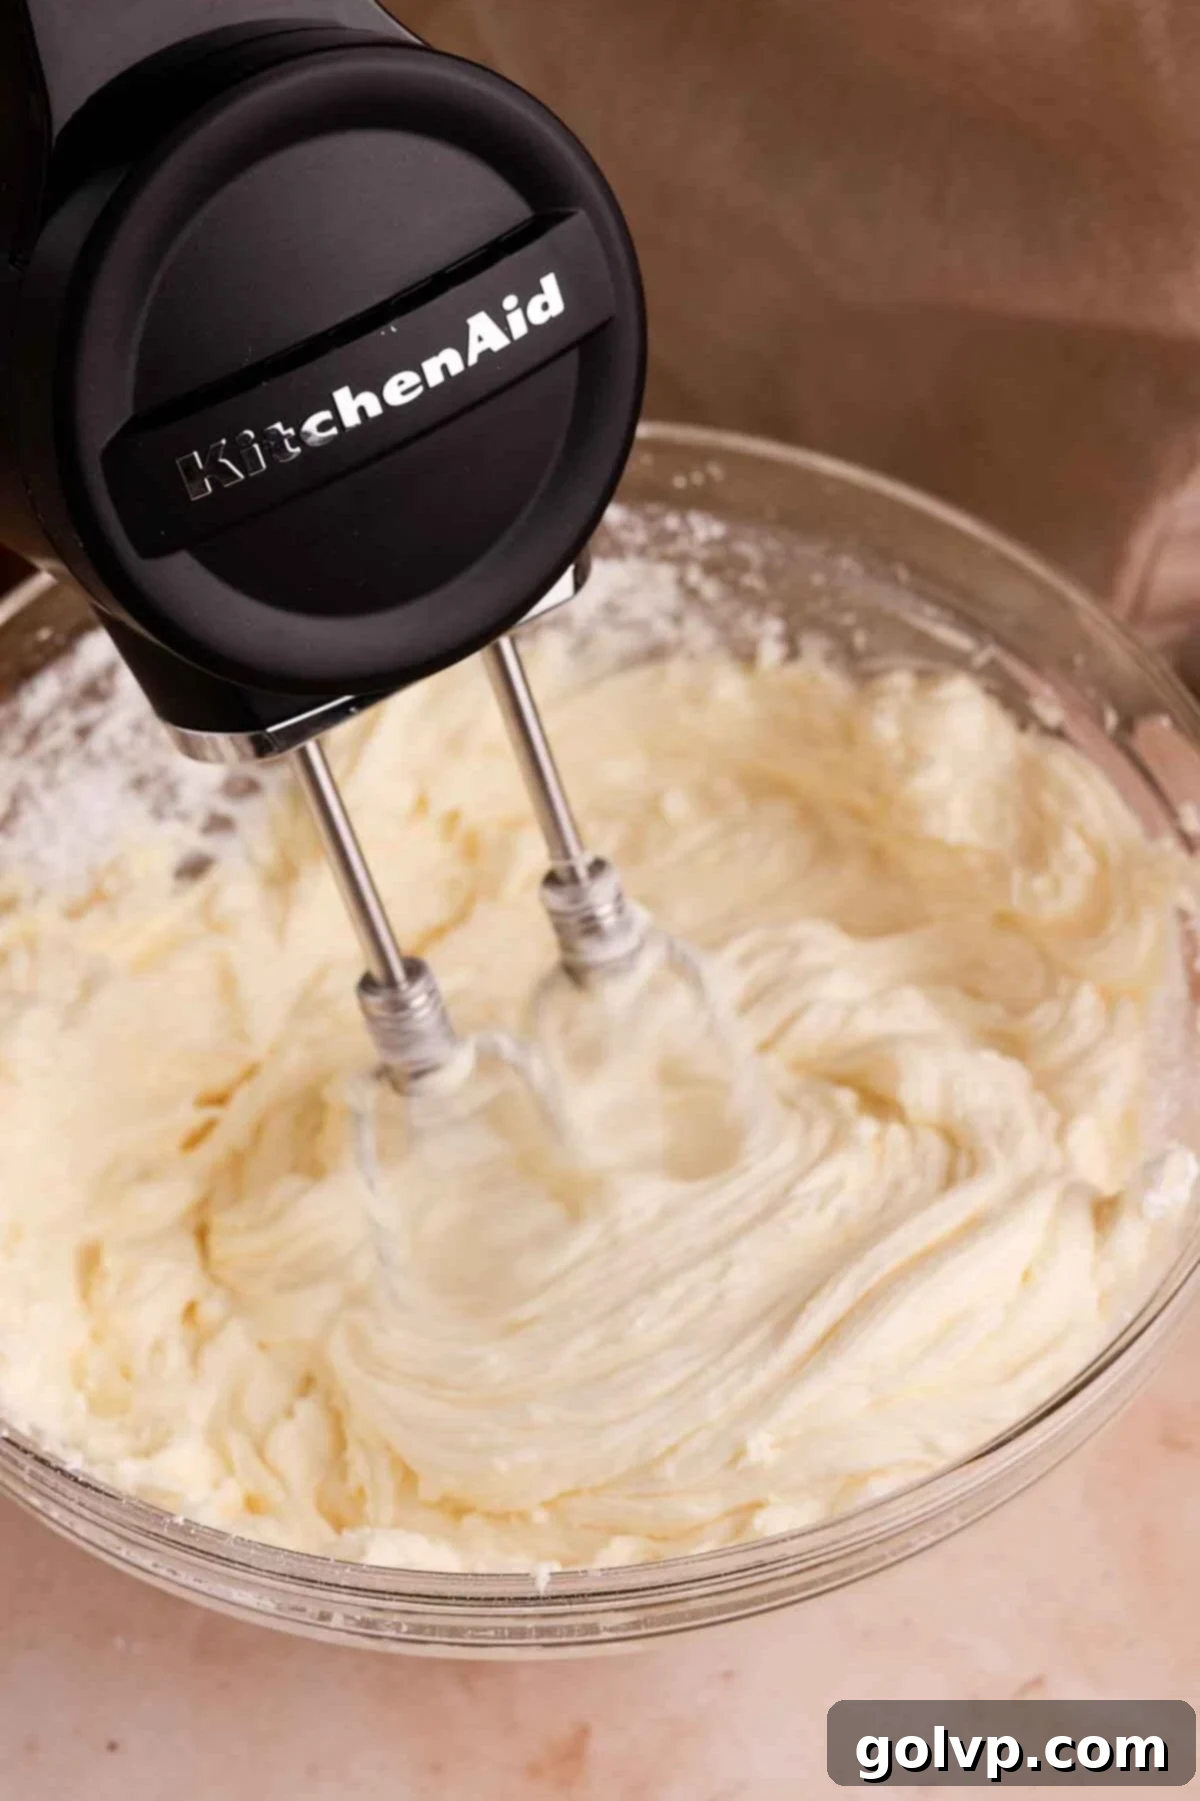
Step 3: Prepare Whipped Cream and Cream Cheese Base. In a separate, chilled bowl, whip the cold heavy whipping cream until it forms stiff peaks. For best results and quicker whipping, ensure both the bowl and whisk attachment are thoroughly chilled (you can place them in the freezer for 10-15 minutes prior). Once whipped, gently set the cream aside in the refrigerator to keep it cold. In another large mixing bowl, beat the softened full-fat cream cheese until it is completely smooth and free of any lumps. Gradually add the powdered sugar and a pinch of sea salt, continuing to beat until the mixture is beautifully creamy and well combined. Scrape down the sides of the bowl to ensure everything is incorporated.
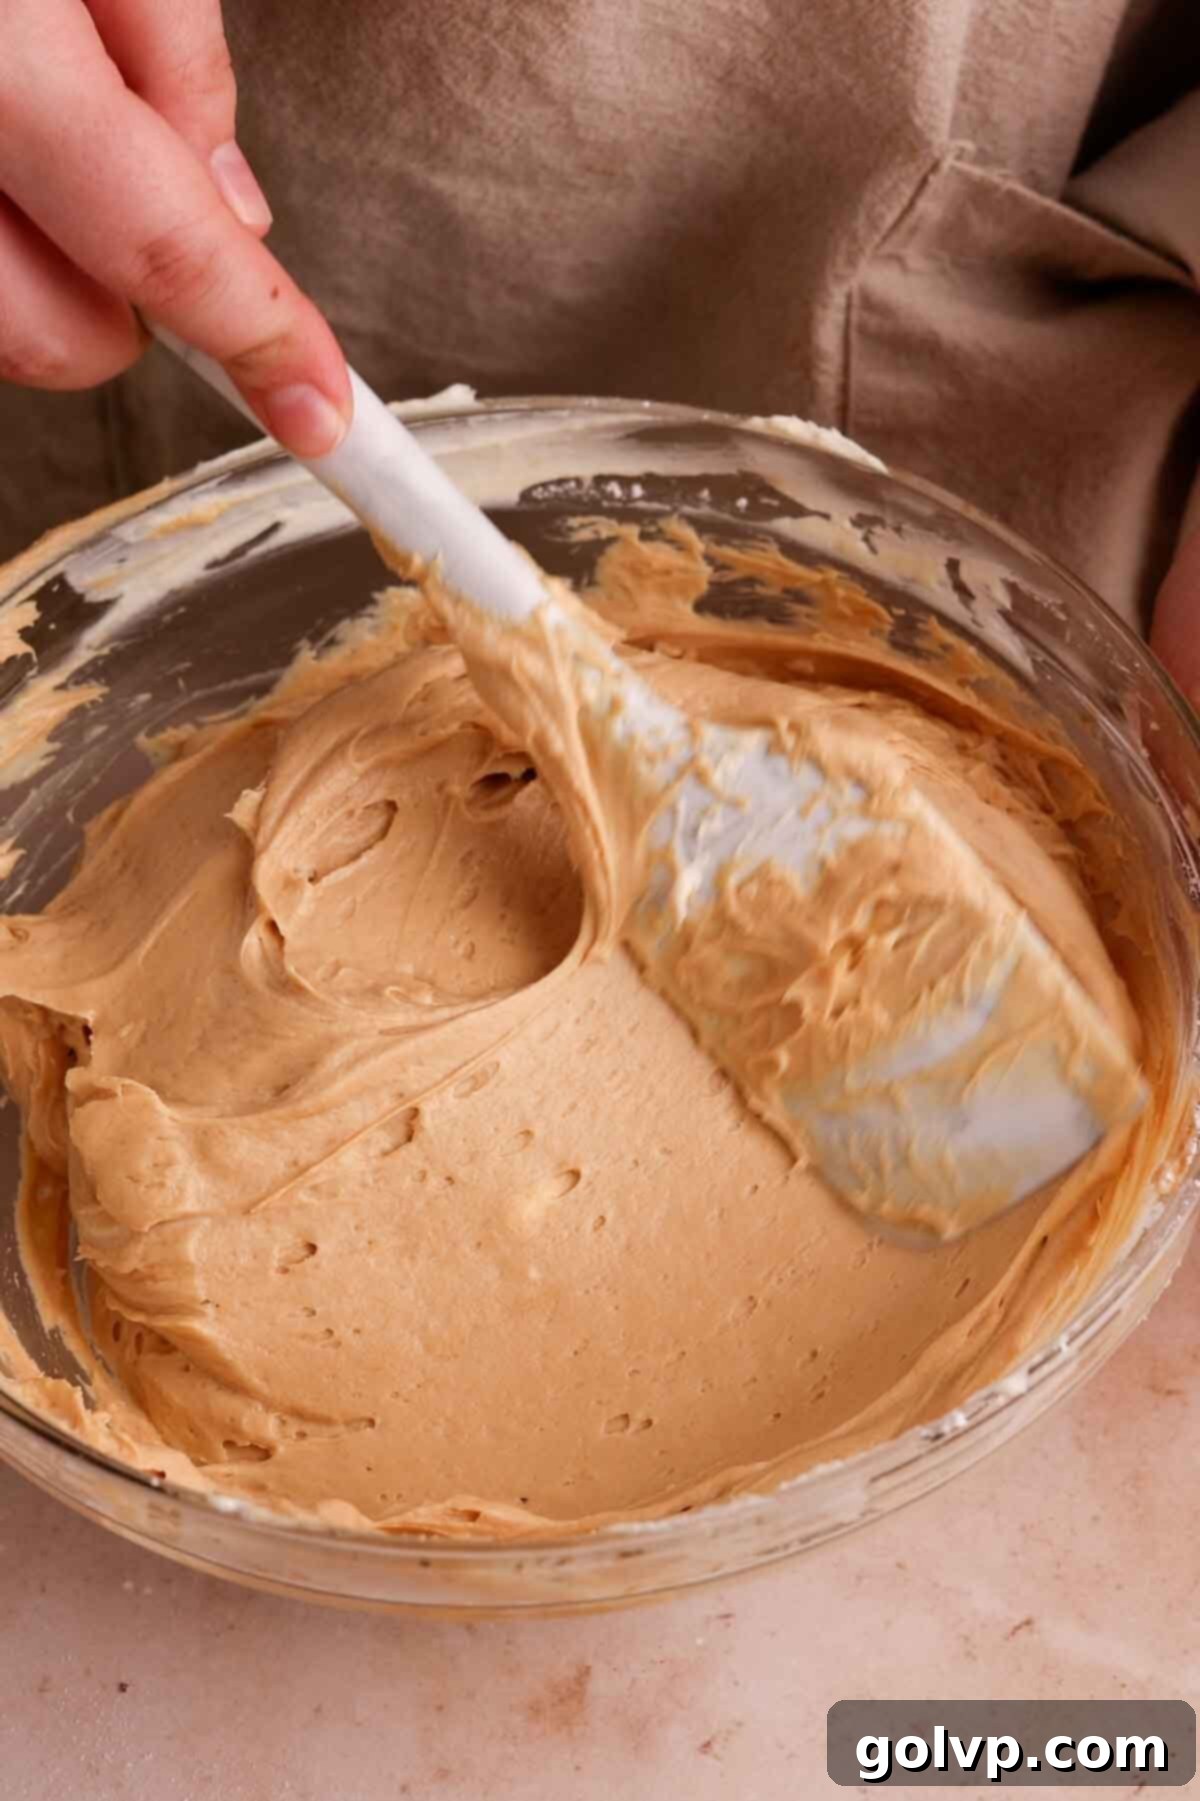
Step 4: Infuse with Biscoff Cookie Butter. After scraping down the bowl, add the specified amount of Biscoff cookie butter to the cream cheese mixture. Beat again on medium speed until the cookie butter is fully integrated and the filling is uniform, smooth, and wonderfully aromatic. This step ensures that the rich, spiced flavor of Biscoff is evenly distributed throughout your cheesecake, making every bite consistently delicious. Avoid overmixing at this stage to maintain a light and airy texture.
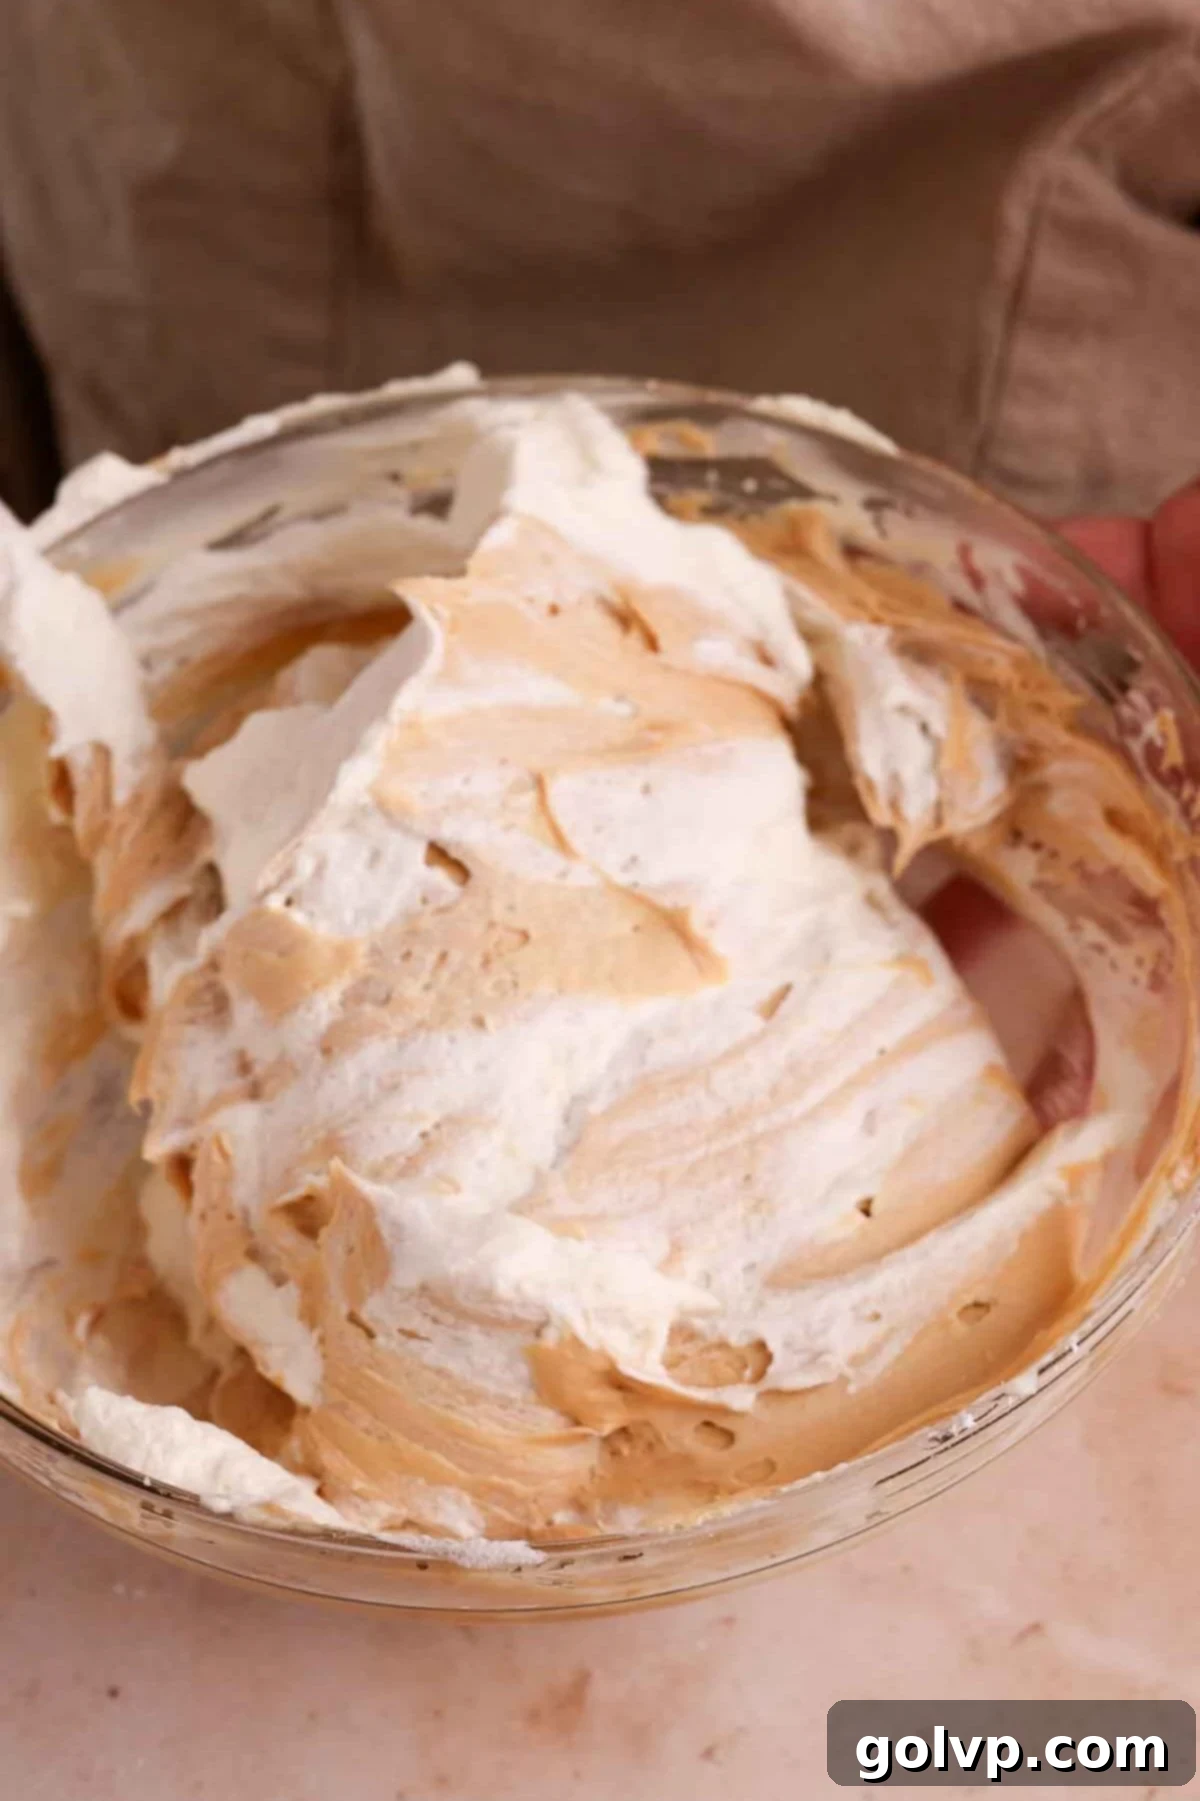
Step 5: Fold in Whipped Cream. Retrieve the chilled whipped cream from the refrigerator. Gently fold it into the Biscoff-infused cream cheese mixture in two additions. Use a spatula and a light hand to fold, taking care not to deflate the whipped cream. The whipped cream is crucial for giving the cheesecake its light, airy, and creamy texture, so maintaining its volume is key. Continue folding just until no streaks of whipped cream remain and the mixture is uniformly blended and fluffy.
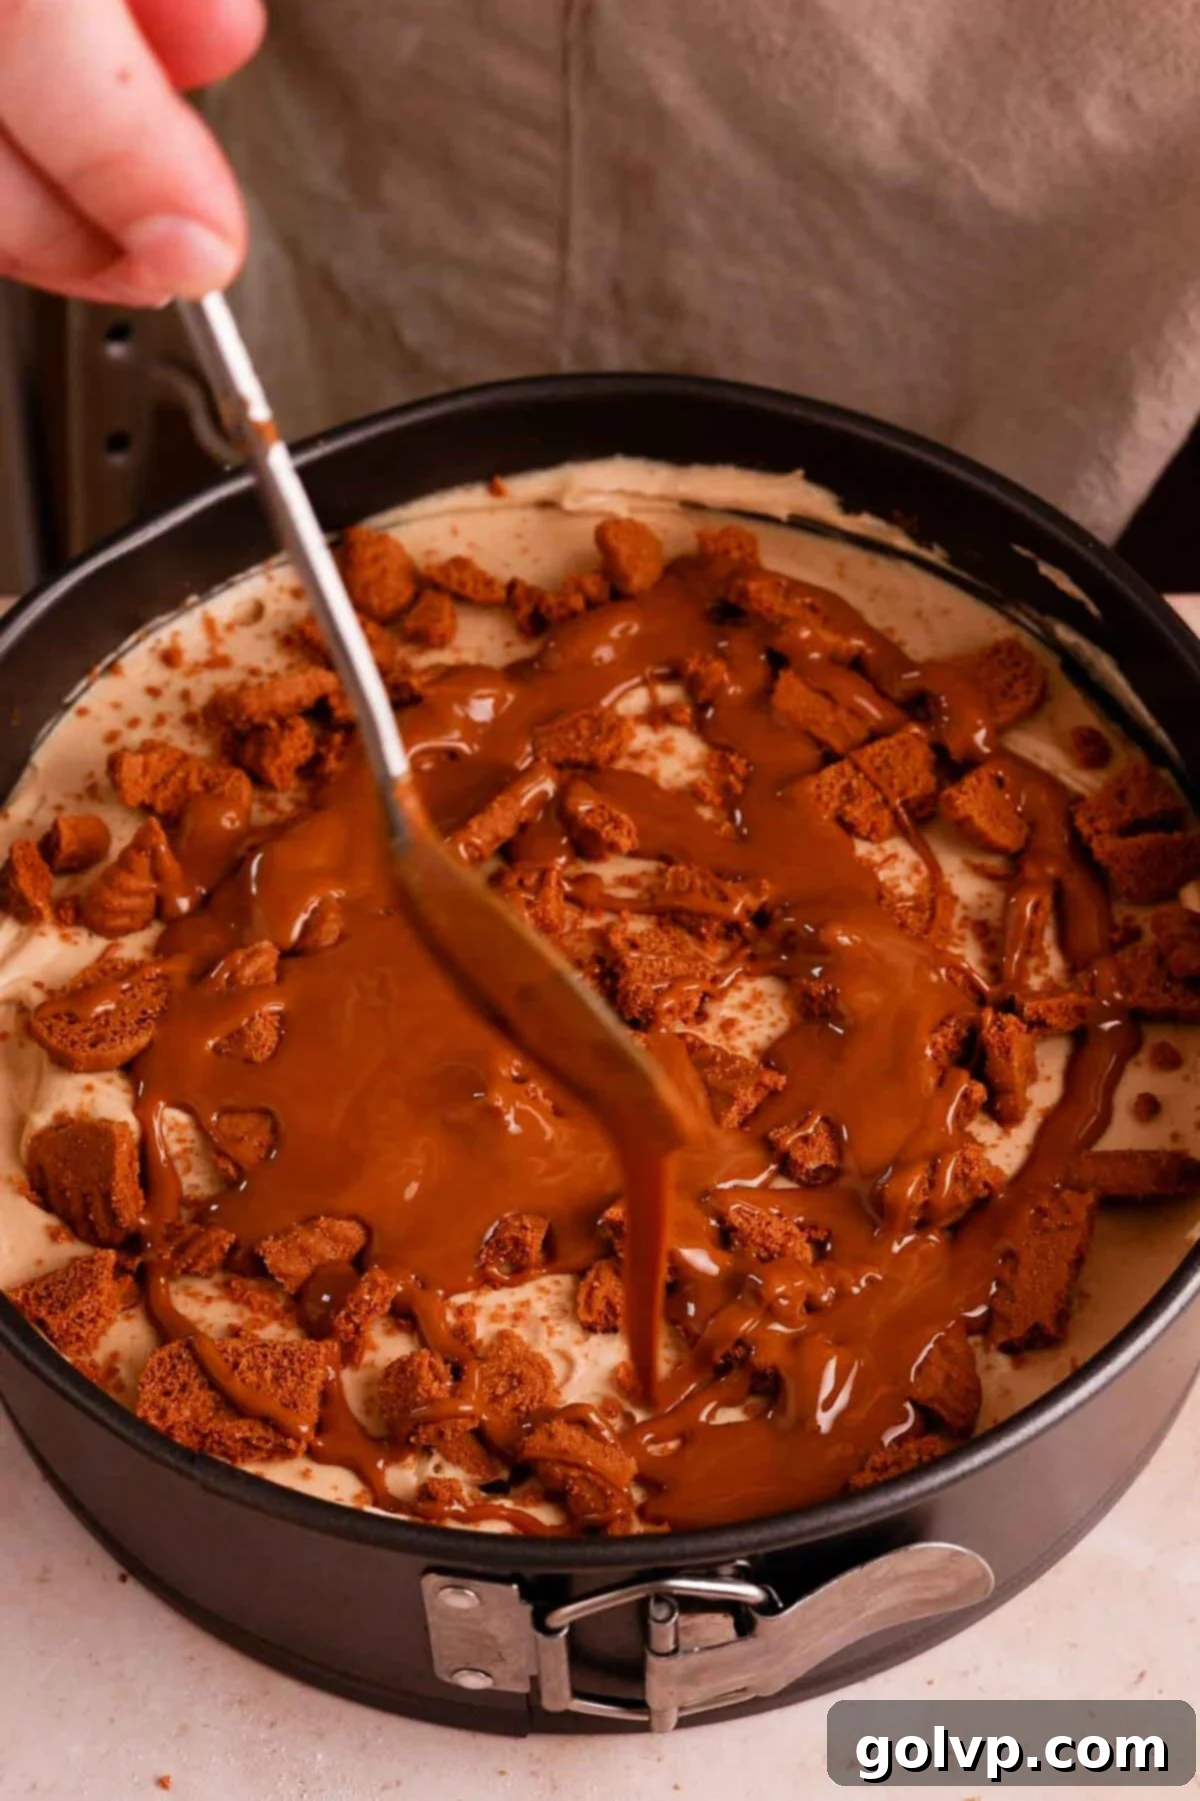
Step 6: Assemble the Layers. Spoon half of the prepared cheesecake filling on top of your chilled Biscoff cookie crust. Carefully spread it out to create an even layer. Now for the hidden delight: generously sprinkle crushed Biscoff cookies over this first layer of filling. In a separate microwave-safe bowl, melt ¼ cup of Biscoff spread in 10-second intervals, stirring thoroughly after each interval until smooth and pourable. Drizzle this melted Biscoff spread artfully over the crushed cookies, creating a beautiful and flavorful middle layer that will add an extra dimension of taste and texture.
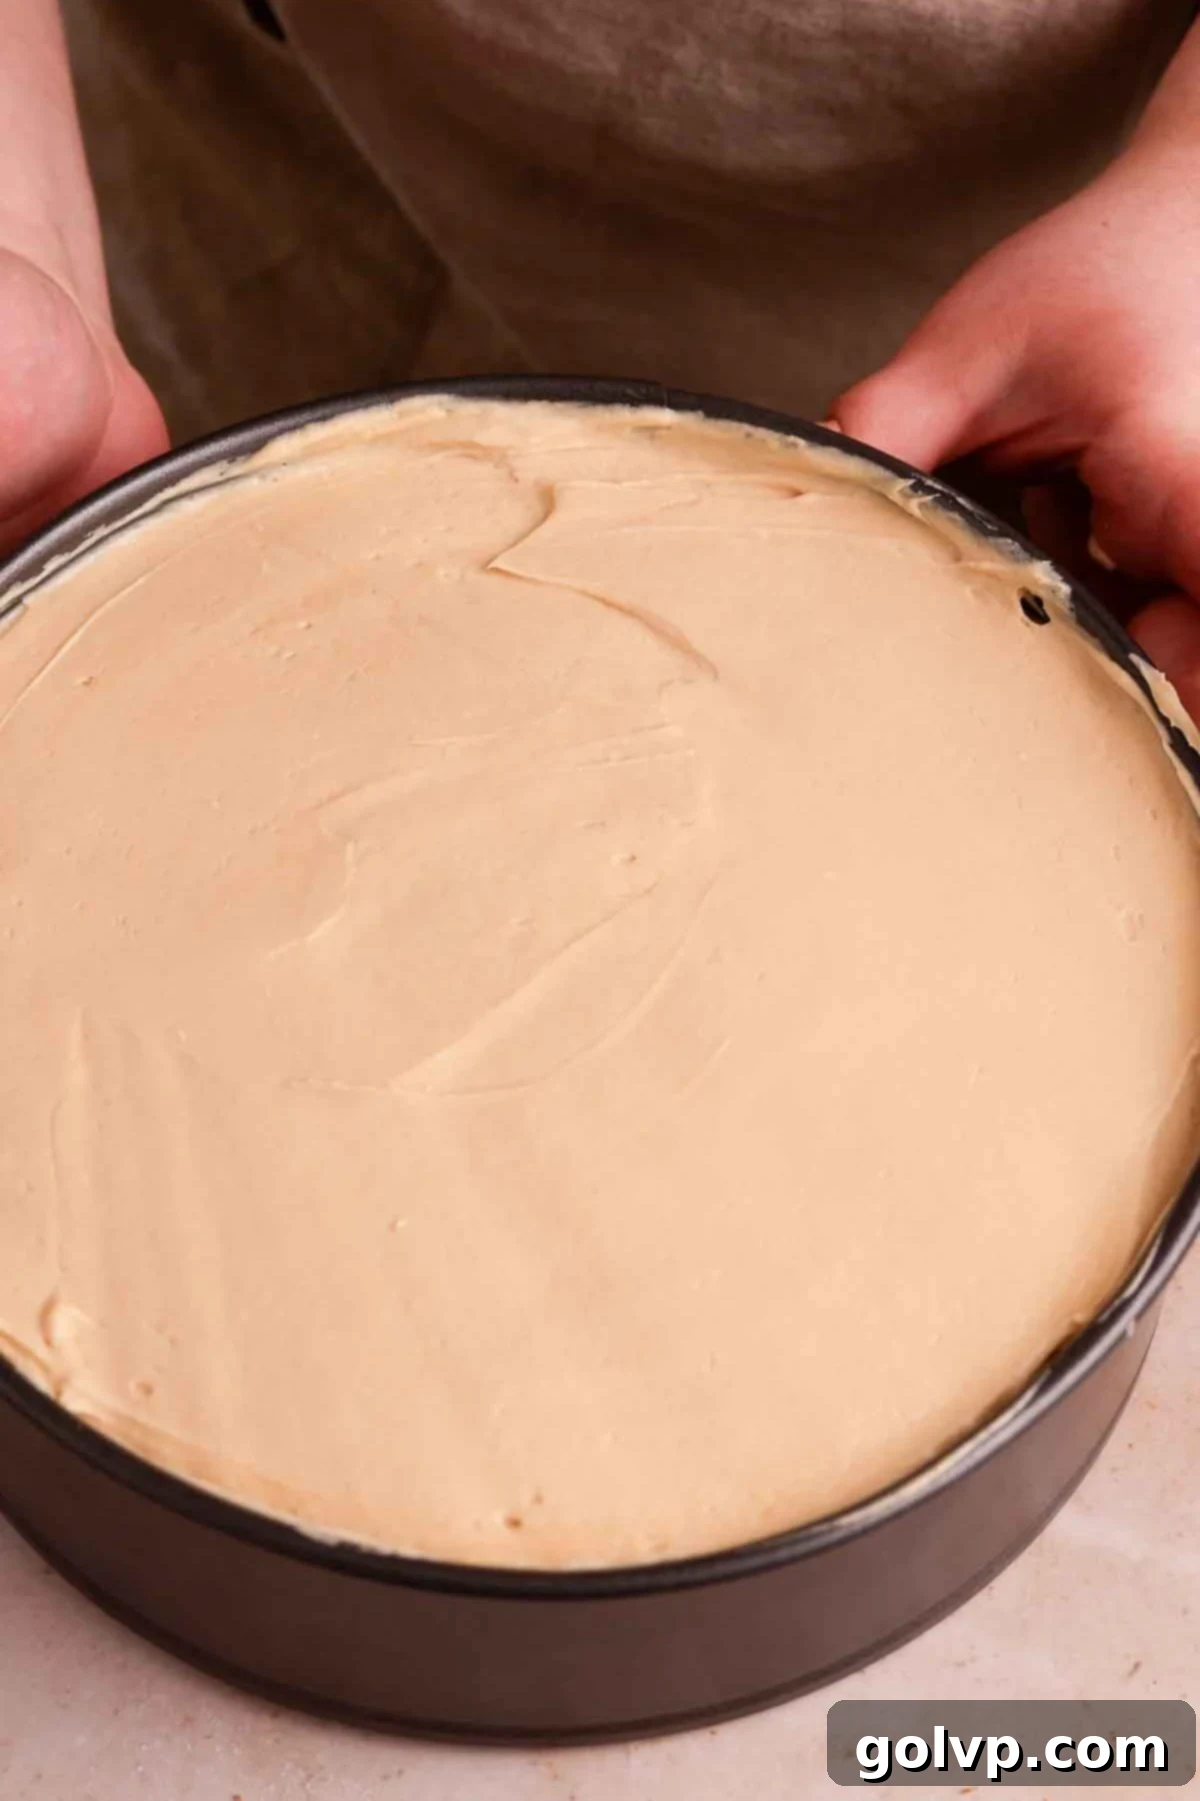
Step 7: Final Layer and Chill. Gently spoon the remaining cheesecake filling on top of the middle Biscoff layer. Carefully spread it out to create a smooth, even surface. Once the top is perfectly level, cover the springform pan loosely with plastic wrap. It’s absolutely essential to chill the cheesecake in the refrigerator for at least 8 hours, or ideally, overnight. This prolonged chilling period allows the cheesecake to firm up properly, develop its full flavor profile, and achieve that iconic, sliceable no-bake texture. Do not rush this step!
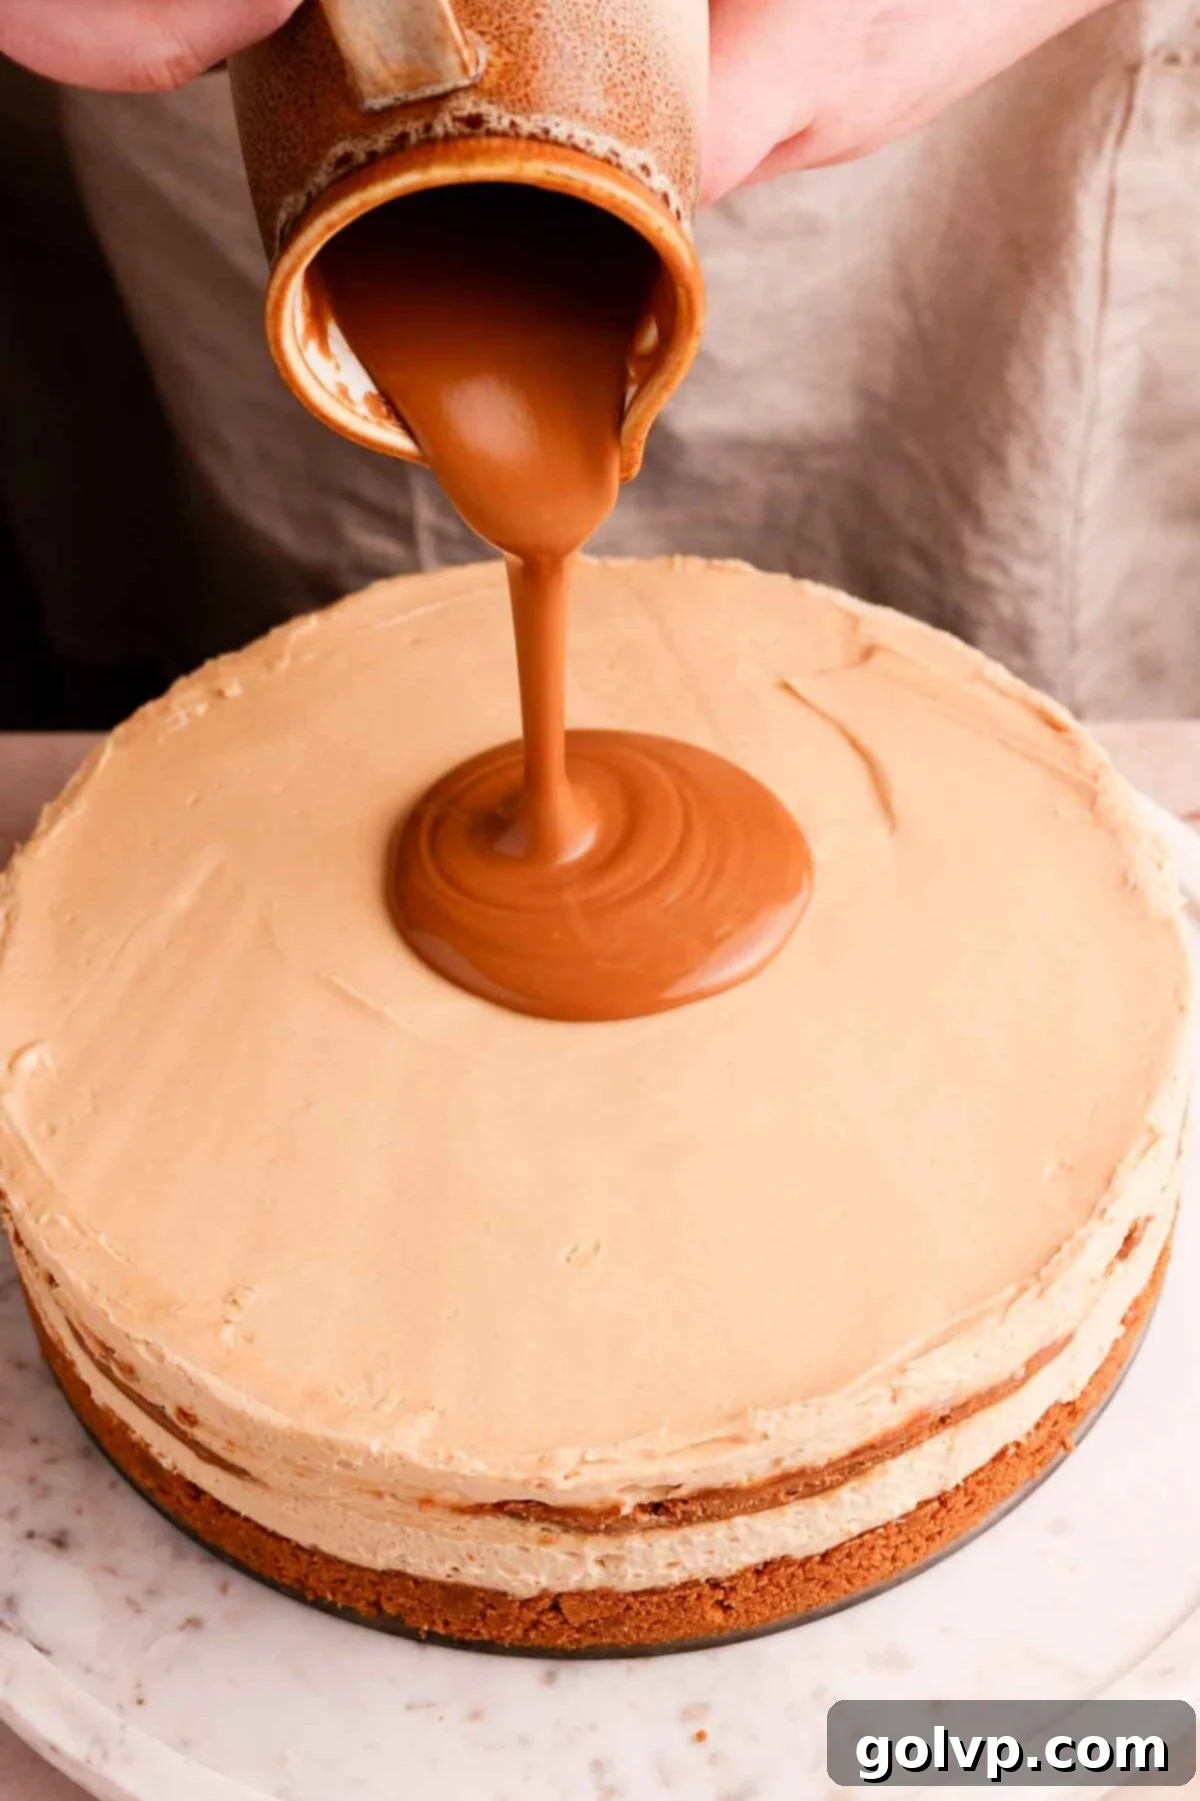
Step 8: Release, Drizzle, and Serve. Once the cheesecake is thoroughly chilled and set, run a thin knife or a small offset spatula along the inner edge of the springform pan. This helps to gently loosen the cheesecake from the sides. Carefully unclip and remove the springform ring. With the aid of a large spatula and/or a knife, carefully slide the cheesecake off the pan base and onto your chosen serving plate. For the final touch, melt the remaining ¾ cup of Biscoff spread in the microwave in 10-second intervals, stirring between each, until smooth and pourable. Generously pour this melted Biscoff spread over the top of the cheesecake, allowing it to naturally drip down the sides for an elegant finish. If desired, sprinkle with additional crushed Biscoff cookies. Slice with a hot knife (run under hot water and wipe dry between slices) and serve immediately!
✔️ Expert Tips for a Flawless No-Bake Biscoff Cheesecake
- Ensure Cream Cheese is Perfectly Softened: The key to an incredibly smooth and lump-free cheesecake filling is using cream cheese that is very soft, ideally at room temperature for at least an hour. Softened cream cheese blends effortlessly with other ingredients, preventing any grainy texture and ensuring your filling is silky-smooth from the start.
- Whip Heavy Cream to Medium Stiff Peaks: Achieving the correct consistency for your whipped cream is crucial for the cheesecake’s structure. Whip the heavy cream until it holds medium-stiff peaks – it should hold its shape when the whisk is lifted but still be slightly soft. Over-whipping can make the cream grainy, while under-whipping won’t provide enough stability for the cheesecake to set. Gently fold this whipped cream into the cream cheese mixture in two additions, using a light hand to preserve as much air as possible. This aeration is what gives the cheesecake its signature light, yet creamy texture.
- Prioritize Adequate Chilling Time: Patience is a virtue when it comes to no-bake cheesecakes! The chilling period is non-negotiable for success. Ensure your Biscoff cheesecake chills for a minimum of 8 hours, and ideally overnight. This extended time in the refrigerator allows the gelatin (naturally present in some cream cheese or from stabilizers) and fats to firm up completely, ensuring a perfectly set, sliceable cheesecake with well-developed flavors. Rushing this step will result in a soft, messy dessert.
- Crush Cookies Finely for the Crust: For a stable and uniform crust that won’t crumble excessively when cut, make sure your Biscoff cookies are crushed very finely. A food processor is your best tool here, creating consistent crumbs. Larger chunks can make the crust uneven and prone to breaking apart.
- Melt Biscoff Spread Gently: When melting Biscoff spread for drizzling or layering, use short bursts in the microwave (10-15 seconds) and stir well between each. Alternatively, a double-boiler method over simmering water works perfectly, ensuring the spread becomes smooth and pourable without scorching. Overheating can cause it to seize or become grainy.
- Use a Chilled Bowl for Whipping Cream: To achieve stiff peaks quickly and efficiently, always use a very cold bowl and whisk attachment when whipping heavy cream. Placing them in the freezer for 10-15 minutes before you start can make a significant difference.
🥄 Make Ahead and Storage for Your Biscoff Cheesecake
This Biscoff cheesecake is an absolute dream for make-ahead planning! Since it requires a minimum of 8 hours, and preferably overnight, to chill and set properly, it’s ideal for preparing a day or two in advance of your event or gathering. This allows you to focus on other preparations, knowing your show-stopping dessert is already taken care of.
To store any leftover cheesecake, or if you’re making it ahead, keep it covered tightly in the refrigerator for up to 4 days. A specialized cake carrier works wonderfully, as it not only protects the cheesecake from getting squashed or damaged but also creates a good seal to keep it fresh and prevent it from absorbing other odors from the fridge. For longer storage, this Biscoff cheesecake freezes beautifully. Wrap individual slices or the entire cheesecake (if uncut) in several layers of plastic wrap, followed by a layer of aluminum foil. Store it in an airtight container or a freezer-safe bag for up to 2 months. To enjoy from frozen, simply transfer it to the refrigerator and allow it to thaw gradually for several hours or overnight until soft enough to slice and serve. Do not thaw at room temperature for food safety reasons.
❔ Biscoff Versus Speculoos: What’s the Difference?
While often used interchangeably, Biscoff and speculoos refer to very similar types of spiced shortbread cookies, originating from Belgium and the Netherlands. Essentially, Biscoff is a brand name for a type of speculoos cookie produced by Lotus Bakeries. Both share a distinct caramelized, slightly spiced flavor profile, typically featuring cinnamon, nutmeg, ginger, and cloves.
From a culinary perspective, Biscoff and generic speculoos cookies and spreads can generally be used interchangeably in most recipes without a significant impact on the final outcome. However, discerning palates might notice subtle differences. I personally tend to prefer Biscoff for its consistently brighter golden hue and a slightly more pronounced caramelized sweetness, which I find enhances the overall depth of flavor in desserts like this cheesecake. You can readily find both Biscoff brand cookies and spreads, as well as other speculoos varieties, in the cookie butter section of most local grocery stores or through various online retailers. Feel free to use whichever is most accessible to you, confident that you’ll still achieve a delicious result.
✔️ The Simplicity Behind the Easiest Biscoff Cheesecake Ever
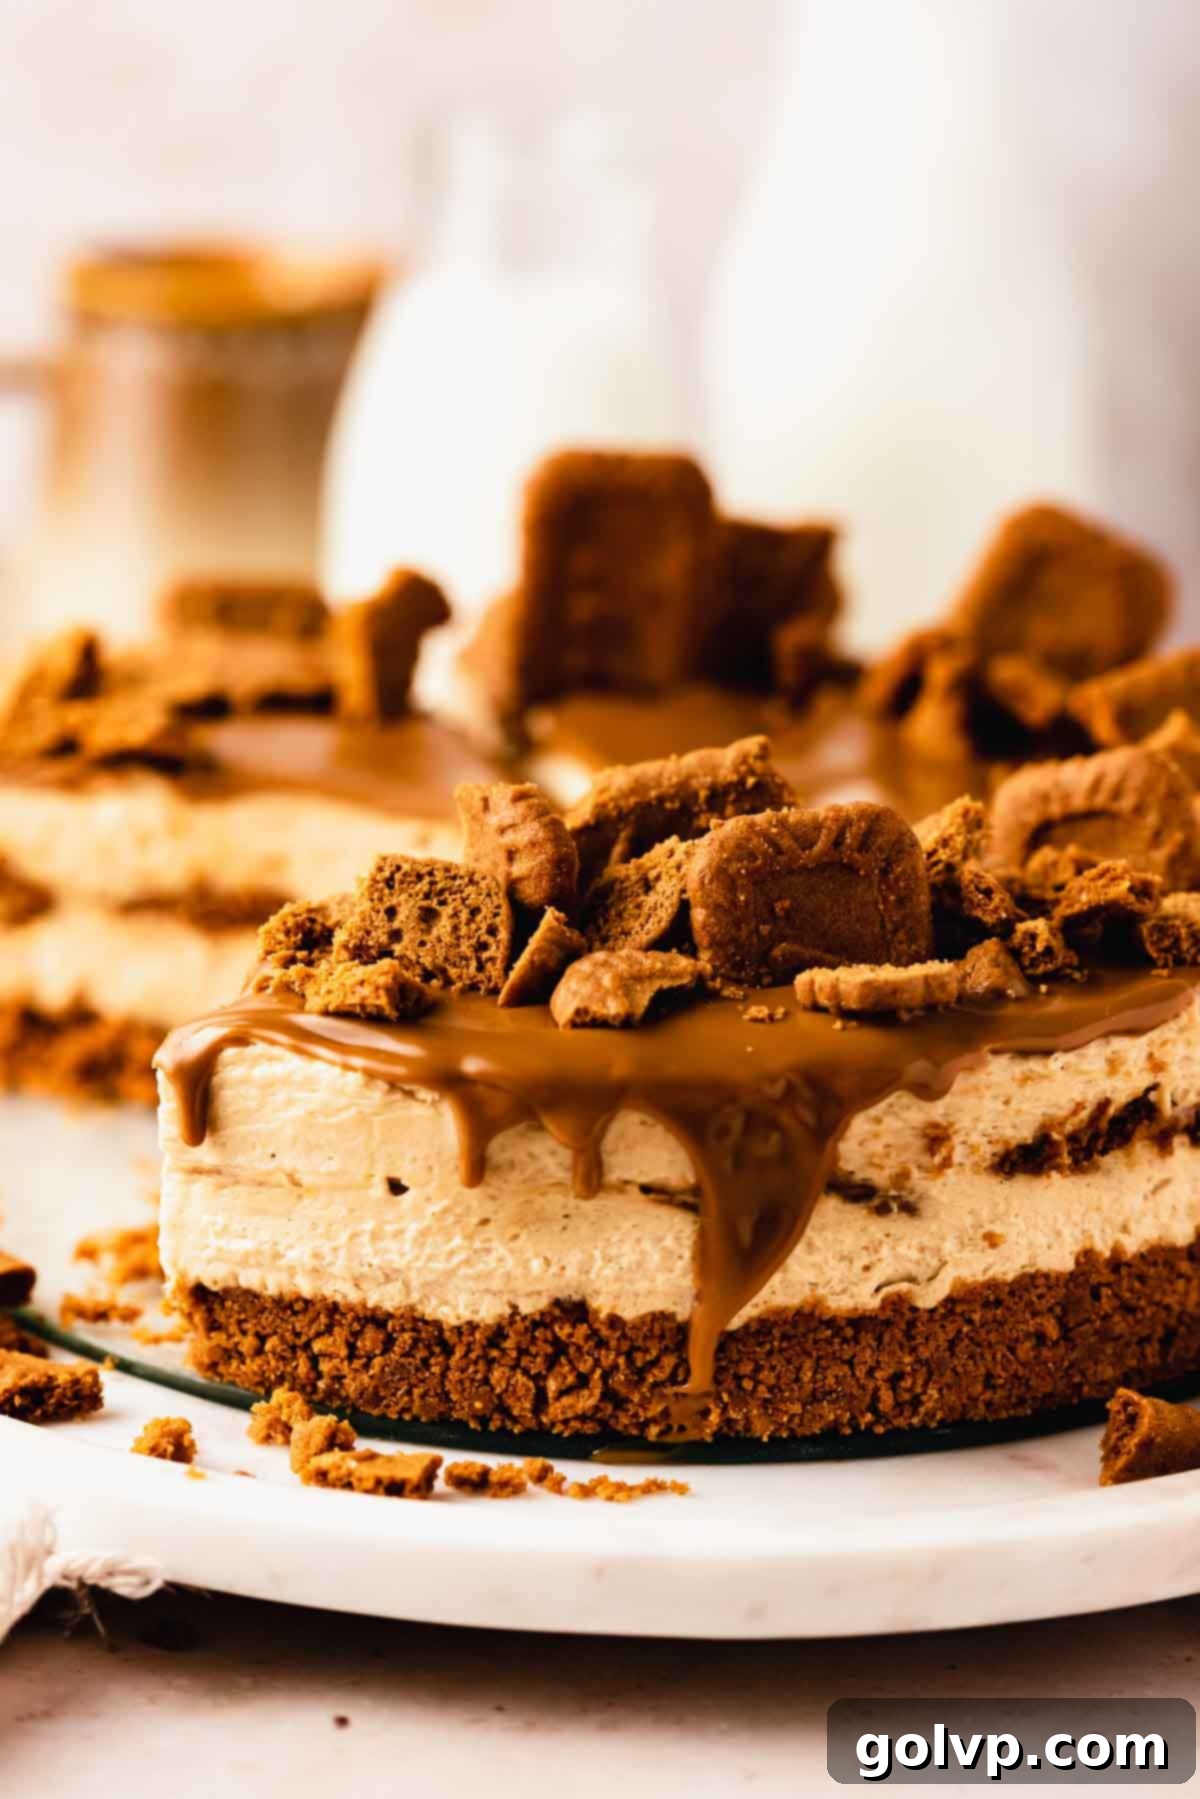
This Biscoff cheesecake truly redefines what an “easy” dessert can be, proving that you don’t need hours in the kitchen or complex techniques to create something truly spectacular. It’s arguably the easiest yet most elegant cheesecake you’ll ever make, and its incredible flavor and stunning presentation are sure to impress everyone. The secret to its elevated status, despite its simplicity, lies in the generous distribution of cookie butter spread, infused throughout the creamy filling, layered in the middle, and drizzled lavishly on top – a true culinary shortcut to gourmet taste.
The cheesecake filling itself is a testament to minimalist perfection, composed of just four core ingredients: rich cream cheese, delicate powdered sugar, aromatic Biscoff spread, and light, airy whipped cream. This streamlined ingredient list not only keeps the recipe straightforward but also allows the distinct Biscoff flavor to shine, ensuring the entire dessert comes together remarkably quickly. The simplicity of the components means less prep time and more time enjoying your creation.
Perhaps the “hardest” part, if one could even call it that, is whipping the cream, but even this step is surprisingly simple and immensely rewarding. I strongly advocate for using freshly whipped cream over a whipped topping or other substitutes because it dramatically elevates the texture and taste, providing a hundred times more flavor and contributing to that perfect, fluffy, melt-in-your-mouth consistency. Even without an electric mixer, you can achieve beautiful stiff peaks with a regular wire whisk; just ensure your mixing bowl and whisk are chilled in the freezer for a few minutes beforehand to expedite the process, and a little patience goes a long way.
The crowning glory of this recipe’s ease is, of course, that it’s a completely no-bake cheesecake. This eliminates all the common anxieties associated with traditional baked cheesecakes – no worrying about cracks, sinking, or the dreaded water bath. You simply prepare your components, assemble them, and let your refrigerator do all the work. This makes it an incredibly forgiving recipe, perfect for beginners and a lifesaver for busy hosts who want a decadent dessert without the oven commitment. It’s truly a hassle-free route to cheesecake bliss!
If you’re now a convert to the magic of no-bake cheesecakes, you’ll also adore this vibrant funfetti cheesecake for a festive treat, or this bright and zesty lemon curd cheesecake. Both are equally simple to prepare and deliciously satisfying!
📖 Frequently Asked Questions About Biscoff Cheesecake
If you don’t have a microwave or prefer an alternative method, melting Biscoff spread is still very simple using a hot water bath. Pour hot (but not boiling) water into a medium-sized bowl. Place the jar of Biscoff spread, with its lid removed, directly into the hot water. Allow it to sit for a few minutes, stirring occasionally with a spoon or knife. The gentle heat from the water will gradually warm and liquefy the spread, making it perfectly smooth and pourable within minutes. This is actually my preferred method for achieving a consistent, silky-smooth melted Biscoff spread.
For the best aesthetic and textural outcome in this cheesecake, I highly recommend using smooth Biscoff spread, especially for the top drizzle. This ensures a beautifully shiny, even finish that looks incredibly appealing. Don’t worry about missing out on crunch; this recipe already incorporates plenty of delightful texture from the crushed Biscoff cookies in both the crust and the hidden middle layer, as well as optional sprinkles on top. The smooth spread allows the creamy filling and crunchy elements to complement each other perfectly.
A crumbly crust is a common issue that usually stems from the cookie crumbs not being fine enough or not being compacted sufficiently. To ensure a sturdy crust that holds its shape, it’s crucial to crush the Biscoff cookies very finely; a food processor works best for this. If you have larger chunks, the butter won’t bind them as effectively, leading to a less cohesive crust. Additionally, make sure you press the mixture down very tightly and firmly into the springform pan using the bottom of a glass or a flat measuring cup. While a slightly crumbly crust is still delicious, a finely crushed and well-pressed crust will offer superior structural integrity and a cleaner slice.
Absolutely! While an electric mixer speeds up the process, this cheesecake can certainly be made by hand with a little elbow grease and patience. The most important tip for hand mixing is to ensure your cream cheese is exceptionally soft; let it sit at room temperature for an extended period. For whipping the heavy cream, place your mixing bowl and wire whisk in the freezer for about 10-15 minutes before you begin. The chilled equipment will help the cream whip up faster and more easily to stiff peaks. With a sturdy whisk and steady motion, you’ll achieve a beautifully smooth and creamy filling, proving that delicious desserts don’t always require fancy gadgets.
🍪 More Indulgent Biscoff and Cheesecake Recipes You’ll Love
- Biscoff Cake
- Red Velvet Oreo Cheesecake
- Cookie Butter Cookies
- Funfetti Cheesecake
Did you make this recipe? I would love for you to rate this recipe and hear what you think in the comments below! Share your creation on Instagram and tag @flouringkitchen. Follow me on Pinterestto save and for more recipe ideas.
📖 Recipe Card
No-Bake Biscoff Cheesecake
Mary
Pin Recipe
Shop Ingredients
Equipment
-
9-inch Springform Round Baking Pan
-
Electric Mixer (optional, a hand whisk works too!)
-
Food Processor (or ziplock bag and rolling pin)
Ingredients
For the Biscoff Cookie Crust
- 13 oz Biscoff cookies (375g, approximately 1.5 standard packs, finely crushed)
- 5 tablespoons unsalted butter (melted)
- ¼ teaspoon sea salt (enhances flavor)
For the Creamy Cheesecake Filling & Middle Layer
- 1 ¼ cup heavy whipping cream (very cold, minimum 35% milk fat)
- 24 oz full-fat cream cheese (brick-style, softened to room temperature)
- ⅛ teaspoon sea salt (balances sweetness)
- 2 cups powdered sugar (sifted, prevents lumps)
- 1 cup smooth Biscoff spread (for the filling)
- ¼ cup Biscoff spread (melted, for the middle layer drizzle)
- 6 Biscoff cookies (crumbled, for the hidden layer)
For Assembly & Garnish
- ¾ cup Biscoff spread (melted, for the top drip)
- 8 Biscoff cookies (crumbled, for optional garnish)
Shop Ingredients on Jupiter
Instructions
Preparing the Biscoff Crust
-
To start, prepare your springform pan by lining the bottom of an 8-inch or 9-inch round baking pan with parchment paper. This simple step is highly recommended as it makes transferring the finished cheesecake to a serving plate much easier and cleaner.
-
Next, prepare the Biscoff cookie crumbs. Finely crush the Biscoff cookies using either a food processor for uniform crumbs or by placing them in a sturdy zippered bag and crushing them with a rolling pin until very fine. Transfer the fine crumbs to a bowl, then add the melted unsalted butter and the sea salt. Stir thoroughly until all the cookie crumbs are moistened and well combined.13 oz Biscoff cookies, 5 tablespoons unsalted butter, ¼ teaspoon sea salt
-
Pour the prepared cookie crust mixture into the lined springform pan. Use the back of a spoon or the bottom of a flat glass to spread it out evenly and press down very tightly. This firm compaction is essential to create a solid, stable crust that won’t fall apart when sliced. Place the crust in the refrigerator to chill while you prepare the filling.
Making the Cheesecake Filling
-
In a chilled mixing bowl with a cold whisk attachment, beat the cold heavy whipping cream until it forms stiff peaks. Once whipped, immediately place it in the fridge to keep it cold.1 ¼ cup heavy whipping cream
-
In a separate large bowl, beat the softened full-fat cream cheese until it is completely smooth and creamy. Add the sea salt and sifted powdered sugar, then continue beating until the mixture is light, fluffy, and well combined. Scrape down the sides of the bowl to ensure no lumps remain. Next, add 1 cup of Biscoff spread to the cream cheese mixture and beat again until everything is smooth, uniformly colored, and infused with the delicious cookie butter flavor.24 oz cream cheese, 2 cups powdered sugar, 1 cup Biscoff spread, ⅛ teaspoon sea salt
-
Retrieve the chilled whipped cream. Gently fold it into the Biscoff cream cheese mixture in two additions using a spatula. Be careful not to deflate the whipped cream, as this contributes to the cheesecake’s light and airy texture. Continue folding just until no streaks of white cream are visible and the mixture is uniformly blended. Spoon half of this luscious cheesecake filling over the chilled Biscoff cookie crust and spread it smooth with an offset spatula.
-
For the delightful middle layer, sprinkle the 6 crumbled Biscoff cookies evenly over the first layer of cheesecake filling. Melt ¼ cup of Biscoff spread in the microwave in 10-second intervals, stirring between each until smooth and pourable. Drizzle this melted spread over the crushed cookies to create a decadent hidden layer.¼ cup Biscoff spread, 6 Biscoff cookies
-
Finally, spoon the remaining cheesecake filling on top of the middle layer and spread it smooth and even. Cover the springform pan loosely with plastic wrap and chill the cheesecake in the refrigerator for at least 8 hours, or ideally overnight, to allow it to set completely. This is crucial for flavor development and a firm texture.
Serving Your Biscoff Cheesecake
-
Once thoroughly chilled and firm, run a thin, sharp knife or a flexible spatula along the inner edge of the cheesecake to help release it from the pan. Carefully unclip the springform ring and remove it. Gently slide the cheesecake onto your desired serving plate using a large spatula or another knife.¾ cup Biscoff spread, 8 cookies
-
To add the final elegant touch, melt the remaining ¾ cup of Biscoff spread in the microwave using 10-second intervals, stirring after each until it’s smooth and perfectly pourable. Pour this warm, luscious Biscoff drip over the top of the cheesecake, spreading it gently towards the edges to create beautiful cascades down the sides. Optionally, crumble the remaining 8 Biscoff cookies and sprinkle them over the top for extra texture and visual appeal. Slice with a hot knife (wiping clean between each slice) and serve this exquisite no-bake Biscoff cheesecake immediately!
Video Tutorial
Chef’s Notes & Storage Tips
Top Tips for Success:
- Softened Cream Cheese is Essential: Always use full-fat cream cheese that is completely softened to room temperature for a perfectly smooth, lump-free cheesecake filling.
- Whip Cream to Medium Stiff Peaks: Ensure your heavy whipping cream is very cold and whip it to medium stiff peaks; this provides the necessary stability and contributes to the cheesecake’s airy, smooth texture.
- Do Not Skimp on Chill Time: Allow at least 8 hours, or ideally overnight, for the cheesecake to chill in the refrigerator. This crucial step is vital for the cheesecake to set properly, ensuring it’s firm enough to slice and allowing the flavors to fully develop.
- Fine Crumbs for the Crust: For a stable and cohesive crust that won’t crumble easily, crush your Biscoff cookies very finely.
