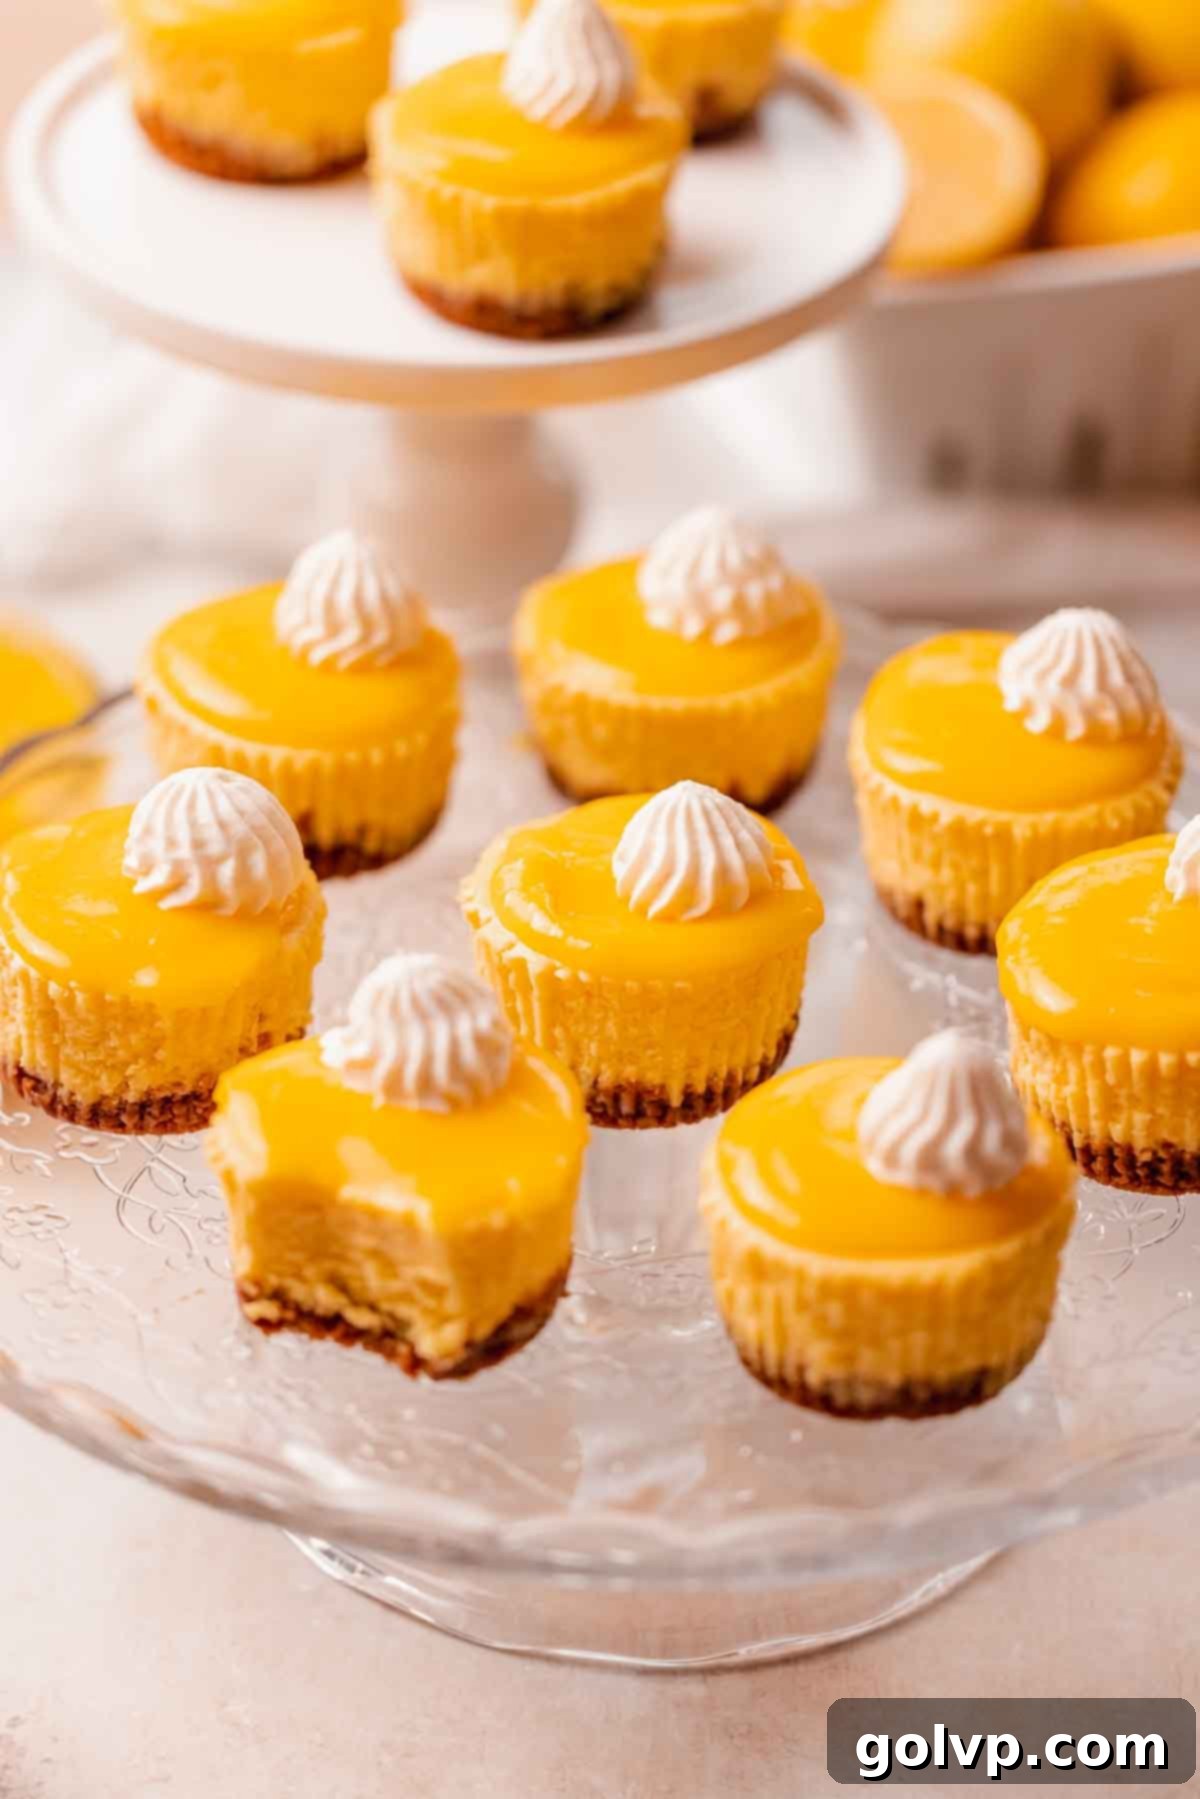
Irresistible Mini Lemon Cheesecakes with Zesty Lemon Curd & Crunchy Gingersnap Crust
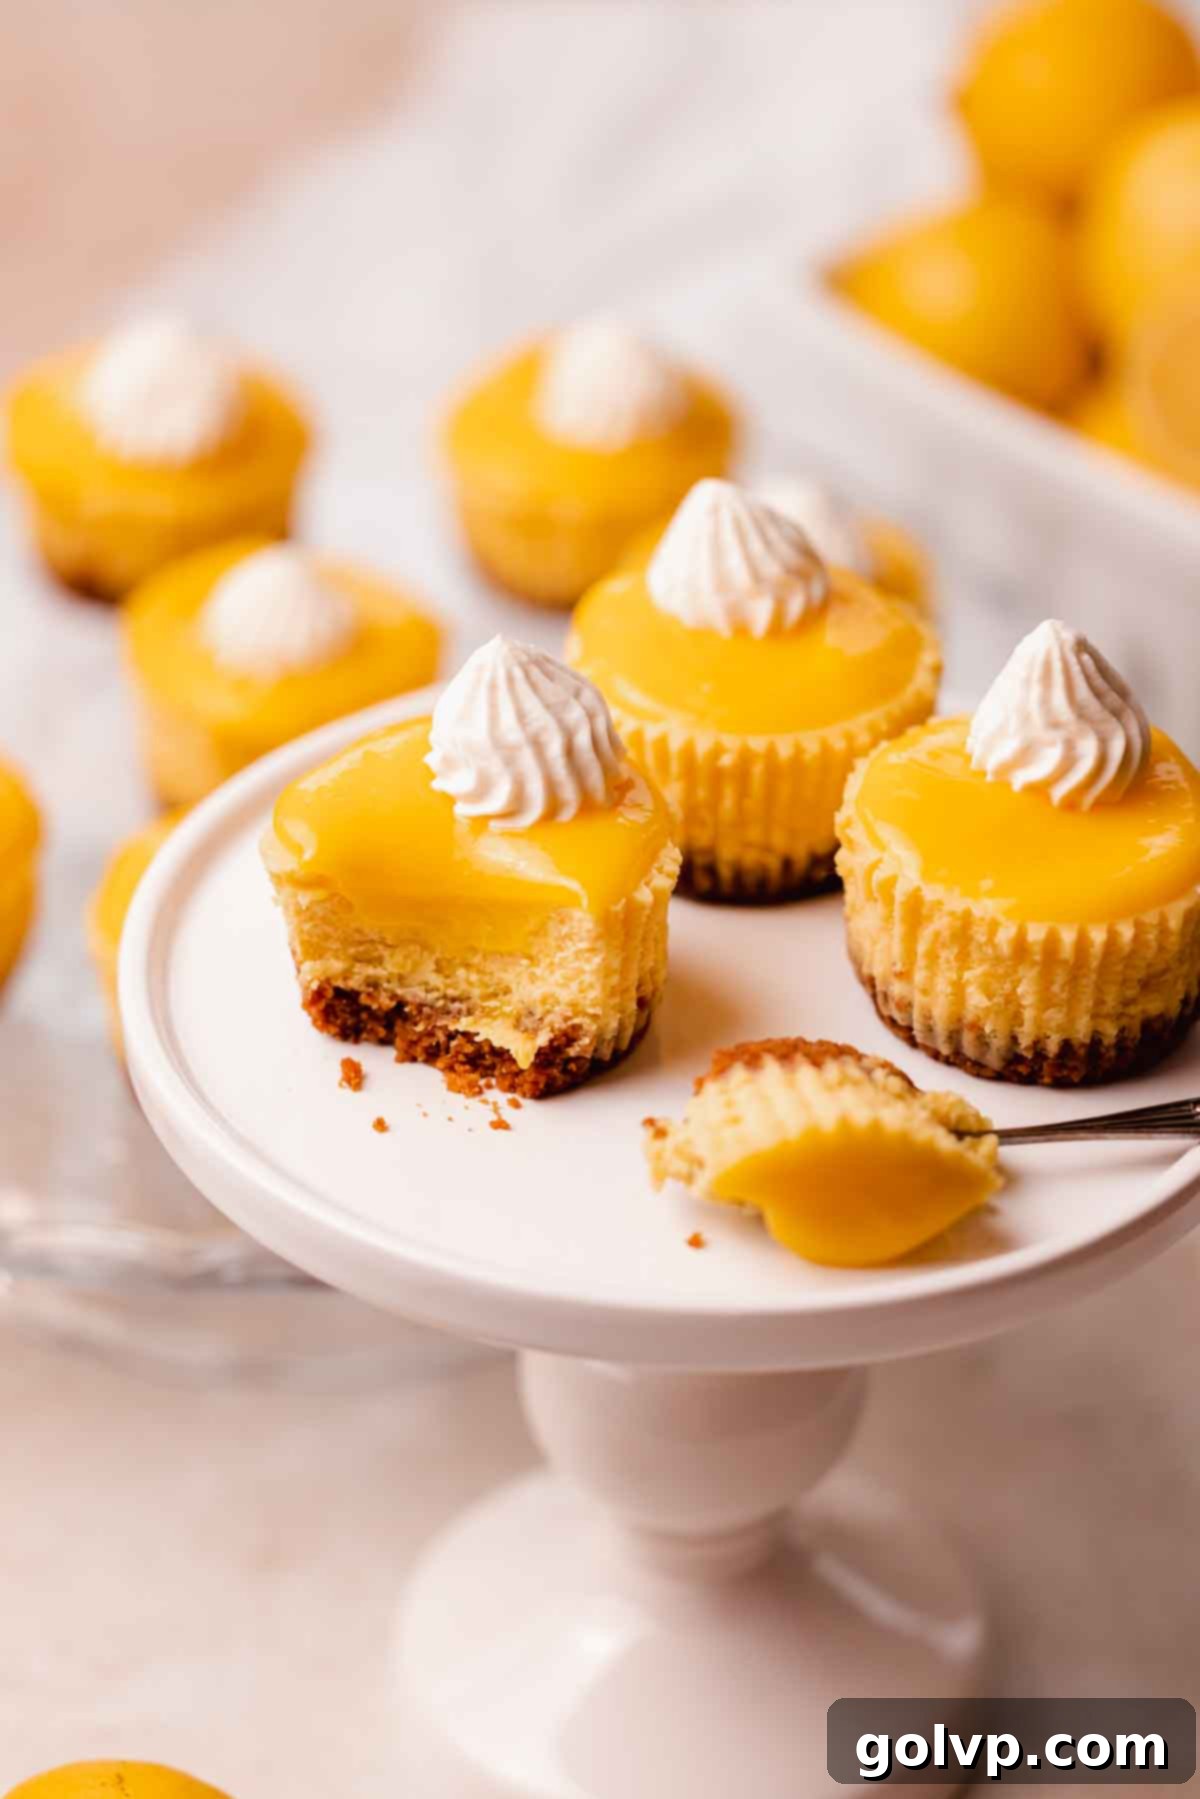
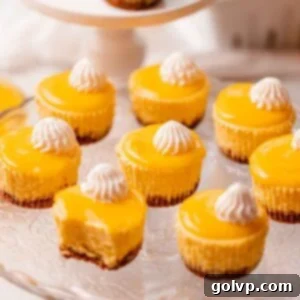
Prepare to be enchanted by these delightful mini lemon cheesecakes – a true celebration of bright, zesty, and creamy flavors. Each individual cheesecake is a perfectly portioned treat, boasting a luscious lemon-infused cheesecake filling, a vibrant homemade or store-bought lemon curd topping, and finished with delicate dollops of airy whipped cream. What truly sets them apart is their wonderfully crunchy gingersnap crust, adding a warm, spicy counterpoint that beautifully complements the tangy lemon. Baked in a standard muffin tin, these mini marvels are surprisingly easy to assemble and require no complicated water baths, making them accessible for bakers of all skill levels. They’re the ultimate fuss-free dessert for any occasion, from casual gatherings to elegant tea parties.
For anyone who adores the invigorating taste of lemon, these mini cheesecakes are an absolute dream come true. They offer a harmonious blend of sweet, tangy, and creamy textures, all encapsulated in a convenient, individual serving size. Get ready to impress your guests and satisfy your cravings with a dessert that’s as charming to look at as it is delicious to eat!
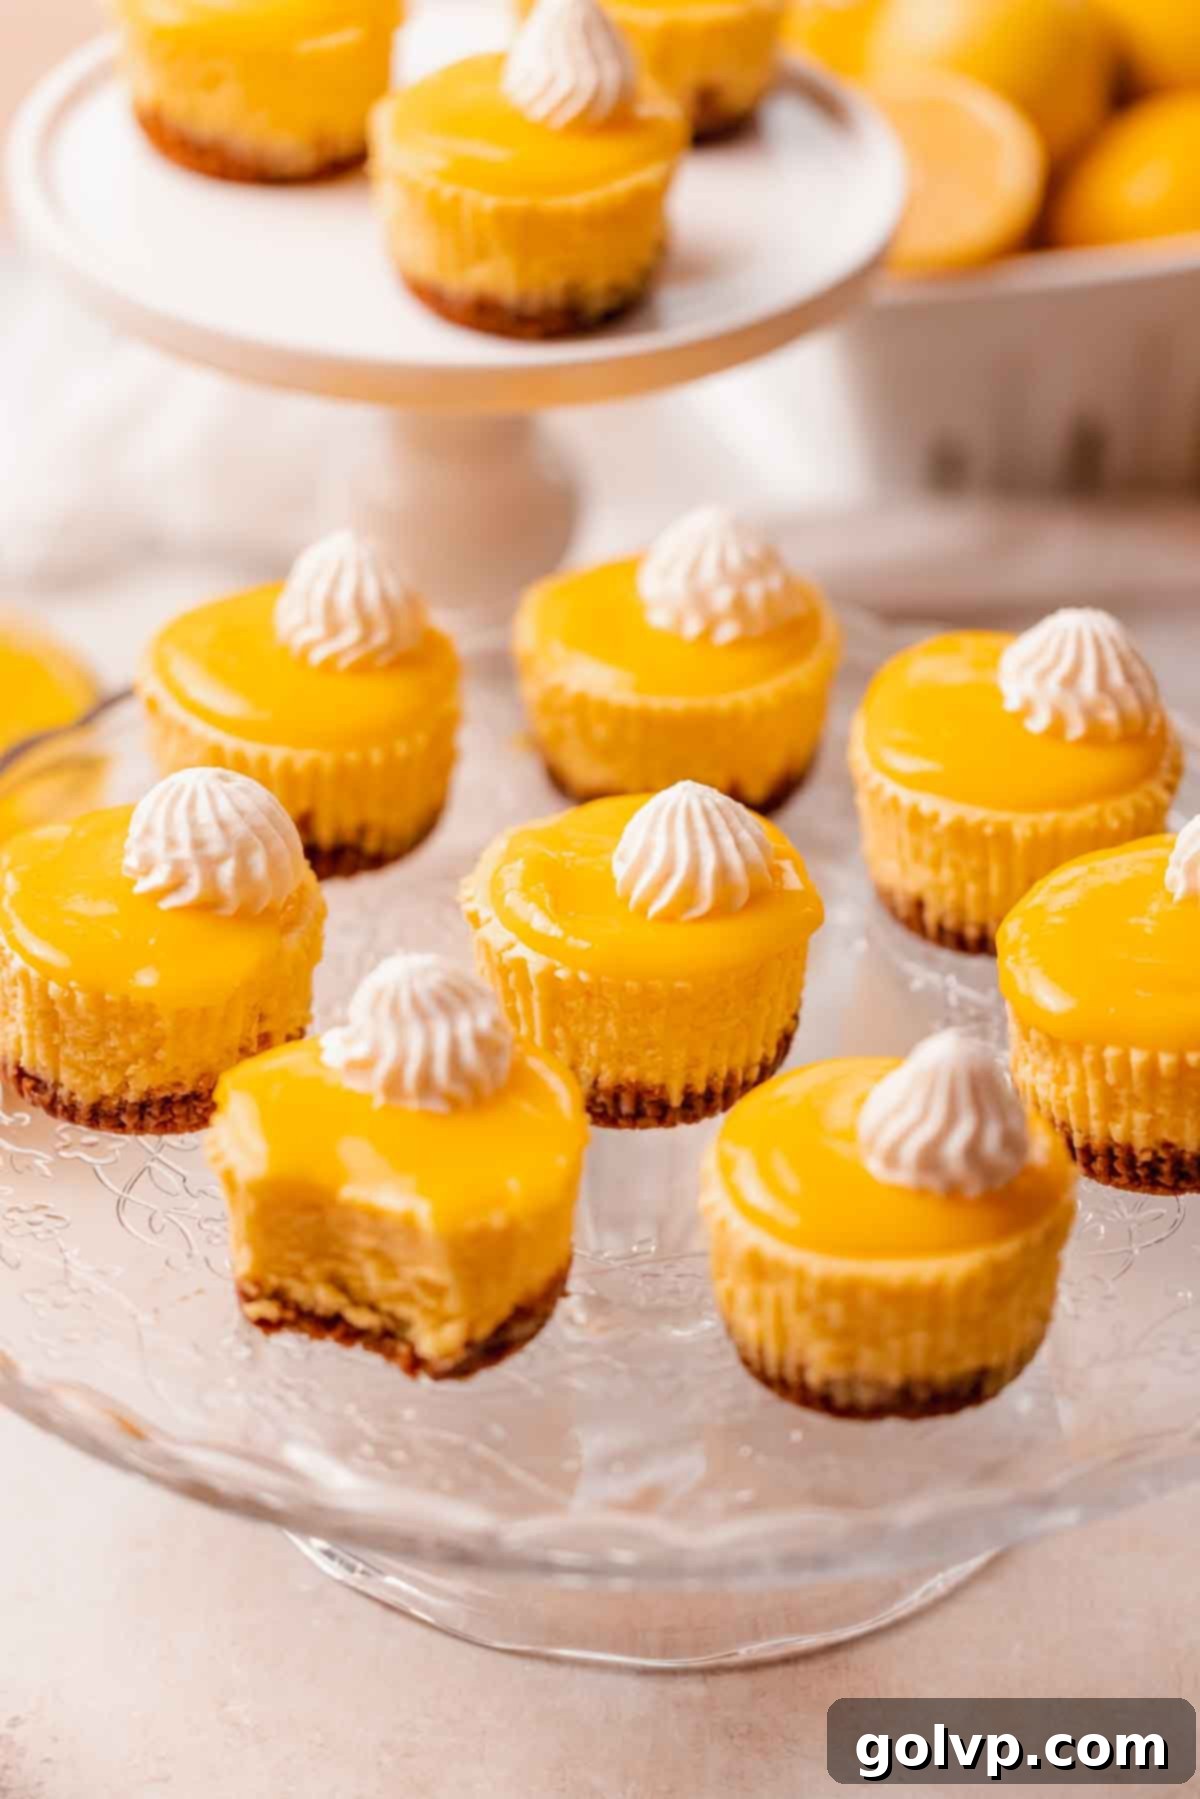
🍋 Why You’ll Absolutely Love These Mini Lemon Cheesecakes
- Explosive Lemon Flavor: These cheesecakes don’t just hint at lemon; they burst with it! Both the creamy cheesecake filling and the vibrant lemon curd topping are intensely infused with fresh lemon zest and juice, delivering a truly authentic and refreshing citrus experience that will delight any lemon enthusiast.
- Remarkably Easy to Make: Forget the complexities often associated with cheesecakes. These mini versions are incredibly straightforward. Made in a simple muffin tin, they eliminate the need for a cumbersome water bath and bake up quickly, making them perfect for busy schedules or impromptu dessert cravings.
- Perfect Individual Portions: Their cute and convenient individual size makes these mini cheesecakes ideal for any gathering. Whether you’re hosting a large party, a bridal shower, a tea party, or just enjoying a treat at home, these ready-to-serve desserts ensure elegant presentation and effortless enjoyment for everyone.
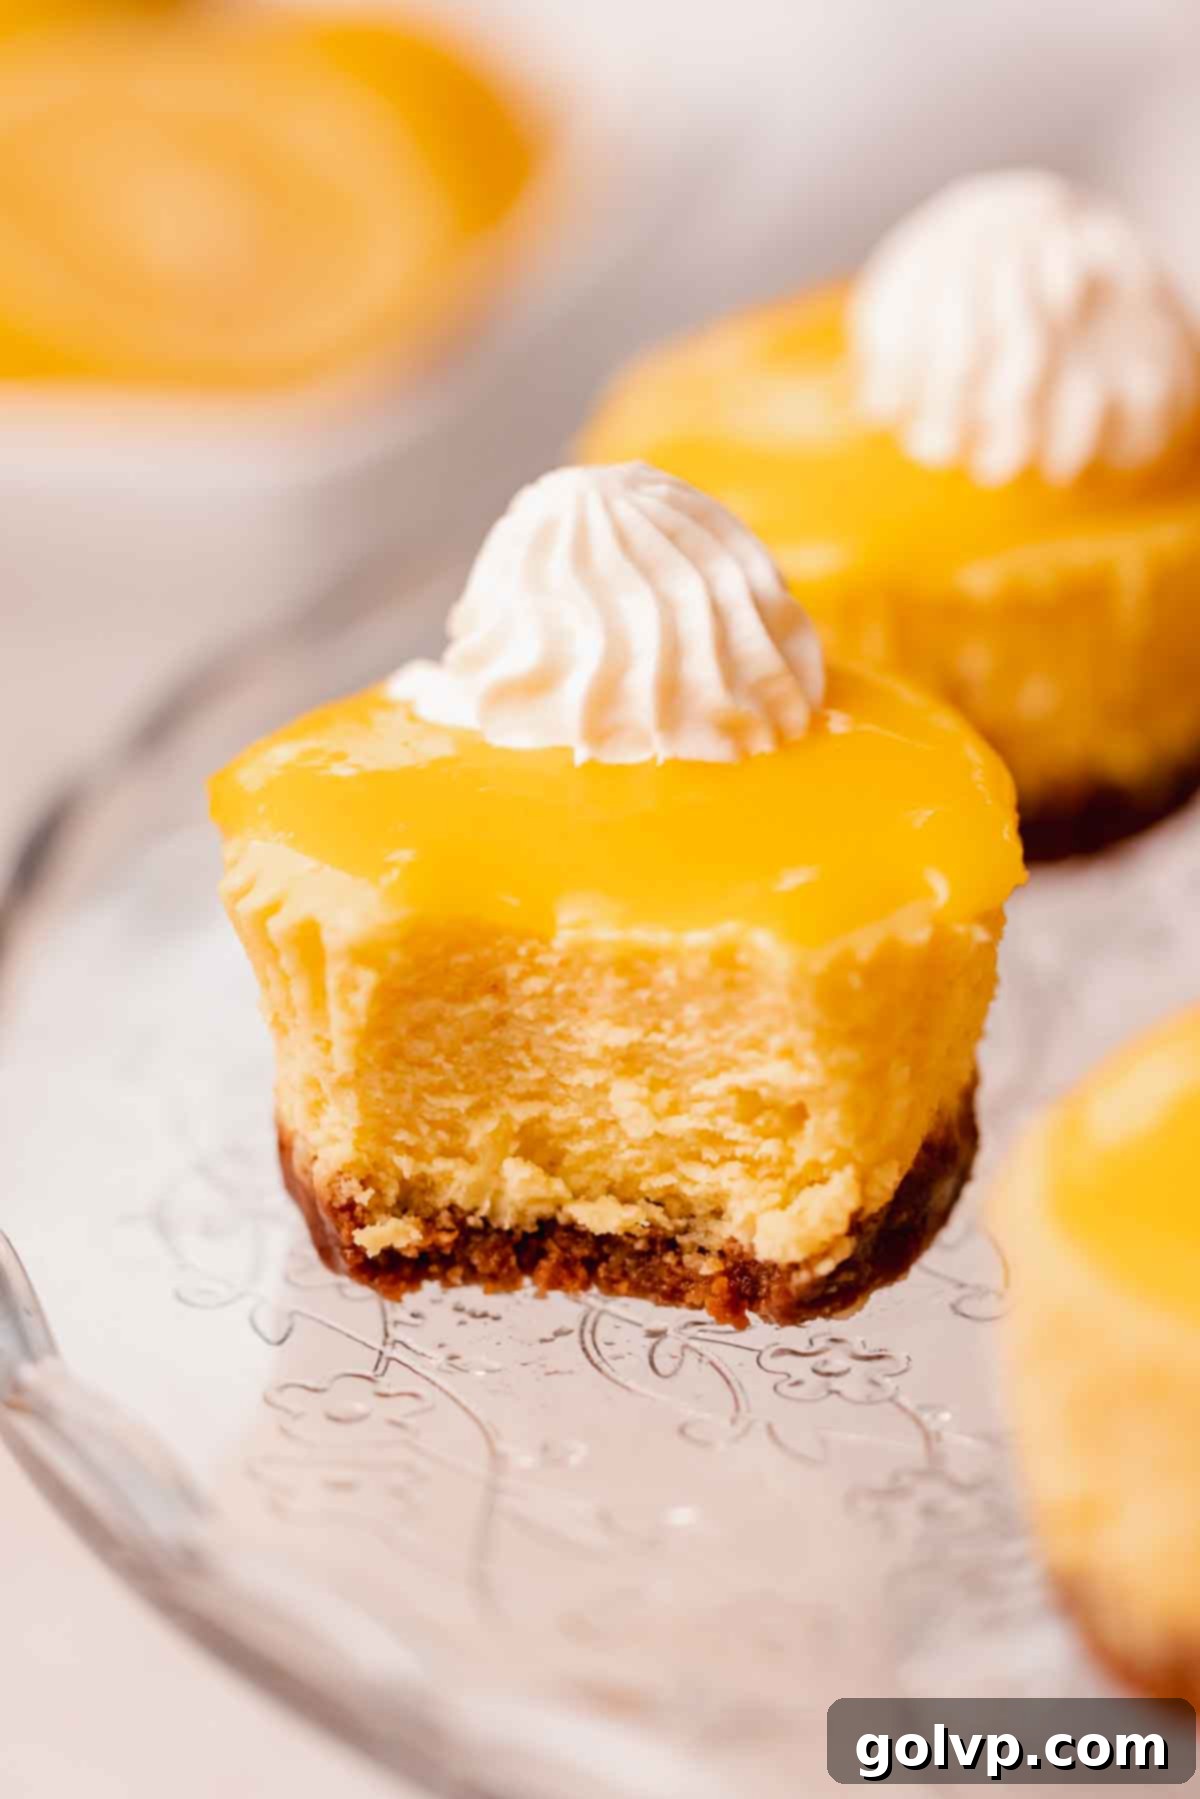
- Unique Crunchy Gingersnap Crust: The base of these cheesecakes is a spiced, buttery gingersnap crust. Its distinctive crunch and warm ginger notes provide a delightful contrast to the smooth, tangy lemon cheesecake, creating a complex and incredibly satisfying flavor profile that elevates this dessert beyond the ordinary.
These miniature cheesecakes draw their inspiration from our beloved mini Oreo cheesecakes, which feature a whole Oreo cookie nestled at the bottom of each delightful bite!
📝 Essential Ingredients for Your Mini Lemon Cheesecakes
Crafting the perfect mini lemon cheesecake starts with understanding the role of each key ingredient. Using high-quality, room-temperature ingredients is crucial for achieving that signature creamy texture and vibrant flavor. Below, we delve into the core components you’ll need.
For a detailed list of quantities and full instructions, please refer to the recipe card located at the bottom of this page. These tips will guide you to success!
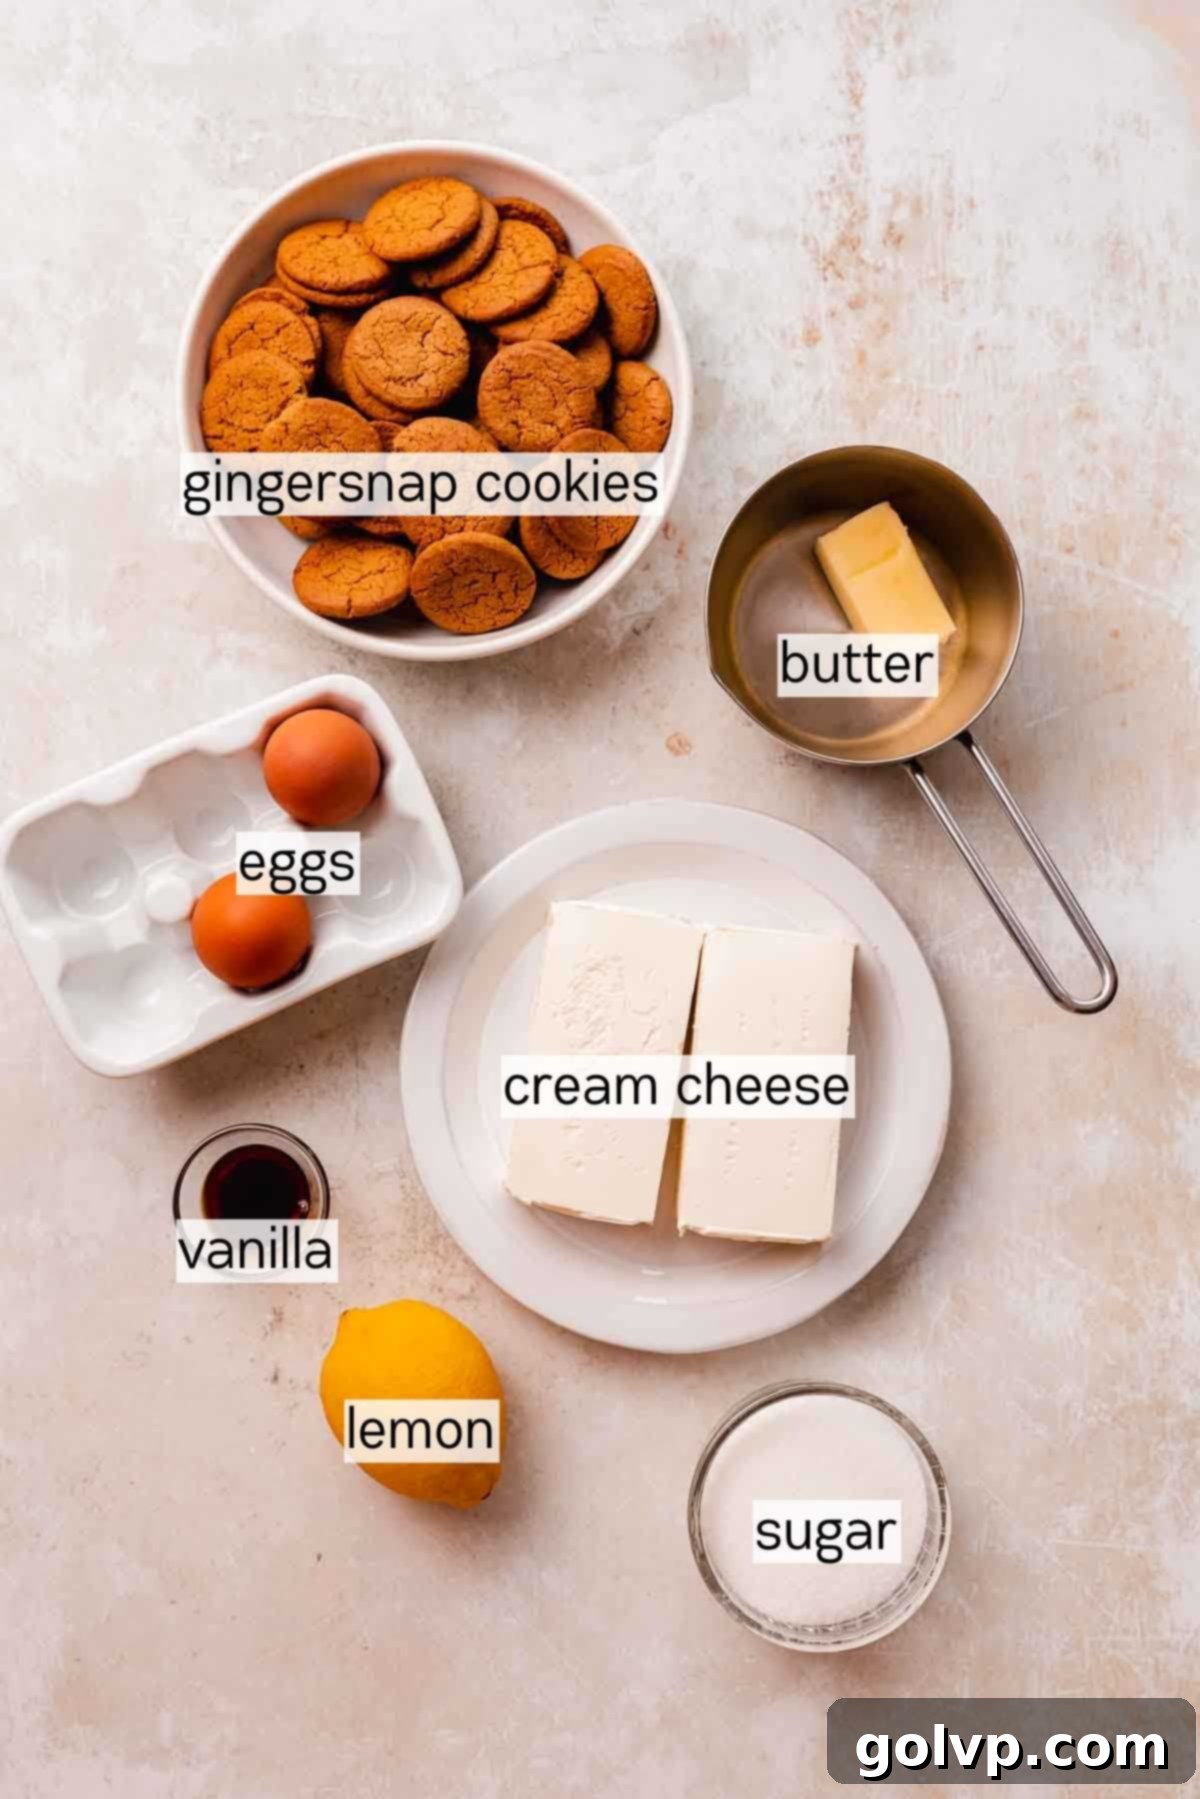
Spotlight on Key Ingredients:
- Gingersnap Cookies: These form the foundation of our unique crust. Opt for crisp, flavorful gingersnaps that will easily crush into fine crumbs. The spicy notes of ginger perfectly complement the tangy lemon, creating a sophisticated flavor pairing. If gingersnaps aren’t available, other crisp cookies like graham crackers or shortbread can be used, but the gingersnaps truly elevate this recipe.
- Cream Cheese: The heart of any cheesecake! Always use full-fat cream cheese, block style, and ensure it’s completely softened to room temperature. This is non-negotiable for a smooth, lump-free batter and a rich, creamy final texture. Low-fat alternatives or cream cheese spreads contain more water and stabilizers, which can negatively impact the cheesecake’s structure and flavor.
- Fresh Lemons (Zest and Juice): The star of the show! Freshly zested lemon peel and freshly squeezed lemon juice are paramount. The zest contains essential oils that provide an intense, aromatic lemon flavor without adding excessive liquid, while the juice delivers that signature tang. Avoid bottled lemon juice if possible, as it often lacks the brightness and depth of fresh lemons.
- Eggs: Eggs act as a binder, providing structure and richness to the cheesecake. Just like the cream cheese, it’s vital that your eggs are at room temperature. This allows them to incorporate smoothly into the batter, preventing overmixing and ensuring a uniform, silky consistency.
- Granulated Sugar: Sugar sweetens the cheesecake and interacts with the lemon zest to amplify its flavor. Rubbing the zest with sugar before adding other ingredients is a technique that helps release the lemon’s natural oils, intensifying the citrus aroma and taste.
- Butter: Melted butter binds the gingersnap crumbs together to create a firm, delicious crust. Unsalted butter is generally preferred in baking to control the salt content of the overall recipe.
- Heavy Whipping Cream & Vanilla Extract: For the homemade whipped cream topping. Ensure your heavy cream is very cold to achieve stiff peaks. Pure vanilla extract adds a lovely aromatic depth that balances the tartness of the lemon.
👩🍳 Step-by-Step: Crafting Your Mini Lemon Cheesecakes
Perfect Gingersnap Crust Step-by-Step
Prep: Before you begin, preheat your oven to 320°F (160°C). Line a 12-hole muffin tin with paper muffin liners. This crucial step prevents the cheesecakes from sticking and ensures easy removal, resulting in beautifully presented individual desserts.
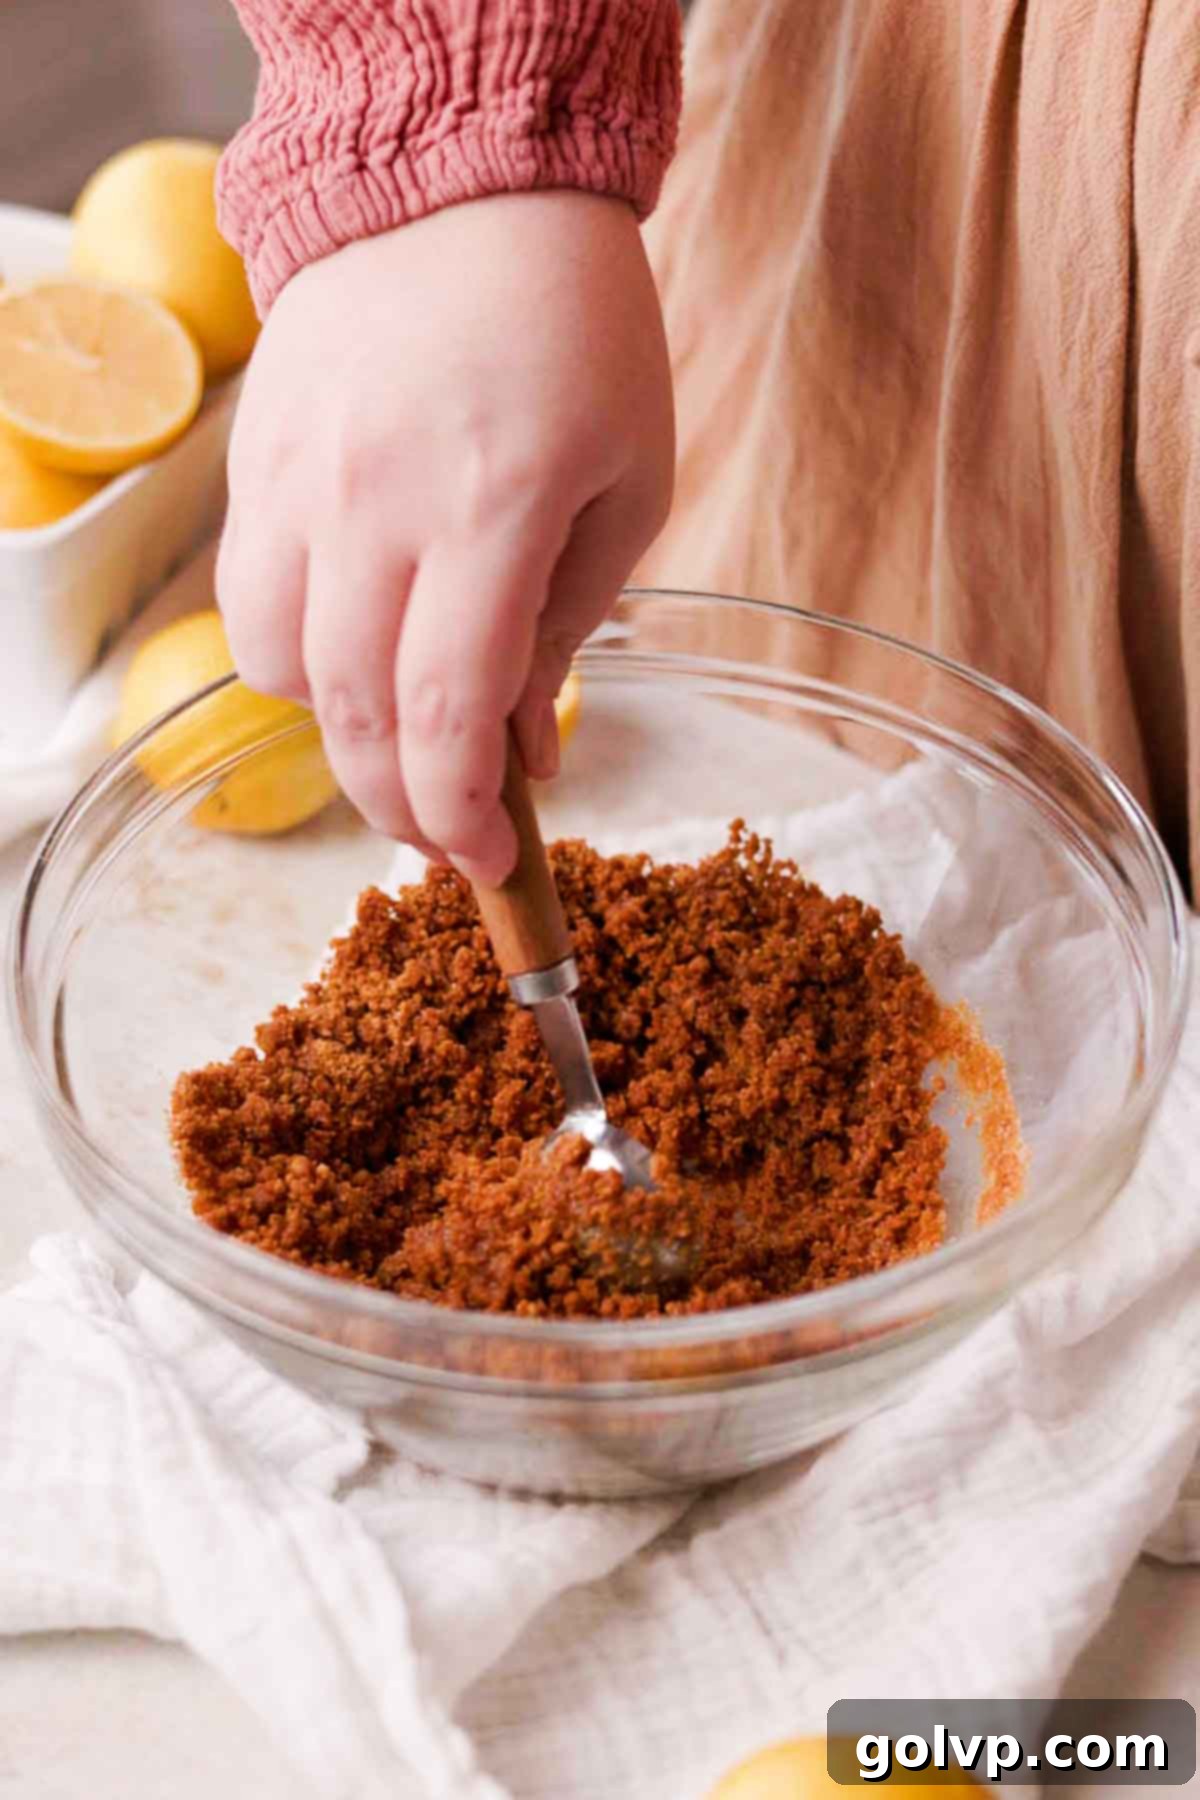
Step 1: In a medium bowl, thoroughly combine your crushed gingersnap cookies, melted butter, and a tablespoon of granulated sugar. Stir until the mixture is evenly moistened and resembles wet sand. Using a tablespoon, divide this fragrant crust mixture evenly among the twelve lined muffin tin cavities. I recommend adding one heaping tablespoon into each spot to ensure a substantial base.
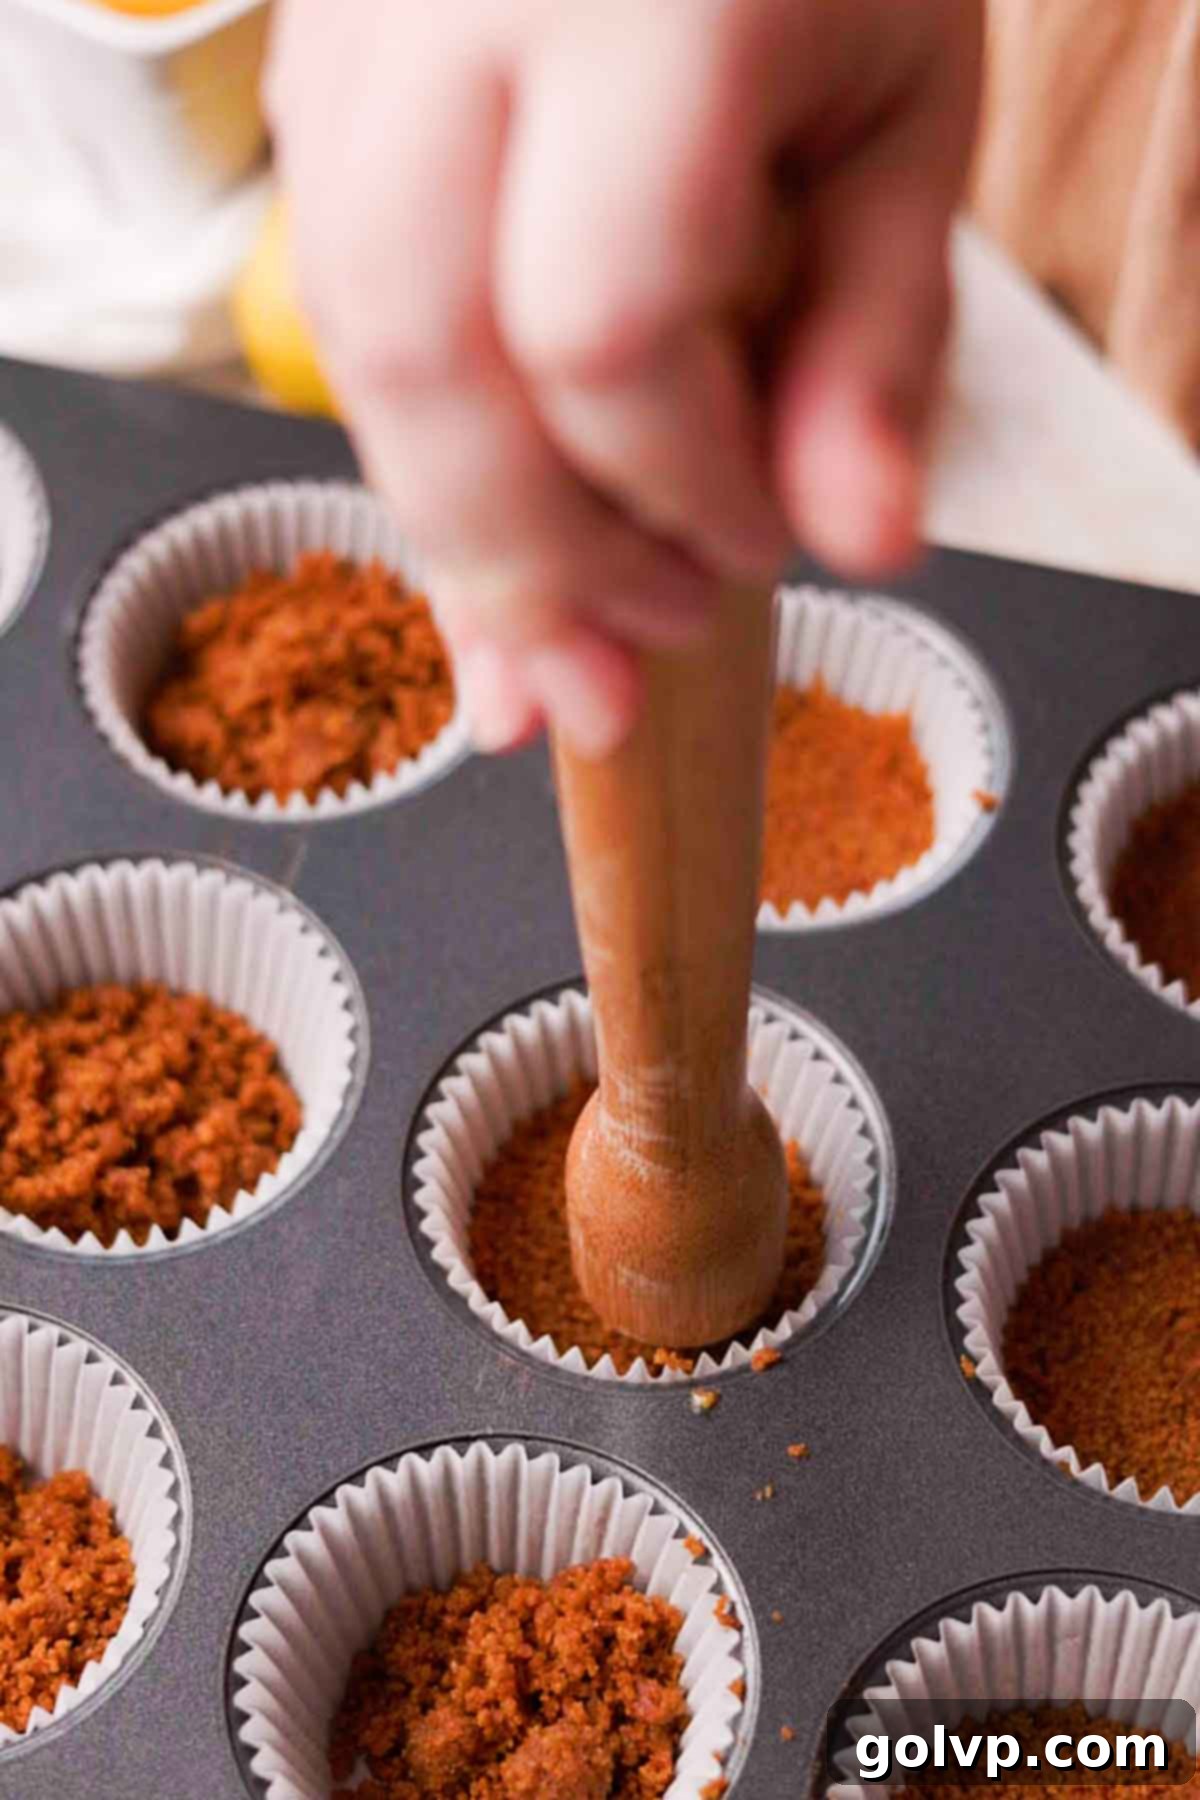
Step 2: It’s essential to press the crust mixture down firmly into each muffin liner. Use the bottom of a small glass or a tart tamper to pack it in tightly. This compaction is key to preventing a crumbly crust and ensures it holds its shape beautifully once baked. Bake the prepared crusts in your preheated oven for exactly 8 minutes. This brief pre-bake ensures the crust stays wonderfully crunchy even after the cheesecake filling is added. Once baked, remove them from the oven and allow them to cool completely while you prepare the cheesecake filling. Keep the oven on!
Crust Tip: Baking the crusts separately before adding the filling is a secret weapon! It ensures they remain perfectly crunchy underneath the creamy cheesecake, preventing any sogginess and enhancing their delicious flavor.
Luscious Lemon Cheesecake Batter Step-by-Step
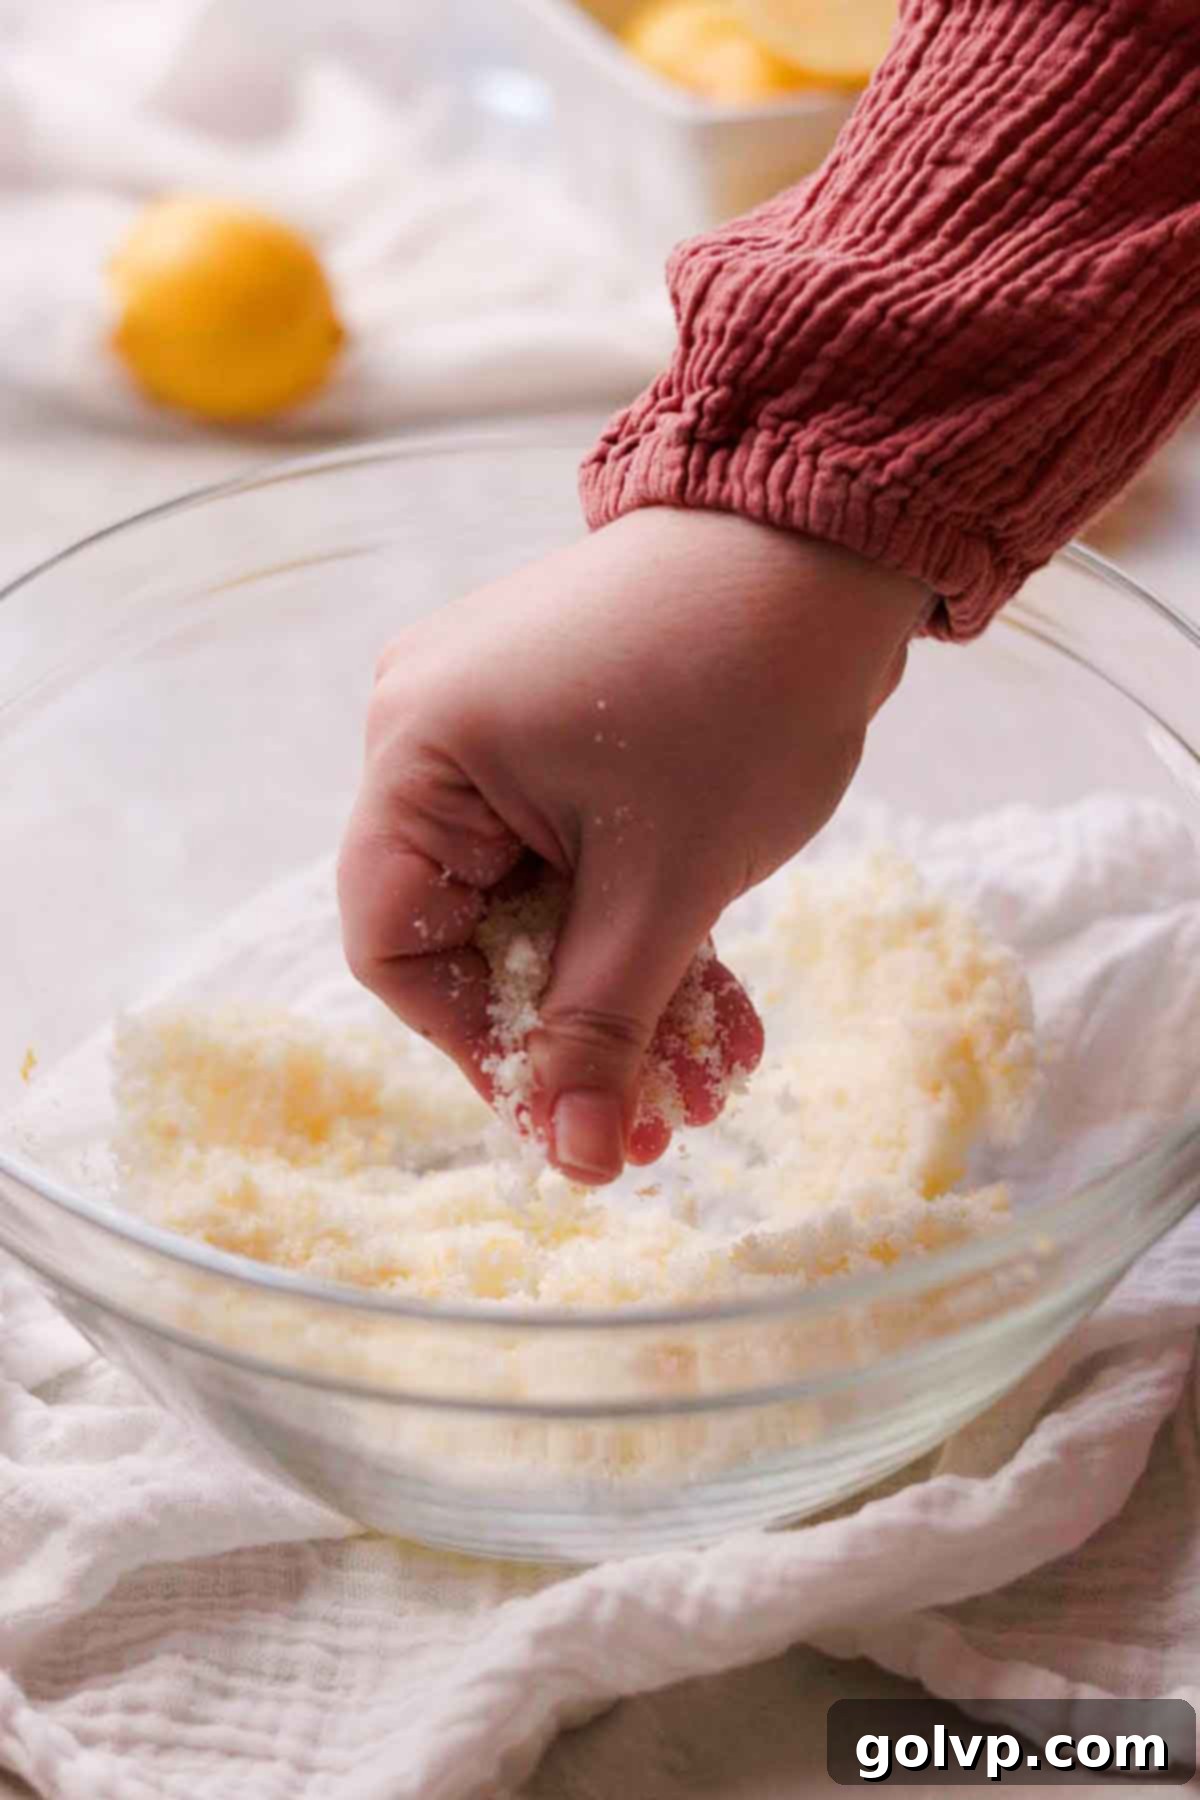
Step 1: Begin by zesting your fresh lemon directly into a large mixing bowl or the bowl of a stand mixer. Add the granulated sugar, and using your fingertips (or a paddle attachment on low speed for a stand mixer), rub the lemon zest and sugar together. This simple yet effective technique releases the aromatic oils from the lemon zest, infusing the sugar with intense lemon flavor and fragrance. Continue rubbing until the mixture becomes wonderfully fragrant and slightly moistened.
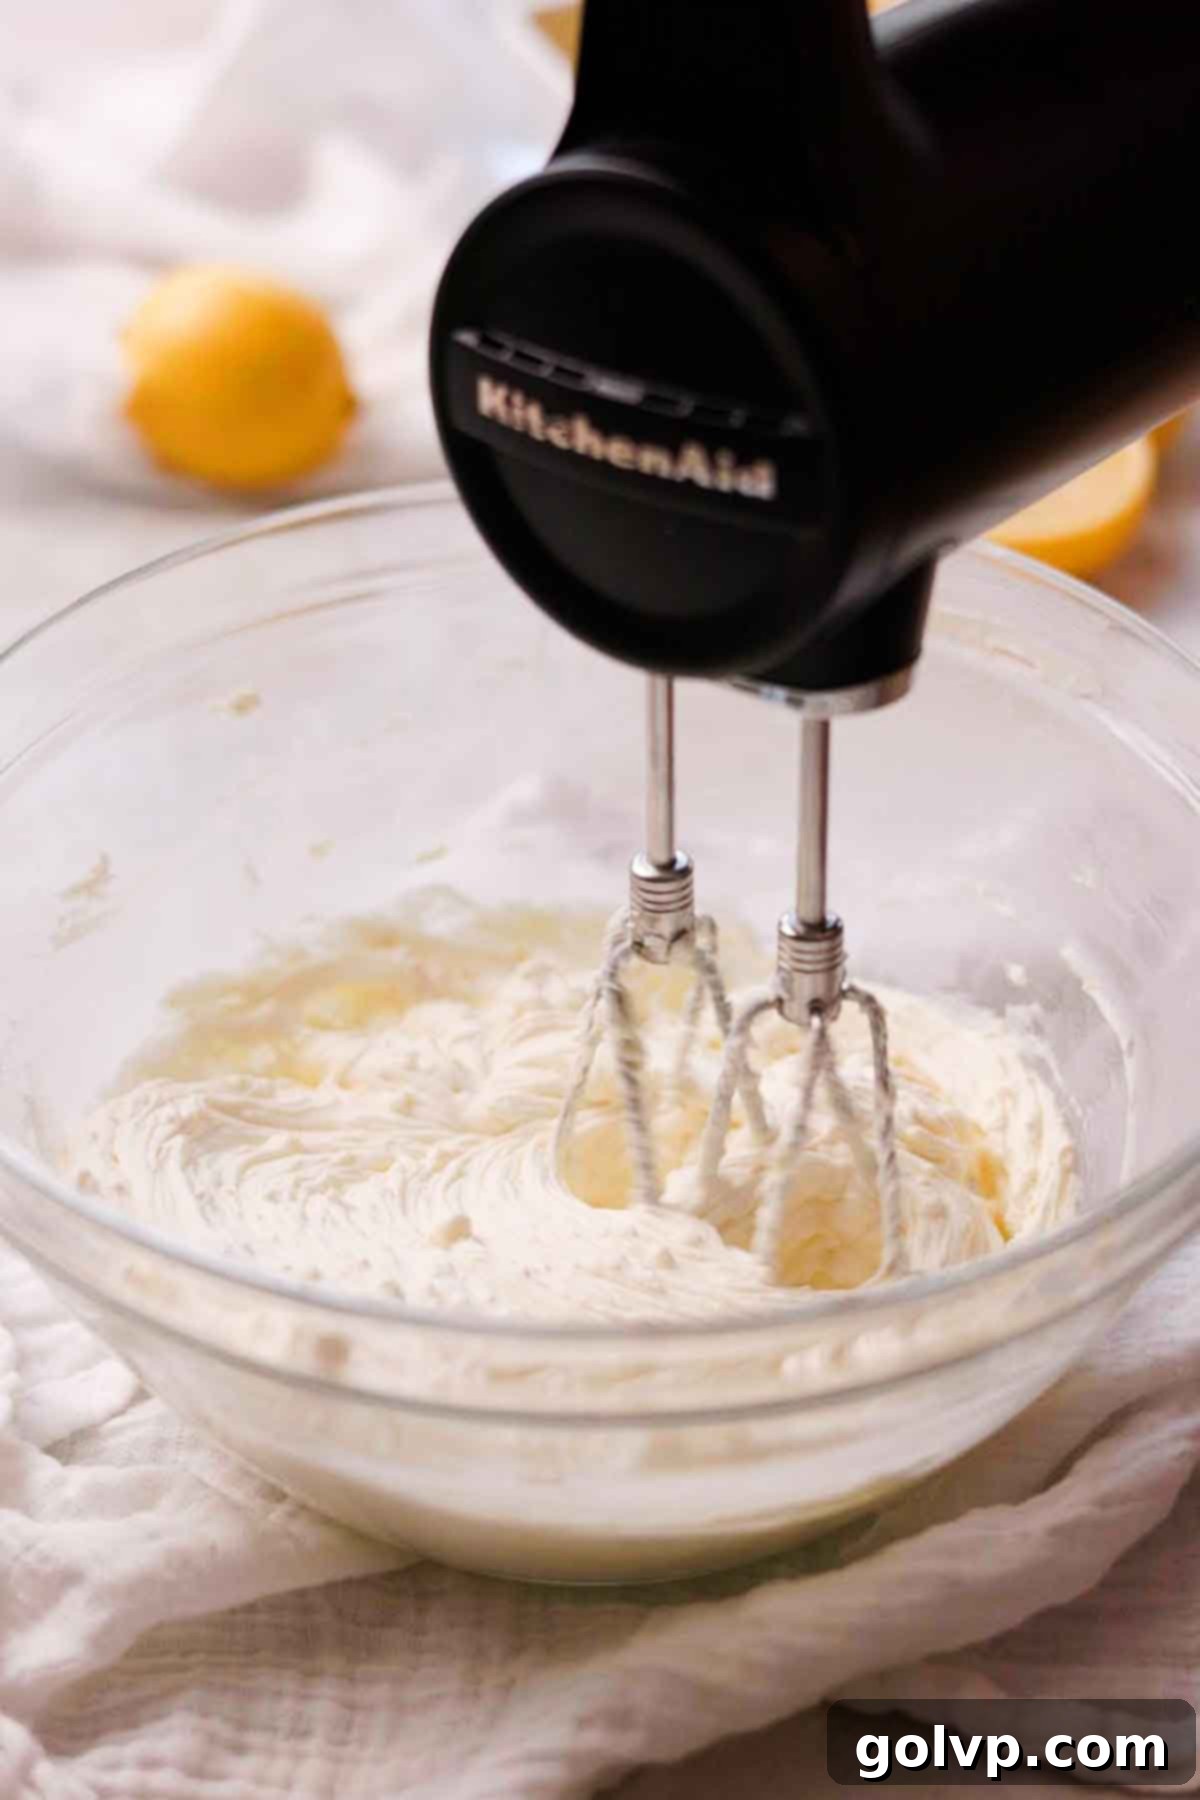
Step 2: Add the softened cream cheese to the lemon-sugar mixture. Beat on low speed (with an electric mixer or stand mixer) just until the mixture is smooth and creamy, with no lumps visible. Be careful not to overmix! Stop frequently to scrape down the sides and bottom of the bowl with a rubber spatula to ensure all ingredients are thoroughly combined and to prevent any pockets of unmixed cream cheese.
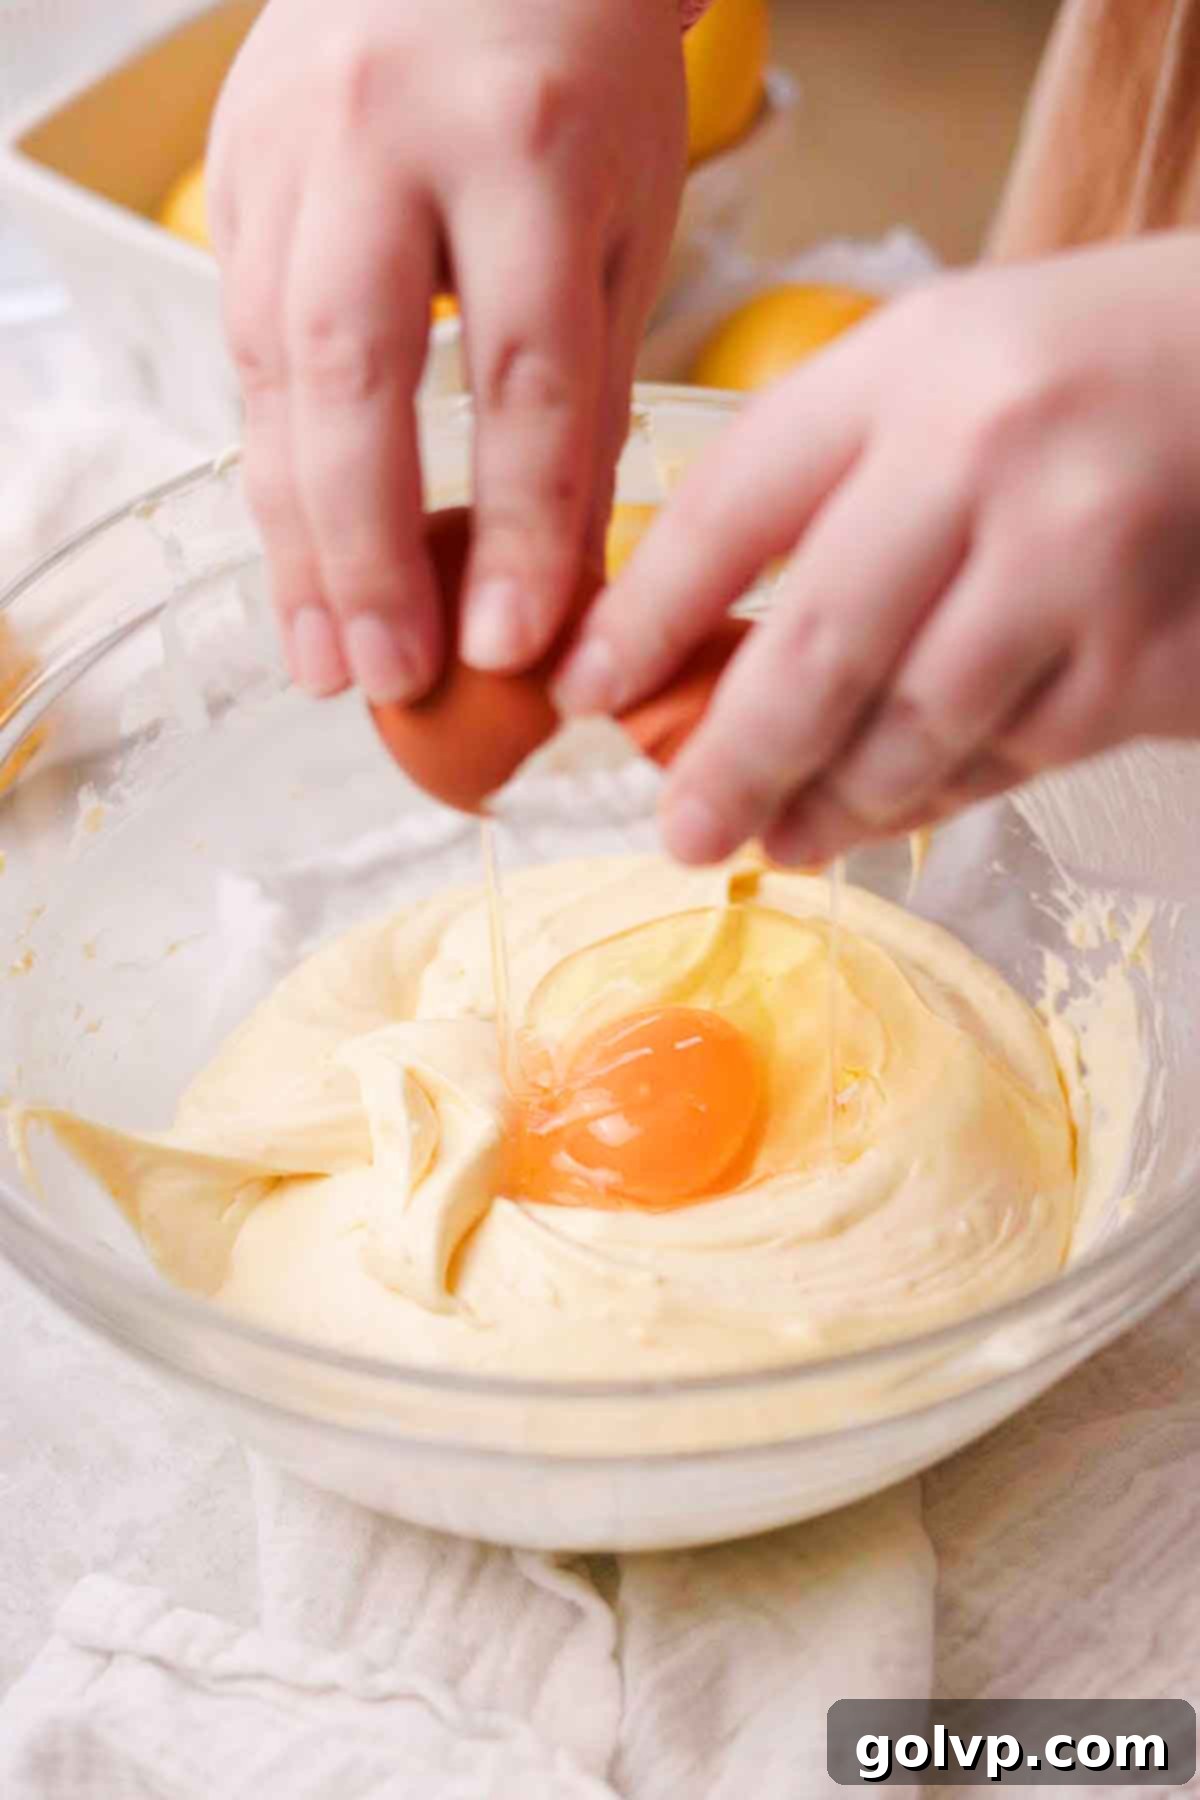
Step 3: Add one room-temperature egg to the cream cheese mixture and mix on low speed just until it is fully incorporated. Immediately add the second egg and mix again, just until it is incorporated. The key here is to avoid overmixing once the eggs are added, as this can introduce too much air into the batter, potentially leading to cracks in your finished cheesecakes. Scrape down the bowl thoroughly one last time and give it a very brief mix to ensure everything is evenly combined.
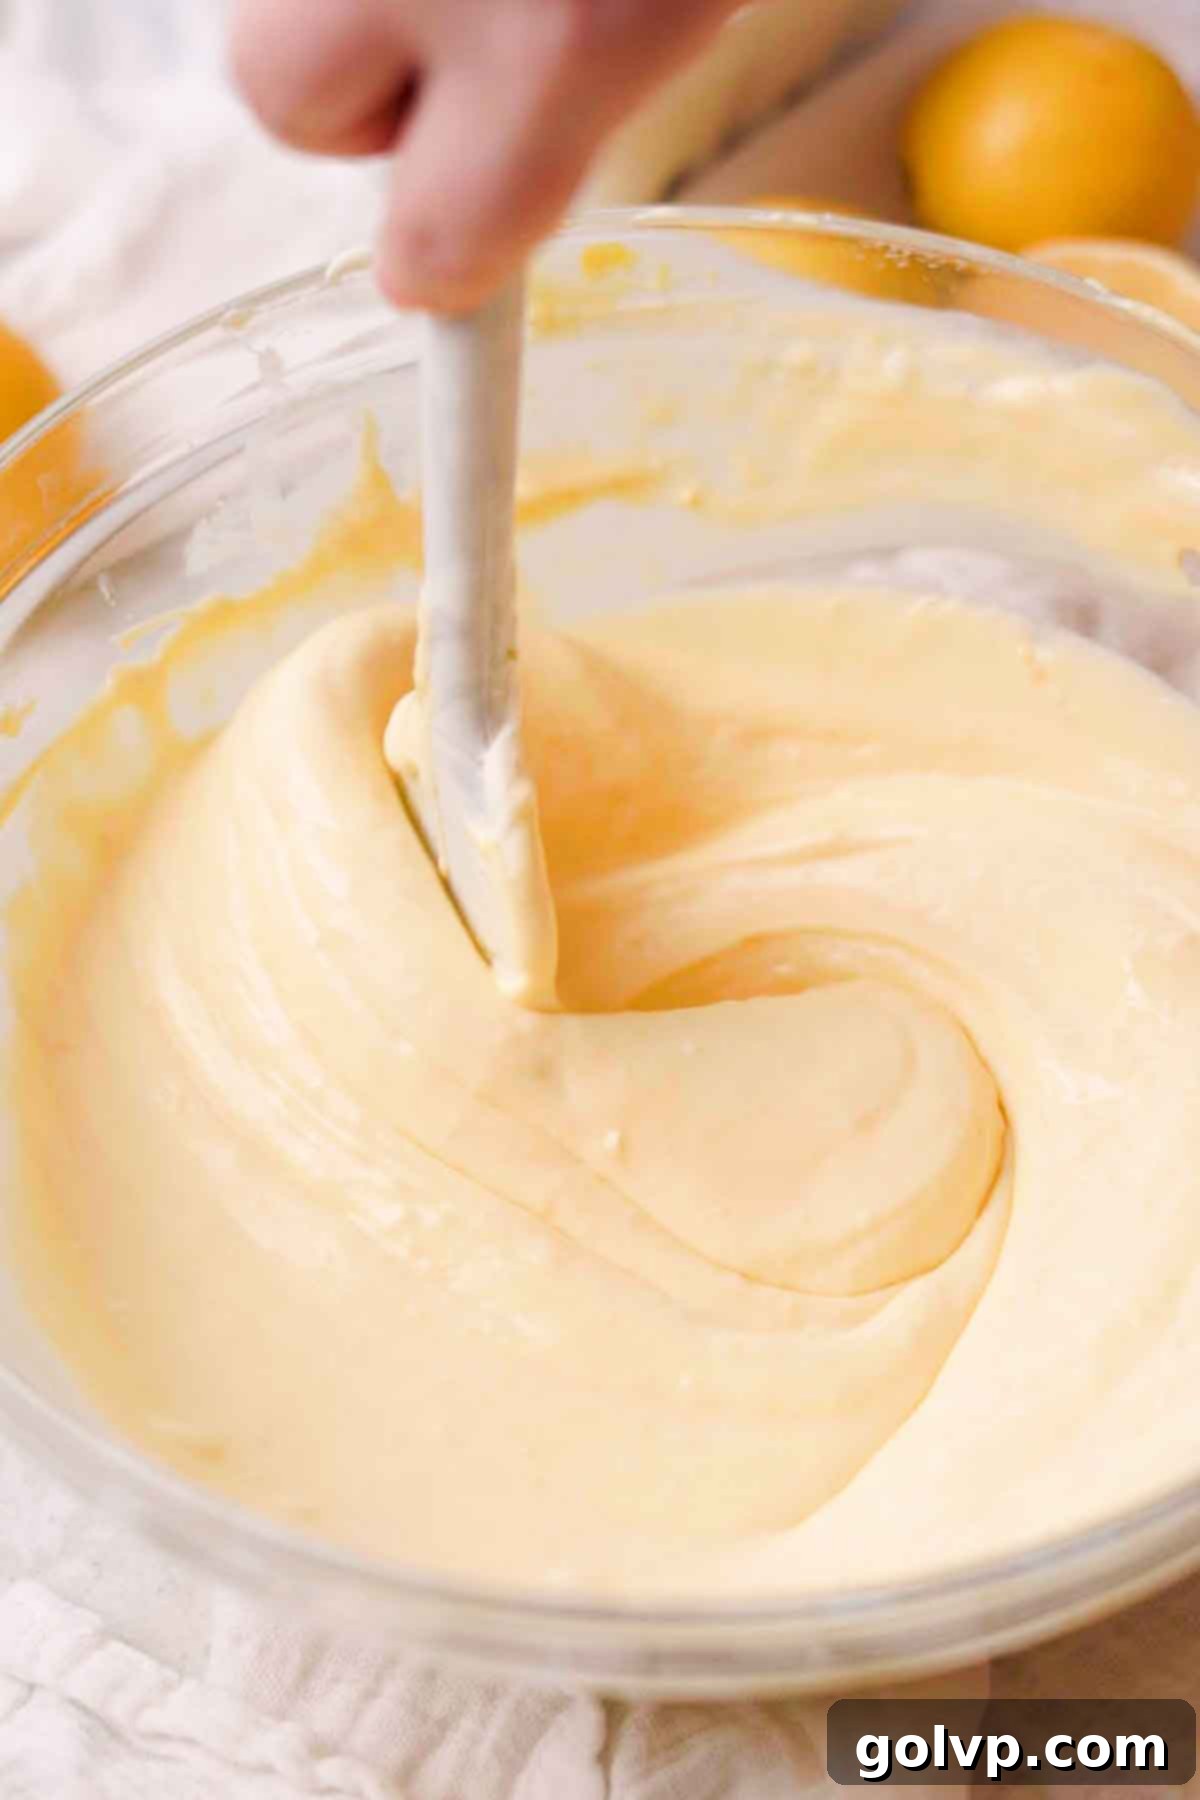
Step 4: Finally, add the freshly squeezed lemon juice, pure vanilla extract, and a pinch of sea salt to the cheesecake batter. Mix on low speed, just until these final ingredients are fully incorporated. The lemon juice provides the essential tang, while vanilla and salt balance and enhance the overall flavor profile.
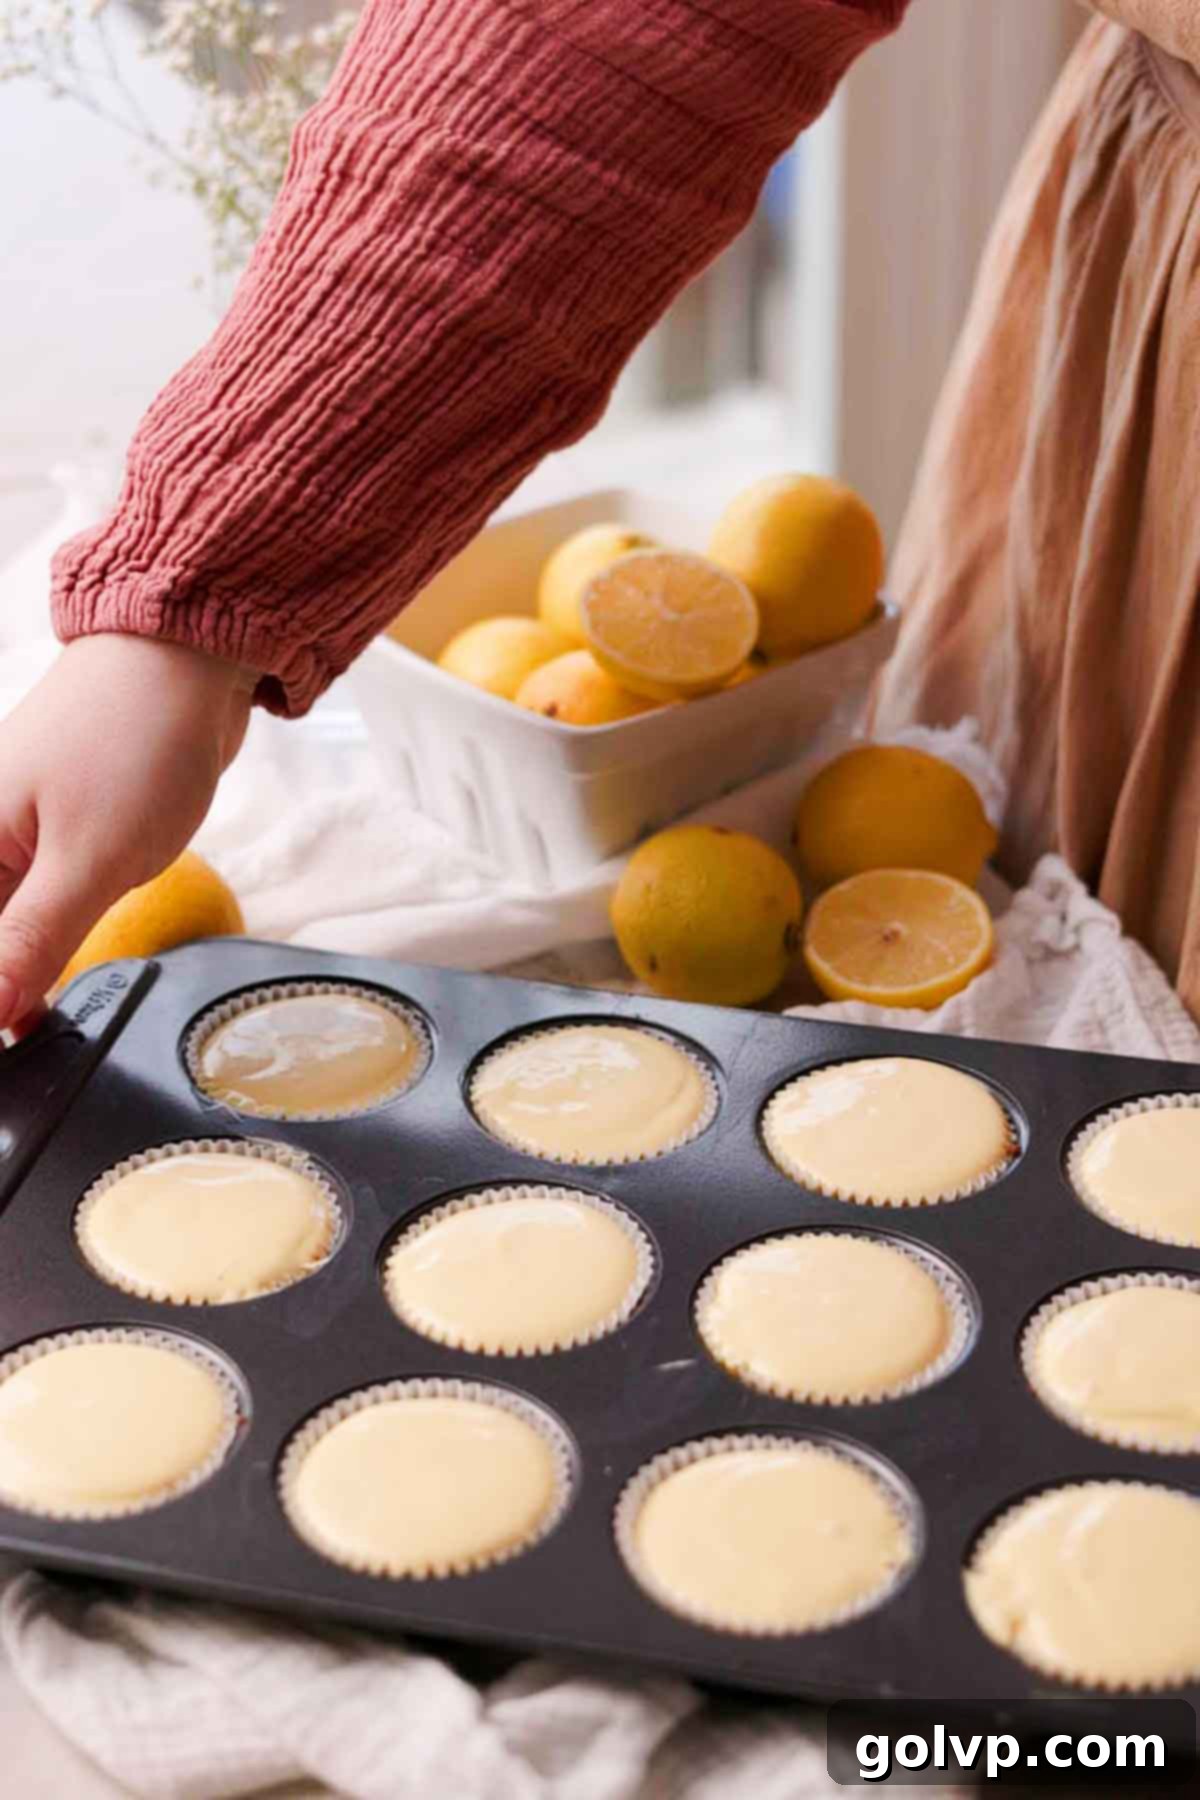
Step 5: Carefully divide the smooth cheesecake batter evenly among the pre-baked gingersnap crusts in the muffin tin. Bake the cheesecakes in your preheated oven for approximately 16 minutes. You’ll know they’re ready when the tops appear slightly puffed, are no longer shiny, the edges are set, but the centers still have a gentle jiggle when the tin is lightly shaken. Immediately turn off the oven and prop the oven door open slightly, allowing the cheesecakes to cool gradually inside for another 10 minutes. This slow cooling process helps prevent cracking. After 10 minutes, remove the cheesecakes from the oven and let them cool completely in the muffin tins on a wire rack at room temperature.
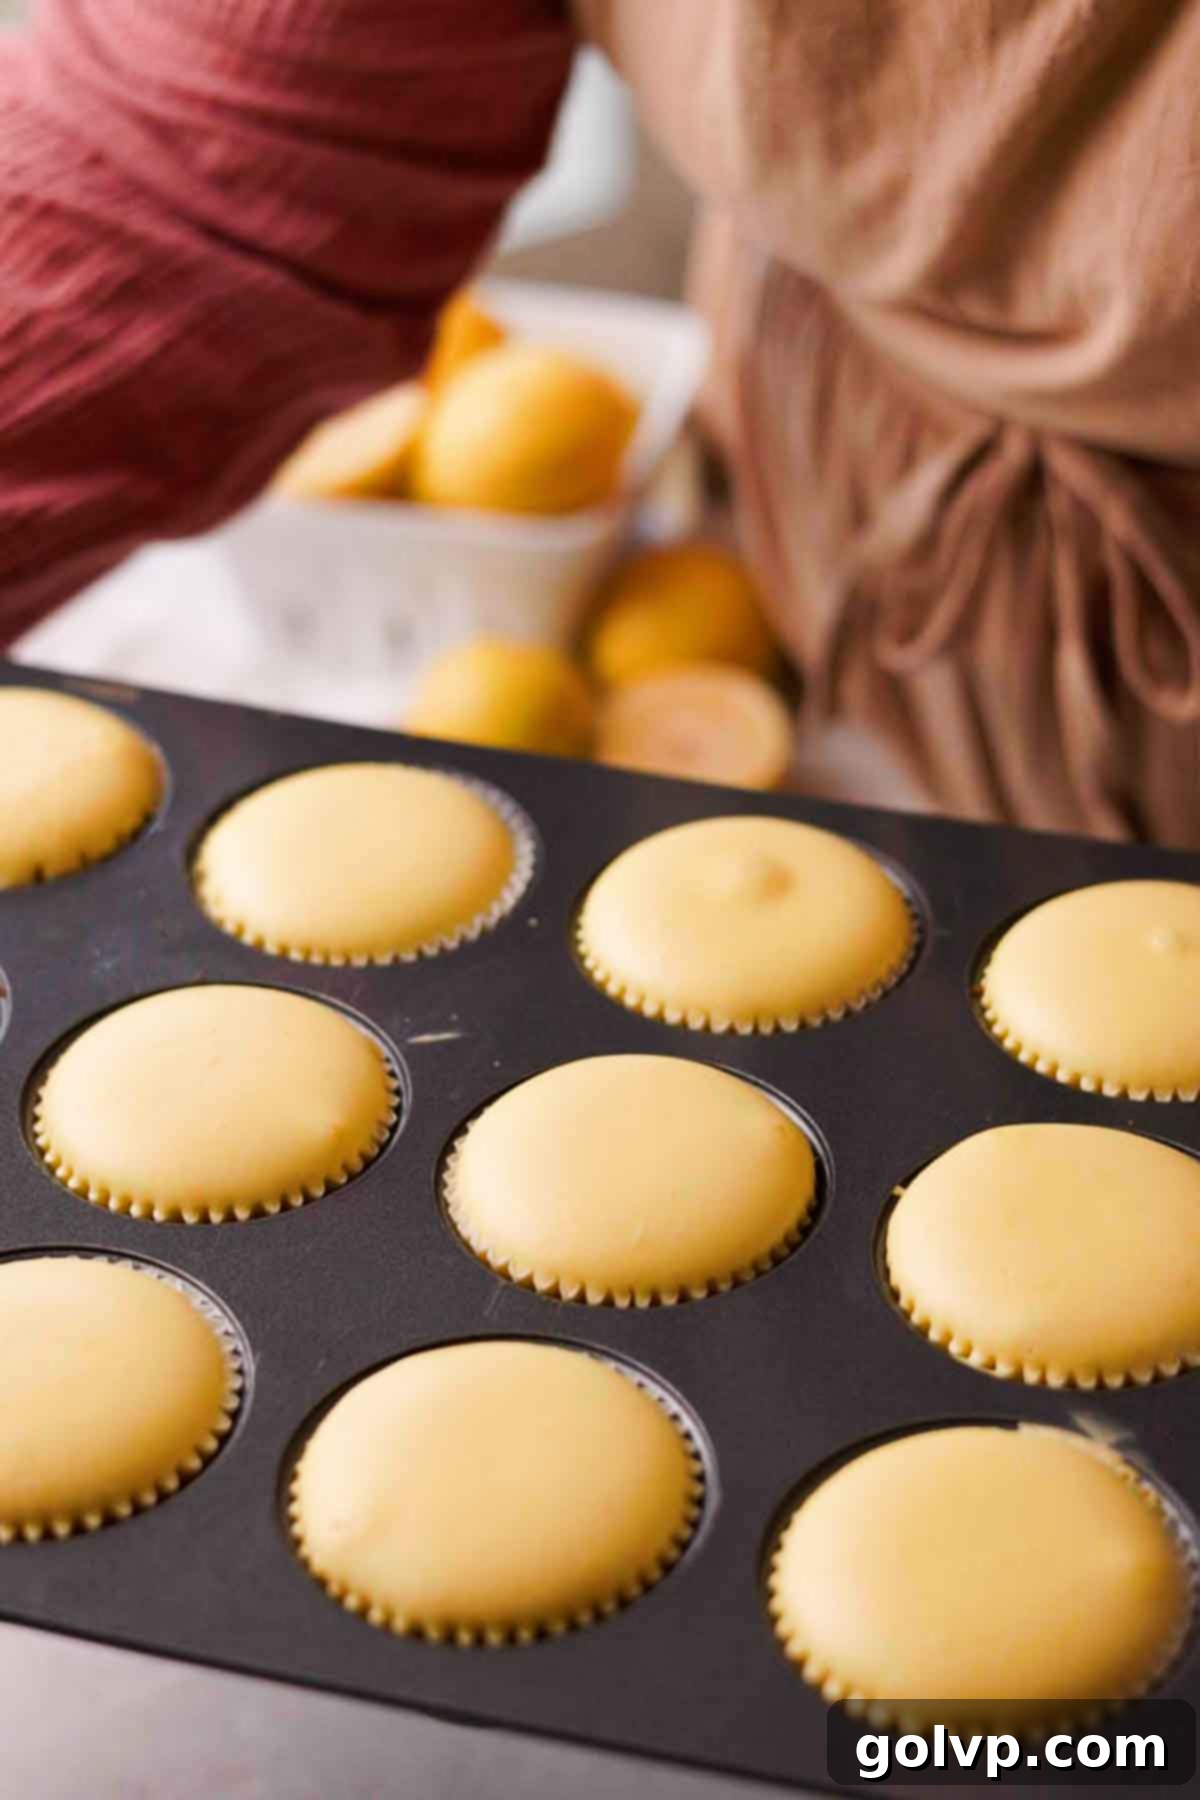
Step 6: Once the cheesecakes have reached room temperature, gently remove them from the muffin tins. This is where patience is key! Transfer them to the refrigerator and chill for a minimum of 2-3 hours, or ideally, overnight. Chilling allows the cheesecake to fully set, firming up to the perfect texture, and, crucially, permits the vibrant lemon flavors to deepen and meld beautifully. You can easily bake these the day before serving to give them ample time to chill and achieve their optimal taste and consistency.
Finishing Touches: Toppings Step-by-Step
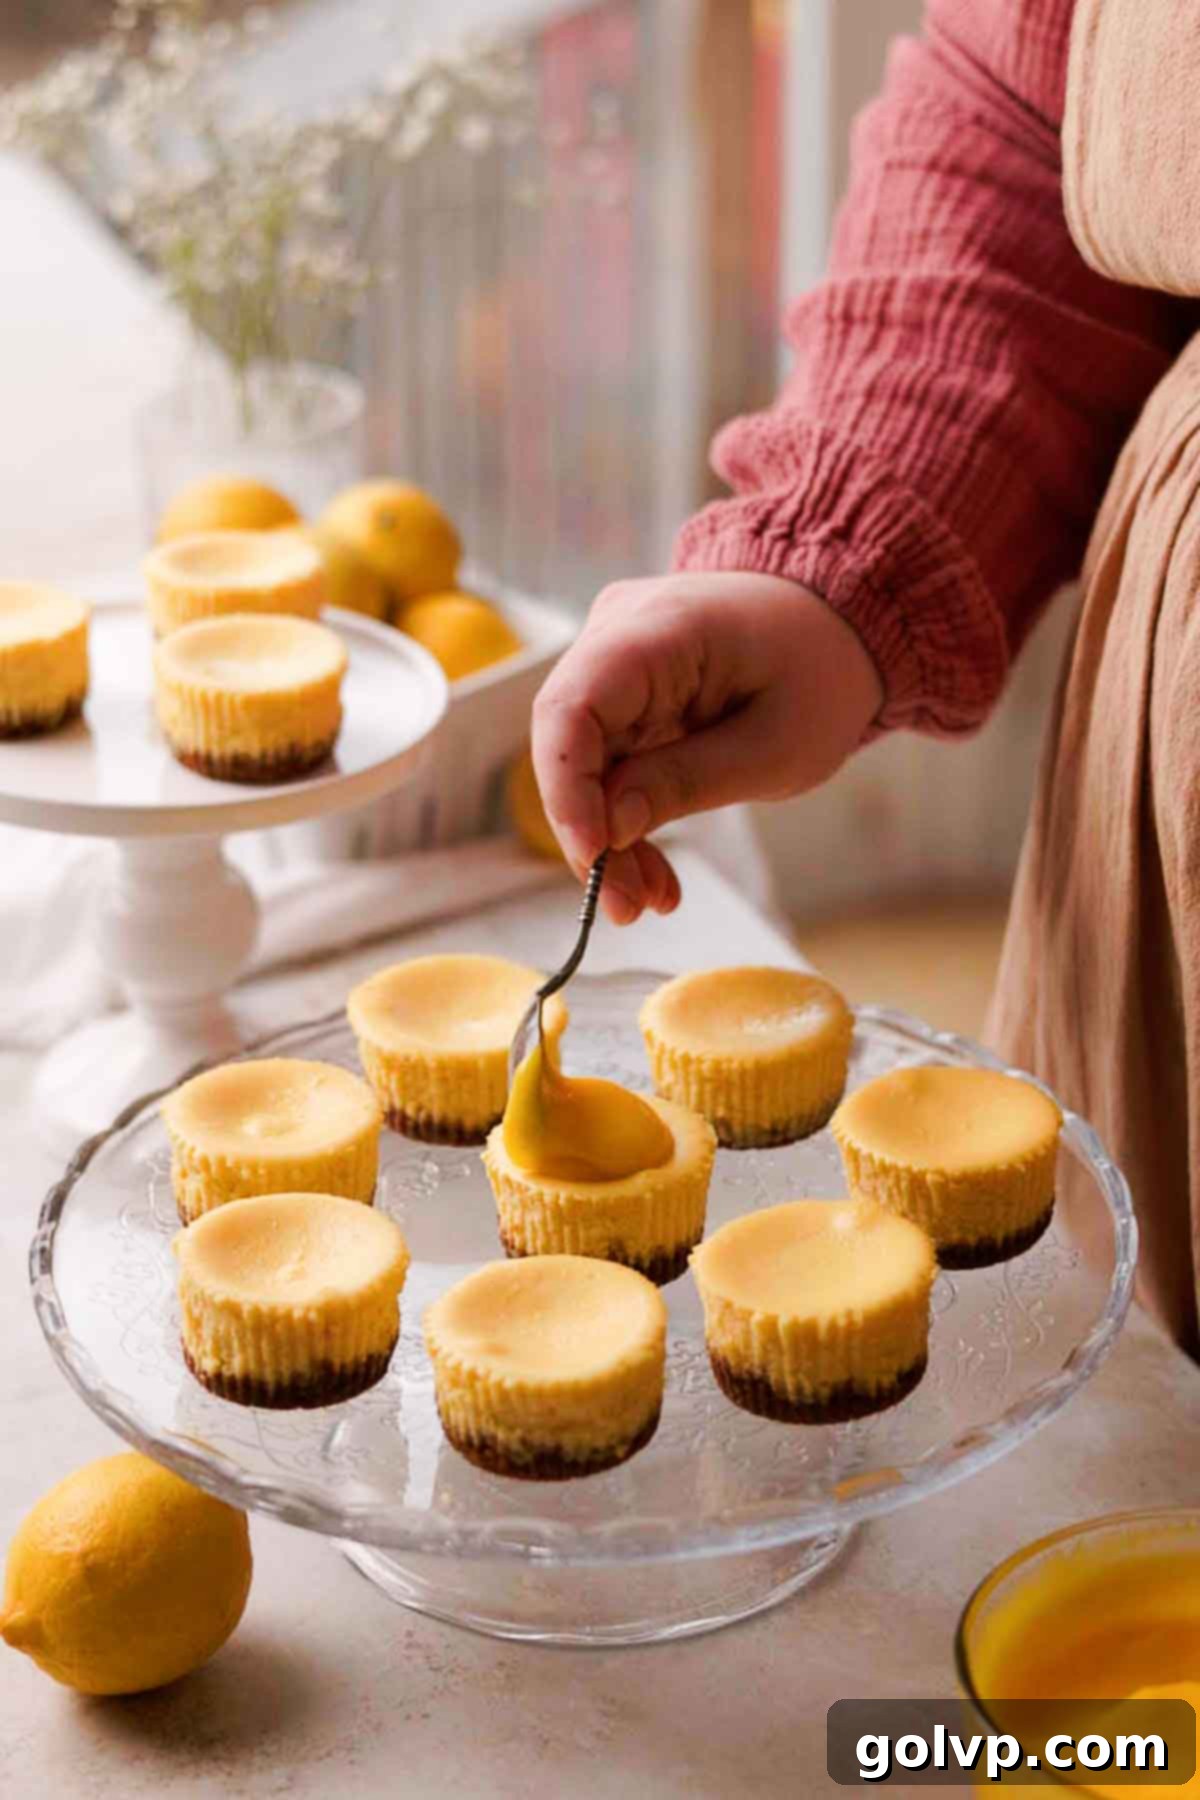
Step 1: Once your mini cheesecakes are perfectly chilled and set, it’s time for the first layer of topping. Place a generous spoonful of bright lemon curd onto the top of each cheesecake. You can use your favorite homemade lemon curd for an extra special touch, or a high-quality store-bought version for convenience. Gently spread the curd evenly across the top, all the way to the edges, creating a vibrant, glossy layer of tangy sweetness.
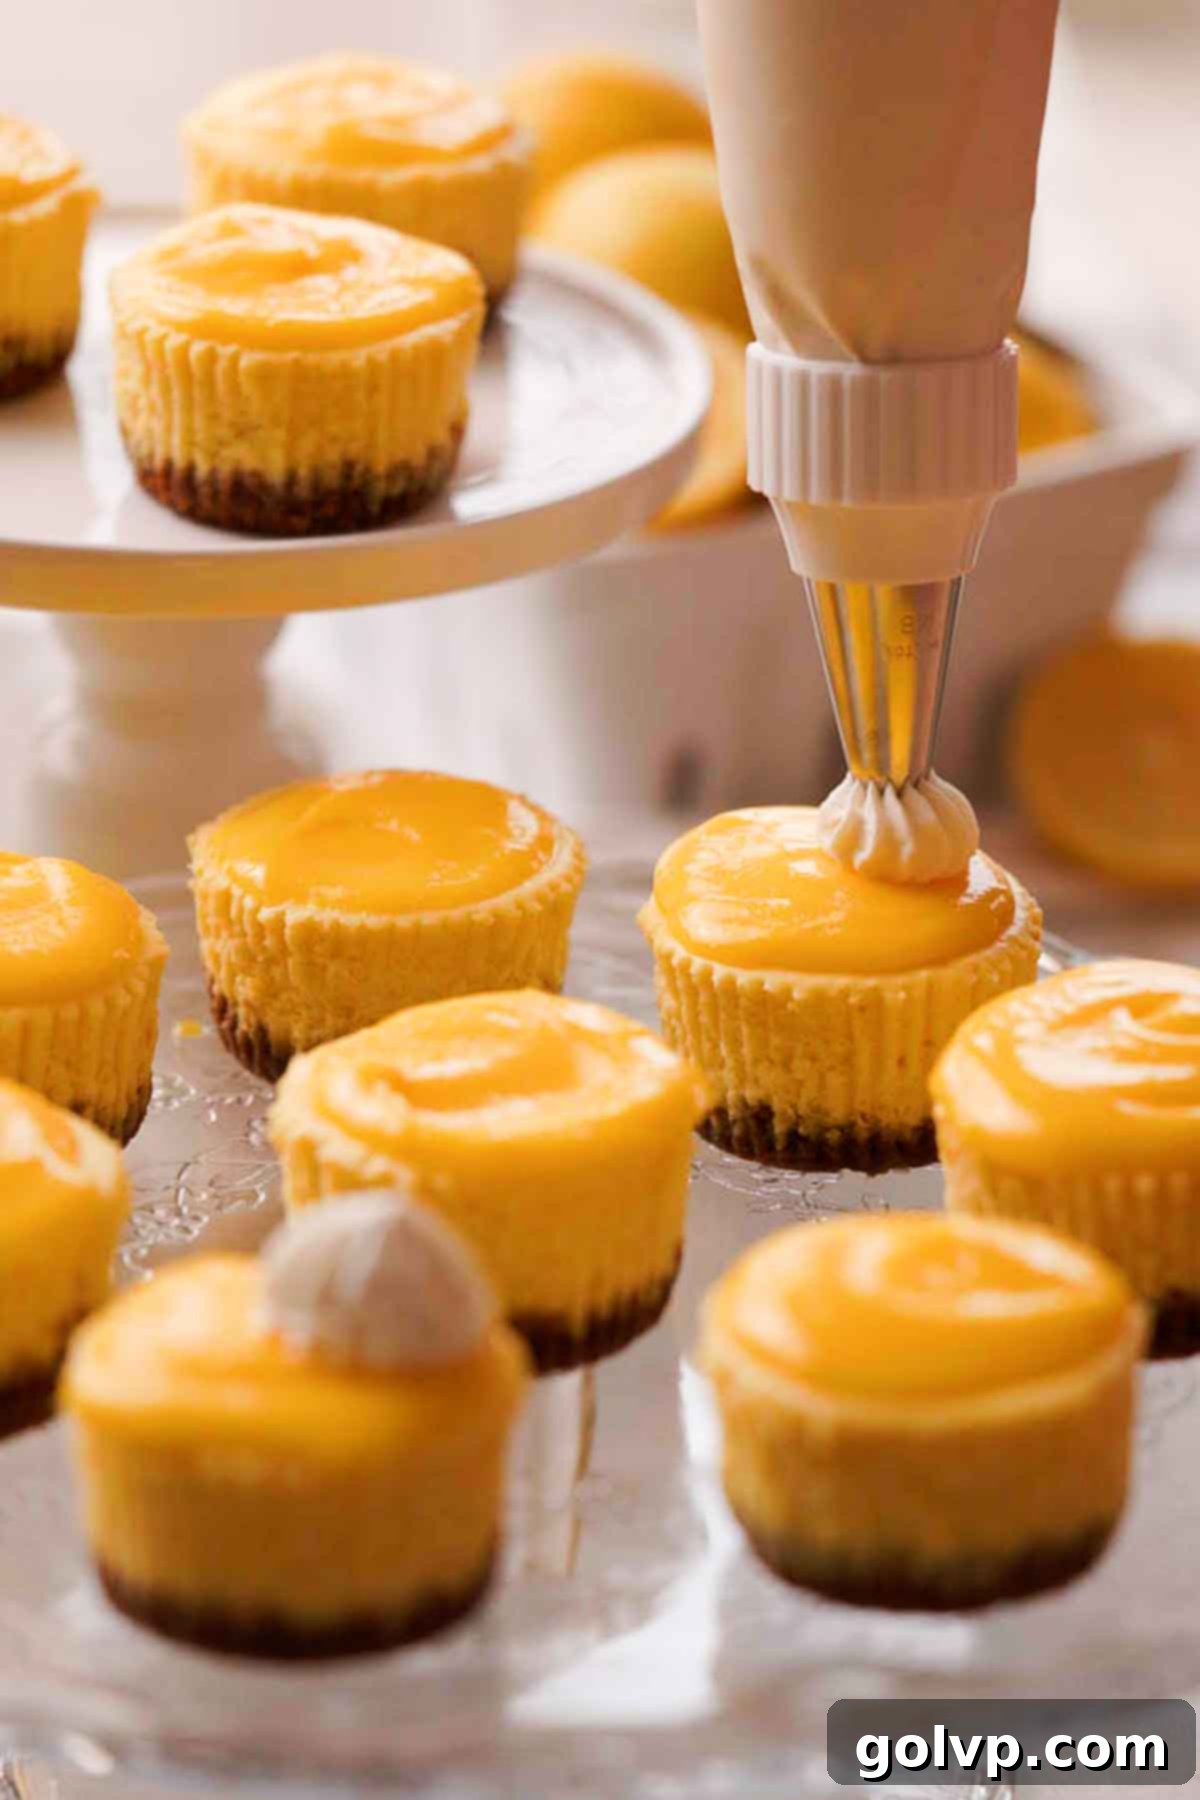
Step 2: The crowning glory! For the freshest taste and best presentation, prepare homemade whipped cream. For instructions on how to make perfectly stiff, fluffy whipped cream, including the full recipe and ingredients, please refer to the detailed recipe card at the very bottom of this page. Once your whipped cream is ready, transfer it to a piping bag fitted with your favorite decorative tip (an open star tip works beautifully). Pipe an elegant dollop of whipped cream onto the center of each lemon-curd-topped mini cheesecake. Serve immediately and relish in the layers of flavor and texture!
✔️ Expert Tips for Flawless Mini Lemon Cheesecakes
- Achieve Creaminess with Room Temperature Ingredients: This is arguably the most critical tip for any cheesecake! Ensuring your cream cheese and eggs are at room temperature (around 68-70°F or 20-21°C) allows them to combine smoothly and evenly. Cold ingredients will lead to a lumpy batter and can result in overmixing, which introduces too much air and can cause cracks. Plan ahead and take them out of the fridge at least 1-2 hours before baking.
- Prevent Cracks by Avoiding Overmixing After Adding Eggs: Once you’ve added the eggs to your cheesecake batter, mix only until they are just incorporated. Overmixing whips too much air into the batter, causing the cheesecake to puff up dramatically during baking and then inevitably collapse and crack as it cools. Gentle, low-speed mixing is key to a smooth, crack-free surface.
- Ensure Easy Release with Muffin Liners: To guarantee your mini cheesecakes pop out of the tin perfectly every time, use paper muffin liners. Disposable parchment muffin liners are particularly effective as they prevent sticking even better than standard paper liners, making for a cleaner and more beautiful presentation.
- Don’t Overbake for That Signature Jiggly Center: Mini cheesecakes bake much faster than their full-sized counterparts. Overbaking will result in a dry, crumbly texture. They are perfectly done when the tops look slightly puffed and set at the edges, but the very center still has a slight, delicate jiggle when you gently shake the muffin tin. Remember, they will continue to set as they cool.
- Chill Thoroughly to Set Texture and Develop Flavor: Patience is a virtue when it comes to cheesecake! After cooling to room temperature, these mini cheesecakes absolutely require at least 2-3 hours (and ideally overnight) in the refrigerator. This chilling period allows the fats in the cheesecake to firm up, creating that characteristic dense, creamy texture, and also gives all the delicious lemon flavors time to fully meld and intensify.
🥄 Make Ahead and Storage for Convenience
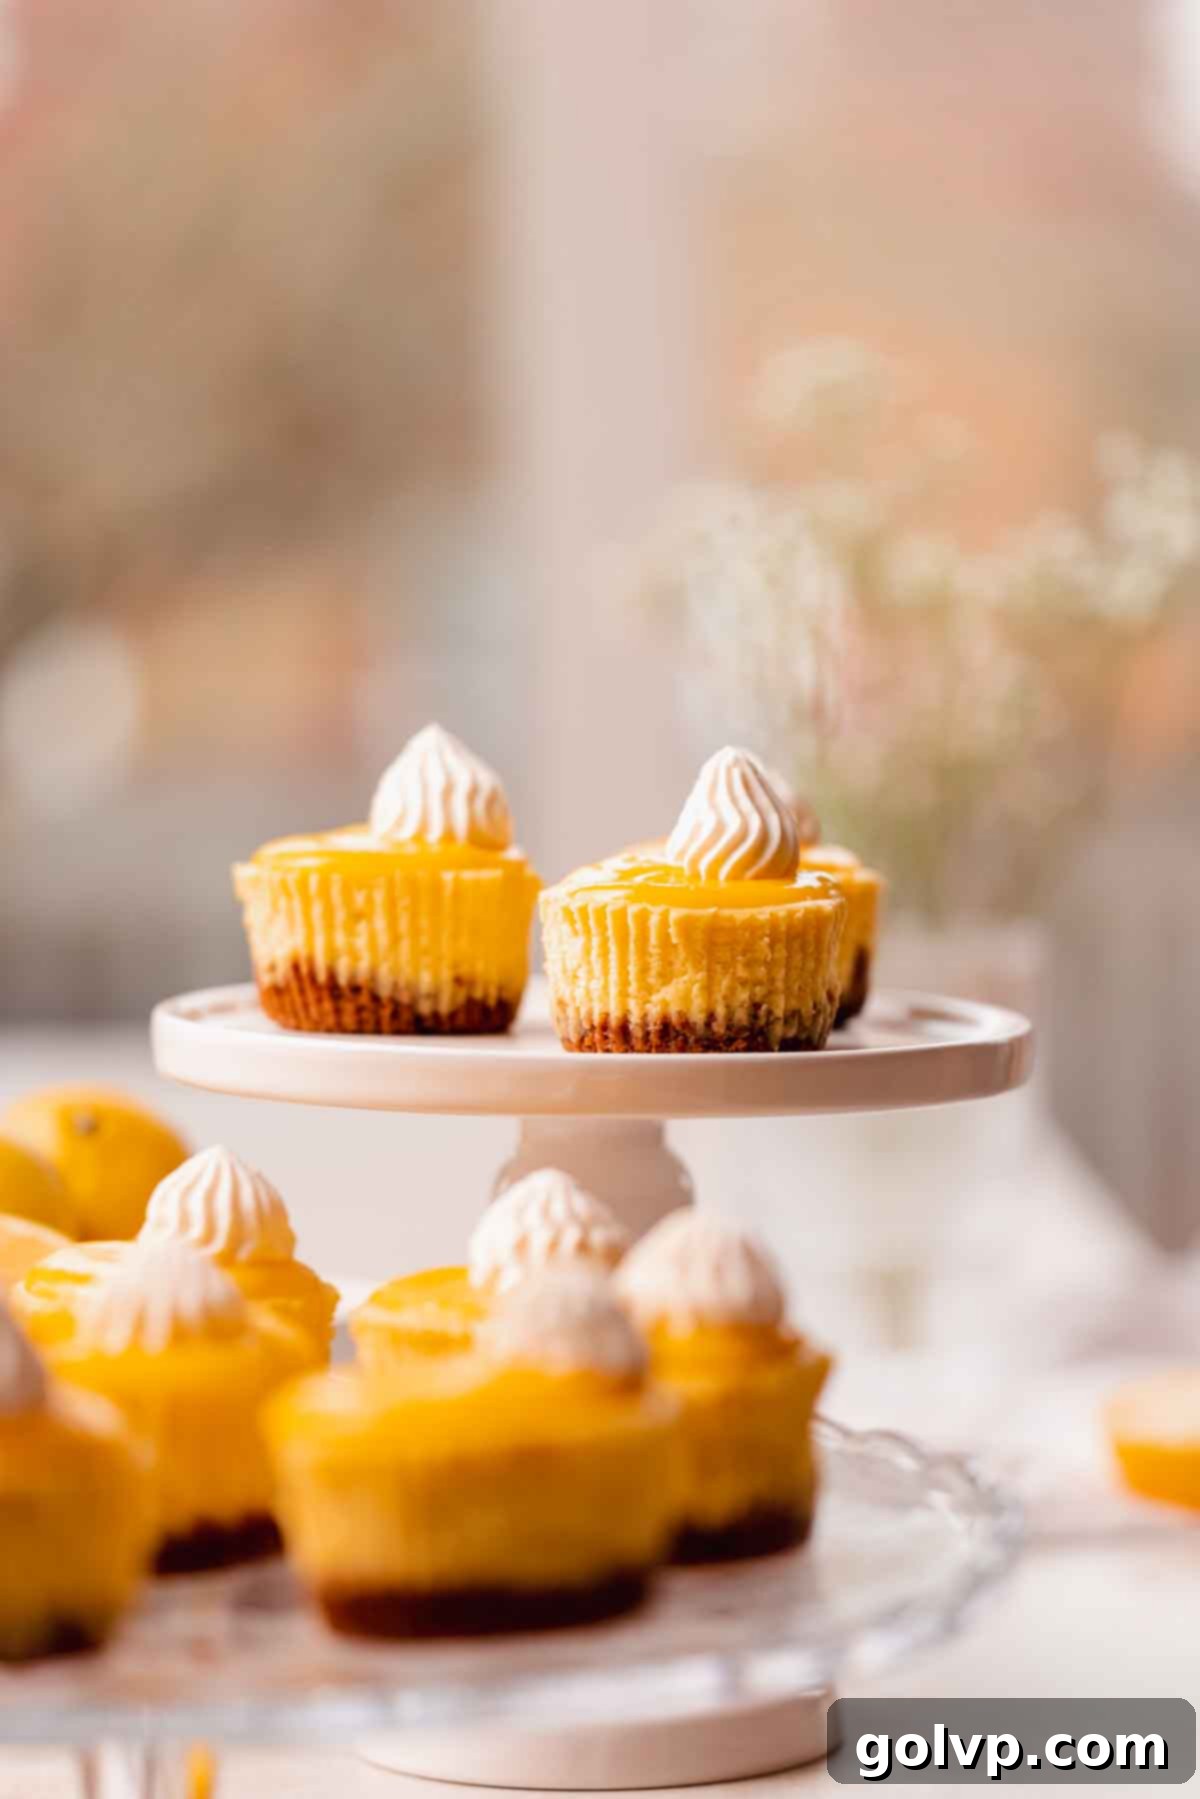
These mini lemon cheesecakes are fantastic make-ahead desserts, perfect for planning parties or just having a sweet treat on hand. Once baked and fully chilled, they will keep beautifully when stored in an airtight container in the refrigerator for up to 4 days. For optimal presentation, I recommend piping the whipped cream dollops just before serving, as whipped cream can lose its perfect texture and might melt slightly if left in the fridge for too long.
For even longer storage, these cheesecakes freeze exceptionally well for up to 2 months. To freeze, place the cooled (but not yet topped with lemon curd or whipped cream) mini cheesecakes on a baking sheet and freeze until firm, about 1-2 hours. Then, transfer them to an airtight freezer-safe container, layering them with parchment paper to prevent sticking. The lemon curd topping can also be frozen separately, and freshly whipped cream can be made when ready to serve. When you’re ready to enjoy, simply thaw them in the refrigerator overnight, top with lemon curd and fresh whipped cream, and serve!
❔ Why Rub Lemon Zest and Sugar Together? Unlocking Maximum Lemon Flavor
This simple technique is a game-changer for achieving an intense, natural lemon flavor in your cheesecakes. When you rub lemon zest and granulated sugar together with your fingers, you’re essentially performing a mini-maceration. The coarse sugar granules gently abrade the surface of the lemon zest, effectively releasing the volatile essential oils that are concentrated in the peel. These oils contain the true essence of lemon flavor and aroma.
By infusing the sugar with these oils upfront, you’re distributing that pure lemon essence throughout the entire cheesecake batter. This method significantly amplifies the natural lemon taste and fragrance, allowing it to shine brightly without the need for artificial lemon extracts or flavorings. It’s a quick and easy step that makes a noticeable difference in the vibrancy and depth of your finished mini lemon cheesecakes.
🎂 No Water Bath? Why Mini Cheesecakes Don’t Need One
Traditional, large cheesecakes often benefit greatly from a water bath (bain-marie). A water bath provides a moist, even heat environment, which helps prevent the cheesecake from baking too quickly, cracking, and developing a dry texture. It acts as an insulator, ensuring the custard-like filling cooks gently and uniformly from the edges to the center.
However, mini cheesecakes are a different story. Their smaller size means they cook through much faster than a large, full-sized cheesecake. They also have a significantly higher surface area-to-volume ratio, which aids in quicker, more consistent baking. Furthermore, this recipe calls for baking them at a lower oven temperature, which inherently creates a gentler baking environment, mimicking some of the benefits of a water bath without the added fuss. The quicker baking time and lower temperature are sufficient to prevent cracks and achieve a perfectly creamy texture in these delightful individual portions.
If you’re looking for an entirely no-bake, no-fuss lemon dessert option, you might enjoy our refreshing no-bake lemon curd cheesecake recipe.
📖 Mini Lemon Cheesecake Recipe FAQs
Absolutely! While the gingersnap crust offers a unique, spicy warmth that beautifully complements the tangy lemon, you can certainly substitute it with your favorite crunchy cookie crumbs. Graham cracker crumbs are a classic choice and work wonderfully, providing a sweet, buttery base. Shortbread cookies or even finely crushed vanilla wafers would also be delicious alternatives. The key is to ensure your crumbs are fine and that you adhere to the butter and sugar ratios for a proper crust consistency. However, I highly recommend trying the gingersnaps at least once; the combination of fragrant ginger and zesty lemon is truly exceptional!
Chilling is a critical step for two main reasons: texture and flavor development. Firstly, as the cheesecake chills, the fats (cream cheese, eggs, butter) firm up, allowing the cheesecake to fully set and achieve its characteristic dense, smooth, and creamy texture. Without proper chilling, the cheesecake might be too soft or “soupy.” Secondly, chilling allows all the delicate flavors, especially the bright lemon notes, to meld and deepen. Just like a good stew, flavors often improve after sitting and developing, and cheesecake is no exception. Patience during the chilling phase is rewarded with a superior dessert experience.
Pre-baking the cheesecake crust, often referred to as blind baking, is a technique used to ensure a perfectly crispy and flavorful foundation for your cheesecake. When you bake the crust separately, it allows the crumbs and butter to meld and toast slightly, enhancing their flavor and preventing them from becoming soggy once the wet cheesecake filling is added. This step guarantees that your gingersnap crust remains wonderfully crunchy beneath the creamy lemon cheesecake, offering a delightful textural contrast that truly elevates each bite. It also helps to prevent the crust from shrinking too much.
Preventing cracks in cheesecakes, even mini ones, often comes down to a few key factors: 1) **Room Temperature Ingredients:** Ensure your cream cheese and eggs are truly at room temperature for a smooth, lump-free batter. 2) **Don’t Overmix:** Overmixing, especially after adding eggs, incorporates too much air, causing the cheesecake to rise excessively and then fall, leading to cracks. Mix just until combined. 3) **Gentle Baking & Cooling:** Bake at a moderate temperature (320°F/160°C) and avoid overbaking. The gentle cooling process is also crucial: leaving them in the turned-off oven with the door propped open allows for a gradual temperature decrease, which minimizes cracking due to sudden temperature changes. Finally, make sure they chill completely in the refrigerator.
For the most vibrant and authentic lemon flavor, always opt for fresh, unwaxed, organic lemons if possible. Eureka or Lisbon lemons are common varieties readily available and provide a good balance of tartness and aroma. Meyer lemons, a sweeter, less acidic variety, can also be used for a slightly milder, more floral lemon flavor, though you might need to adjust the sugar content slightly if using them. Regardless of the variety, ensure your lemons are firm, brightly colored, and feel heavy for their size, indicating they are juicy. Fresh zest and juice are indispensable for this recipe!
🍋 More Zesty Lemon & Cheesecake Recipes You’ll Love
- Lemon Meringue Pie Cookies
- Lemon Curd Cheesecake
- Mini Oreo Cheesecakes
- Lemon Tiramisu with Lemon Curd
Did you make this refreshing recipe? We would be thrilled to hear your thoughts and see your beautiful creations! Please rate this recipe and share your feedback in the comments section below. Don’t forget to share your masterpiece on Instagram and tag @flouringkitchen. Follow us on Pinterest for even more delectable recipe ideas and baking inspiration!
📖 Recipe
Mini Lemon Cheesecakes
Mary
Pin Recipe
Shop Ingredients
Equipment
-
electric mixer
-
paper muffin liners
Ingredients
Crust
- 1 cup gingersnap cookies ground (170g, 6oz)
- ¼ cup butter melted
- 1 tablespoon granulated sugar
Cheesecake Filling
- ¾ cup granulated sugar
- 1 lemon zested
- 16 oz cream cheese softened, full-fat block cream cheese for best results
- 2 large eggs room temperature
- ¼ cup lemon juice freshly squeezed (from about 1 large lemon)
- 1 teaspoon pure vanilla extract
- ⅛ teaspoon sea salt
Toppings
- lemon curd homemade or high-quality store-bought
- ½ cup heavy whipping cream very cold
- 1 teaspoon granulated sugar
- ¼ teaspoon pure vanilla extract
Shop Ingredients on Jupiter
Instructions
Crust
-
To begin, preheat your oven to 320°F (160°C). Carefully line a 12-hole muffin tin with paper muffin liners, ensuring each cavity is covered. Next, crush the gingersnap cookies into fine crumbs. You can achieve this using a food processor for speed and consistency, or by placing them in a Ziploc bag and crushing them with a rolling pin for a more rustic texture.
-
In a medium bowl, combine your finely crushed gingersnap cookies, melted butter, and granulated sugar. Stir these ingredients thoroughly until the mixture is well moistened and the crumbs are evenly coated. Divide this mixture evenly among the lined muffin tin cavities, adding about one heaping tablespoon to each spot. Then, firmly press the crumb mixture into the bottom of each liner using the flat bottom of a small glass or a tart tamper. This crucial step ensures a compact and stable crust.1 cup gingersnap cookies, ¼ cup butter, 1 tablespoon granulated sugar
-
Bake the prepared crusts in the preheated oven for 8 minutes. This quick bake helps them become crisp and sets their shape. Once baked, remove the muffin tin from the oven and let the crusts cool completely on a wire rack while you prepare the cheesecake filling. Do not turn off your oven; it will be needed for the next step.
Cheesecake Filling
-
Into a large mixing bowl or the bowl of a stand mixer, carefully zest your lemon. Add the granulated sugar to the lemon zest. Using your fingers, rub the zest into the sugar until it becomes fragrant and slightly moistened. This process releases the lemon’s essential oils, infusing the sugar with intense citrus flavor.¾ cup granulated sugar, 1 lemon
-
Add the softened cream cheese to the lemon-sugar mixture. Using an electric mixer on low speed, blend just until the mixture is smooth and completely creamy. Be sure to scrape down the sides and bottom of the bowl frequently with a rubber spatula to prevent any lumps from forming and ensure a perfectly uniform batter.16 oz cream cheese
-
Now, add one room-temperature egg to the batter and mix on low speed just until it is fully incorporated. Immediately follow by adding the second egg, mixing again just until it is incorporated into the batter. It is crucial to avoid overmixing at this stage, as too much air can cause the cheesecakes to crack during baking. Scrape down the bowl one final time and mix briefly to ensure everything is evenly combined.2 large eggs
-
Finally, add the freshly squeezed lemon juice, pure vanilla extract, and sea salt to the cheesecake batter. Mix on low speed, just until these final liquid ingredients are fully incorporated and the batter is homogeneous. This completes your wonderfully zesty cheesecake filling.¼ cup lemon juice, 1 teaspoon pure vanilla extract, ⅛ teaspoon sea salt
-
Carefully divide the cheesecake batter evenly among the pre-baked gingersnap crusts in the muffin tin. Place the muffin tin into your preheated oven and bake for approximately 16 minutes. The cheesecakes are ready when their tops are slightly puffed and no longer appear shiny, the edges are set, but the middles still exhibit a slight, delicate jiggly motion when the tin is gently shaken. Immediately turn off the oven and prop the oven door open a few inches. Leave the cheesecakes in the cooling oven for an additional 10 minutes to allow them to cool gradually, which helps prevent cracks. After this period, remove the cheesecakes from the oven and let them cool completely in the muffin tins on a wire rack at room temperature.
-
Once the cheesecakes have fully cooled to room temperature, gently remove them from the muffin liners. Transfer them to an airtight container and refrigerate for at least 2-3 hours, or ideally overnight. This essential chilling time allows the cheesecakes to properly set, firming up to their perfect texture, and, most importantly, allows all the vibrant lemon flavors to fully develop and deepen. For best results and convenience, these cheesecakes can easily be made and baked the day before you plan to serve them, ensuring they have ample time to chill and achieve optimal taste.
Toppings
-
Once your mini cheesecakes are perfectly chilled and set, take them out of the refrigerator. Place a generous dollop of lemon curd onto the center of each cheesecake. Using the back of a spoon or a small offset spatula, gently spread the lemon curd evenly to the edges, creating a smooth, glossy, and intensely flavorful layer. Set the cheesecakes aside while you prepare the whipped cream.lemon curd
-
To ensure your whipped cream achieves stiff peaks quickly and holds its shape, place a large mixing bowl (preferably metal or glass) and your whisk attachment into the freezer for about 5-10 minutes to thoroughly chill. A cold environment is key for stable whipped cream.
-
Remove the chilled bowl and whisk from the freezer. Pour the very cold heavy whipping cream into the bowl. Add the granulated sugar and pure vanilla extract. Using your electric mixer (or stand mixer), start on low speed and gradually increase to medium-high. Beat the cream until it forms stiff peaks and holds its shape beautifully. Be careful not to overmix, as whipped cream can quickly turn grainy or even into butter if beaten too long. Stop as soon as it reaches the desired consistency.½ cup heavy whipping cream, 1 teaspoon granulated sugar, ¼ teaspoon pure vanilla extract
-
For an elegant finish, transfer the freshly whipped cream into a piping bag fitted with an open star piping tip. If you don’t have a piping bag or decorative tip, you can easily use a disposable plastic bag by snipping off one corner to create an opening.
-
Pipe a generous, beautiful dollop of whipped cream onto the center of each mini lemon cheesecake, right on top of the lemon curd layer. Serve your exquisite mini lemon cheesecakes immediately and enjoy the harmonious blend of flavors and textures!
Video
Notes
Top Cheesecake Tips for Success:
-
- Always use room temperature ingredients for your cheesecake filling. This ensures a perfectly smooth, lump-free batter and contributes to a creamy final texture without cracks.
- Avoid overmixing the batter, especially once the eggs have been added. Mix just until each egg is incorporated, as excessive mixing can introduce too much air, leading to cracks.
- Utilize muffin liners! These are essential to prevent the cheesecakes from sticking to the pan and ensure easy, clean release, making your individual desserts perfectly presentable. Disposable parchment muffin liners are highly recommended.
- Do not overbake the cheesecakes. They are ready when the edges are set and the tops are slightly puffed, but the center still has a gentle jiggly motion. Overbaking can result in a dry texture.
- Allow the cheesecakes to chill thoroughly in the refrigerator for at least 2-3 hours (or overnight) after they have cooled to room temperature. This crucial step sets the texture and allows the vibrant lemon flavors to fully develop.
Nutrition
