Easy & Moist Lemon Raspberry Loaf Cake with Vibrant Pink Glaze: Your Go-To One-Bowl Recipe
Indulge in the perfect balance of sweet and tangy with this incredibly soft, moist, and flavorful Lemon Raspberry Loaf Cake. Crowned with a naturally colored, vibrant pink raspberry lemon glaze, every slice offers a delightful burst of zesty lemon and juicy, whole raspberries. This isn’t just a cake; it’s a celebration of fresh flavors, and the best part? It’s a simple, one-bowl recipe that you can whip up in no time, requiring no fancy electric mixer – just a hand whisk or even a fork and spoon will do the trick!
Whether you’re looking for an impressive dessert for brunch, a delightful afternoon treat, or a homemade gift, this Lemon Raspberry Loaf Cake is sure to become a beloved favorite. Its inviting aroma, tender crumb, and stunning appearance make it irresistible. If you adore this classic flavor pairing and are looking for a more elaborate dessert, be sure to check out my lemon raspberry layer cake for a tiered version that’s equally enchanting.

[feast_advanced_jump_to]
🍋 Why You’ll Absolutely Love This Lemon Raspberry Loaf Cake Recipe
- Effortlessly Easy: Forget about complicated baking processes! This recipe is designed for simplicity. You only need one large bowl for the cake batter, significantly cutting down on cleanup. Plus, there’s no need for an electric mixer, making it accessible even if you’re a beginner baker or just prefer a fuss-free approach. The steps are straightforward, ensuring a perfect loaf every time with minimal effort.
- Exquisite Raspberry Lemon Flavor: Prepare your taste buds for a symphony of flavors. The cake itself boasts a bright, zesty lemon flavor, perfectly complemented by juicy bursts of whole raspberries folded into the batter. This delightful combination is then enhanced by a tangy raspberry glaze that brings all the elements together, creating a harmonious and refreshing dessert that’s not overly sweet.
- Naturally Bright Pink Glaze: One of the most captivating features of this loaf cake is its stunning, naturally colored bright pink glaze. Made with fresh raspberries and lemon, this glaze is not only beautiful but also incredibly flavorful, adding another layer of tangy, berry-licious goodness. It’s an eye-catching topping that adds a touch of elegance without artificial colors.
- Incredibly Soft & Moist Texture: Achieving the perfect texture in a loaf cake can be a challenge, but this recipe nails it. Thanks to a clever combination of both butter and vegetable oil, this cake is exceptionally soft, fluffy, and moist. The butter contributes rich flavor, while the oil ensures a tender crumb that stays moist for days. You’ll be amazed by how wonderfully tender each bite is.
📝 Essential Ingredients for Your Lemon Raspberry Loaf
For optimal results, thoroughly read through these tips. Your success in baking this delicious loaf cake starts here!
Full steps and precise ingredient measurements can be found in the recipe card below.
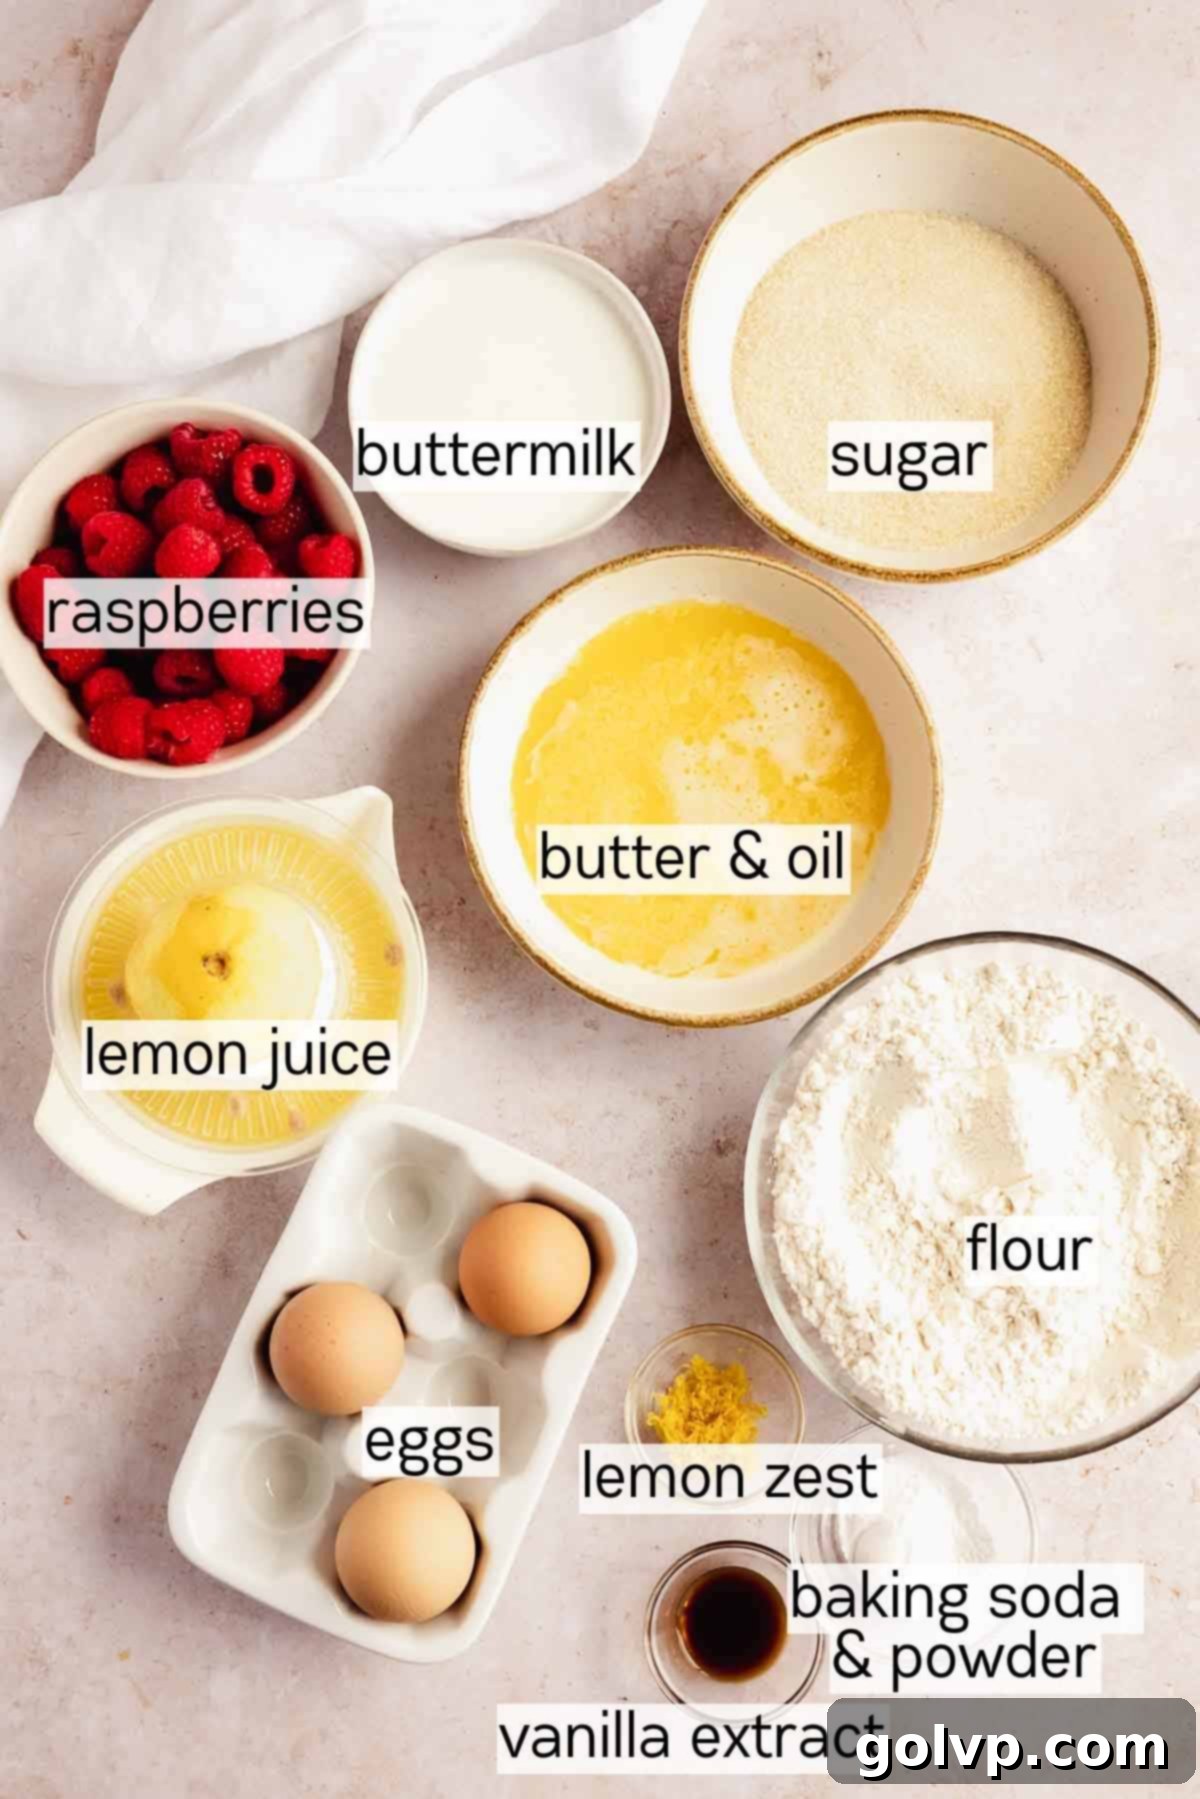
- Lemon: Fresh lemons are non-negotiable for this recipe. You’ll need both the vibrant zest and the tangy juice. The zest is crucial for infusing the cake batter with intense lemon aroma and flavor, while the juice adds a refreshing tartness that balances the sweetness. Make sure to zest your lemon before juicing it for maximum yield and flavor.
- Raspberries: Whether you choose fresh or frozen raspberries, they will work beautifully in this loaf cake. The key is not to defrost frozen raspberries before adding them to the batter. Adding them frozen helps them hold their shape better during baking and prevents them from sinking to the bottom. They provide delightful pops of fruitiness throughout the cake.
- Butter and Oil: This dynamic duo is the secret to the cake’s superior texture. Butter contributes a rich, classic flavor that is essential for a delicious loaf cake. Meanwhile, a neutral-flavored vegetable oil (like grapeseed oil, which I prefer, or canola) ensures the cake remains incredibly moist and has a wonderfully fluffy texture. This combination offers the best of both worlds, avoiding a dry or dense crumb.
- All-Purpose Flour: Accuracy is paramount in baking, especially when it comes to flour. For the most precise and consistent results, I highly recommend weighing your flour using a kitchen scale. If you don’t have a scale, measure properly by first stirring the flour in its bag or container to aerate it, then gently spooning it into a measuring cup. Avoid packing it down, and finally, level off the excess with the flat edge of a knife. Improperly measured flour can lead to a dry or tough cake.
- Buttermilk: Buttermilk adds an incredible tenderizing effect and a subtle tang that enhances the overall flavor profile of the loaf. Its acidity reacts with the baking soda, promoting a light and airy texture. If you don’t have buttermilk on hand, don’t worry – you can easily make your own (see FAQs below).
- Baking Powder and Baking Soda: These leavening agents are responsible for the cake’s rise and light texture. Baking powder provides the initial lift, while baking soda reacts with the acidic buttermilk and lemon juice to create air pockets, contributing to the fluffy crumb. Ensure they are fresh for effective leavening.
For an equally delicious and zesty quick bread, consider trying this lemon zucchini bread. It features a delightful lemon drizzle instead of a glaze, offering a different but equally appealing citrusy experience.
✔️ Creative Ingredient Substitutions & Variations
While this lemon raspberry loaf cake is perfect as is, you can certainly experiment with different berries to create unique variations. The raspberries can be easily replaced with an equal amount of fresh or frozen blueberries or blackberries. These berries have a similar moisture content and will integrate well into the batter, offering a slightly different but equally delicious flavor profile. If you’re a fan of blackberries, you might also love these blackberry buttermilk muffins.
However, it’s important to note that strawberries have a significantly higher moisture content than raspberries. Substituting strawberries directly into this lemon raspberry loaf cake recipe might result in a loaf that is too moist or even soggy. For a fantastic strawberry dessert, I recommend trying these chocolate covered strawberry cupcakes or this incredibly easy strawberry galette, both designed to handle the moisture of fresh strawberries beautifully.
If you prefer a simpler topping or want to highlight the lemon flavor even more, you can opt for a classic lemon glaze instead of the raspberry lemon glaze. This is a fantastic option that provides a lovely tart counterpoint to the sweet cake. You can see how I use a simple lemon glaze in these delightful lemon poppy seed scones for inspiration.
👩🍳 Step-by-Step Guide: How to Make This Irresistible Lemon Raspberry Loaf
Crafting the Perfect Loaf Cake: Step by Step
Preparation is Key: Before you begin mixing, ensure your oven is preheated to 185°C (365°F). Prepare your 9″×5″ loaf pan by lining it with parchment paper. It’s a smart move to leave longer parchment paper handles extending over the sides of the pan. This thoughtful detail makes it significantly easier to lift the baked loaf out of the pan once it’s cooled, preventing any sticking and ensuring a pristine presentation.
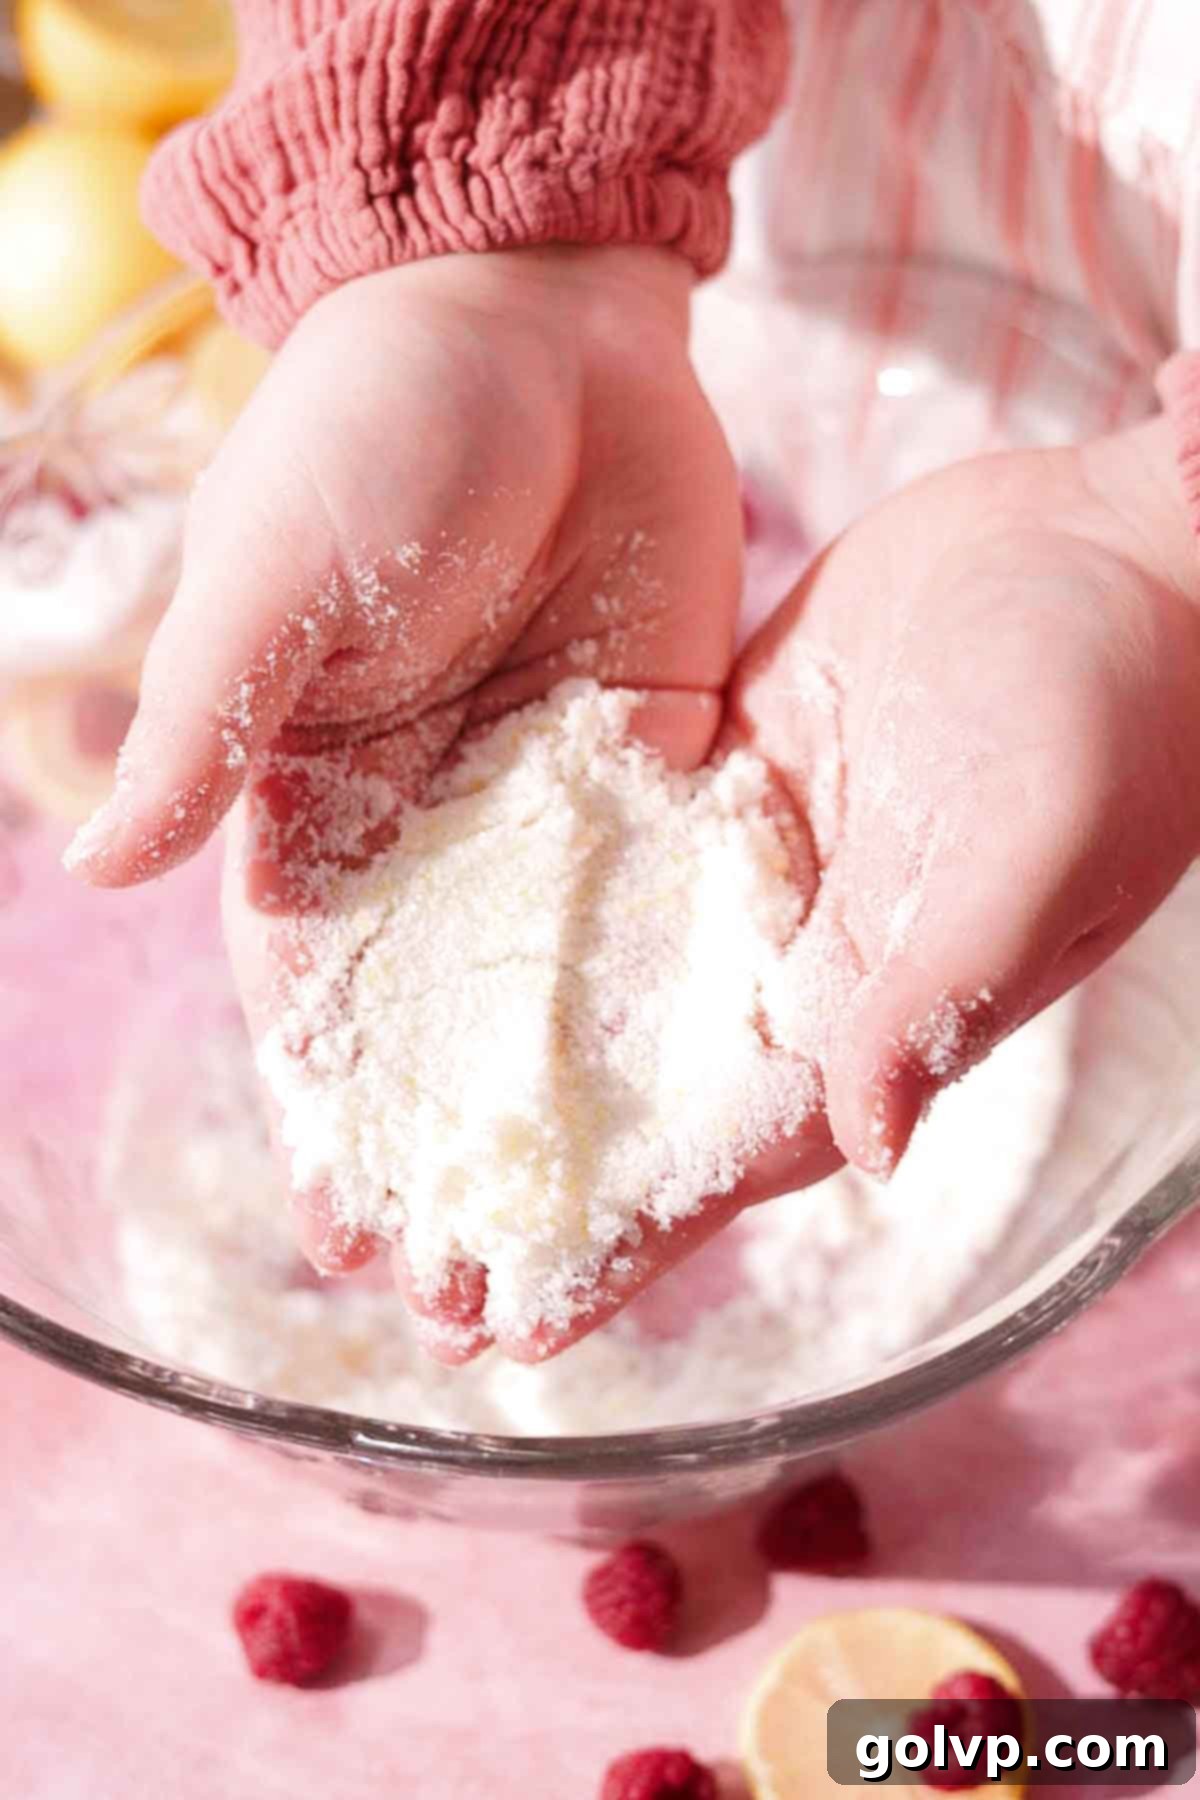
Step 1: Infuse the Sugar with Lemon Zest. In a large mixing bowl, combine the granulated sugar and the fresh lemon zest. Using your fingertips, vigorously rub the lemon zest into the sugar. This crucial step releases the essential oils from the zest, infusing the sugar with an incredibly fragrant and intense lemon flavor. Continue rubbing until the sugar takes on a pale yellow hue and smells wonderfully aromatic, almost sandy to the touch.
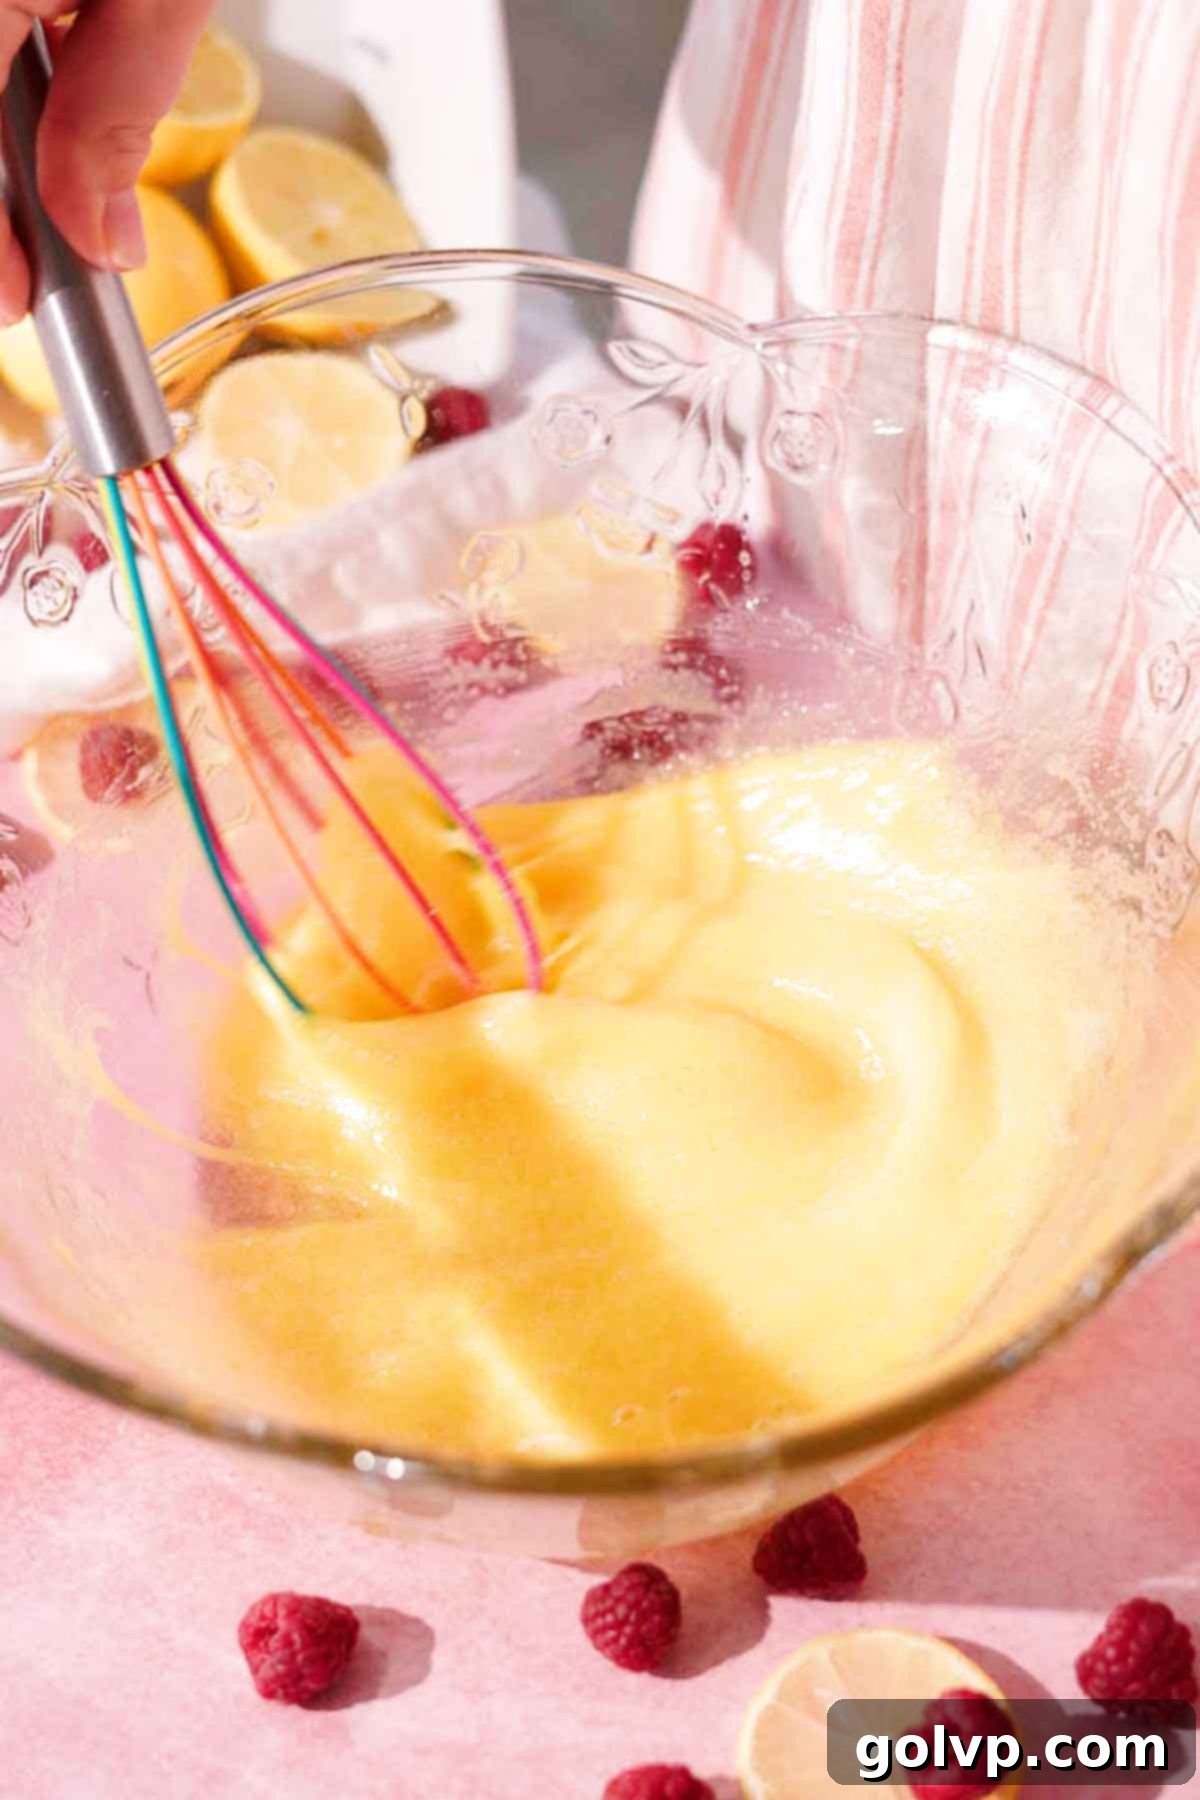
Step 2: Whisk in the Eggs. Crack the room temperature eggs directly into the lemon-infused sugar. Using a hand whisk, vigorously whisk the mixture for about 30 seconds. You want the mixture to become slightly frothy and homogenous, ensuring the eggs are fully incorporated and help create a light texture in the finished loaf.
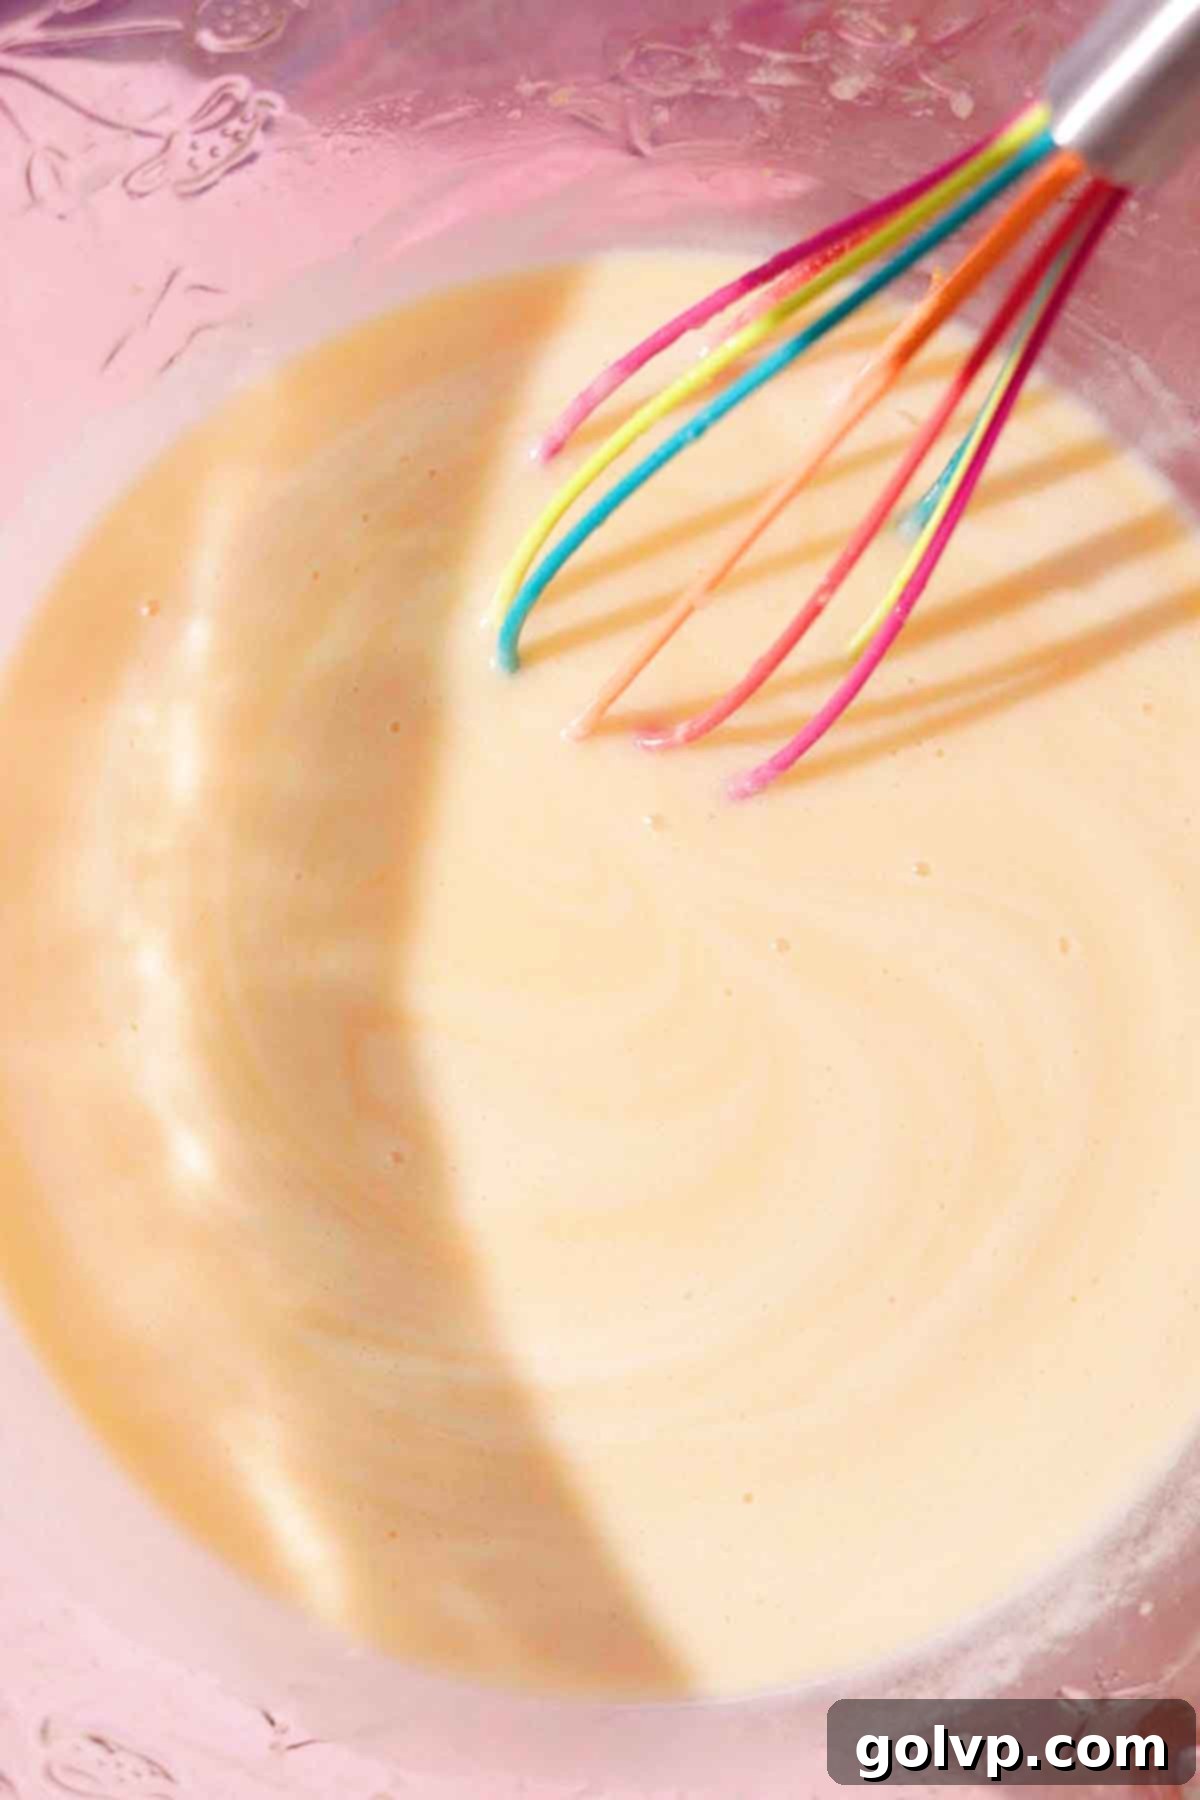
Step 3: Combine Wet Ingredients. Now, add the remaining wet ingredients to the bowl: a pinch of sea salt to enhance flavors, the melted and cooled butter, neutral vegetable oil, pure vanilla extract for warmth, room temperature buttermilk for tenderness and tang, and the fresh lemon juice. Whisk everything together until just combined. Overmixing at this stage can start to develop gluten, which we want to avoid for a tender loaf.
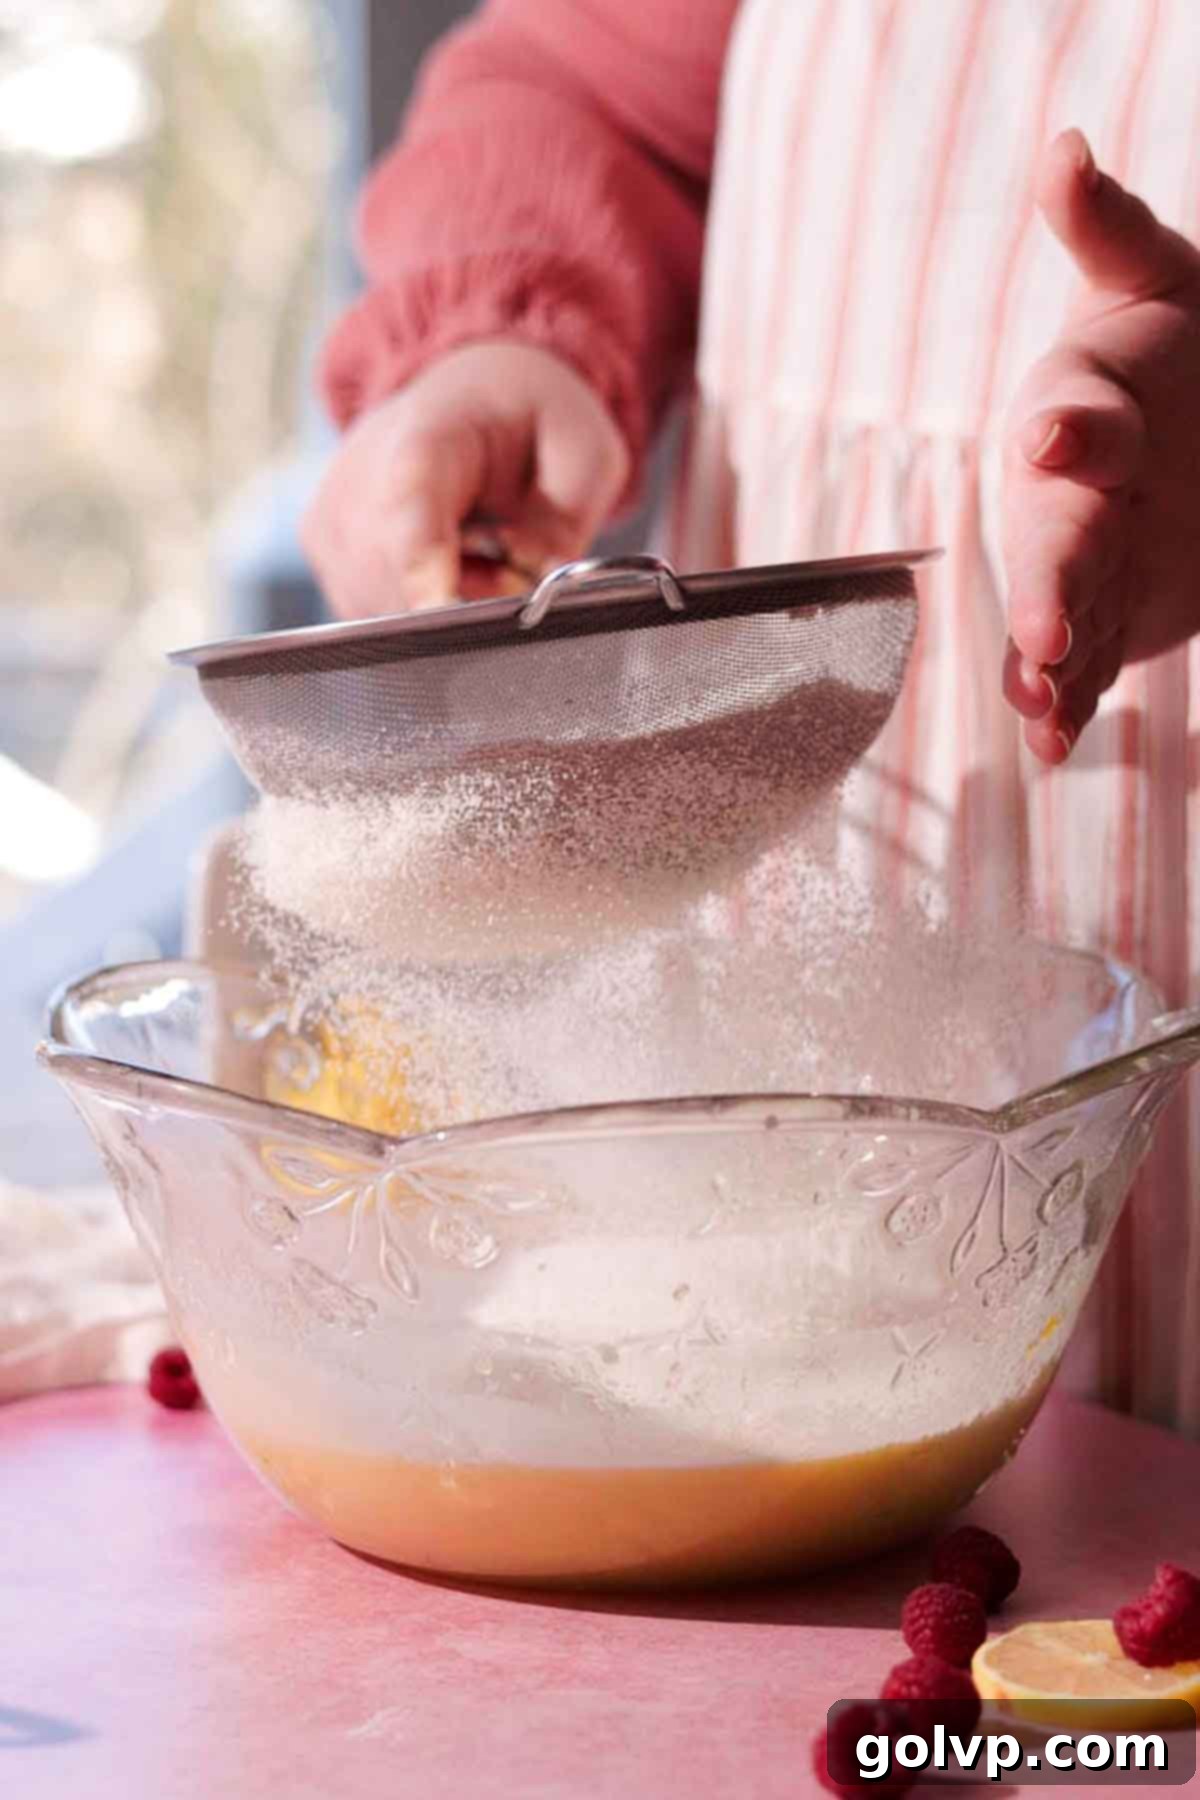
Step 4: Incorporate Dry Ingredients. Over a large bowl containing the wet mixture, sift in the all-purpose flour, baking powder, and baking soda. Sifting helps to aerate the dry ingredients and prevents lumps in your batter. Gently fold the dry ingredients into the wet mixture using a spatula or a large spoon. Mix until just *almost* fully incorporated; it’s okay if a few streaks of flour remain at this point.
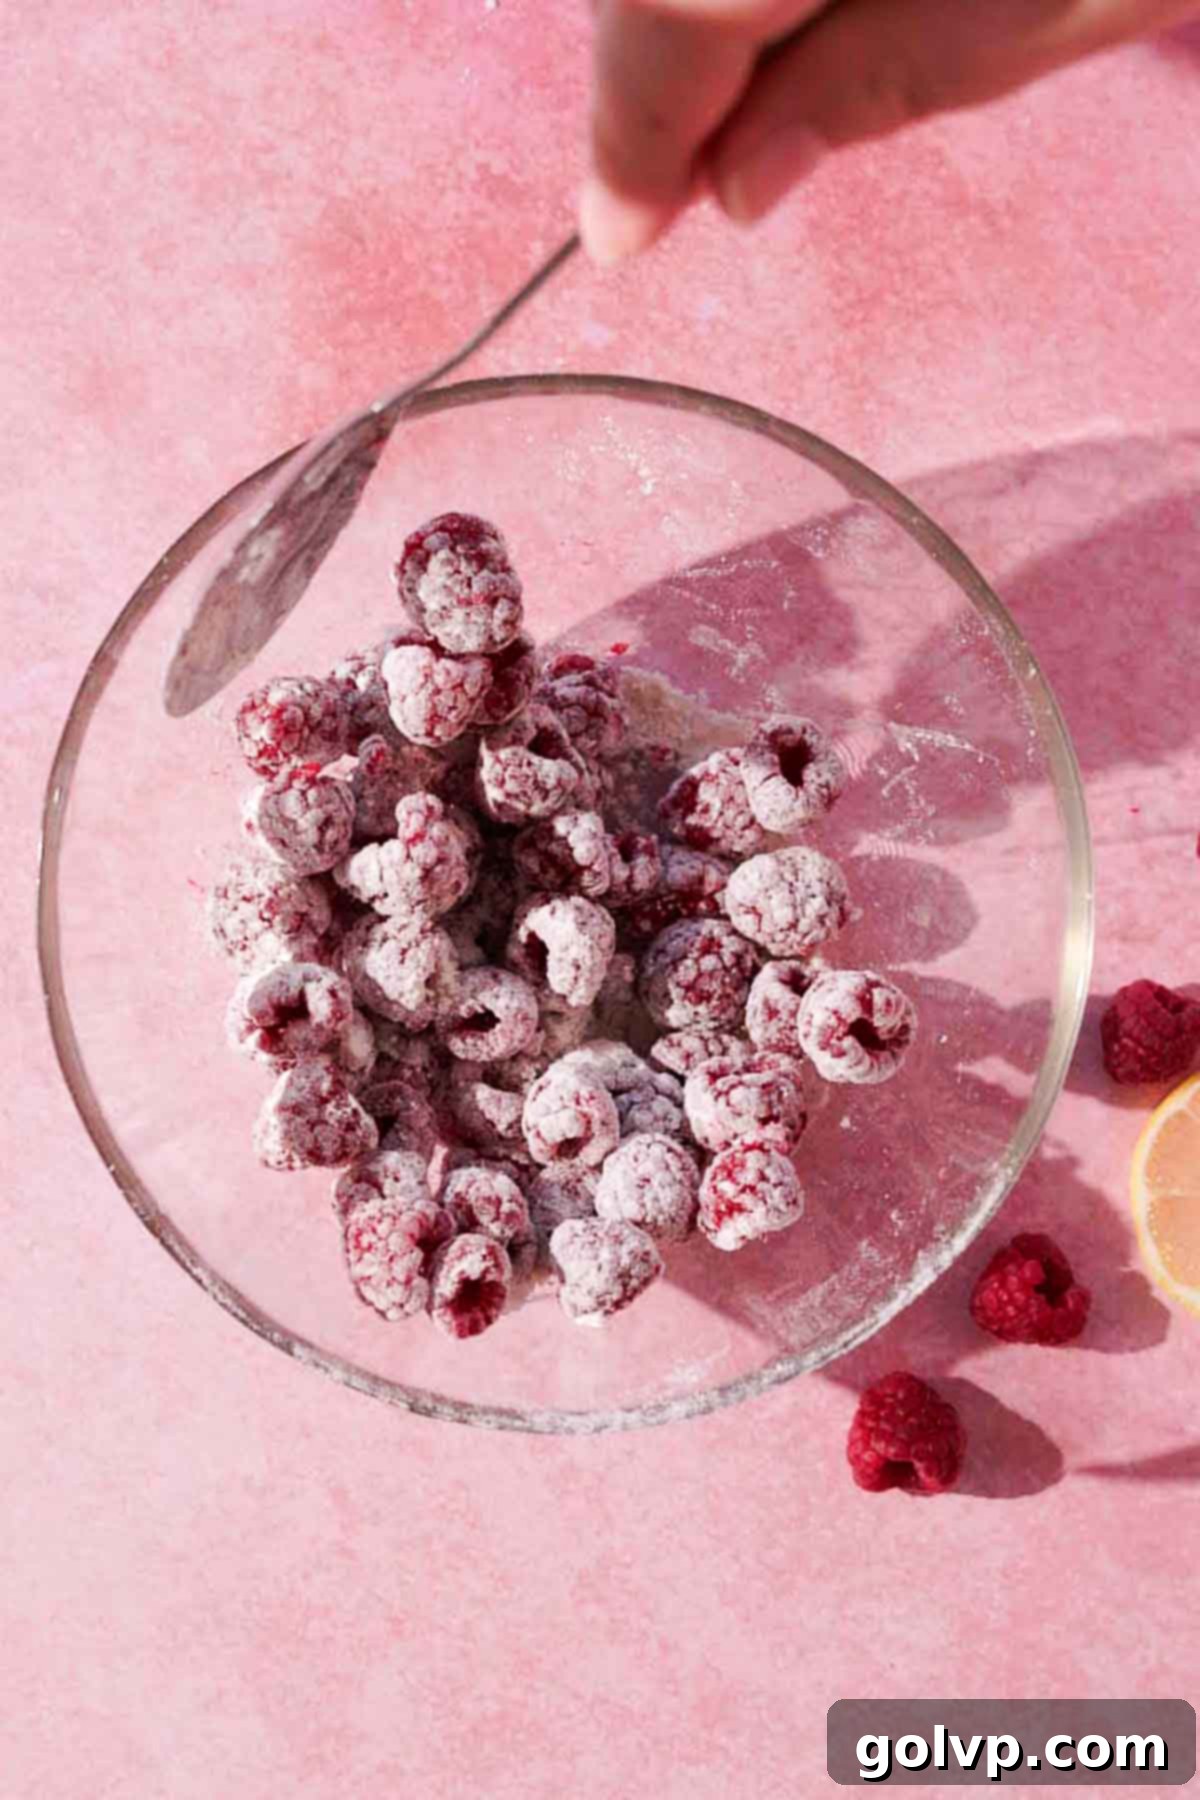
Step 5: Prepare the Raspberries. In a separate small bowl, gently toss the fresh or frozen raspberries with 1 teaspoon of all-purpose flour. This light coating of flour is a simple but effective trick to prevent the raspberries from sinking to the bottom of your loaf during baking, ensuring even distribution throughout the cake.
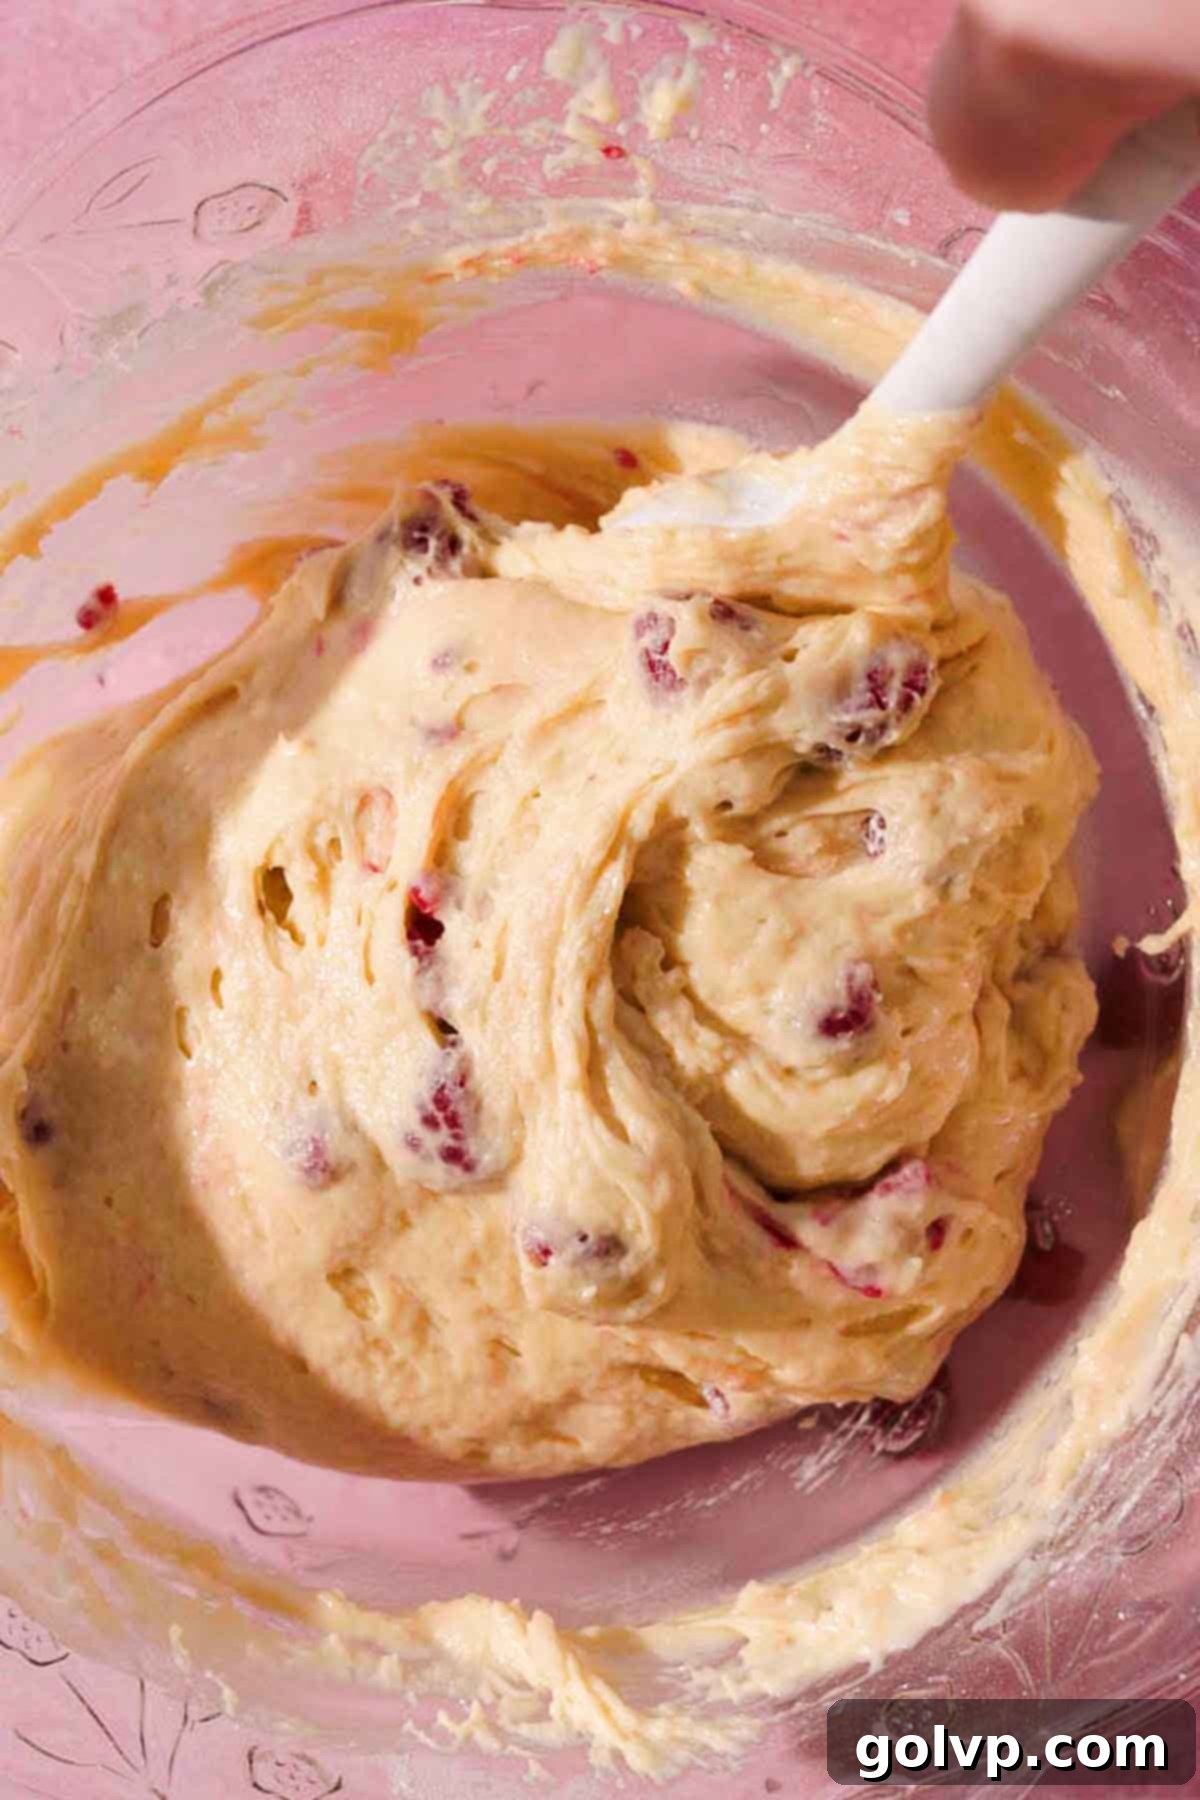
Step 6: Fold in the Raspberries. Carefully add the flour-coated raspberries into the cake batter. With a rubber spatula, fold them in gently until no streaks of dry flour remain. It’s crucial not to overmix at this stage; a few lumps in the batter are perfectly normal and actually preferable for a tender crumb. Overmixing develops gluten, leading to a tough cake.
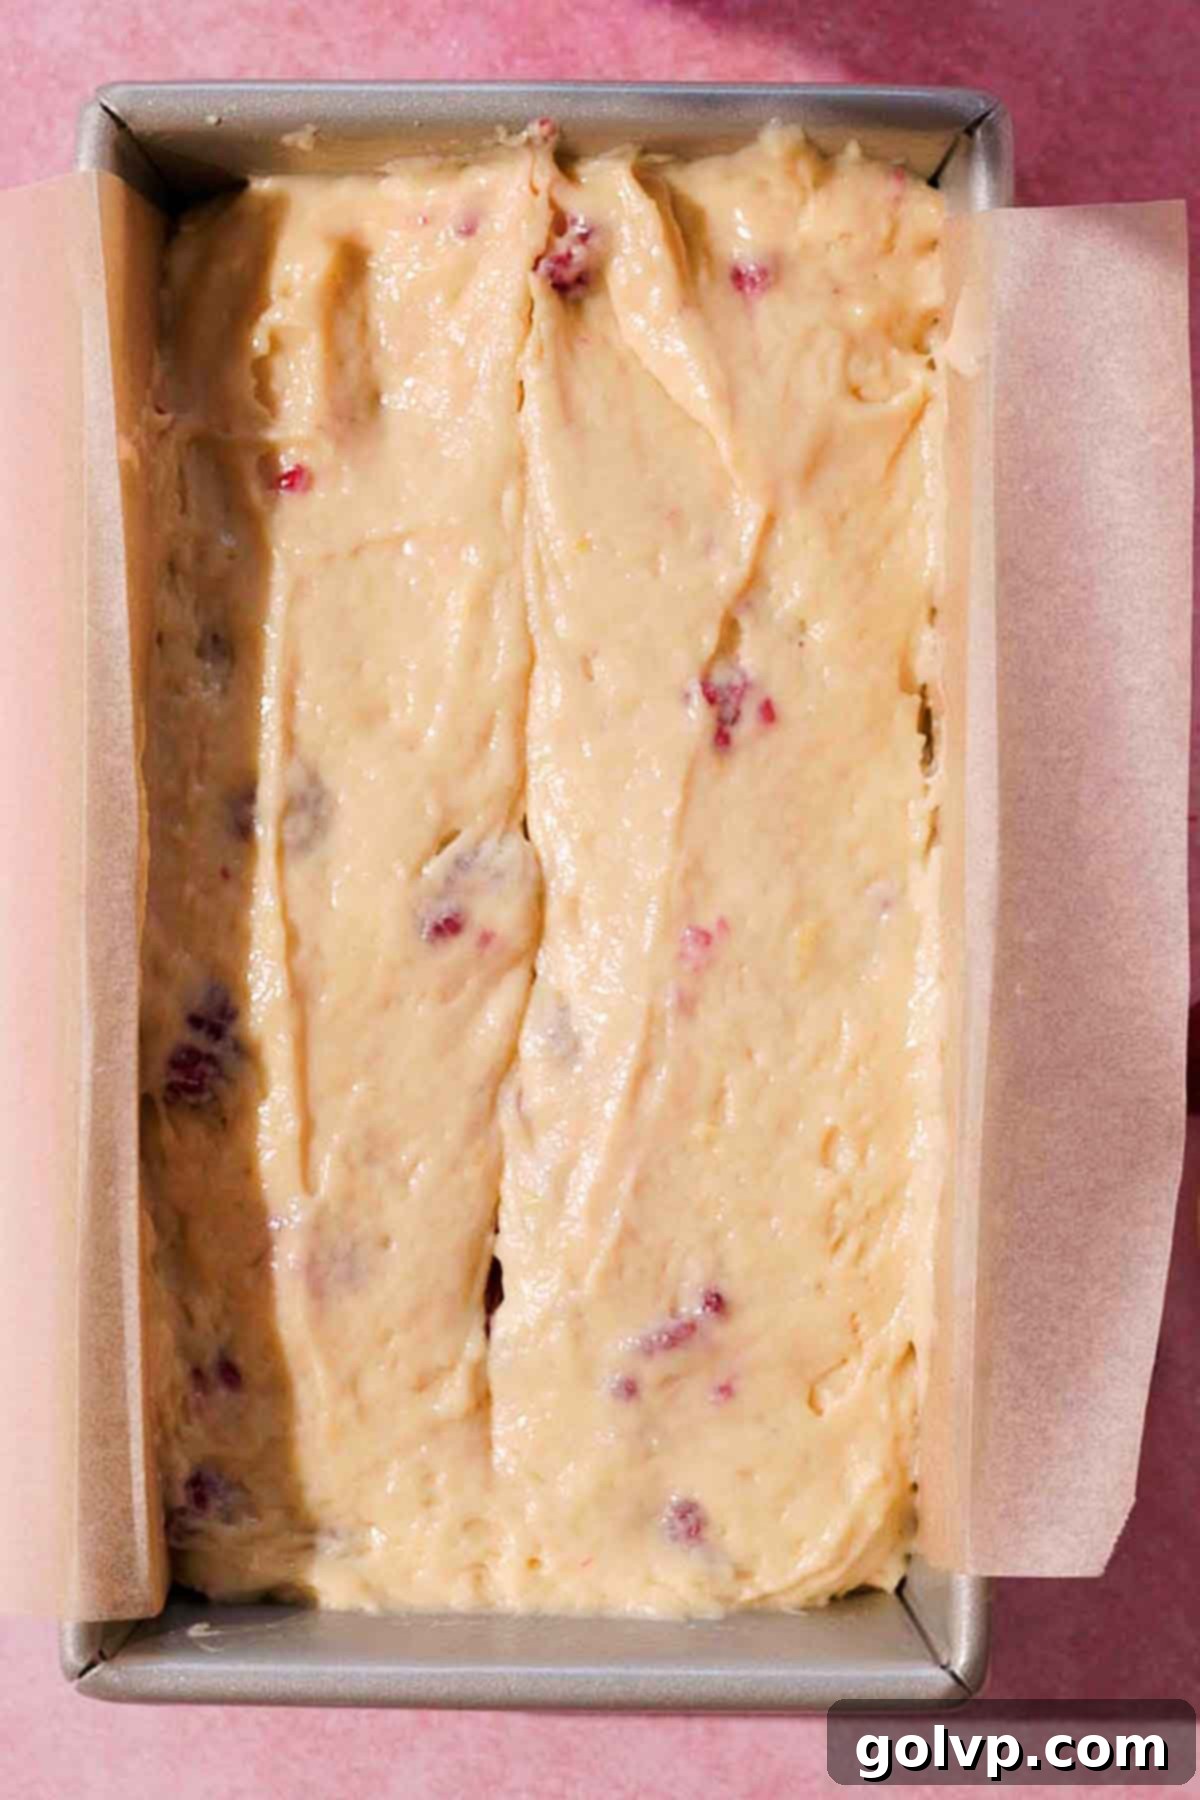
Step 7: Prepare for Baking. Transfer the finished batter into your prepared loaf pan. Use your spatula to gently smooth the top surface of the batter. Once transferred, lightly tap the loaf pan on your kitchen counter a few times. This action helps to release any large air pockets trapped within the batter, which can lead to unsightly holes in your baked loaf.
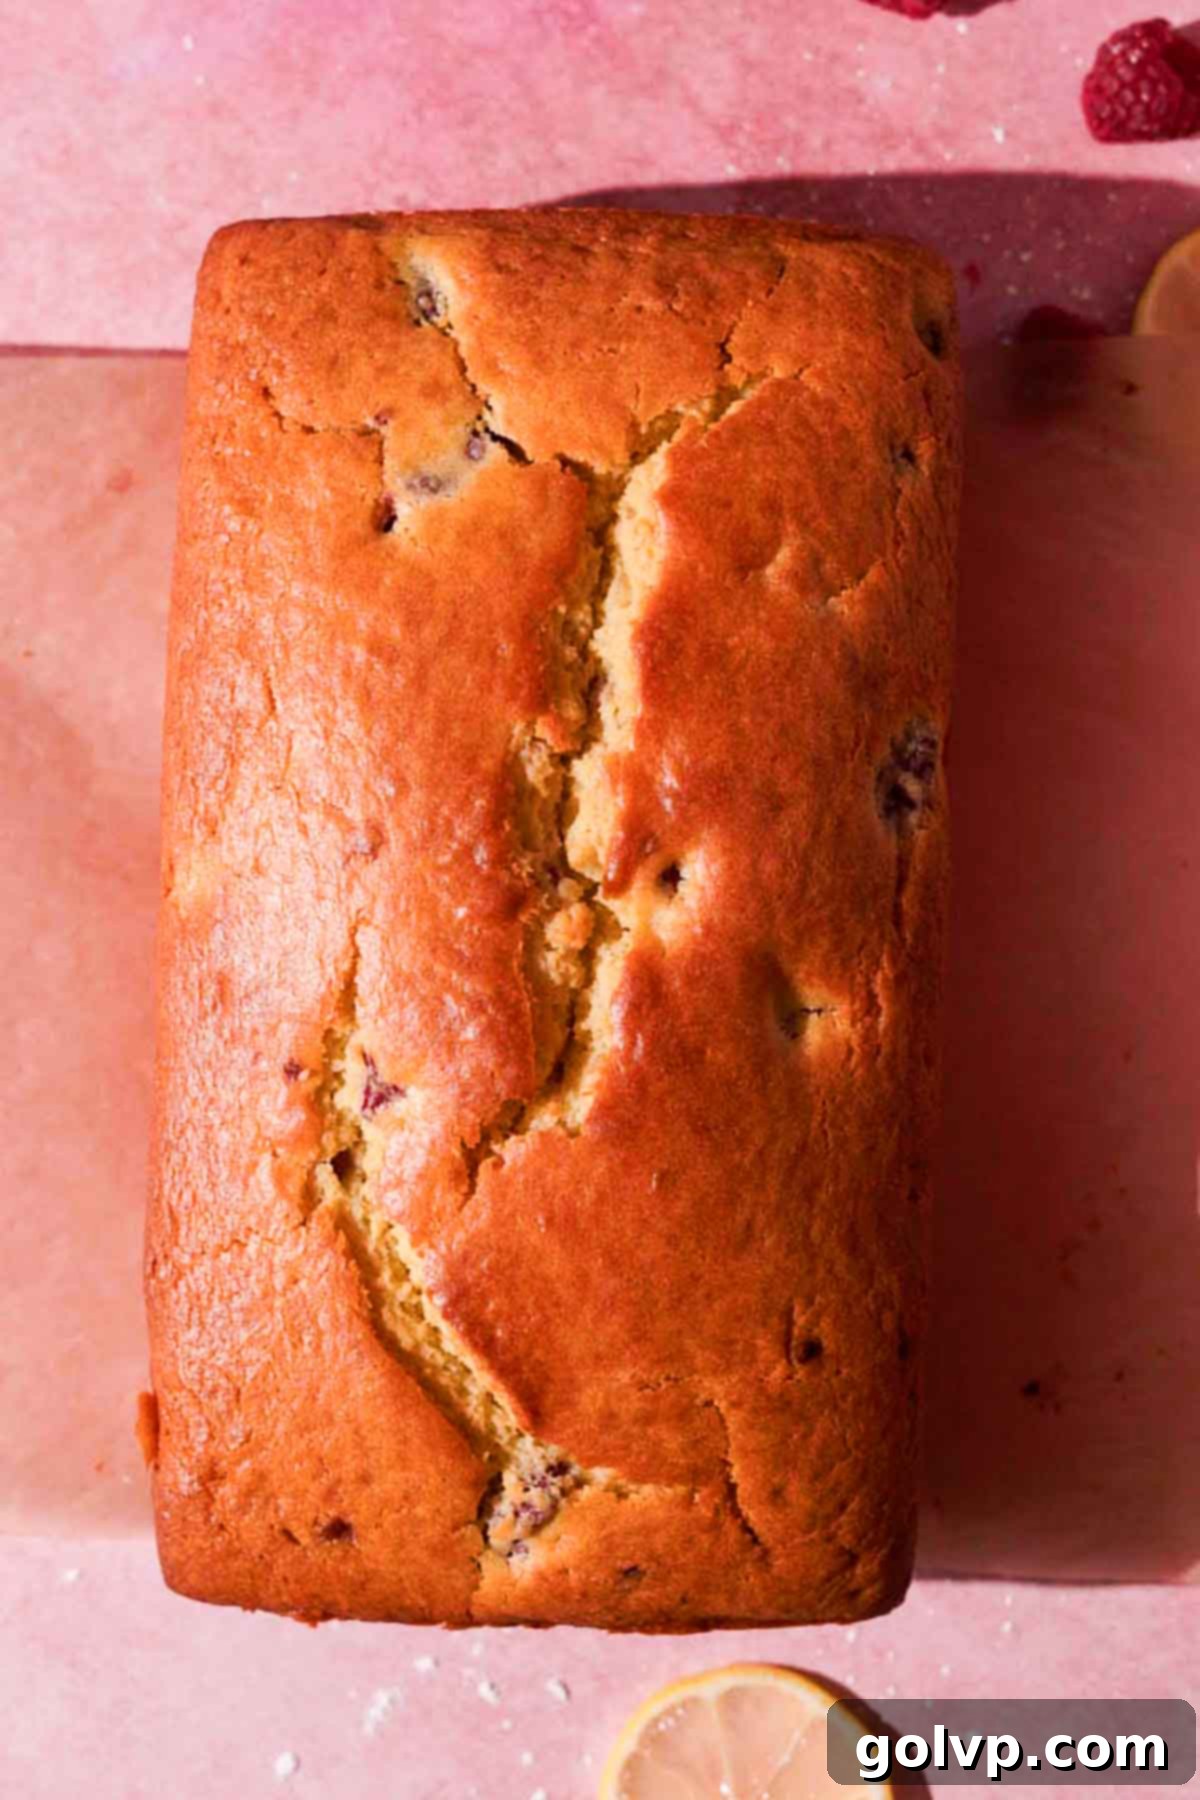
Step 8: Bake to Golden Perfection. Bake the lemon raspberry loaf cake in your preheated oven for approximately 50-60 minutes. The loaf is ready when it turns a beautiful golden brown and a toothpick inserted into the very center comes out clean. Be aware that the toothpick might come out slightly wet due to the juicy raspberries, but it should not be coated in raw batter. Remove the loaf from the oven and allow it to cool completely in the pan before attempting to remove it. Once cooled, use the parchment paper handles to carefully lift the loaf out.
Expert Loaf Cake Baking Tips for Success:
- Precision with Flour: Always weigh your flour for the most accurate and consistent results. If you don’t have a scale, make sure to measure by spooning flour into the cup and leveling, not scooping directly, to avoid over-packing.
- Avoid Overmixing: Mix the batter just until the dry streaks of flour disappear. Overmixing develops gluten, which can lead to a dense, tough, and dry loaf cake instead of a soft and fluffy one. A few small lumps are perfectly fine.
- Check Leavening Agents: Ensure your baking powder and baking soda are not expired. You can test baking powder by mixing a teaspoon with a little hot water—it should fizz vigorously. For baking soda, mix with a little vinegar—it should bubble immediately.
- Don’t Overbake: This is crucial for a moist loaf. The cake is ready when a toothpick inserted into the center comes out mostly clean with just a few moist crumbs attached. If it’s covered in wet batter, it needs more time.
- Prevent Over-Browning: If you notice the top of your loaf browning too quickly during baking, loosely tent it with a piece of aluminum foil. This will protect the top from burning while the inside continues to cook through.
- Room Temperature Ingredients: Ensure eggs and buttermilk are at room temperature. This helps them emulsify better with other ingredients, leading to a smoother batter and a more even crumb structure.
Crafting the Vibrant Lemon Raspberry Glaze: Step by Step
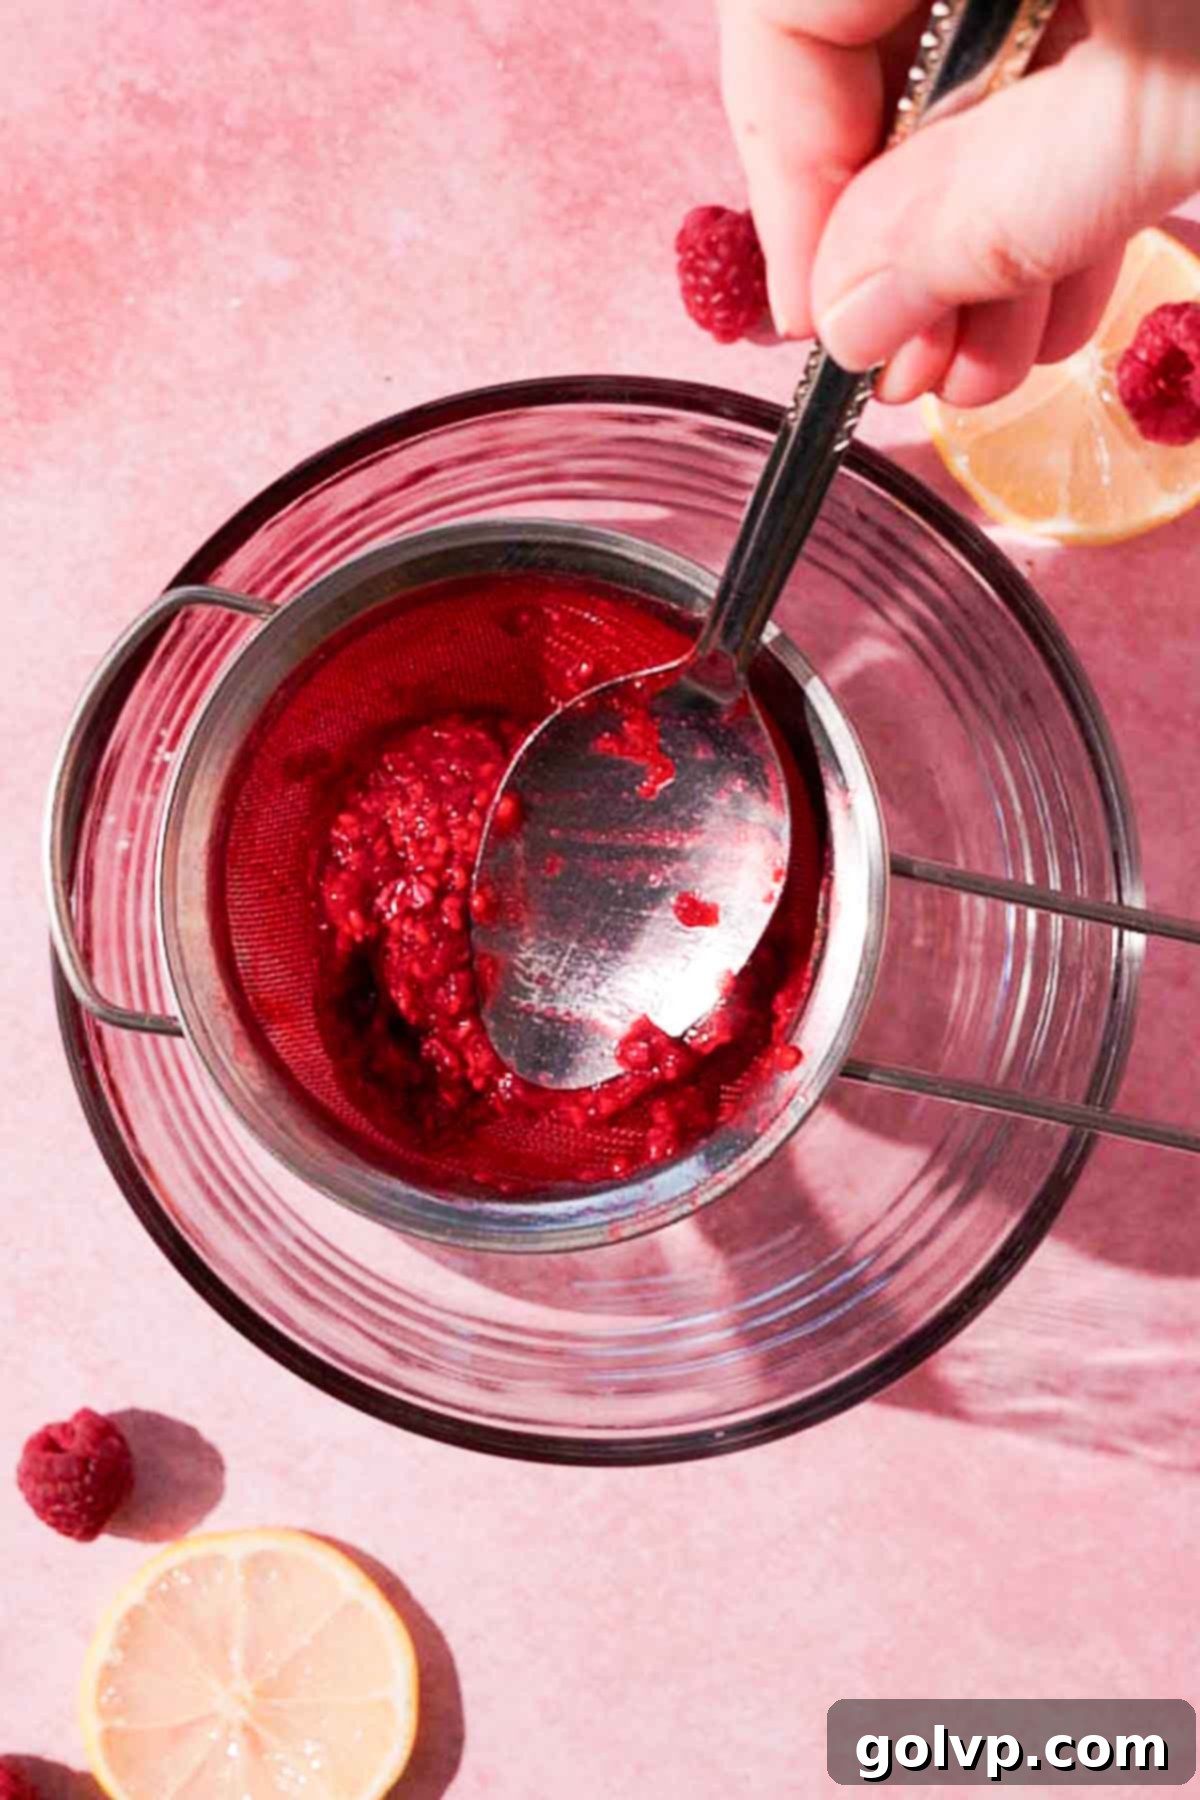
Step 1: Extract Raspberry Juice. To create the beautiful, naturally colored glaze, start by smashing fresh or frozen raspberries with a spoon. Then, push the mashed raspberries through a fine-mesh sieve into a small bowl. This process extracts a concentrated, seedless raspberry juice, which will give your glaze its vibrant color and intense flavor. As an alternative, you can use 2 tablespoons of high-quality seedless raspberry jam, dissolved in 1 tablespoon of boiling water, for a quicker option.
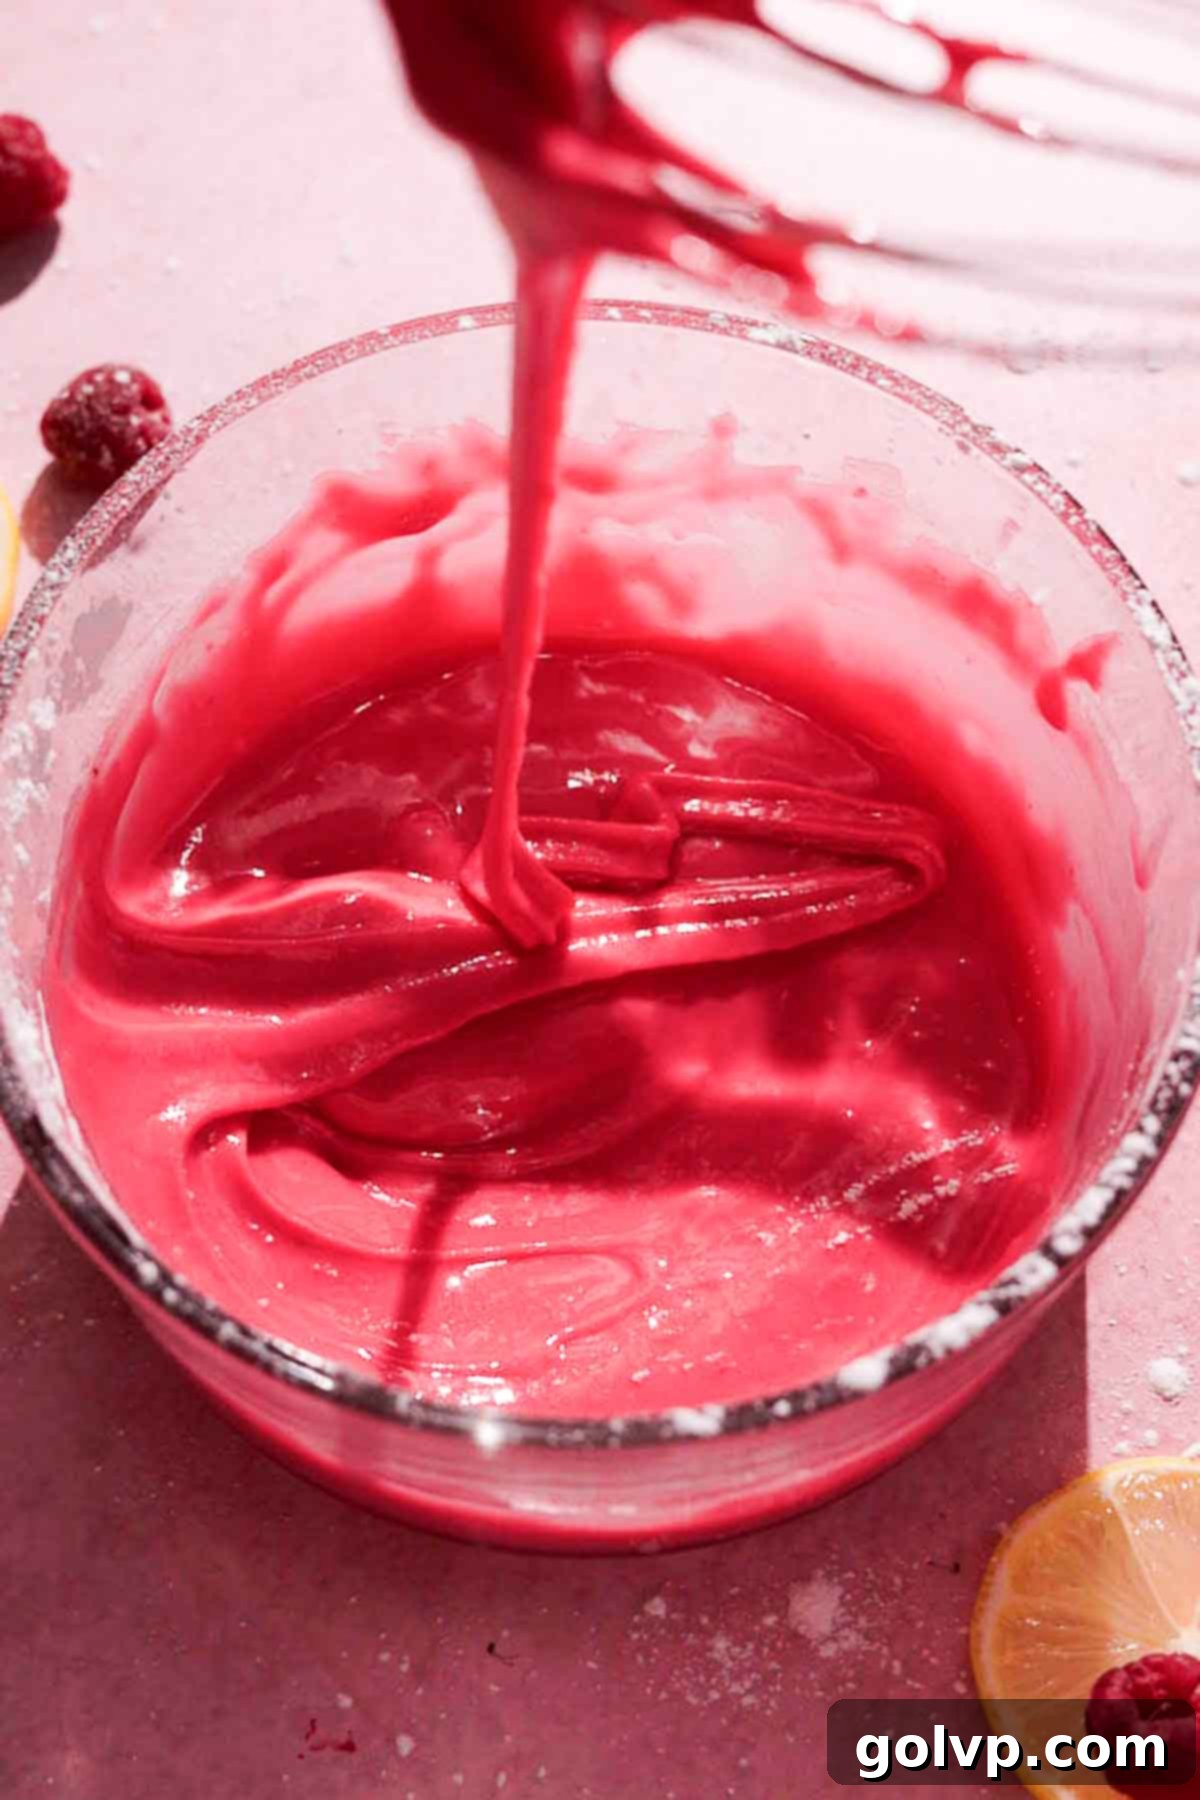
Step 2: Mix the Glaze. In a separate bowl, sift your powdered sugar. Gradually begin adding the prepared raspberry juice, whisking continuously. The key here is to add the liquid little by little, allowing you to control the consistency. Aim for a thick glaze that coats the back of a spoon. Add fresh lemon juice as needed to achieve your desired consistency and an extra tangy kick. I prefer a very thick glaze for a more pronounced coating. If you desire a thinner glaze, add tiny drops of water until it reaches your preference.
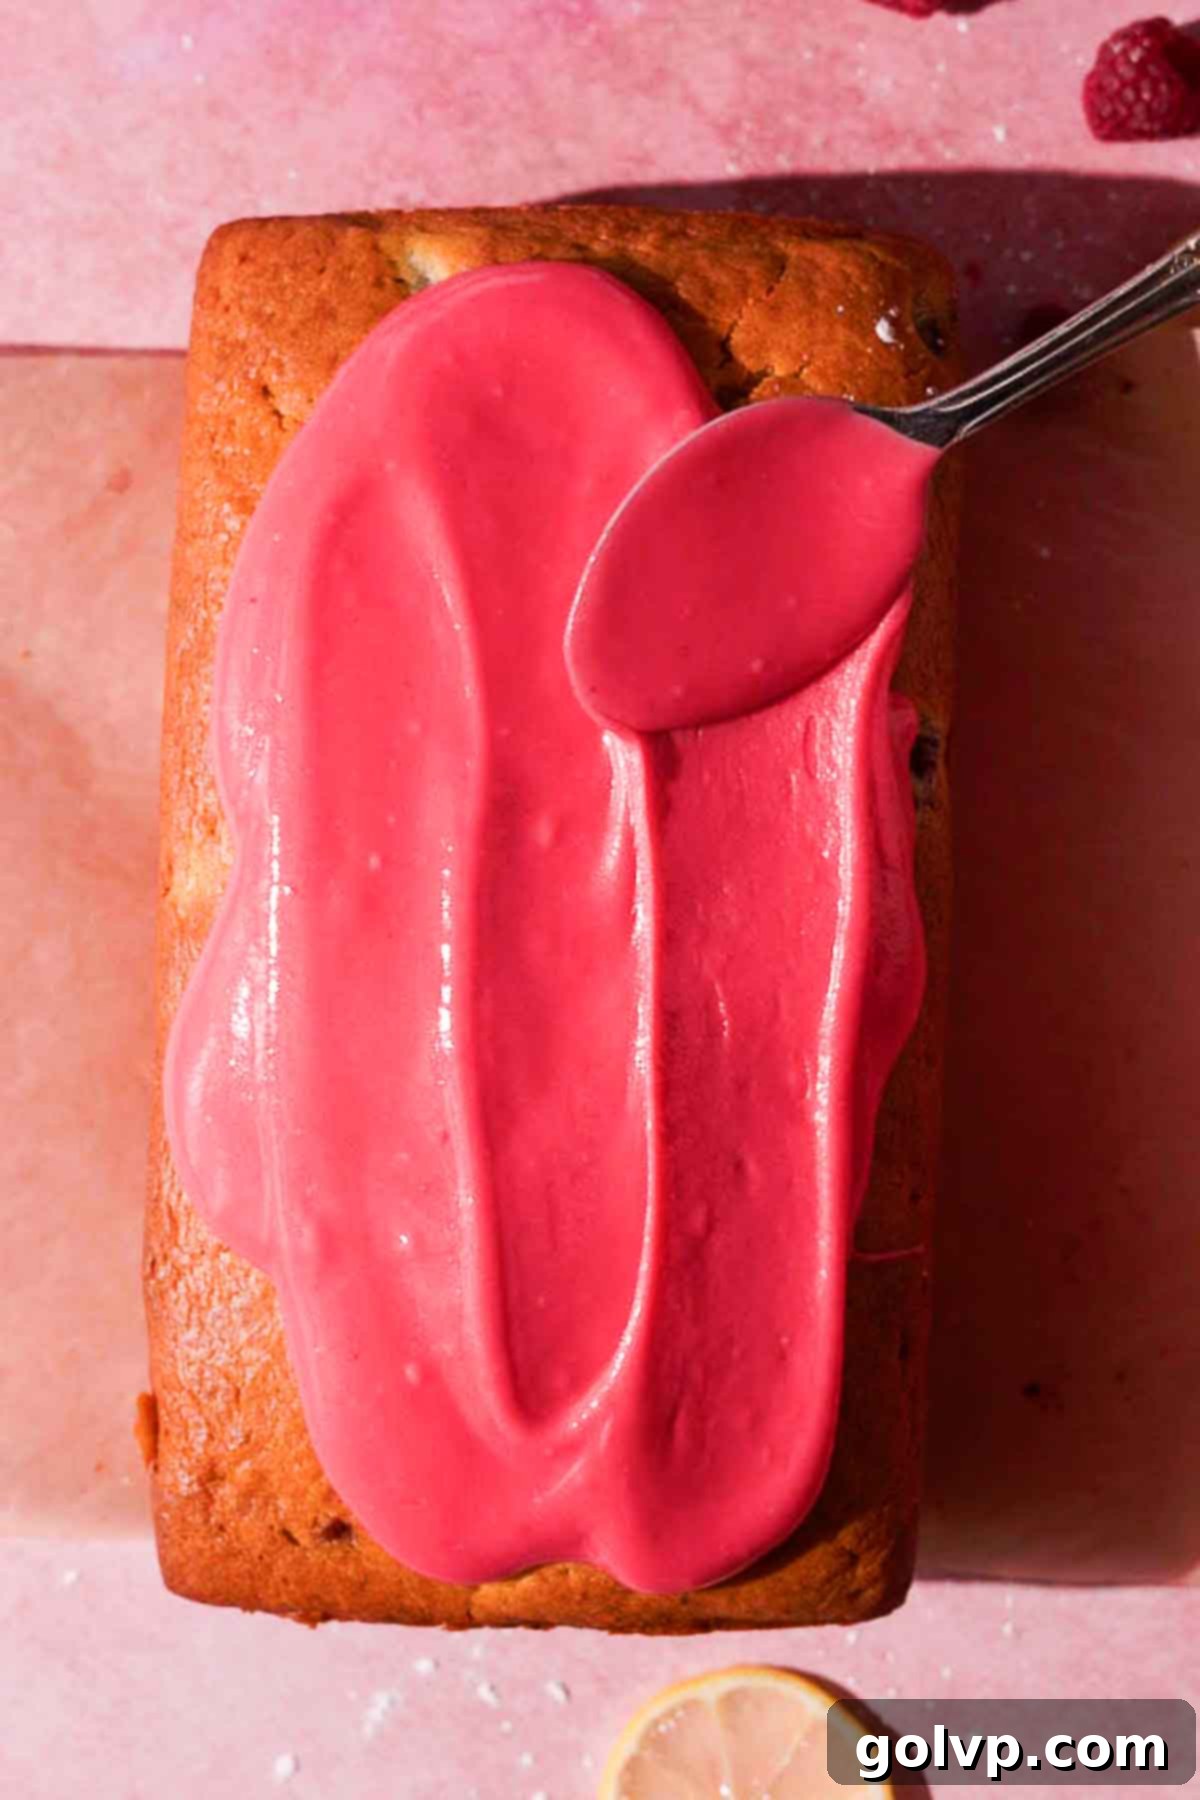
Step 3: Glaze the Cooled Loaf. Once your lemon raspberry loaf cake has completely cooled, it’s time to apply the beautiful glaze. Carefully pour the thick raspberry lemon glaze over the top of the loaf. Use a spoon or an offset spatula to gently spread it all the way to the edges, allowing it to drip attractively down the sides. For an easier cleanup, place the cooled loaf on a wire cooling rack with a baking tray or parchment paper underneath to catch any excess drippings.
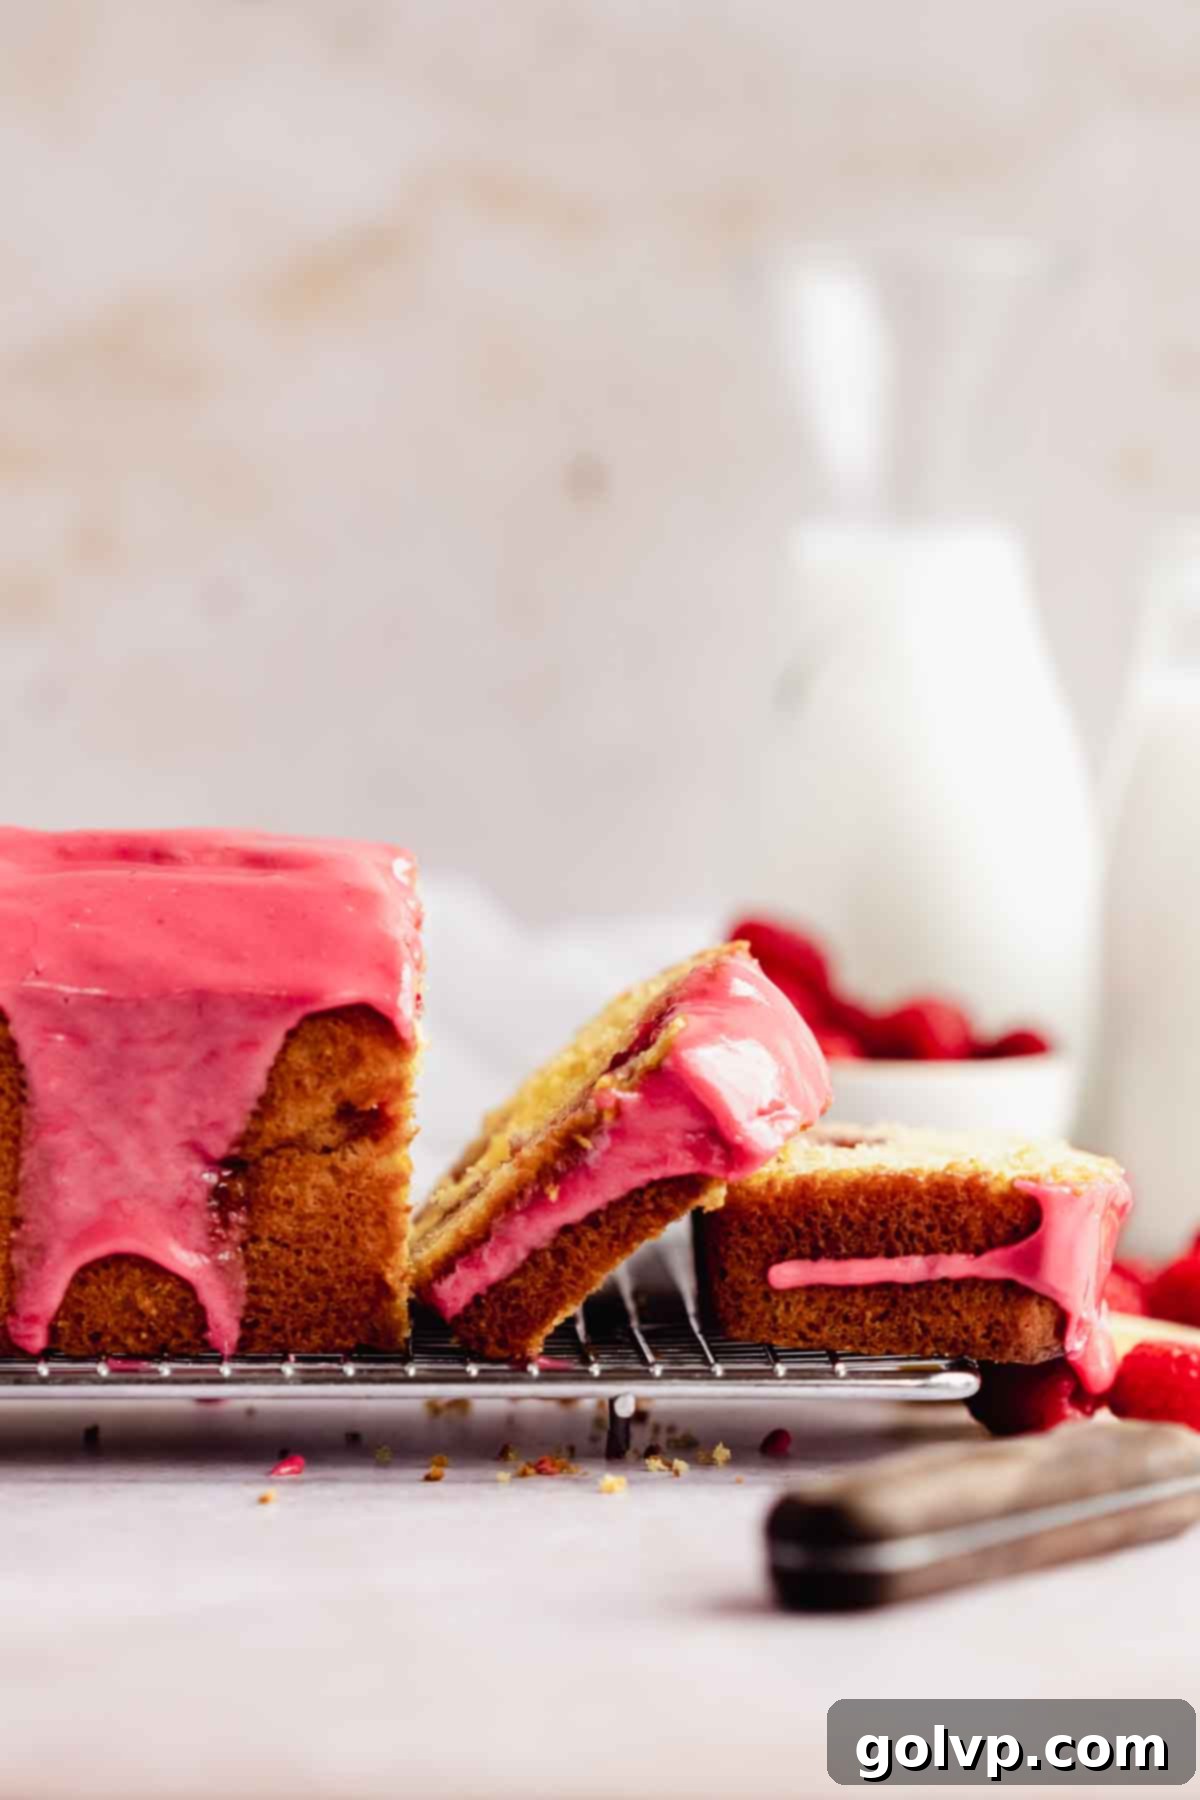
Step 4: Slice, Serve, and Savor! Allow the glaze to set for about 10-15 minutes, or until it’s firm to the touch. Then, slice your magnificent lemon raspberry loaf cake and serve! This cake is absolutely delicious on its own, but for an extra layer of decadence, I highly recommend serving it alongside an ultra-creamy, tangy raspberry curd. Alternatively, a scoop of homemade raspberry cheesecake ice cream makes for an unforgettable dessert experience.
Crucial Glaze Tip: When preparing the glaze, remember that a little liquid goes a long way! It’s better to start with less liquid and gradually add more until you reach your desired thickness. The glaze needs to be considerably thicker than you might initially think; otherwise, you’ll end up with a thin, runny layer that simply slides off the cake rather than creating a beautiful, substantial coating.
🥄 Make Ahead and Storage Instructions for Your Loaf Cake
This lemon raspberry loaf cake is wonderful for making ahead, making it a convenient option for entertaining or meal prep. The baked loaf cake will remain fresh and delicious when stored in an airtight container in the refrigerator for up to 4 days. To maintain its moisture, you can also wrap individual slices tightly in plastic wrap before placing them in the airtight container.
For longer storage, this loaf cake freezes exceptionally well. You can freeze individual slices, separating each piece with a small square of parchment paper to prevent them from sticking together. Store the wrapped slices in an airtight freezer-safe container or a heavy-duty freezer bag for up to 3 months. When you’re ready to enjoy a slice, simply let it come to room temperature on your counter. Please note that the glaze might become a little messy or lose some of its original texture after freezing and thawing, but the cake itself will remain perfectly moist and flavorful.
Regarding the glaze, I generally advise against making it too far in advance, as it tends to dry out and harden quickly. For the best results and ease of application, prepare the glaze just before you are ready to pour it over your completely cooled loaf cake. Pour it immediately after it’s made to achieve that desirable luscious, drippy effect.
❔ The Secret to a Superior Loaf: Why Use Both Butter and Oil?
You might notice that many of my recipes, including this lemon raspberry loaf cake, call for a combination of both butter and oil. This isn’t just a random choice; it’s a deliberate technique to achieve the absolute best texture and flavor in your baked goods. While butter is undeniably fantastic for its rich, dairy flavor that no other fat can quite replicate, oil plays an equally vital role in ensuring a moist and tender crumb.
Butter contains milk solids and water, which contribute to a softer crumb but can sometimes lead to a slightly drier texture over time. Oil, being 100% fat, contributes pure moisture and helps to keep cakes incredibly tender and soft for much longer. By using a mixture of both, you truly get the best of both worlds: the delightful, complex buttery flavor that makes a cake irresistible, combined with the unparalleled moistness and fluffy texture that only oil can provide. This technique ensures a loaf cake that is not only delicious but also stays fresh and tender for days.
This commitment to texture and flavor is a hallmark of my baking philosophy, and you’ll find this successful technique employed in other beloved recipes, such as my vibrant blueberry birthday cake and the comforting chai spiced cake, both renowned for their incredible tenderness.
Additionally, the inclusion of buttermilk in this lemon and raspberry loaf cake further elevates its profile, adding an extra layer of tangy depth and contributing to an even more tender crumb. Just as in this seasonal apple cider bundt cake, buttermilk is a secret weapon for moist and flavorful results.
❔ How to Achieve a Naturally Colored and Flavored Pink Glaze?
One of the most appealing aspects of this lemon raspberry loaf cake is its gorgeous, naturally colored pink glaze. Achieving this vibrant hue without any artificial dyes is surprisingly simple and relies entirely on the natural pigments and intense flavor of fresh raspberries. Both fresh and frozen raspberries work equally well for this method, making it accessible year-round.
The process begins by gently mashing the raspberries. This releases their juices and concentrates their flavor. Once mashed, the raspberries are pushed through a fine-mesh sieve. This step is crucial for removing all the tiny seeds, leaving you with a smooth, intensely flavored, and deeply colored raspberry juice. This concentrated juice is the foundation for your naturally pink glaze.
Next, you simply combine this pure raspberry juice with a splash of freshly squeezed lemon juice – which not only adds a bright tang but also enhances the overall berry flavor – and sifted powdered sugar. The powdered sugar creates the body and sweetness of the glaze, while the raspberry juice provides the color and flavor. You can adjust the amount of liquid to achieve your desired consistency, from a thick, opulent coating to a lighter, more delicate drizzle.
Once poured over the cooled loaf cake, this vibrant glaze transforms a simple baked good into a show-stopping dessert. The taste is a harmonious blend of sweet and tangy raspberries, with a refreshing lemon finish. It’s a treat for both the eyes and the palate! I utilized this very same technique to create the beautiful pastel pink cream cheese frosting for my lemon raspberry layer cake, demonstrating its versatility.
For another naturally colored and flavored frosting idea, featuring a beautiful purple hue, don’t miss out on my blueberry cupcake recipe, which uses blueberries to create a stunning, flavorful cream cheese frosting.

📖 Recipe Frequently Asked Questions (FAQs)
Absolutely! A classic lemon glaze will be equally delicious on top of this lemon raspberry loaf cake and will emphasize the lemon notes even more. To make it, simply replace the raspberry juice or jam in the glaze recipe with additional freshly squeezed lemon juice. Add the lemon juice gradually to powdered sugar, mixing until you achieve your preferred consistency – whether you like it thick and opaque or thin and drizzly.
When making glaze, a small amount of liquid can drastically change the consistency. It’s very easy to make it too thin! To prevent this, always add your liquid (raspberry juice and lemon juice) little by little, stirring thoroughly after each addition until you reach your desired thickness. If your glaze does end up too thin, the easiest fix is to gradually sift in more powdered sugar, a tablespoon at a time, until it thickens up. If it becomes too thick, you can thin it out with a few drops of lemon juice or water.
Yes, you absolutely can! It’s a common and simple kitchen hack. To make your own buttermilk substitute, measure out 1 tablespoon of apple cider vinegar or white vinegar into a liquid measuring cup. Then, add enough room temperature milk (dairy milk works best, but some non-dairy milks can also be used) until the total volume reaches ¾ cup. Stir the mixture gently and let it sit undisturbed for 5 minutes. During this time, the milk will visibly curdle and thicken, resembling true buttermilk. Plain kefir also makes an excellent and ready-to-use replacement for buttermilk in baking.
Yes, absolutely! Frozen raspberries work perfectly in this recipe and are a great option when fresh ones are out of season or more expensive. The key is to use them straight from the freezer. Do not defrost them before adding them to the batter, and coat them in flour exactly as the recipe instructs. Adding them frozen helps prevent them from bleeding too much color into the batter and keeps them from sinking to the bottom of the loaf.
🍞 More Delightful Baking Recipes You’ll Love
- Strawberry Crunch Cheesecake
- Lemon Raspberry Cake
- Lemon Zucchini Bread
- Blueberry Cupcakes with Blueberry Cream Cheese Frosting
Did you make this recipe? I would love for you to rate this recipe and hear what you think in the comments below! Share your creation on Instagram and tag @flouringkitchen. Follow me on Pinterestto save and for more recipe ideas.
📖 Recipe

Lemon Raspberry Loaf Cake with Raspberry Glaze
Mary
Pin Recipe
Shop Ingredients
Equipment
-
9 inch by 5 inch loaf pan
Ingredients
- 1 lemon zested
- ⅔ cup granulated sugar
- 3 large eggs room temperature
- ⅛ teaspoon sea salt
- ½ cup butter melted and cooled
- ¼ cup vegetable oil I used grapeseed
- 2 teaspoons pure vanilla extract
- ¾ cup buttermilk room temperature
- 3 tablespoons lemon juice freshly squeezed from 1 lemon
- 2 ¾ cups all purpose flour 325 g
- 2 teaspoon baking powder
- ¼ teaspoon baking soda
- 6 oz raspberries fresh or frozen (170g)
- 1 teaspoon all purpose flour
Raspberry Lemon Glaze
- 2 cups powdered sugar
- 3 oz raspberries fresh or frozen (85g)
- 1 tablespoon lemon juice or as needed
Shop Ingredients on Jupiter
Instructions
-
Prepare a 9″×5″ loaf pan by lining it with parchment paper, allowing some overhang on the sides to create convenient handles for easy removal. Preheat your oven to 365°F (185°C).
-
In a large bowl, combine the granulated sugar and lemon zest. Use your fingers to rub the zest into the sugar vigorously until the sugar is fragrant and has a pale yellow color, effectively infusing it with lemon essence.⅔ cup granulated sugar, 1 lemon zested
-
Add the room temperature eggs to the lemon sugar mixture. Whisk by hand for about 30 seconds until the mixture is slightly frothy and thoroughly combined.3 large eggs
-
Introduce the sea salt, melted and cooled butter, vegetable oil, pure vanilla extract, room temperature buttermilk, and fresh lemon juice to the bowl. Whisk everything together until just combined and smooth.⅛ teaspoon sea salt, ½ cup butter, ¼ cup vegetable oil, 2 teaspoons pure vanilla extract, ¾ cup buttermilk, 3 tablespoons lemon juice
-
Sift the all-purpose flour, baking powder, and baking soda directly into the wet ingredients in the bowl. Gently fold the dry ingredients into the wet until they are almost fully incorporated, ensuring no large streaks of dry flour remain. Be careful not to overmix.2 ¾ cups all purpose flour, ¼ teaspoon baking soda, 2 teaspoon baking powder
-
In a separate small bowl, gently coat the 6 oz of raspberries with 1 teaspoon of all-purpose flour. This step helps to prevent them from sinking to the bottom of the cake during baking.1 teaspoon all purpose flour, 6 oz raspberries
-
Gently add the flour-coated raspberries into the cake batter. Fold them in carefully, mixing just until no dry streaks of flour remain. Avoid overmixing; some small lumps in the batter are perfectly normal and contribute to a tender loaf.
-
Transfer the batter into the prepared loaf pan and use a spatula to smooth the top surface. Gently tap the pan on your counter a few times to release any large air pockets.
-
Bake for 50-60 minutes, or until the top is golden brown and a toothpick inserted into the center of the loaf comes out clean. Note that the toothpick might be slightly moist from raspberry juice, but it should not have raw batter clinging to it.
-
Once baked, remove the loaf from the oven and let it cool completely in the pan on a wire rack. After it’s fully cooled, use the parchment paper handles to carefully lift the loaf out of the pan.
Raspberry Lemon Glaze
-
To make the vibrant glaze, gently smash 3 oz of fresh or frozen raspberries with a spoon. Pass the mashed raspberries through a fine-mesh sieve to extract a concentrated, seedless raspberry juice. Alternatively, you can dissolve 2 tablespoons of seedless raspberry jam in 1 tablespoon of boiling water.3 oz raspberries
-
In a bowl, sift the powdered sugar. Gradually add the prepared raspberry juice, whisking continuously until a thick, smooth glaze forms. Add the 1 tablespoon of fresh lemon juice, or more as needed, to achieve your desired consistency. For a thicker coating, use less liquid; for a thinner glaze, add small drops of water one at a time.2 cups powdered sugar, 1 tablespoon lemon juice
-
Once the glaze has been applied and has had a chance to set for about 10 minutes, slice the loaf cake and serve your beautiful creation!
Notes
Key Tips for a Perfect Loaf:
- For consistent results, always weigh your flour using a kitchen scale. If you don’t have one, measure properly by stirring the flour, spooning it into the measuring cup, and leveling off without packing it down.
- Avoid overmixing the batter at all costs. Mix only until you no longer see any dry streaks of flour. A few small lumps are perfectly acceptable and ensure a tender cake. Overmixing will result in a dense and dry loaf.
- When making the raspberry lemon glaze, add the liquid (raspberry and lemon juice) gradually. This allows you to control the thickness and achieve your desired consistency for the perfect topping.
