The Ultimate Easy Rocky Road Cookies: Fudgy, Chewy, and Perfectly Irresistible
Jump to Recipe
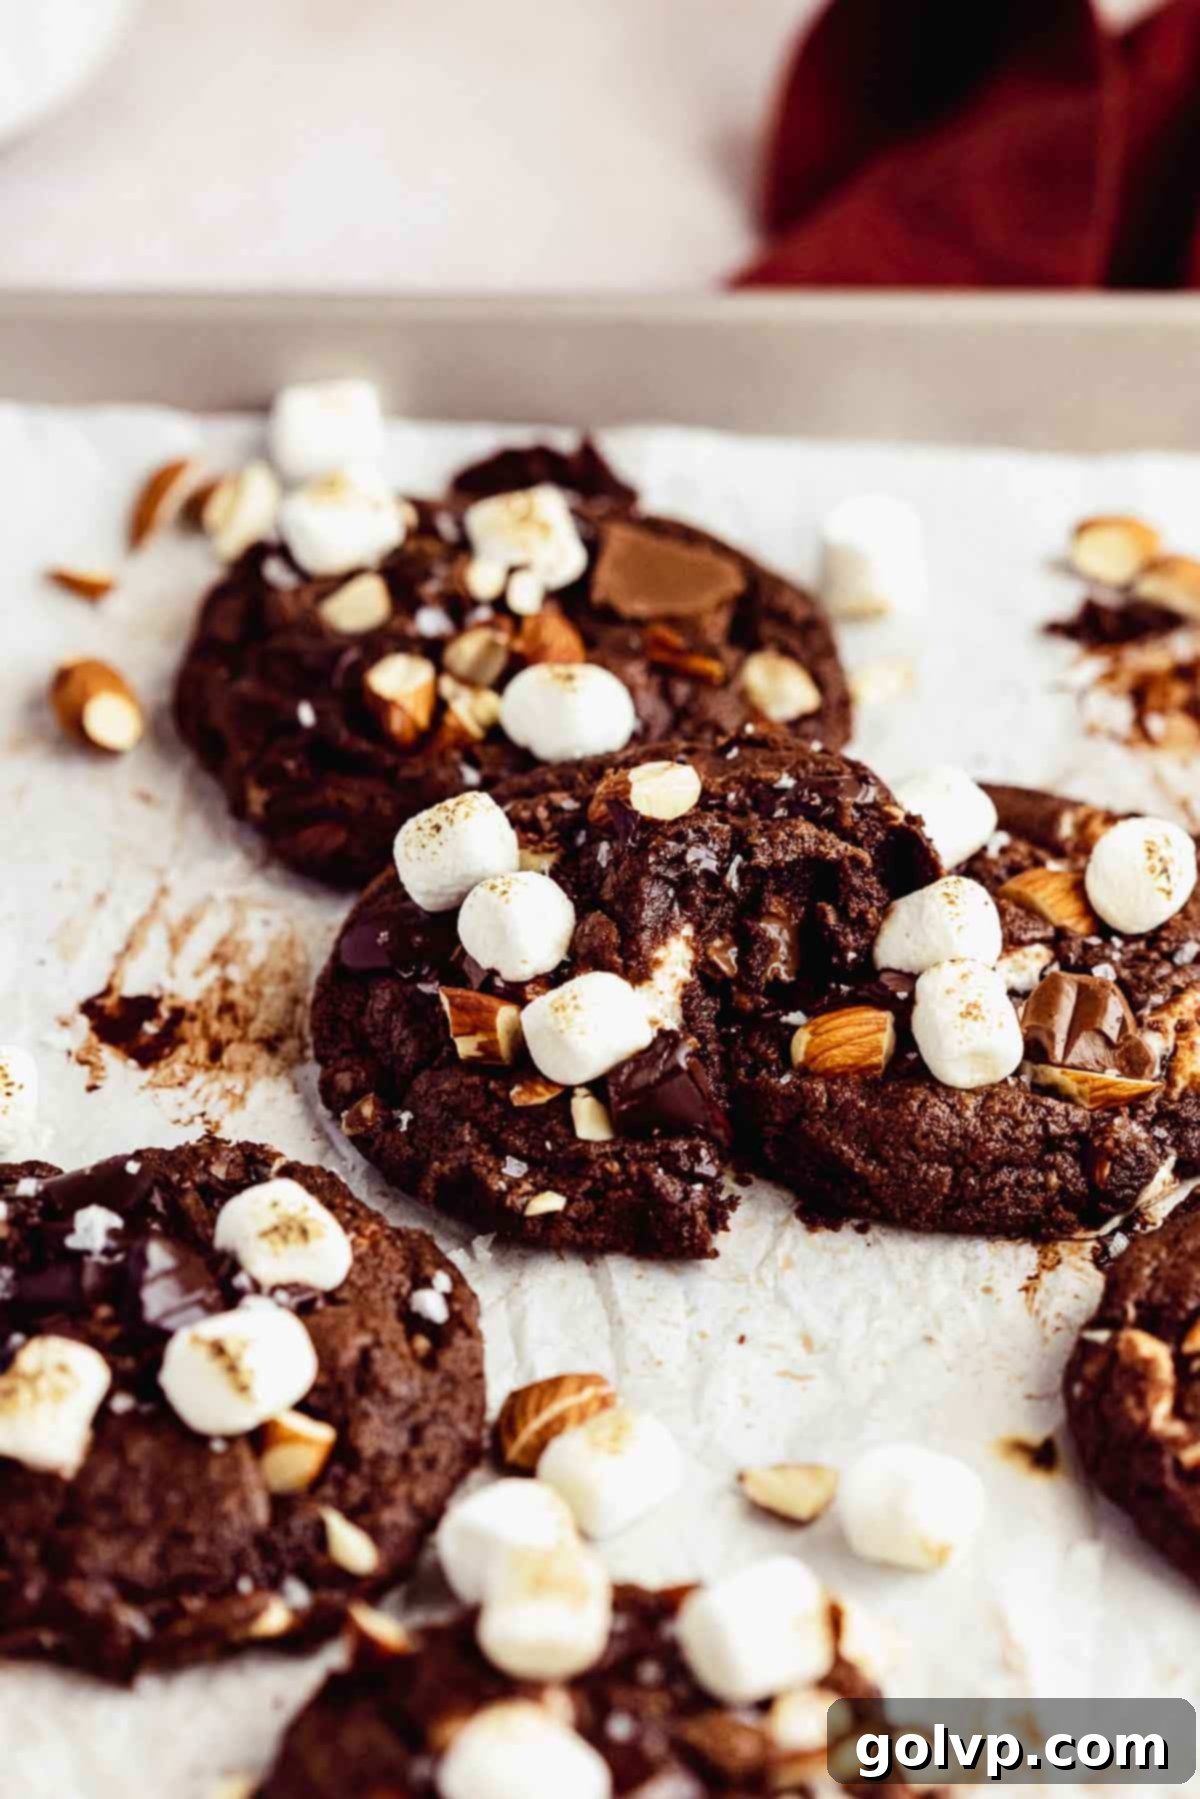
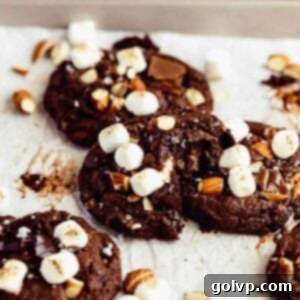
Prepare yourself for a truly delightful baking experience with these easy rocky road cookies. They are the epitome of cookie perfection: thick, wonderfully fudgy with delightfully crispy edges, and generously loaded with pockets of gooey marshmallows, rich chocolate, and satisfyingly crunchy almonds. This is a dream recipe for busy bakers, as it’s a convenient one-bowl wonder that comes together incredibly fast. You won’t need any fancy stand mixers or elaborate equipment here – just a simple wire whisk will suffice, all thanks to the magic of melted butter. If you, like me, frequently forget to leave your butter out to soften in advance, then this recipe is your new best friend. Seriously, it doesn’t get any easier or more delicious!
Achieving picture-perfect rocky road cookies that not only taste incredible but also look stunning is simpler than you might think. I’ve refined a few key techniques over time to ensure consistently beautiful results every single batch. First, for uniform size and an ideal round shape, always use a cookie scoop or meticulously roll the dough into even balls with your hands before baking. This initial step helps them spread out beautifully and evenly in the oven. Second, generously top your cookie dough balls with all those wonderful mix-ins – we’re talking plenty of chopped chocolate (or your favorite chocolate chips) and crunchy almonds. This isn’t just for looks; it ensures every bite is packed with flavor. Lastly, a secret weapon for perfection: as soon as the cookies emerge from the oven, while they are still warm and pliable, use the back of a spoon to gently push any uneven edges back into a perfect circle. Another clever trick is to “scoot” them by shaking a slightly larger round cookie cutter or bowl over each cookie, which helps to refine their shape. And for that final touch of gourmet flair and an extra layer of texture and flavor, don’t forget a delicate sprinkling of flaky sea salt!
Achieving Those Perfect Toasty Marshmallows
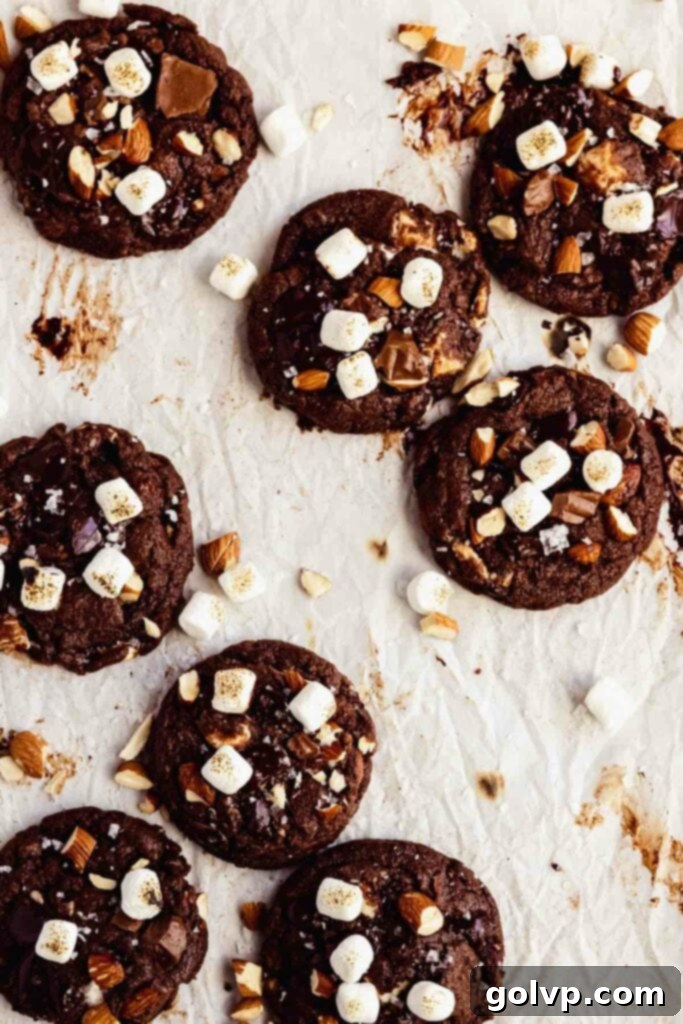
The delightful gooeyness of rocky road cookies is elevated even further with perfectly toasted marshmallows. My favorite technique involves topping the cookies with additional marshmallows *after* they come out of the oven, while they are still warm and inviting. This method prevents the marshmallows from overcooking and hardening into an unpleasant shell during the baking process, ensuring they remain wonderfully soft and stretchy. For that beautiful, slightly charred exterior and melt-in-your-mouth interior, use a kitchen torch to lightly toast them just before serving. Aim for a gentle golden brown hue, being careful not to hold the flame in one spot for too long.
A crucial safety note: when using a kitchen torch, *never* toast marshmallows directly on parchment paper, as it can easily ignite. Always transfer the cookies to a heat-safe surface or hold them with tongs if you’re torching individual marshmallows. I’ve learned from experience that trying to bake marshmallows directly on top of the cookies can lead to disappointment. They tend to overcook, becoming dry, hard, and terribly sticky – a texture nobody wants stuck in their teeth! Just a minute too long in the oven, and they can go from burnt to a potential fire hazard with the parchment paper.
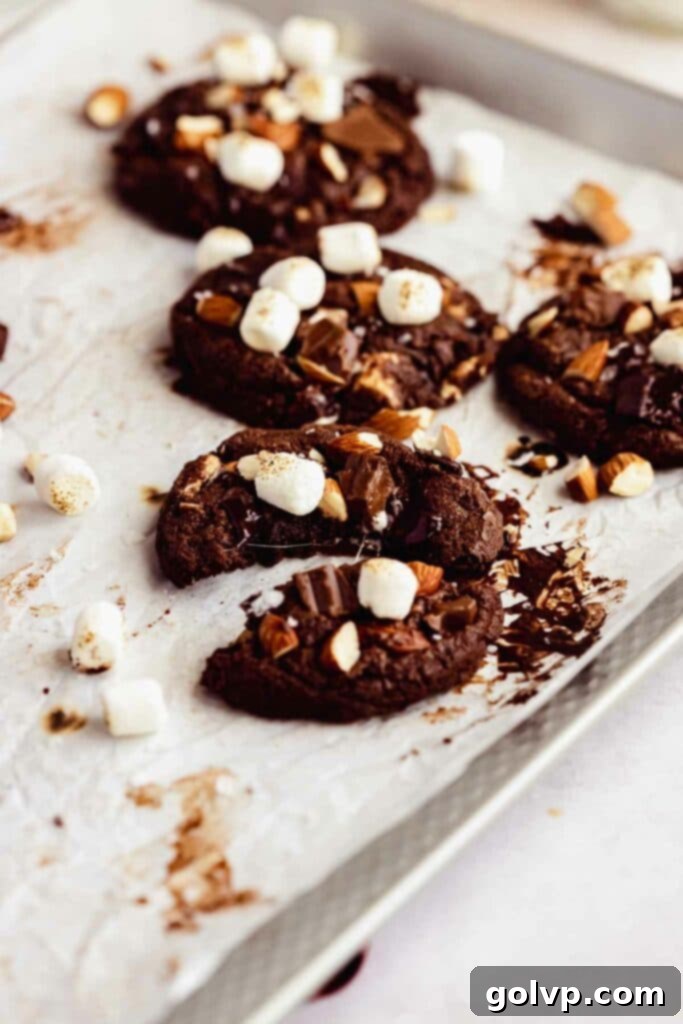
To fully enjoy the magical combination of melted chocolate and wonderfully gooey marshmallows, these rocky road cookies are best served warm. The heat ensures the chocolate remains soft and the marshmallows maintain their irresistible stretch. If you find yourself with any delicious leftovers (a rare occurrence!), I highly recommend a brief reheat in the microwave or a low oven to bring them back to their original gooey glory.
Frequently Asked Questions (FAQ)
Chilling is a critical step for achieving truly superior cookies, particularly for a recipe aiming for a thick and fudgy texture. When you chill cookie dough, the butter within it firms up significantly. This firmness is key to preventing excessive spread during baking, which in turn results in a thicker, chewier, and more fudgy cookie. Beyond texture, chilling also allows essential time for the moisture in the dough to thoroughly hydrate the flour, which deepens and concentrates the flavors. The sugars also continue to dissolve, contributing to a richer, more complex taste profile in the final baked good. Don’t skip this step for the best possible outcome!
While I strongly advise against skipping the chill time for optimal results in texture and flavor, I understand that sometimes time is of the essence. If you’re really short on time but still want to minimize spread, here’s a useful shortcut: after forming your cookie dough balls, pop them into the freezer for approximately 15 minutes before placing them in the oven. This quick freeze will sufficiently firm up the butter, helping the cookies hold their shape better and reducing unwanted spread during baking. It’s not a perfect substitute for a full chill, but it’s a good compromise when you’re in a hurry.
Scooting cookies is a fantastic baker’s trick for achieving perfectly round, bakery-worthy cookies every single time. The key is to perform this technique immediately after the cookies come out of the oven, while they are still very warm and pliable. To scoot a cookie, take a round cookie cutter that is slightly larger than your baked cookie, or even a small bowl. Place the cookie cutter over a warm cookie, gently enclosing it. Then, gently shake or swirl the cookie cutter around the cookie on the baking sheet. This motion pushes any uneven edges or melted chocolate back into the cookie, reshaping it into a beautiful, perfectly circular form. It’s a simple step that makes a huge difference in presentation!
For these rocky road cookies, mini marshmallows are my top recommendation due to their perfect size and how beautifully they melt into gooey pockets. If you only have larger marshmallows on hand, simply snip them into smaller, bite-sized pieces using kitchen scissors (lightly oiling the scissors can prevent sticking). I do not recommend using “mallow bits” or dehydrated marshmallows often found in cereal, as they tend not to melt properly and won’t give you that desirable stretchy, gooey texture. For those seeking a vegetarian-friendly option, look for gelatin-free marshmallows, which are becoming increasingly available. And if marshmallows aren’t your thing at all, feel free to omit them entirely – the cookies will still be wonderfully delicious with just the chocolate and almonds!
There are typically two main culprits for dry, rather than fudgy, cookies. The most common reason is overbaking. For ultra-fudgy rocky road cookies, it’s crucial not to overbake them. Stick closely to the recommended baking time of about 10 minutes. The cookies should look slightly set at the edges but still appear a little soft and underbaked in the center when you pull them out – they will continue to set as they cool. Remember that smaller cookies will bake faster, so adjust your timing accordingly. The second major factor is improper flour measurement. Too much flour can lead to a dry, dense cookie. For the most accurate results, I highly recommend weighing your flour using a kitchen scale. If you don’t have a scale, use the “spoon and level” method: first, stir the flour in its bag or container to aerate it, then gently spoon the flour into your measuring cup until it overflows, and finally, scrape off the excess with the flat edge of a knife without packing the flour down into the cup.
Key Ingredients for Unforgettable Rocky Road Cookies
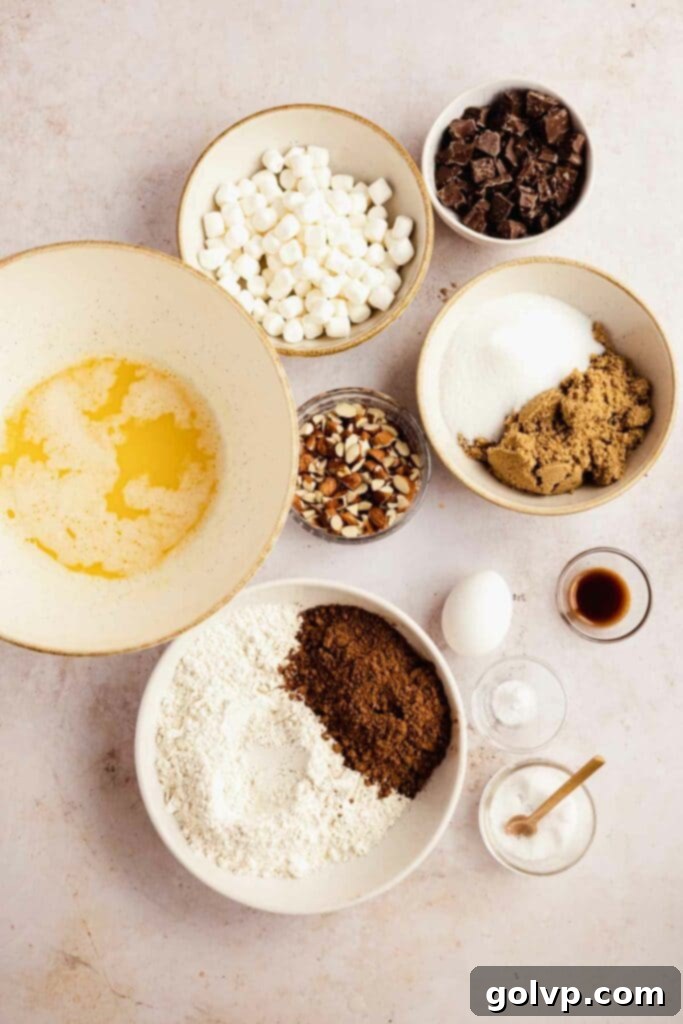
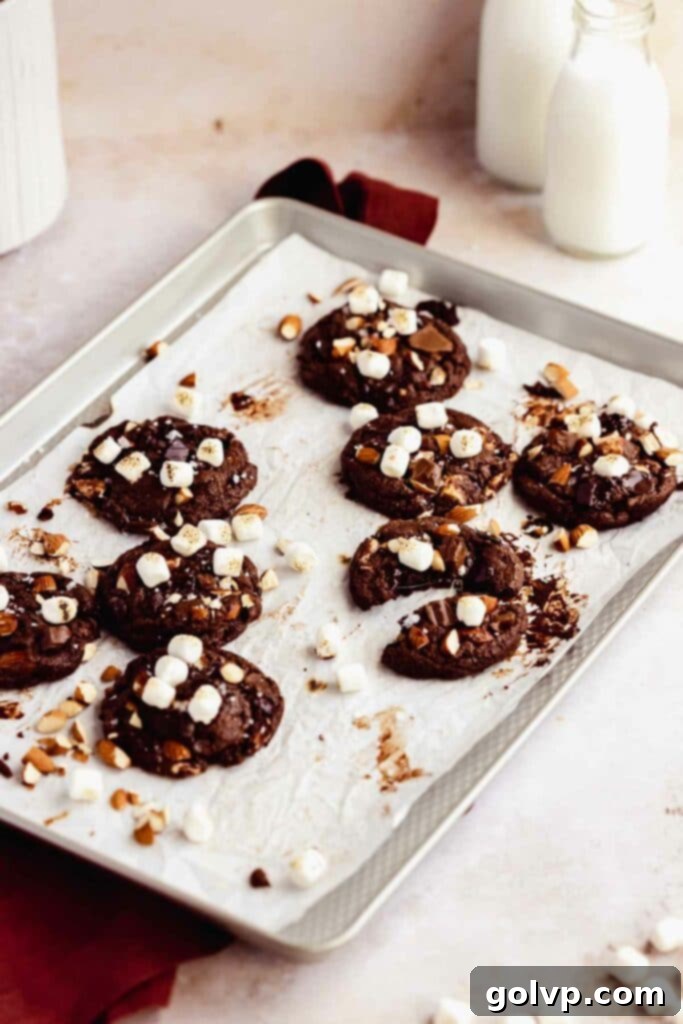
The complete list of ingredients with precise measurements and the full recipe can be found in the recipe card below. However, I highly recommend reading through this section for essential tips on ingredient substitutions and specific baking advice that will guarantee your cookies are a success!
Melted Butter: Using good quality, real butter is paramount for the best flavor and texture in these cookies. The beauty of this recipe lies in using melted butter, which eliminates the need for softened butter and makes it a true one-bowl, no-mixer recipe. Ensure your butter is fully melted, but allow it to cool slightly before incorporating it into the other ingredients. It’s perfectly fine if it’s still warm to the touch; just avoid adding it piping hot.
Brown Sugar: This is a star ingredient for achieving that desired chewy, moist texture and a rich, deep flavor profile. Always use packed old-fashioned brown sugar for optimal results. Brown sugar contributes moisture and a slight molasses note that granulated sugar alone cannot, making your cookies wonderfully soft and flavorful.
All-Purpose Flour: Precision in measuring flour is crucial for cookie success. The most accurate method is to weigh your flour using a kitchen scale – aim for 210g for 1 ¾ cups. If you don’t have a scale, employ the “spoon and level” technique: first, lightly stir the flour in its container to aerate it. Then, gently spoon the flour into your measuring cup until it’s overflowing. Finally, use the flat edge of a knife or a straight-edge utensil to level off the excess without packing the flour into the cup. Over-measured flour can lead to dry, dense cookies.
Natural Cocoa Powder: To infuse these cookies with a truly rich and intense chocolate flavor, natural unsweetened cocoa powder is essential. It contributes a deep, robust chocolate taste. It’s important not to substitute this with Dutch-processed cocoa powder in this particular recipe. Natural cocoa powder is acidic and reacts with the baking soda, which is the primary leavening agent here, to give the cookies their perfect slight lift and chewy texture. Dutch-processed cocoa, being less acidic, would not provide the same chemical reaction or desired texture.
Baking Soda: This humble ingredient is responsible for giving these chocolate cookies just the right amount of lift and contributes to their characteristic chewy texture. It works in conjunction with the acidic natural cocoa powder to create tiny air pockets. Do not substitute baking soda with baking powder, as they have different chemical compositions and react differently in baking, which would alter the final texture and spread of your cookies.
Marshmallows: For the ideal gooey texture and visual appeal, I highly recommend using mini marshmallows in this recipe. Their smaller size ensures even distribution and perfect melting pockets throughout the cookie. If only larger marshmallows are available, you can easily snip them into smaller pieces with kitchen scissors. As mentioned in the FAQ, “mallow bits” or dehydrated marshmallows are not suitable as they won’t melt properly and become stretchy.
Chopped Chocolate: For the most complex and nuanced chocolate experience, I suggest using a blend of good quality milk and dark chocolate, roughly chopped. The combination offers a delightful balance of sweetness and deep cocoa notes. While chocolate chips can certainly be used, chopped chocolate melts into more interesting, irregular puddles and shards, enhancing both the texture and visual appeal of the cookies. Feel free to use just dark (semisweet) or milk chocolate if that’s your preference, but the blend truly shines.
Roasted Almonds: Lightly roasted almonds bring an incredible depth of flavor and a delightful crunch that complements the fudgy cookie and gooey marshmallows. Roughly chop them into pieces of varying sizes for textural interest. If almonds aren’t your favorite, or you simply want to experiment, you can easily substitute them with other roasted nuts. Pecans, walnuts, or even peanuts would work wonderfully, each adding its own unique flavor dimension to these rocky road delights.
Step-by-Step Process for Baking Perfect Rocky Road Cookies
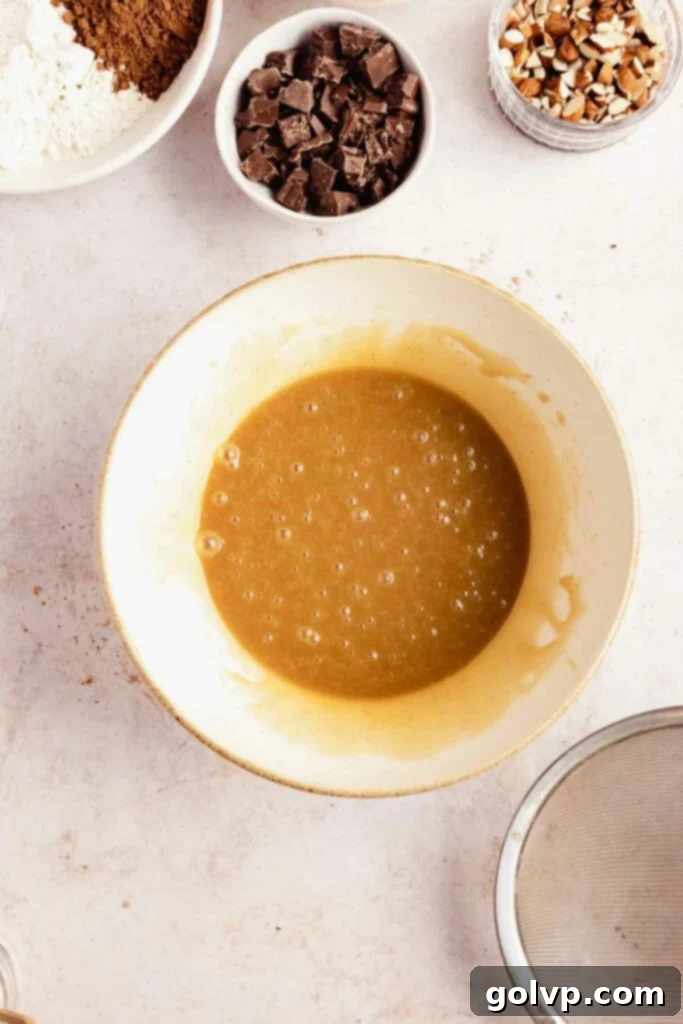
- In a large mixing bowl, combine the completely melted butter (ensure it’s cooled slightly but can still be warm), packed brown sugar, granulated white sugar, and sea salt. Using a sturdy wire whisk, whisk these ingredients together thoroughly until the mixture is smooth and well-combined.
- Crack in the large room temperature egg and add the pure vanilla extract to the bowl. Continue whisking, either by hand or with an electric mixer on low speed, until the mixture thickens visibly and falls off the whisk in thick, flowing ribbons. This aeration is important for texture.
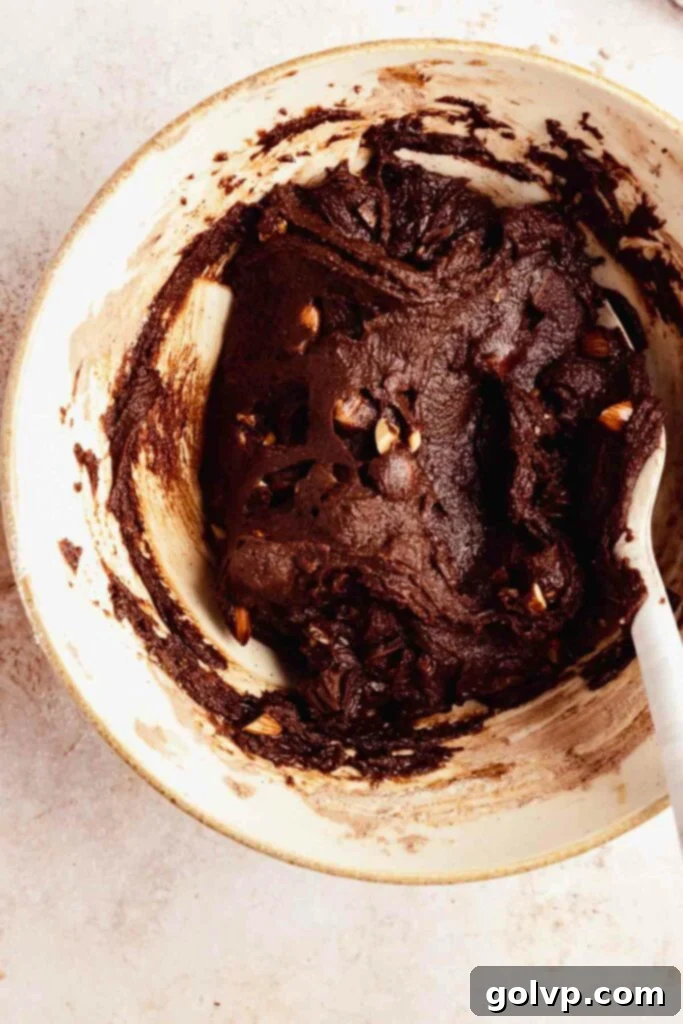
- Into the same bowl, carefully sift the all-purpose flour, natural cocoa powder, and baking soda. This ensures there are no lumps and the dry ingredients are evenly distributed. Using a spatula, gently fold the dry ingredients into the wet mixture until you no longer see any visible streaks or “ribbons” of dry flour. Be careful not to overmix, as this can lead to tough cookies.
- Now for the “rocky road” elements! Add about ½ cup of your chopped chocolate (from your milk and dark chocolate blend), ¾ cup of the mini marshmallows, and ⅓ cup of the chopped roasted almonds into the dough. Gently fold these delicious additions into the dough until they are just evenly distributed.
- The dough will be quite soft at this stage due to the melted butter. To make it easier to handle and scoop, place the bowl of dough in the freezer for about 5 minutes. This quick chill will help it firm up enough to manage.
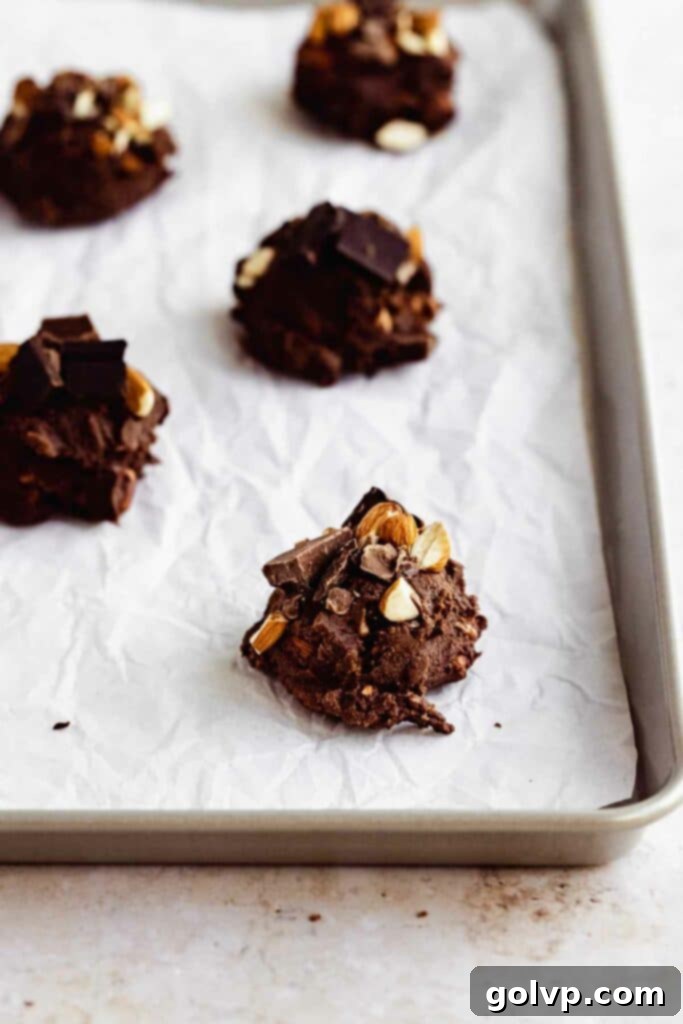
- Using a large cookie scoop (mine yields about 14 cookies) or your hands, roll the dough into 14 equal-sized balls. Arrange these dough balls onto a baking sheet. For that extra visual appeal and burst of flavor, gently press the remaining chopped chocolate and almonds onto the tops of each dough ball.
- This chilling step is crucial for thick, fudgy cookies: place the cookie dough balls in the refrigerator to chill for a minimum of 45 minutes, or ideally, overnight. While the dough is chilling, preheat your oven to 180°C (350°F).
- Line a fresh baking sheet with parchment paper. Arrange the chilled cookie dough balls on the prepared sheet, ensuring there is at least 3 inches of space between each cookie to allow for proper spread.
- Bake the cookies for 10-12 minutes. For ultra-fudgy cookies, aim for the shorter end of the baking time; the edges should appear slightly set, but the centers should still look a little soft. If you prefer a crispier cookie, you can bake them for a minute or two longer. Keep in mind that baking times can vary based on oven calibration and cookie size.
- As soon as the cookies come out of the oven, while they are still piping hot and pliable, immediately top them with the remaining marshmallows. This warmth will help the marshmallows begin to melt and get gooey. At this point, also perform the “scooting” trick: use the back of a spoon to gently push in any uneven edges, or place a slightly larger round cookie cutter (or bowl) over each cookie and gently shake it around to reshape them into perfect circles.
- Allow the rocky road cookies to cool on the baking sheet for about 5 minutes before carefully transferring them to a wire rack to cool completely. If you desire those signature toasted marshmallows, gently broil them using a kitchen torch. Remember, *do not* torch marshmallows directly on parchment paper, as it can burn. Lastly, for an extra pop of flavor and texture, sprinkle with flaky sea salt (this step is optional but highly recommended!).
Discover More One-Bowl Cookie Recipes:
If you loved the simplicity and deliciousness of these easy rocky road cookies, you’ll be thrilled to explore my other fantastic one-bowl cookie recipes. They’re designed to deliver maximum flavor with minimal fuss, perfect for any home baker:
- Gooey Marshmallow Chocolate Cookies
- The Best Brown Butter Chocolate Chip Cookies
- Soft & Chewy Blueberry Cream Cheese Cookies
Happy baking, my friends! I hope these cookies bring as much joy to your kitchen as they do to mine. xx
Did you try this amazing recipe? I’d absolutely love for you to rate it and share your thoughts in the comments section below! Your feedback means the world to me.
Don’t forget to share your delicious creations on Instagram and tag me@flouringkitchen – I can’t wait to see your beautiful rocky road cookies!
📖 Recipe
Rocky Road Cookies
Mary
Pin Recipe
Shop Ingredients
Ingredients
- 1 cup melted butter slightly cooled
- ¾ cup brown sugar
- ½ cup granulated sugar
- ¼ teaspoon sea salt
- 1 large egg room temperature
- 1 teaspoon pure vanilla extract
- 1 ¾ cup all purpose flour 210g
- ½ cup natural cocoa powder 50g
- ½ teaspoon baking soda
- 1 cup mini marshmallows
- 1 cup milk and dark chocolate chopped
- ½ cup almonds roasted and chopped
- ½ teaspoon flaky salt optional
Shop Ingredients on Jupiter
Instructions
-
In a large bowl, combine the slightly cooled melted butter, both brown and granulated sugars, and sea salt. Whisk vigorously until the mixture is completely smooth and thoroughly combined.1 cup melted butter, ¾ cup brown sugar, ½ cup granulated sugar, ¼ teaspoon sea salt
-
Add the room temperature large egg and pure vanilla extract. Continue to whisk (by hand or with an electric mixer on low speed) until the mixture significantly thickens and creates ribbons when it falls off the whisk, indicating it’s well aerated.1 large egg, 1 teaspoon pure vanilla extract
-
Sift the all-purpose flour, natural cocoa powder, and baking soda directly into the wet ingredients bowl. Using a spatula, gently fold the dry ingredients into the wet mixture until no traces of dry flour remain. Be careful not to overmix the dough.1 ¾ cup all purpose flour, ½ cup natural cocoa powder, ½ teaspoon baking soda
-
Incorporate ½ cup of the chopped chocolate (from your milk and dark chocolate blend), ¾ cup of the mini marshmallows, and ⅓ cup of the chopped almonds into the cookie dough. Gently fold them in until just combined, ensuring even distribution.1 cup mini marshmallows, 1 cup milk and dark chocolate, ½ cup almonds
-
The dough will be soft. To make it easier to scoop, place the bowl of dough in the freezer for about 5 minutes to allow it to firm up slightly.
-
Using a large cookie scoop or your hands, form the dough into 14 equal-sized balls. Arrange them on a baking sheet. For a beautiful finish, press the remaining chopped chocolate and almonds onto the top surface of each dough ball.
-
This is a crucial step: chill the cookie dough balls in the refrigerator for at least 45 minutes, or ideally, overnight. While the dough chills, preheat your oven to 180°C (350°F).
-
Line a baking sheet with parchment paper. Place the chilled cookie dough balls on the prepared sheet, ensuring generous spacing of at least 3 inches between each cookie to prevent them from spreading into each other.
-
Bake for 10-12 minutes. For a fudgier cookie, bake for a shorter duration; the edges should be just set and the centers still appear slightly soft. If you prefer a crispier texture, bake for a minute or two longer.
-
Immediately after removing the cookies from the oven, top them with the rest of the marshmallows. While they are still warm, use the back of a spoon to gently push any uneven edges back into the cookie, or use a larger round cookie cutter (or bowl) to “scoot” the cookies into a perfectly round shape.
-
Allow the cookies to cool on the baking sheet for 5 minutes before carefully transferring them to a wire rack to finish cooling. If desired, gently toast the marshmallows using a kitchen torch for a beautiful golden-brown finish (do not torch on parchment paper). Sprinkle with flaky salt for an optional but delicious finishing touch.½ teaspoon flaky salt
