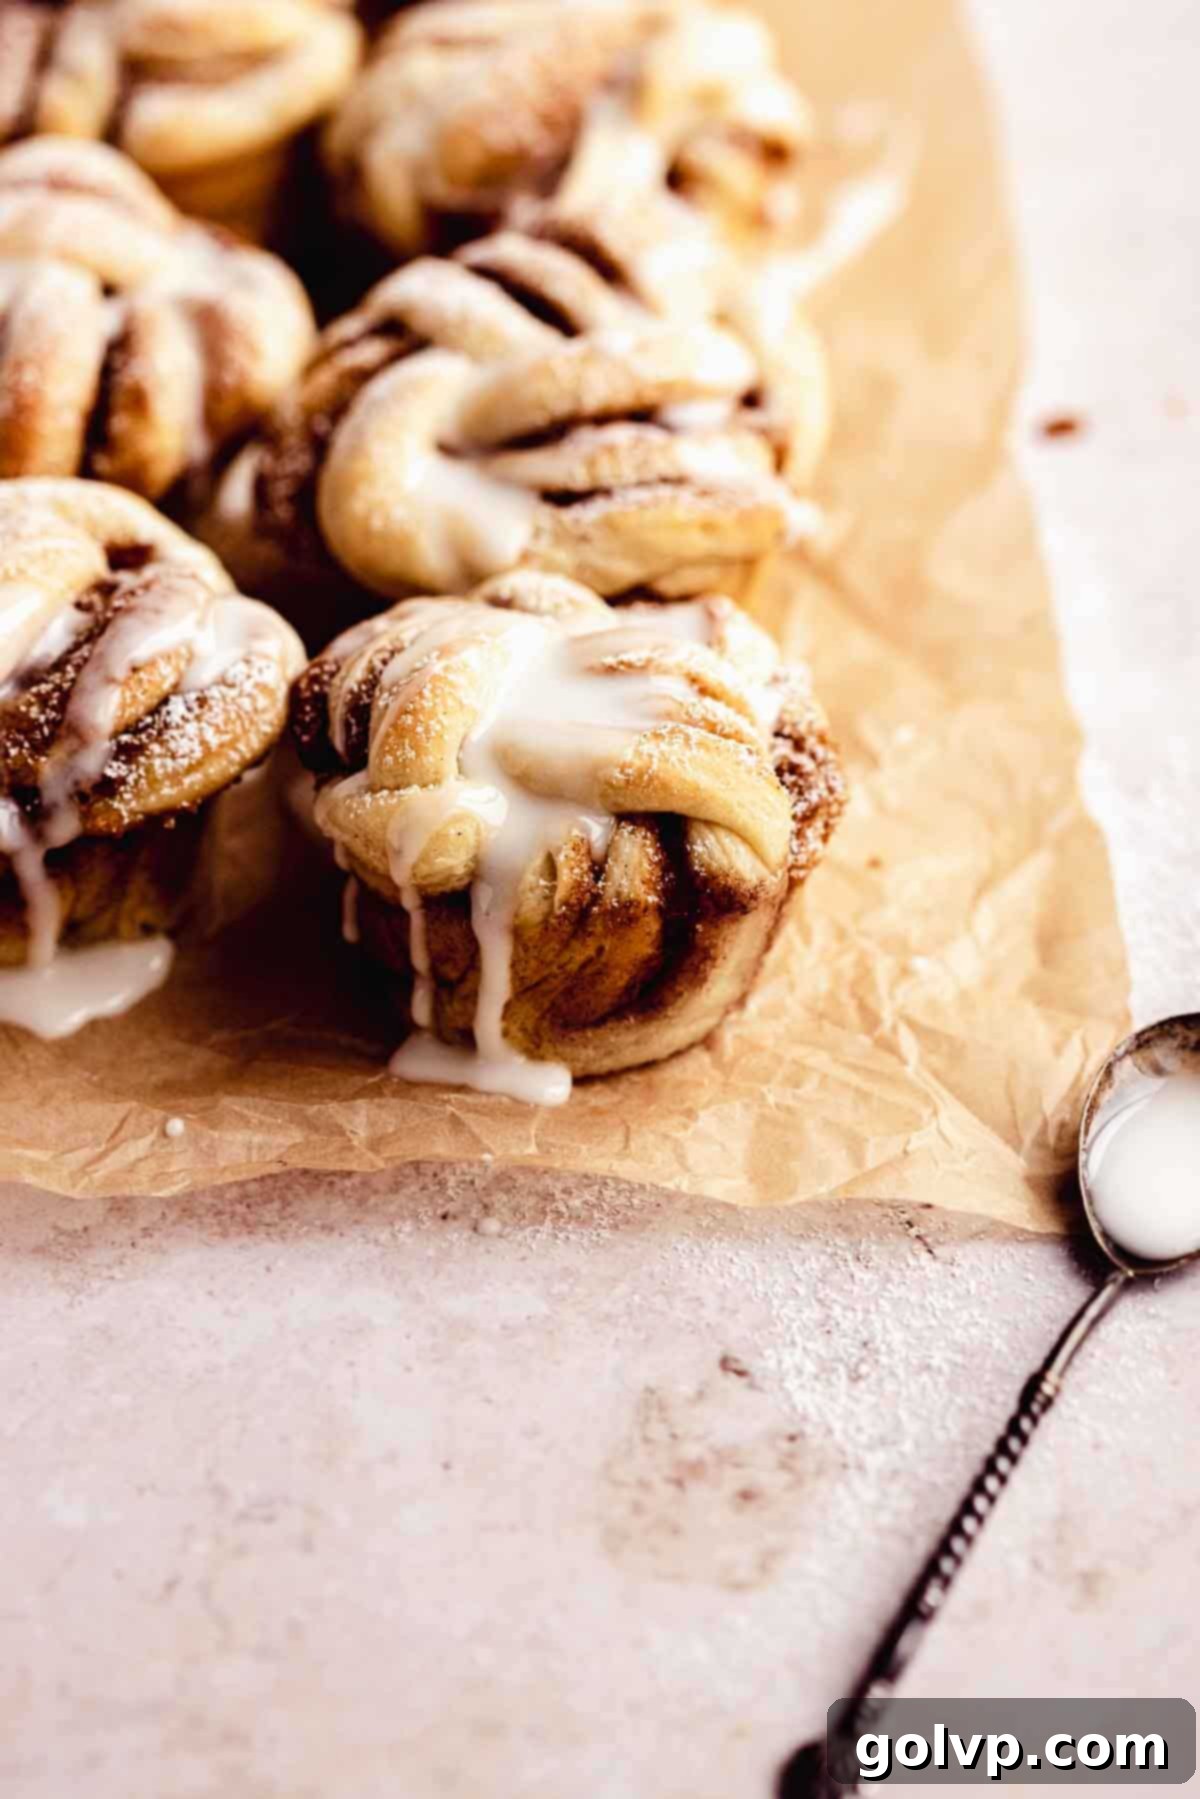
Ultimate Gooey No-Knead Cinnamon Roll Muffins: Easy Braided Recipe for Fluffy Perfection
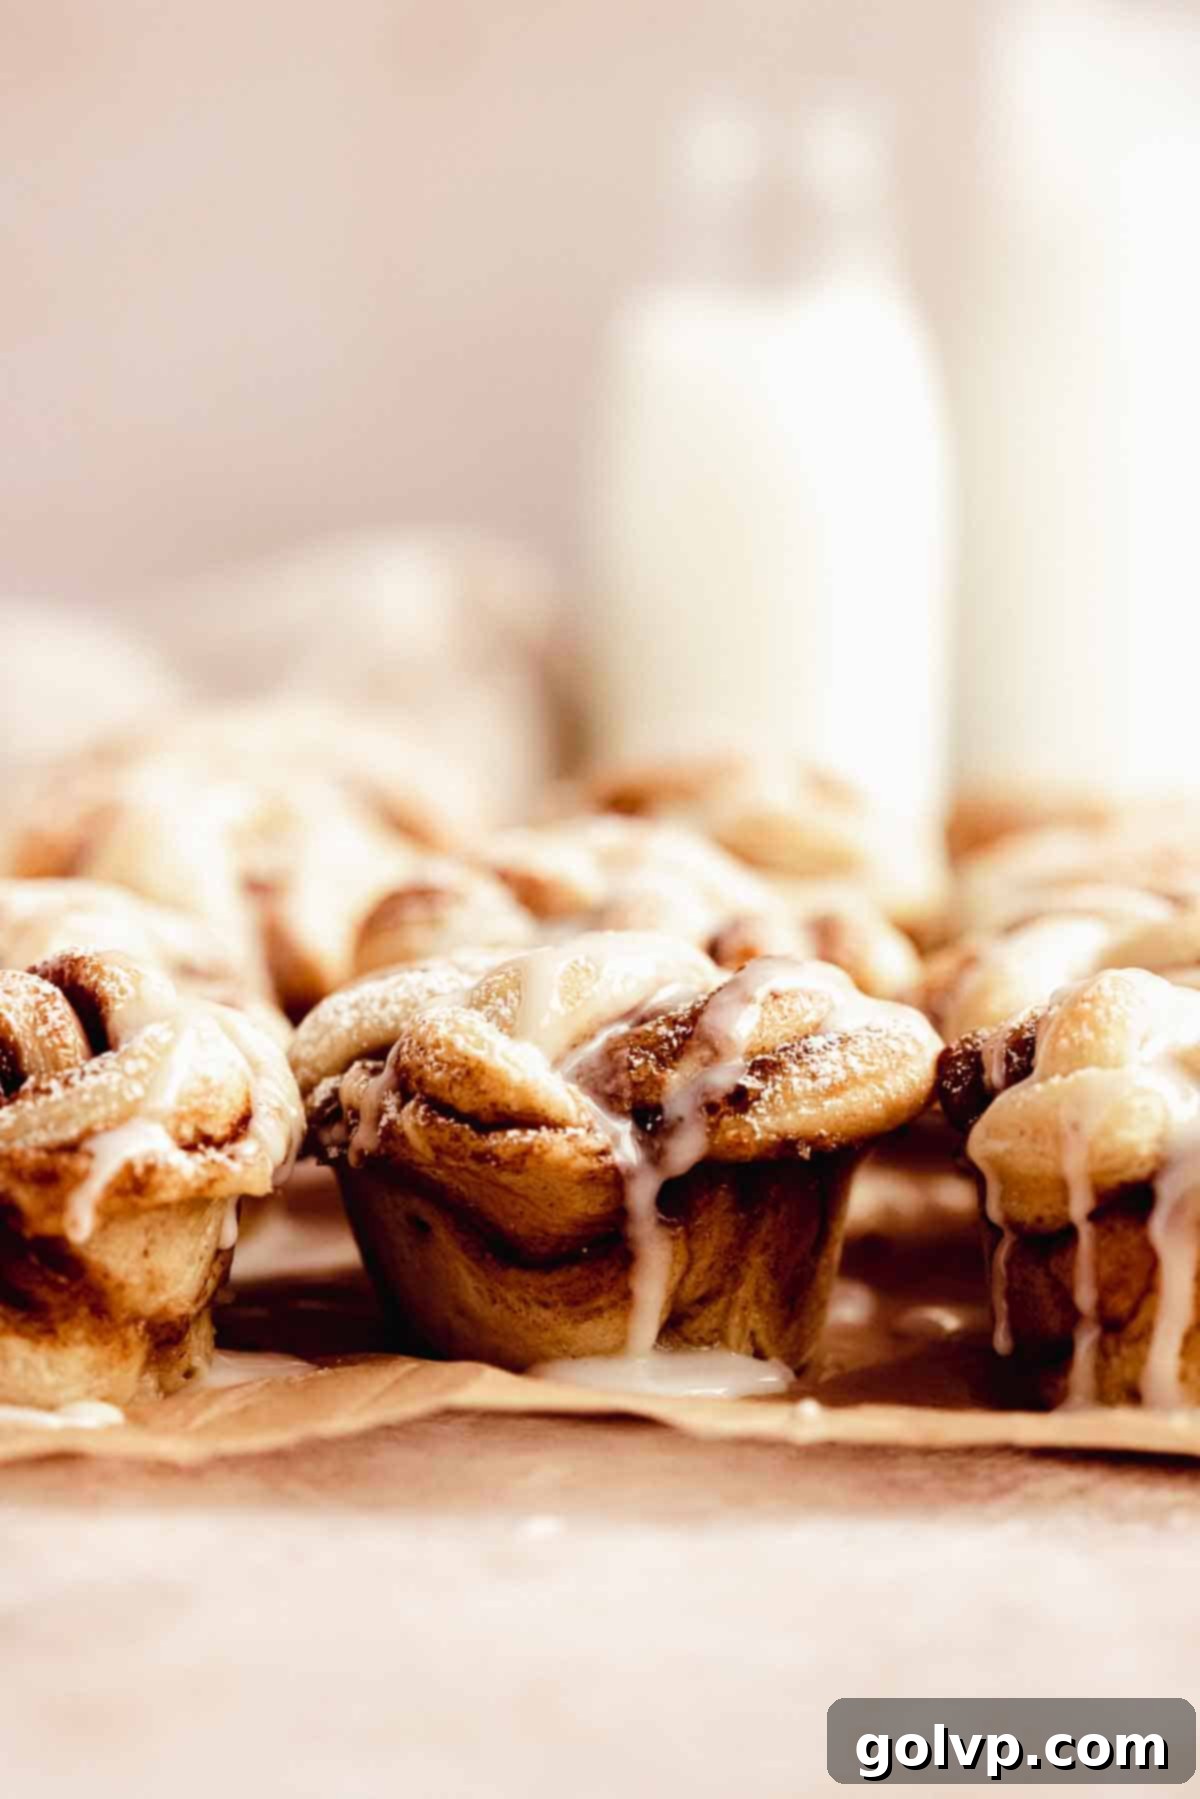
Imagine sinking your teeth into a warm, unbelievably fluffy cinnamon roll, but in a convenient muffin form! These Gooey No-Knead Cinnamon Roll Muffins are truly a revelation, offering a decadent experience with minimal effort. Each muffin boasts layers of buttery, aromatic cinnamon sugar, encased in a tender, melt-in-your-mouth dough. The secret lies in our incredibly easy no-knead dough, which takes the intimidation out of baking yeast rolls, and a unique braiding technique that ensures every bite is bursting with flavor.
Unlike traditional cinnamon rolls, our innovative braiding method creates more delicate layers throughout the dough. This maximizes the surface area for the rich cinnamon-brown sugar filling, guaranteeing an unparalleled bread-to-cinnamon ratio that’s simply divine. But the magic doesn’t stop there. Just before baking, we bathe each roll in heavy cream. This isn’t just a simple step; it’s the game-changer that ensures your muffins emerge from the oven impossibly soft, incredibly moist, and with that coveted ooey-gooey cinnamon filling at the bottom, mimicking the best bakery-style rolls.
Finishing these irresistible treats is a breeze with a simple two-ingredient glaze, adding the perfect touch of sweetness. Whether you’re planning a cozy weekend breakfast, a special holiday brunch, or simply craving something sweet, this recipe is incredibly versatile. We’ve even included tips for a festive holiday twist by using eggnog, and instructions for crafting both regular-sized (yielding 12 delectable muffins) or impressive jumbo-sized (6 generous muffins) portions. Get ready to impress with these homemade cinnamon roll muffins that taste like they took hours, but are surprisingly simple to prepare!
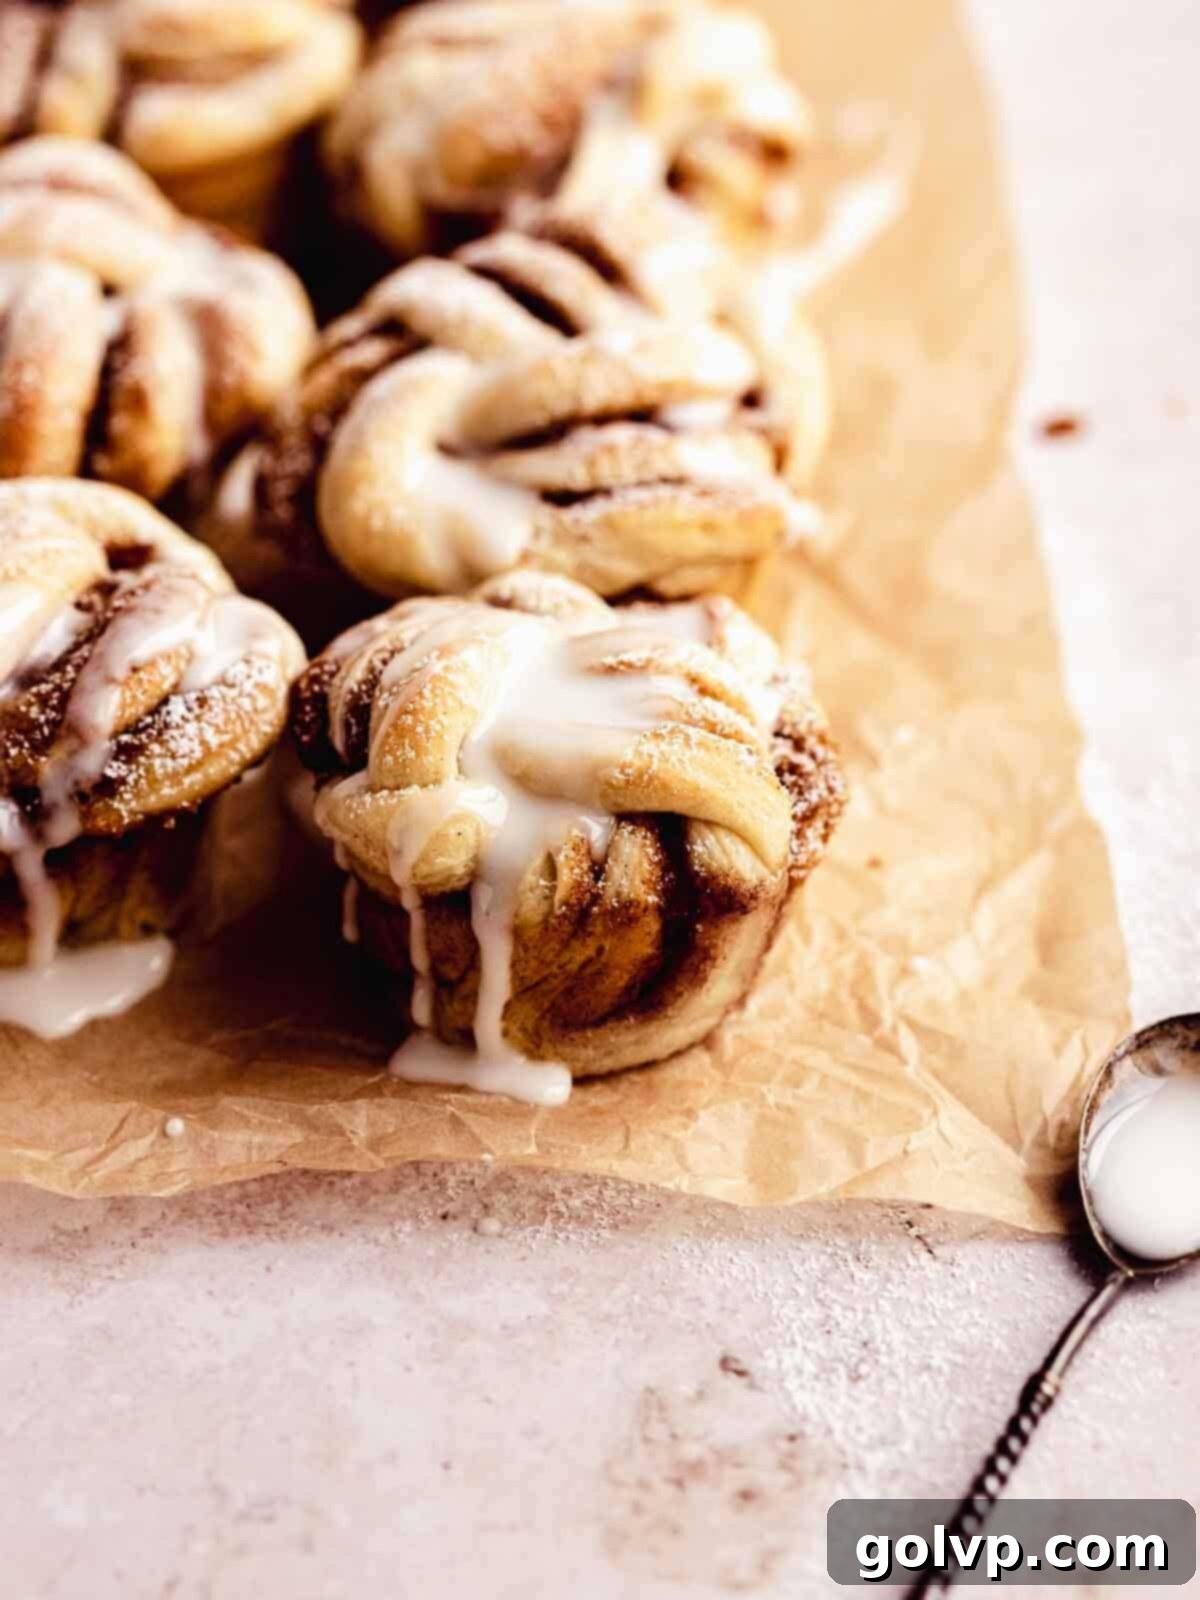
🧁 Why You’ll Adore These Cinnamon Roll Muffins
- Effortless No-Knead Dough: Say goodbye to strenuous kneading! This recipe utilizes a brilliant no-knead method, meaning you simply mix the ingredients, let the dough rise, and it’s ready. It’s a game-changer for anyone intimidated by yeast baking, making homemade cinnamon rolls accessible to all, even beginners. You’ll get incredibly tender results without the arm workout!
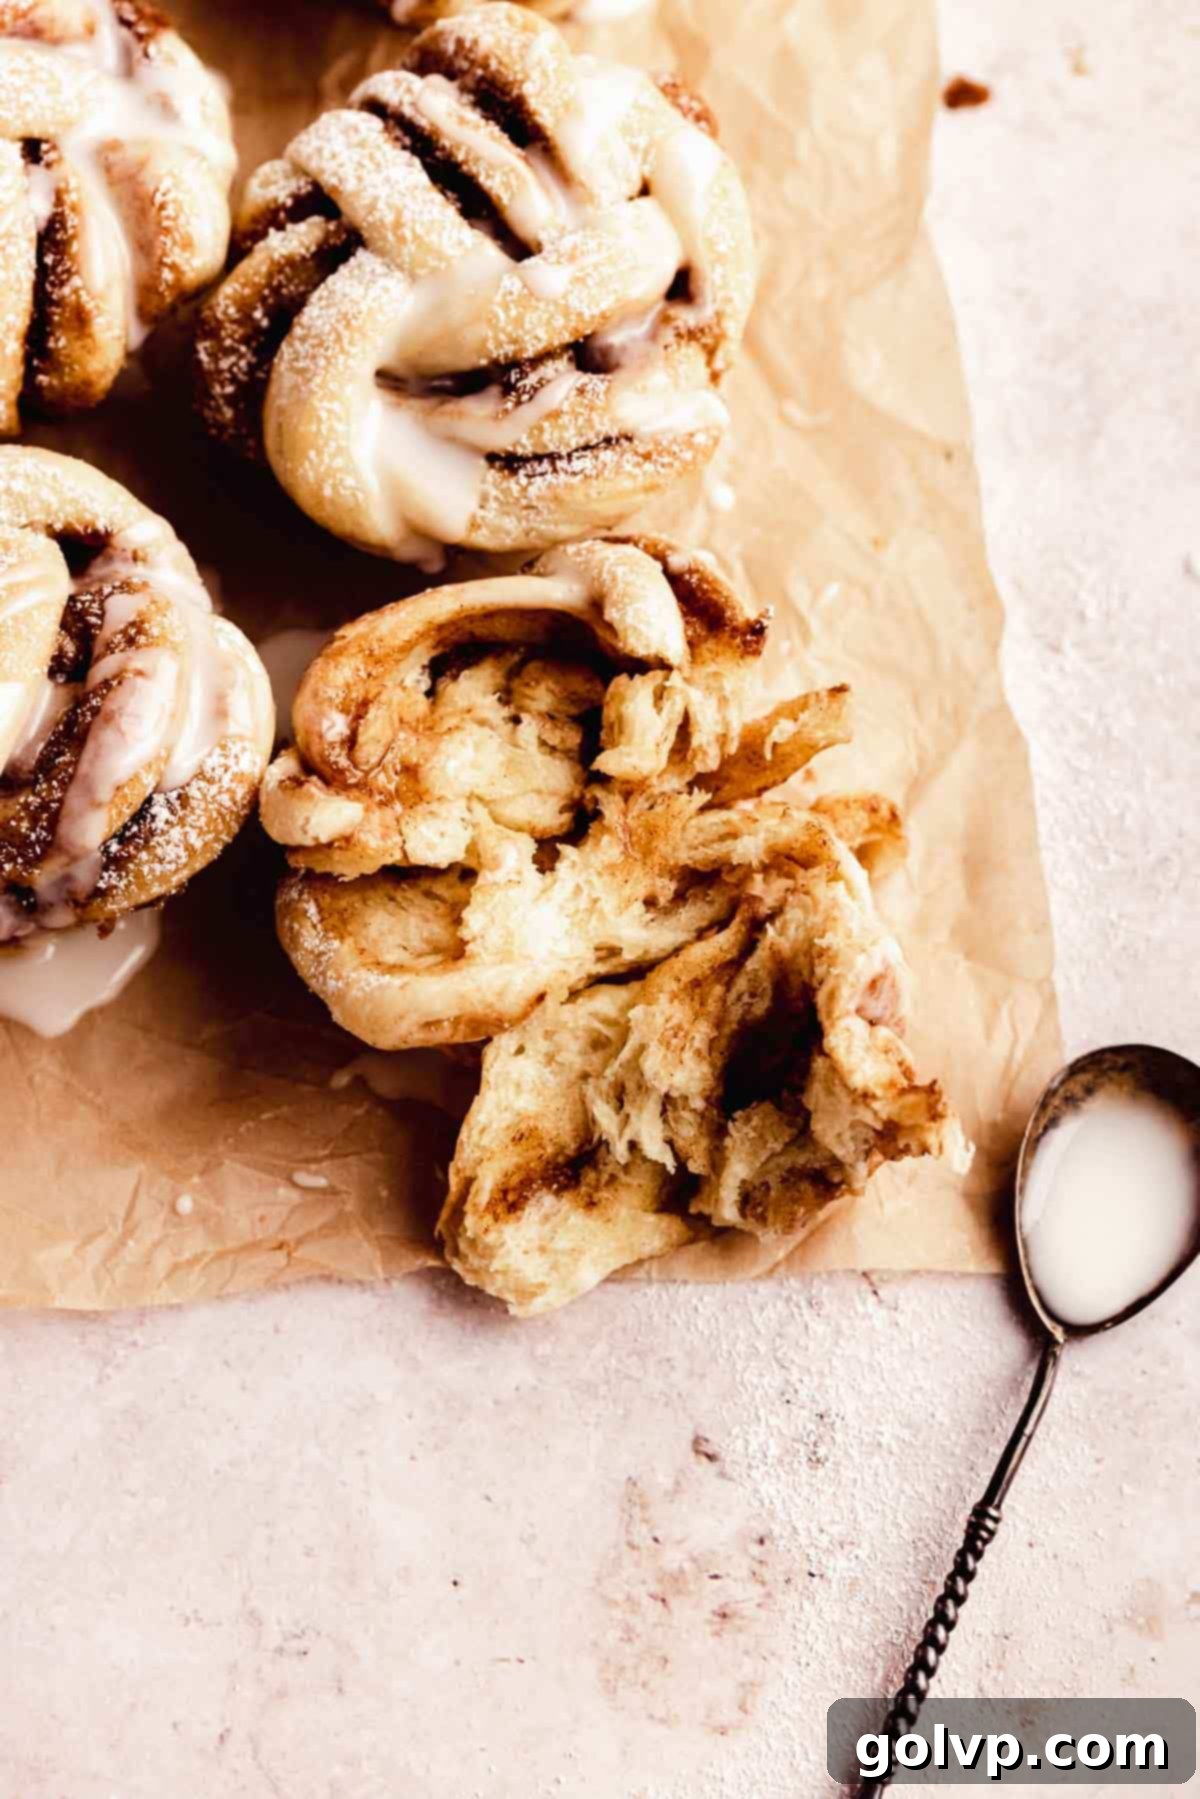
- Irresistibly Gooey Center: Prepare for pure bliss! Our unique technique, including the generous pour of heavy cream before baking, transforms the cinnamon-sugar filling into an unbelievably gooey, caramelized dream. Every single muffin will have that coveted sticky, sweet bottom and luscious, moist interior that makes cinnamon rolls so addictive.
- Exquisite Braided Layers: The innovative braiding technique is key to achieving these muffins’ signature texture and flavor distribution. Instead of a single swirl, the dough forms delicate, thin layers, creating maximum surface area for the buttery cinnamon sugar. This ensures a consistent burst of warm spice and sweetness in every single bite, offering the ultimate dough-to-filling ratio.
- Simple Two-Ingredient Glaze: Finishing these beauties is wonderfully straightforward. A quick and easy two-ingredient glaze adds the perfect touch of sweetness and a beautiful sheen, completing the classic cinnamon roll experience without any fuss. It’s the ideal sugary crown for these already perfect muffins.
These aren’t just cinnamon rolls; they’re a celebration of flavor and texture, reimagined into a convenient muffin form that everyone will rave about!
For a delicious alternative, try our cinnamon bundt cake, which also features a gooey cinnamon swirl and a delightful cream cheese glaze, offering a different take on the beloved flavor profile.
📝 Essential Ingredients for Perfect Cinnamon Roll Muffins
Mastering these delicious muffins starts with understanding your ingredients. Below are key components and expert tips for each to ensure your baking success.
Full, precise measurements and step-by-step instructions are available in the recipe card at the bottom of this page.
- Active Dry Yeast: This is the leavening agent that gives our dough its wonderful rise and fluffy texture. While instant dry yeast can sometimes be used as a substitute, active dry yeast is preferred for its robust flavor and reliable activation. It needs warm water and a little sugar to “wake up” and create a foamy layer – a clear sign it’s alive and ready to work its magic. Ensure your yeast isn’t expired for best results! You’ll need one standard packet (approximately 7 grams).
- All-Purpose Flour: The foundation of our dough. For the most accurate and consistent results, we highly recommend weighing your flour with a kitchen scale. Baking is a science, and precise measurements make a huge difference. If you don’t have a scale, properly measure by fluffing the flour in its bag with a spoon, then gently spooning it into a dry measuring cup. Level off the excess with the flat edge of a knife, avoiding compacting the flour into the cup. Over-measuring flour is a common pitfall that can lead to dense, dry muffins.
- Unsalted Butter: Quality butter is paramount here for both the rich flavor and the tender texture of the dough, as well as the lusciousness of the filling. For optimal incorporation into the dough and effortless spreading of the filling, the butter should be very soft – almost at the point of melting, but not fully liquid. This allows it to emulsify beautifully and create that signature melt-in-your-mouth quality. Using unsalted butter gives you full control over the salt content in the recipe.
- Large Egg: An essential binder and tenderizer. It’s crucial that your egg is at room temperature. A room temperature egg incorporates more smoothly into the dough mixture and helps the dough rise more effectively by not chilling the other ingredients and inhibiting yeast activity. Simply set it out on the counter for 30-60 minutes before you begin baking.
- Milk (Any Kind): Your choice of milk works wonderfully for both the dough and the glaze. Whether you prefer dairy or non-dairy options, they all contribute to the dough’s moisture and the glaze’s consistency. The key is to slightly warm the milk for the dough. This helps to activate the yeast and creates a more conducive environment for rising, leading to a lighter, airier crumb.
- Heavy Cream: This is the “secret ingredient” that truly elevates these muffins! Pouring heavy cream over the rolls before baking is non-negotiable for achieving that ultimate gooey bottom and an incredibly soft, fluffy interior. The cream steams the dough as it bakes, locking in moisture, and blends with the cinnamon sugar to create a rich, sticky, caramelized layer at the base. Whipping cream works perfectly. Avoid using anything with a lower fat content, as it won’t yield the same luxurious results – you might end up with soggy rather than gooey rolls. For a dairy-free alternative, full-fat coconut milk can be used.
- Icing Sugar (Powdered Sugar): Also known as confectioners’ sugar, this finely milled sugar is essential for both dusting the baked muffins and creating our smooth, easy two-ingredient glaze. Its fine texture dissolves quickly, ensuring a velvety glaze without any grittiness.
- Brown Sugar: This is the heart of our gooey cinnamon filling. Brown sugar’s molasses content not only imparts a deeper, richer flavor compared to granulated sugar but also contributes significantly to the signature moist and sticky texture of the filling. We recommend a medium brown sugar for the best balance of flavor – not too mild, not too dark. Do not substitute with granulated sugar, as the results will not be the same.
- Ground Cinnamon: The star spice of the show! For the most vibrant and aromatic flavor, ensure your ground cinnamon is fresh. Old or stale cinnamon will lack the potent fragrance and warmth crucial for these twisted rolls. Using a good quality, fresh cinnamon makes all the difference in achieving that irresistible, comforting aroma and taste.
👩🍳 How to Make Braided Cinnamon Roll Muffins
Creating these delightful cinnamon roll muffins is simpler than you might think, thanks to the no-knead dough and clear instructions. Follow these steps for sweet success:
Cinnamon Brown Sugar Filling
Step 1: In a medium bowl, combine your brown sugar, well-softened unsalted butter, and ground cinnamon. Mix these ingredients thoroughly until you have a smooth, well-combined paste. It’s crucial for the butter to be very soft (almost melted) to ensure it blends effortlessly with the sugar and cinnamon, creating a truly gooey filling. Set this aside; there’s no need to refrigerate it.
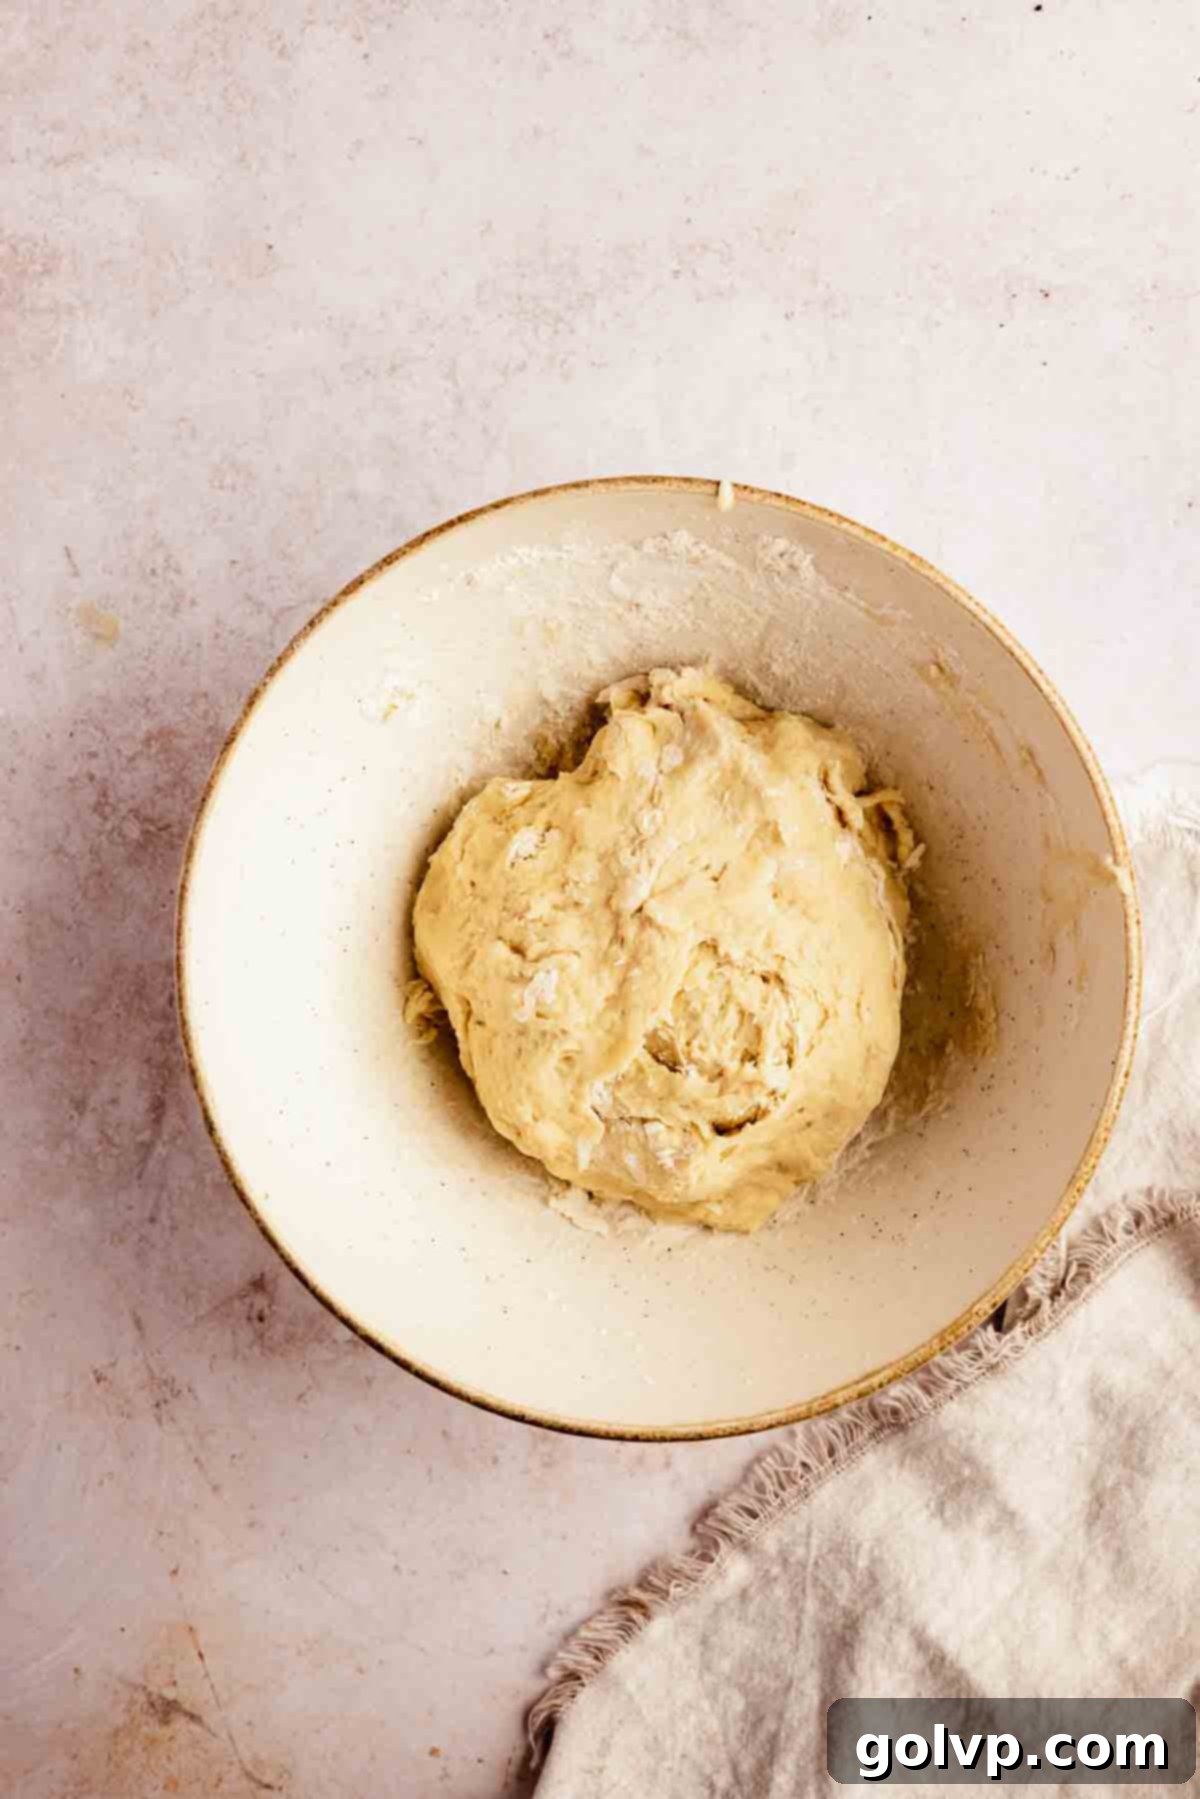
Step 2: Begin by activating your yeast. In a small bowl, combine warm water (ensure it’s not too hot, around 105-115°F or 40-46°C, to avoid killing the yeast), ½ teaspoon of granulated sugar, and the packet of active dry yeast. Stir gently to dissolve the yeast, then let it sit for about 5 minutes. You should see a foamy layer form on top – this indicates your yeast is active and ready to use. If no foam appears after 10 minutes, discard and try again with fresh yeast.
Step 3: In a large mixing bowl, combine the all-purpose flour, ¼ cup granulated sugar, and sea salt. Stir these dry ingredients together. Next, create a well in the center of the flour mixture and add your softened butter, room temperature egg, pure vanilla extract, warm milk, and the activated yeast mixture. Mix these ingredients until a sticky, cohesive dough forms. Avoid overmixing; just combine until uniform. Cover the bowl with a clean dishcloth and place it in a warm, draft-free spot (refer to our tips for the best rising environment) to rise until it has visibly doubled in size, which typically takes about 30-45 minutes. While it’s rising, butter your muffin tin generously.
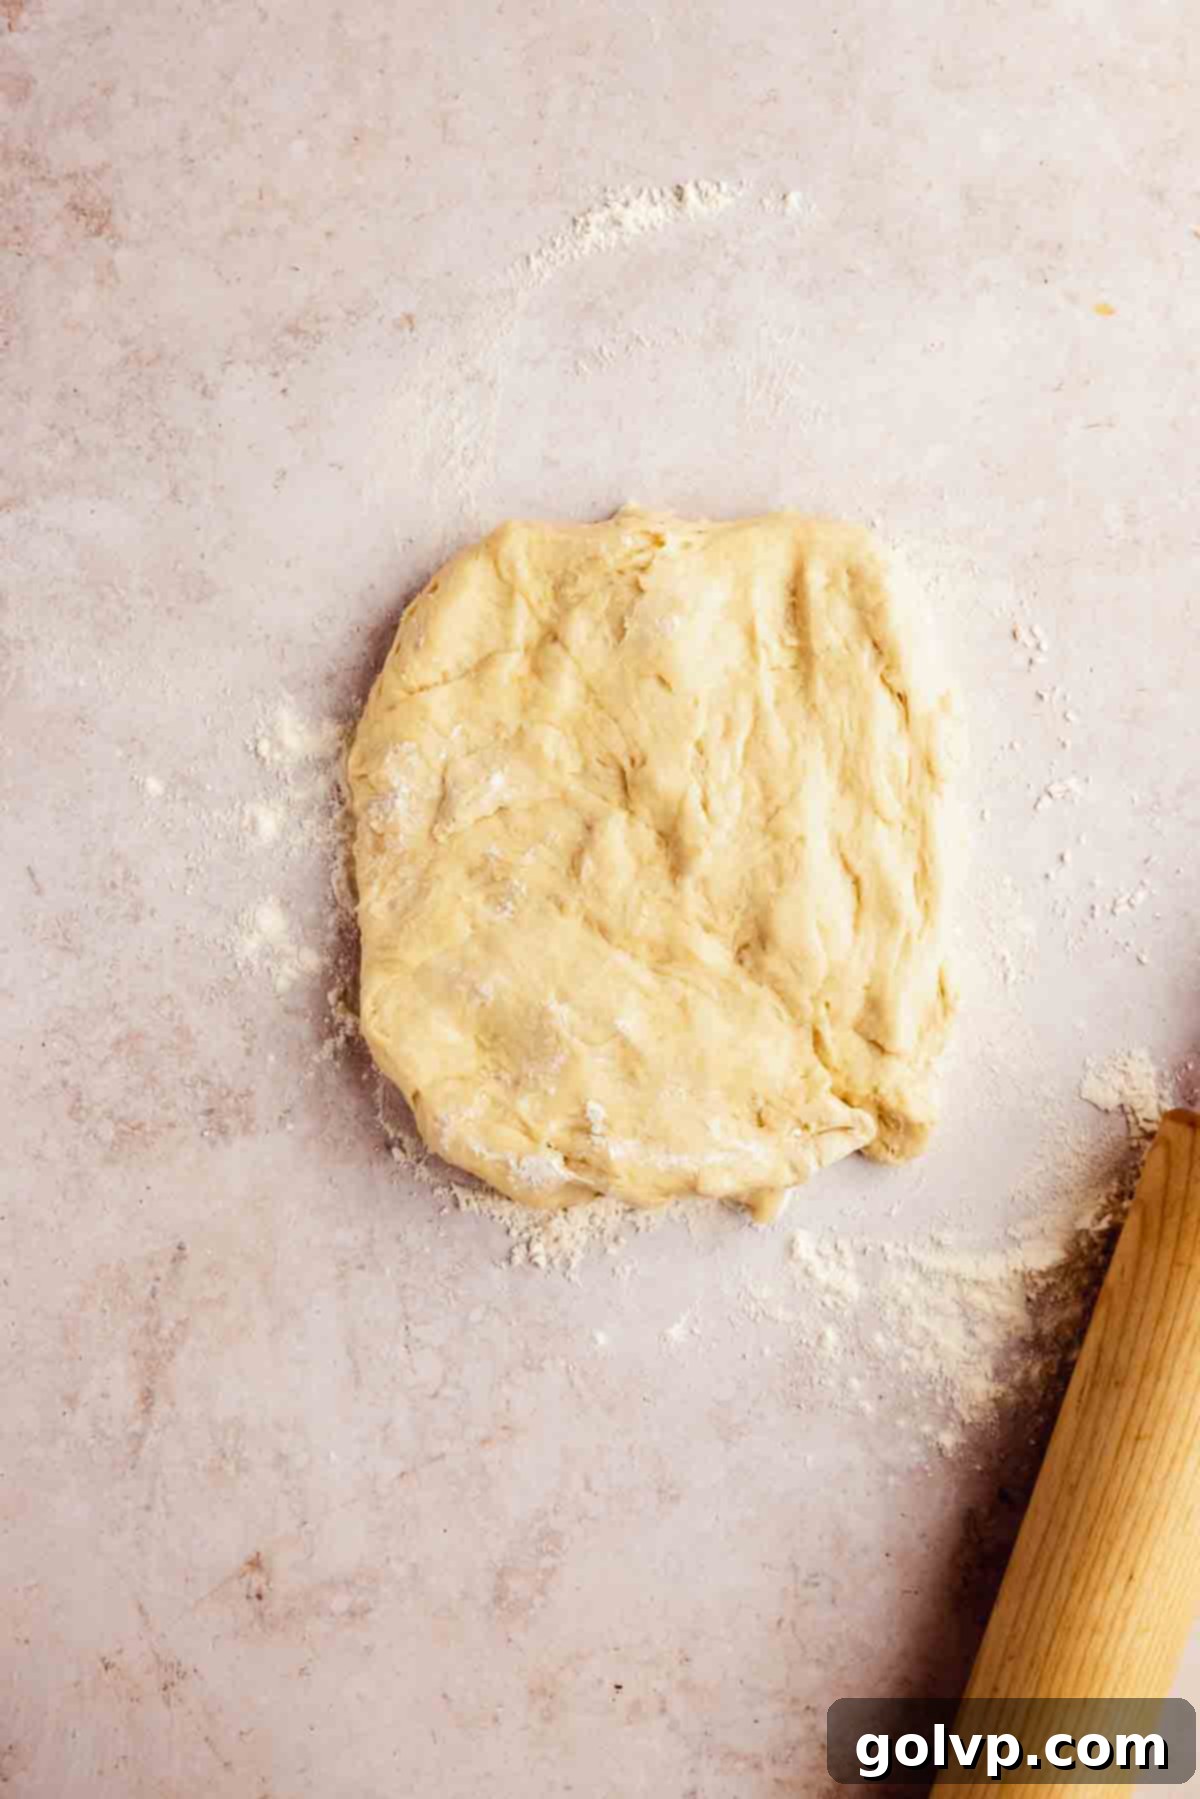
Step 4: Once the dough has doubled, gently punch it down to release the air. Transfer the dough onto a lightly floured surface. Using a rolling pin, roll the dough out into a large rectangle, aiming for approximate dimensions of 16 inches by 20 inches. Strive for an even thickness across the entire rectangle.
Step 5: Evenly spread the prepared cinnamon brown sugar filling over the entire surface of the rolled-out dough, extending all the way to the edges. This ensures every part of your muffin is infused with that delicious cinnamon goodness.
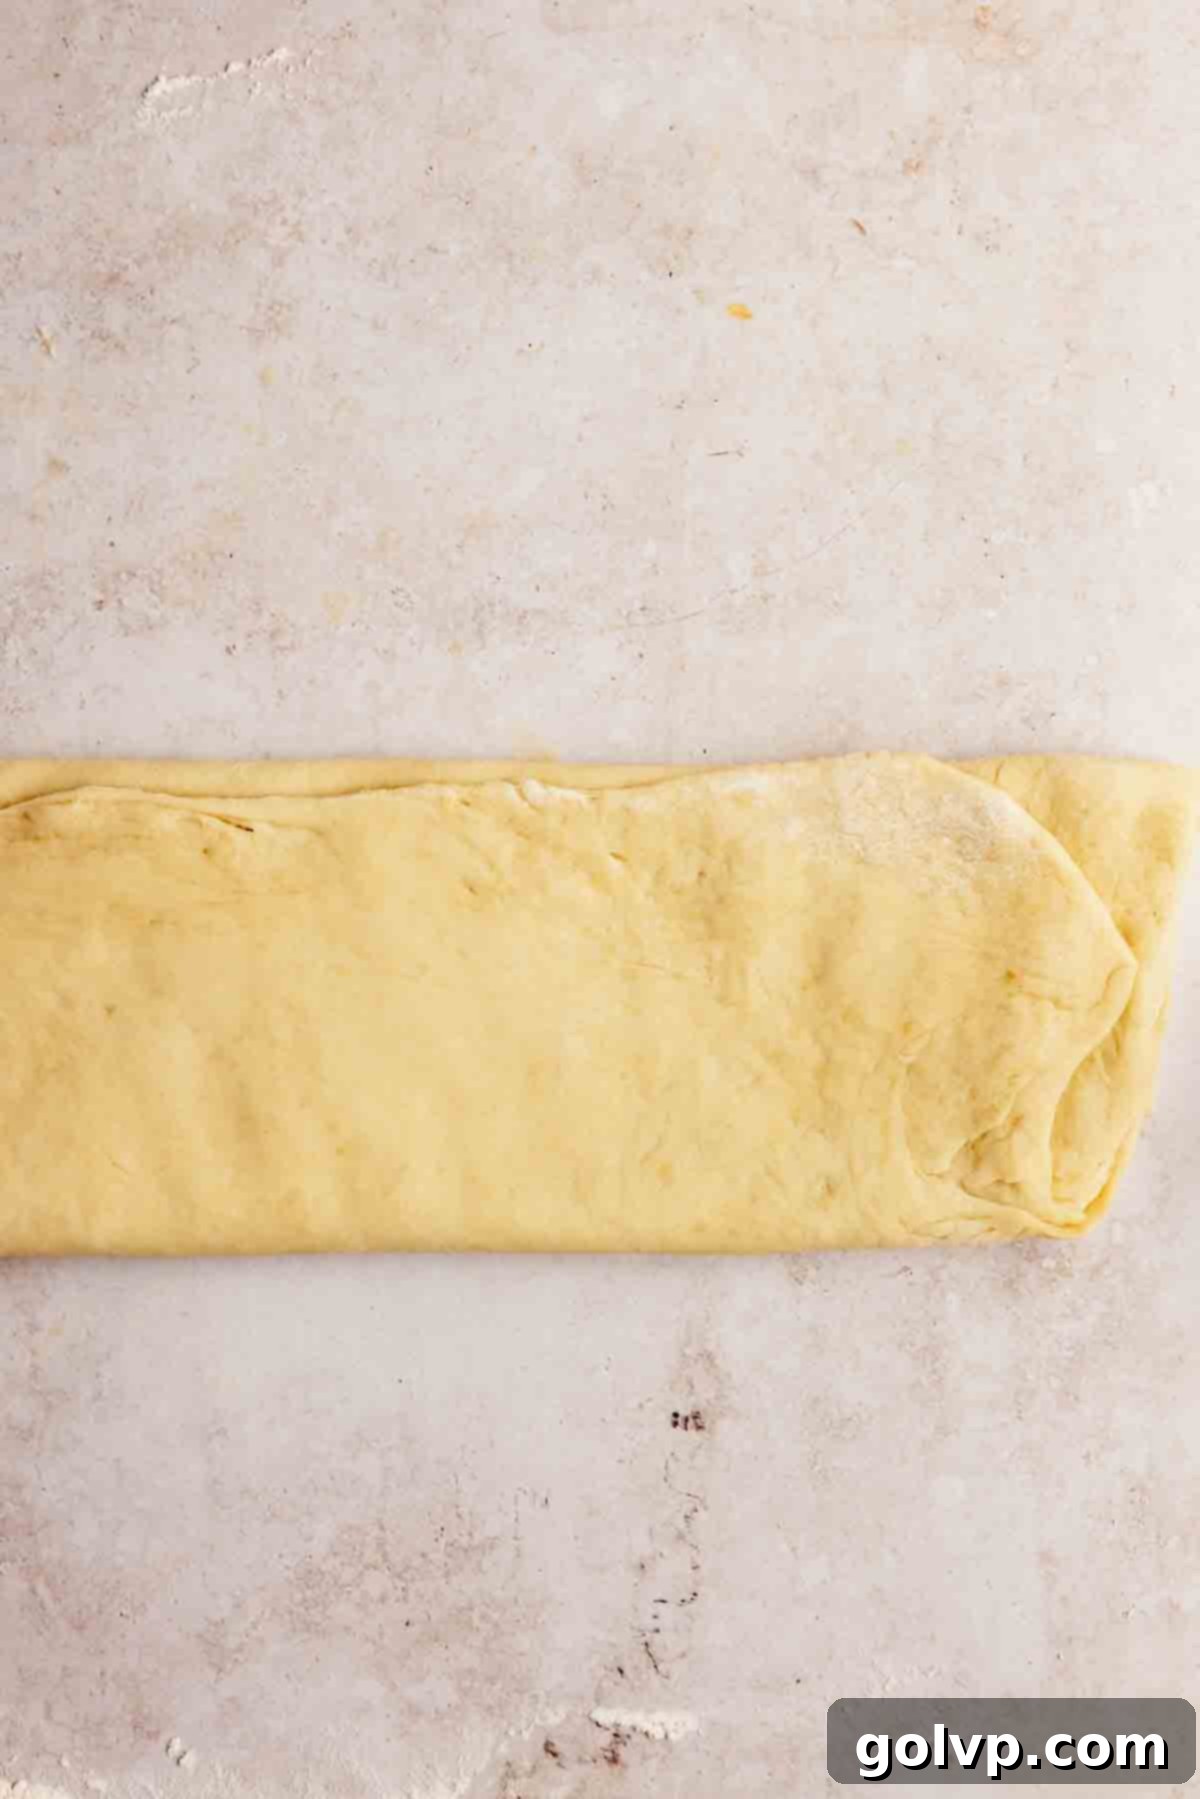
Step 6 (Folding for Regular Muffins): For regular-sized muffins, carefully fold the dough into thirds. Start by pulling the top long edge down approximately two-thirds of the way. Then, take the bottom edge and fold it all the way up to meet the top edge, creating a long, layered strip of dough, much like folding a letter. This layering is crucial for the braided texture.
Step 6 (Folding for Jumbo Muffins): For jumbo-sized muffins, the folding direction changes. Pull the top short edge down two-thirds of the way, and then fold the bottom short edge up to meet it, creating a shorter, wider strip of dough.
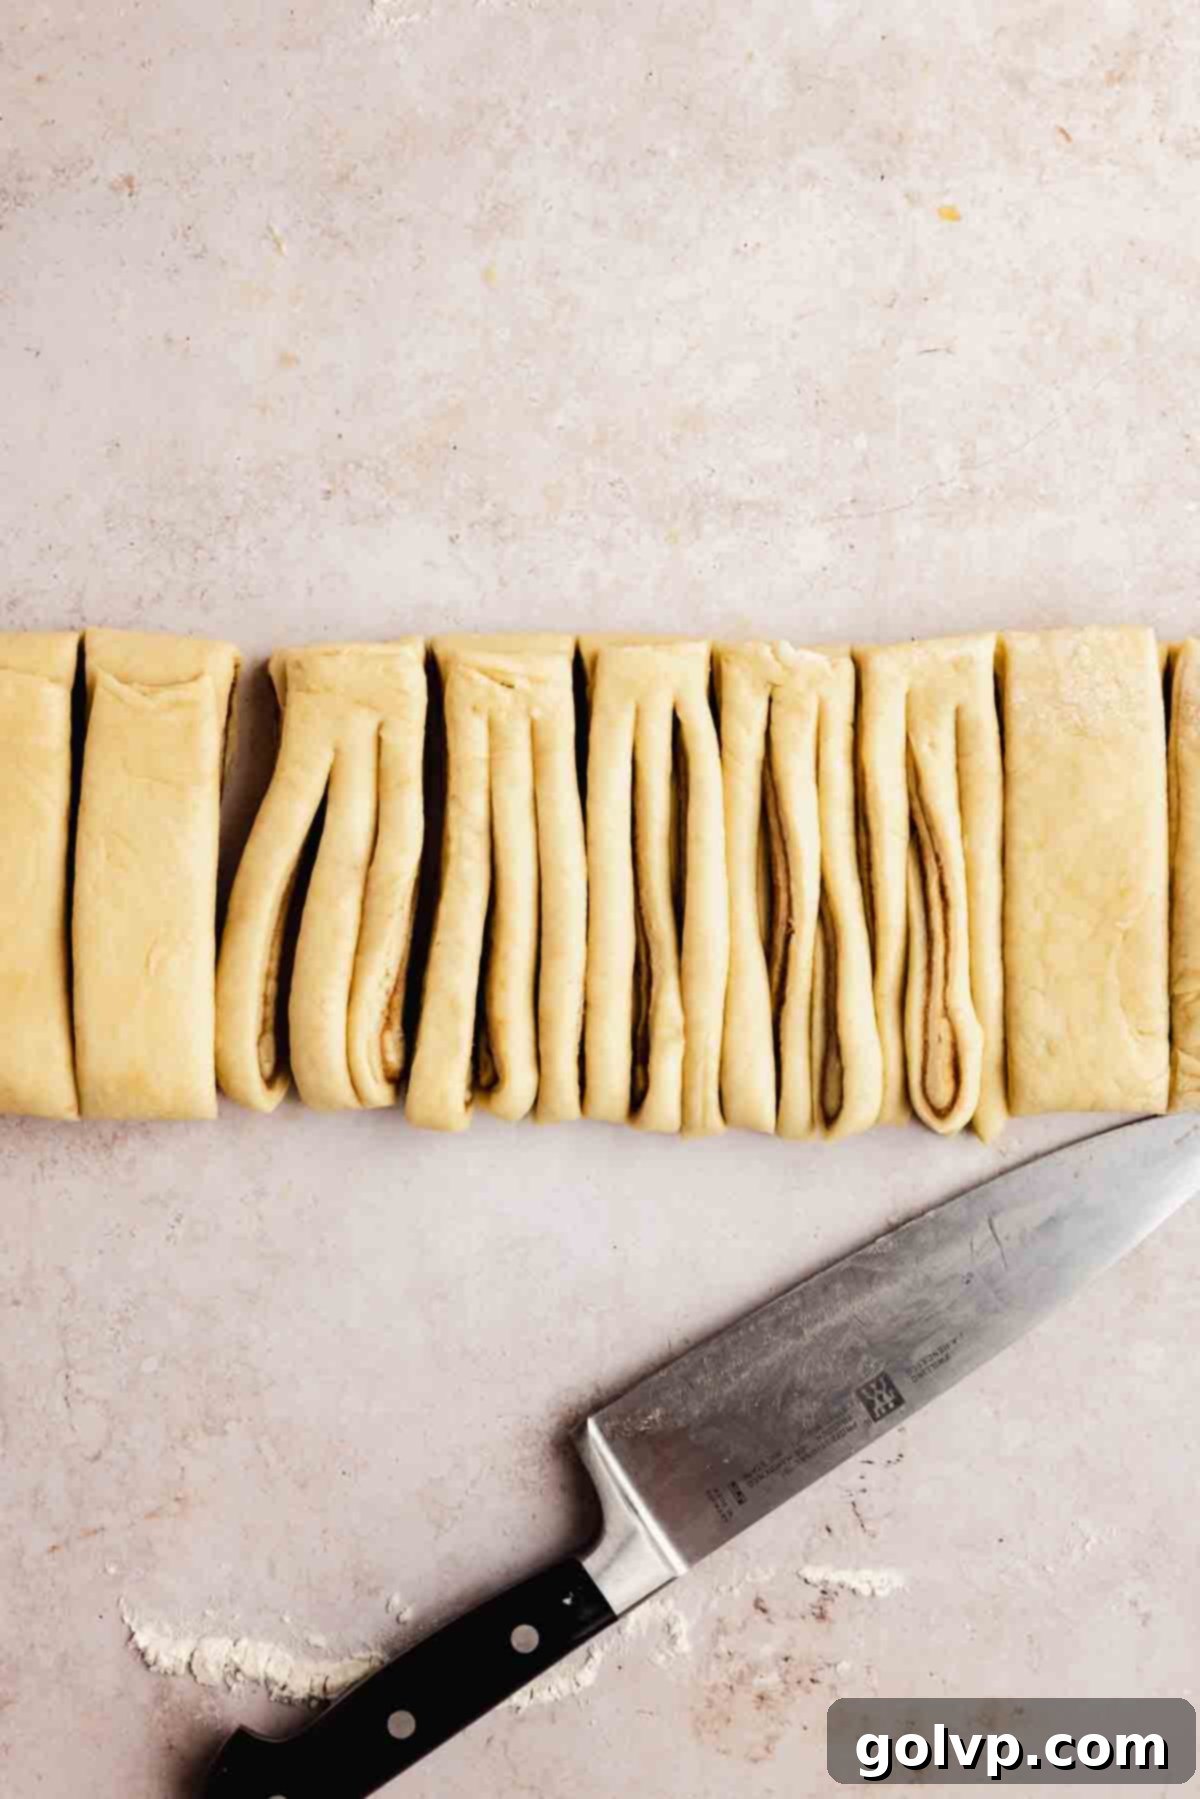
Step 7 (Cutting for Regular Muffins): After folding, trim any uneven ends from the long strip of dough to create clean edges. Then, using a sharp knife or pizza cutter, mark and cut the dough into 12 equal strips. Each of these strips will then be cut into three smaller strands, ensuring you leave the top ½ inch of the strip attached so they remain connected at one end.
Step 7 (Cutting for Jumbo Muffins): Trim the uneven ends from your shorter, wider folded dough strip. Mark and cut the dough into 6 equal, wider strips.
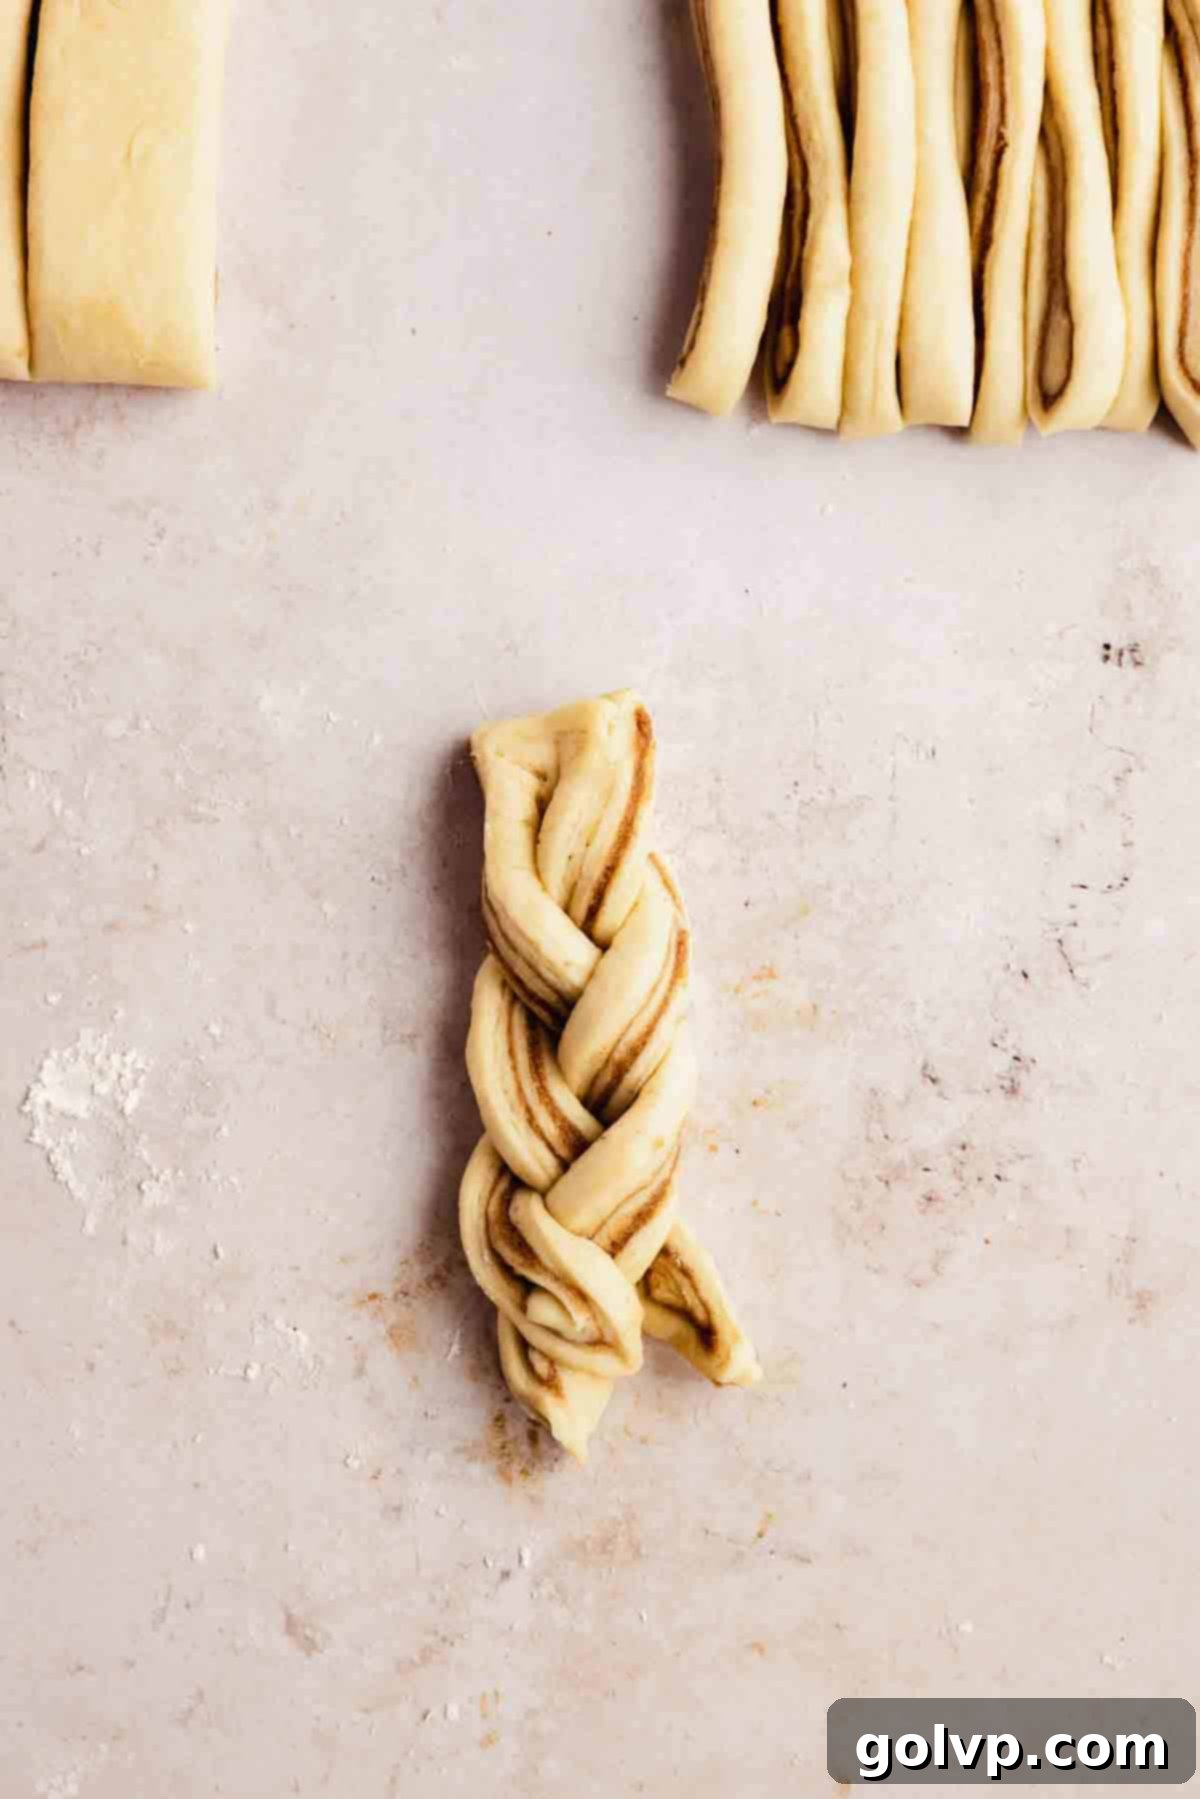
Step 8: For each of the cut strips (or strands for regular muffins), gently braid or twist them together to create a beautiful, textured rope of dough. Once braided or twisted, start from the bottom end of the braid and roll it tightly into a compact cinnamon roll shape. Place each braided roll into your prepared muffin tin, ensuring the “pretty” twisted side faces up for an appealing presentation.
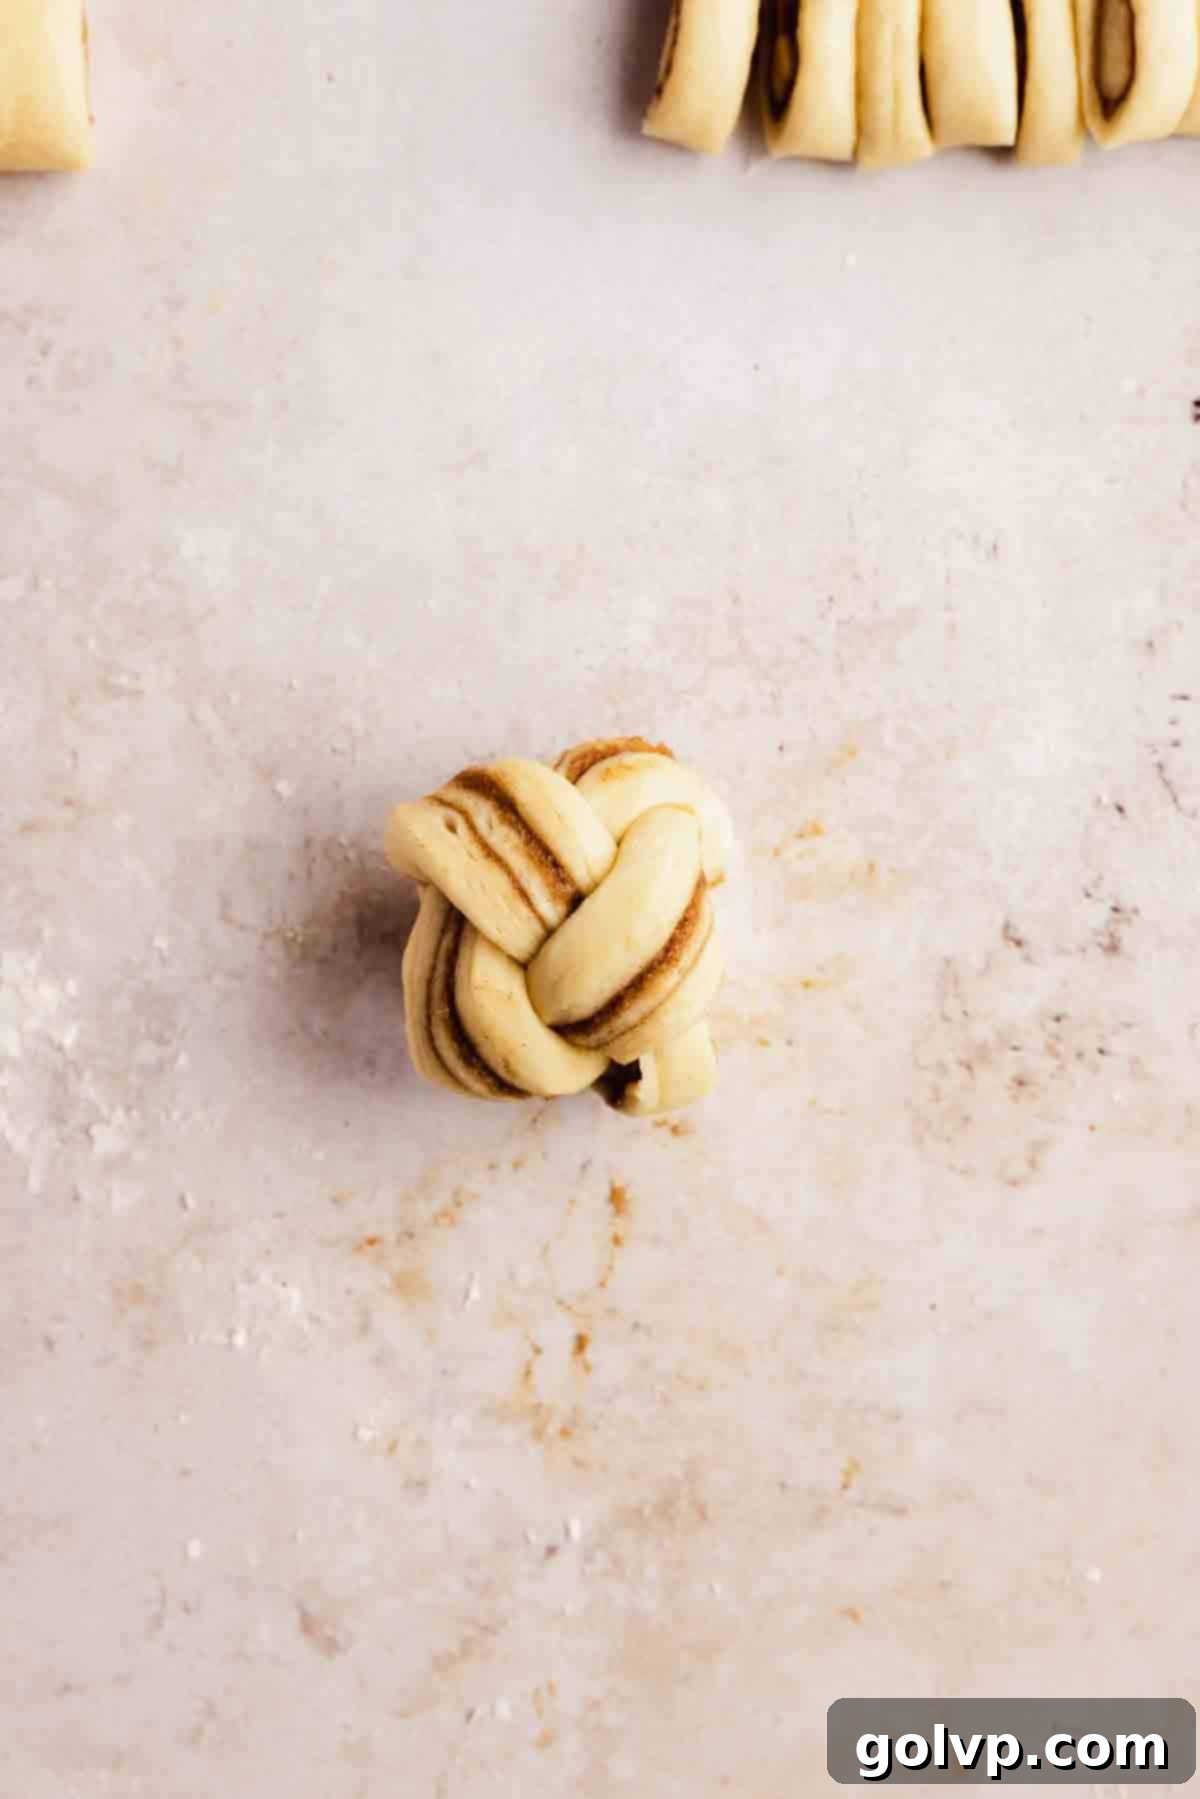
Step 9: Now, it’s time for the second rise (proofing). Let the shaped rolls rise in the muffin tin until they have visibly filled out the cups and doubled in size, typically taking about 10-15 minutes in a warm environment. During this time, preheat your oven to 355°F (180°C), ensuring it’s ready for baking.
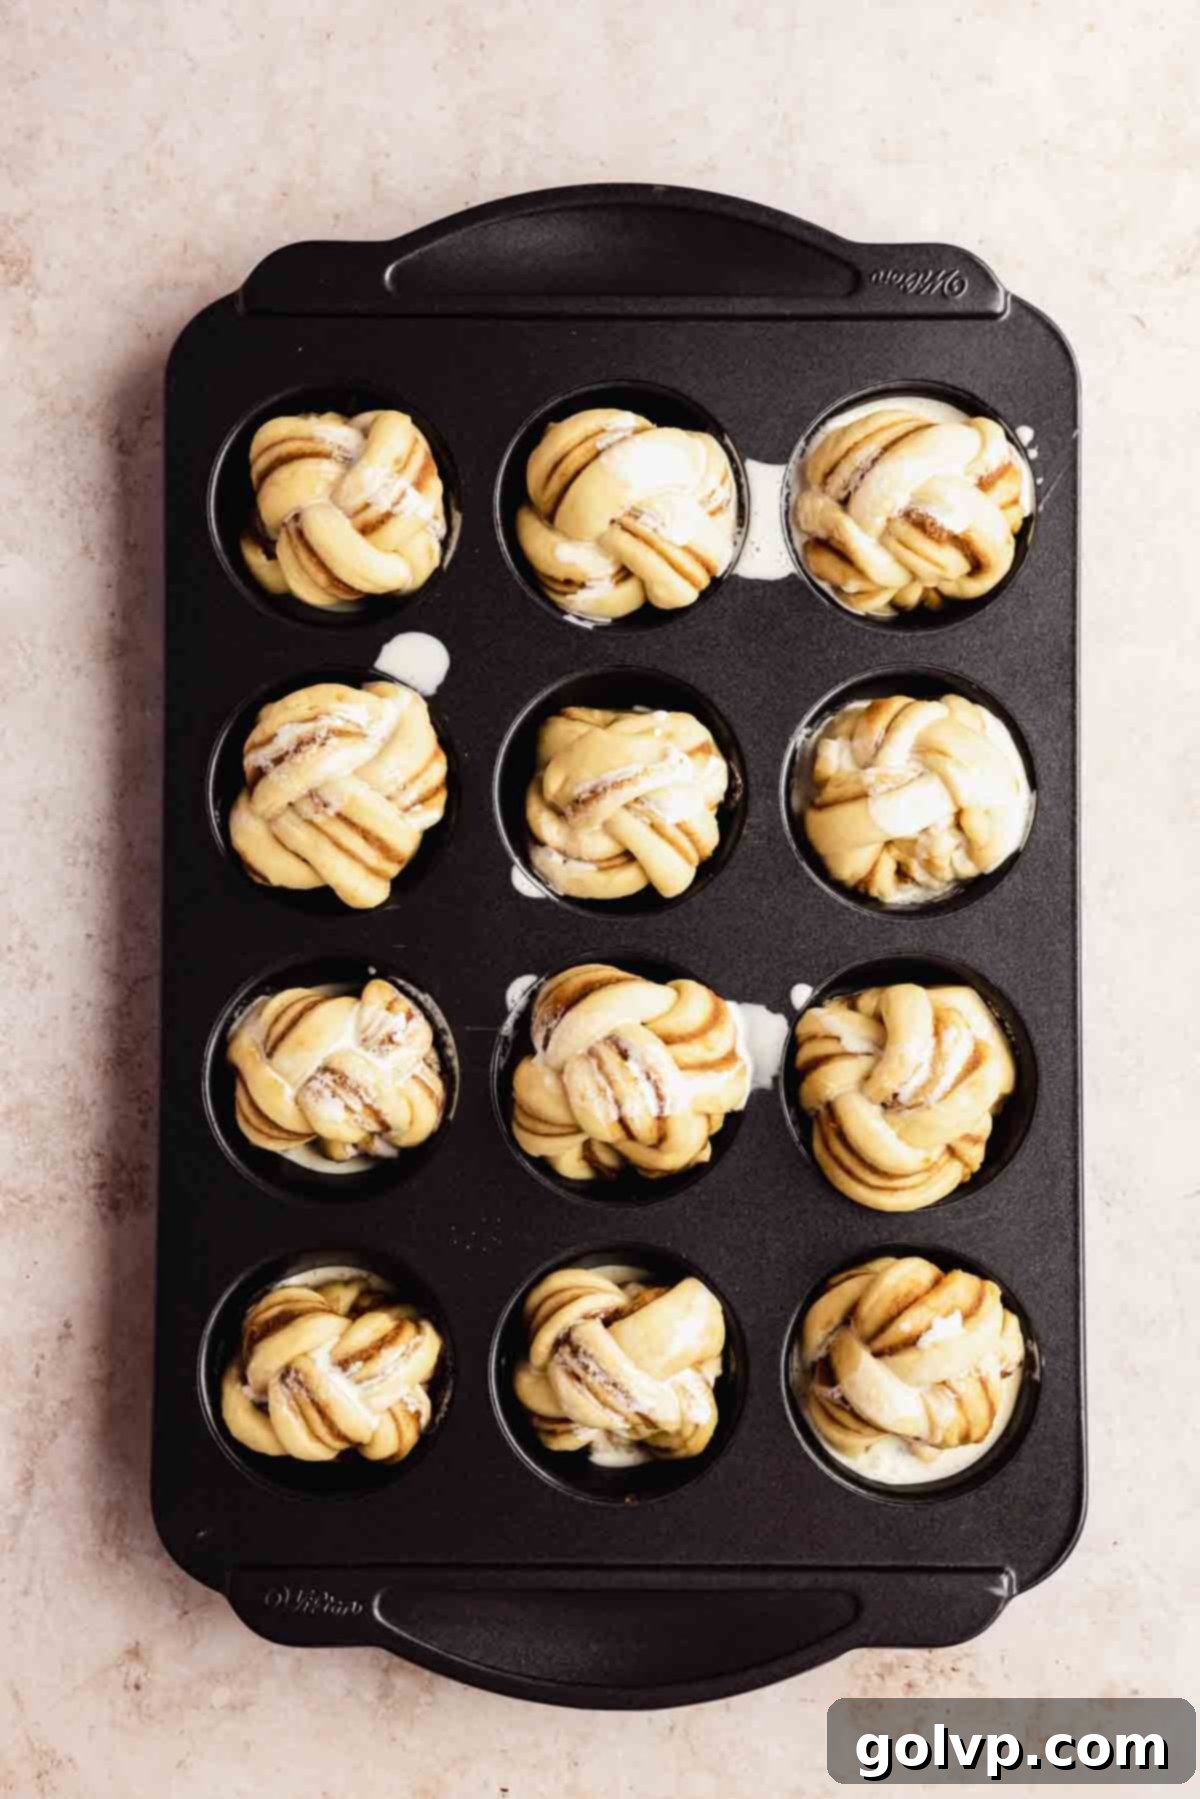
Step 10: This is the secret step for ultimate gooeyness! Pour 1 tablespoon of heavy cream (or eggnog for a holiday twist) over each regular-sized cinnamon roll muffin. For jumbo muffins, use 2 tablespoons of cream per roll. Place the muffin tin into the preheated oven and bake for 18-20 minutes, or until the tops are beautifully golden brown and the internal temperature reaches around 190-200°F (88-93°C). Once baked, let them cool in the muffin tin for precisely 5 minutes. This allows them to set slightly while remaining warm enough to release easily. Use a spatula to carefully lift them out and transfer them to a cooling rack to continue cooling. While they cool, prepare your glaze.
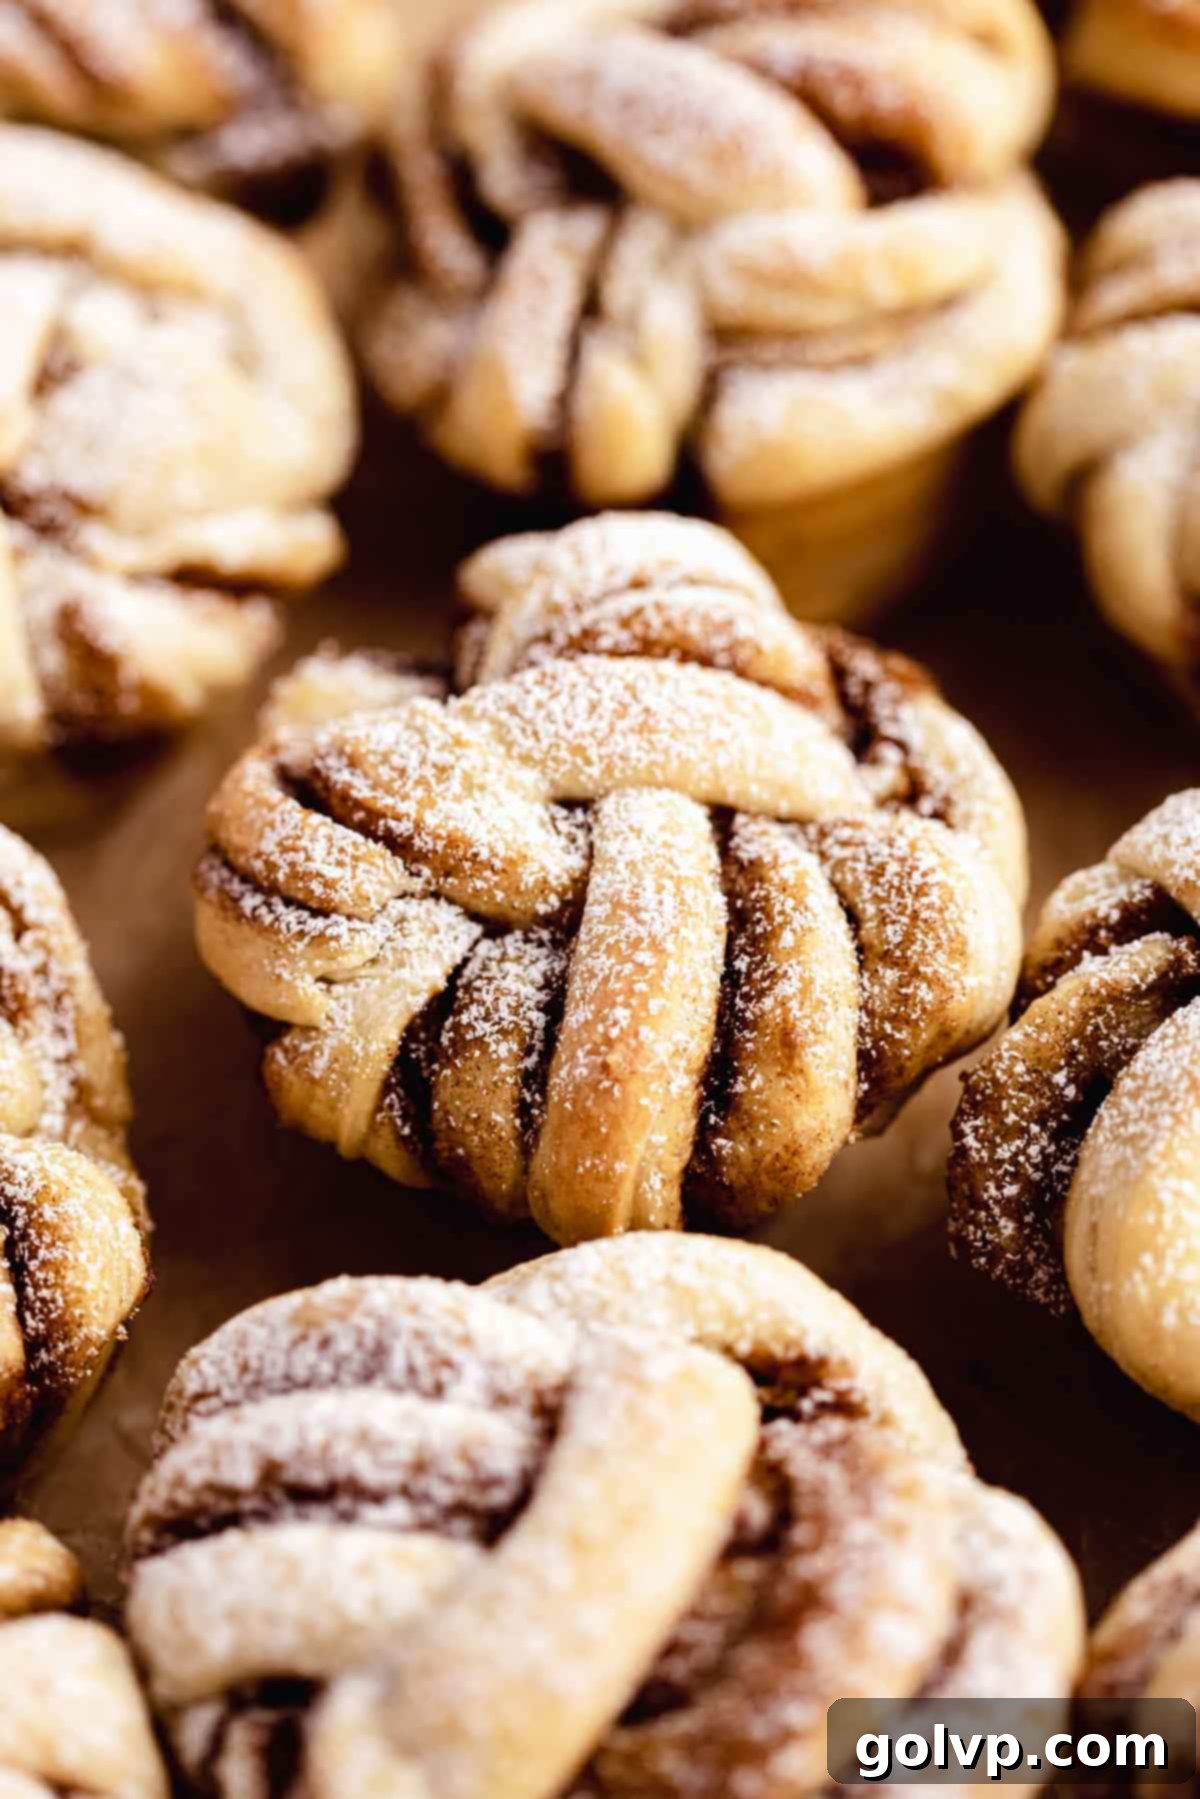
Step 11 (Glaze & Serving): In a bowl, whisk together the powdered (icing) sugar and milk (or eggnog if you’re making the holiday version). Add enough liquid to achieve your desired glaze consistency – we recommend a slightly thin drizzle that beautifully coats the muffins. Drizzle the warm cinnamon roll muffins generously with the glaze. For an extra touch of sweetness and presentation, you can also sift a light dusting of powdered sugar over the top before serving. Enjoy these warm, gooey, and fluffy homemade treats!
✔️ Expert Tips for Flawless Cinnamon Roll Muffins
Achieving bakery-quality cinnamon roll muffins at home is absolutely possible with a few insider tips. Pay close attention to these details for truly exceptional results:
- Precision in Flour Measurement is Key: This is arguably the most crucial tip for any baking recipe, especially for delicate doughs. Using a kitchen scale to weigh your flour (425g for 3 ½ cups) guarantees the most accurate results, preventing a dry, dense dough. If a scale isn’t available, employ the “spoon and level” method: gently fluff the flour in its container, then lightly spoon it into your measuring cup until overflowing. Use a straight edge (like the back of a knife) to level off the excess, without packing the flour down. Too much flour is the most common reason for tough, heavy rolls.
- Minimal Handling for a Tender Dough: Since this is a no-knead dough, the less you handle it, the better. Overworking the dough can overdevelop the gluten, resulting in a tougher texture rather than the desired soft and fluffy crumb. After the initial mixing, gently punch down the dough and handle it just enough to roll, fill, and braid. Trust the yeast to do its job!
- Embrace the Rising Process: Never rush or skip the rising steps. The initial bulk fermentation (first rise) allows the yeast to activate fully, the flour to hydrate completely, and gluten to relax and develop. The second rise (proofing) in the muffin tin gives the shaped rolls their final airy structure. These periods are essential for creating those gorgeous, pull-apart layers and the ultimate fluffy texture. Patience truly pays off here.
- Timely Removal from the Muffin Tin: While it’s tempting to let them cool completely in the tin, only allow your baked cinnamon roll muffins to cool for about 5 minutes after they come out of the oven. This brief cooling period helps them set slightly, but they will still be warm enough to release easily from the muffin tin without sticking. If left to cool for too long, the gooey cinnamon sugar can caramelize and stick, making removal difficult. A gentle lift with a spatula is usually all you need.
🥄 Make Ahead & Storage Tips for Freshness
These cinnamon roll muffins are undeniably at their peak when served warm, straight from the oven. The fresh, gooey center and tender dough are an experience not to be missed! However, they also remain incredibly delicious the next day, provided they are stored correctly and gently reheated. Don’t worry, the magic can be extended!
To maintain their freshness and prevent them from drying out, store your cooled cinnamon roll muffins in an airtight container or a heavy-duty freezer bag at room temperature for up to 3 days. Before enjoying again, a quick reheat is highly recommended. You can gently warm them in the microwave for 15-30 seconds per muffin, or in a preheated oven at 275°F (135°C) for about 5-10 minutes, until just warmed through and gooey.
One of the fantastic aspects of this recipe is its make-ahead potential, perfect for busy mornings or entertaining! You can prepare the muffins the night before: follow all the steps up to shaping the rolls and placing them in the muffin tin, but *before* the second rise (proofing). Once the shaped muffins are in the tin, wrap the entire muffin tray tightly with plastic wrap or aluminum foil to prevent air exposure. Immediately place it in the refrigerator for up to 12 hours. This slow, cold proofing allows the flavors to develop beautifully. I don’t recommend refrigerating them for longer than 12 hours, as they risk over-proofing, which can lead to a less desirable texture.
When you’re ready to bake the refrigerated muffins, take the tray out of the fridge and let it sit at room temperature for 10-20 minutes. This allows the dough to slightly warm up and resume its rise, filling out any remaining gaps in the pan. Once they’ve visibly puffed up, proceed with baking as per the instructions, pouring the heavy cream over each and baking until golden brown. You’ll wake up to fresh, warm cinnamon rolls with minimal fuss!
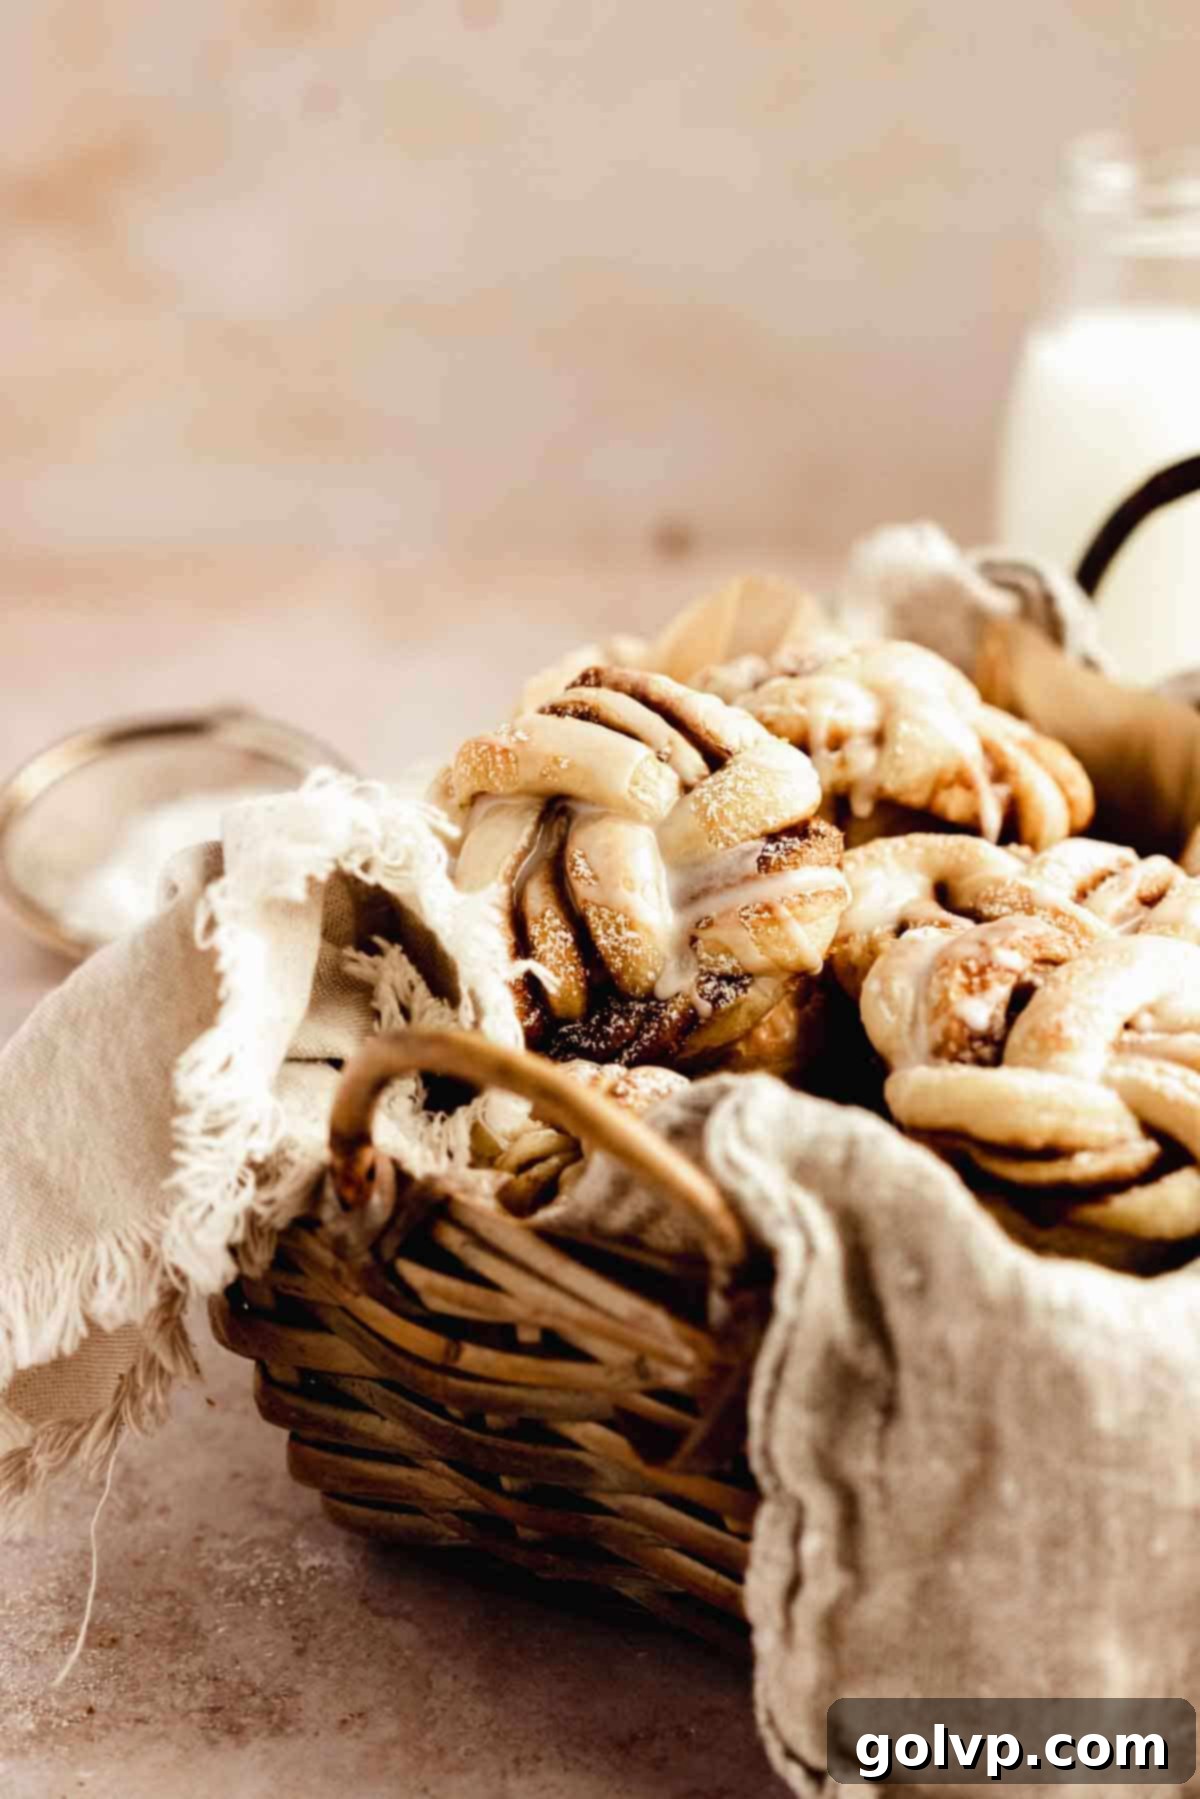
❔ Secrets to Achieving the Ultimate Fluffy Cinnamon Roll Muffins
The pursuit of perfectly light, airy, and melt-in-your-mouth fluffy cinnamon rolls is a noble one, and thankfully, quite achievable with this recipe! Here are the core secrets to ensuring your muffins are always clouds of cinnamon-infused joy:
- Accurate Flour Measurement: As highlighted in our expert tips, this cannot be stressed enough. Excess flour is the primary culprit behind dense, heavy baked goods. Whether you’re weighing your flour with a digital kitchen scale (which provides the most reliable results) or meticulously using the spoon-and-level method for measuring cups, precision here ensures the correct hydration for a tender, soft dough.
- Minimal Dough Handling: For a truly fluffy dough, less is often more. This no-knead recipe is designed to minimize gluten development beyond what’s naturally achieved during the rise. Overworking the dough, even gently, can make it tough and compromise its delicate, airy texture. Trust the resting periods to do the work, and handle the dough just enough to shape it.
- Optimal Rising Environment: Yeast loves warmth! Providing a consistently warm, draft-free environment for both the first and second rises is crucial. A slightly warmed (then turned off) oven, or a warm spot in your kitchen, encourages the yeast to produce ample carbon dioxide, creating those airy pockets that result in a beautiful pull-apart structure and incredible fluffiness. Don’t rush the rises; allow the dough to truly double in size.
- The Magic of Heavy Cream: This is our golden ticket to unparalleled fluffiness and gooeyness! Pouring heavy cream over each roll before baking creates a steamy environment in the oven, essentially bathing the dough in moisture. This steaming action ensures the rolls bake up incredibly soft and moist, preventing any dryness. Simultaneously, the cream melds with the cinnamon-sugar filling, creating that irresistible, luscious, ooey-gooey caramelized bottom that is the hallmark of a truly great cinnamon roll.
By following these fundamental principles, you’ll consistently bake cinnamon roll muffins that are not just good, but spectacularly fluffy and full of flavor every single time.
📖 Recipe FAQs: Your Questions Answered
Yes, absolutely! This no-knead dough is intentionally formulated to be quite soft and sticky, which contributes significantly to the final fluffy and tender texture of the muffins. Resist the urge to add too much extra flour during mixing. If the dough appears excessively gloopy and lacks any cohesion, gradually add a very small amount of flour (a tablespoon at a time) until it just starts to come together into a manageable, albeit still sticky, mass. The stickiness is a good sign of proper hydration!
This common issue is typically a sign of over-proofing. If the dough rises too much (beyond doubled in volume), the yeast can exhaust its food supply and the gluten structure becomes too stretched and weak to hold its shape during baking. This can cause the rolls to collapse or sink, creating internal gaps. To avoid this, watch your dough closely during the second rise; it should look puffy and fill the muffin tin, but not be overly expanded or fragile. Under-baking can also contribute to sinking, so ensure they are golden brown on top and cooked through.
The heavy cream is a game-changing secret for these muffins! As the rolls bake, the cream gently steams the dough, ensuring an incredibly moist and airy crumb. Simultaneously, it mingles with the cinnamon-sugar filling, caramelizing into that irresistible, super gooey, sticky bottom and middle that everyone adores. This step guarantees you won’t end up with dry rolls – it’s crucial for achieving that ultimate bakery-style texture and flavor.
An ideal rising environment is warm and draft-free. A great technique is to preheat your oven to its lowest temperature for just a few minutes, then turn it off completely. Place your covered dough bowl inside the warm (but not hot!) oven. Be careful not to let the oven get too hot (it should be comfortably warm to the touch, not exceeding 130°F or 55°C), as excessive heat can kill the yeast cells, preventing the dough from rising. Alternatively, a warm spot near a sunny window or above a warm appliance can also work well.
Absolutely! This recipe is perfect for overnight preparation, allowing you to enjoy fresh, warm cinnamon rolls with minimal morning effort. Simply prepare the rolls the night before, following all the shaping steps and placing them into the muffin tin. Stop just before the second rise (proofing). Tightly wrap the muffin tray with plastic wrap or aluminum foil to create an airtight seal, and immediately transfer it to the refrigerator for slow proofing, ideally for up to 12 hours. Going beyond 12 hours might lead to over-proofing. In the morning, remove the tray from the fridge and let the muffins come to room temperature for 10-20 minutes, allowing them to finish their rise and fill out any gaps. Then, proceed with baking as instructed, pouring the cream and baking until golden.
Yes, you can! For baked muffins, allow them to cool completely. Then, wrap each muffin individually in plastic wrap, followed by a layer of aluminum foil, and place them in a freezer-safe bag or container. They can be frozen for up to 2-3 months. To reheat, thaw overnight in the refrigerator, then warm in a microwave or oven as described in the storage tips. You can also freeze the unbaked, shaped rolls after the first rise: place them on a parchment-lined baking sheet and freeze until solid, then transfer to a freezer bag. When ready to bake, place them in a muffin tin, thaw overnight in the refrigerator, and then allow to rise at room temperature before baking.
🍞 More Related Recipes You’ll Love
- Cinnamon Bundt Cake with Gooey Cinnamon Swirl
- Blueberry Cinnamon Rolls
- Cookies and Cream Cinnamon Rolls – No Knead
- Funfetti Cinnamon Rolls – No Knead
Did you make this recipe? We would love for you to rate this recipe and hear what you think in the comments below! Share your delicious creation on Instagram and tag @flouringkitchen. Follow us on Pinterestto save and for more irresistible recipe ideas.
📖 Recipe

Cinnamon Roll Muffins
Mary
For a festive holiday variation, substitute heavy cream with eggnog before baking and use eggnog in the glaze. This versatile recipe includes instructions for both standard (12 muffins) and jumbo-sized muffins (6 muffins), perfect for any occasion!
Pin Recipe
Shop Ingredients
Equipment
-
12-hole regular size muffin tin or a six-hole jumbo size muffin tin
Ingredients
Cinnamon Brown Sugar Filling
- ½ cup brown sugar packed
- ¼ cup unsalted butter softened well, not melted
- 2 tablespoons cinnamon ground
Cinnamon Roll Muffin Dough
- ¼ cup water warm
- ½ teaspoon granulated sugar
- 1 packet active dry yeast 7g
- 3 ½ cup all purpose flour 425g
- ¼ cup granulated sugar
- ½ teaspoon sea salt
- ⅔ cup unsalted butter softened
- 1 large egg room temperature
- ½ cup milk warm
- 1 teaspoon pure vanilla extract
- 12 tablespoon heavy whipping cream or eggnog
- 2 tablespoon icing sugar for dusting
Glaze (optional)
- 1 cup icing sugar
- 2-5 tablespoon milk or eggnog
Shop Ingredients on Jupiter
Instructions
Cinnamon Brown Sugar Filling
-
In a medium bowl, combine your brown sugar, well-softened unsalted butter, and ground cinnamon. Mix these ingredients thoroughly until you have a smooth, well-combined paste. It’s crucial for the butter to be very soft (almost melted) to ensure it blends effortlessly with the sugar and cinnamon, creating a truly gooey filling. Set this aside; there’s no need to refrigerate it.½ cup brown sugar, ¼ cup unsalted butter, 2 tablespoons cinnamon
Cinnamon Roll Muffin Dough
-
Begin by activating your yeast. In a small bowl, combine warm water (around 105-115°F or 40-46°C), ½ teaspoon of granulated sugar, and the packet of active dry yeast. Stir gently to dissolve the yeast, then let it sit for about 5 minutes. You should see a foamy layer form on top – this indicates your yeast is active. If no foam appears after 10 minutes, discard and try again with fresh yeast.¼ cup water, ½ teaspoon granulated sugar, 1 packet active dry yeast
-
In a large mixing bowl, combine the all-purpose flour, ¼ cup granulated sugar, and sea salt. Stir these dry ingredients together. Next, create a well in the center of the flour mixture and add your softened butter, room temperature egg, pure vanilla extract, warm milk, and the activated yeast mixture. Mix these ingredients until a sticky, cohesive dough forms. Avoid overmixing; just combine until uniform.3 ½ cup all purpose flour, ¼ cup granulated sugar, ½ teaspoon sea salt, ⅔ cup unsalted butter, 1 large egg, ½ cup milk, 1 teaspoon pure vanilla extract
-
Cover the bowl with a dish cloth and place in a warm, draft-free place (refer to notes for best rising environment tips) to rise until doubled in size, about 30-45 minutes. While it rises, butter a muffin tin and prepare the cinnamon filling as per Step 1.
-
Gently punch down the dough to release the air and transfer it onto a lightly floured surface. Roll the dough into a large rectangle, about 16” by 20”. Aim for an even thickness.
-
Spread the cinnamon filling evenly on top of the dough, all the way to the edges, ensuring full flavor coverage.
-
Regular muffins: Fold the dough into thirds starting by pulling the top long edge two thirds of the way down and then the bottom edge all the way up to get a long strip of dough. Like folding a letter.
Jumbo muffins: Fold the dough into thirds by pulling the top short edge down and the bottom short edge up like a letter.
-
Regular muffins: Trim the uneven ends off the strip. Mark and cut the dough into 12 equal strips.
Jumbo muffins: Trim the uneven ends off the strip. Mark and cut the dough into 6 equal strips.
-
For regular muffins, cut each strip of dough into three strands, leaving the top half inch of the strip attached. Braid or simply twist the strands of each strip. Roll the braid into a compact roll, starting with the end of the braid. Place each braided roll into the muffin tin with the pretty side up.
-
Allow the rolls to rise in the muffin tin until they visibly fill out the cups (doubled in size), about 10-15 minutes. While they rise, preheat your oven to 180°C (350°F).
-
Pour 1 tablespoon of heavy cream (or eggnog) over each regular muffin roll, and 2 tablespoons of cream over each jumbo muffin roll. Bake for 18-20 minutes or until the rolls are beautifully golden brown on top. Let cool for 5 minutes inside the muffin tin before using a spatula to help lift them out and let cool on a cooling rack. Prepare the glaze while they cool. Sift icing sugar over the cinnamon rolls and drizzle glaze before serving.2 tablespoon icing sugar, 12 tablespoon heavy whipping cream
Glaze (optional)
-
Combine sifted icing sugar and milk (or eggnog for a holiday twist) in a large bowl. Gradually add enough milk to achieve your desired consistency for a smooth drizzle. Drizzle generously over the warm cinnamon rolls and serve immediately for the best experience.1 cup icing sugar, 2-5 tablespoon milk
Notes
Overnight Preparation: This recipe is perfect for making ahead! Prepare the muffins the night before by following all steps up to shaping the rolls and placing them in the muffin tin (stop before the second rise). Wrap the muffin tray tightly with plastic wrap or aluminum foil and immediately place it in the refrigerator for up to 12 hours. Do not refrigerate longer, as they may over-proof.
When ready to bake, remove the tray from the fridge and let the muffins come to room temperature for 10-20 minutes, allowing them to finish their rise. Then, proceed with baking as per instructions, pouring the cream over each before baking.
Best Way to Let Dough Rise: For an ideal rising environment, briefly preheat your oven to its lowest temperature for a few minutes, then turn it off completely. Place your covered dough bowl inside the warm (not hot!) oven. Ensure the oven doesn’t exceed 130°F (55°C), as higher temperatures can kill the yeast cells.
Tips for Success:
- Always measure flour with a kitchen scale for best results (425g).
- Avoid over-kneading the dough; this is a no-knead recipe that thrives on minimal handling.
- Never skip the dough rising steps; they are crucial for a fluffy, airy texture.
- Cool the muffins for only 5 minutes in the tin before removing to prevent sticking.
