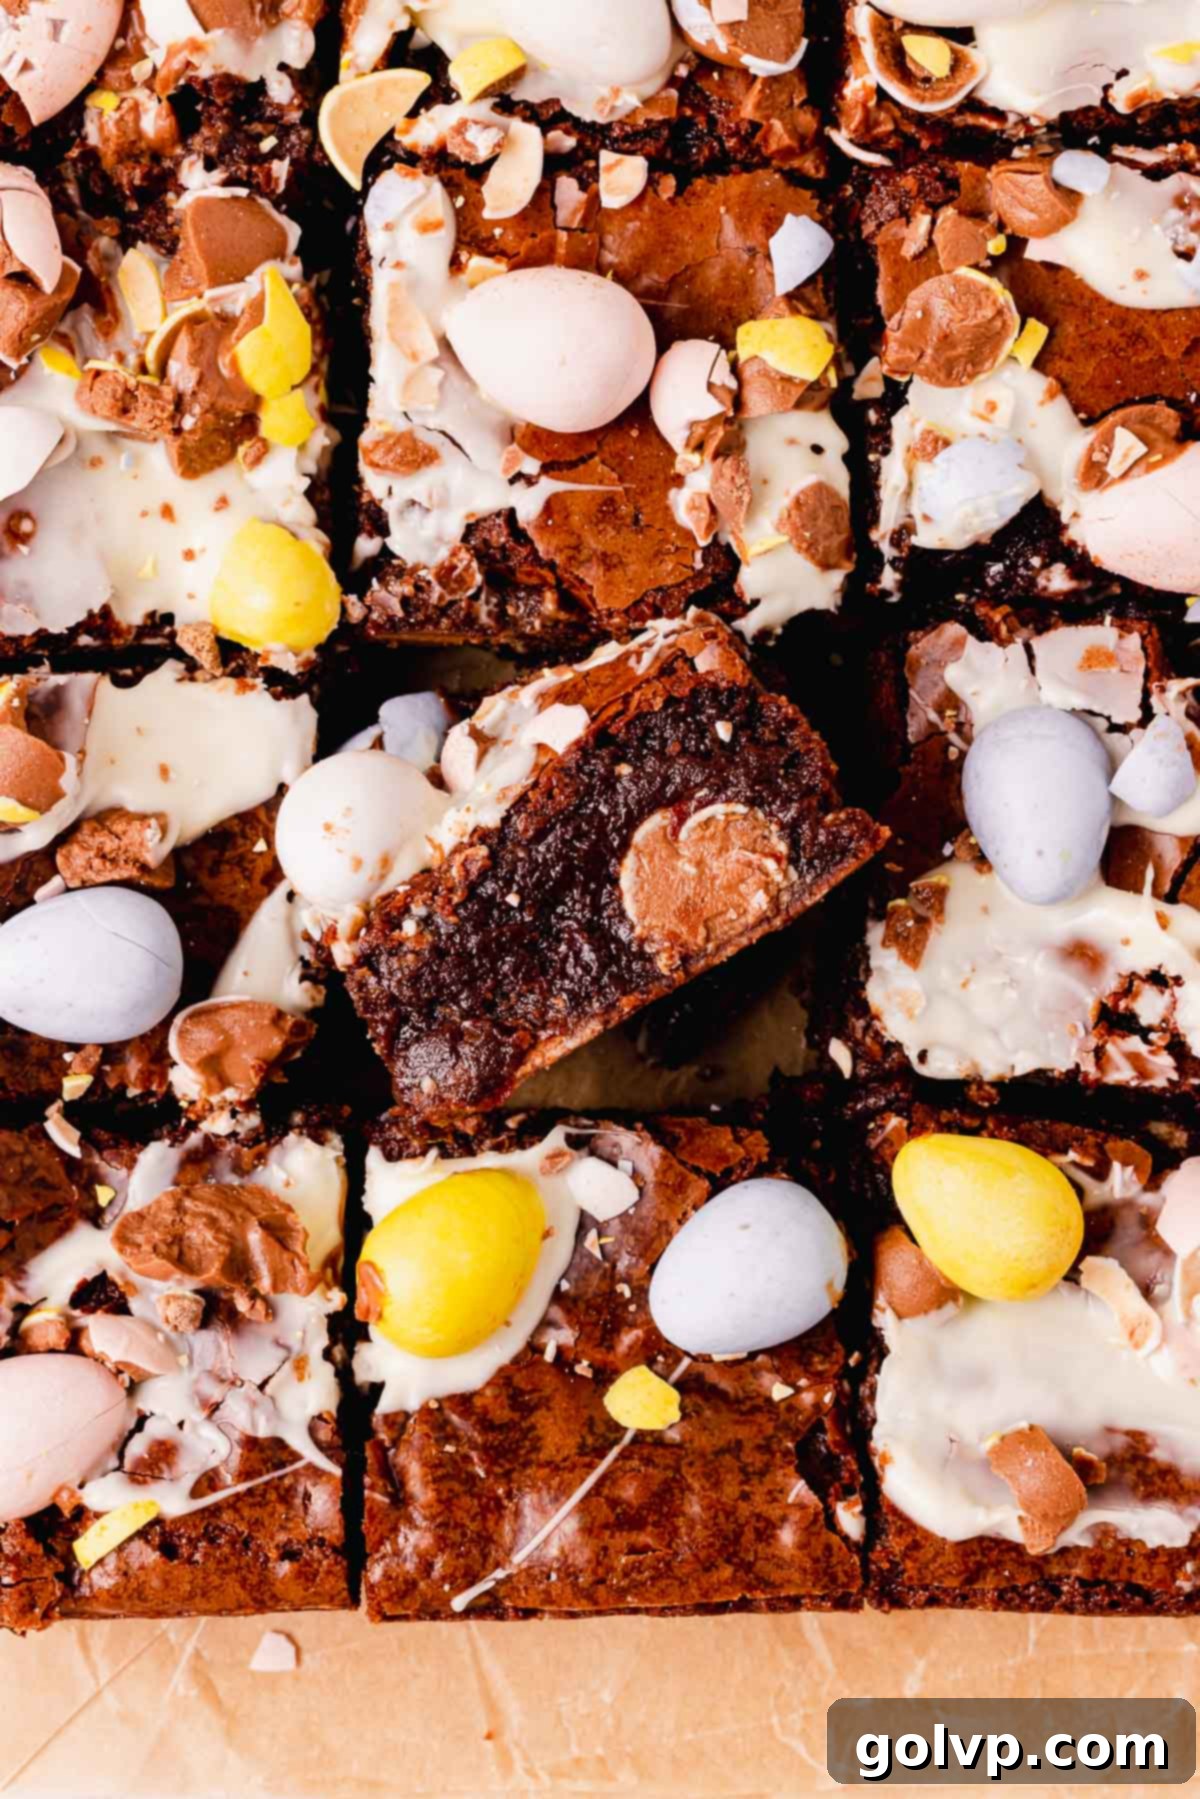
Irresistibly Fudgy Mini Egg Brownies: The Ultimate Easy Easter Dessert
Prepare to delight your taste buds with these absolutely irresistible fudgy mini egg brownies! Perfect for Easter celebrations or simply satisfying a chocolate craving, these brownies boast a coveted crackly top, a supremely soft and gooey interior, and are generously studded with colorful mini chocolate eggs. This recipe combines the rich depth of both melted dark chocolate and cocoa powder, ensuring a complex and truly satisfying chocolate flavor. Best of all, they’re incredibly straightforward to make and don’t require any fancy equipment like an electric mixer, making them accessible for bakers of all skill levels. Get ready to bake a batch of pure joy that will disappear faster than you can say “Happy Easter!”
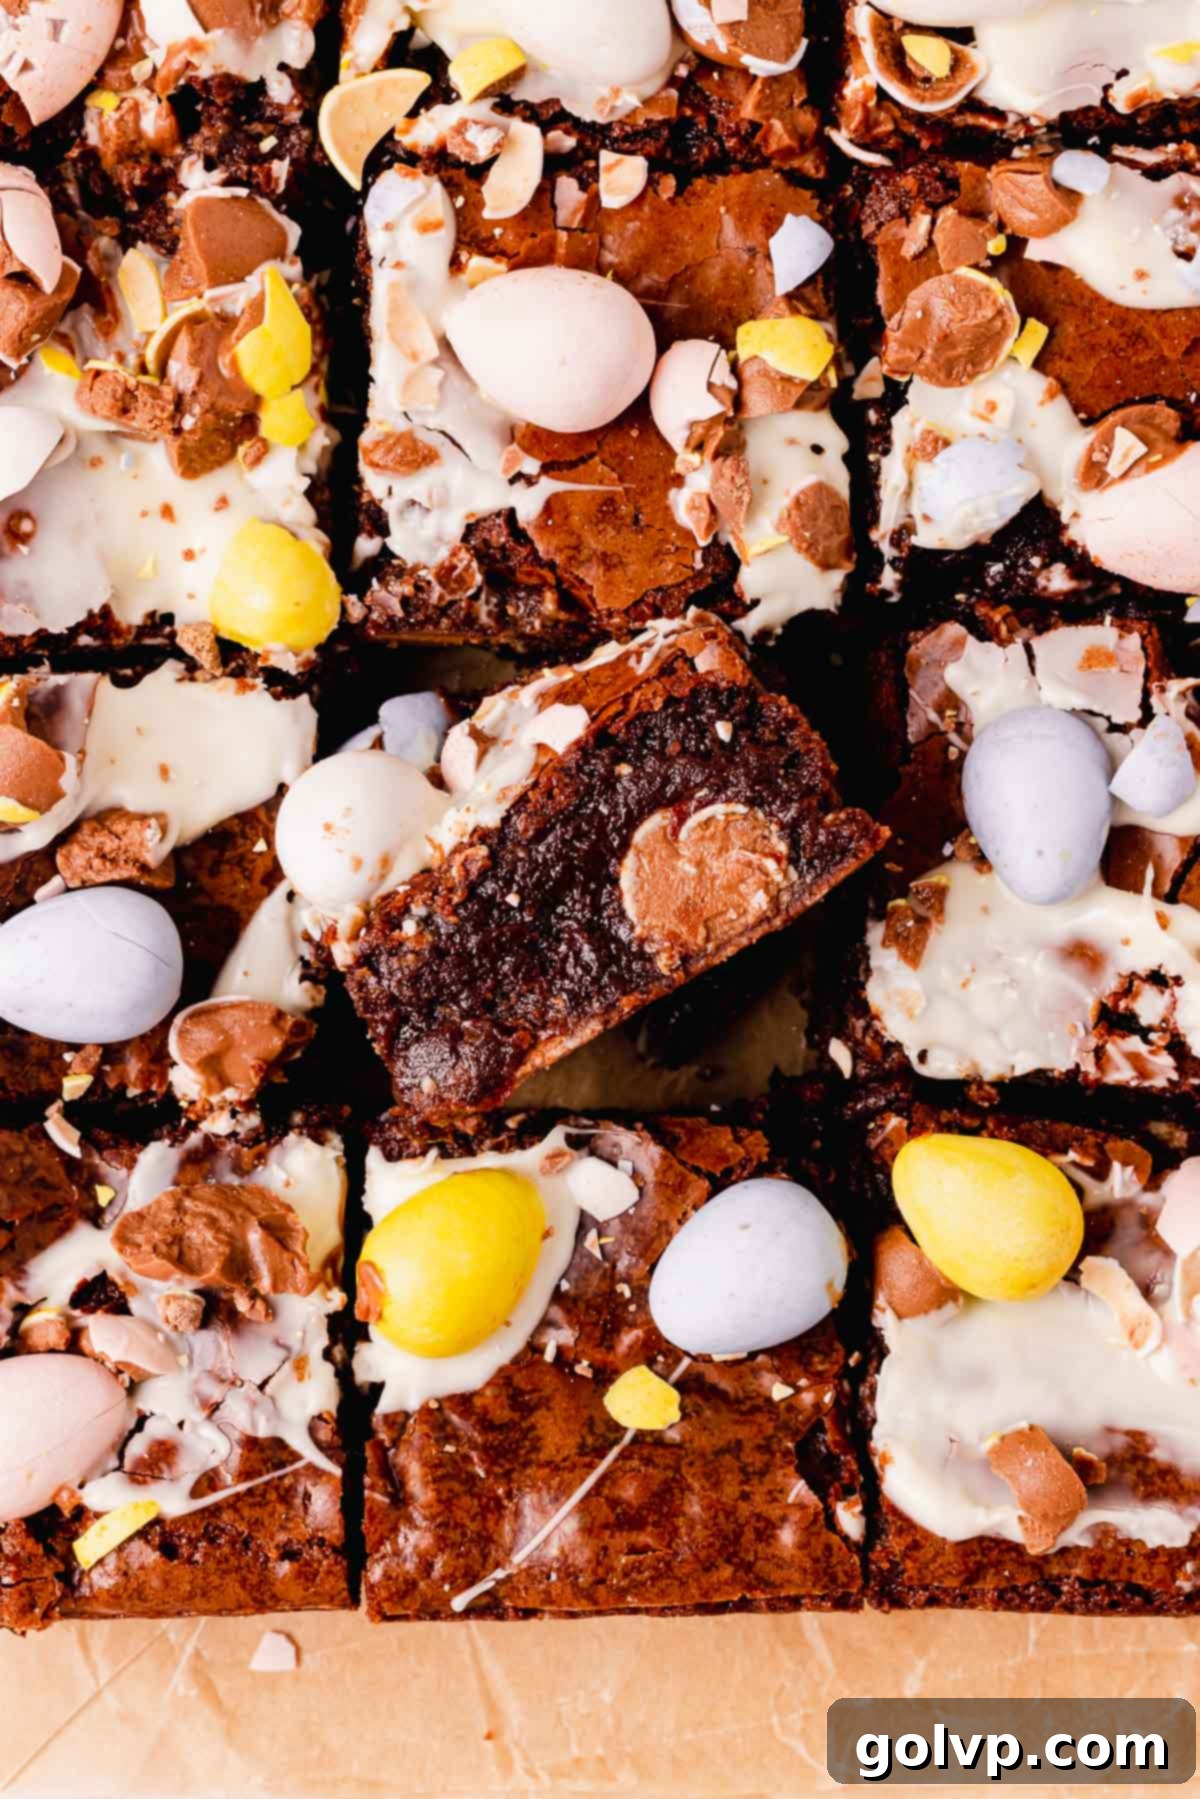
Why You’ll Absolutely Love These Fudgy Mini Egg Brownies
These mini egg brownies aren’t just a dessert; they’re an experience. Here’s why this recipe will quickly become your go-to for spring baking and beyond:
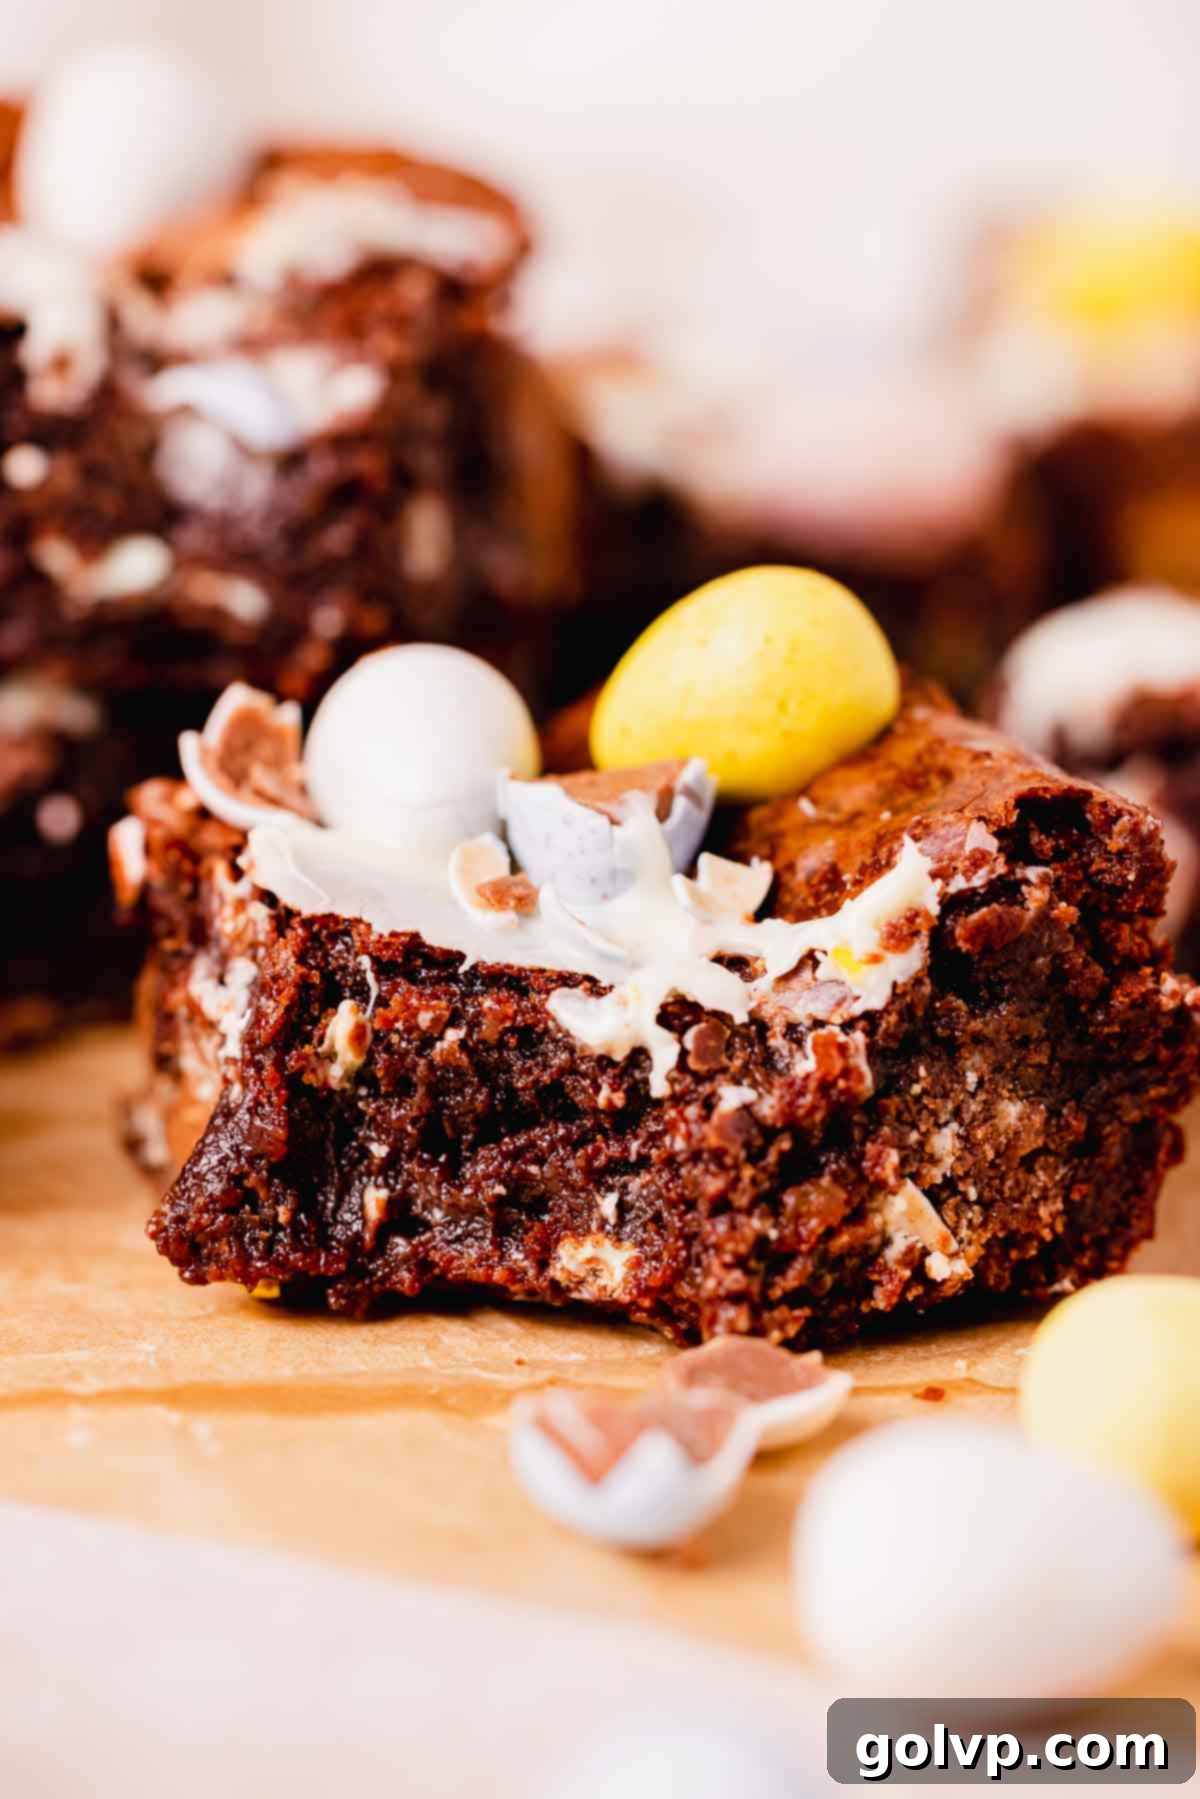
- Achieve the Perfect Soft and Fudgy Texture: Say goodbye to dry, cakey brownies! This recipe is meticulously crafted to deliver that quintessential fudgy texture everyone craves. Each bite melts in your mouth, leaving you with a rich, dense chocolate experience that is truly satisfying. The balance of ingredients ensures maximum moisture and chewiness.
- Gooey, Melted Mini Eggs Throughout: The star of the show! When baked, the milk chocolate centers of the mini eggs transform into pockets of warm, gooey deliciousness, perfectly complementing the rich brownie base. Their candy-coated shells add a delightful, subtle crunch and vibrant pops of color, making every piece a treat for the eyes and the palate.
- Signature Crackle Tops: One of the hallmarks of a truly excellent brownie is that shiny, thin, crackly crust. Our technique of whisking eggs and sugar until light and thickened is key to achieving this beautiful aesthetic and adds a subtle textural contrast to the soft interior. It’s a simple step that yields impressive results, making your homemade brownies look professionally baked.
- Incredibly Quick and Easy to Prepare: No need for complicated steps or specialized equipment. This recipe is designed for ease, coming together with minimal fuss. You won’t even need an electric mixer, making cleanup a breeze and ensuring anyone can whip up a batch of these delightful treats in no time. It’s perfect for busy holidays or spontaneous baking sessions.
📝 Essential Ingredients for the Best Mini Egg Brownies
Mastering these brownies starts with understanding your ingredients. Read through for all the tips you will need for success!
Full steps and precise measurements are detailed in the recipe card below.
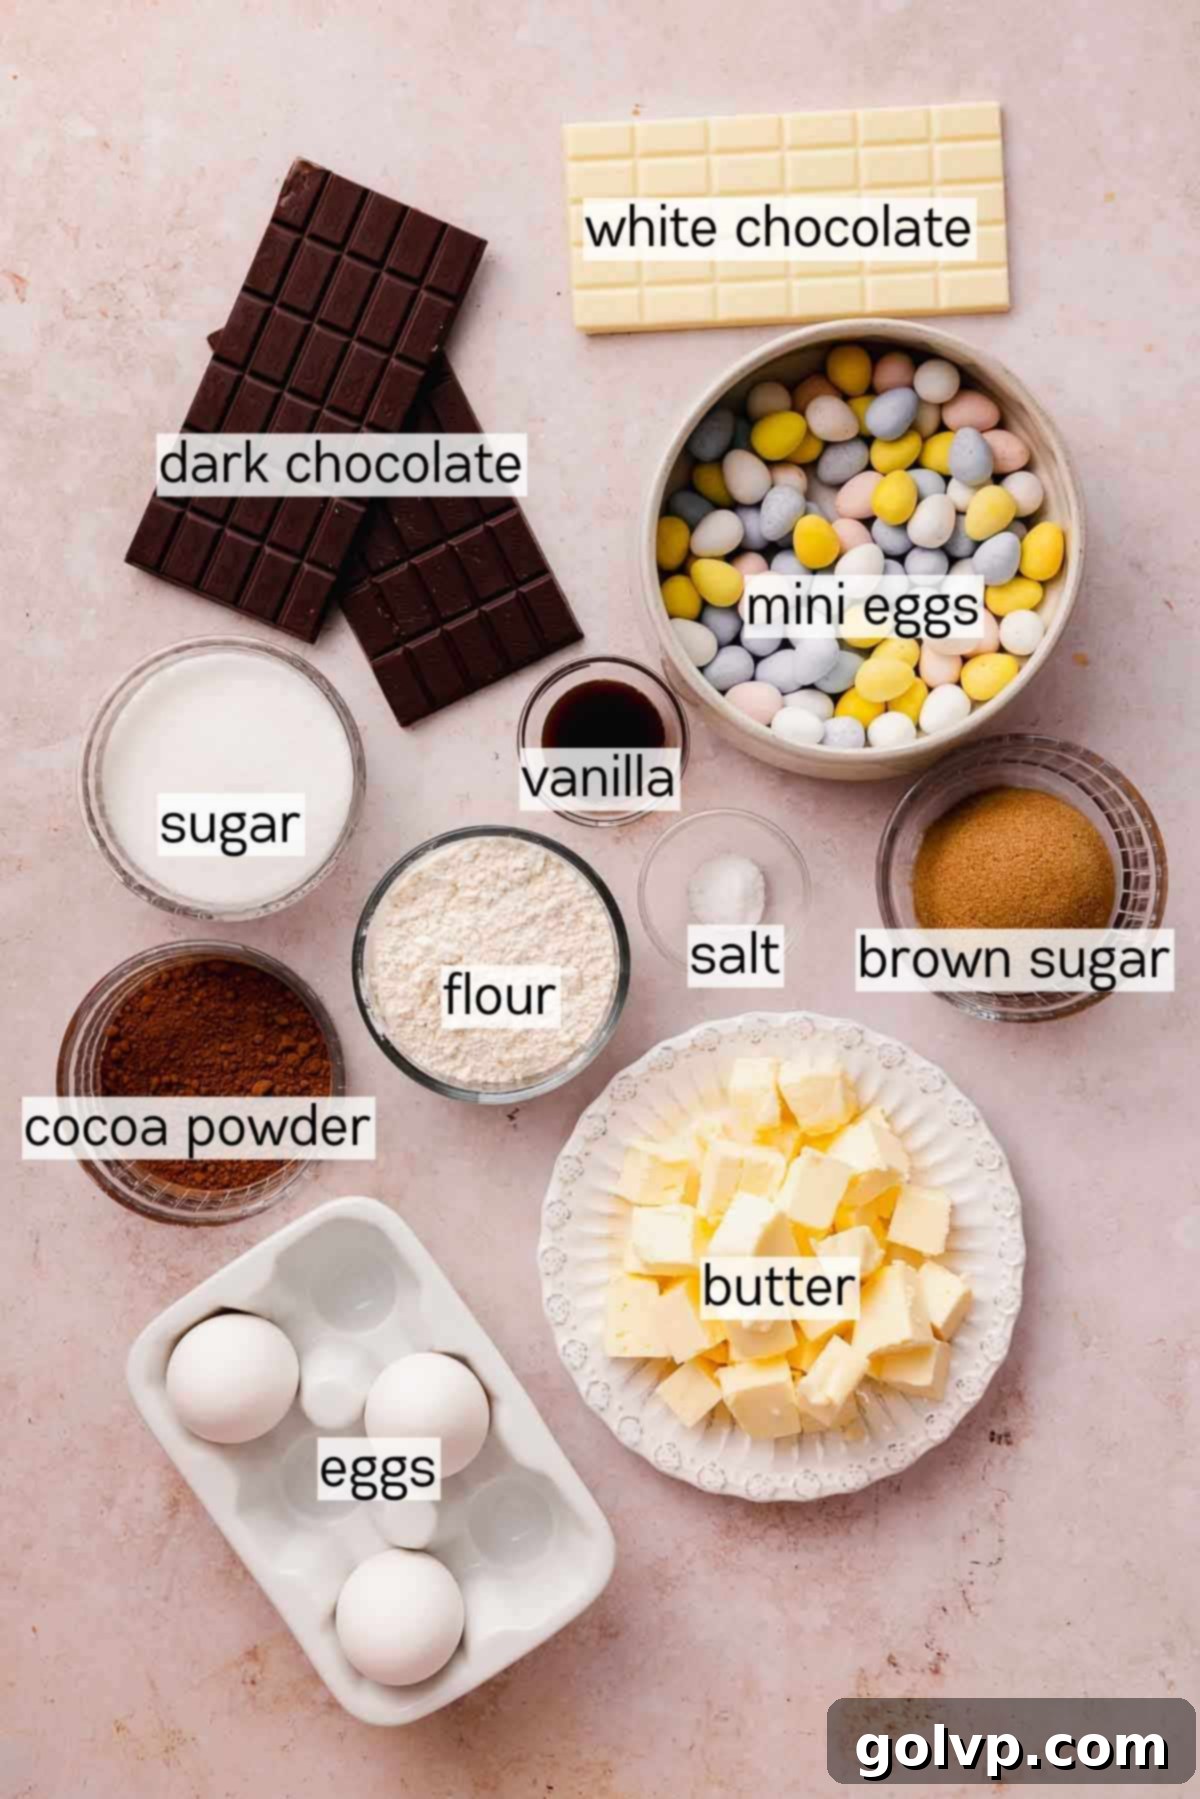
- High-Quality Chocolate: The foundation of any great brownie. We highly recommend using good quality dark chocolate bars (around 60-70% cocoa) for the richest, most intense chocolate flavor and a wonderfully fudgy texture. If you prefer a slightly less intense or sweeter brownie, semi-sweet chocolate chips or even a good quality milk chocolate bar can be used, though note that milk chocolate will result in a sweeter brownie overall. Always check the cocoa percentage for the desired richness.
- White Chocolate for Drizzles (Optional but Recommended): A small amount of white chocolate is used for delightful splatters on top, adding visual appeal and a contrasting creamy sweetness. Use a good melting white chocolate bar or high-quality white chocolate chips for the best results.
- Real Butter: Unsalted butter is preferred as it allows you to control the salt content in your brownies. Using real, good quality butter contributes significantly to the brownies’ rich flavor and moist texture. If you only have salted butter on hand, simply omit the additional salt called for in the recipe to avoid over-salting. Ensure it’s softened or at room temperature for easier melting.
- Mini Eggs: These are the star Easter candy! Any brand of candy-coated mini chocolate eggs will work beautifully, but for the creamiest milk chocolate centers that get delightfully soft and gooey in the oven, Cadbury brand mini eggs are a personal favorite. Don’t limit yourself to just mini eggs; M&Ms or other small candy-coated chocolates can also be a fun substitute. These brownies are also a fantastic way to use up any leftover mini eggs from other Easter treats, like these delicious birds nest cookies.
- Cocoa Powder: Using both melted chocolate and cocoa powder in this recipe creates a multi-dimensional chocolate flavor. Dutch-processed cocoa powder, which is what we used, yields a deeper, darker, and less acidic chocolate flavor. Natural cocoa powder will also work, offering a slightly lighter color and a tangier, fruitier chocolate note. Both are excellent choices, so pick the one that aligns with your preferred chocolate intensity!
- All-Purpose Flour: Accuracy in measuring flour is crucial for achieving the perfect brownie texture. For the most precise results, we highly recommend weighing your flour with a kitchen scale (90g for this recipe). If you don’t have a scale, properly measure by first fluffing up the flour in its bag with a spoon, then gently spooning it into a dry measuring cup. Level off the excess with the flat edge of a knife, making sure not to pack the flour down into the cup.
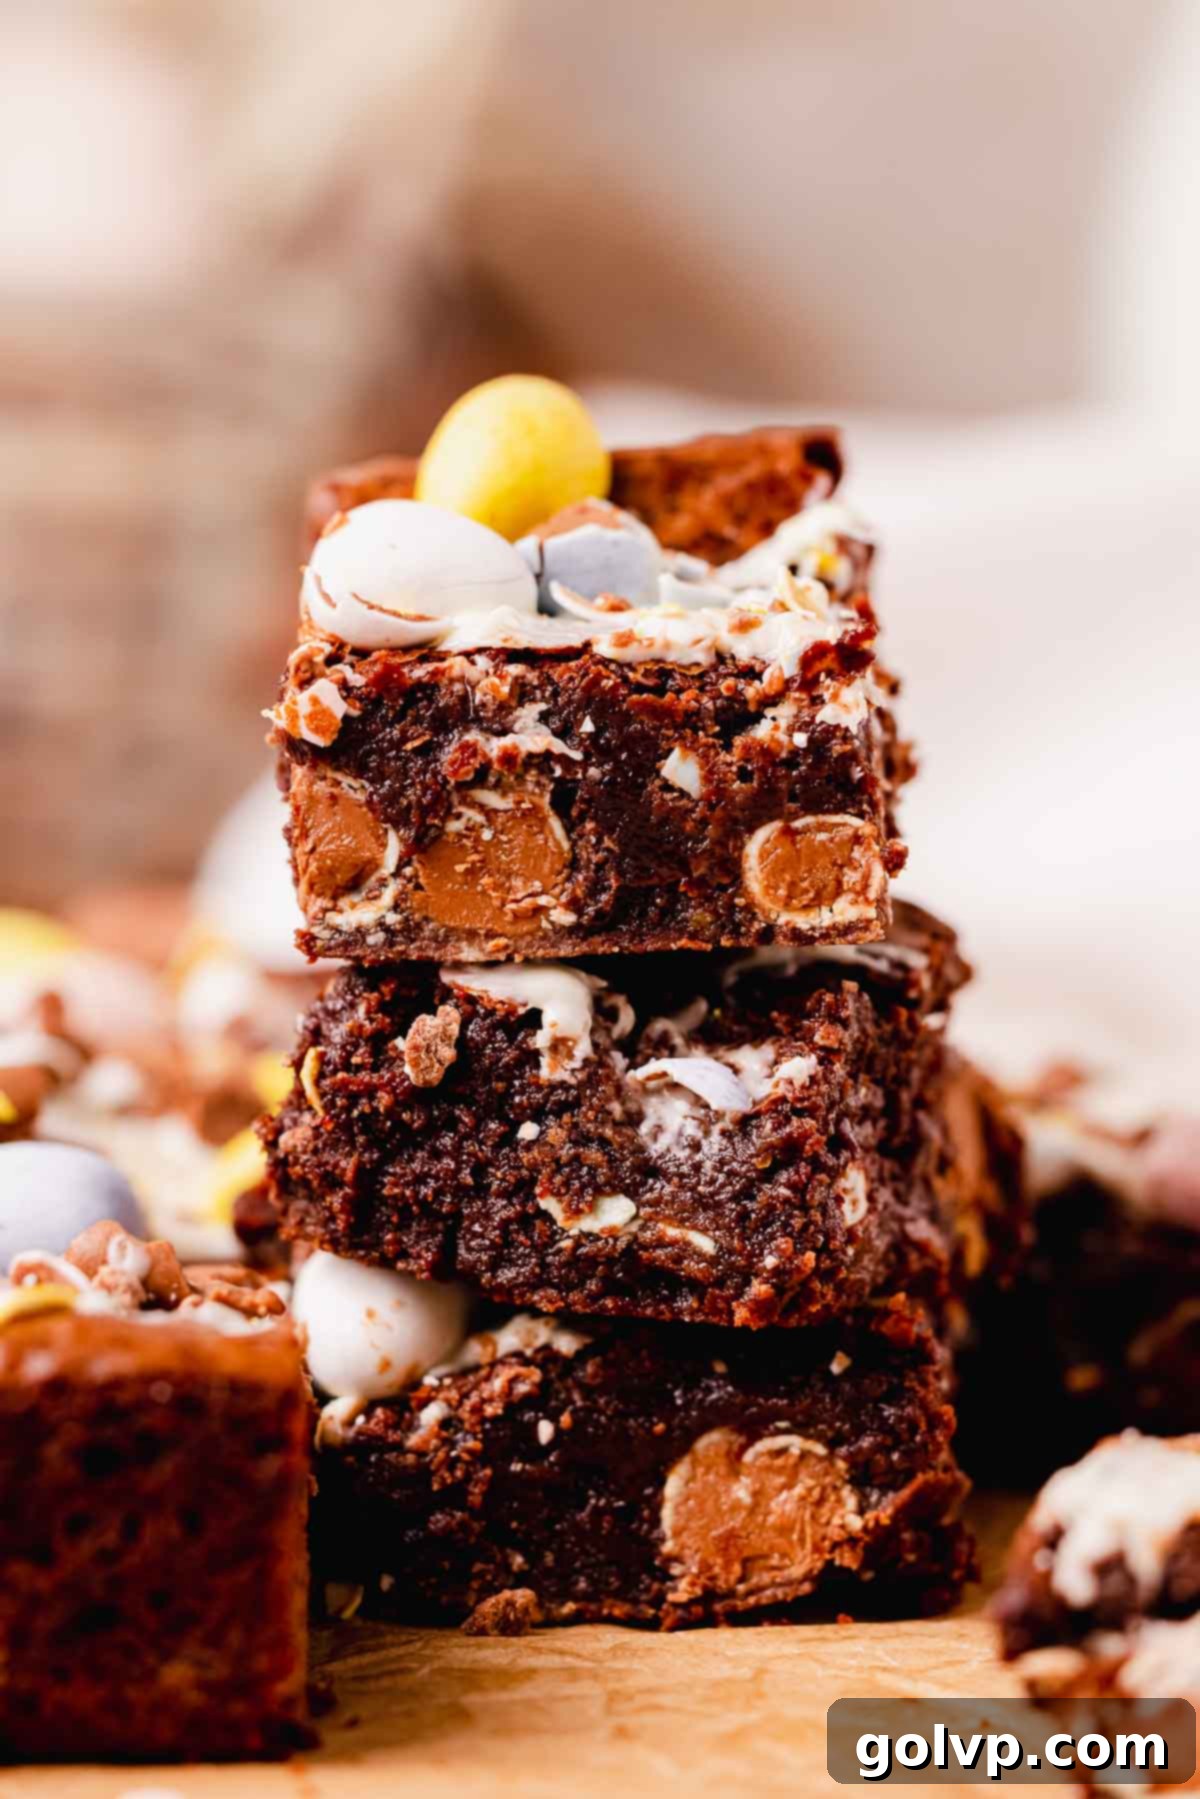
✔️ Creative Ingredient Substitutions and Flavor Variations
While this mini egg brownie recipe is fantastic as is, it’s also incredibly versatile! Feel free to experiment with these ideas to customize your brownies and make them uniquely yours. Easter season brings a plethora of milk chocolate covered eggs; Cadbury remains a personal favorite for their wonderfully creamy milk chocolate middles, but don’t hesitate to try other brands or even different flavors if available.
If you’re a devoted fan of Cadbury Creme Eggs, you absolutely must check out these decadent creme egg brownies! For another delightful mini egg treat, this mini egg cheesecake is a must-try. Both offer unique ways to enjoy your favorite Easter candies!
Here are some other delicious variations to consider for your fudgy brownies:
- Indulgent Toppings: Elevate your brownies by topping them with a luxurious milk chocolate ganache or a rich chocolate frosting. A sprinkle of sea salt on top of the ganache can enhance the chocolate flavor even further.
- Layered Goodness: For an extra layer of texture and flavor, add a layer of crushed Oreos or Biscoff cookies to the bottom of your baking pan before pouring in the brownie batter. This creates a delightful surprise in every bite.
- Nutty Perfection: Incorporate your favorite toasted and chopped nuts, such as walnuts, pecans, or almonds, into the batter. Toasting them beforehand enhances their flavor and aroma, adding a wonderful crunch to the fudgy brownies.
- Sweet Drizzles: Once the brownies have cooled, drizzle them with Biscoff spread, Nutella, or a luscious salted caramel sauce. These additions add another layer of sweetness and complexity, taking your brownies to gourmet levels.
- Different Chocolate Chips: While dark chocolate is recommended, feel free to use milk chocolate chips or white chocolate chips (beyond the splatter topping) if you prefer a different chocolate profile inside the brownie.
👩🍳 Step-by-Step Guide: How to Make Mini Egg Brownies
Follow these simple instructions to create the ultimate fudgy mini egg brownies with perfect crackly tops.
Prep: Start by preheating your oven to 355°F (180°C). Line an 8-inch square baking pan with parchment paper, leaving a slight overhang on the sides. These “handles” will make it incredibly easy to lift the cooled brownies out of the pan later for clean slicing.
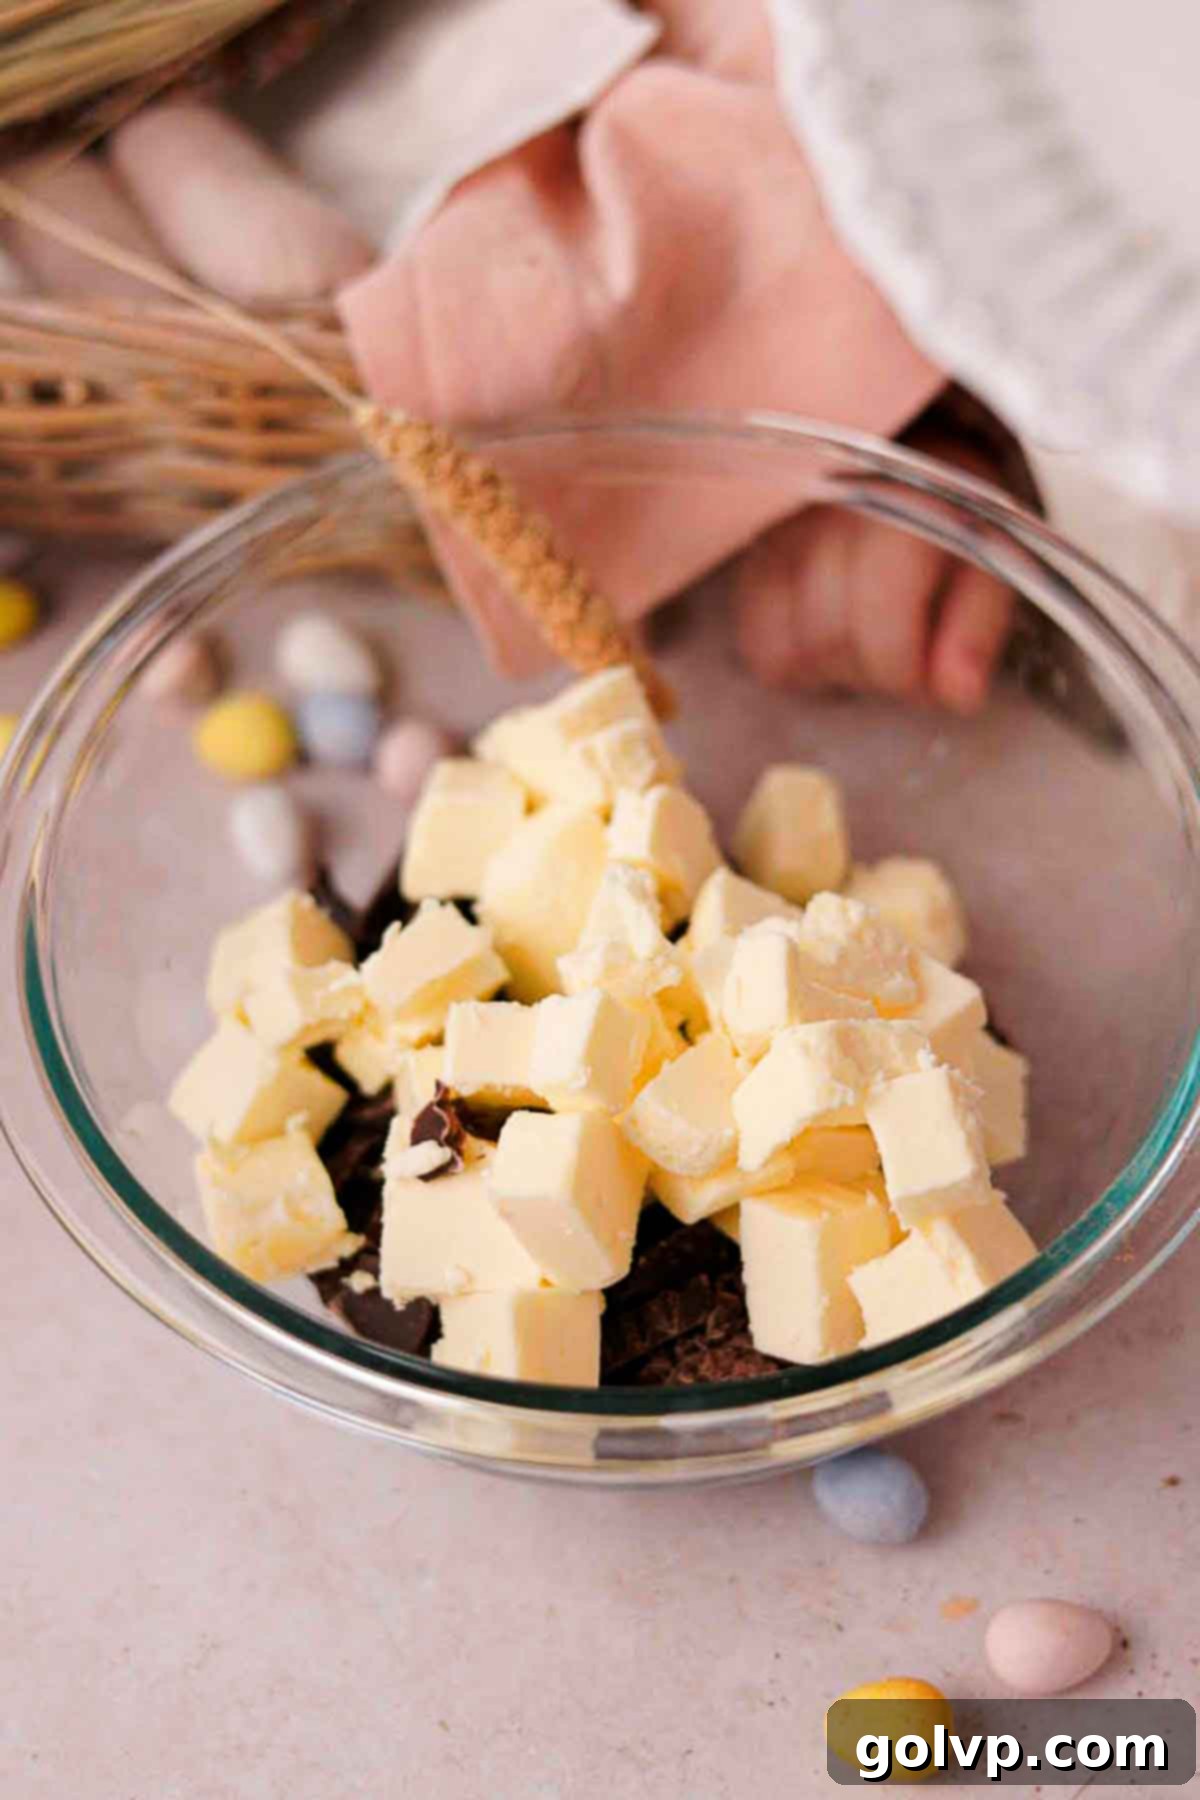
Step 1: Melt the Chocolate and Butter. Fill a medium saucepan with a few inches of water and bring it to a gentle simmer over medium heat. Select a heat-safe bowl (preferably glass or metal) that can comfortably sit on top of the saucepan without its bottom touching the simmering water. Cut your butter and dark chocolate into small, uniform pieces to ensure they melt evenly and quickly. Place these pieces into the heat-safe bowl. Position the bowl over the simmering water (creating a double boiler) and stir continuously until both the butter and chocolate are completely melted and smooth. Once melted, remove the bowl from the heat and set it aside to cool to room temperature. This cooling step is crucial; adding hot chocolate to the egg mixture can scramble the eggs.
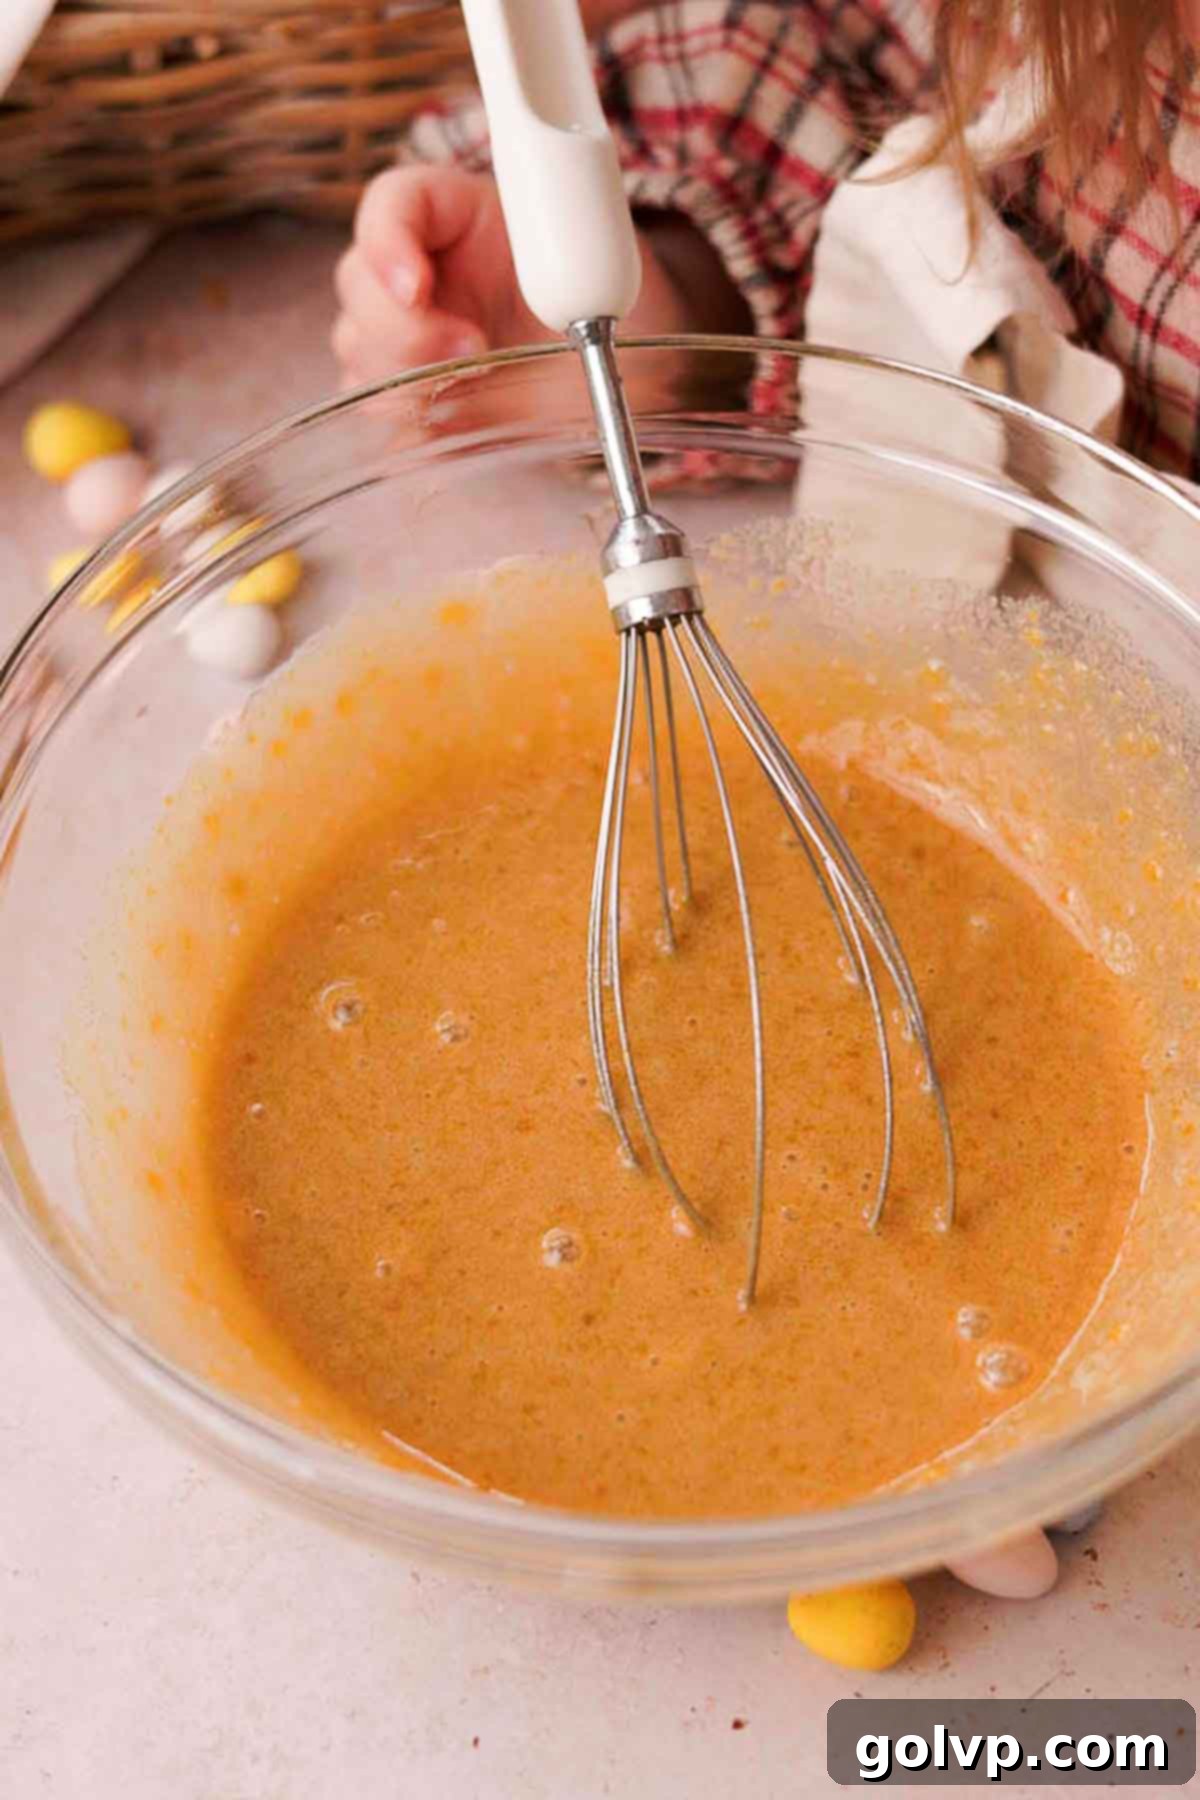
Step 2: Create the Crackle Top Base. In a large mixing bowl, combine the room temperature eggs, granulated sugar, and brown sugar. Using a wire whisk (no electric mixer needed!), vigorously whisk the mixture for about 30-60 seconds. You’ll notice the mixture will lighten in color, become slightly pale, and thicken to a ribbon-like consistency. This aeration is the secret to achieving those desirable crackly tops on your brownies. The longer and more thoroughly you whisk at this stage, the more pronounced your crackle top will be.
Pro Tip: If you’re short on time, you can also melt the chocolate and butter in a microwave-safe bowl. Heat in short 10-15 second intervals, stirring well after each, until smooth. Just ensure it cools completely to room temperature before adding to the egg mixture!
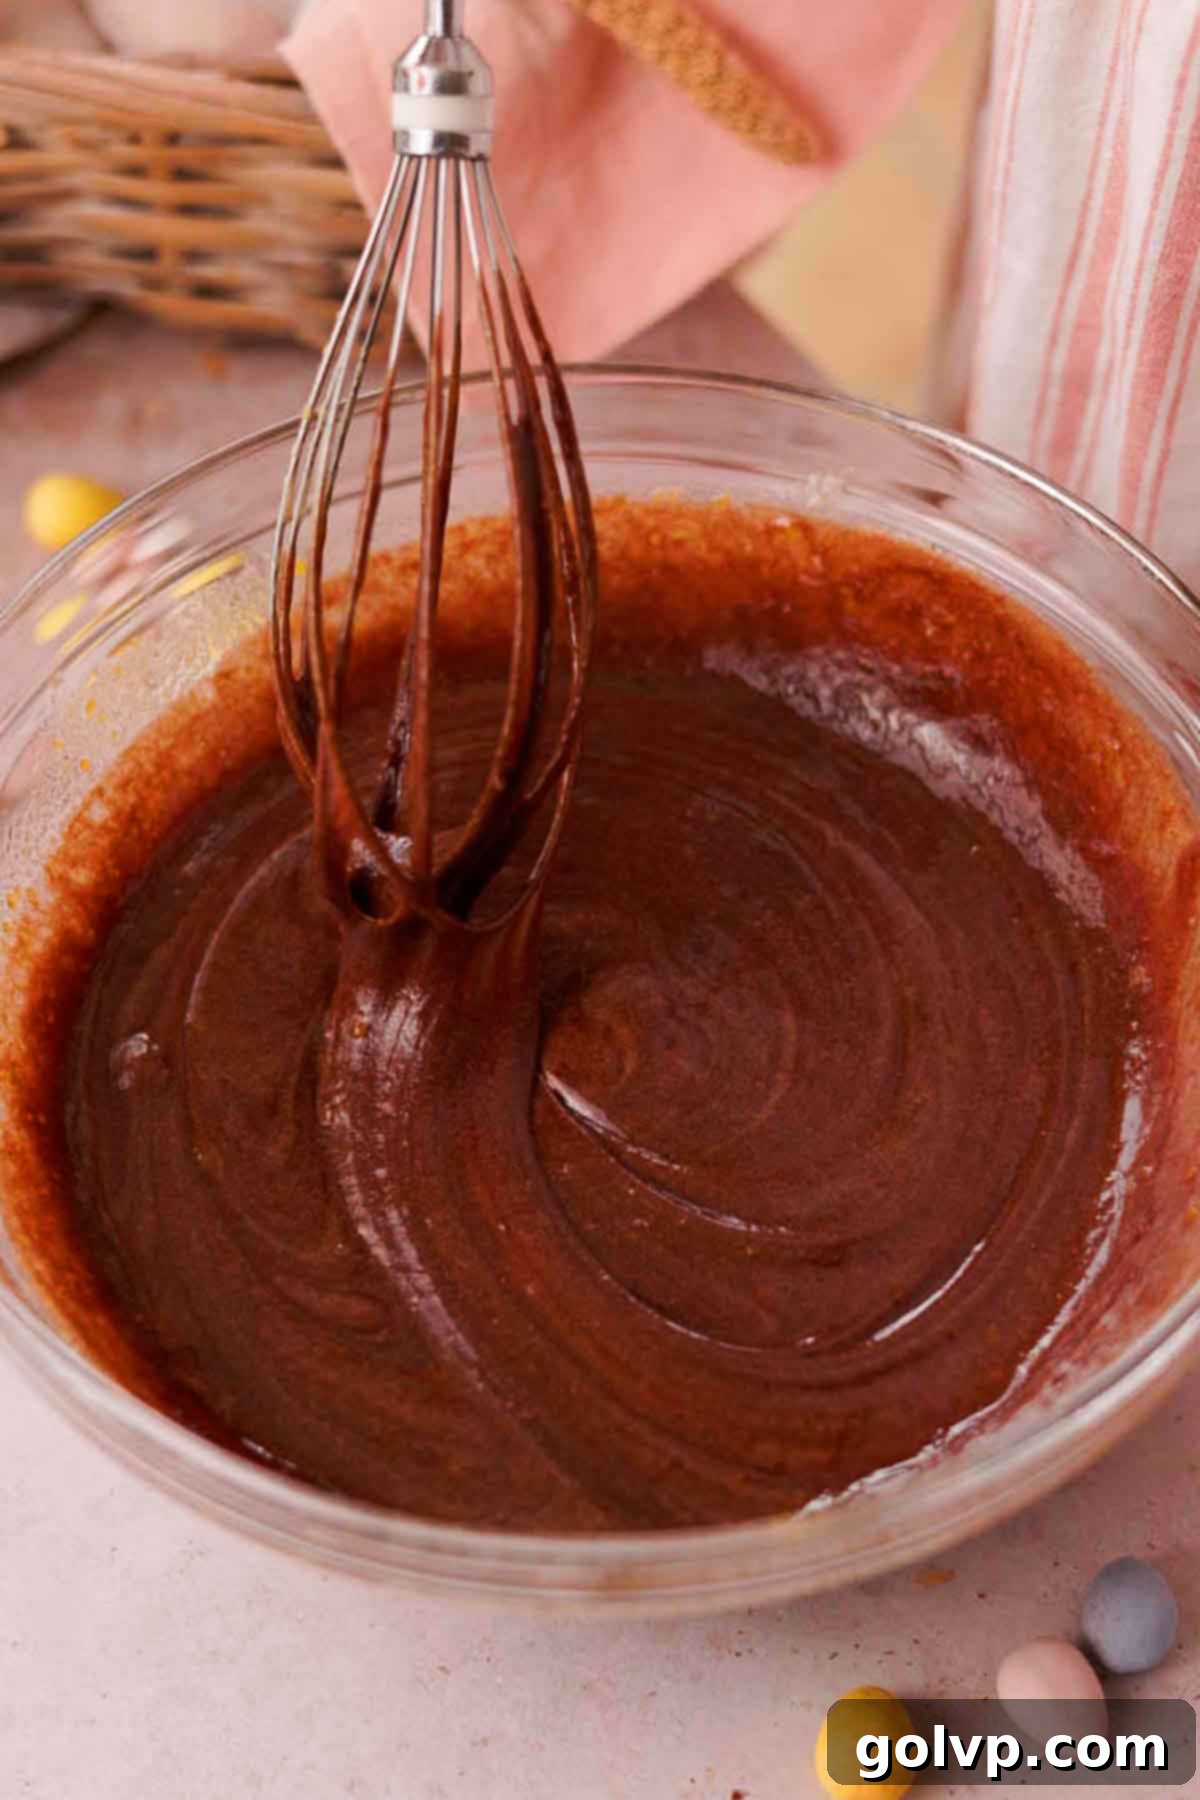
Step 3: Combine Wet Ingredients. To the whisked egg and sugar mixture, add the vanilla extract and sea salt. Whisk briefly to combine these flavors. Next, carefully pour in the cooled melted butter and chocolate mixture. Gently fold these wet ingredients together using a spatula or whisk until just combined. Be careful not to overmix at this stage; overmixing can lead to a tougher brownie texture.
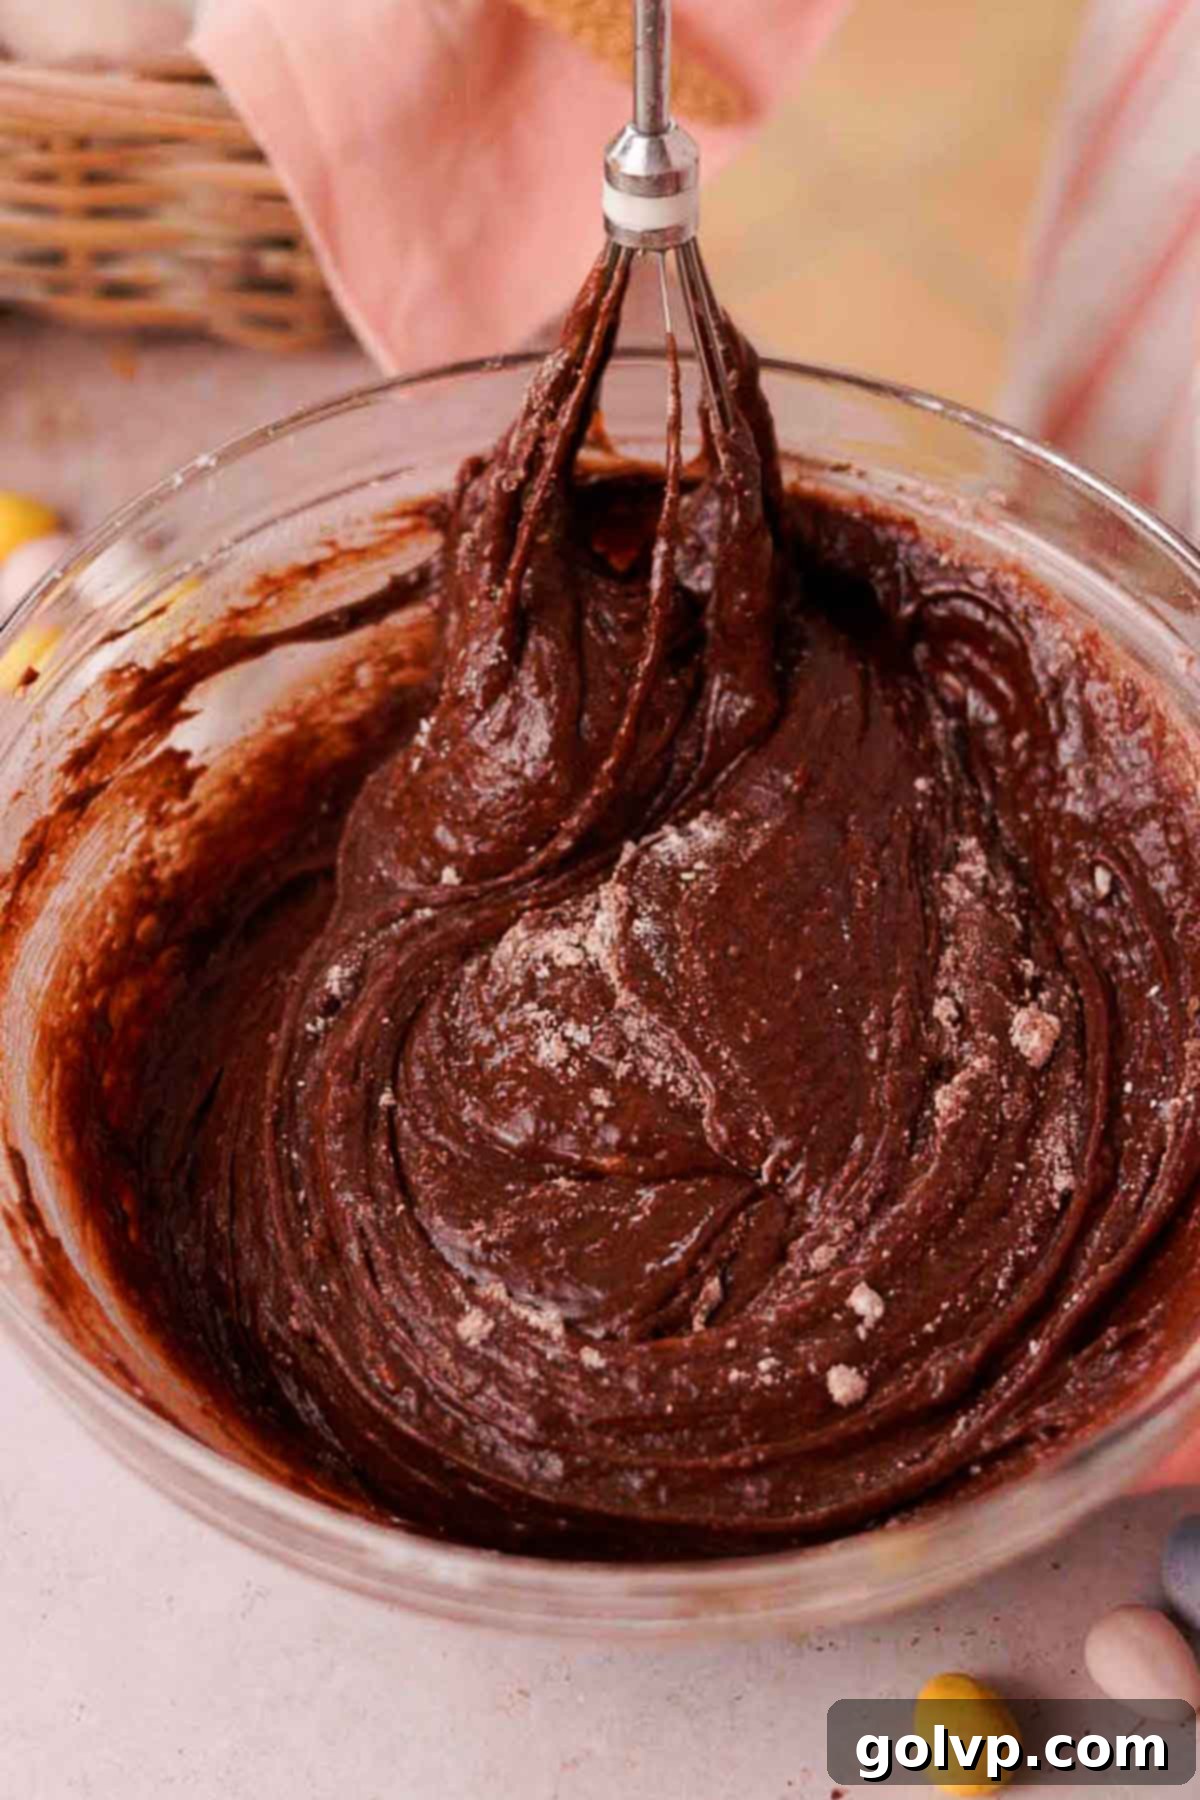
Step 4: Incorporate Dry Ingredients. Directly over the bowl with the wet mixture, sift in the all-purpose flour and cocoa powder. Sifting helps prevent lumps and ensures even distribution. Using a spatula or large spoon, gently fold the dry ingredients into the wet mixture. Mix just until no dry streaks of flour are visible. Again, avoid overmixing; over-developing the gluten in the flour can result in a less fudgy, more cakey brownie.
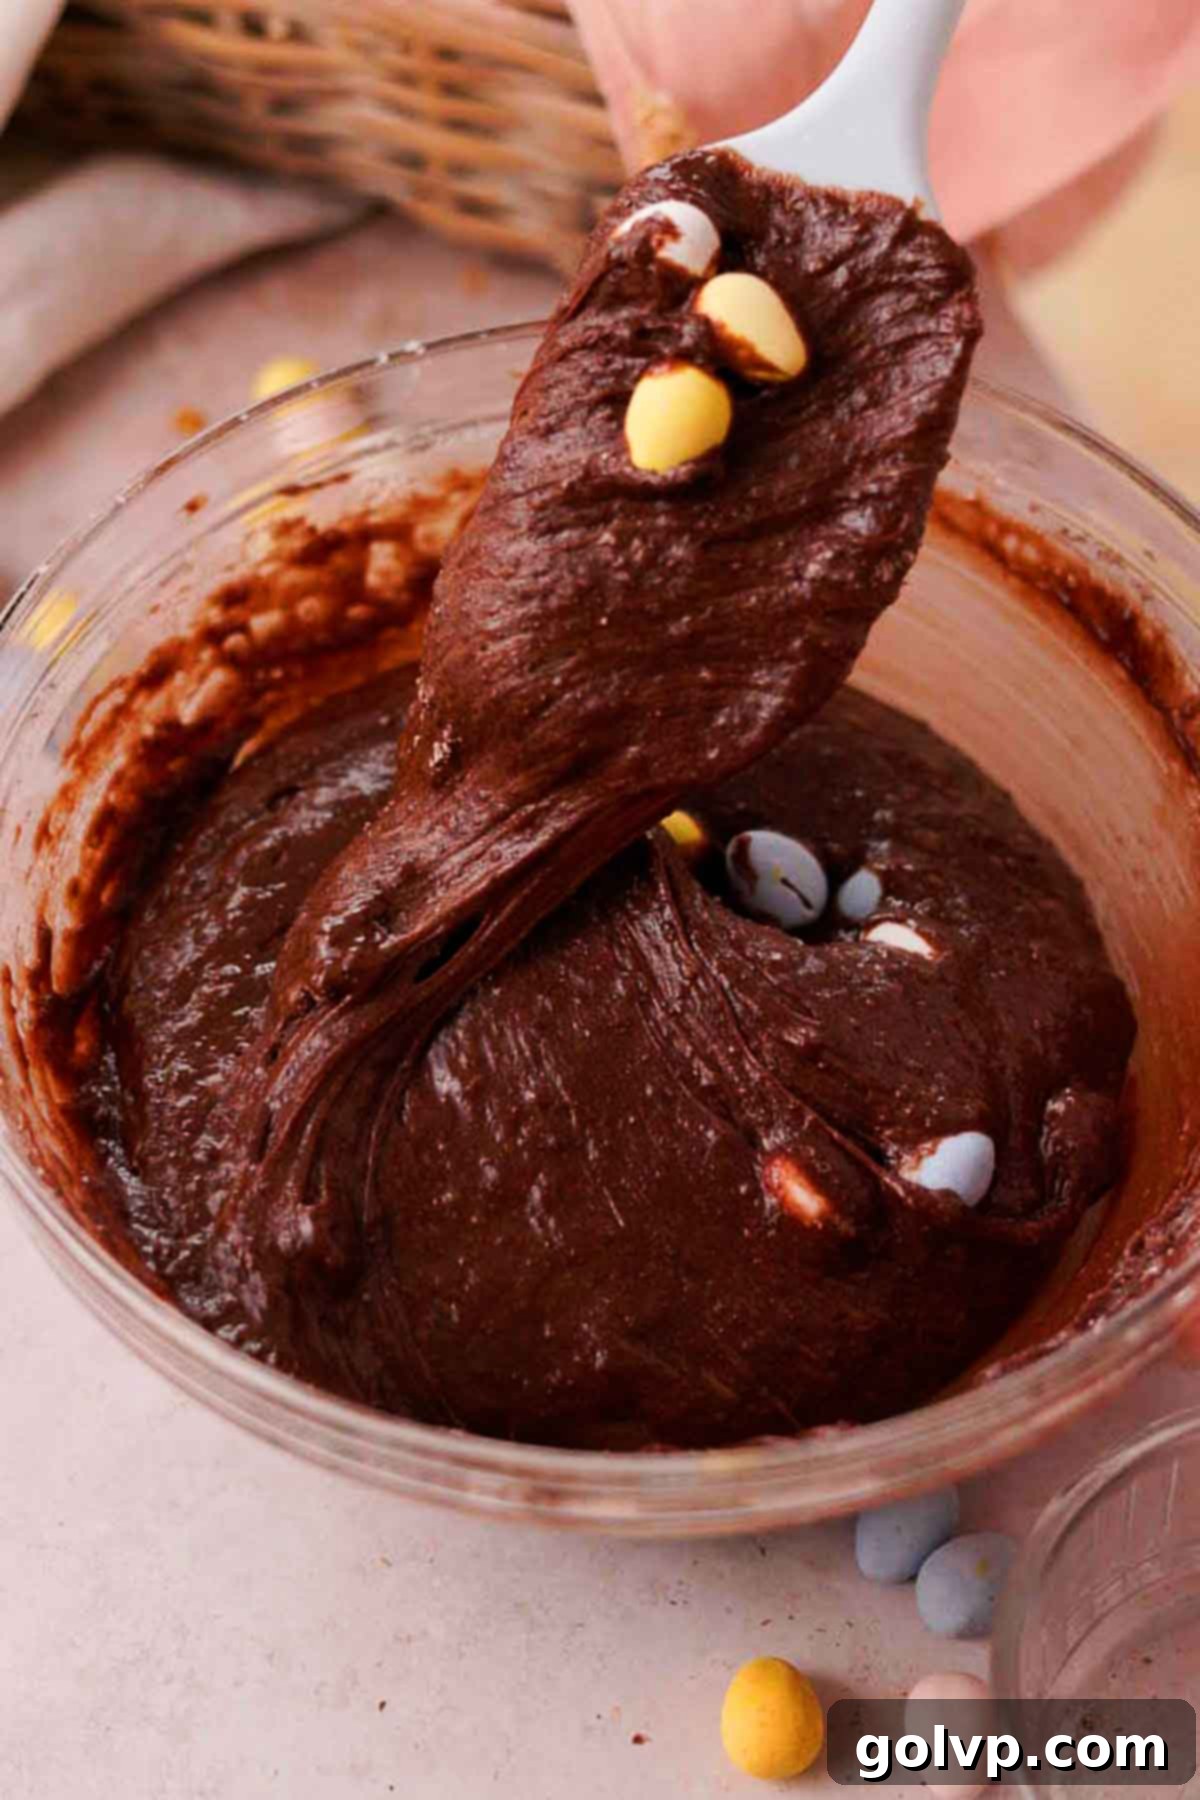
Step 5: Add Mini Eggs and Bake. Gently fold in 1 cup of the mini eggs into the brownie batter. Reserve the remaining mini eggs for topping. Pour the prepared batter into your parchment-lined baking pan, spreading it evenly to reach all edges. Transfer the pan to your preheated oven and bake for 32-37 minutes. The brownies are ready when the edges appear set and firm, and the center looks slightly puffed up but still a little jiggly. For super gooey brownies, err on the side of underbaking (closer to 32 minutes). For a firmer brownie, bake a bit longer (closer to 37 minutes).
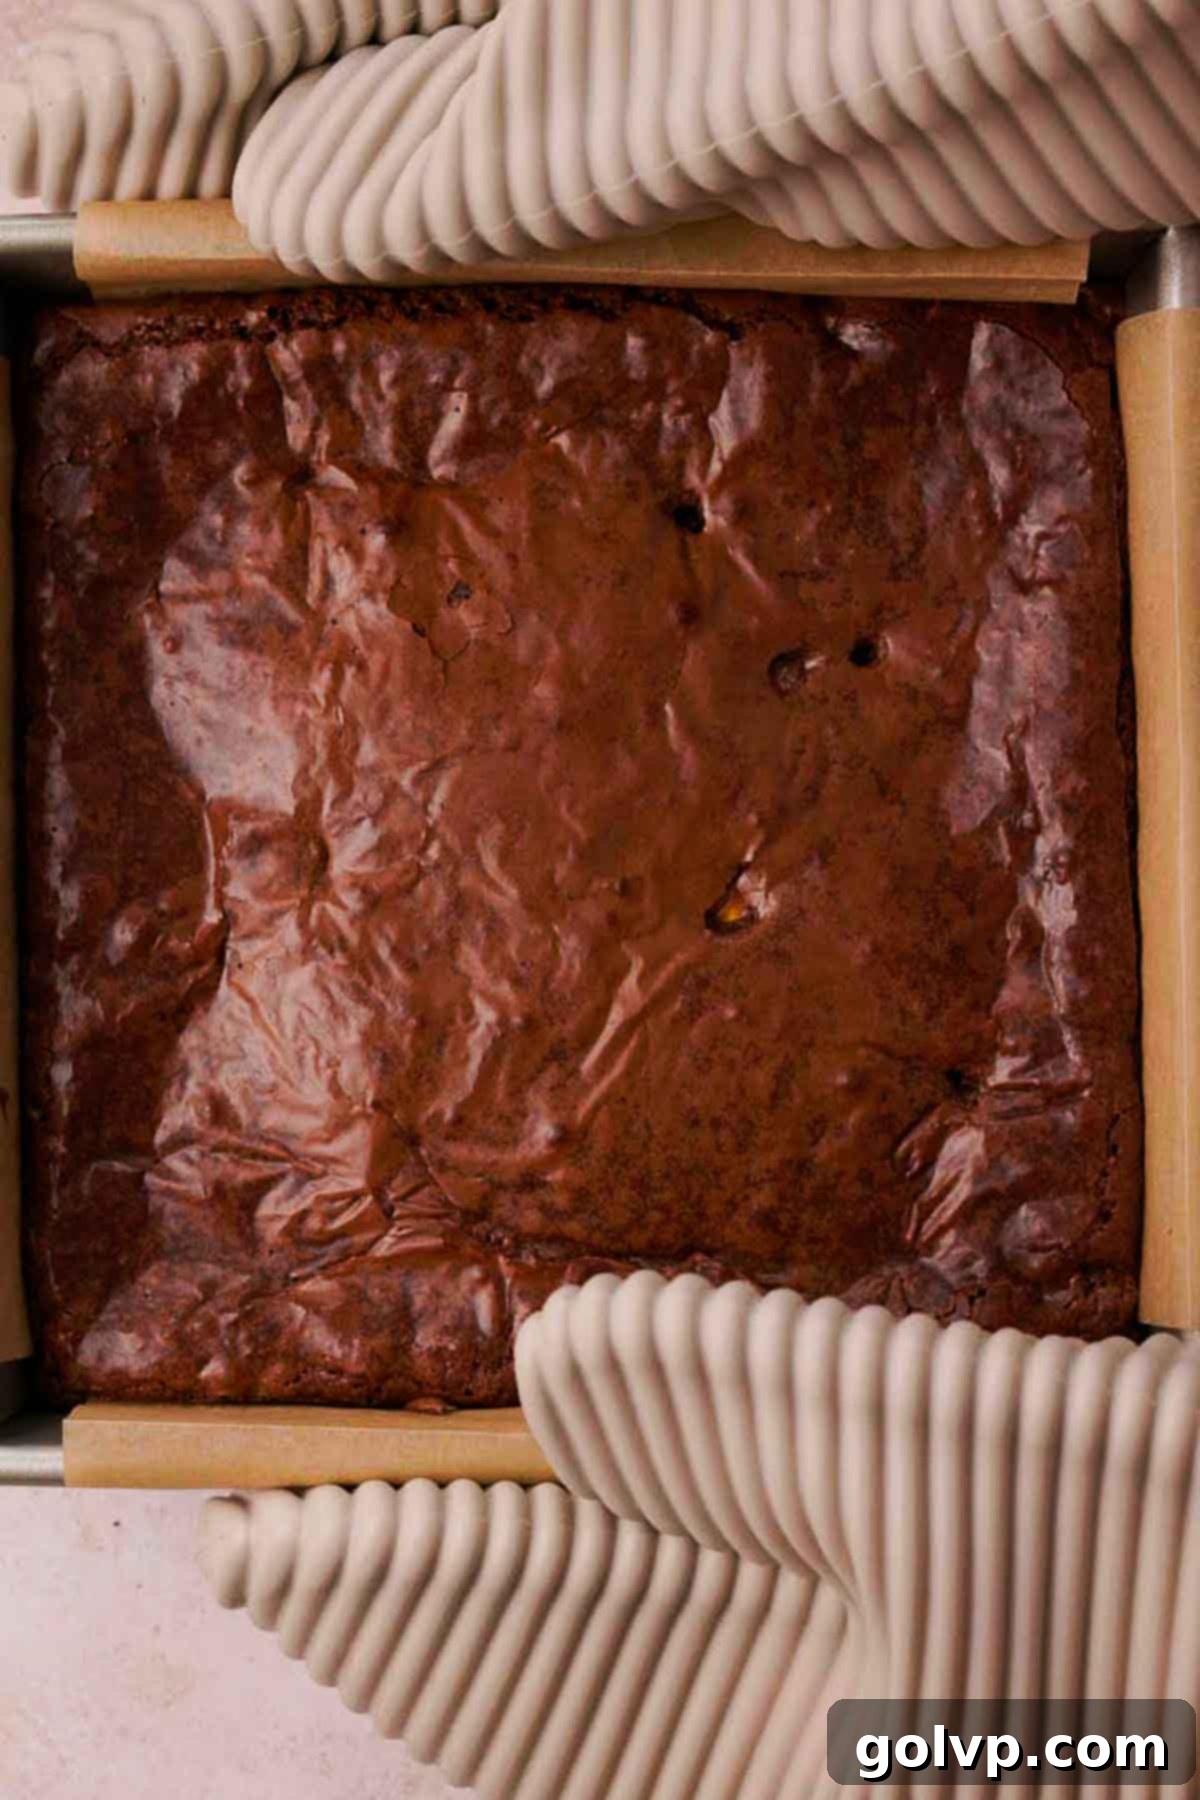
Step 6: Don’t Overbake! As mentioned in the previous step, achieving that perfect fudgy texture means being mindful of baking time. A slightly underbaked brownie will yield a deliciously gooey center, which is often preferred. The brownies will continue to set as they cool in the pan, so taking them out when the middle is still slightly soft is key. A toothpick inserted into the center should come out with moist crumbs, not wet batter, and not completely clean.
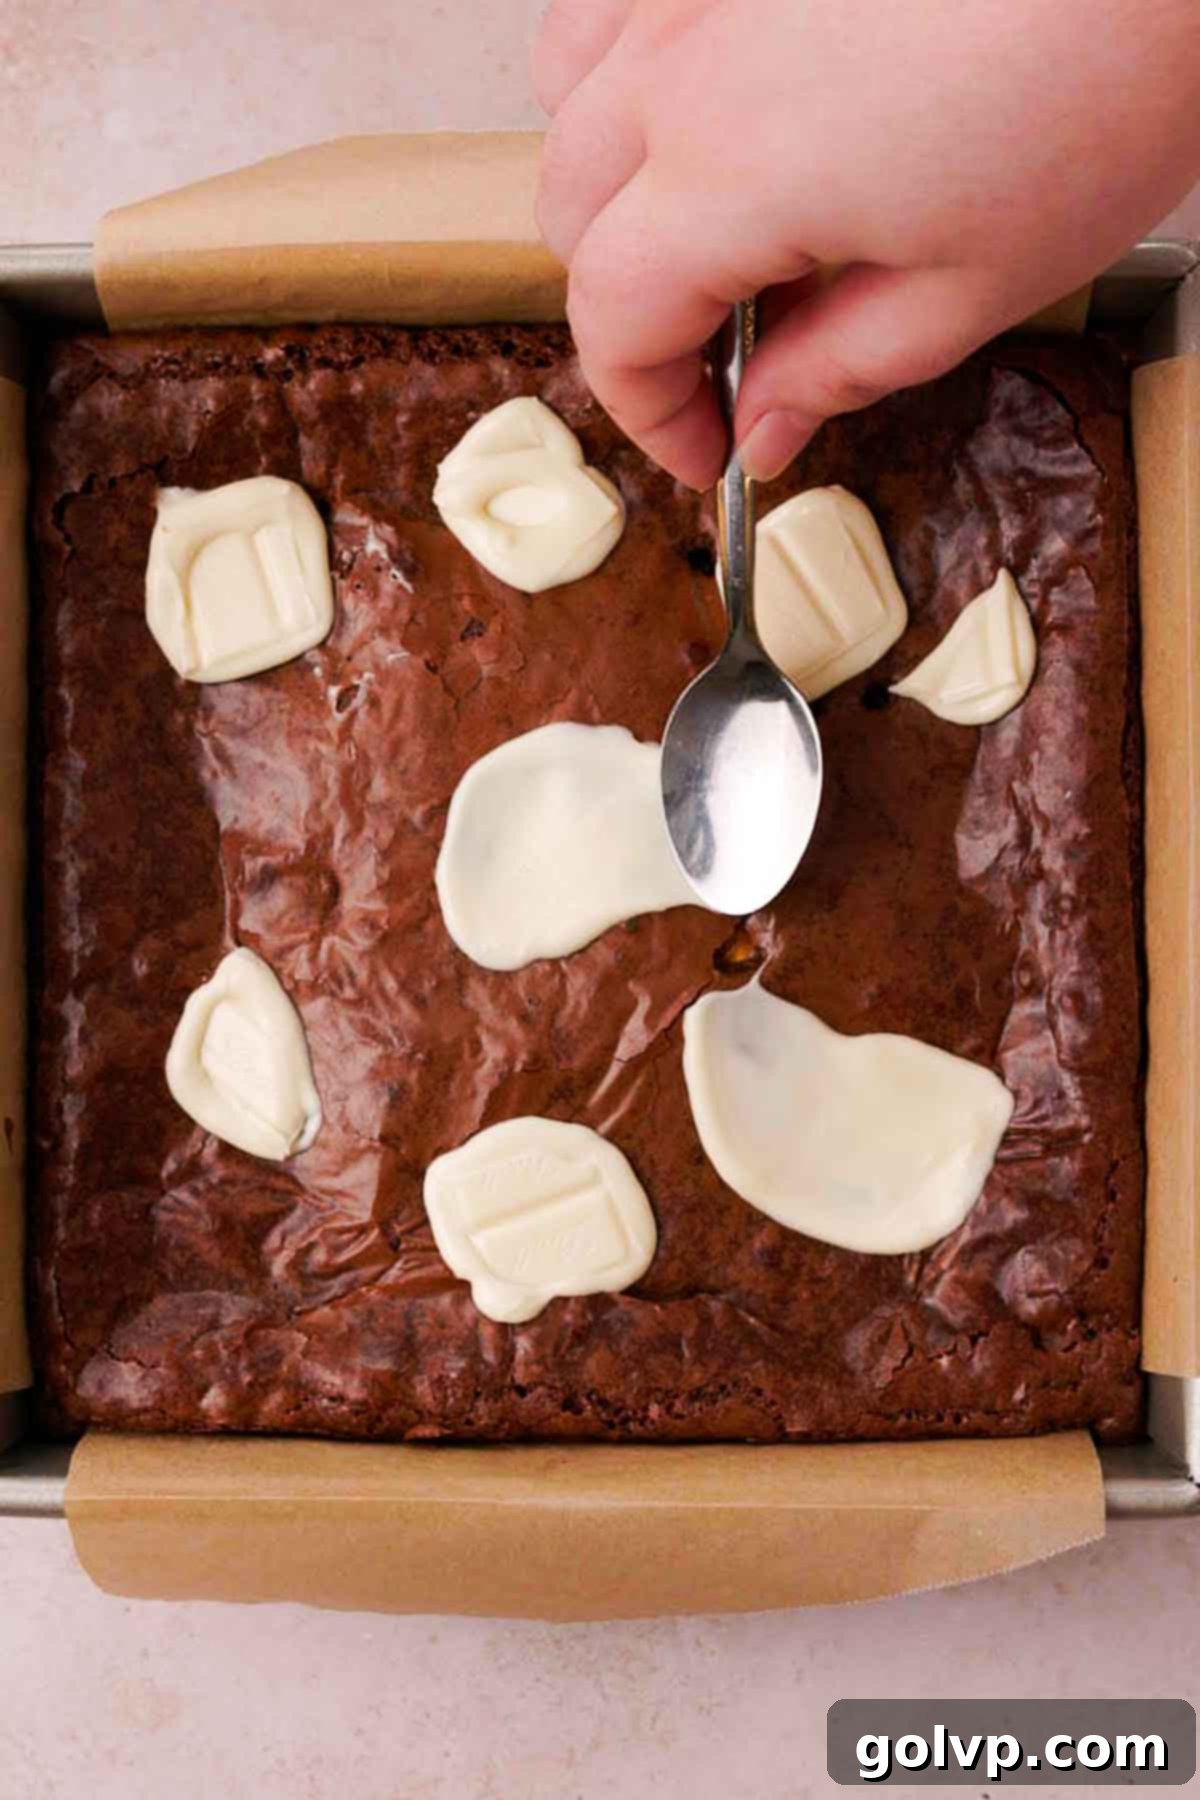
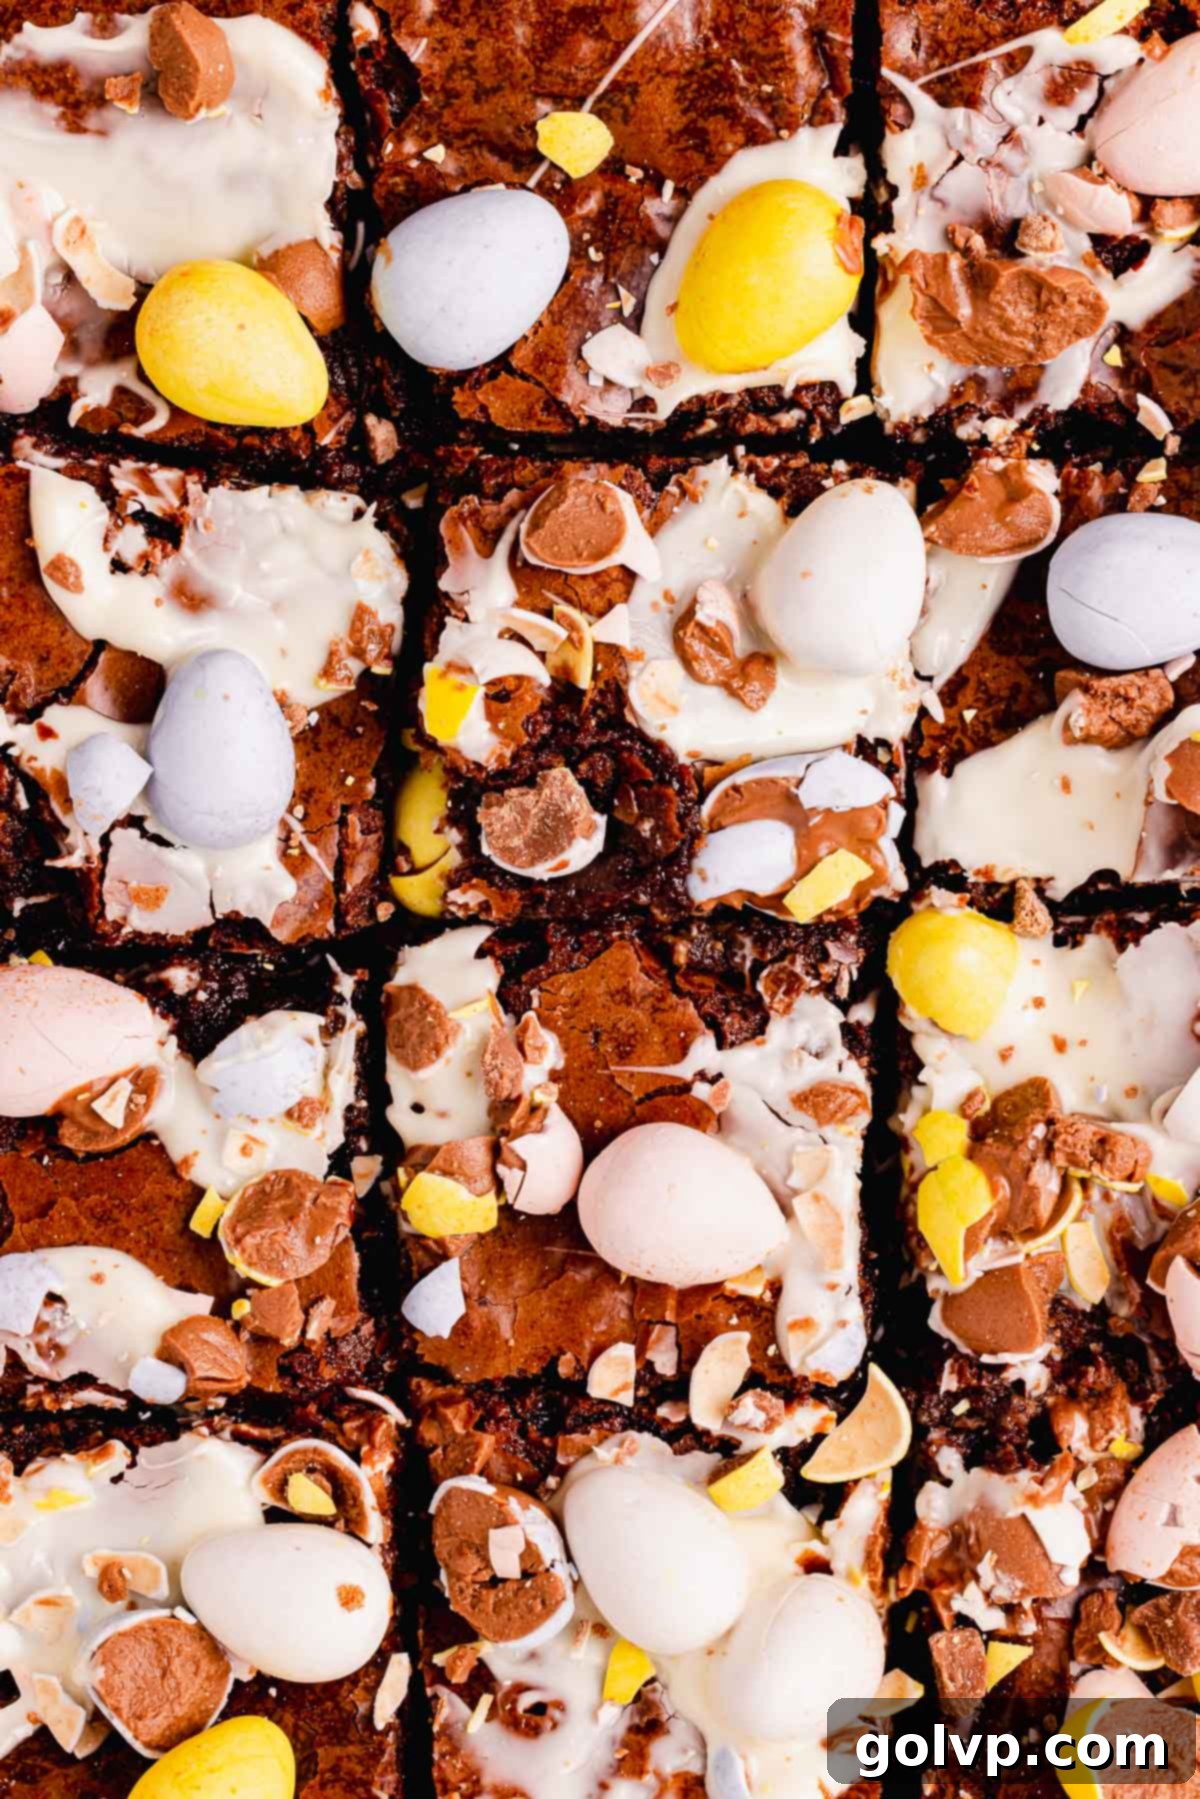
Step 7: Drizzle with White Chocolate. As soon as you remove the hot brownies from the oven, scatter pieces of white chocolate evenly over the top. Let them sit for about 5 minutes; the residual heat from the brownies will soften and melt the white chocolate. Then, using the back of a spoon, gently smear the melted white chocolate into irregular “splatter” patterns across the surface. This creates a beautiful, artistic finish and adds another layer of flavor.
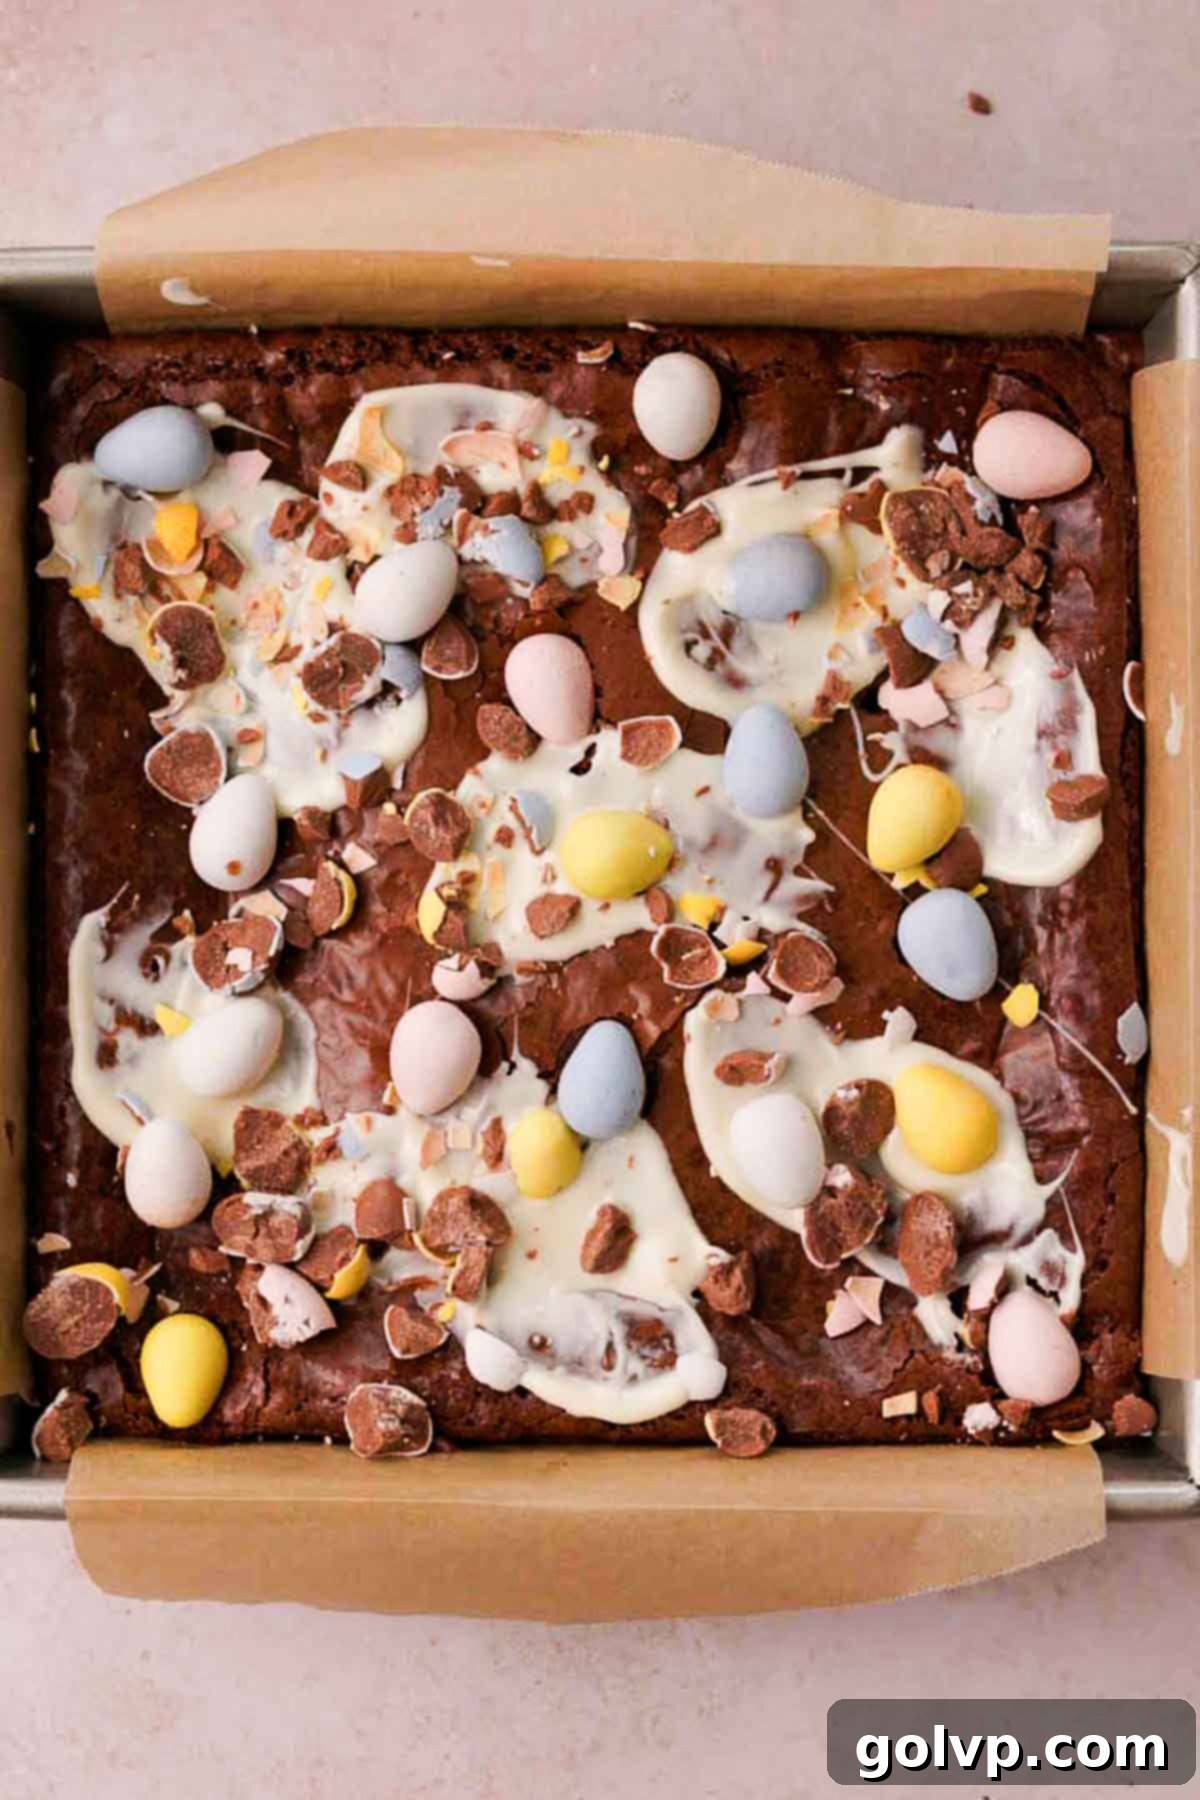
Step 8: Final Touches and Cooling. Immediately after smearing the white chocolate, sprinkle the remaining mini eggs over the brownies. For added visual interest and a fun textural crunch, crush a few mini eggs beforehand and scatter those on top as well. This creates a lovely mosaic of colors and textures. Now for the hardest part: allow the brownies to cool completely in the pan before attempting to cut them. This ensures they set properly and makes for clean, neat slices.
Expert Tips for Achieving the Ultimate Fudgy Mini Egg Brownies:
Unlock the secrets to consistently perfect brownies with these essential tips:
- Precision in Flour Measurement: This cannot be stressed enough! For the most consistent and accurate results, always weigh your flour using a kitchen scale. If you don’t have one, adopt the “spoon and level” method: gently stir the flour in its container to aerate it, then spoon it lightly into your measuring cup until it overflows. Use the back of a straight edge (like a knife or ruler) to level off the excess without compacting the flour. Packing flour into the cup can add too much, leading to dry, cakey brownies.
- Mastering the Crackly Tops: The beautiful, shiny, crackly crust on brownies is a hallmark of quality. Achieve this by ensuring your eggs are at room temperature. Whisk the room-temperature eggs along with both granulated and brown sugars vigorously until the mixture becomes significantly lighter in color and noticeably thickened, forming a ribbon when lifted. This process incorporates air and dissolves sugar, creating that desired surface. Even a simple wire whisk will do the trick in about 30-60 seconds of continuous effort.
- Avoid the Pitfalls of Overmixing: Once the melted butter and chocolate mixture is added to the whisked eggs, and especially when incorporating the dry ingredients (flour and cocoa powder), mix gently and sparingly. Use a spatula to fold the ingredients together just until no dry streaks of flour remain. Overmixing develops the gluten in the flour, which can lead to a dense, tough, and less fudgy brownie texture.
- The Golden Rule: Don’t Overbake! This is arguably the most critical tip for fudgy brownies. Keep a close eye on your brownies towards the end of the baking time. They are perfectly done when the edges look set and firm, and the middle appears slightly puffed but still has a slight jiggle to it when gently shaken. If you insert a toothpick into the center, it should come out with moist crumbs clinging to it, not wet batter, and certainly not completely clean. Remember, brownies continue to cook and set as they cool in the pan, so it’s always better to slightly underbake for maximum fudginess.
- Cool Completely for Clean Slices: Patience is a virtue, especially with brownies! Resist the urge to cut into them while they’re still warm. Allowing them to cool completely, ideally for several hours or even overnight (or chilling them in the fridge), allows them to fully set. This makes for much cleaner, more precise cuts and helps maintain their fudgy integrity.
🥄 Make Ahead and Storage Tips for Your Mini Egg Brownies
These fudgy mini egg brownies are incredibly versatile when it comes to preparation and storage. Here’s how to ensure they stay fresh and delicious:
For the best flavor and texture, these brownies are truly at their peak when enjoyed at room temperature or slightly warmed. A quick zap in the microwave for 10-15 seconds can bring back that freshly baked warmth and gooey center.
Refrigeration: To keep them fresh, store the brownies in an airtight container in the refrigerator for up to 3 days. The cold temperature helps preserve their fudgy texture and prevents them from drying out. When ready to serve, let them come to room temperature or warm them slightly for optimal enjoyment.
Freezing: These brownies freeze wonderfully! For longer storage, place them in an airtight, freezer-safe container or wrap individual squares tightly in plastic wrap and then aluminum foil. They can be frozen for up to 2 months. When you’re ready to indulge, simply thaw them at room temperature or warm them gently in the microwave or oven until soft and chewy, tasting as if they were just baked.
🍫 Natural VS Dutch-Processed Cocoa Powder: Understanding the Difference
The type of cocoa powder you choose can subtly yet significantly impact the flavor and color of your brownies. It’s a common question among bakers, and understanding the distinction will help you tailor your chocolate desserts to your preference.
Dutch-Processed Cocoa Powder: This cocoa powder has been treated with an alkali, typically potassium carbonate, to reduce its acidity. This process results in a cocoa powder that is darker in color (often a rich, deep brown to almost black) and has a smoother, milder, and less bitter chocolate flavor. Because it’s less acidic, it reacts differently with leavening agents; it’s often paired with baking powder rather than baking soda (which needs an acid to activate). In our mini egg brownies, Dutch-processed cocoa provides a wonderfully deep, rich, and mellow chocolate intensity, which is what we preferred for this recipe.
Natural Cocoa Powder: As the name suggests, natural cocoa powder is untreated and maintains its natural acidity. It has a lighter brown color and a stronger, slightly more acidic, and often fruitier chocolate flavor. Natural cocoa powder reacts with baking soda to create lift, so recipes using it often include baking soda. If you prefer a brownie with a less intense chocolate flavor and a subtle tang, natural cocoa powder is an excellent choice.
How to Tell Them Apart: If you’re unsure which type of cocoa powder you have, simply check the ingredients list on the packaging. Natural cocoa powder will typically list only “cocoa powder.” Dutch-processed cocoa powder will include “potassium carbonate” or “alkali” among its ingredients.
For these mini egg brownies, either natural or Dutch-processed cocoa powder will work, offering slightly different but equally delicious results. If you lean towards a more intense, deep chocolate flavor, go with Dutch-processed. If you prefer a lighter, slightly brighter chocolate note, natural cocoa powder is your friend! If you’re looking for a less chocolatey mini egg dessert altogether, these delightful mini egg bars are a perfect alternative.
❔ Unlocking the Secrets to Exceptional Brownie Flavor
The flavor profile of your brownies is largely determined by the quality and type of chocolate you choose. Investing in good chocolate will always pay dividends in taste.
The Impact of Chocolate Quality: Using a high-quality dark chocolate (typically with a higher cocoa percentage, like 60-70%) is paramount for brownies that are deeply flavorful and have a wonderfully soft, almost melt-in-your-mouth texture. The better the chocolate, the more nuanced and rich your brownies will taste. Dark chocolate imparts a sophisticated, less sweet profile, allowing the pure essence of cocoa to shine through, which is what we used for this recipe to achieve a truly gourmet experience.
Choosing Your Chocolate:
- Dark Chocolate Bars: As highlighted, these are our top recommendation for a rich, deep, and complex chocolate flavor. Look for baking bars with minimal ingredients.
- Semi-Sweet Chocolate Chips: These are a perfectly acceptable and convenient alternative. Semi-sweet chocolate chips work great in this recipe, offering a balance of sweetness and chocolate intensity that most people love.
- Milk Chocolate: While you *can* use milk chocolate, it’s generally not our preferred choice for the primary chocolate in brownies. Milk chocolate contains a higher sugar content and milk solids, which tend to make the brownies significantly sweeter and sometimes less fudgy in texture. If you do opt for milk chocolate, ensure it’s a good quality milk chocolate bar (not chips, which often contain stabilizers that don’t melt as smoothly) to mitigate some of these effects.
Experimenting with different chocolate percentages and types can lead to exciting discoveries, allowing you to fine-tune your brownies to your exact preference. And if you’re looking for other unique brownie flavors, our cherry brownies offer a delightful tartness, while the tangy lemon brownies provide a surprising burst of fresh, bright flavor.
Recipe FAQs
Absolutely! Semi-sweet chocolate chips will work wonderfully in this recipe, offering a convenient alternative with great flavor. We generally advise against using milk chocolate chips, as they can make the brownies excessively sweet and may not melt as smoothly as chocolate bars. If you desire a milk chocolate flavor, opt for a high-quality milk chocolate bar instead.
Yes, you can certainly use milk chocolate if that’s your preference. However, be aware that milk chocolate has a higher sugar content, which will result in a noticeably sweeter brownie. For the best outcome, choose a good quality milk chocolate bar rather than milk chocolate chips, as bars tend to melt more smoothly and yield a better texture.
To check if your cocoa powder is Dutch-processed, simply look at the ingredients list on the package. If it contains “potassium carbonate” or is labeled “processed with alkali,” it is Dutch-processed. Natural cocoa powder will typically list only “cocoa powder” as its sole ingredient.
Yes, an 9-inch square baking pan can be used. Keep in mind that the brownies will be slightly thinner and may bake a bit faster. Begin checking for doneness about five minutes earlier than the recipe suggests to prevent overbaking.
If you wish to use a larger rectangular pan like an 8″x12″ or 9″x12″, you will need to double the recipe to ensure the brownies have adequate thickness. Most recipe cards have a convenient “2x” button for scaling ingredients. Just be sure to adjust baking time accordingly, as a larger batch might take slightly longer.
For perfectly crisp and clean brownie squares, chill the cooled brownies in the refrigerator for at least 30 minutes, or even in the freezer for 15-20 minutes, until they are firm. This firmness makes them much easier to slice neatly. Between each cut, wipe your knife clean with a damp towel to remove any sticky residue, ensuring each piece is picture-perfect. Allow them to return to room temperature before serving for the best texture.
🐇 More Sweet Treats for Your Easter Table
Looking for more delicious recipes to celebrate Easter or satisfy your sweet tooth? Explore these other delightful creations from our kitchen:
- Creme Egg Brownies
- Birds Nest Cookies
- Creme Egg Cake
- Mini Egg Bars
Did you make this delightful recipe? We would be thrilled for you to rate it and share your thoughts in the comments below! Don’t forget to share your delicious creation on Instagram and tag @flouringkitchen. Follow us on Pinterest for more inspiring recipes and baking ideas.
📖 Recipe

Mini Egg Brownies
Mary
Pin Recipe
Shop Ingredients
Equipment
-
eight inch square baking pan see notes
Ingredients
- ¾ cup unsalted butter
- 7 oz dark chocolate or semisweet chocolate chips (see notes for conversion amounts)
- 3 large eggs room temperature
- ¾ cup granulated sugar
- ½ cup brown sugar packed
- 1 tablespoon pure vanilla extract
- ¼ teaspoon sea salt
- ¾ cup all purpose flour 90g
- ¼ cup cocoa powder dutch processed for richer flavor, or natural for a more subtle flavor
- 1 ½ cup cadbury mini eggs or other candy coated mini chocolate eggs
- 4 oz white chocolate broken into pieces (optional for topping)
Shop Ingredients on Jupiter
Instructions
-
Preheat oven to 355°F (180°C). Line an 8” square baking pan with parchment paper, leaving handles to help lift the brownies out later.
-
Fill a saucepan with a few inches of water and find a heat safe bowl that fits on top without touching the water. Bring the saucepan with water to a simmer.
-
Cut butter and chocolate into small pieces so they melt easier and place into the bowl. Put the bowl on top of the saucepan with simmering water and stir until the butter and chocolate melts. Remove from heat and let cool to room temperature while you work on the batter.¾ cup unsalted butter, 7 oz dark chocolate
-
Alternatively you can melt the chocolate and butter in the microwave in 10 second increments, stirring in between. Let cool to room temperature.
-
In a large bowl, whisk eggs, granulated sugar, and brown sugar until lightened in color and thickened. This takes about 30-60 seconds. The longer you whisk, the more crackly the tops will be. You can use an electric mixer if you have one.3 large eggs, ¾ cup granulated sugar, ½ cup brown sugar packed
-
Add salt and vanilla extract, whisk to combine. Add cooled melted butter and chocolate, gently fold to combine.1 tablespoon pure vanilla extract, ¼ teaspoon sea salt
-
Sift flour and cocoa powder right into the same bowl. Gently fold just until no more dry streaks of flour remain.¾ cup all purpose flour, ¼ cup cocoa powder, 1 ½ cup cadbury mini eggs
-
Add 1 cup of mini eggs and fold. Pour into lined baking pan, spreading out the batter to the edges. Bake for 32-37 minutes. They’re ready when the edges are set and the middle is puffed up. Bake it less for more gooey fudgy brownies and more for a firmer brownie.1 ½ cup cadbury mini eggs
-
Remove from oven and immediately top with pieces of white chocolate. Let sit for 5 minutes, then use the back of a spoon to smear the white chocolate into irregular “splatters”. Top with remaining mini eggs. Crush a few and sprinkle on top for more texture. Let cool completely.4 oz white chocolate
-
Once cooled, lift them out by pulling at the parchment paper. Slice into 16 squares (four by four). Clean the knife with a damp towel between each cut for clean slices.
Video
Notes
The brownies will keep well stored refrigerated in an airtight container for up to 3 days. You can freeze them in an airtight container for up to 2 months. Warm them slightly before eating so they taste freshly baked.
Chocolate conversions:
- You’ll need 7 oz or 200g of dark chocolate, this is about 2 regular size chocolate bars (check the weights on the packets to confirm).
- If you use semi-sweet chocolate chips, you’ll need 7oz or 1 cup + 3 tablespoons of regular size chocolate chips.
- You can use milk chocolate chips for less rich, milder tasting brownies. They will be more sweet.
You can use a 9″ square baking pan, check on the brownies in the oven 5 minutes earlier.
Nutrition
