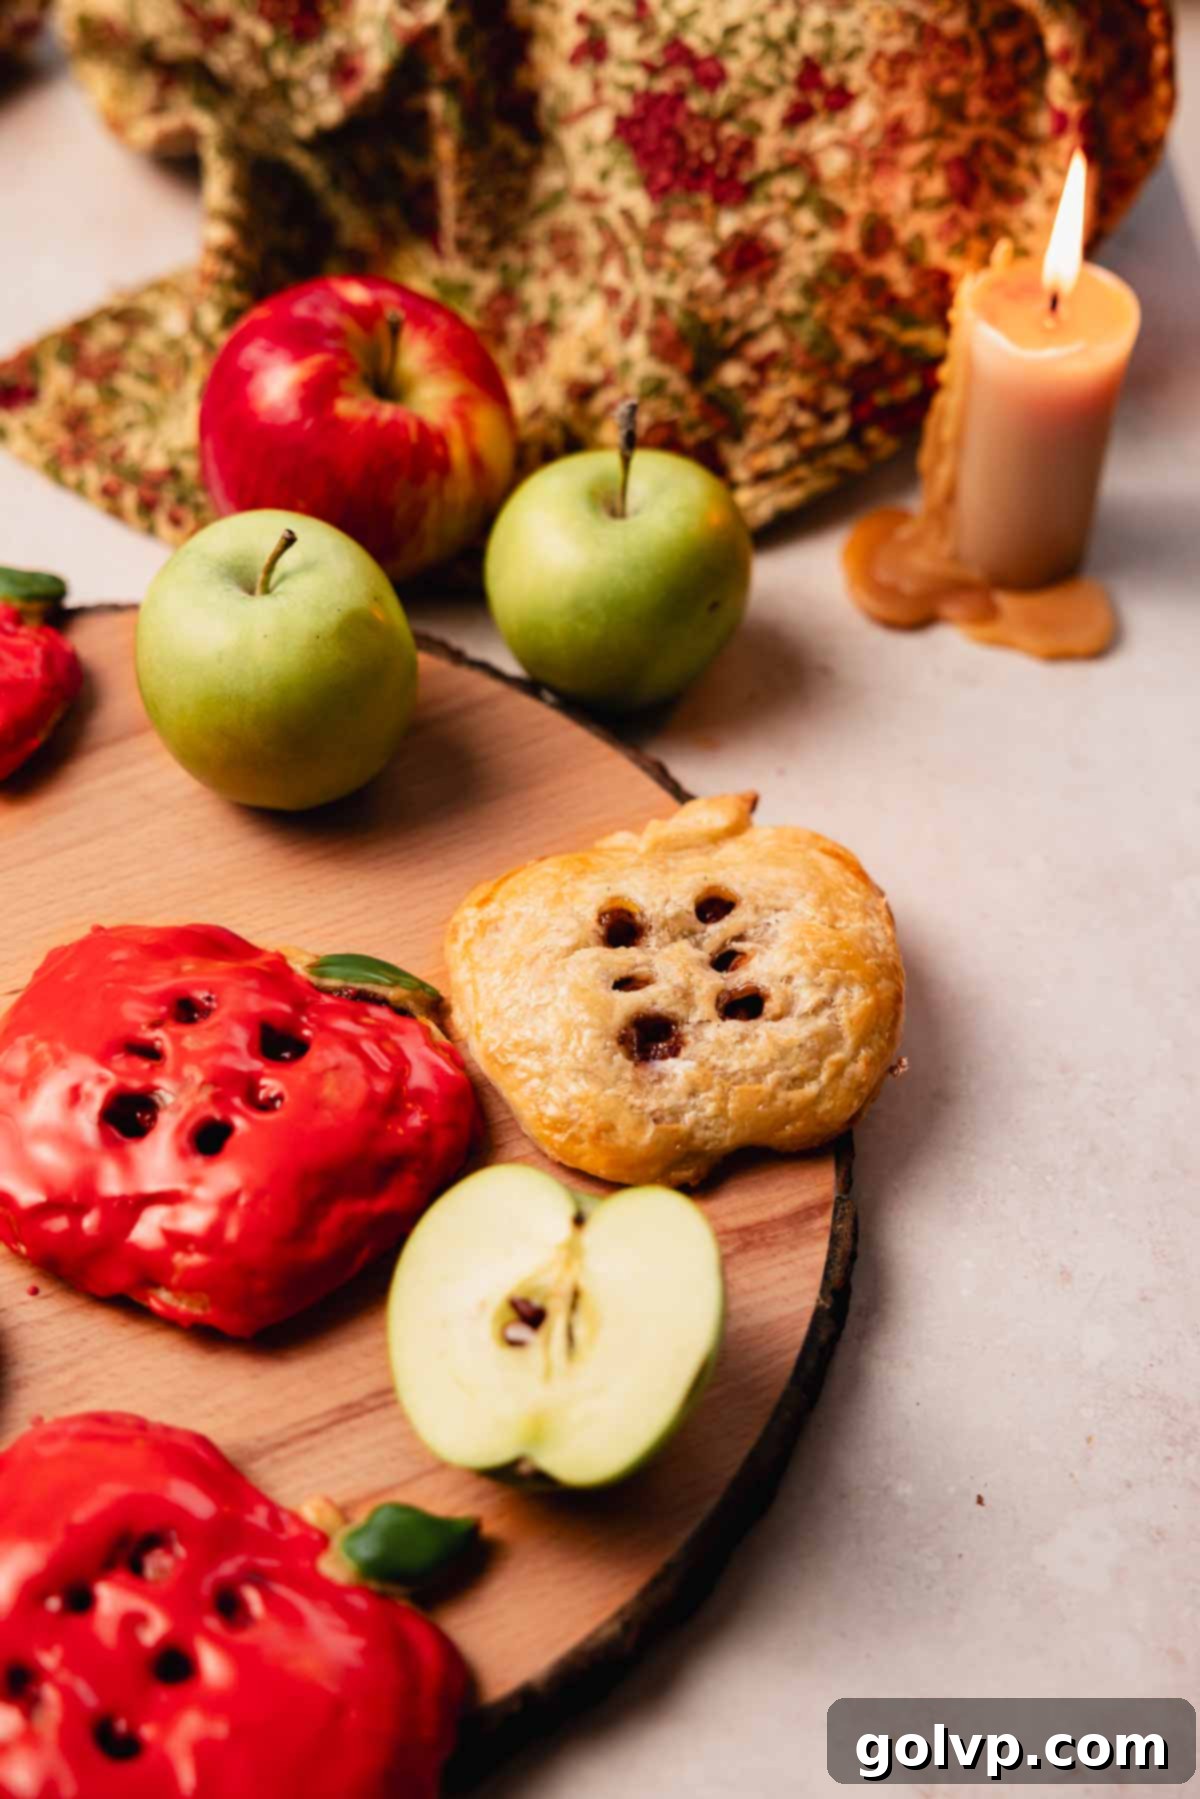
Flaky Caramel Apple Hand Pies: An Irresistible Homemade Treat
Indulge in the delightful charm of these homemade apple hand pies, featuring a beautifully flaky all-butter pie crust that crumbles with every bite. Nestled within is a luscious, gooey spiced caramel apple filling, perfectly balanced with a sweet, delicate glaze. For an extra touch of fun and whimsy, these pies are often crafted in the shape of apples, making them as visually appealing as they are delicious. Far simpler to prepare than a traditional apple pie, these hand pies offer the ultimate portable sweet treat. If you prefer a less sweet option, you can easily omit the glaze and opt for a classic coarse sugar topping instead, providing a delightful textural crunch.
For those who adore the classic combination of caramel and spiced apples, you’re also going to love our salted caramel apple cheesecake bars, another fantastic dessert showcasing these beloved flavors.
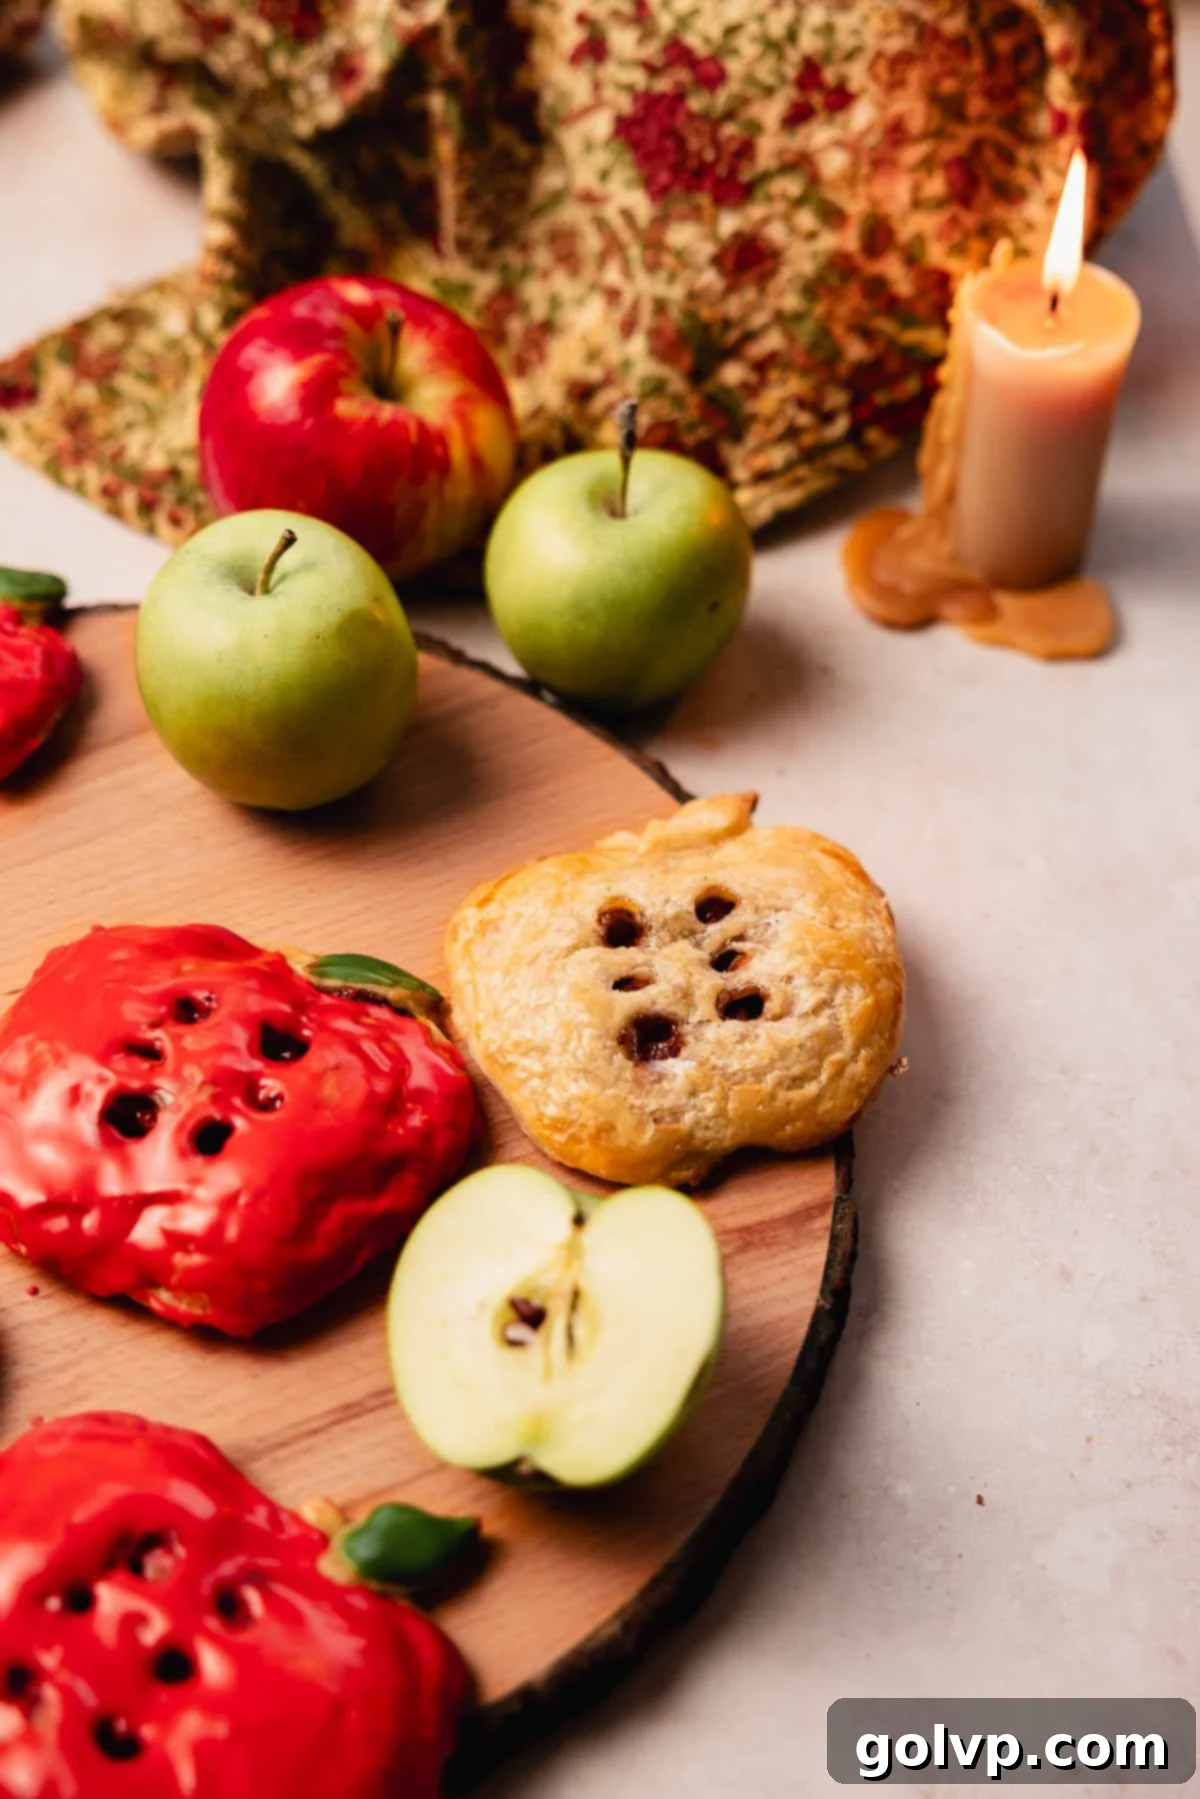
🍎 Why You’ll Adore This Apple Hand Pie Recipe
There are countless reasons why these caramel apple hand pies will quickly become a favorite in your baking repertoire. From their ease of preparation to their irresistible flavor profile, they offer a perfect blend of convenience and indulgence.
- Effortless Compared to a Full Pie: If the thought of baking a whole pie feels daunting, hand pies are your perfect solution. They are significantly more approachable and quicker to assemble and bake, making them ideal for both novice and experienced bakers looking for a less time-consuming dessert. Plus, individual portions mean no slicing or serving hassle!
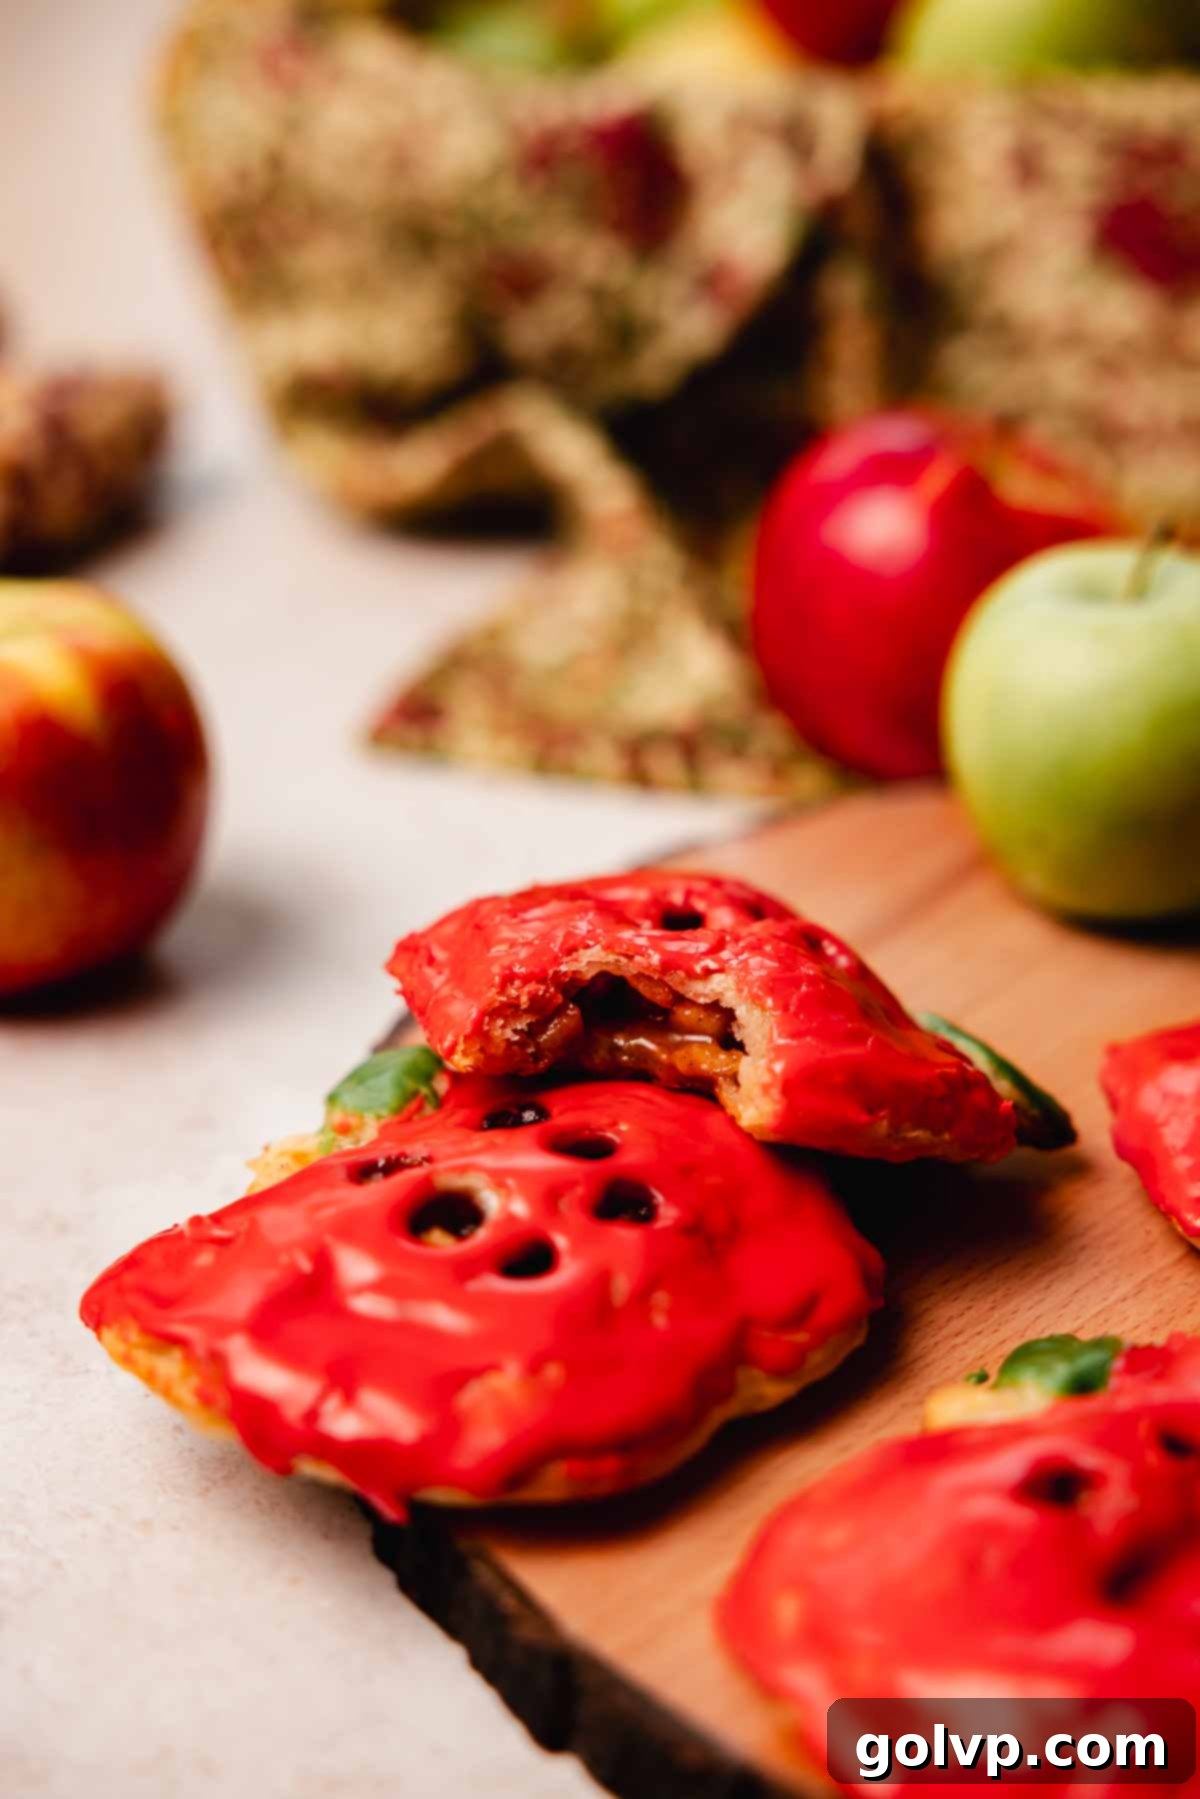
- Irresistible Caramel Apple Core: Each hand pie features a soft, melted caramel center that oozes delightfully when bitten into, creating an ooey-gooey texture sensation. This rich caramel element beautifully complements the spiced apples, elevating the flavor and providing a luxurious touch that is simply divine.
- Flexible Crust Options: Whether you’re a purist who loves the challenge and reward of a homemade, buttery pie crust, or you prefer a quick shortcut, this recipe caters to both. Our detailed recipe guides you through making a wonderfully flaky crust from scratch, but store-bought pie crusts or even butter puff pastry can be used to significantly cut down on preparation time without sacrificing deliciousness.
- Aromatic Spiced Apple Filling: The apple filling is infused with a harmonious blend of warming spices: cinnamon, cardamom, nutmeg, and allspice. This aromatic medley evokes comforting fall feelings and adds incredible depth to the apples. For those who prefer a simpler flavor, the spices can be easily adjusted or omitted entirely for a more classic caramel apple experience.
📝 Essential Ingredients for Perfect Hand Pies
Review these tips for selecting and preparing your ingredients to ensure the best results!
Find full steps and ingredient measurements in the recipe card at the bottom of the page.
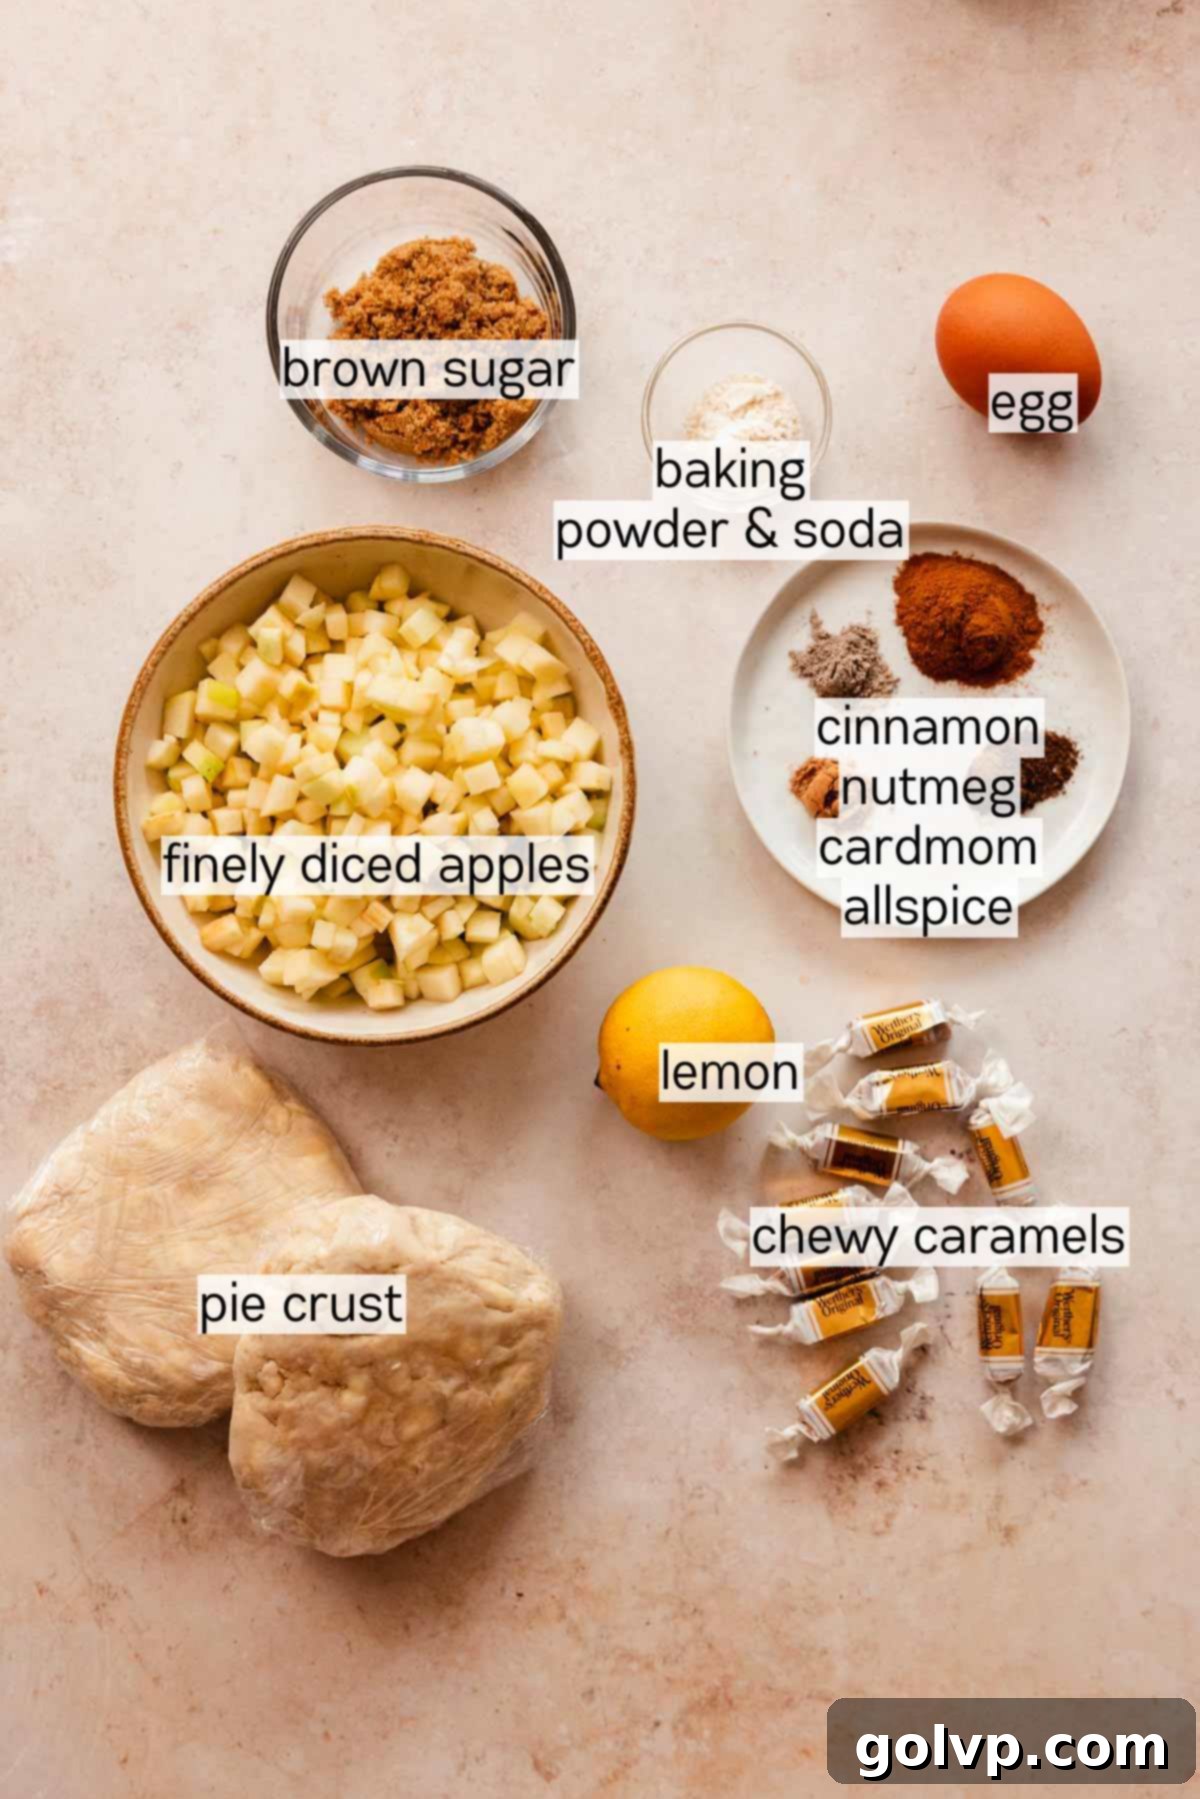
Apples: The foundation of our delicious filling! For baking, it’s crucial to choose firm, tart apple varieties that will hold their shape and deliver a vibrant flavor rather than turning into a mushy pulp. Granny Smith apples are a popular and readily available choice, known for their crisp texture and tangy profile. Other excellent options include Honeycrisp, Braeburn, or even a mix of varieties for more complex flavor. Aim for apples that are crunchy and offer a good balance of sweet and tart to complement the caramel and spices.
Dark Brown Sugar: This isn’t just a sweetener; dark brown sugar introduces rich molasses notes to the apple filling, adding a deeper, more complex sweetness compared to white sugar. It also helps create that beautifully gooey texture as it melts with the apples.
Cinnamon, Cardamom, Nutmeg, and Allspice: This quartet of spices is what truly elevates the apple filling, imparting a warm, fragrant, and inviting flavor that screams “comfort.” Cinnamon is the dominant note, while cardamom adds a unique floral hint, nutmeg provides earthy warmth, and allspice ties it all together with notes of clove, nutmeg, and cinnamon. If allspice is unavailable, ground cloves can be used as a similar-profile substitute. Feel free to adjust the quantities or omit any spices if you prefer a simpler, less spiced apple flavor.
Soft Caramels: These are the secret to the irresistible ooey-gooey center of each hand pie. When baked, the soft caramels melt into a luscious, stretchy caramel that blends with the apple filling, adding incredible flavor and a delightful texture. While you *can* omit them, we highly recommend including them for that extra touch of decadence. Be sure to use soft, chewy caramels, not hard candies, to achieve the desired melt and texture.
Butter: The cornerstone of a truly flaky, rich, and buttery pie crust. Using high-quality butter is paramount for the best flavor and texture. Ensure your butter is very cold and cut into small pieces when making the crust; this prevents it from melting too quickly, creating pockets of steam during baking that result in those desirable flaky layers. You can use unsalted butter, or for a subtly salty crust that enhances the sweet filling, opt for salted butter.
Vinegar: A surprising but essential ingredient in our pie crust! A touch of vinegar (apple cider, white, or even lemon juice) helps tenderize the dough by inhibiting gluten development, resulting in a more delicate and flaky crust. It also subtly balances the richness of the butter, adding depth to the overall flavor profile without imparting a vinegary taste.
Lemon Juice: A splash of fresh lemon juice in the apple filling is crucial for a balanced flavor. It brightens the sweet notes, preventing the filling from becoming overly saccharine, and also helps prevent the apples from browning too quickly.
All-Purpose Flour: Accurate flour measurement is vital for the correct crust consistency. For the most precise results, weigh your flour using a kitchen scale. If you don’t have a scale, use the “spoon and level” method: gently stir the flour in its bag or container, then spoon it lightly into your measuring cup without packing it down. Finally, scrape the excess off the top with the flat edge of a knife.
👩🍳 Crafting Your Own Apple Hand Pies: A Step-by-Step Guide
The complete recipe, including detailed instructions for making your own all-butter pie crust, is provided in the recipe card below. Alternatively, feel free to use store-bought pie crust or even butter puff pastry for a convenient shortcut.
Preparing the Spiced Caramel Apple Filling
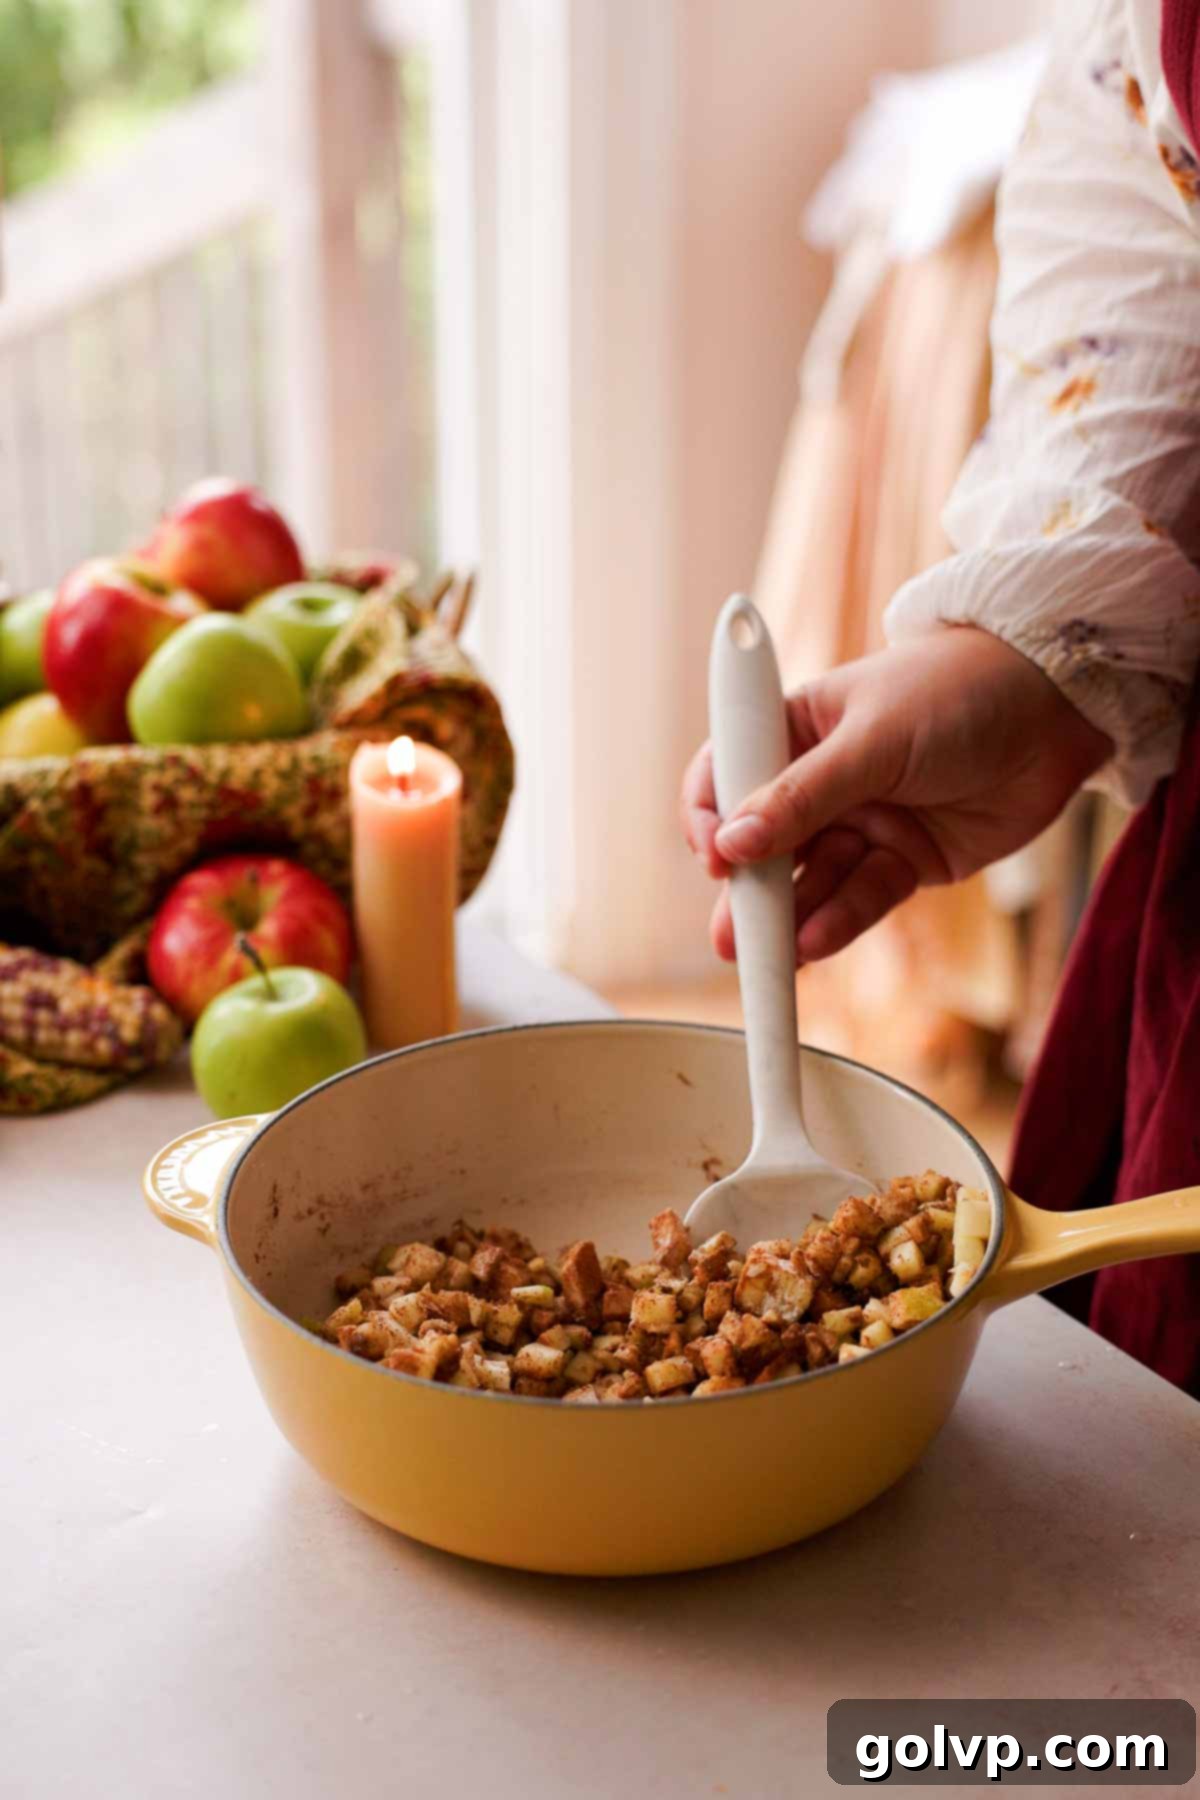
Step 1: Begin by combining your peeled and finely diced apples, dark brown sugar, aromatic spices (cinnamon, cardamom, nutmeg, allspice), all-purpose flour, fresh lemon juice, and a tablespoon of butter in a medium-sized pan or saucepan. Place the pan over low heat and cook the mixture, stirring occasionally, until the apples soften and the filling visibly thickens. This gentle cooking process usually takes about 8 minutes. Pre-cooking the filling ensures the apples are tender and juicy inside the hand pies without requiring a long bake time that could overcook the crust.
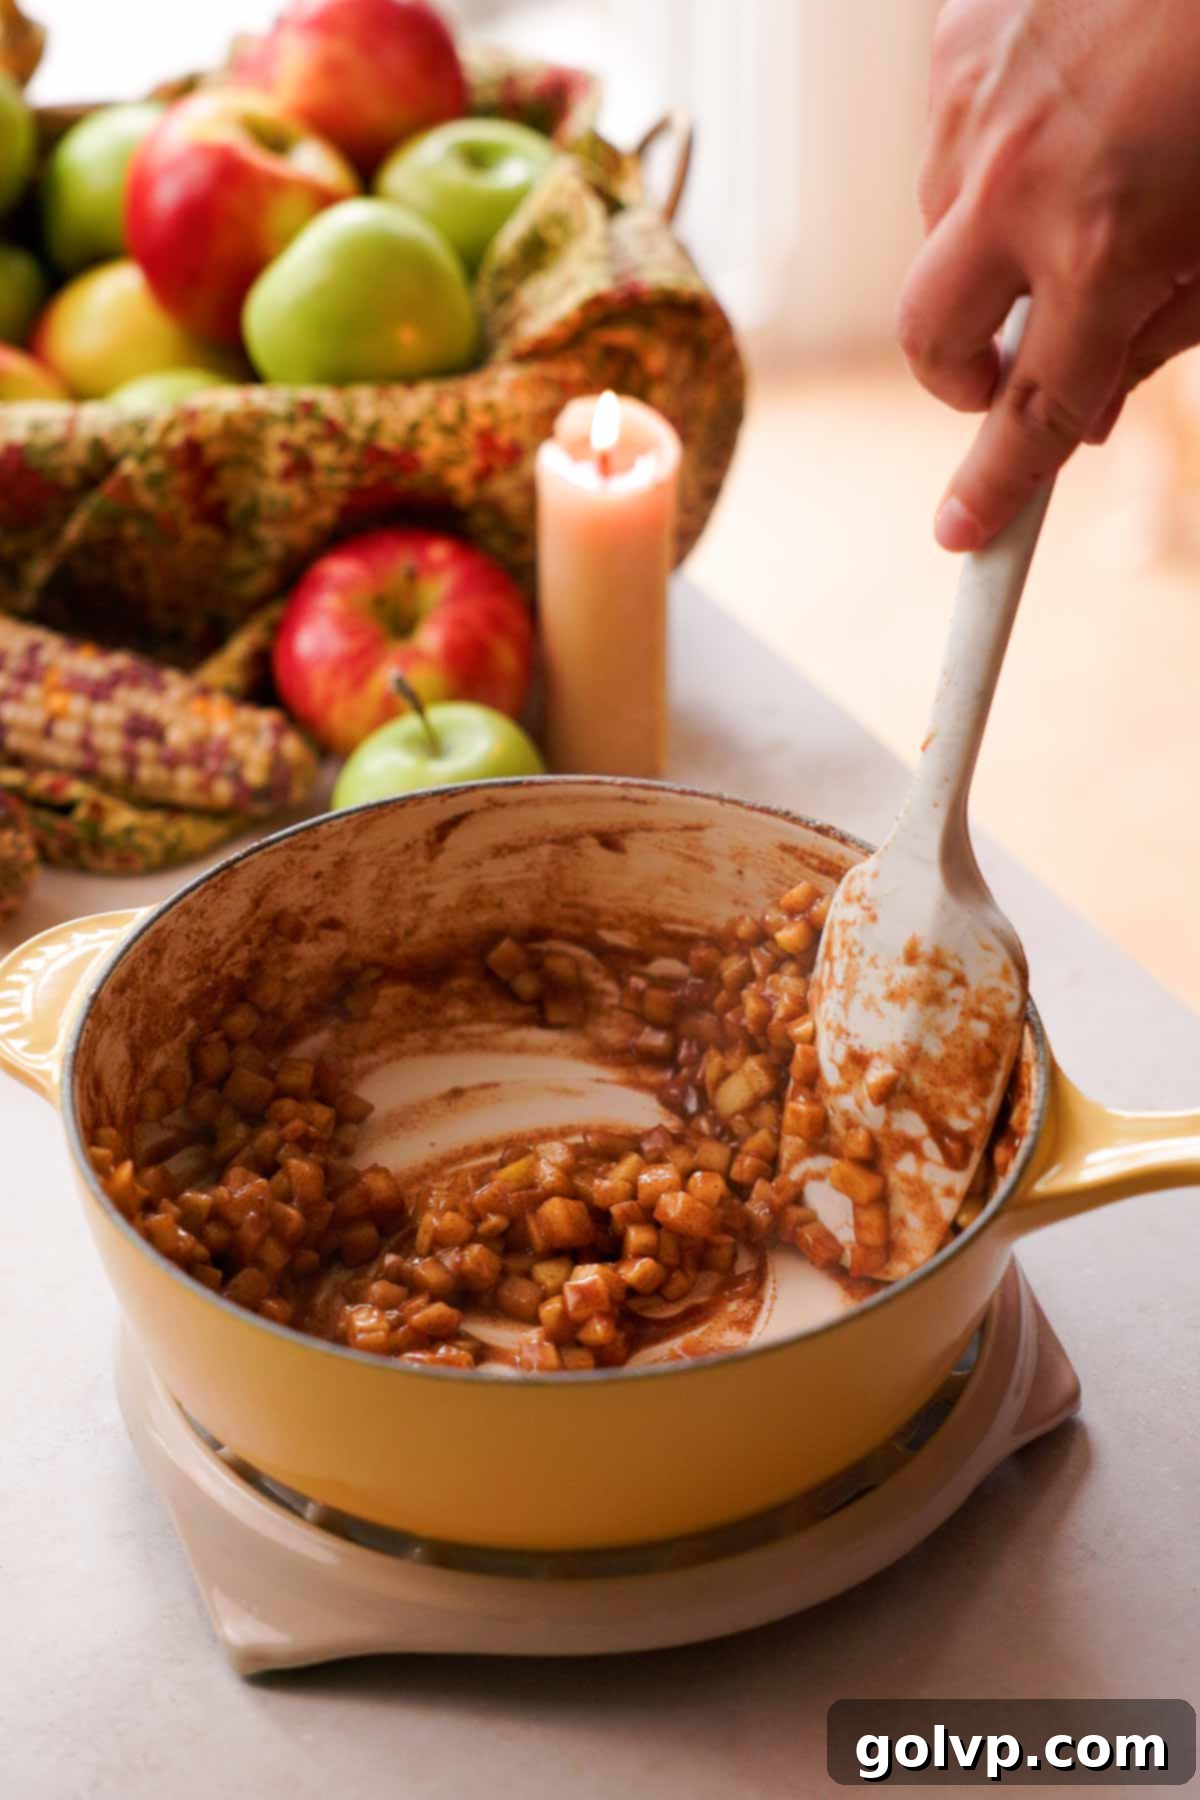
Step 2: Once the filling has reached the desired consistency and the apples are tender, remove the pan from the heat and set the filling aside to cool. Allow it to cool for at least 10 minutes. This cooling step is crucial as it prevents the warm filling from melting the butter in your pie crust during assembly, which could lead to a less flaky texture. While the filling cools, it’s the perfect time to roll out your pie crusts.
Assembling Your Apple Hand Pies
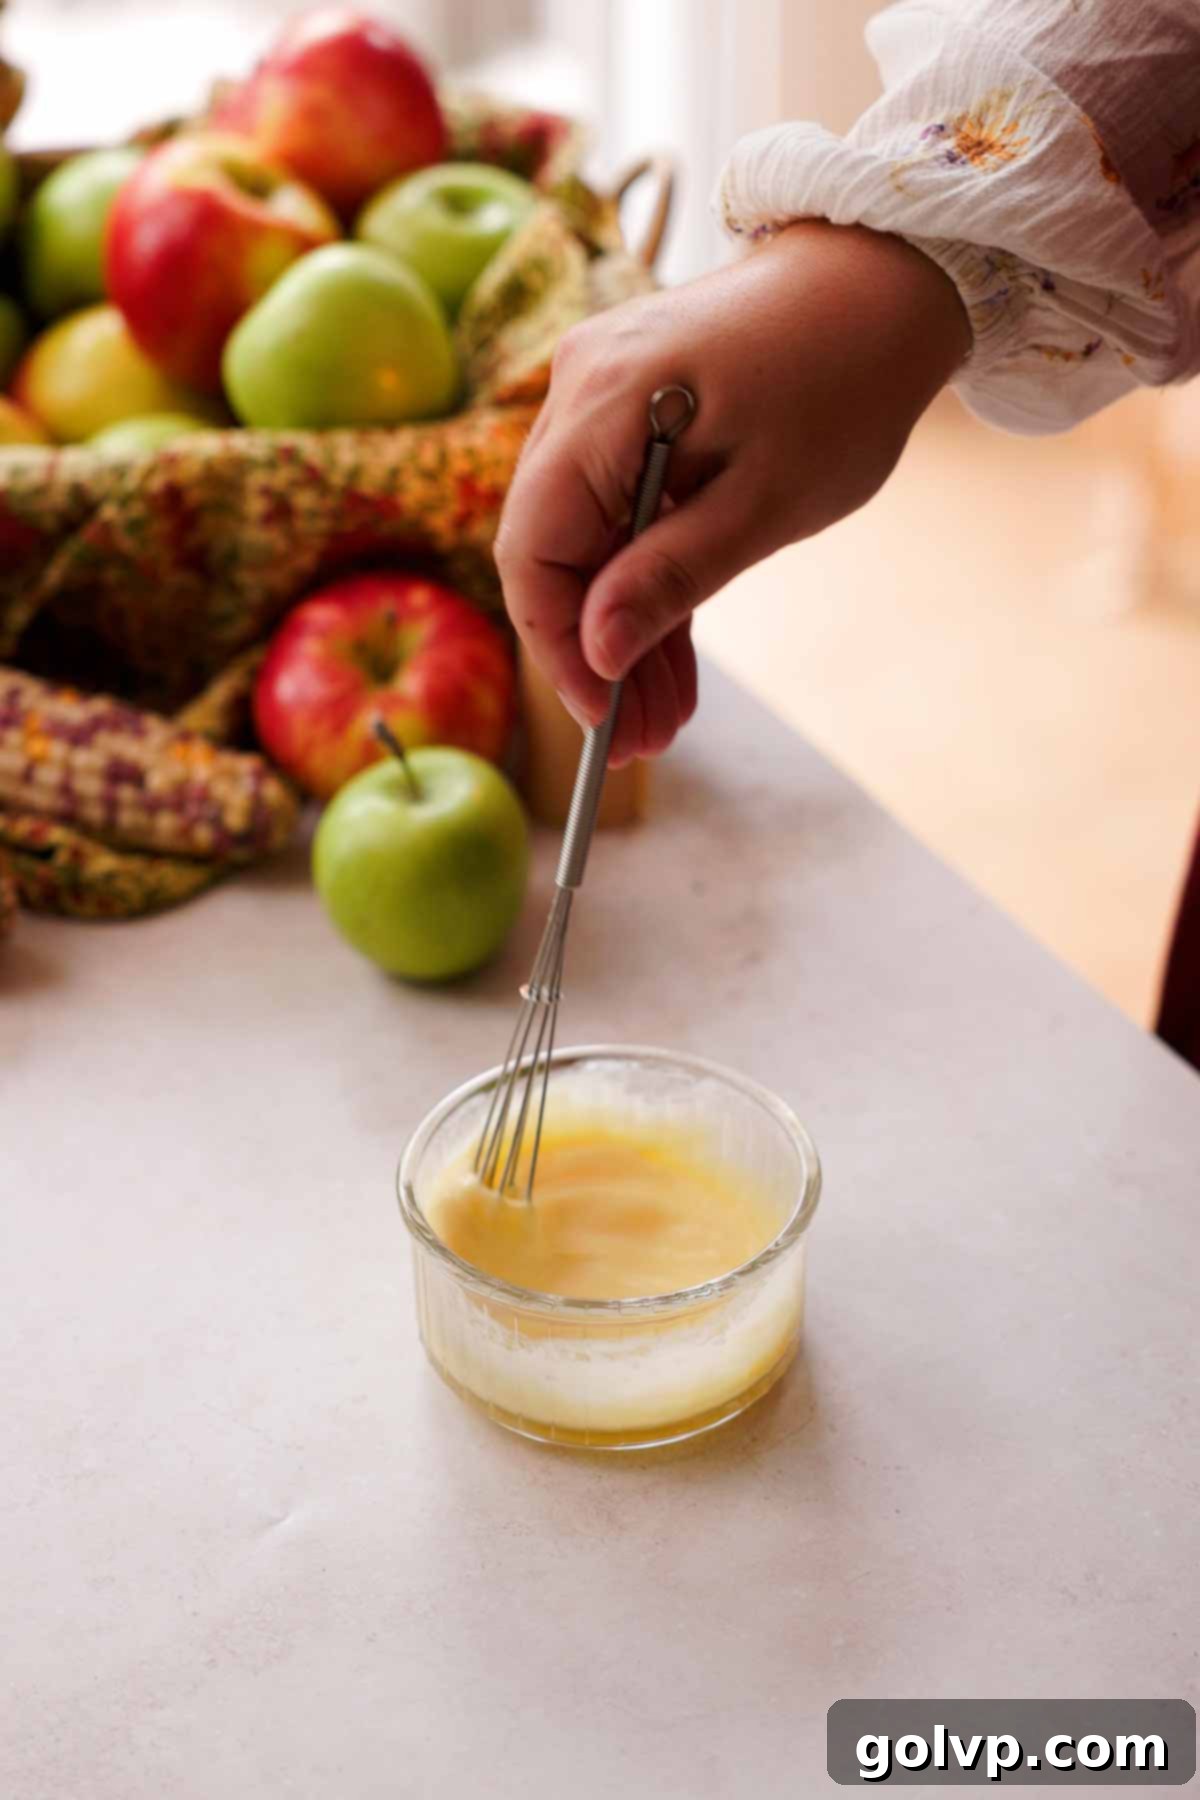
Step 1: In a small bowl, crack one large egg. Add one tablespoon of heavy cream to the egg and whisk the mixture thoroughly until well combined. This egg wash will be used to seal the pie crusts and give them a beautiful golden sheen when baked. Set it aside while you prepare your pie crusts.
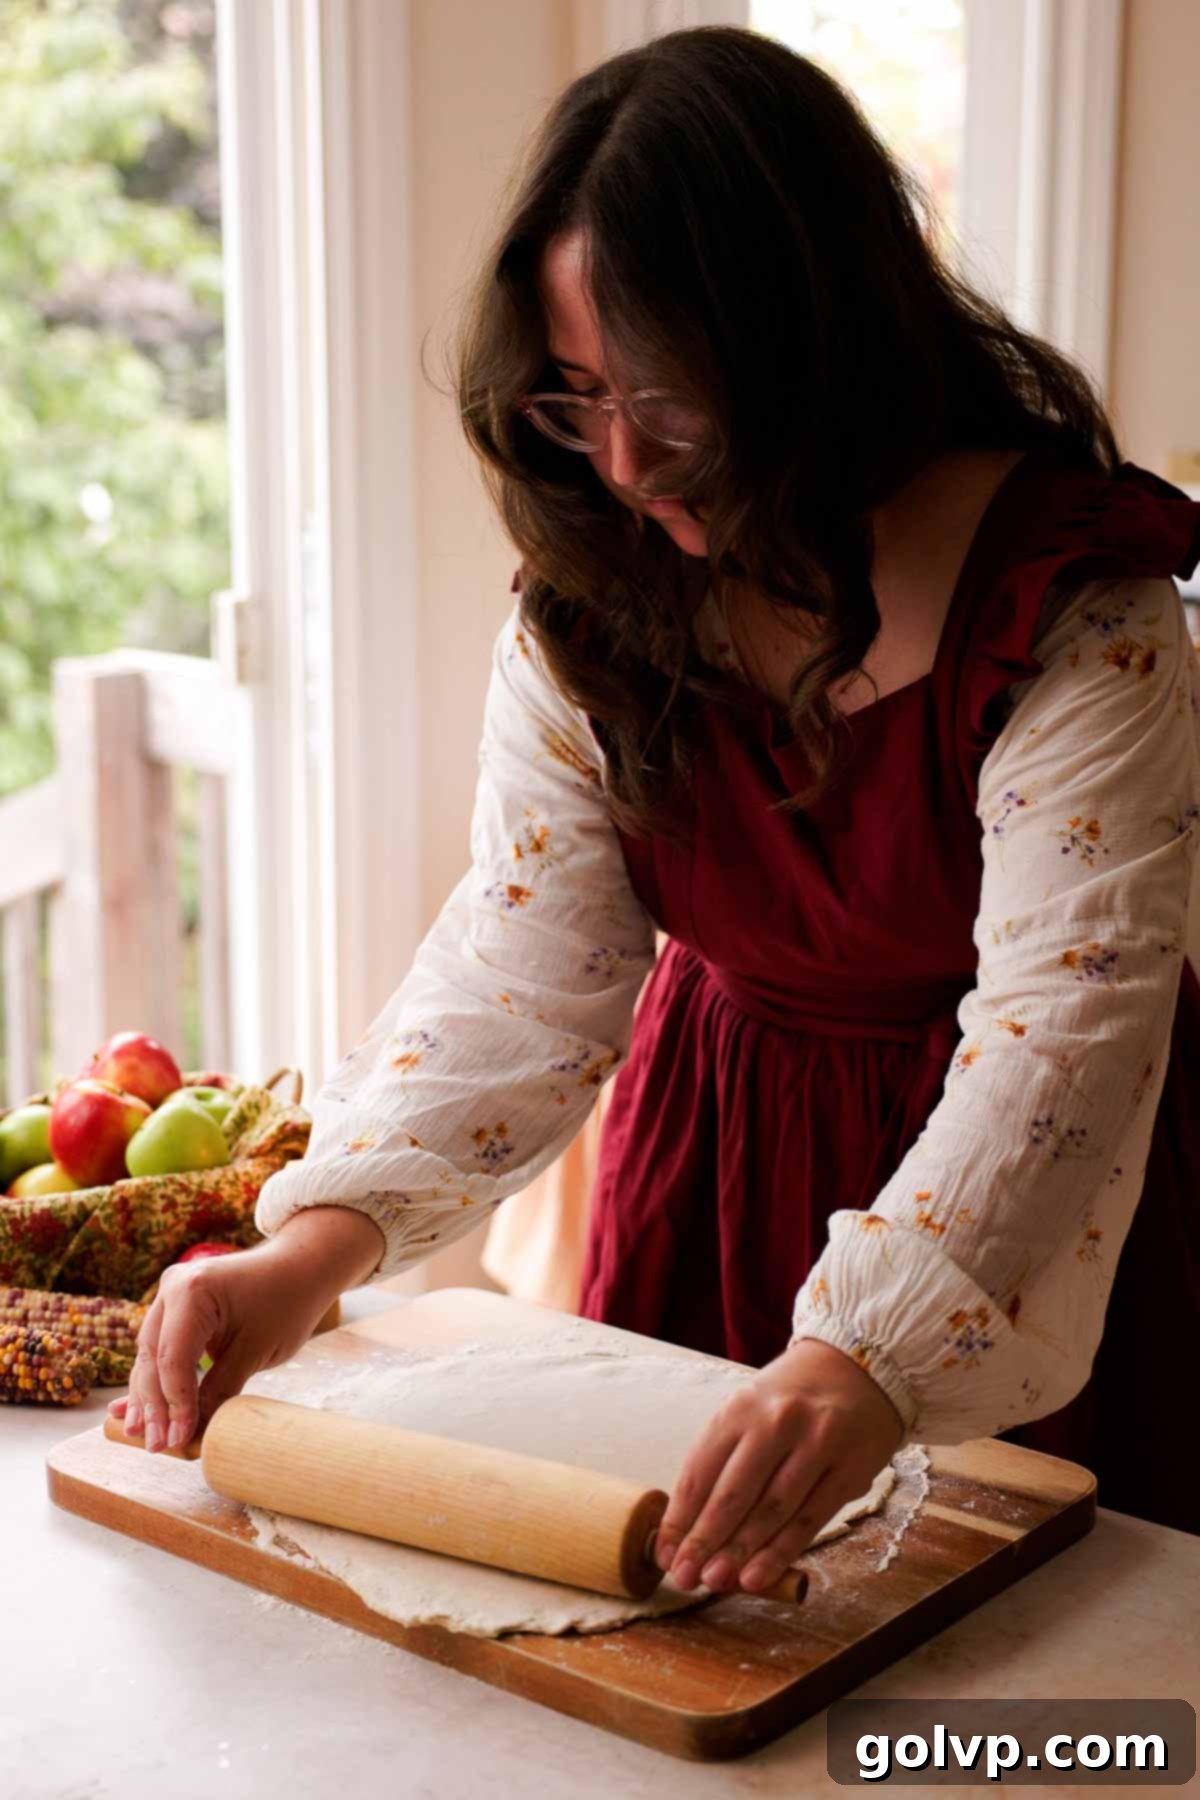
Step 2: Lightly dust a clean, dry work surface with all-purpose flour. Unwrap one piece of your chilled pie crust dough and place it onto the floured surface, sprinkling a little more flour on top. Using a rolling pin, roll out the pie crust evenly to approximately ⅛ inch thick. Aim for a consistent thickness to ensure even baking.
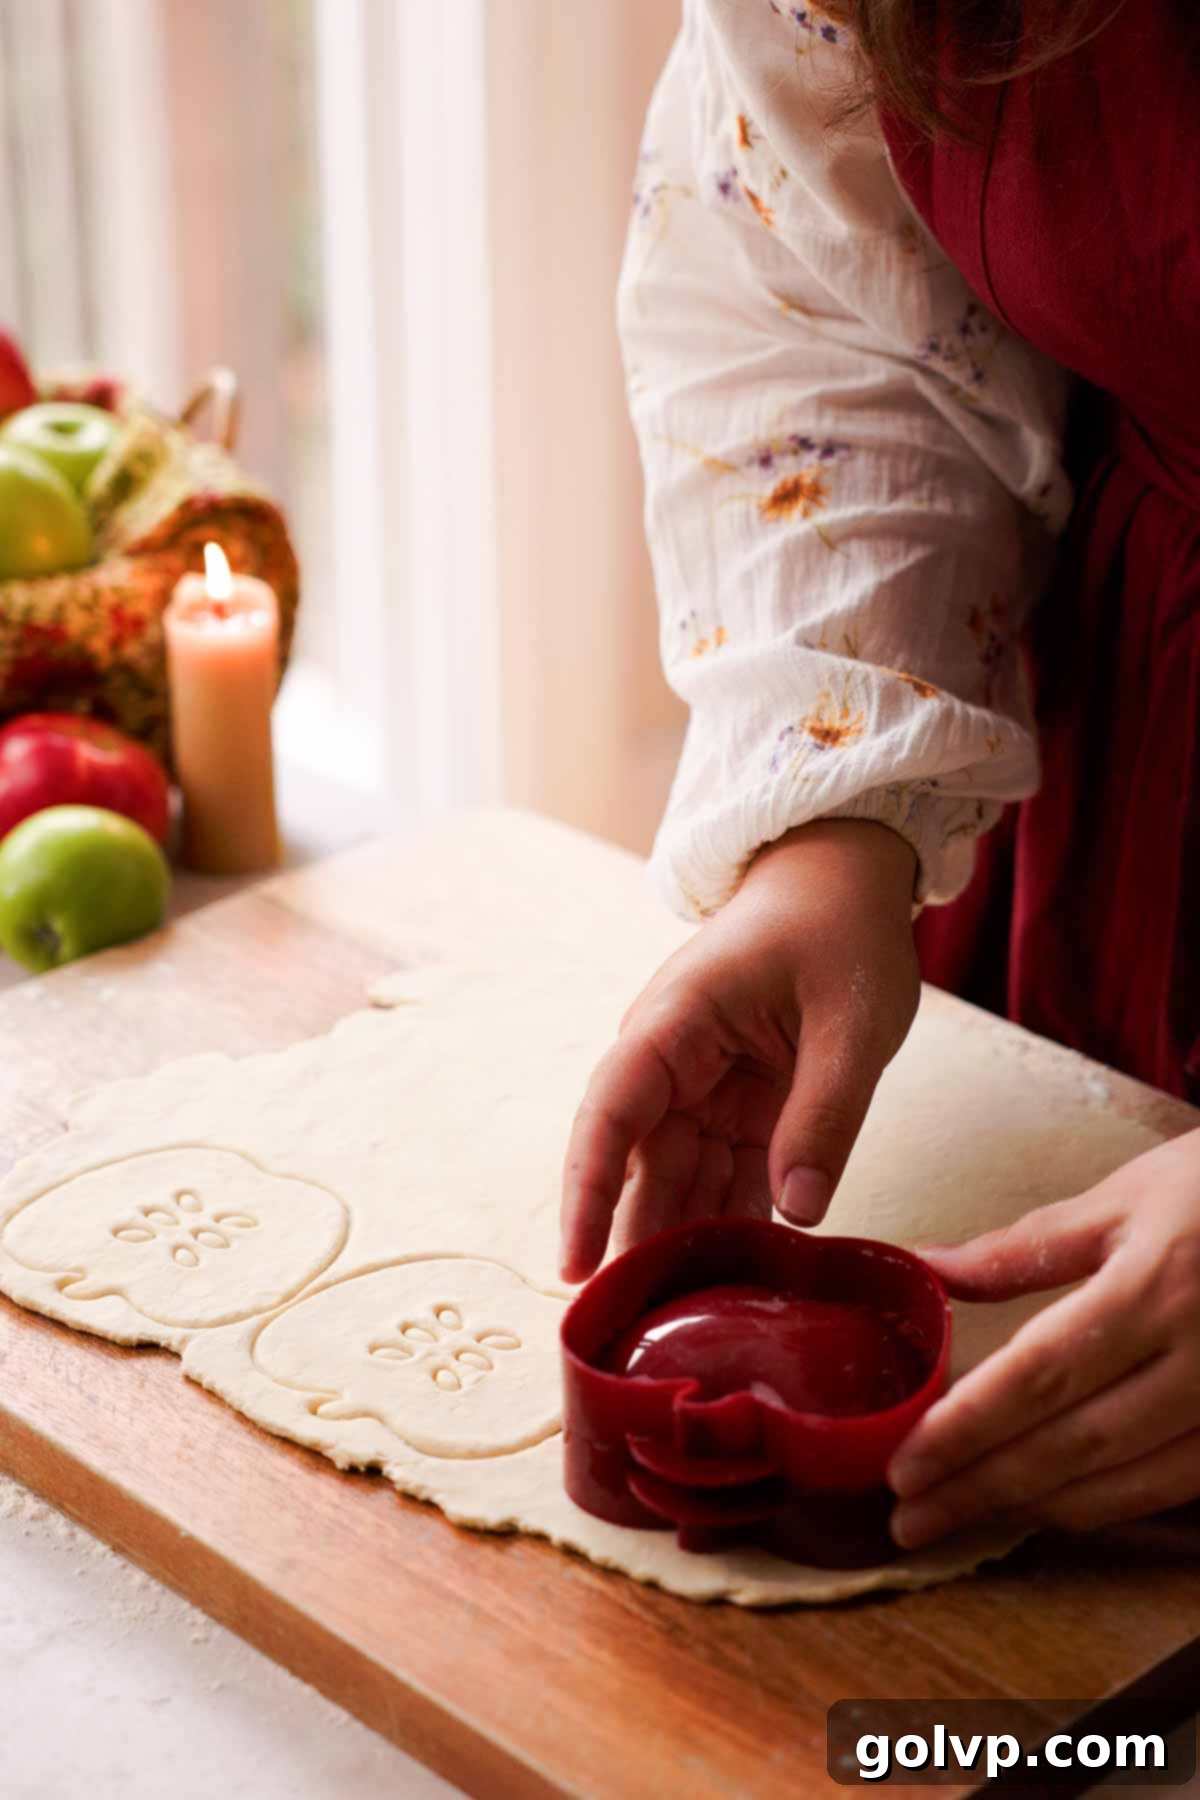
Step 3: Using an apple-shaped cookie cutter (or a 4-inch round cookie cutter for classic hand pies), cut out eight shapes from the rolled-out dough. Carefully transfer these cutouts to a baking sheet lined with parchment paper. Repeat this process with the second piece of pie crust dough to create another eight shapes. Any leftover dough scraps can be gently re-rolled once to cut out additional shapes or decorative elements like small leaves.
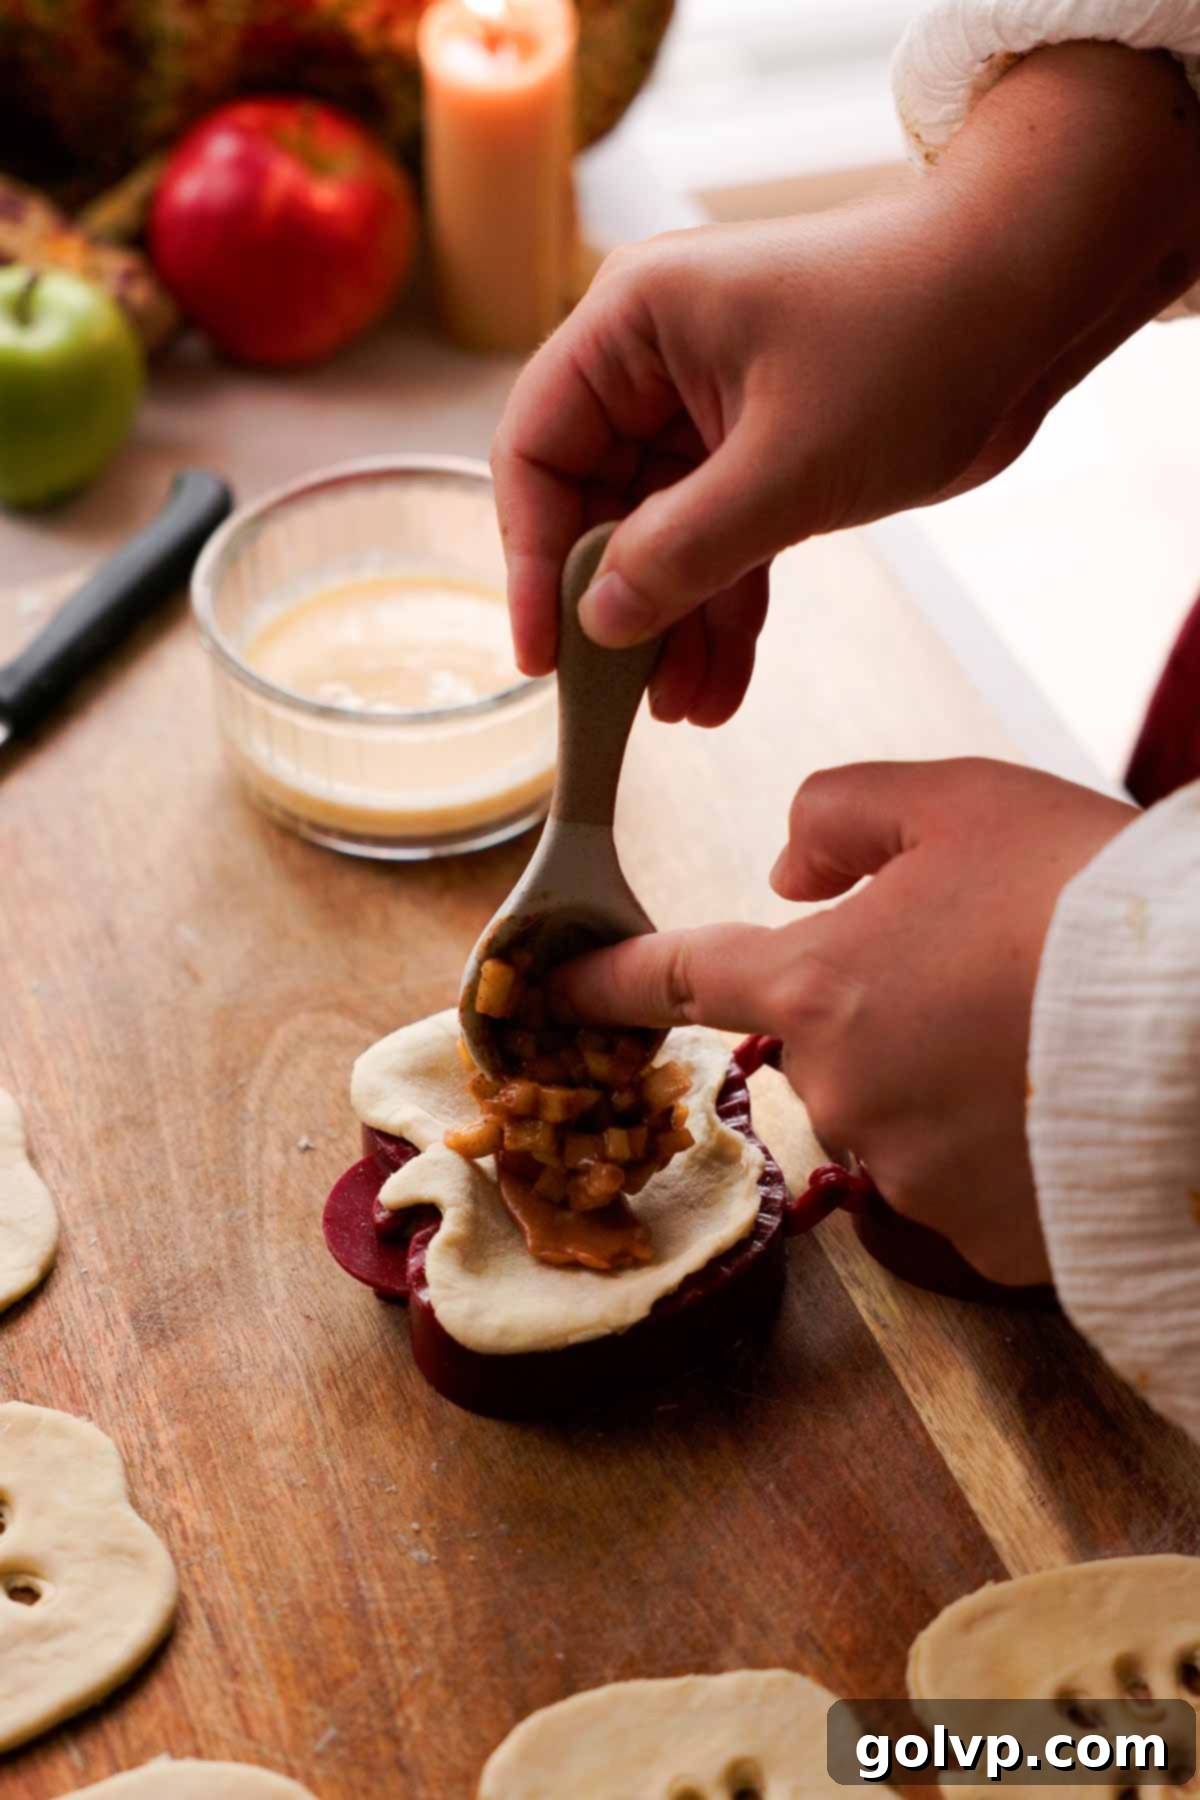
Step 4: For the filling stage, take one of your soft caramels, unwrap it, and gently flatten it slightly with your fingers. Place this flattened caramel onto the center of one of your pie crust shapes on the parchment-lined baking sheet. Then, spoon approximately one heaping tablespoon of your cooled apple filling directly over the caramel. Ensure the filling is centered and leaves a border around the edges for sealing.
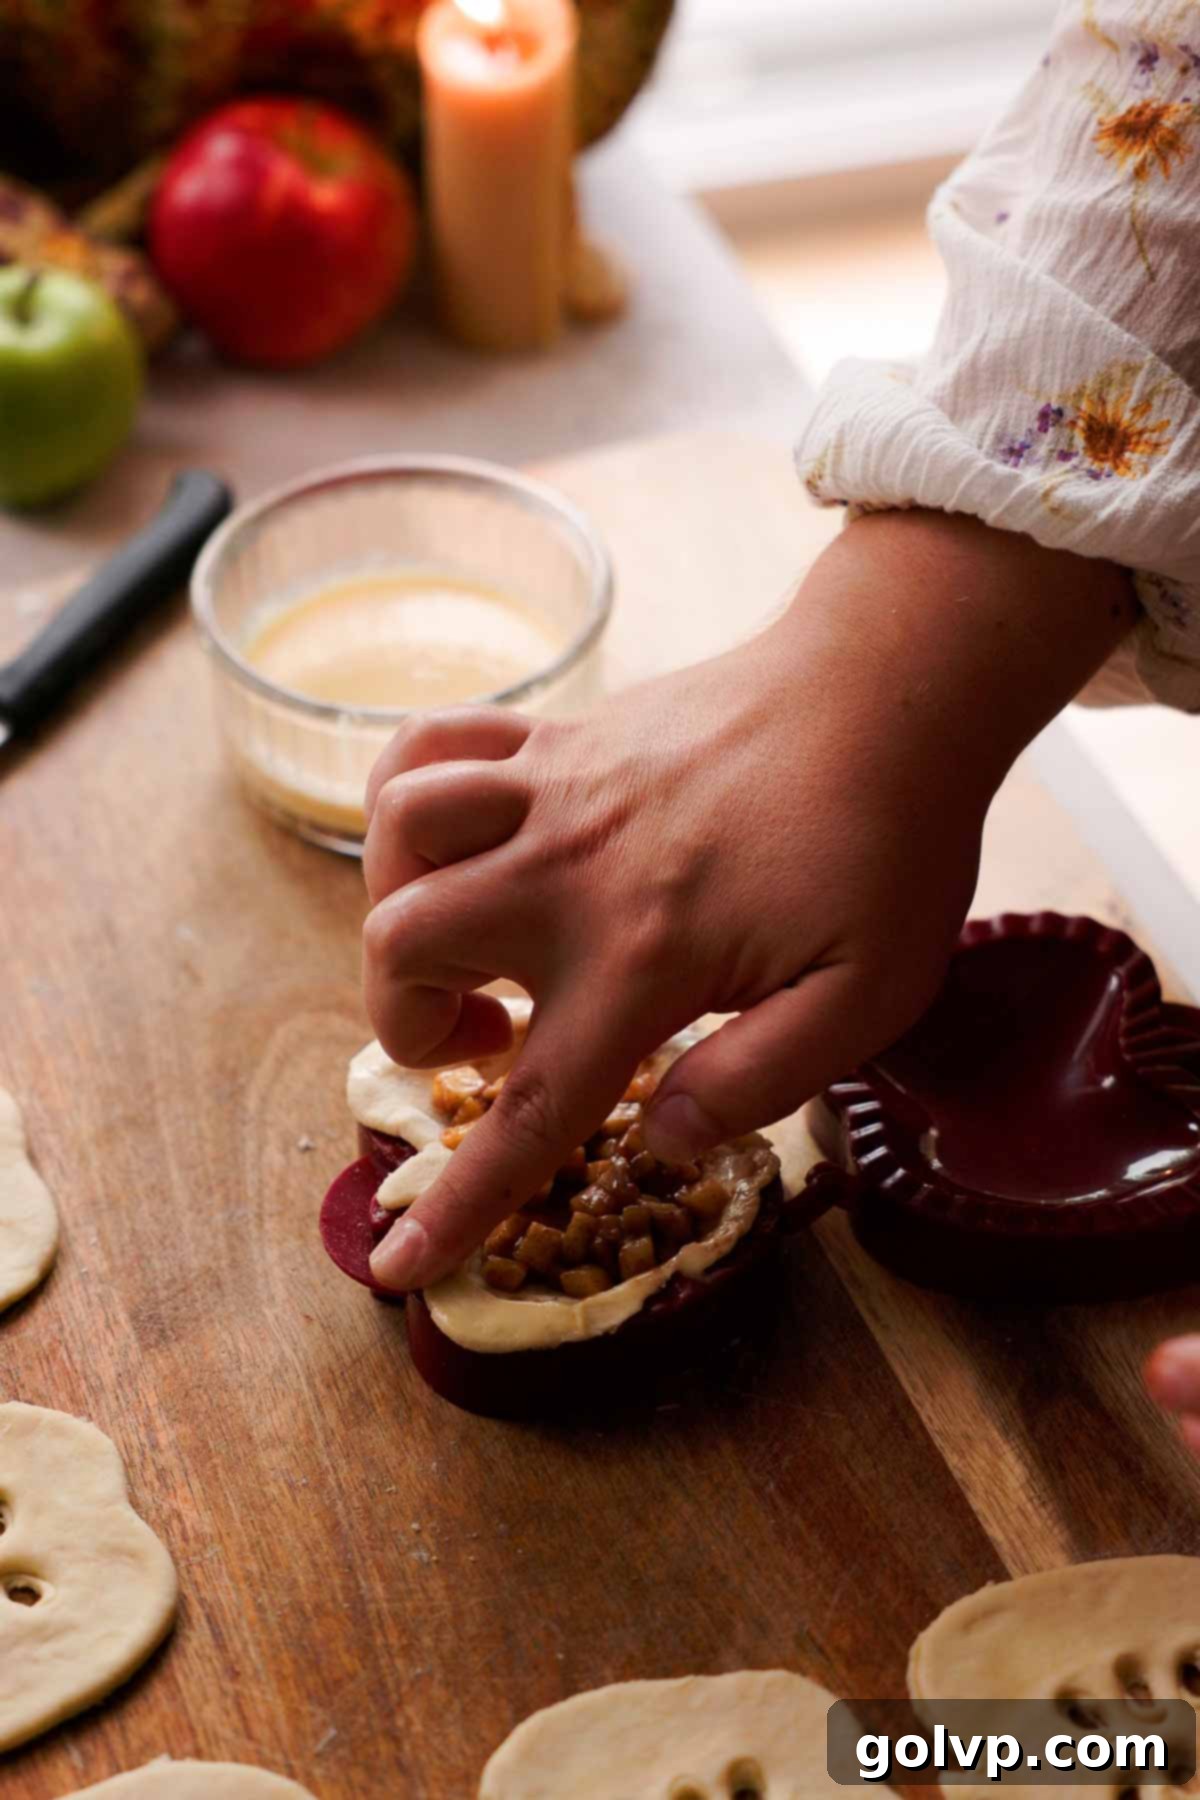
Step 5: Dip your finger or a small pastry brush into the prepared egg wash and lightly brush the entire perimeter of the pie crust shape that holds the filling. This acts as an adhesive, helping to seal the two crust pieces together securely and prevent the filling from oozing out during baking.
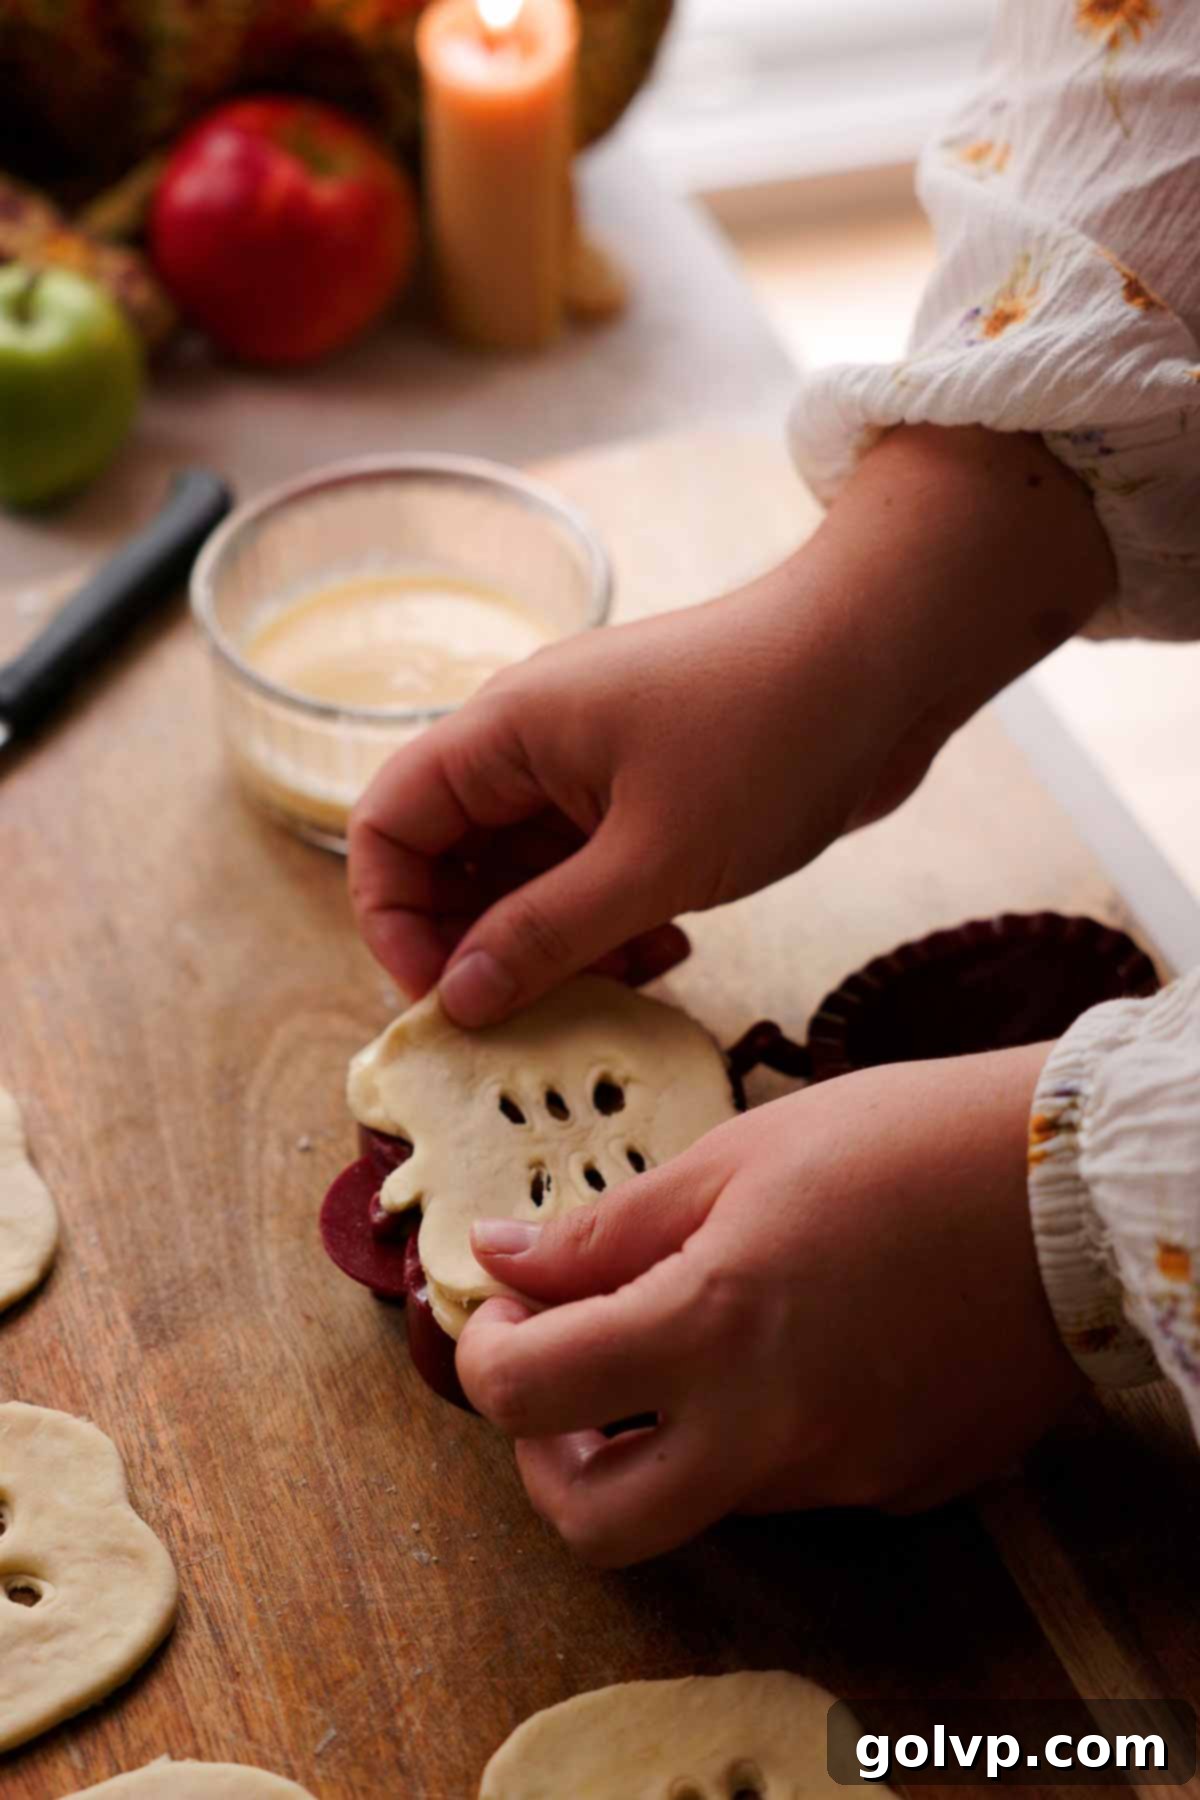
Step 6: Carefully place an unfilled piece of pie crust directly on top of the filled and egg-washed bottom crust. Gently press down around the edges to adhere the two pieces. You can then use the tines of a fork to crimp and seal the edges all around, or if you have a hand pie maker, use it to create a perfectly crimped and sealed edge. Repeat this assembly process for all the remaining pie crusts and filling. As each pie is assembled, carefully transfer it to the parchment-lined baking sheet. Once all pies are assembled, place the entire baking sheet into the freezer for 15 minutes. This chilling step is vital for ensuring the crust holds its shape and bakes up beautifully flaky. In the meantime, preheat your oven to 375°F (190°C).
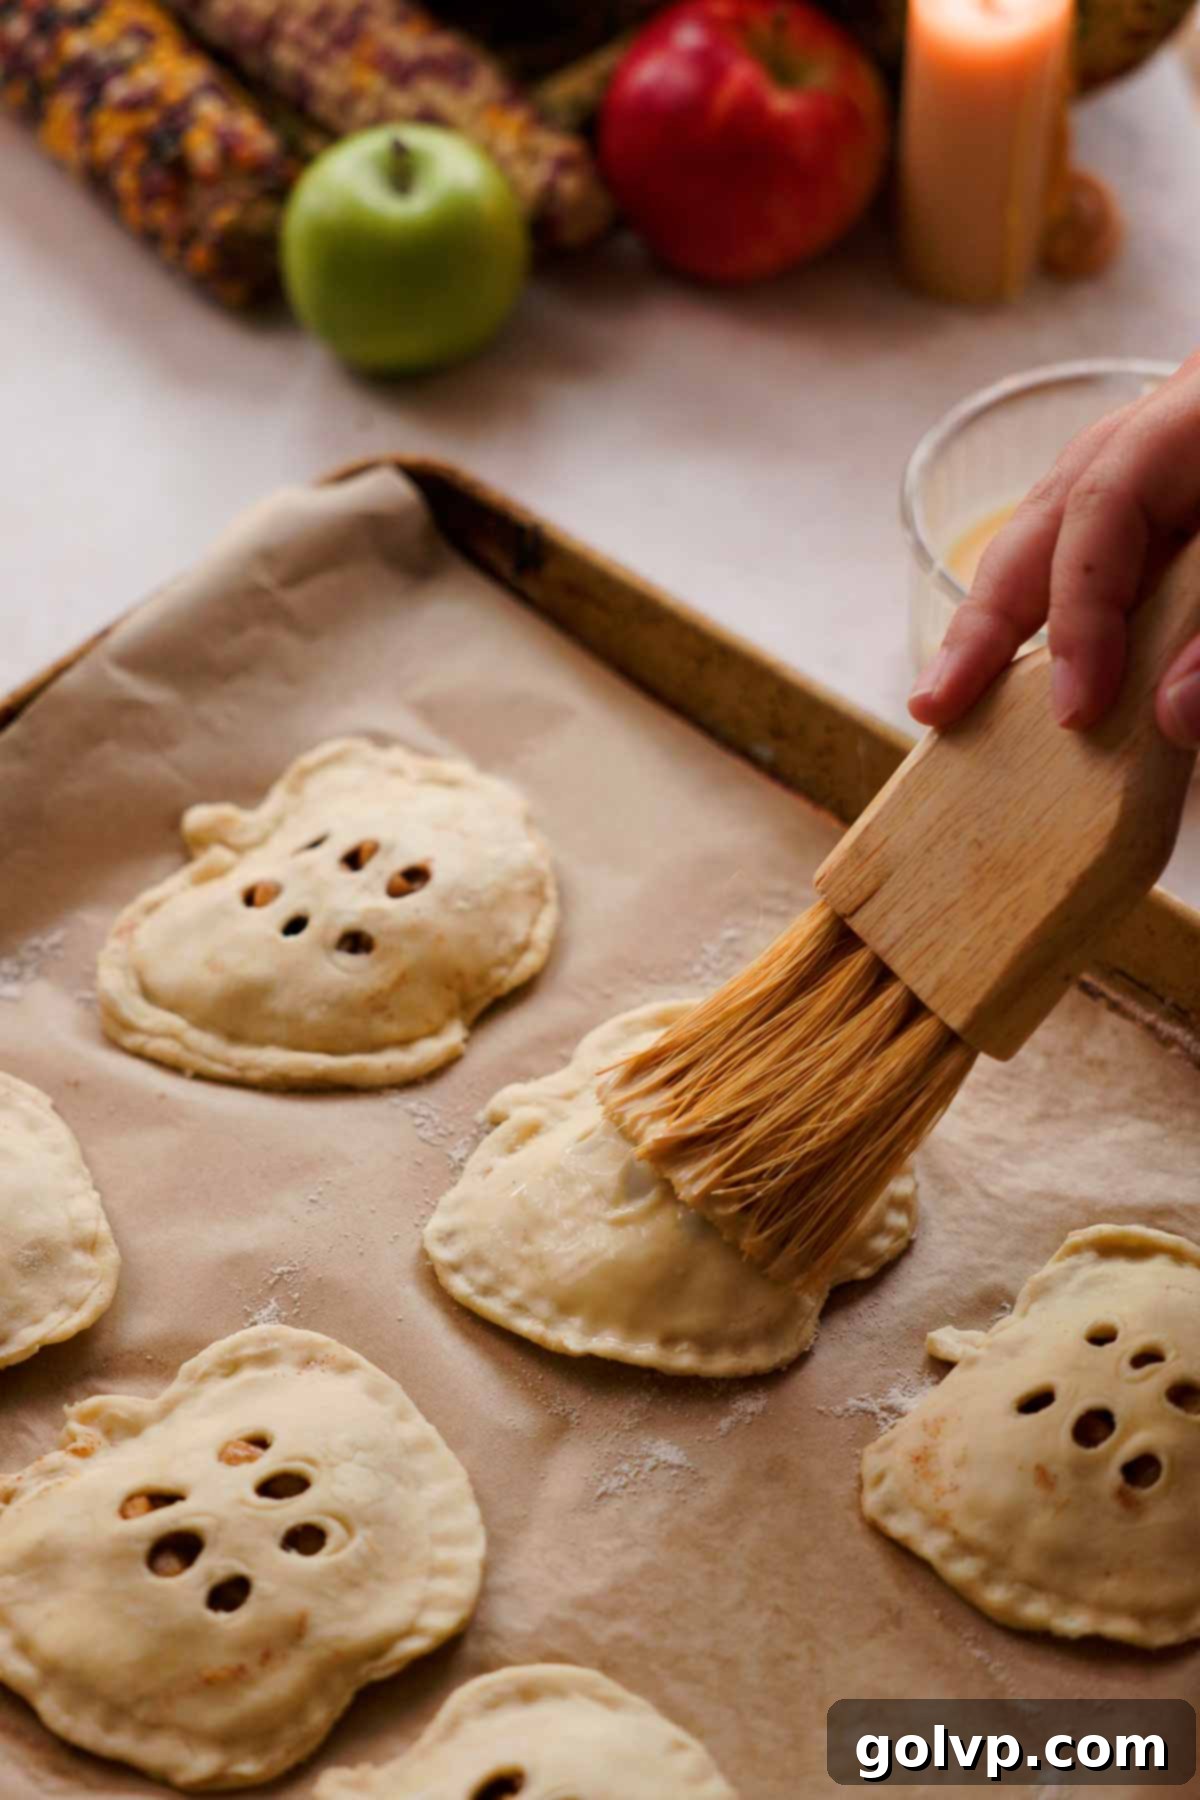
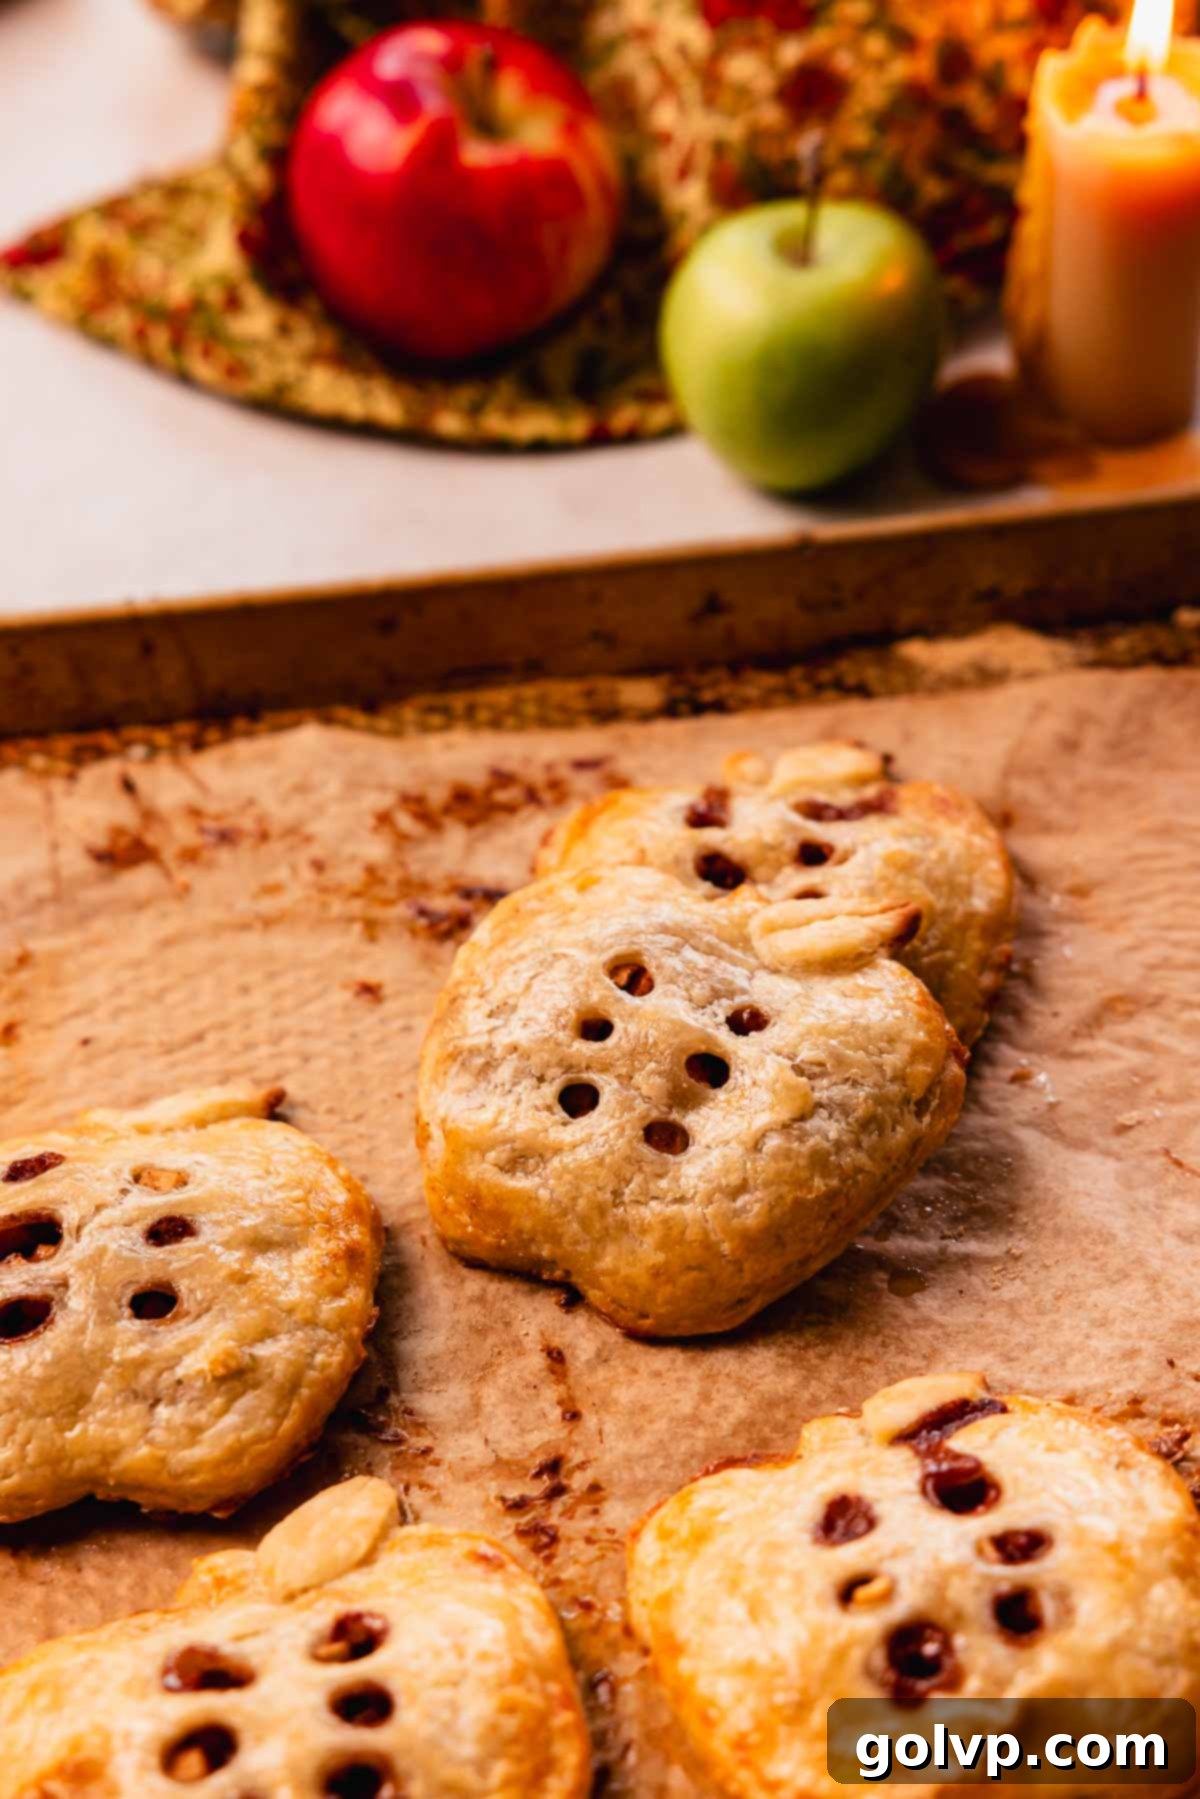
Step 7: Remove the chilled pies from the freezer. Lightly brush the tops of each pie with the remaining egg wash. If you plan to add a sweet glaze after baking, you might want to omit the coarse sugar at this stage to prevent the pies from becoming overly sweet. However, if skipping the glaze, sprinkle a generous amount of coarse sugar over the egg-washed tops for a lovely crunch and sparkle. For decorative flair, you can cut out small leaf shapes from any excess pastry and attach them to the tops of your apple-shaped pies before baking. Crucially, poke several small holes or slits into the top layer of each pie’s crust with a fork. These vent holes allow steam to escape during baking, preventing the pies from bursting and the filling from bubbling out.
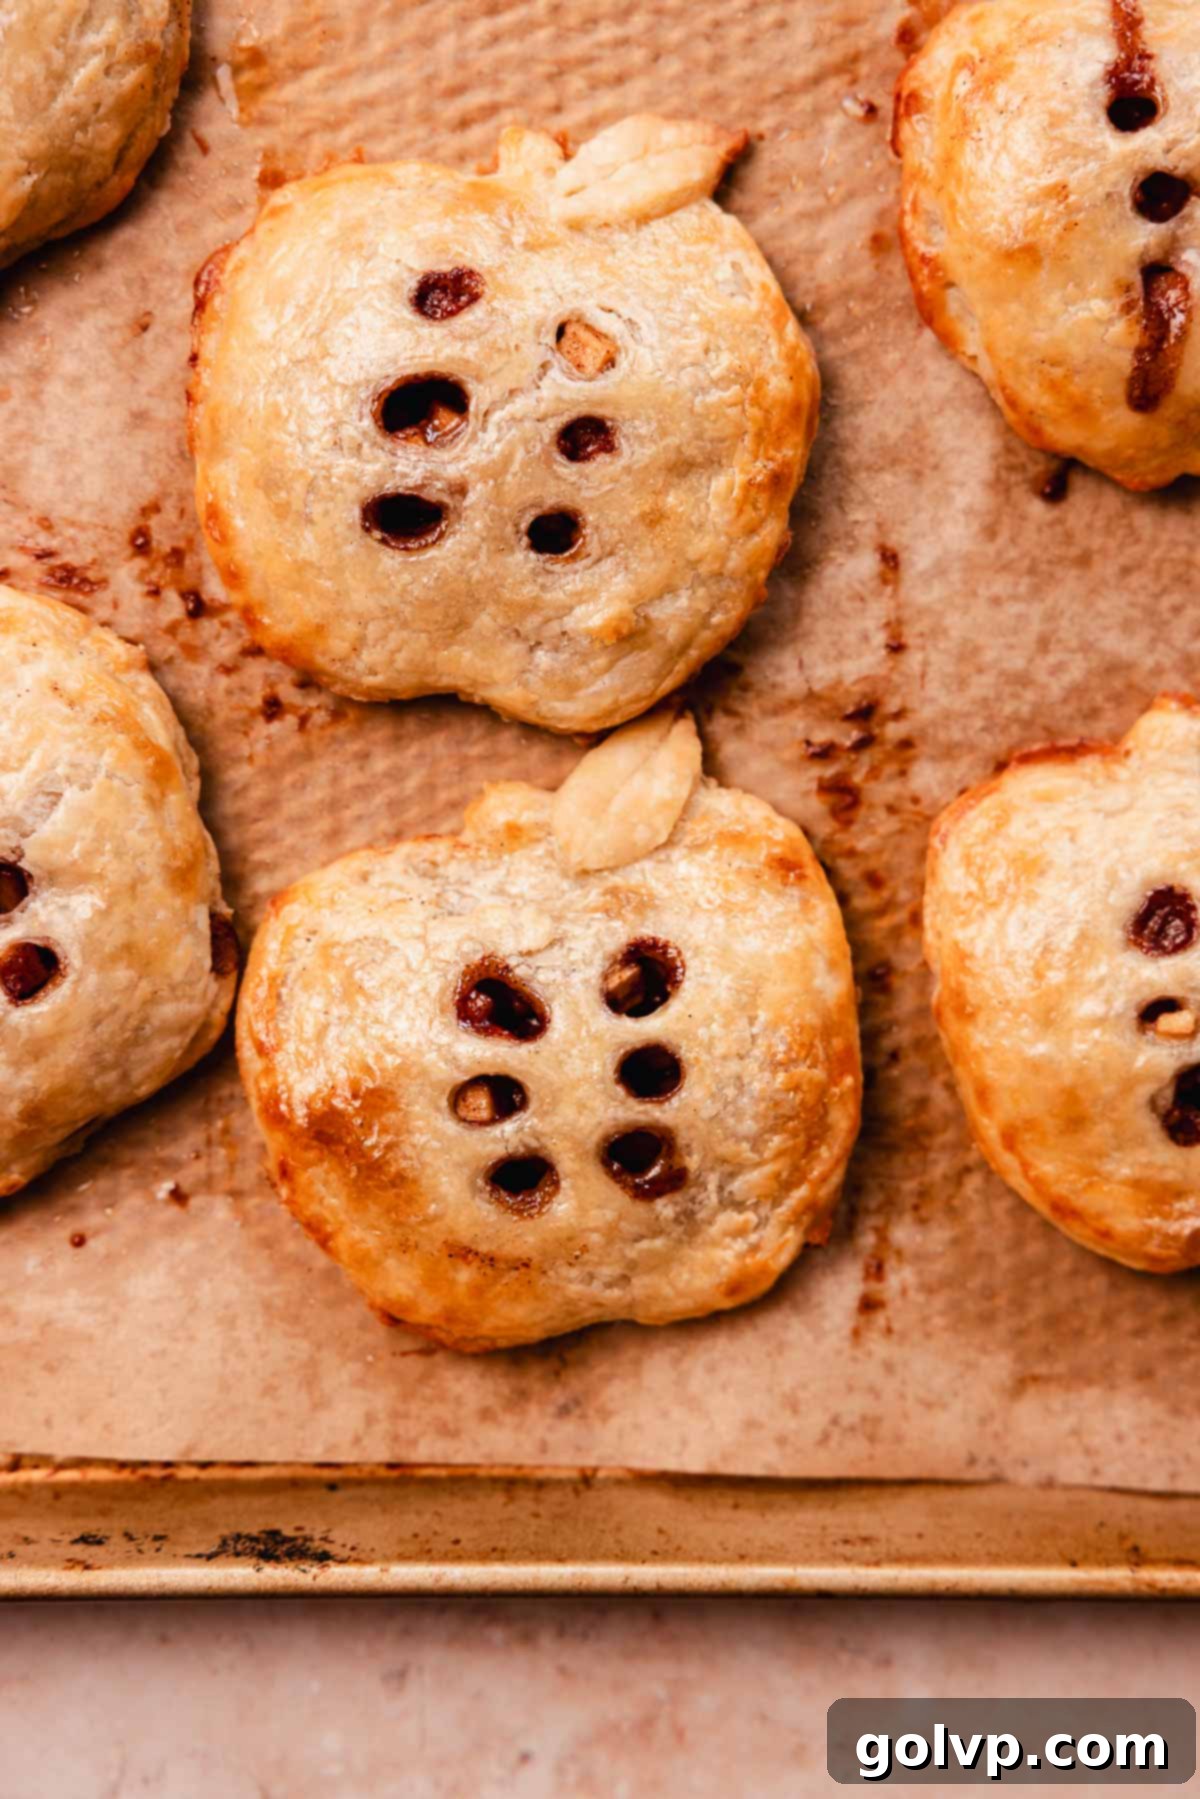
Step 8: Bake the pies in your preheated oven for 18-20 minutes, or until the pastry turns a beautiful golden brown. Keep a close eye on them; it’s important not to overbake, as this can cause the delicate filling to overcook and potentially ooze out completely, leading to a drier pie. The goal is a perfectly crisp, golden crust with a tender, juicy interior. Once baked, remove the pies from the oven and transfer them to a wire rack. Allow them to cool completely before proceeding to the glazing step, as applying glaze to warm pies will cause it to melt and run off.
Crafting the Sweet Glaze
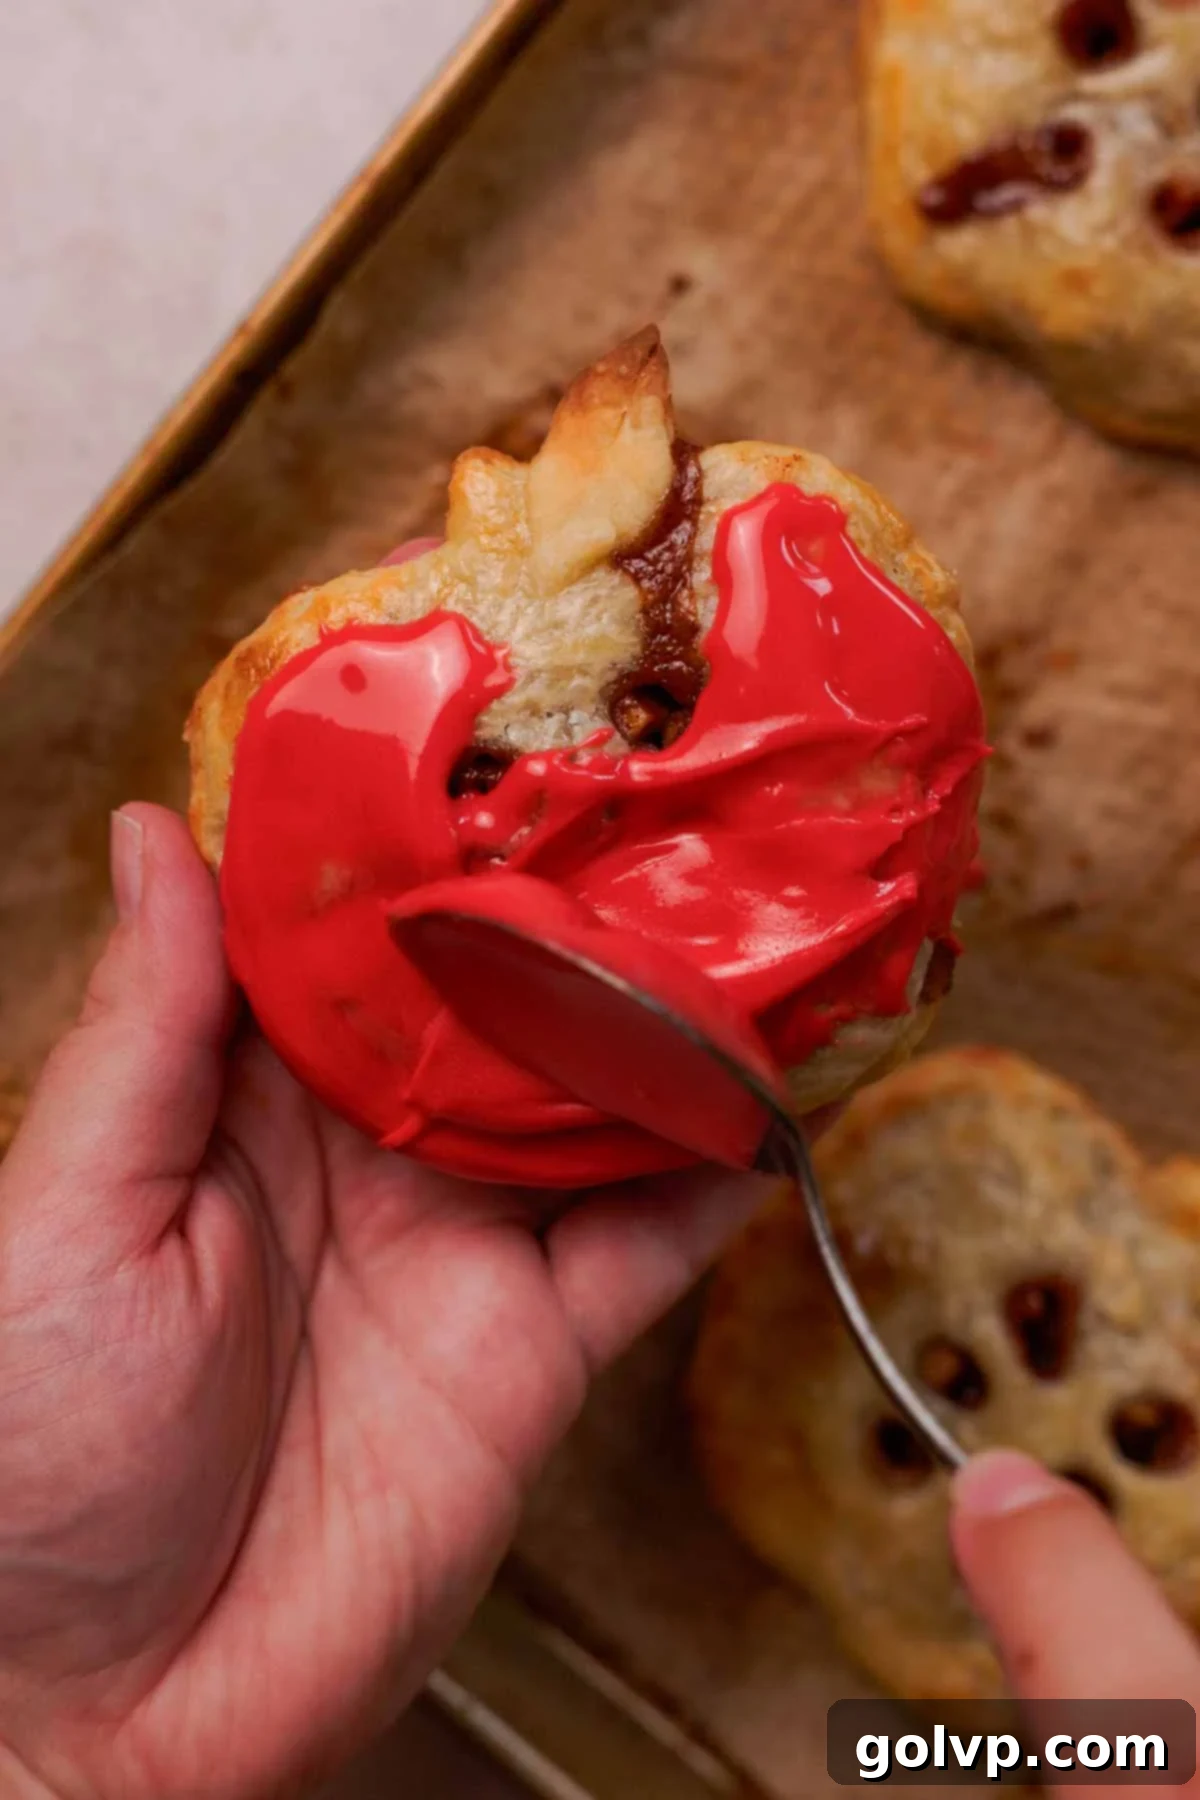
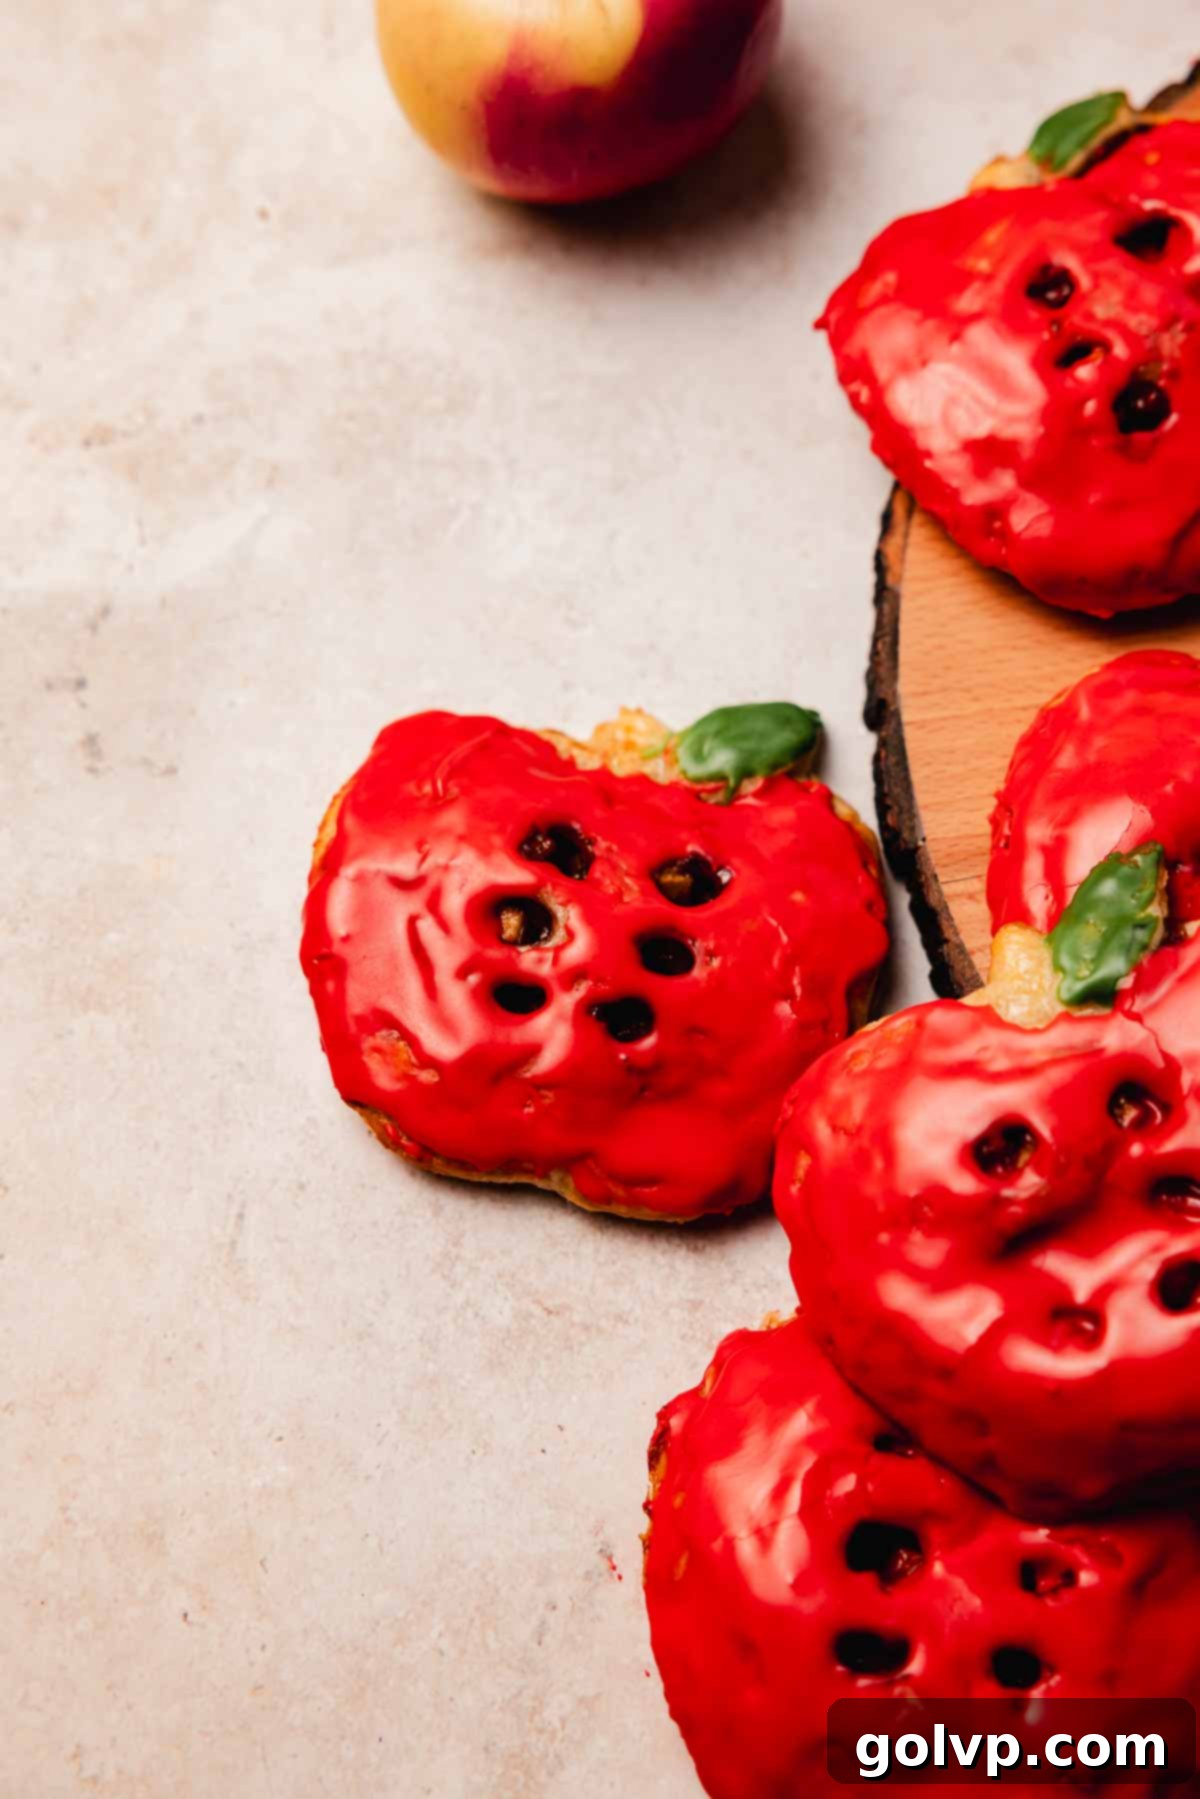
Step 1: In a medium bowl, combine the powdered sugar with two tablespoons of milk or cream. Whisk vigorously until the mixture is smooth and forms a pourable glaze consistency. If the glaze appears too thick, add a tiny bit more milk, a half teaspoon at a time, until you reach your desired pourable thickness. For a fun, apple-themed presentation, you can optionally divide the glaze: set aside about a tablespoon and color it green with food coloring, then color the remaining larger portion red.
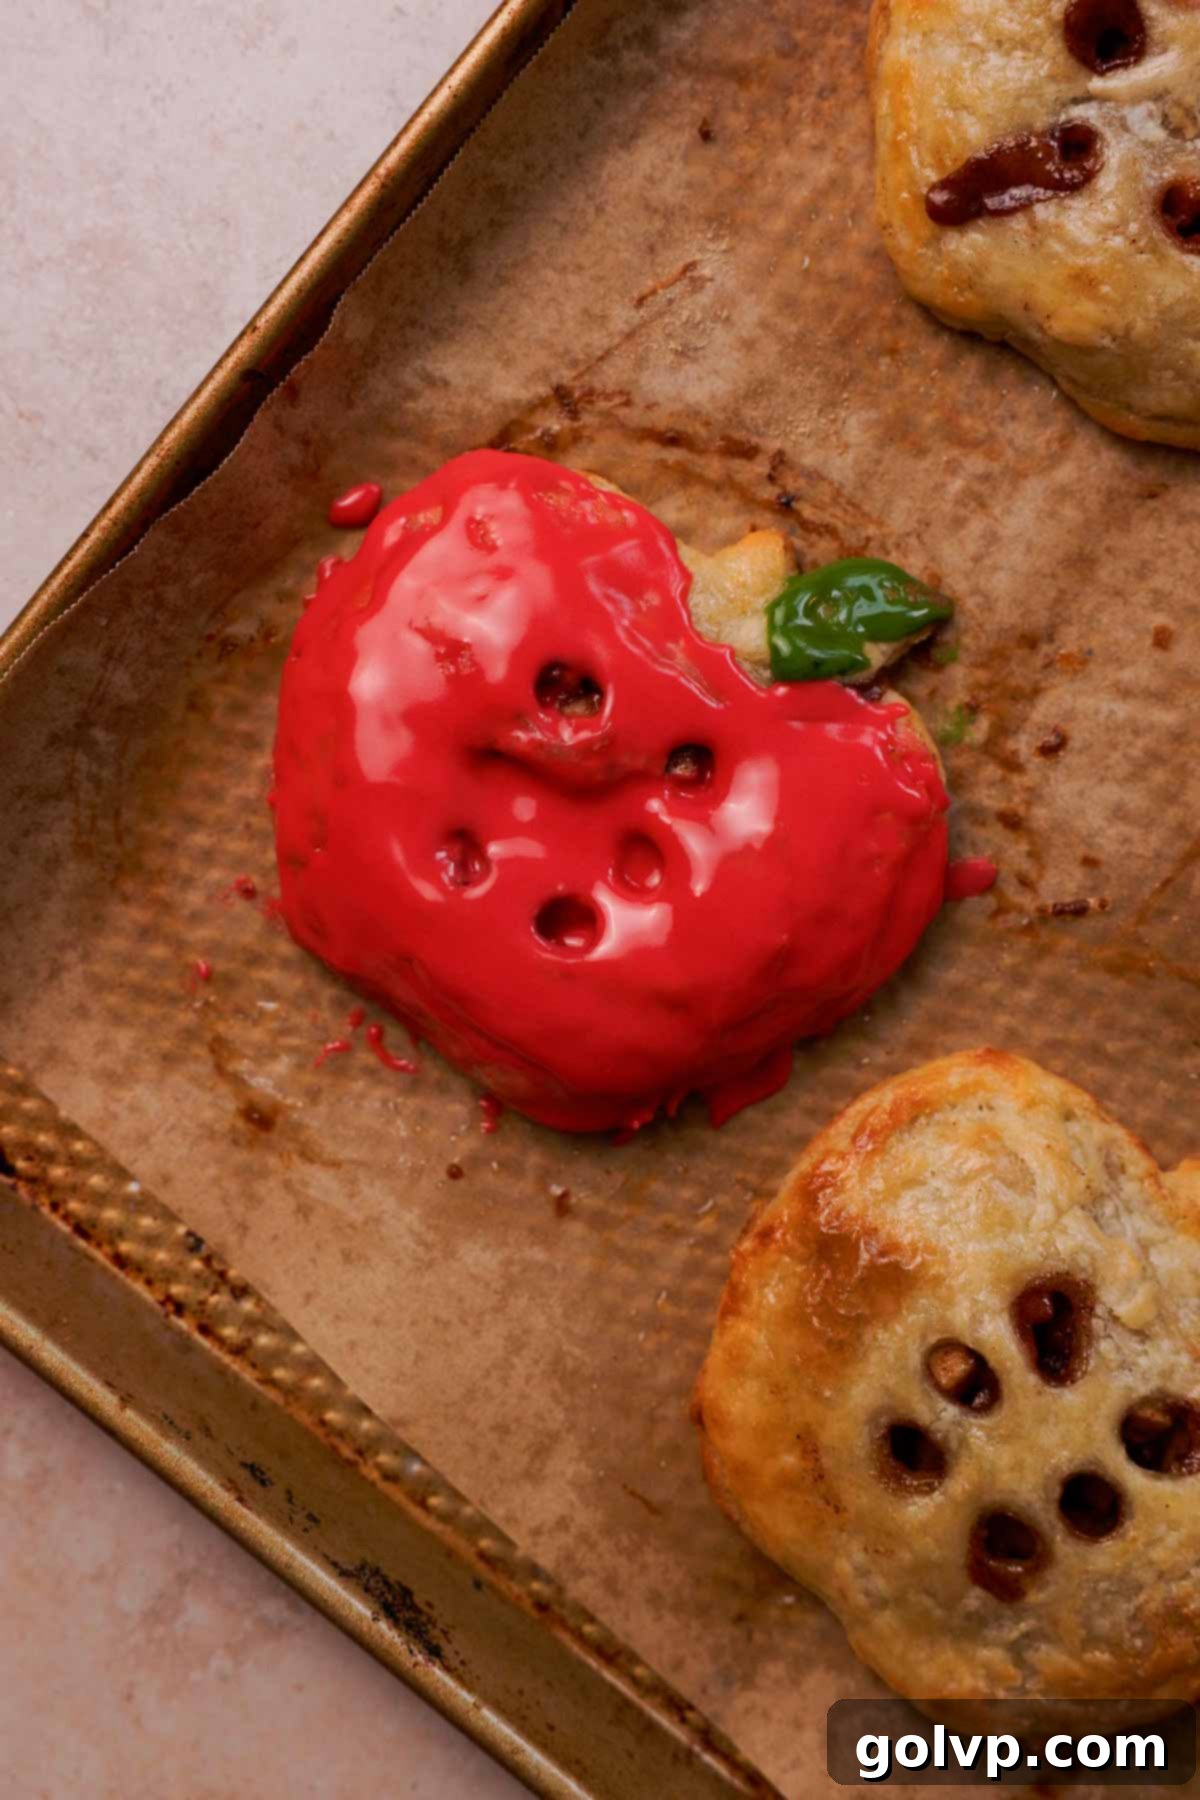
Step 2: Once the pies are completely cool, use a spoon to drizzle or paint the glaze over the tops of each pie. If you used colored glazes, apply the red glaze first to the main body of the apple, and then carefully add a touch of green glaze to simulate a leaf. Place the freshly glazed pies back onto a clean parchment-lined baking sheet to catch any drips and allow the glaze to set. Let the glazed pies rest for at least 15 minutes for the glaze to partially set before enjoying. While the glaze will take approximately 1 hour to set completely, you can certainly dig in sooner! These pies are best enjoyed warm or at room temperature for optimal flavor and texture.
✔️ Expert Tips for Flawless Hand Pies
- Mind the Liquid in Your Pie Crust: When preparing homemade pie crust, be cautious not to add too much liquid. Excessive water can lead to over-development of gluten, resulting in a tough and chewy crust rather than the desired tender and flaky texture. Add ice water gradually, just until the dough comes together in cohesive clumps.
- Pre-Cook Your Apple Filling: To ensure your apples are perfectly tender and juicy within the short baking time of hand pies, it’s essential to cook the filling down beforehand. This step also thickens the filling, preventing it from becoming watery and potentially making your crust soggy or causing the filling to ooze out excessively during baking.
- Always Chill Pies Before Baking: This is a non-negotiable step for achieving beautifully shaped and flaky hand pies. Chilling the assembled pies for at least 15 minutes in the freezer helps the butter in the crust solidify. When the cold butter hits the hot oven, it creates steam, which is what gives pie crust its characteristic flaky layers, and also helps the pies maintain their defined shape, preventing shrinkage and spreading.
- Don’t Overcrowd the Baking Sheet: Give your hand pies space to breathe! Arrange them on your parchment-lined baking sheet with sufficient room between each pie. This allows for proper air circulation, ensuring that each pie bakes evenly and achieves a consistent golden-brown color and flaky crust.
🥄 Make Ahead and Storage Solutions
These apple hand pies are truly at their peak when served fresh on the day they are baked. The crust is crispiest, and the filling is at its most flavorful. However, they can be prepared ahead of time or stored for later enjoyment with a few simple guidelines.
Storage: Any leftover baked apple hand pies should be stored in an airtight container. They will keep well in the refrigerator for up to 3 days. For longer storage, you can freeze them for up to 2 months. To reheat, place them in a preheated oven at 350°F (175°C) for about 10-15 minutes, or until warmed through, to restore some of their freshly baked texture and flavor.
Make Ahead (Unbaked): You can prepare the pie crust dough disks and the apple filling up to 2 days in advance. Store the dough disks tightly wrapped in plastic in the refrigerator, and keep the cooled apple filling in an airtight container in the fridge. When ready to bake, assemble the pies as directed, then chill them in the freezer for 15 minutes before baking. For a truly make-ahead option, assemble the pies completely (up to Step 7, before egg wash and sugar), then freeze them solid on a baking sheet. Once frozen, transfer them to a freezer-safe bag for up to 1 month. When you’re ready to bake, you can bake them from frozen, adding about 5-10 minutes to the baking time, or thaw them slightly before baking.
📖 Recipe Frequently Asked Questions
For the most flavorful and texturally pleasing apple hand pies, we recommend using firm, tart apple varieties. Granny Smith apples are an excellent and widely available choice, as they maintain their shape and offer a delightful tanginess that balances the sweetness of the caramel. If you can find them, dedicated “pie apples” are also superb. Other good baking apples include Honeycrisp, Braeburn, and Fuji, which hold up well under heat and contribute great flavor. Avoid softer, sweeter varieties like Red Delicious, as they tend to become mushy.
Absolutely! Using a premade pie crust is a fantastic shortcut that significantly reduces preparation time, making these hand pies even easier to make. Look for a quality all-butter pie crust in the freezer section of your grocery store for the best flavor and flakiness. Alternatively, you can also use butter puff pastry, which will yield a slightly different but equally delicious and flaky result. Just follow the package instructions for thawing before rolling and cutting.
Cutting small vents or holes into the top crust of your hand pies is a crucial step in pie baking. These openings allow steam to escape from the hot apple filling as the pies bake in the oven. Without these vents, the trapped steam would build up pressure, causing the pie crust to puff up excessively, crack, or even burst open, leading to a messy leakage of the delicious filling. The vents ensure a beautiful, intact pie with an evenly cooked filling.
We strongly advise against using hard caramels in the pie filling. While they might seem like a convenient option, hard caramels will likely remain very firm or even harden further once baked and cooled. This can result in an unpleasant, chewy, and sticky texture that could get stuck in your teeth or even be a choking hazard. For the best gooey, melt-in-your-mouth caramel experience, stick to soft, chewy caramels or omit them altogether if preferred.
🥧 More Delicious Related Recipes You’ll Love
- Pumpkin Hand Pies
- Mini Honey Apple Pies
- Apple Cider Bundt Cake
- Salted Caramel Apple Pie Bars
Did you try this amazing recipe? We’d absolutely love to hear your thoughts! Please take a moment to rate this recipe and share your experience in the comments section below. If you share your delicious creation on Instagram, remember to tag @flouringkitchen so we can see it! For more delightful recipe ideas and to save your favorites, be sure to follow us on Pinterest.
📖 Recipe Card

Caramel Apple Hand Pies
MaryEquipment
- Parchment paper
- Baking sheet
Ingredients
For the Pie Crust (or use 2 sheets of premade pie crust)
- 1 cup unsalted butter cold, cut into ¼” cubes
- 1 tablespoon vinegar apple cider, white, or lemon juice
- 1 cup ice water
- 2 ½ cups all-purpose flour 300g
- ¼ teaspoon sea salt
For the Caramel Apple Filling
- 2 large apples about 2 cups, peeled and finely diced, 225g
- 3 tablespoons dark brown sugar
- 1 teaspoon cinnamon
- ¼ teaspoon cardamom
- ¼ teaspoon nutmeg
- ¼ teaspoon allspice
- 1 tablespoon butter
- 2 tablespoons lemon juice freshly squeezed
- 2 teaspoons all-purpose flour
- 8 soft caramels I used Werther’s Original Soft Caramels
For the Egg Wash & Topping
- 1 large egg
- 1 tablespoon heavy cream
- 2 tablespoons coarse sugar
For the Sweet Glaze (Optional)
- 1 cup powdered sugar
- 2 tablespoons milk or cream
- green and red food coloring optional, for apple shaping
Instructions
Preparing the Pie Crust (Homemade Option)
- About 10 minutes before you begin making the crust, cut the cold unsalted butter into small ¼-inch cubes. Spread the cubes in a single layer on a plate and place them in the freezer to ensure they are thoroughly chilled. In a separate cup, combine the vinegar (apple cider, white, or lemon juice) with the ice water and stir well.1 cup unsalted butter, 1 tablespoon vinegar, 1 cup ice water
- In a large mixing bowl, whisk together the all-purpose flour and sea salt until thoroughly combined and any lumps are broken up. Add the frozen butter cubes to the flour mixture. Using a pastry cutter, a fork, or your fingertips (working quickly to keep the butter cold), cut the butter into the flour until the mixture resembles coarse breadcrumbs with some larger, pea-sized pieces of butter still visible. Alternatively, pulse in a food processor a few times.2 ½ cups all-purpose flour, ¼ teaspoon sea salt
- Gradually add the vinegar-infused ice water to the flour mixture, a couple of tablespoons at a time, mixing gently yet thoroughly between additions. Stop adding liquid as soon as the mixture begins to form cohesive clumps and starts to come together. Be careful not to add too much water, as this can result in a tough crust. The dough should still look a little shaggy.
- Working quickly and handling the dough as little as possible, press the dough into a rough disk. Fold the disk in half, press gently, and then fold it in half again. Cut the dough in half and press each half into a separate, flat disk. Tightly wrap each disk in plastic wrap and refrigerate for at least 30 minutes (or up to 2 days) to allow the gluten to relax and the butter to firm up.
Crafting the Caramel Apple Filling
- In a medium saucepan, combine the finely diced apples, dark brown sugar, ground cinnamon, cardamom, nutmeg, allspice, butter, fresh lemon juice, and all-purpose flour. Cook this mixture over low heat, stirring occasionally, until the apples have softened significantly and the filling has thickened to a syrupy consistency. This process should take approximately 8 minutes. Pre-cooking the filling ensures tender apples and a cohesive filling in your baked hand pies.2 large apples, 3 tablespoons dark brown sugar, 1 teaspoon cinnamon, ¼ teaspoon cardamom, ¼ teaspoon nutmeg, ¼ teaspoon allspice, 1 tablespoon butter, 2 tablespoons lemon juice, 2 teaspoons all-purpose flour
- Remove the apple filling from the heat and set it aside to cool for at least 10 minutes. This cooling period is crucial to prevent the warm filling from prematurely melting the butter in your pie crust during assembly, which could compromise the flakiness of your pastry. While the filling cools, you can begin preparing your egg wash and rolling out the pie crusts.
Egg Wash & Assembly
- In a small bowl, crack one large egg. Add the heavy cream and whisk vigorously until the egg and cream are thoroughly combined and smooth. This egg wash will be used for both sealing the pie edges and brushing the tops for a golden finish. Set the bowl aside.1 large egg, 1 tablespoon heavy cream
- Lightly dust a clean, dry work surface with all-purpose flour. Unwrap one disk of your chilled pie crust and place it on the floured surface, sprinkling a little more flour on top to prevent sticking.
- Using a rolling pin, roll out the pie crust evenly until it is approximately ⅛ inch thick. Using an apple-shaped cookie cutter (or a 4-inch round cutter), cut out eight shapes from the rolled dough. Carefully transfer these cutouts to a baking sheet lined with parchment paper. Repeat this process with the second disk of pie crust to yield another eight shapes.
- Take one soft caramel, unwrap it, and gently flatten it slightly with your fingers. Place this flattened caramel onto the center of one of the eight crust pieces. Spoon a heaping tablespoon of the cooled apple filling over the caramel, ensuring the filling is centered and leaves a clear border around the edges of the crust.8 soft caramels
- Using your finger or a small pastry brush, generously brush the edges of the pie crust (around the filling) with the prepared egg wash. This will act as a glue to seal the hand pies effectively.
- Carefully place an unfilled piece of pie crust on top of the filled bottom crust. Gently press down around the edges to adhere the two pieces. Then, use the tines of a fork to crimp and seal the edges all around, or if you have a hand pie maker, use it to ensure a tight seal. Repeat this process for all remaining pie crusts and filling. As each pie is assembled, carefully transfer it to a parchment-lined baking sheet.
- Place the entire baking sheet with the assembled pies into the freezer for 15 minutes. This chilling step is crucial to help the butter in the crust firm up, ensuring the pies hold their shape beautifully and bake up wonderfully flaky. In the meantime, preheat your oven to 375°F (190°C).
- Remove the chilled pies from the freezer. Lightly brush the tops of the pies with the remaining egg wash. If you plan to add a sweet glaze after baking, you might want to omit the coarse sugar at this stage to avoid over-sweetening. If skipping the glaze, sprinkle coarse sugar generously over the egg-washed tops for a sparkling, crunchy finish. For an extra decorative touch, you can cut out small leaf shapes from any excess pastry and attach them to the tops of your apple-shaped pies. Crucially, poke several small holes or slits into the top layer of crust with a fork to allow steam to escape during baking, preventing the pies from bursting.2 tablespoons coarse sugar
- Bake the pies in the preheated oven for 18-20 minutes, or until the pastry is puffed and golden brown. Monitor them closely to prevent overbaking, which could cause the filling to ooze out excessively.
- Once baked, carefully transfer the pies to a wire rack and allow them to cool completely. It’s important for the pies to be entirely cool before applying any glaze, otherwise, the glaze will melt and run off.
Applying the Sweet Glaze (Optional)
- In a medium bowl, combine the powdered sugar and 2 tablespoons of milk or cream. Whisk until a smooth, pourable glaze forms. If the glaze is too thick, add more milk in very small increments (e.g., ½ teaspoon at a time) until the desired consistency is achieved. For a playful touch, you can optionally set aside one tablespoon of the glaze and color it green with food coloring, then color the remaining larger portion red to resemble apples.1 cup powdered sugar, 2 tablespoons milk
- If you opted for colored glazes, first spoon and paint the red glaze over the main body of the pies, aiming for even coverage. Then, carefully add small touches of green glaze to represent apple leaves or stems.green and red food coloring
- Place the freshly glazed pies on a clean parchment-lined baking sheet or wire rack set over parchment paper to catch any drips and allow the glaze to set.
- Allow the glazed pies to set for at least 15 minutes before serving. While the glaze will take approximately 1 hour to set completely and firm up, you can certainly enjoy them sooner! These delicious hand pies are best served warm or at room temperature for optimal flavor and enjoyment.
Notes
- When making the pie crust, avoid adding too much liquid. Only add enough to moisten the mixture until it just begins to clump together, ensuring a tender and flaky crust.
- Pre-cook your apple filling until the apples are tender and the mixture thickens. This step ensures the apples are perfectly cooked and prevents a watery filling in your baked pies.
- Always chill the assembled hand pies in the freezer for about 15 minutes before baking. This helps the butter in the crust remain cold, contributing to a beautiful flaky texture and allowing the pies to hold their shape in the oven.
