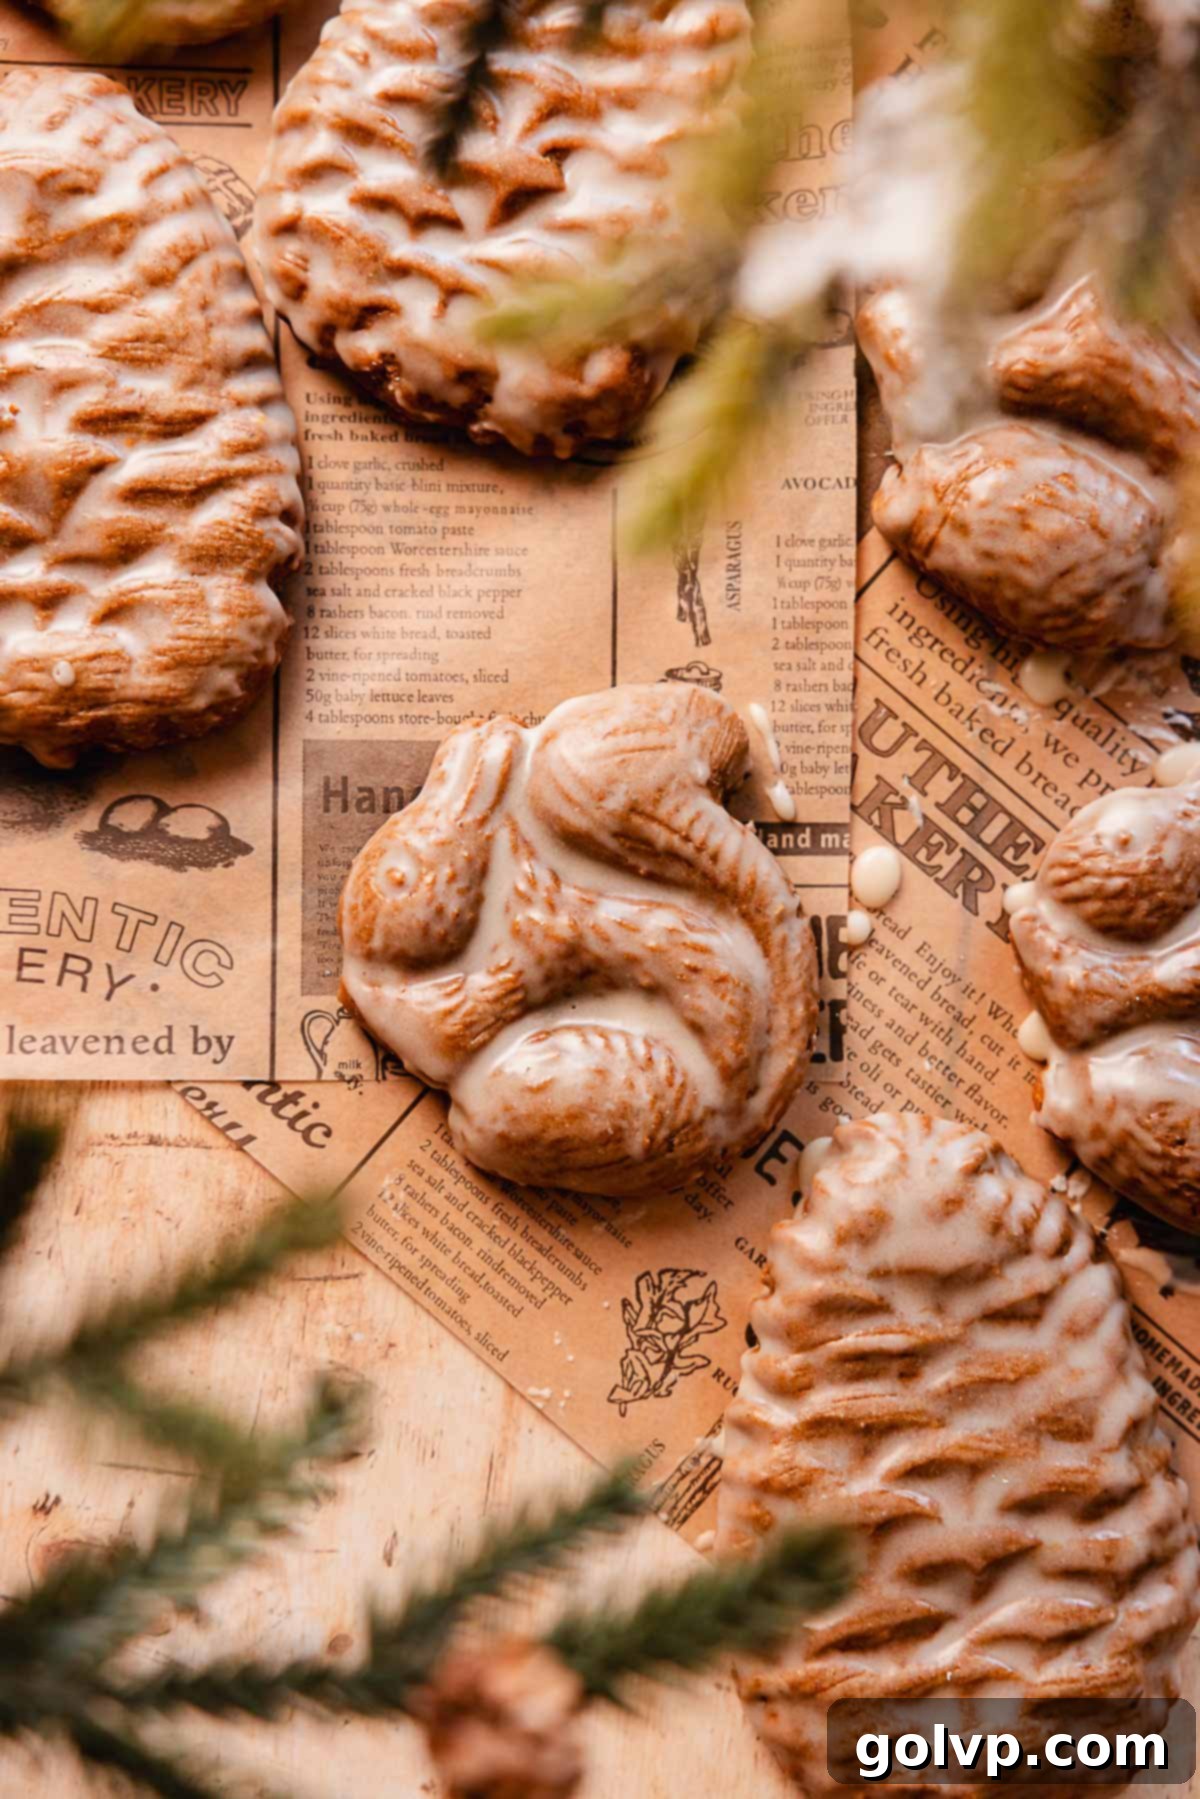
Thick, Soft, and Chewy Jam-Filled Molded Gingerbread Cookies with Bright Orange Glaze
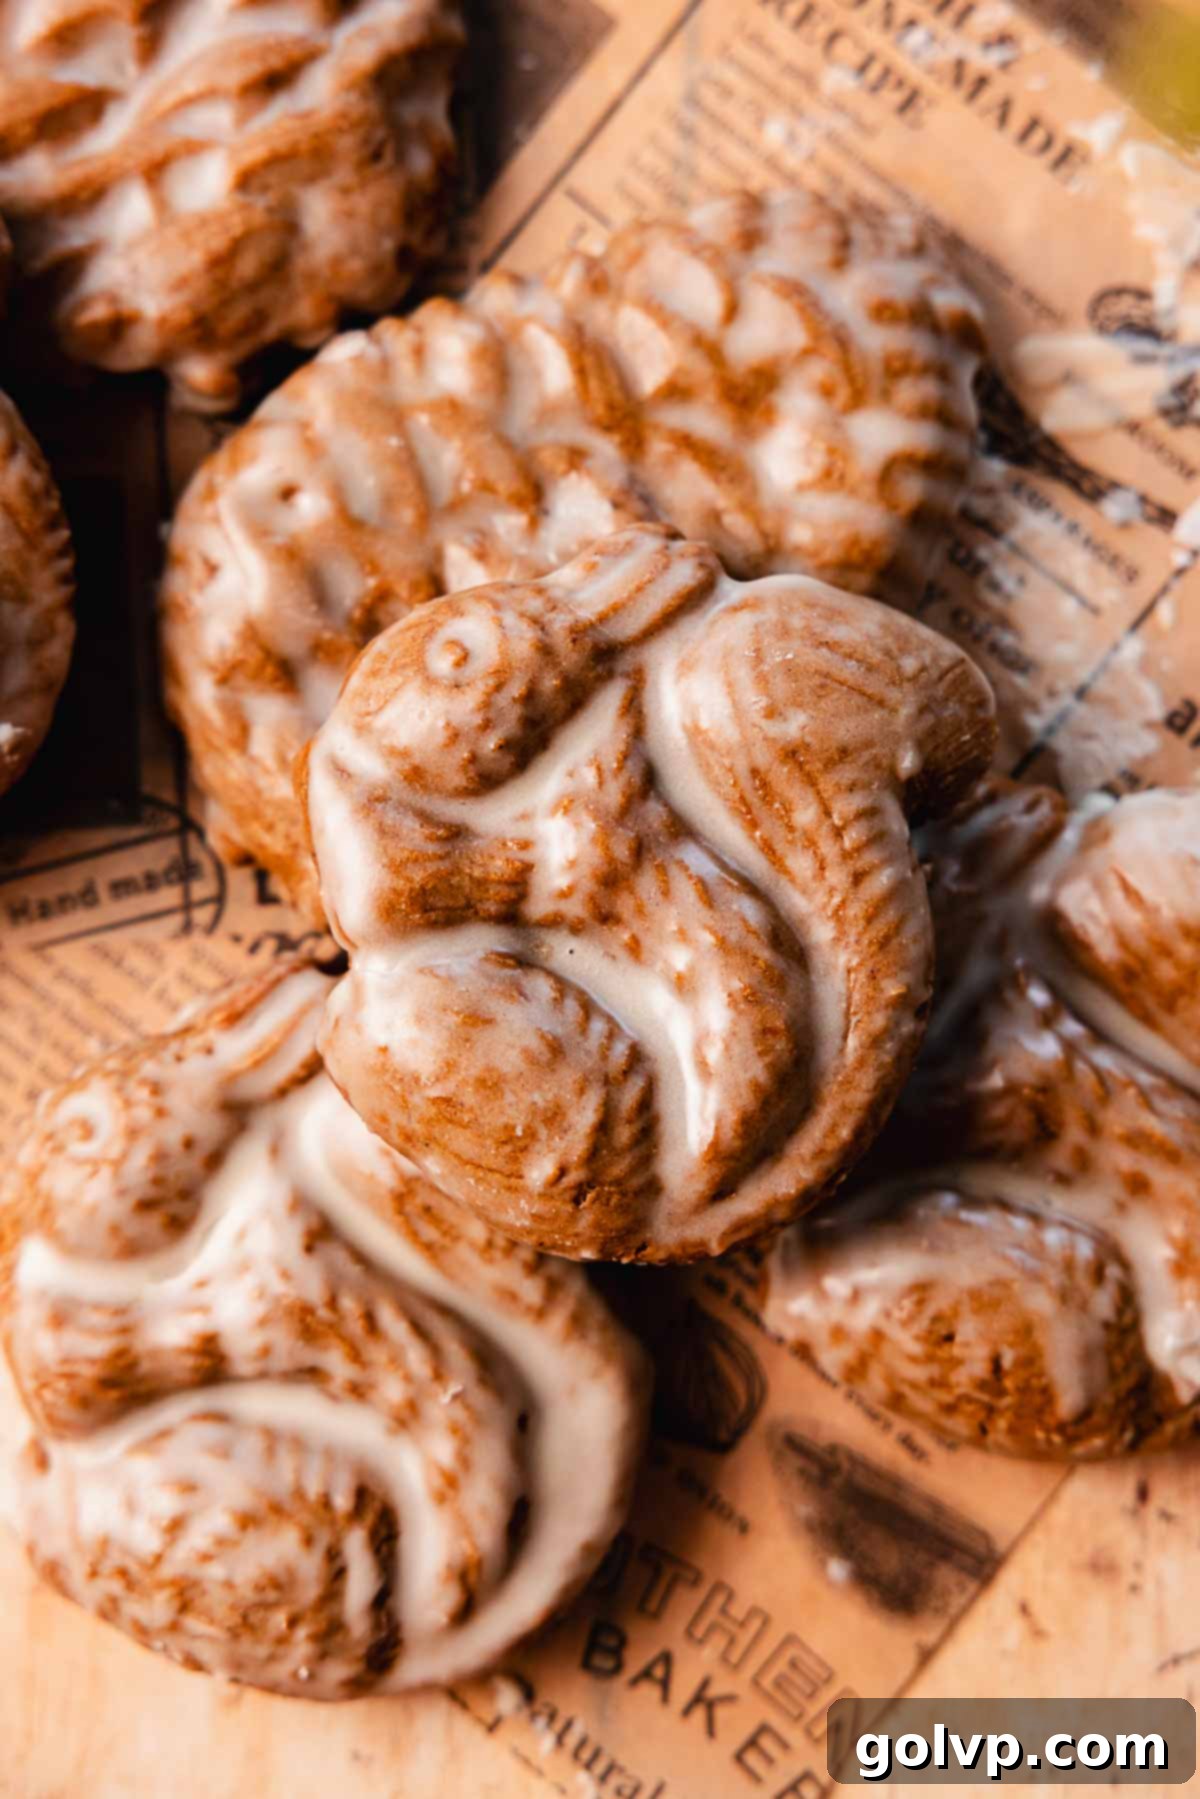
Prepare to be enchanted by these exceptionally thick, wonderfully soft, and delightfully chewy gingerbread cookies. Crafted with care using traditional wooden cookie molds, they boast a rich spice profile, accentuated by the vibrant notes of fresh ginger and zesty orange. But the magic doesn’t stop there – each cookie cradles a luscious jam filling, ensuring an irresistible burst of fruit in every bite. A simple, tangy orange glaze provides the perfect finishing touch, locking in moisture and adding a beautiful sheen. These cookies are not just a treat for the taste buds; they’re a visual delight, perfect for holiday gatherings or as thoughtful homemade gifts. Their unique texture and flavor, combined with the preserving qualities of the jam filling and glaze, mean they stay incredibly soft, moist, and chewy for days, making them an ideal make-ahead option, especially during the bustling holiday season.
Drawing inspiration from popular Eastern European spiced honey cookies, this recipe offers a unique take on a beloved classic. If your preference leans towards a more traditional American style, specifically cut-out soft gingerbread cookies, you might want to explore my other recipe for soft gingerbread cookies. However, for an adventurous and deeply flavorful experience with beautiful, intricate designs, these molded gingerbread cookies are truly unparalleled.
[feast_advanced_jump_to]
Why These Jam-Filled Molded Gingerbread Cookies Will Be Your New Favorite
- Uniquely Thick, Soft, and Chewy Gingerbread Cookies: Forget thin, crispy gingerbread! These cookies are designed to be substantial, offering a satisfying thickness that’s at least double that of most standard gingerbread cookies. This extra bulk contributes to their wonderfully soft interior and slightly chewy texture, providing a truly comforting bite that melts in your mouth. The combination of rich ingredients and careful baking ensures they remain tender, never tough.
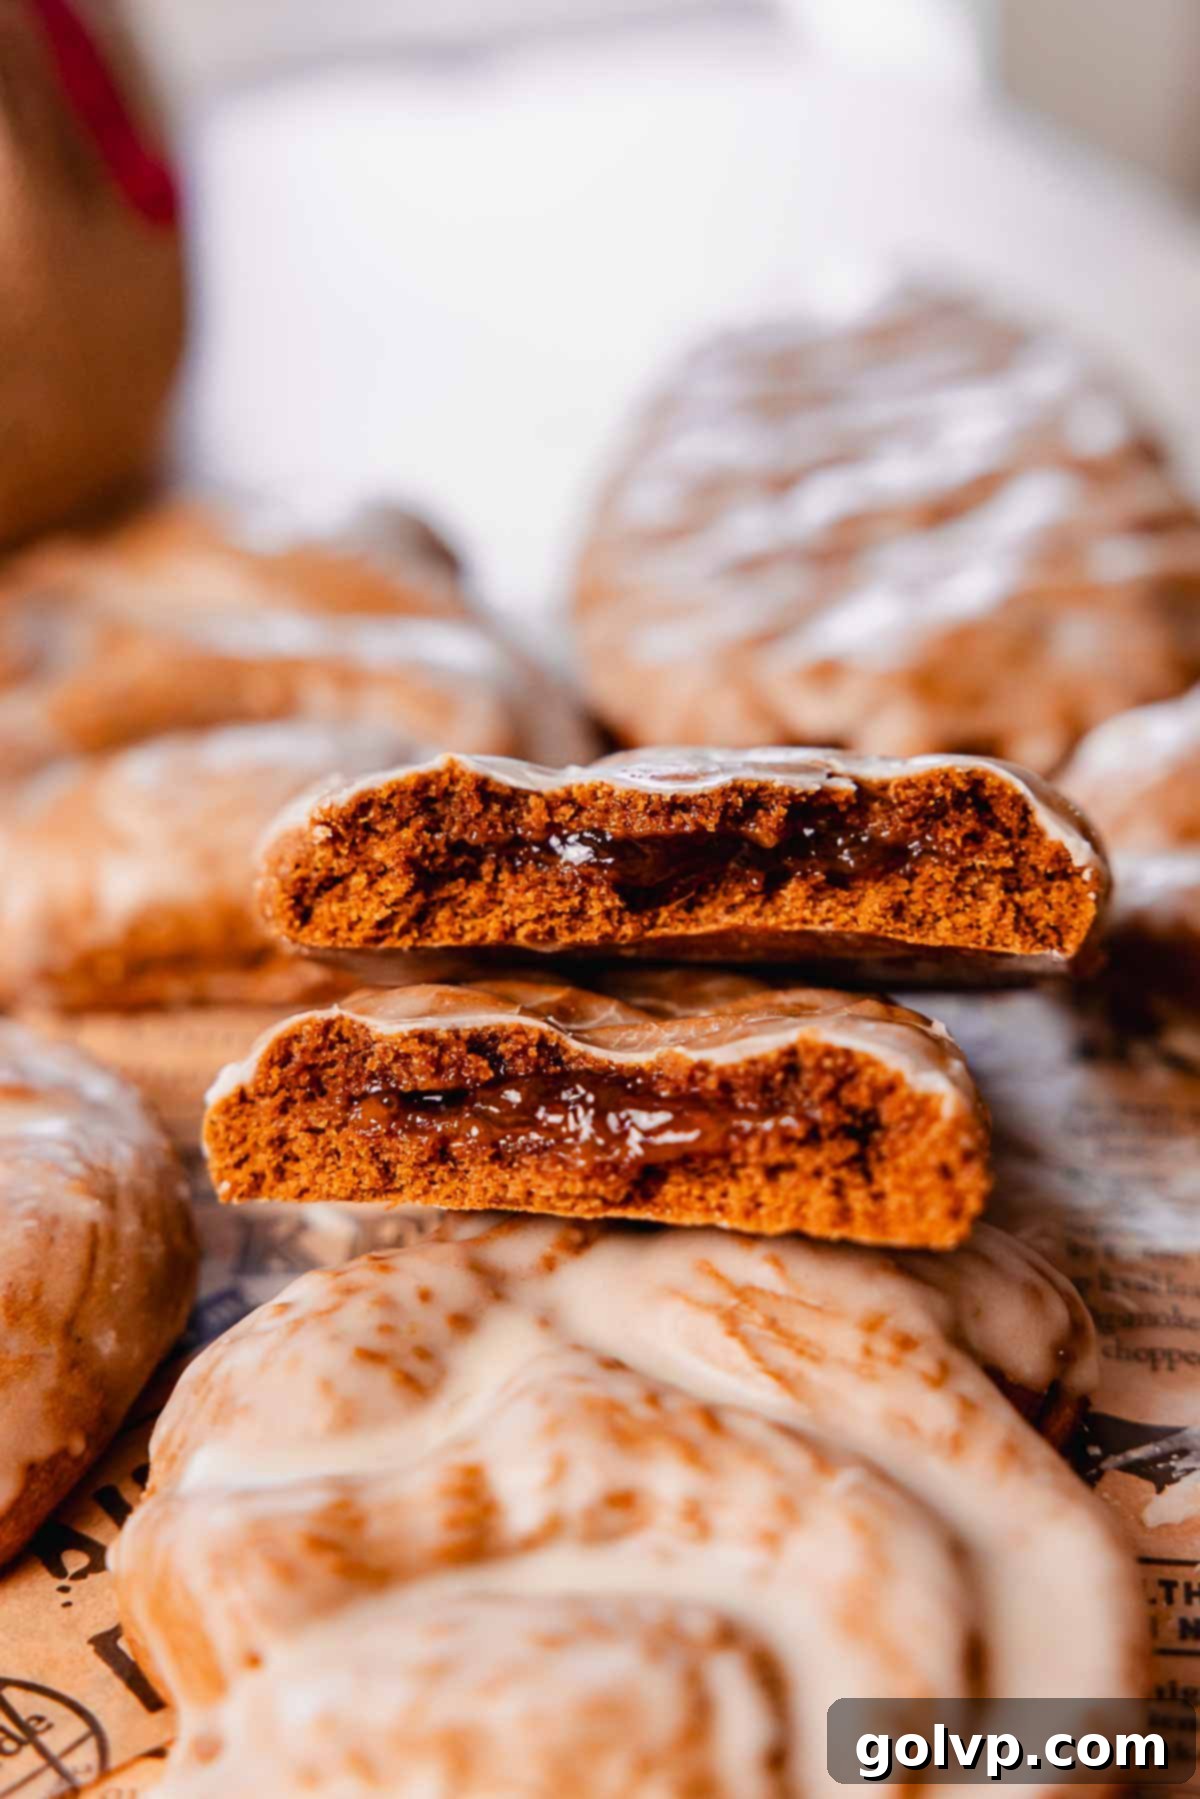
- Surprise Jam Filling for Extra Moisture and Flavor: Tucked inside each cookie is a delightful surprise: a gooey, fruity jam filling. This not only adds an incredible layer of flavor and sweetness but also plays a crucial role in keeping the cookies exceptionally moist and soft for an extended period. You have the freedom to choose your favorite jam; I personally recommend apricot for its complementary tang, but orange marmalade also works beautifully, enhancing the citrus notes in the dough.
- Brightened with Fresh Ginger and Orange Zest: Unlike many gingerbread recipes that rely solely on dried spices, this recipe incorporates both fresh grated ginger and fragrant orange zest. This combination infuses the cookies with a bright, zingy, and fresh flavor that elevates them beyond the ordinary. The fresh ginger provides a piquant warmth, while the orange zest adds a lively citrus aroma and taste, making each bite incredibly aromatic and complex.
- Perfect for Decorative Wooden Cookie Molds: If you’ve ever admired those charming wooden cookie molds and wondered how to use them, this recipe is your answer! The dough is specifically formulated to capture intricate details, allowing you to create stunning, beautifully patterned cookies. These molds transform simple gingerbread into edible works of art, making them perfect for gifting or impressing guests during the festive season.
Essential Ingredients for Perfect Molded Gingerbread Cookies
For a successful bake, understanding the role of each ingredient is key! Make sure to read through for all the tips you will need to achieve the best results.
Full steps and precise ingredient measurements can be found in the comprehensive recipe card below.
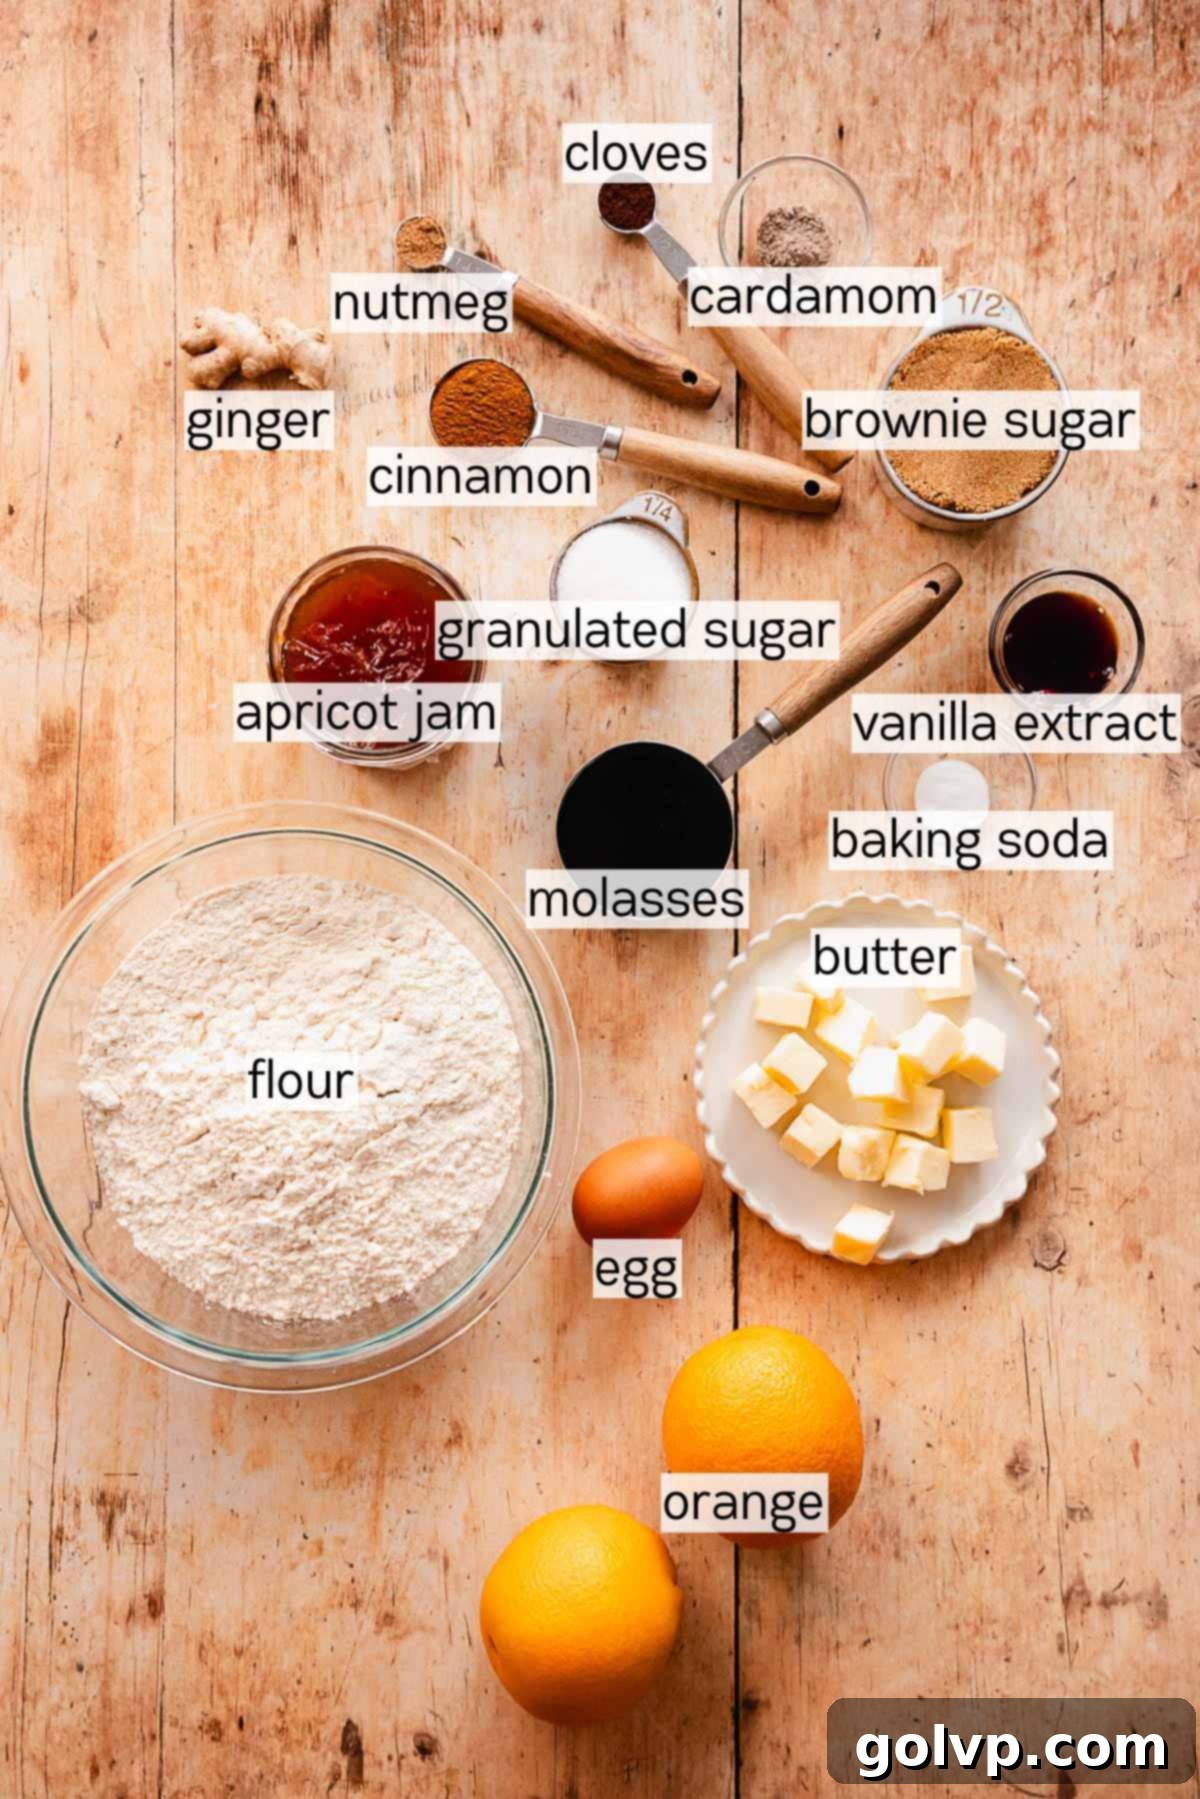
Molasses: This is a cornerstone ingredient for gingerbread, providing that iconic deep, rich, and slightly smoky flavor, as well as the beautiful dark color. Ensure you use unsulphured or “baking” molasses, as sulphured varieties can have a slightly bitter taste. Molasses also helps to keep these cookies moist and soft.
Ginger (Fresh or Dried): While this recipe truly shines with fresh grated ginger, which imparts a bright, piquant “zing” that dried ginger can’t quite replicate, dried ground ginger is a perfectly acceptable substitute if fresh isn’t available. If opting for fresh, grate it finely to distribute its flavor evenly throughout the dough. Both forms contribute to the warming, spicy character of the gingerbread.
Orange Zest and Juice: Inspired by cherished family traditions, grated orange zest adds an incredibly festive, bright, and aromatic lift to these spiced cookies. It beautifully complements the ginger and other warm spices. After zesting, don’t discard the orange! You can squeeze out the fresh orange juice to create the simple yet flavorful glaze that finishes these exquisite treats, ensuring no part of the fruit goes to waste.
All-Purpose Flour: Accuracy in flour measurement is vital for the perfect cookie texture. I highly recommend weighing your flour using a kitchen scale for the most precise results. If a scale isn’t available, measure properly by first stirring the flour in its bag or container to aerate it. Then, gently spoon the flour into a dry measuring cup, avoiding packing it down. Finally, level off the excess with the flat edge of a knife. This method prevents over-measuring, which can lead to dense, dry cookies.
Cinnamon, Cloves, Cardamom, and Nutmeg: This harmonious blend of warm spices is what defines classic gingerbread flavor. Cinnamon and cloves provide a robust, sweet heat, while nutmeg adds a subtle, earthy undertone. Cardamom, though not always traditional in gingerbread, introduces an intriguing, slightly floral and citrusy note that truly elevates the overall spice profile. Don’t hesitate to include it; it’s a delicious addition!
Brown and Granulated Sugar: The combination of these two sugars is essential for both sweetness and texture. Granulated sugar provides crispness, while brown sugar, with its molasses content, contributes to the cookies’ softness, chewiness, and depth of flavor. Together, they create a balanced sweetness that highlights the spices without overpowering them.
Butter (Unsalted): I prefer using unsalted butter in baking to control the overall salt content of the recipe. These cookies require only a modest amount of butter – just one-third of a cup. This lower fat content is intentional; it helps prevent the cookies from spreading excessively in the oven, ensuring they maintain the beautiful, intricate designs from your cookie molds without losing definition.
Apricot Jam (or Orange Marmalade): The choice of jam for the filling is crucial for both flavor and texture. Apricot jam is highly recommended because its tart-sweet profile pairs exquisitely with the ginger, spices, and orange zest in the cookies. Alternatively, orange marmalade offers a delightful citrusy bitterness that also complements the gingerbread beautifully. The key is to use a thick, high-quality “real” jam, not a fruit spread. Fruit spreads tend to be thinner, can leak out more easily during baking, and may not maintain the desired gooey texture or last as long as a traditional jam in the baked cookie.
Step-by-Step Guide: Crafting Delicious Molded Gingerbread Cookies
Gingerbread Cookie Dough Preparation
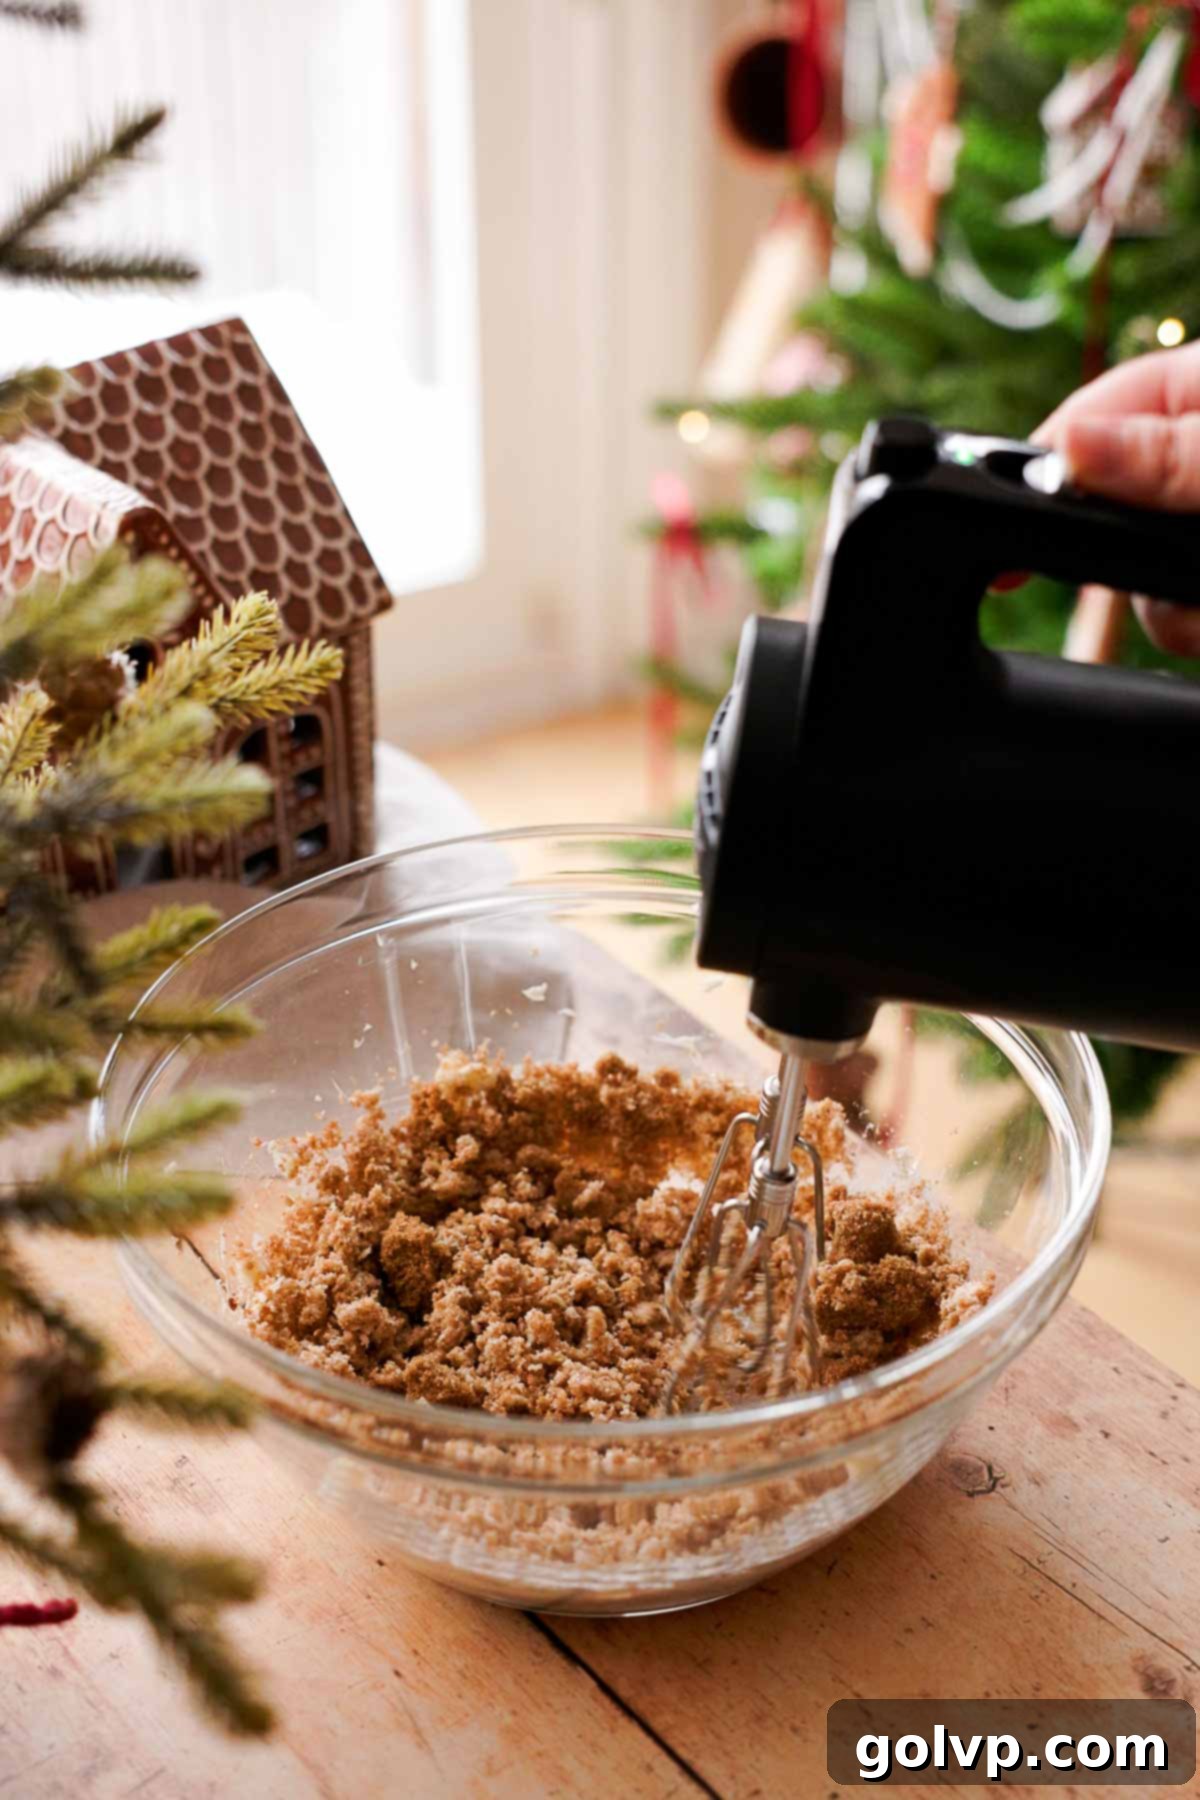
Step 1: Cream Butter and Sugars. In a large mixing bowl or the bowl of a stand mixer fitted with the paddle attachment, combine the softened butter with both granulated sugar and dark brown sugar. Beat these ingredients together on medium speed until the mixture is well combined, light, and fluffy. It might appear slightly crumbly at first, but continue mixing until it reaches a creamy consistency, usually taking about 2-3 minutes.
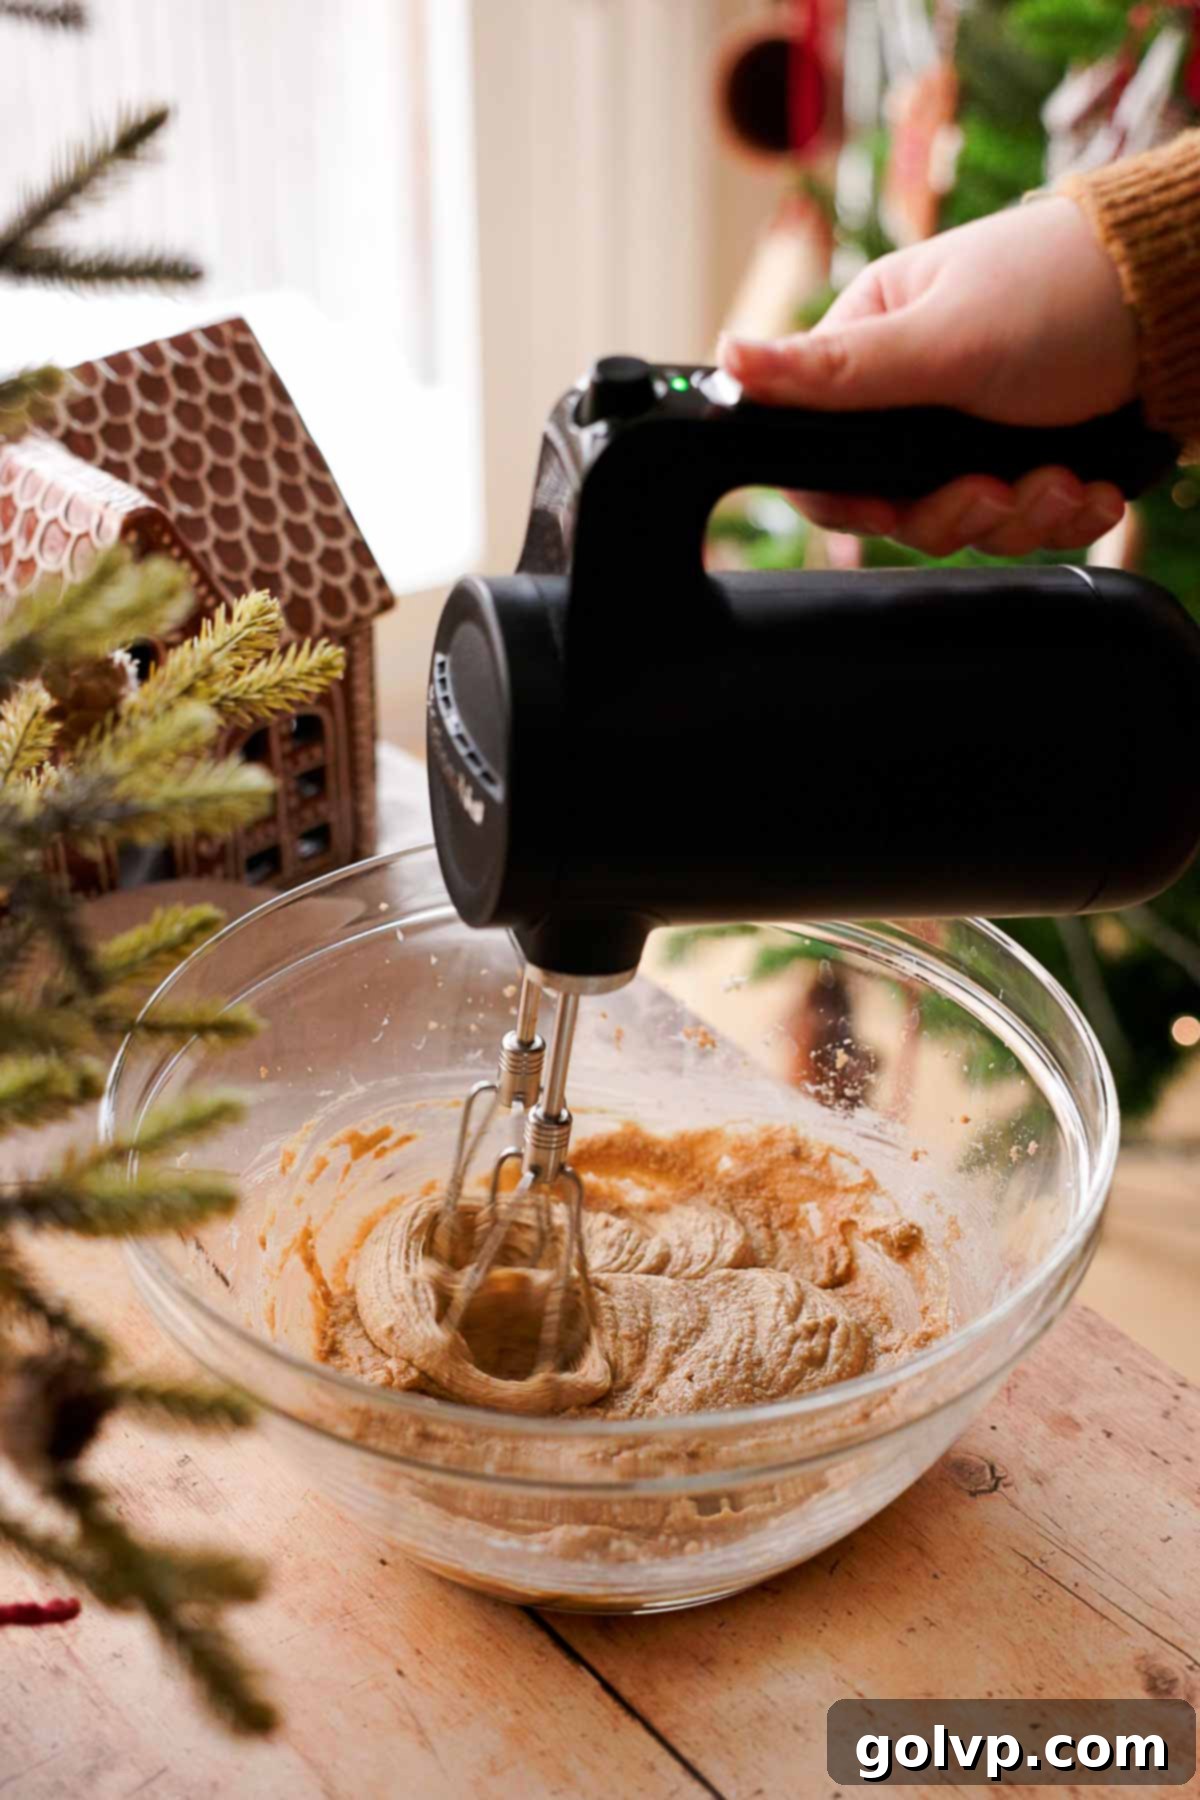
Step 2: Incorporate the Egg. Add the large egg (at room temperature for better emulsification) to the creamed butter and sugar mixture. Continue to beat vigorously until the egg is fully incorporated, and the mixture becomes notably thicker and creamier. Scrape down the sides of the bowl as needed to ensure everything is evenly mixed.
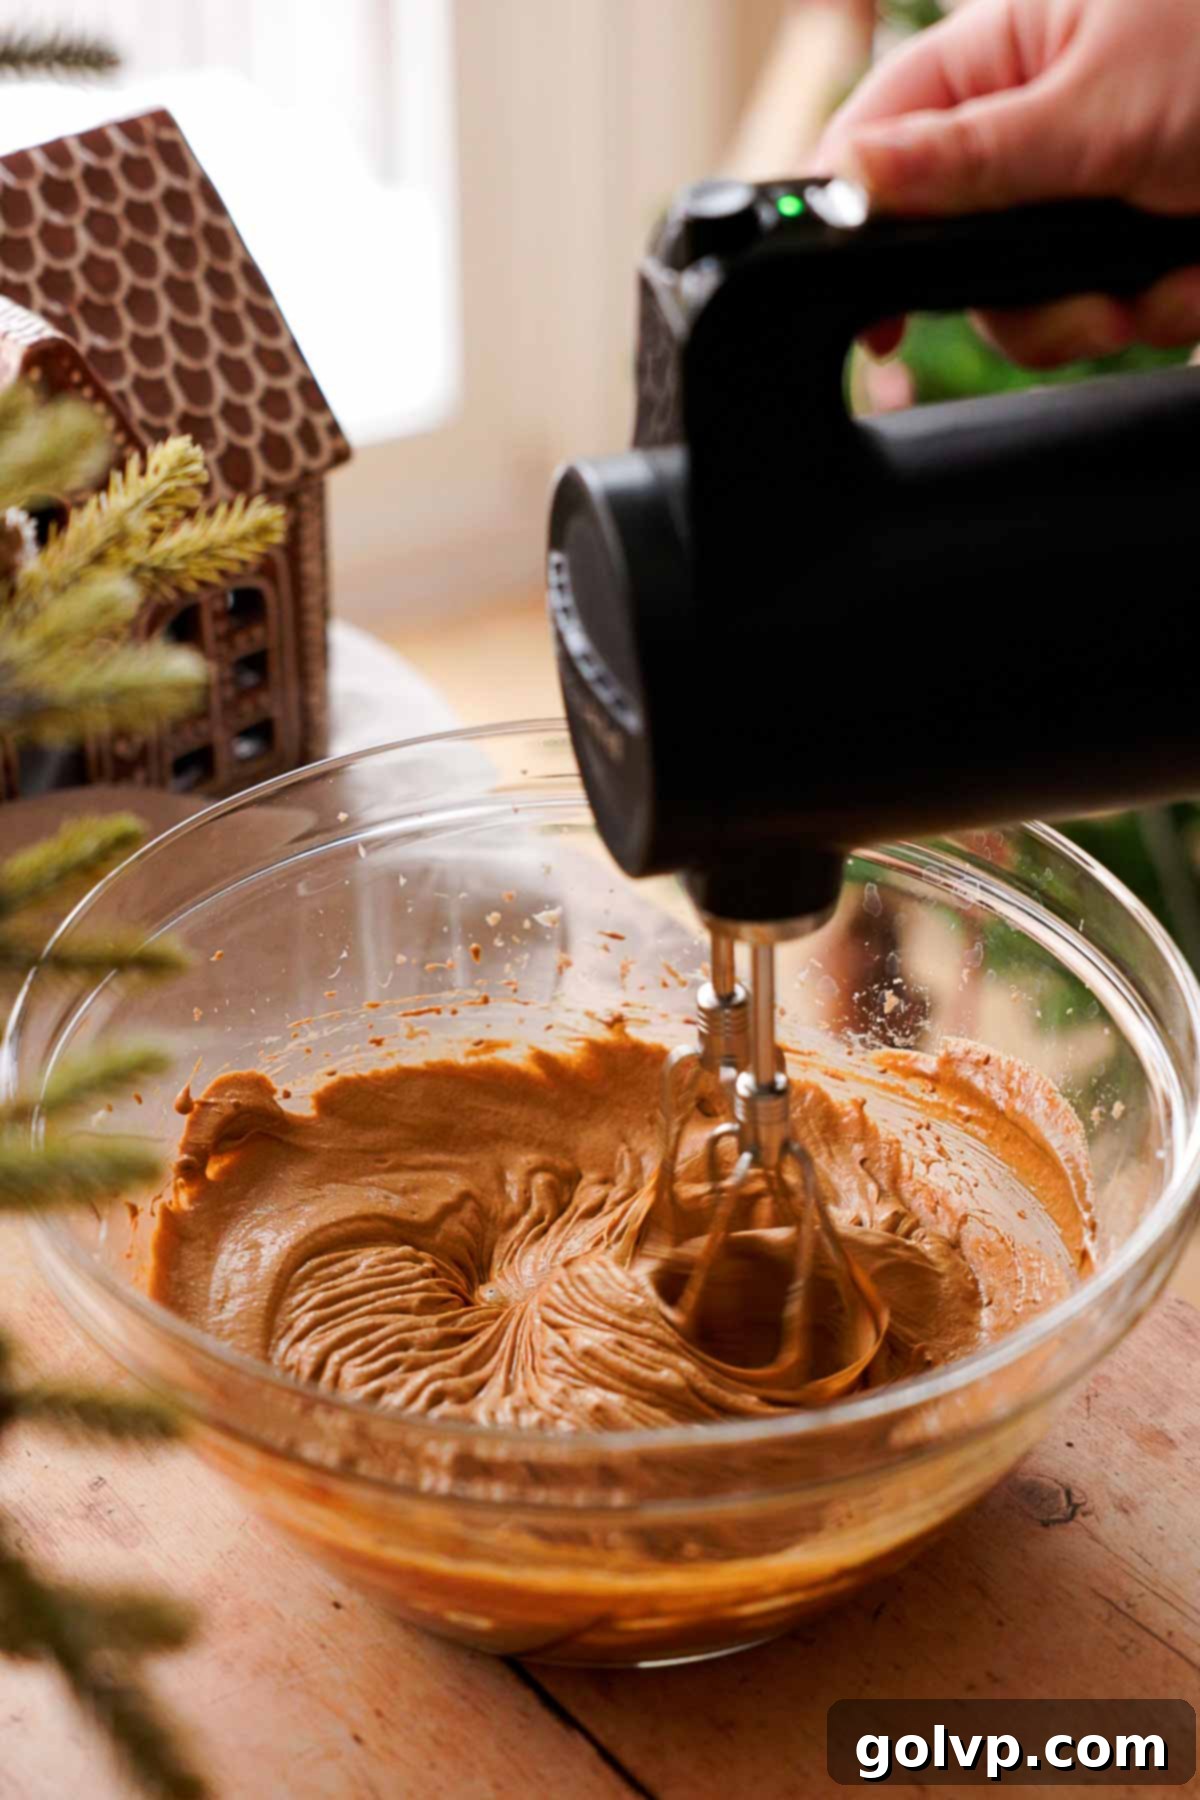
Step 3: Mix in Wet and Dry Spices. Introduce the molasses, pure vanilla extract, sea salt, fresh grated ginger (or powdered ginger if using), the bright grated zest from one orange, ground cinnamon, ground cardamom, ground cloves, and ground nutmeg into the wet mixture. Beat all these ingredients together thoroughly until they are uniformly combined and the mixture is fragrant and smooth. This ensures the spices are well distributed for a balanced flavor in every cookie.
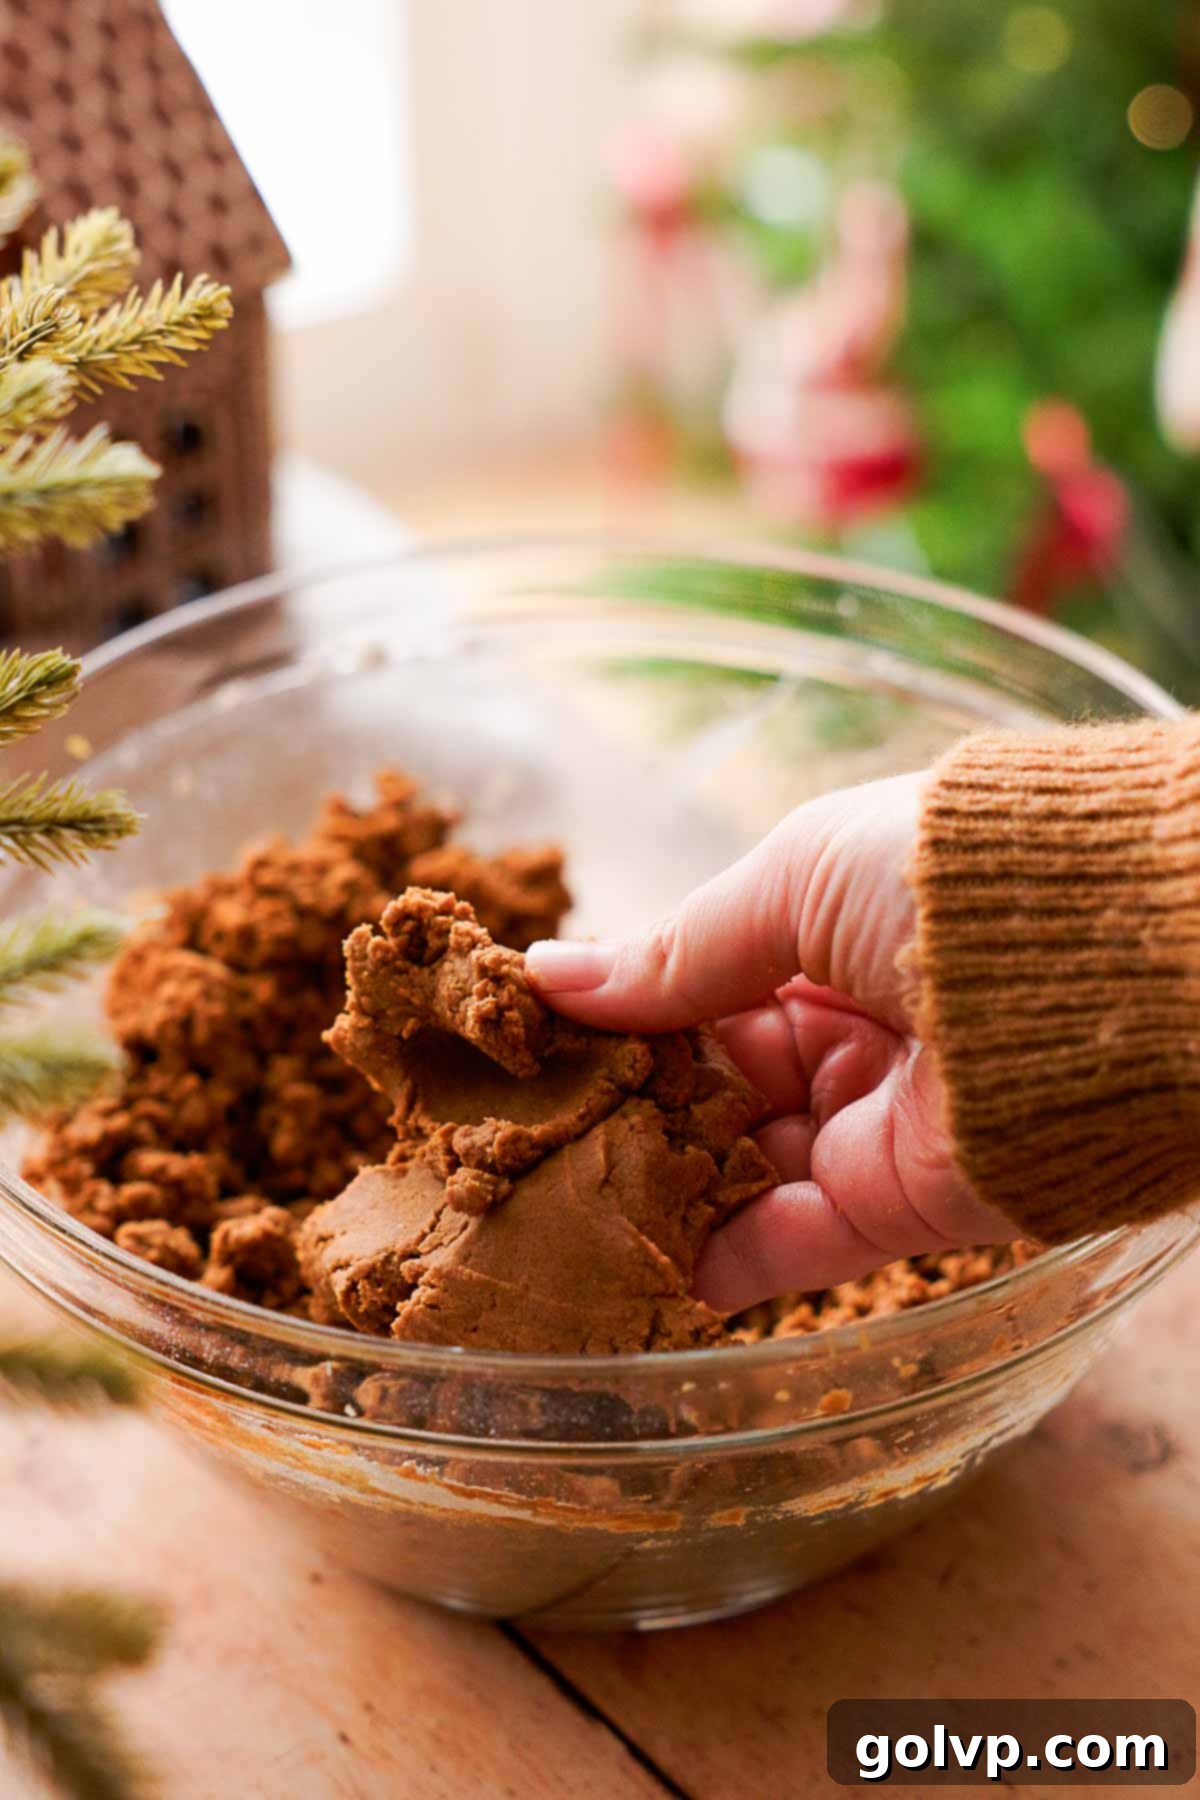
Step 4: Add Flour and Baking Soda. Gradually add the all-purpose flour and baking soda to the wet ingredients. Mix on low speed, just until the flour is incorporated and a crumbly dough begins to form. Be careful not to overmix, as this can develop the gluten too much, resulting in tough cookies. Stop mixing as soon as no dry streaks of flour are visible.
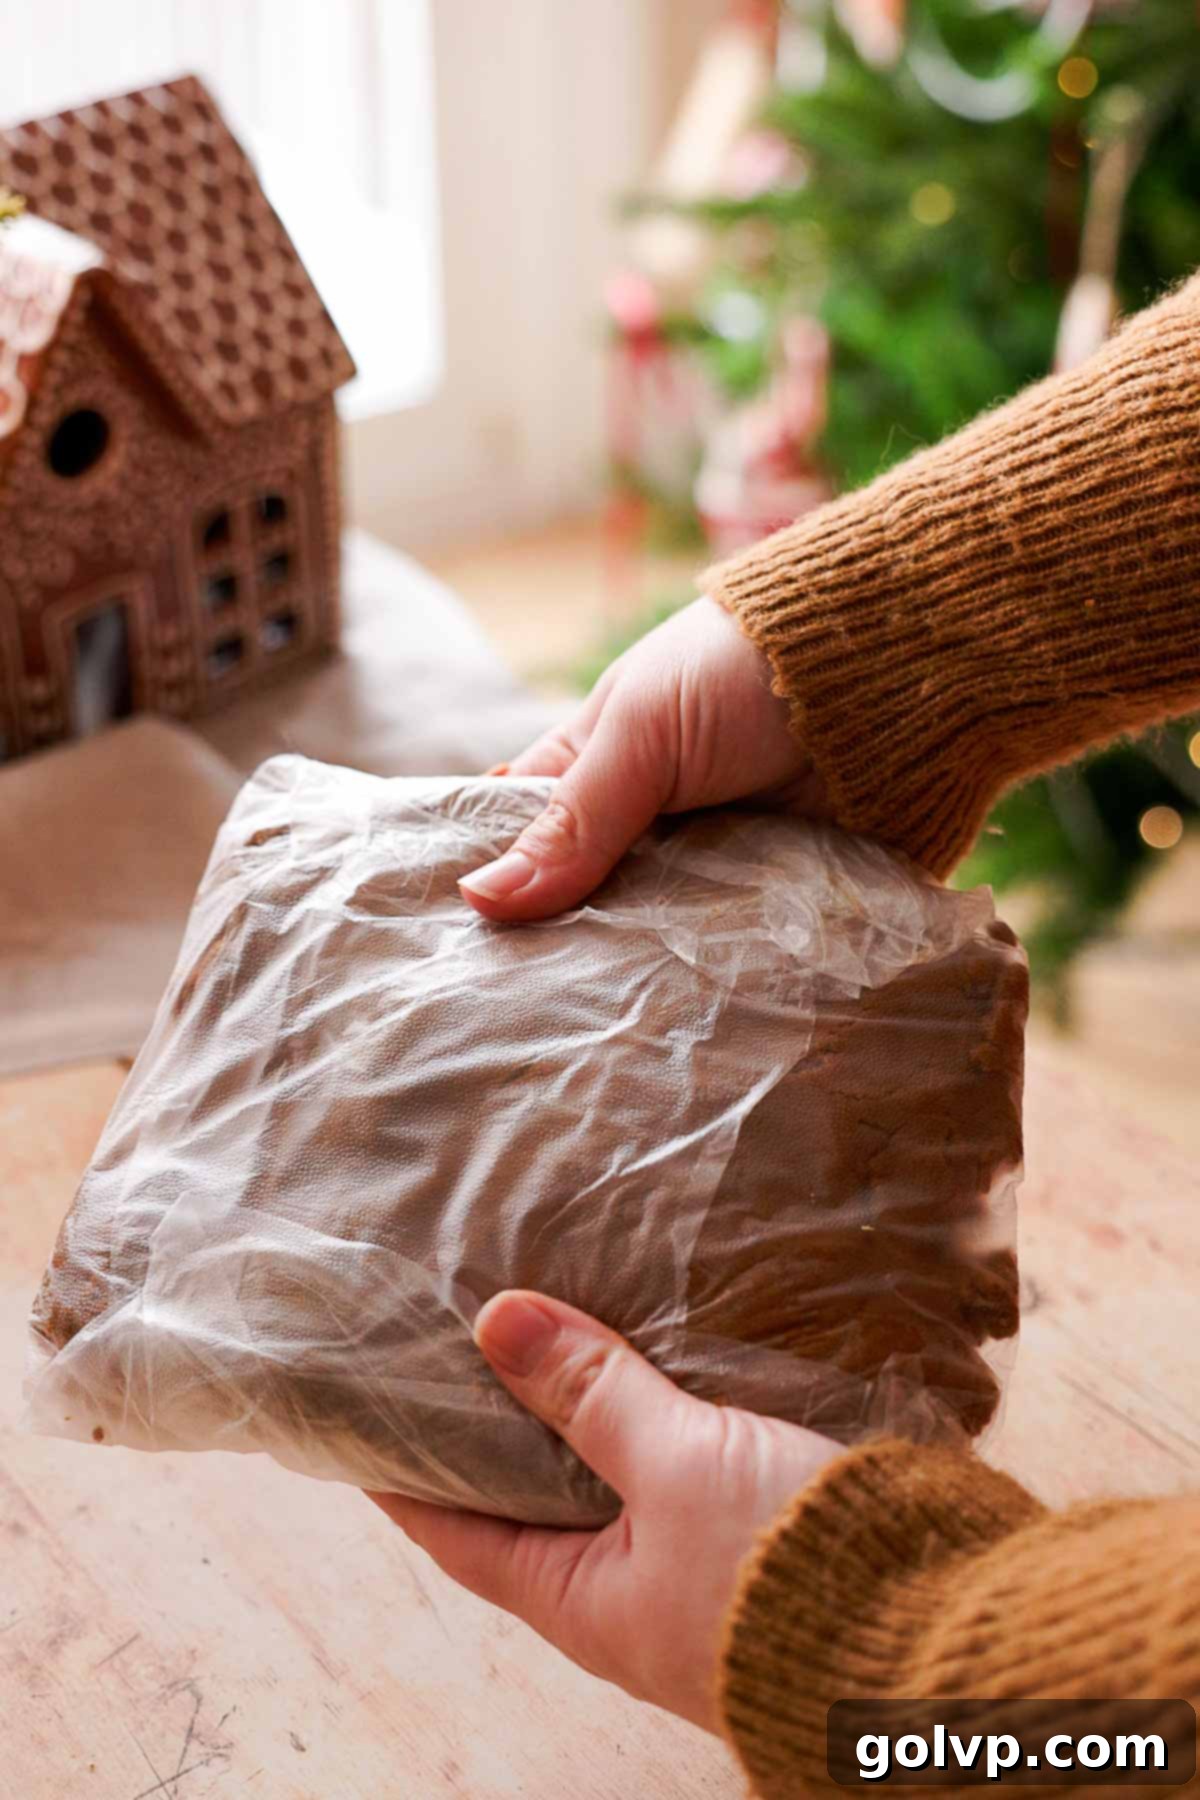
Step 5: Chill the Dough. Gather the crumbly dough and press it together with your hands to form a cohesive disk. Wrap the dough tightly in plastic wrap and refrigerate it for at least 20 minutes, or even overnight. Chilling the dough is essential; it firms up the butter, making the dough easier to handle and helping the cookies maintain their intricate molded shape during baking. While the dough chills, preheat your oven to 355°F (180°C).
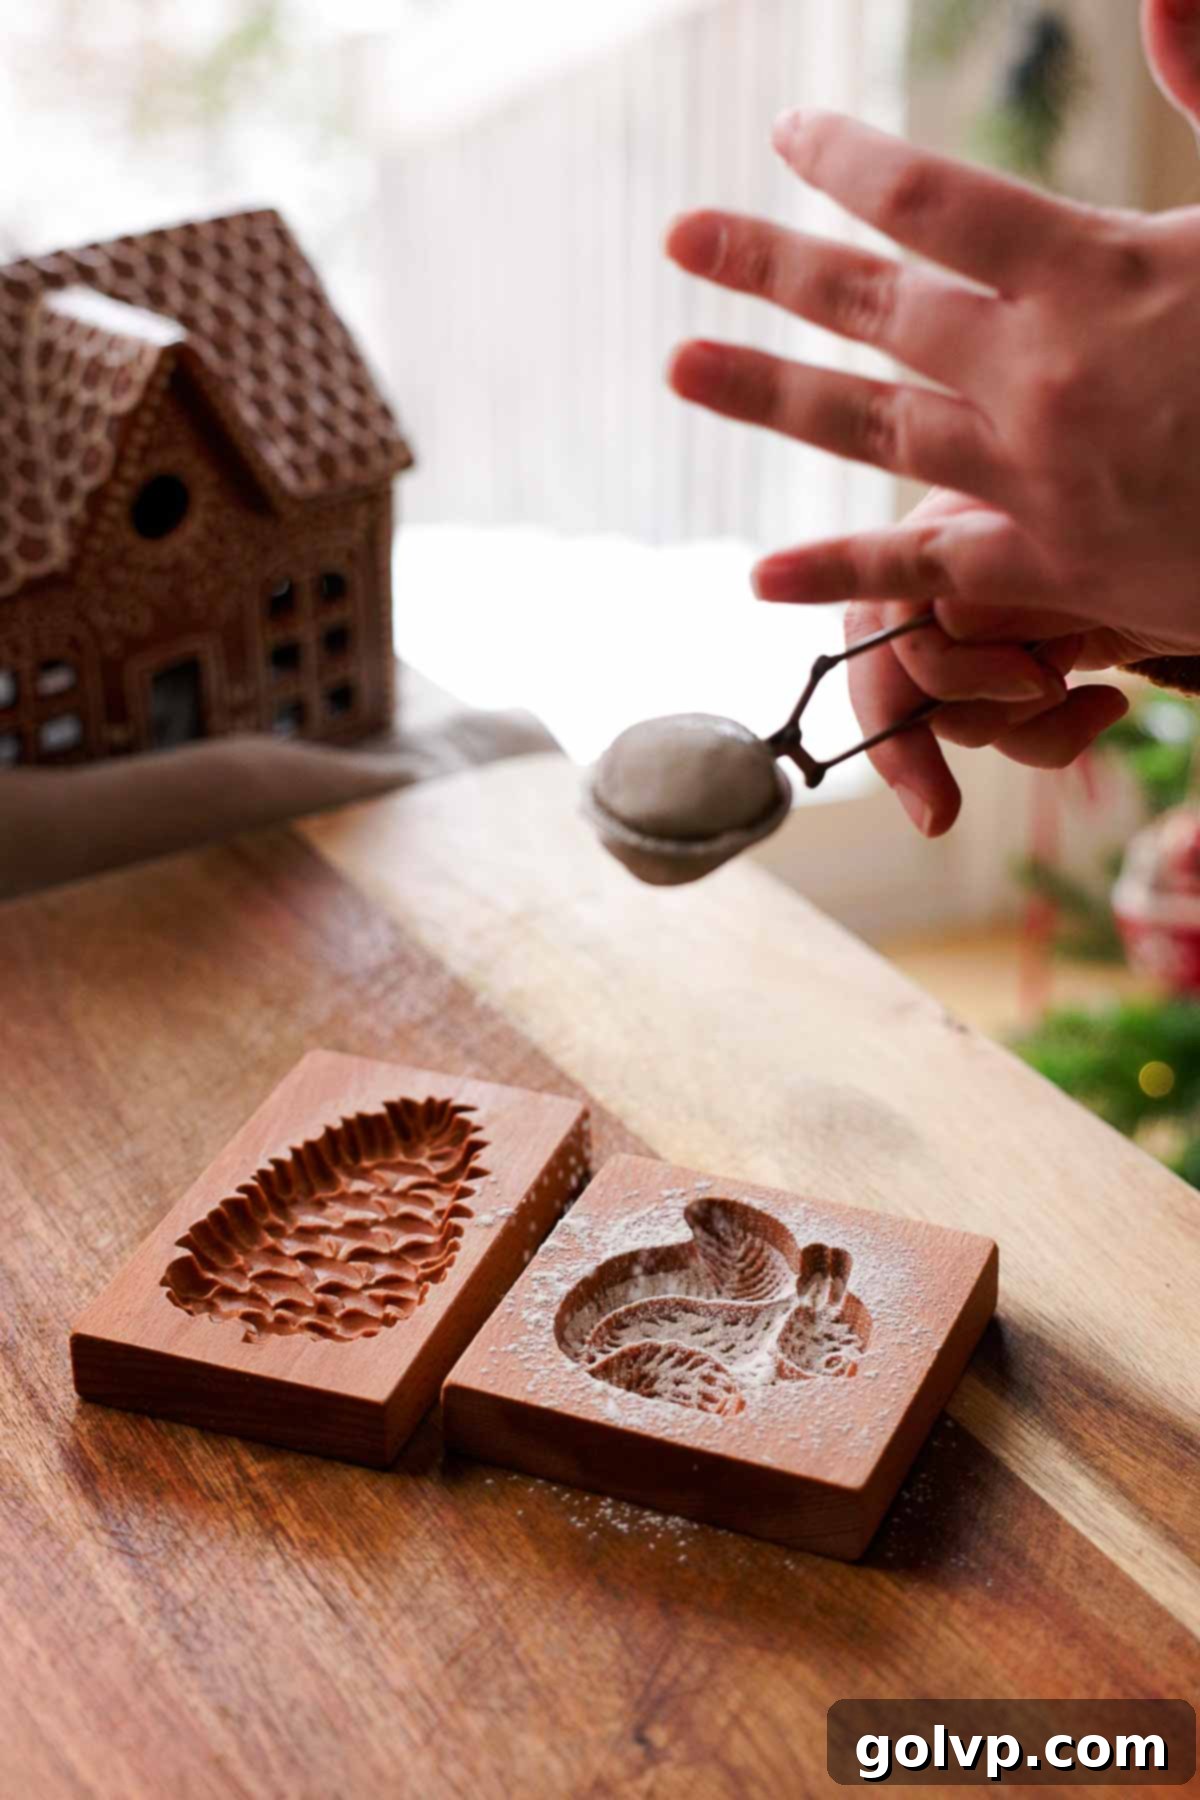
Step 6: Prepare the Cookie Molds. Lightly grease the cavities of your wooden cookie molds with a thin layer of olive oil or vegetable oil. This ensures easy release and helps prevent sticking. Next, using a fine-mesh sieve, dust the oiled molds with a light coating of all-purpose flour. Gently tap out any excess flour. This creates a non-stick surface and helps capture the mold’s details.
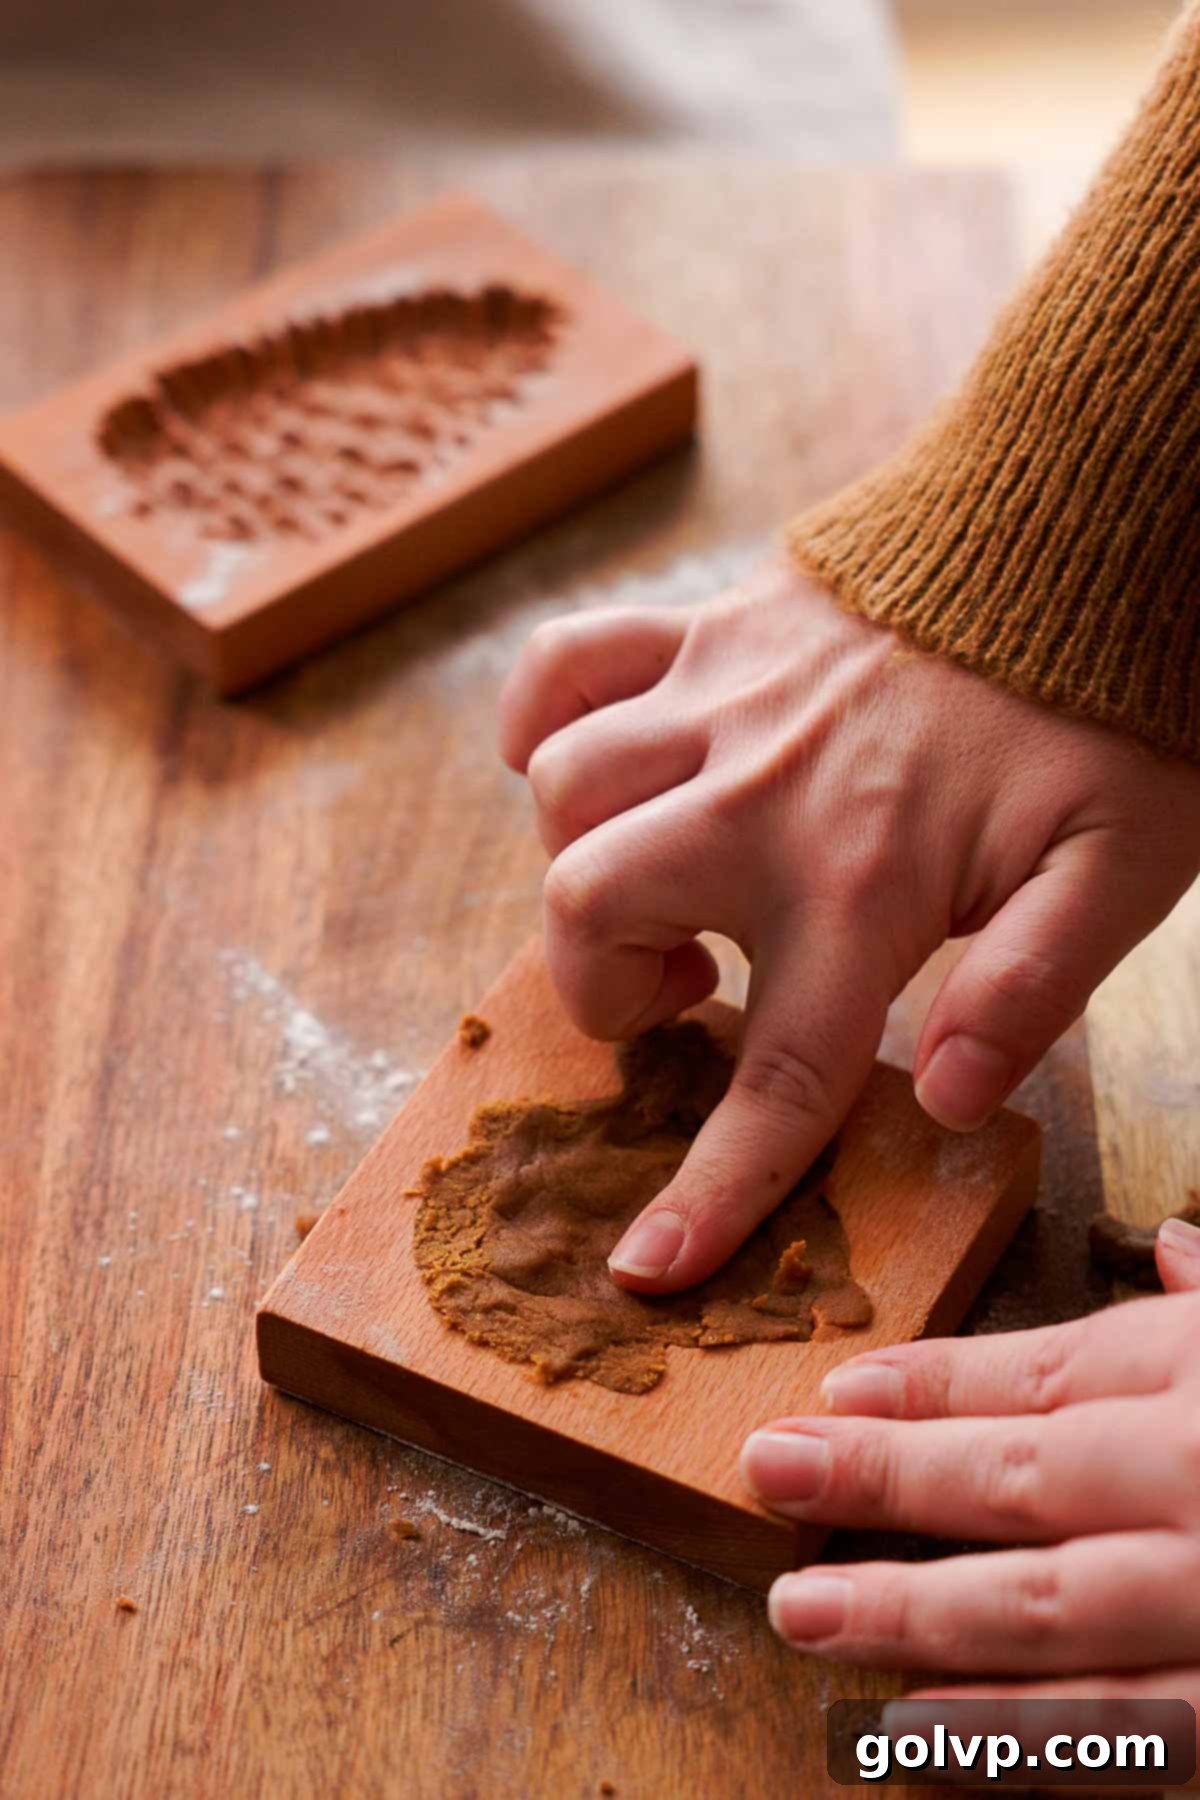
Step 7: Press Dough into Molds. Take a small piece of the chilled gingerbread dough and firmly press it into the wooden mold. Use your fingers to ensure the dough reaches all the intricate crevices and edges of the design, capturing every detail. Leave a shallow indent in the center of the dough; this space is reserved for the delicious jam filling.
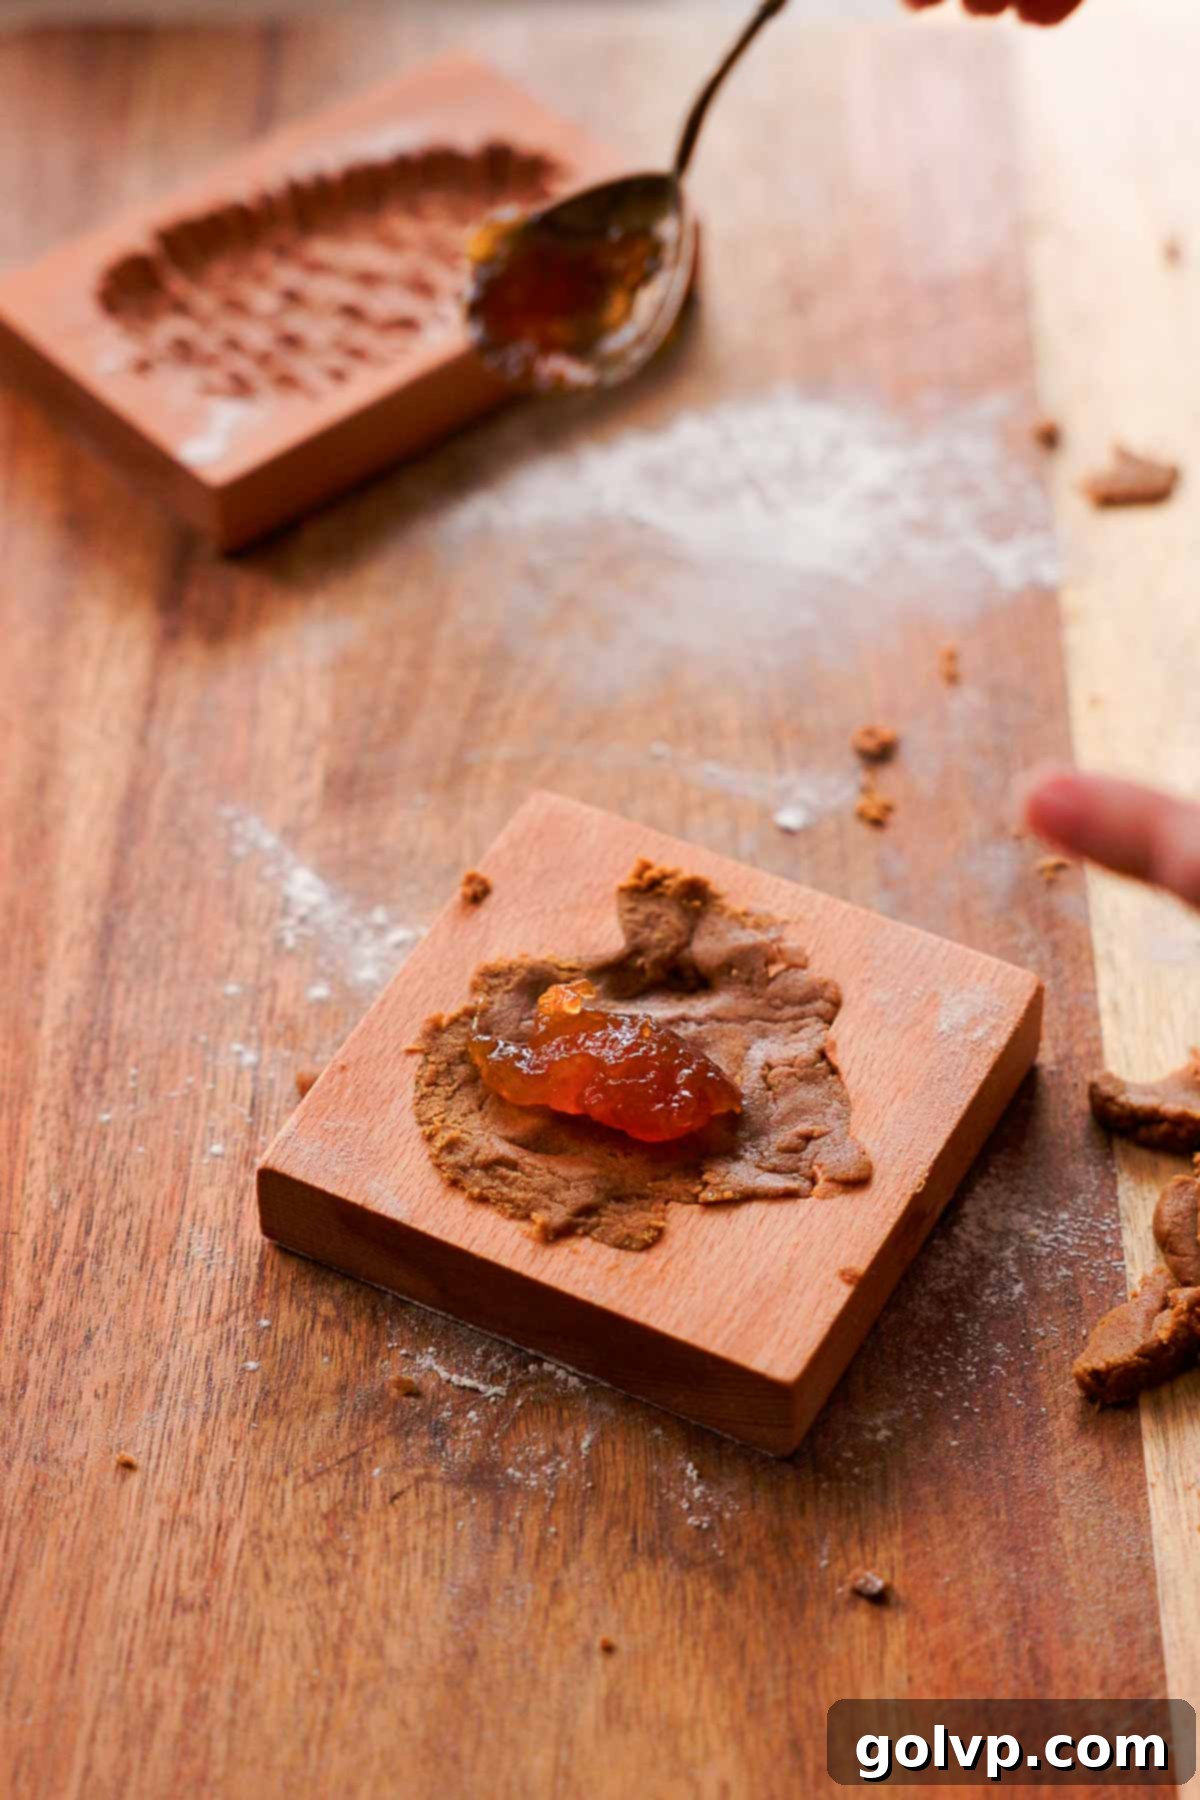
Step 8: Fill with Jam. Carefully spoon a small teaspoonful of your chosen jam (apricot or orange marmalade work wonderfully) into the shallow indent created in the center of the molded cookie dough. Be mindful not to overfill, as this could cause the jam to seep out during baking, although a little leakage is generally acceptable.
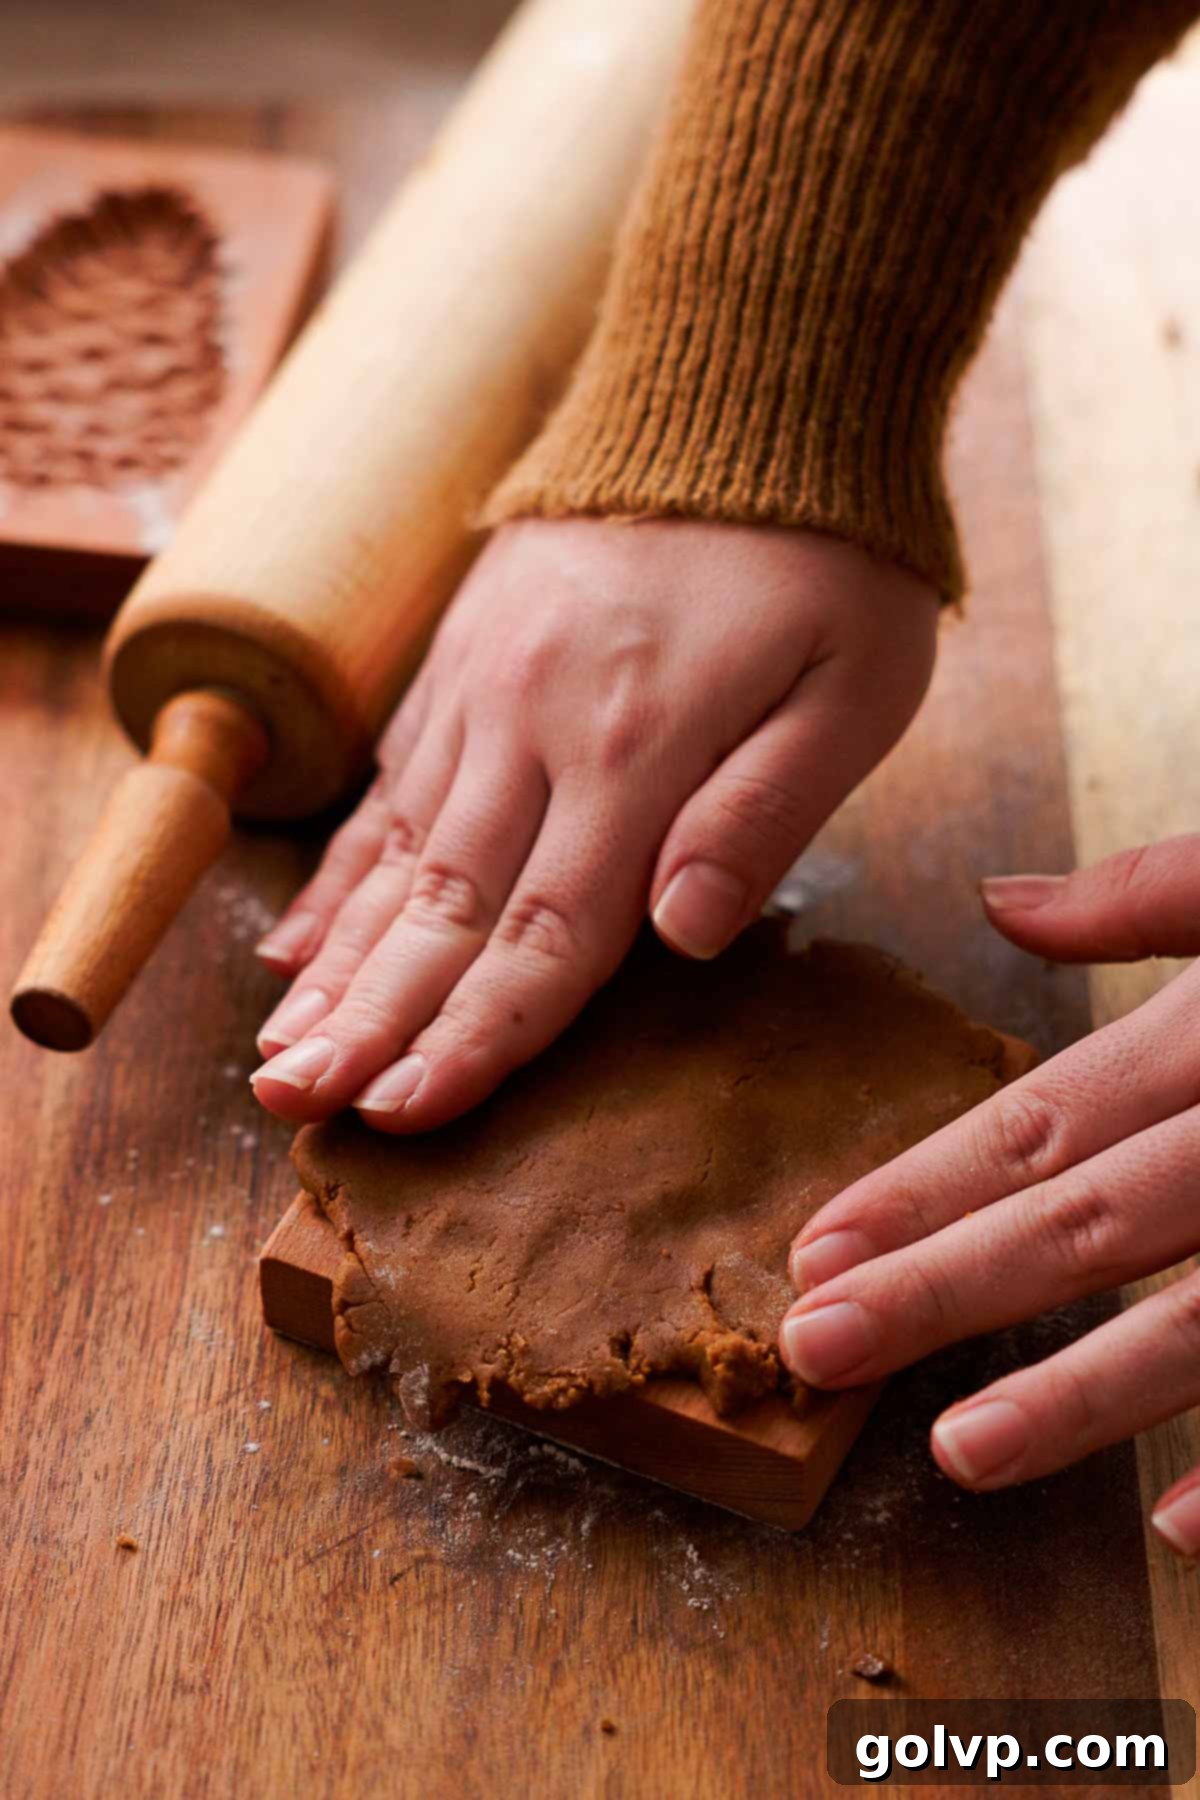
Step 9: Seal the Jam. Take another small piece of cookie dough and either flatten it with your fingers or a rolling pin. Gently place this flattened piece over the jam-filled indent, effectively sealing the jam inside. Press down lightly to ensure it adheres to the bottom layer of dough. Trim any excess cookie dough from the edges of the mold to create a clean, defined shape. Don’t worry if a tiny bit of jam peeks out; it often bakes beautifully!
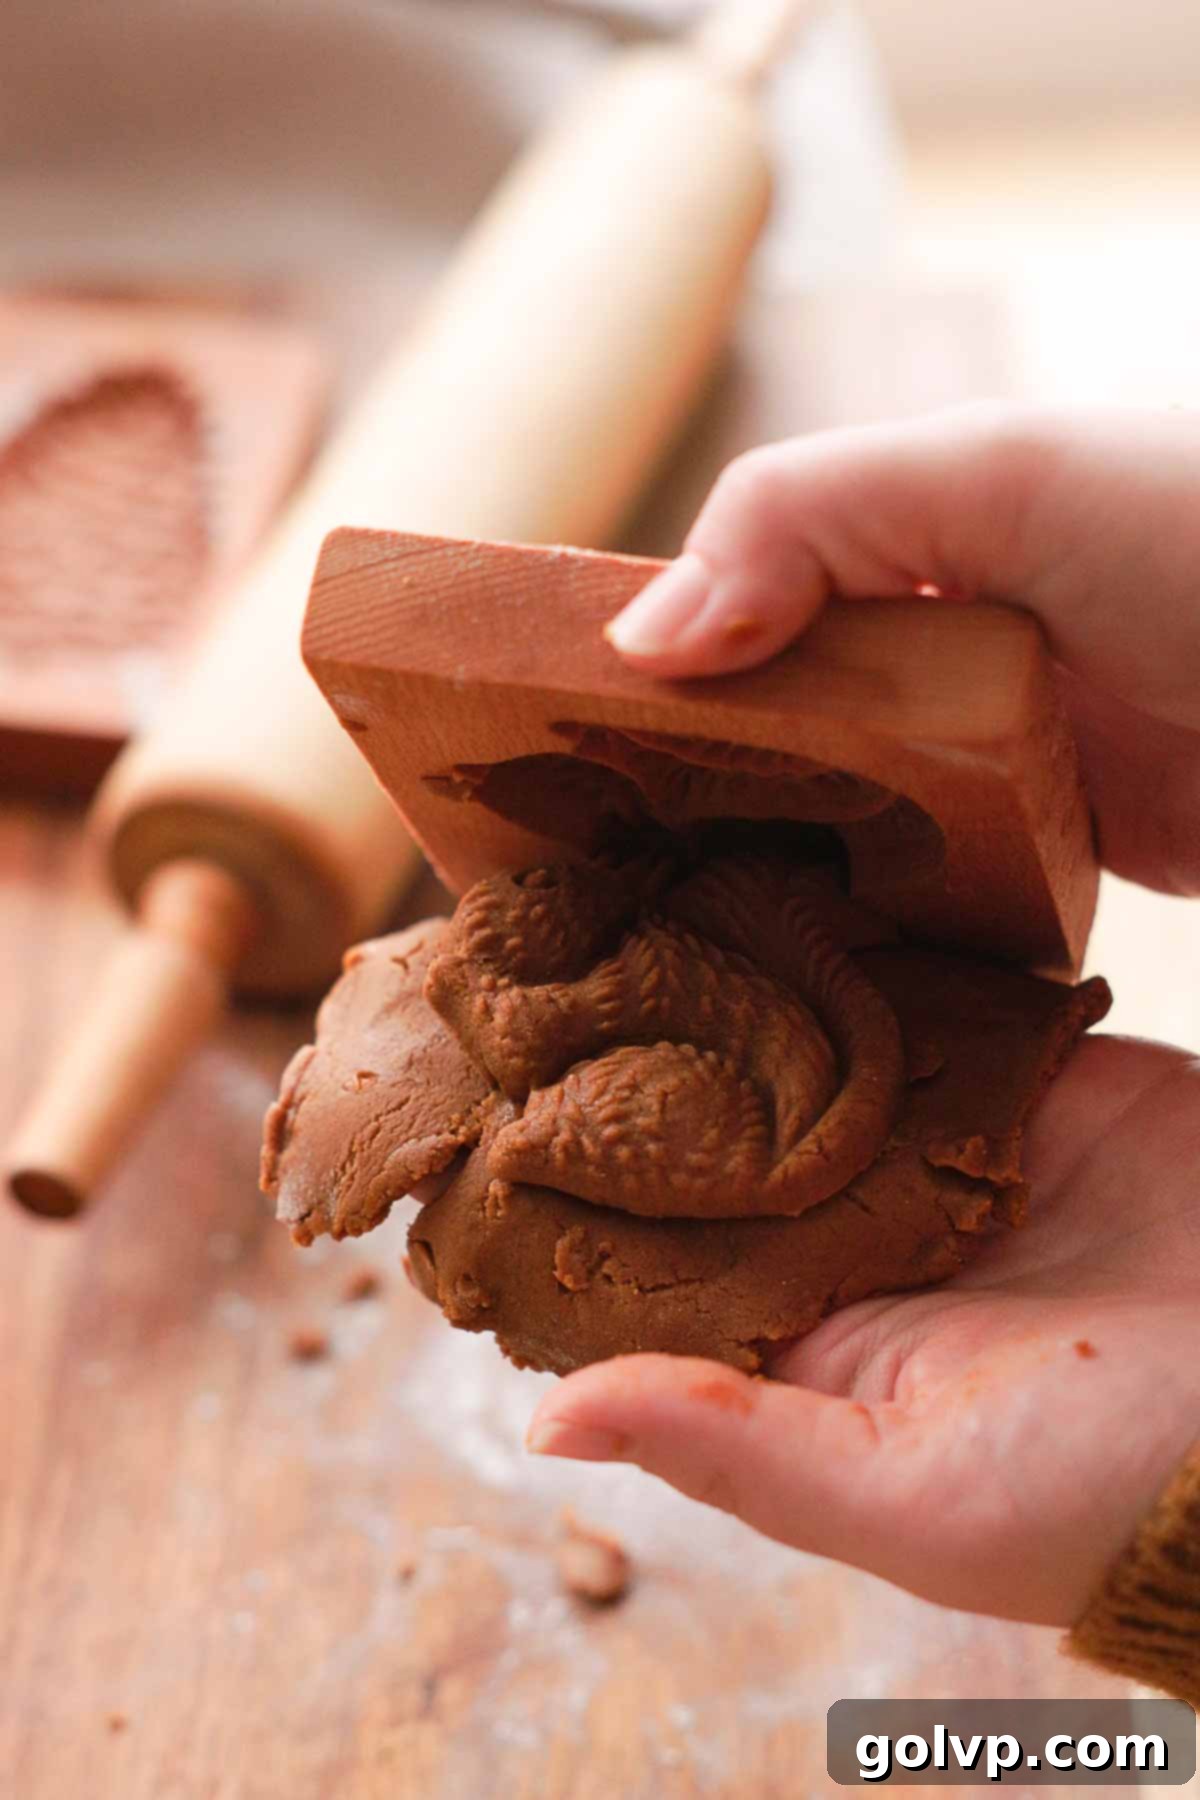
Step 10: Unmold the Cookies. This step requires patience and a delicate touch to preserve the intricate details. Carefully push the edges of the dough inwards, gently separating them from the sides of the mold with your fingers. Then, flip the mold upside down over a clean surface or your hand, and allow the cookie dough to gently fall out. If your mold has shallow edges, you might need to use a small, sharp knife to carefully trim any excess dough around the sides for a perfectly defined cookie.
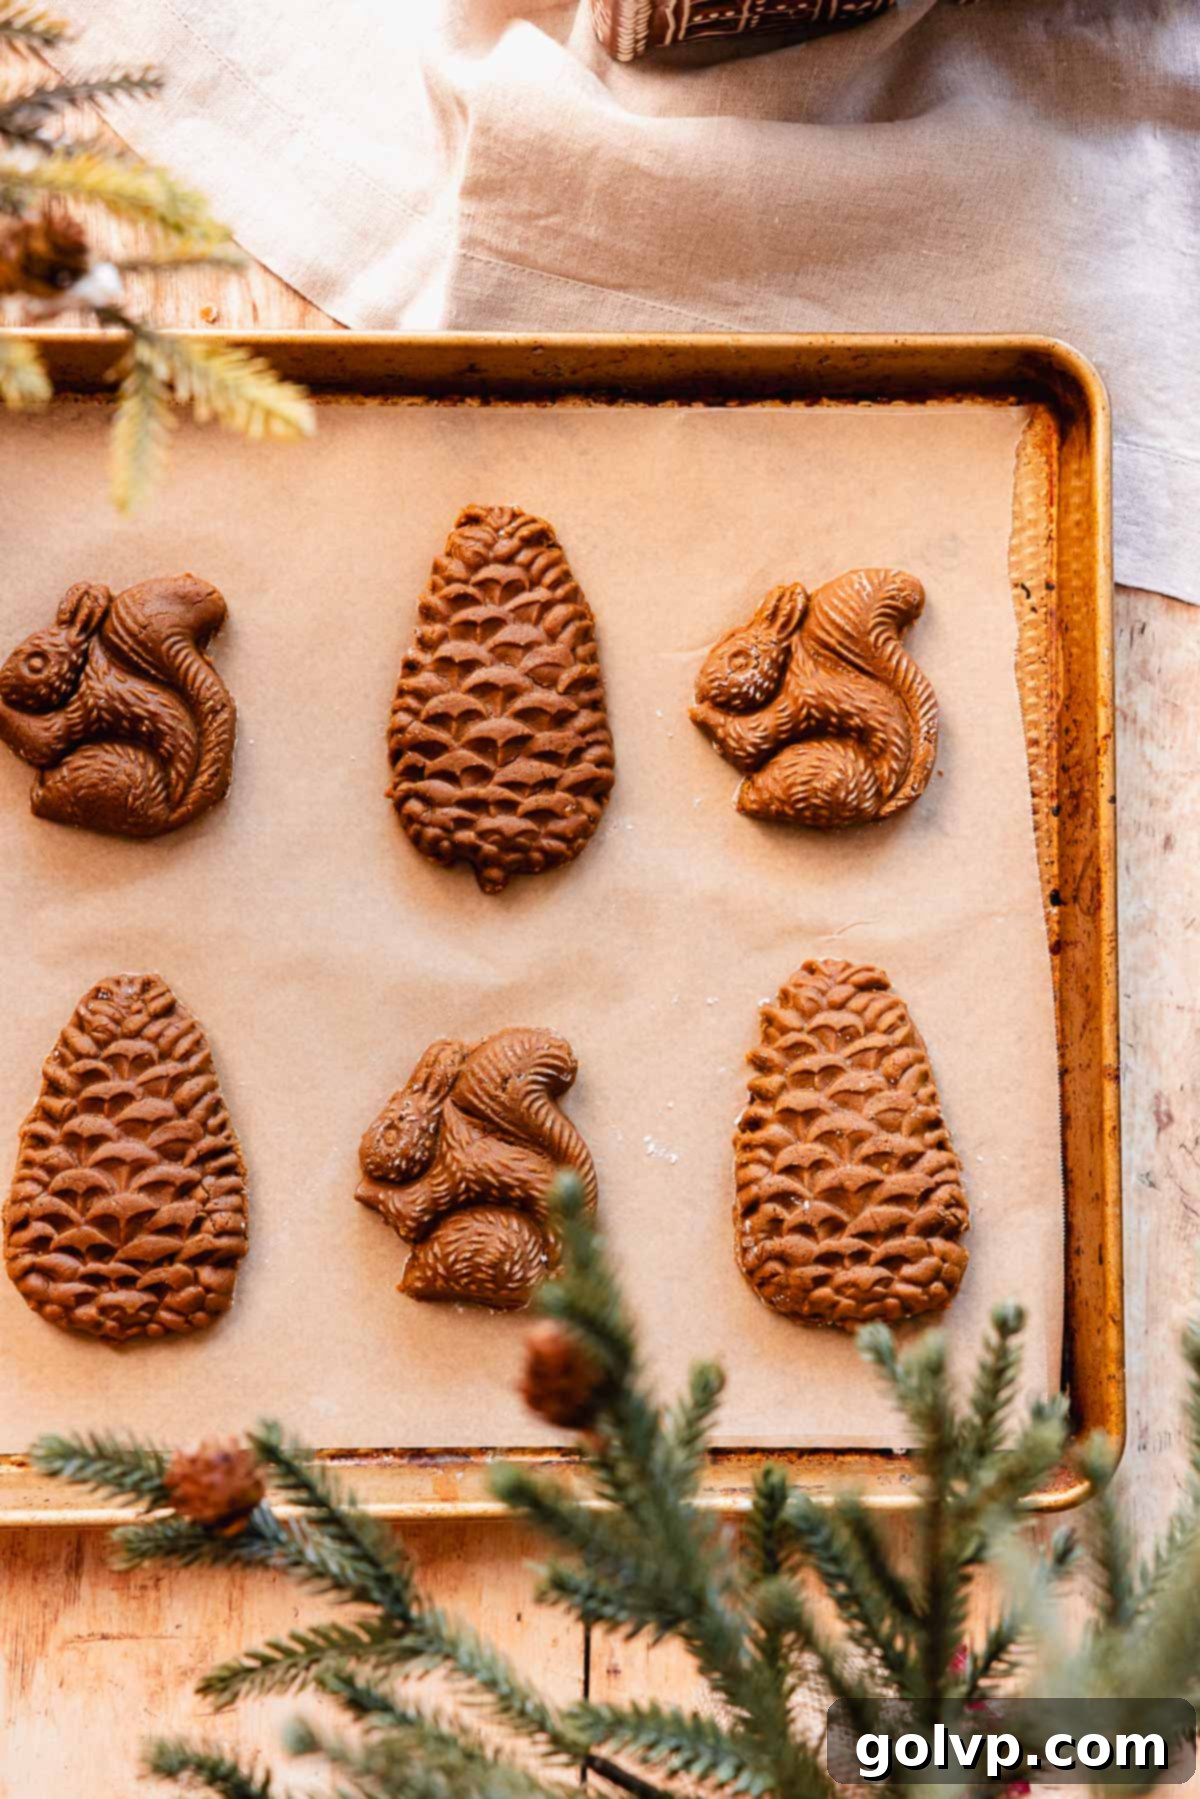
Step 11: Bake the Cookies. As you continue to mold the remaining cookies, place the prepared ones in the fridge. This additional chill time helps them maintain their definition when they hit the warm oven. Once all cookies are molded and the oven is preheated, arrange them onto a parchment-lined baking sheet, ensuring 1-2 inches of space between each. These cookies will puff up during baking and then settle, so adequate spacing is important. Bake for approximately 12 minutes. They are ready when they appear nicely puffed and a light golden color, especially on the bottom. Don’t worry if they look overly puffy and less detailed right out of the oven; they will beautifully collapse and regain their intricate designs as they cool. Transfer them to a cooling rack to cool completely before glazing.
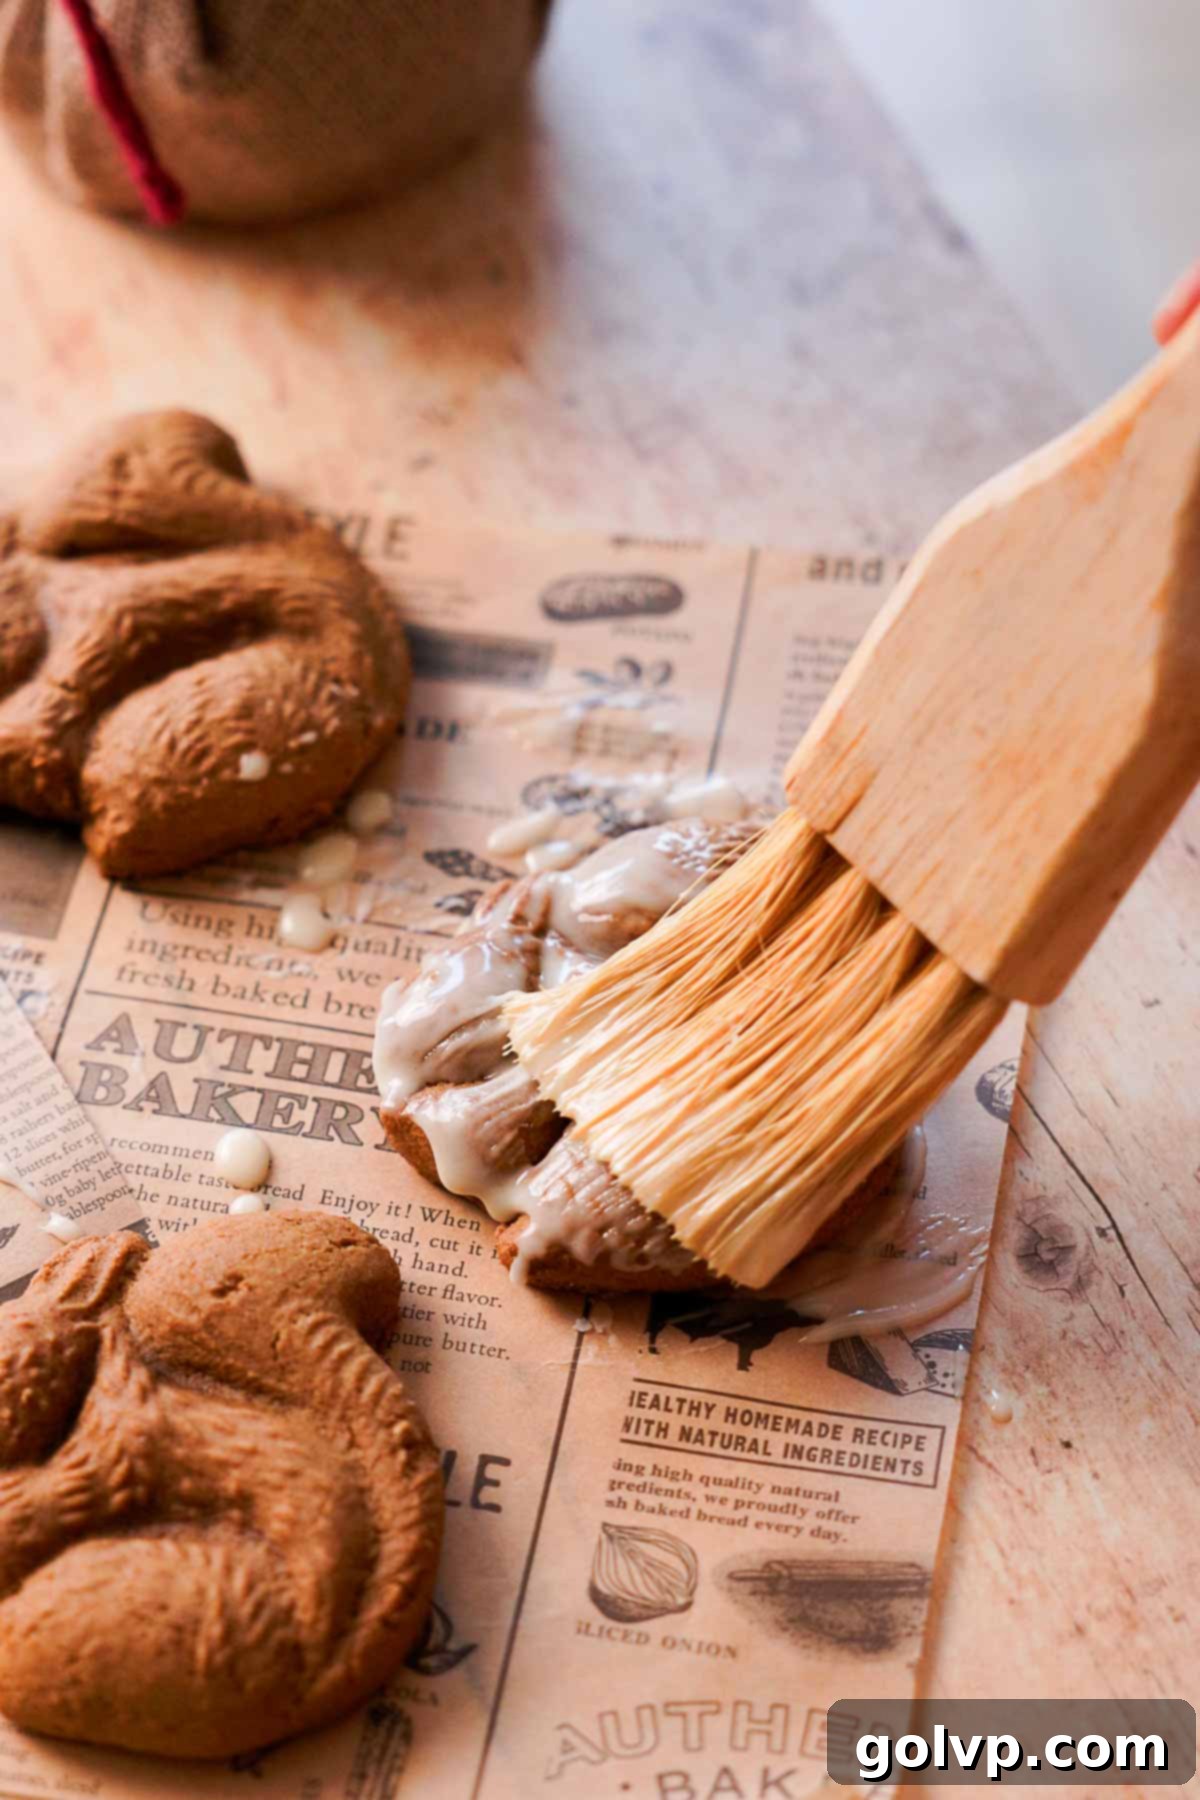
Step 12: Prepare and Apply Orange Glaze. In a small bowl, whisk together the powdered sugar and freshly squeezed orange juice until a medium-thick glaze forms. The consistency should be thin enough to easily brush on but thick enough to settle into the crevices without disappearing entirely. Using a pastry brush, gently apply the glaze over the warm or fully cooled cookies. Aim to coat the surface evenly, allowing the glaze to flow into the molded details, highlighting the designs. For cookies intended for longer storage, such as holiday cookie boxes, consider brushing a thin layer of glaze on the backs as well; this helps to seal in moisture, keeping them softer for longer.
Allow the glaze to set for about 10-20 minutes, or until it hardens slightly. Once set, these magnificent molded gingerbread cookies are ready to be enjoyed immediately. Alternatively, store them in an airtight container or bag, and savor them later. A wonderful characteristic of these cookies is that their flavors deepen and their texture becomes even softer and more delightful on the second day, making them a perfect treat to prepare in advance.
Expert Tips for Mastering Molded Gingerbread Cookies
- Maintain Dough and Cookie Chill: Throughout the entire process, it is crucial to keep your gingerbread dough and the freshly molded cookies chilled. Cold dough is significantly easier to work with, preventing it from becoming sticky and challenging to handle. More importantly, a cold dough is key to helping your cookies retain their intricate details and definition during the baking process, preventing them from spreading excessively in the oven. Work in small batches if your kitchen is warm, returning the dough to the fridge as needed.
- Practice Patience When Unmolding: Getting these beautifully shaped cookies out of their molds requires a gentle hand and a bit of patience. Don’t rush this step! Generously flouring the molds (as described in the instructions) is essential. When it’s time to unmold, carefully push the edges of the dough inwards and away from the mold with your fingertips. This gentle separation helps to release the cookie without distorting its shape. A little practice will make you a pro at this.
- Utilize High-Quality, Authentic Jam: The quality of your jam filling directly impacts the cookie’s flavor, texture, and longevity. Opt for a thick, real fruit jam rather than a fruit spread. Traditional jams, with their higher pectin content, tend to hold their shape better during baking and contribute more moisture, ensuring the cookies stay soft. Fruit spreads can be thinner and more prone to leaking. My personal recommendation is Bonne Maman apricot jam for its excellent consistency and flavor.
- Avoid Overbaking for Optimal Softness: The secret to soft, chewy gingerbread cookies lies in precise baking. Overbaking, even by a minute or two, can quickly turn these tender treats into hard, tough, and dry cookies. Keep a close eye on them; they are done when they’ve puffed up and the edges are lightly golden, but the centers still look soft. Remember, they will continue to set and firm up as they cool outside the oven.
Make-Ahead and Storage Solutions
One of the many charms of these gingerbread molded cookies is their incredible ability to be made ahead and stored, making them a perfect addition to your holiday baking repertoire. When stored in a sealed, airtight container or bag at room temperature, they will remain wonderfully soft, moist, and chewy for up to 5 days. In fact, many find that their flavor deepens and matures, and their texture becomes even more delightful on the second day after baking. For longer storage, you can refrigerate them for up to 1 week, or freeze them in an airtight container or freezer-safe bag for an impressive duration of up to 2 months. Thaw them at room temperature before serving for the best experience. This versatility means you can prepare them well in advance, reducing stress during busy periods.
Gifting These Exquisite Cookies for the Holidays
These molded gingerbread cookies are truly designed for gifting. Their beautiful, intricate designs, combined with their irresistible flavor and tender texture, make them a standout addition to any holiday cookie box or as a standalone present. As mentioned, they actually taste even better after a day or two of being sealed at room temperature, allowing the vibrant, spicy gingerbread and orange flavors to meld and mature, creating a more complex and harmonious taste experience. The soft cookie texture, coupled with the luscious, gooey jam filling, is a combination that will undoubtedly be remembered and talked about for years to come.
While the process of forming and filling each cookie with the wooden molds does require a bit of time and dedication, the stunning results are undeniably worth the effort. If you’re assembling multiple holiday cookie boxes, consider placing one of these larger, intricately designed cookies on top as a true statement piece. Because they puff up considerably during baking, even a single cookie is quite substantial and satisfying, making a grand impression.
To ensure these precious gifts remain at their peak freshness and softness, proper packaging is key. For individual gifting, consider sealing them in heat-sealed bags or high-quality bags with a zip top or twist tie. This protective barrier is essential to prevent the cookies from drying out and hardening, ensuring they maintain their delightful texture until they reach their lucky recipient.
Choosing and Using Cookie Molds for Gingerbread
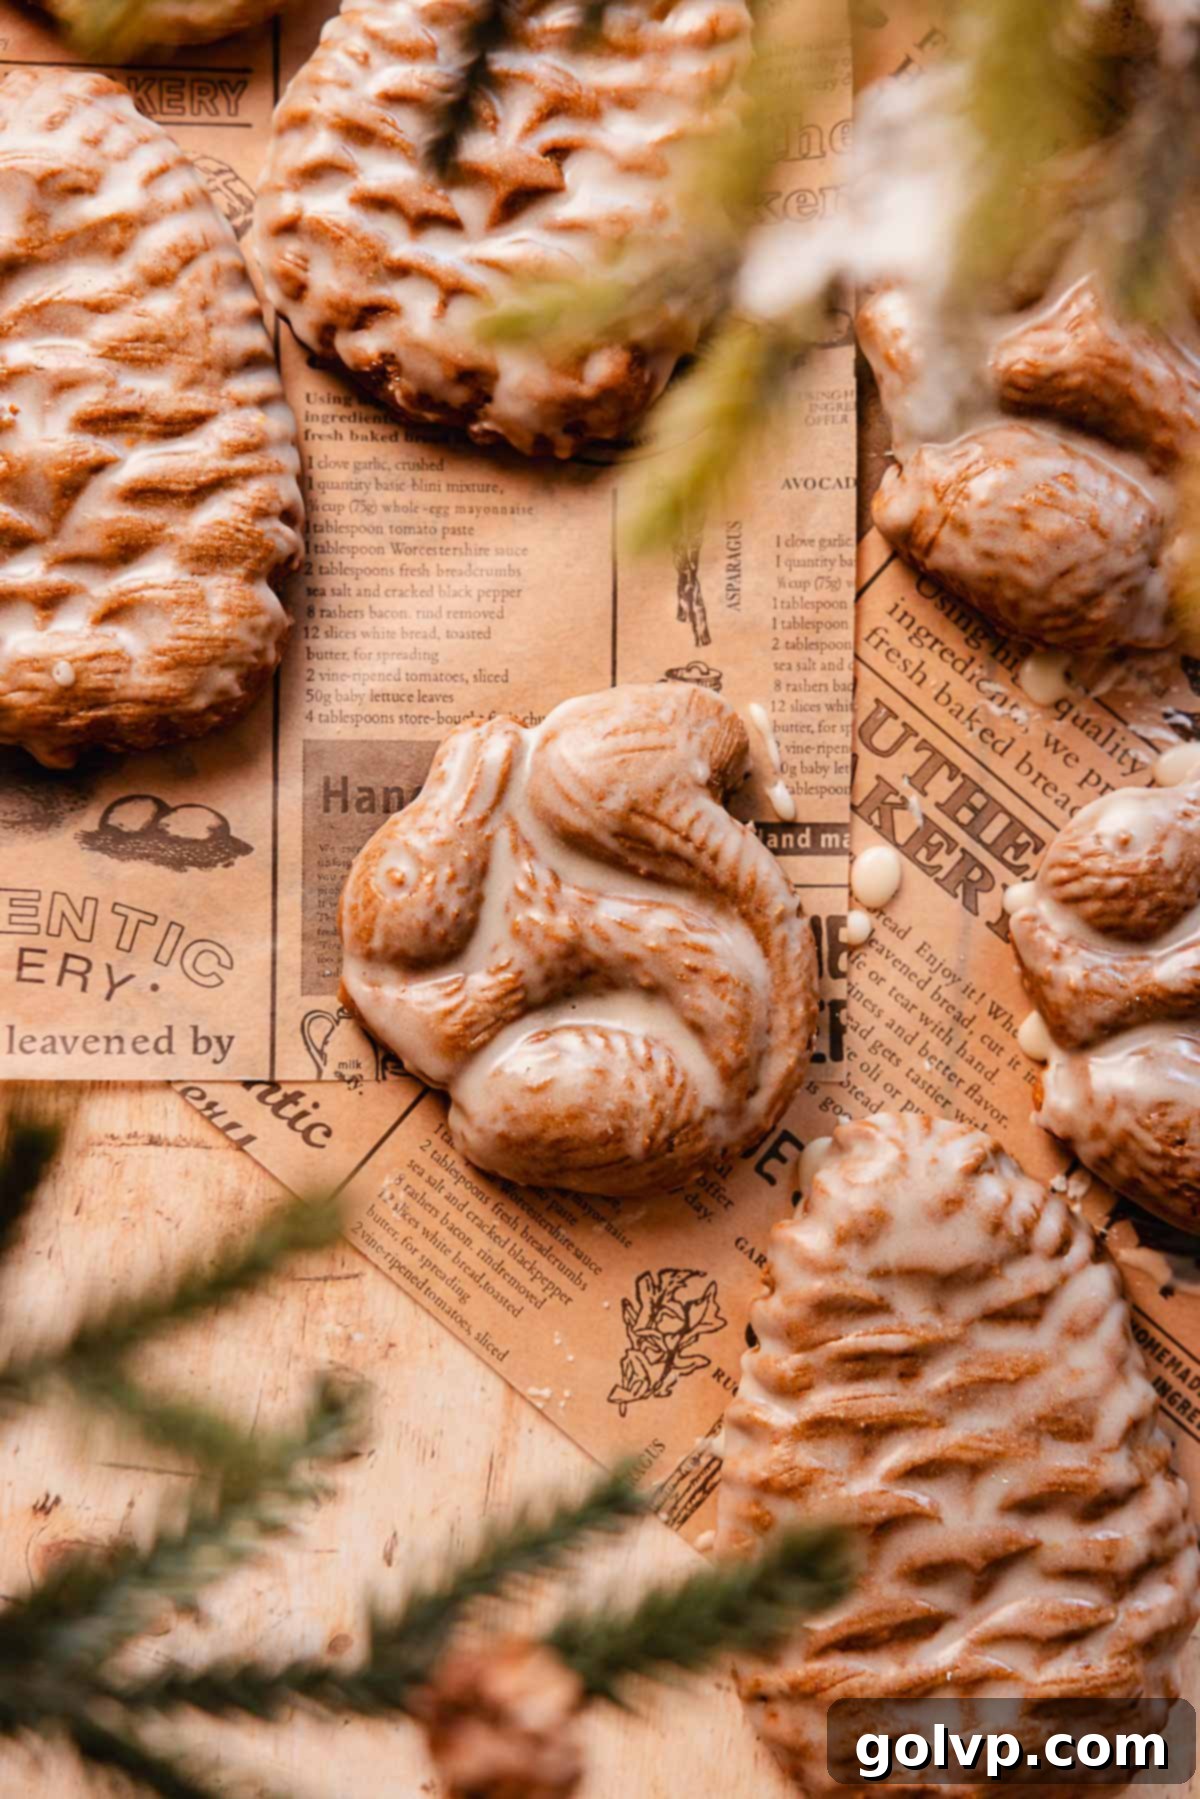
For these exquisite gingerbread molded cookies, the type of mold you use makes a significant difference. Wooden cookie molds are highly recommended, specifically those with deep, well-defined grooves. Deeper grooves are essential for two reasons: they make it easier to fill the cookies with the luscious jam without it overflowing, and they allow the intricate designs to show up with greater clarity and detail on the baked cookie. I personally used charming squirrel and pine cone molds, which added a festive, rustic touch to the treats.
You can find the exact wooden cookie mold set I used here, perfect for achieving these stunning designs.
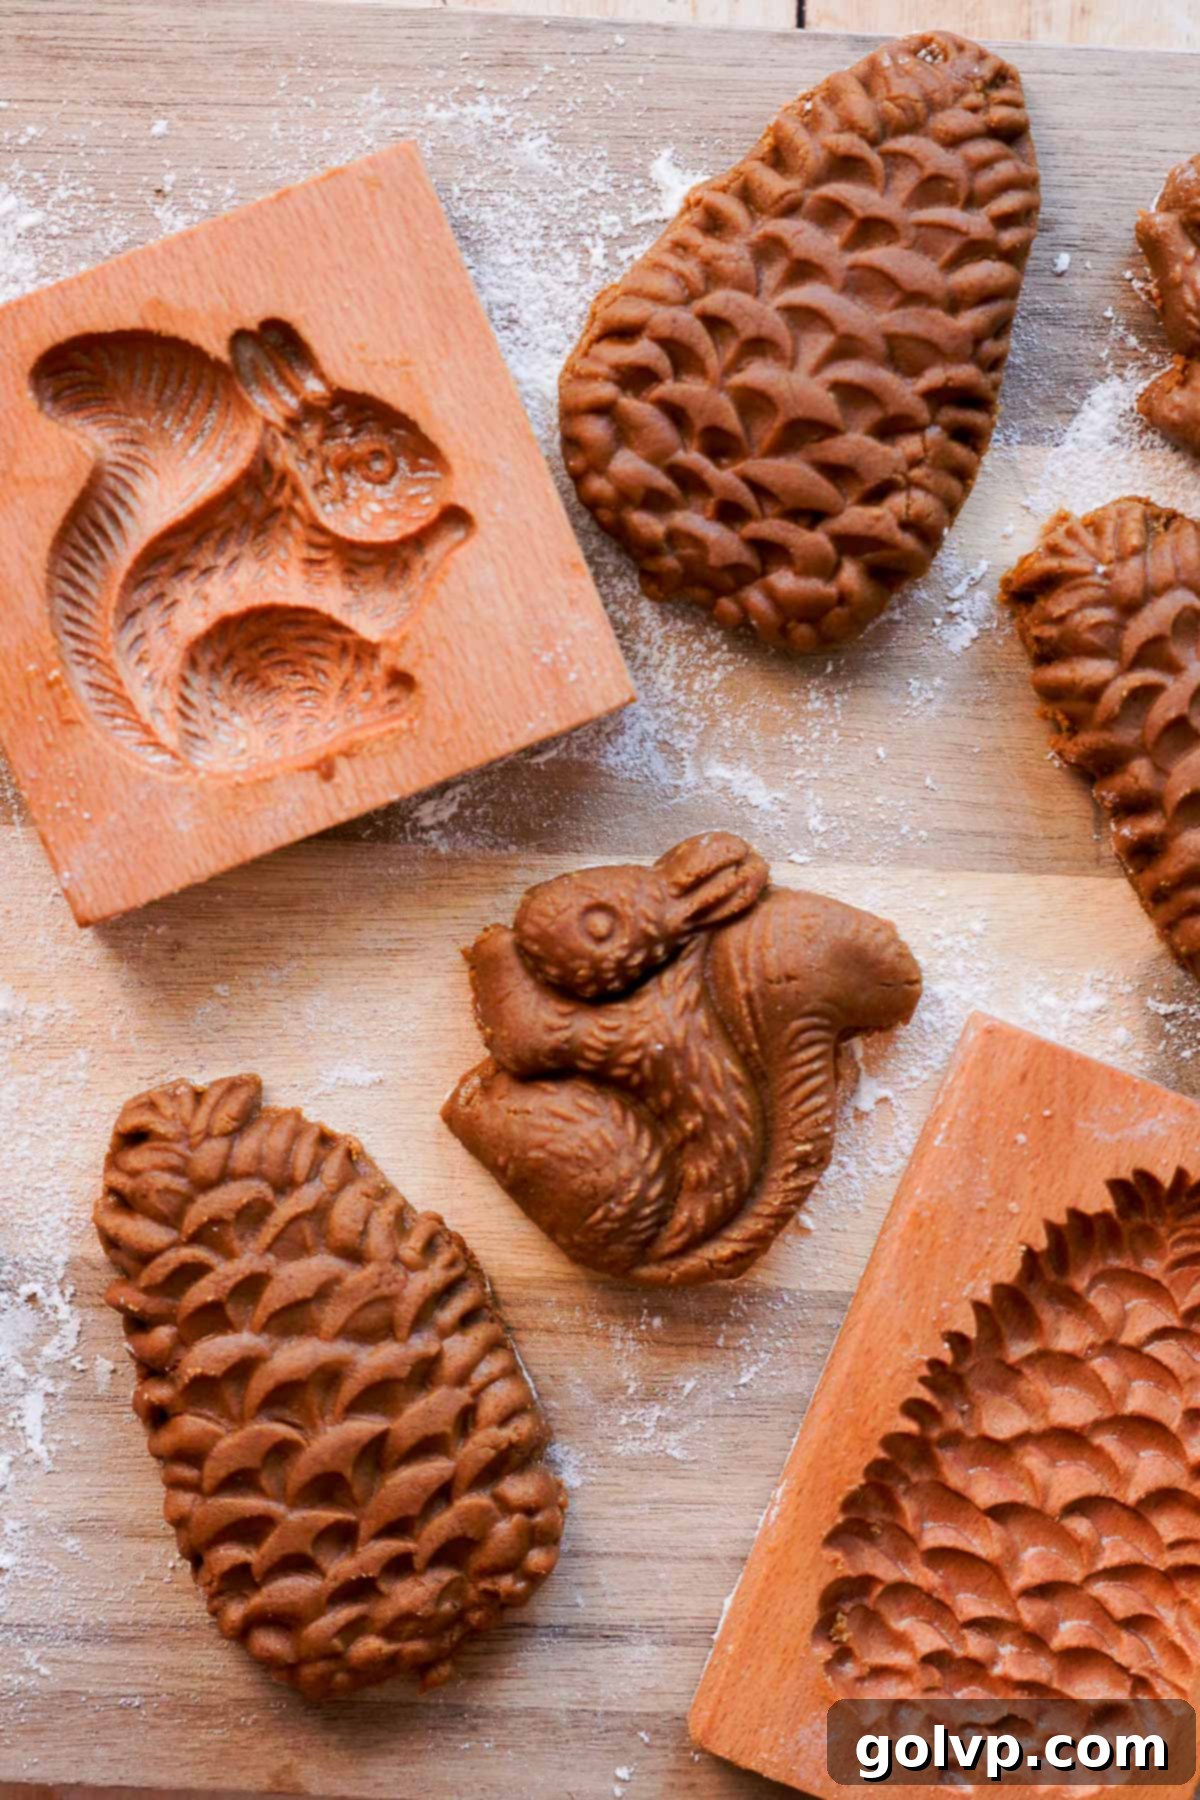
If you only have a cookie stamp rather than a full mold, you can still achieve a similar effect with a little creativity and effort. To do this, roll out two separate pieces of cookie dough, each about ¼-inch thick. Use your cookie stamp to impress a design onto one of the dough pieces. On the second piece of dough, place a small teaspoon of jam in the center. Carefully lay the stamped dough piece on top of the jam-filled piece. Then, use a cookie cutter (slightly larger than your stamp) to cut through both layers, creating a beautifully stamped, jam-filled cookie. This method allows you to enjoy the decorative aspect even without deep molds.
Frequently Asked Questions About Molded Gingerbread Cookies
It’s a common concern, and while ideally you want a good seal, don’t worry too much about minor leakage. In my experience, a few of the cookies might have a small amount of filling seep out from one side when initially placed in the oven. However, they typically bake up beautifully, and the jam doesn’t usually continue to leak excessively during the baking process. It’s always best to try and keep the gingerbread cookie dough sealed as much as possible around the jam, but rest assured that a little leakage won’t create a big mess in your oven, unlike a miniature fruit pie might. This is especially true if you’re using a good quality, thicker fruit jam as recommended.
While I haven’t personally tested this recipe with gluten-free flour, in theory, it should work by substituting the all-purpose flour with a 1:1 gluten-free flour blend. When using gluten-free blends, it’s often helpful to look for ones that contain xanthan gum, which helps with structure. The dough might behave slightly differently, possibly being a bit more delicate to handle, especially during the molding and unmolding process. If you decide to try a gluten-free version, I would be thrilled to hear about your experience in the comments below! Your feedback could be invaluable to other bakers.
Yes, these gingerbread cookies do spread and puff up in the oven. It can indeed look a bit alarming when you first pull them out because the intricate details from the molds might seem less defined due to the puffiness. However, this is a completely normal part of the baking process. As the cookies cool down on the baking sheet or cooling rack, they will gradually collapse back to their original thickness and, wonderfully, regain their beautiful definition and intricate details. This is why it’s important to leave adequate space (1-2 inches) between each cookie on the baking sheet to accommodate this temporary expansion.
The primary difference lies in their flavor profile. Dried ground ginger offers a warm, earthy, and classic gingerbread spice. It’s concentrated and provides a foundational heat. Fresh ginger, on the other hand, delivers a brighter, more vibrant, and distinctly “zingy” flavor with a slightly peppery kick. It adds a layer of freshness and complexity that can truly elevate your gingerbread. If you have fresh ginger readily available when making gingerbread cookies, I highly recommend grating it and using it as a substitute for or in addition to dried ginger. You’ll notice a remarkable difference in the overall brightness and depth of flavor.

Explore More Gingerbread Delights
If you’ve fallen in love with the warming spices and comforting flavors of gingerbread, you’ll be thrilled to discover these other delightful gingerbread recipes perfect for any occasion, especially the holidays. From classic bakes to unique twists, there’s something here to satisfy every gingerbread craving!
- Gingerbread Cupcakes
- Gingerbread Brownies
- Soft Gingerbread Cookies
- Gingerbread Cheesecake
Did you try this recipe? I’d absolutely love for you to rate it and share your thoughts in the comments section below! Your feedback is invaluable. Don’t forget to share your beautiful creations on Instagram and tag @flouringkitchen so I can see them. For more delicious recipe ideas and to save your favorites, be sure to follow me on Pinterest!
Recipe Card

Thick Gingerbread Molded Cookies with Jam Filling
Mary
Pin Recipe
Shop Ingredients
Equipment
-
electric mixer
-
wooden cookie molds
-
Cookie sheet
Ingredients
Gingerbread Cookie Dough
- ⅓ cup butter softened
- ¼ cup granulated sugar
- ½ cup dark brown sugar
- 1 large egg room temperature
- ½ cup molasses unsulphured
- 1 tablespoon pure vanilla extract
- ¼ teaspoon sea salt
- 1 tablespoon ginger fresh or powdered
- 1 orange zested
- 1 tablespoon cinnamon ground
- ½ teaspoon cardamom ground
- ½ teaspoon cloves ground
- ¼ teaspoon nutmeg ground
- 3 ½ cups all purpose flour 420g
-
½
teaspoon baking soda
- 1 cup jam I used apricot
Orange glaze
- 1 cup powdered sugar
- 2-3 tablespoons freshly squeezed orange juice from the zested orange
Shop Ingredients on Jupiter
Instructions
Gingerbread cookie dough
-
In a large bowl or stand mixer, combine softened butter, granulated sugar, and brown sugar. Mix together well – it might look crumbly that’s ok.⅓ cup butter, ½ cup dark brown sugar, ¼ cup granulated sugar
-
Add the egg to the butter and sugar mixture and beat well until thick and creamy.1 large egg
-
Add molasses, vanilla, salt, ginger (grated if using fresh), the grated zest from one orange, cinnamon, cardamom, cloves, and nutmeg. Beat together well until combined and creamy.½ cup molasses, 1 tablespoon pure vanilla extract, ¼ teaspoon sea salt, 1 tablespoon ginger, 1 orange, 1 tablespoon cinnamon, ½ teaspoon cardamom, ½ teaspoon cloves, ¼ teaspoon nutmeg
-
Add the flour and baking soda. Mix gently until it forms a crumbly dough.3 ½ cups all purpose flour, ½ teaspoon baking soda
-
Press the dough together into a disc, wrap with wrap, and refrigerate for at least 20 minutes – or overnight. While it chills, preheat the oven to 355°F (180°C).
-
Grease the molds with olive oil or vegetable oil and dust the inside with flour using a sieve. You can knock out any excess flour if you added too much.
-
Break a piece of cookie dough off from the disk and press it into the wooden mold, using your fingers to get it into the crevices. Leave a shallow indent on top for the jam.
-
Place a small teaspoonful of jam into the center of the mold. Use your fingers or a rolling pin to flatten another small piece of cookie dough and place it on top to cover the jam. Remove excess cookie dough on the edges. If the jam leaks a bit – it’s ok!1 cup jam
-
Carefully push the edges of the dough inwards, pulling them away from the edges of the mold with your fingers. Flip the mold upside down, and gently let the cookie dough fall out of the mold. If your mold is shallow, like mine, you may need to cut excess cookie dough left on the sides.
-
Pop the prepared, molded cookies into the fridge while you make the rest for better definition when baking. Then, place the cookies onto a parchment lined baking sheet into the preheated oven, leaving 1-2 inches of space between each cookie because they will puff up and out.
-
Bake the cookies for 12 minutes. They’re ready when they’re puffed up and slightly golden brown at the bottom. Once the cookies are baked you can use a spatula to transfer them onto a flat surface or cooling rack to cool completely. You can then bake any remaining cookies. The cookies will collapse as they cool and regain definition and detail.
Orange glaze
-
Whisk powdered sugar and orange juice together to form a medium-thick glaze. It should fall off the whisk in a thin ribbon. If you make it too thick, you won’t see any texture on the cookies.1 cup powdered sugar, 2-3 tablespoons freshly squeezed orange juice
-
Brush the glaze over the warm or cooled cookies with a pastry brush. You want the glaze to settle into the crevices, but not too much glaze that it will hide all of the details. If you plan on storing these for a while (i.e. including them in holiday cookie boxes) I recommend brushing the backs of the cookies too so that they’re completely coated.
-
Let the glaze set for about 10-20 minutes. Enjoy immediately or store in an airtight container or bag and enjoy later! These cookies become softer and taste even better the next day.
