Enchanting Mushroom Sugar Cookies: Whimsical Slice and Bake Delights for Every Season
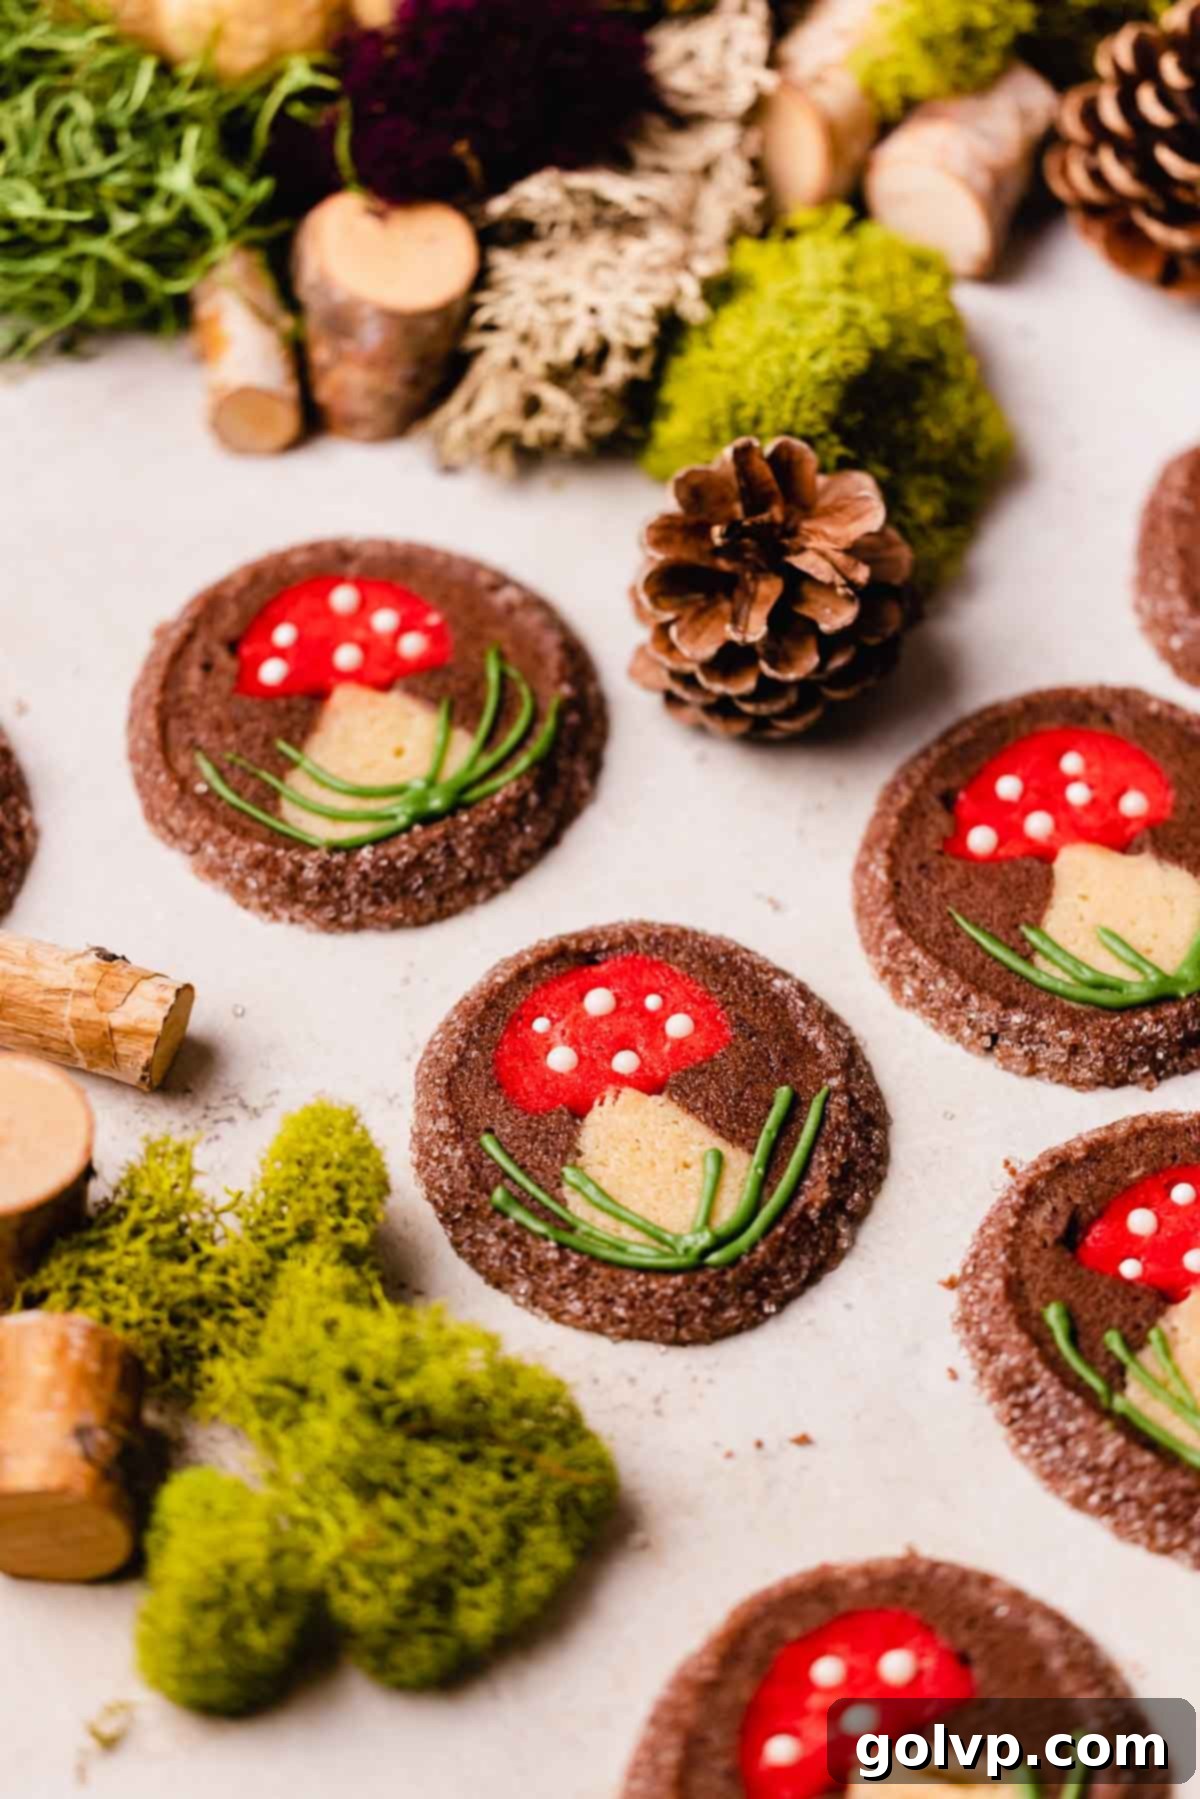
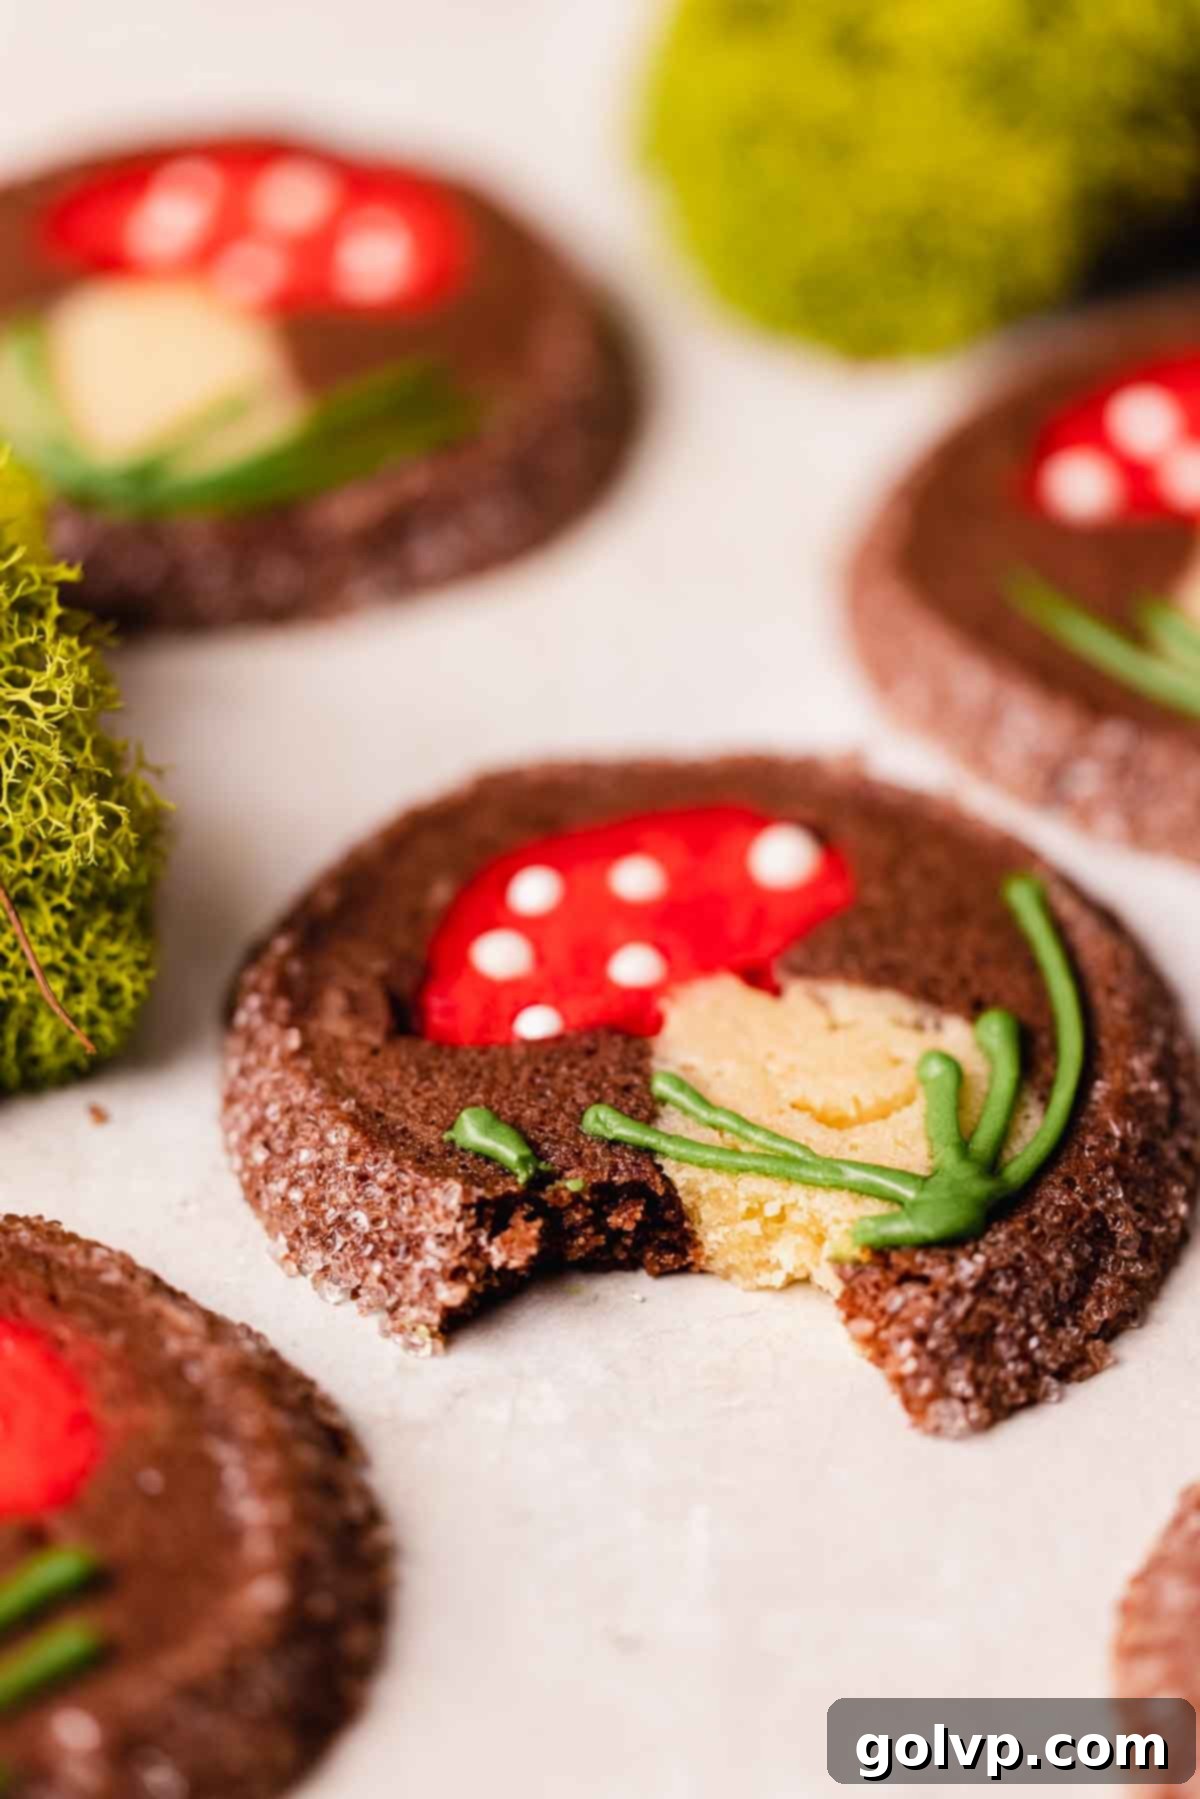
Step into a world of culinary enchantment with these delightful Mushroom Sugar Cookies! Imagine thick, wonderfully soft sugar cookies, beautifully encased in a rich chocolate exterior, and revealing an utterly adorable mushroom design at their heart. These aren’t just any cookies; they are a charming slice-and-bake creation that simplifies your baking while maximizing the cuteness factor. Surprisingly easy to make, their convenience is unmatched. You can effortlessly slice off a few pieces from the prepared dough log and bake them whenever a craving for a warm, fresh cookie strikes. Or, for ultimate flexibility, prepare a full batch of this magical cookie dough and store it in your freezer, ready to be transformed into enchanting treats at a moment’s notice. Perfect for embracing the cozy “cottagecore” aesthetic or adding a whimsical touch to your holiday celebrations, these cookies are a joy to bake and an absolute delight to share!
If you love the concept of beautiful, easy-to-make slice-and-bake cookies with intricate designs, you’ll also adore these peppermint slice and bake sugar cookies, which bring a festive flair and a stunning design to your cookie platter.
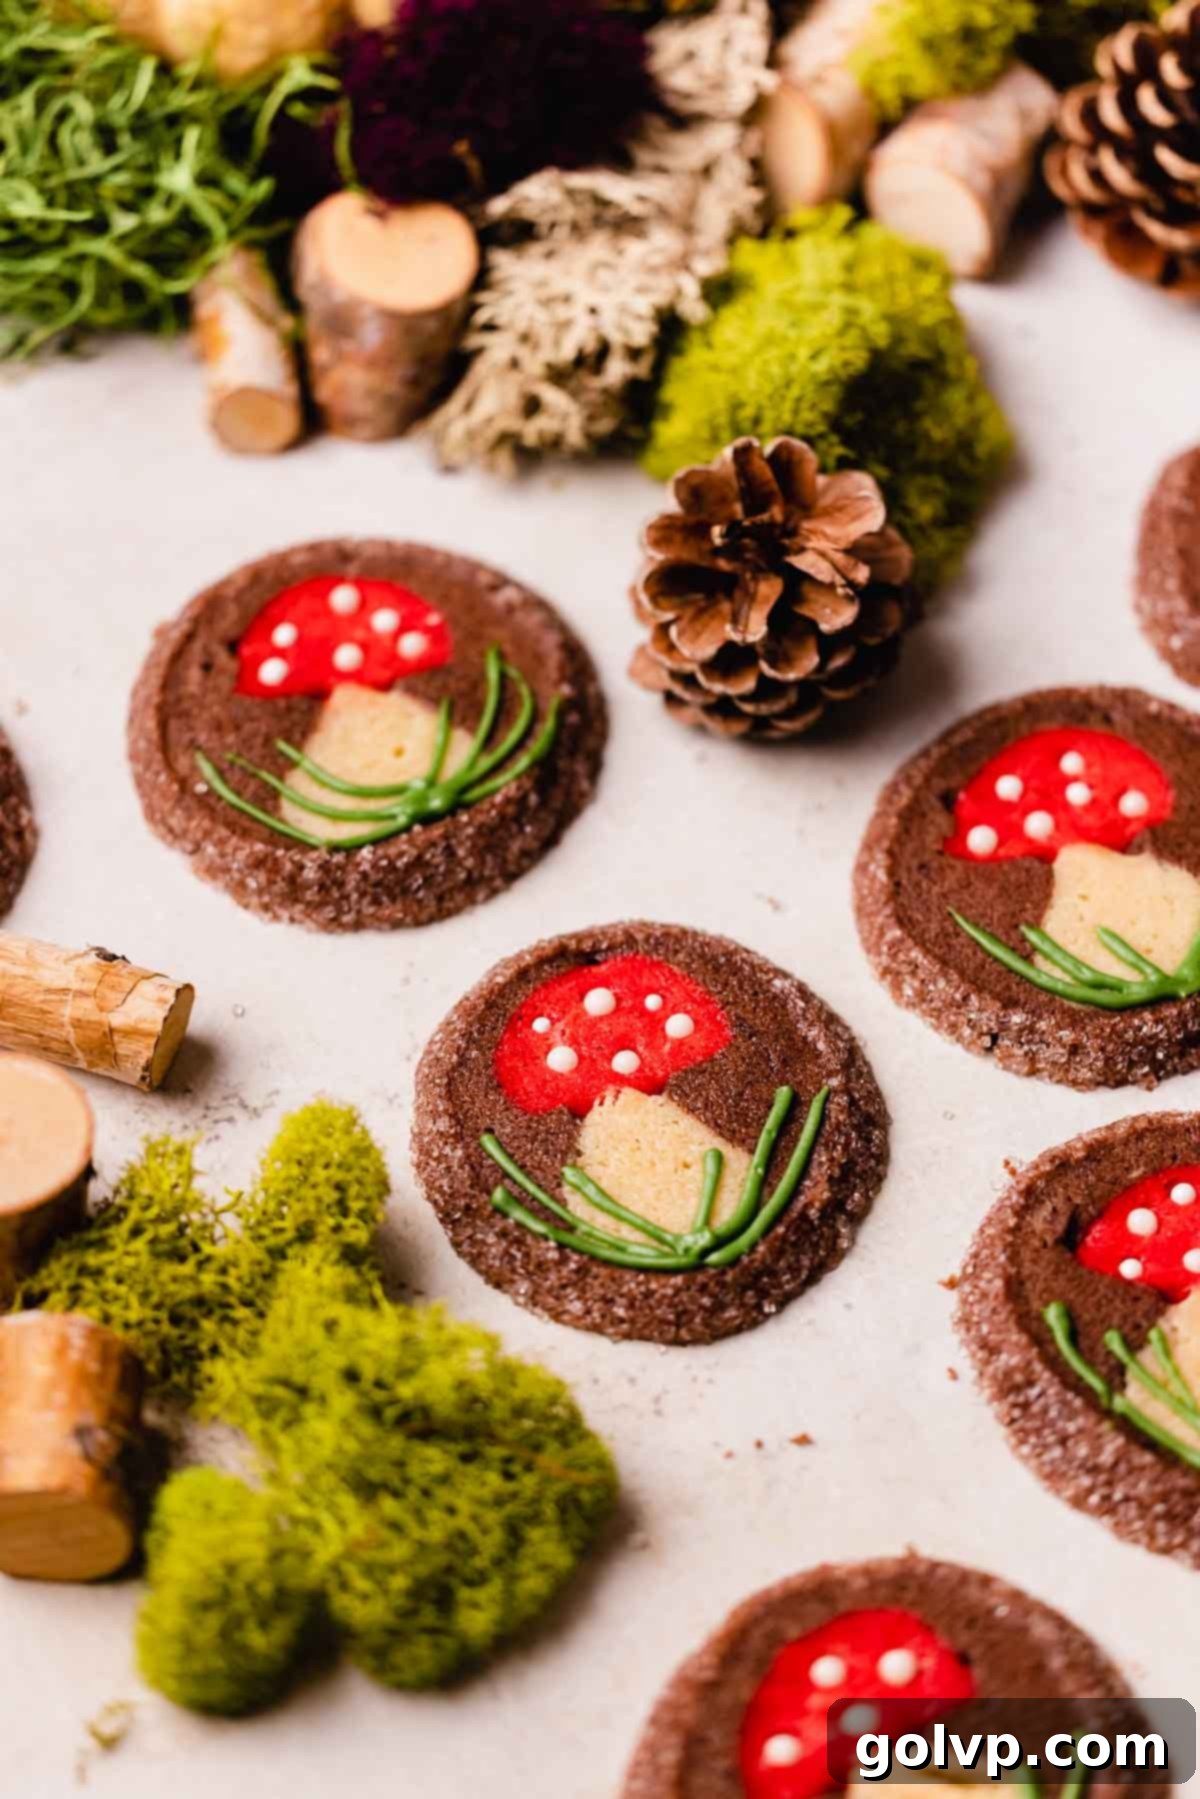
Making these charming mushroom sugar cookies is an experience that combines artistic fun with delicious results. The process of shaping the dough to reveal such a detailed design might seem intimidating at first glance, but with our clear, step-by-step instructions, you’ll find it surprisingly straightforward and immensely rewarding. Each cookie becomes a miniature work of edible art, perfect for gifting, entertaining, or simply enjoying a moment of sweet indulgence. Their tender texture and balanced flavors—sweet vanilla sugar cookie complemented by rich cocoa—make them irresistible. Get ready to impress your friends and family with these unique and delightful treats that taste as good as they look!
[feast_advanced_jump_to]
🍄 Why You’ll Adore These Mushroom Sugar Cookies
These Mushroom Sugar Cookies aren’t just cute; they offer a delightful baking experience and mouth-watering results. Here’s why this recipe is bound to become a new favorite:
- Unique Mushroom Design: While the intricate mushroom pattern might look like a challenge for experienced bakers, it’s actually incredibly achievable for all skill levels! Our detailed steps guide you through creating this charming design with ease, allowing you to produce professional-looking cookies that will impress everyone.
- Ultimate Slice and Bake Convenience: Say goodbye to rolling out dough and using cookie cutters for every batch. These cookies are designed to be sliced and baked, offering unparalleled convenience. You can prepare the entire dough log in advance and bake it all at once for a party, or simply slice off a few cookies as needed for a fresh, warm treat anytime.
- Perfect for Make-Ahead & Freezing: This cookie dough is a dream come true for meal preppers and busy entertainers. The dough freezes exceptionally well, making it the ideal make-ahead cookie. Whip up a batch when you have time, freeze the logs, and then simply slice and bake weeks or even months later. This means less stress during busy holidays or unexpected gatherings.
- Soft, Thick & Flavorful: Beyond their adorable appearance, these are genuinely delicious sugar cookies. They bake up thick and wonderfully soft, with a delightful chewiness. The chocolate exterior adds a rich depth of flavor that beautifully complements the sweet vanilla interior, creating a harmonious taste experience in every bite.
- Versatile for Any Occasion: With their enchanting design, these cookies are perfect for a variety of occasions. They are an ideal treat for “cottagecore” themed parties, whimsical woodland gatherings, autumn festivities, or as a charming addition to your holiday cookie platters. Their unique look makes them a fantastic conversation starter!
📝 Essential Ingredients for Mushroom Magic
To achieve the perfect texture, flavor, and that irresistible mushroom design, understanding the role of each ingredient is key.
For precise measurements and full instructions, please refer to the recipe card below.
- Unsalted Butter: The foundation of any great sugar cookie! Using high-quality unsalted butter is crucial for superior flavor and texture. Unsalted butter allows you to control the exact amount of salt in your recipe. Salted butter can vary in salt content and often has a higher moisture level, which can result in tougher or overly salty cookies that don’t hold their shape as well. Ensure your butter is only slightly softened – not room temperature and definitely not melted – for the best dough consistency, which is vital for maintaining the cookie’s design.
- Dutch Processed Cocoa Powder: This is what gives the outer layer of our cookies its beautiful, rich, dark chocolate color and deep flavor. Dutch processed cocoa has been treated with an alkali to reduce its acidity, resulting in a smoother, less bitter taste and a darker hue compared to natural cocoa. This deep color is essential for making the delicate mushroom stem stand out vividly against the chocolate ‘soil’ of the cookie.
- Red and Green Gel Food Coloring: These vibrant colors are indispensable for creating the iconic mushroom top and the cheerful green grass detail. We strongly recommend using gel food coloring over liquid food coloring. Gel colors are highly concentrated, meaning you need only a small amount to achieve intense hues without significantly altering the dough’s consistency, unlike liquid colors which can thin out your dough. While we haven’t experimented with powdered food coloring for this specific recipe, gel is your safest and most effective bet for brilliant results.
- All-Purpose Flour: The primary structural component of our cookies. For the most consistent and accurate results, we highly recommend weighing your flour using a kitchen scale. If a scale isn’t available, proper measuring technique is vital: gently stir the flour in its bag to aerate it, then spoon it lightly into a measuring cup. Level off the excess with the flat edge of a knife, avoiding packing the flour down into the cup. Over-packed flour can lead to dry, crumbly cookies.
- Coarse Decorative Sugar: This ingredient adds a lovely textural contrast and a beautiful, sparkling finish to the edges of your cookie log. Rolling the dough in coarse sugar before chilling creates a visually appealing “crust” that bakes up delightfully. If coarse sugar isn’t on hand, granulated sugar can be used for a more subtle sparkle, or for a more festive touch, consider using your favorite sprinkles.
👩🍳 Crafting Your Whimsical Mushroom Sugar Cookies
Creating these charming mushroom sugar cookies is a fun and rewarding process. Follow these detailed steps to bring your edible woodland scene to life.
Mushroom Sugar Cookie Dough: Step by Step
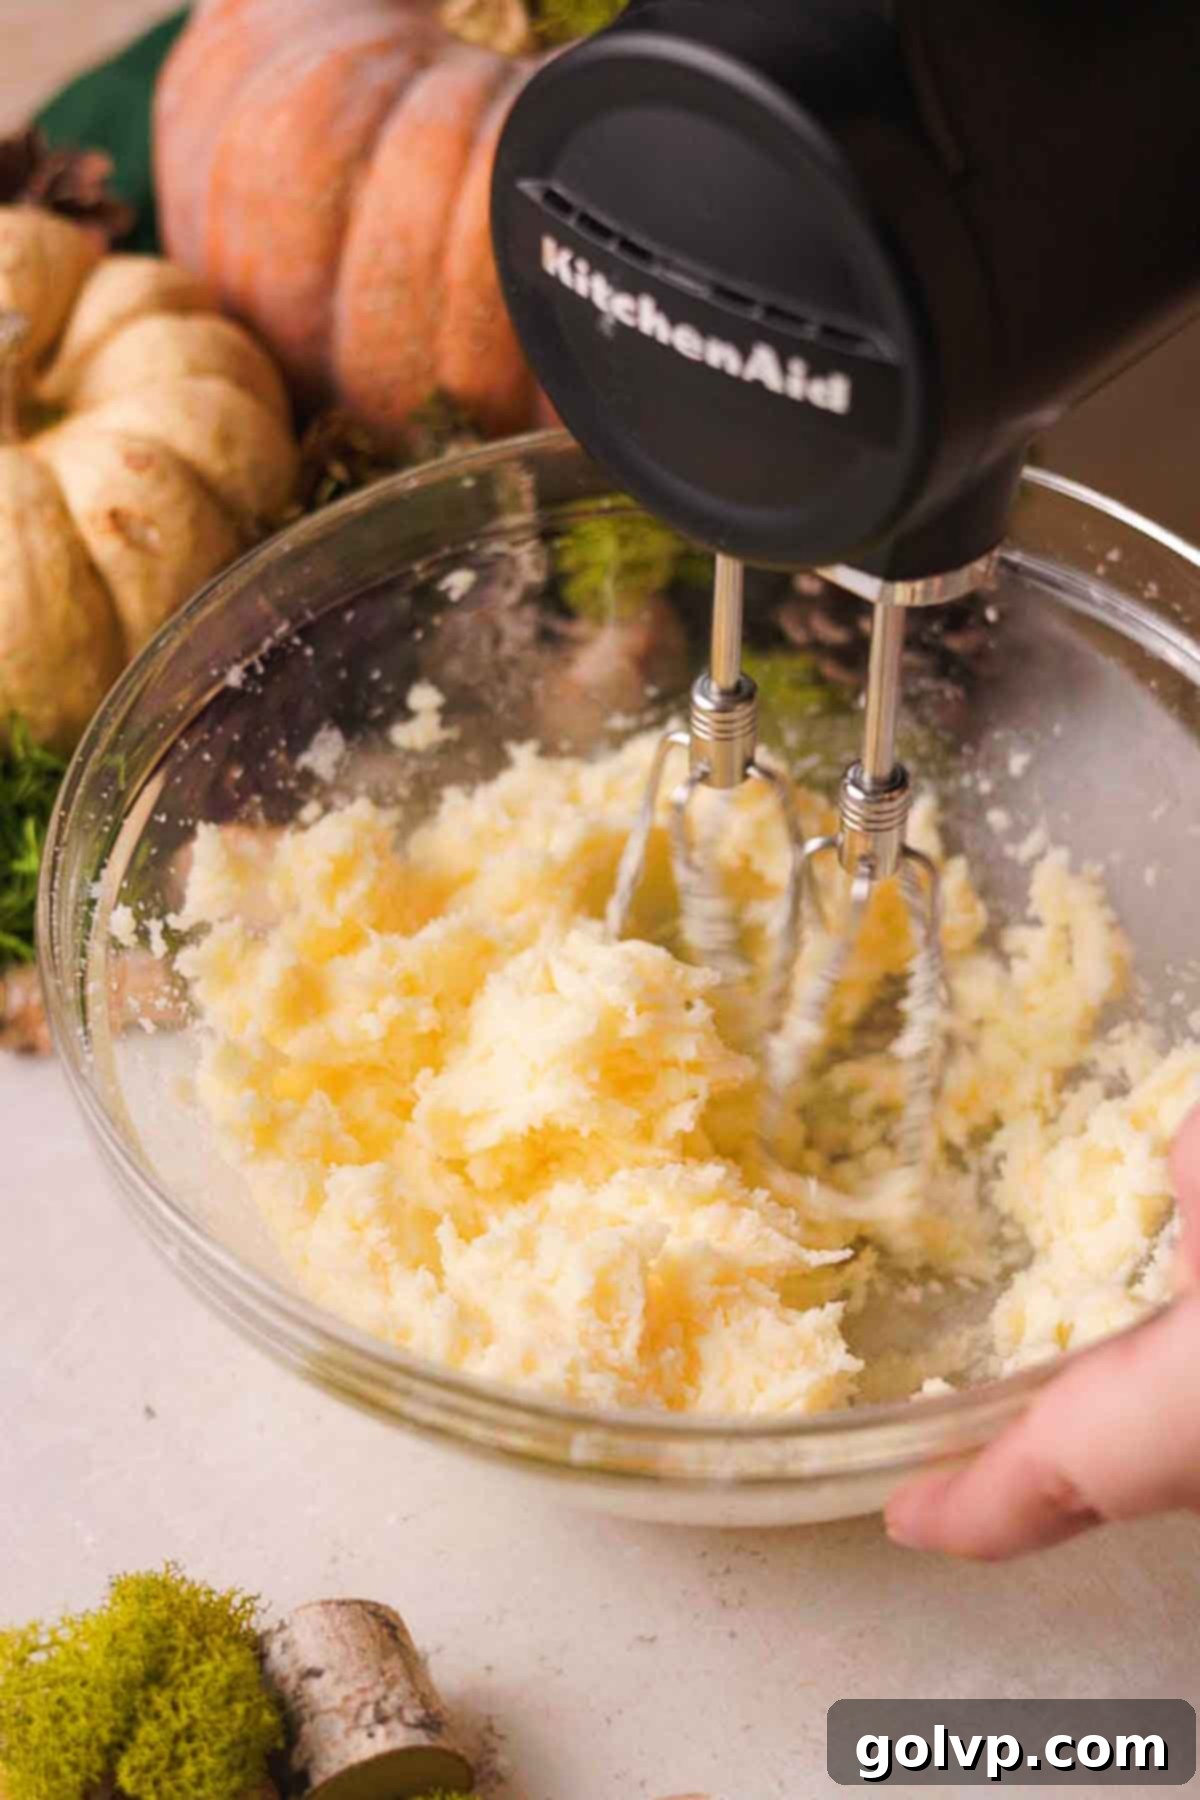
Step 1: In a spacious mixing bowl or the bowl of a stand mixer, combine your slightly softened butter with the granulated sugar. Beat them together on low speed just until they are evenly combined and creamy. It’s crucial not to overmix at this stage; avoid whipping until light and fluffy, as incorporating too much air can cause the cookies to spread excessively during baking and compromise the intricate mushroom design.
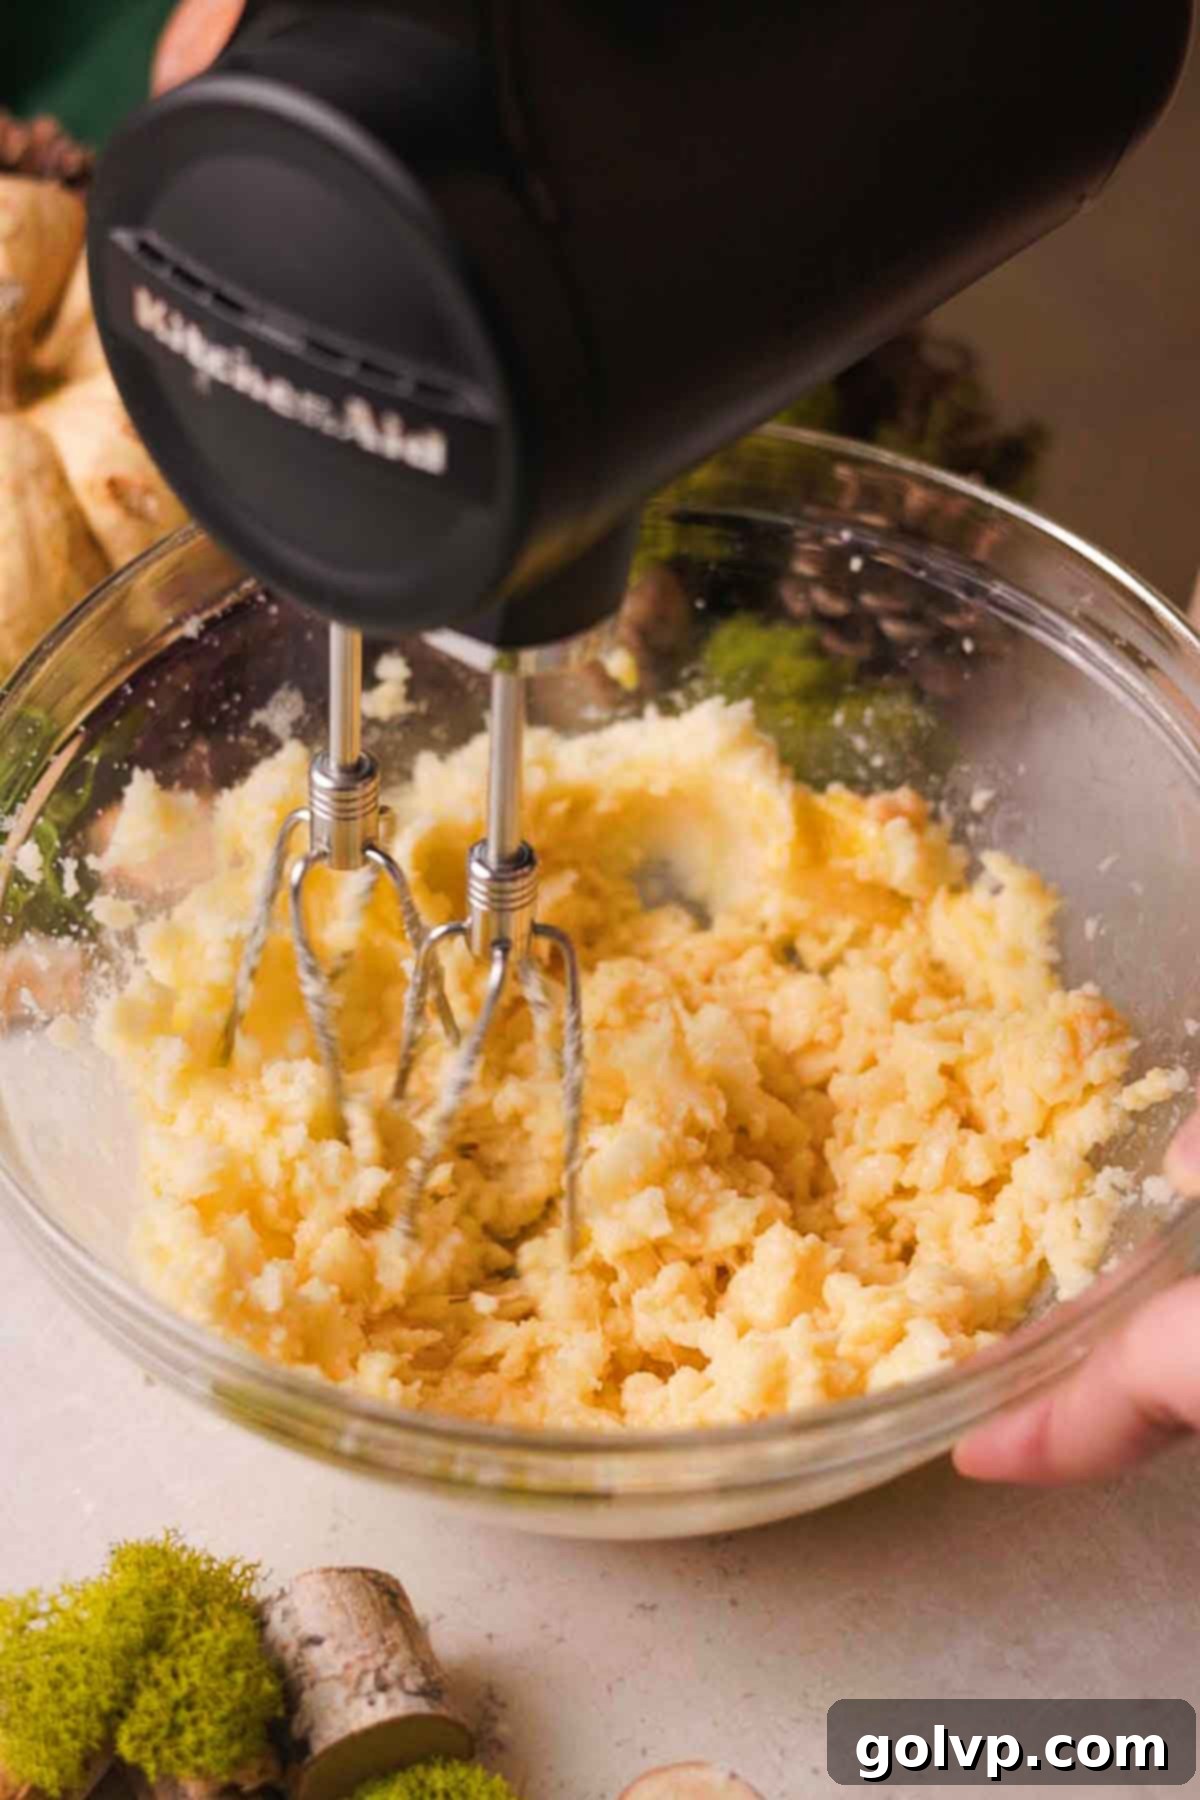
Step 2: Incorporate the salt, vanilla extract, and the room temperature large egg into the butter-sugar mixture. Mix on low speed only until just combined. The mixture might appear a little split or curdled, but this is perfectly normal. Again, resist the urge to overmix, as this can negatively affect the final texture of your sugar cookies.
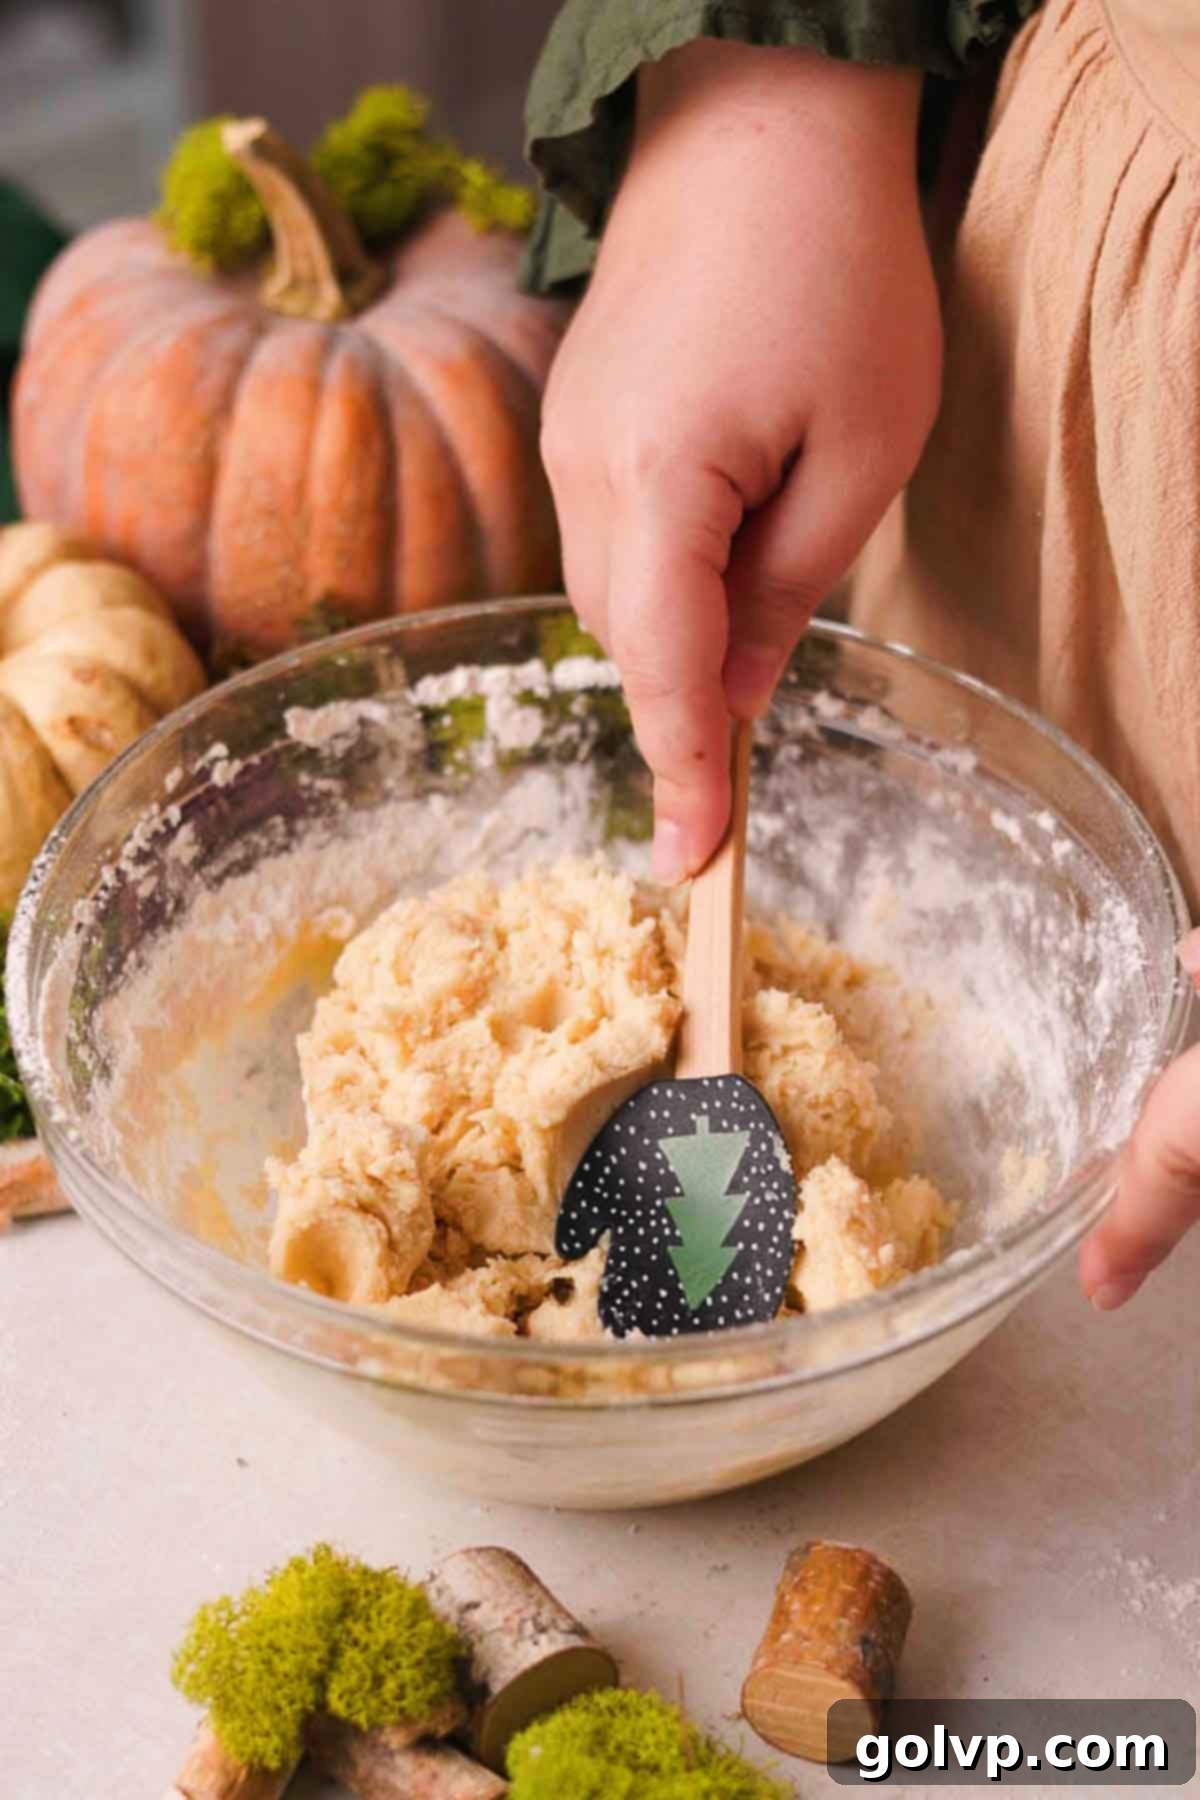
Step 3: Gradually add the sifted all-purpose flour to the wet ingredients. Mix on low speed with a mixer or gently fold with a sturdy spatula until a cohesive dough just forms. Stop mixing as soon as no dry streaks of flour are visible to prevent developing too much gluten, which can make your cookies tough. Once formed, shape the entire dough into a single, thick log.
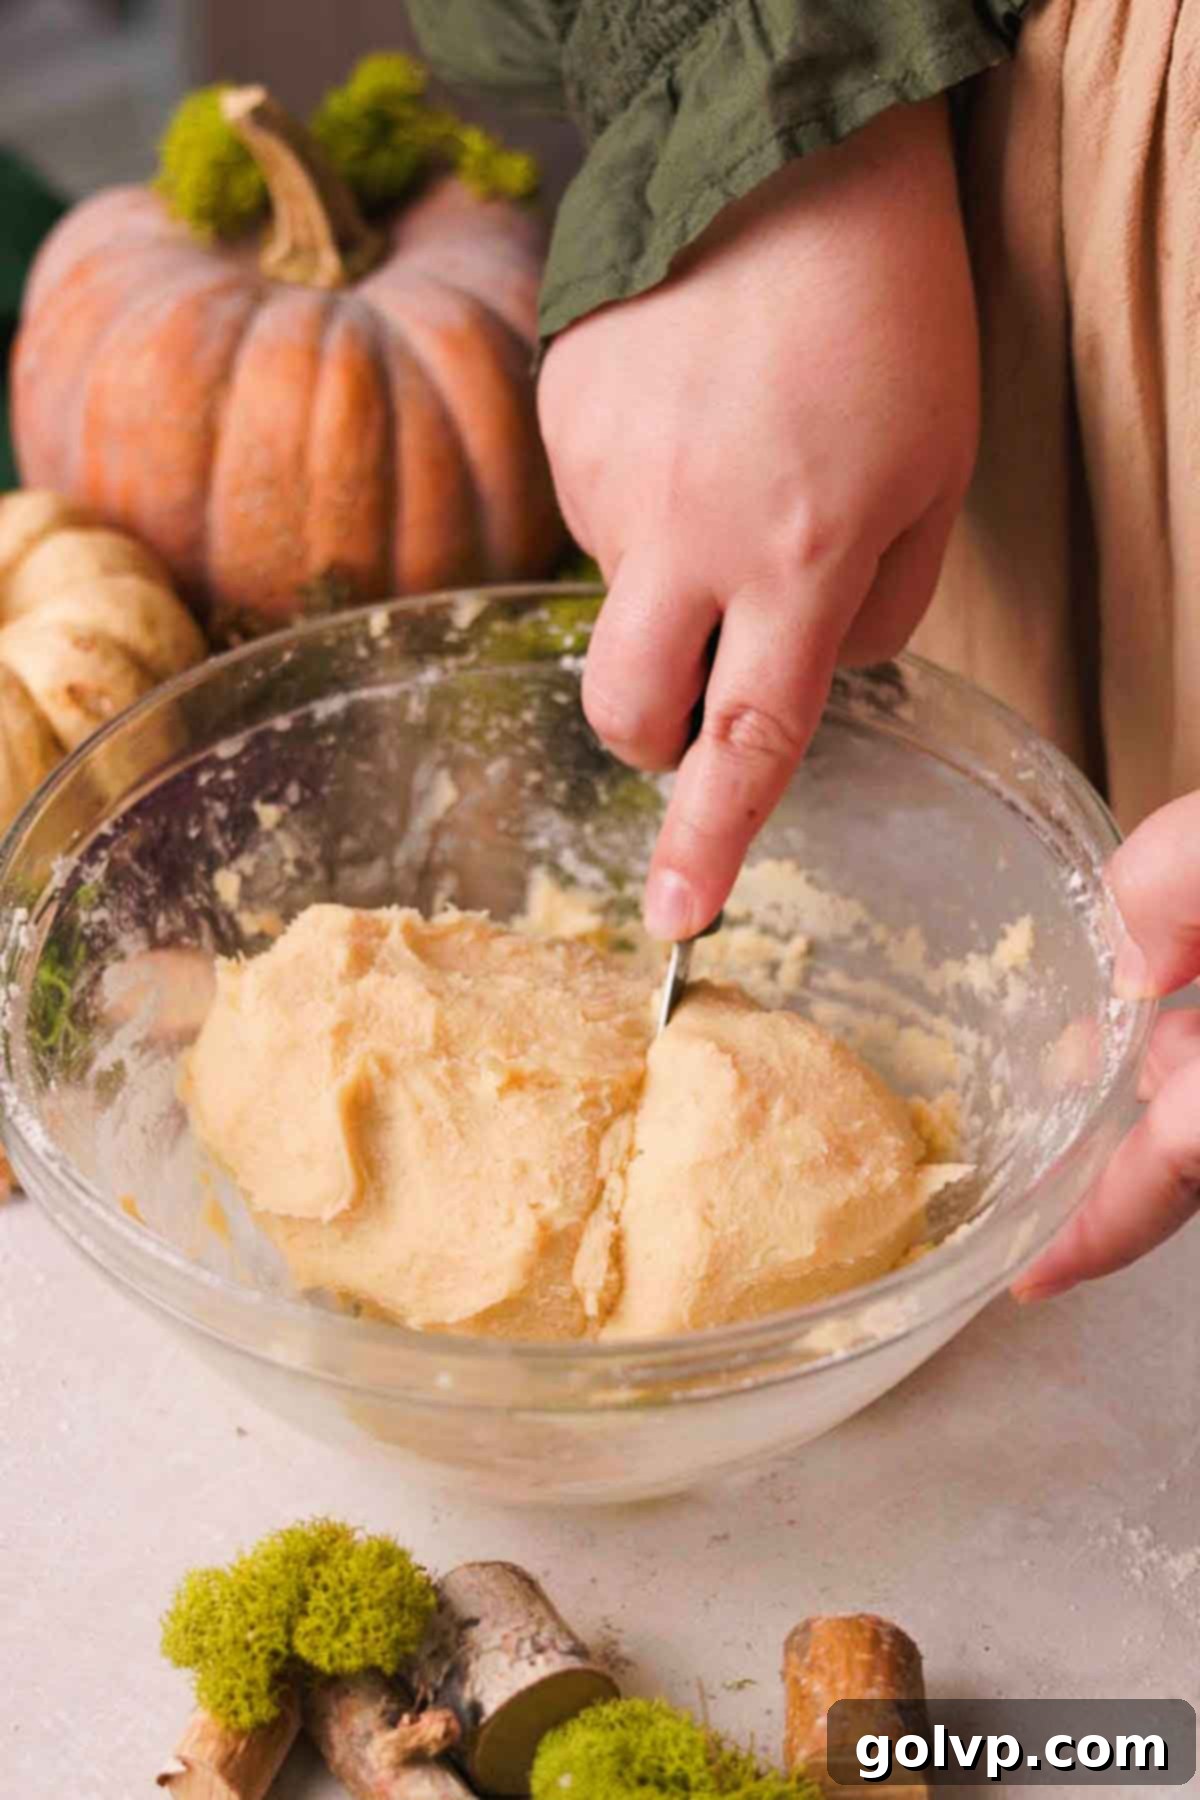
Step 4: From your thick dough log, carefully cut off approximately one-third of the dough. This smaller portion will be used to create the inner mushroom design. Set the remaining two-thirds of the dough aside; this larger portion will eventually become the rich chocolate outer layer of your cookies.
Forming the Enchanting Mushroom Shape: Step by Step
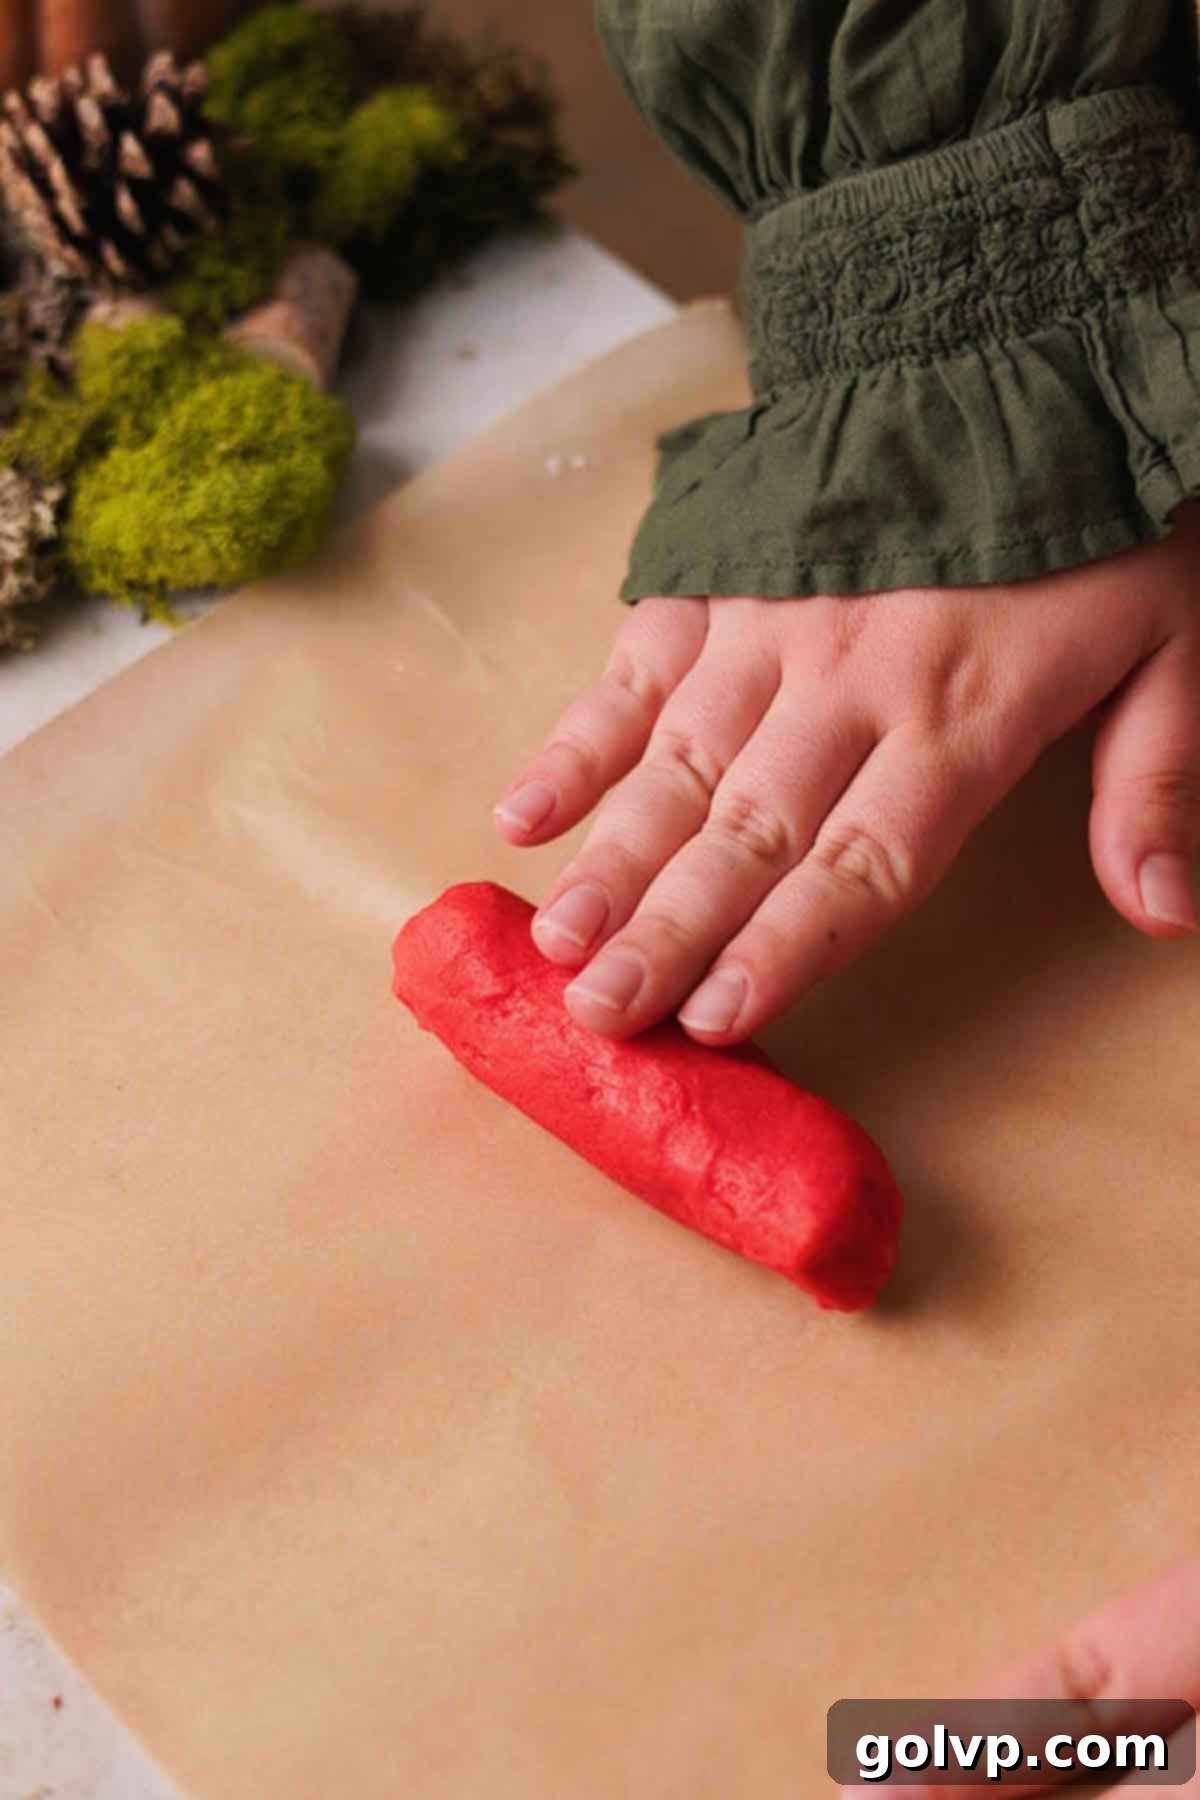
Step 1: Take the smaller dough portion (the one-third you cut off). Divide this portion in half. To one half, thoroughly incorporate red gel food coloring until a vibrant, uniform red color is achieved. Then, roll this red dough into a short, thick log, ensuring it’s dense and well-shaped. This will form the top of your mushroom cap.
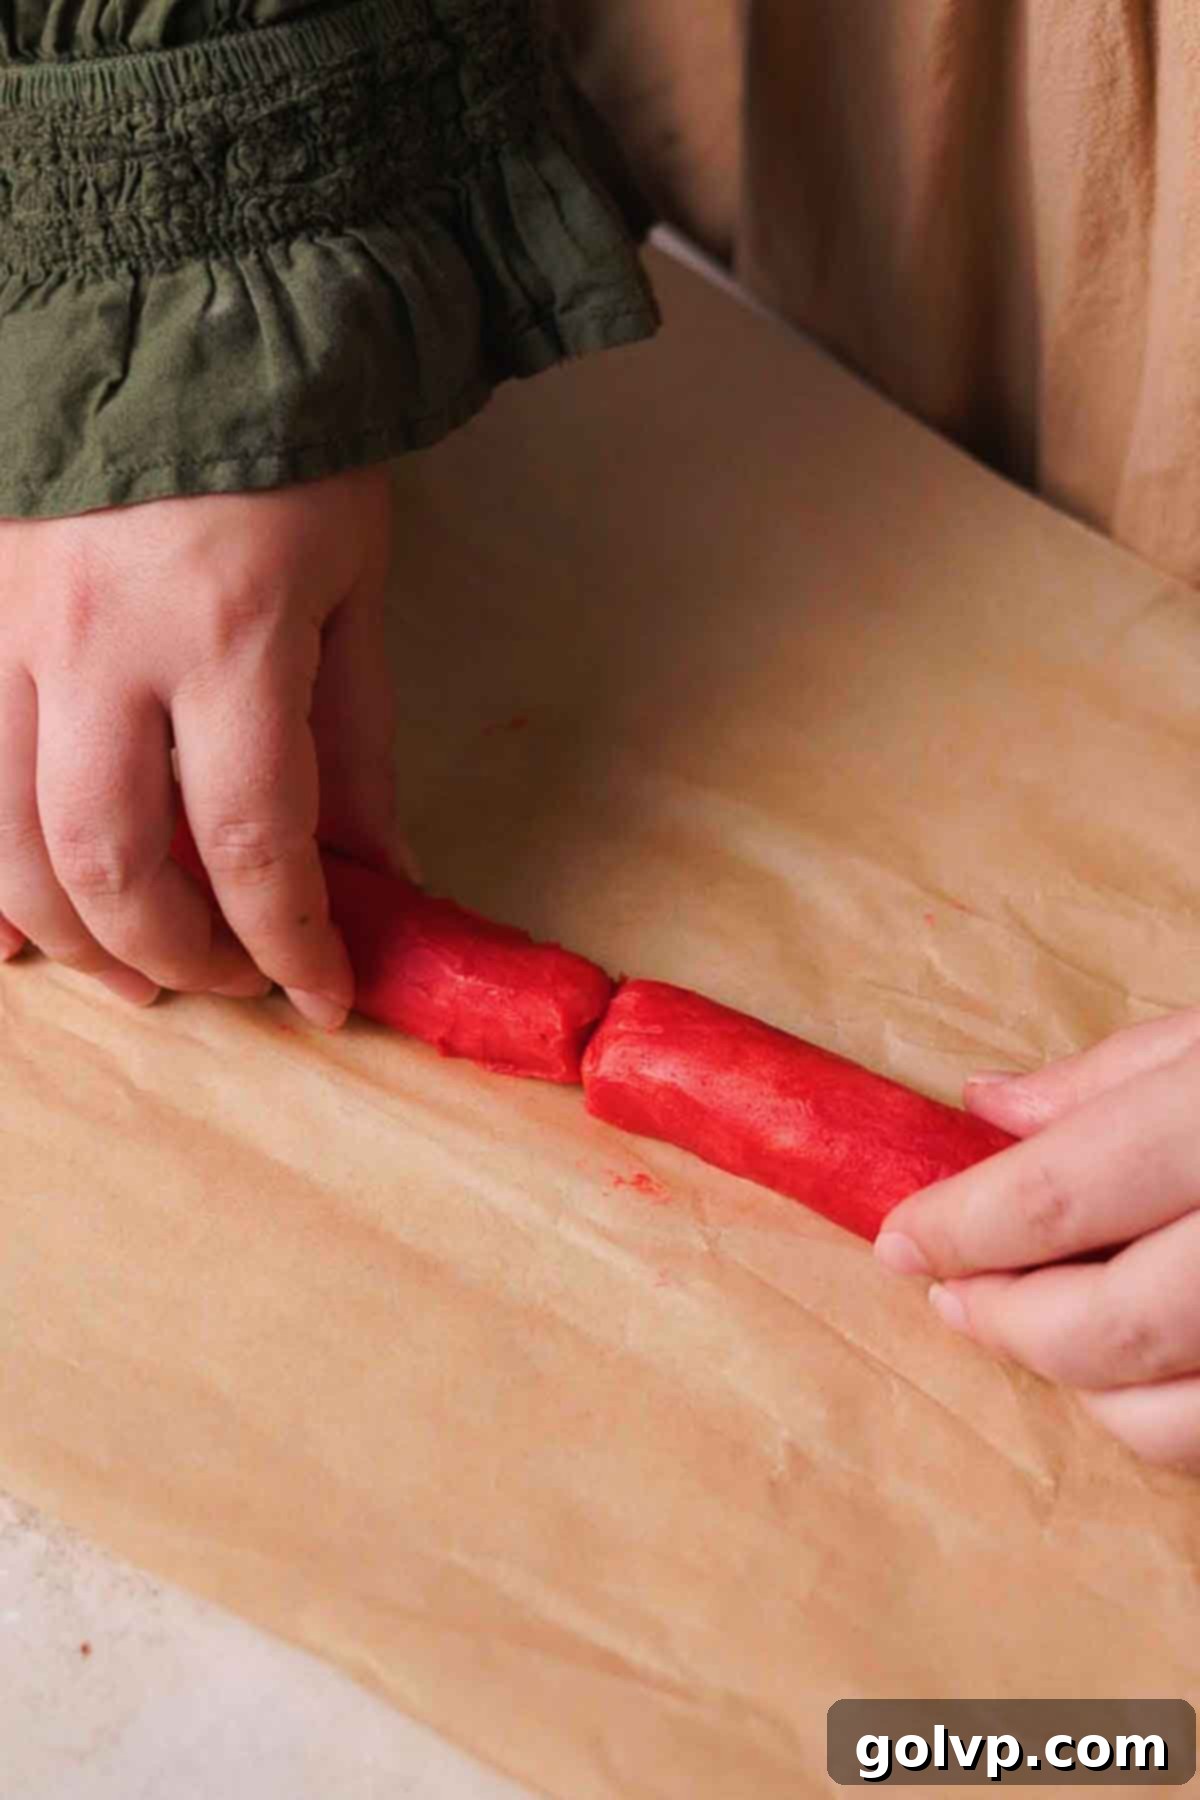
Step 2: Carefully cut the red log in half lengthwise. Then, gently connect these two halves, pressing them together to form one larger, wider piece of red dough. This technique creates a flatter base for the mushroom cap. Once combined, place this red dough piece into the freezer for about 10-15 minutes, allowing it to firm up. This chilling step is crucial for maintaining sharp edges and preventing the colors from smudging during assembly.
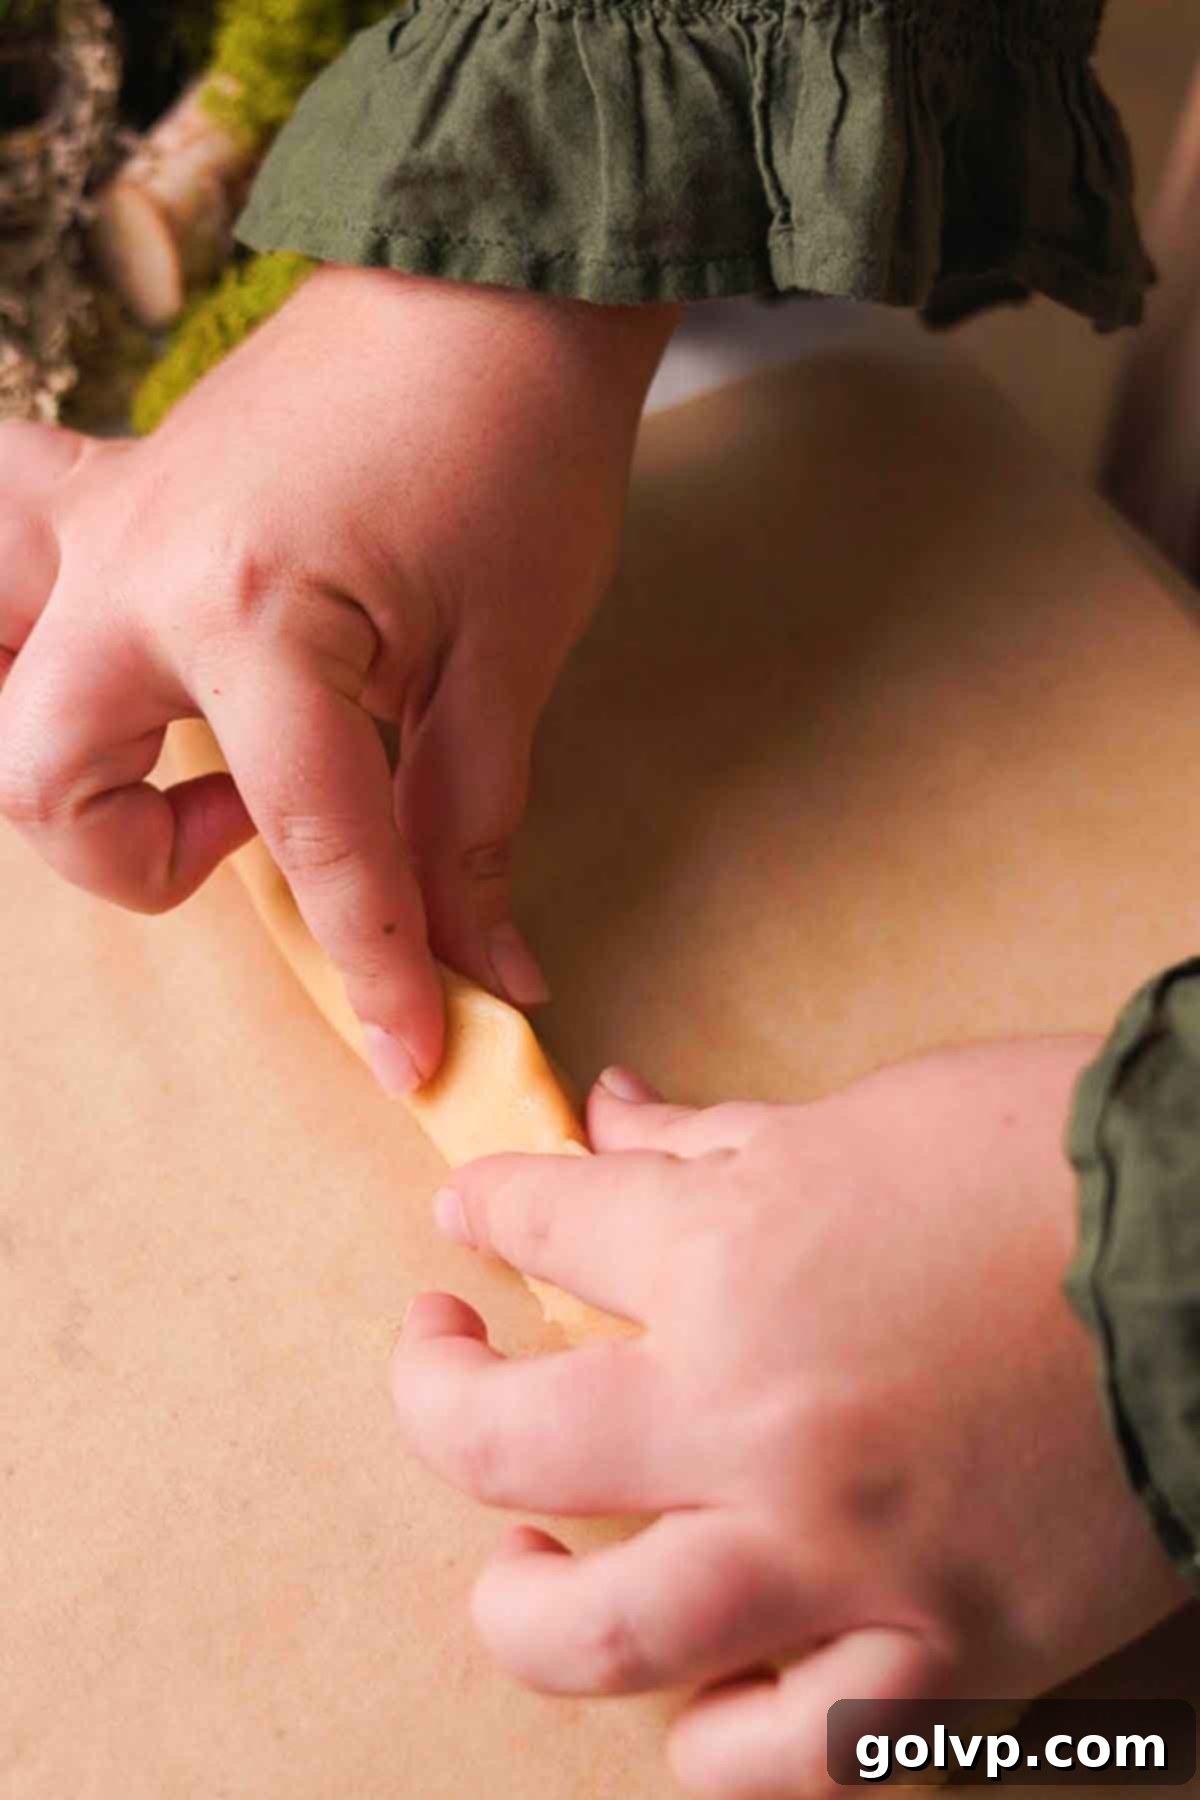
Step 3: Now, take the other half of the smaller dough portion (the uncolored part). Shape this into a log that will serve as your mushroom stem. Crucially, pinch the top of this log to create a slightly triangular or pointed shape, resembling a mushroom stem. Place this white stem log into the freezer alongside the red cap for 10-20 minutes, or until it becomes firm enough to handle without losing its shape.
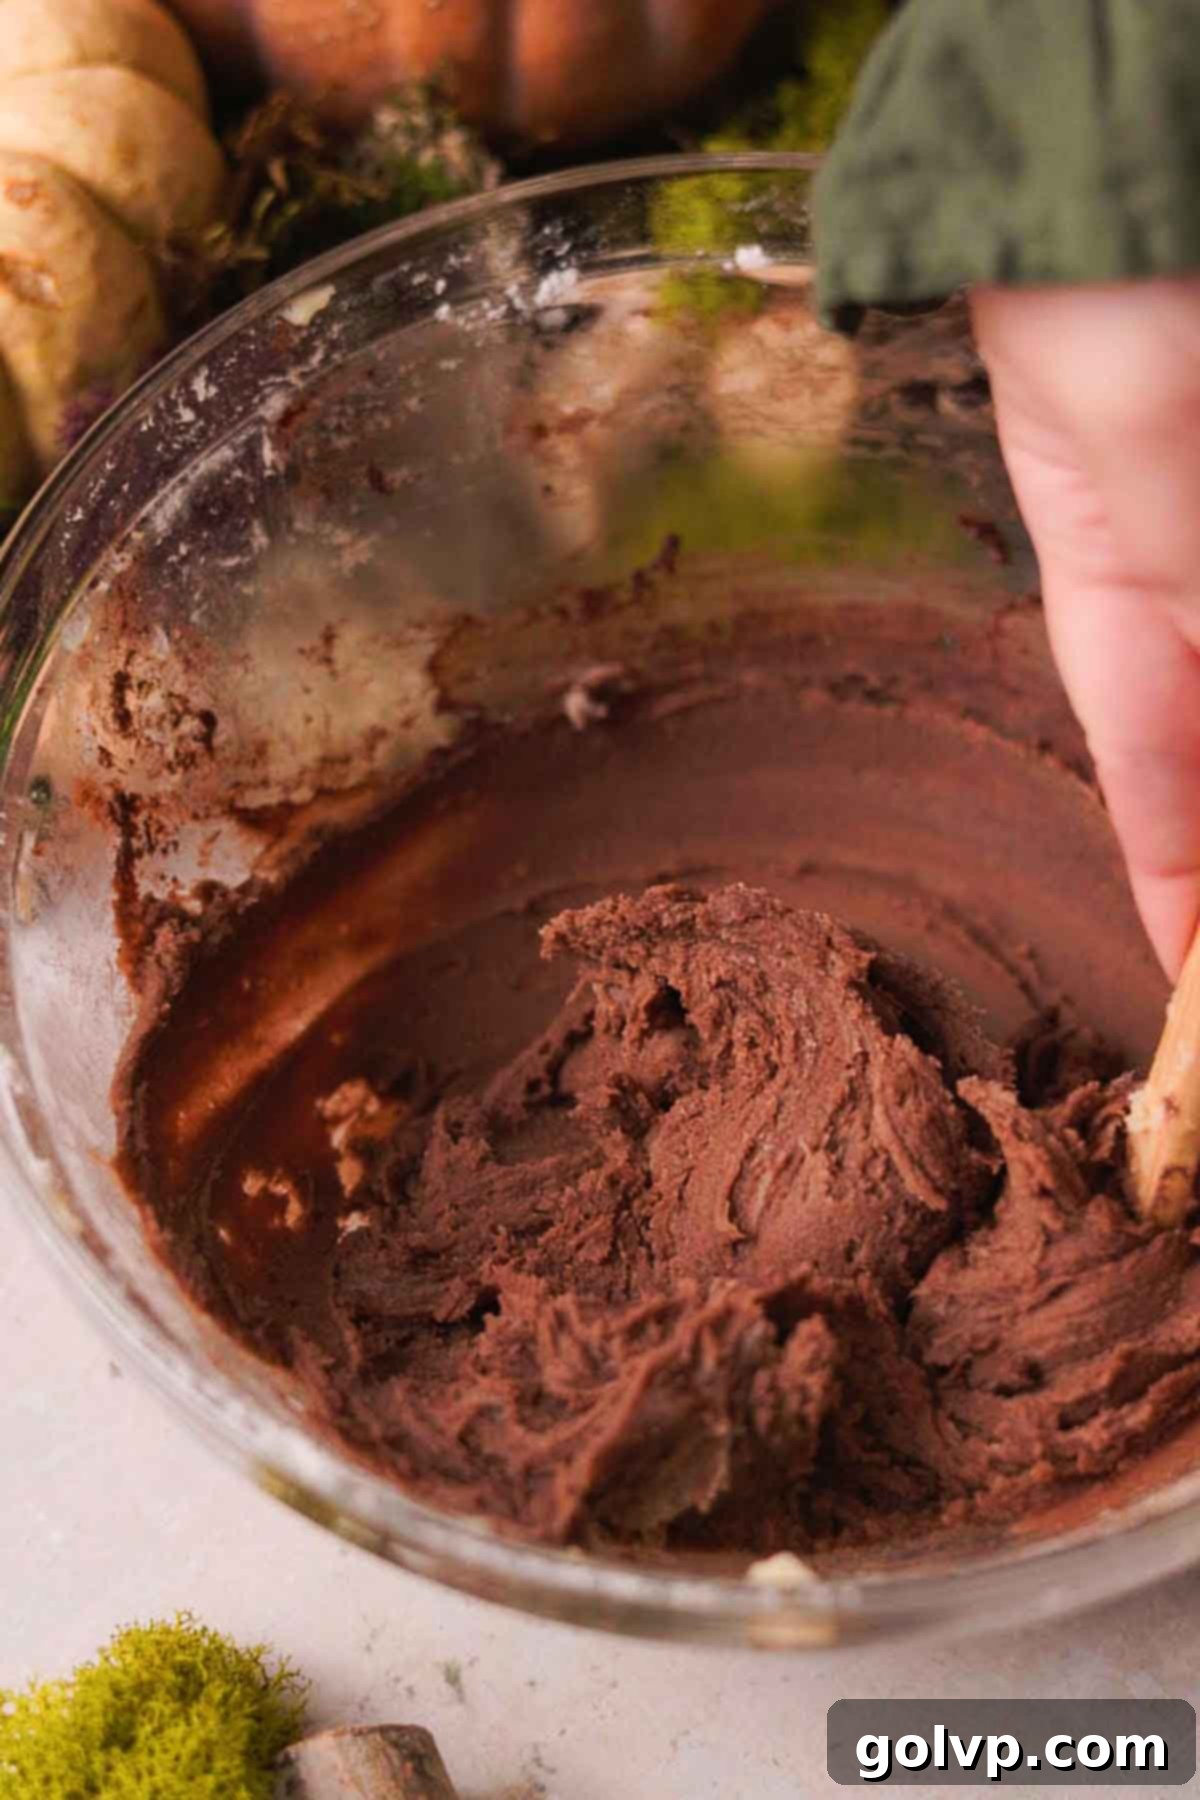
Step 4: While your mushroom components are chilling, retrieve the larger, remaining portion of plain cookie dough. Add the Dutch processed cocoa powder to this dough. Mix thoroughly until the cocoa powder is completely incorporated, resulting in a uniformly rich chocolate-colored dough. This will form the “earth” or outer layer of your mushroom cookies. Set this chocolate dough aside.
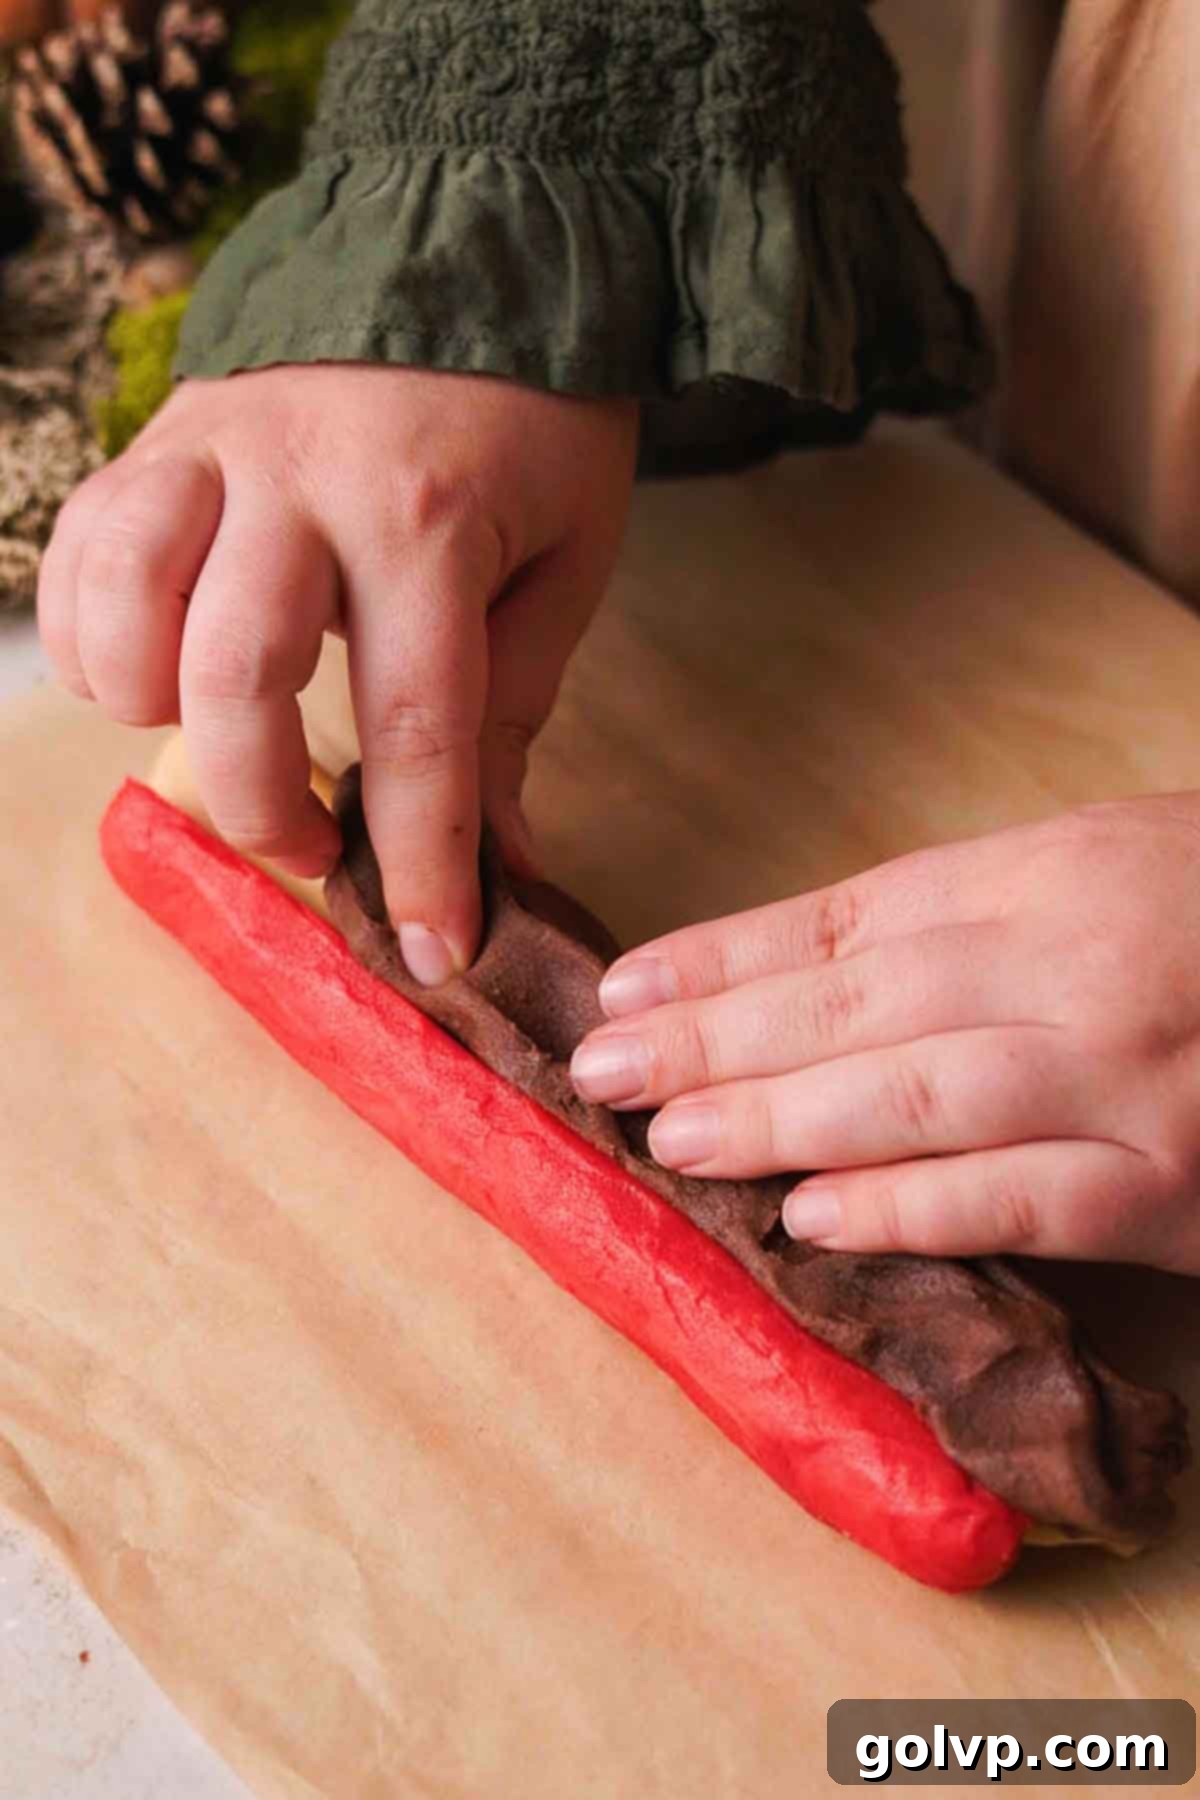
Step 5: Retrieve your chilled red cap and white stem. To assemble the mushroom, carefully place the wider, red half-log on top of the pinched, pointed white log. Now, take small pieces of the prepared chocolate dough and gently, but firmly, press them around the mushroom shape, gradually covering it completely. Work carefully to ensure there are no gaps between the colored doughs and the chocolate layer. Once fully covered, roll the entire assembly to form a seamless log, ensuring the chocolate dough adheres tightly to the inner mushroom structure. This step is crucial for a clean design when sliced.
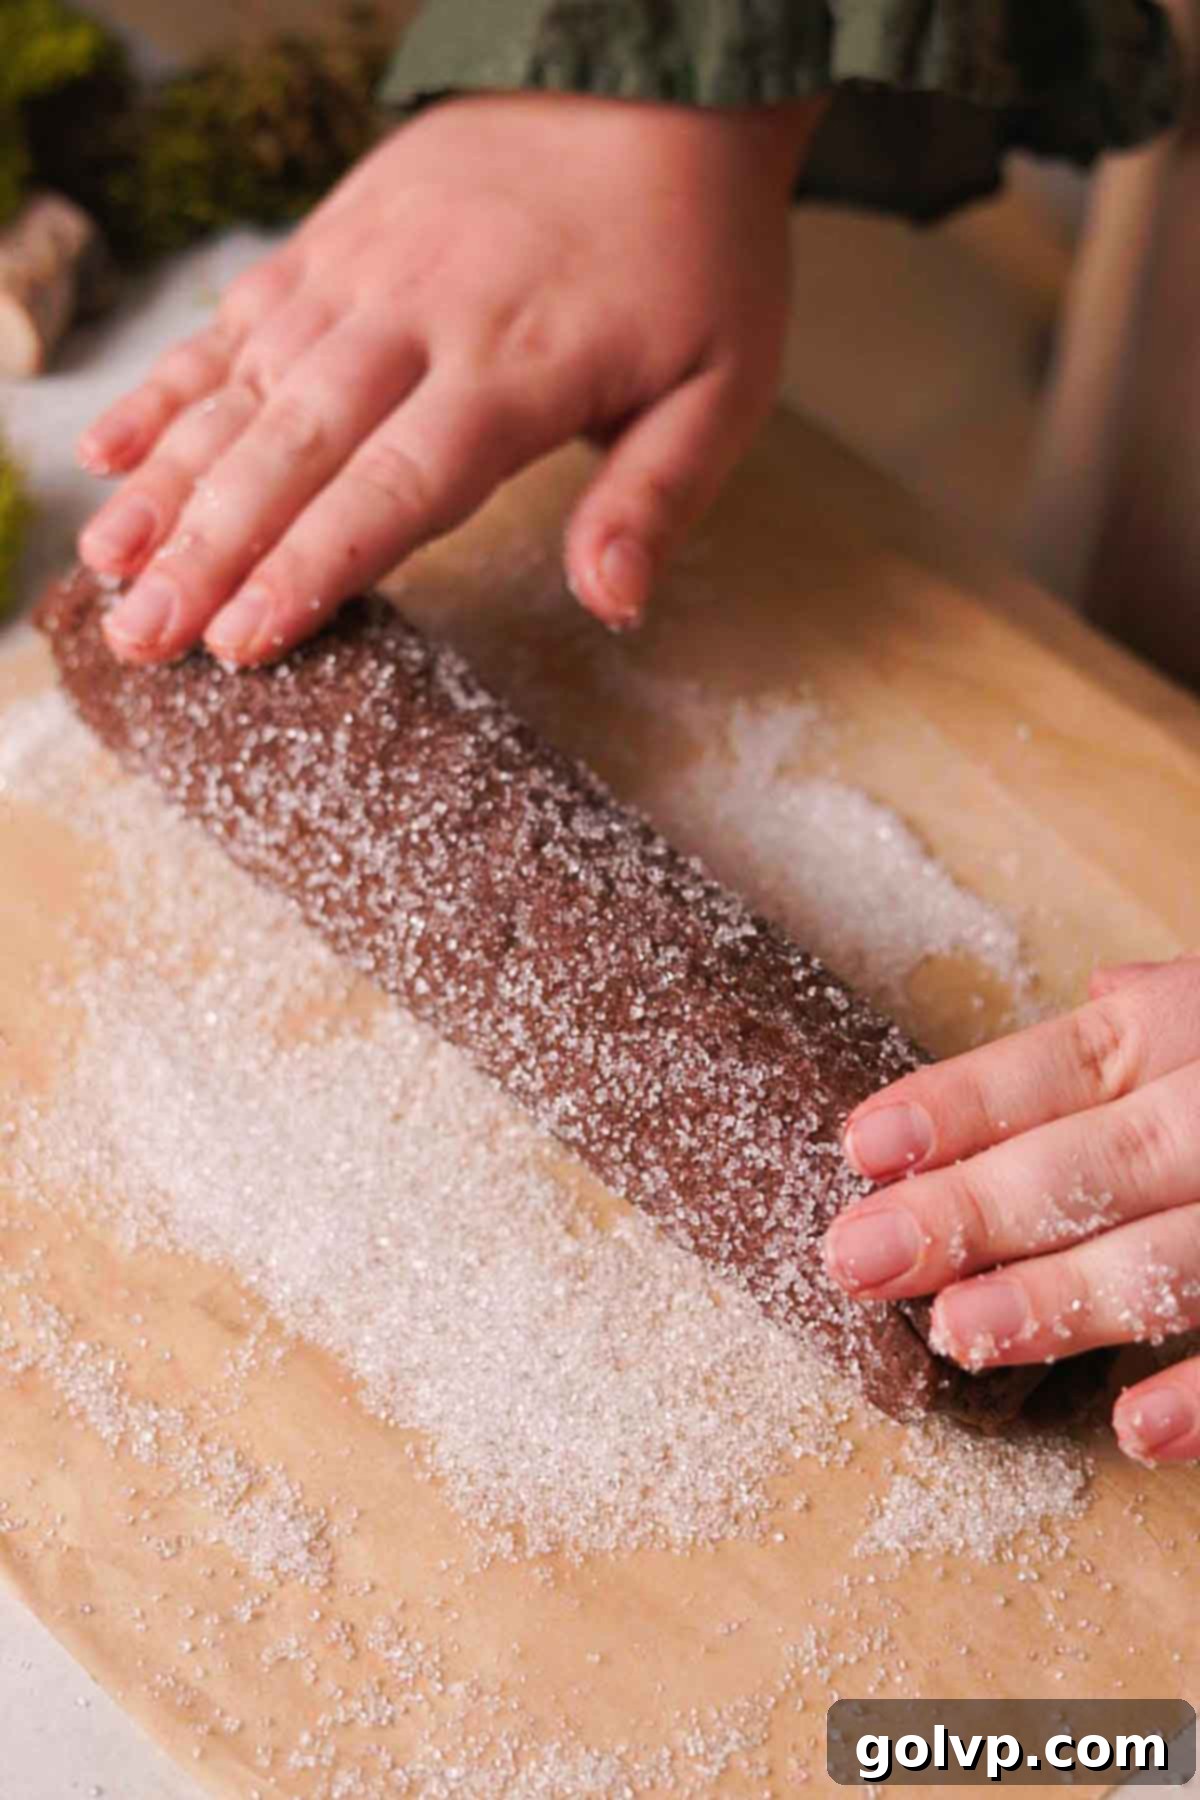
Step 6: For an extra touch of sparkle and delightful texture, roll the newly formed mushroom cookie dough log in coarse sugar, ensuring it’s evenly coated on all sides. This adds a beautiful glistening edge once baked. After rolling, return the entire log to the freezer for another 20-30 minutes, or until it is completely firm. This firm chill is paramount for achieving clean, precise slices and preserving the mushroom design during baking.
Mushroom Sugar Cookie Details and Baking: Step by Step
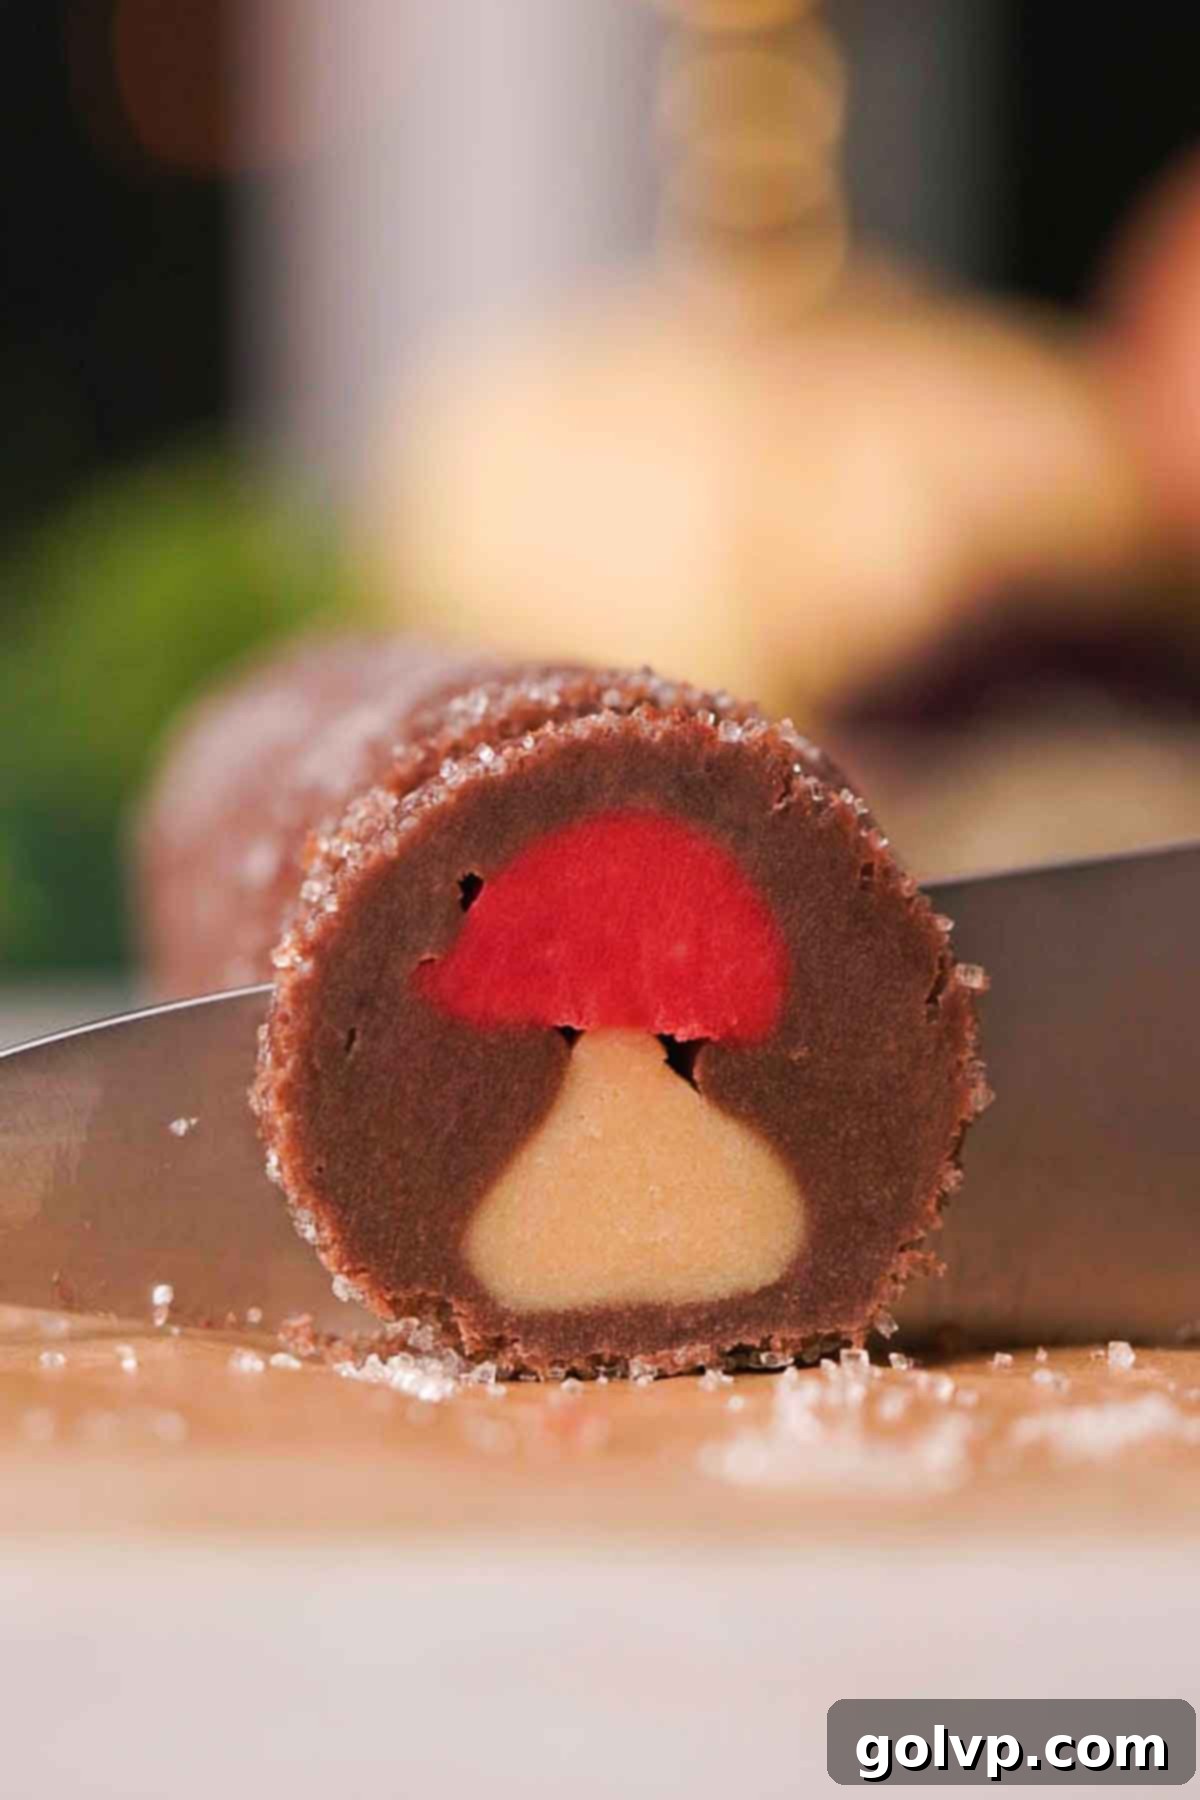
Step 1: Preheat your oven to 355°F (180°C). Retrieve the fully chilled and firm cookie dough log from the freezer. Using a very sharp knife, carefully cut the log into ½-inch thick slices. The sharpness of the knife and the firmness of the dough are essential for achieving clean, unmuddled mushroom designs. Arrange the sliced cookies 1 to 2 inches apart on non-stick or parchment-lined cookie sheets. Bake for 9-11 minutes, or until the tops of the cookies are no longer shiny and the edges are just barely golden. Be careful not to overbake to maintain their soft, chewy texture.
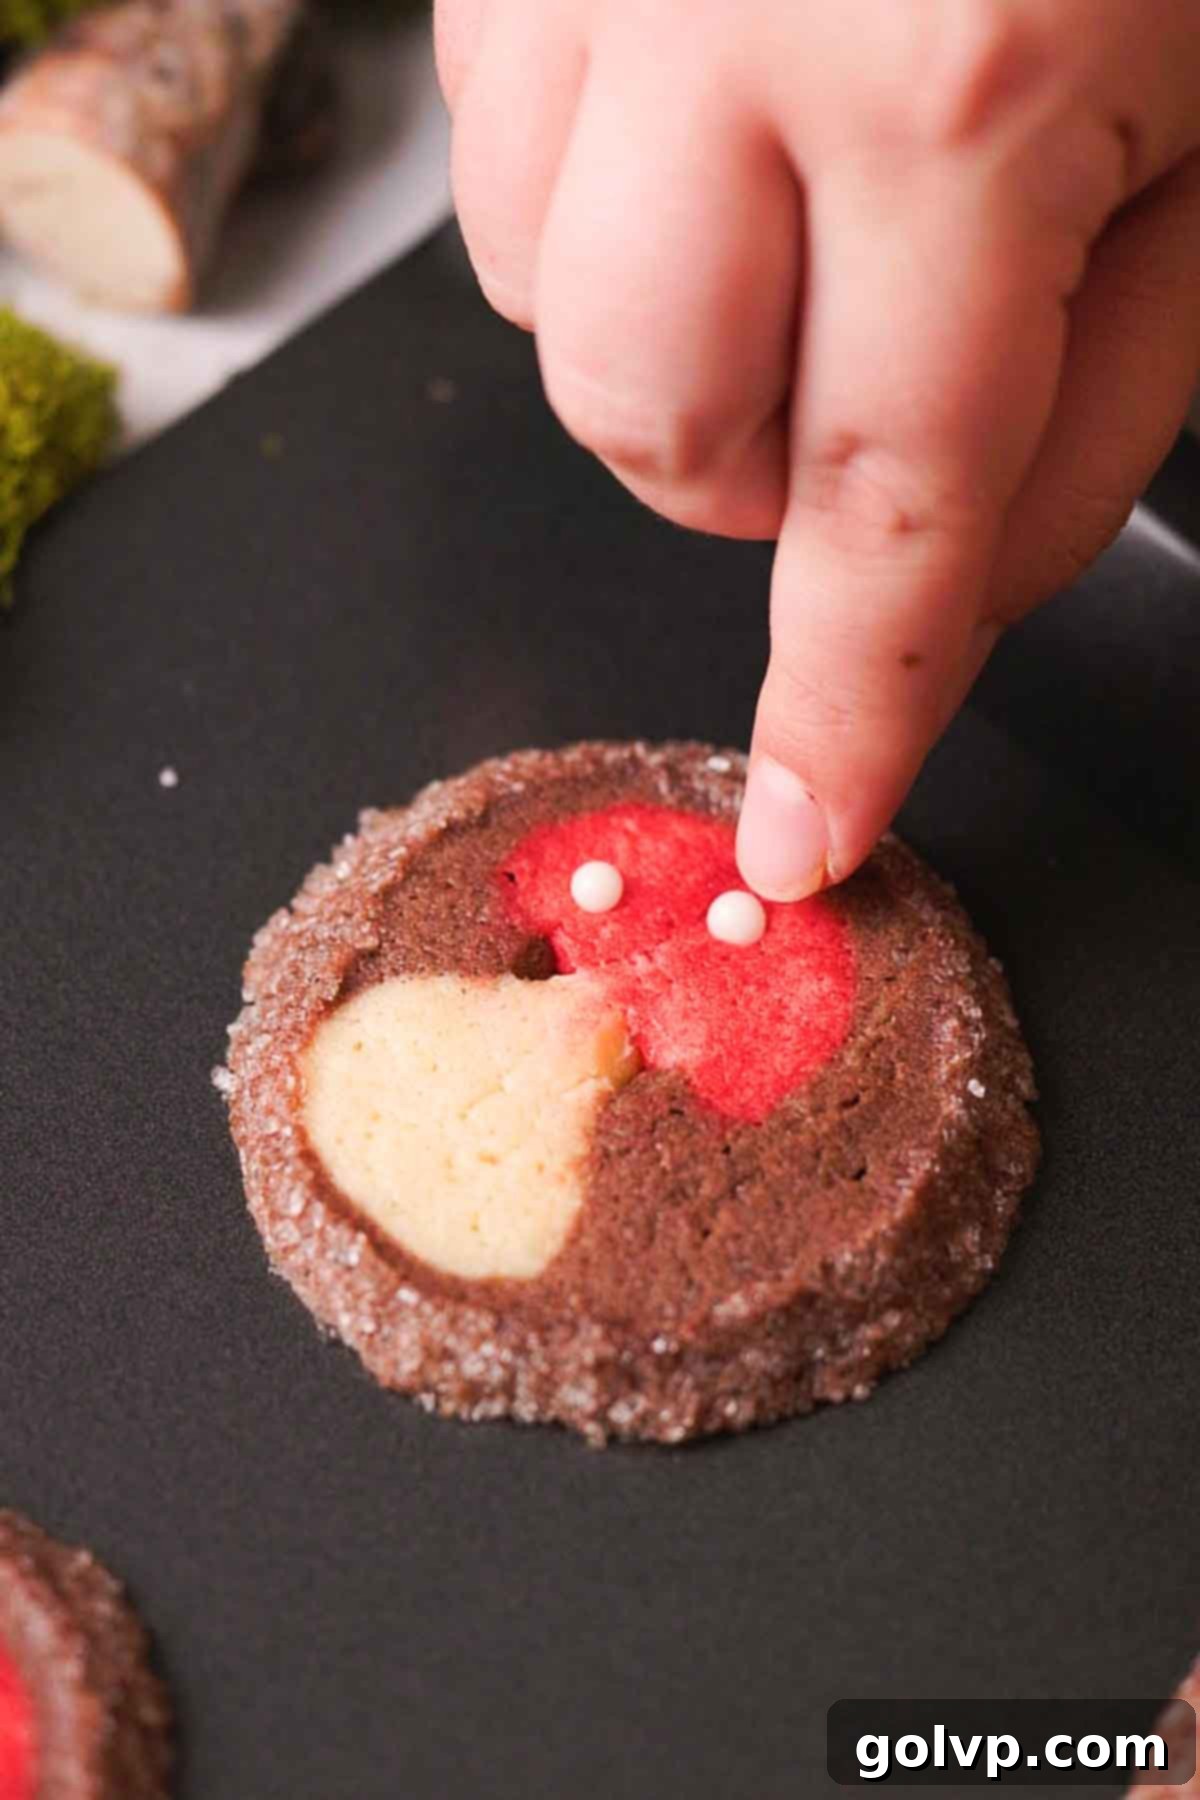
Step 2: As soon as you remove the baked cookies from the oven, while they are still hot, immediately press white round pearl sprinkles onto the red mushroom tops. The residual heat from the cookies will help the sprinkles adhere perfectly. Exercise caution when handling the hot cookies. Allow the cookies to cool completely on the baking sheet for a few minutes before transferring them to a wire rack to finish cooling. This helps them set and prevents breakage.
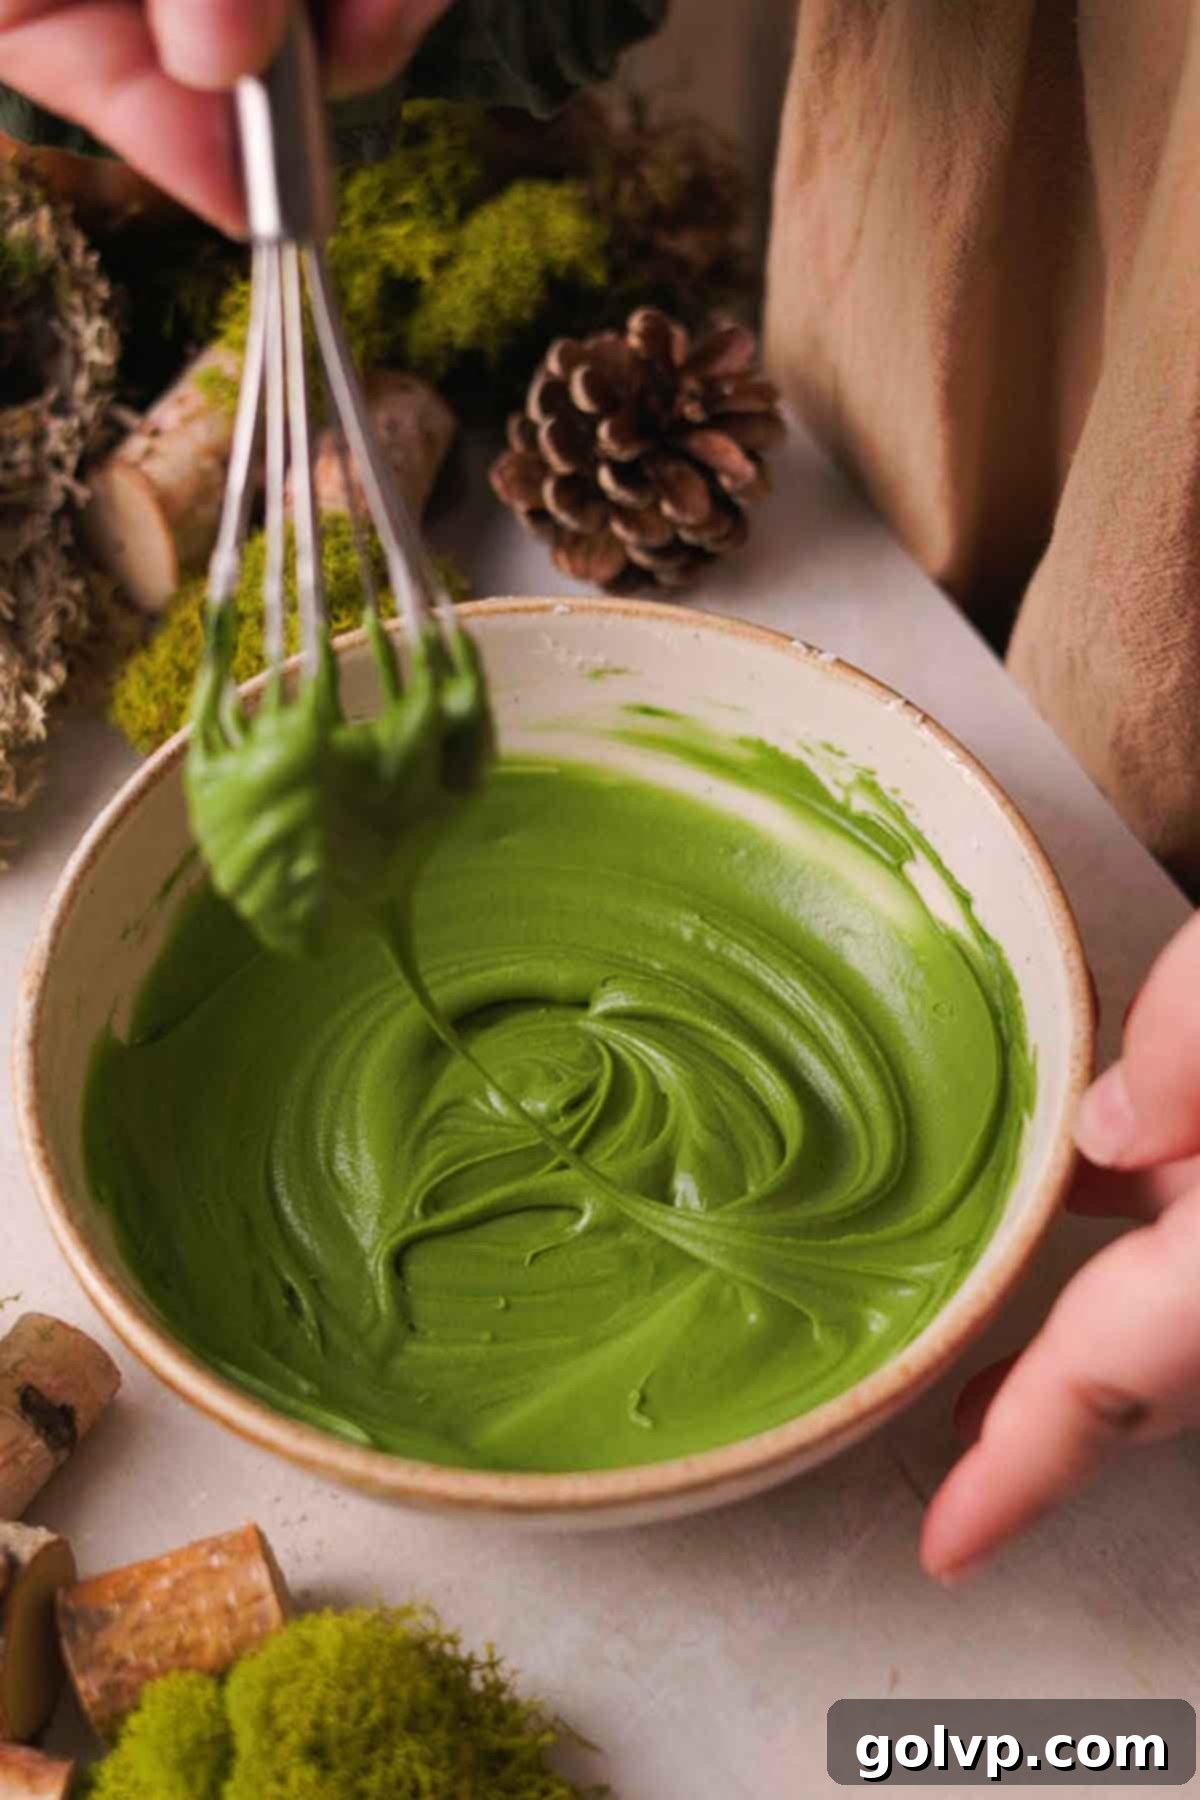
Step 3: Prepare the vibrant “grass” frosting. In a small bowl, whisk together the powdered sugar and heavy whipping cream. Begin by adding 1 tablespoon of cream, then gradually add more, 1 teaspoon at a time, until you achieve a thick, smooth consistency suitable for piping. Stir in green gel food coloring until you reach your desired shade of lush grass green. The thick consistency is important for the grass to hold its shape.
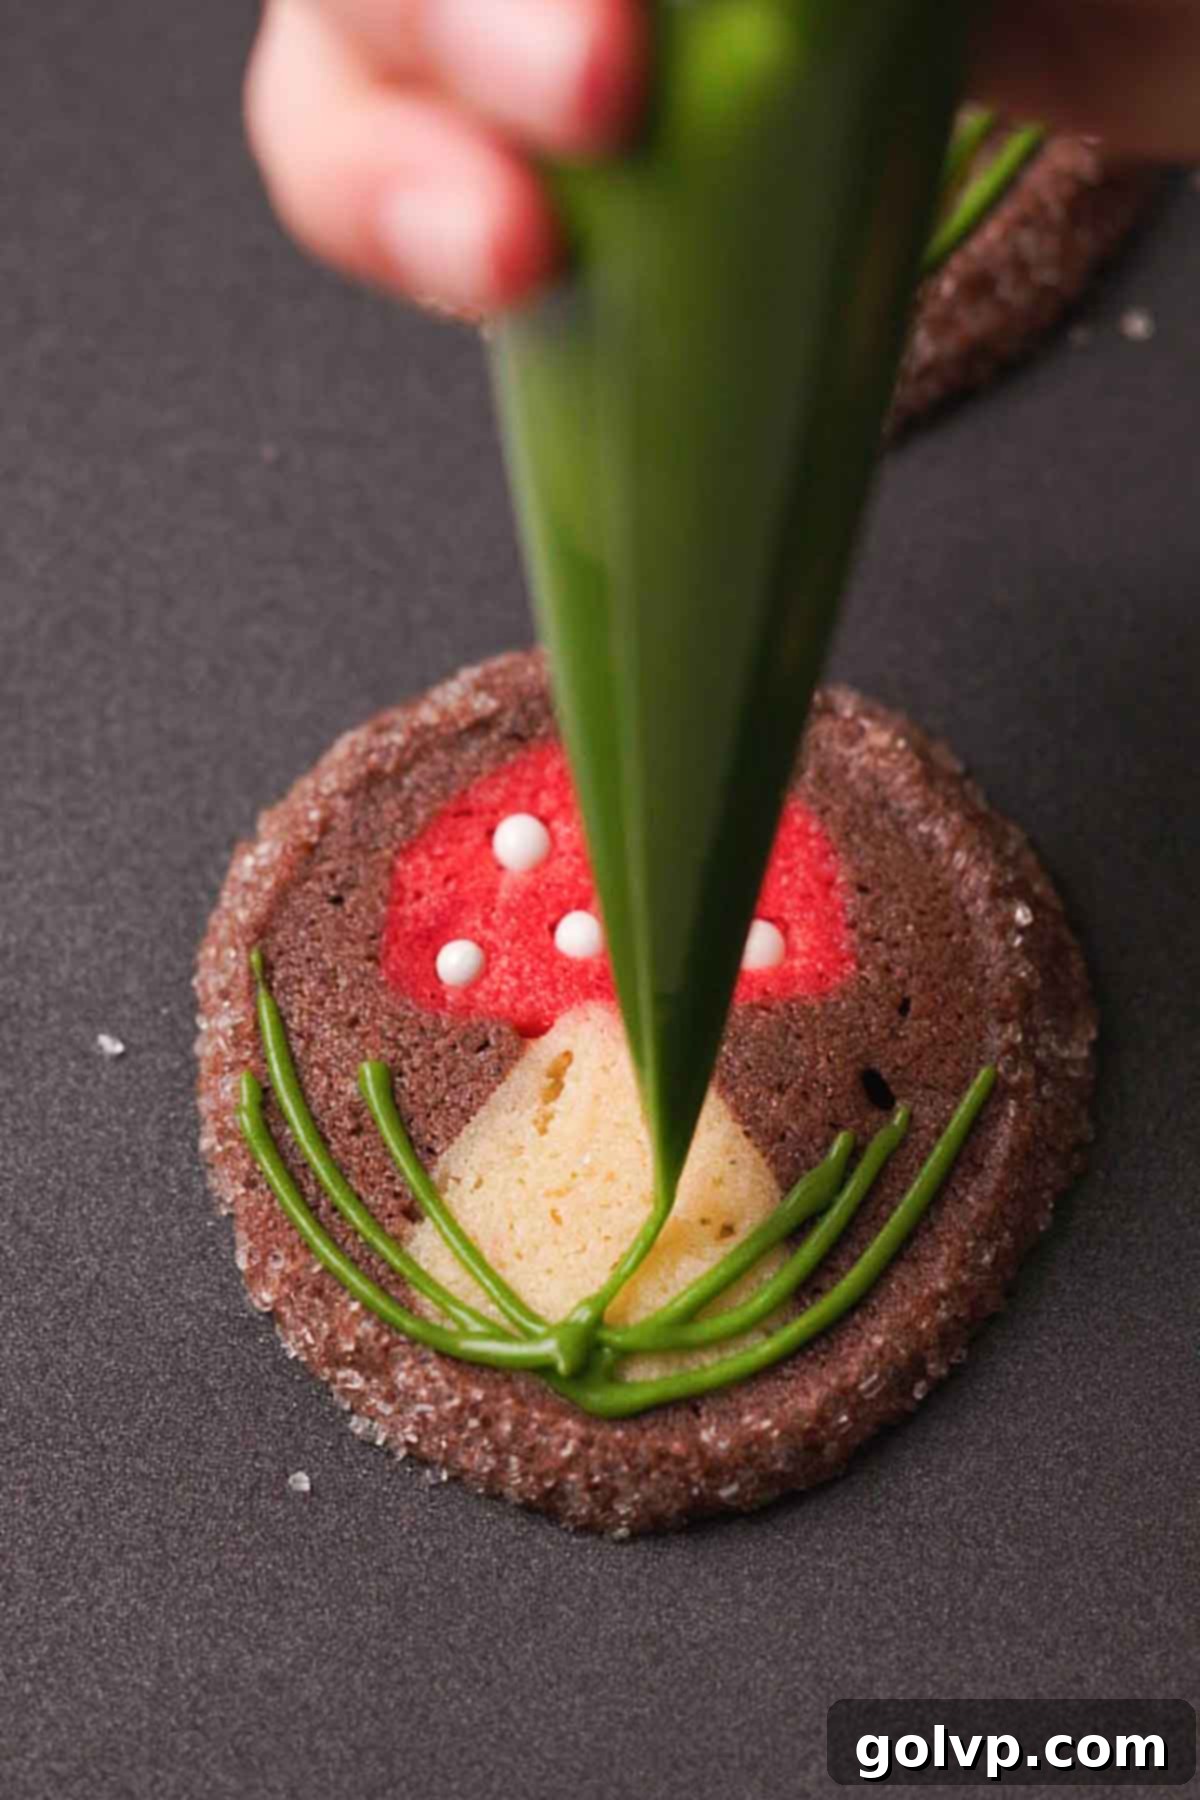
Step 4: Once your cookies are completely cool, transfer the green grass frosting into a piping bag with the very tip snipped off (or use a small round tip for finer lines). Pipe small, short lines of frosting at the base of each mushroom, simulating blades of grass. Allow the frosting to set for a few minutes before serving. Pipe, display, and enjoy your beautiful, whimsical mushroom sugar cookies!
✔️ Expert Tips for Perfect Mushroom Sugar Cookies
Achieving picture-perfect mushroom sugar cookies is easier than you think with these helpful tips from the pros:
- Mind Your Butter Temperature and Mixing: The golden rule for these cookies starts with your butter. Use butter that is only slightly softened – it should still hold its shape but yield slightly to pressure. When creaming it with sugar, mix just until evenly combined, typically for only 30-60 seconds. Overmixing until light and fluffy incorporates too much air, which can cause the cookies to spread significantly in the oven, blurring or completely ruining your beautiful mushroom design.
- Prioritize Chilling for Crisp Designs: This is arguably the most critical tip! Keep all logs of cookie dough thoroughly chilled in the freezer at every stage where instructed. Chilling the dough solidifies the butter, which helps the dough maintain its shape during slicing and baking. Working with firm, cold dough ensures your mushroom design remains crisp and well-defined, making them much easier and more satisfying to work with.
- Ensure Seamless Color Integration: When you are assembling the mushroom design in the middle, pay close attention to how the different colored doughs stick together. Carefully press and smooth the various colored doughs (red cap, white stem, and chocolate outer layer) firmly against each other. Any gaps or loose connections between the dough sections can expand during baking, leading to unwanted holes or a distorted design. Take your time to create a tightly packed, cohesive log.
- Avoid Overbaking for Superior Texture: For the ultimate soft and chewy sugar cookie texture, avoid the temptation to overbake. Keep a close eye on your cookies; they are typically done when their tops lose that wet, shiny appearance and the edges are just beginning to look set, usually around 9 to 11 minutes (baking times can vary by oven). The centers may still appear slightly soft or squishy, but they will firm up as they cool, resulting in a perfectly tender cookie.
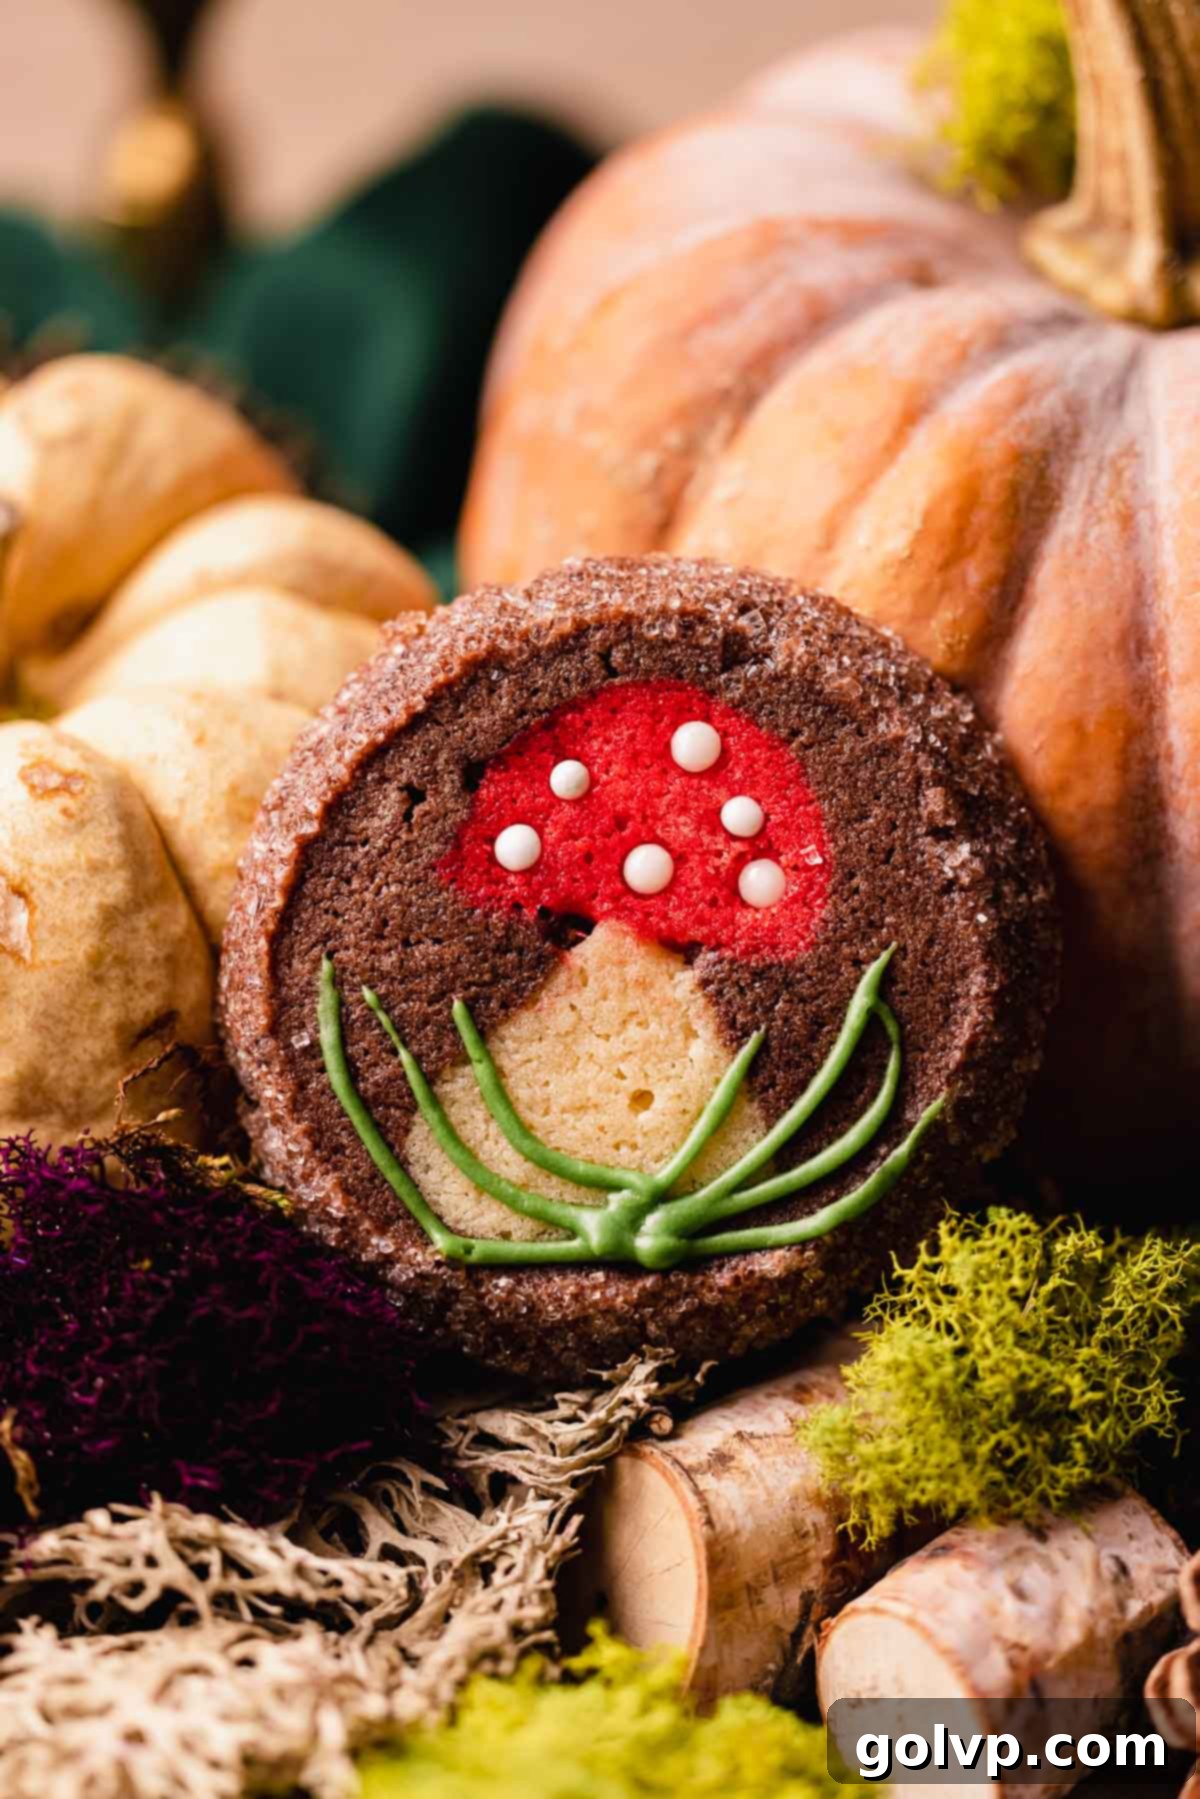
- Add Sprinkles After Baking for Best Results: While it might seem intuitive to add sprinkles before baking, for these specific pearl sprinkles, it’s best to press them onto the mushroom tops immediately after removing the cookies from the oven. Through extensive testing, we’ve found that baking the cookies with the sprinkles often causes them to melt or lose their shape and luster. Adding them to the warm cookies ensures they adhere well and retain their distinct, pearly appearance.
🥄 Make Ahead and Storage Solutions
These mushroom sugar cookies are not only delightful but also incredibly convenient thanks to their make-ahead and freezer-friendly nature. This makes them perfect for planning ahead or having fresh cookies on demand.
Storage for Baked Cookies:
Once baked, allow the cookies to cool completely before storing. Place the baked mushroom sugar cookies in an airtight container or a resealable bag. They will stay fresh and delicious at room temperature for up to 3-4 days. For extended freshness, you can store them in the fridge for up to 1 week. If you wish to keep them longer, freeze the baked cookies in an airtight bag or container for up to 2 months. Thaw at room temperature when ready to enjoy.
Make-Ahead Dough for Ultimate Convenience:
Slice and bake cookies are truly the best cookies for making ahead of time. The beauty of this recipe lies in its flexibility. Prepare the entire log of cookie dough as instructed, right up to the point of chilling it after rolling in coarse sugar. Once firm, wrap the dough log tightly in plastic wrap, then place it in an airtight freezer bag or container. This prepared dough can be stored in the freezer for up to 2 months. When you’re ready for freshly baked cookies, simply remove the frozen log, let it sit for a few minutes to temper slightly (making it easier to slice), then cut off your desired number of slices and bake them according to the recipe instructions. This brilliant method ensures you always have warm, homemade cookies ready to go with minimal effort!
This fantastic make-ahead capability makes these cookies an absolute lifesaver for busy periods like Christmas, ensuring you have delicious, homemade treats ready for holiday cookie boxes, spontaneous parties, or unexpected guests without any last-minute stress.
❔ Why Slice and Bake Cookies Reign Supreme for the Holidays
The holiday season is synonymous with baking, but it’s also a time of heightened activity and often, stress. This is precisely where slice and bake cookies, like our enchanting mushroom sugar cookies, truly shine and become an indispensable part of your festive preparations. Their inherent design for convenience makes them a holiday hero for several compelling reasons:
- **Effortless Freshness on Demand:** Imagine the joy of having warm, freshly baked cookies without the mess and time commitment of making dough from scratch every time. With a pre-made frozen log, you simply slice and bake! This means you can have a batch of delightful cookies ready in under 15 minutes, perfect for unexpected visitors or a cozy family evening.
- **Stress-Free Entertaining:** Hosting during the holidays can be demanding. Having frozen cookie dough logs on hand is like having a secret weapon. It allows you to effortlessly offer homemade treats, giving the impression of extensive effort when in reality, you’ve simply reached into your freezer. This dramatically reduces stress and allows you more time to enjoy your guests.
- **Perfect for Gifting & Cookie Exchanges:** Whether you’re assembling cookie boxes for friends and neighbors or participating in a holiday cookie exchange, these slice and bake wonders are ideal. You can bake a large quantity quickly, and their unique, charming design makes them stand out from standard holiday cookies.
- **Consistently Beautiful Results:** With the design already embedded within the dough log, each slice yields a perfectly formed mushroom cookie. This consistency is hard to achieve with more complex decorating methods, ensuring every cookie looks as good as the last – a definite bonus when presentation matters.
- **Flexibility for Busy Schedules:** The holidays often mean unpredictable schedules. The ability to bake just a few cookies at a time means you can cater to small gatherings or individual cravings without wasting a whole batch. It’s about adapting your baking to your life, not the other way around.
In essence, these mushroom sugar cookies offer a delightful blend of charm, flavor, and unparalleled convenience, making them the ultimate holiday baking solution. Keep a few logs stashed in your freezer, and you’ll always be ready to spread a little bit of homemade magic!
📖 Recipe Frequently Asked Questions
While I haven’t personally tested this recipe with gluten-free flour, a good quality 1:1 gluten-free all-purpose flour blend (one that specifically includes xanthan gum) should work as a direct substitute. Gluten-free flours can sometimes behave differently, so you might notice a slight variation in texture. If you decide to try it, please share your results in the comments – your feedback would be incredibly valuable to the community!
The most common reason for a smudged or distorted design is insufficient chilling. It’s absolutely crucial that all cookie dough components – the red cap, white stem, and the fully assembled chocolate-covered log – are thoroughly chilled and firm. When the dough is firm and cold, it allows for clean, precise cuts with a sharp knife. If the dough is too soft, the knife will drag and smear the different colored doughs together, ruining the intricate pattern. Always ensure your dough log is completely firm before attempting to slice.
Preventing gaps in your design comes down to meticulous assembly. When you’re covering the red and white mushroom parts with the chocolate dough, you need to work carefully and deliberately. Use small pieces of the chocolate dough and press them firmly into all the crevices and around the entire mushroom structure. Ensure there are no air pockets and that the chocolate dough adheres tightly to the inner colored doughs. The more tightly and smoothly you pack the cookie dough around the mushroom, the less likely you are to encounter gaps or separation in the final baked cookie.
Freezing the individual dough elements (red cap, white stem) and then the assembled log is a critical step for achieving that perfect, crisp design. When the dough is very cold, the butter within it solidifies, making the dough much more stable and less prone to squishing or deforming. This ensures that when you combine the different parts to form the mushroom and then wrap it in the chocolate dough, each component holds its distinct shape beautifully. The final freeze of the entire log then guarantees you can slice it with a sharp knife to reveal flawless, un-smeared mushroom patterns every single time.
Absolutely! Feel free to unleash your creativity. You can experiment with different gel food coloring shades for the mushroom cap and grass to match a specific theme or simply to add your personal touch. For example, a blue cap could create a “smurf” mushroom, or various shades of green for varied grass effects. Just remember to stick with gel food coloring for the best color saturation without altering dough consistency.
For uniform cookie size, which contributes to even baking and a beautiful presentation, ensure your dough log is consistently shaped. When slicing, use a ruler as a guide if you prefer precision, aiming for exactly ½-inch thickness for each slice. A very sharp, non-serrated knife is essential to avoid tearing the dough and compromising the design. Consistency in thickness also means they will bake evenly, preventing some cookies from being underdone and others overdone.
🍪 More Whimsical & Delicious Recipes to Explore
If you loved creating and tasting these adorable mushroom sugar cookies, you’re in for a treat! Here are more fantastic recipes from our kitchen that offer delightful flavors and often, beautiful designs, perfect for your next baking adventure:
- Peppermint Sugar Cookies
- Slice and Bake Peppermint Shortbread Cookies
- Soft Gingerbread Cookies
- Christmas Thumbprint Cookies
Did you fall in love with this charming recipe? We’d be absolutely thrilled if you took a moment to rate it and share your thoughts in the comments below! Your feedback helps us grow and inspires other home bakers. Don’t forget to share your delightful creations on Instagram and tag @flouringkitchen. For more tempting recipes and baking inspiration, be sure to follow us on Pinterest!
📖 Recipe
Mushroom Sugar Cookies
Mary
Pin Recipe
Shop Ingredients
Equipment
-
Cookie sheet
-
parchment paper
-
cooling rack
Ingredients
Cookie Dough
- ¾ cup butter barely softened – not too soft!
- ¾ cup granulated sugar
- ¼ teaspoon salt
- 1 teaspoon vanilla
- 1 large egg room temperature
- 2 cups all purpose flour 240g
- 2 tablespoons cocoa powder dutch processed
- Red gel food coloring as needed
- White round pearl sprinkles
- ⅓ cup coarse sugar
Grass
- ½ cup powdered sugar
- 1-2 tablespoons heavy whipping cream
- Green gel food coloring as needed
Shop Ingredients on Jupiter
Instructions
Cookie Dough
-
In a large bowl or stand mixer, beat together the butter and sugar just until combined (not light and fluffy). Don’t overwhip it – you don’t want to add too much air.¾ cup butter, ¾ cup granulated sugar
-
Add salt, vanilla, and egg and mix. It should look a little split – don’t overmix!¼ teaspoon salt, 1 teaspoon vanilla, 1 large egg
-
Sift flour and mix with a mixer or spatula just until it becomes a dough. Shape the cookie dough into a thick log. Cut off one third – set aside the rest.2 cups all purpose flour
-
Work with the smaller section of dough: Cut in half. Color one half red and roll into a short and thick log. Cut in half lengthwise and connect the two halves into one large piece. Pop it into the freezer to firm up.Red gel food coloring
-
Shape the other half of the smaller section into a log and pinch the top. This will be the mushroom bottom. Place into the freezer for 10-20 minutes until firm.
-
While the mushroom parts chill, add the cocoa powder into the larger portion of dough. Mix until combined and set aside.2 tablespoons cocoa powder
-
Place the red half log on top of the pointed white log to create a mushroom shape. Take pieces of the chocolate dough and carefully press it into the mushroom, gradually covering it completely and rolling to form a log.
-
Roll the log in coarse sugar and freeze for 20-30 minutes until completely firm.⅓ cup coarse sugar
-
Preheat the oven to 355°F (180°C). Cut the log into ½ inch slices with a sharp knife. Place onto non-stick or parchment lined cookie sheets – leaving 1 to 2 inches of space in between each cookie. Bake for 9-11 minutes or until the tops stop being shiny.
-
Remove from the oven and immediately press white sprinkles into the mushroom tops. Be careful when you touch the cookies – they’re hot! Cool completely.White round pearl sprinkles
Grass
-
Whisk powdered sugar and cream together – add cream 1 tablespoon at a time until you get a thick, creamy piping consistency. Add green food coloring to get a green grass color.½ cup powdered sugar, 1-2 tablespoons heavy whipping cream, Green gel food coloring
-
Transfer the grass frosting to a bag with the tip cut off. Pipe and enjoy!
Notes
Storage: Store the baked cookies in an airtight container or bag in the fridge for up to 3 days. Freeze baked cookies in an airtight bag or container for up to 2 months.
Tips:
- Use slightly softened butter and just mix until they’re evenly combined!
- Keep the logs of cookie dough chilled in the freezer
- Press and smooth the colors together so that they stick well and don’t create any gaps between them
- Don’t over bake the cookies
- Add sprinkles after baking
