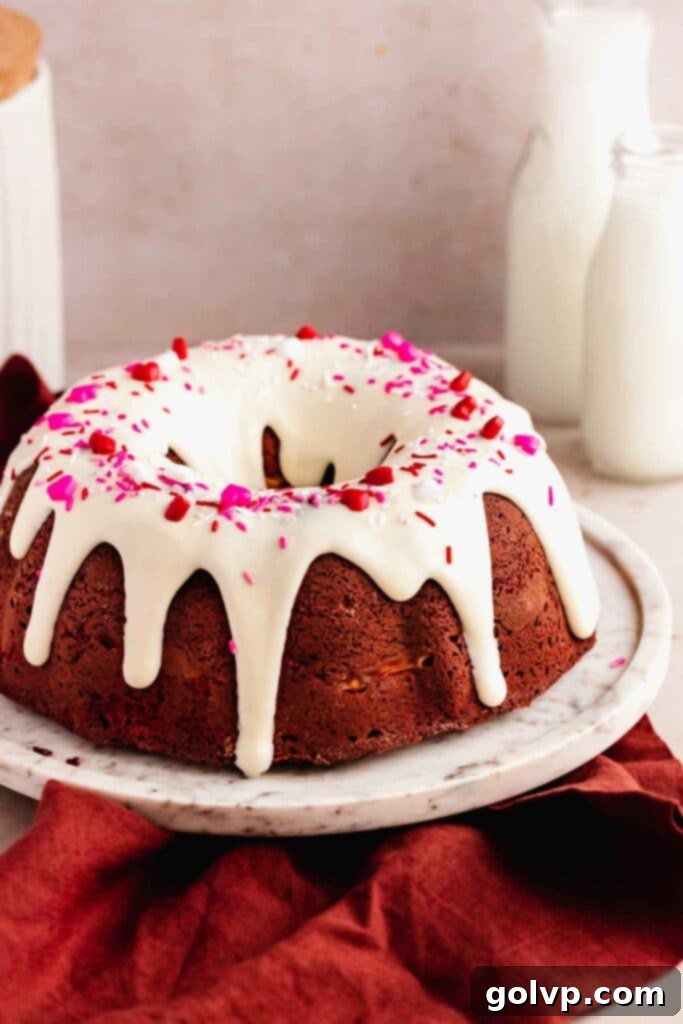
The Ultimate Red Velvet Bundt Cake with Cream Cheese Swirl and Glaze: A Showstopping Dessert
Jump to Recipe
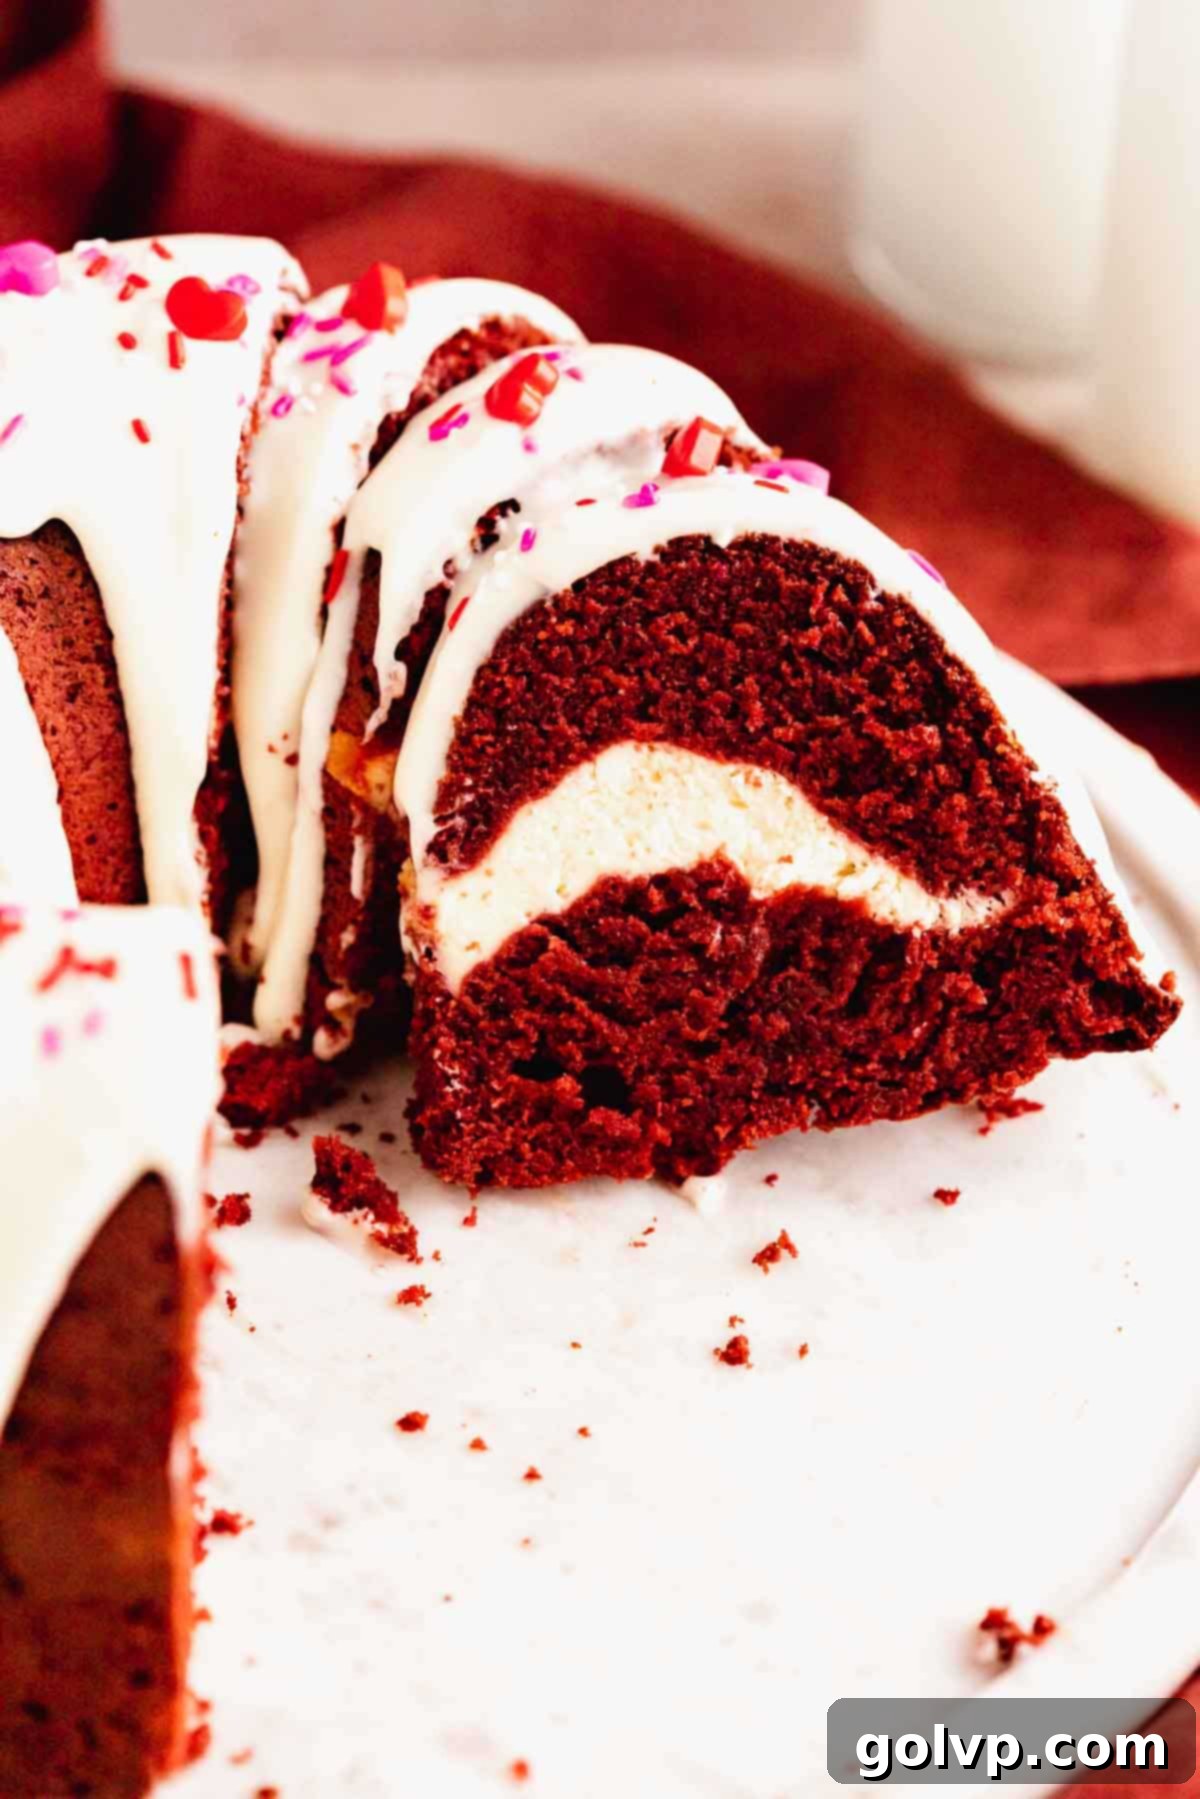
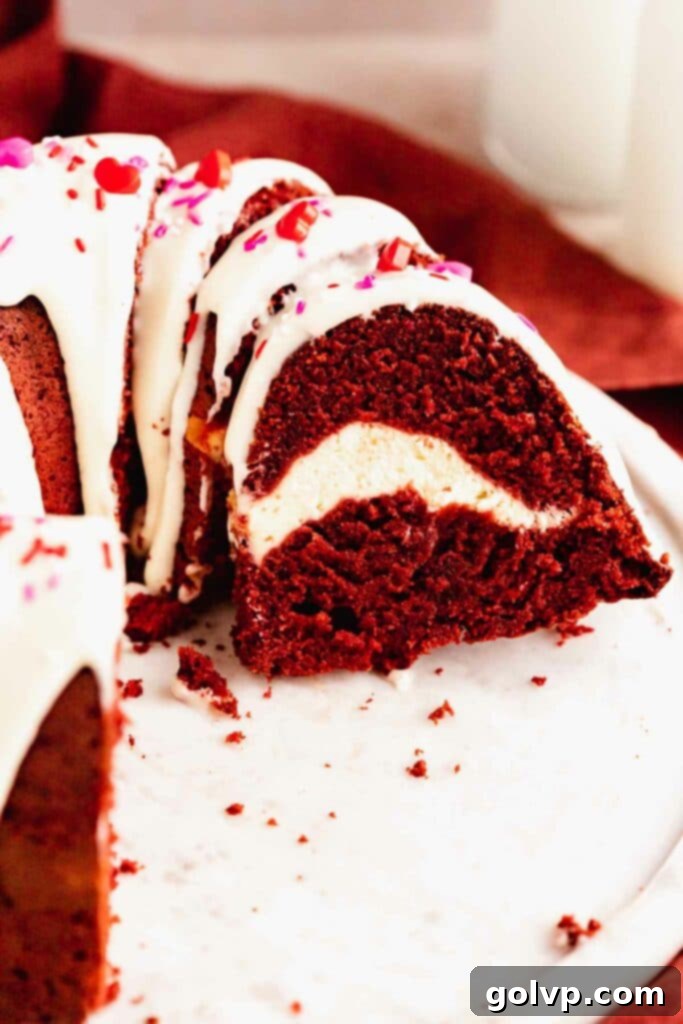
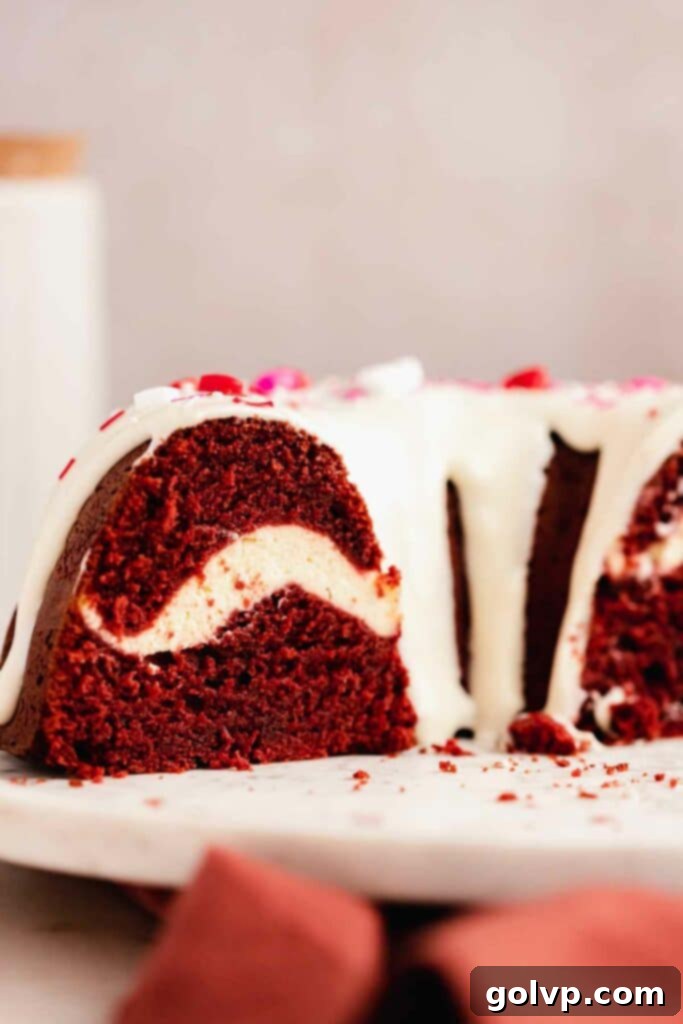
Prepare to be enchanted by this truly spectacular Red Velvet Bundt Cake, featuring a delightful cream cheese swirl at its heart and crowned with a luscious cream cheese glaze and a scattering of festive sprinkles. This isn’t just a cake; it’s an experience, promising a beautiful surprise with every slice you make. Its signature vibrant red hue, combined with the creamy white swirl, creates an eye-catching contrast that makes it perfect for any celebration, from holiday gatherings to simple dessert cravings. The cake itself boasts an incredibly soft, moist, and fluffy texture, a result of a carefully balanced blend of sour cream, buttermilk, butter, and oil. Butter lends its rich, undeniable flavor, while the oil ensures the cake remains wonderfully moist for days, perfectly capturing all the classic nuances of a traditional red velvet cake in an elegant bundt form.
Purchasing the items in this post supports this blog, at no additional cost to you. As an Affiliate Product marketer and Amazon Associate, I earn from qualifying purchases.
Why This Red Velvet Bundt Cake Will Become Your New Favorite
There are countless reasons to fall in love with this red velvet bundt cake. It’s more than just a dessert; it’s a testament to simple indulgence and baking perfection. Here’s why this recipe stands out:
- Unbeatable Texture: Experience a cake that is truly fluffy, incredibly soft, and exceptionally moist. Thanks to a thoughtful combination of fats and dairy, this bundt cake isn’t just moist on baking day; it maintains its delightful texture for several days, making it an ideal make-ahead treat. Every bite melts in your mouth, offering a luxurious and satisfying experience that will leave you craving another slice.
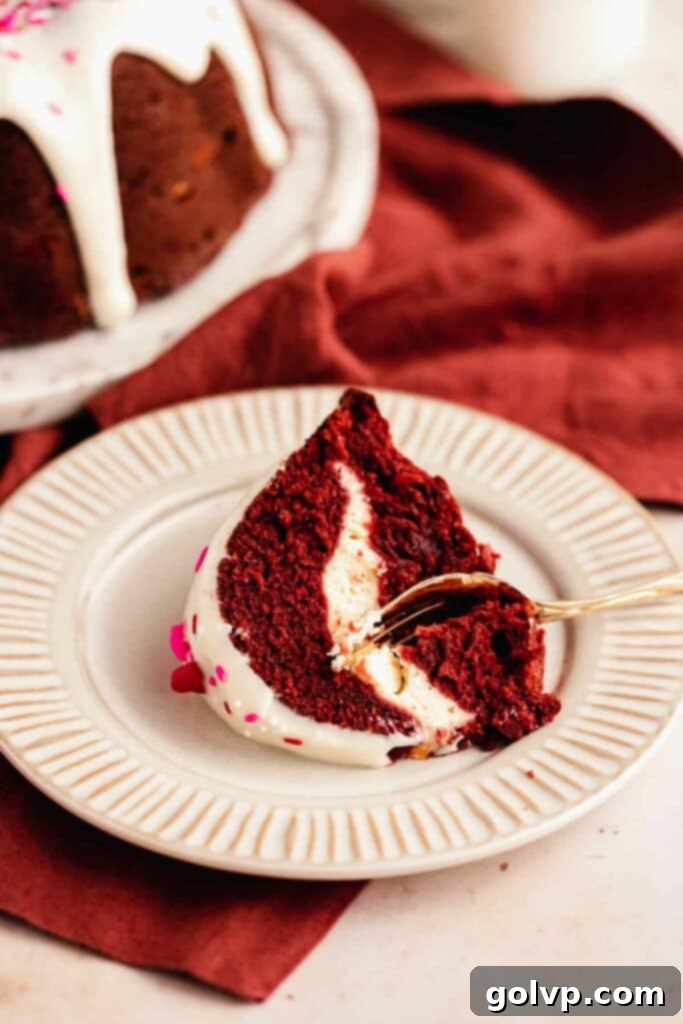
- Gorgeous Cream Cheese Swirl: Hidden within the vibrant red cake is a dreamy, easy-to-make cream cheese swirl. This elegant addition isn’t just visually stunning when sliced; it tastes like a rich, tangy cheesecake, perfectly complementing the subtle chocolate notes of the red velvet. The swirl adds an unexpected layer of flavor and a creamy texture that elevates this bundt cake far beyond the ordinary.
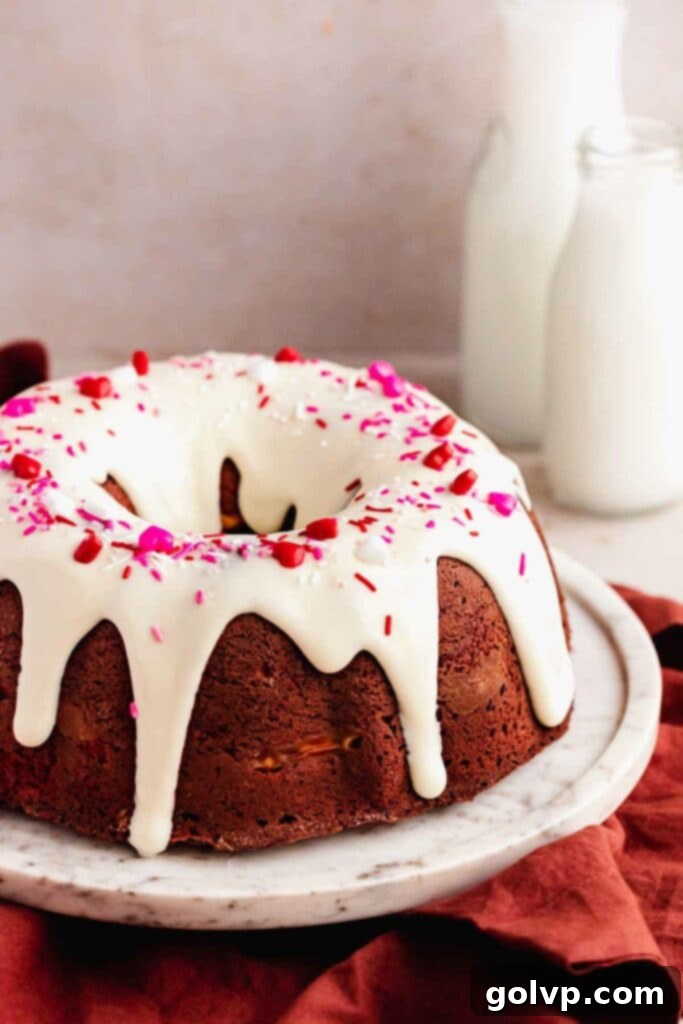
- Luscious Cream Cheese Glaze: To complete this masterpiece, a tangy, ultra-creamy cream cheese glaze generously cascades over the entire bundt cake. This glaze provides the perfect balance to the cake’s sweetness, adding a bright, zesty note that is characteristic of classic red velvet pairings. Its smooth, velvety consistency beautifully coats every crevice, ensuring a burst of flavor with each bite.
- Classic Red Velvet Flavor Profile: Enjoy the authentic taste of red velvet, masterfully balanced with a subtle hint of chocolate, a pleasant tang from the buttermilk and sour cream, all beautifully paired with the rich, dairy notes of cream cheese. This cake delivers on all the iconic flavors you expect from a red velvet, presenting them in a sophisticated and delightful bundt format.
Achieving the Perfect Soft and Moist Texture
The hallmark of an exceptional red velvet cake is its moist and tender crumb, and this bundt cake delivers precisely that. Its beautiful soft and fluffy texture is no accident; it’s a carefully crafted outcome of the specific fats and dairy ingredients used in the batter. The combination of both butter and oil is key to this success. Butter, a champion of flavor, infuses the cake with a rich, decadent taste that can’t be replicated. Meanwhile, the addition of vegetable oil plays a crucial role in maintaining moisture and ensuring the cake remains incredibly soft and tender for an extended period, preventing it from drying out quickly. Furthermore, the inclusion of sour cream and buttermilk contributes significantly to the cake’s velvety texture and subtle tang, creating a perfectly balanced and utterly delightful mouthfeel that sets this recipe apart.
Mastering the Elegant Cream Cheese Swirl
The cream cheese swirl is arguably the secret weapon that elevates this red velvet bundt cake from delicious to absolutely extraordinary. It introduces a delightful “cheesecake” element, both in taste and texture, that beautifully complements the red velvet. The best part? It’s surprisingly simple to create. For optimal results and to ensure a seamless baking process, it’s recommended to prepare your cream cheese swirl mixture before you even begin with the red velvet batter. This way, your swirl will be ready to go as soon as your cake batter is mixed and ready for layering. The process is straightforward: simply blend all the listed swirl ingredients in the order specified until the mixture is perfectly smooth and creamy. An immersion blender can also be a fantastic tool for this step, yielding an effortlessly silky texture without any lumps. This easy addition adds a visual wow factor and an incredible depth of flavor that your guests will adore.
Achieving That Signature Vibrant Red Color
The iconic vibrant red hue is a defining characteristic of a classic red velvet cake, and achieving it is easier than you might think with the right approach. For the most intense and dazzling red, a high-quality gel food coloring is your best friend. Unlike liquid food coloring, gel formulations are highly concentrated, meaning you’ll need significantly less to achieve a brilliant color without altering the cake’s consistency. I typically use about half a teaspoon of gel food coloring, but it’s always wise to eyeball it and adjust based on the specific brand and strength of your coloring. Start with a smaller amount and add more gradually until you reach your desired shade of red. While liquid food coloring can be used, it generally requires a much larger quantity, which can sometimes thin out the batter or result in a less vibrant outcome, hence it’s not highly recommended. For those preferring a more natural option, powdered natural red food coloring is also a viable choice, though I haven’t personally tested it for this specific recipe, it’s a popular alternative worth exploring.
Tips for the Perfect Bundt Cake Release Every Time
Flipping a bundt cake out of its pan can sometimes feel like a high-stakes moment, but it truly shouldn’t be intimidating! With a few simple tricks, you can ensure a flawless release every single time, preserving the beautiful details of your bundt pan. Firstly, the quality of your bundt pan matters: always use a non-stick bundt pan with its coating fully intact. Any scratches or peeling can cause sticking. The secret to a perfect non-stick surface lies in your greasing technique. Instead of cooking spray, liberally grease the entire inside of the pan with cold butter or shortening. Cold butter is preferred as it’s solid and adheres better, creating a more uniform coating that won’t drip down. Once thoroughly buttered, add about a tablespoon of all-purpose flour to the pan. Rotate and tap the pan gently, ensuring the flour evenly coats every nook and cranny, sticking perfectly to the butter. Tap out any excess flour. This creates an impeccable non-stick barrier. After your red velvet bundt cake has finished baking, allow it to cool in the pan for precisely 10 minutes. This short cooling period allows the cake to firm up slightly while still being warm enough to release easily. Then, simply place a cooling rack or a sturdy plate over the bundt pan and, with a confident flip, invert the cake. A gentle tap on the top of the pan often helps facilitate the final release, and your perfectly shaped bundt cake should slide out beautifully!
Essential Ingredients for Red Velvet Perfection
Understanding the role of each ingredient is crucial for baking success. Here’s a breakdown of the key components that make this red velvet bundt cake truly exceptional:
Full steps and ingredients in recipe card below. But read through these for all the tips you will need for success!
Cream cheese: For both the luscious swirl and the tangy glaze, always opt for a full-fat, brick-style cream cheese. This type of cream cheese contains less water content than whipped or spreadable varieties, which is essential for achieving the perfect thick, creamy texture for your swirl and ensuring your glaze isn’t too runny. Ensure it’s softened to room temperature for smooth blending.
Butter: Use a high-quality, unsalted real butter. Like cream cheese, ensure your butter is at room temperature for the cake batter and softened for the glaze. This allows it to cream smoothly with sugar, incorporating air and contributing significantly to the cake’s light texture and rich flavor. The butter provides that classic depth of taste that elevates the red velvet.
Buttermilk: This ingredient is a cornerstone of red velvet cake. Its acidity reacts with the baking soda, helping the cake rise beautifully and contributing to its signature fluffy texture. Furthermore, buttermilk adds a crucial tangy note that is essential for the authentic red velvet flavor profile. If you don’t have buttermilk, you can easily make a substitute by adding a tablespoon of lemon juice or white vinegar to regular milk and letting it sit for 5-10 minutes until it slightly curdles.
Sour cream: Alongside buttermilk, full-fat sour cream is vital for achieving the cake’s extra velvety texture and incredible moisture. It adds richness and a subtle tang that complements the cocoa and red food coloring perfectly. Ensure it’s at room temperature for seamless incorporation into the batter.
Red gel food colouring: As discussed, gel food coloring is highly recommended for its concentrated pigment. It delivers the most vibrant red without diluting the batter. Avoid liquid food coloring if possible, as it requires a much larger quantity and often results in a duller color. For natural alternatives, a powdered red food coloring can be explored.
Cocoa powder: Red velvet cake has a subtle chocolate flavor, not an overpowering one. Natural cocoa powder is ideal for this recipe as its acidity reacts with baking soda to help with lift and creates a beautiful reddish-brown base. You can also use Dutch-processed cocoa, which is less acidic, but you might need to slightly adjust the baking soda if you notice your cake isn’t rising as expected. The cocoa powder is there to hint at chocolate, not to dominate the flavor.
All purpose flour: Accurate measurement of flour is paramount for cake baking. The most precise method is to weigh your flour using a kitchen scale (390g for this recipe). If you don’t have a scale, use the “spoon and level” method: gently stir the flour in its bag or container, then spoon it lightly into your measuring cup until it overflows. Use the flat edge of a knife to scrape off the excess from the top, being careful not to pack the flour down into the cup. This prevents adding too much flour, which can lead to a dense, dry cake.
Baking Your Perfect Red Velvet Bundt Cake: A Detailed Guide
Follow these detailed instructions to create a showstopping Red Velvet Bundt Cake that’s as delicious as it is beautiful.
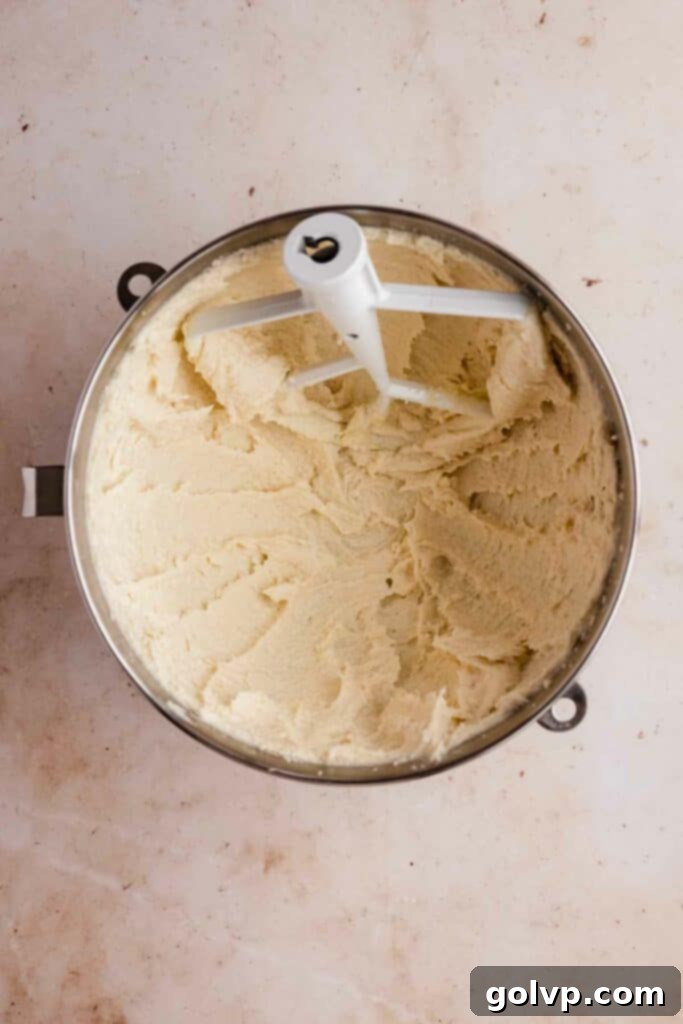
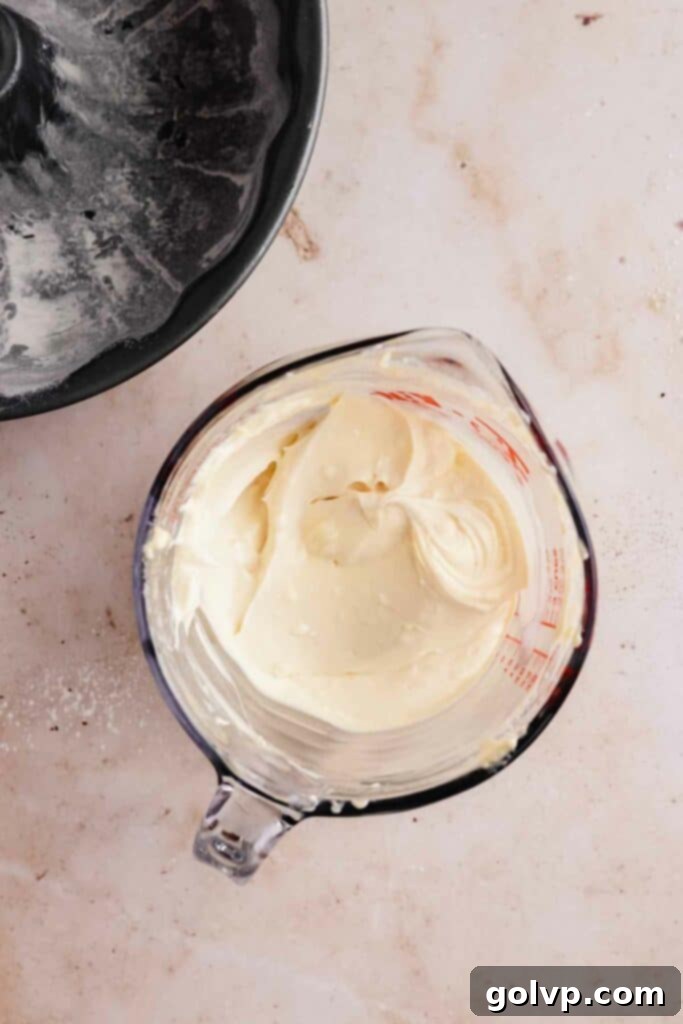
Step 1 – Prepare the cream cheese swirl. In a large mixing bowl or the bowl of a stand mixer fitted with the paddle attachment, combine the softened cream cheese, granulated sugar, and a pinch of sea salt. Beat these ingredients together on medium speed until the mixture is completely smooth and free of any lumps. Next, add the large room-temperature egg and the pure vanilla extract. Continue to beat until the mixture is wonderfully smooth and creamy, pausing to scrape down the sides of the bowl with a spatula to ensure everything is fully incorporated. Set this delightful cream cheese filling aside, ready for layering later.
Step 2 – Prepare your bundt pan. Begin by preheating your oven to 180°C (350°F). This ensures the oven is at the correct temperature when your batter is ready. Take your bundt pan and thoroughly grease its entire interior surface with a generous pat of cold butter or shortening. Make sure to get into all the nooks and crannies. Then, add about a tablespoon of all-purpose flour to the pan. Rotate and shake the pan carefully so the flour sticks to the butter, forming a thin, even layer across all surfaces. This flour-butter coating is essential for a clean release. Once coated, tap out any excess flour from the pan.
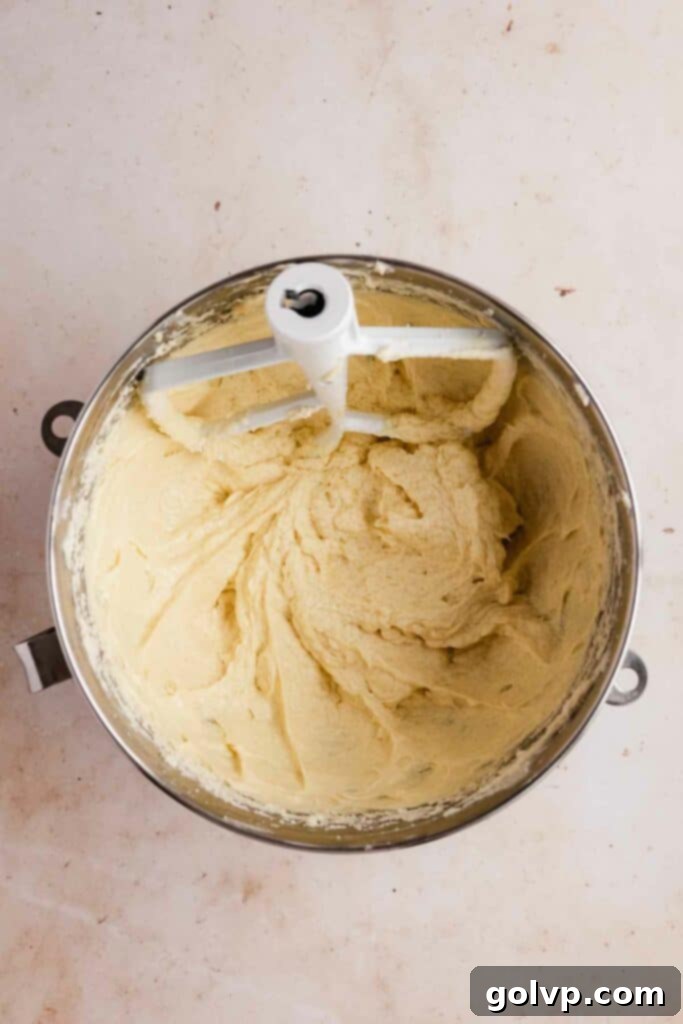
Step 3 – Cream butter and sugar. In a separate large bowl or the bowl of a stand mixer, combine the softened unsalted butter, vegetable oil, granulated sugar, and sea salt. Beat these ingredients together on medium-high speed for about 5-7 minutes until the mixture becomes wonderfully light and fluffy. This creaming process incorporates air, which is vital for a tender cake. Remember to stop halfway through and scrape down the sides and bottom of the bowl with a spatula to ensure even mixing.
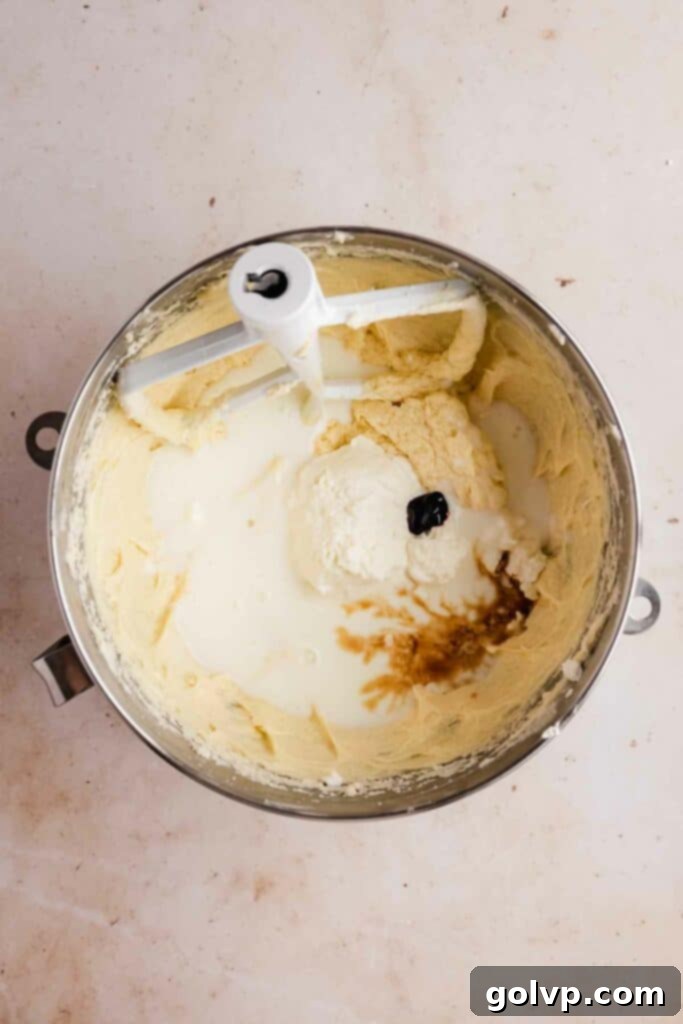
Step 4 – Incorporate wet ingredients. To the creamed butter and sugar mixture, add the pure vanilla extract. Next, introduce the eggs, one at a time, beating thoroughly after each addition until fully incorporated. Don’t forget to scrape down the bowl after adding the eggs. Then, add the room-temperature sour cream and beat well until combined. Finally, pour in the room-temperature buttermilk and mix until just blended. At this stage, the batter might appear a bit curdled or “gloopy,” which is perfectly normal due to the different fat and acid levels—don’t worry, it will come together beautifully.
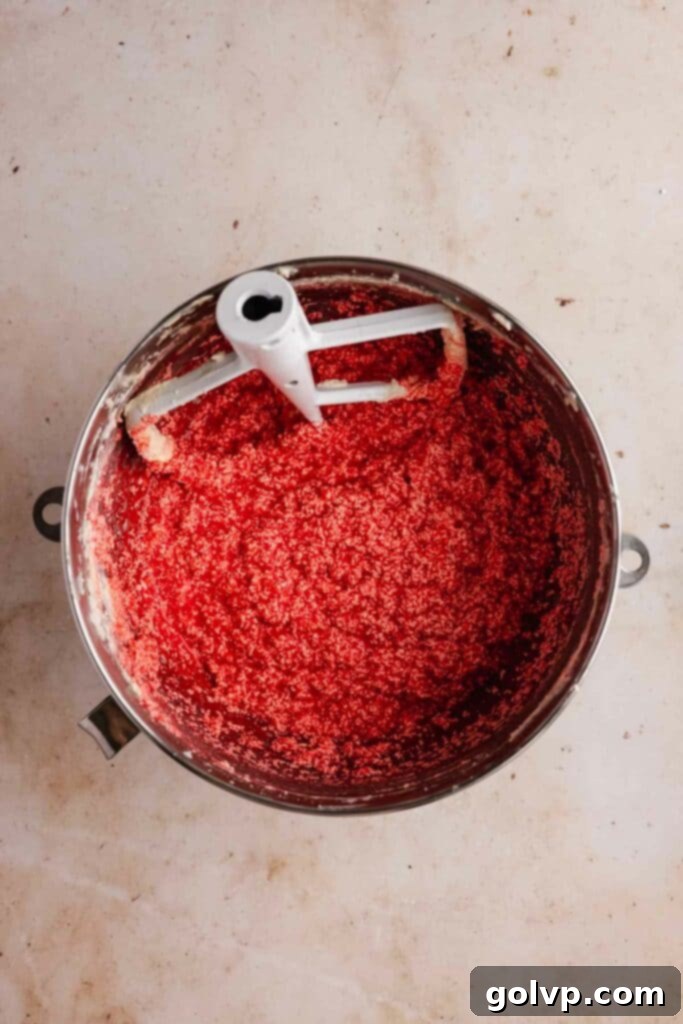
Step 5 – Add the iconic red color. With the wet ingredients thoroughly mixed, it’s time to add the red food coloring. Begin by adding red gel food coloring one drop at a time, mixing gently after each addition, until you achieve the desired vibrant red hue. To prevent any splattering as the color is incorporated, you might find it helpful to switch from your electric mixer to a hand whisk for this step, ensuring a smooth and evenly colored batter.
Step 6 – Gently fold in dry ingredients. In the same bowl, sift the all-purpose flour, baking powder, baking soda, and cocoa powder directly over the wet ingredients. Sifting helps prevent lumps and aerates the dry ingredients. Using a whisk or mixing on the lowest speed of your stand mixer, gently fold or mix the dry ingredients into the wet until a thick, smooth batter forms. Be careful not to overmix! Stop mixing as soon as you no longer see streaks of dry ingredients and the batter appears creamy. Overmixing can develop the gluten in the flour, leading to a tough cake.
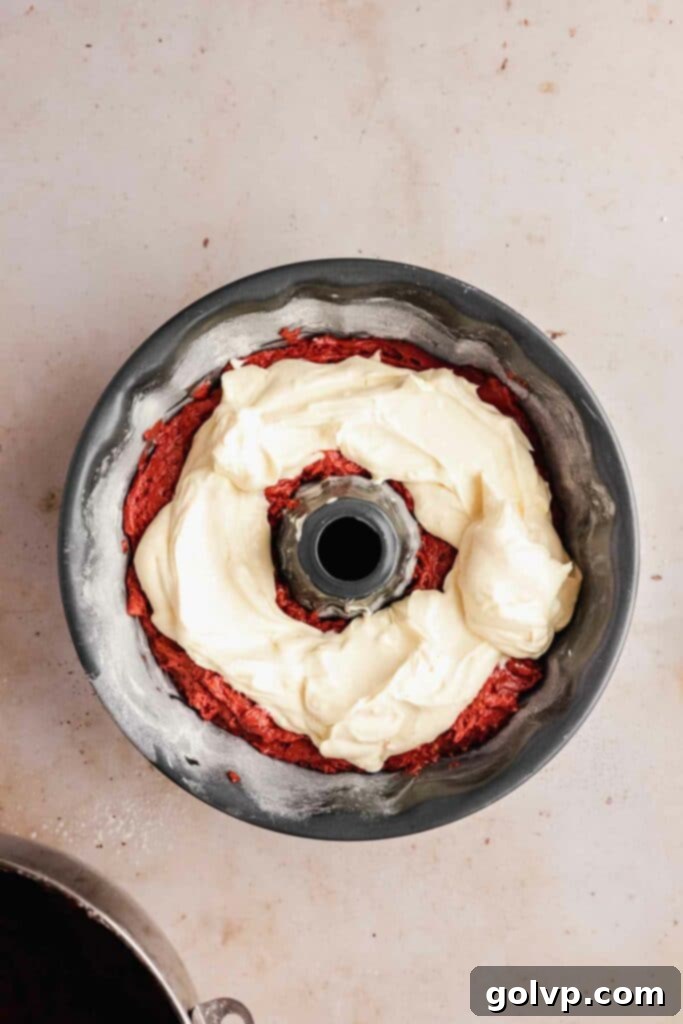
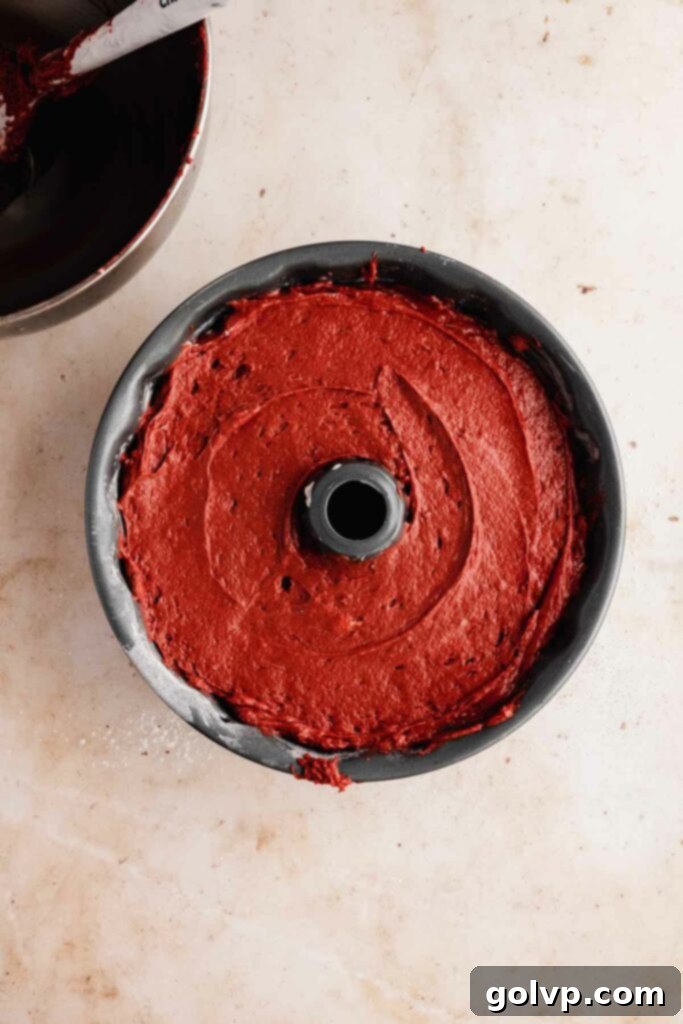
Step 7 – Layer for the swirl effect. Carefully spoon half of the vibrant red cake batter into your meticulously prepared bundt pan, spreading it evenly across the bottom. Next, dollop spoonfuls of the prepared cream cheese swirl mixture on top of the red batter. Try to keep the cream cheese away from the very edges of the pan to prevent it from sticking or burning. Finally, gently spoon the remaining red velvet batter over the cream cheese layer and smooth the top. Once the batter is in the pan, gently tap the pan a few times on a flat surface to release any large air pockets that might be trapped within the batter, ensuring an even bake.
Step 8 – Bake the bundt cake. Place the filled bundt pan into your preheated oven and bake for approximately 55-70 minutes. Baking times can vary, so always rely on the visual cue and the skewer test. Insert a wooden skewer or toothpick into the center of the cake. It should come out mostly clean. Due to the cream cheese filling, you might see a few moist crumbs clinging to the skewer, which is fine, but it should not be covered in raw batter.
Step 9 – The confident flip and release. Once baked, carefully remove the bundt cake from the oven and allow it to cool in the pan for exactly 10 minutes. This critical resting period helps the cake structure set while it’s still warm enough to release easily. After 10 minutes, place a cooling rack or a sturdy plate over the top of the bundt pan. Hold both the pan and the rack/plate firmly together, and with a quick, confident motion, flip them over. Gently tap the top of the bundt pan a few times to encourage the cake to release. It should slide out perfectly, revealing its intricate shape!
Step 10 – Cool the cake completely. Once released, let the bundt cake cool completely on the wire rack. While it’s tempting to glaze it immediately, a fully cooled cake ensures the glaze sets properly. For an enhanced flavor experience, particularly with the cheesecake swirl, chilling the bundt cake in the fridge for 2-12 hours allows the flavors to meld and develop further, although this step is entirely optional.
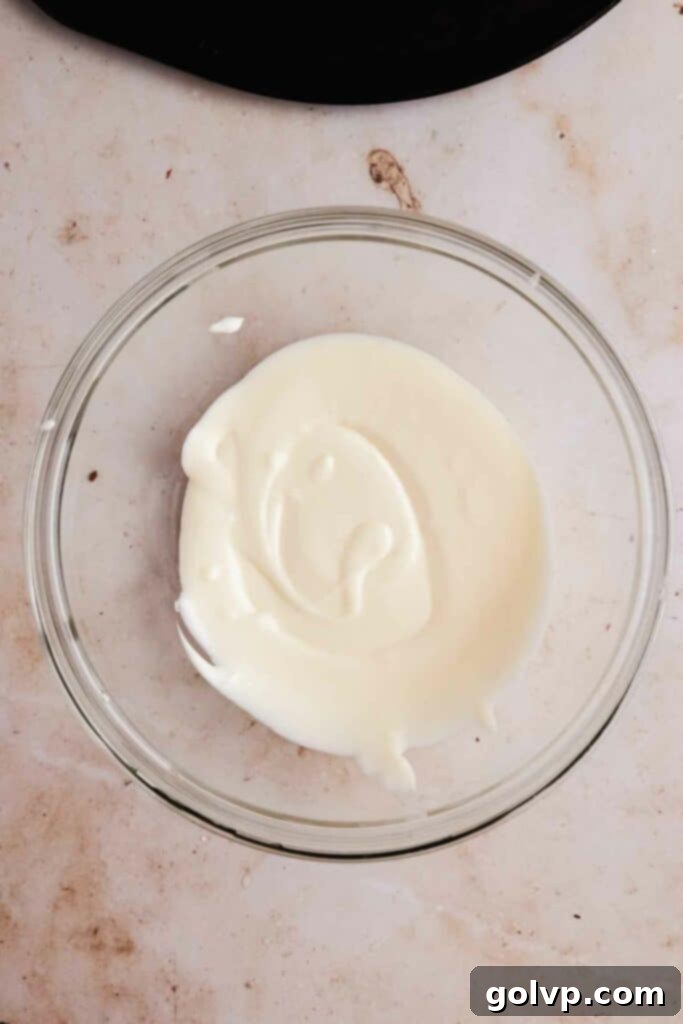
Step 11 – Prepare the creamy cream cheese glaze. In a large bowl or the bowl of a stand mixer, beat together the softened unsalted butter, powdered sugar, and a pinch of sea salt until the mixture is smooth and combined. Scrape down the bowl, then beat again to ensure uniformity. Add the softened cream cheese and continue to beat until the mixture is completely smooth and creamy, scraping the bowl halfway to incorporate everything. Stir in the pure vanilla extract. Now, gradually add the milk, one tablespoon at a time, beating well after each addition. Frequently scrape down the bowl to ensure the glaze is perfectly smooth and has no lumps. Continue adding milk until you achieve your desired consistency. For an elegant drip effect, aim for a runnier glaze that gracefully cascades down the sides of the bundt cake. If you prefer a thicker, more spreadable frosting-like consistency, use less milk. Test the drip consistency on the back of the cake before glazing the entire cake.
Step 12 – Final touches and serving. Just before serving, generously sprinkle your chosen decorations over the glazed bundt cake. The sprinkles add a festive touch and a lovely textural contrast. Because of the cream cheese in both the swirl and the glaze, this cake should be stored in the refrigerator to maintain its freshness and safety. However, for the best eating experience and a softer cake, allow it to come to room temperature for about 30-60 minutes before serving. Slice, serve, and enjoy this magnificent creation!
Frequently Asked Questions About This Red Velvet Bundt Cake
Absolutely! While designed for a bundt pan, this versatile red velvet cake batter can be easily adapted. You can divide the batter evenly between two standard loaf pans for a more rustic presentation. When baking in loaf pans, reduce the baking time significantly; they will typically be ready in about 30-40 minutes. Always use the skewer test to ensure they are fully baked through.
Yes, you certainly can! The red velvet cake base itself is incredibly moist, flavorful, and delicious on its own, so feel free to omit the cream cheese swirl if you prefer a simpler cake or are short on time. However, the cream cheese swirl truly adds an extra layer of richness, tang, and visual appeal that’s well worth the minimal extra effort. It transforms the cake into a more decadent, cheesecake-like experience.
While cooking oil sprays are convenient, I strongly advise against using them for bundt pans. Oil tends to bead up and run down the intricate sides of a bundt pan, resulting in an uneven coating and increasing the likelihood of your cake sticking. For the best, most reliable release, always use a solid fat like cold butter or shortening, followed by a dusting of flour. This creates a much more effective non-stick barrier that adheres better to the pan’s surface.
Explore More Delicious Recipes!
If you loved this Red Velvet Bundt Cake, you’re sure to enjoy these other delightful baking creations from our kitchen:
- Red Velvet Oreo Cheesecake
- Giant Valentine’s Heart Cookie
- Cinnamon Bundt Cake with Gooey Cinnamon Swirl
Happy baking, and enjoy creating these delightful treats!
Did you make this recipe? We would absolutely love for you to rate this recipe and share your thoughts in the comments below! Your feedback helps us grow. Don’t forget to share your beautiful creation on Instagram and tag @flouringkitchen. Follow us on Pinterest for more inspiring recipes and baking ideas.
📖 Recipe
Red Velvet Bundt Cake with Cream Cheese Swirl
Mary
Pin Recipe
Shop Ingredients
Equipment
-
1 Standard non-stick bundt pan (12 cups)
Ingredients
Cream Cheese Swirl
- 12 oz cream cheese softened to room temperature
- 1 large egg at room temperature
- ⅓ cup granulated sugar
- ⅛ teaspoon sea salt
- 1 teaspoon pure vanilla extract
Batter
- 1 cup unsalted butter softened to room temperature
- ¼ cup vegetable oil
- 1 ½ cup granulated sugar
- ¼ teaspoon sea salt
- 1 tablespoon pure vanilla extract
- 5 large eggs at room temperature
- ⅔ cup sour cream at room temperature
- 1 ¼ cup buttermilk at room temperature
- red gel food colouring for vibrant color
- 3 ¼ cup all purpose flour (390g, spooned & leveled)
- ¼ cup natural cocoa powder (or Dutch-processed for a milder chocolate note)
- 2 ½ teaspoon baking powder
- ¼ teaspoon baking soda
Glaze
- 4 tablespoons unsalted butter softened
- 1 cup powdered sugar
- ⅛ teaspoon sea salt
- 4 oz cream cheese softened
- 1 teaspoon pure vanilla extract
- 2-6 tablespoons milk as needed for desired consistency
- 3 tablespoons sprinkles for decoration
Shop Ingredients on Jupiter
Instructions
Cream Cheese Swirl
-
In a large bowl or stand mixer, beat together the softened cream cheese, granulated sugar, and sea salt until the mixture is completely smooth and free of any lumps.12 oz cream cheese, ⅓ cup granulated sugar, ⅛ teaspoon sea salt
-
Add the egg and vanilla extract, then continue to beat until the mixture is smooth, creamy, and well combined. Scrape down the bowl as needed to ensure even mixing. Set this prepared cream cheese swirl aside.1 large egg, 1 teaspoon pure vanilla extract
Batter
-
Preheat your oven to 180°C (350°F). Thoroughly grease the entire interior of a bundt pan with a pat of cold butter or shortening. Then, add a tablespoon of all-purpose flour and shake the pan to coat all surfaces evenly, ensuring a non-stick layer. Tap out any excess flour.
-
In a large bowl or stand mixer, beat together the softened butter, vegetable oil, granulated sugar, and sea salt until the mixture is light and fluffy, which should take about 5-7 minutes. Remember to stop and scrape down the sides of the bowl halfway through.1 cup unsalted butter, ¼ cup vegetable oil, 1 ½ cup granulated sugar, ¼ teaspoon sea salt
-
Add the vanilla extract to the bowl. Then, incorporate the large eggs one at a time, beating well after each addition and scraping down the bowl to ensure everything is fully combined.5 large eggs, 1 tablespoon pure vanilla extract
-
Stir in the room-temperature sour cream and beat until well combined. Next, add the room-temperature buttermilk and mix well. Don’t be alarmed if the mixture appears slightly gloopy or curdled; this is a normal reaction and will not affect the final cake.⅔ cup sour cream, 1 ¼ cup buttermilk
-
Add red gel food coloring one drop at a time, mixing thoroughly after each addition until your desired vibrant red color is achieved. For cleaner incorporation without splatters, consider switching to a hand whisk for this step.red gel food colouring
-
Sift the all-purpose flour, natural cocoa powder, baking powder, and baking soda directly into the same bowl. Gently fold these dry ingredients into the wet mixture with a whisk, or mix on the lowest speed of your stand mixer, just until a thick, smooth batter forms. Stop mixing as soon as you no longer see streaks of dry ingredients to avoid overmixing.3 ¼ cup all purpose flour, ¼ cup natural cocoa powder, 2 ½ teaspoon baking powder, ¼ teaspoon baking soda
-
Carefully spoon half of the red velvet batter into the prepared bundt pan, spreading it evenly. Then, scoop dollops of the cream cheese swirl mixture on top of the batter, making sure to avoid the edges of the pan. Finally, gently spoon the remaining red velvet batter over the cream cheese layer and smooth the top. Lightly tap the pan a few times on a flat surface to eliminate any large air pockets.
-
Bake the bundt cake in the preheated oven for 55-70 minutes, or until a wooden skewer inserted into the thickest part of the cake comes out with only a few moist crumbs (due to the filling), but not wet batter.
-
Once baked, remove the cake from the oven and let it cool in the bundt pan for exactly 10 minutes. This allows the cake to firm up slightly. After 10 minutes, place a cooling rack or a sturdy plate over the bundt pan and carefully flip the cake over to release it. A gentle tap on the top of the pan can help. It should slide out cleanly.
-
Allow the bundt cake to cool completely on a wire rack before glazing. For an even richer flavor, particularly with the cheesecake swirl, you can chill the cake in the fridge for 2-12 hours, though this step is optional.
Glaze
-
In a large bowl or stand mixer, beat together the softened butter, powdered sugar, and sea salt until the mixture is smooth and well combined. Scrape down the bowl thoroughly, then beat again to ensure a uniform consistency.4 tablespoons unsalted butter, 1 cup powdered sugar, ⅛ teaspoon sea salt
-
Add the softened cream cheese to the mixture and beat until the glaze is completely smooth and creamy, scraping down the bowl halfway to ensure no lumps remain. Incorporate the vanilla extract, then gradually add the milk, one tablespoon at a time, beating well after each addition. Continue scraping the bowl down frequently to achieve a perfectly smooth glaze.4 oz cream cheese, 1 teaspoon pure vanilla extract, 2-6 tablespoons milk
-
Continue adding milk until the glaze reaches your desired consistency. For a beautiful cascading drip effect down the sides of the bundt cake, aim for a slightly runnier consistency. If you prefer a thicker glaze that can be spread like a frosting, use less milk. Always test the drip on a small, less visible area of the cake before glazing the entire surface.
-
Just before serving, adorn the glazed bundt cake with your favorite sprinkles for a festive finish. Because of the cream cheese, store the cake in the refrigerator. However, for the best taste and texture, allow it to come to room temperature for about 30-60 minutes before serving. Enjoy this delightful treat!3 tablespoons sprinkles
Notes
Make-Ahead Tips for Convenience:
This Red Velvet Bundt Cake is an excellent candidate for making ahead, perfect for entertaining or enjoying throughout the week. You can bake and glaze the entire cake a day before you plan to serve it. In fact, allowing the cake to chill overnight in the fridge actually enhances the flavor of the cheesecake swirl, giving it time to fully develop and meld with the red velvet. The cream cheese glaze also holds up beautifully overnight. To protect the glaze and preserve the cake’s freshness, store it in an airtight cake carrier or under a cake dome. For the best presentation, add the sprinkles right before serving, as some colors can bleed into the glaze if applied too far in advance. Remember to serve the cake at room temperature to achieve its softest, most tender texture, but always store any leftovers in the refrigerator due to the cream cheese components.
Secrets to a Flawless Bundt Cake Release Every Time:
Achieving a perfect release from your bundt pan is key to showcasing your cake’s beautiful design. Follow these essential tips:
- Choose the Right Pan: Always use a high-quality non-stick bundt pan with an intact coating. Scratches or damage to the non-stick surface can cause sticking.
- Proper Greasing is Paramount: Do not use cooking oil spray, as it tends to drip and leave uneven spots, leading to sticking. Instead, generously butter the entire inside surface of your bundt pan with a cold piece of butter or solid shortening. Cold fat adheres better to the intricate details of the pan.
- Flour Power: After buttering, add a tablespoon of all-purpose flour to the pan. Rotate and shake the pan vigorously to ensure the flour coats every part of the buttered surface. This creates a highly effective non-stick layer. Tap out any excess flour.
- The Golden 10-Minute Rule: Once the cake is out of the oven, let it cool in the bundt pan for exactly 10 minutes. This crucial cooling period allows the cake to firm up slightly, making it less fragile, while still being warm enough to release easily from the pan. Attempting to unmold too soon or too late can result in breakage.
