Indulge in Homemade Bliss: Easy No-Knead Strawberry & Custard Filled Donuts with Pink Glaze
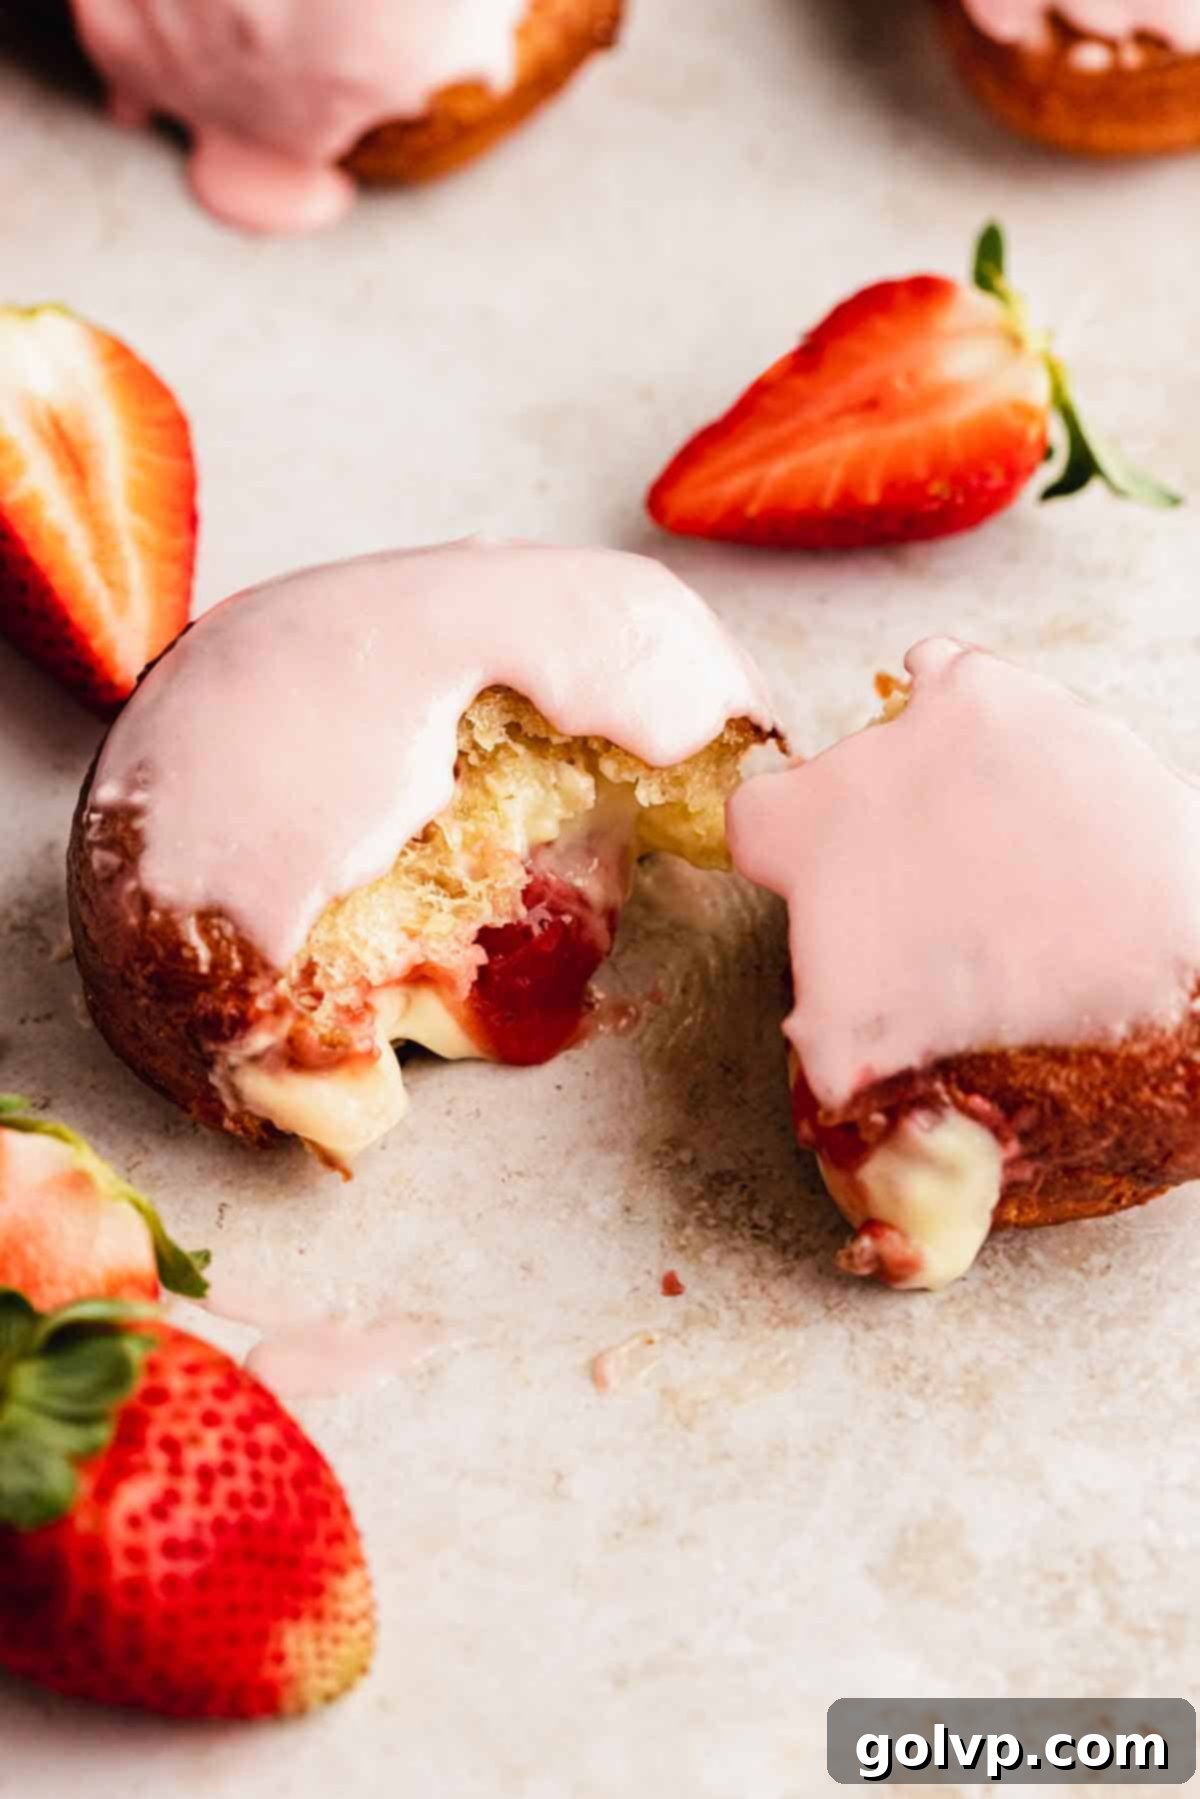
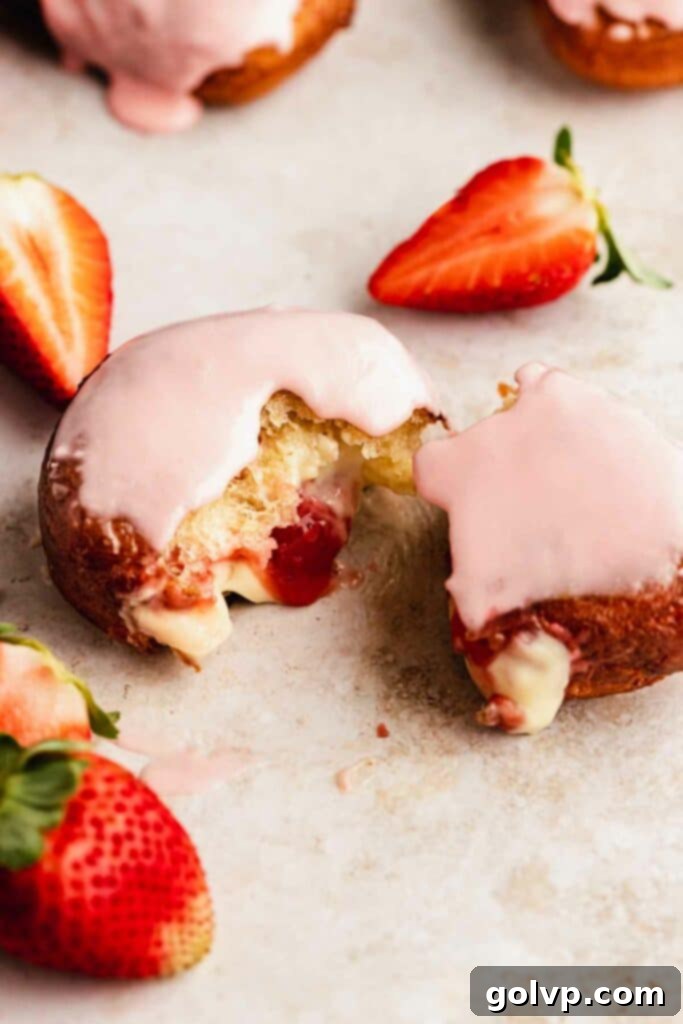
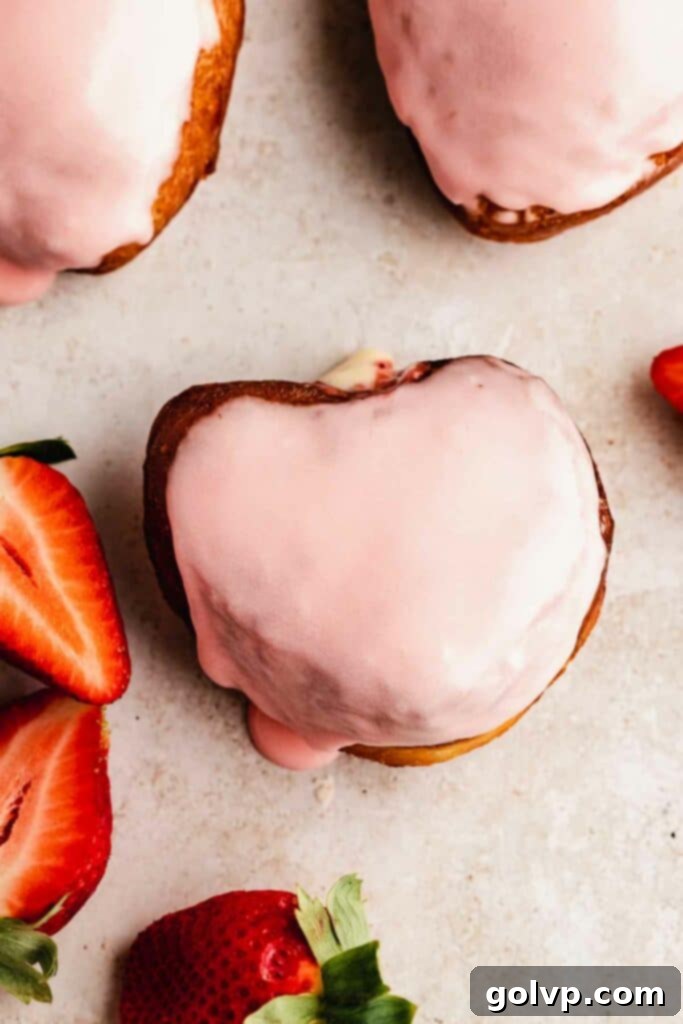
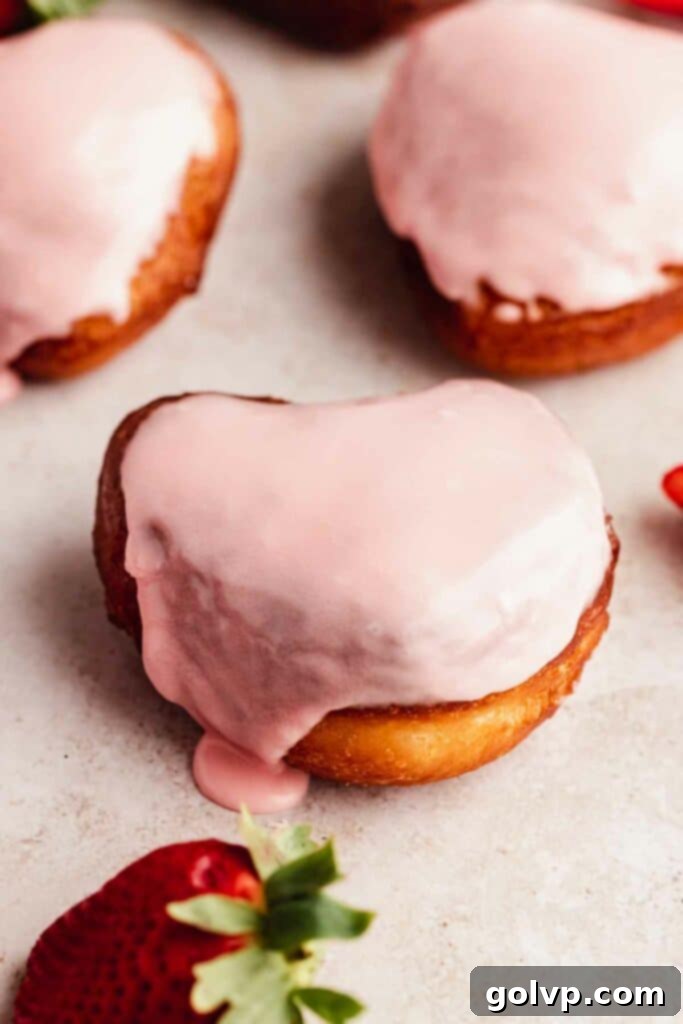
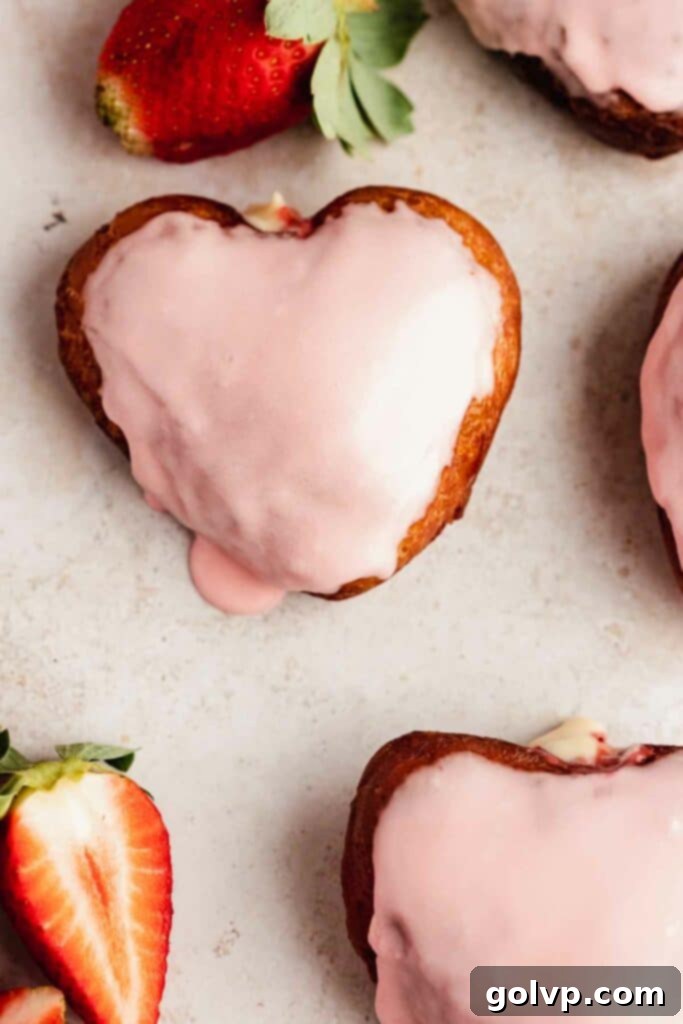
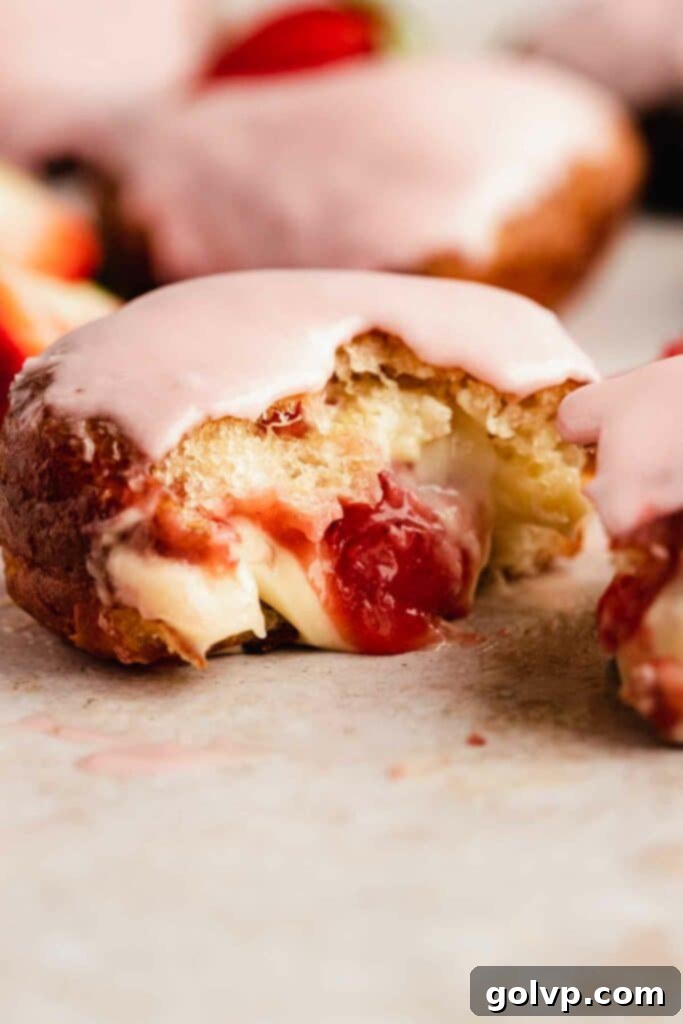
Prepare to fall in love with these extraordinary no-knead strawberry and custard filled donuts! Imagine biting into an incredibly soft, fluffy donut, yielding to a luscious blend of homemade strawberry sauce and rich vanilla custard, all finished with a vibrant pink glaze. The best part? The dough is remarkably simple to prepare, requiring just about three minutes of active time to bring together. This recipe delivers bakery-quality donuts right in your own kitchen, designed to be stress-free and utterly delicious.
Purchasing the items in this post supports this blog, at no additional cost to you. As an Affiliate Product marketer and Amazon Associate, I earn from qualifying purchases.
Why You’ll Adore This Strawberry Donut Recipe:
- Unbelievably Soft & Airy: The secret lies in our easy no-knead dough. These donuts boast an incredibly tender, melt-in-your-mouth interior, perfectly contrasted by a delicate golden-brown, lightly crisp crust from frying. Each bite is pure pillow-soft perfection.
- Effortless & Accessible: Don’t let the idea of homemade donuts intimidate you! Our no-knead method means minimal hands-on time, making this recipe surprisingly simple and ideal for bakers of all skill levels. You’ll spend more time anticipating the delicious results than actually working the dough.
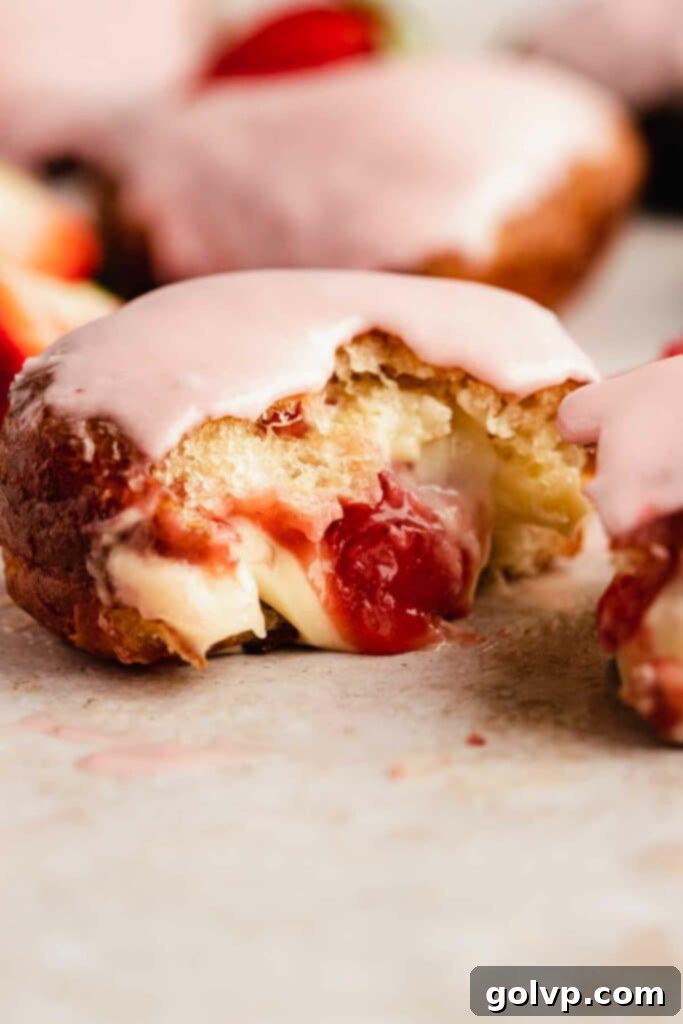
- Dual Flavor Sensation Filling: Why choose when you can have both? These donuts are generously packed with a harmonious blend of sweet-tart homemade strawberry sauce and silky, rich vanilla custard. This creamy and tangy combination creates an unforgettable flavor profile that sets these donuts apart.
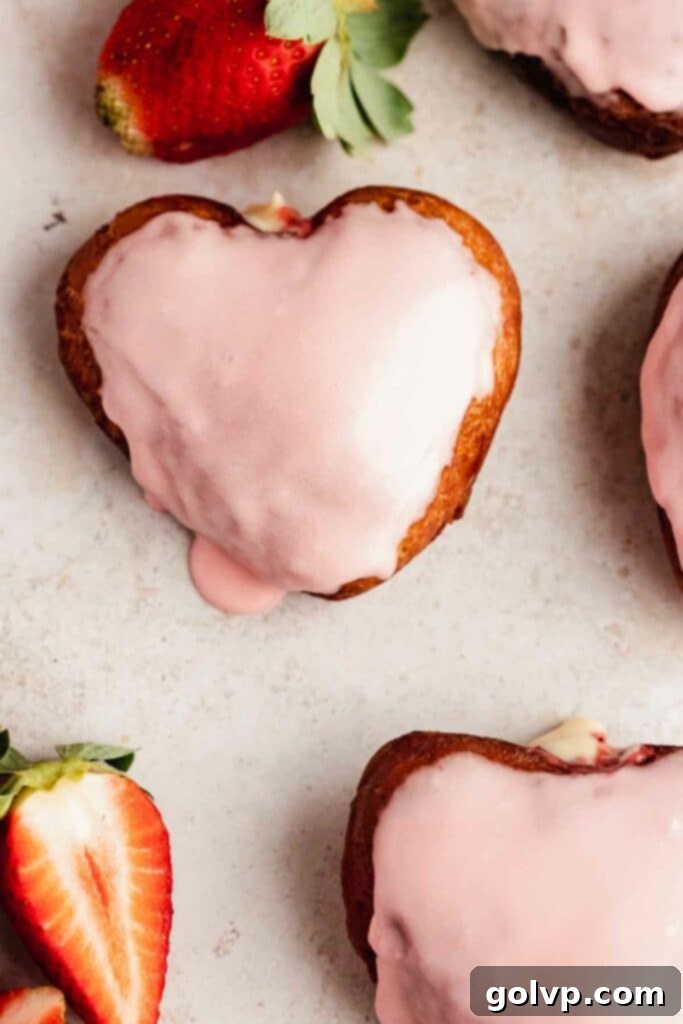
- Irresistible Pink Glaze: A smooth, sweet, and beautifully pink glaze provides the perfect finishing touch. It adds an extra layer of sweetness and a vibrant visual appeal, making these donuts as delightful to look at as they are to eat. It’s the sweet coating that truly brings all the flavors together.
The Magic Behind Our Easy No-Knead Dough
The beauty of this strawberry donut recipe truly begins with its no-knead dough. This method simplifies the traditional donut-making process dramatically, eliminating the need for intensive kneading while still achieving an incredibly soft and airy texture. Here’s how effortlessly it comes together:
First, you’ll activate your yeast. This crucial step ensures your donuts will rise beautifully. Dissolve active dry yeast in warm water with a touch of sugar. This provides food for the yeast and helps you see it bubble and foam, confirming it’s alive and ready to work its magic. Once active, combine all the remaining dough ingredients in a large bowl. Mix just until everything comes together into a sticky, wet dough. Don’t worry if there are a few small lumps of butter; as long as no dry streaks of flour remain, you’re on the right track. The sticky consistency is perfectly normal and a sign of a well-hydrated dough that will produce tender donuts.
After a simple initial rise, you’ll gently fold the dough a few times. This folding technique is essential, as it helps develop gluten without any strenuous kneading and creates layers that will eventually form those wonderful air pockets inside the fried donuts—perfect for holding our generous strawberry and custard filling! Then, it’s a matter of rolling out the dough and cutting your desired donut shapes. This minimal handling ensures the dough remains delicate and light. The second rise allows the cut donuts to puff up further, ensuring they’ll be wonderfully airy once fried.
Crafting the Perfect Dual Fillings
I simply couldn’t choose between a vibrant strawberry filling or a classic creamy custard, so I decided to combine both for an unparalleled taste experience! The contrast of the sweet-tart strawberry with the rich, smooth vanilla custard is truly divine.
Both fillings are surprisingly easy to make. The vanilla bean custard requires a few simple steps, resulting in a luxurious, silky-smooth cream. The strawberry sauce, on the other hand, is even simpler, quickly cooking down into a beautifully vibrant and flavorful compote. To make your donut-making day even more relaxed, I highly recommend preparing both fillings a day or two in advance. They need ample time to cool completely and chill in the refrigerator, which also allows their flavors to deepen beautifully. Having them ready beforehand streamlines the entire process, letting you focus on frying and assembling your perfect donuts.
Mastering the Art of Frying Donuts
Frying donuts might seem daunting, but it’s actually quite straightforward with the right tools and approach! All you need is a large, sturdy, shallow pot, a generous amount of oil, and a tool to safely retrieve the donuts. A wire spider is excellent for this, as it allows excess oil to drain quickly, but sturdy tongs also work well, particularly for carefully placing the dough into the hot oil.
The most critical tool for successful frying is a reliable thermometer that clips securely to the side of your pot. I personally use a candy thermometer, which can withstand the high temperatures required for deep frying. This investment will make an enormous difference in ensuring your donuts cook perfectly. It allows you to precisely track the oil temperature, guaranteeing a beautifully crisp exterior and a perfectly cooked, airy interior without any guesswork. Consistent temperature is the key to golden, delicious, and non-greasy donuts.
The Best Frying Temperature for Perfect Donuts
Achieving the ideal oil temperature is paramount for perfect donuts. The sweet spot for frying is precisely 370°F (190°C). This temperature allows the donuts to cook thoroughly, puff up beautifully, and develop a golden crust without becoming overly greasy or burning prematurely. I’ve experimented extensively, and anything significantly above or below this range yields less-than-desirable results:
- Oil too hot = The outside of the donut will brown and even burn too quickly, while the inside remains raw or undercooked. This creates an unappetizing contrast.
- Oil too cold = The donuts will absorb too much oil, resulting in a dense, heavy, and very oily texture. They won’t achieve that light, fluffy consistency we’re aiming for.
Sticking to the 370°F (190°C) mark ensures a consistently delicious and perfectly textured donut every time.
How to Calibrate Your Thermometer for Accurate Frying
Before you even think about heating your oil, it’s absolutely essential to ensure your thermometer is accurately calibrated. An uncalibrated thermometer can lead to all the frying issues mentioned above. You can easily calibrate it using the boiling water method. Simply immerse the thermometer in vigorously boiling water. At sea level, boiling water should register 212°F (100°C). If your thermometer reads differently, note the difference. For example, if it reads 210°F, you know it’s off by 2 degrees and you’ll need to adjust your target frying temperature accordingly.
It’s also important to remember that the boiling point of water varies with altitude. Higher altitudes mean a lower boiling point. You can find resources online to calculate your local boiling point. Once you know your specific boiling point, you can accurately adjust your thermometer’s reading. Even a minor difference in calibration can significantly impact your frying results, making this step crucial for donut perfection and kitchen safety.
Tips for Controlling Frying Oil Temperature
Maintaining a consistent oil temperature is key to frying success. Your goal is to keep the oil as close to 370°F (190°C) as possible throughout the entire frying process. If you notice the oil temperature creeping up above 383°F (195°C), you can quickly bring it down by adding a small amount of room-temperature oil to the hot oil. This will safely lower the overall temperature.
Conversely, if the temperature drops below 370°F (190°C), simply increase the heat slightly and wait for it to return to the target temperature before adding more donuts. Keep in mind that when you introduce cold donut dough into the hot oil, the temperature will naturally drop a bit. This is normal, and your thermometer will help you monitor and react accordingly. Fry in small batches to prevent drastic temperature drops, ensuring each donut cooks evenly and beautifully.
Essential Ingredients for Your Strawberry & Custard Donuts
The full list of steps and ingredients can be found in the recipe card below, but be sure to read through these tips for optimal success!
- Strawberries: Whether you choose fresh, ripe strawberries or convenient frozen ones, both work wonderfully for creating our vibrant strawberry sauce. Just ensure frozen berries are thawed before use.
- Vanilla Bean: For the most exquisite flavor in your custard, a whole vanilla bean is highly recommended. If unavailable, you can substitute with 1 teaspoon of high-quality vanilla paste or 1 teaspoon of pure vanilla extract.
- Heavy Whipping Cream: This ingredient is crucial for achieving a luxurious, stable whipped cream to fold into your custard. Always use cream with at least 32% milk fat (often labeled 35%) for proper whipping. Lower fat content creams will not whip up adequately.
- Activated Dry Yeast: My preference is activated dry yeast, but you can achieve similar fantastic results using the same quantity of instant yeast. Always check the expiration date to ensure your yeast is fresh and active!
- All-Purpose Flour: For the most precise and consistent results in your dough, I strongly advise weighing your flour using a kitchen scale. If you don’t have a scale, properly measure by stirring the flour in its bag, then gently spooning it into a dry measuring cup. Level off the excess with the flat edge of a knife, taking care not to pack the flour into the cup.
- Vegetable Oil: For deep frying these delicious strawberry donuts, neutral-tasting oils with a high smoke point are best. Canola oil, peanut oil, or other vegetable oils are excellent choices that will not impart unwanted flavors and can withstand the necessary high temperatures.
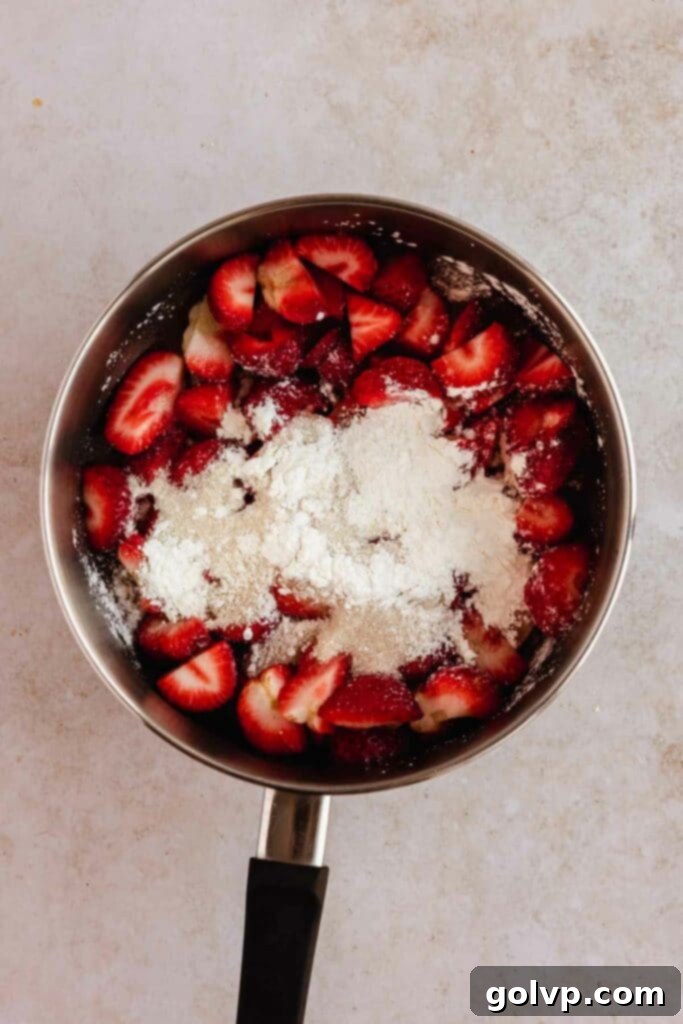
How to Make the Silky Strawberry Sauce
Creating this vibrant and delicious strawberry sauce is incredibly simple and adds a burst of fresh flavor to your donuts. Follow these easy steps:
Step 1 – Combine and Cook: In a small saucepan, combine your diced strawberries, granulated sugar, a pinch of sea salt, fresh lemon juice, and cornstarch. Place the saucepan over medium heat and begin stirring. As the strawberries warm, they will naturally release their juices. Continue stirring consistently as the mixture gently simmers and gradually thickens. If the sauce becomes too thick for your liking, you can add a tablespoon of water to achieve the desired consistency.
Step 2 – Finish and Chill: Once the strawberries are very soft and the sauce has reached a nice, thick consistency, remove the saucepan from the heat. Add the unsalted butter and stir until it has completely melted into the warm sauce. To ensure a smooth filling that won’t clog your piping bag, use a potato masher or an immersion blender to gently mash any larger strawberry pieces. Allow the sauce to cool completely to room temperature before transferring it to the refrigerator. Chill thoroughly until it is cold and set, which can be done a day or two in advance.
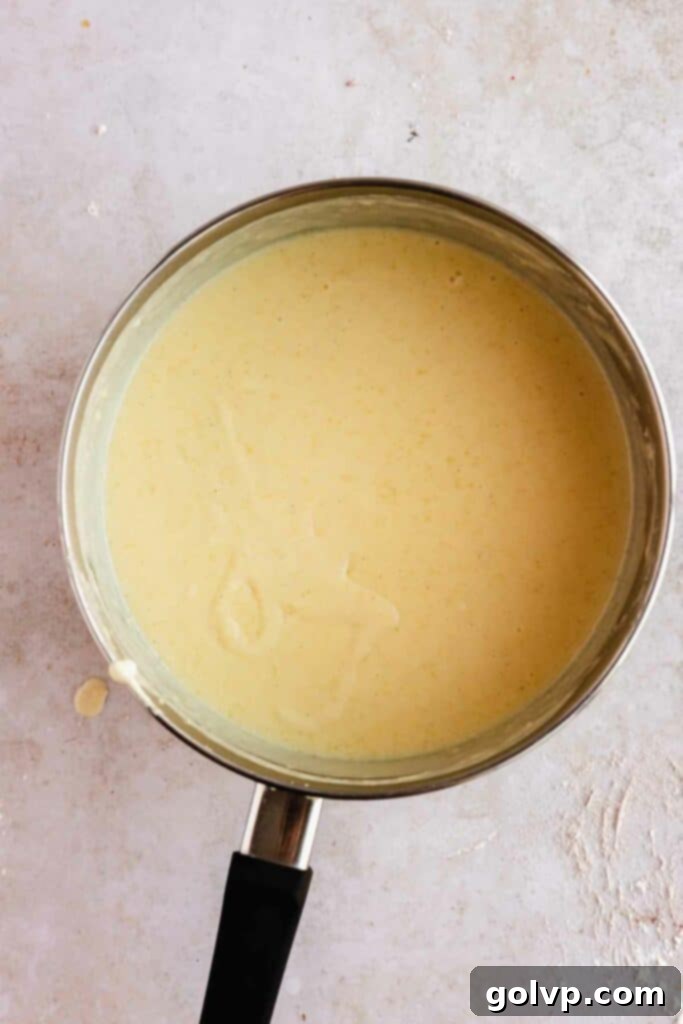
How to Make the Velvety Vanilla Bean Custard
This homemade custard is incredibly rich and smooth, providing the perfect creamy counterpoint to the strawberry filling. Here’s how to prepare it:
Step 1 – Steep Vanilla for Flavor: Begin by carefully cutting a whole vanilla bean in half lengthwise. Use the blunt side of your knife to scrape out all the tiny, fragrant seeds. Add both the scraped seeds and the vanilla bean pod to a medium saucepan. Pour in the milk and gently bring the mixture to a simmer over medium heat. Once it just starts to simmer, immediately turn off the heat and let the vanilla steep in the warm milk for about 5 minutes. This infuses the milk with maximum vanilla flavor.
Step 2 – Prepare Egg Yolks: While your vanilla milk is steeping, in a separate medium bowl, vigorously whisk together the egg yolks and sugar until the mixture is smooth and light in color. Then, add the all-purpose flour and whisk thoroughly to ensure there are no lumps. This flour will help thicken the custard.
Step 3 – Temper the Yolks: To prevent the egg yolks from scrambling, you need to temper them. Slowly pour about half of the warm vanilla milk into the egg yolk mixture, whisking constantly and vigorously. Once smooth, pour this tempered egg mixture back into the saucepan with the remaining milk. Return the pot to medium-low heat and continue to whisk constantly until the custard visibly thickens to a pudding-like consistency. Do not allow it to boil vigorously.
Step 4 – Strain and Cool: For a truly silky-smooth custard, strain it immediately by pushing it through a fine-mesh sieve into a clean bowl. Remember to remove and discard the vanilla bean pod. To prevent a skin from forming on the surface as it cools, press a piece of cling wrap or parchment paper directly onto the surface of the hot custard. Allow it to cool completely to room temperature before refrigerating it until thoroughly chilled. Again, this can be prepared a day or two in advance.
Step 5 – Fold in Whipped Cream: On the day you plan to fill and serve your donuts, prepare your heavy whipping cream. Whisk the cream to medium-stiff peaks; it should hold its shape well but still be soft enough not to overwhip when combined with the custard. Gently fold the whipped cream into the chilled custard in two additions, using a wire whisk for the lightest touch. This step lightens the custard beautifully, making it even more delectable for your donuts.
How to Make the Perfect No-Knead Donut Dough
This no-knead dough is incredibly forgiving and delivers exceptional results. Here’s a detailed guide:
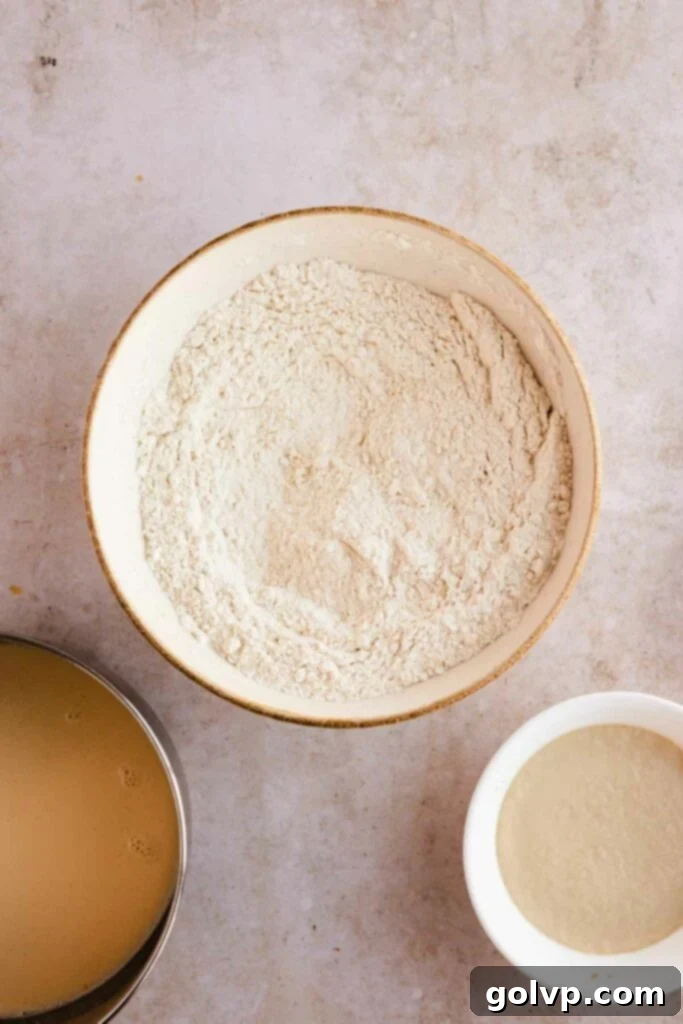
Step 1 – Dissolve and Activate Yeast: In a medium bowl, combine your activated dry yeast, warm water (ensure it’s body temperature, not too hot or cold, ideally around 105-115°F / 40-46°C), and a teaspoon of sugar. Stir gently until the yeast dissolves. Let this mixture sit undisturbed for 5-10 minutes. You should observe a foamy layer forming on the surface, indicating the yeast is active and alive. If no foam appears, your yeast may be old or the water temperature incorrect; it’s best to try again with a new packet of yeast.
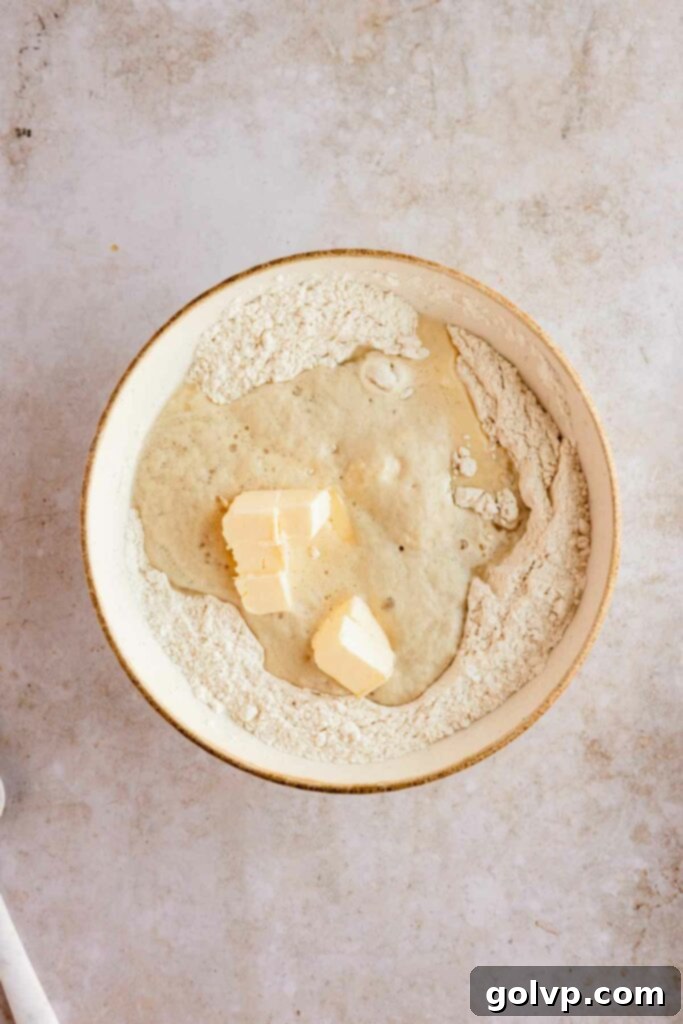
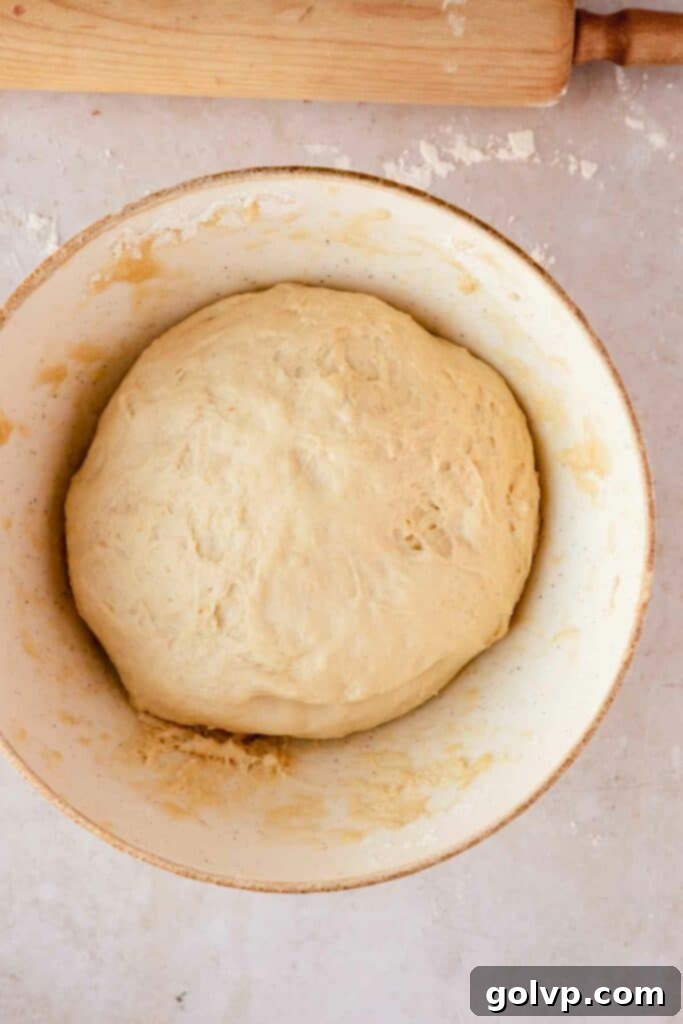
Step 2 – Prepare and Rise Dough: In a large mixing bowl, whisk together the all-purpose flour, sea salt, and granulated sugar. Create a well in the center of the dry ingredients. Into this well, pour the activated yeast mixture, whisked eggs, very soft (almost melted) unsalted butter, sour cream, warm milk, and pure vanilla extract. Stir everything together with a wooden spoon or spatula just until a very wet, sticky dough forms. Avoid overmixing. Cover the bowl loosely with plastic wrap or a clean kitchen towel and let it rise in a warm place (refer to the “Best way to let dough rise” note in the recipe card) until it has visibly doubled in size, which typically takes about 30-45 minutes.
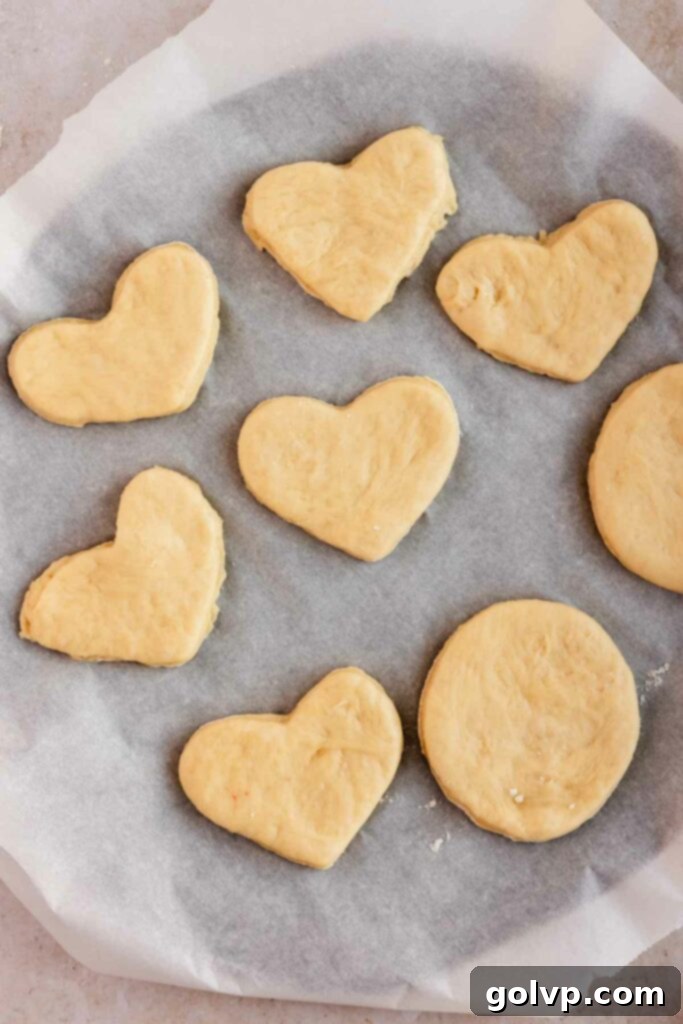
Step 3 – Roll and Cut Shapes: Lightly flour two large baking sheets with parchment paper. Gently turn the risen, sticky dough out onto a generously floured work surface. Sprinkle the top of the dough with a bit more flour to prevent sticking. Using a floured rolling pin, roll the dough out evenly to approximately ¾ inch (2 cm) thick. Using a 3-inch cookie cutter (or the rim of a glass), cut out heart shapes (or traditional circles). Gather the dough scraps, gently re-roll them, and cut out more shapes. Reserve a few small scrap pieces of dough; these will be invaluable for testing your oil temperature later.
Step 4 – Second Rise: Carefully transfer the cut-out donut shapes onto the prepared baking sheets, ensuring you leave at least 2 inches of space between each piece to allow for expansion. Cover them loosely and let them rise again in a warm place until they are visibly puffed up and doubled in size, usually about 30 minutes. This second rise is crucial for light and airy donuts.
Step 5 – Prepare Frying Oil: Pour your chosen vegetable oil (like canola or peanut oil) into a large, wide, heavy-bottomed pot. The heavy bottom helps distribute heat evenly and safely. It is absolutely critical to ensure there’s at least 3 inches of space between the surface of the oil and the top edge of your pot. This prevents dangerous splatters and allows enough room for the donuts to fry safely without overflowing.
Step 6 – Heat Oil and Prep Area: Clip a reliable candy or deep-fry thermometer to the side of your pot, ensuring the tip is submerged in the oil but not touching the bottom. Slowly heat the oil over medium heat until it reaches precisely 370°F (190°C). While the oil is heating, prepare your landing zone for the fried donuts: line a tray with at least four layers of paper towels to absorb excess oil, and place a separate cooling rack beside it.
Step 7 – Test the Oil (Practice Fry): Once the oil is hot and at temperature, carefully drop one of your reserved scrap pieces of dough into the oil. Fry it for 2-3 minutes per side, or until it’s beautifully golden brown. Remove it with tongs or a wire spider, gently shaking off excess oil, and place it on the paper towel-lined tray. Once it’s cool enough to handle, cut it open to check if it’s cooked through in the center. This test piece is invaluable for practicing your frying technique and confirming the oil temperature is perfect before frying your actual donuts.
Step 8 – Fry Donuts in Batches: Carefully and gently drop the first few raised donut shapes into the hot oil, taking extreme care not to splash or touch the hot oil. A metal spatula or tongs can help with this. Fry 2-3 donuts at a time, depending on your pot size, ensuring they have enough space. Fry each side for 2-3 minutes until golden brown. Once fried, remove them with a wire spider or tongs, gently shake off excess oil, and place them on the paper towel-lined tray. As the paper towel-lined tray fills up, transfer the cooled donuts to the wire cooling rack to prevent them from becoming soggy. It is essential to let all the donuts cool completely before attempting to fill them. Throughout this process, continuously monitor your thermometer and adjust the heat to maintain a steady temperature of around 370°F (190°C).
Assembly: Filling and Glazing Your Masterpiece
Now for the most satisfying part – filling and glazing your perfectly fried donuts!
Step 1 – Mix the Signature Glaze: In a clean medium bowl, stir together the powdered sugar, a touch of vanilla extract, and heavy cream. Gradually add milk (1-4 tablespoons, depending on desired consistency) until you achieve a thick, yet pourable and dippable glaze. For that irresistible aesthetic, add a few drops of pink food coloring until you reach a beautiful pastel pink shade. Alternatively, a bit of beetroot juice can be used instead of milk for natural coloring and a subtle earthy note.
Step 2 – Prepare Dual Piping Bags: This technique allows for the delightful dual filling. Fill one piping bag with your chilled vanilla custard and another separate piping bag with the luscious strawberry sauce. Snip the very tips off both of these individual bags. Now, place both of these smaller bags inside a larger piping bag or a large zippered bag. Snip the end off the larger bag, creating one opening from which both fillings will emerge simultaneously.
Step 3 – Create Pockets and Fill: Gently take a chopstick or a narrow skewer and poke it through the top or side of each cooled donut, wiggling it around inside to create a hollow pocket for the filling. Insert the combined piping bag (containing both fillings) as far into the donut as you can. Begin to gently squeeze the bag, filling the donut, and slowly pull the piping bag up and out as the donut becomes plump. Continue until all of your delicious donuts are filled to perfection.
Step 4 – Glaze and Enjoy: Take each filled donut and carefully dip its top into the prepared pink glaze. Wiggle it around slightly to ensure even coating, then gently shake off any excess glaze. Transfer the glazed donuts to a cooling rack, allowing any remaining excess glaze to drip off and set. Once set, your irresistible no-knead strawberry and custard filled donuts are ready to be savored!
Creative Donut Variations
While the strawberry and custard filled version is undoubtedly a masterpiece, this versatile no-knead donut recipe lends itself beautifully to several delicious variations:
- Classic Powdered Donuts: For a simpler, yet equally delightful treat, skip the glaze altogether. Once your donuts are cooled, dust them generously with a cloud of powdered sugar. A timeless classic!
- Strawberry Filling Only: If you’re a devoted strawberry fan, double the recipe for the strawberry sauce and forgo the custard for an intense burst of fruity flavor in every bite.
- Custard Filling Only: Prefer a purely creamy experience? Double the luscious custard filling and omit the strawberry sauce for a rich, vanilla-infused delight.
- Fresh Strawberries and Cream Donuts: For a lighter, summery option, carefully slice your cooled donuts almost entirely in half (leaving one side attached). Fill them with freshly whipped cream and generous slices of ripe, fresh strawberries. This creates an open-faced donut sandwich that’s simply divine, similar to a cream puff or éclair.
- Other Fruit Fillings: Feel free to experiment with other fruit sauces! A homemade raspberry, blueberry, or peach filling would be equally delicious and complement the creamy custard beautifully.
Frequently Asked Questions About Strawberry & Custard Donuts
Absolutely! This versatile dough is perfect for traditional ring donuts too. Simply omit both the strawberry and custard fillings. When it’s time to cut the dough, use a larger 3-inch cookie cutter for the main donut and a smaller cookie cutter (or even a shot glass) to cut out the middles. Fry them as directed and dip them in the pink glaze. For an extra strawberry kick, you can blend a small amount of pureed fresh or thawed strawberries into the glaze.
The “no-knead” aspect of this recipe is your first line of defense against tough donuts! The less you handle and knead the dough, the softer your final result will be. Precision in ingredients also matters: always weigh your flour using a kitchen scale for the most accurate results, as cup measurements can vary wildly. Lastly, ensure your butter is genuinely very soft, almost melted, before incorporating it into the dough. This allows it to combine more easily and prevents you from overmixing the dough, which can lead to toughness.
You certainly can, but it’s important to understand they will have a different texture. Baked donuts, while delicious in their own right, will taste more like soft buns or brioche rather than the classic chewy-on-the-outside, airy-on-the-inside fried donut. If you’re looking for that specific baked texture, go for it! To bake, whisk one egg with a tablespoon of milk to create an egg wash. Brush the donut shapes with this wash and bake them at 355°F (180°C) for 20-25 minutes, or until they turn golden brown. Then, proceed to fill and glaze them as usual.
Absolutely! Feel free to get creative with your cookie cutters. However, for the best results, stick to relatively uncomplicated shapes. Remember that the dough will rise and expand during the second proofing, and then puff up even more during frying. Intricate or very detailed shapes tend to lose their definition and can end up looking like a ‘blob.’ Simple shapes like circles, hearts, stars, triangles, or even letters will work beautifully and retain their recognizable form.
For frying these delicious donuts, it’s crucial to select an oil with a high smoke point and a neutral flavor. I highly recommend using canola oil because it meets both of these criteria, ensuring your donuts taste like donuts, not oil. Other excellent and popular choices for deep frying include peanut oil and standard vegetable oil. It’s very important to avoid oils with low smoke points or strong flavors, such as avocado oil or olive oil, as they will burn at the required frying temperature and impart an unpleasant taste to your donuts.
Discover More Delicious Recipes:
- Pumpkin Spice Donuts with Pumpkin Custard [no knead]
- Red Velvet Bundt Cake with Cream Cheese Swirl
- Strawberry Cinnamon Rolls
- Strawberry Crumble
Happy baking!
Did you make this recipe? I would love for you to rate this recipe and hear what you think in the comments below! Share your creation on Instagram and tag @flouringkitchen. Follow me on Pinterestto save and for more recipe ideas.
📖 Recipe

Strawberry & Custard Filled Donuts
Mary
Pin Recipe
Shop Ingredients
Equipment
-
Candy or Deep-Fry Thermometer
-
Wire Spider or Tongs
-
Large Heavy-Bottomed Pot
-
Piping Bags
Ingredients
Strawberry Filling
- 1 cup strawberries diced (fresh or frozen, thawed)
- 3 tablespoons granulated sugar
- ⅛ teaspoon sea salt
- 1 tablespoon lemon juice freshly squeezed
- 1 tablespoon cornstarch
- 1 tablespoon unsalted butter
Vanilla Custard
- 1 whole vanilla bean (or 1 tsp vanilla paste/extract)
- 1 ¼ cup milk whole or 2%
- 3 large egg yolks
- ¼ cup granulated sugar
- ⅓ cup all purpose flour
- 1 cup heavy whipping cream (32% milk fat or higher)
Donut Dough
- ½ cup water warm (105-115°F / 40-46°C)
- 1 packet activated dry yeast 7g (or instant yeast)
- 1 teaspoon granulated sugar (for yeast)
- 5 cups all purpose flour 600g (weighed for accuracy)
- ⅛ teaspoon sea salt
- ½ cup granulated sugar (for dough)
- ¾ cup unsalted butter very soft – almost melted
- 2 large eggs room temperature, whisked
- 1 teaspoon pure vanilla extract (for dough)
- ¾ cup milk warm (body temperature)
- ¾ cup sour cream room temperature
- 100 oz vegetable oil for frying (approx. 3 L or 0.8 gallon, like canola or peanut oil)
Pink Glaze
- 1 ½ cup powdered sugar
- 2 tablespoons heavy whipping cream
- ½ teaspoon pure vanilla extract
- 1-4 tablespoons milk to adjust consistency
- Pink food colouring alternatively use a bit of beetroot juice instead of the milk for natural color
Shop Ingredients on Jupiter
Instructions
Strawberry Filling
-
In a small saucepan, combine the diced strawberries, granulated sugar, sea salt, fresh lemon juice, and cornstarch. Place the saucepan over medium heat and stir continuously. The strawberries will release their juices, and the mixture will begin to thicken as it simmers. If the sauce becomes too thick, you can add an additional tablespoon of water.1 cup strawberries, 3 tablespoons granulated sugar, ⅛ teaspoon sea salt, 1 tablespoon lemon juice, 1 tablespoon cornstarch
-
Once the strawberries are very soft and the sauce is thick, remove from heat and stir in the unsalted butter until it’s completely melted. To ensure smooth piping, use a potato masher or immersion blender to lightly mash any large strawberry pieces. Let the sauce cool completely to room temperature, then refrigerate until thoroughly chilled.1 tablespoon unsalted butter
Vanilla Custard
-
Cut the vanilla bean in half lengthwise and scrape out the seeds with the blunt side of your knife. Place both the seeds and the vanilla pod into a medium saucepan. Add the milk and bring it to a gentle simmer over medium heat. Once simmering, remove from heat and let it steep for 5 minutes to infuse the vanilla flavor.1 whole vanilla bean, 1 ¼ cup milk
-
While the milk is steeping, in a separate bowl, whisk together the egg yolks and granulated sugar until smooth and pale. Incorporate the all-purpose flour and whisk until no lumps remain.3 large egg yolks, ¼ cup sugar, ⅓ cup all purpose flour
-
Slowly pour half of the warm vanilla milk into the egg yolk mixture, whisking constantly to temper the yolks (preventing them from scrambling). Pour this mixture back into the saucepan with the remaining milk. Heat over medium-low, whisking continuously, until the custard thickens to a pudding-like consistency.
-
Strain the custard immediately through a fine-mesh sieve into a clean bowl, discarding the vanilla bean pod. Cover the surface directly with cling wrap or parchment paper to prevent a skin from forming. Let cool completely to room temperature, then refrigerate until thoroughly chilled.
-
Just before filling the donuts (on the day of serving), whisk the heavy whipping cream to medium-stiff peaks. It should hold its shape well but still be soft enough to fold without overwhipping.1 cup heavy whipping cream
-
Gently fold the whipped cream into the chilled custard in two additions using a wire whisk. This lightens the custard beautifully.
Donut Dough
-
In a medium bowl, combine the warm water, activated dry yeast, and 1 teaspoon of granulated sugar. Stir until the yeast dissolves. Let sit for 5-10 minutes until a foamy layer appears on top. If it doesn’t foam, your yeast is likely inactive, and you should start again with fresh yeast.1 packet activated dry yeast, 1 teaspoon sugar, ½ cup water
-
In a large bowl, combine the all-purpose flour, sea salt, and ½ cup granulated sugar. Make a well in the center. Add the yeast mixture, whisked eggs, very soft unsalted butter, sour cream, warm milk, and pure vanilla extract. Stir with a wooden spoon or spatula just until a very wet, sticky dough forms and no dry streaks of flour remain. Cover loosely and let rise in a warm place (see notes for ideal conditions) until doubled in size, about 30-45 minutes.5 cups all purpose flour, ⅛ teaspoon sea salt, ½ cup granulated sugar, ¾ cup unsalted butter, 2 large eggs, ¾ cup milk, ¾ cup sour cream, 1 teaspoon pure vanilla extract
-
Line two baking sheets with parchment paper. Gently turn the risen dough out onto a generously floured surface. Sprinkle the top with flour and roll out evenly to ¾” thick. Using a 3” cookie cutter or the bottom of a glass, cut out heart or circle shapes. Gather and gently re-roll scraps to cut more shapes. Save a few small scrap pieces of dough for testing the oil.
-
Carefully transfer the cut-out dough onto the lined baking sheets, leaving 2” of space between each shape. Let rise in a warm place until visibly puffed and doubled in size, about 30 minutes.
-
Pour the vegetable oil into a large, wide, heavy-bottomed pot. Ensure there is at least 3” of space from the oil level to the top edge of the pot to prevent splashing and allow for donut expansion.100 oz vegetable oil
-
Clip a thermometer to the side of the pot. Heat the oil until it reaches 370°F (190°C). While the oil heats, prepare a tray lined with 4 layers of paper towel and a separate cooling rack beside it.
-
Once the oil is hot, drop a scrap piece of dough into the oil. Fry on each side for 2-3 minutes or until golden brown. Remove with tongs or a spider, gently shake off excess oil, and place onto the paper towel-lined sheet. Once cool enough, check the inside to ensure it’s cooked through. This step helps you practice frying and confirm oil temperature.
-
Gently drop the first few puffed donuts into the oil, being careful not to touch the hot oil. Use a metal spatula or tongs to assist. Continue frying them as before, in small batches to maintain oil temperature. Fry for 2-3 minutes per side until golden. Once the paper towel-lined tray fills, transfer cooled donuts to the cooling rack. Let all donuts cool completely before filling. Maintain oil temperature around 370°F (190°C).
Assembly
-
In a clean medium bowl, stir together the powdered sugar, vanilla extract, and heavy cream. Gradually add milk (1-4 tablespoons) until you achieve a thick, dippable consistency. Add pink food coloring for a pastel shade.1 ½ cup powdered sugar, 2 tablespoons heavy whipping cream, ½ teaspoon pure vanilla extract, 1-4 tablespoons milk, Pink food colouring
-
Fill one piping bag with the chilled custard and another with the strawberry sauce. Snip the tips off both bags and place them into a larger piping bag (or a large zippered bag). Snip the end off the larger bag.
-
Poke a chopstick or skewer into the top or side of each cooled donut, wiggling it to create a pocket. Insert the combined piping bag as far into the donut as possible and fill, slowly withdrawing the bag as the donut expands. Fill all donuts.
-
Dip each filled donut into the pink glaze, wiggling to coat evenly and shaking off any excess. Transfer to a cooling rack to allow excess glaze to drip and set. Enjoy!
Notes
Make Ahead Tips
For a smoother baking experience, prepare both the strawberry sauce and vanilla custard a day or two in advance. Store them in the refrigerator until you’re ready to assemble your donuts. This step significantly reduces stress on the day of frying.
Donuts are best enjoyed fresh! It’s highly recommended to fry the donuts on the day you plan to serve them, as their texture and flavor are at their peak. Fill the donuts just before serving for optimal freshness.
Optimal Dough Rising Conditions
For the perfect rise, I often use a slightly warmed oven. Preheat your oven to its lowest setting (e.g., 180°F / 80°C) for just 1 minute, then turn it off immediately. Place your covered dough in this warm, draft-free environment. If the oven is too hot (over 130°F / 55°C), it can kill the yeast. The warmth encourages proper yeast activity, crucial for this butter and sugar-rich dough to double in size.
Essential Frying Safety Measures
- Keep Water Away: Never allow any water to come into contact with hot oil. Water droplets can cause the oil to sputter violently and lead to severe burns. Ensure your hands, utensils, and work surfaces are completely dry.
- Adequate Space: Always ensure there’s a minimum of 3 inches of space between the top of your oil and the rim of your pot. This prevents dangerous boil-overs and splattering when you add the donuts.
- Use a Heavy-Bottomed Pot: A heavy-bottomed pot distributes heat more evenly and maintains temperature more consistently, making the frying process safer and yielding better results.
