Easy Christmas Thumbprint Cookies: A Customizable Holiday Recipe for Every Cookie Box
Step into the festive season with a batch of these incredible Christmas thumbprint cookies! Imagine a delightful cookie with a crisp, buttery exterior giving way to a super-soft, melt-in-your-mouth interior. What makes them truly magical for the holidays is their incredible versatility. With just one simple recipe and a single batch of dough, you can whip up a dazzling array of flavors, ensuring there’s a perfect cookie for everyone’s taste buds. Forget about lengthy chilling times or delicate, crumbly cookies – this recipe is designed for ease, staying soft for days and being sturdy enough to travel, making them the ultimate addition to any Christmas cookie box or holiday platter.
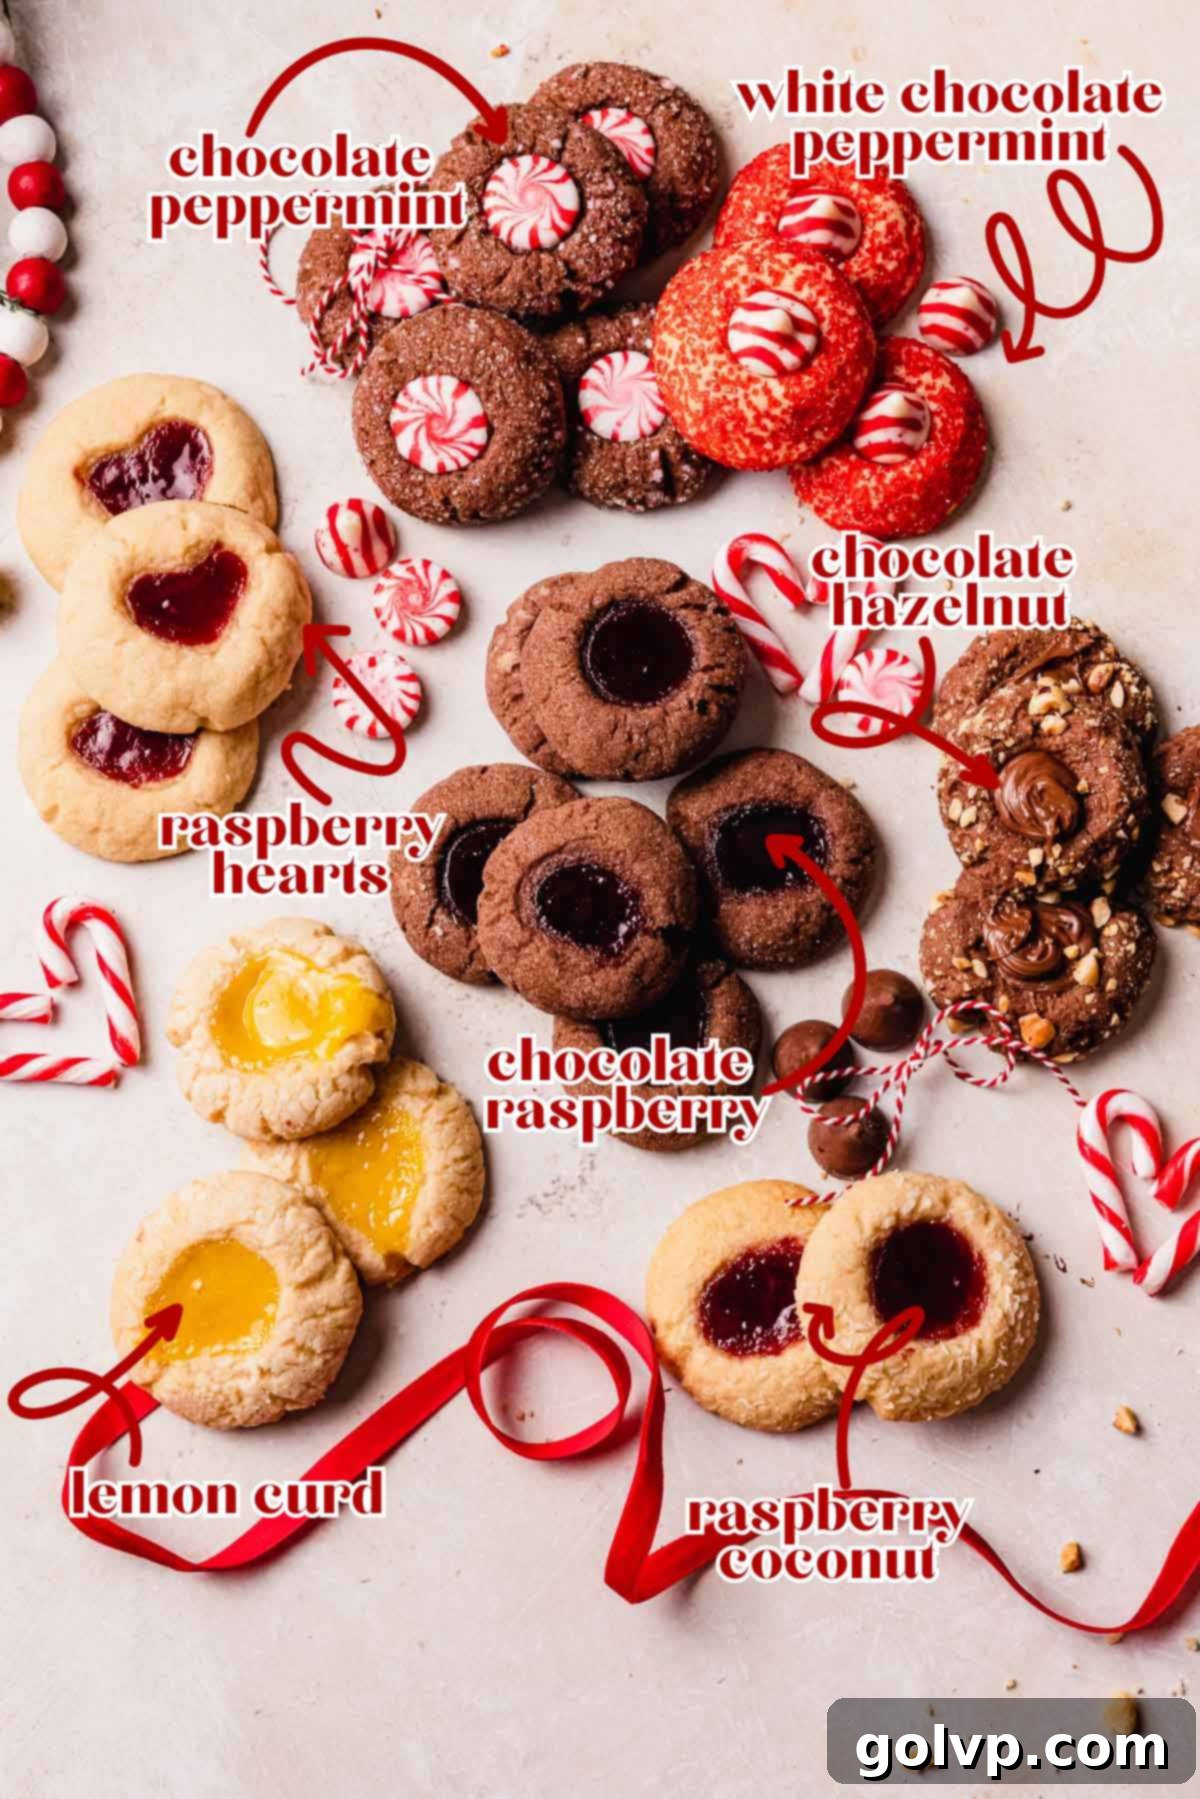
If you’ve been searching for a go-to cookie recipe that offers endless customization and a burst of diverse flavors, your quest ends here! These thumbprint cookies are not only simple to make but also incredibly rewarding. Just one batch can fill a large cookie box with an impressive variety of treats, from classic jams to decadent chocolates and zesty curds. I personally love creating a vibrant assortment for holiday gifting, featuring flavors like rich chocolate peppermint, bright lemon curd, nutty chocolate hazelnut, timeless raspberry thumbprints, comforting vanilla peppermint, tropical coconut raspberry, and sweet chocolate raspberry. The possibilities are truly boundless, allowing you to get creative and tailor each cookie to your holiday spirit.

🍪 Why you’ll LOVE this recipe
- Effortless Baking: This recipe is incredibly quick and straightforward, perfect for busy holiday schedules. The best part? No need to chill the dough before baking! This cuts down on prep time significantly, allowing you to get freshly baked cookies into your hands (and mouths!) in record time. It’s a game-changer for spontaneous baking or when you’re short on time but still want homemade treats.
- Unmatched Versatility: While we’ve listed some fantastic flavor combinations in the recipe, the real magic lies in your ability to get creative. This dough serves as a perfect canvas for virtually any topping or filling you can imagine. Experiment with different jams, curds, chocolates, nuts, or even candies. The combinations are truly endless, ensuring you can tailor each cookie to specific preferences or dietary needs within your holiday gathering.
- The Perfect Holiday Gift: Elevate your holiday gifting with a box of these homemade thumbprint cookies. All you need is a beautiful decorative box or a charming tray, and these cookies transform into an ideal host gift, a delightful treat for the office, or a thoughtful present for friends and family. The variety of flavors in one box makes for an impressive and much-appreciated gift that truly shows you care.
Looking to expand your holiday cookie repertoire? These gingerbread cookies and lemon shortbread cookies are both beloved holiday classics that perfectly complement these thumbprint delights. Don’t forget to include this easy peppermint fudge in your festive cookie box for an extra touch of indulgence!

📝 Key ingredients for Perfect Thumbprint Cookies
To achieve the perfect texture and flavor for these thumbprint cookies, paying attention to your ingredients is key. Read through for all the tips you will need for success!
Full steps and ingredients can be found in the comprehensive recipe card below.
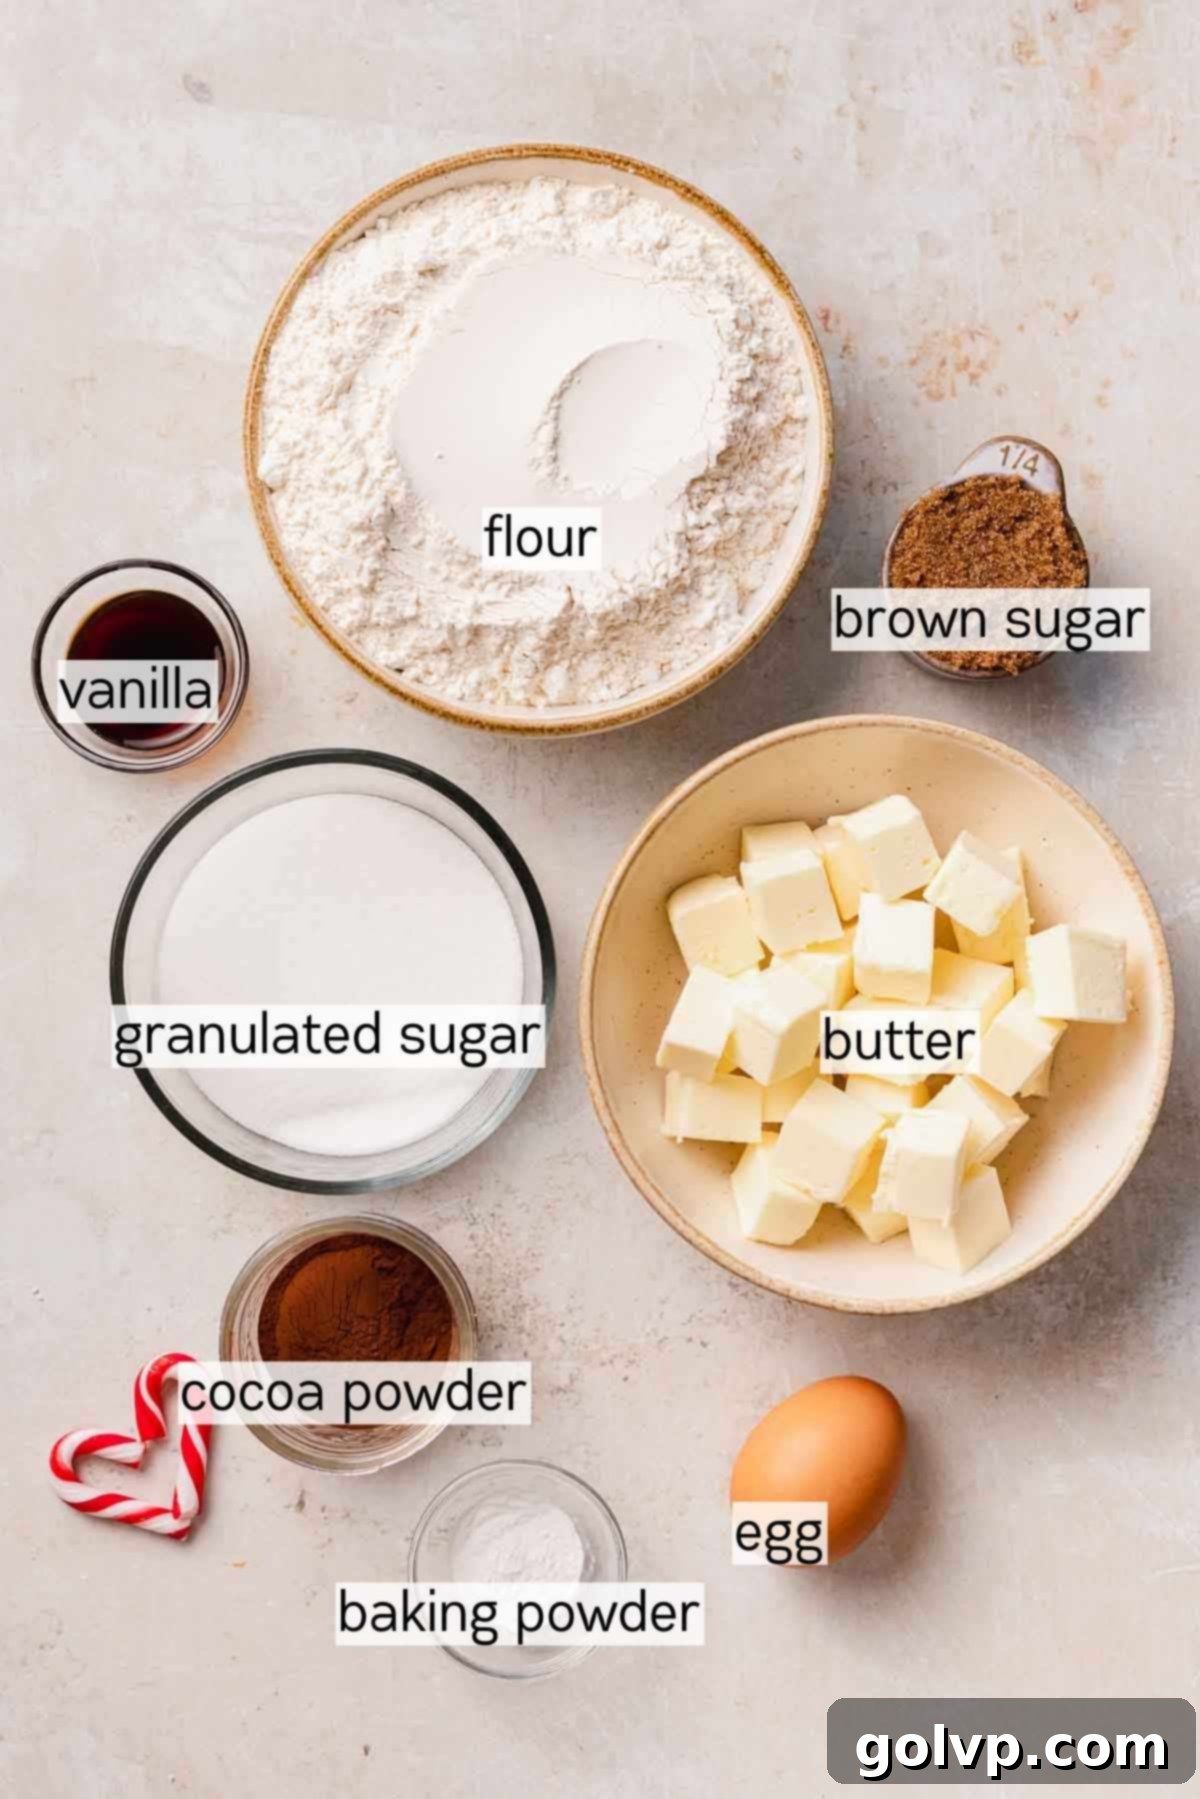
- Brown and Granulated Sugar: This dynamic duo is crucial for the cookie’s irresistible texture. Granulated sugar contributes to those delightful crisp edges that give way to a tender bite. Brown sugar, on the other hand, adds a deeper, more complex flavor profile with its molasses content and is responsible for making the inside of the cookies wonderfully soft and chewy. The combination ensures a balanced sweetness and a pleasing textural contrast.
- Cocoa Powder: We highly recommend using Dutch-processed cocoa powder for these cookies. This type of cocoa has been treated with an alkali to neutralize its acidity, resulting in a darker color and a milder, less bitter, yet richer chocolate flavor. I suggest adding it to only half of your dough batch. This clever trick allows you to create a wider variety of cookie flavors from a single recipe, giving you both classic vanilla and decadent chocolate bases to work with.
- Baking Powder: Not to be confused with baking soda, baking powder plays a vital role in the structure of these cookies. It acts as a leavening agent, helping the cookies to rise slightly and maintain their shape, preventing them from spreading too much in the oven. This ensures your thumbprint indentations hold up beautifully. Furthermore, it contributes significantly to their desirable soft texture.
- All-Purpose Flour: Accurate flour measurement is paramount in baking, especially for cookies, as too much or too little can drastically alter the final texture. For the most precise results, always weigh your flour using a kitchen scale. If you don’t have a scale, measure properly by gently stirring the flour in its bag or container to loosen it. Then, spoon it carefully into a dry measuring cup until it overflows. Finally, use the flat edge of a knife to scrape off the excess from the top, without packing the flour into the cup. This method helps prevent over-measuring, which can lead to dry, dense cookies.
- Coatings/Toppings: This is where the true customization begins! Coatings are applied to the cookie dough balls before indenting, serving a dual purpose: they add flavor and texture, and crucially, they prevent the dough from sticking to your thumb or measuring spoon when creating the indentation. Get creative with your choices! Some fantastic ideas include classic granulated sugar, shimmering coarse sugar, delicate powdered sugar, festive colored sugar, sweet shredded coconut, finely chopped nuts (like pecans, walnuts, or almonds), a dusting of extra cocoa powder, or even crushed peppermint candies for a holiday kick. These coatings not only enhance the visual appeal but also add another layer of flavor.
- Fillings: Ah, the heart of any thumbprint cookie! This is my absolute favorite part. A high-quality seedless raspberry jam is a timeless classic, melting beautifully into the cookie to create a vibrant, glossy, and intensely fruity center. For a delightful twist, explore different fruit curds, with a bright and tangy lemon curd being a particularly popular choice. After baking, you can also fill and top your cookies with a variety of indulgent treats such as melted chocolates, classic Hershey’s Kisses, rich Nutella, or even creamy cookie butter. Remember to add these particular fillings *after* the cookies are baked for the best results, ensuring they don’t burn or dry out in the oven.
If you’re particularly fond of citrus and want to make a whole batch of lemon cookies, these lemon curd cookies are an absolute must-try! They’re wonderfully tangy, zesty, and utterly delightful.
👩🍳 How to make Christmas thumbprint cookies: A Step-by-Step Guide
Crafting these delicious Christmas thumbprint cookies is a straightforward process that yields impressive results. Follow these detailed steps to ensure perfectly baked, soft, and flavorful cookies every time.
Thumbprint Cookie Dough Step by Step
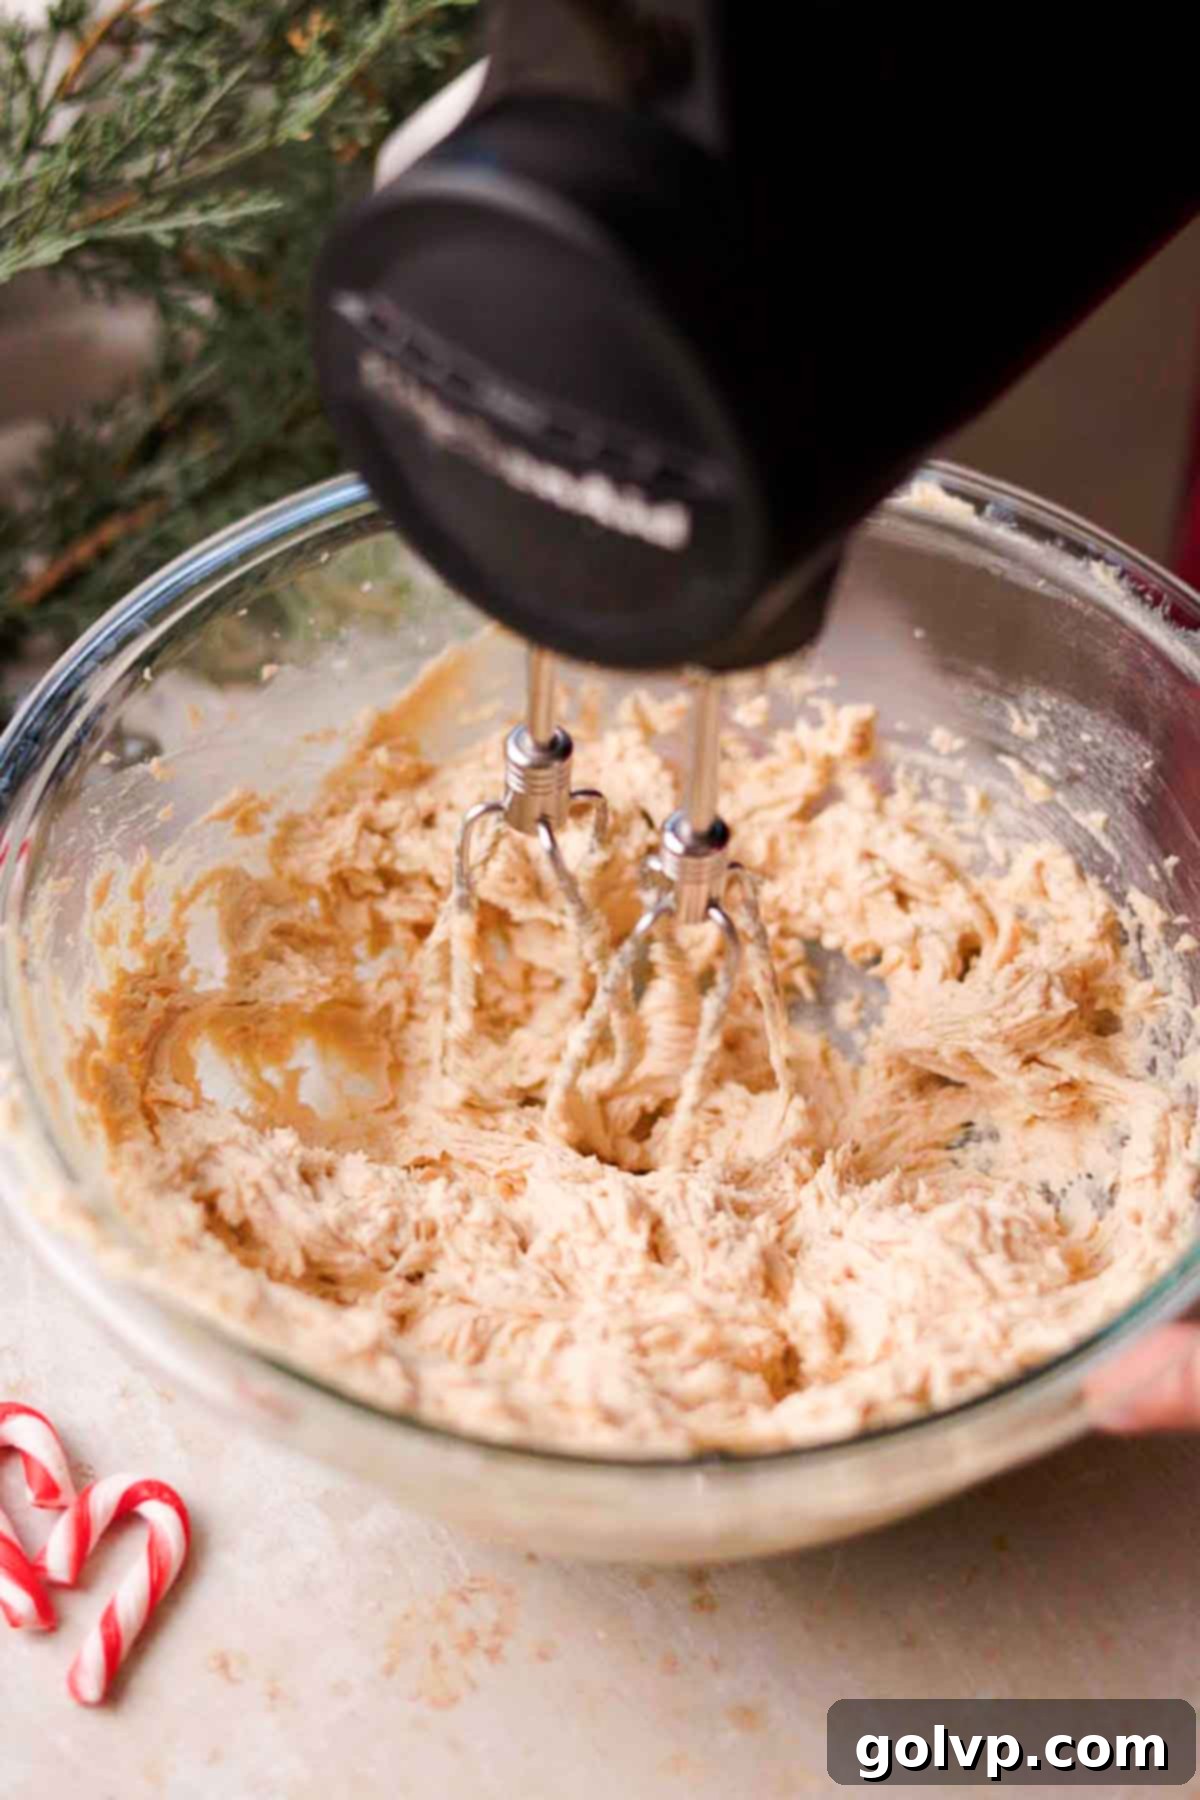
Step 1: Cream the Butter and Sugars. In a large mixing bowl or the bowl of a stand mixer fitted with the paddle attachment, combine the softened unsalted butter, granulated sugar, and packed brown sugar. Beat these ingredients together on medium speed until the mixture is light, fluffy, and pale in color. This creaming process incorporates air, which is essential for a tender cookie. Don’t forget to scrape down the sides of the bowl periodically to ensure all ingredients are evenly combined.
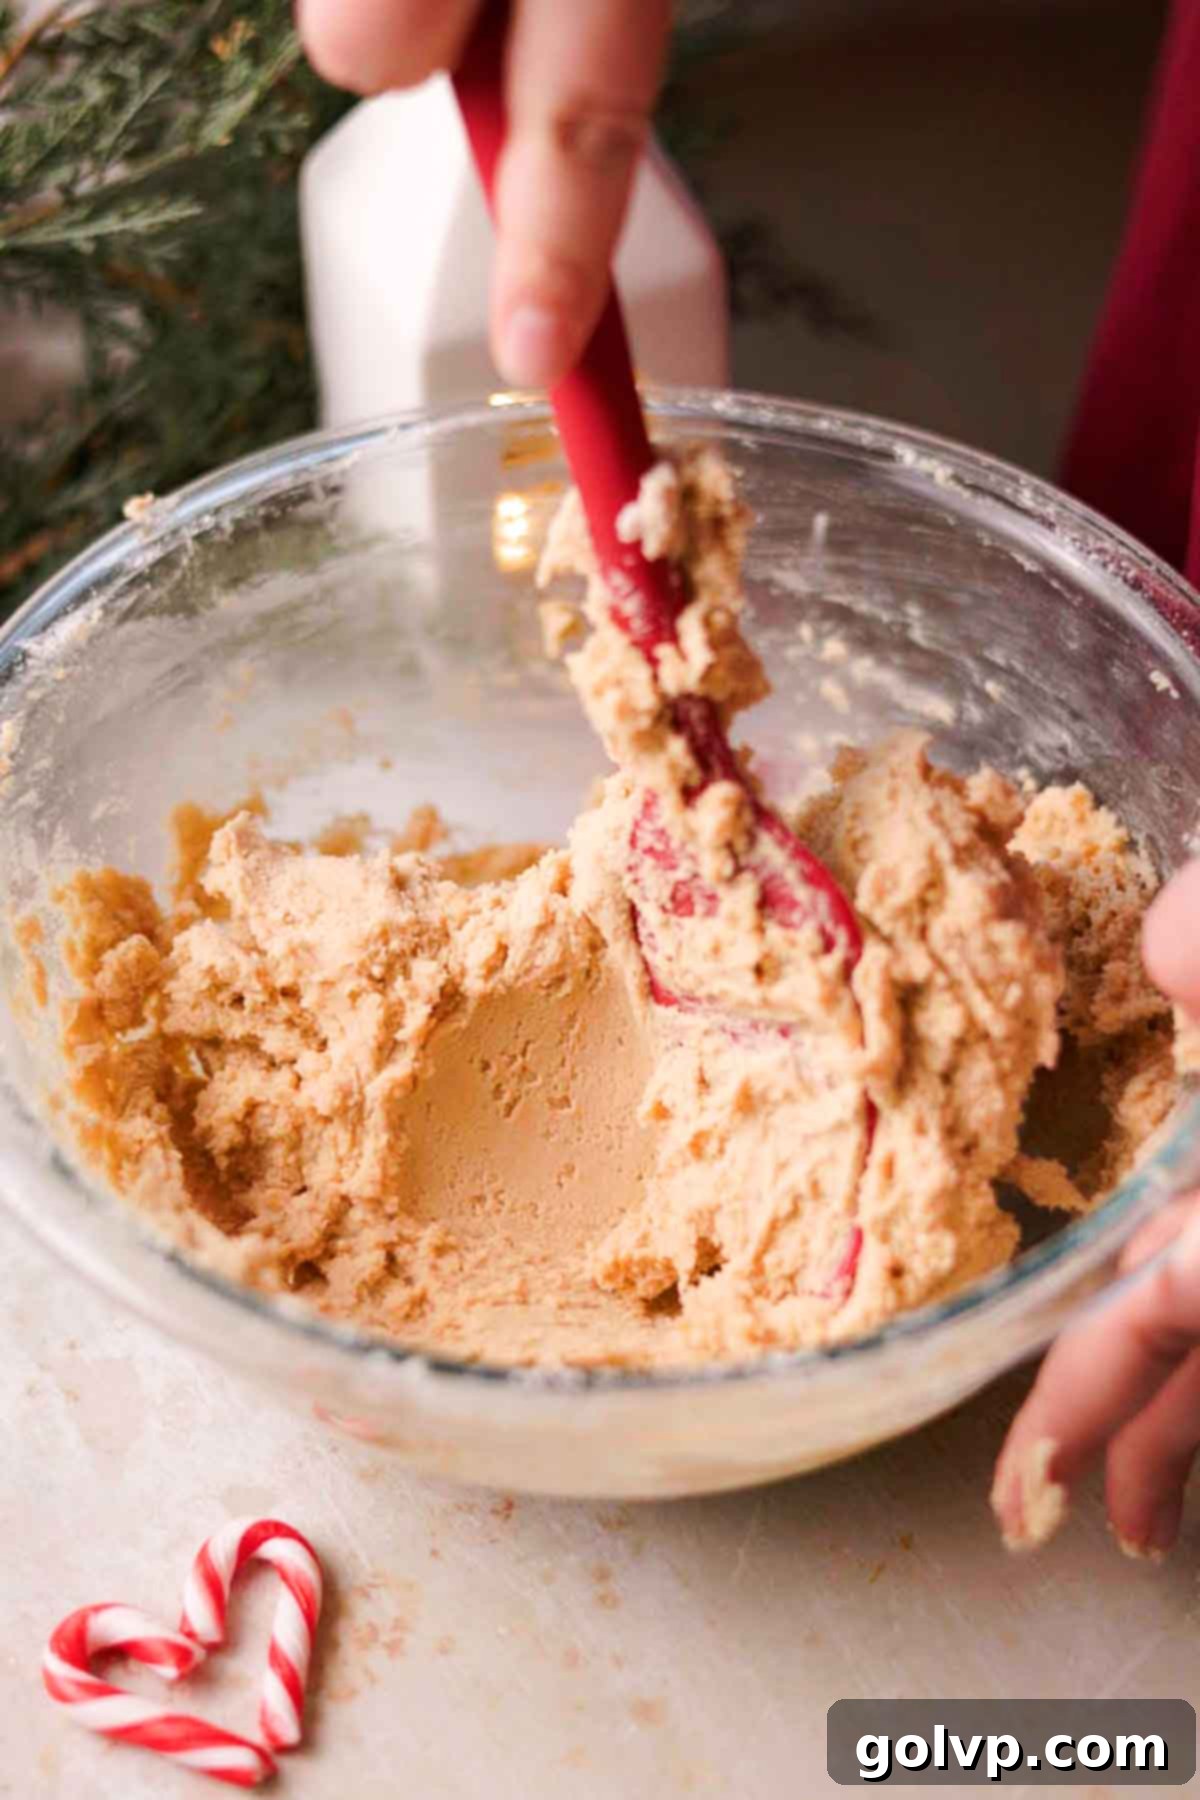
Step 2: Incorporate Wet and Dry Ingredients. To the creamed butter and sugar mixture, add the sea salt, large egg, and pure vanilla extract. Continue to beat until the mixture is well combined and once again light and fluffy. Next, sift in the all-purpose flour and baking powder directly into the same bowl. Gently fold the mixture using a spatula or on low speed with your mixer until a soft, cohesive cookie dough forms. Be careful not to overmix at this stage, as it can lead to tough cookies.
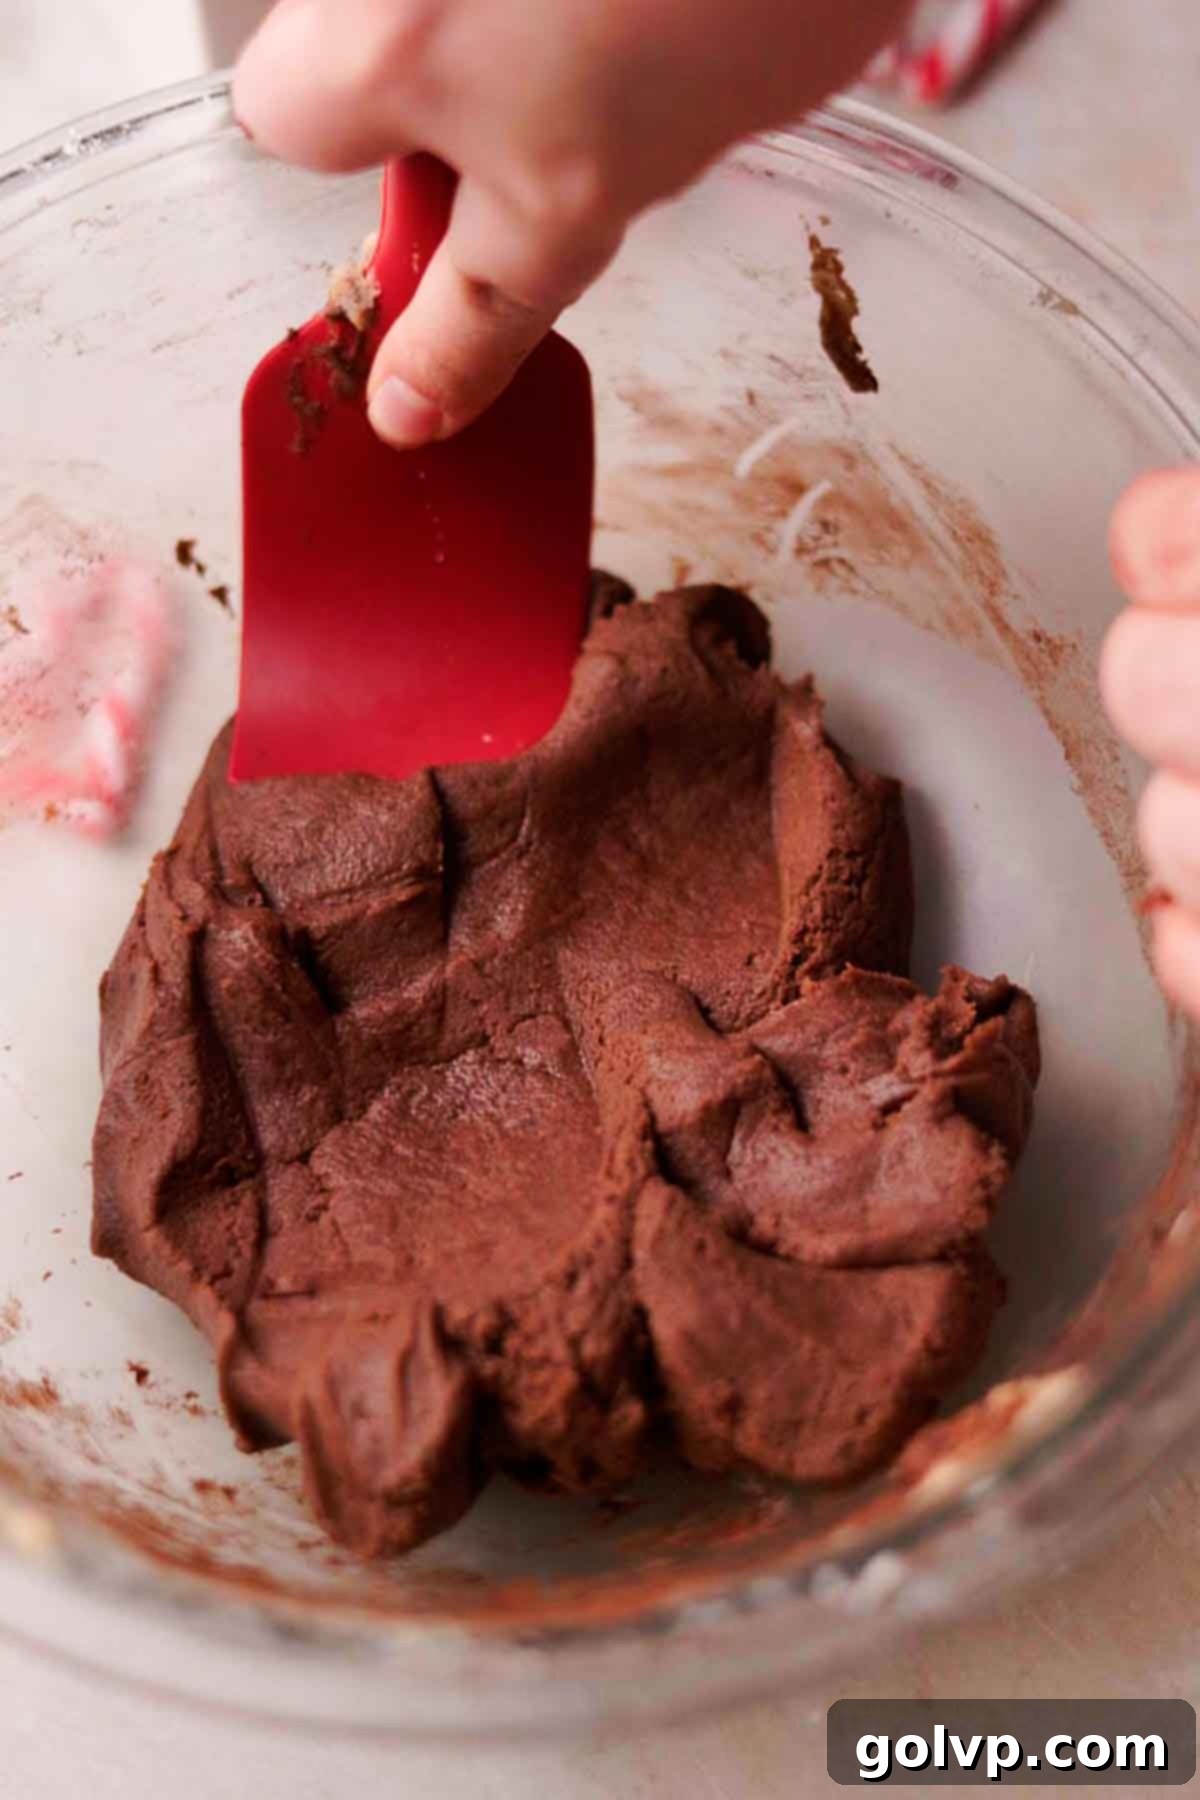
Step 3: Create Two-Flavor Doughs. For optimal variety, remove and set aside approximately half of the prepared cookie dough into a separate bowl. To the remaining dough in the first bowl, add the Dutch-processed cocoa powder. Mix gently until the cocoa powder is completely incorporated and the dough has a uniform chocolate color. This simple step allows you to create both classic vanilla and rich chocolate thumbprint cookies from a single batch of dough.

Step 4: Portion and Roll Dough Balls. Using a 1 ½ tablespoon cookie scoop (or a similar-sized spoon for consistent portioning), scoop out portions of both the vanilla and chocolate cookie doughs. Roll each scooped portion between the palms of your hands to form smooth, even balls. This ensures uniform baking and a neat appearance for your finished cookies. Place the rolled dough balls on a clean surface or a plate as you work.
Thumbprint Cookie Assembly Step by Step

Step 1: Coat the Cookie Dough. Before creating the indent, roll each cookie dough ball generously in your chosen coating. This could be granulated sugar, coarse sugar, powdered sugar, finely chopped roasted nuts, or desiccated coconut. The coating not only adds an extra layer of flavor and texture but also serves a crucial purpose: it prevents the dough from sticking to your thumb or tool when you create the indentation. Refer to the notes section for exciting flavor combination ideas.
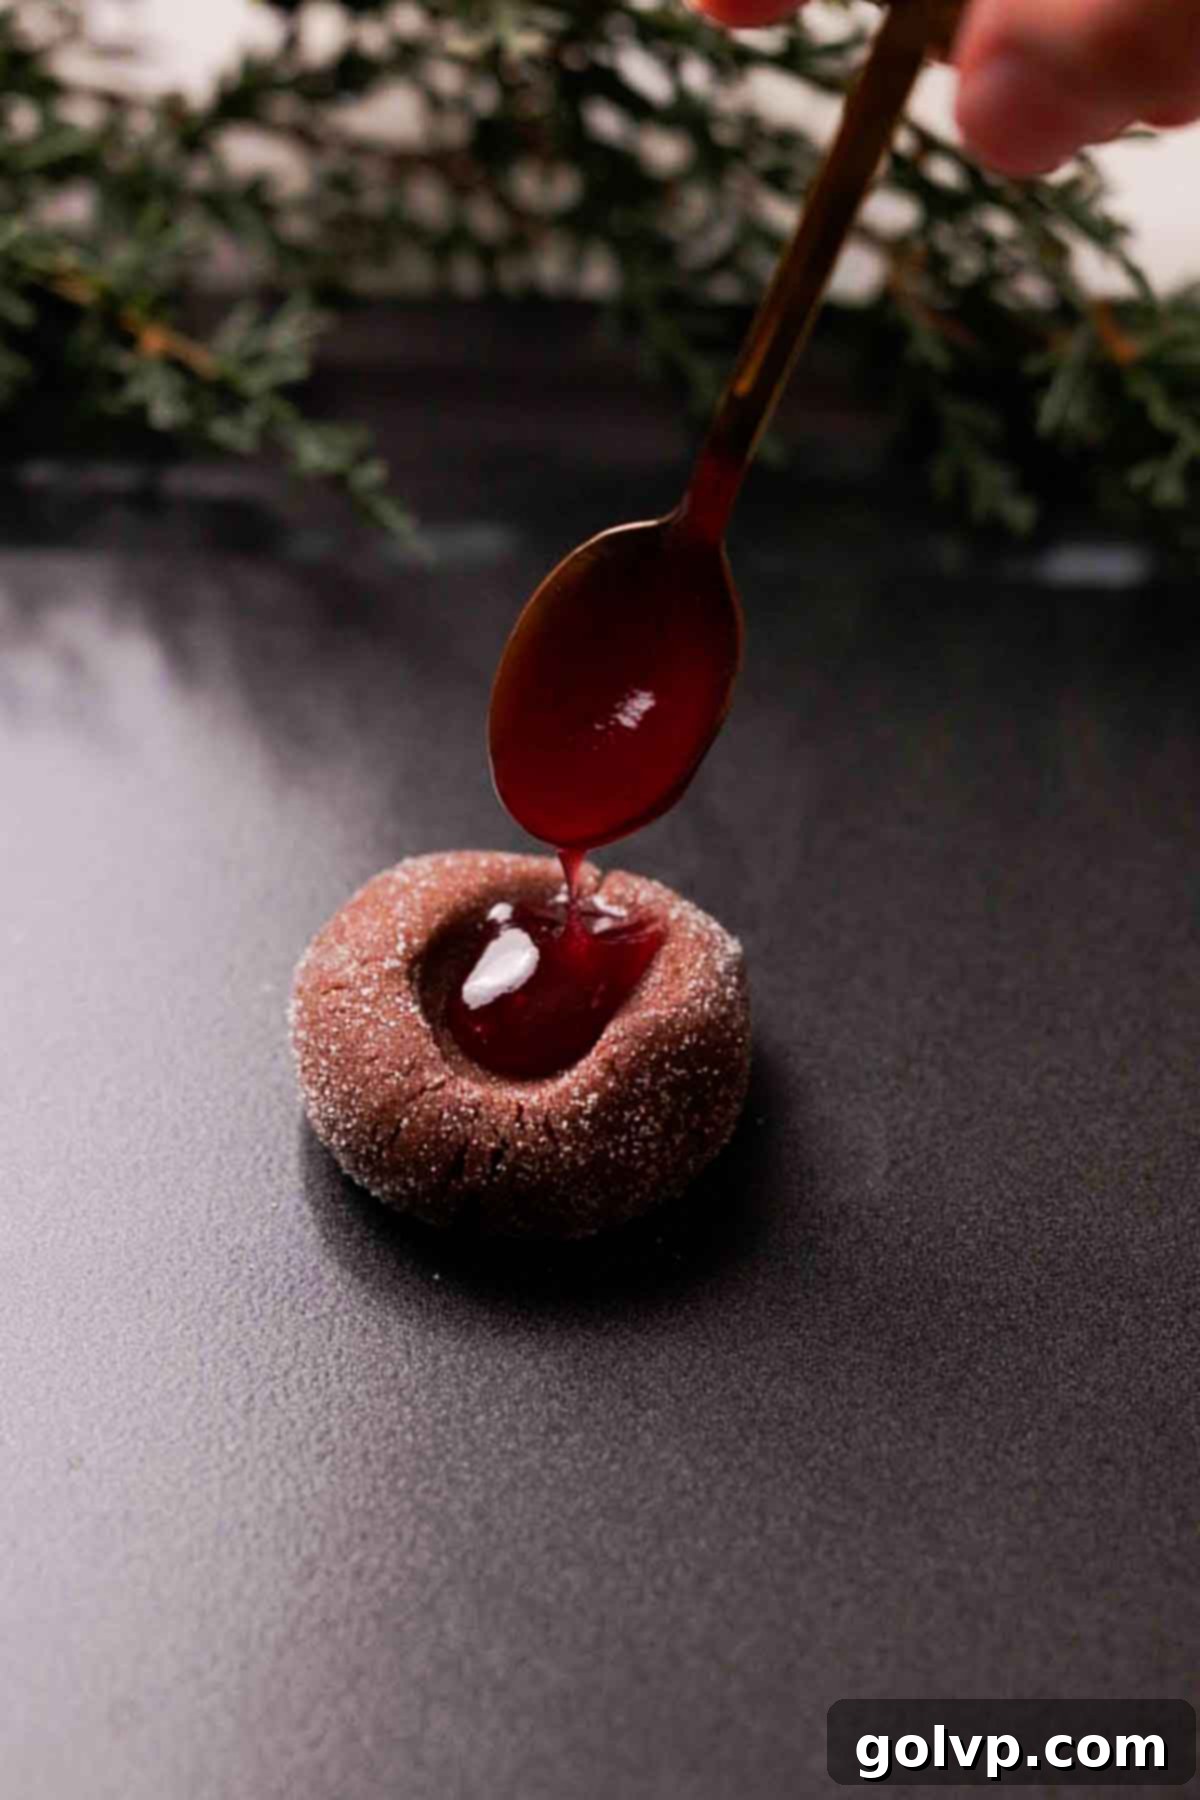
Step 2: Create Indentations and Fill. Carefully press the center of each coated cookie dough ball down with your thumb or the back of a measuring teaspoon to create a well for the filling. For a charming heart shape, first make an indent with your index finger, then push again with your index finger at a slight angle to refine the heart contour. Fill these indentations with your chosen filling. For baked-in fillings like jam (seedless raspberry jam is a classic choice for its smooth texture), lemon curd, or other fruit curds, fill them before baking. For toppings such as Nutella, melted chocolates, or Hershey’s Kisses, it’s best to add these *after* the cookies have baked and are still warm from the oven to prevent burning or hardening.
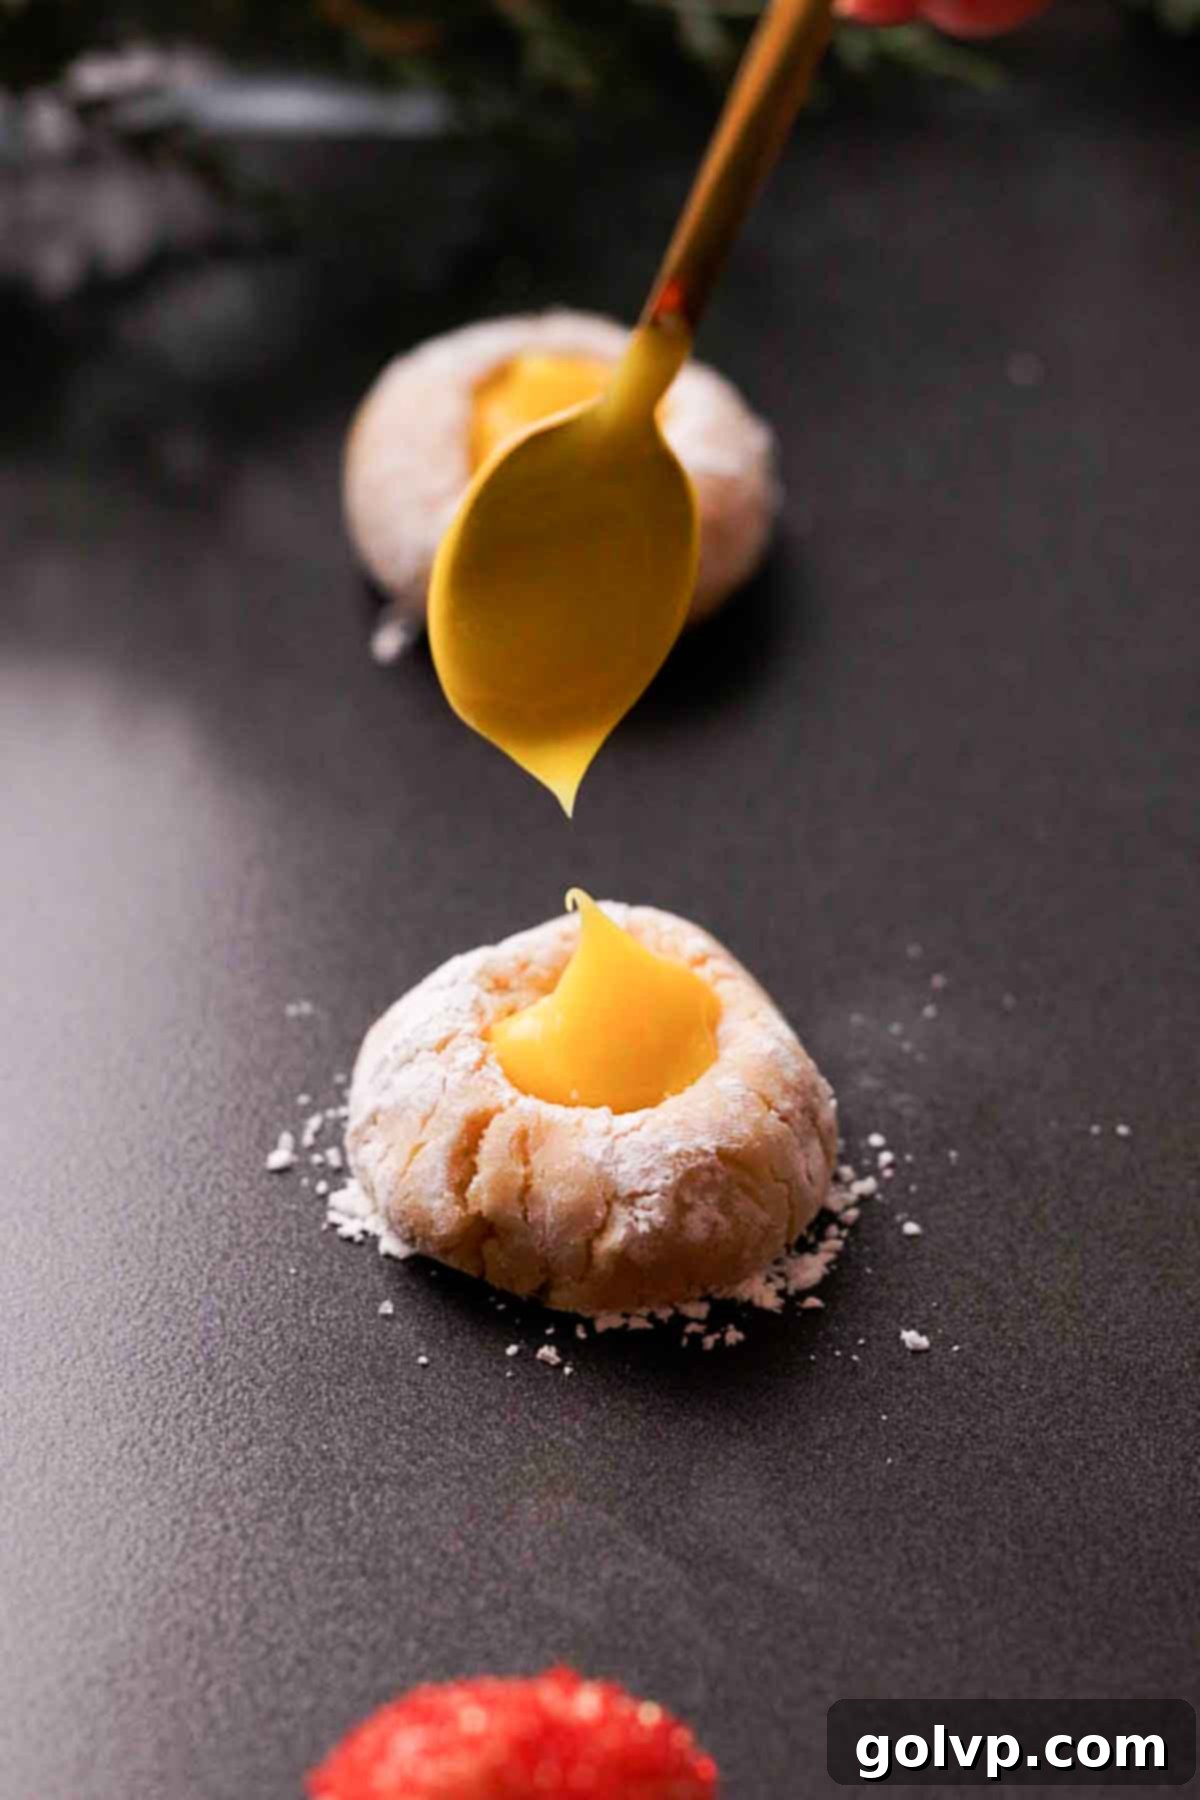
Step 3: Bake to Perfection. Arrange the prepared cookies on a baking sheet lined with parchment paper or a nonstick baking mat, ensuring about 2 inches of space between each cookie to allow for slight spreading. Preheat your oven to 355°F (180°C). Bake the cookies for approximately 8-10 minutes. It’s crucial not to overbake them, as this will result in hard and crispy cookies throughout, losing their signature soft and chewy texture. The cookies should appear puffed and slightly underbaked in the center; they will continue to set as they cool.
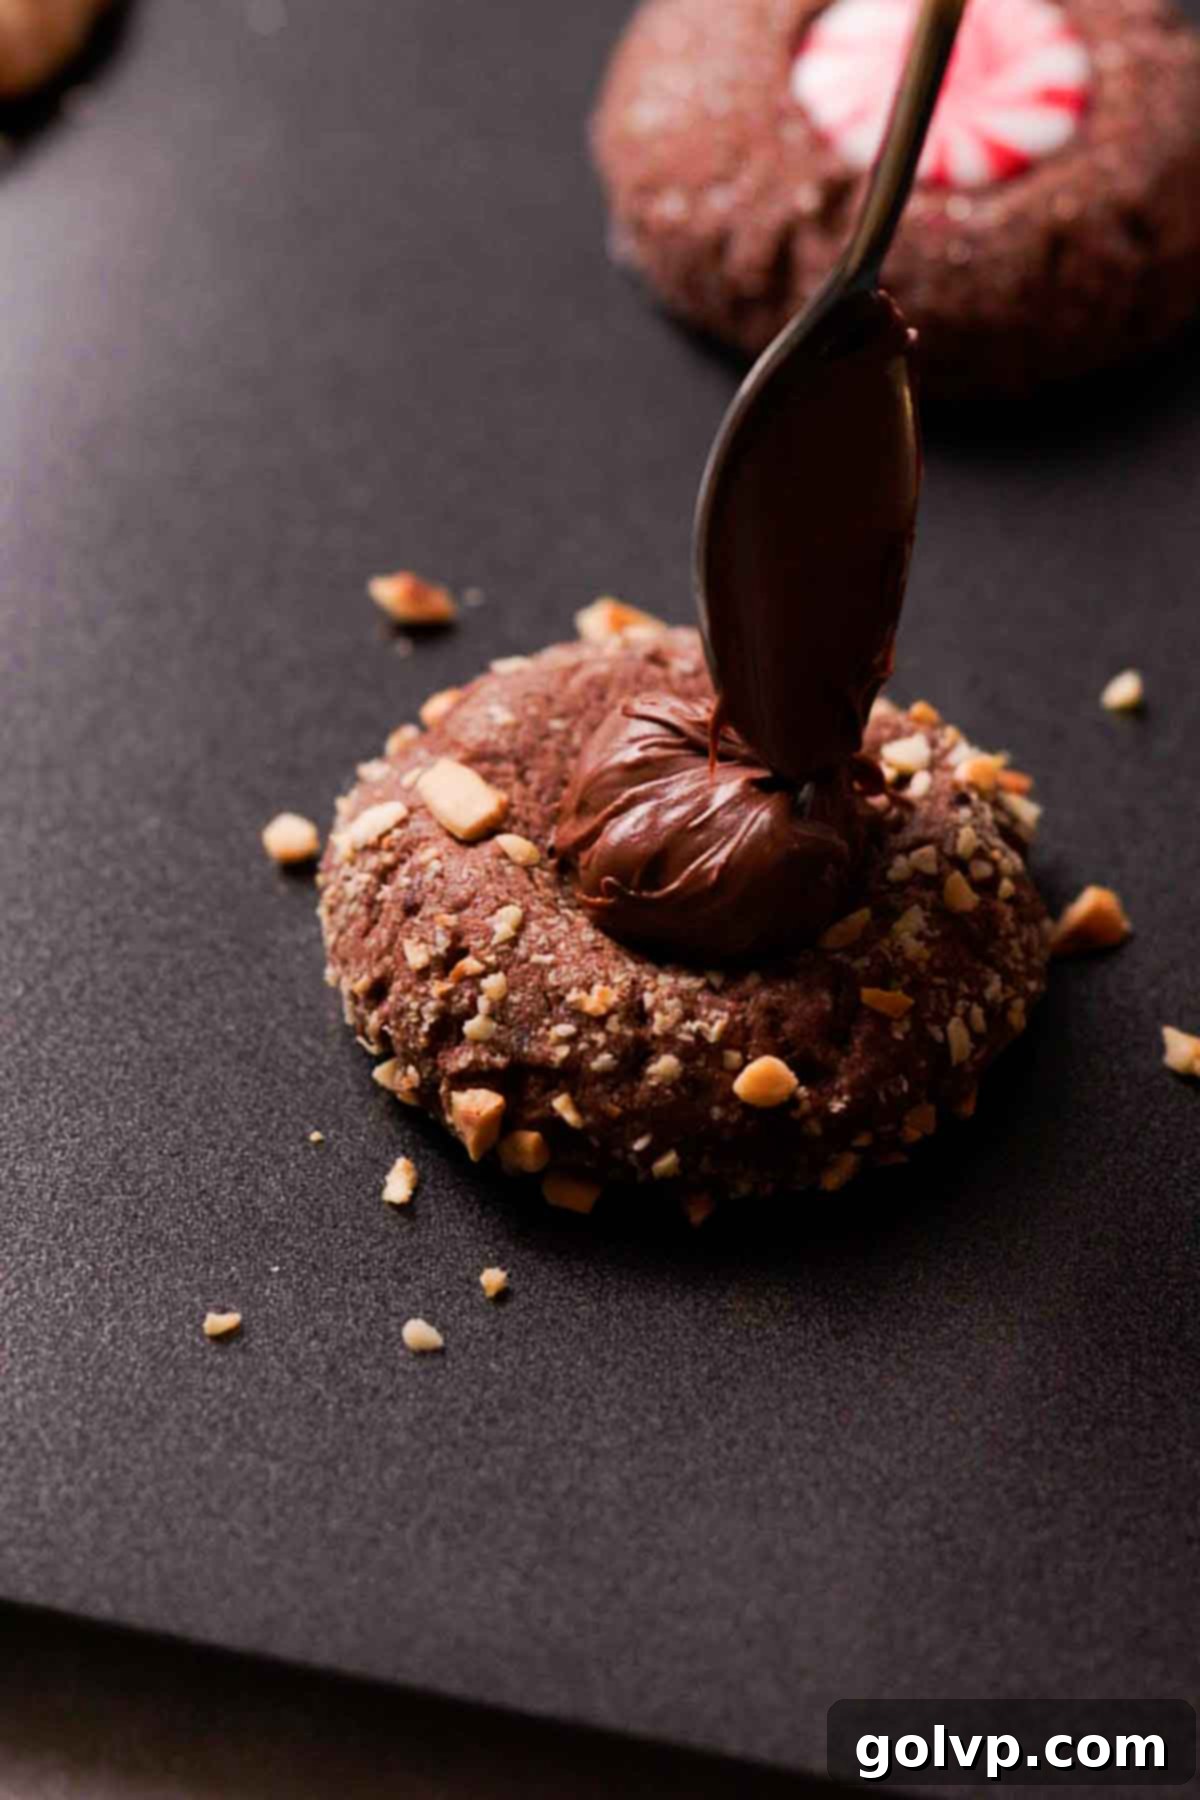
Step 4: Add Post-Baking Fillings and Cool. Once baked, immediately remove the cookies from the oven. If you plan to add toppings like Nutella, melted chocolates, or Hershey’s Kisses, now is the time. For spreads like Nutella, you may need to gently press a measuring teaspoon into the warm center again to create a perfectly formed space before spooning in the filling. Bake the cookies in batches if necessary, and once removed from the oven, transfer them to a wire cooling rack to cool completely. This allows them to firm up without becoming overly hard. Enjoy your beautifully customized and delicious Christmas thumbprint cookies!
✔️ Expert Thumbprint Cookie Tips for Success
Achieving the perfect thumbprint cookie involves a few key techniques. Keep these expert tips in mind for consistently delicious results:
- Avoid Overmixing the Cookie Dough: As soon as your dry ingredients are fully incorporated into the wet ingredients and a cohesive dough forms, stop mixing immediately. Overmixing develops the gluten in the flour too much, which can lead to a tough, dense, and hard cookie instead of the desired soft and tender texture. Gentle folding is key!
- Do Not Overbake the Cookies: This is one of the most crucial tips for achieving that perfect soft and chewy center. The cookies should still look slightly puffed and appear a little underbaked in the very center when you pull them from the oven. Their edges will be lightly golden. They will continue to cook and set as they cool on the baking sheet, ensuring a beautiful soft texture throughout. If they look fully golden or hard in the oven, they’re likely already overbaked.
- Always Coat the Cookie Dough: Before you press down to create the thumbprint indentation, make sure to roll your cookie dough balls thoroughly in granulated sugar or another fine topping (like powdered sugar or finely chopped nuts). This coating acts as a non-stick barrier, preventing the dough from adhering to your thumb or measuring spoon. It also adds a lovely texture and sparkle to the finished cookie.
- Add Chocolate Spreads and Solid Chocolates After Baking: If you’re using fillings like Nutella, melted chocolate, or even pressing a Hershey’s Kiss into the center, it’s best to do this immediately after the cookies come out of the oven. Adding them before baking can cause the chocolate to burn, seize, or form an unappealing crust, ruining the smooth, luscious texture you’re aiming for. The residual heat from the freshly baked cookie will gently melt solid chocolates, creating a perfect gooey center.
- Add Jam and Curd Before Baking: Conversely, for fruit jams and curds (like raspberry jam or lemon curd), these are best added to the indentations *before* the cookies go into the oven. The gentle heat of the oven allows these fillings to warm, melt slightly, and then set into a beautiful, smooth, and glossy top that adheres wonderfully to the cookie, creating that classic thumbprint look and flavor.

🥄 Make Ahead and Storage Tips
Proper storage is essential to keep your Christmas thumbprint cookies fresh and delicious for as long as possible. The baked cookies will store wonderfully in an airtight container, especially if refrigerated, for up to 4 days. The exact storage time can vary slightly depending on the specific fillings you choose for your cookies. For instance, fresh fruit fillings might have a shorter shelf life than jam or chocolate.
Regarding making the dough ahead of time, it’s generally best to prepare the dough and bake the cookies on the same day. I’ve found through experience that storing the raw cookie dough in the fridge before baking can lead to less-than-ideal results. Refrigerated dough tends to become quite stiff and difficult to work with, making it prone to cracking when you try to form the balls and press the indentations. Additionally, the sugar coating might not adhere as well, and the final baked cookies may not achieve the same desirable soft texture, becoming a bit harder than freshly prepared dough. For the best outcome, aim to bake these delightful cookies shortly after preparing the dough.
❔ Why these are the best thumbprint cookies to make for Christmas
When it comes to holiday baking, efficiency, versatility, and deliciousness are key. This thumbprint cookie recipe truly shines, making it an absolute must-have for your Christmas baking list. You only need one core cookie recipe and one batch of dough to create an incredible array of distinct cookies, perfect for filling up a festive Christmas cookie box or satisfying all your holiday hosting needs. The ability to customize each cookie with your favorite flavors is a huge advantage, allowing you to cater to everyone at your gathering.
Just look at the impressive variety of flavors I managed to create from a single batch of this dough! From fruity to chocolatey, nutty to minty, the options are only limited by your imagination. This kind of versatility makes holiday baking less stressful and much more fun.
Furthermore, these are an excellent choice for any last-minute holiday baking emergencies. Since there’s no requirement to chill the cookie dough, you can have these delightful treats in the oven within just 20 minutes of starting the recipe! This speed and convenience are invaluable during the busy holiday season, allowing you to whip up fresh cookies whenever the craving strikes or unexpected guests arrive.
Beyond their convenience and versatility, the cookies themselves are simply delicious! They boast a lovely bit of crunch and golden crispness around the edges, perfectly contrasting with the incredibly soft and chewy middles. And, of course, the vibrant, flavorful filling in the middle adds a delightful pop of taste and a beautiful visual appeal, making each bite a festive experience. These qualities combine to make them undeniably the best thumbprint cookies for your Christmas celebrations.
📖 Recipe FAQs
Absolutely! This recipe is designed to be flexible. If you desire an entire batch of vanilla cookies, simply omit the cocoa powder from the recipe and proceed with the full amount of vanilla dough. For a full batch of decadent chocolate cookies, double the amount of Dutch-processed cocoa powder specified and mix it into the entire dough batch from the start. Both options yield fantastic results!
The beauty of these cookies lies in their adaptability! Both the chocolate and vanilla cookie doughs serve as a wonderful blank canvas for nearly any flavor combination you can dream up. Classic choices like raspberry jam and lemon curd are always winners. For more unique ideas, consider a cocoa powder dough with a dollop of peanut butter added after baking for a chocolate-peanut butter delight. You could also try a matcha-flavored dough (by adding matcha powder) paired with raspberry jam, or a vanilla dough rolled in desiccated coconut and filled with tangy lemon curd. Don’t be afraid to experiment with your favorite fruit preserves, nut butters, or even festive sprinkles and candies!
While it’s tempting to prep dough in advance, for these thumbprint cookies, I highly recommend making the dough and baking it on the same day. I’ve found that refrigerating the dough can make it quite firm and difficult to handle. This can lead to increased cracking when you form the balls and press the indentations. Furthermore, the sugar coating may not adhere as well, and the final cookies often lose some of their signature softness. For the best texture and appearance, bake fresh!
Yes, these thumbprint cookies are surprisingly sturdy while still retaining their desirable soft texture, making them a good candidate for shipping. While I haven’t personally shipped them long distances, their robust nature suggests they should travel well. If you decide to ship them, make sure to pack them carefully in an airtight container with cushioning to prevent shifting and breakage. If you do try shipping, please share your experience in the comments below – your insights would be incredibly helpful to others!
🎄 More Festive Cookie Recipes to Enjoy
- Soft Gingerbread Cookies
- Lemon Curd Cookies
- Slice and Bake Peppermint Shortbread Cookies
- Dulce de Leche Cookies [Alfajores]
Did you make this recipe? I would love for you to rate this recipe and hear what you think in the comments below! Share your creation on Instagram and tag @flouringkitchen. Follow me on Pinterestto save and for more delicious recipe ideas.
📖 Recipe

Christmas Thumbprint Cookies
Mary
Pin Recipe
Shop Ingredients
Equipment
-
Cookie sheet
-
parchment paper
-
cooling rack
Ingredients
- 1 cup unsalted butter softened
- ½ cup granulated sugar
- ¼ cup brown sugar packed
- ¼ teaspoon sea salt
- 1 large egg
- 2 ½ cups all purpose flour 300g
- 1 teaspoon baking powder
- 2 teaspoons pure vanilla extract
- 2 tablespoons dutch processed cocoa powder
- ½ cup granulated sugar for coating or your preferred topping (see notes)
- ½ cup seedless jam or your preferred fillings (see notes)
Shop Ingredients on Jupiter
Instructions
-
In a large bowl or stand mixer, combine softened unsalted butter, granulated sugar, and brown sugar. Beat well until the mixture is light, pale, and fluffy, scraping down the bowl as needed to ensure even mixing.1 cup unsalted butter, ½ cup granulated sugar, ¼ cup brown sugar
-
Add the sea salt, large egg, and pure vanilla extract to the butter and sugar mixture. Beat again until thoroughly combined and fluffy.¼ teaspoon sea salt, 1 large egg, 2 teaspoons pure vanilla extract
-
Sift the all-purpose flour and baking powder directly into the same bowl. Gently fold the mixture using a spatula until a uniform cookie dough forms, being careful not to overmix.2 ½ cups all purpose flour, 1 teaspoon baking powder
-
Remove approximately half of the cookie dough and set it aside in a separate bowl. Add the Dutch-processed cocoa powder to the remaining dough and mix gently until it is completely incorporated and the dough is a consistent chocolate color.2 tablespoons dutch processed cocoa powder
-
Using a 1 ½ tablespoon cookie scoop, portion both the vanilla and chocolate cookie doughs. Roll each portion between your hands to form smooth, even balls for consistent baking.
-
Roll each cookie dough ball in your desired topping (e.g., granulated sugar, coarse sugar, powdered sugar, finely chopped roasted nuts, or desiccated coconut). Refer to the notes for various flavor combination ideas.½ cup granulated sugar for coating
-
Press the middles of the coated dough balls down with your thumb or the back of a measuring teaspoon to create an indentation for the filling. To make a heart shape, push an indent with your index finger, then push again at a slight angle to refine the shape. Fill the indentations with your chosen filling (e.g., seedless raspberry jam, lemon curd, or other fruit curds). For fillings like Nutella, chocolates, or Hershey’s Kisses, it is recommended to add these after the cookies are baked and warm.½ cup seedless jam
-
Arrange the filled cookies on a parchment-lined or nonstick cookie sheet, leaving approximately 2 inches of space between them to allow for spreading. Bake in a preheated oven at 355°F (180°C) for 8-10 minutes. Avoid overbaking; the cookies should be slightly puffed and appear soft in the center to ensure they remain tender and chewy.
-
After baking, if you are using toppings such as Nutella, melted chocolates, or Hershey’s Kisses, gently press a measuring teaspoon into the warm center of each cookie to create a cavity if needed, then add your desired topping.
-
Bake the cookies in batches if necessary, and once removed from the oven, transfer them to a cooling rack to cool completely. Serve and enjoy your homemade Christmas thumbprint cookies!
Video
Notes
- Roll in powdered sugar and fill with lemon curd for a zesty, sweet treat.
- Coat in granulated sugar and fill with classic raspberry jam, shaping the indent into small hearts for extra charm.
- Roll in desiccated or shredded coconut and fill with vibrant raspberry jam for a tropical touch.
- Use red colored sugar for coating and press peppermint Hershey’s Kisses into the warm cookies immediately after baking for a festive minty twist.
- Top with a swirl of almond butter or caramel after baking for rich, nutty flavors.
Chocolate cookie dough topping and filling ideas:
- Roll in finely chopped roasted hazelnuts and fill with creamy Nutella (added after baking) for an irresistible chocolate-hazelnut combination.
- Coat with a mixture of finely crushed peppermint candies and sugar, then fill with a round peppermint candy or a dollop of peppermint ganache (after baking).
- Roll in granulated sugar and fill with tart raspberry jam for a classic chocolate-berry pairing.
- Dust with extra cocoa powder and fill with a rich dulce de leche for a decadent, gourmet option.
Storage:
The baked cookies will maintain their freshness and soft texture when stored in an airtight container, preferably refrigerated, for up to 4 days. Keep in mind that the shelf life might vary slightly based on the moisture content and type of fillings used.
Make ahead:
For the best possible results, it is highly recommended to prepare the cookie dough and bake the cookies on the same day. Dough that has been refrigerated tends to become much stiffer and is more challenging to work with. This can lead to increased cracking when forming and indenting the cookies, and the sugar coating may not adhere as effectively. Moreover, the texture of cookies baked from chilled dough might not be as wonderfully soft as those baked fresh.
Tips for success:
- Do Not Overmix the Cookie Dough: Mix just until the ingredients are combined to ensure a tender cookie.
- Avoid Overbaking: Pull cookies from the oven when they look slightly underdone in the center for a perfectly soft texture.
- Always Coat the Dough: Roll cookie dough balls in sugar or another topping to prevent sticking when making indentations.
- Add Chocolate After Baking: Any chocolate spreads or solid chocolates should be added to the warm cookies after baking to prevent burning and ensure a smooth texture.
- Jam and Curd Before Baking: For a beautiful, glossy, and settled center, add fruit jams and curds to the cookies prior to baking.
- Consistent Sizing: Use a cookie scoop to ensure all cookies are roughly the same size for even baking.
- Parchment Paper is Your Friend: Always line your baking sheets with parchment paper to prevent sticking and make cleanup a breeze.
Nutrition
