Jump to Recipe
The Ultimate Oreo Tiramisu: A Decadent No-Bake Twist on a Classic Italian Dessert
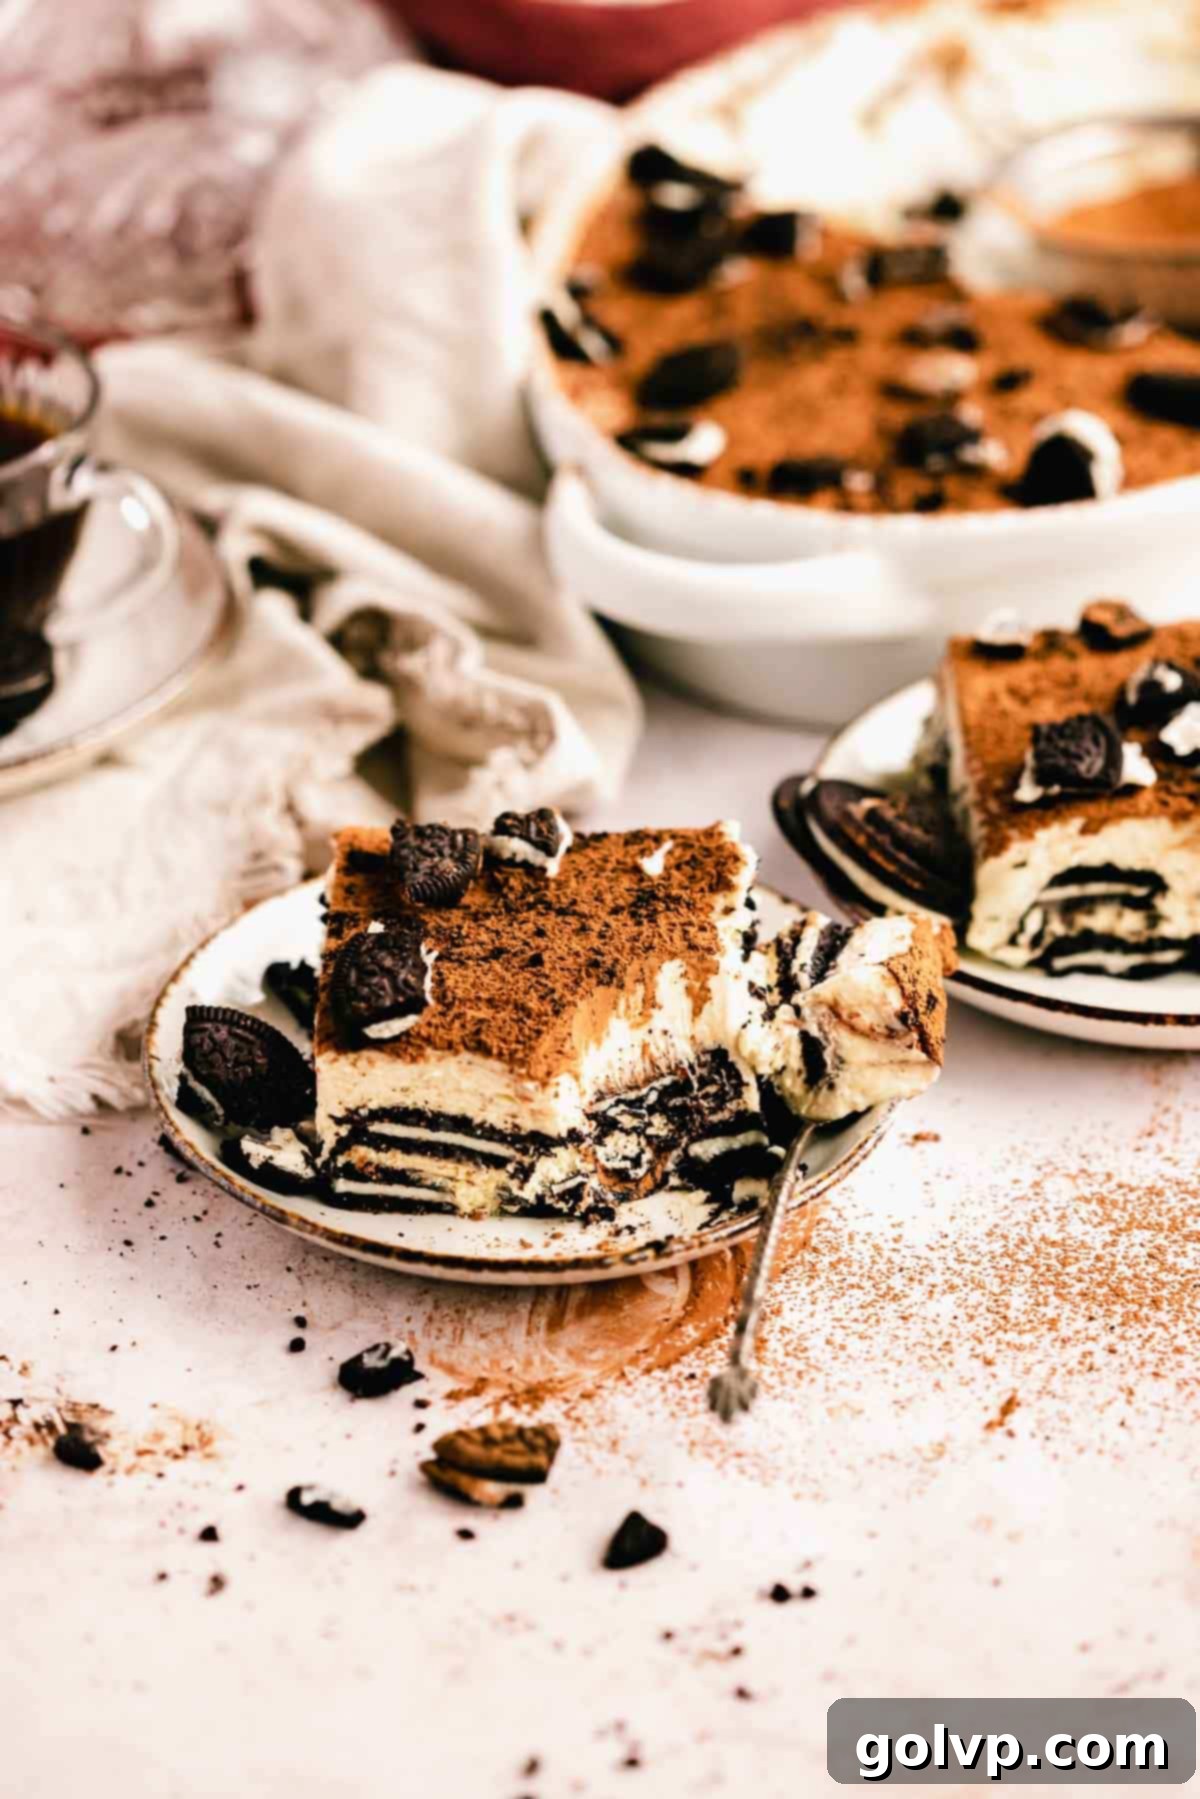
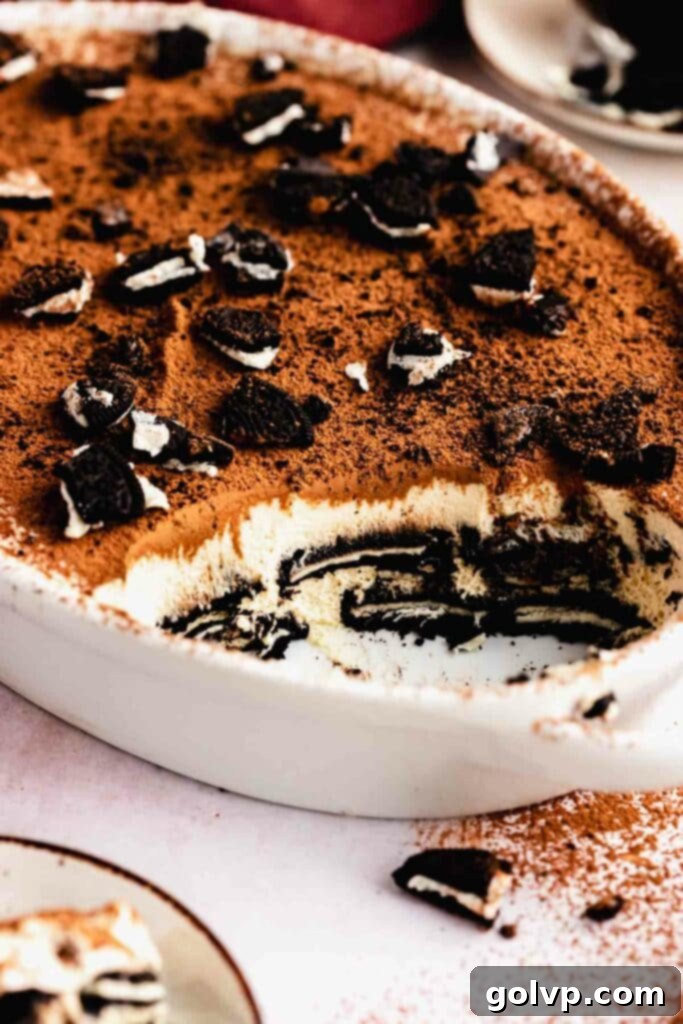
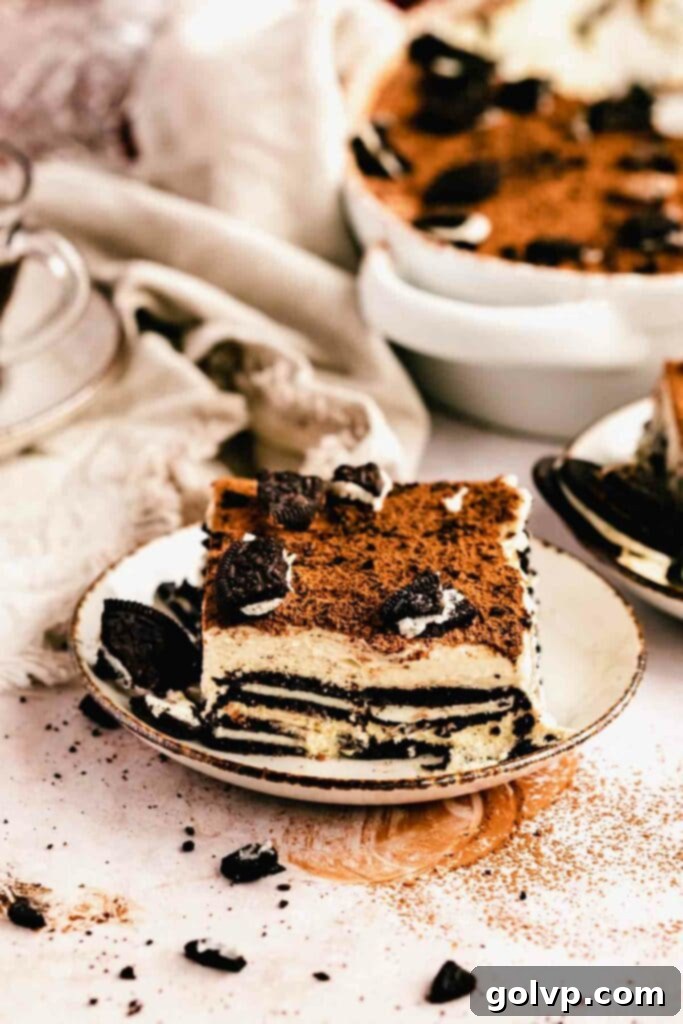
Prepare to be enchanted by this extraordinary Oreo Tiramisu, a delightful reinterpretation of the beloved Italian classic. While it captures all the rich, creamy essence and coffee-kissed indulgence of traditional tiramisu, it introduces a wonderfully non-traditional twist: swapping out the usual ladyfingers for popular chocolate sandwich cookies. These iconic Oreos beautifully absorb the robust coffee, infusing each layer with a deep, satisfying chocolate flavor that perfectly complements the mascarpone cream. This innovative substitution not only offers a fantastic alternative if ladyfingers are hard to find but also elevates the dessert to an entirely new level of deliciousness, making it an instant crowd-pleaser.
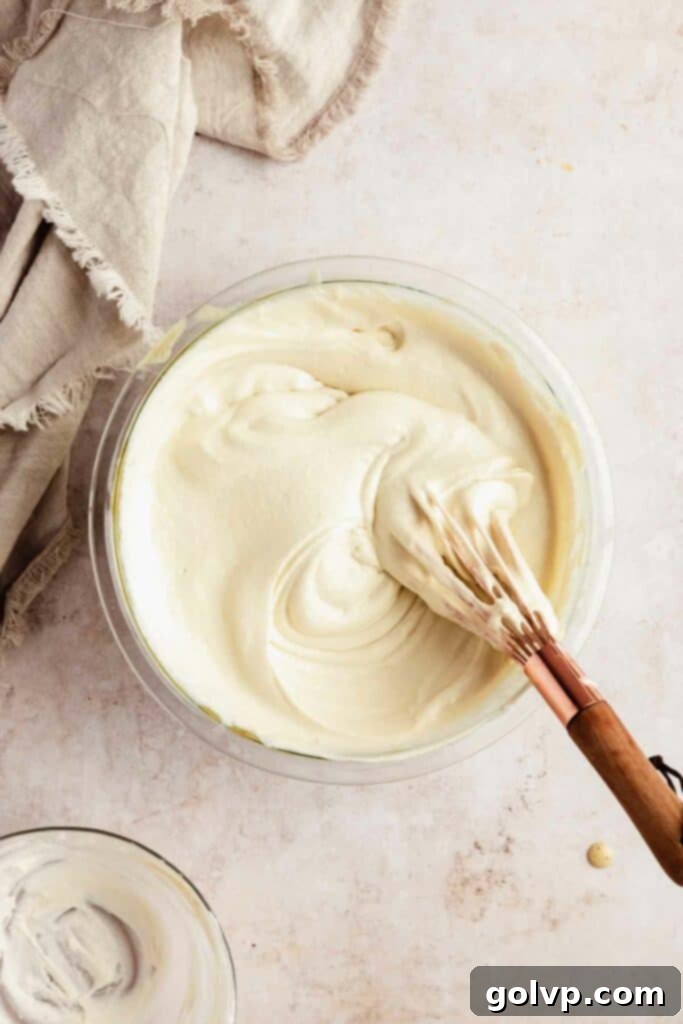
At the heart of this sensational dessert lies my tried-and-true classic tiramisu filling, a velvety blend crafted from egg yolks, whole eggs, granulated sugar, and a hint of strong coffee. This luscious mixture is gently cooked over a double boiler, requiring continuous whisking until it transforms into a thick, frothy, and wonderfully stable custard. While the process of whisking may initially seem a bit labor-intensive, rest assured, it’s quite manageable and deeply rewarding. As the mixture slowly heats and thickens, it develops an incredibly light and airy texture. Once perfectly cooked, the mixture is cooled, then smooth mascarpone cheese is folded in, followed by delicate whipped cream, which brightens the flavor and creates an irresistibly light, mousse-like consistency. The result is a filling that’s both rich and ethereal, forming the perfect canvas for the chocolatey Oreos.
Crafting the Perfect Coffee Infusion for Your Tiramisu
The coffee is undeniably a star ingredient in any tiramisu, and this Oreo version is no exception. We recommend using a strong, freshly brewed coffee to ensure a vibrant flavor that stands up to the richness of the chocolate cookies and mascarpone cream. This robust coffee is used both for dipping the Oreos, allowing them to soften and absorb its complex notes, and as an essential component within the creamy filling. For those who prefer a less caffeinated option, decaffeinated coffee works wonderfully, or you could even experiment with a strong black tea for a unique aromatic twist. If you’re aiming for a completely coffee-free dessert, a simple swap to milk for both dipping and the filling will create a milder, family-friendly treat that still delights with its creamy layers.
For an indulgent, more traditional tiramisu experience with a delightful boozy kick, consider incorporating a liquor into your coffee mixture. A popular and highly requested variation involves using a 50/50 blend of Kahlua (a coffee liqueur) and strong brewed coffee in both the filling and the Oreo dipping mixture. This combination imparts a wonderful depth of flavor and a subtle warmth that elevates the entire dessert, making it truly irresistible. If Kahlua isn’t available, a dark rum makes an excellent substitute, offering a similar rich, aromatic profile. Whichever coffee or liquor choice you make, ensure it’s cooled to avoid cooking the other ingredients when combined.
Frequently Asked Questions About Oreo Tiramisu
Absolutely! While coffee is traditional, this Oreo Tiramisu is incredibly versatile. You can easily substitute the strong brewed coffee with an equally strong black tea for a different depth of flavor, or use plain milk for a milder, coffee-free version that’s perfect for all ages. The key is to ensure your chosen liquid is flavorful enough to complement the chocolate Oreos and rich mascarpone filling.
This recipe brilliantly features Oreos for their distinct chocolate flavor and excellent absorbency. However, feel free to get creative! Any chocolate or vanilla sandwich cookie similar to Oreos will work beautifully. You can also revert to a more classic approach by using traditional ladyfingers, dipping them in the coffee (or your chosen liquid) in precisely the same manner as the Oreos. Experimenting with different cookie types can lead to exciting new flavor profiles!
Yes, making a gluten-free Oreo Tiramisu is absolutely possible and just as delicious! The secret lies in selecting your favorite gluten-free sandwich cookies – many popular brands, including Oreo, now offer excellent gluten-free versions. Alternatively, you can use gluten-free ladyfingers. Ensure all other ingredients you use are also certified gluten-free, and you’ll have a delightful dessert that caters to dietary needs without compromising on flavor.
While many traditional tiramisu recipes rely solely on egg yolks for richness, my recipe incorporates a few whole eggs to achieve a superior texture and flavor. Through experimentation, I discovered that adding whole eggs not only makes the filling significantly creamier and more luxurious but also helps to balance out the richness, resulting in a less “eggy” taste. This subtle addition creates a perfectly smooth, velvety custard that truly elevates the overall experience of the tiramisu.
Absolutely! Individual tiramisus are a charming way to serve this dessert, perfect for dinner parties or personal portions. Simply follow the recipe instructions as written, but instead of assembling the tiramisu in one large dish, layer the coffee-dipped Oreos and creamy filling in individual glasses, ramekins, or small containers. This makes for beautiful presentation and easy serving, and the chilling time remains the same.
Good news – tiramisu freezes exceptionally well, making it an excellent make-ahead dessert! You can prepare it several weeks in advance. After assembling, simply wrap the entire dish tightly with multiple layers of plastic wrap, followed by aluminum foil, to prevent freezer burn. It can be stored in the freezer for up to one month. To serve, transfer it to the refrigerator to thaw overnight. Leftovers can also be frozen following the same method for future enjoyment.
Unfortunately, once a tiramisu has been assembled and becomes soupy, it’s very difficult to salvage due to the complex interaction of its various ingredients. The best approach is prevention. Ensure the egg yolk and sugar mixture is thoroughly cooked over the double boiler until it becomes noticeably thick and very hot to the touch (be careful!). Allow this mixture to cool completely before incorporating the mascarpone cheese. Using a high-quality, full-fat mascarpone cheese is crucial for a thick filling. Furthermore, whip your heavy cream to medium-stiff peaks, making sure both the cream, bowl, and whisk are very cold to aid in proper whipping. Adhering to these steps will help you achieve a robust, mousse-like filling. Finally, allow the tiramisu to chill for at least 8 hours, or preferably overnight, to ensure it sets properly and achieves that perfect sliceable consistency.
Key Ingredients for Your Delicious Oreo Tiramisu
Before you dive into the full recipe, take a moment to read through these essential ingredient notes and expert baking tips. They’ll guide you through substitutions and provide insights to ensure your Oreo Tiramisu is an absolute triumph! The complete list of ingredients and detailed instructions can be found in the recipe card below.
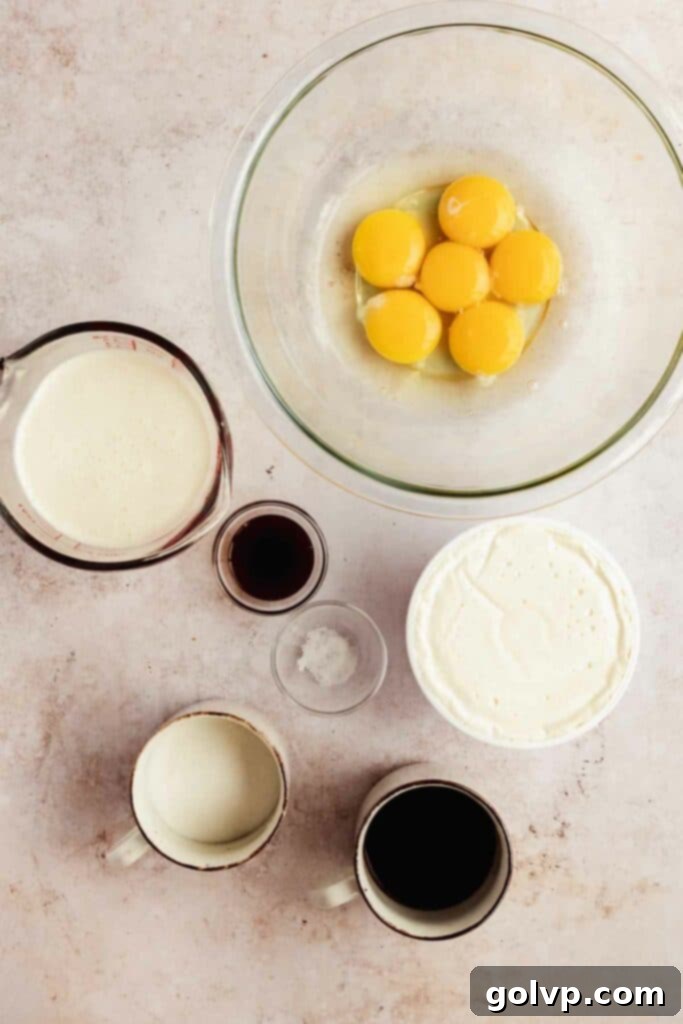
Egg yolks and whole eggs: This unique combination creates the wonderfully rich, custard-like base that is characteristic of authentic tiramisu. The yolks provide unparalleled richness, while the whole eggs contribute to a lighter, creamier texture and a less intense “eggy” flavor. Ensure your eggs are at room temperature for optimal emulsification and a smoother custard. This is a critical step for a stable filling.
Strong coffee: The backbone of tiramisu flavor! You can use freshly brewed espresso, a strong drip coffee, or even instant coffee dissolved in hot water. The key is potency. Allow it to cool slightly before use, as hot coffee can quickly disintegrate your Oreos. For a low-caffeine option, choose decaffeinated coffee. For a coffee-free version, strong black tea or milk can be used, offering a milder but still delicious result. For an adult twist, substitute half of the coffee with Kahlua or a dark rum for added depth and a subtle alcoholic kick.
Mascarpone cheese: This Italian cream cheese is paramount for achieving the signature rich, velvety texture of tiramisu. Invest in a good quality, full-fat mascarpone for the creamiest and most luxurious filling. It’s best to let it sit at room temperature for about 10-15 minutes before mixing to ensure it incorporates smoothly without lumps. If mascarpone is unavailable, a full-fat cream cheese can be used as a substitute, though it will result in a tangier flavor and slightly different texture.
Heavy cream: Also known as whipping cream, this ingredient lightens the rich mascarpone custard, creating that desirable airy, mousse-like consistency. It’s crucial to use heavy cream with at least 35% milkfat (or higher) to ensure it whips up properly into stable peaks. Cream with a lower fat percentage simply won’t achieve the necessary structure. Always keep your heavy cream, mixing bowl, and whisk very cold before whipping for the best results.
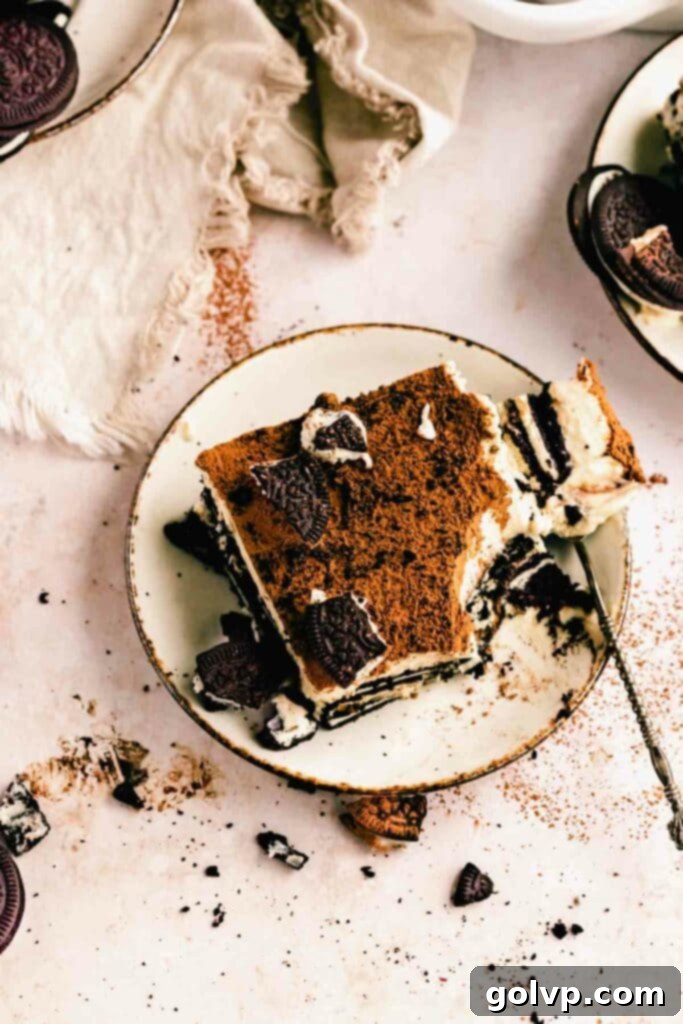
Oreos: The star of this modern tiramisu! The chocolate sandwich cookies soak up the coffee beautifully, imparting a rich, deep chocolate flavor to every bite. While classic Oreos are fantastic, feel free to experiment with different Oreo flavors or even other brands of chocolate (or vanilla) sandwich cookies. If you prefer, traditional ladyfingers can be used as a direct substitute, dipped in the same way as the Oreos for a more classic take on the dessert. For a gluten-free option, use gluten-free Oreos or ladyfingers.
Cocoa powder: A final flourish that provides both visual appeal and a subtle bitter counterpoint to the sweet cream and chocolate. Use your favorite unsweetened cocoa powder (Dutch-processed or natural) to dust generously over the top of the tiramisu before serving. A fine mesh sieve can help create an even, elegant layer.
Preparing the Velvety Tiramisu Filling
Creating the perfect tiramisu filling is a process that balances patience with technique. The goal is a light, airy, and stable custard that will hold its shape beautifully when chilled. Follow these steps carefully to ensure a flawless, creamy result:
- Begin by setting up your double boiler. Pour a few inches of water into a medium saucepan and bring it to a gentle simmer over medium heat. Select a heat-safe bowl (preferably a metal one) that fits snugly over the saucepan without touching the simmering water below. This indirect heat is crucial for gently cooking the egg mixture without scrambling it.
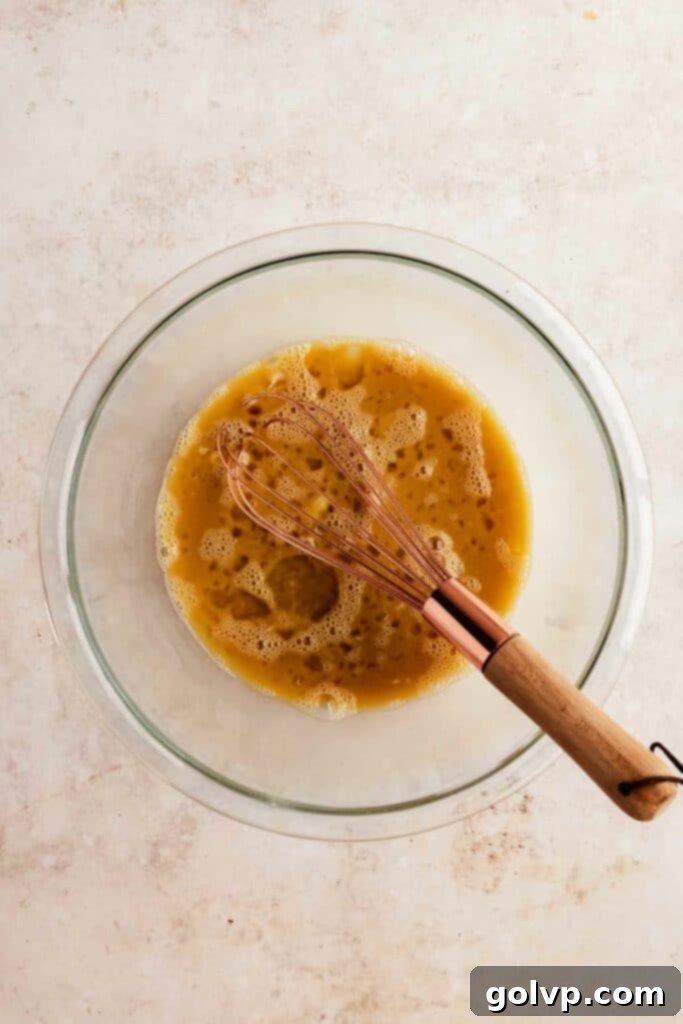
- In the heat-safe bowl, combine your room-temperature egg yolks, whole eggs, granulated sugar, pure vanilla extract, and cooled strong coffee. Whisk these ingredients together thoroughly until they are well combined and the sugar has begun to dissolve.
- Carefully place the bowl on top of the simmering saucepan. Using a sturdy wire whisk, continuously whisk the mixture. This continuous motion is key to preventing the eggs from cooking too quickly and to incorporating air, which will make the filling light and frothy. Continue whisking for about 8-10 minutes, or until the mixture has significantly foamed up, thickened to a custard-like consistency, and feels very warm to the touch. It should coat the back of a spoon.
- Once the mixture reaches the desired thickness, immediately remove the bowl from the heat. Let it cool for approximately 10 minutes, stirring occasionally. This cooling period is important before adding the mascarpone. Once slightly cooled, add the slightly softened mascarpone cheese and whisk it into the egg yolk mixture until completely smooth. If you find any small lumps, a quick blend with an immersion blender or a few pulses in a regular blender can help achieve that silky-smooth texture.
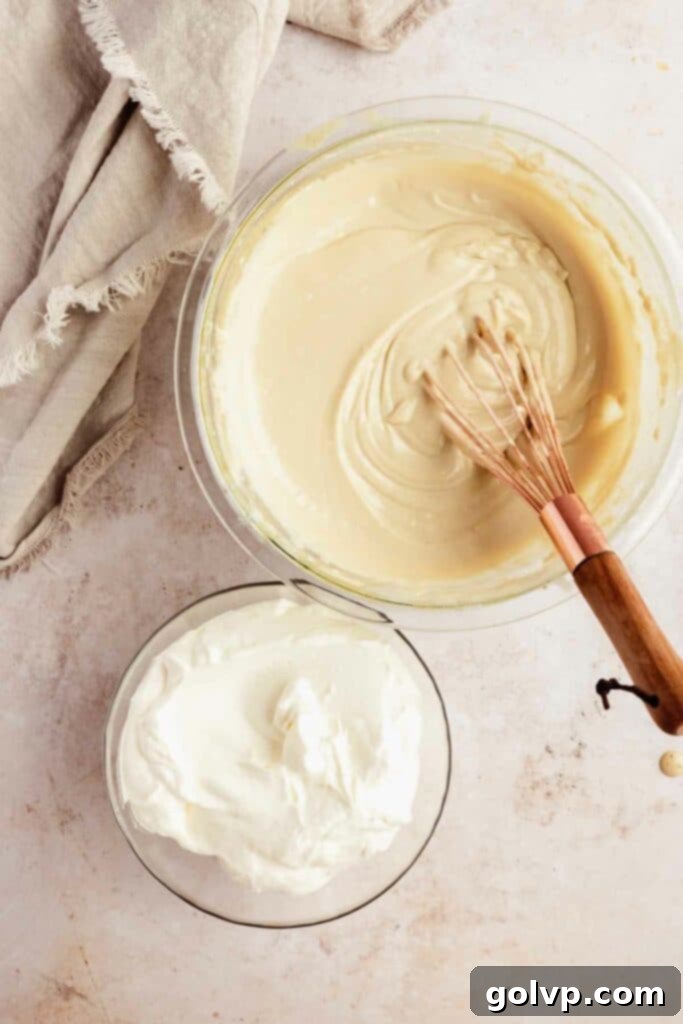
- In a separate, very cold bowl, whip the heavy cream (ensure it’s cold from the refrigerator) until it forms medium-stiff peaks. Be vigilant not to overwhip the cream, as it can quickly become grainy. The whipped cream should be firm enough to hold its shape but still light and airy. Remember that the cream will continue to thicken slightly as it’s folded into the filling.
- Finally, gently fold the whipped cream into the mascarpone-egg mixture using a whisk or a rubber spatula. Use a light hand and fold just until the mixture is smooth and evenly combined. Overmixing at this stage can deflate the cream and make the filling less airy and potentially grainy. The completed filling should be wonderfully light, creamy, and ready for assembly.
Assembling Your Oreo Tiramisu Masterpiece
With your rich, velvety filling prepared, it’s time for the exciting part: assembling the layers of your Oreo Tiramisu. This process is straightforward but requires a gentle hand to ensure each layer contributes to the final, harmonious dessert. The key to a perfect tiramisu is adequate chilling time, allowing all the flavors to meld and the structure to set.
- Prepare your Oreos for dipping. Briefly dip each Oreo cookie into the cooled strong coffee (or your chosen liquid). Be quick – Oreos are very absorbent, and too long in the liquid will make them soggy and difficult to handle. Arrange these coffee-dipped Oreos in a single layer at the bottom of an 8” x 11” oval dish, or a baking dish of similar size and shape. Don’t worry about perfect alignment; break up extra Oreos as needed to fill in any gaps and create a solid base layer.
- Once your first layer of Oreos is in place, gently spread half of your prepared tiramisu filling evenly over the cookies. Use an offset spatula or the back of a spoon to create a smooth, consistent layer.
- Repeat the process: layer more coffee-dipped Oreos on top of the first filling layer, once again breaking cookies to fill in spaces. Then, spread the remaining half of the tiramisu filling evenly over this second cookie layer. Ensure the top is as smooth as possible for an elegant finish.
- Cover the assembled tiramisu tightly with plastic wrap, ensuring the wrap touches the surface of the filling to prevent a skin from forming. Transfer the dish to the refrigerator and chill for at least 8 hours, or ideally, overnight. This prolonged chilling period is absolutely essential. It allows the Oreos to soften perfectly, absorbing the coffee and melding with the creamy filling, while also giving the filling ample time to set into that signature firm, yet luscious, tiramisu texture, making it perfectly sliceable.
- Just before serving, uncover the chilled Oreo Tiramisu. Take your cocoa powder and, using a fine-mesh sieve, generously dust the entire top surface. This creates a beautiful, classic tiramisu appearance and adds a subtle bitter note that complements the sweetness. For an extra touch of indulgence and texture, sprinkle the top with the three reserved, crumbled Oreos.
- To serve, simply slice the tiramisu into portions or scoop it onto individual plates. Each bite offers a delightful contrast of textures and a harmonious blend of coffee, rich chocolate, and creamy mascarpone. Enjoy!
Explore More Sweet Delights from My Kitchen:
- Mini Oreo Cheesecakes with Fudge and Whipping Cream
- Easy Triple Chocolate Cake with Chocolate Drip
- Mango Mascarpone Roll Cake
Did you try this incredible Oreo Tiramisu recipe? I would absolutely love for you to rate it and share your thoughts in the comments section below! Your feedback helps other bakers, and I always enjoy hearing about your culinary successes.
Don’t forget to share your beautiful creation on Instagram and tag @flouringkitchen so I can see your delicious dessert!
📖 Recipe

Oreo Tiramisu
Mary
Pin Recipe
Shop Ingredients
Equipment
-
8” by 11” or a similar sized oval dish
Ingredients
Filling
- 4 large yolks room temperature
- 2 large eggs whole, room temperature
- ⅔ cup granulated sugar
- 1 teaspoon pure vanilla extract
- ½ cup strong coffee cooled (see substitutions in notes)
- 1 lb mascarpone cheese 450g, slightly softened
- 1 ½ cup heavy cream cold (whipping cream)
Assembly
- 1 cup strong coffee cooled (see substitutions in notes)
- 1 family pack oreos set 3 oreos aside for crumbling on top (see substitutions in notes)
- ¼ cup cocoa powder
Shop Ingredients on Jupiter
Instructions
Filling
-
Pour a few inches of water into a medium saucepan. Find a heat safe bowl that fits well on top of the pan without touching the bottom or the water. Bring the water in the saucepan to a simmer.
-
Combine yolks, eggs, sugar, vanilla, and coffee in the heat safe bowl. Whisk until combined.4 large yolks, 2 large eggs, ⅔ cup granulated sugar, 1 teaspoon pure vanilla extract, ½ cup strong coffee
-
Place the bowl on top of the saucepan and whisk. Continue whisking with a wire whisk until the mixture foams up and thickens considerably.
-
Remove from heat and let cool for 10 minutes. Add mascarpone cheese and whisk it into the egg yolks and whisk until smooth. If it’s still lumpy you can use a blender to help make it smooth.1 lb mascarpone cheese
-
Whip the cream until medium-stiff peaks with a whisk or stand mixer. Be careful not to overwhip or it will become grainy.1 ½ cup heavy cream
-
Gently fold the whipped cream into the mascarpone mixture with a whisk until smooth.
Assembly
-
Dip the oreos into the coffee and place in a single layer in a 8” by 11” oval dish or a similar sized dish. Break up pieces of oreos to make up the gaps.1 family pack oreos, 1 cup strong coffee
-
Spread half of the filling on top of the oreos. Layer more coffee dipped oreos and spread the rest of the filling on top. Cover and refrigerate for at least 8 hours or overnight.
-
Before serving, dust the top with cocoa powder and sprinkle with crumbled reserved oreos.¼ cup cocoa powder, 1 family pack oreos
-
To serve, slice or scoop the cake onto plates and serve!
Notes
Coffee Substitutions & Variations:
- For a lighter touch on caffeine, opt for strong brewed decaffeinated coffee. Alternatively, a robust black tea can offer an intriguing aromatic profile if you’re looking for a non-coffee flavor.
- To introduce a subtle, sophisticated kick, I highly recommend a boozy version! Replace half of the strong coffee (in both the filling and the dipping liquid) with Kahlua coffee liqueur or a good quality dark rum. This is a family favorite and adds incredible depth!
- If you prefer a completely coffee-free dessert, simply substitute all the coffee with milk for a milder, child-friendly version.
Oreo & Cookie Swaps:
While Oreos are featured, feel free to use any chocolate or vanilla sandwich cookies you love. For those who prefer a traditional touch, classic ladyfingers can be used in the exact same manner as the Oreos, dipped briefly in your chosen liquid. For a gluten-free option, ensure you select certified gluten-free sandwich cookies or ladyfingers.
