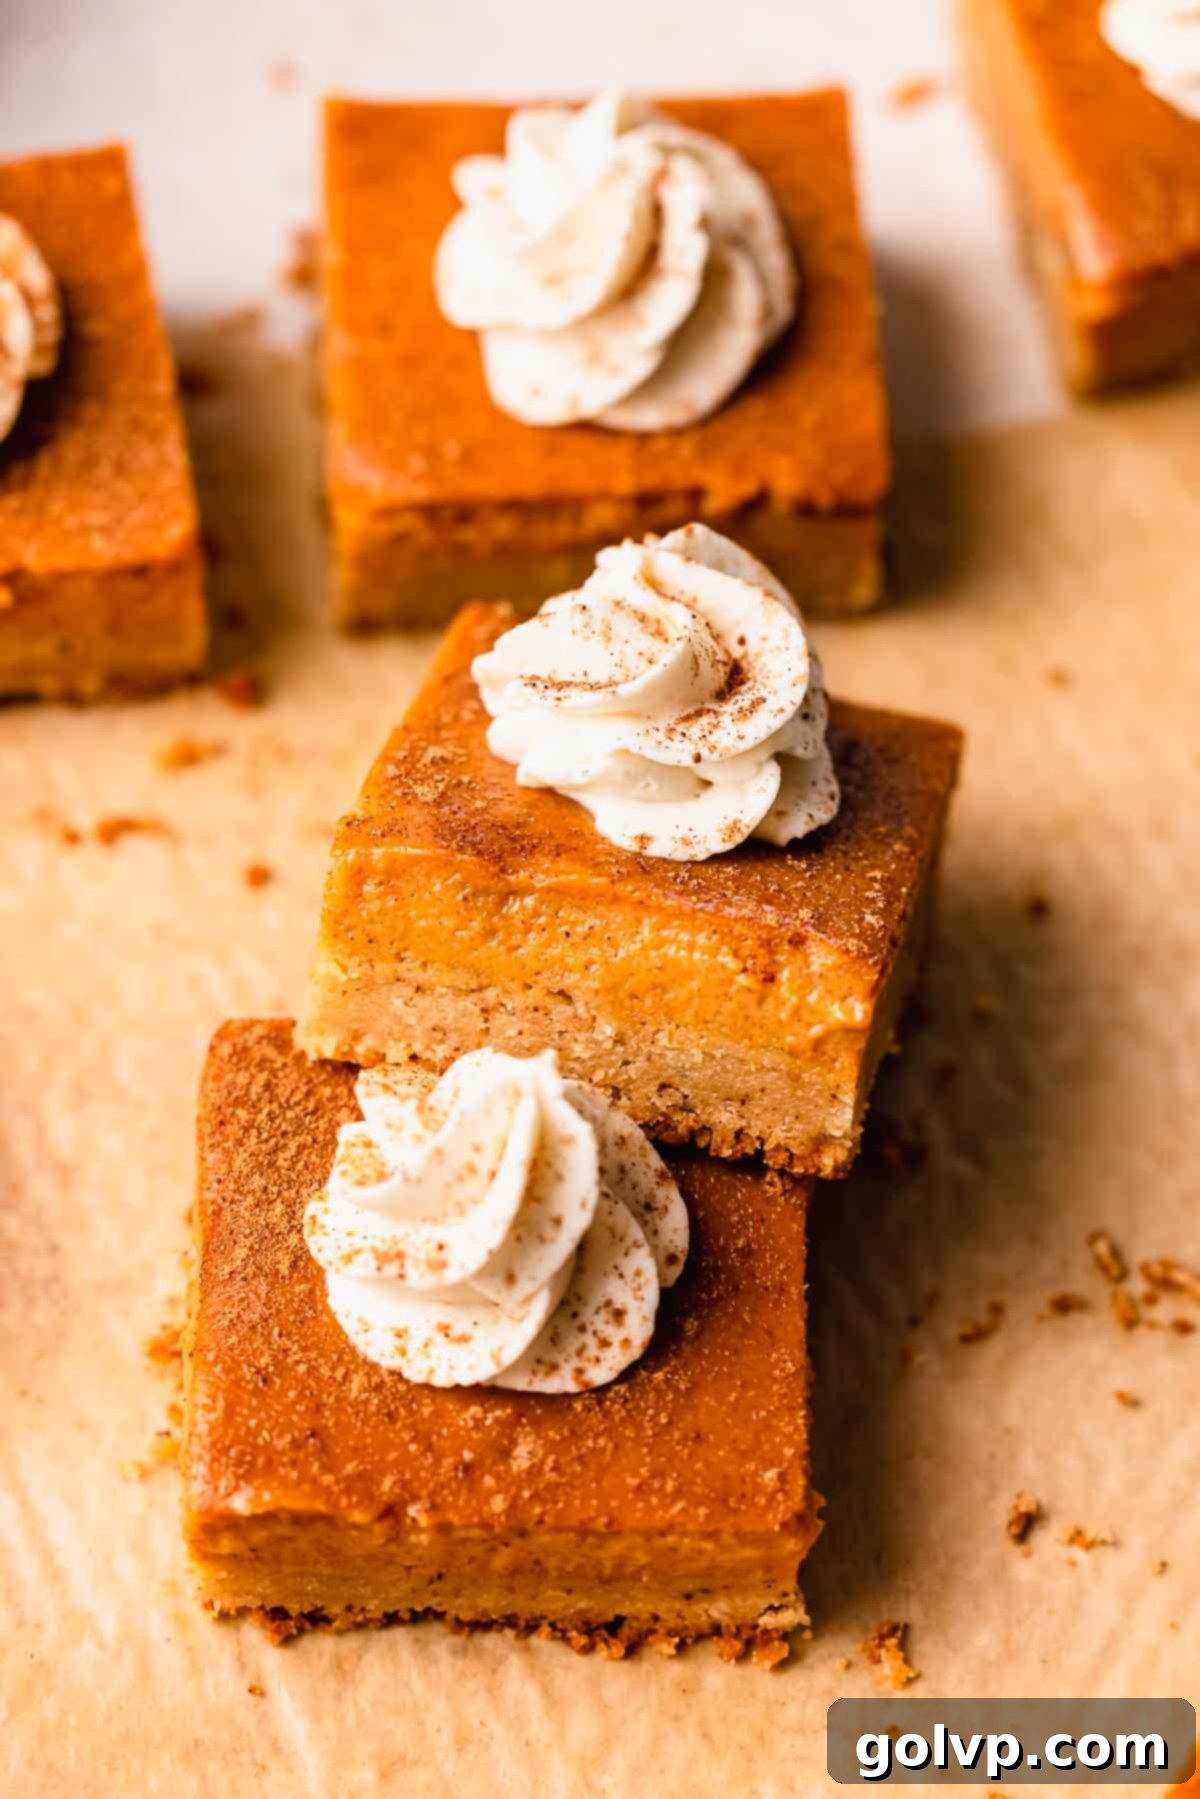
Delicious & Easy Brown Butter Pumpkin Pie Bars with Whipped Cream
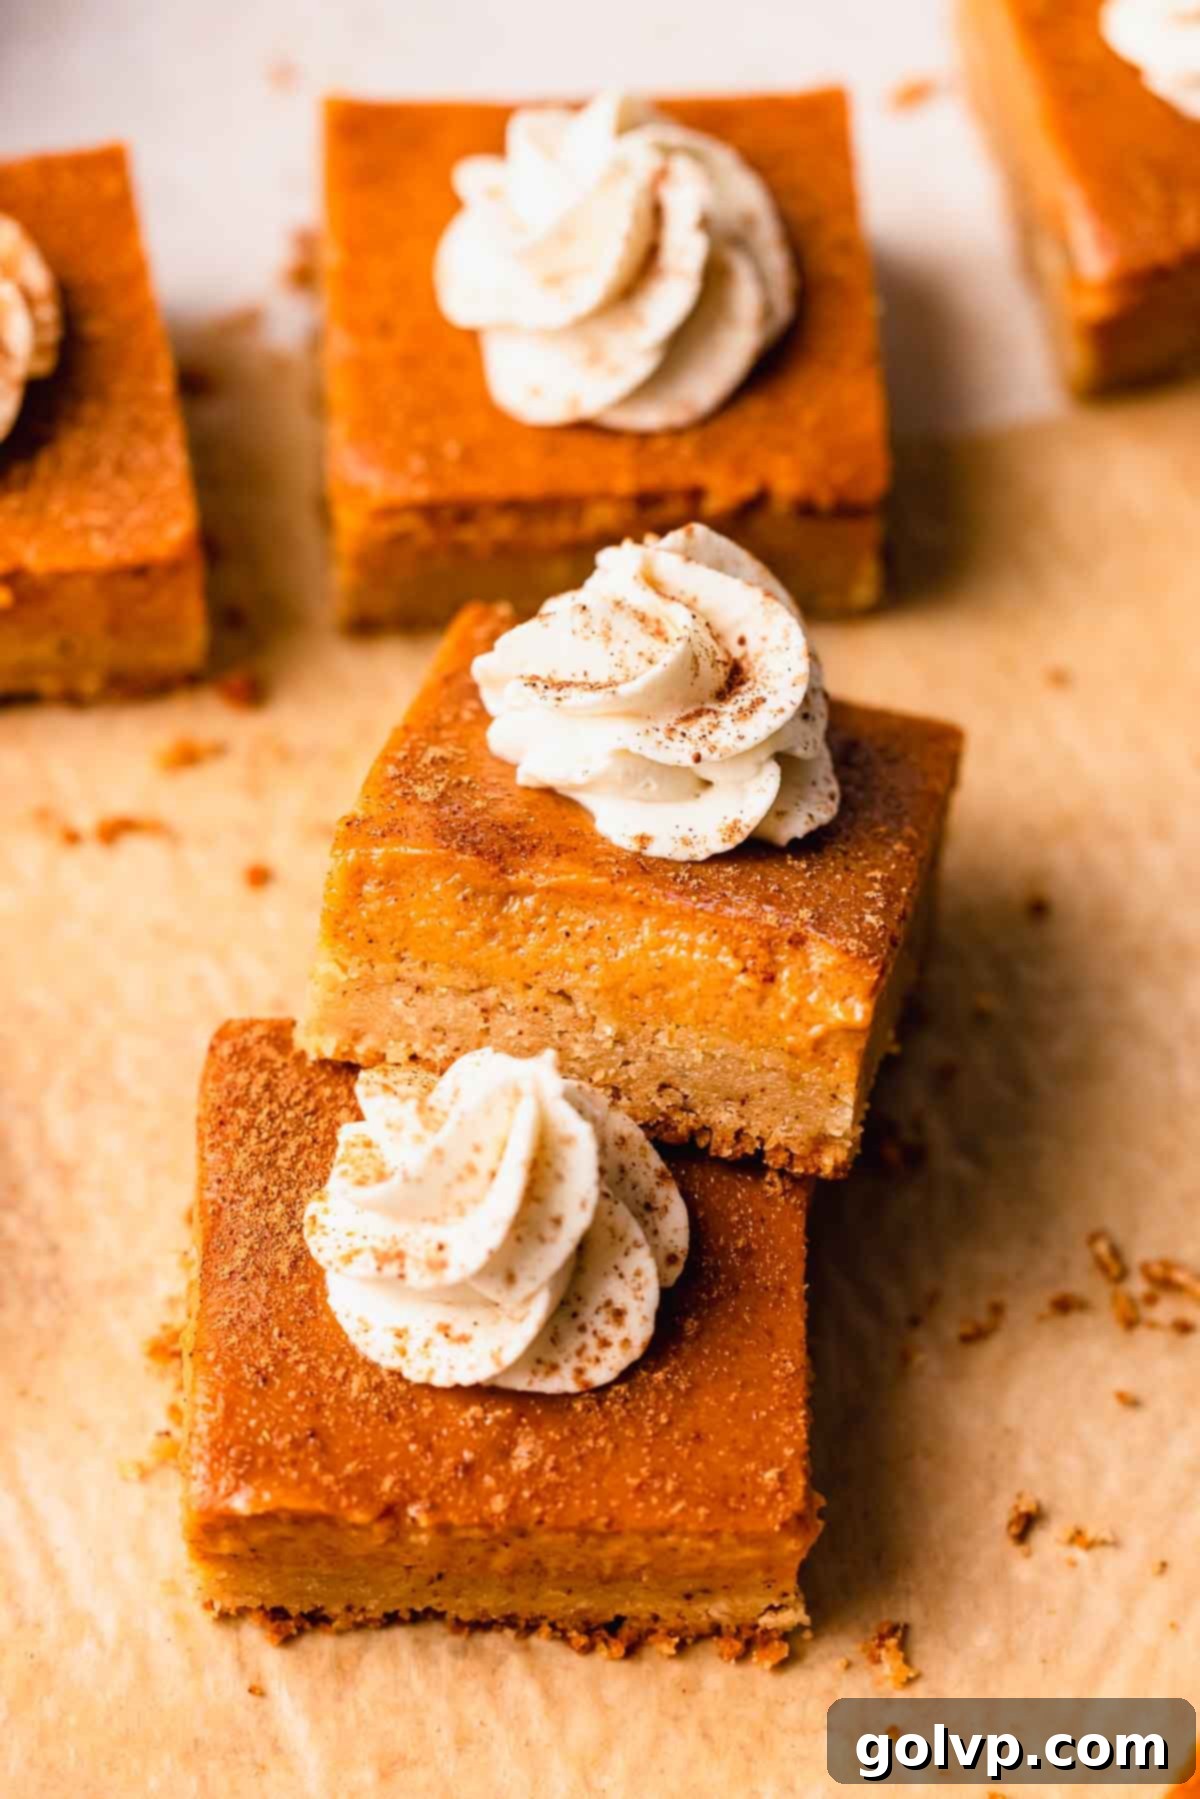
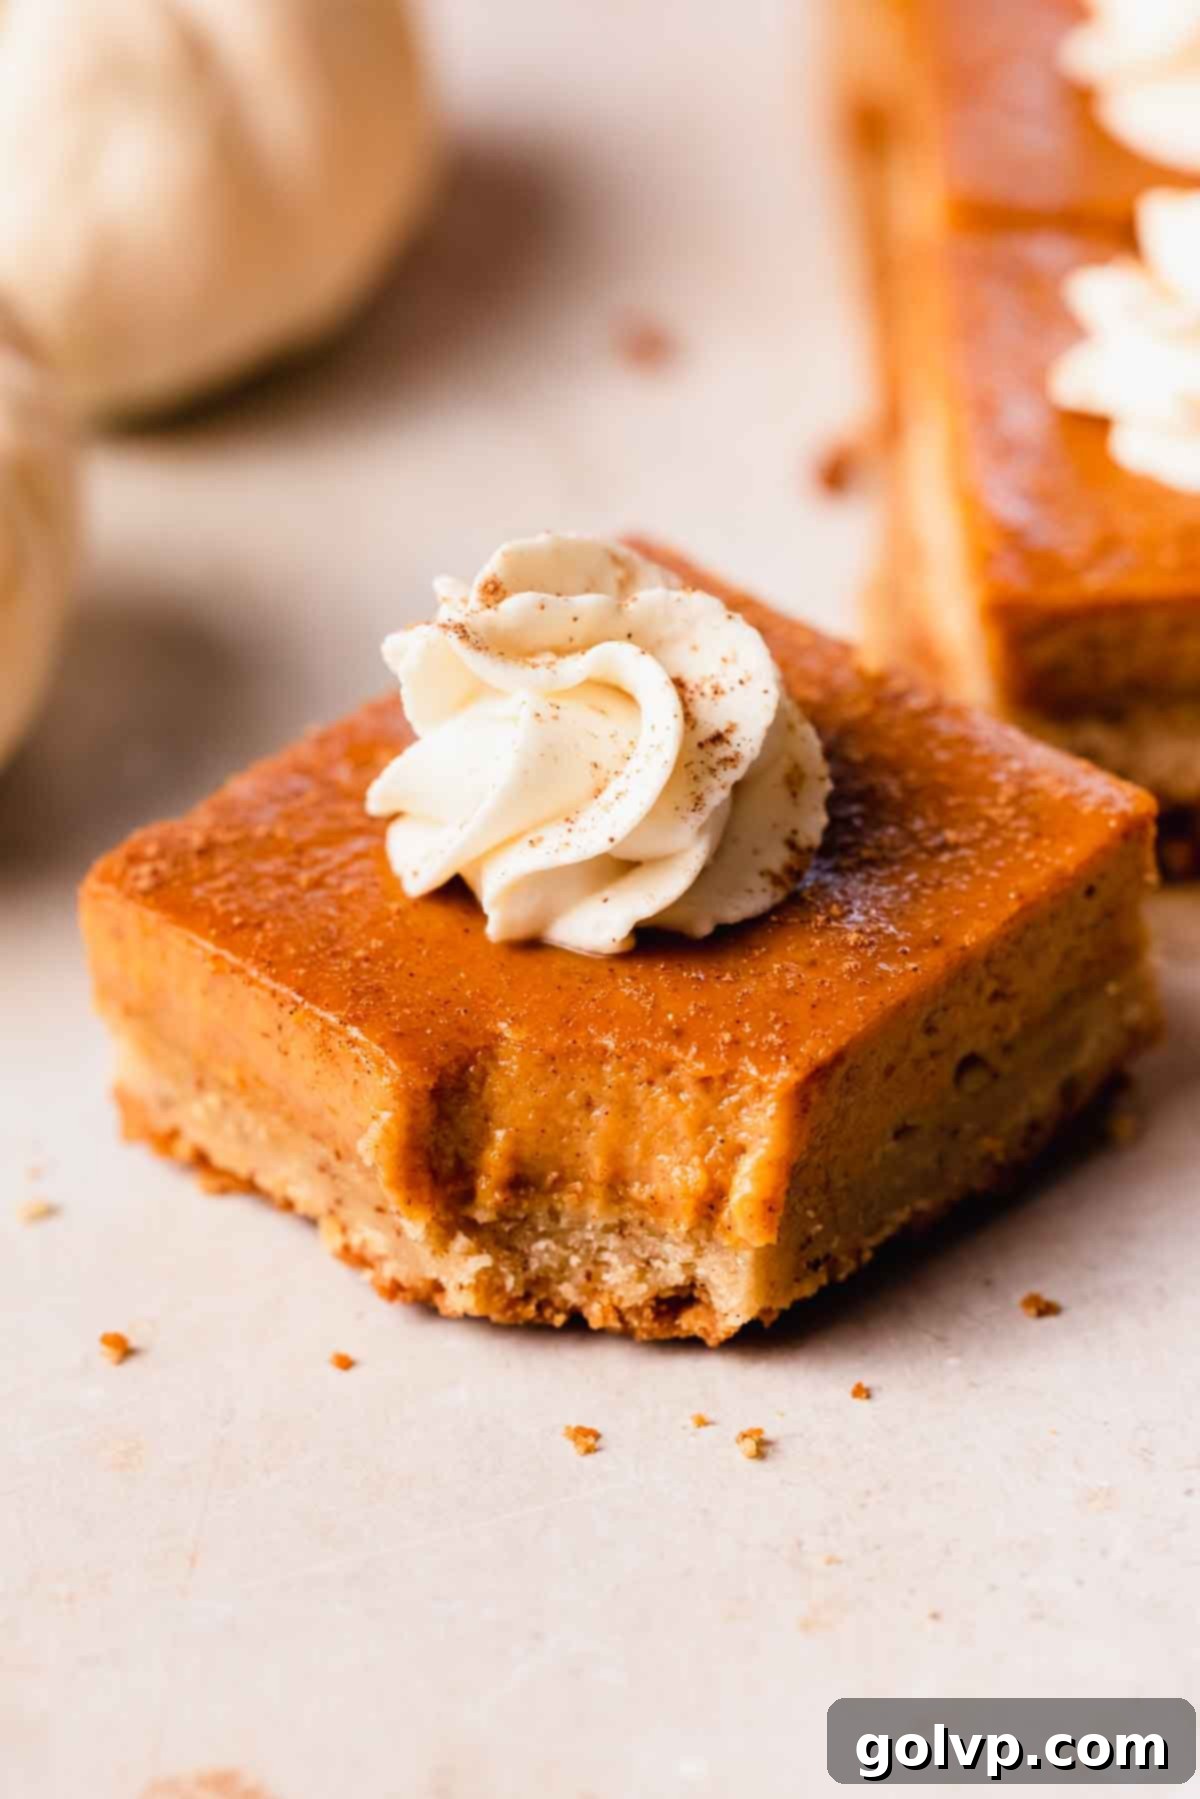
Get ready to fall in love with these incredible pumpkin pie bars, featuring a rich, nutty brown butter shortbread crust, a luxuriously creamy spiced pumpkin filling, and a generous topping of fluffy homemade whipped cream. These bars offer all the comforting flavors of a classic pumpkin pie but are significantly easier to make and perfectly portioned. Forget struggling with a traditional pie crust; our brown butter shortbread provides a delightfully crisp and buttery base that complements the smooth pumpkin filling beautifully. The toasted notes from the brown butter elevate the flavor profile, creating a truly irresistible autumn treat. Sweetened condensed milk ensures the pumpkin layer is unbelievably smooth, rich, and decadently creamy. And, of course, no pumpkin dessert is complete without a cloud of freshly whipped cream!
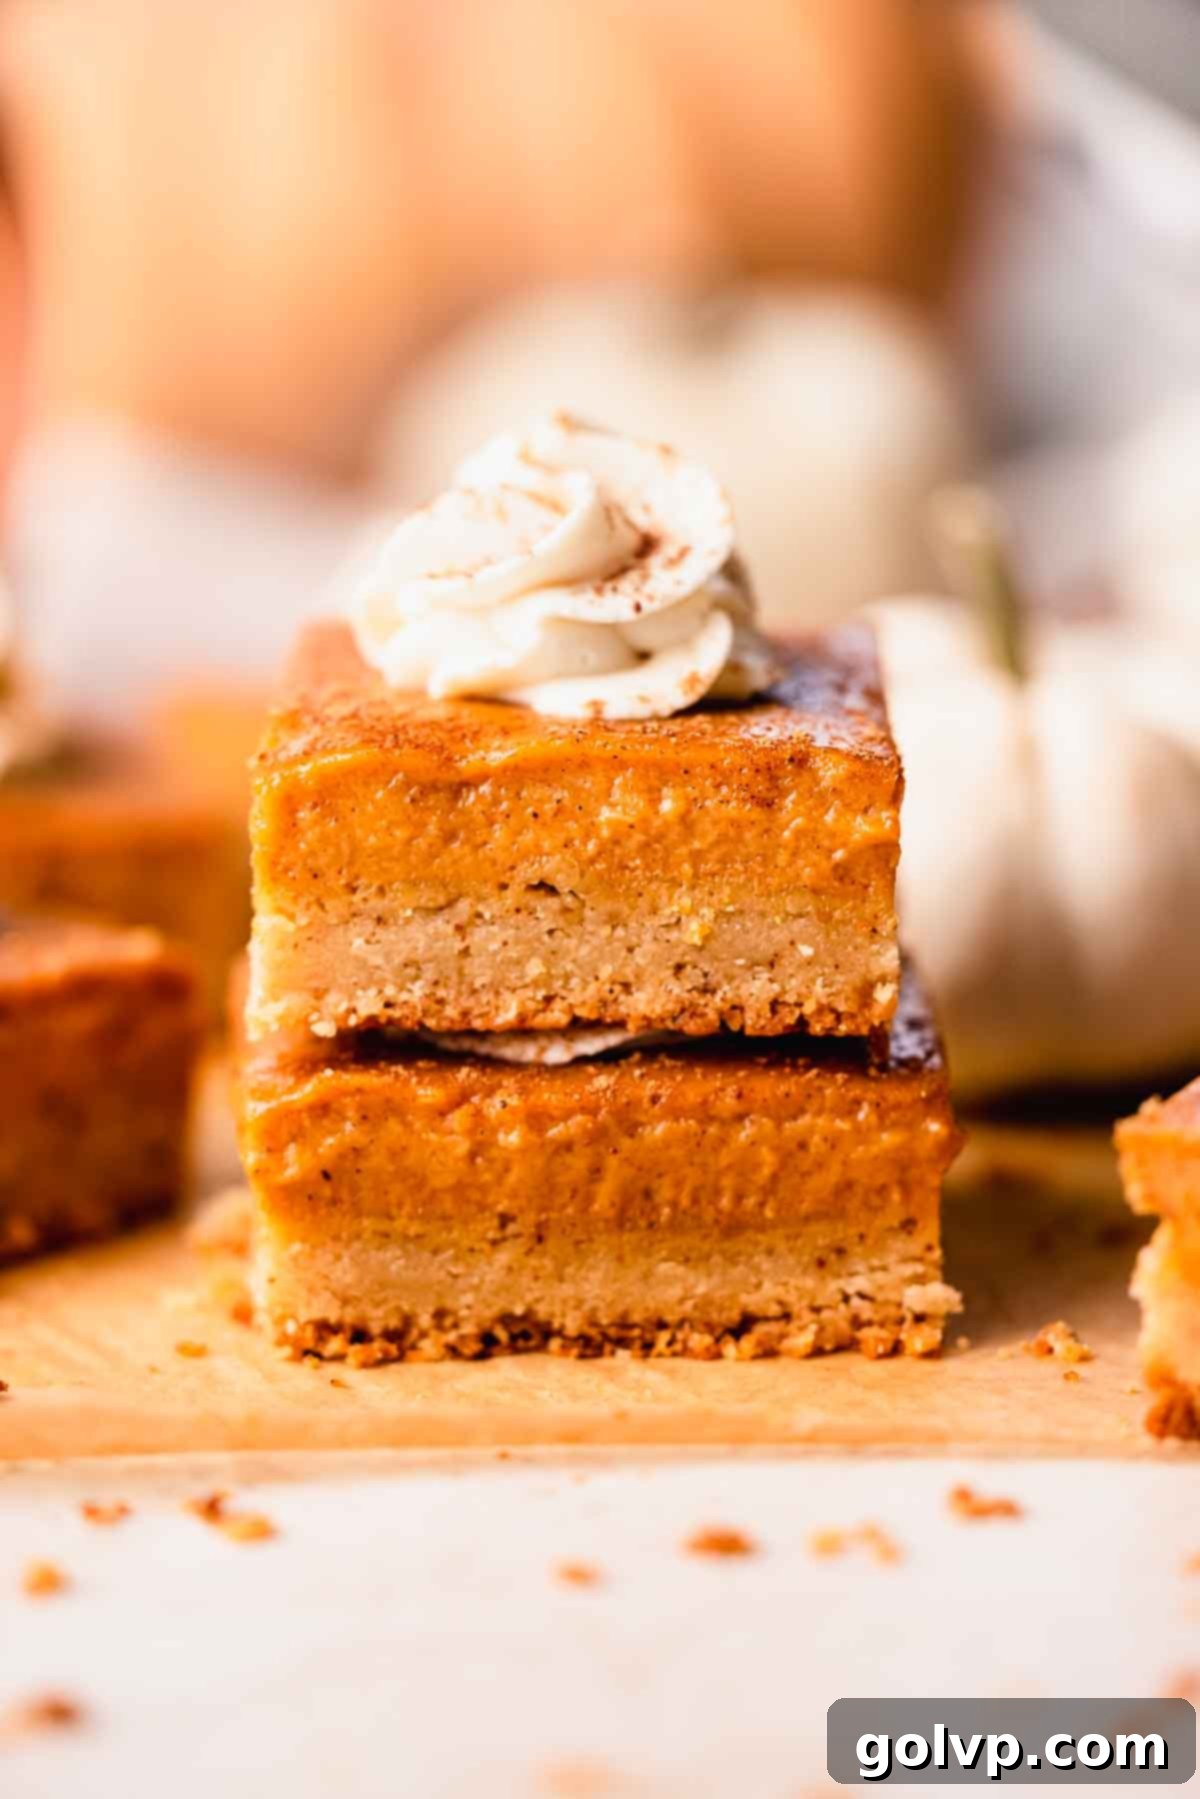
For those who adore the crust-to-filling ratio, these bars are a dream come true, boasting a perfect 1:1 balance. If you find yourself gravitating towards even more crust, you might also love our pumpkin pie cookies, which offer a delightful, crust-heavy twist on this seasonal favorite. These bars are not just a dessert; they’re a celebration of fall, perfect for holiday gatherings, potlucks, or a cozy evening at home.
[feast_advanced_jump_to]
🥧 Why You’ll Absolutely LOVE This Pumpkin Pie Bar Recipe
These pumpkin pie bars aren’t just a dessert; they’re an experience designed to make your fall baking both delicious and stress-free. Here’s why this recipe will become a new favorite in your kitchen:
- Irresistible Brown Butter Shortbread Crust: This isn’t just any crust! Browning the butter before mixing it into the shortbread adds an incredible depth of nutty, toasted flavor that perfectly complements the warmth of pumpkin. It’s a game-changer that gives you all the richness without needing any actual nuts. The texture is wonderfully crumbly and buttery, providing a delightful contrast to the creamy filling.
- Classic Creamy Pumpkin Filling: We use a traditional pumpkin pie filling that’s rich, smooth, and perfectly spiced. The use of sweetened condensed milk creates an ultra-creamy consistency that melts in your mouth, delivering that quintessential pumpkin pie taste in every bite. It’s truly a luscious, comforting layer.
- Surprisingly Easy to Make: Compared to a full-sized pumpkin pie, these bars are a breeze! The shortbread crust comes together quickly, and the filling requires minimal effort. They’re much less prone to cracking or uneven baking, making them a fantastic option for bakers of all skill levels. Plus, you can easily top them with store-bought whipped cream if you’re truly short on time, though homemade is always a delightful touch!
- Perfect Crust-to-Filling Ratio: For those who love a good balance of crust and filling, these bars offer an ideal 1:1 ratio. Every bite delivers both the crumbly, flavorful crust and the smooth, spiced pumpkin.
- Ideal for Gatherings: These bars are easy to slice and serve, making them perfect for potlucks, holiday parties, or any festive occasion. No need for plates and forks; they’re easily enjoyed as a hand-held treat.
📝 Essential Ingredients for Perfect Pumpkin Pie Bars
To achieve the most delicious pumpkin pie bars, understanding your ingredients is key. Here are the stars of this recipe, along with important tips for each.
For precise measurements and full instructions, refer to the detailed recipe card below.
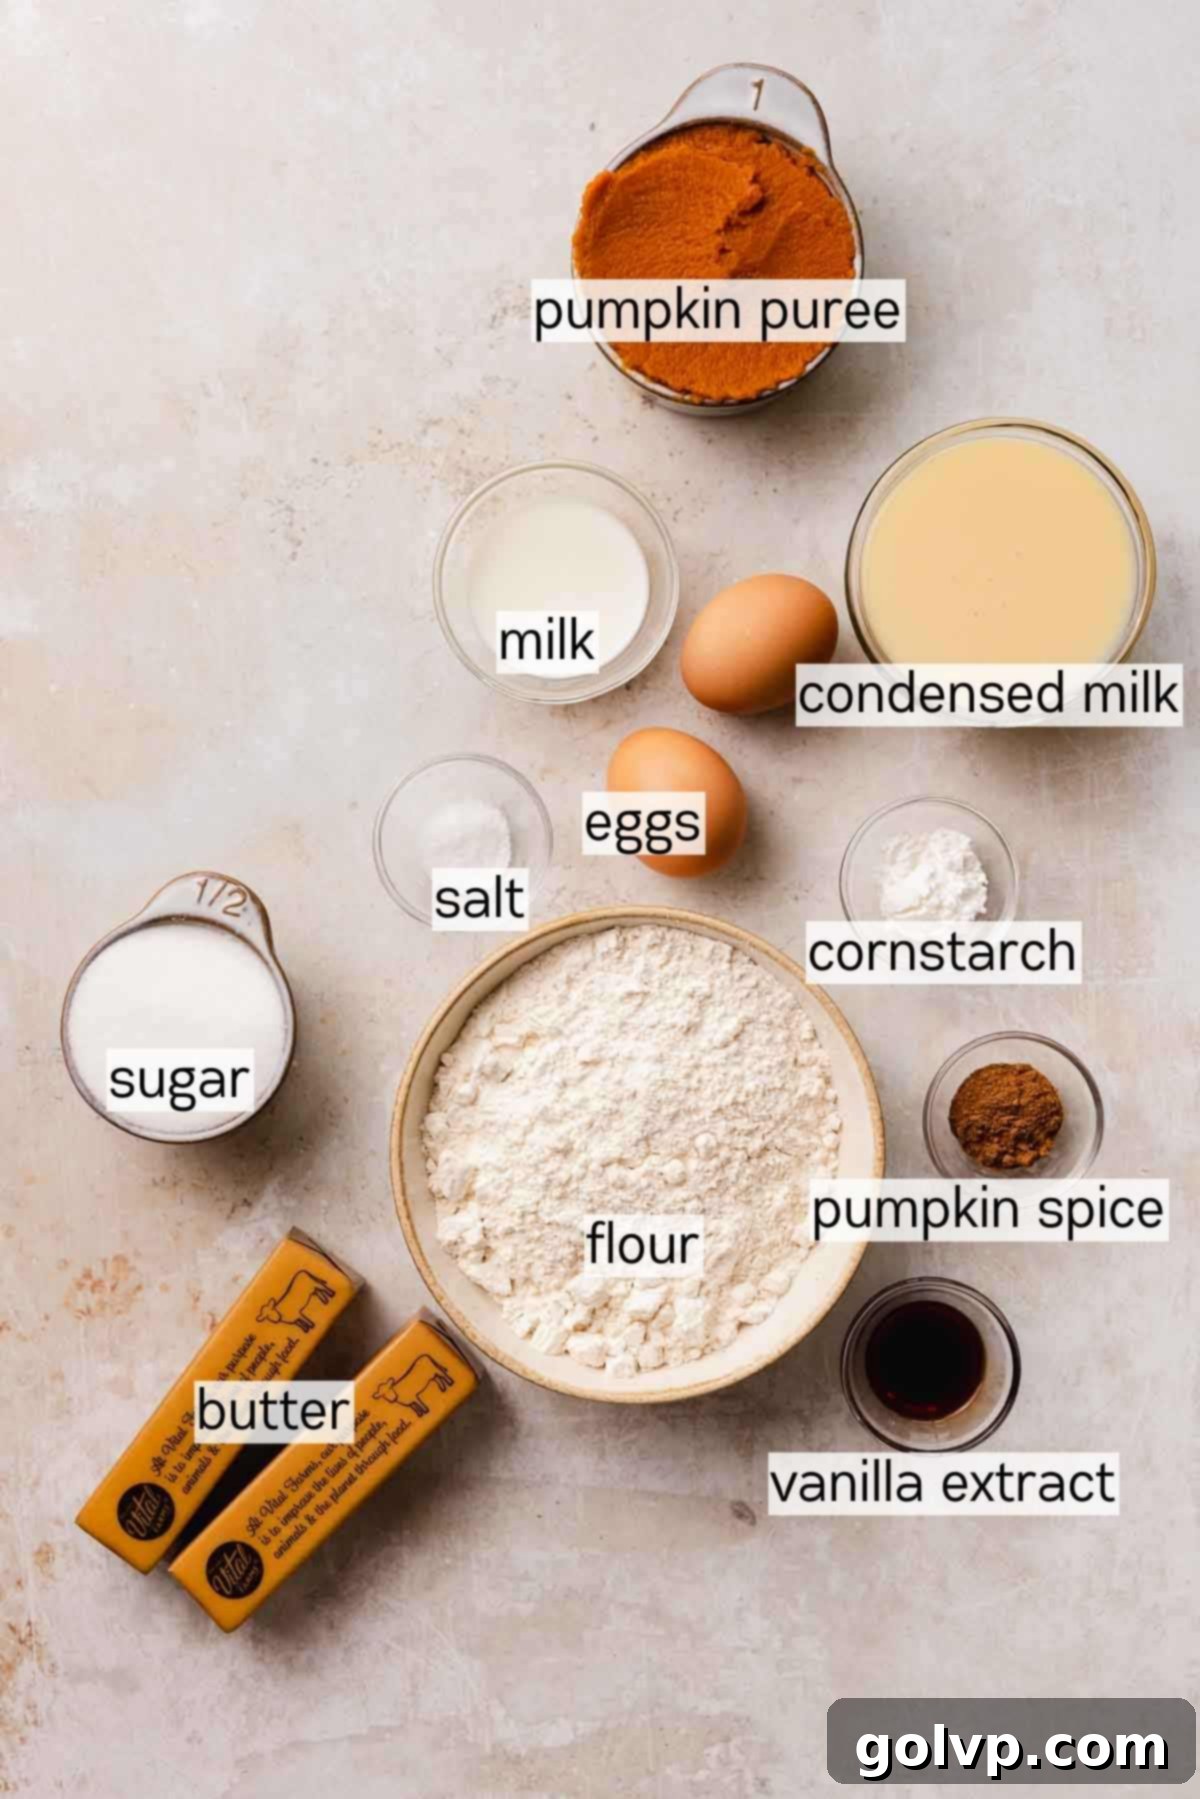
- Pumpkin Puree: Always opt for pure canned pumpkin purée for consistent results. Ensure it’s 100% pumpkin, not pumpkin pie filling, which already contains spices and sugar. Pure pumpkin puree should have a thick, smooth consistency, similar to hummus or thick Greek yogurt. This ingredient forms the heart of our creamy filling. Any leftover pumpkin puree can be used for other delightful treats like our creamy no-bake pumpkin cheesecake bars.
- Pumpkin Pie Spice: This warm, aromatic blend is essential for that classic fall flavor. It typically includes cinnamon, ginger, cloves, nutmeg, and allspice. You can buy it pre-mixed or easily make your own fresh pumpkin pie spice blend for an extra fragrant kick.
- Sweetened Condensed Milk: This ingredient is crucial for the filling’s incredibly rich, smooth, and creamy texture, as well as providing sweetness. It’s often confused with evaporated milk, but they are not interchangeable – evaporated milk is unsweetened and will not give you the same results. Always double-check your label!
- Unsalted Butter: The unsalted butter is the foundation of our melt-in-your-mouth shortbread crust. We brown it to impart a unique, nutty, and toasty flavor that elevates the entire dessert. Using unsalted butter is important as it allows you to control the salt content precisely. Salted butter, when browned, can sometimes develop an undesirable metallic or bitter aftertaste. If you prefer to skip the browning step, you can use softened unsalted butter and simply omit the milk from the crust recipe.
- Heavy Whipping Cream (35%): A generous dollop of homemade whipped cream is non-negotiable for pumpkin pie bars! Using cold heavy whipping cream (with at least 35% fat content) ensures that it whips up beautifully to stiff, airy peaks, providing the perfect light and fluffy counterpoint to the rich pumpkin filling. Make sure your cream is well-chilled for the best whipping results.
- All-Purpose Flour: For the most accurate and consistent results in your shortbread crust, weighing your flour is highly recommended. If you don’t have a kitchen scale, make sure to measure properly by gently stirring the flour in its bag, then spooning it lightly into a measuring cup. Level off the excess with the flat edge of a knife, avoiding packing the flour into the cup. This prevents adding too much flour, which can lead to a dry or tough crust.
👩🍳 Step-by-Step Guide to Crafting Perfect Pumpkin Pie Bars
Making these delightful pumpkin pie bars is a straightforward process, broken down into three easy phases: preparing the brown butter crust, mixing and baking the pumpkin filling, and finally, assembling with whipped cream. Follow these detailed steps for a delicious outcome every time.
Crafting the Irresistible Brown Butter Crust
The brown butter shortbread crust is what truly sets these bars apart. Its nutty aroma and rich flavor provide the perfect base for the creamy pumpkin filling.
Step 1: Prepare Your Pan and Preheat Oven. Start by lining an 8” or 9” square baking pan with parchment paper. Ensure you leave a generous overhang on the sides; these “handles” will make it incredibly easy to lift the baked bars out of the pan later. Preheat your oven to 355°F (180°C).
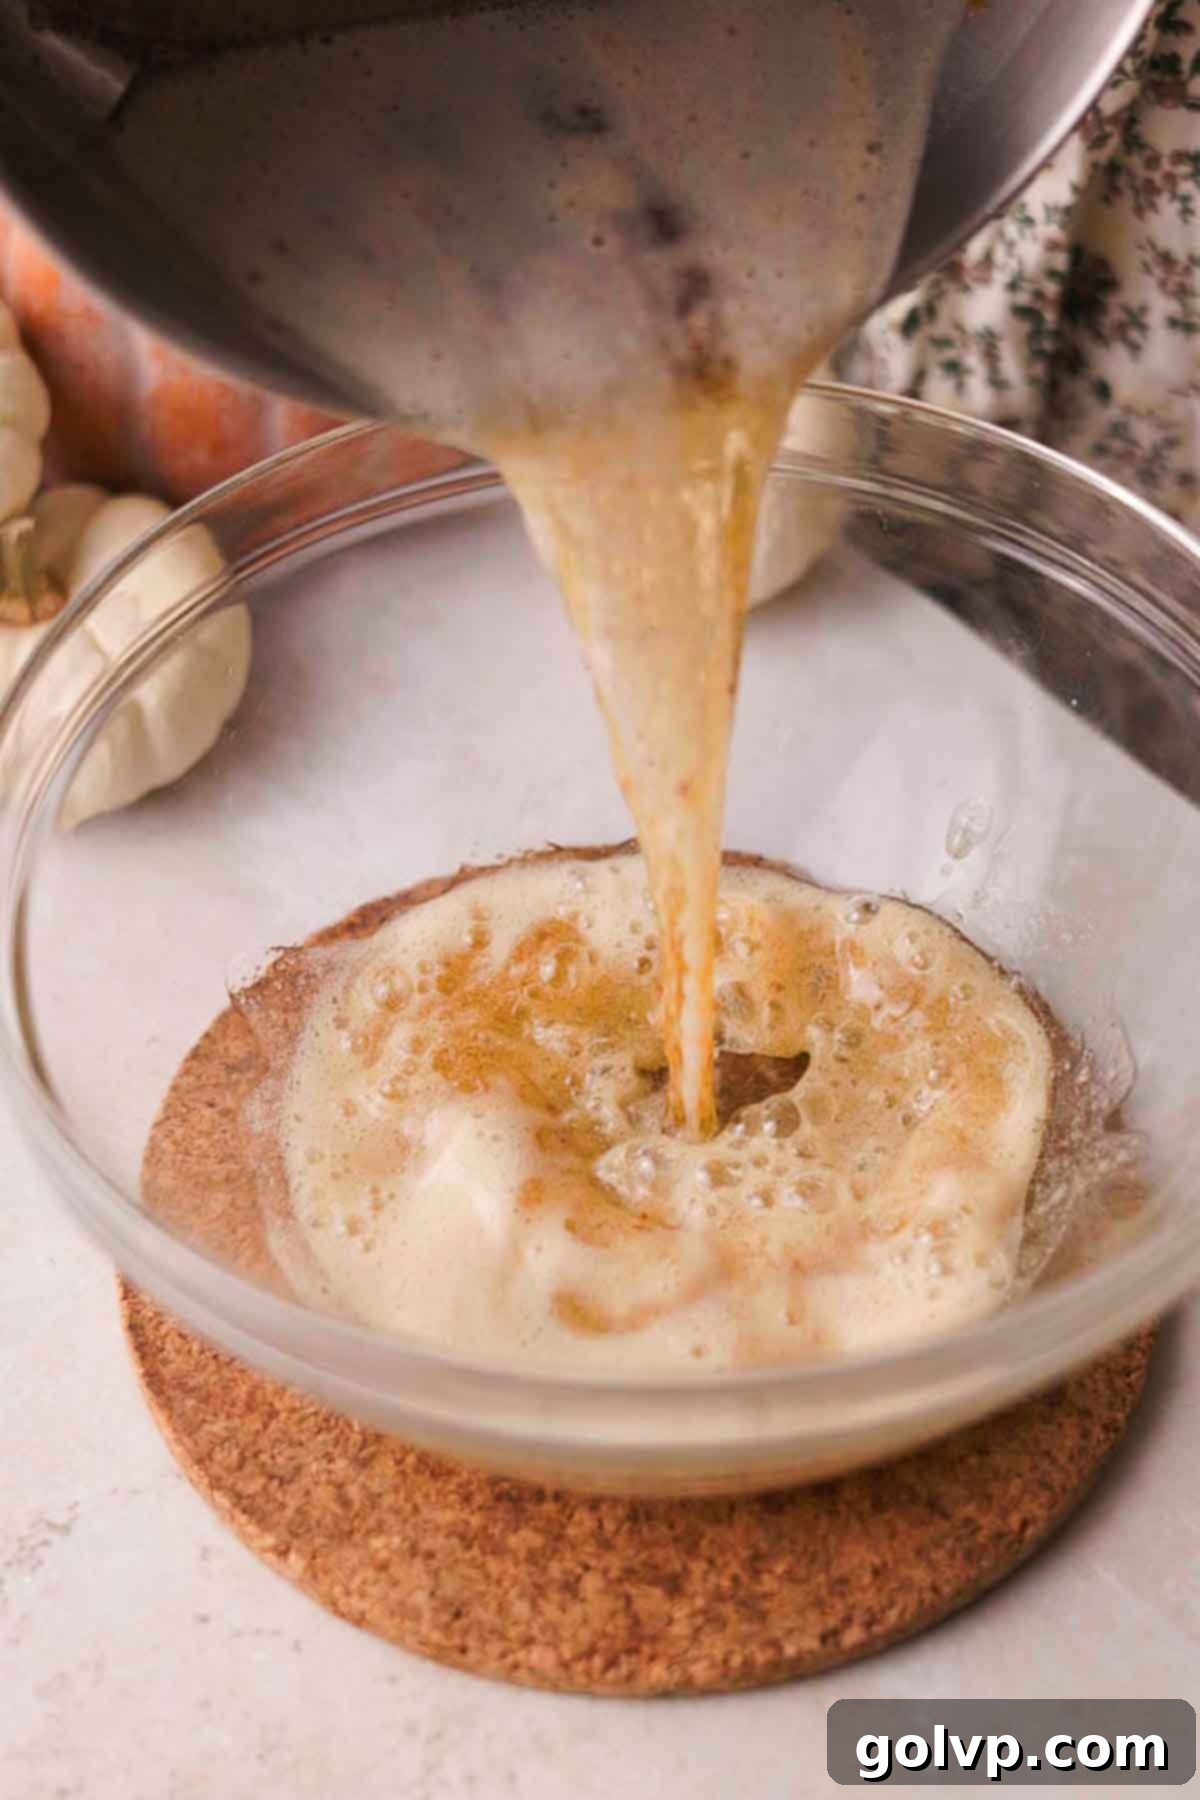
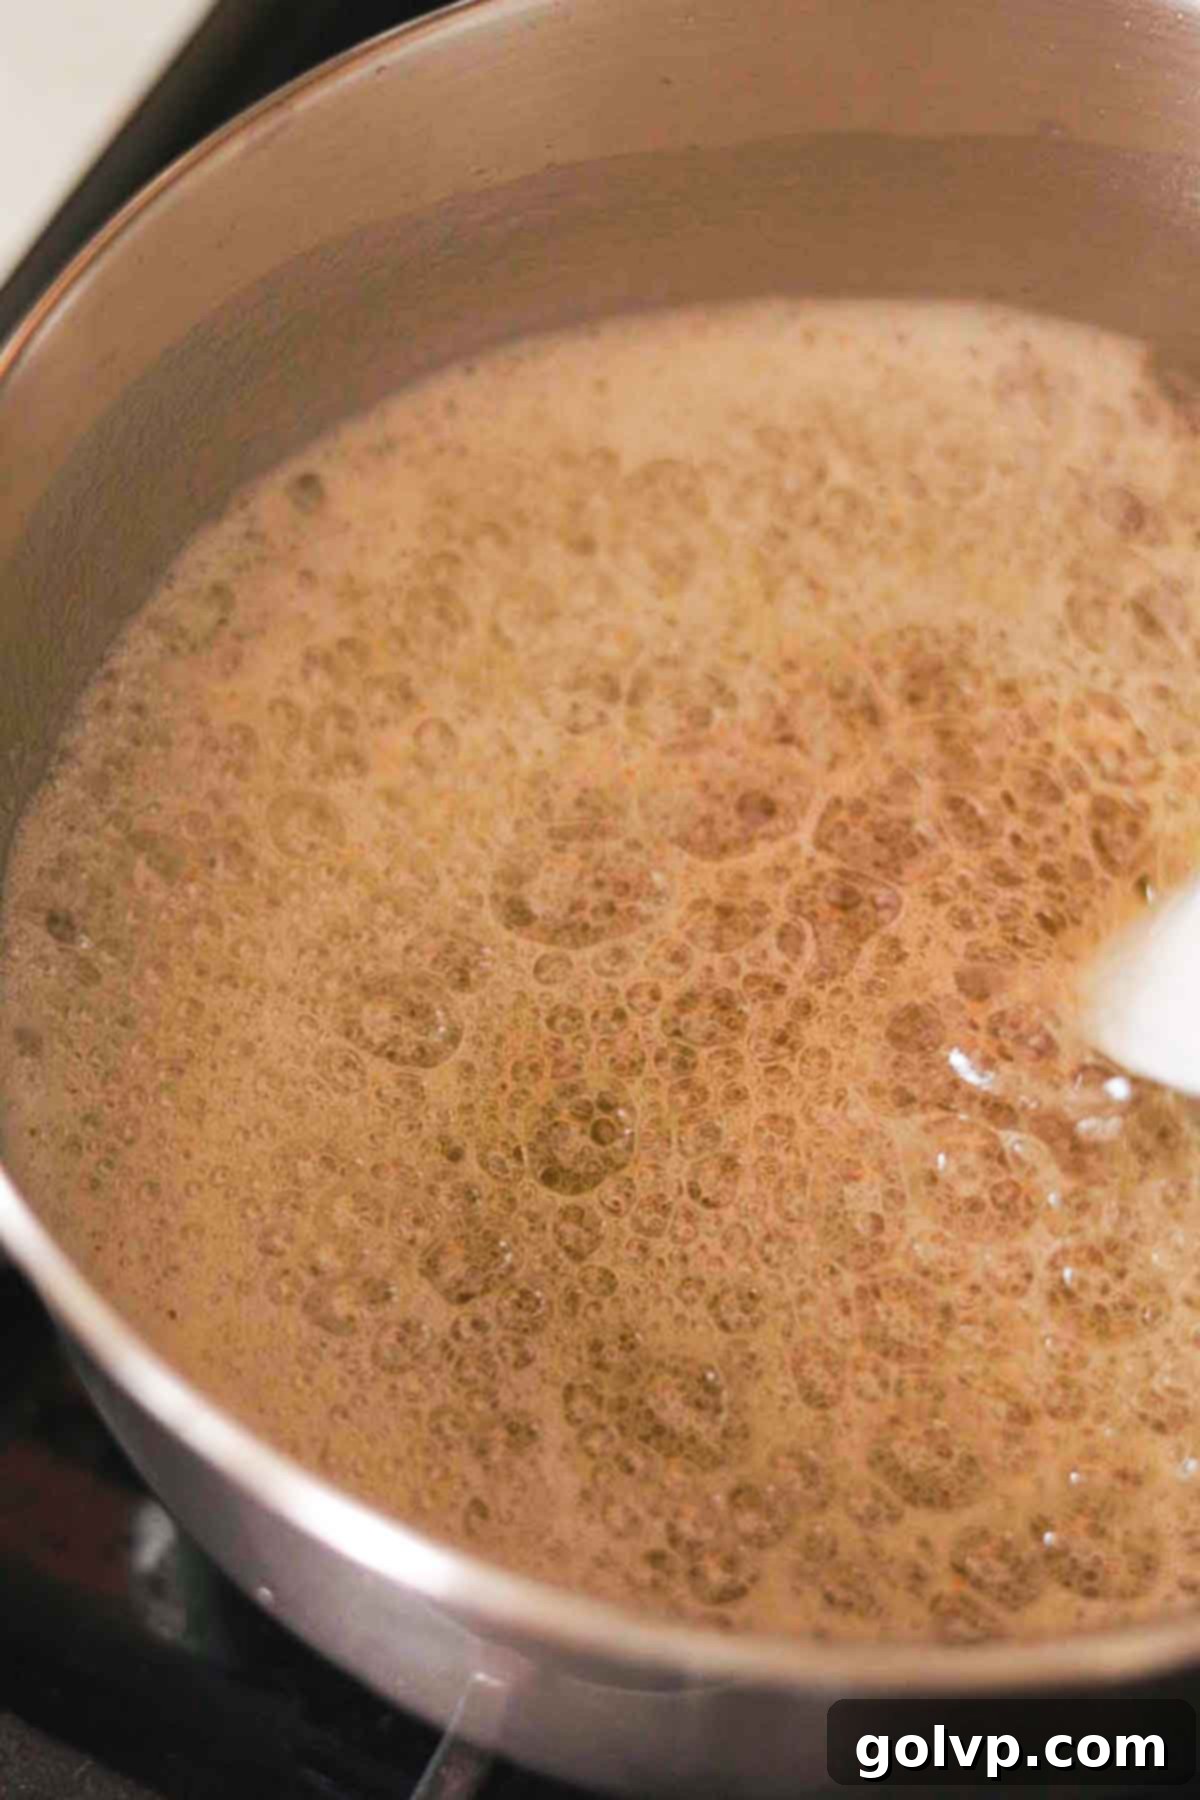
Step 2: Master the Brown Butter. Melt the unsalted butter in a light-colored saucepan over medium-low heat. Continue cooking, stirring frequently, as it melts and begins to foam. The foam will eventually subside, revealing delicious brown specks at the bottom of the pan. As soon as you see these lovely golden-brown bits, immediately remove the pan from the heat. Quickly pour the browned butter into a separate heat-safe container or bowl to stop the cooking process, making sure to scrape out all those flavorful brown specks. Allow it to cool completely to room temperature.
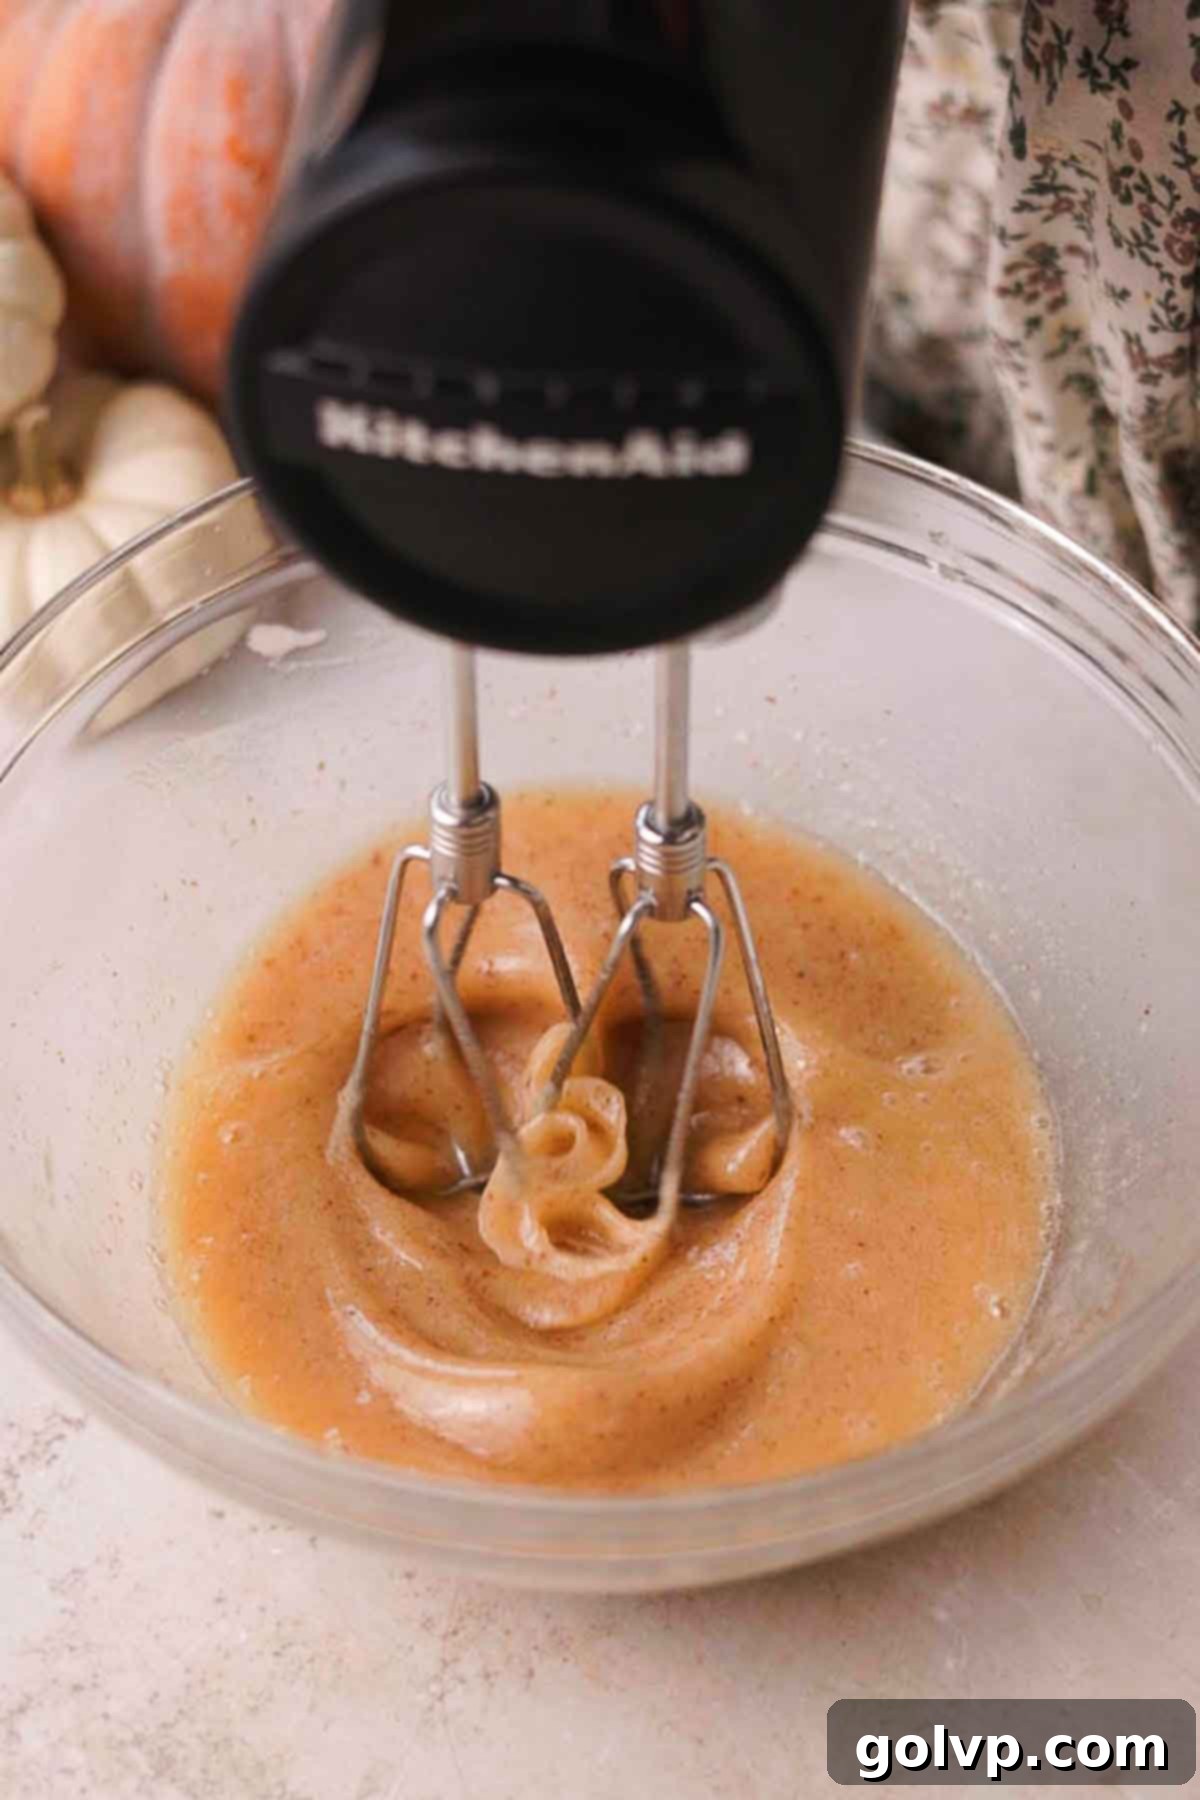
Step 3: Combine Wet Ingredients. In a large mixing bowl, or the bowl of a stand mixer, combine the now-cooled brown butter, milk, granulated sugar, pure vanilla extract, and sea salt. Mix these ingredients together until they are well combined and the mixture has thickened slightly, becoming a cohesive base for your crust.
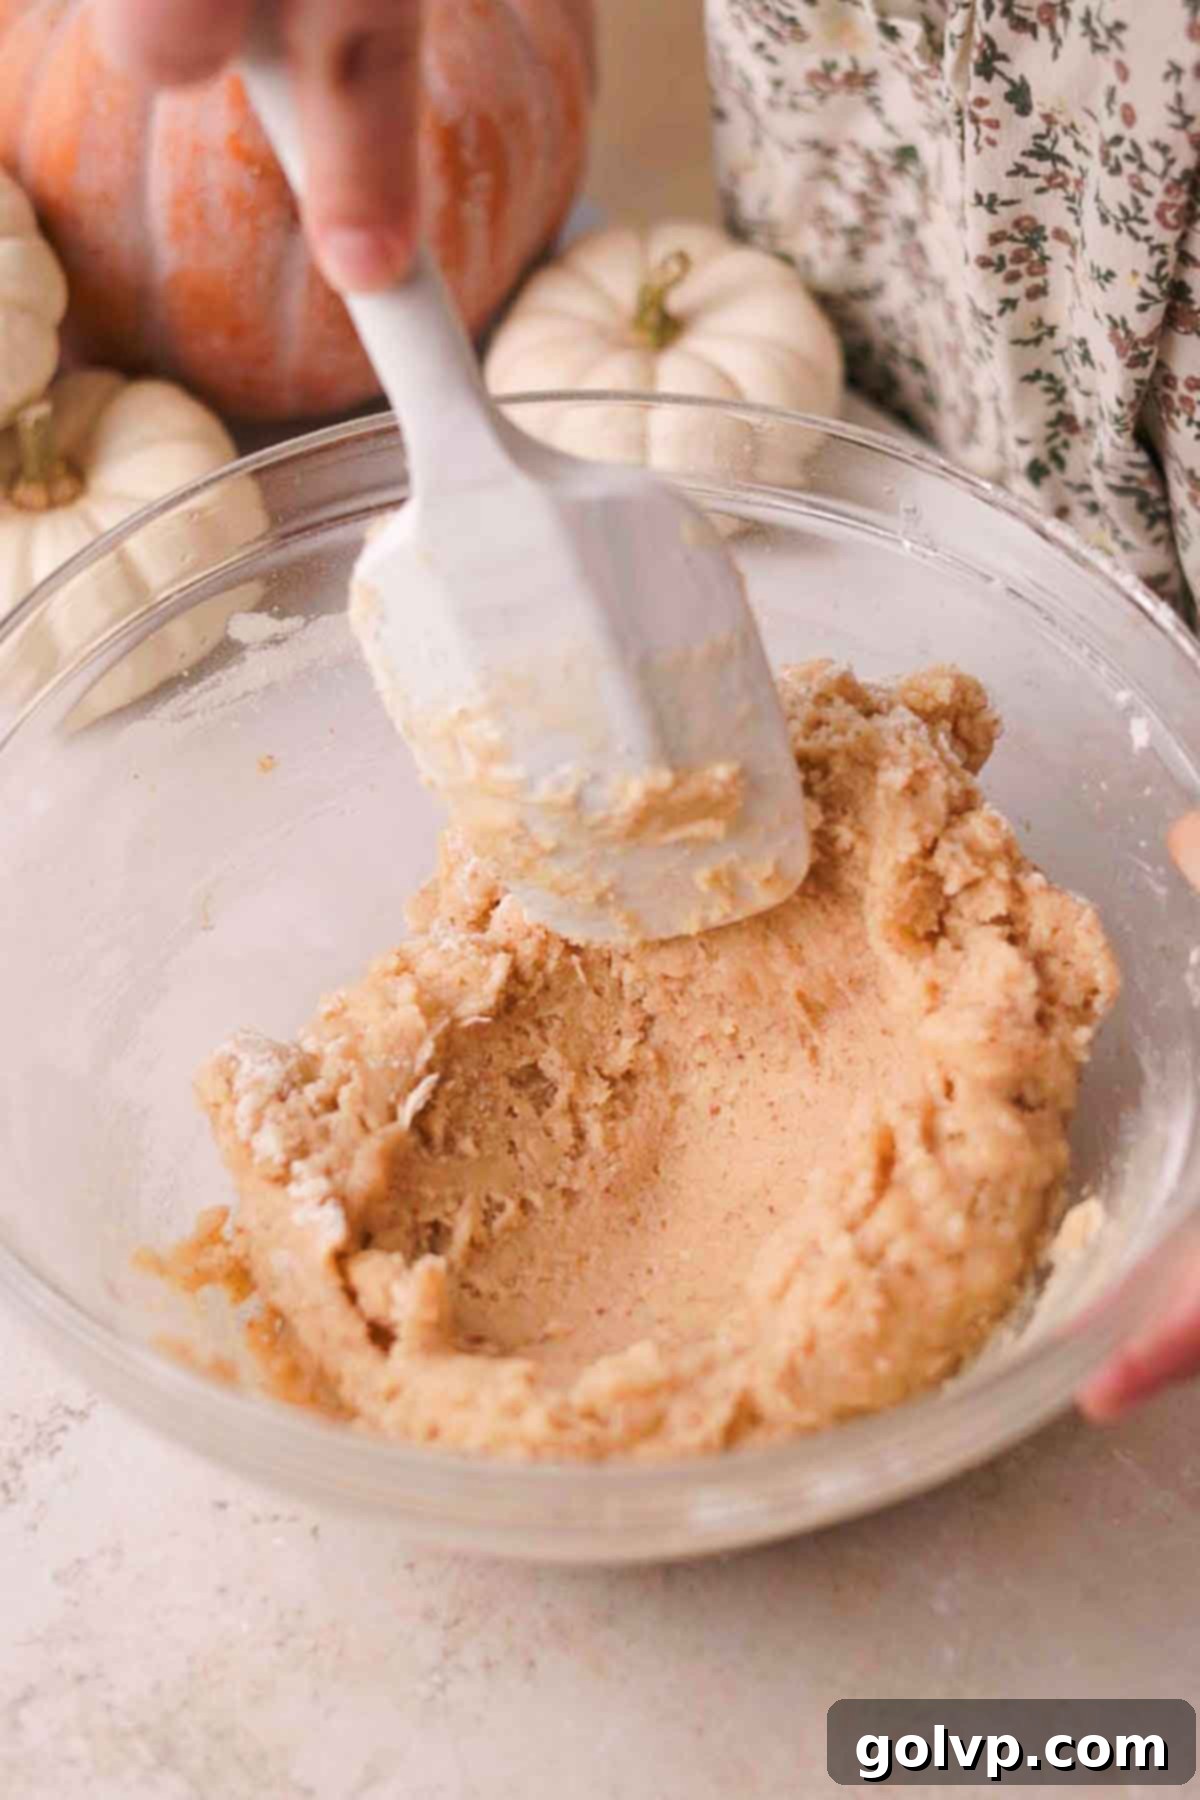
Step 4: Incorporate Flour. Sift the all-purpose flour directly into the same bowl with the wet ingredients. Gently fold the flour into the mixture using a spatula or spoon until a soft, uniform cookie dough forms. Be careful not to overmix, as this can lead to a tough crust.
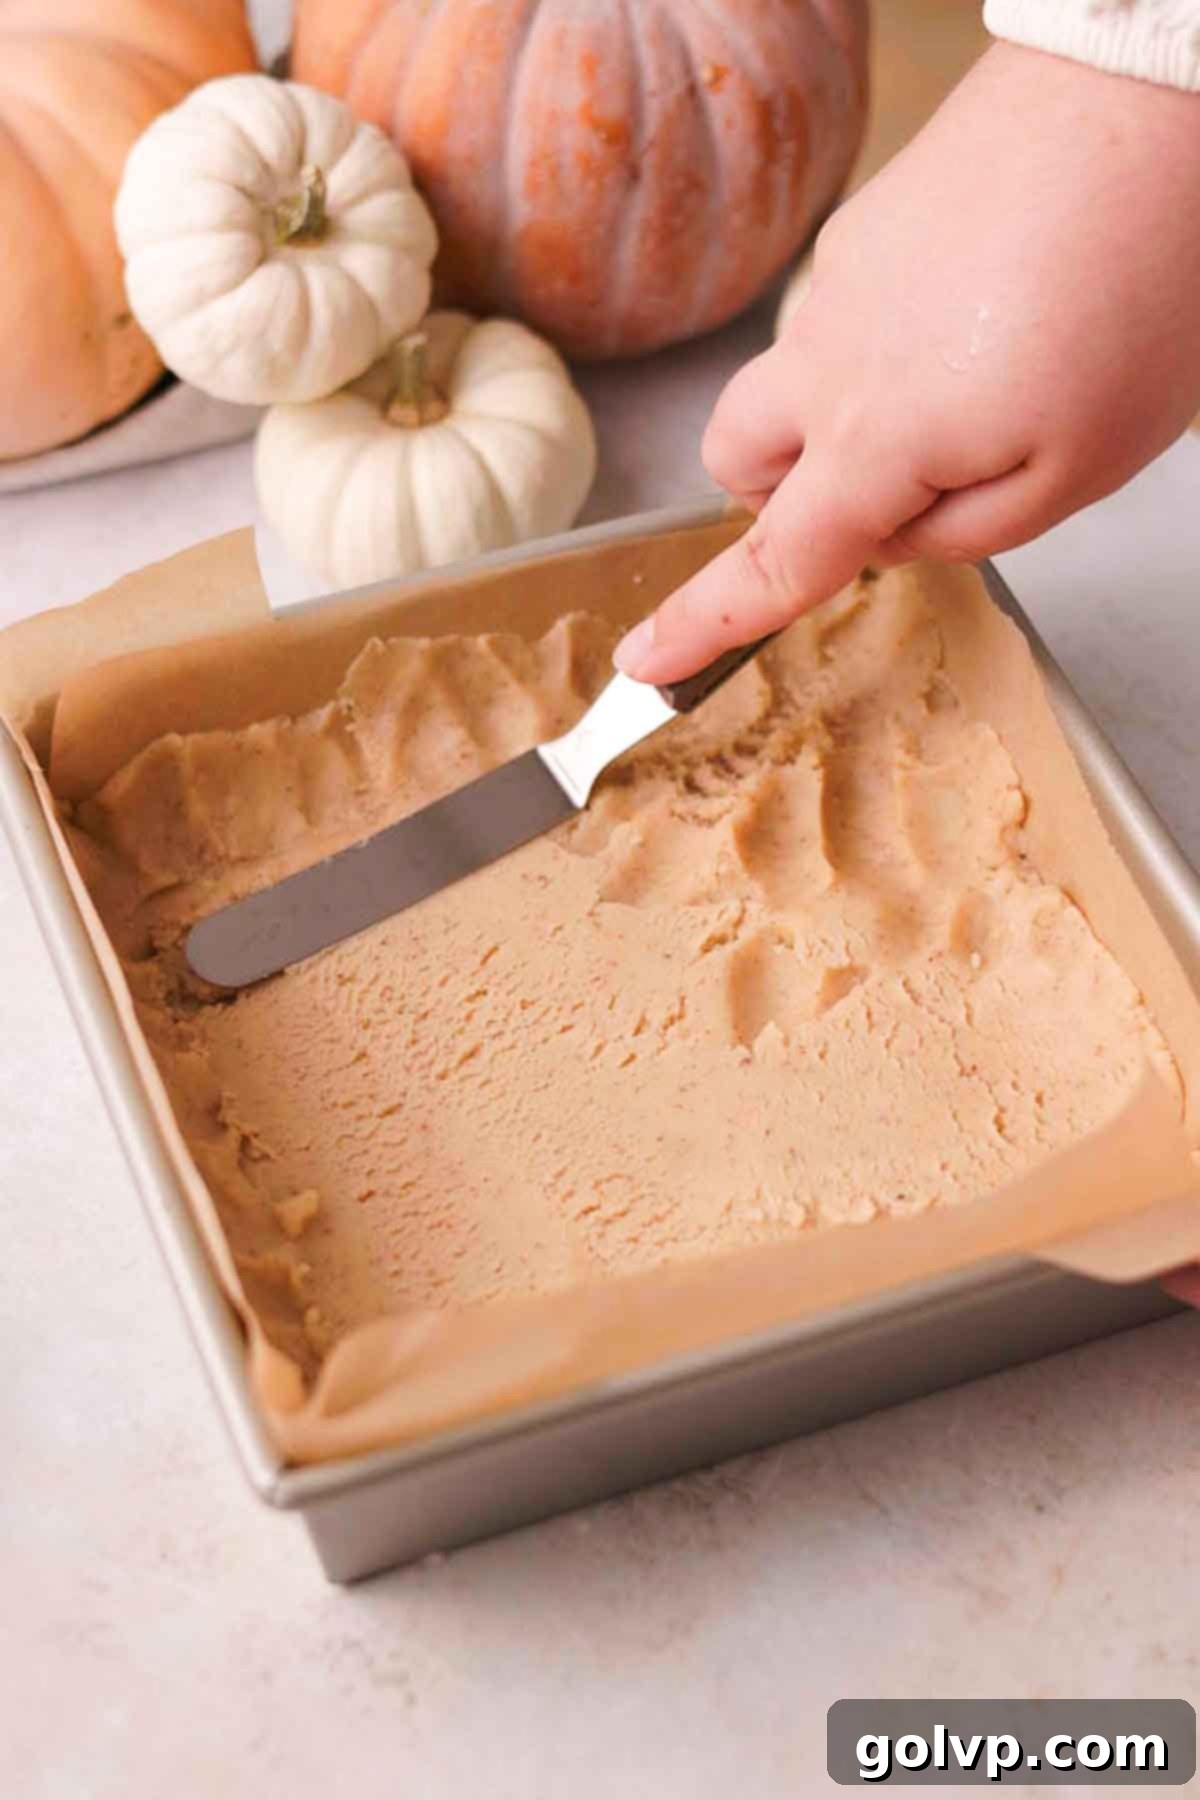
Step 5: Press into Pan. Evenly spread the cookie dough into the prepared, lined baking pan. Using your fingers or the bottom of a flat glass, gently press the dough firmly and evenly across the bottom and slightly up the sides to create a thin, consistent border along the outer edge of the pan. This border will help hold the pumpkin filling in place.
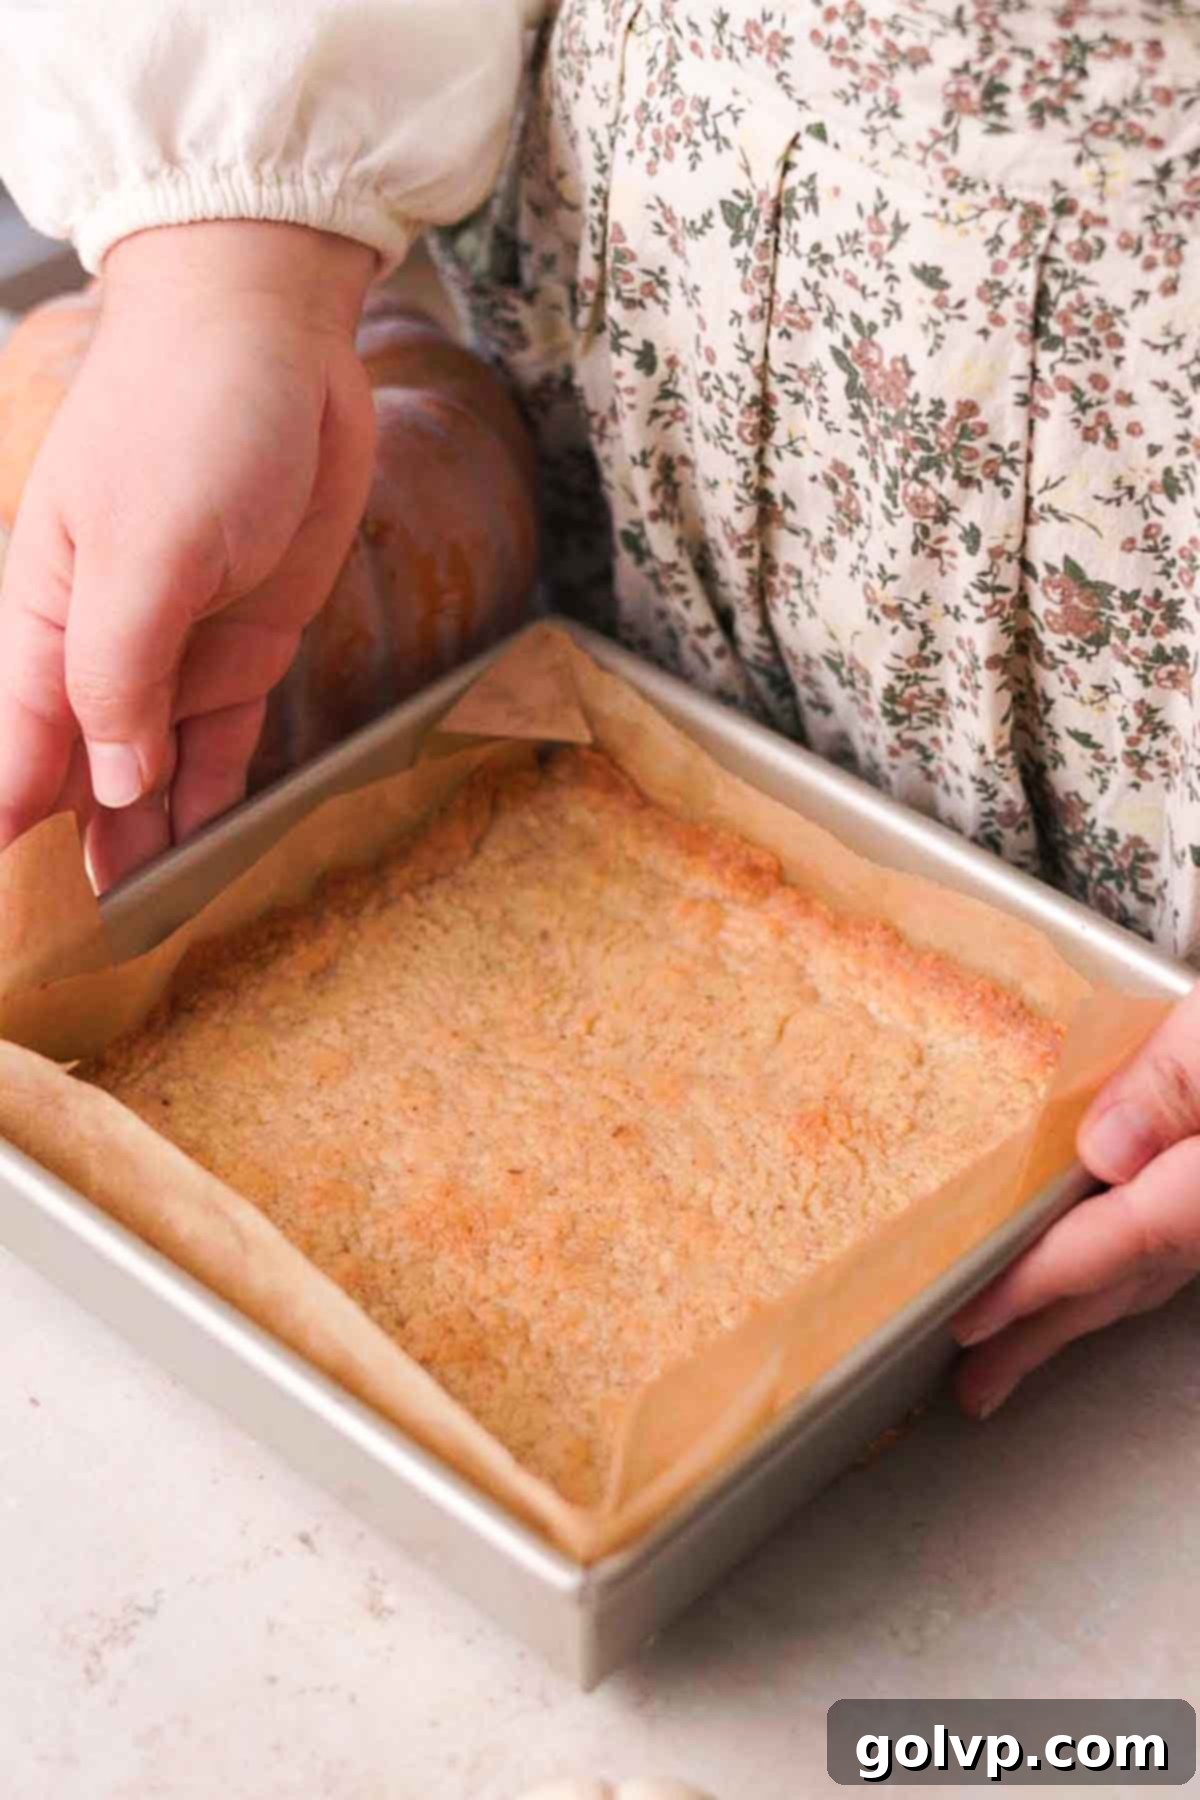
Step 6: Pre-Bake the Crust. Bake the shortbread crust in the preheated oven for 20-22 minutes, or until the top and edges are beautifully golden brown and slightly puffed. While the crust is baking, you can begin preparing your pumpkin pie filling to save time.
Preparing the Creamy Pumpkin Pie Filling
This filling is the star, bringing all the warm, comforting flavors of fall to your bars. It’s incredibly easy to prepare while the crust is baking.
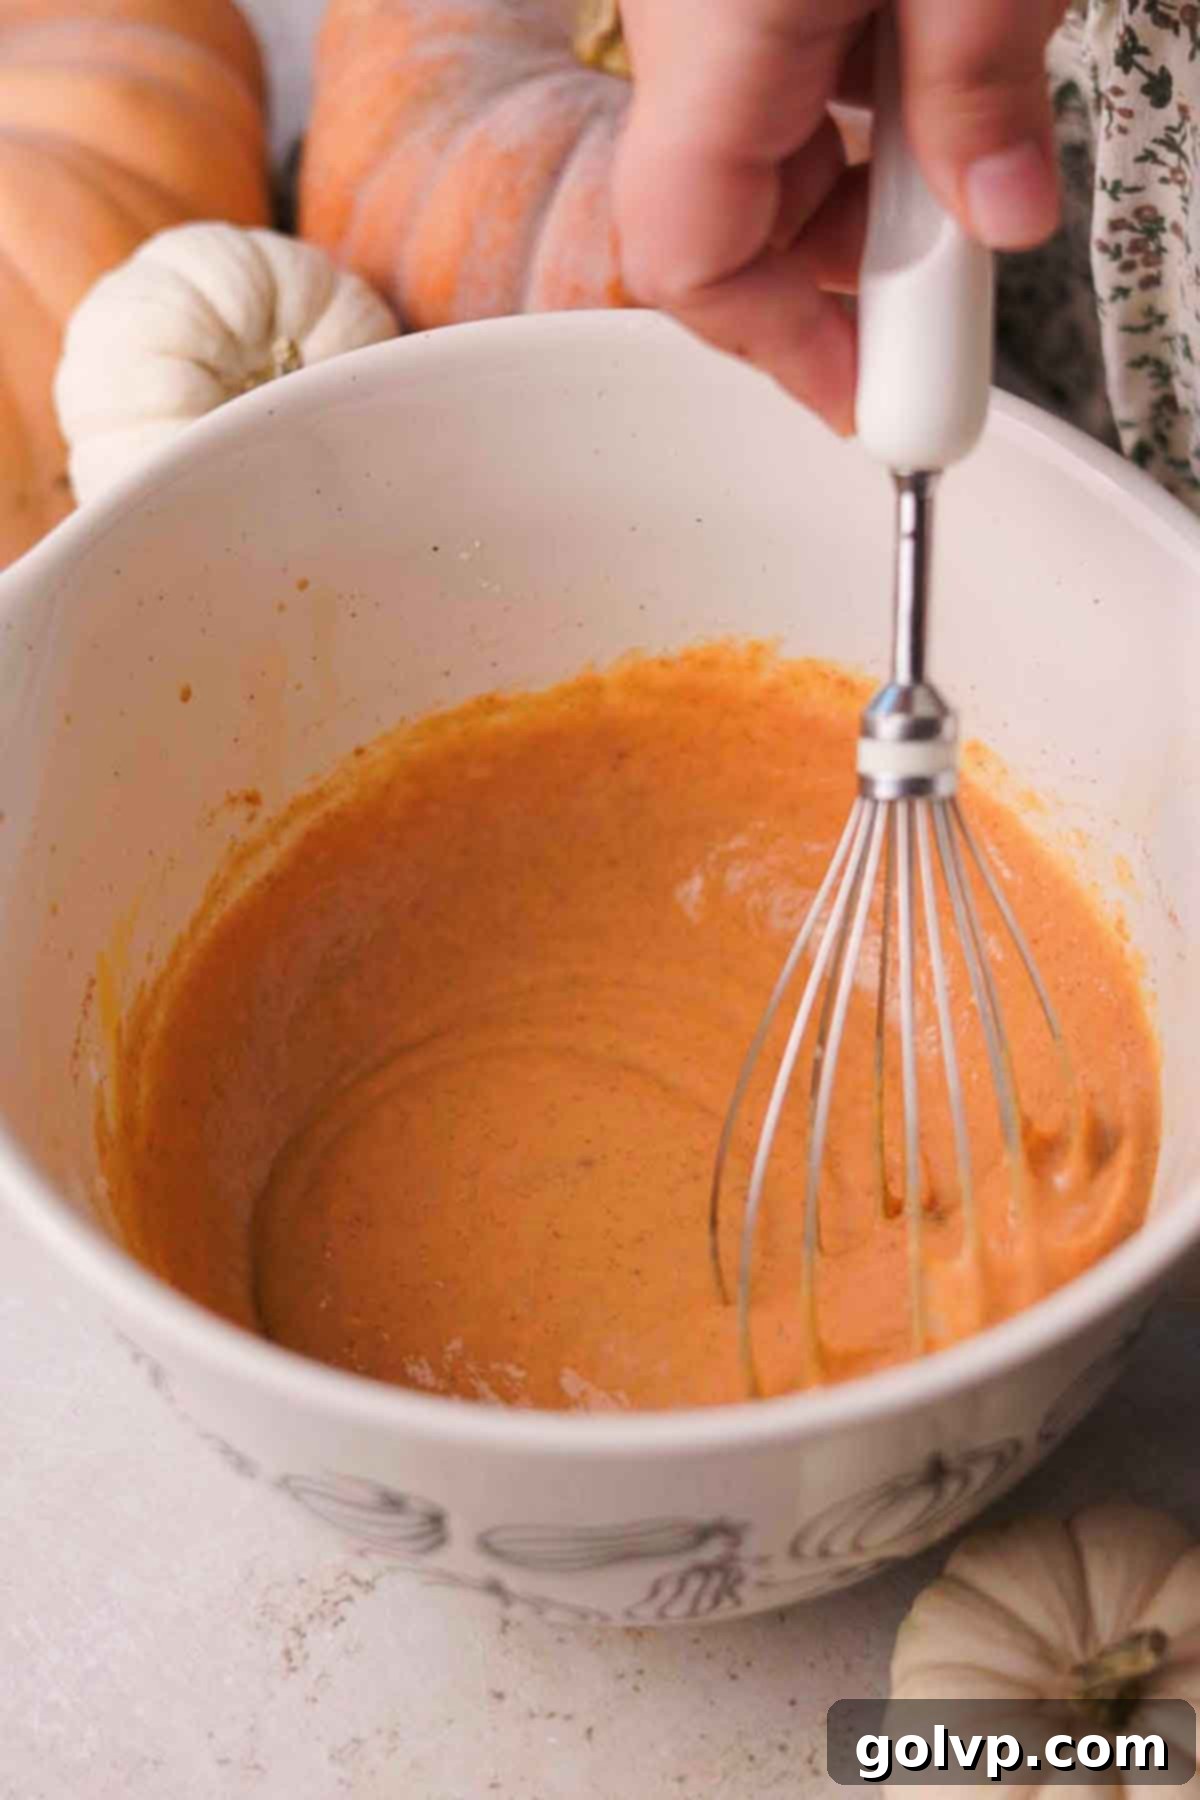
Step 1: Mix All Filling Ingredients. In a large bowl, combine all the pumpkin pie filling ingredients: large eggs, pumpkin purée, cornstarch, sea salt, pumpkin pie spice, sweetened condensed milk, and pure vanilla extract. Whisk everything together thoroughly until the mixture is completely smooth and well combined, with no lumps.
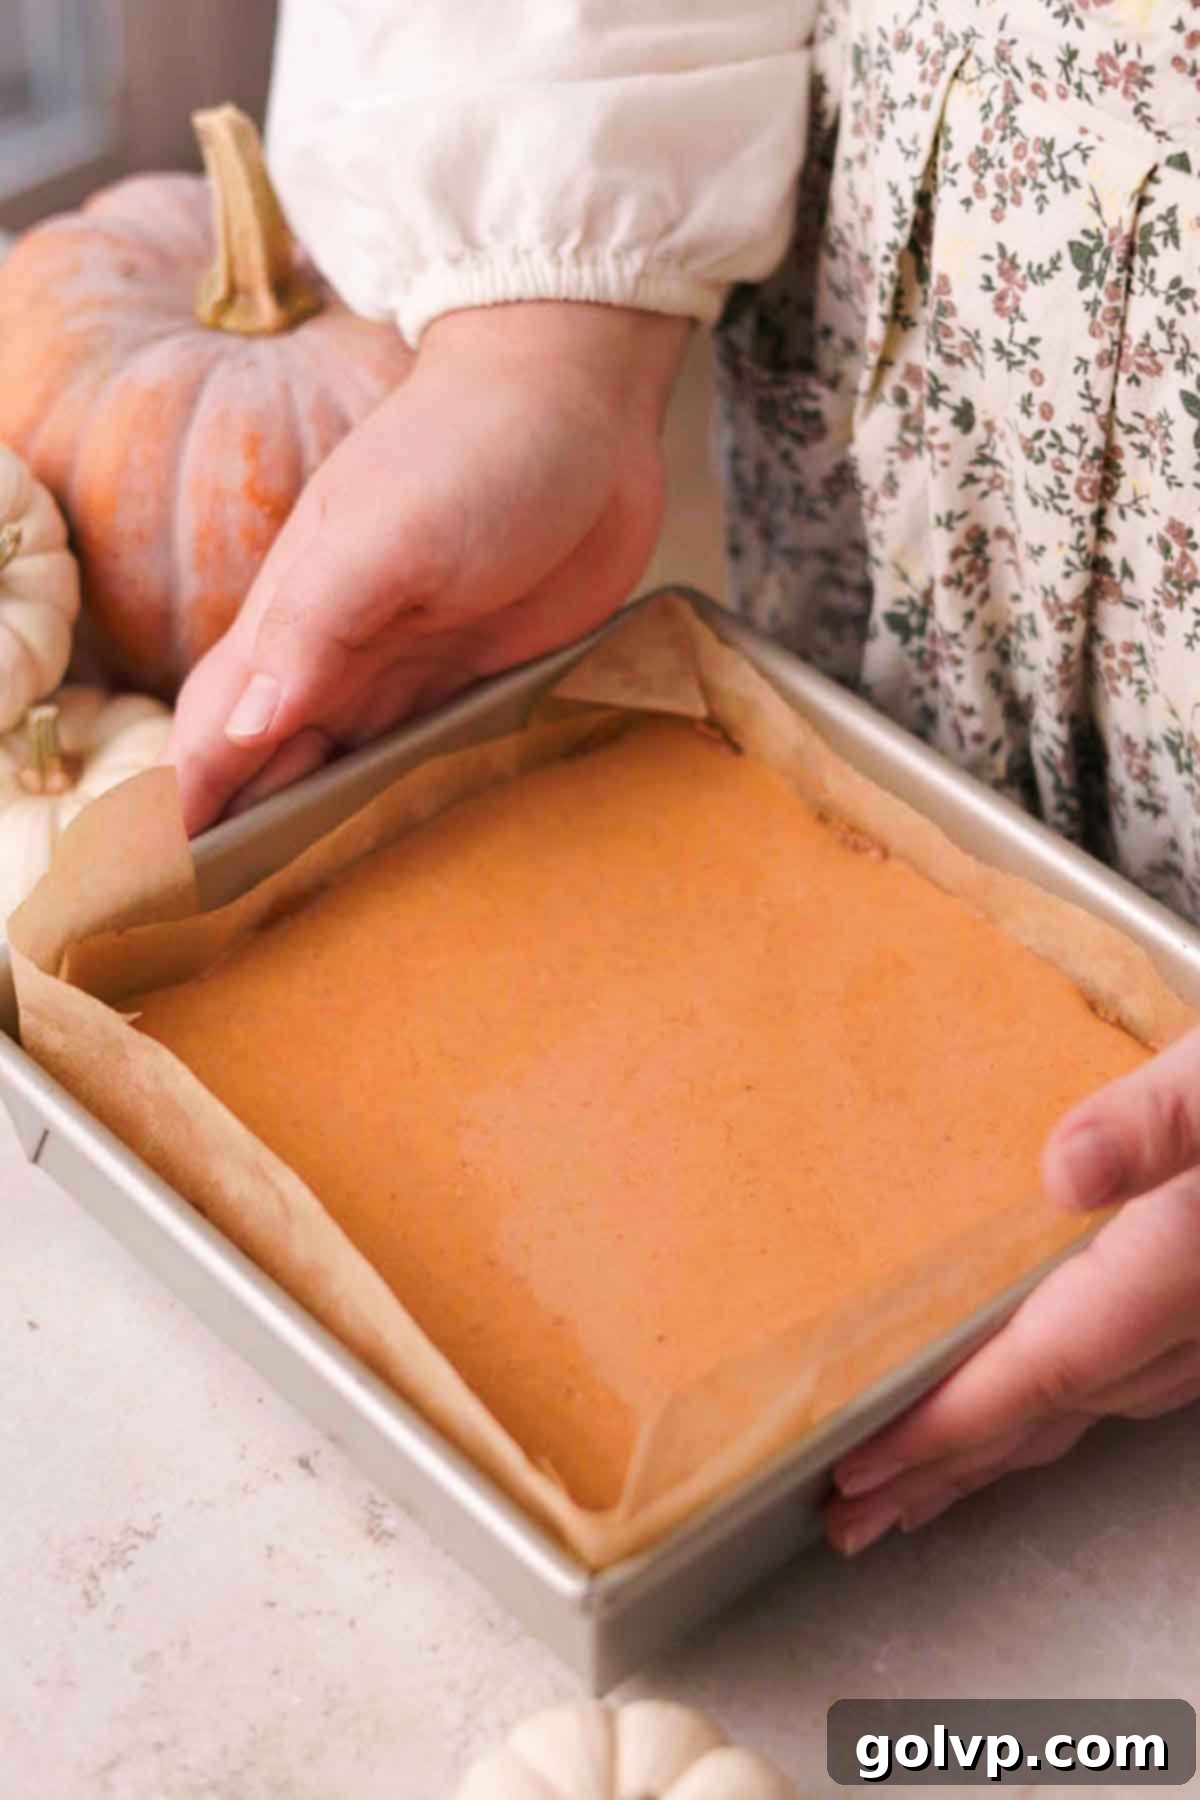
Step 2: Bake the Filling. Once the crust is baked, carefully remove it from the oven. Pour the prepared pumpkin filling evenly over the warm crust. Return the pan to the oven and bake for another 20 minutes, or until the edges of the filling are set and firm, but the very center still has a slight, gentle wiggle when lightly shaken. This indicates a perfectly creamy, not overbaked, filling. Let the bars cool completely to room temperature before chilling. For extra firm bars, chilling for a few hours is highly recommended.
Assembling and Finishing Your Pumpkin Pie Bars
The final touch of fluffy whipped cream transforms these bars into a truly elegant and delicious dessert. Prepare it just before serving for the best results.
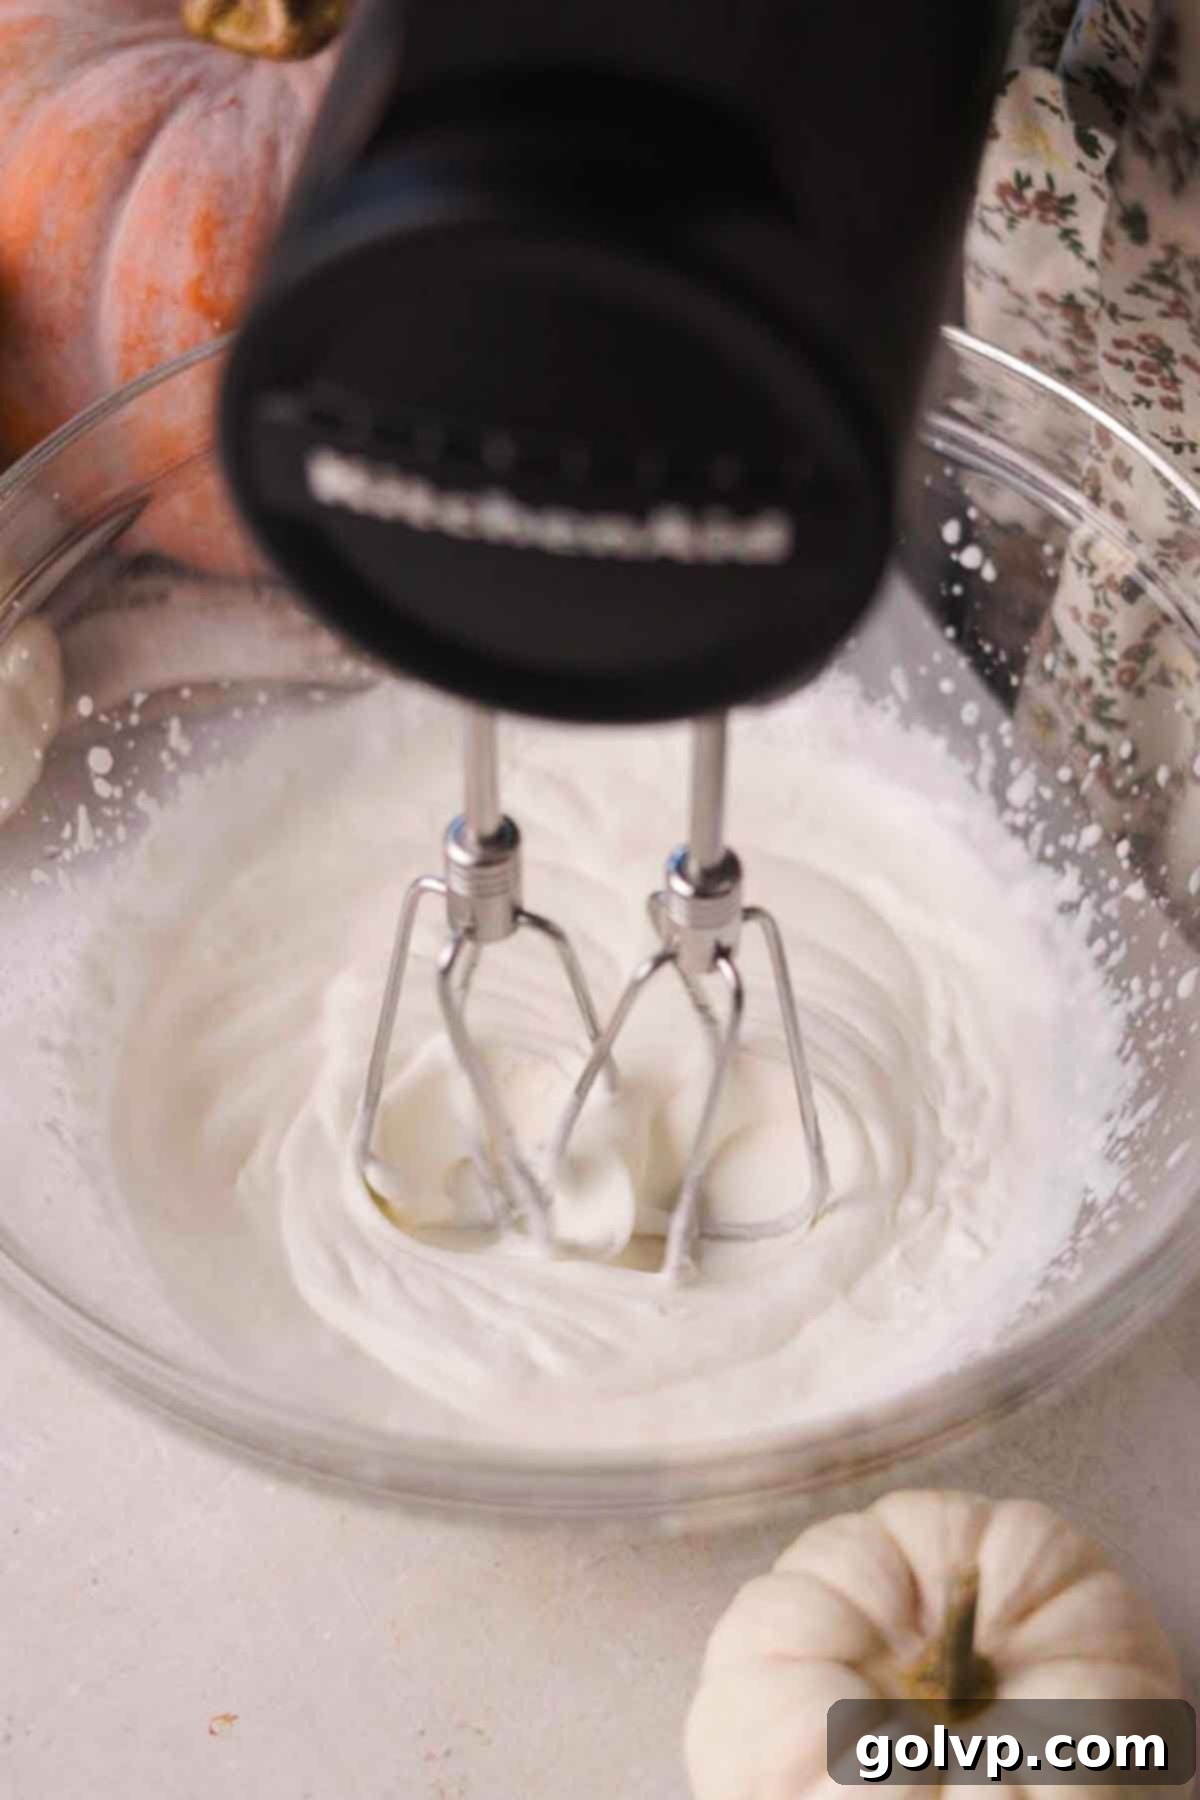
Step 1: Prepare the Whipped Cream. For the best results, chill a large mixing bowl and your whisk attachment (from a stand mixer or hand mixer) in the freezer for about 5-10 minutes before starting. In this chilled bowl, combine the cold heavy whipping cream, granulated sugar, and vanilla extract. Whisk vigorously until stiff peaks form – the cream should hold its shape firmly. Transfer the whipped cream into a piping bag fitted with a star tip (a Wilton 1M works beautifully for decorative swirls).
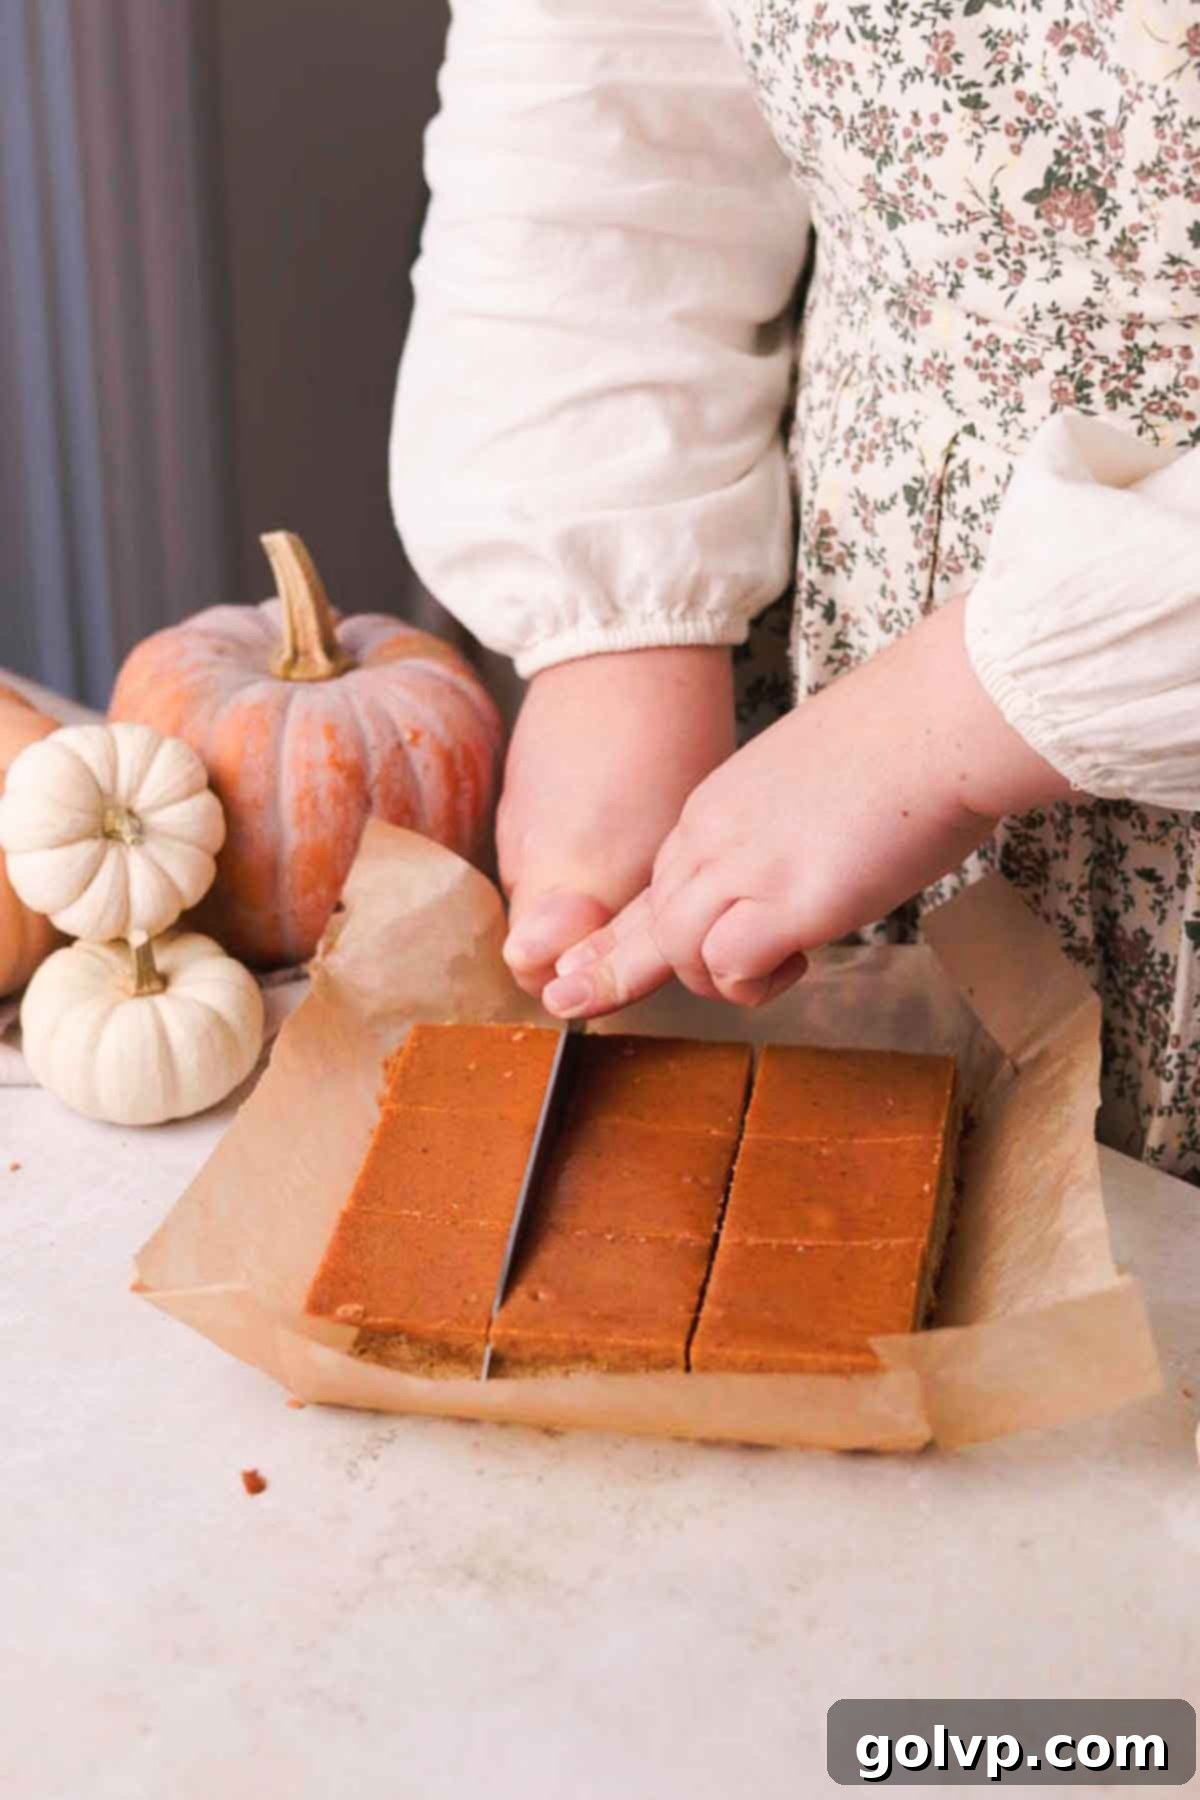
Step 2: Slice the Bars. Once the pumpkin pie bars are completely cooled and ideally chilled, carefully remove them from the baking pan using the parchment paper handles. Using a sharp knife, trim off all the edges for a clean, professional look. Then, cut the large slab into 9 or 16 square bars, depending on your desired serving size. For perfectly clean slices, wipe your knife clean with a damp cloth between each cut.
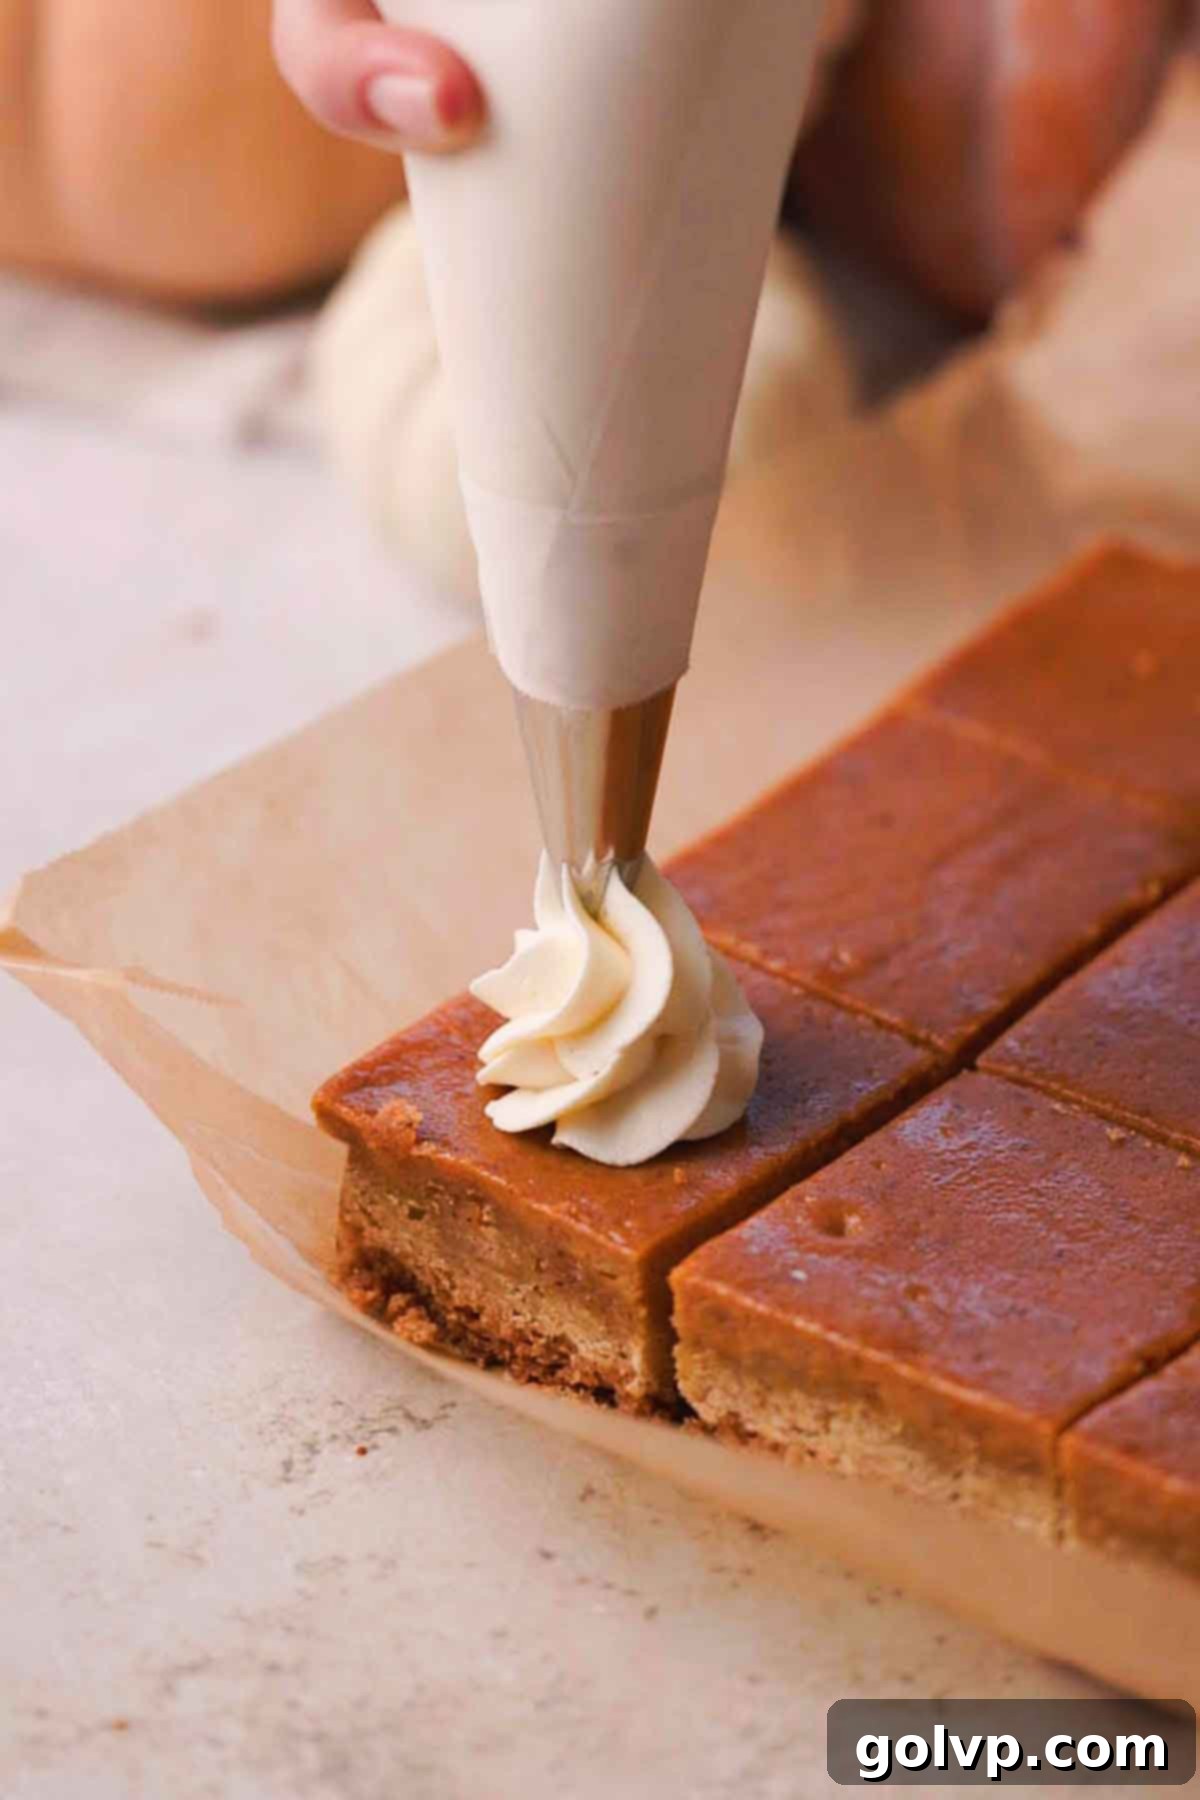
Step 3: Decorate and Serve. Pipe beautiful swirls or stars of whipped cream on top of each individual pumpkin pie bar. Finish by sprinkling a tiny pinch of pumpkin pie spice over the whipped cream for added aroma and visual appeal. Serve immediately and enjoy your homemade pumpkin pie bars!
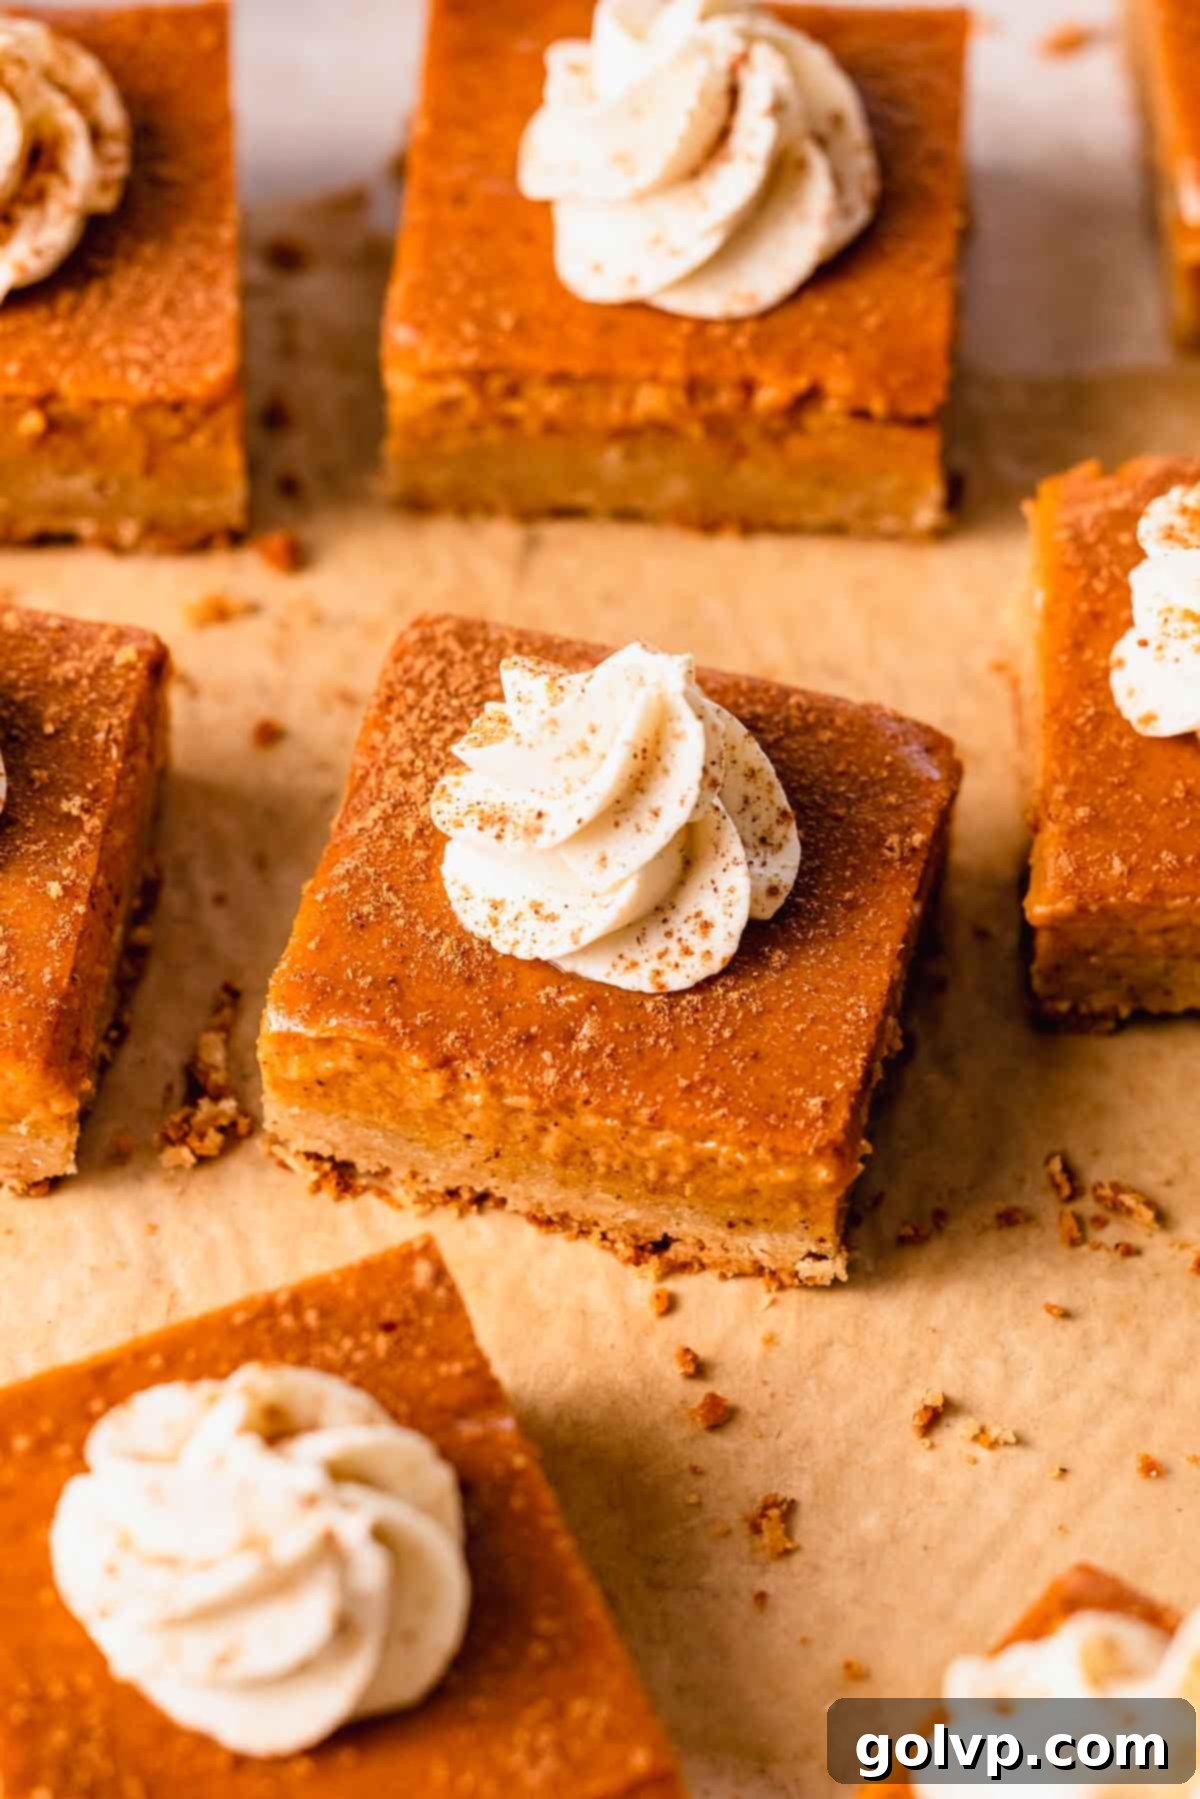
Step 4: Enjoy! These bars are best enjoyed fresh with the whipped cream, offering a delightful combination of textures and flavors. Prepare for compliments!
✔️ Expert Tips for Pumpkin Pie Bar Perfection
Achieving bakery-quality pumpkin pie bars is simple with these insider tips:
- Perfect Brown Butter: When browning butter, constant stirring is crucial to prevent it from burning, especially at the bottom of the pan. Keep the heat on medium-low and watch it closely. The process goes quickly once the foam subsides. As soon as you see those amber specks and smell a nutty aroma, remove it from the heat and transfer it to a cool bowl immediately to halt cooking.
- Maximize Brown Butter Flavor: Don’t leave any of that deliciousness behind! The brown bits at the bottom of the saucepan are where all the magic happens. Make sure to scrape every last speck into your mixing bowl; these caramelized milk solids are essential for the deep, nutty flavor of your crust.
- A Shortbread Crust That’s Never Gummy: The key to a perfectly crisp and tender shortbread crust is proper baking. Ensure you bake the crust until it’s slightly puffed and has achieved a beautiful golden brown color on both the top and edges. This thorough baking guarantees the crust is fully cooked through and won’t become soft or gummy once the moist pumpkin filling is added.
- Achieve the Ideal Filling Texture: The pumpkin filling is perfectly baked when the edges appear set and firm, but the very center still has a slight, delicate wobble when you gently shake the pan. This “wiggle test” indicates a creamy, smooth texture. An underbaked filling will be too runny, while an overbaked one might become dry or cracked.
- The Secret to Stiff, Fluffy Whipped Cream: Temperature is paramount for whipped cream. Always use very cold heavy whipping cream (ideally 35% fat content or higher). For the best results, chill your mixing bowl and whisk attachment in the freezer for 5-10 minutes before you start whipping. This keeps the fat in the cream as cold as possible, allowing it to whip up much faster, hold its shape better, and become exceptionally thick, creamy, and stable.
🥄 Make Ahead and Storage Tips
These pumpkin pie bars are wonderfully suited for making ahead, which is a huge convenience, especially during busy holiday seasons! While they truly taste their absolute best on the day they are made, they will maintain their deliciousness and texture for up to 3 days when stored properly in an airtight container in the refrigerator. Do note that over time, the shortbread crust will naturally absorb some moisture from the pumpkin filling, becoming softer than when freshly baked. This doesn’t diminish their flavor, but alters the texture slightly.
For the best presentation and texture, we highly recommend whipping and piping the whipped cream right before you plan to serve the bars. Homemade whipped cream, while delightful, doesn’t hold its airy volume well for extended periods and tends to melt and deflate if applied too far in advance. You can enjoy these bars chilled directly from the fridge for a firmer texture, or allow them to come to room temperature for a slightly softer, more yielding experience – try both and see which you prefer!
❕ Why Brown Butter in Shortbread is a Game-Changer
Incorporating brown butter into shortbread is a culinary revelation, and it’s quickly become one of my favorite baking techniques! The process of browning butter transforms its flavor profile, infusing the shortbread with a profound depth of nutty, toasted, and slightly caramel-like notes. This isn’t just a subtle difference; it genuinely deepens the overall flavor and imparts a uniquely rich, buttery quality to the texture that’s simply divine.
What’s truly remarkable is that you achieve this complex, nutty taste without the addition of any actual nuts, making it a fantastic option for those with allergies or preferences. It’s the perfect fall flavor, especially when paired with the warm spices of pumpkin. I’ve successfully used this delightful combination in my popular pumpkin gooey butter cake, and it creates an unforgettable experience.
My love for brown butter extends beyond pumpkin desserts; it’s a staple in many of my cookie recipes too! You’ll find it adding its magic to classics like my brown butter pistachio chocolate chip cookies and these incredibly chewy brown butter toffee cookies. If you haven’t tried browning butter for your shortbread or cookies yet, prepare to be amazed!
🥧 Why Pumpkin Pie Bars Might Just Be Better Than Pie!
If you, like me, appreciate the wonderful flavors of pumpkin pie but sometimes find its creamy filling a little too overwhelming, then pumpkin pie bars are about to become your new favorite fall dessert! The beauty of these bars lies in their perfectly balanced construction. They offer more of that satisfying, crumbly crust and a more manageable portion of the rich, spiced filling compared to a traditional pie slice. We’ve specifically aimed for an approximate 1:1 ratio of crust to filling, ensuring that every bite delivers a harmonious blend of textures and flavors – a truly perfect bite every time.
Moreover, this brown butter shortbread crust is, in my opinion, far more flavorful and unique than a standard pie crust. The nutty, toasted notes it brings are simply unparalleled. However, if your heart truly belongs to a classic, flaky pie crust, you might prefer our delightful pumpkin hand pies, which offer a more traditional pie experience in a convenient, individual serving size. But for an easy, flavorful, and perfectly portioned treat, these pumpkin pie bars are undoubtedly the winner!
❔ The Secret to a Perfectly Baked Pumpkin Pie Filling
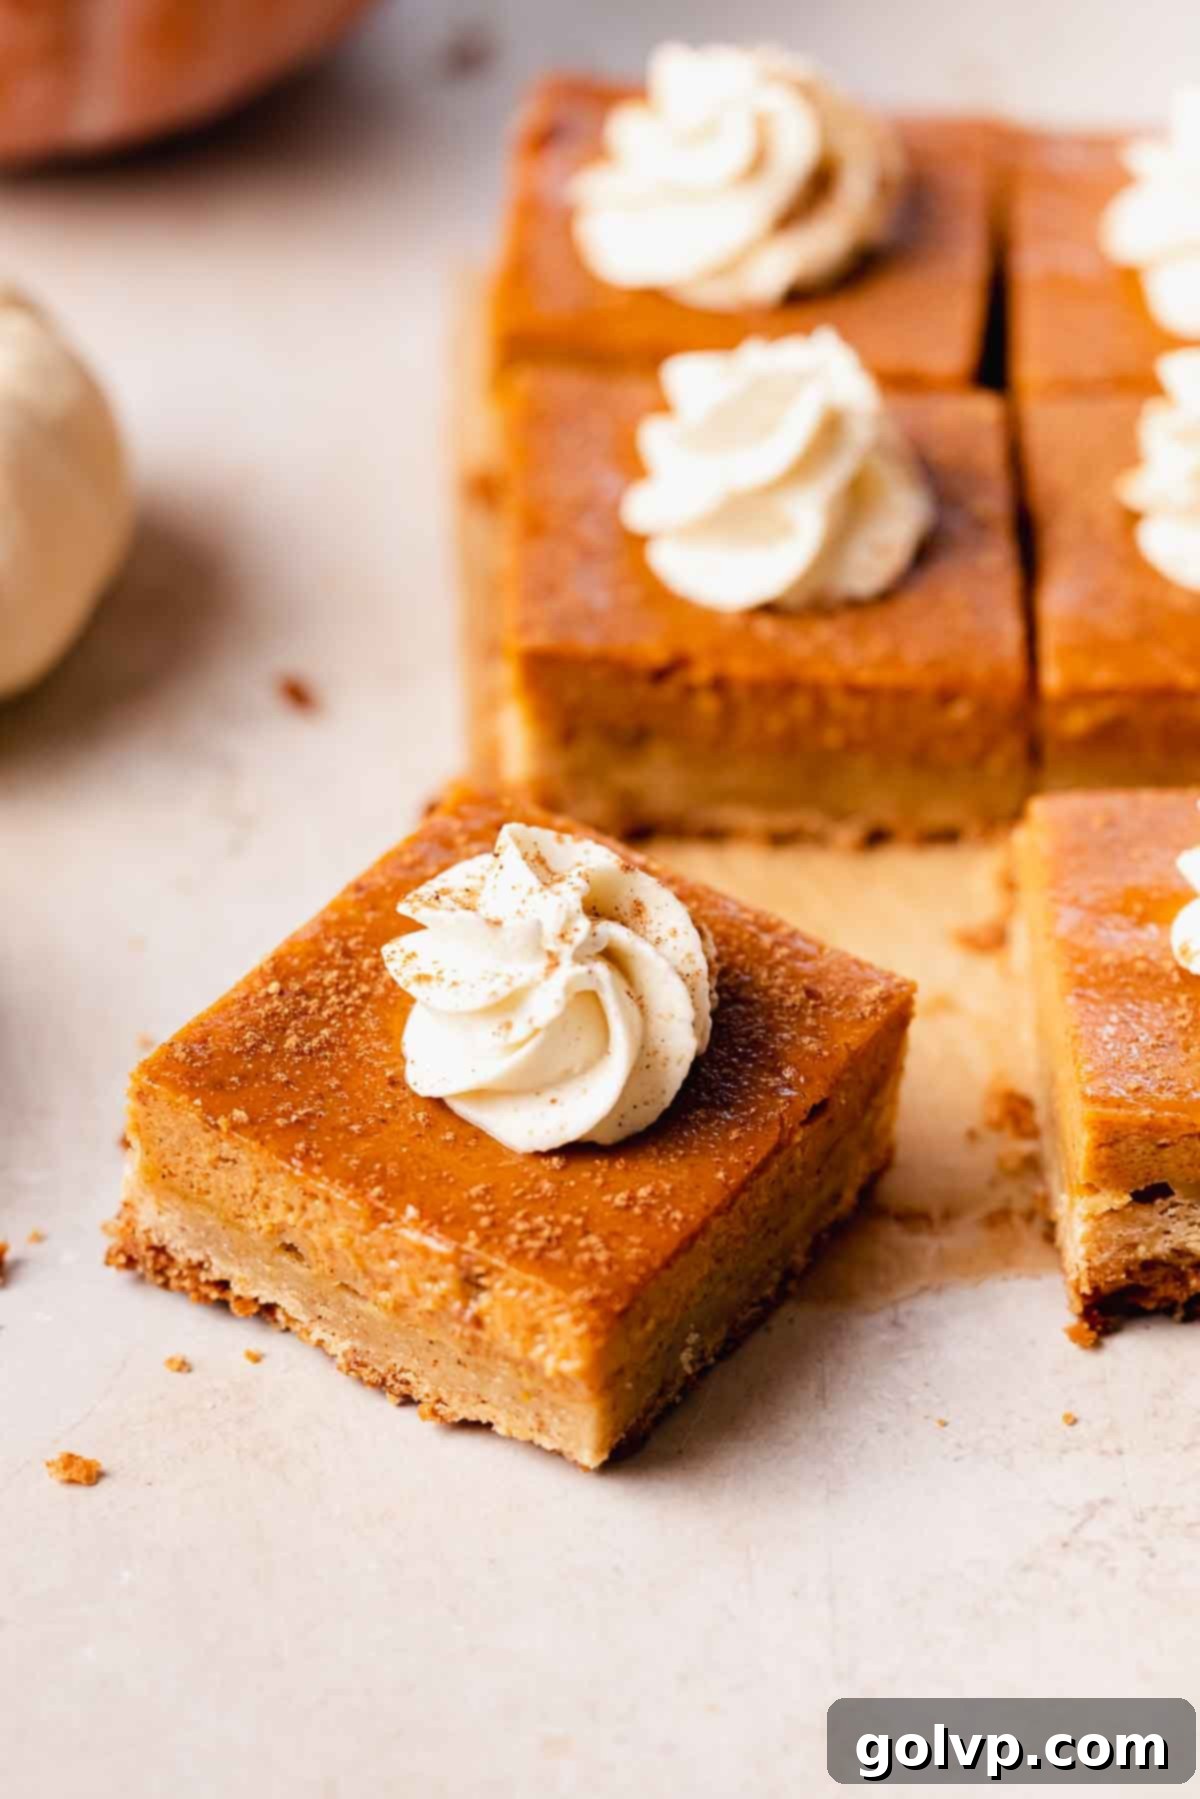
Unlike cakes or brownies, you can’t rely on the toothpick test to determine if your pumpkin pie filling is perfectly baked. It requires a slightly different approach to ensure that creamy, smooth texture we all crave. The key indicators I always look for are when the edges of the filling are completely set and firm, but the very center still has a slight, gentle wiggle when I give the pan a light shake. It shouldn’t be sloshing or overly liquid, but a subtle jiggle is exactly what you want.
The filling should transition from a fully liquid state to mostly set, with just a hint of movement in the middle. If you’re ever uncertain, it’s generally better to slightly overbake the pumpkin pie bars than to underbake them. An underbaked filling simply won’t set, remaining too runny. However, an overbaked filling, while still edible, might lose some of its signature smoothness and creaminess, potentially developing small cracks on the surface. When in doubt, lean towards a minute or two extra baking time to ensure it firms up sufficiently. This same principle of looking for set edges and a slightly wiggly center applies to many custard-based bar recipes, like my graham cracker crust lemon bars and various other bar desserts.
📖 Recipe FAQs
I strongly advise against using salted butter for browning. The browning process can intensify the salt’s flavor, often leading to a bitter, metallic aftertaste that can detract from the delicious nutty notes you’re trying to achieve.
Yes, you can certainly use regular softened unsalted butter. If you choose this option, remember to omit the two tablespoons of milk from the crust recipe, as the softened butter won’t require the extra liquid the browned butter does.
No, these two products are entirely different and are not interchangeable in this recipe. Sweetened condensed milk is a thick, sugary product that provides both sweetness and creaminess, which are crucial for the filling’s texture and flavor. Evaporated milk, on the other hand, is unsweetened and will result in a completely different, less sweet, and less rich filling.
The key to stable whipped cream is keeping it very cold. Cream contains fat, and if the fat gets too warm, it won’t emulsify and hold air effectively. Ensure your heavy whipping cream is well-chilled, and for best results, chill your mixing bowl and whisk attachment in the freezer for a few minutes before you start.
No, I do not recommend using pumpkin pie filling. Pumpkin pie filling is a pre-mixed product that already contains spices and sugar. If you use it and then add the additional sugar and spices specified in this recipe, your pumpkin filling will be excessively sweet and the spice flavor overwhelming. Always use pure canned pumpkin puree for this recipe.
🍂 More Fall-Inspired Recipes You’ll Love
- Pumpkin Pie Cookies
- Pumpkin Hand Pies
- No Bake Pumpkin Cheesecake Bars
- Pumpkin Gooey Butter Cake
Have you tried this irresistible pumpkin pie bar recipe? I would absolutely love to hear your thoughts and see your beautiful creations! Please take a moment to rate this recipe and share your experience in the comments section below. Don’t forget to share your photos on Instagram and tag @flouringkitchen so I can see them! For more delicious recipes and baking inspiration, be sure to follow me on Pinterest.
📖 Recipe
Pumpkin Pie Bars
Mary
Pin Recipe
Shop Ingredients
Equipment
-
eight inch square baking pan
-
parchment paper
Ingredients
Brown Butter Crust
- 1 cup unsalted butter
- 2 tablespoons milk
- ½ cup granulated sugar
- 1 teaspoon pure vanilla extract
- ¾ teaspoon sea salt
- 2 cups all purpose flour 240g
Pumpkin Pie Filling
- 2 large eggs
- 1 cup pumpkin purée
- 2 teaspoon cornstarch
- ¼ teaspoon sea salt
- 2 teaspoon pumpkin pie spice
- ¾ cup sweetened condensed milk
- 1 tablespoon pure vanilla extract
Whipped Cream
- ½ cup cold heavy whipping cream 35%
- 2 tablespoons granulated sugar
- ½ teaspoon pure vanilla extract
- 1 teaspoon pumpkin spice for sprinkling on top
Shop Ingredients on Jupiter
Instructions
Brown Butter Crust
-
Line an 8” or 9” square baking pan with parchment paper, leaving handles on the outside to be able to lift out the bars after baking. Preheat oven to 355°F (180°C).
-
Melt the butter in a saucepan. Heat on stovetop on medium-low heat until it melts. Continue cooking it, stirring frequently while it foams and then when the foam subsides. Take it off the heat as soon as you see brown specks and pour into a heat-safe container or bowl to cool down and stop cooking. Make sure to add all of the brown bits in. Let cool to room temperature.1 cup unsalted butter
-
In a large bowl or stand mixer, combine the cooled brown butter, milk, sugar, vanilla, and salt. Mix together until it thickens slightly.2 tablespoons milk, ½ cup granulated sugar, 1 teaspoon pure vanilla extract, ¾ teaspoon sea salt
-
Sift the flour right into the same bowl and fold to make a cookie dough.2 cups all purpose flour
-
Dump and spread the cookie dough into the lined pan, pressing the dough up to create a thin border all along the outside.
-
Bake in preheated oven for 20-22 minutes, or until the top and edges are golden brown. Work on the filling while it bakes.
Pumpkin Pie Filling
-
Add all of the ingredients into a large bowl. Whisk together to combine.2 large eggs, 1 cup pumpkin purée, 2 teaspoon cornstarch, ¼ teaspoon sea salt, 2 teaspoon pumpkin pie spice, ¾ cup sweetened condensed milk, 1 tablespoon pure vanilla extract
-
As soon as the crust has baked, pour the filling on top of the crust and bake for 20 minutes, or until the edges are set and the center is still a little wiggly.
-
Let cool completely. For extra firm bars – I recommend chilling them for a few hours.
Whipped Cream
-
Pro Tip: Pop your bowl and whisk attachment into the freezer 5 minutes before getting started for a very thick whipped cream. I recommend whipping the cream the day of serving.
-
In a large bowl or stand mixer, combine cold cream, sugar, and vanilla extract. Whip together with a whisk attachment until thickened and holds its shape. Transfer into a piping bag with a star tip (I used a Wilton 1M).½ cup cold heavy whipping cream, 2 tablespoons granulated sugar, ½ teaspoon pure vanilla extract
-
Remove the cooled pumpkin pie bars from the baking pan. Trim all of the edges with a sharp knife. Cut it into 9 or 16 square bars, making sure to wipe your knife between each slice for clean cuts.
-
Pipe stars and swirls of whipped cream on top of the bars, sprinkle with pumpkin spice, and serve! I recommend topping the bars off with whipping cream the day of serving because it will melt the longer it sits.1 teaspoon pumpkin spice
Video
Notes
Serving: I recommend whipping and piping the whipped cream right before serving because it doesn’t keep well for a long time without melting and deflating. You can try these bars chilled right out of the fridge or at room temperature and see what temperature you prefer!
Tips for success:
- Don’t forget to stir the brown butter or it will burn!
- Get all the brown butter flavor by using ALL of the brown specks.
- Bake the crust until the top is slightly puffed and golden.
- Bake the filling until it’s set and firm around the edges but still a little wiggly in the center.
- Use cold whipping cream (35%) and chill the bowl and whisk for the best results!
