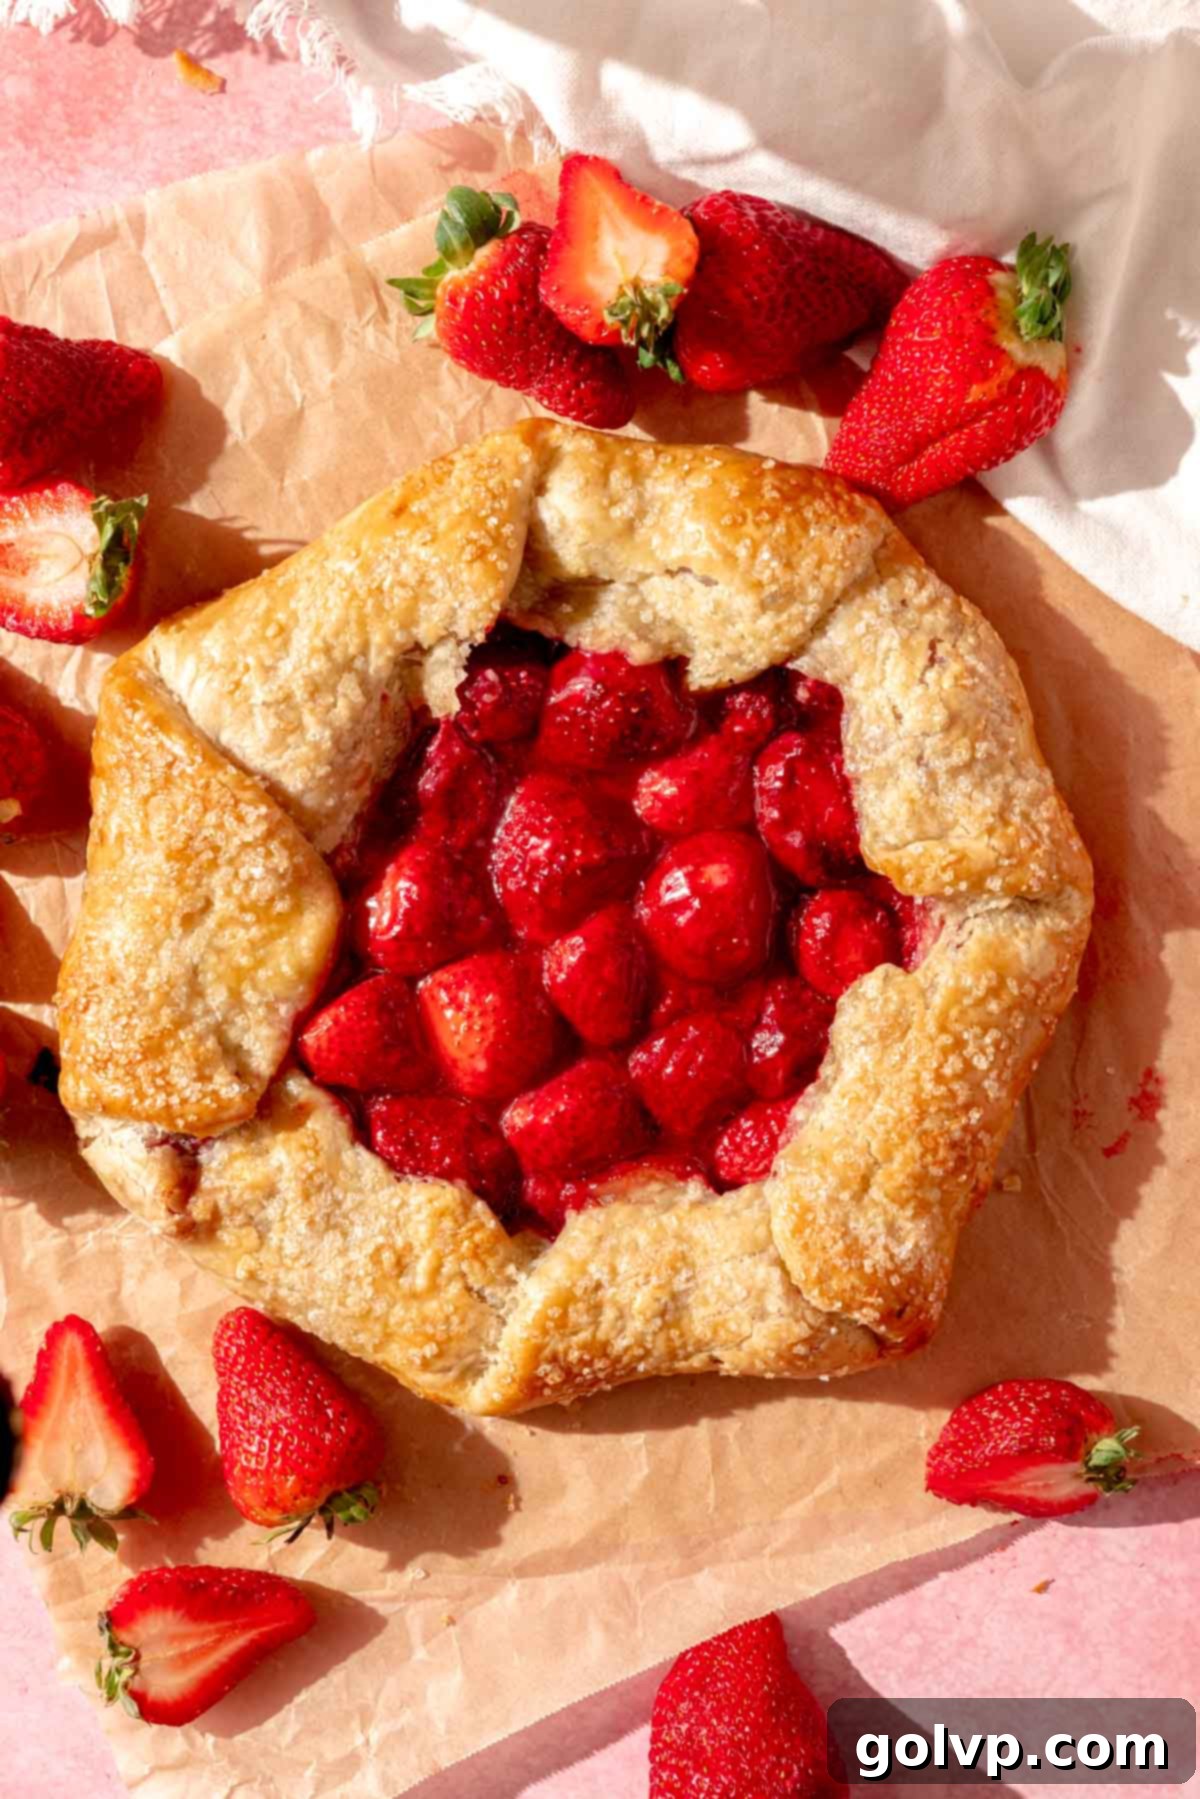
Easy & Delicious Strawberry Galette: Your Go-To Recipe for a Flaky, Fruit-Filled Dessert
Prepare to fall in love with this irresistible strawberry galette – a truly delightful dessert that combines a wonderfully flaky, buttery crust with a luscious, gooey strawberry filling. This homemade pastry is surprisingly simple to prepare, yet yields a sophisticated, rustic charm that makes it perfect for any occasion, from a casual weeknight treat to an impressive brunch centerpiece. Forget the intimidation of traditional pies; galettes offer all the deliciousness with none of the fuss, making them an ideal choice for both novice and experienced bakers alike. The tender, crisp crust provides the perfect counterpoint to the sweet and slightly tart strawberries, ensuring every bite is a harmonious blend of textures and flavors. Whether strawberries are in peak season or you’re reaching for frozen berries, this recipe is incredibly versatile and guarantees a wonderfully fresh taste. Say goodbye to soggy bottoms – this galette promises a perfectly crisp foundation every time, cradling a vibrant, fruit-packed heart.
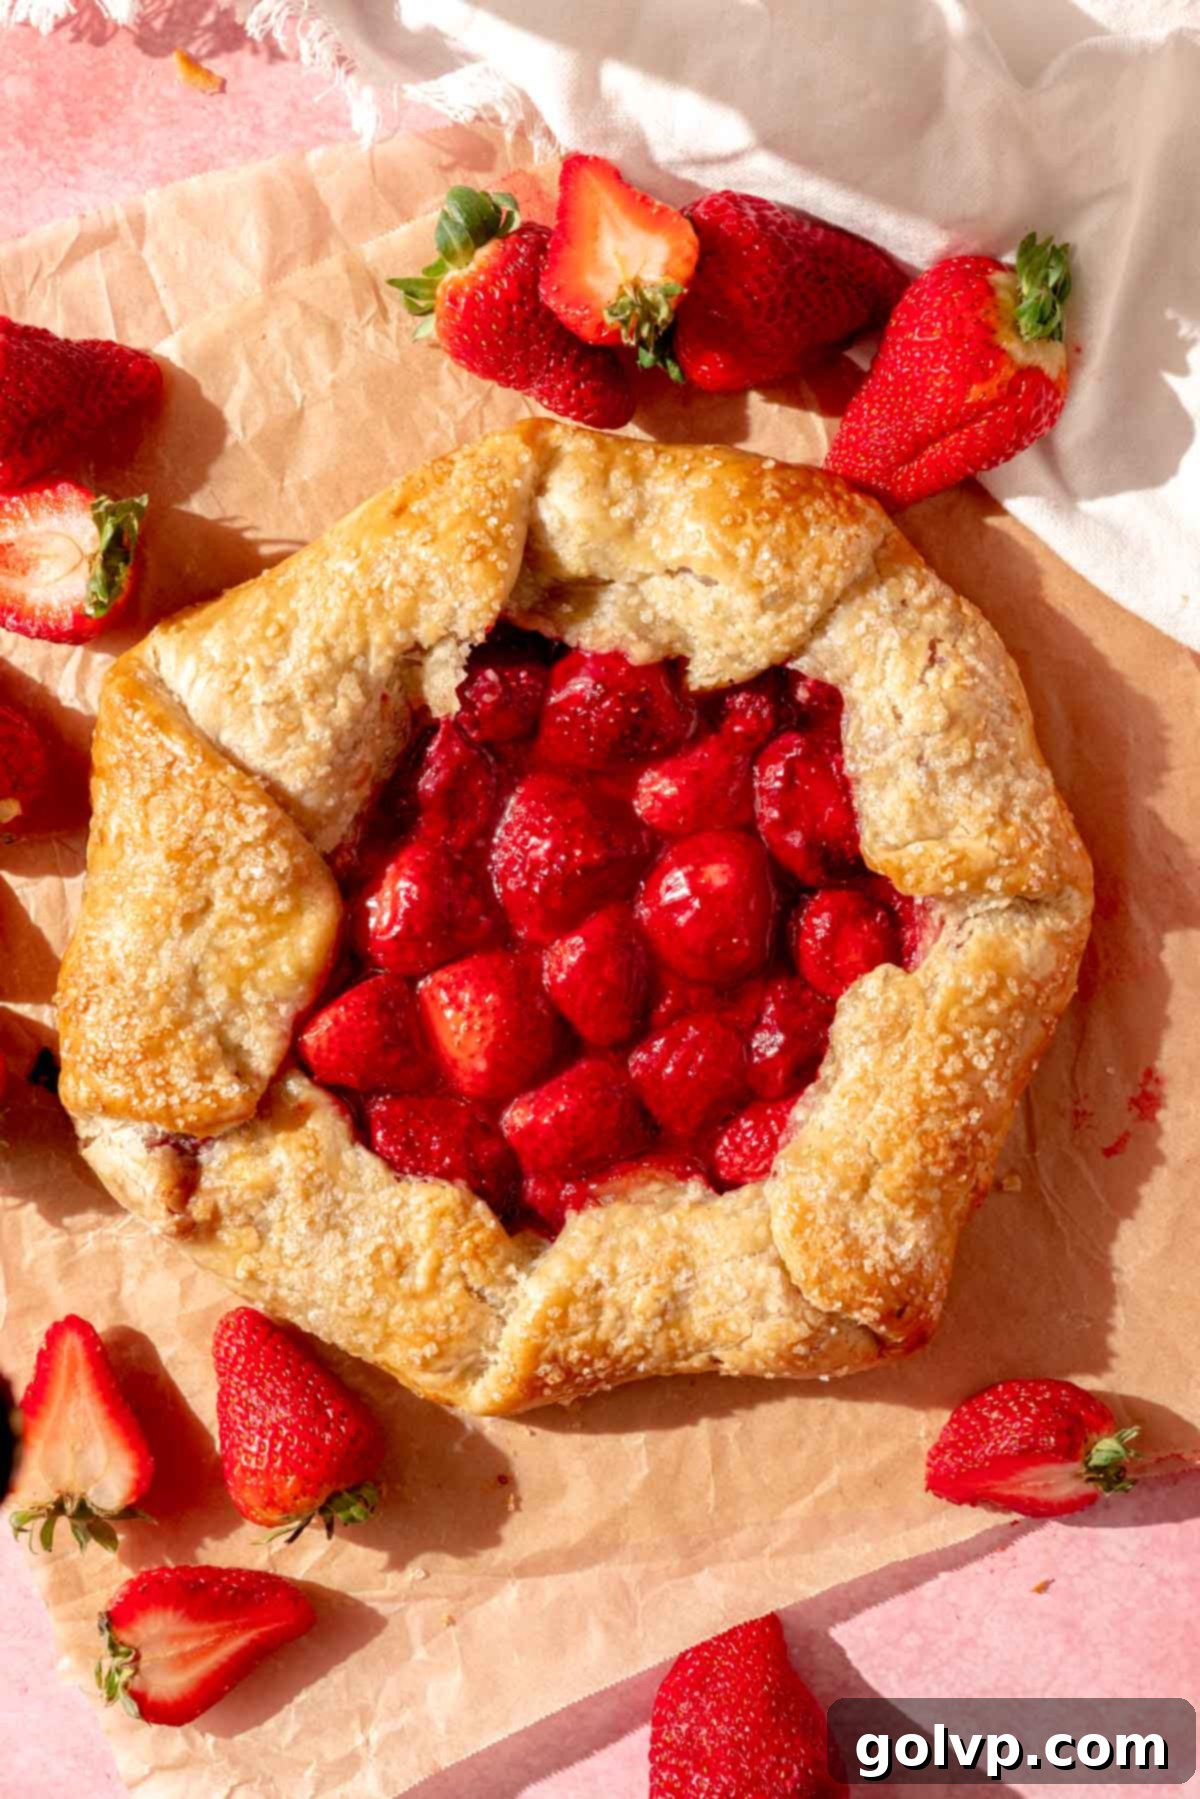
🥧 Why You’ll LOVE This Easy Strawberry Galette Recipe
This strawberry galette isn’t just a dessert; it’s an experience. Here’s why it will quickly become a cherished favorite in your baking repertoire:
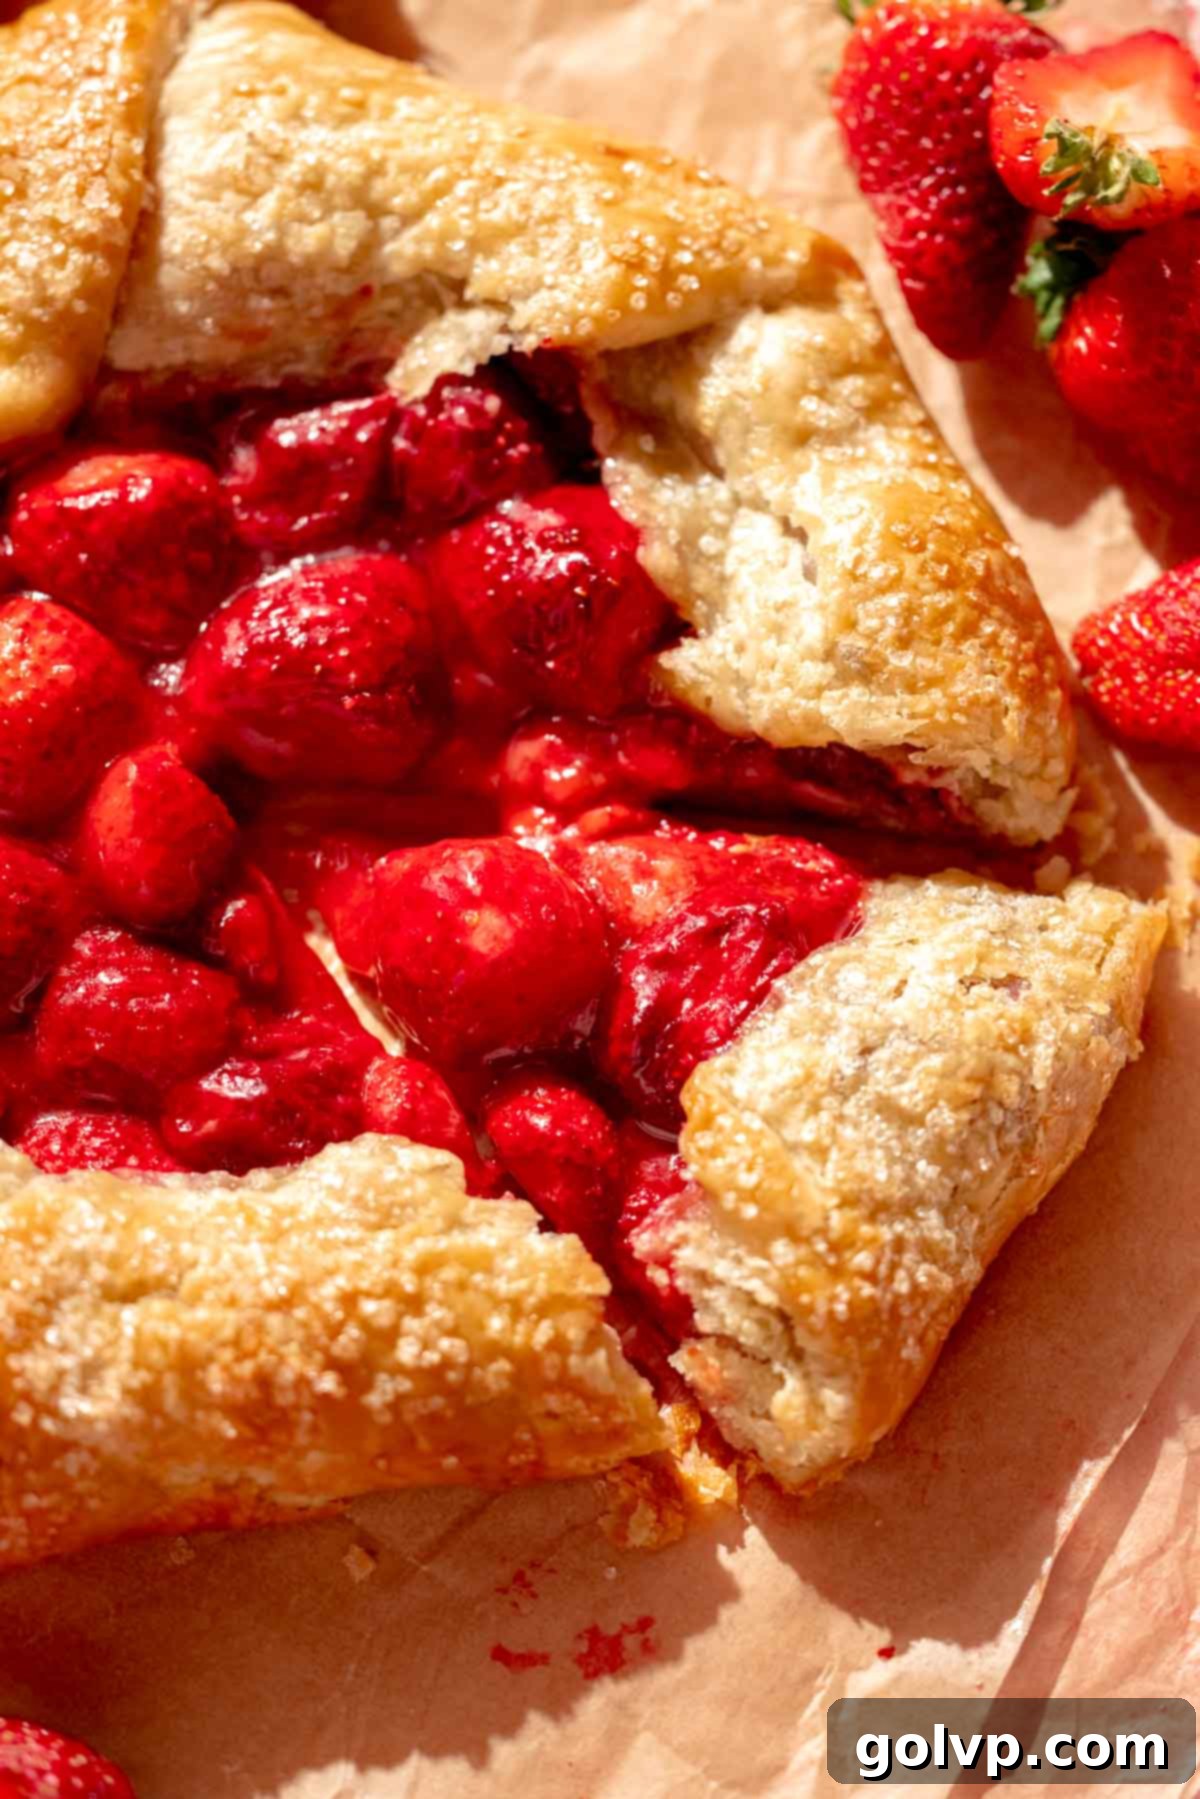
- Perfectly Crisp & Buttery Crust: Imagine a pastry that shatters with a satisfying crunch, revealing layers of rich, buttery tenderness. This galette crust is precisely that – a flaky, crisp, buttery dream. It’s designed to hold its structure beautifully, ensuring a delightful contrast with the soft fruit filling and, most importantly, preventing any hint of a soggy bottom. The secret lies in cold butter and a quick hand, resulting in a pastry that’s both delicate and robust.
- Irresistibly Gooey Strawberry Filling: The heart of this galette is its vibrant, juicy, and wonderfully gooey strawberry filling. Whether you opt for the sweetness of fresh, in-season berries or the convenience and consistent flavor of frozen strawberries, the result is a burst of summery goodness. The strawberries soften and meld with sugar and lemon, creating a caramelized, jam-like consistency that’s both comforting and bright. It’s a celebration of strawberry flavor that will leave you wanting more.
- Effortlessly Easy & Rustic Charm: If the thought of making a pie crust fills you with dread, a galette is your new best friend. It’s significantly easier to make than a traditional pie, requiring no crimping, lattice work, or perfect edges. The beauty of a galette lies in its rustic, free-form nature. Simply roll out the dough, pile on the filling, and fold the edges – imperfections only add to its homemade appeal! Plus, many argue that galettes offer a superior filling-to-crust ratio, giving you more of that delicious, buttery pastry with every bite.
📝 Key Ingredients for Your Perfect Strawberry Galette
Mastering this recipe starts with understanding the role of each key ingredient. Here’s a breakdown to ensure your galette is a resounding success!
Full steps and ingredients can be found in the comprehensive recipe card below.
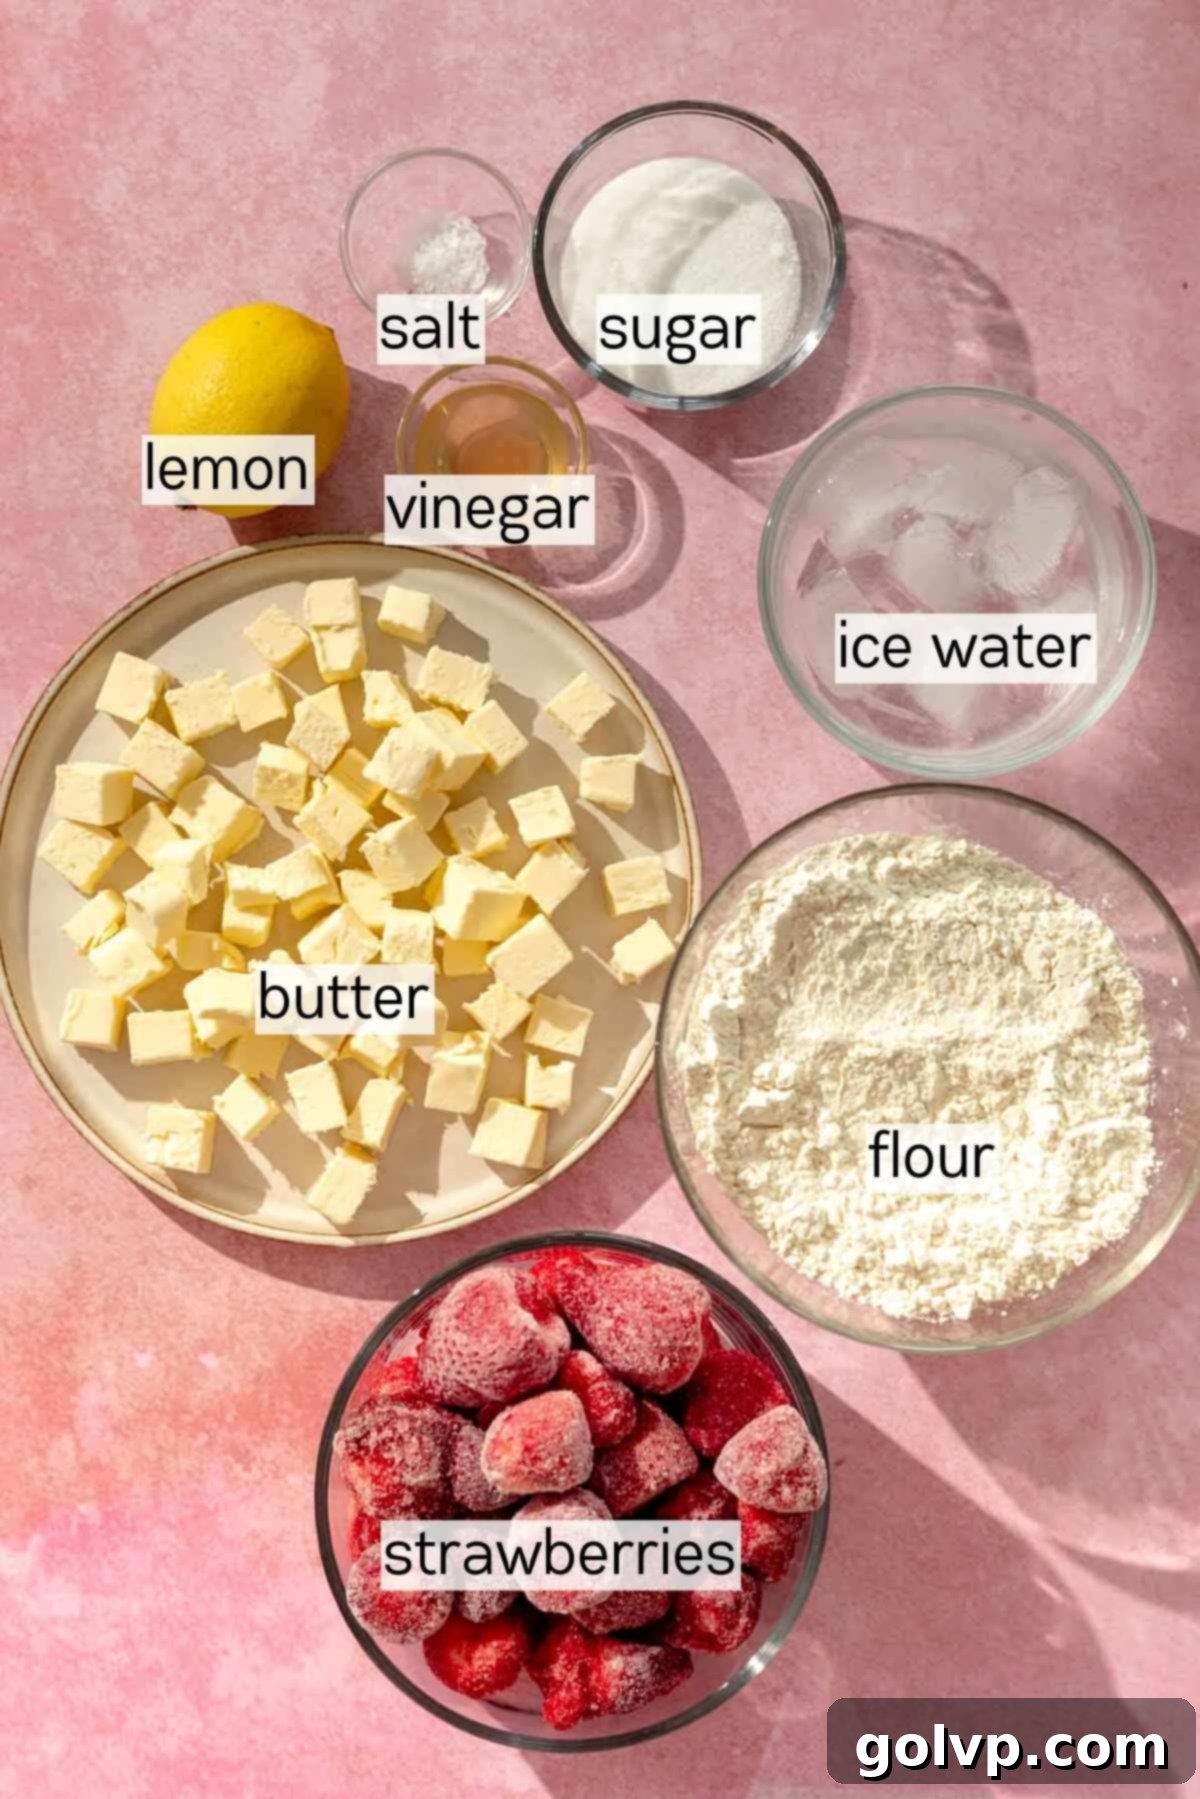
- Strawberries: The star of the show! Both fresh and frozen strawberries yield fantastic results. If using fresh, make sure they are ripe, sweet, and firm. Wash and hull them, slicing larger berries in half. For frozen strawberries, I personally prefer using whole frozen berries when fresh ones aren’t in season, as they often have a more consistent flavor and are more accessible. Crucially, **do not thaw the strawberries** before mixing them into the filling! This helps prevent the filling from becoming too watery. Any leftover strawberries can be used to create other delicious treats like this strawberry tiramisu or gooey strawberry cream cheese rolls.
- Lemon: Fresh lemon juice and grated zest are vital for brightening the rich strawberry filling. The lemon juice adds a necessary touch of acidity that perfectly balances the sweetness of the strawberries, preventing the galette from tasting overly saccharine. The zest provides aromatic oils, infusing the filling with a delightful, zesty fragrance that elevates the overall flavor profile. It’s a subtle but powerful addition.
- All-Purpose Flour: This is the foundation of our flaky crust. For the most accurate and consistent results in baking, I highly recommend weighing your flour using a kitchen scale. If a scale isn’t available, measure correctly by stirring the flour in its bag or container to aerate it, then gently spoon it into your measuring cup. Level off the excess with the flat edge of a knife, ensuring not to pack the flour down into the cup. Incorrect flour measurement can significantly alter the crust’s texture.
- Vinegar: A secret weapon for an incredibly tender and flaky crust! A tablespoon of apple cider vinegar or white vinegar added to the dough helps to cut through the richness of the butter and slightly inhibits gluten development. This results in a more tender, less tough pastry that’s a joy to eat. You won’t taste the vinegar in the final product, but you’ll certainly appreciate its tenderizing effect.
- Unsalted Butter: The quality of your butter directly impacts the flavor and flakiness of your galette crust. Always opt for good quality, real, unsalted butter. It allows you to control the salt content in your recipe. For optimal flakiness, it’s absolutely essential that the butter is extra cold. Cut the butter into small cubes (about 1 cm or ½ inch), spread them on a plate, and pop them into the freezer for at least 10 minutes before you start making your dough. This ensures the butter remains distinct in the flour mixture, creating those wonderful pockets of steam that lead to flaky layers.
✔️ Ingredient Substitutions & Variations
While this strawberry galette is perfect as is, it’s also wonderfully adaptable. Feel free to experiment with these delicious variations:
Other Berries or Fruits: Don’t limit yourself to just strawberries! This recipe works beautifully with your favorite seasonal fruits. Try it with blueberries, raspberries, blackberries, or a delightful mixed berry blend. The ratio of sugar and flour in the filling might need slight adjustments depending on the sweetness and juiciness of the fruit you choose. For a richer, chocolatey twist, you might enjoy this chocolate cherry galette. Or, if you’re a fan of blueberries, these mini blueberry pies offer a similar flaky crust experience.
Gluten-Free Strawberry Galette: Making this dessert gluten-free is straightforward. Simply substitute the all-purpose flour in both the crust and the filling with a 1:1 gluten-free flour blend. Ensure your chosen blend contains xanthan gum for optimal texture and elasticity. The final galette will still be wonderfully flaky and delicious, though the texture might be slightly different. Keep in mind that specialized gluten-free flours might absorb liquid differently, so adjust ice water for the crust as needed.
Savory Galette Inspirations: If you’re looking for a savory option, the galette crust is incredibly versatile. This recipe’s crust can be adapted for savory fillings, or you can explore alternative crust recipes. For instance, this tomato galette features a delicious crust made with olive oil, providing a different flavor profile that complements savory ingredients beautifully. Imagine a similar flaky crust filled with roasted vegetables, cheese, or savory herbs.
👩🍳 How to Make Strawberry Galette: A Detailed Guide
Creating this stunning strawberry galette is a joyful and rewarding process. Follow these detailed steps for a perfect, flaky, and flavorful dessert.
Crafting the Perfect Galette Crust
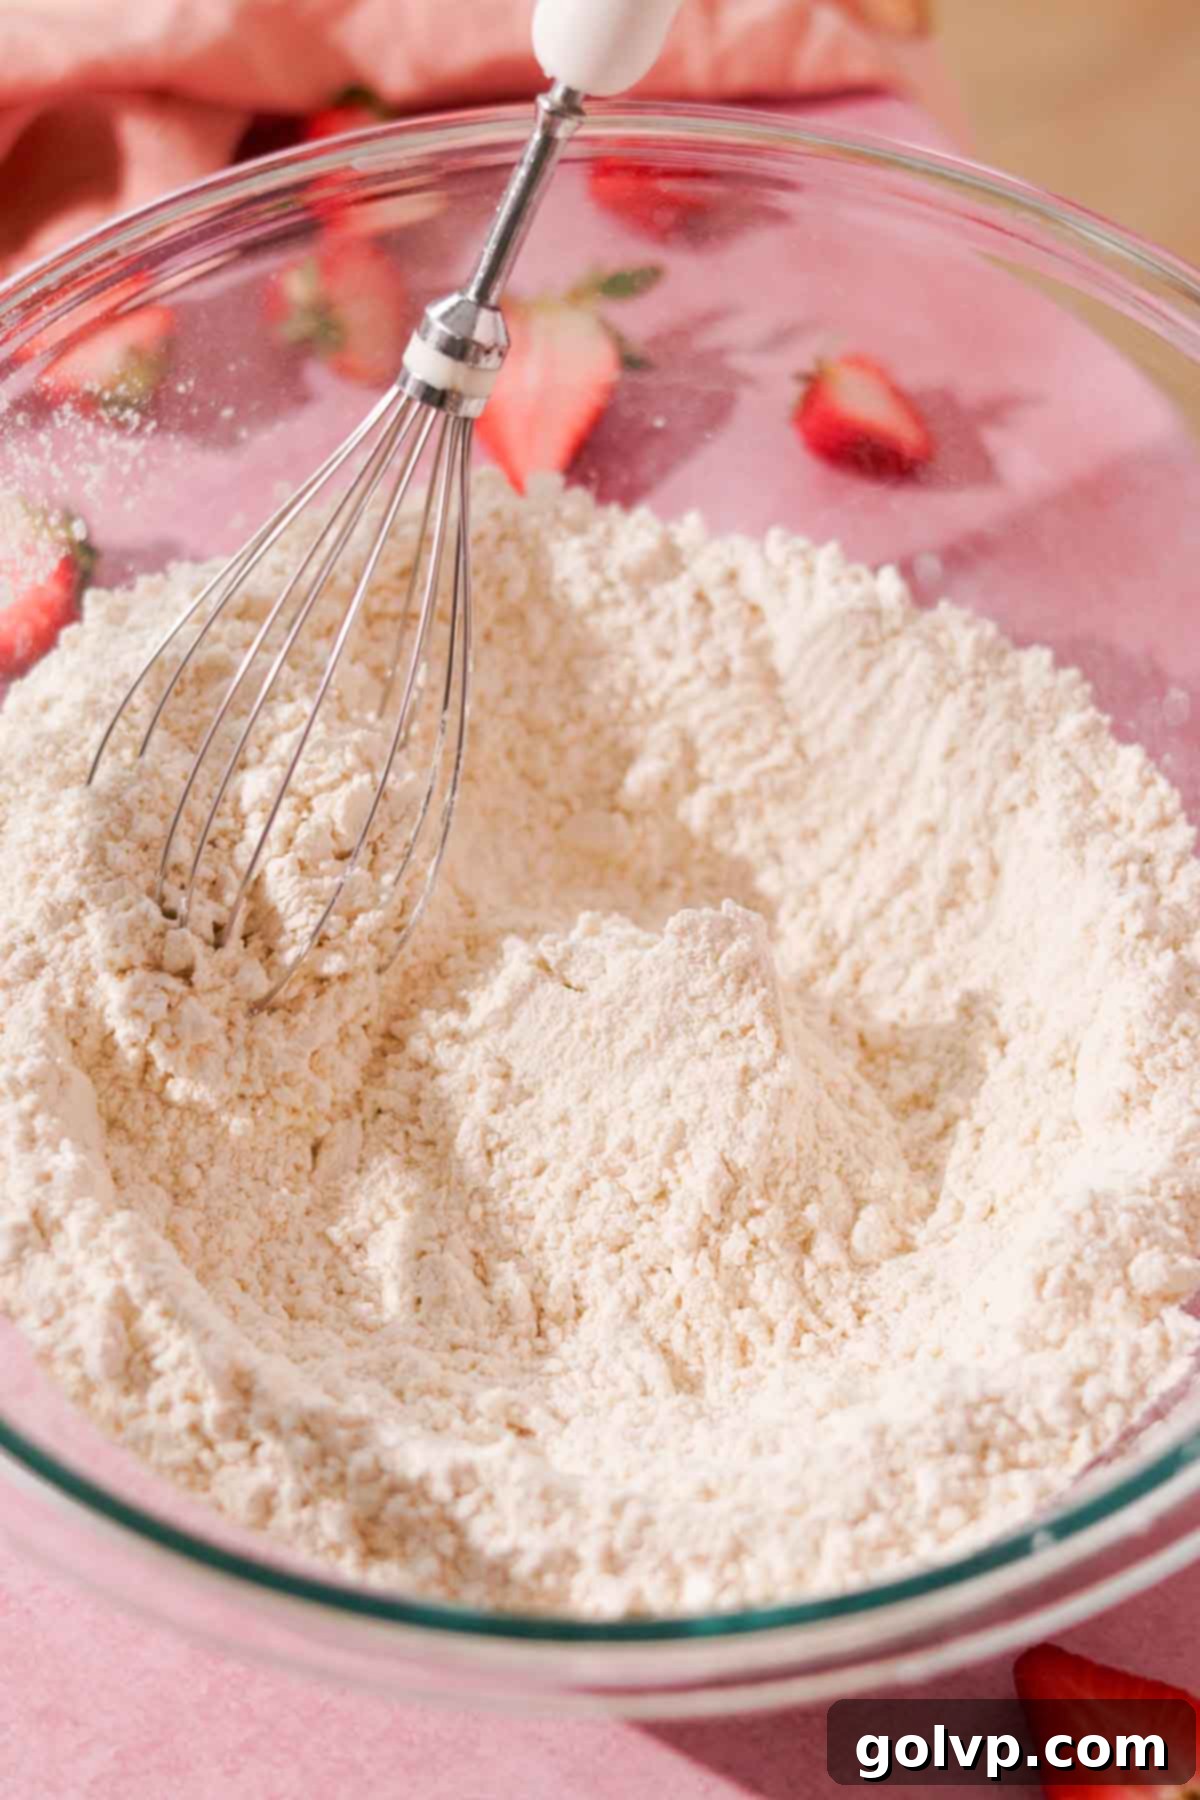
Step 1: Combine Dry Ingredients. In a large mixing bowl, thoroughly whisk together your sifted all-purpose flour and sea salt. Sifting the flour beforehand ensures there are no lumps and helps to aerate it, leading to a lighter, more tender crust. If you’re using a food processor for the crust, you can pulse these dry ingredients together a few times to combine.
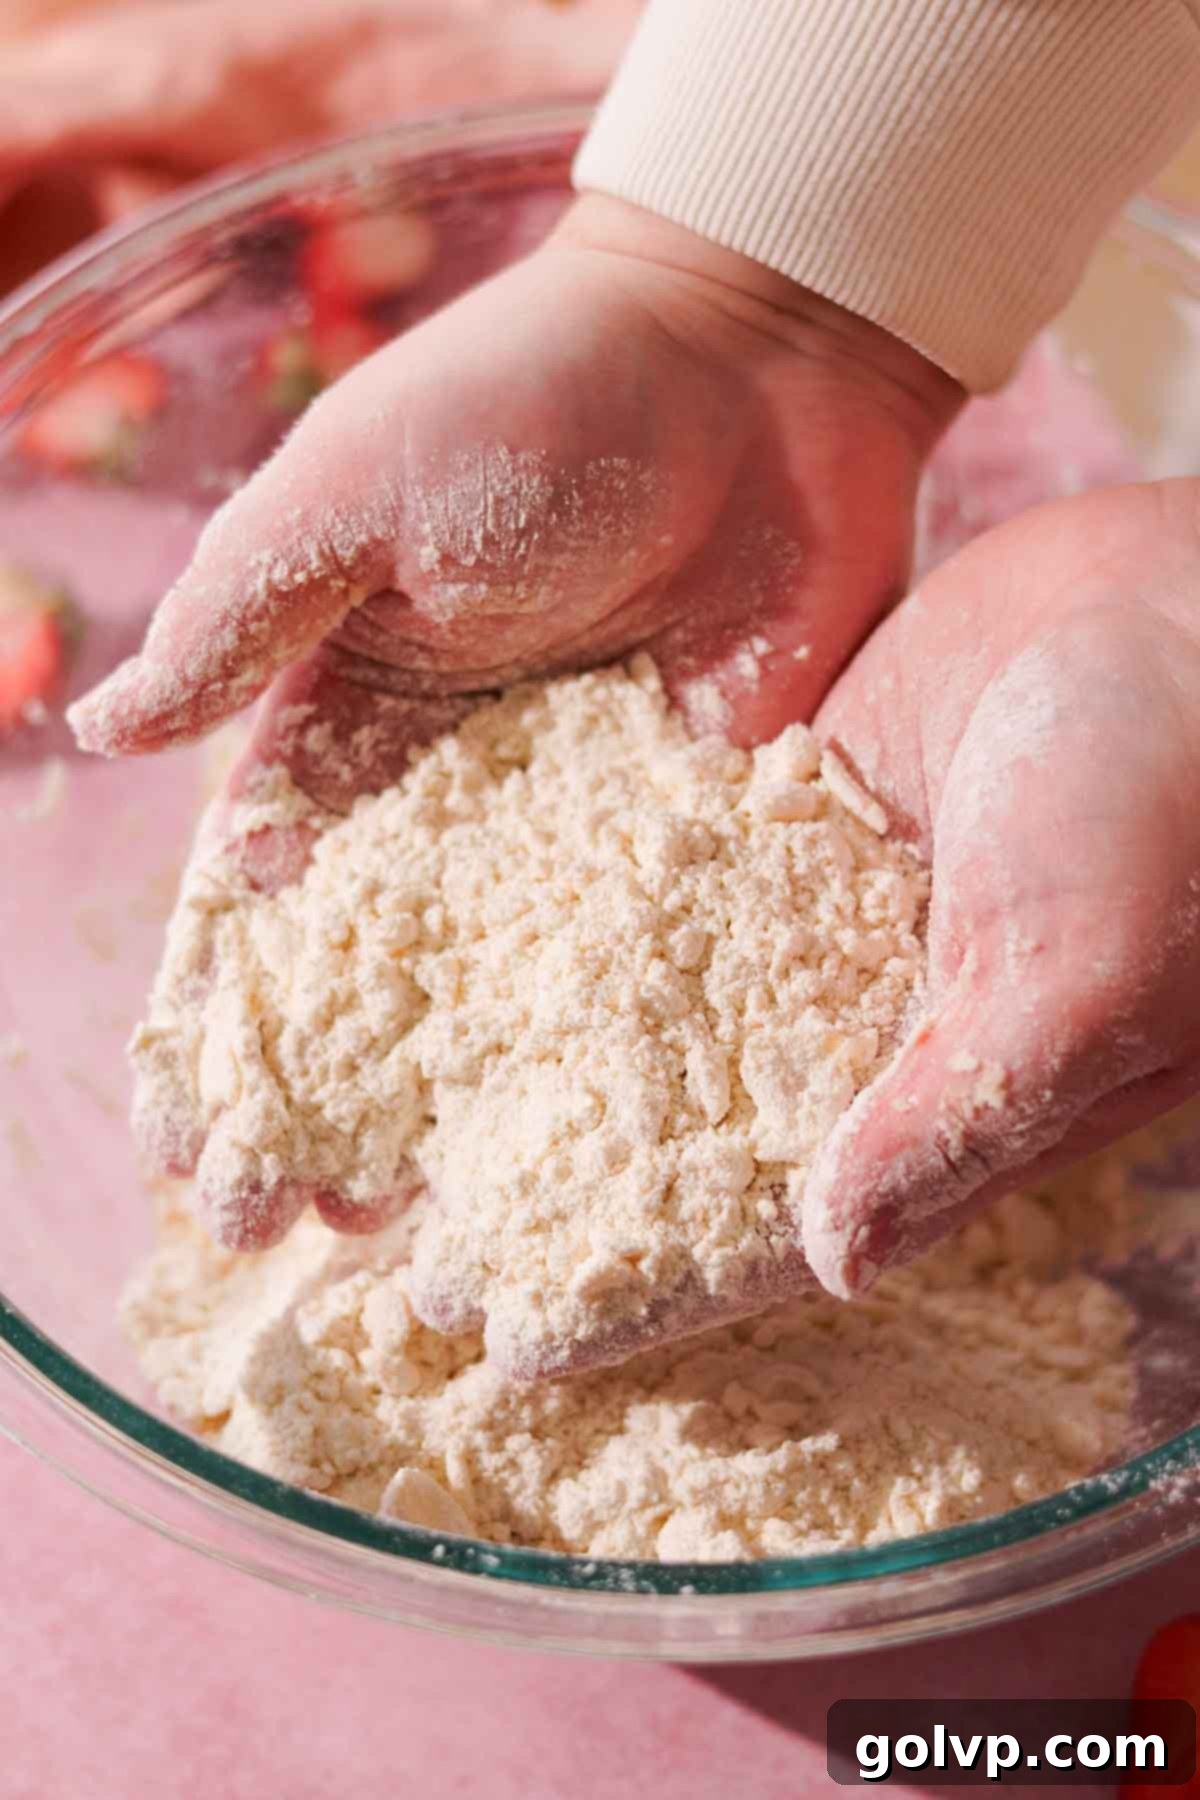
Step 2: Incorporate Cold Butter. Add the pre-frozen, cubed cold butter directly into the flour mixture. Using your fingertips, work quickly to rub the butter into the flour until the mixture resembles coarse breadcrumbs, with some distinct pea-sized pieces of butter still visible. These larger butter pieces are crucial for creating steam pockets during baking, which results in a wonderfully flaky crust. If using a food processor, pulse the mixture 5-8 times until you achieve this desired texture. Avoid overmixing, as this can develop too much gluten and result in a tough crust.
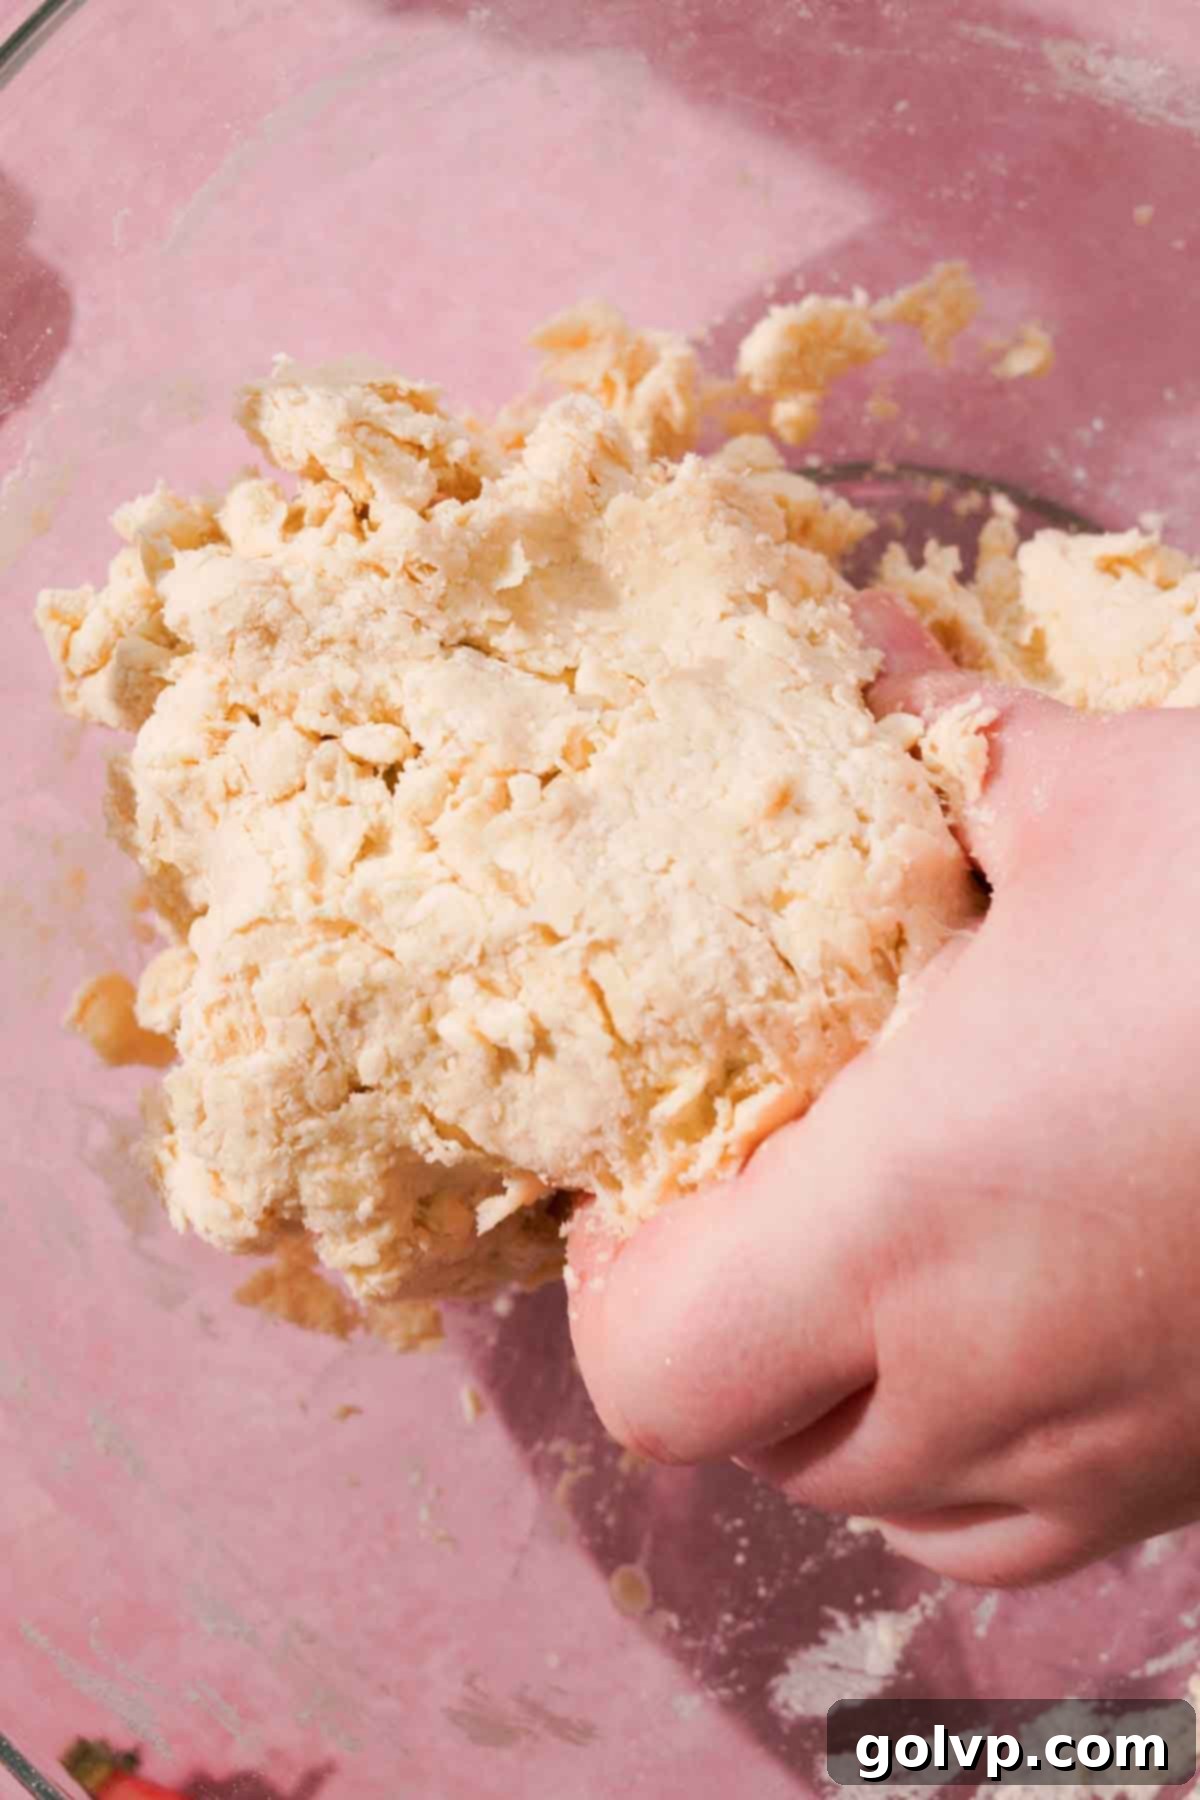
Step 3: Add Liquid. In a separate small bowl, stir together the ice water and apple cider vinegar. Gradually add this liquid mixture to your butter-flour mixture, a few tablespoons at a time, stirring gently after each addition. The key is to add just enough liquid until the dough starts to clump together and you can gently press it into a cohesive ball. You likely won’t need all of the ice water; stop adding liquid as soon as the dough holds together. Over-hydrating the dough can make it sticky and difficult to work with.
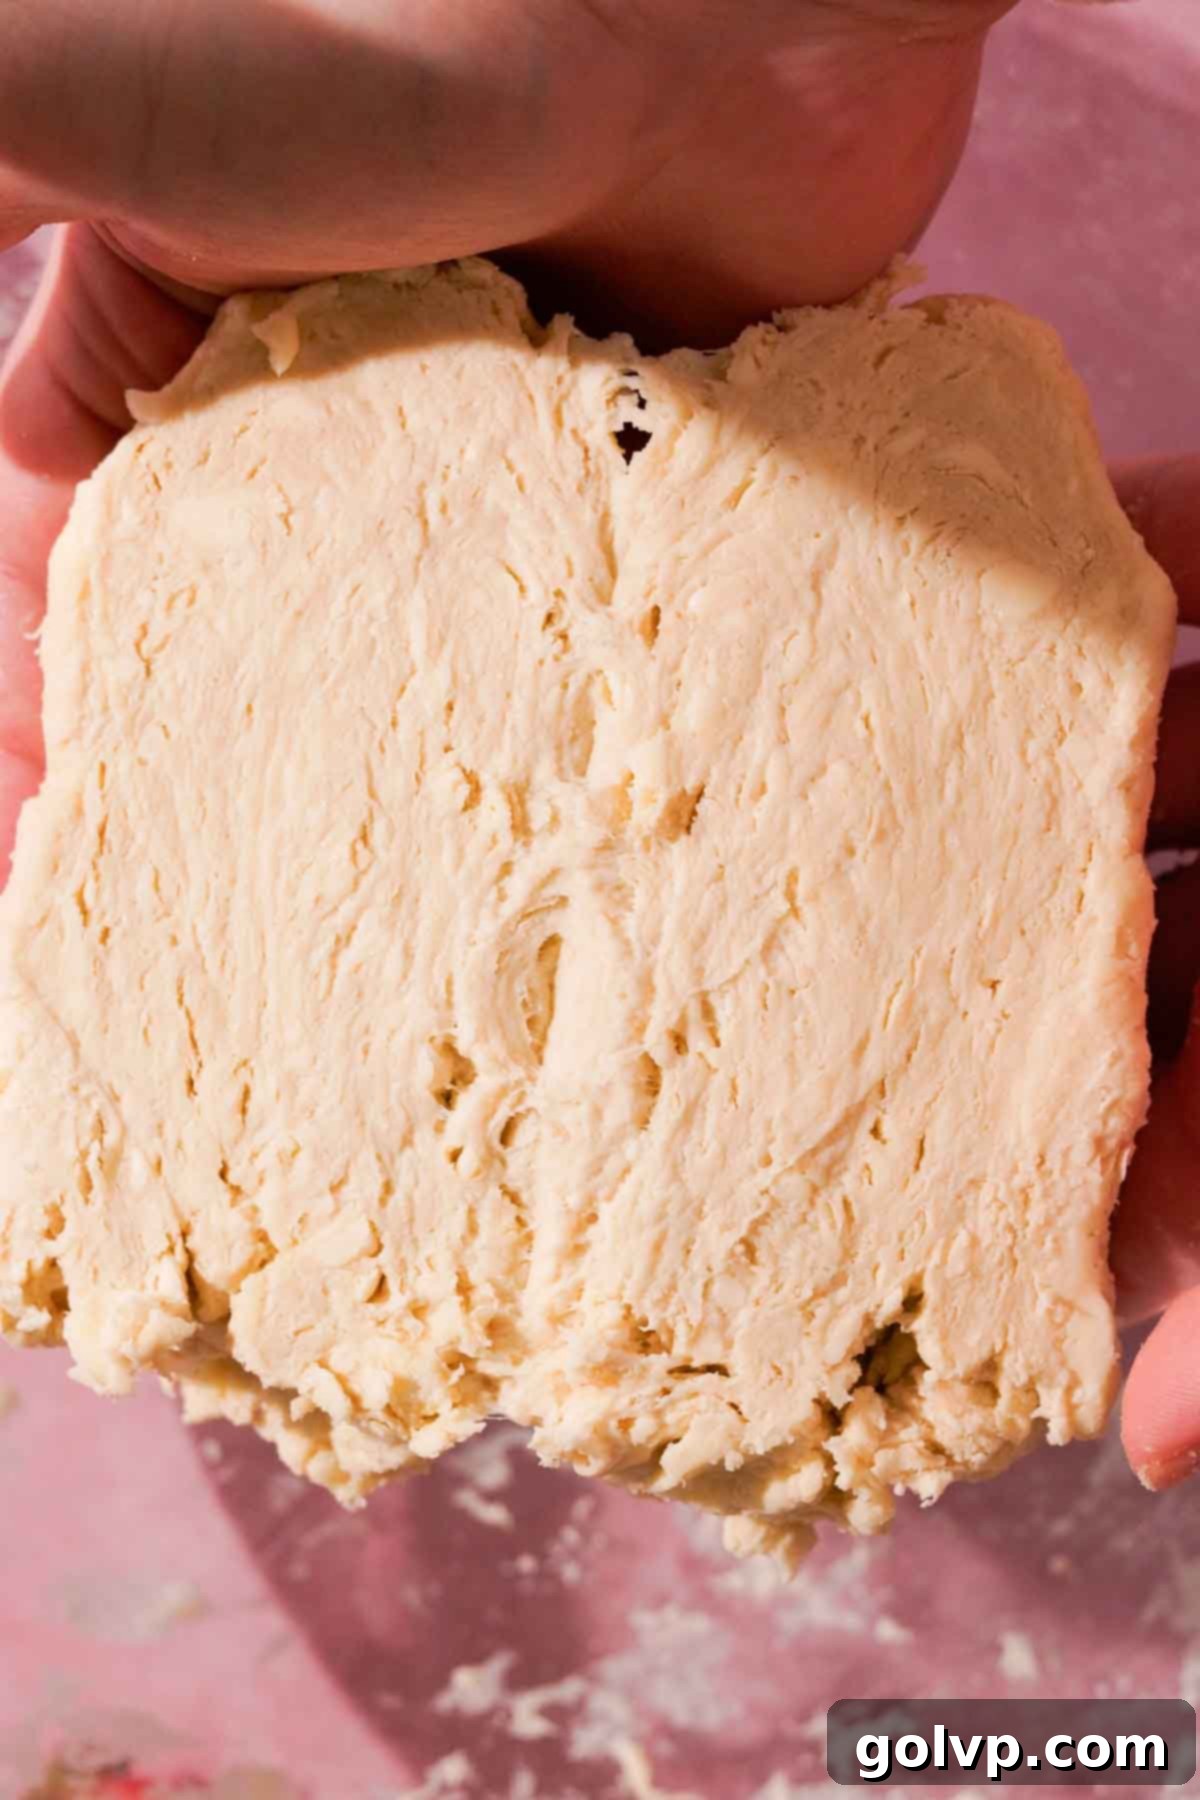
Step 4: Create Layers and Chill. To enhance flakiness, briefly flatten the dough with your hands, then fold it in half. Repeat this folding process twice more. This technique creates additional layers within the dough, which will translate into more flaky pockets in the baked crust. Work quickly to prevent the butter from melting. Next, divide the dough in half and gently shape each portion into a flat disc. Wrap each disc tightly in plastic wrap and refrigerate for a minimum of 30 minutes, or up to 3 days. Chilling the dough is essential; it allows the gluten to relax, makes the dough easier to roll, and re-chills the butter, ensuring maximum flakiness.
Assembling Your Delicious Strawberry Galette
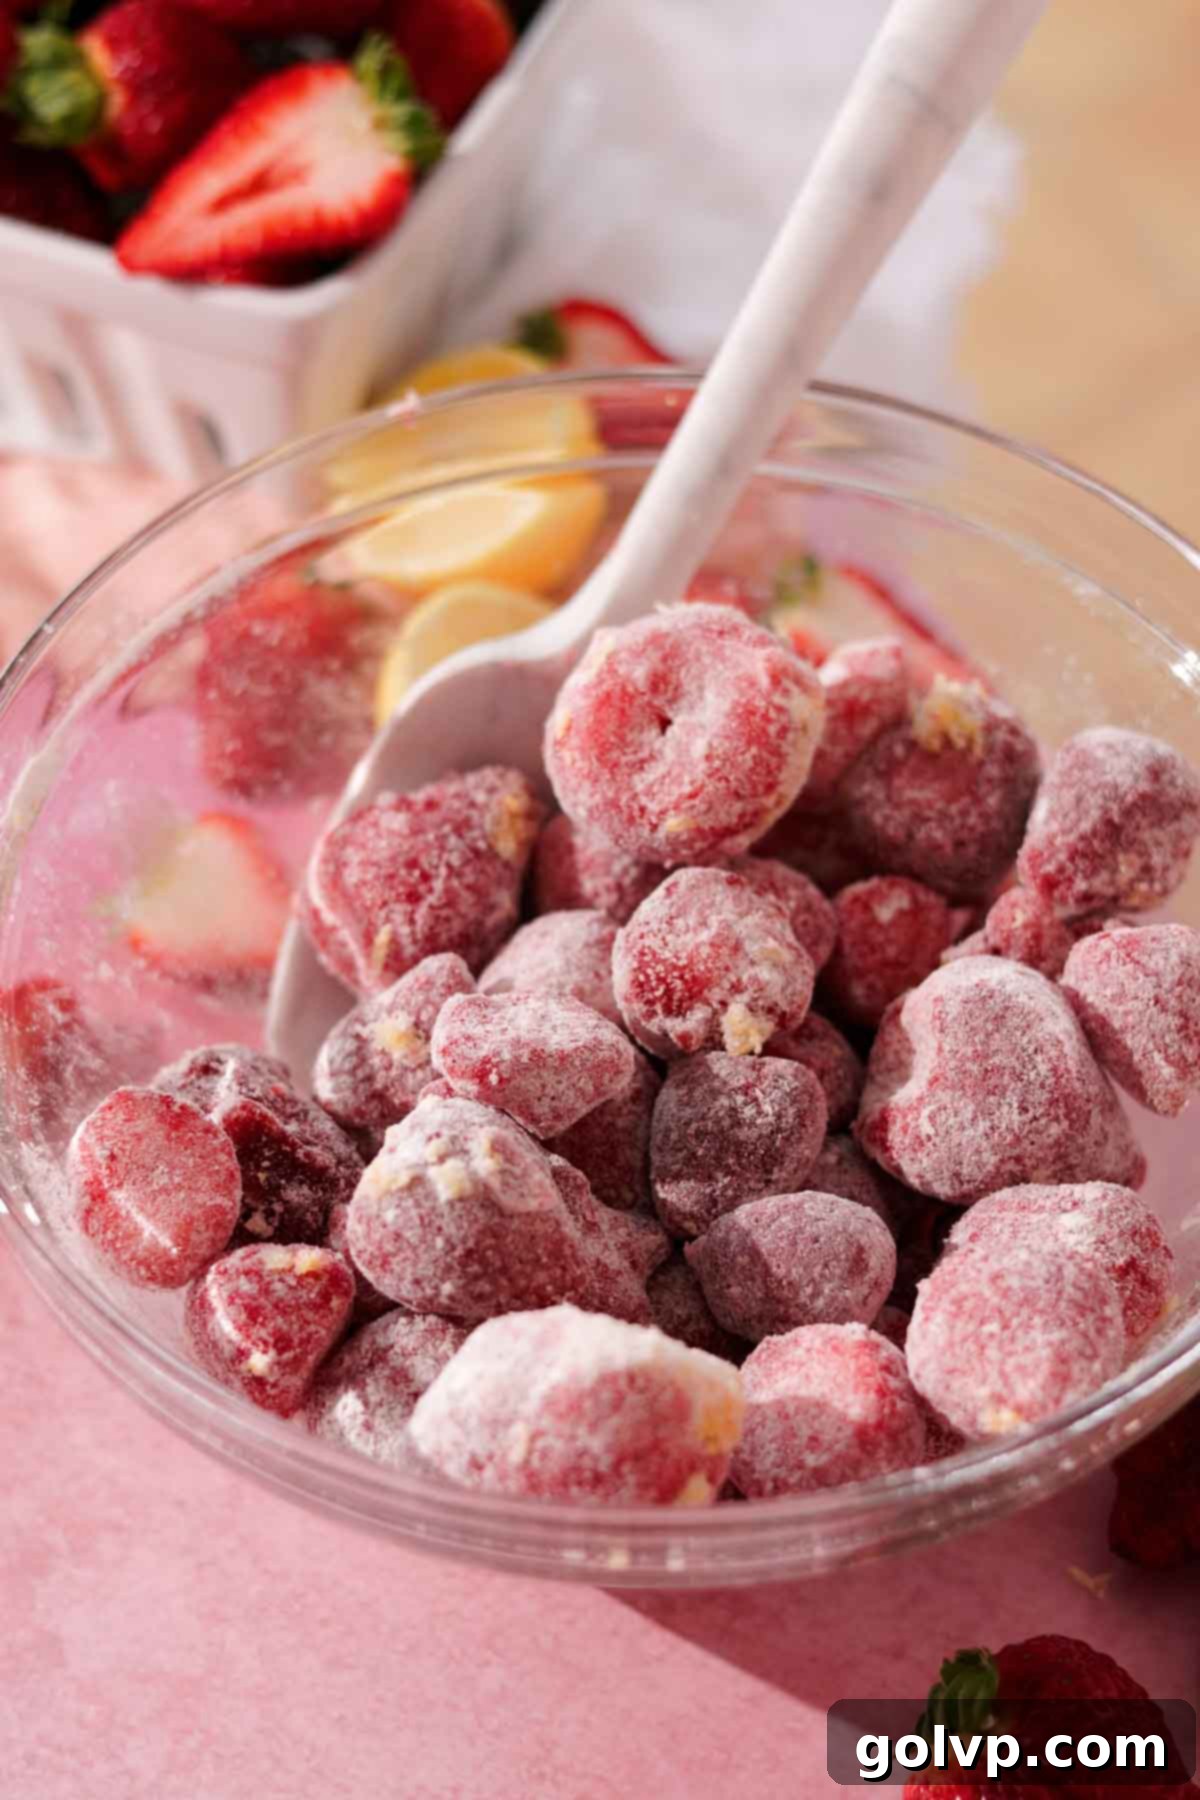
Step 5: Prepare the Strawberry Filling. In a large bowl, combine your strawberries (remember, no thawing if frozen!), granulated sugar, all-purpose flour, fresh lemon juice, and lemon zest. Toss all the ingredients gently until the strawberries are evenly coated. Don’t worry if there are some dry bits of flour at the bottom of the bowl; these are important! Set the filling aside while you prepare the crust. The flour in the filling will help absorb the natural juices released by the strawberries during baking, preventing a runny or watery filling.
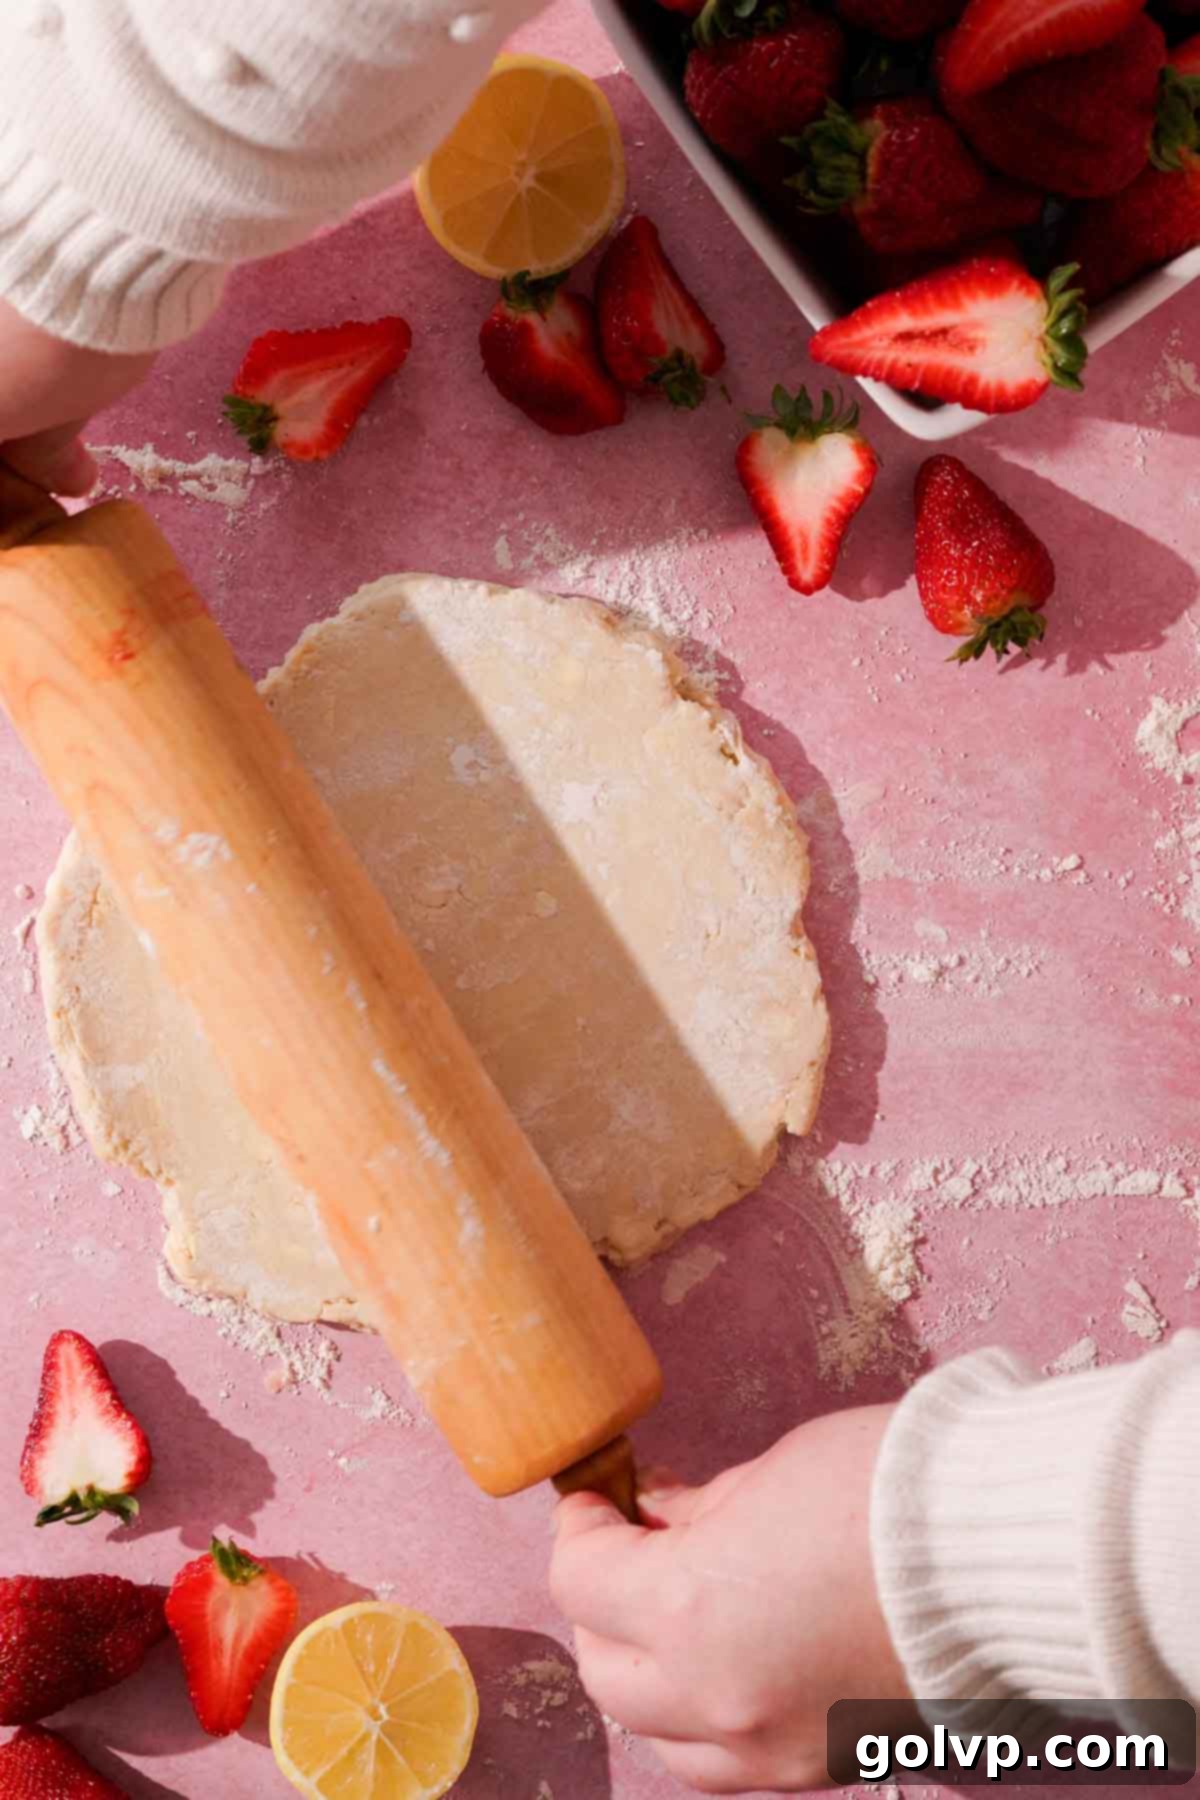
Step 6: Roll Out the Dough. Lightly flour a clean work surface (or a large piece of parchment paper, which makes transferring easier). Take one chilled dough disc and roll it out evenly to approximately ⅛ inch (3mm) thickness. Aim for a rough circle about 12 inches (30cm) in diameter. Don’t stress about perfect symmetry; the rustic look is part of the galette’s charm! Carefully transfer the rolled dough onto a baking sheet lined with parchment paper. If you rolled it on parchment, simply lift and place the parchment onto the sheet.
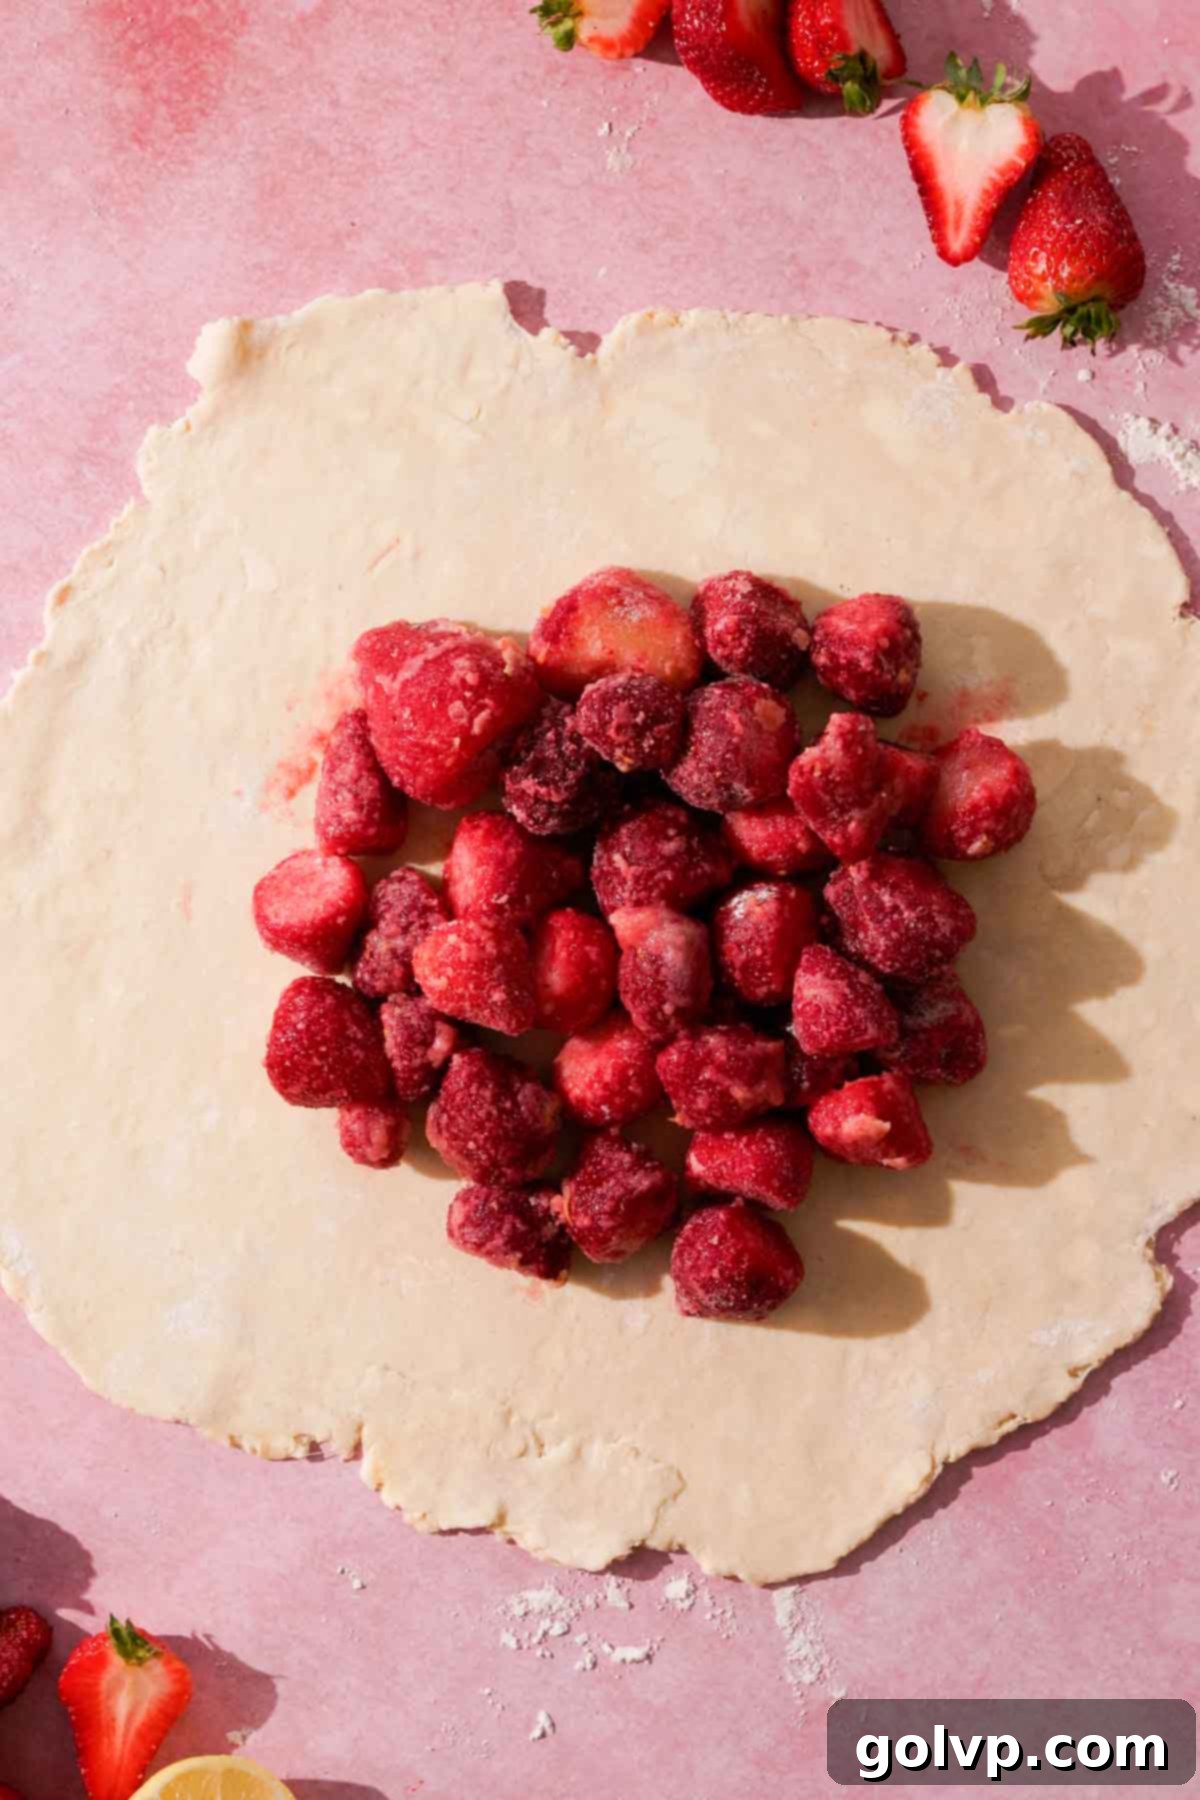
Step 7: Fill the Galette. Spread half of the prepared strawberry filling evenly in the center of the rolled dough, leaving a generous 3-inch (8cm) border all the way around. This border is essential for folding. As you scoop, make sure to include any dry bits of flour and zest mixture from the bottom of the bowl. Critically, try to get this flour-zest mixture positioned directly between the strawberries and the pastry crust. This creates an important barrier that will absorb excess liquid from the strawberries as they cook, effectively preventing the crust from becoming soggy.
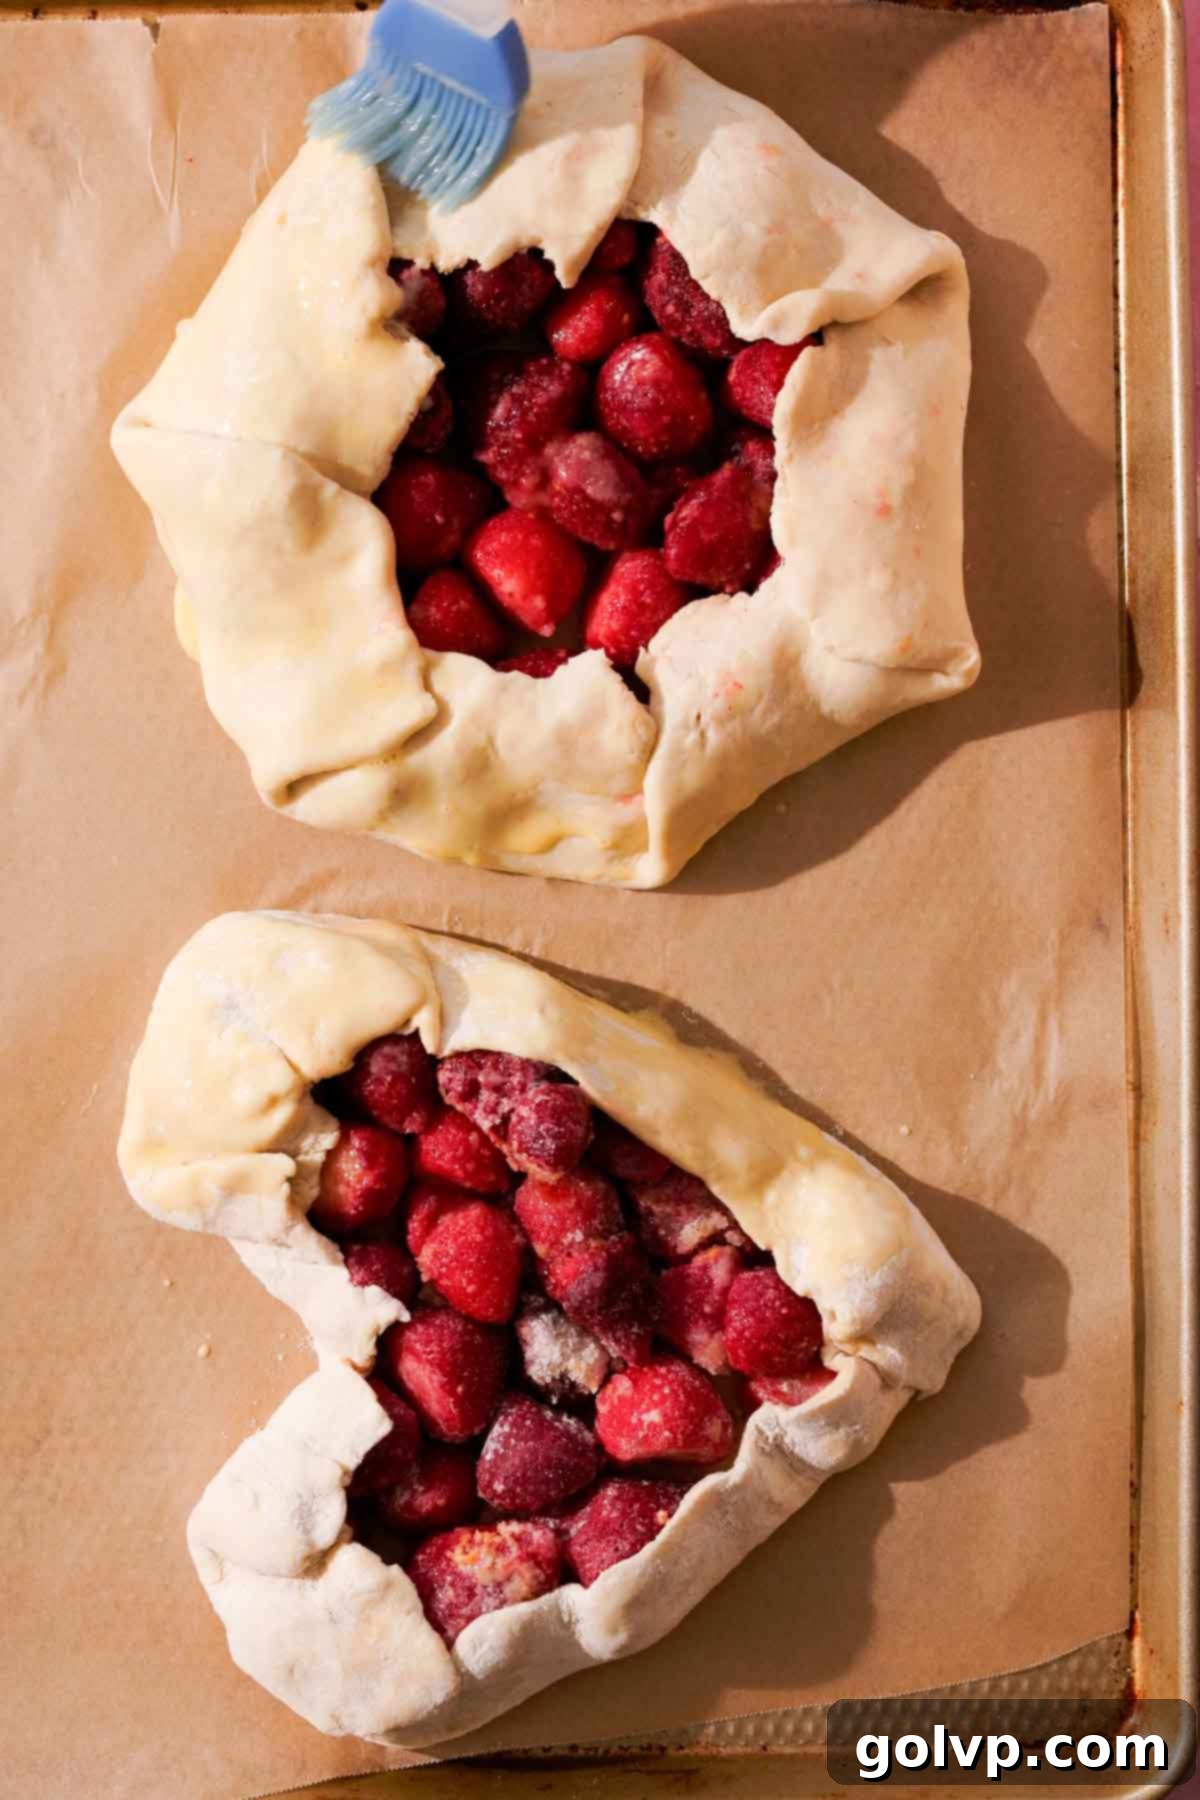
Step 8: Fold and Chill. Gently fold the edges of the dough over the top of the strawberry filling, creating a rustic border. Leave a large, open hole in the center to allow steam to escape during baking, ensuring your filling isn’t trapped and becomes overly watery. (Refer to the photos provided for a visual guide on folding the edges.) Repeat this entire process with the second disc of dough and the remaining filling. Once both galettes are shaped, place the baking sheet with the galettes into the freezer for about 10 minutes. This quick chill helps the butter firm up again, promoting maximum flakiness, while your oven preheats to 375°F (190°C).
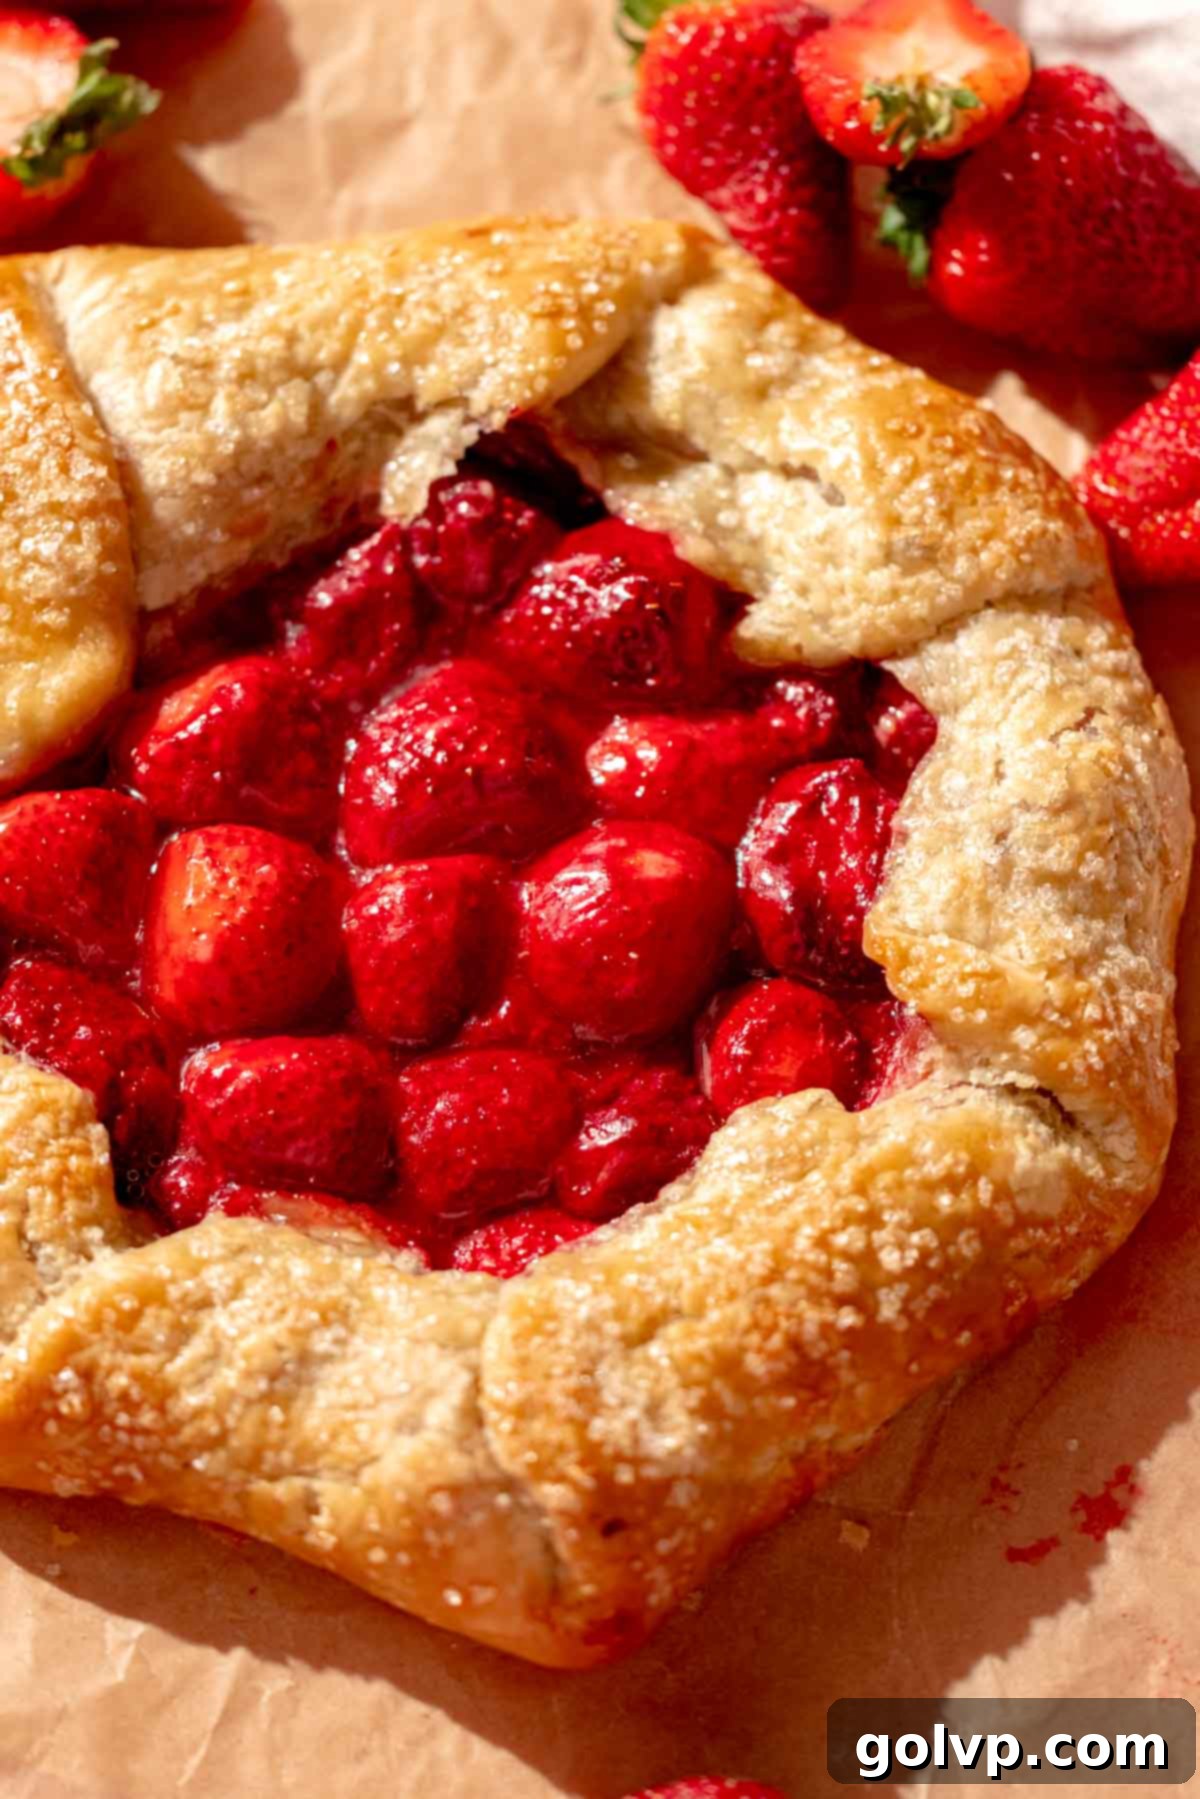
Step 9: Bake to Golden Perfection. In a small bowl, whisk together the large egg and whole milk to create an egg wash. Lightly brush this egg wash over the folded crusts of both galettes. Then, generously sprinkle coarse sugar over the egg-washed crust; this will add a beautiful sparkle and a delightful textural crunch. Place the galettes in the preheated oven and bake for 50-55 minutes. Begin checking on them around the 45-minute mark. For even baking, switch and rotate the galettes halfway through the baking time. They are perfectly done when the crust is a deep golden brown all around, and the bottom is visibly crisp.
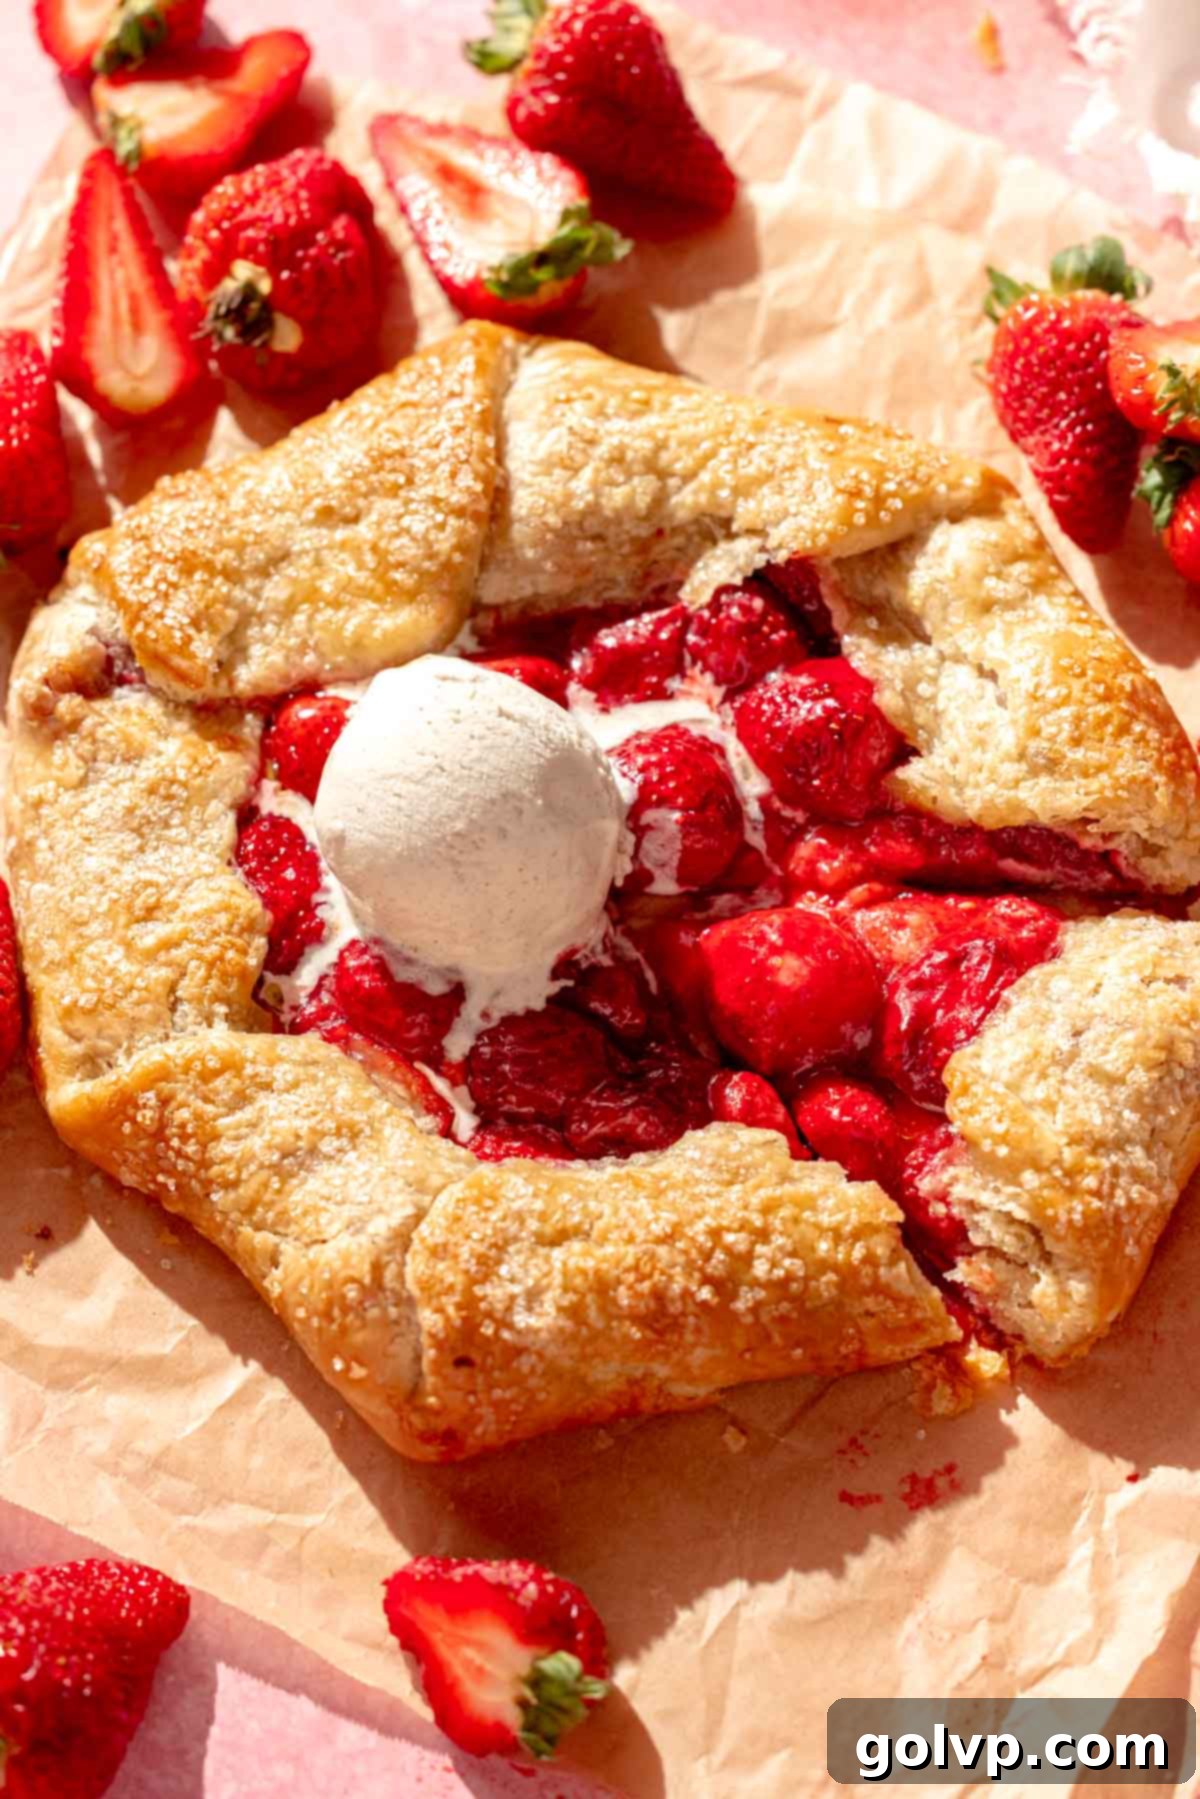
Step 10: Cool and Garnish. This step is crucial for the filling! Allow the galettes to cool on the baking sheet for at least 20 minutes before attempting to serve or slice them. During this cooling period, the hot strawberry filling will continue to thicken and set, ensuring a perfectly gooey (not runny) consistency. For an extra touch of elegance and a beautiful shine on your strawberry filling, prepare a simple glaze: mix together 1 tablespoon of strained apricot jam (straining removes any lumps) with 1 tablespoon of boiling water. Gently brush this warm glaze over the exposed strawberries just before serving. This adds both visual appeal and a subtle, complementary fruity note.
✔️ Expert Galette Tips: Achieving Baking Perfection
Unlock the secrets to a truly exceptional strawberry galette with these tried-and-true expert tips:
- Keep Your Butter Icy Cold: This is arguably the most important rule for flaky pastry. Before you even start mixing, pop your cubed butter into the freezer for at least 10 minutes. The colder the butter, the less likely it is to melt into the flour, which means more distinct butter pockets will create glorious layers as they release steam during baking.
- Work Quickly and Maintain Cold Temperatures: Heat is the enemy of flaky pastry. Throughout the entire process of making the dough, from rubbing in the butter to rolling it out, work swiftly. Use the tips of your fingers for minimal heat transfer, or leverage a food processor for even faster incorporation. If your kitchen is warm, or if the dough starts to feel soft, don’t hesitate to pop it back into the fridge or freezer for a few minutes to re-chill.
- Achieve the Right Butter-Flour Texture: The ideal texture for your butter and flour mixture is akin to very coarse breadcrumbs interspersed with larger, distinct pea-sized pieces of butter. These larger pieces are critical because they melt during baking, creating air pockets that expand and separate the dough into those desirable flaky layers. If the butter is completely incorporated (like a smooth paste), your crust will be more uniform and less flaky.
- Add Just Enough Ice Water: When adding the ice water, be conservative. The goal is to bind the dough just enough so it comes together. You will likely not need all of the water specified in the recipe. Add it a tablespoon at a time, mixing until the dough barely forms a cohesive mass when pressed. Too much water will make the dough tough and sticky, while too little will result in a crumbly, unworkable dough.
- Bake Until Deep Golden Brown and Cool Properly: Don’t rush the baking process. A truly crisp and flavorful crust needs sufficient time in the oven to develop its golden-brown color and firm up. Bake until the crust is thoroughly golden all the way around, indicating it’s cooked through. Once baked, allow the galette to cool for at least 20 minutes before slicing and serving. This cooling period is essential as it gives the hot, gooey fruit filling time to set and thicken, preventing it from being too runny.
🥄 Make Ahead and Storage Tips for Your Strawberry Galette
Planning ahead can make baking even more enjoyable. Here’s how to manage your strawberry galette for maximum freshness and convenience:
While delicious straight from the oven, this strawberry galette is truly at its best when served after it has cooled for about 20 minutes. At this point, the crust will be super crisp, offering a perfect textural contrast to the warm, gooey filling. This short cooling period also allows the fruit filling to thicken and set properly.
Storing Leftovers: Any leftover slices of galette will keep well in an airtight container at room temperature for up to 3 days. To revive the crispness of the pastry, I recommend reheating leftovers in a preheated oven (around 350°F / 175°C) for 10-15 minutes until warmed through and the crust is crisp again. Avoid microwaving, as this will soften the crust.
Make-Ahead Dough: The galette crust is excellent for making in advance. You can prepare the dough up to three days ahead of time and store the wrapped discs in the refrigerator. This is a fantastic time-saver when you’re preparing for guests or simply want to spread out your baking process. For longer storage, the dough can be wrapped tightly in plastic wrap and then placed in an airtight container or freezer bag, and frozen for up to 2 months. Thaw overnight in the refrigerator before rolling out.
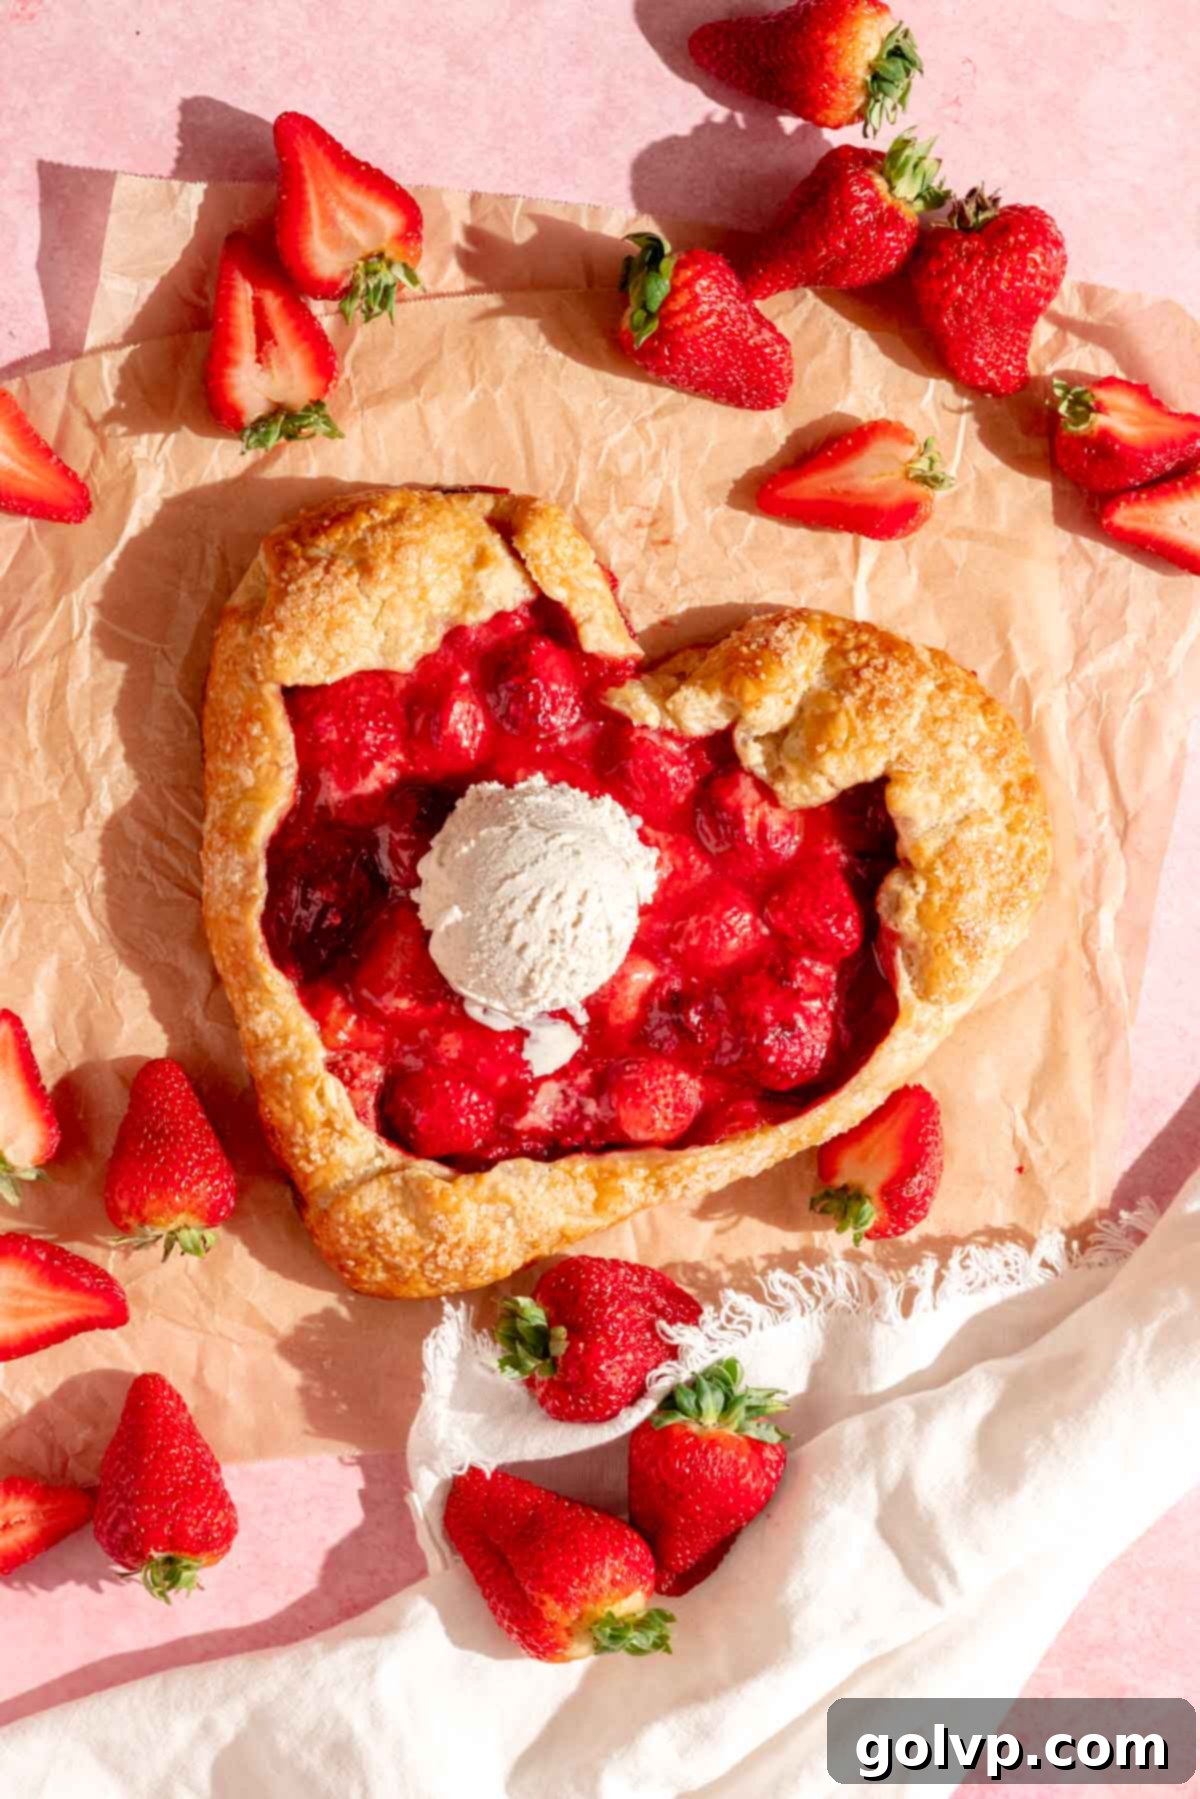
❔ Can I Freeze the Assembled Galette and Bake Later?
Absolutely! Freezing an unbaked galette is a wonderful way to enjoy a freshly baked dessert with minimal effort on a busy day. Here’s how to do it:
Once you have fully assembled the galette with its filling and folded crust, instead of baking, place the entire galette on a parchment-lined baking sheet. Transfer it to the freezer and allow it to freeze solid, which typically takes a few hours. Once completely frozen, carefully remove the galette from the baking sheet and wrap it tightly with several layers of plastic wrap, followed by a layer of aluminum foil. This double-wrapping helps prevent freezer burn and preserves its freshness. You can store the frozen galette for up to two months.
To bake from frozen, simply unwrap the strawberry galette and place it back on a parchment-lined baking sheet. Prepare an egg wash and sprinkle with coarse sugar as per the recipe. Bake from frozen in a preheated oven at 375°F (190°C). You will likely need to add an additional 5-10 minutes (or possibly more, depending on your oven and the size of the galette) to the specified baking time to ensure it cooks through and achieves that beautiful golden-brown crust. Keep an eye on it to prevent over-browning.
✔️ How to Get a Crisp Bottom Galette Every Time
A common complaint with fruit tarts and pies can be a soggy bottom crust. Fortunately, galettes are inherently designed to have crisp bottoms due to their typically thinner crust. Here are some pro tips to ensure your strawberry galette’s bottom is always perfectly crisp and never soggy:
- Create a Flour Barrier: This is a crucial step! When you’re filling the crust with the strawberry mixture, make sure to scoop the dry bits of flour (and zest) from the bottom of the mixing bowl and strategically place them directly onto the crust *before* adding the main fruit filling. This layer acts as a fantastic absorbent barrier, soaking up the juicy liquids released by the strawberries during baking and preventing them from seeping into and softening the bottom crust.
- Egg Wash the Base: For an extra layer of protection, consider brushing the bottom of your rolled-out crust with a light egg wash before adding the filling. This creates a thin, protein-rich barrier that helps seal the dough, making it less permeable to moisture from the fruit and contributing to a crisper base.
- Use a Dark-Colored Baking Sheet: Darker colored baking sheets absorb and conduct heat more efficiently than lighter ones. Baking your galette on a dark-colored sheet can significantly aid in browning the bottom of the crust, leading to a much crisper result. Just be mindful that darker pans can bake faster, so adjust your timing slightly if necessary.
- Keep Crust Ingredients Cold & Work Quickly: As reiterated, the flakiness of your crust is directly linked to the temperature of your butter. Ensure all your crust ingredients, especially the butter and ice water, stay as cold as possible. Work with nimble fingers or a food processor to mix the dough quickly, minimizing the time the butter has to warm up. A quick chill in the freezer before baking also helps firm up the butter and dough.
- Consider a Chocolate Barrier: For certain fruit fillings, especially very juicy ones, a thin layer of melted chocolate spread on the bottom of the crust can act as an impervious barrier against moisture. For example, in this cherry galette recipe, chocolate is used to create a crisp crust with a juicy fruit filling. This might be an interesting variation for a strawberry galette as well!
📖 Recipe FAQs: Your Questions Answered
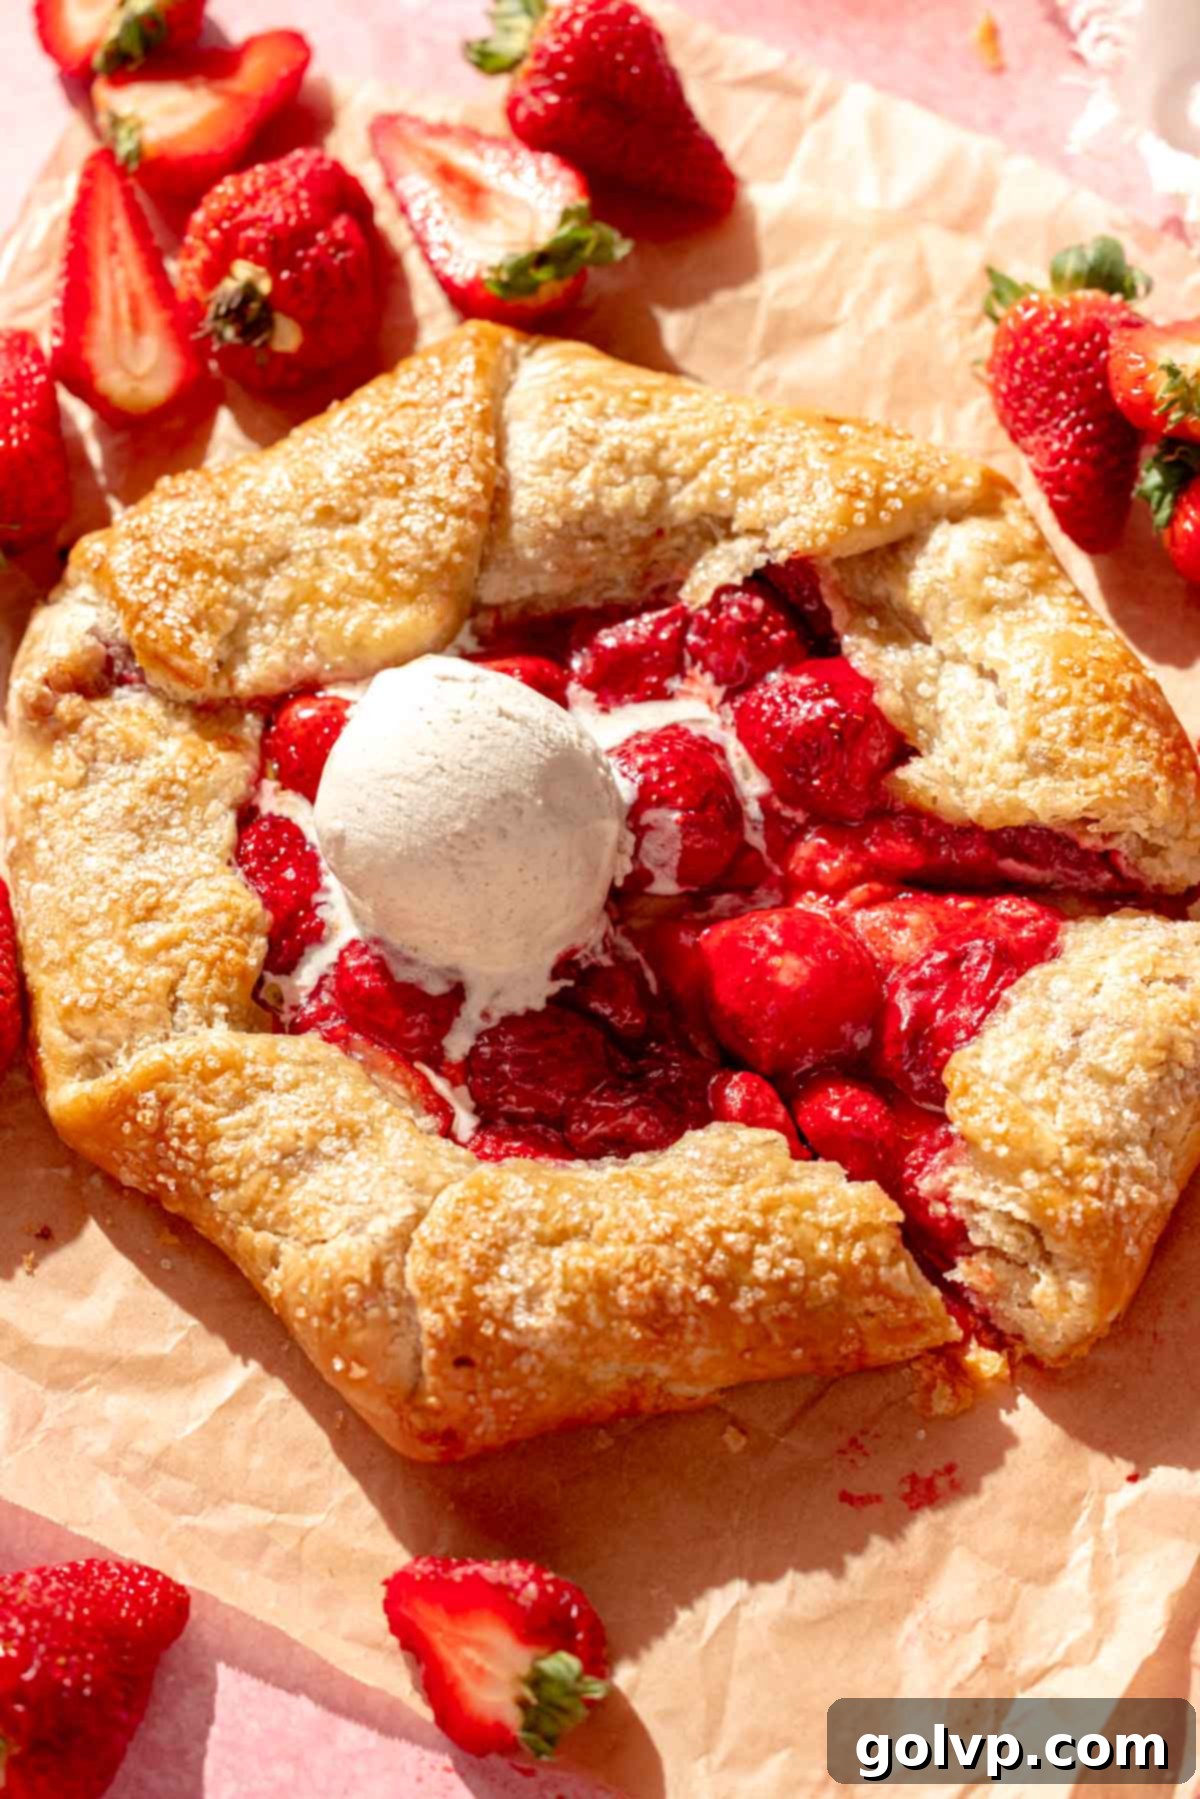
A galette is a beautiful, free-form French pastry that is quite similar to a pie or tart but with a more rustic, understated elegance. Instead of being baked in a pie dish, the pastry dough is rolled flat, typically in a circular or irregular shape, and then filled with sweet or savory ingredients. The edges of the dough are then simply folded up and over the filling, creating a charming, exposed border. This technique is much simpler and less intimidating than a traditional pie, requiring no special pans or intricate crimping, and often results in a higher crisp crust to filling ratio, which many bakers prefer.
While you can omit the lemon zest if you prefer a purely strawberry flavor profile, I strongly recommend including it. The grated zest from a fresh lemon contributes bright, aromatic oils that significantly enhance and lift the flavor of the strawberry filling. It adds a refreshing pop of citrus that beautifully complements and balances the sweetness of the berries. However, even if you skip the zest, please do not leave out the lemon juice! The lemon juice is crucial for acidity, which prevents the filling from tasting too sweet and helps to thicken it slightly without making the galette taste overtly like lemon.
Achieving a truly flaky crust relies on a few critical techniques. First, always start with small cubes of very cold, preferably frozen, butter. When incorporating it into the flour, either rub it in with your fingertips or pulse it with a food processor until the mixture resembles coarse breadcrumbs with distinct pea-sized pieces of butter still visible. These butter pieces are essential for creating steam and layers during baking. Second, add only just enough ice water to bring the dough together into a cohesive mass – resist the urge to add more than necessary, as too much water makes the crust tough. Third, incorporate a simple folding technique: after the dough comes together, flatten it and fold it in half, repeating this two to three times. This builds internal layers. Lastly, and very importantly, freeze the shaped galette for about 10 minutes right before baking. This chills the butter again, ensuring maximum flakiness as it hits the hot oven.
Yes, absolutely! This recipe yields enough dough and filling for two smaller, roughly 7-inch diameter galettes, which often fit perfectly on a single standard baking sheet. However, you can certainly combine both dough discs and all of the filling to create one impressive large galette. If you opt for one large galette, keep in mind that you may need to adjust the baking time. Expect to add an additional 5-10 minutes (or potentially more) to the recommended baking time to ensure the larger galette is fully cooked through, the crust is golden, and the filling is bubbly and set.
🍓 More Delicious & Related Recipes
If you loved this strawberry galette, you’re in for a treat! Explore more delightful recipes that feature fresh fruits and flaky pastries, or other ways to enjoy the sweetness of strawberries:
- Chocolate Cherry Galette
- Strawberry Tiramisu
- Tomato Galette
- Strawberry Butter Cake
Did you make this recipe? I would love for you to rate this recipe and hear what you think in the comments below! Share your creation on Instagram and tag @flouringkitchen. Follow me on Pinterestto save and for more recipe ideas.
📖 Recipe

Strawberry Galette
Mary
Pin Recipe
Shop Ingredients
Equipment
-
Food Processor optional
-
one large baking pan or two smaller ones
Ingredients
Galette Crust
- 2 ½ cups all-purpose flour 300g
- ¼ teaspoon sea salt
- 1 cup unsalted butter cut into small 1 cm cubes
- 1 cup ice water
- 1 tablespoon apple cider vinegar
Strawberry Filling
- 4 cups frozen strawberries 680g
- 3 tablespoons granulated sugar
- 2 tablespoons all-purpose flour
- 1 lemon juiced and zested
Assembly
- 1 large egg
- 1 tablespoon whole milk
- 1 tablespoon coarse sugar
- 1 tablespoon apricot jam strained to get rid of lumps
- 1 tablespoon boiling water
Shop Ingredients on Jupiter
Instructions
Galette Crust
-
Whisk together sifted flour and salt in a large bowl or pulse in a food processor.2 ½ cups all-purpose flour, ¼ teaspoon sea salt
-
Add the cubed cold butter into the flour. Use your fingers and work quickly to rub together the butter and flour until it resembles coarse bread crumbs with pea sized pieces of butter. If using a food processor, this takes about 5-8 pulses.1 cup unsalted butter
-
Stir together ice water and vinegar in a separate bowl. Add the water mixture to the flour and butter mixture a few tablespoons at a time, stirring to combine.1 cup ice water, 1 tablespoon apple cider vinegar
-
Stop adding liquid as soon as it starts to clump up and you’re able to form a ball of dough.
-
Working quickly to not melt the butter, flatten the dough with your hands. Fold it in half. Repeat twice to form layers inside the dough.
-
Cut dough in half and shape into two discs. Wrap each disc with plastic wrap and refrigerate for at least 30 minutes or up to 3 days.
Strawberry Filling
-
In a large bowl, combine strawberries, sugar, flour, lemon juice, and lemon zest. Toss to coat. Don’t defrost the strawberries if using frozen. There will be some dry bits at the bottom of the bowl but that is ok. Set aside.4 cups frozen strawberries, 3 tablespoons granulated sugar, 2 tablespoons all-purpose flour, 1 lemon
Assembly
-
On a generously floured surface, roll out one disc of the dough to ⅛” thick (3mm). The dough should be around 12” (30cm) in diameter. Carefully transfer the rolled dough onto a parchment lined baking sheet.
-
Spread half of the filling in the center of each, leaving about a 3” (8cm) border all the way around. Make sure to scoop the dry bits of flour from the bottom of the bowl into the crust as well. Try to get the flour and zest mixture in between the strawberries and the crust, so that it creates a barrier. It will help to absorb the liquid from the strawberries and prevent the crust from getting soggy.
-
Fold in the edges of the dough onto the top of the filling, leaving a large hole in the center for steam to escape through (see photos above for how I folded in the edges).
-
Repeat with the second disc of dough and the rest of the filling. Chill the shaped galettes briefly in the freezer for 10 minutes while the oven preheats to 375°F (190°C).
-
Whisk together egg and milk, brush it over the galette crusts, and sprinkle sugar on top.1 large egg, 1 tablespoon whole milk, 1 tablespoon coarse sugar
-
Bake in the preheated oven for 50-55 minutes, checking on them at 45 minutes. Switch and rotate the galettes halfway through baking so that they both bake evenly. They are done when they are golden brown all the way around, and the bottoms are very crisp.
-
Let cool for at least 20 minutes before serving. The strawberry filling will continue to thicken as it cools.
-
For a shiny filling mix together 1 tablespoon of strained apricot jam with 1 tablespoon boiling water. Brush it over the strawberries before serving.1 tablespoon apricot jam, 1 tablespoon boiling water
Notes
Make Ahead:
The crust can be made ahead up to three days ahead of time and stored in the fridge. Or store in the freezer for up to 2 months in an airtight container or bag.
You can fully assemble the galette, but instead of baking, freeze it on a baking sheet. Once fully frozen, wrap the galette tightly with plastic wrap to prevent freezer burn and freeze for up to two months. To bake, unwrap the galette, place on a parchment lined baking sheet. Brush with eggwash and sprinkle with sugar. Bake from frozen according to the recipe – you might need to add 5-10 minutes of extra baking time.
Expert Galette Tips:
- Pop the cubed butter in the freezer for 10 minutes to get it extra cold.
- Keep the pastry cold and work very quickly. Use the tips of your fingers to rub the butter in or use a food processor.
- The texture of the butter and flour needs to be like very coarse breadcrumbs with larger pea sized pieces. This will create pockets of butter which will melt when baked and create flaky layers.
- Only add enough ice water to make the dough moist enough to bring it together. You won’t need all of it.
- Bake until the crust is golden all the way around, and let it cool for at least 20 minutes to allow the filling to thicken.
