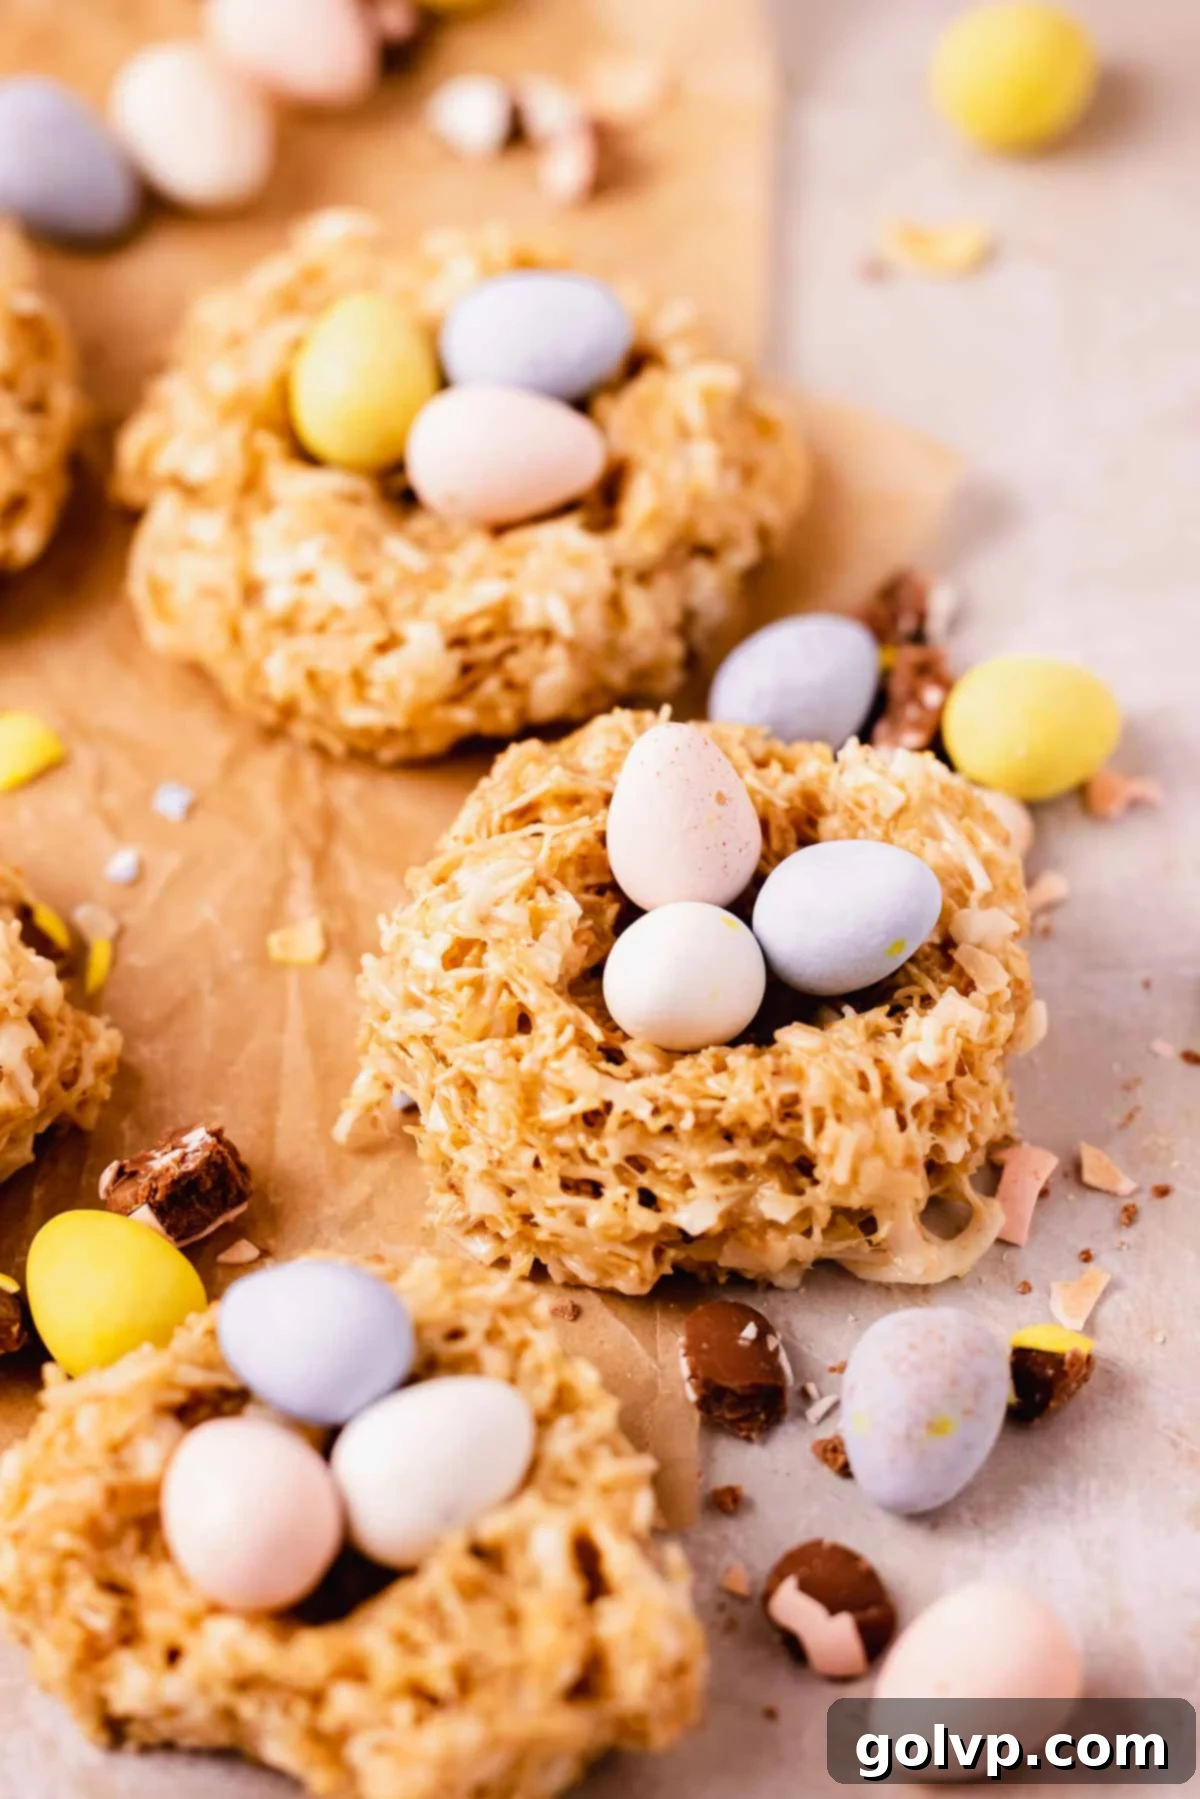
Delicious No-Bake Birds Nest Cookies: Your Ultimate Easy Easter Treat Recipe
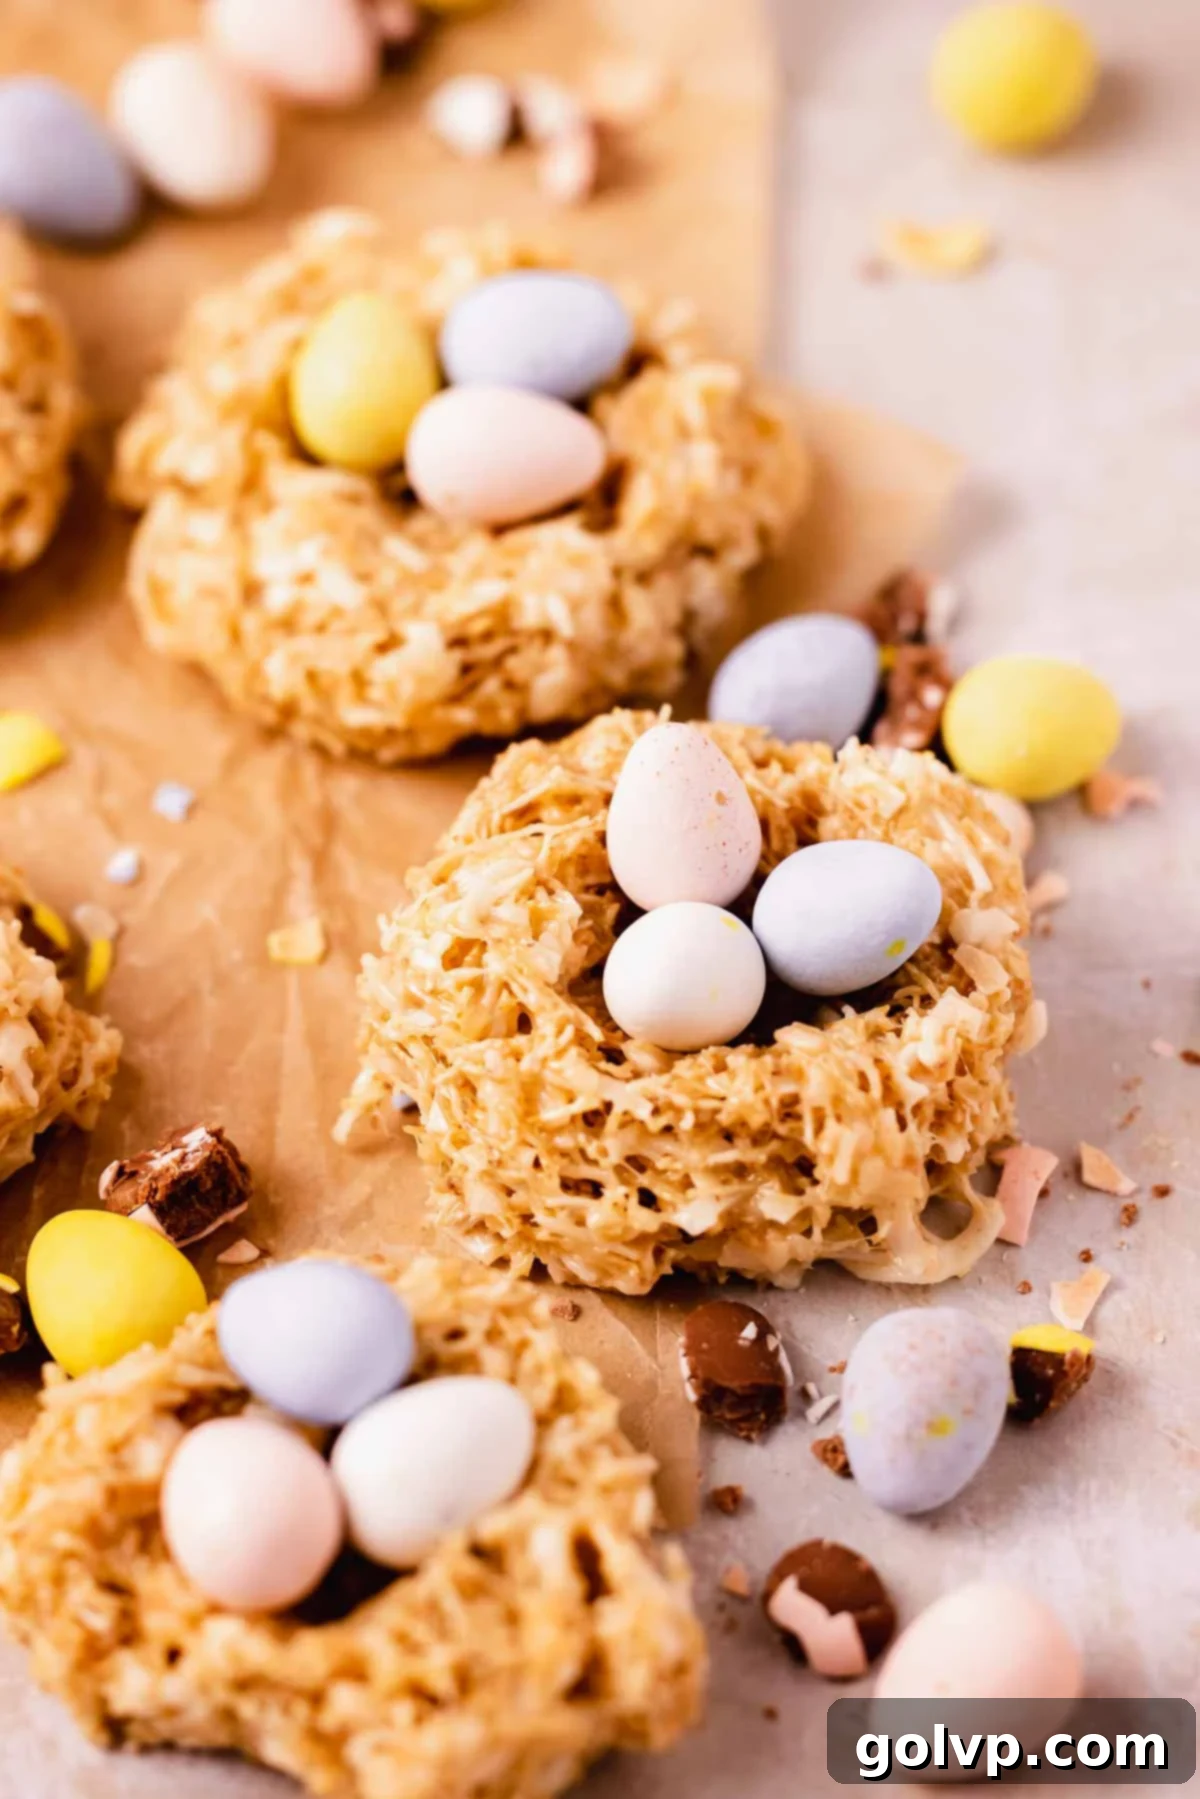
Welcome to the ultimate guide for crafting these delightful no-bake Birds Nest Cookies! Imagine soft, chewy treats brimming with the rich, buttery flavor of toasted coconut, the irresistible stretch of marshmallow, and the creamy sweetness of white chocolate. These cookies boast a truly captivating texture, offering a perfect balance of chewiness and a satisfying marshmallow pull that makes them utterly addictive. Requiring only 8 simple ingredients and coming together in less than 20 minutes, this recipe is a dream for busy bakers and a fantastic spring activity to enjoy with children (with adult supervision, of course, due to the stovetop). They are the quintessential Easter and springtime dessert, perfect for celebrating the season.
Beyond being a scrumptious treat, these charming Birds Nest Cookies also make for an exquisite table setting decoration. Picture them nestled on a plate, paired with an elegantly folded bunny ear napkin – a technique I’m excited to share with you later in this detailed recipe!
[feast_advanced_jump_to]
Why You’ll Absolutely LOVE These No-Bake Easter Birds Nest Cookies
There are countless reasons why these no-bake Birds Nest Cookies will become your go-to recipe for spring. They’re not just a dessert; they’re an experience waiting to happen!
- Irresistible Flavor Profile: Each bite delivers a harmonious blend of sweet coconut, rich white chocolate, and a comforting buttery undertone. The toasted coconut adds a depth of flavor that perfectly complements the creamy sweetness, making these cookies taste like pure springtime joy. It’s a bright, cheerful flavor that’s lighter than traditional heavy desserts, ideal for the season.
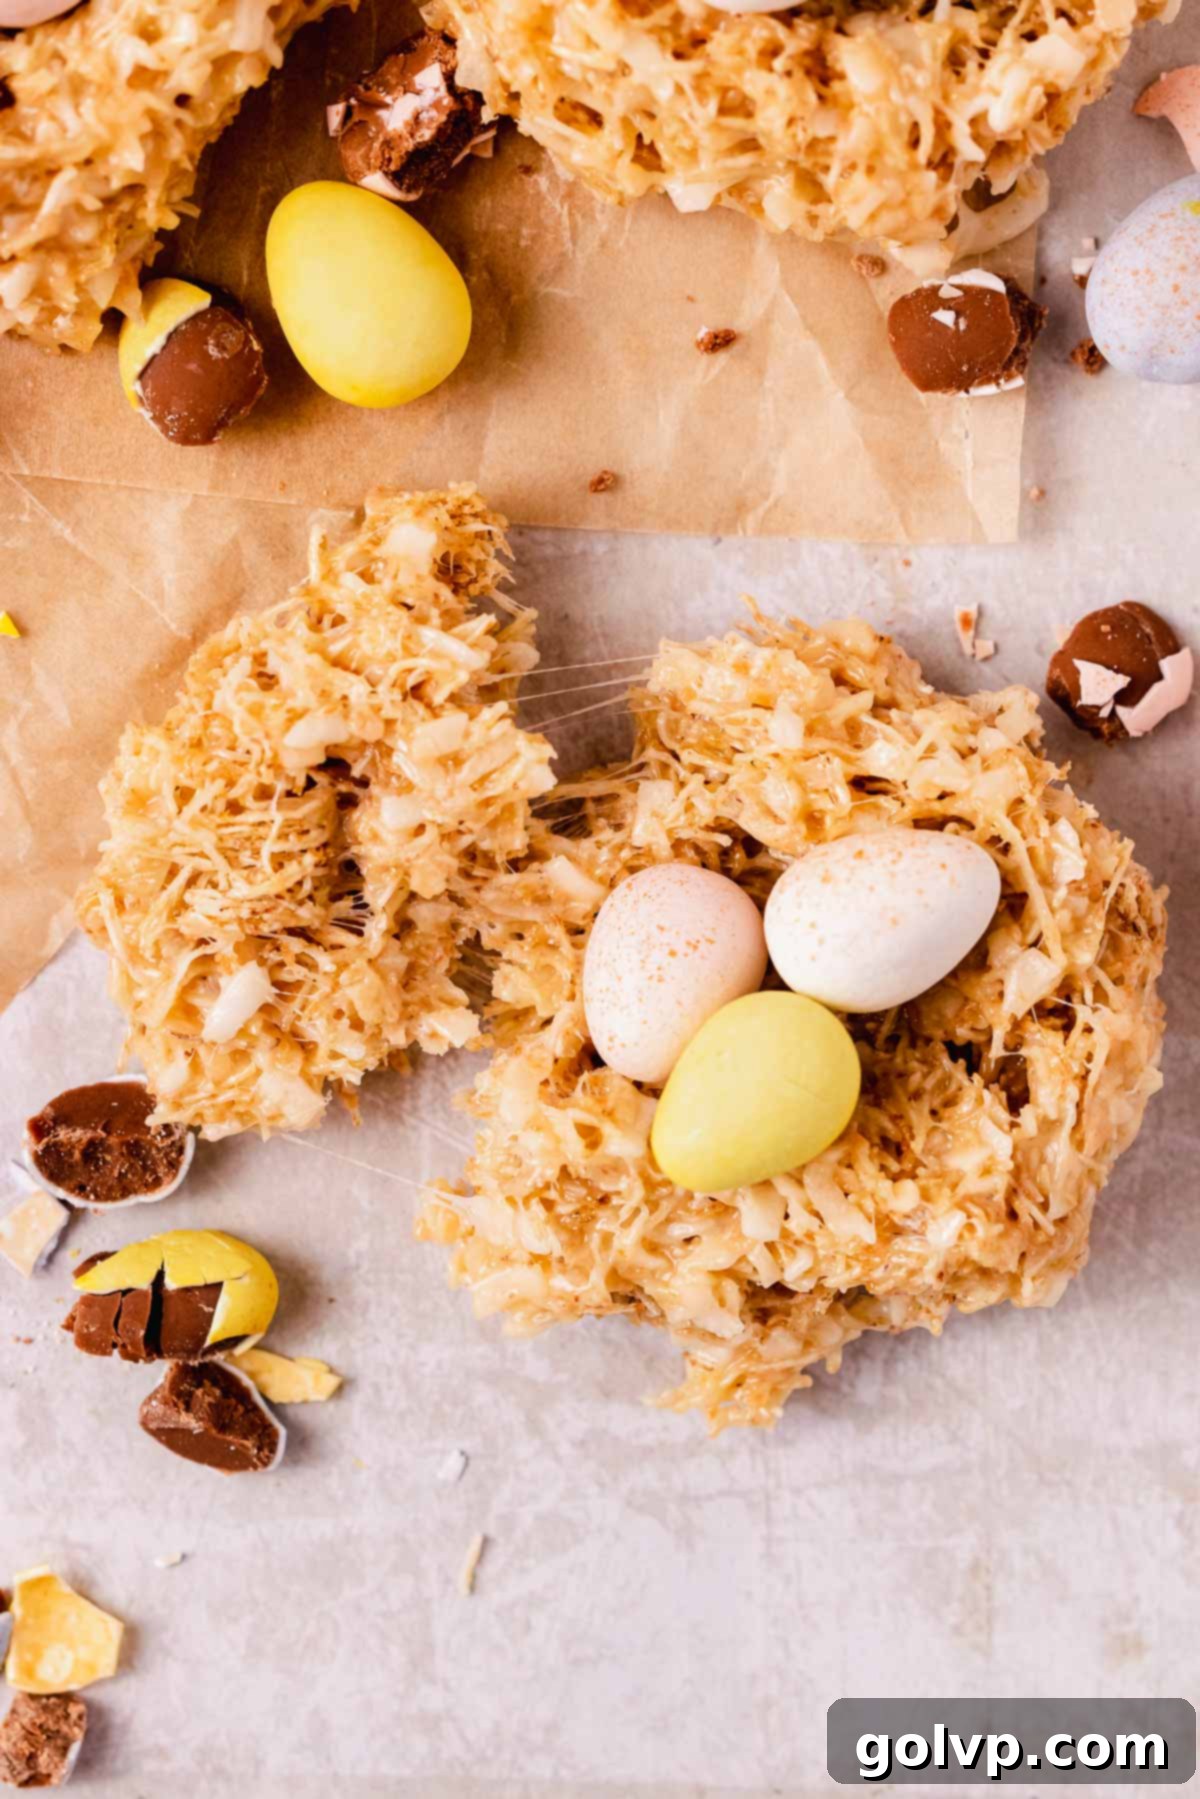
- Delightful Chewy Texture: If you’re a fan of the classic rice krispie treat, you’ll adore the incredible chewiness of these cookies. The melted marshmallows create a wonderfully stretchy pull, while the shredded wheat provides a satisfying crunch, mimicking the delicate structure of a real bird’s nest. This interplay of textures is what truly sets this cookie apart.
- Effortless & No-Bake Simplicity: Forget about preheating ovens and waiting for dough to chill! This recipe is incredibly easy and requires no baking whatsoever, making it a fantastic project for a fun afternoon with kids. While adult supervision is needed for melting the ingredients on the stovetop, the rest of the process is straightforward and enjoyable for little helpers. It’s a mess-free and stress-free way to create festive treats.
- Quick to Prepare: From start to finish, these cookies are ready in under 20 minutes. This makes them an ideal last-minute dessert or a quick activity when you need something delicious and engaging without a long commitment.
- Versatile for Any Occasion: While perfect for Easter, these charming nests can be adapted for any spring gathering, baby shower, or garden party. The simple base allows for creativity with decorations and fillings.
Looking for more delightful Easter cookie ideas? Don’t miss out on these luscious creme egg cookies or the refreshing zest of lemon raspberry cookies. They offer a perfect complement to any Easter spread!
Essential Ingredients for Perfect Birds Nest Cookies
For flawless results, delve into these tips for each key ingredient!
You’ll find full steps and precise ingredient measurements in the detailed recipe card below.
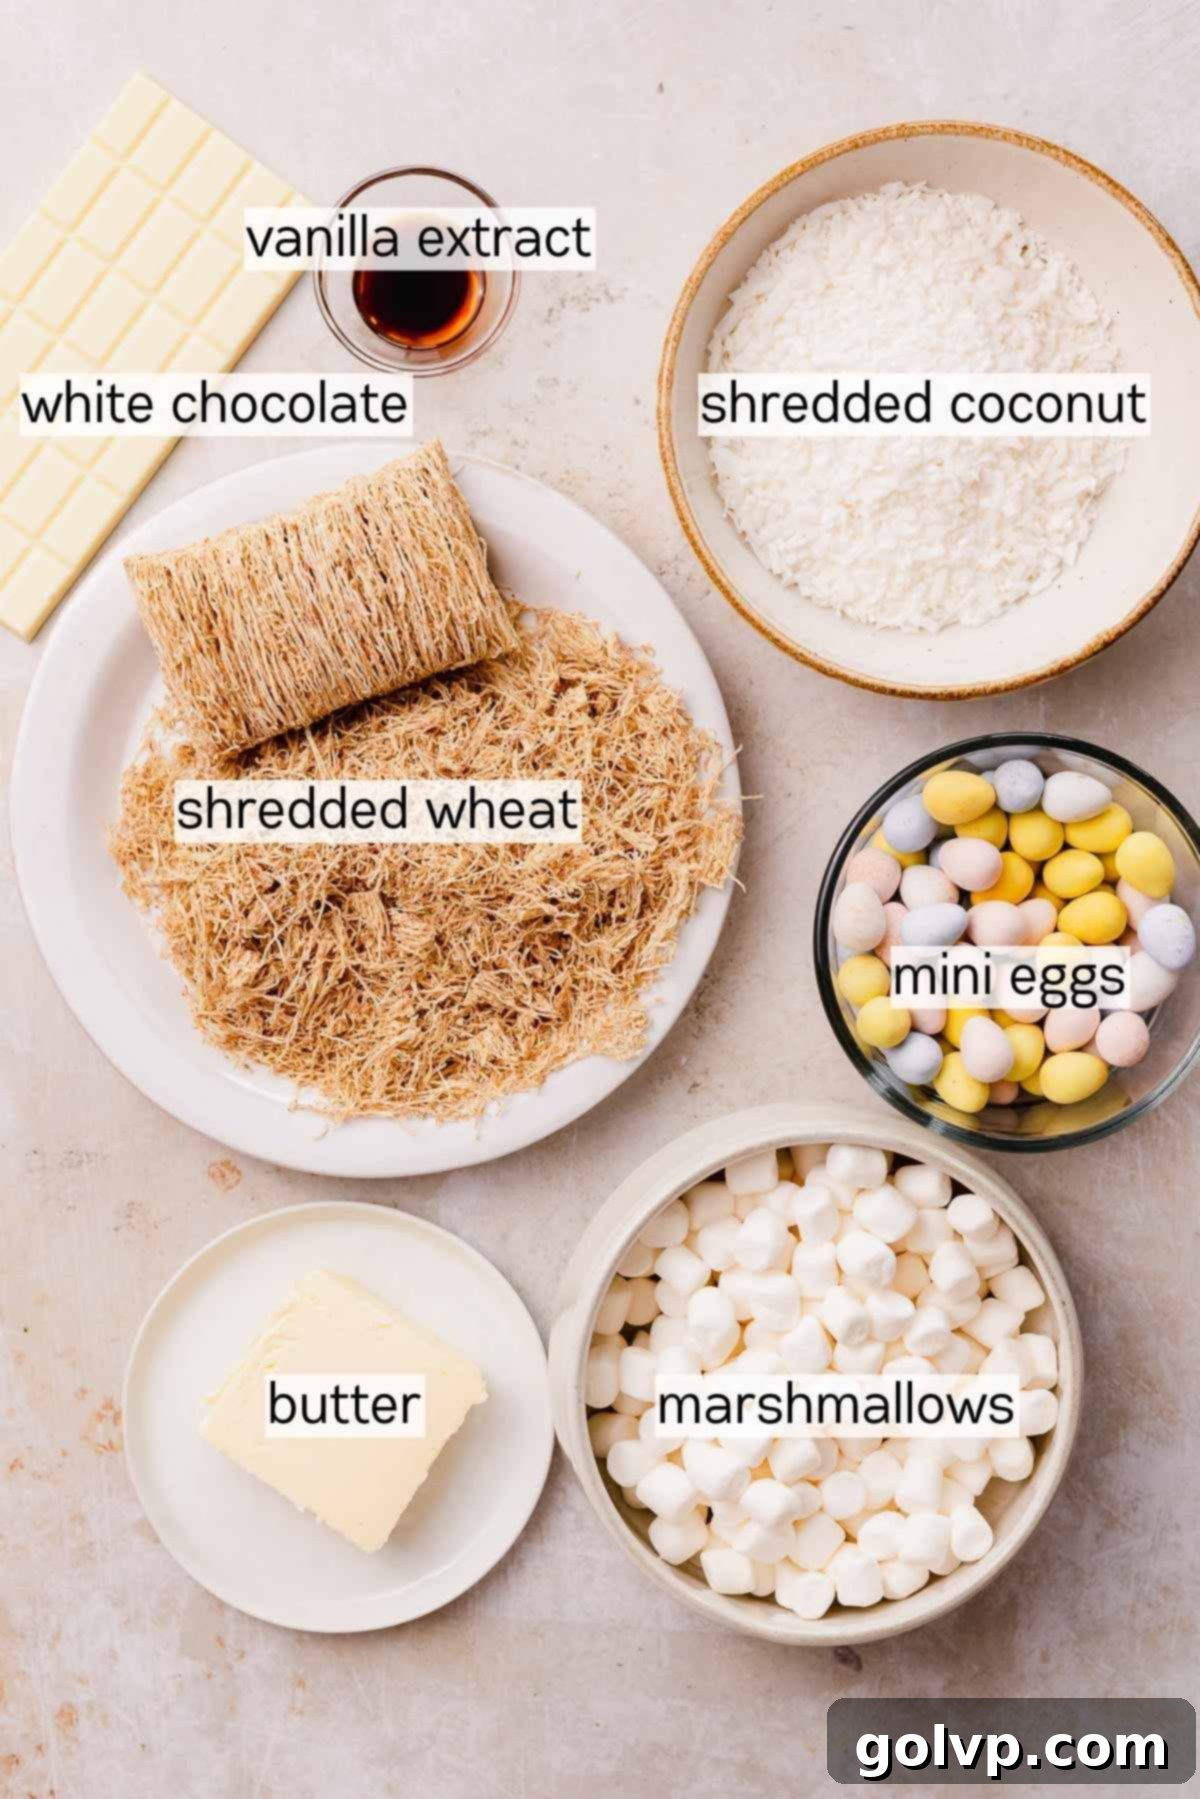
- Shredded Wheat Cereal: This is the magic ingredient that gives our nests their authentic, straw-like appearance and a wonderful crispy texture. It holds its shape well once combined with the marshmallow mixture. For the best “nest” effect, opt for unflavored, original shredded wheat biscuits that you can easily crumble. Each brick usually yields about ⅔ cup when crumbled, so three standard bricks should give you the two cups needed.
- Mini Marshmallows: The fresher, the better! Freshly opened mini marshmallows are crucial for achieving that ultimate stretchy, chewy, and gooey texture that makes these cookies so delightful. Stale marshmallows can lead to a less pliable mixture and a tougher final product. They melt quickly and evenly, contributing to the smooth binding of the nests.
- High-Quality White Chocolate: The secret to a truly soft, buttery, and flavorful nest lies in using good quality white chocolate. Real white chocolate, which contains cocoa butter, melts smoothly and provides a rich, creamy mouthfeel. Avoid white chocolate chips, as many brands are not true white chocolate (often made with vegetable oils) and can result in a lumpy, inferior filling that doesn’t set with the desired softness. I highly recommend using a bar of premium white chocolate, like Lindt, chopped into small pieces for easy melting.
- Shredded Sweetened Coconut: Toasting the coconut is a game-changer for this recipe. It unlocks a warm, nutty, and more intense coconut flavor that elevates the entire cookie. While sweetened shredded coconut adds a lovely sweetness and helps with caramelization during toasting, you can use unsweetened coconut if you prefer a less sweet cookie or a crunchier texture. Just be mindful that unsweetened coconut toasts faster, so watch it closely.
- Mini Eggs (Candy Coated): These vibrant, candy-coated chocolate eggs are not only delicious but also provide the iconic decorative touch for your bird’s nests. Their pastel colors and speckled shells instantly evoke the spirit of Easter and spring. If mini chocolate eggs aren’t available or you’re looking for alternatives, consider other egg-shaped candies or chocolate varieties such as chocolate or yogurt-covered almonds, colorful jelly beans, or even small truffles for a more gourmet touch.
- Unsalted Butter: Butter adds richness and helps create a smooth, pliable marshmallow mixture. Using unsalted butter allows you to control the overall saltiness of the cookies.
- Pure Vanilla Extract: A touch of vanilla extract enhances all the other flavors, especially the white chocolate and coconut, adding a warm, aromatic note.
- Sea Salt: Just a pinch of sea salt balances the sweetness of the marshmallows and white chocolate, making all the flavors pop without making the cookies taste overtly salty.
Have leftover mini eggs? These mini egg bars and fudgy mini egg brownies are perfect for using them up in equally delicious ways!
Smart Ingredient Substitutions for Your No-Bake Nests
Flexibility in recipes is key, and these Birds Nest Cookies are quite forgiving. Here are some excellent alternatives for key ingredients:
For Shredded Wheat:
- Rolled Oats: While they won’t give the exact “straw-like” visual, rolled oats will provide a satisfying chewy texture and a wholesome flavor. You might want to toast them lightly before adding to the marshmallow mixture for extra depth.
- Puffed Rice Cereal: For a lighter, crispier nest, puffed rice cereal (like Rice Krispies) works wonderfully. It will absorb the marshmallow mixture well and create a delightful crunch.
- Chow Mein Noodles: These are a classic alternative for no-bake nests, offering a distinctly crunchy and savory contrast to the sweet marshmallow mixture. They closely resemble twigs and straw, making them an excellent visual choice.
For Mini Eggs:
- Chocolate, Yogurt, or Candy Coated Almonds: These offer a similar size and shape to mini eggs, with a delightful nutty crunch. Choose colorful candy-coated options for a festive look.
- Chocolate Covered Coffee Beans: For an adult-friendly version, chocolate-covered coffee beans can add a sophisticated touch and a hint of espresso flavor.
- Chocolate or Yogurt Covered Raisins: These provide a chewy, fruity burst and are a good option if you want to avoid nuts.
- Jelly Beans: Available in a rainbow of colors, jelly beans are a fun and chewy alternative, especially for kids.
- Any Mini Egg-Shaped Candy: Get creative! Small malted milk balls, pastel gumballs, or even small, colored gumballs can work to fill your nests.
Crafting Your Perfect No-Bake Easter Birds Nests
Making these adorable Easter nests is a straightforward and enjoyable process. Follow these steps for beautifully formed, delicious cookies every time:
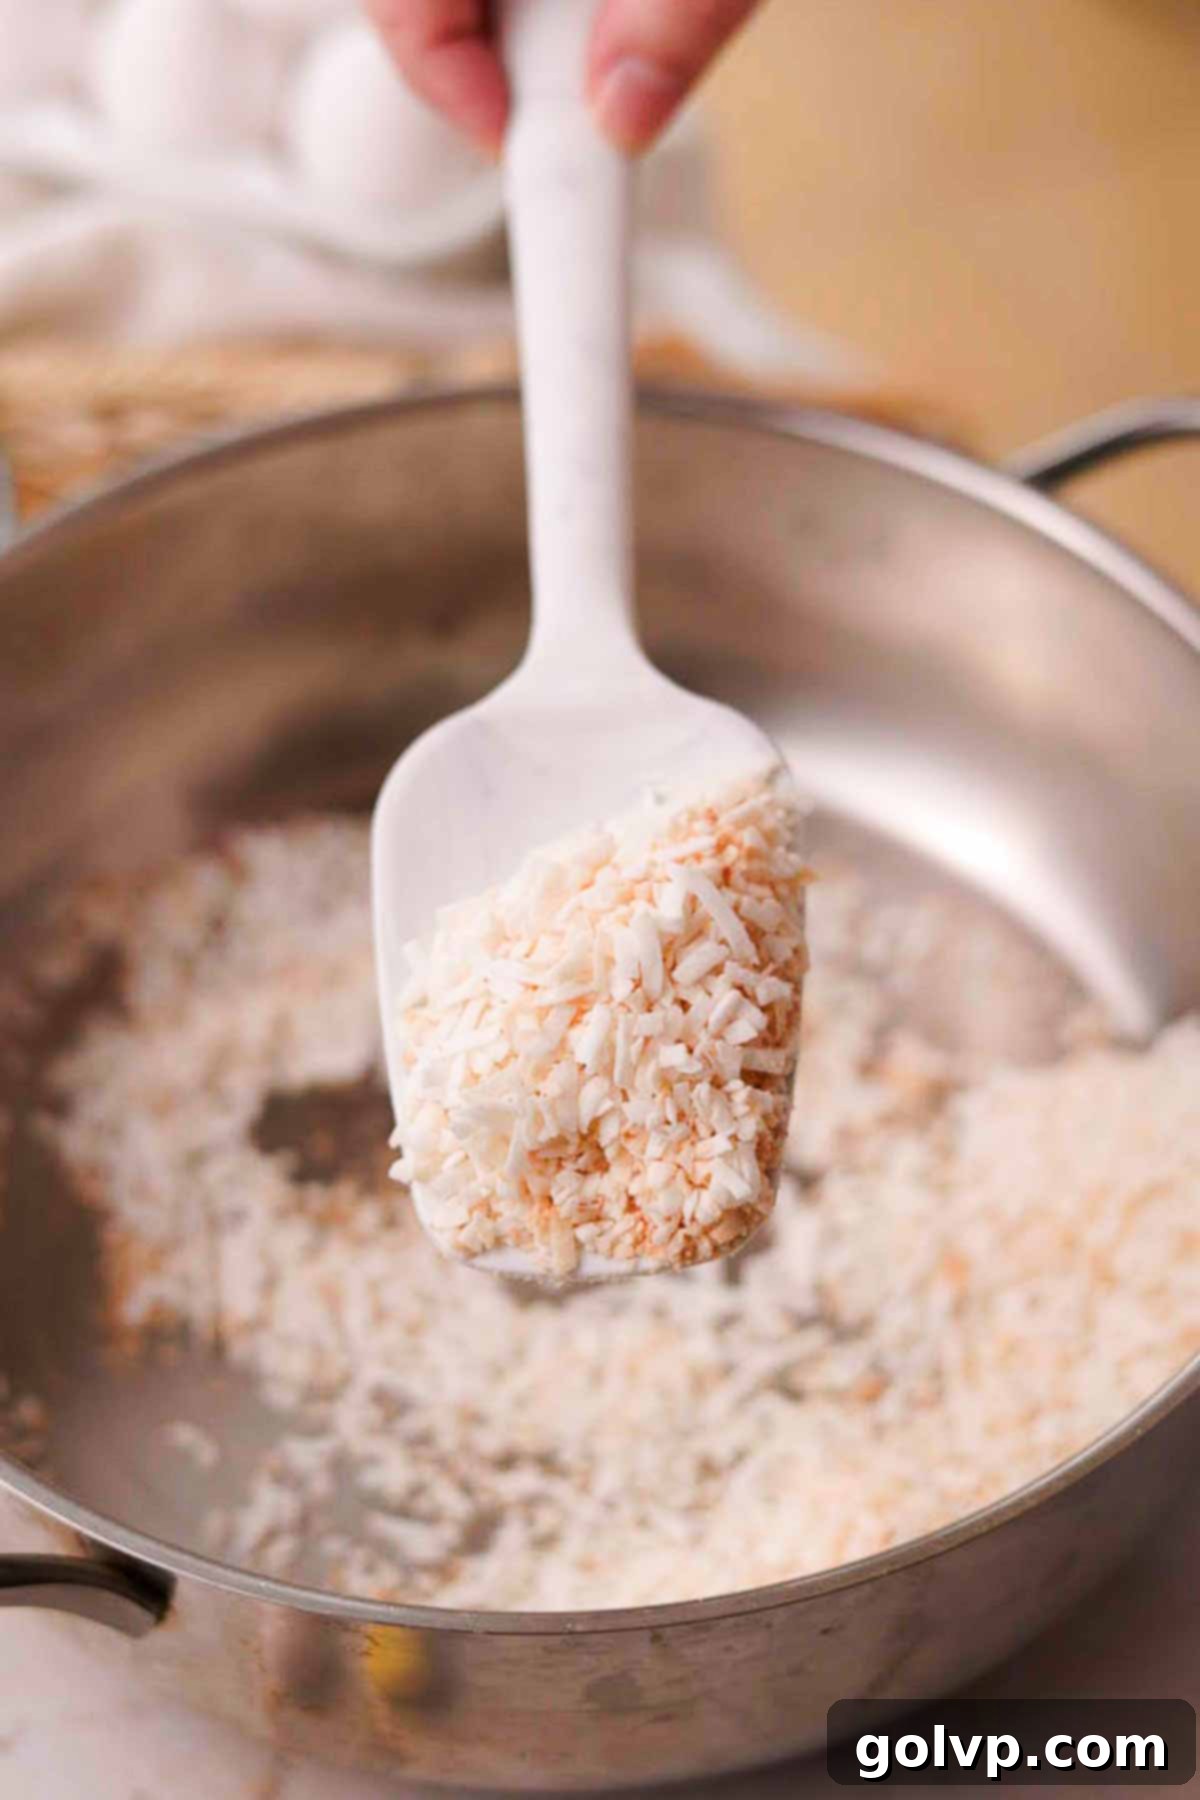
Step 1: Toast the Coconut. Begin by adding your shredded sweetened coconut to a dry, wide-bottomed pan or saucepan. Set the heat to low and toast the coconut for just a few minutes. It’s crucial to stir constantly during this process to ensure even browning and prevent burning, as coconut can turn from perfectly golden to burnt very quickly. Remove the coconut from the pan as soon as it achieves a beautiful light golden-brown color and becomes fragrant. There’s no need to wash the pan; you’ll use it immediately for the next step.
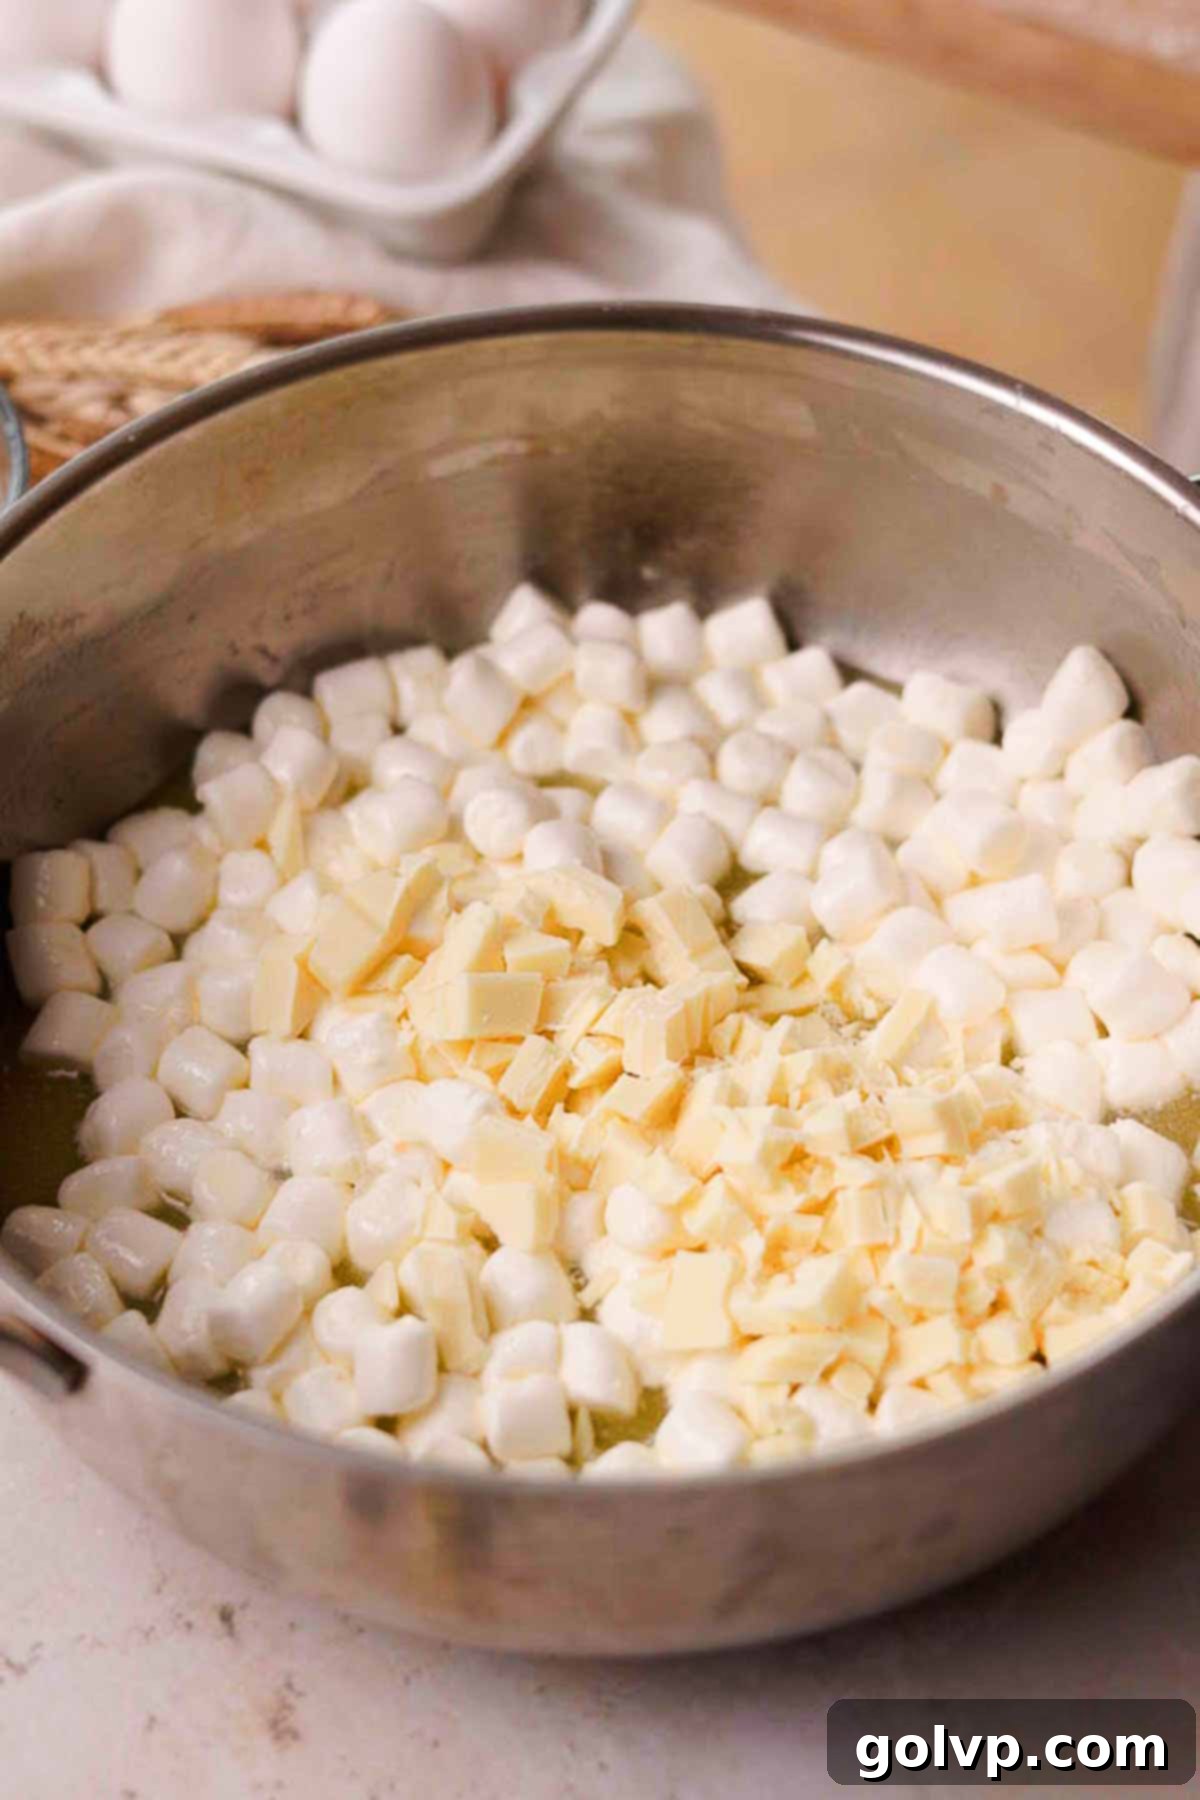
Step 2: Melt the Base. In the same pan, add the unsalted butter and melt it over low heat. Once the butter is mostly melted, add the mini marshmallows and your chopped good-quality white chocolate. Continue heating on low, stirring constantly. The goal here is to melt the marshmallows until they are almost fully liquid and the white chocolate is mostly incorporated. Avoid high heat, as this can cause the marshmallows to seize or burn, leading to a tough cookie.
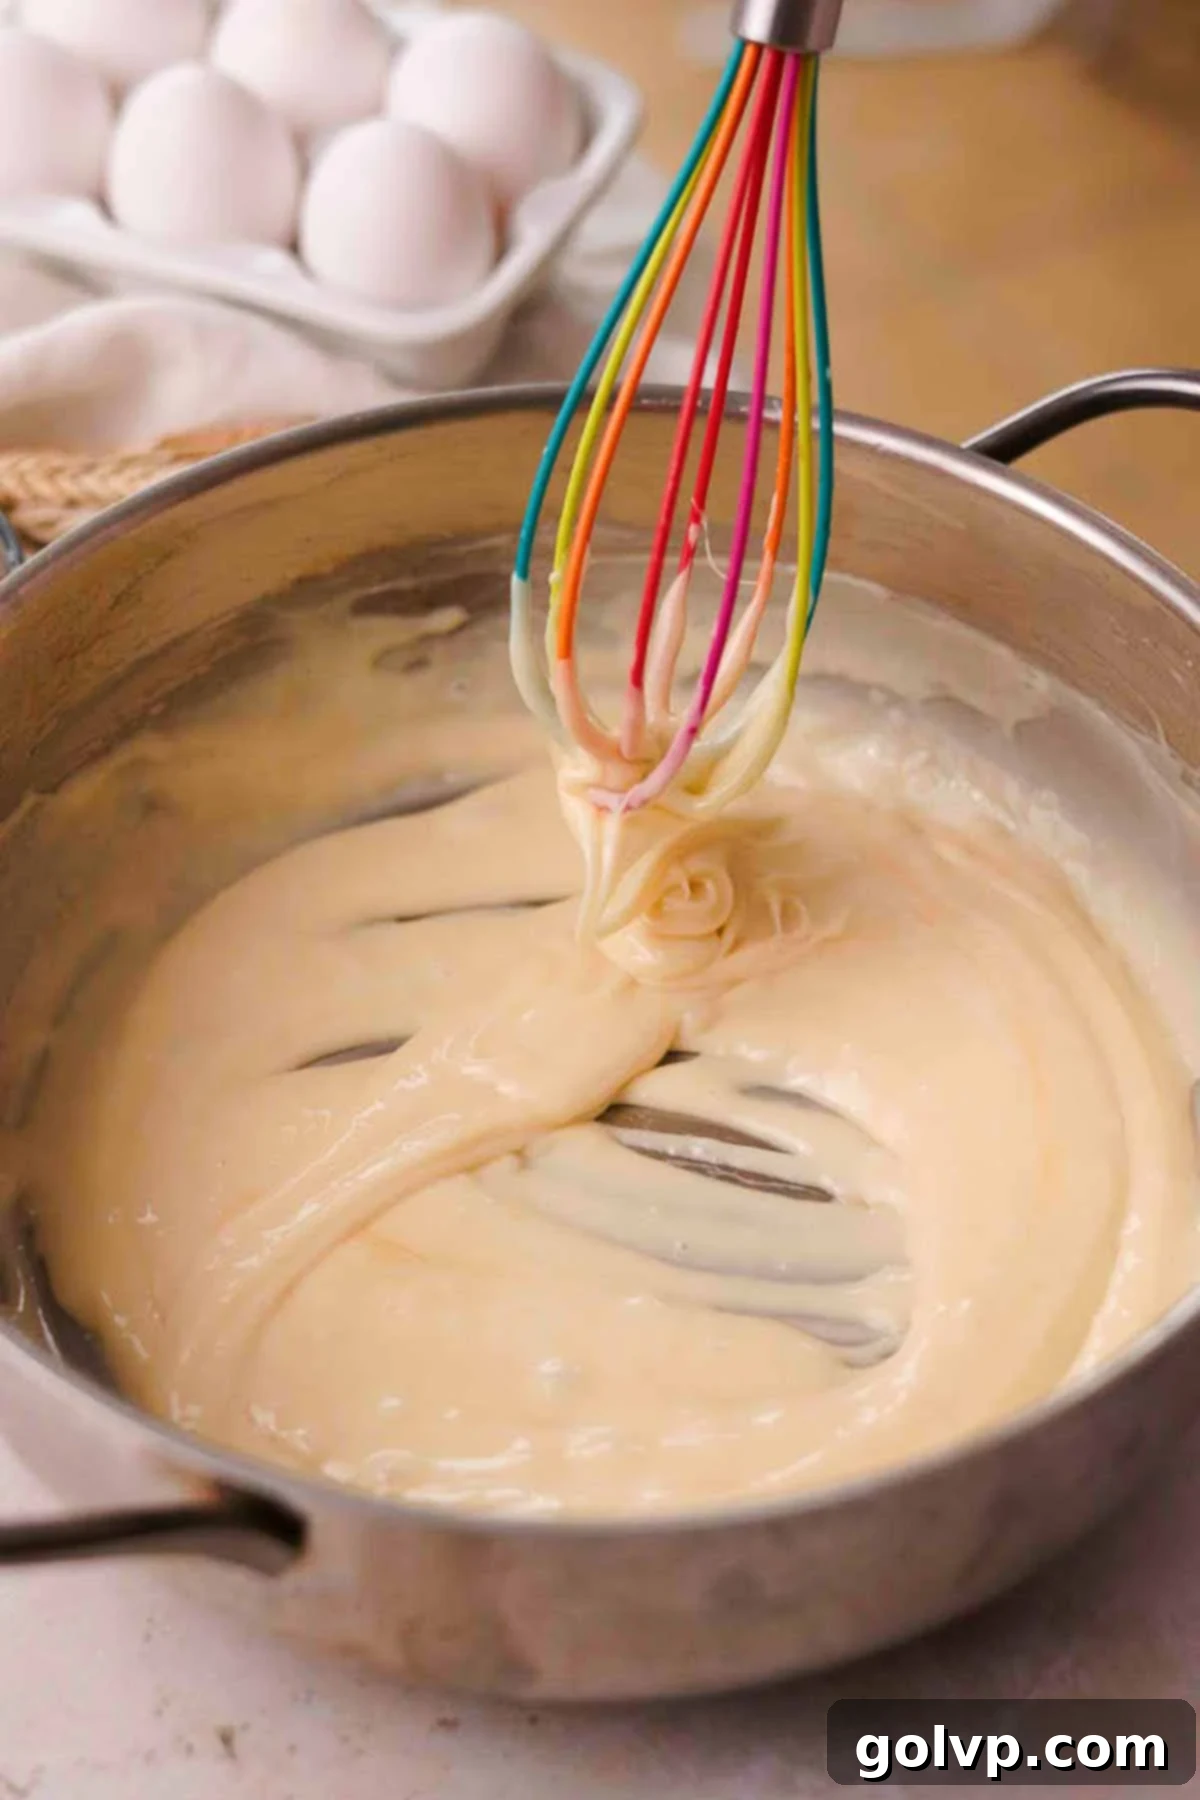
Step 3: Smooth and Flavor. Remove the pan from the heat as soon as the marshmallows are almost fully melted and the chocolate is soft. Whisk the mixture vigorously and continuously until it becomes completely smooth and all ingredients are fully combined into a glossy, uniform liquid. This quick whisking ensures there are no lumps of marshmallow or chocolate. Stir in the pure vanilla extract and whisk again to fully incorporate its fragrant notes.
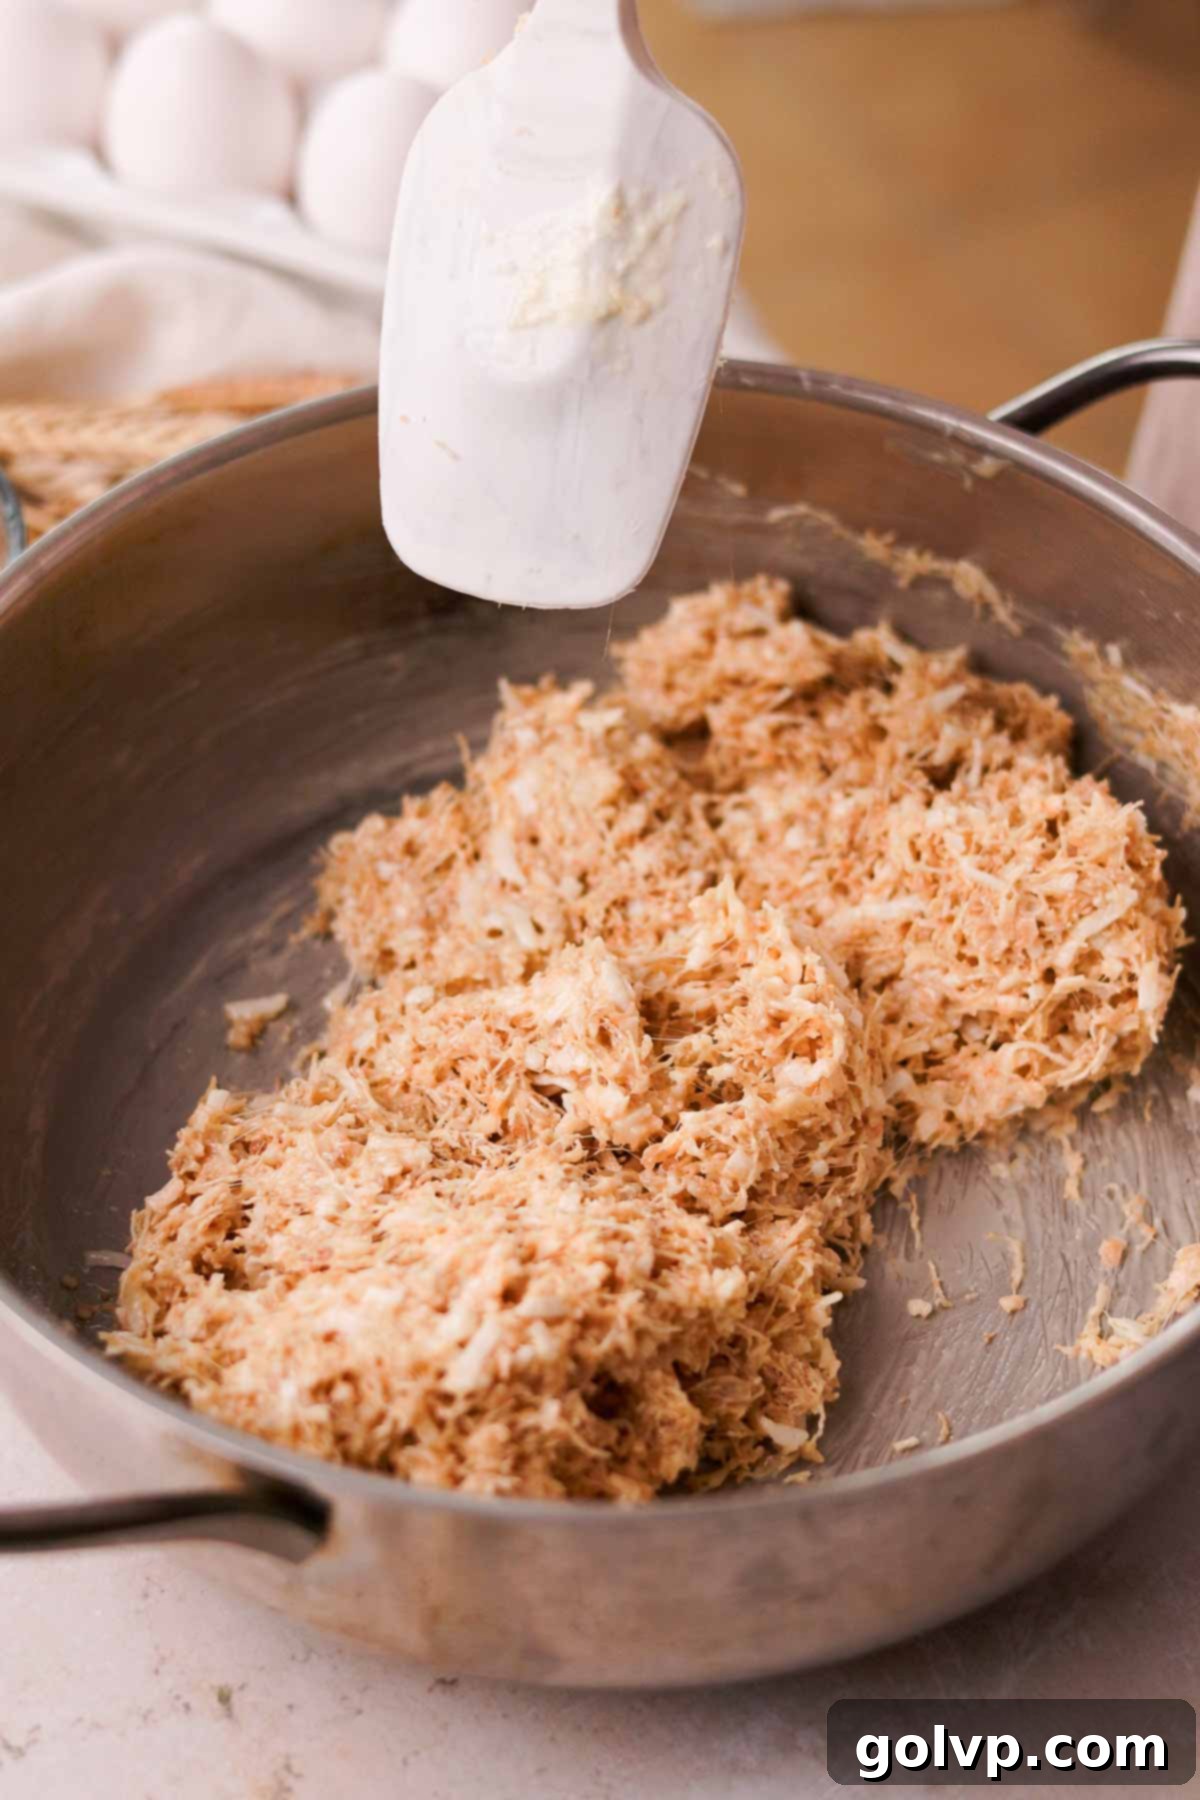
Step 4: Combine Dry Ingredients. Immediately, while the marshmallow mixture is still warm and pliable, add the crumbled shredded wheat, the beautifully toasted coconut, and the pinch of sea salt into the pan. Mix everything thoroughly and quickly until all the dry ingredients are evenly coated with the sticky marshmallow-white chocolate mixture. Work swiftly, as the mixture will begin to stiffen as it cools.
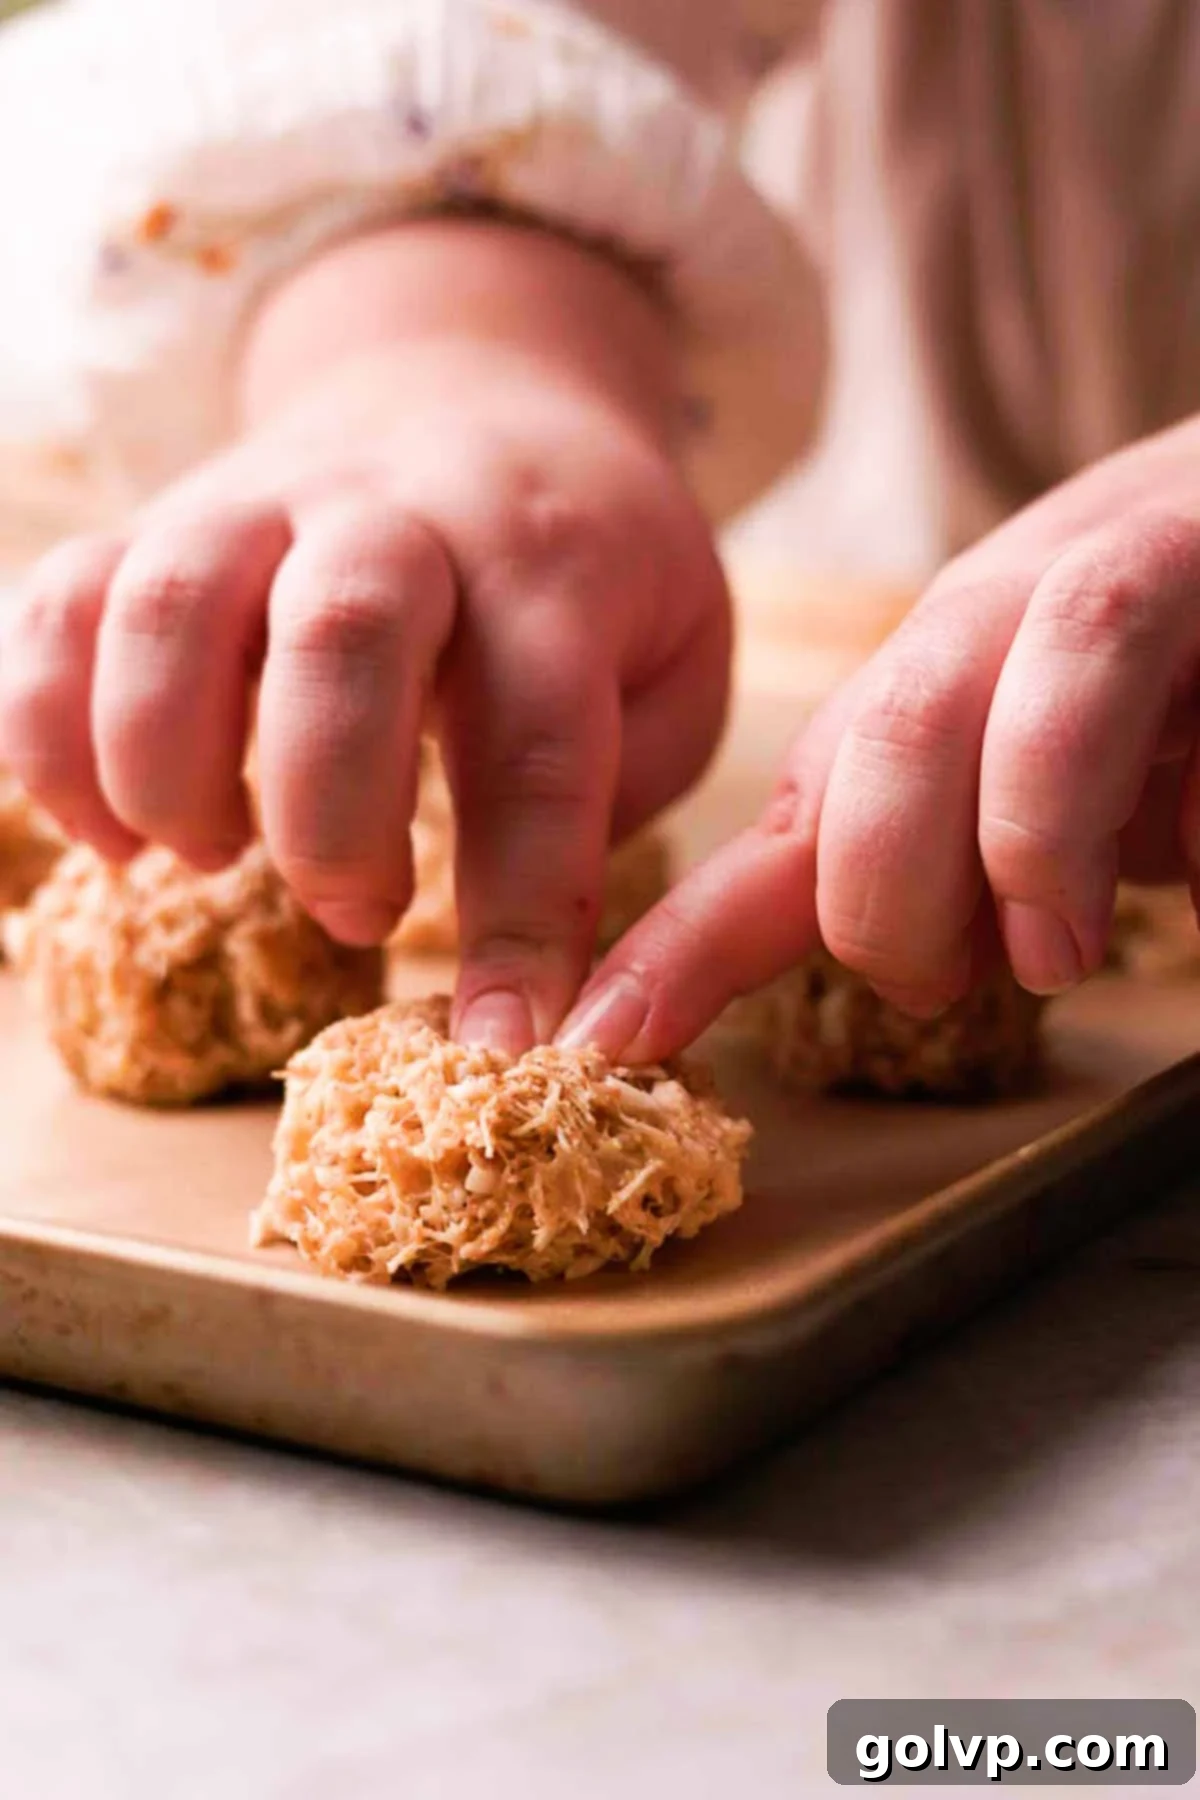
Step 5: Scoop and Prepare. Lightly grease your hands with a small amount of butter to prevent sticking – this is key for easy shaping. Also, grease a large ice cream scoop or use two spoons. Scoop the warm mixture into 10 evenly sized balls and place them onto a baking sheet lined with parchment paper. The parchment paper will prevent sticking and make for easy cleanup.
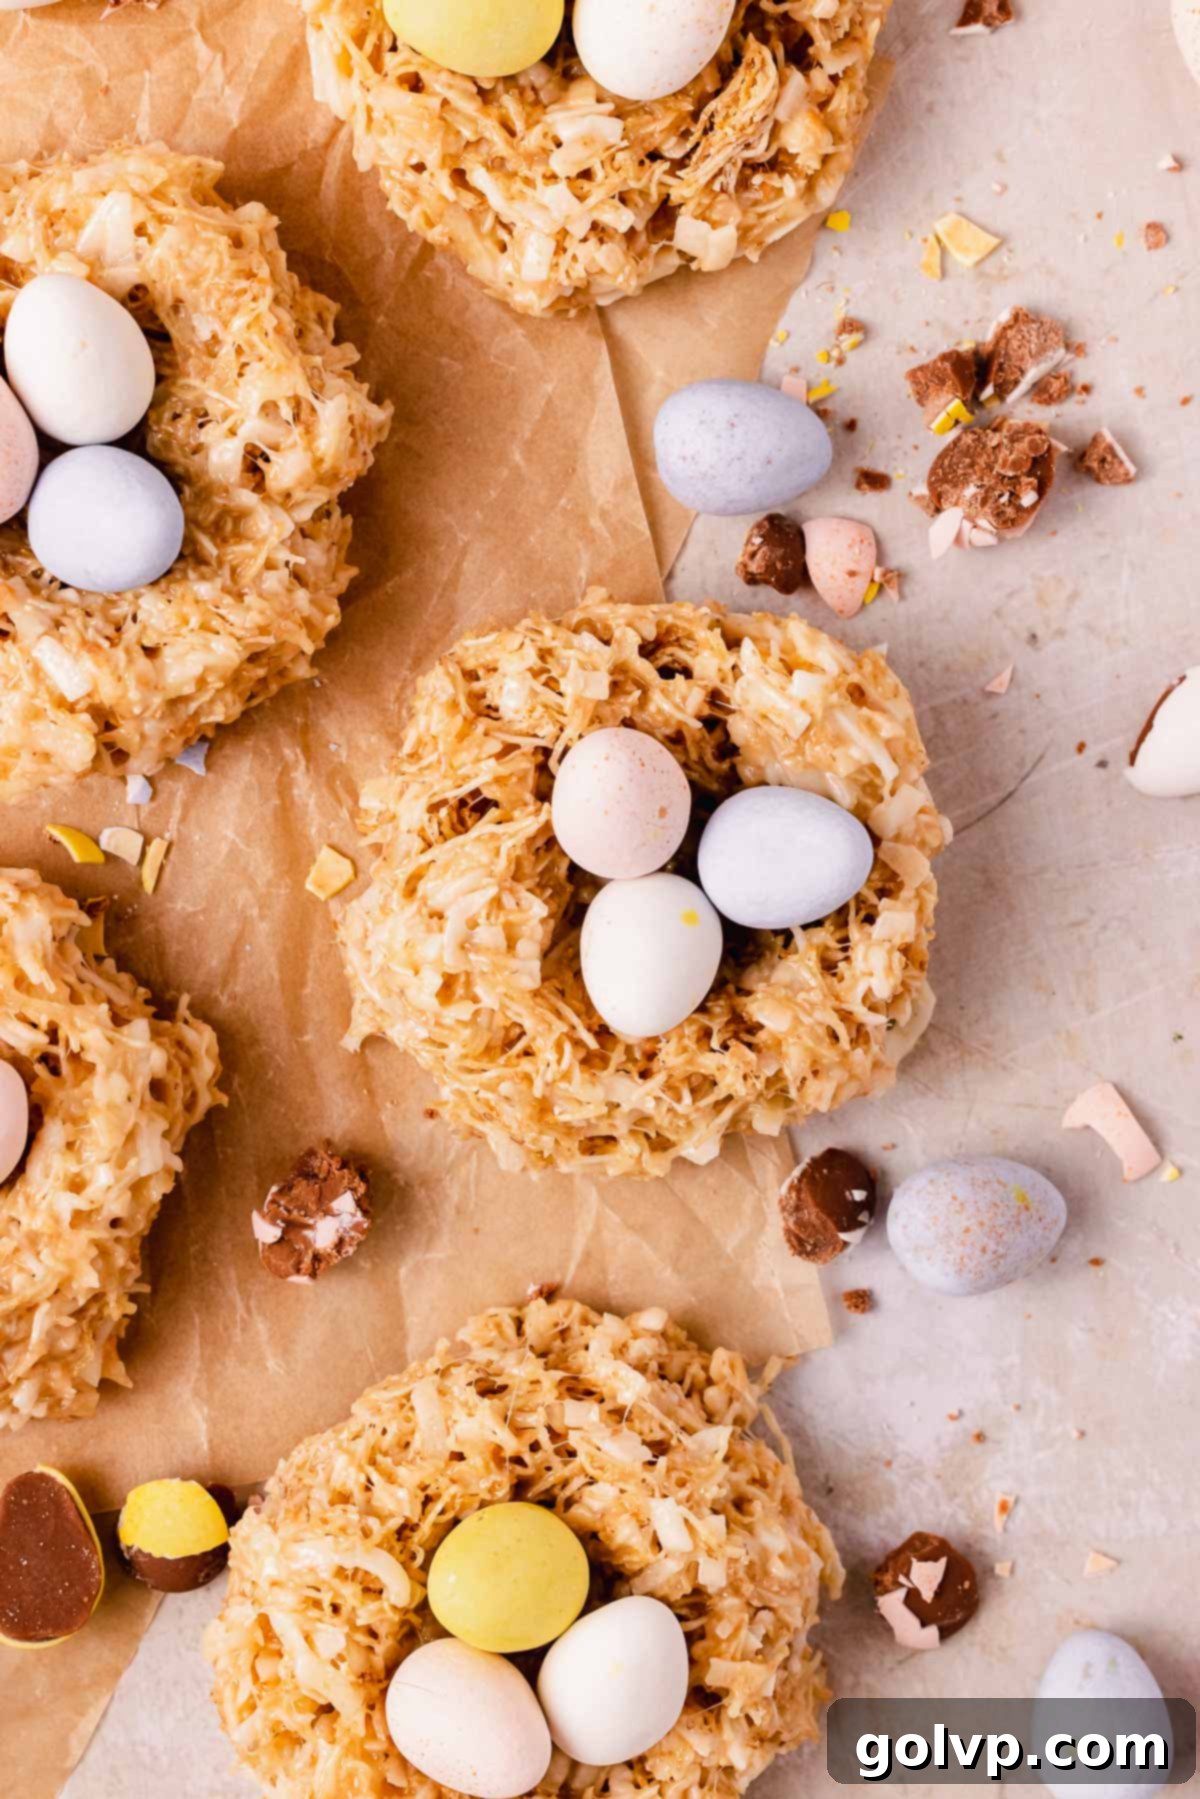
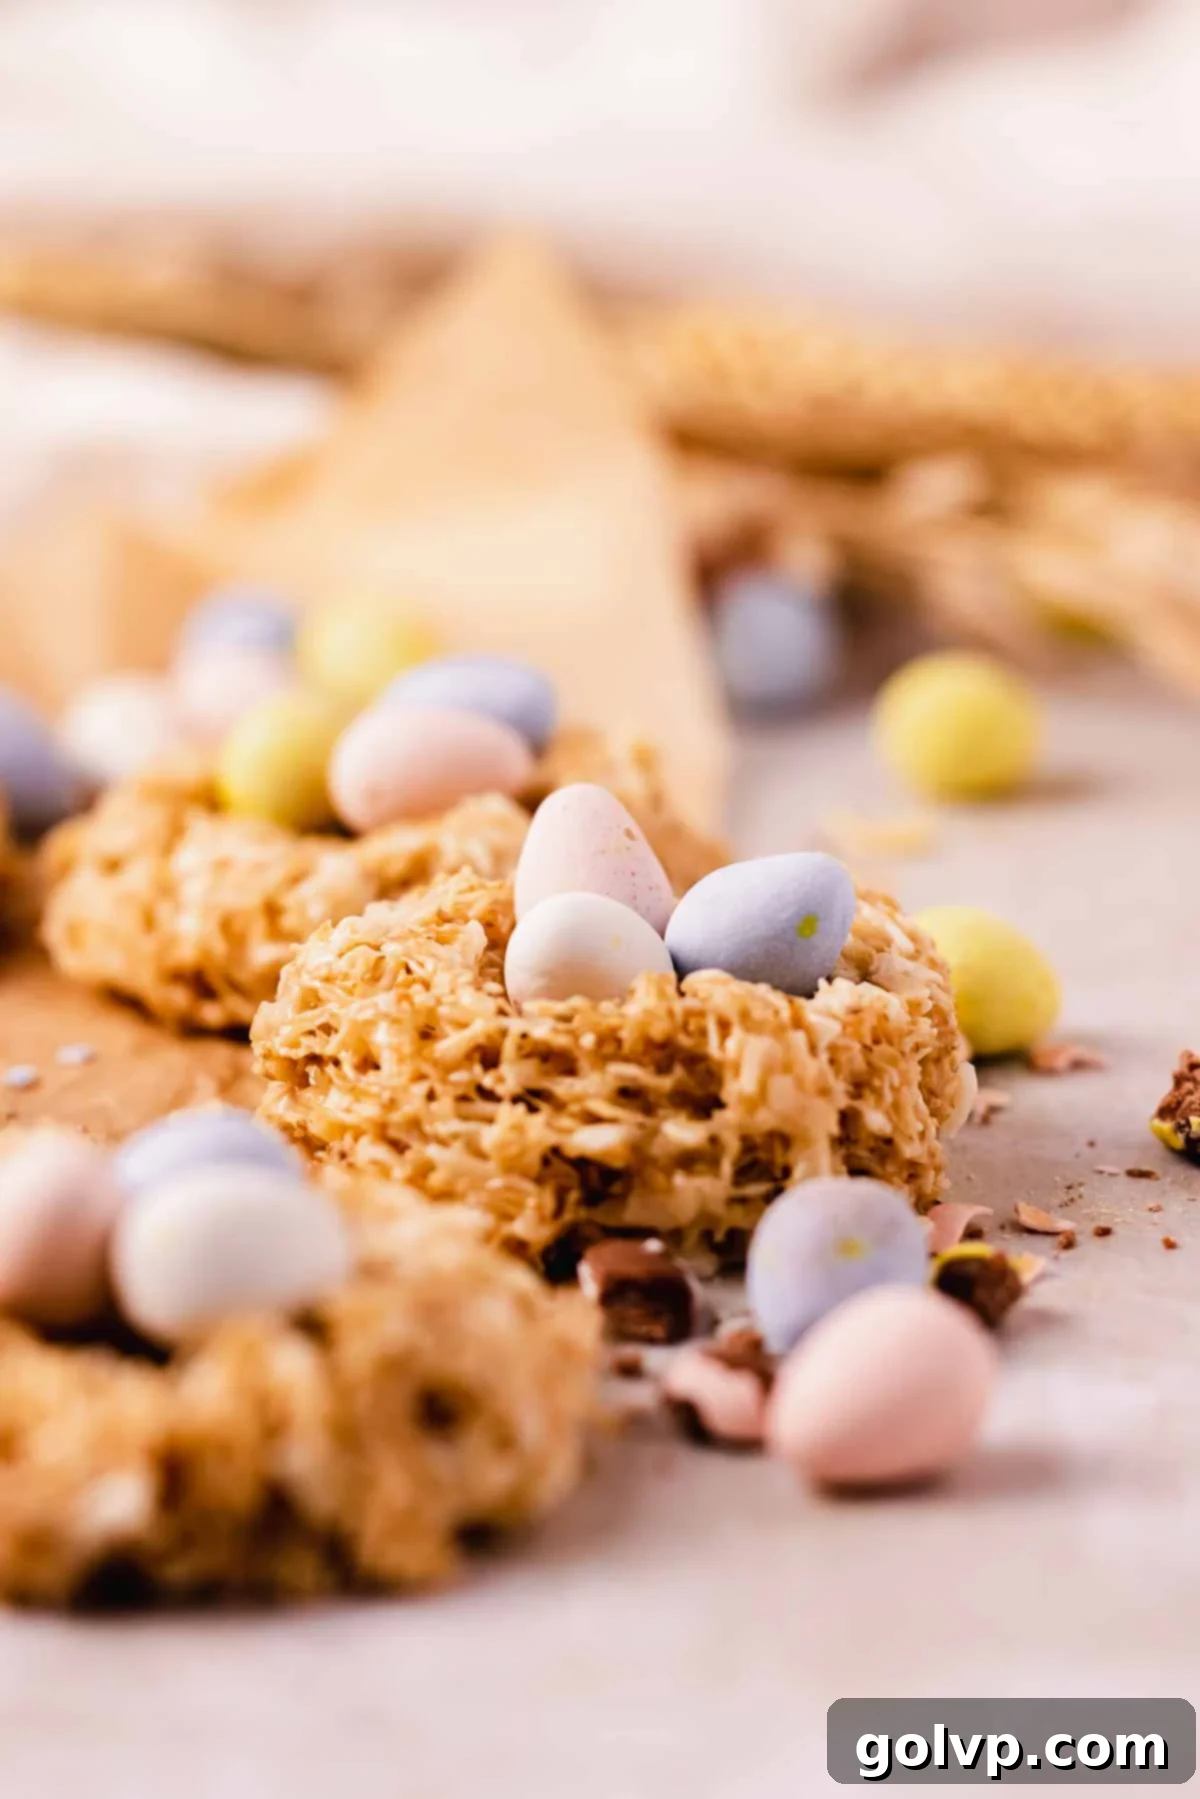
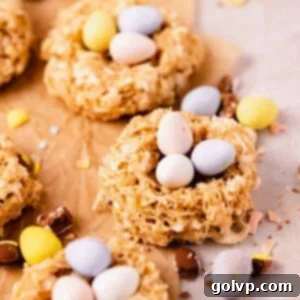
Step 6: Shape the Nests and Decorate. While the cookies are still warm and pliable, use your greased fingers to gently press down the middles of each ball, creating a shallow indentation that forms the nest shape. You can gently push in the sides to define the edges, but be careful not to compress the nests too much; over-compacting them can result in a tough, hard cookie. The goal is a delicate, loose nest. Finally, place three mini candy-coated eggs into the center of each birds nest cookie. Allow them to cool and set slightly, then serve! These are best enjoyed within a few days for optimal freshness and texture.
Top Tips for Perfect No-Bake Birds Nest Cookies
Achieving the perfect soft, chewy, and beautifully structured Birds Nest Cookies is easy with these expert tips:
- Always Use Good Quality White Chocolate: This is paramount for the best texture and flavor. Real white chocolate, made with cocoa butter, melts smoothly and contributes to a soft, creamy mouthfeel in your finished nests. Inferior white chocolate or “candy melts” (often made with vegetable fats) can result in a grainy texture or a product that hardens too much, losing that desirable softness at room temperature.
- Ensure Your Marshmallows Are Fresh: Just like with rice krispie treats, the freshness of your marshmallows directly impacts the texture of your cookies. Use a freshly opened bag of mini marshmallows for the ultimate stretchy and chewy consistency. Stale marshmallows can become difficult to melt smoothly and will ultimately lead to tough, crumbly, or overly hard birds nest cookies.
- Avoid Overcooking the Marshmallows: The key to a soft and chewy cookie is to remove the marshmallow and white chocolate mixture from the heat as soon as the marshmallows are almost fully melted and the chocolate is mostly soft. Continuing to cook the mixture once it’s fully melted can cause the marshmallows to become brittle and sugary, resulting in a very tough and hard cookie once cooled.
- Cook on the Lowest Possible Heat: Patience is a virtue here. Melting the ingredients over the lowest heat setting is crucial. This gentle heat prevents the marshmallows and white chocolate from scorching, ensures they melt evenly, and helps maintain their soft, pliable texture when combined with the shredded wheat. High heat can quickly ruin the mixture, making it too stiff.
- Do Not Over-Compact the Cookie Mixture: When shaping your nests, be gentle! Only apply pressure to the very center of the ball to create the indentation for the eggs. You want the outer edges of the “nest” to remain loose and airy, mimicking natural straw. If you press the entire cookie too firmly, it will become dense, hard, and lose its appealing chewy bite.
- Shape While Warm for Ease: The marshmallow mixture is much more pliable and cooperative when it’s warm. As it cools, it will stiffen, making shaping significantly more challenging. Work quickly but carefully to form your nests immediately after mixing in the shredded wheat and coconut. If the mixture starts to cool too much, you can gently warm it over very low heat for a few seconds to regain some pliability, but avoid re-melting it entirely.
Storage Tips for Your Birds Nest Cookies
These delightful no-bake Birds Nest Cookies are best enjoyed within a few days of preparation to maintain their optimal soft and chewy texture. They store remarkably well at room temperature for up to 4 days. To ensure they remain fresh and retain their irresistible softness, always store them in an airtight container. This protects them from drying out and becoming stale. For longer storage, you can refrigerate them for up to a week, but allow them to come to room temperature for about 15-20 minutes before serving to restore their characteristic chewiness.
Elevate Your Easter Table: A Charming Bunny Napkin Fold Idea
Transform your Easter or spring table with these Birds Nest Cookies as a central decorative element! They make for an incredibly charming and edible centerpiece at each place setting. Here’s a creative table setting idea: shape a napkin into adorable bunny ears and then place one of your delicious Birds Nest Cookies on a smaller plate, positioning it atop the napkin fold. This creates a whimsical and inviting presentation. See the accompanying photo for a visual reference and follow the simple steps below:
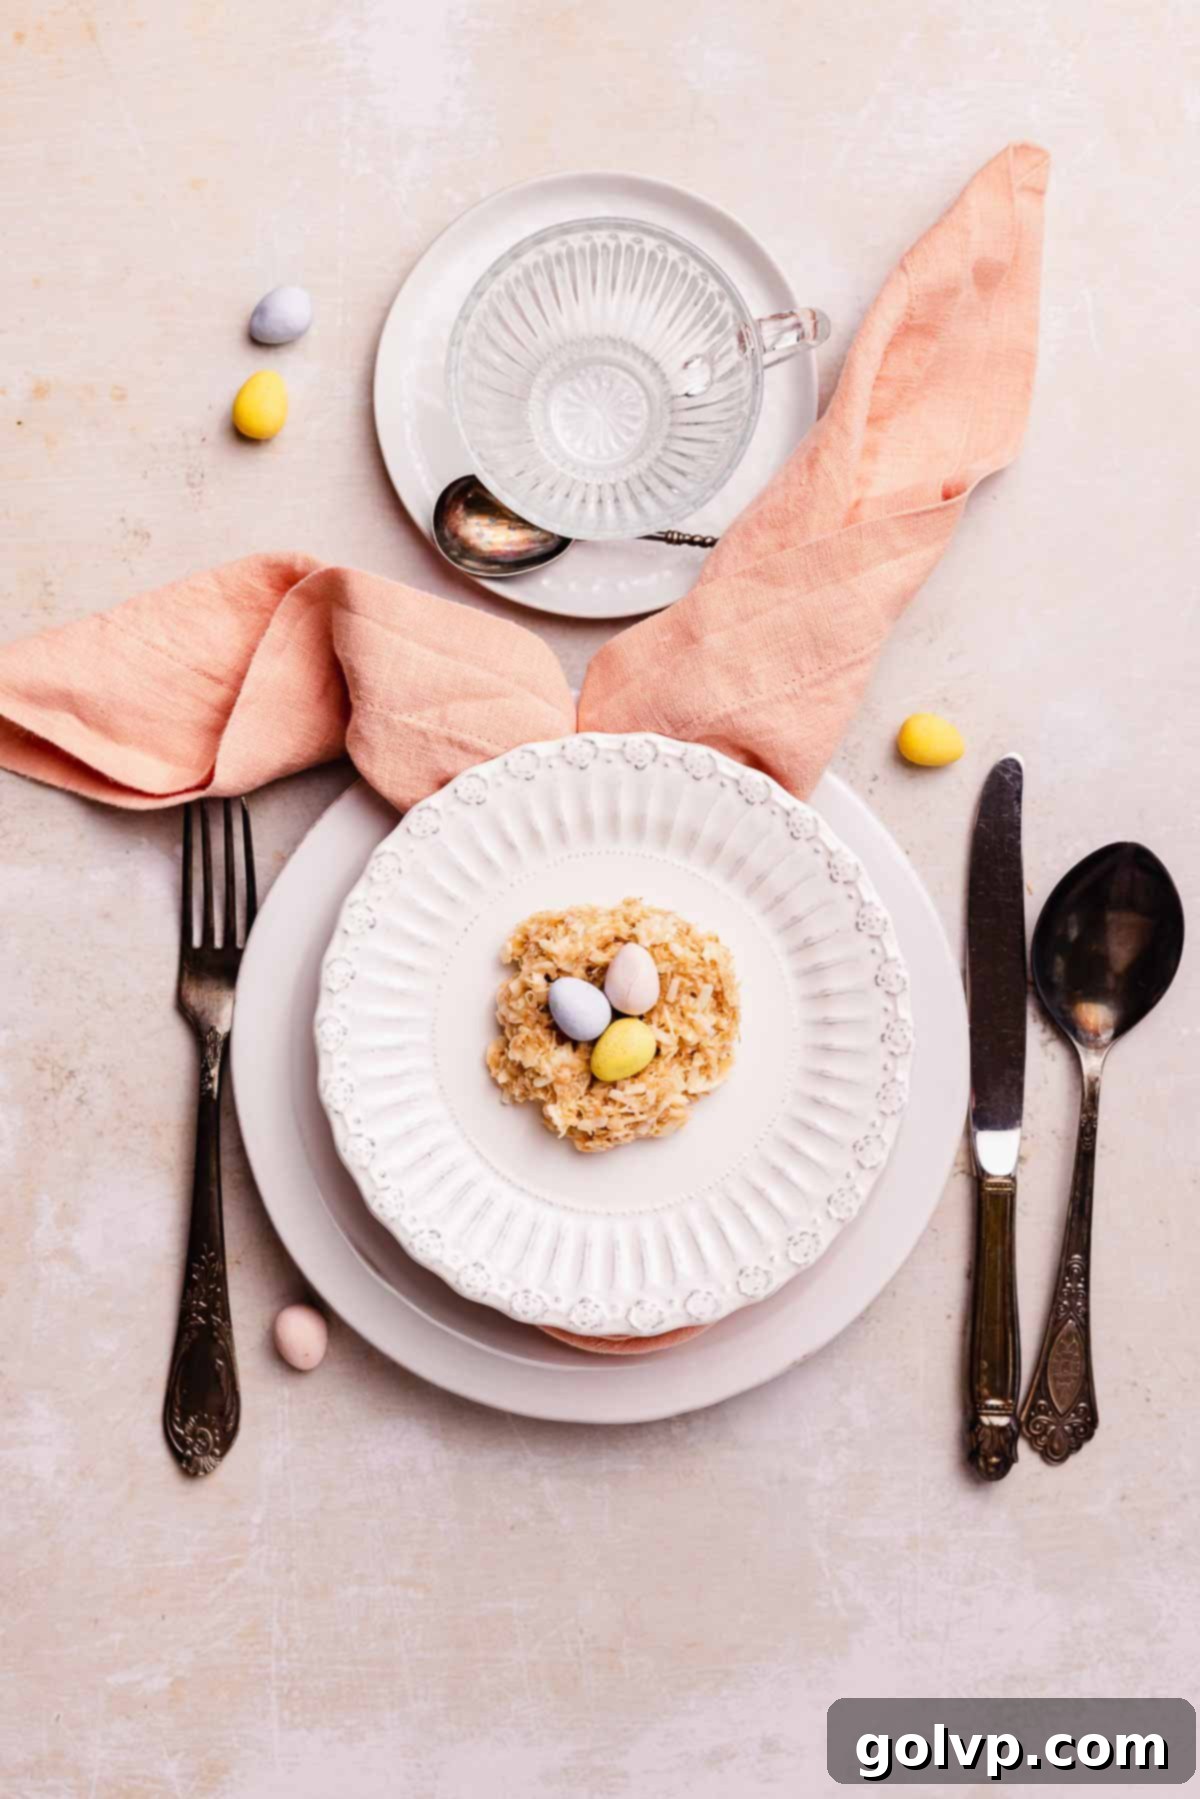
- Fold the Napkin into a Triangle: Start with a square fabric napkin. Fold it in half diagonally to create a large triangle.
- Roll into a Long Rectangle: Beginning from the longest edge of the triangle, tightly roll the napkin upwards towards the pointed tip. Continue rolling loosely to create a long, somewhat slender rectangle with pointed ends, resembling a sausage shape.
- Fold and Position: Take your rolled napkin and fold it in half, ensuring the pointed ends meet upwards. Place this folded napkin roll on a larger dinner plate, with the pointed “ears” extending towards the top of the plate.
- Add the Plate and Cookie: Carefully place a smaller salad or dessert plate directly on top of the folded bottom of the napkin. This will anchor the napkin and highlight the bunny ears. Now, gently place one of your freshly made Birds Nest Cookies, complete with mini eggs, onto the smaller plate.
- Create the “Folded Ear”: To add a touch of personality, take one of the pointed napkin ends (one of the “bunny ears”) and gently fold it downwards slightly, creating the illusion of a playfully flopped ear.
- Complete the Setting: Arrange your forks, knives, spoons, and water glasses around the plate to complete your festive and adorable Easter table setting.
Frequently Asked Questions About Birds Nest Cookies
It is generally recommended to avoid standard white chocolate chips for these cookies unless you are absolutely certain they are made with real cocoa butter. Many white chocolate chips on the market are “baking chips” or “candy melts” that contain vegetable oils instead of cocoa butter. These don’t melt as smoothly and can result in a lumpy, less creamy texture. Real white chocolate should have a slightly yellowish tint and melt easily and uniformly when heated. For the best creamy, soft, and delicious results, opt for a high-quality bar of white chocolate, such as Lindt, which you can chop into small pieces.
The primary reason to steer clear of typical white chips and candy melts for this recipe is their composition. Unlike real white chocolate, which derives its creamy texture from cocoa fat, these products often substitute cocoa fat with vegetable oils. While this formulation allows them to set quickly and achieve a shiny, snappy finish without the intricate process of tempering real chocolate, it doesn’t offer the same rich, buttery mouthfeel that we’re aiming for in these no-bake nests. Using real white chocolate ensures the nests remain delightfully soft and creamy at room temperature, providing a perfect counterpoint to the satisfying crunch of the cereal. The flavor profile is also generally superior with good quality white chocolate.
For this recipe, you will need approximately 2 cups of crumbled shredded wheat. Typically, this equates to three standard shredded wheat biscuits (the rectangular, unsweetened kind). Simply crush them gently by hand or in a bag until you reach the desired volume and “straw-like” consistency.
While you technically can use jumbo marshmallows if they are all you have on hand, it’s not ideal. You’ll need to press them down when measuring to ensure you have the correct volume. The main drawback is that jumbo marshmallows take significantly longer to melt completely. This increases the risk of overcooking the marshmallow mixture, which can lead to a tough and hard cookie, as discussed in our expert tips. For the best results – meaning a smooth, quickly melting mixture and a delightfully chewy cookie – mini marshmallows are strongly recommended.
Although this recipe was specifically developed for white chocolate to achieve its unique flavor and light appearance, using milk or dark chocolate should theoretically work as well. The melting properties of most standard milk and dark chocolate bars are similar to white chocolate. However, the resulting flavor profile will be quite different, leaning towards a richer, deeper chocolate taste rather than the sweet coconut and white chocolate combination. The color will also be darker, obviously. We haven’t personally tested it, but if you decide to try it, please let us know your results in the comments below! We’d love to hear how it turns out.
More Delightful Spring & Easter Recipes
- Creme Egg Cookies
- Mini Egg Bars
- Carrot Cake with Pineapple
- Mini Egg Brownies
Did you create these delightful nests? We’d love to hear your thoughts and see your creations! Please take a moment to rate this recipe and share your experience in the comments section below. Don’t forget to share your photos on Instagram and tag @flouringkitchen. Follow me on Pinterest for more inspiring recipe ideas and saves!
📖 Recipe
No-Bake Birds Nest Cookies
by Mary
Pin Recipe
Shop Ingredients
5 minutes
10 minutes
15 minutes
Dessert, Snack
American
10
nests
226
kcal
Equipment
-
Cookie scoop or large spoon -
Large cookie or baking sheet -
Saucepan or wide bottom pan
Ingredients
-
1
cup
shredded sweetened coconut
-
⅓
cup
unsalted butter
plus extra for greasing -
2
cups
mini marshmallows
fresh, not stale -
1
bar good quality white chocolate
chopped, 100g, 3.5 oz -
1
teaspoon
pure vanilla extract
-
2
cups
shredded wheat
crumbled (or oatmeal or chow mein noodles) -
⅛
teaspoon
sea salt
-
30
mini eggs
about 100g
Shop Ingredients on Jupiter
Instructions
-
Add the shredded sweetened coconut into a dry wide pan or saucepan. Toast the coconut on low heat for a few minutes, stirring constantly to prevent it from burning. Remove the coconut from the pan when it is lightly golden brown and fragrant. You don’t need to wash the pan.1 cup shredded sweetened coconut
-
Add the unsalted butter into the same pan and melt on low heat. Once butter is mostly melted, add the mini marshmallows and chopped good quality white chocolate. Heat on low heat, stirring constantly until the marshmallows are almost fully melted and the white chocolate is mostly incorporated. Do not overcook.⅓ cup unsalted butter,
2 cups mini marshmallows,
1 bar good quality white chocolate -
Turn off the heat immediately and whisk vigorously until the mixture is completely smooth and well combined. Stir in the pure vanilla extract and whisk again.1 teaspoon pure vanilla extract
-
Immediately add the crumbled shredded wheat, the toasted coconut, and the sea salt to the pan. Mix well and quickly until all ingredients are evenly coated with the warm marshmallow mixture.2 cups shredded wheat,
⅛ teaspoon sea salt -
Lightly grease your hands and a large ice cream scoop (or use two buttered spoons) with a small bit of butter to prevent sticking. Scoop the warm mixture into 10 evenly sized balls and place them onto a parchment-lined baking sheet.
-
While the cookies are still warm and pliable, use your greased fingers to gently press down the middles of each ball to create a distinct nest shape. Carefully push in the sides if needed, but remember not to compress the nests too much, as over-compacting will make them tough and hard.
-
Add three mini candy-coated eggs into the center of each birds nest cookie for decoration. Allow them to cool and set slightly, then serve! Store any leftover cookies at room temperature in an airtight container for up to 4 days to maintain their softness.30 mini eggs
Notes
Expert No-Bake Cookie Tips:
- Use Good Quality White Chocolate: Opt for real white chocolate, which contains cocoa butter, for a superior soft and buttery mouthfeel that maintains its texture at room temperature.
- Use Fresh Marshmallows: Freshly opened marshmallows are crucial for achieving the ultimate stretchy and chewy consistency. Stale marshmallows will result in a tougher, less pleasant cookie.
- Don’t Overcook the Marshmallows: Remove the mixture from the heat as soon as the marshmallows and white chocolate are almost fully combined. Overheating will lead to hard and tough cookies.
- Cook on Lowest Heat: Always use the lowest heat setting to prevent scorching and ensure an even, soft texture for your marshmallow base.
- Don’t Over-Compact the Cookie Mixture: When shaping, only press the center down to create the nest. Keep the outer edges loose to prevent a dense, hard cookie.
- Shape While Warm! The mixture is most pliable when warm, making it significantly easier to mold and shape your birds’ nests. Work quickly!
Nutrition
Calories:
226
kcal
Carbohydrates:
18
g
Protein:
2
g
Fat:
12
g
Saturated Fat:
9
g
Polyunsaturated Fat:
0.4
g
Monounsaturated Fat:
2
g
Trans Fat:
0.2
g
Cholesterol:
16
mg
Sodium:
42
mg
Potassium:
89
mg
Fiber:
3
g
Sugar:
7
g
Vitamin A:
189
IU
Vitamin C:
1
mg
Calcium:
9
mg
Iron:
1
mg
Tried this recipe?
Let us know how it was!
