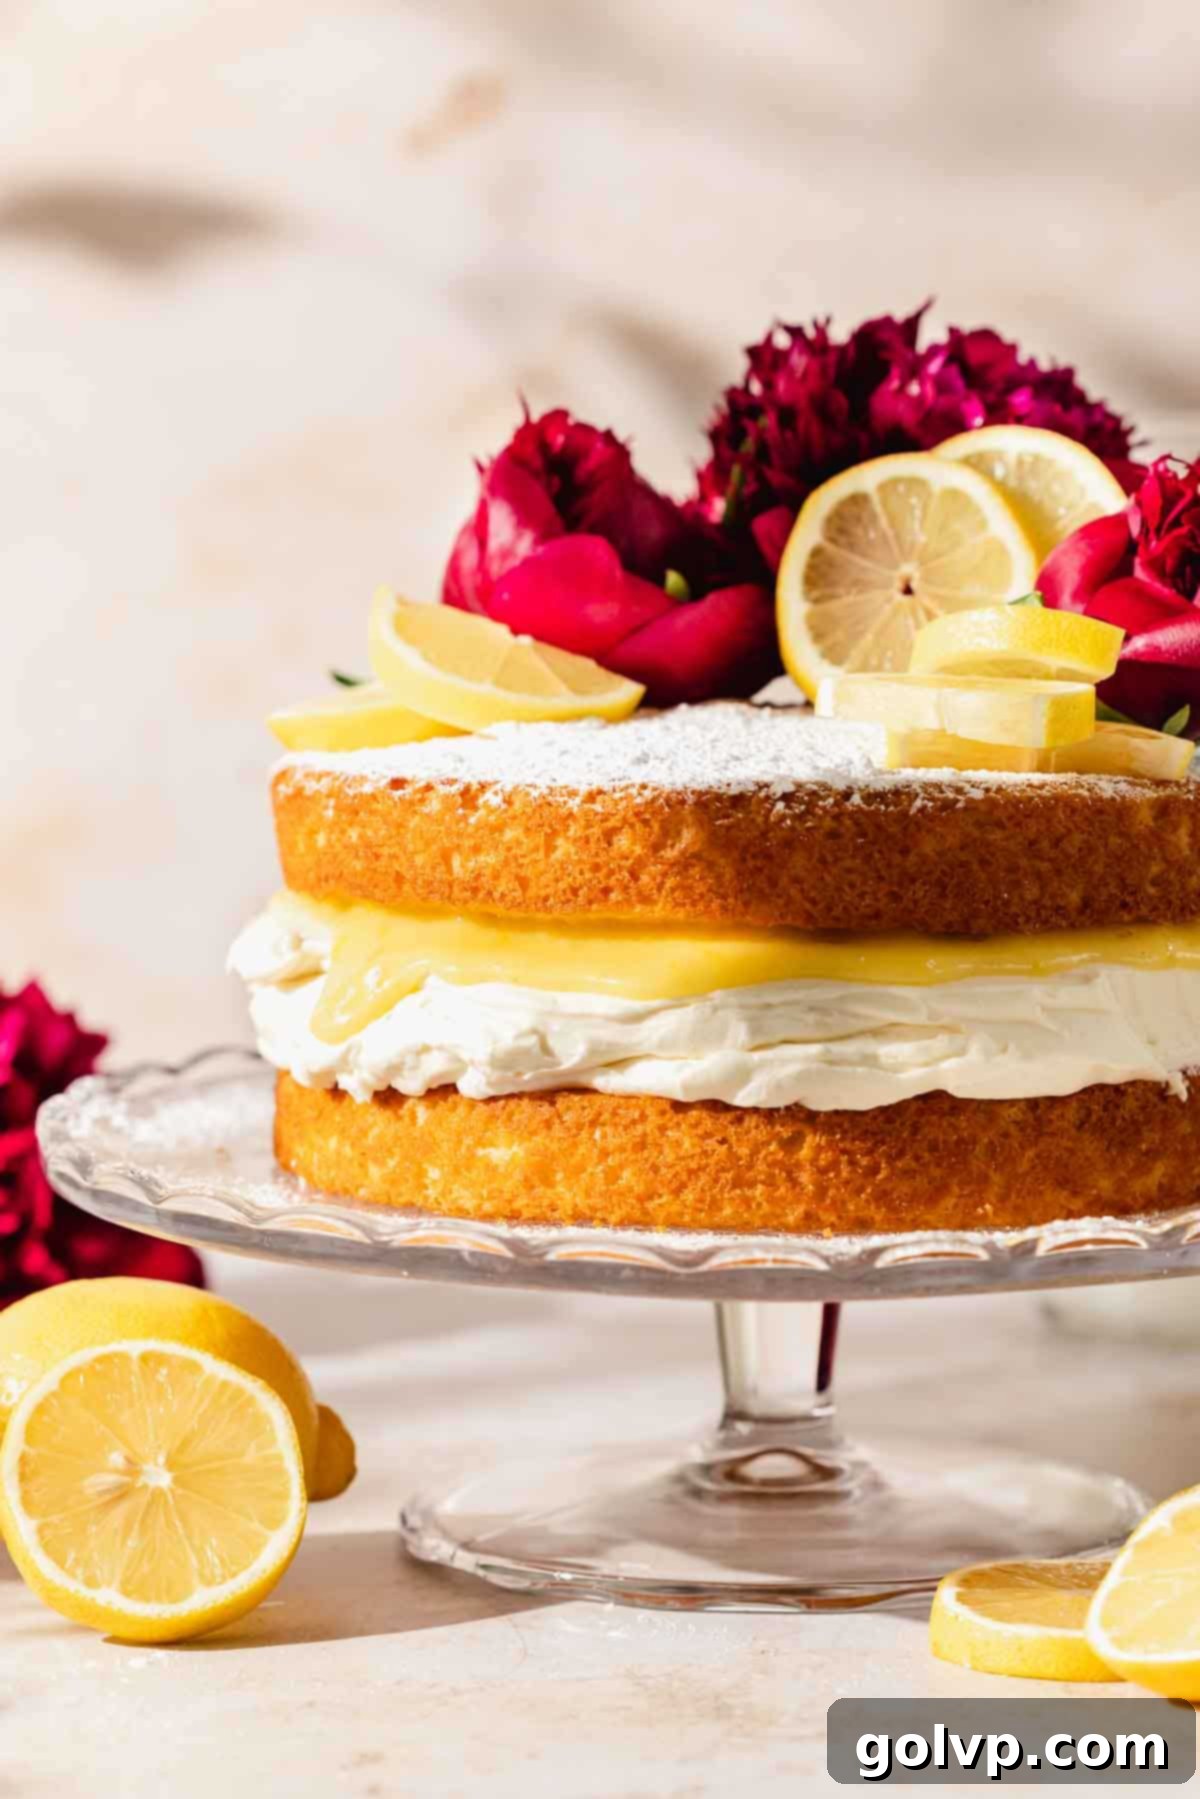
The Ultimate Lemon Victoria Sponge Cake: A Zesty Delight with Homemade Lemon Curd and Fluffy Whipped Cream
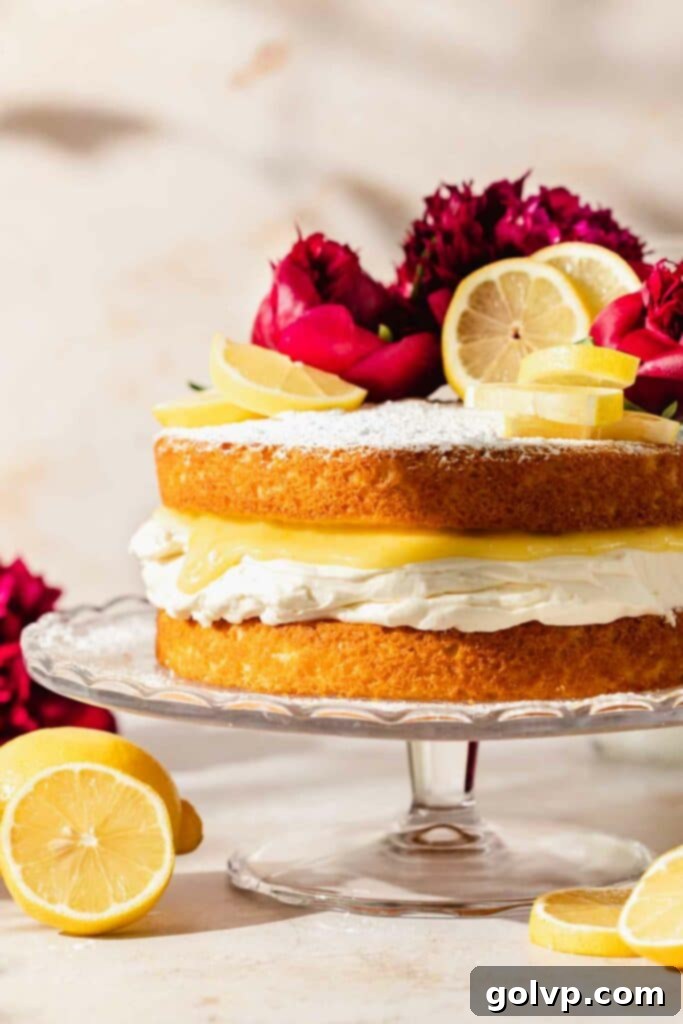
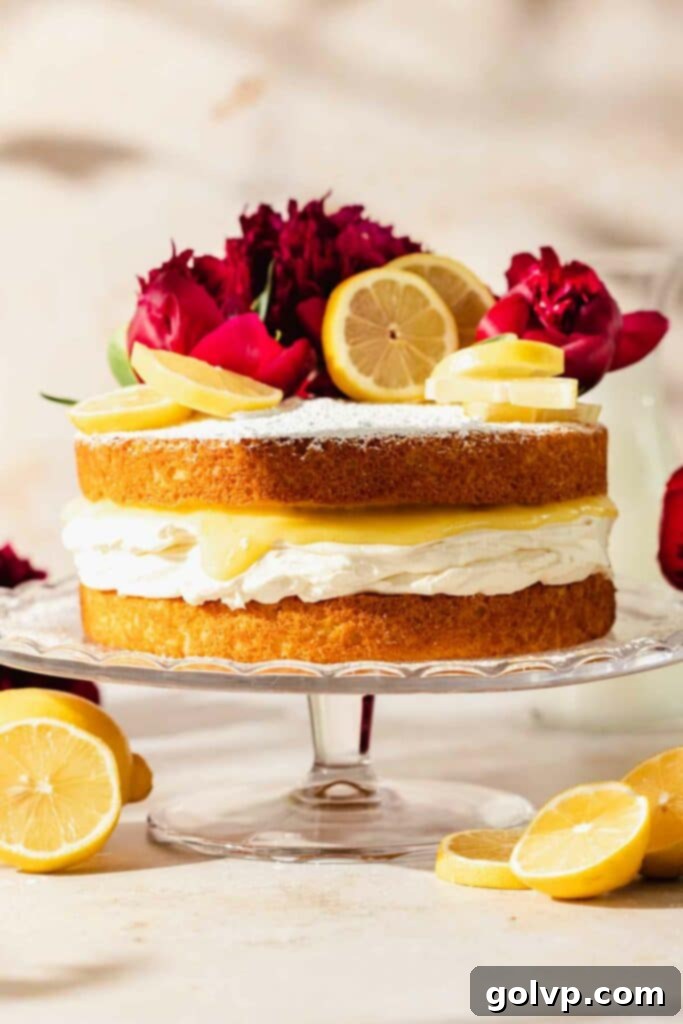
Prepare to fall in love with this incredible Lemon Victoria Sponge Cake – a delightful twist on a British classic that’s incredibly easy to make, yet yields a truly show-stopping dessert. Imagine sinking your teeth into a slice of soft, buttery sponge, bursting with vibrant lemon flavor, generously filled with a tangy homemade lemon curd, and crowned with a thick, irresistibly fluffy layer of stabilized whipped cream. This cake is designed for success, even for beginner bakers, offering a perfect balance of zesty brightness and comforting sweetness. Whether you’re hosting a sophisticated brunch, an elegant afternoon tea, or simply craving a refreshing summer treat, this Lemon Victoria Sponge, beautifully adorned with powdered sugar, fresh flowers, and lemon slices, is sure to impress and satisfy every palate.
Purchasing the items in this post supports this blog, at no additional cost to you. As an Affiliate Product marketer and Amazon Associate, I earn from qualifying purchases.
Why You’ll Adore This Lemon Victoria Sponge Recipe:
- Effortlessly Easy Baking: Forget complicated techniques! This recipe champions simplicity with its “all-in-one” method. You simply combine all the sponge batter ingredients in a single bowl and beat until beautifully creamy. It’s an incredibly forgiving recipe, perfect for home bakers of all skill levels, ensuring a delightful cake without the fuss.
- Explosion of Lemon Flavor: If you’re a true lemon lover, this cake is your dream come true! We infuse vibrant lemon zest directly into the sponge for a subtle, aromatic base. But the true star is the luscious, intensely tangy lemon curd filling, delivering a bold, bright citrus punch that perfectly complements the sweet cake.
- Irresistibly Fluffy & Stabilized Whipped Cream Filling: The heart of this Victoria sponge is its dreamy whipped cream filling. We take it a step further by stabilizing it with a touch of cream cheese, which not only adds a delightful, subtle tang that enhances the lemon but also ensures your cake layers stay perfectly stacked without sliding. This creates a beautifully tall, elegant cake with a wonderfully light and airy texture in every bite.
- Perfect for Any Occasion: From a casual Sunday brunch to a sophisticated afternoon tea or a refreshing summer dessert, this Lemon Victoria Sponge is versatile and always a crowd-pleaser. Its vibrant appearance and refreshing taste make it a staple for celebrations or simply a joyful treat.
- Make-Ahead Friendly Components: Save time and reduce stress! Both the lemon curd and the cake layers can be prepared in advance, allowing you to assemble this stunning dessert with ease on the day of serving.
[feast_advanced_jump_to]
Understanding the Victoria Sponge: A Classic Reimagined
The Victoria Sponge, or Victoria Sandwich, is an iconic British cake, named after Queen Victoria, who reputedly enjoyed a slice with her afternoon tea. Traditionally, it’s a simple, elegant cake made from equal weights of butter, sugar, and flour, with eggs to bind and enrich. The result is a tender, buttery crumb that’s incredibly comforting.
Our lemon-infused version takes this beloved classic and elevates it with a burst of citrus. We incorporate fresh lemon zest and a hint of lemon juice directly into the sponge batter, transforming it into a light, airy, and wonderfully fragrant cake. Baking powder is the secret behind its signature rise and fluffy texture, ensuring each layer is soft and delicate, a perfect contrast to the rich fillings.
One of the beauties of this recipe is its straightforward preparation. Unlike some cakes that require elaborate creaming methods or separate dry and wet ingredients, our lemon Victoria sponge comes together quickly. You literally combine all the ingredients in one bowl, and with a quick beat, you have a thick, creamy batter ready for baking. This simplicity doesn’t compromise on quality; instead, it highlights the quality of your ingredients.
To truly unlock the lemon’s potential, a key step is to rub the lemon zest together with the granulated sugar until the sugar turns fragrant and takes on a pale yellow hue. This seemingly small action works wonders, releasing the essential oils trapped within the zest directly into the sugar. This process ensures that the bright, aromatic lemon flavor is deeply infused throughout the entire cake, rather than just sitting on the surface, making every bite incredibly zesty and vibrant.
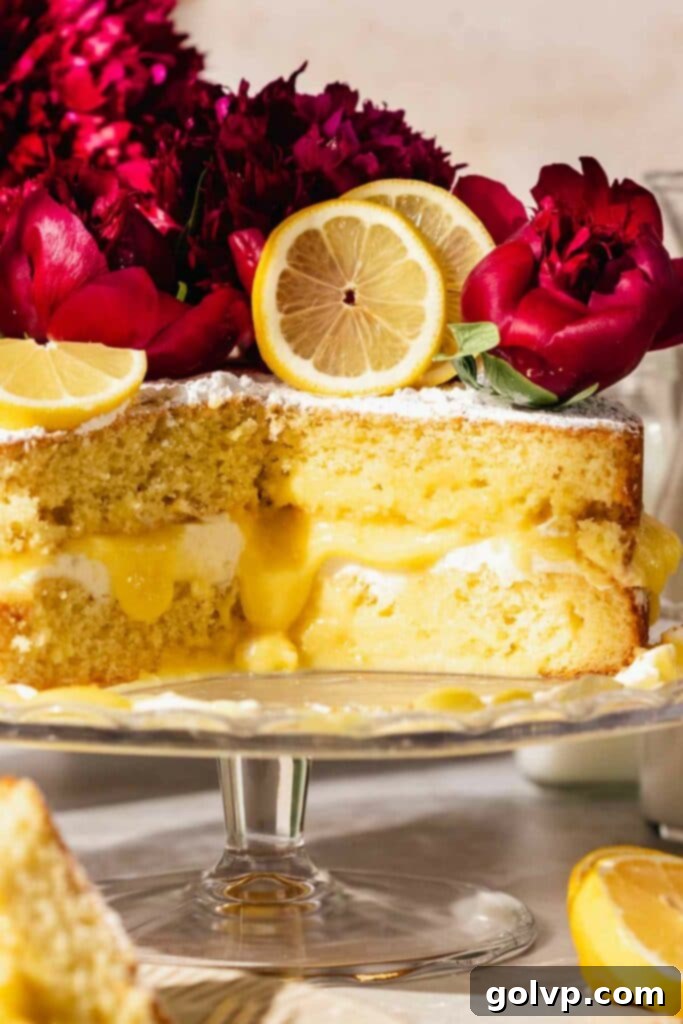
Decorating Your Lemon Victoria Sponge with Fresh Flowers: Safety First!
Adding fresh flowers to your cake can elevate its appearance from delicious to absolutely stunning, making it perfect for special occasions. However, it’s crucial to prioritize safety, as not all flowers are edible or non-toxic. Before you adorn your beautiful Lemon Victoria Sponge, always do thorough research to ensure the flowers you choose are safe for consumption or at least non-toxic if they come into contact with food.
Many beautiful and safe options exist. Popular edible flowers include pansies, violets, calendula, nasturtiums, roses (ensure they are unsprayed), lavender, and chamomile. Avoid common decorative flowers like baby’s breath, hydrangeas, lilies, and oleander, as they can be toxic. If you’re sourcing flowers from a florist, specifically ask for food-grade or organically grown flowers that haven’t been treated with pesticides or chemicals.
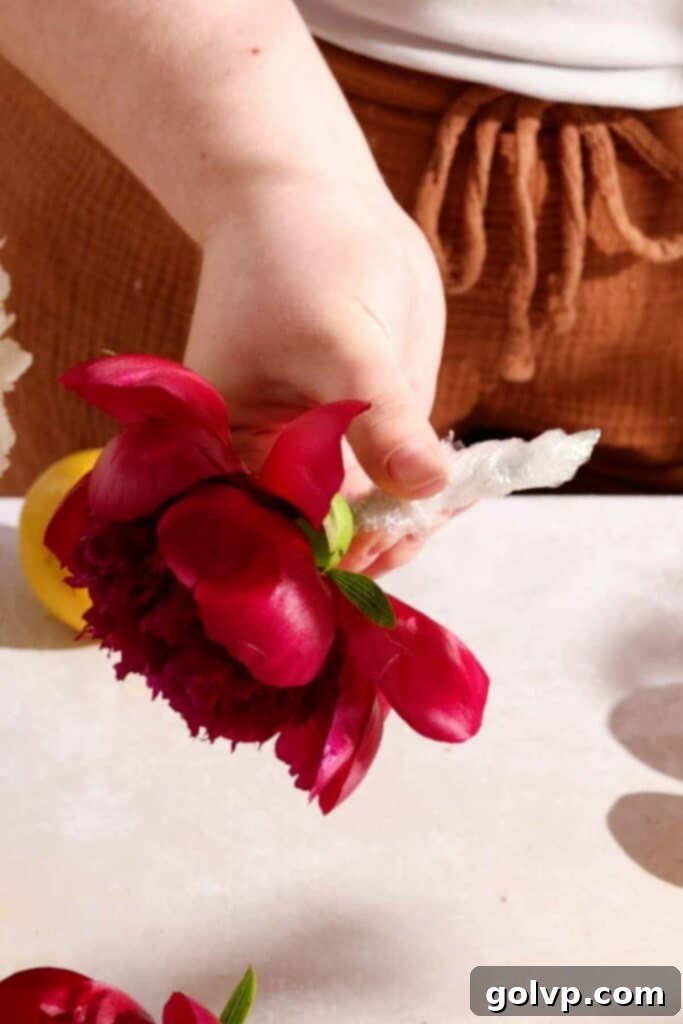
Once you’ve selected your safe flowers, proper preparation is key. Gently wash the flowers under cool, running water and pat them dry with a paper towel. For any flowers where the stems will touch or be inserted into the cake, it’s essential to create a barrier. Tightly wrap each stem with food-safe plastic wrap or floral tape before inserting them into the cake. This prevents any sap, chemicals, or contaminants from the stem from transferring to your delicious dessert. Alternatively, you can insert the stems into drinking straws cut to size, then insert the straws into the cake. This method provides an extra layer of protection.
If you prefer to avoid fresh flowers entirely, or if you’re concerned about toxicity, there are many other lovely ways to decorate. Consider candied lemon slices, edible glitter, fresh berries, or even delicately piped buttercream flowers for an equally charming finish. Artificial flowers can also be used, but again, ensure their stems are thoroughly wrapped in plastic wrap as their materials are generally not food-safe.
Streamline Your Baking: Make-Ahead Instructions for a Stress-Free Experience
One of the many benefits of this Lemon Victoria Sponge recipe is its flexibility for make-ahead preparation, allowing you to enjoy a smoother, more relaxed baking experience, especially when entertaining. Planning ahead means you can spread out the workload and focus on assembly closer to serving time.
The star of our filling, the luscious homemade lemon curd, is an ideal component to prepare in advance. You can whip up the lemon curd up to three to four days before you plan to assemble the cake. Once cooked and cooled, transfer it to an airtight container. To prevent a “skin” from forming on the surface, place a piece of plastic wrap directly on top of the curd, pressing it down so it touches the entire surface. Store it securely in the refrigerator until you’re ready to use it. Its rich flavor will only deepen as it chills.
The sponge cake layers themselves can also be baked a day in advance. Once baked and completely cooled, wrap each cake layer tightly in plastic wrap to prevent them from drying out. You can then store them at room temperature overnight, or for longer storage, they can be frozen for up to a month (thaw at room temperature before using). This gives you a significant head start on the final assembly.
For best results and freshest taste, I recommend assembling the entire Lemon Victoria Sponge cake the day before serving, at the latest. Once assembled with the whipped cream and lemon curd, it needs to be stored in the refrigerator due to the dairy-based fillings. Place the cake inside a cake carrier to protect it from absorbing refrigerator odors and to maintain its freshness. Just before you’re ready to serve, dust the top with a generous layer of powdered sugar and artfully arrange your fresh flowers and lemon slices for that perfect, photogenic finish. This last-minute touch ensures your decorations look their absolute best!
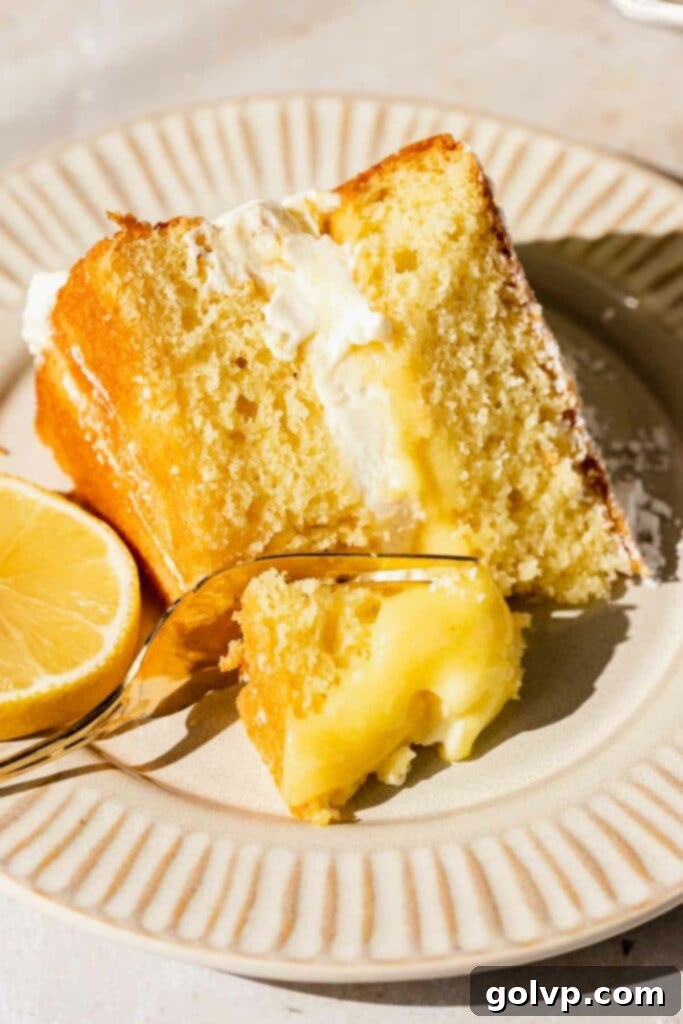
Essential Ingredients for Your Perfect Lemon Victoria Sponge
While full steps and detailed ingredient measurements are provided in the recipe card below, take a moment to read through these key ingredient tips for ultimate success in your baking journey!
- Lemons: Freshness is paramount when working with citrus. You’ll need approximately 3-5 medium-sized lemons for this recipe, utilizing both their zest and juice. Always opt for bright, firm lemons with blemish-free skin. For maximum zest, look for lemons with a slightly bumpy texture. Remember, the zest holds most of the aromatic oils, providing that intense lemon flavor, while the juice provides the tartness for the curd and moisture for the cake.
- Butter: A true Victoria sponge celebrates the richness of butter. Using high-quality, real unsalted butter is absolutely crucial for achieving that characteristic tender, buttery crumb and delightful flavor. Ensure your butter for the sponge is properly softened to room temperature – not melted, but yielding to a gentle press. This allows it to cream properly with the sugar, creating a light, airy base for your cake.
- Heavy Whipping Cream (35% Milkfat or Higher): For a stable and voluminous whipped cream filling, the fat content of your cream matters significantly. Do not substitute with anything less than 35% milkfat (often labeled as “heavy cream” or “heavy whipping cream”). Creams with lower fat content simply won’t whip up to the thick, fluffy consistency needed to hold the cake layers together and maintain their structure. Ensure your cream is very cold before whipping for the best results.
- Cream Cheese (Full-Fat Brick Style): This ingredient is the secret to our “stabilized” whipped cream, preventing it from weeping or deflating over time. Using full-fat, brick-style cream cheese (not the spreadable tub variety) will give you the best structure and a creamy, tangy flavor that beautifully complements the lemon. Make sure it’s softened to room temperature for smooth blending, avoiding lumps. If you’re not a fan of cream cheese or want a slightly different flavor profile, an equal amount of mascarpone cheese makes an excellent substitute, offering a similar richness and stability.
- All-Purpose Flour: Accuracy in measuring flour is vital for the perfect cake texture. The most precise method is to weigh your flour using a kitchen scale (240g for 2 cups). If you don’t have a scale, use the “spoon and level” method: first, stir the flour in its bag to aerate it, then gently spoon it into your measuring cup until it overflows, and finally, level off the excess with the flat edge of a knife. Avoid scooping directly from the bag or packing the flour into the cup, as this can result in too much flour, leading to a dense and dry cake.
Crafting Your Homemade Lemon Curd: A Step-by-Step Guide
Creating your own lemon curd from scratch is surprisingly simple and yields a far superior flavor to store-bought varieties. Its vibrant tang is essential for this cake.
Step 1 – Prepare the Curd Base: In a medium-sized, non-reactive saucepan (stainless steel or enameled cast iron work best), combine all the lemon curd ingredients except for the butter. This includes your egg yolks, whole egg, sea salt, granulated sugar, fresh lemon zest, and freshly squeezed lemon juice. Whisk these ingredients together vigorously until they are thoroughly combined and smooth, ensuring no lumps remain before heating.
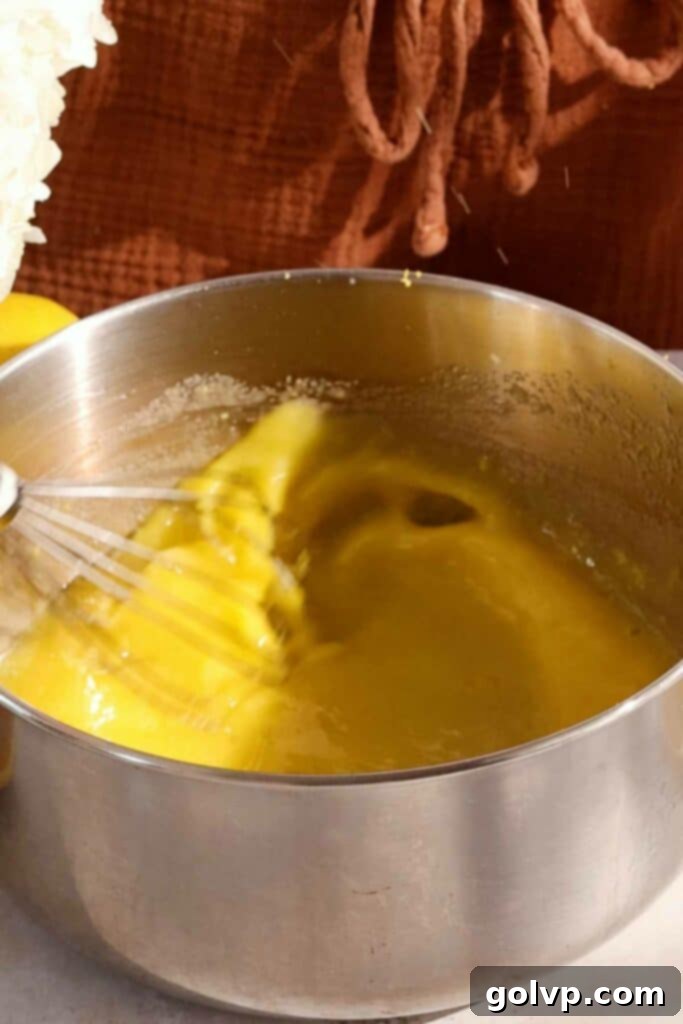
Step 2 – Gently Cook to Thicken: Place the saucepan over medium heat. It’s crucial to stir constantly and scrape the bottom of the pan frequently with a heat-proof spatula or whisk to prevent the eggs from scrambling and sticking. Continue cooking, bringing the mixture to a gentle simmer. You’ll notice it gradually thickens as it heats. The curd is ready when it coats the back of a spoon and leaves a clear trail when you run your finger through it, or when it reaches about 170-175°F (77-79°C) on an instant-read thermometer.
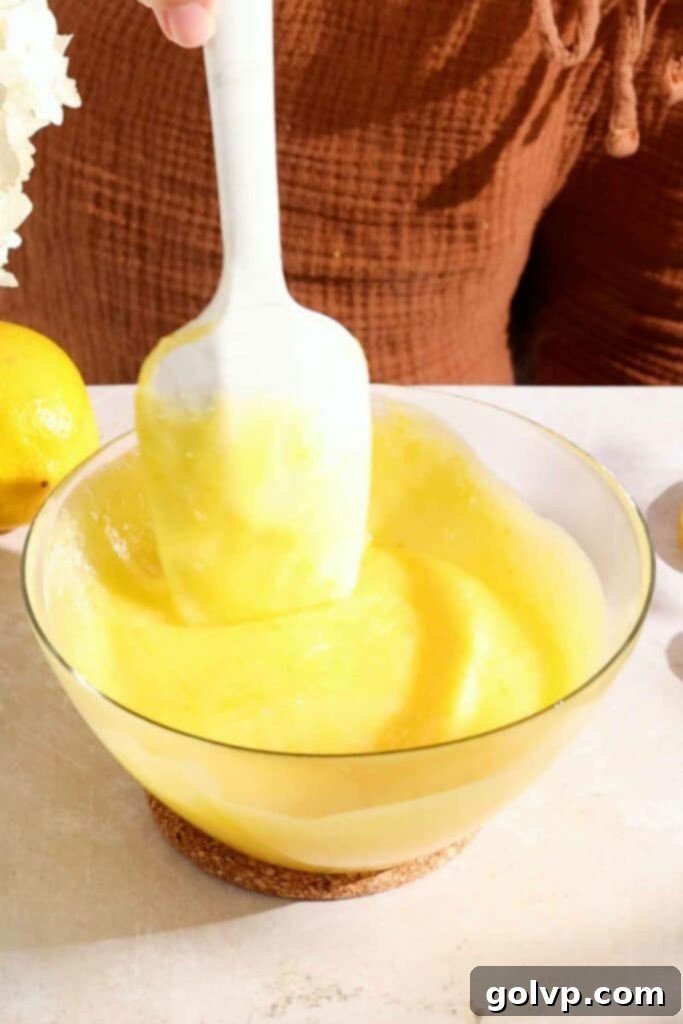
Step 3 – Incorporate Butter and Chill: Once thickened to perfection, immediately remove the saucepan from the heat. Transfer the hot curd to a non-metal, heat-safe container. Add the cold unsalted butter, cut into small pieces, directly into the warm curd. Stir continuously until the butter has completely melted and is fully incorporated, making the curd incredibly smooth and glossy. To prevent a “skin” from forming on the surface as it cools, place a piece of plastic wrap directly onto the surface of the curd, pressing it down to eliminate any air pockets. Chill the lemon curd in the refrigerator for several hours, or preferably overnight, until it is firm and nicely thickened. This chilling time is essential for its texture and flavor to develop fully.
Baking the Perfect Lemon Victoria Sponge Layers
The sponge layers are the foundation of this cake – light, fluffy, and bursting with lemon flavor.
Step 1 – Prepare Your Pans: Begin by preheating your oven to 350°F (180°C). Generously grease the bottom and sides of two 8-inch round baking pans. I find that a piece of cold butter works exceptionally well for this, creating a non-stick surface. For extra assurance and easy release, line the bottom of each pan with a circle of parchment paper. This simple step prevents sticking and helps ensure perfectly flat cake tops.
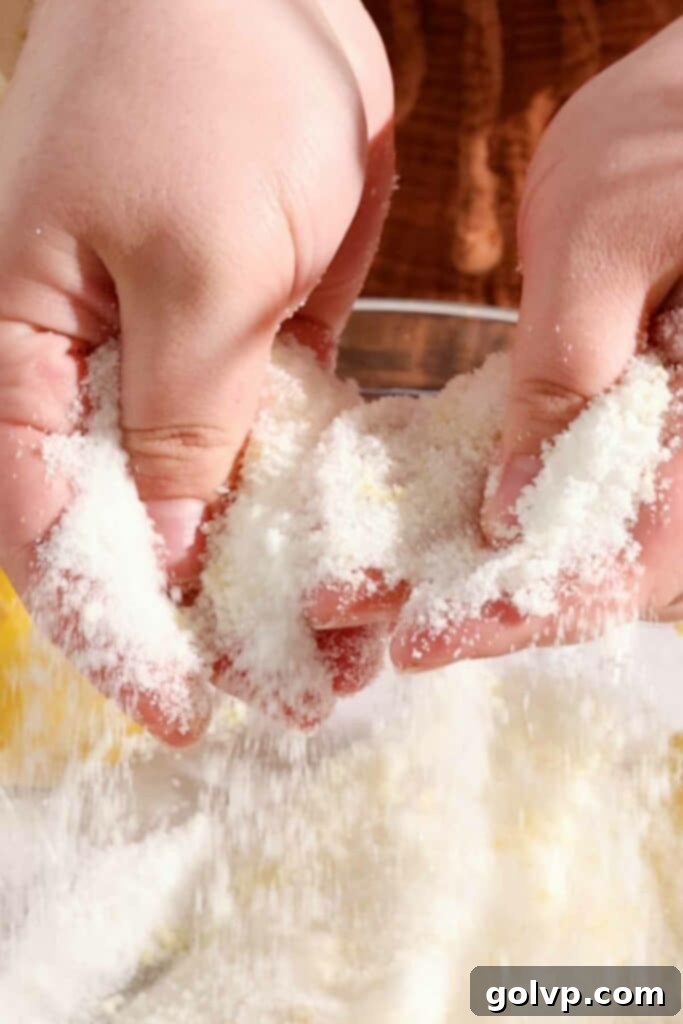
Step 2 – Infuse Lemon Flavor into Sugar: In a large mixing bowl, combine the granulated sugar and the grated lemon zest. Now, with clean hands, rub the lemon zest and sugar together between your fingers. This crucial step helps to release the aromatic essential oils from the lemon zest, infusing the sugar with a deep, fragrant lemon aroma and giving it a beautiful yellow tint. Continue rubbing for a minute or two until the sugar is intensely fragrant.
Step 3 – Mix the Batter (One-Bowl Wonder): Add the remaining sponge ingredients to the same bowl: the freshly squeezed lemon juice, large eggs, softened butter, all-purpose flour, and baking powder. Using an electric mixer (handheld or stand mixer), beat everything together on medium speed. Mix just until the ingredients are fully combined and form a thick, creamy, and smooth batter. This process is surprisingly quick, typically taking only about 30 seconds to a minute; be careful not to overmix, which can lead to a tough cake.
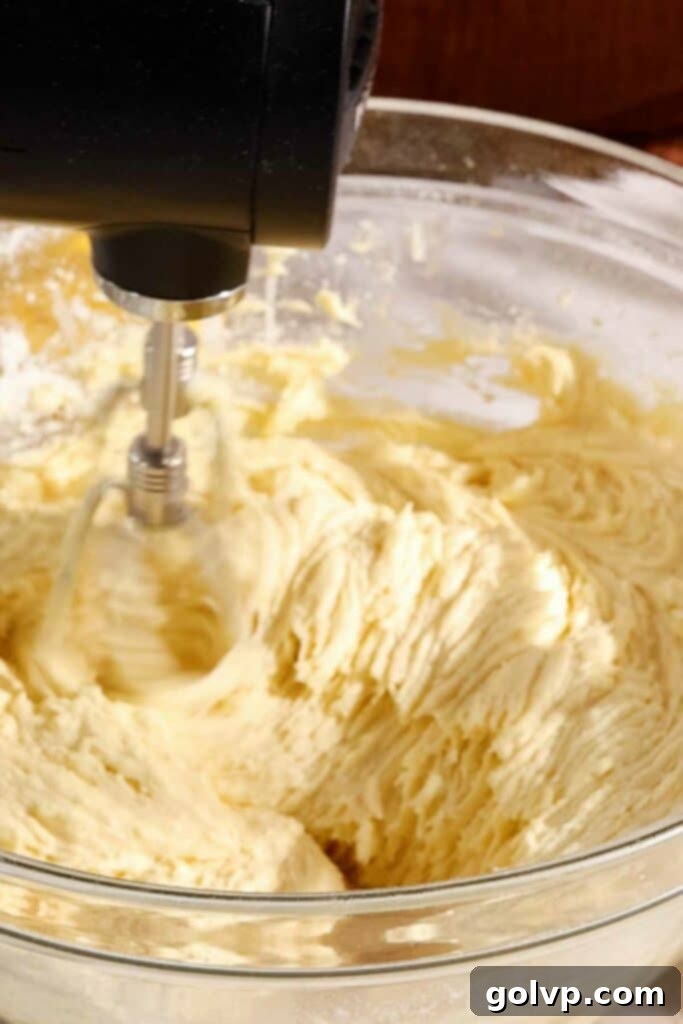
Step 4 – Bake to Golden Perfection: Evenly divide the prepared batter between your two greased and parchment-lined 8-inch pans. Use an offset spatula or the back of a spoon to gently spread the batter until the surface is even. Bake in the preheated oven for 18-22 minutes. The cakes are done when they are golden brown around the edges, spring back lightly when touched in the center, and a toothpick inserted into the middle comes out clean.
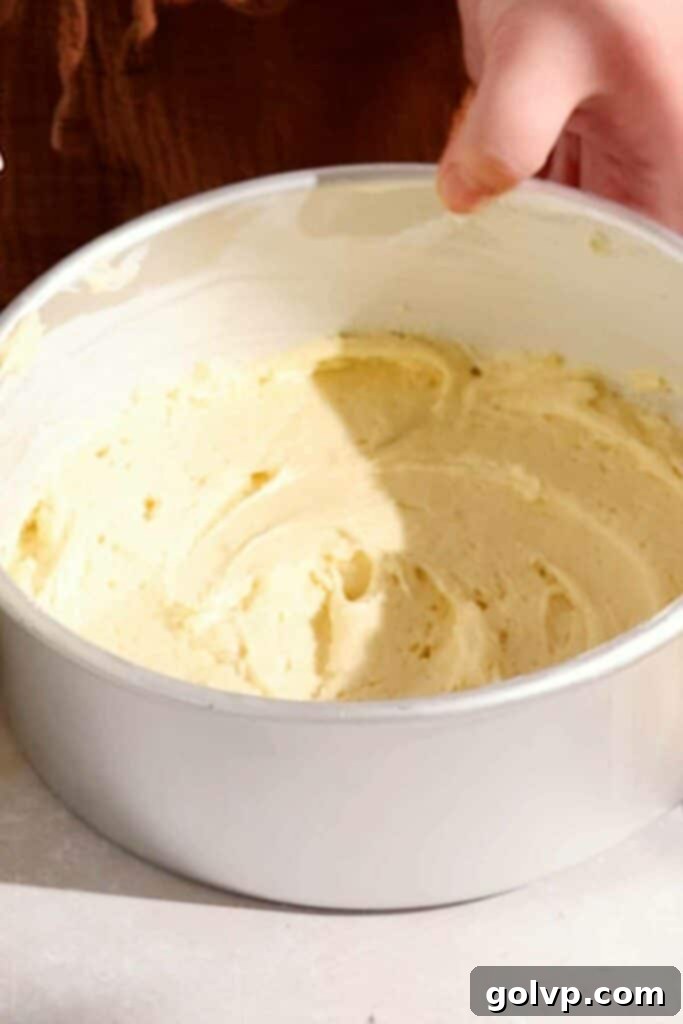
Step 5 – Cool Completely: Once baked, remove the cakes from the oven and let them cool in their pans on a wire rack for about 10 minutes. This crucial resting period allows the cakes to firm up slightly. After 10 minutes, carefully run a thin knife or an offset spatula around the edges of each pan to loosen the cakes. Invert the pans onto the wire rack to release the cake layers. Peel off the parchment paper. Allow the cakes to cool completely to room temperature on the wire rack before you attempt to stack or fill them. Attempting to fill warm cakes will melt your fillings and create a mess.
Creating Fluffy, Stable Whipped Cream Filling
This stabilized whipped cream is a game-changer, ensuring your cake filling remains light and fluffy without collapsing.
Step 1 – Whip the Heavy Cream: In a large, chilled mixing bowl (preferably a metal bowl that has been in the freezer for 10-15 minutes), combine the very cold heavy whipping cream. Using an electric mixer, beat the cream on high speed until it forms medium stiff peaks. This means the cream will hold its shape when the beater is lifted, but the tips will still curl slightly. Be careful not to overbeat it into butter! Place the bowl in the fridge to keep it cold while you prepare the cream cheese mixture.
Step 2 – Prepare the Cream Cheese Base: In a separate mixing bowl, combine the softened full-fat cream cheese, powdered sugar (also known as confectioners’ sugar), and pure vanilla extract. Whisk these ingredients together with your electric mixer on medium speed until the mixture is completely smooth, creamy, and free of any lumps. Ensure your cream cheese is at room temperature for the best, silkiest consistency.
Step 3 – Combine for Stabilization: Gently fold or lightly beat the whipped cream from Step 1 into the cream cheese mixture from Step 2. Continue beating on medium-low speed just until the two mixtures are fully incorporated and the cream forms thick, stiff peaks. This stabilized whipped cream will be wonderfully fluffy, tangy, and hold its shape beautifully, making it perfect for filling your cake without worrying about it sliding or losing volume.
Assembling Your Masterpiece: The Lemon Victoria Sponge Cake
Now for the most satisfying part – bringing all the components together to create your stunning cake!
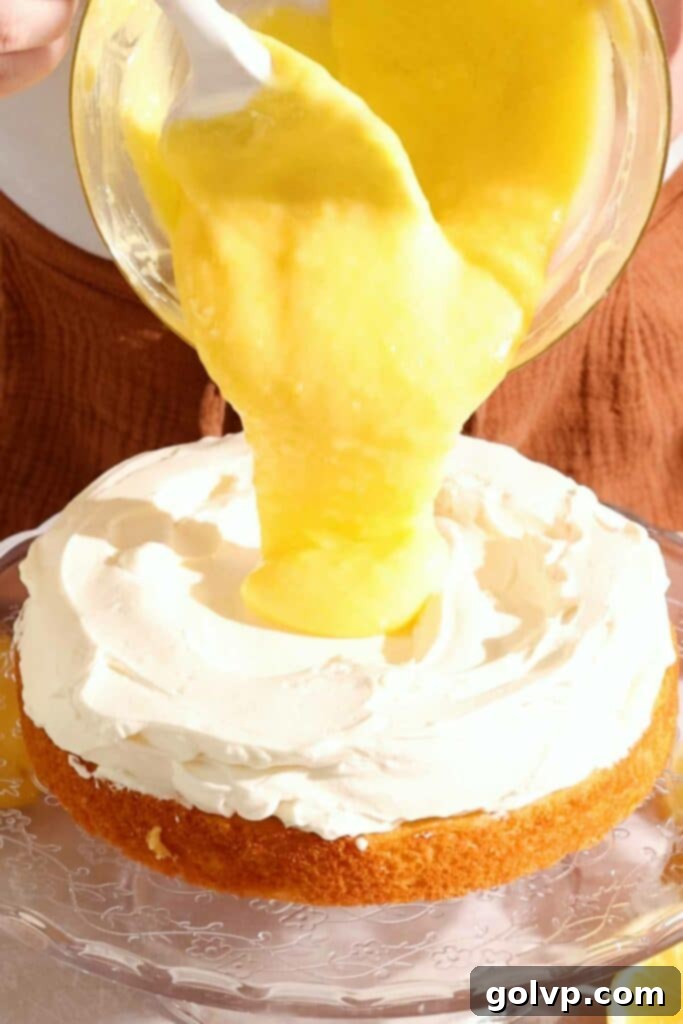
Step 1 – First Layer and Cream Base: Carefully place one of your completely cooled sponge cake layers onto your chosen serving plate or cake stand. Using an offset spatula or the back of a spoon, evenly spread a generous amount of your stabilized whipped cream filling over the top of this first cake layer. As you spread, create a shallow well or slight indentation in the middle of the cream layer. This thoughtful detail will act as a perfect nest for the luscious lemon curd, ensuring it stays neatly contained within the cake.
Step 2 – Add the Lemon Curd and Second Layer: Spoon the chilled homemade lemon curd into the well you created in the whipped cream. You can be generous here, adding as much or as little as you desire, though I find using all of it creates an incredible burst of flavor in every slice. Carefully take your second sponge cake layer and gently flip it upside down (this often creates a flatter top surface for your finished cake). Carefully place this second layer directly on top of the lemon curd and whipped cream, gently pressing down to ensure it’s level and secure.
Step 3 – The Finishing Touches: To complete your Lemon Victoria Sponge, lightly dust the top with a fine layer of powdered sugar using a sifter or a fine-mesh sieve. This adds a beautiful, elegant finish. Finally, arrange your prepared fresh flowers and delicate lemon slices on top of the cake. Refer back to the decorating notes for tips on preparing flowers safely. These final decorations not only enhance the cake’s visual appeal but also hint at the delightful flavors within. Your show-stopping Lemon Victoria Sponge Cake is now ready to be admired and enjoyed!
Frequently Asked Questions About Lemon Victoria Sponge Cake
Absolutely, you can! While homemade lemon curd offers an unparalleled freshness and tang, using your favorite high-quality store-bought lemon curd is a fantastic time-saver and works wonderfully in this recipe. Just ensure it’s a good quality brand for the best flavor. This shortcut makes the cake even easier to assemble, perfect for busy schedules. If you love lemon curd, be sure to check out these lemon curd cookies that are also bursting with lemon goodness.
Technically, yes, you could, but I highly recommend against it for the best results. Pre-squeezed lemon juice often lacks the bright, fresh flavor of freshly squeezed lemons and can sometimes have an artificial or metallic taste. More importantly, this recipe utilizes fresh lemon zest in both the sponge and the curd for maximum aromatic flavor. If you’re using fresh lemons for the zest, you might as well use their juice too. The difference in taste is truly noticeable and worth the extra step for a superior cake.
Yes, you can! For optimal freshness, I recommend assembling the cake no more than one day before serving. The stabilized whipped cream helps maintain its structure and texture. Store the assembled cake in the refrigerator overnight in a cake carrier or an airtight container to keep it moist and prevent it from absorbing fridge odors. For the best eating experience, allow the cake to sit at room temperature for about 15-20 minutes before slicing and serving, as this softens the butter in the sponge and enhances its delicate texture.
Yes, you absolutely can adapt this recipe to be gluten-free! Simply substitute the all-purpose wheat flour with a high-quality 1:1 gluten-free baking flour blend. Look for blends that specifically state they are suitable for baking and contain xanthan gum, as this helps provide structure to gluten-free baked goods. The texture might be slightly different, but the cake will still be delicious and full of lemon flavor.
There are a few common reasons why lemon curd might not thicken. The most frequent issue is not cooking it long enough or not at a consistent enough heat. Ensure you bring it to a gentle simmer and stir continuously, allowing it to reach 170-175°F (77-79°C). If it hasn’t thickened sufficiently after adding butter and chilling, you can gently reheat it over low heat, stirring constantly, until it reaches the desired consistency. Make sure to use fresh eggs, as older eggs can sometimes affect thickening.
While the sponge layers freeze well on their own, freezing the fully assembled cake with whipped cream and lemon curd is generally not recommended for optimal texture. The whipped cream can change texture upon thawing, becoming watery or grainy. If you wish to freeze, it’s best to freeze the un-filled sponge layers separately, wrapped tightly. Thaw them, then prepare fresh curd and cream for assembly.
Discover More Zesty Delights and Sweet Treats!
If you’ve enjoyed baking and tasting this Lemon Victoria Sponge Cake, you’re in for a treat! Here are some other fantastic recipes from our kitchen that feature bright flavors and comforting textures, perfect for expanding your baking repertoire:
- Lemon Butter Cake
- Lemon Curd Cookies
- Strawberry Cinnamon Rolls
- Blueberry Lemon Pancakes
Happy baking, and enjoy every delicious bite!
Did you make this delightful Lemon Victoria Sponge Cake? We would absolutely love to hear about your experience! Please take a moment to rate this recipe and share your thoughts in the comments section below. Your feedback truly helps our community of bakers! If you captured your beautiful creation, share it on Instagram and tag @flouringkitchen so we can see your amazing work. For more mouth-watering recipe ideas and baking inspiration, be sure to follow us on Pinterest!
📖 Recipe

Lemon Victoria Sponge with Lemon Curd
Mary
Pin Recipe
Shop Ingredients
Equipment
-
2 eight inch round baking pans
Ingredients
Lemon Curd
- 2 large egg yolks
- 1 large egg
- ⅛ teaspoon sea salt
- ⅔ cup granulated sugar
- 1 lemon zested
- ⅓ cup lemon juice freshly squeezed (2-3 lemons)
- ¼ cup unsalted butter
Victoria Sponge
- 1 cup granulated sugar
- 1 lemon zested
- 3 tablespoons lemon juice freshly squeezed (1-2 lemons)
- 4 large eggs
- 1 cup butter softened
- 2 cups all purpose flour 240g
- 1 ½ tablespoon baking powder
Whipped Cream Filling
- 1 cup heavy cream
- 4 oz cream cheese softened
- ½ cup powdered sugar
- ½ teaspoon pure vanilla extract
Shop Ingredients on Jupiter
Instructions
Lemon Curd
-
Combine all of the ingredients (except for butter) for the lemon curd in a medium saucepan. Whisk well until thoroughly combined and smooth.2 large egg yolks, 1 large egg, ⅛ teaspoon sea salt, ⅔ cup granulated sugar, 1 lemon, ⅓ cup lemon juice
-
Heat the mixture over medium heat, stirring constantly and scraping the bottom of the pan to prevent burning or sticking. Allow it to come to a gentle simmer and continue stirring until it thickens to a consistency that coats the back of a spoon.
-
Once thickened, transfer the hot curd immediately to a non-metal, heat-safe container. Add the butter, cut into small pieces, and stir until it has completely melted and is fully incorporated, making the curd beautifully smooth. Place a piece of plastic wrap directly on top of the curd, pressing it down to create an airtight seal and prevent a skin from forming. Chill in the refrigerator until thoroughly thickened and cold.¼ cup unsalted butter
Victoria Sponge
-
Preheat your oven to 350°F (180°C). Prepare two 8-inch round baking pans by generously greasing their bottoms and sides (cold butter works perfectly here). For easy release and flat cake tops, line the bottom of each pan with a circle of parchment paper.
-
In a large mixing bowl, combine the granulated sugar and the grated lemon zest. With clean hands, rub the zest into the sugar for about a minute or two until the sugar becomes fragrant and takes on a pale yellow color. This step releases the essential lemon oils, intensifying the flavor.1 cup granulated sugar, 1 lemon
-
Add all the remaining sponge ingredients (lemon juice, large eggs, softened butter, all-purpose flour, and baking powder) into the same bowl. Beat everything together with an electric mixer until it forms a thick, creamy, and smooth batter. This should only take about 30 seconds to 1 minute; be careful not to overmix.3 tablespoons lemon juice, 4 large eggs, 1 cup butter, 2 cups all purpose flour, 1 ½ tablespoon baking powder
-
Divide the batter evenly between the two prepared pans. Spread the batter gently with an offset spatula to ensure an even layer. Bake for 18-22 minutes, or until the cakes are golden and a toothpick inserted into the center comes out clean.
- Let the cake cool inside the pan for 10 minutes on a wire rack. Then, run a knife or thin spatula around the edge of each pan to loosen the cakes and flip them over onto the wire rack to release. Carefully peel off the parchment paper. Allow the cake layers to cool completely to room temperature before stacking and filling to prevent the fillings from melting.
Whipped Cream Filling
-
In a large, chilled mixing bowl, beat the heavy whipping cream with an electric mixer until it forms medium stiff peaks. Set this whipped cream aside in the fridge to keep it cold and stable.1 cup heavy cream
-
In a separate bowl, whisk together the softened cream cheese, powdered sugar, and pure vanilla extract until the mixture is completely creamy and smooth, with no lumps remaining.4 oz cream cheese, ½ cup powdered sugar, ½ teaspoon pure vanilla extract
-
Add the chilled whipped cream to the cream cheese mixture. Beat gently on low to medium speed until the two are fully combined and the mixture forms thick, stiff peaks, creating a stable and luscious filling.
Assembly
-
Place the first cooled sponge layer onto your desired serving plate or cake stand. Spread the stabilized whipped cream filling evenly over this layer, creating a shallow well in the middle to hold the lemon curd.
-
Spoon the chilled lemon curd into the well of whipped cream. Carefully invert the second sponge layer (the bottom of the cake facing up for a flat top) and place it gently on top of the lemon curd.
-
Dust the top of your assembled Lemon Victoria Sponge with additional powdered sugar for an elegant finish. Decorate with carefully prepared fresh flowers (refer to notes for safety) and thin lemon slices just before serving.
Notes
Make-ahead tips: The tangy lemon curd can be prepared up to 3-4 days in advance and stored in an airtight container in the refrigerator (place plastic wrap directly on the surface to prevent a skin). The sponge cake layers can also be baked a day ahead; once cooled, wrap them tightly in plastic wrap and store at room temperature.
You can assemble and fill the cake the day before serving. Store the assembled cake in the fridge in a sealed cake carrier to maintain freshness and protect it. For the best presentation, dust with powdered sugar and add delicate fresh flowers and lemon slices right before serving.
Storage and serving suggestions: Due to the luscious whipped cream filling, this Lemon Victoria Sponge Cake must be stored in the refrigerator. For the most delightful eating experience, I highly recommend allowing the cake to sit at room temperature for about 15-20 minutes before serving. This brief warming period allows the buttery sponge layers to soften perfectly, enhancing the overall texture and flavor profile.
