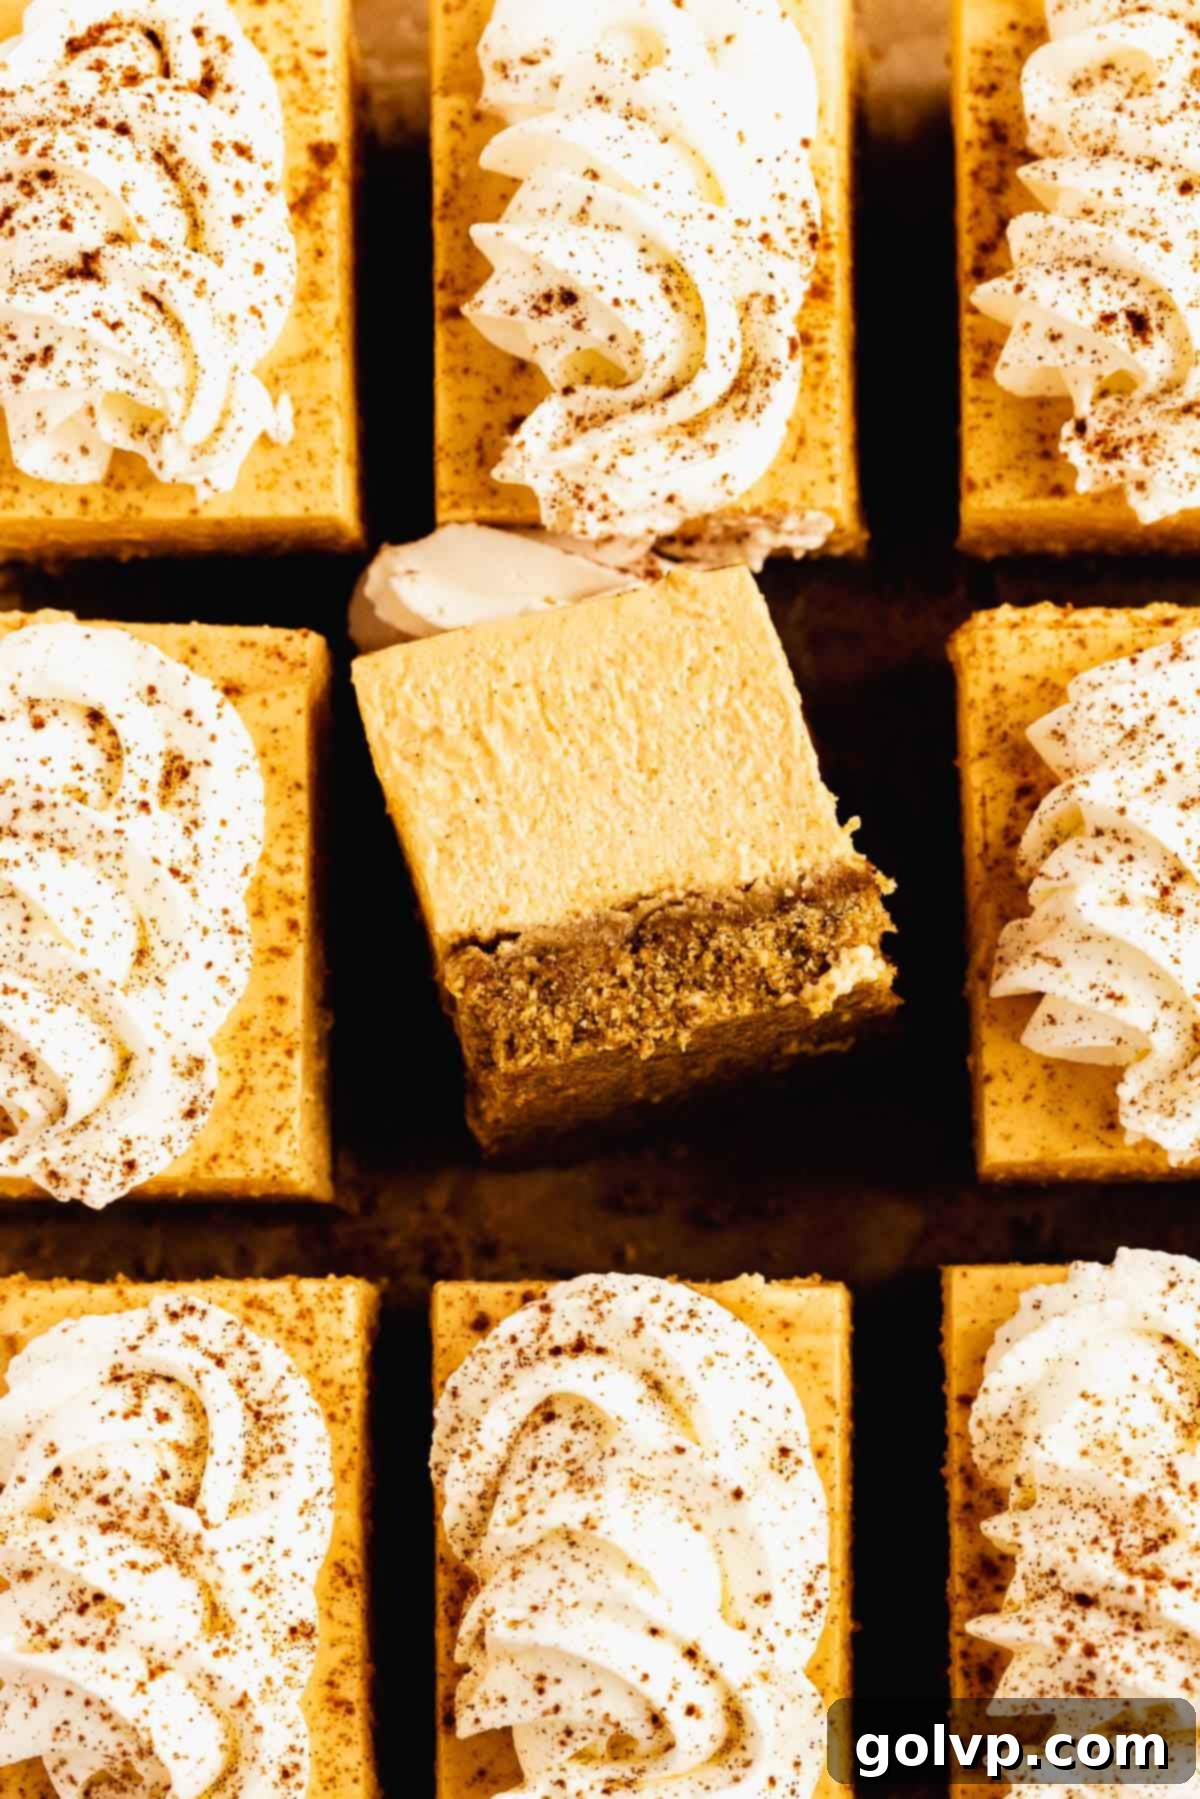
Decadent No-Bake Pumpkin Cheesecake Bars: Your Ultimate Easy Fall Dessert
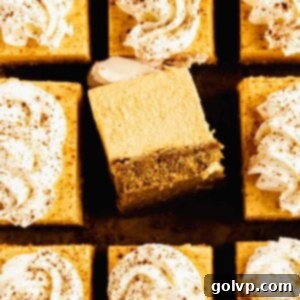
As autumn leaves begin to fall and the air turns crisp, there’s nothing quite like the comforting aroma and taste of pumpkin spice. These incredibly easy no-bake pumpkin cheesecake bars capture the essence of fall in every delightful bite! Imagine a rich, creamy, and wonderfully spiced pumpkin cheesecake filling, perfectly balanced on a thick, buttery brown sugar graham cracker crust infused with a hint of pumpkin spice. To crown this masterpiece, a generous swirl of light, fluffy whipped cream dusted with even more pumpkin spice adds an irresistible finish. Forget complicated baking – this recipe uses whipped cream (not Cool Whip!) to achieve that signature light-yet-creamy texture without ever turning on your oven, making it the perfect stress-free dessert for any occasion.
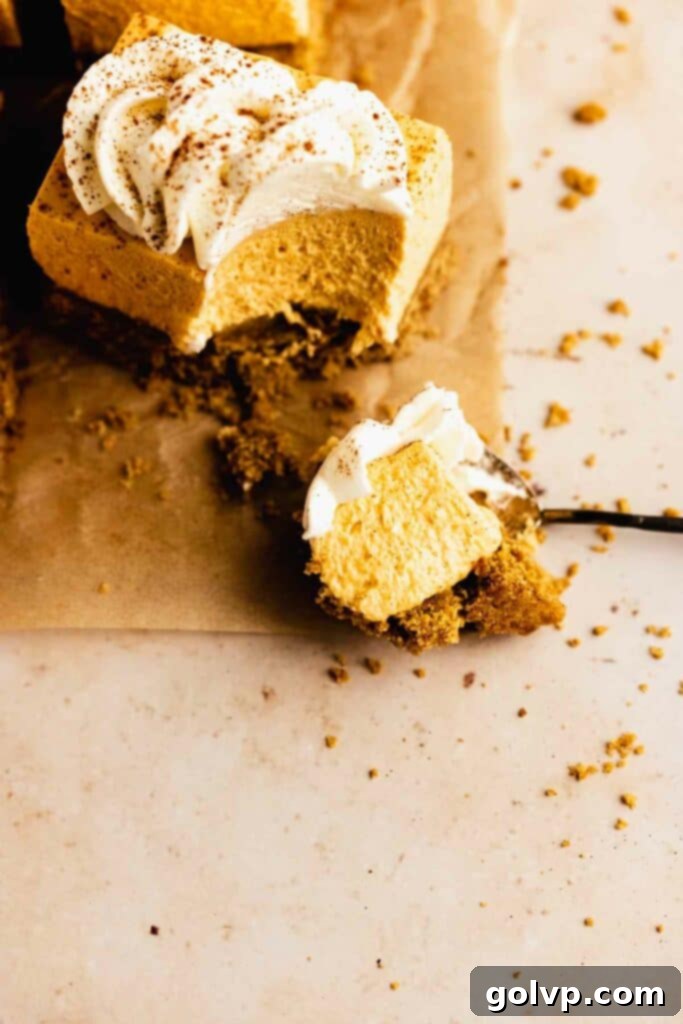
Why You’ll Fall in Love with This No-Bake Pumpkin Cheesecake Recipe
If you’re searching for a show-stopping dessert that’s both simple to make and packed with seasonal flavor, these no-bake pumpkin cheesecake bars are an absolute must-try. Here’s why this recipe will become your new autumn favorite:
- Unforgettable Pumpkin Flavor: We’re not shy with the pumpkin here! These no-bake pumpkin cheesecake bars are bursting with warm, inviting pumpkin goodness from start to finish. You’ll find a delightful kiss of pumpkin spice in the crunchy graham cracker crust, a full cup of rich pumpkin puree in the velvety cheesecake filling, and a final flourish of pumpkin spice sprinkled on top. Each layer builds upon the next, creating a harmonious and deeply satisfying fall experience that pumpkin lovers will adore.
- Effortlessly Easy to Make: The “no-bake” aspect is a game-changer! Unlike traditional baked cheesecakes that often require a water bath and careful monitoring, this recipe is incredibly straightforward. While there are a few simple steps involved, they are all very easy to follow and don’t require any special baking skills or equipment beyond a mixer. This makes it an ideal dessert for novice bakers, busy weeknights, or when you simply want a delicious treat without the fuss of turning on the oven.
- Perfectly Balanced Textures: Prepare for a symphony of textures! The base features a thick, wonderfully crumbly graham cracker crust, sweetened with brown sugar and just a touch of spice, offering a delightful contrast to the smooth filling. The cheesecake itself is ultra-creamy, light, and airy, thanks to the incorporation of freshly whipped cream. Finally, the topping consists of light-as-air, fluffy whipped cream, adding a delicate finish that melts in your mouth. This combination ensures every bite is an exciting blend of crisp, rich, and ethereal textures.
If you adore the convenience of no-bake desserts and crave more fall flavors, you simply have to try these caramel apple cheesecake bars next!
Mastering the Perfectly Set No-Bake Cheesecake: Essential Tips
Achieving a perfectly firm and smooth no-bake cheesecake is simpler than you might think, but it does rely on a few crucial steps. Follow these golden rules to ensure your pumpkin cheesecake bars set beautifully every single time, yielding a dessert that’s as impressive in texture as it is in flavor:
- Whip Cream to Stiff Peaks: This is perhaps the most critical step for a stable no-bake cheesecake. Ensure your heavy cream is very cold and whip it until it forms stiff peaks. When you lift the beater, the cream should hold its shape firmly without collapsing. The whipped cream acts as a primary thickener and stabilizer for the cheesecake filling. Without properly whipped cream, your filling will be too loose and won’t hold its shape when sliced. Chilling your mixing bowl and whisk beforehand can also help achieve those perfect stiff peaks faster.
- Always Use Full-Fat Cream Cheese: For the ultimate creamy texture and reliable setting, full-fat cream cheese is non-negotiable. Low-fat cream cheese contains a higher water content, which can lead to a watery, softer, and often un-set cheesecake. Stick to block-style, full-fat cream cheese, and ensure it’s at room temperature for easy blending, which also contributes to a lump-free, smooth filling.
- Refrigerate for at Least 8 Hours, or Overnight: Patience is a virtue when it comes to no-bake cheesecakes! While tempting to cut into them sooner, adequate chilling time is essential for the cheesecake to firm up completely. The cream cheese mixture needs time to solidify, and the flavors also deepen and meld beautifully as it chills. Refrigerating for a minimum of 8 hours, or ideally overnight, will ensure your bars are perfectly set and boast a rich, developed flavor profile. This also makes them an excellent make-ahead dessert for entertaining.
If you’re in the mood for a different kind of pumpkin and cheesecake delight, don’t miss out on these incredible pumpkin cheesecake cookies!
Choosing the Best Pumpkin Puree for Your Bars
The star of the show in these no-bake bars is undoubtedly the pumpkin, so selecting the right puree is key to achieving that rich, authentic flavor and perfect consistency. Here’s what you need to know:
For most home bakers, canned pumpkin puree is the most convenient and reliable option. It offers consistent texture and flavor, ensuring your cheesecake turns out perfectly every time. When purchasing canned pumpkin, be sure to grab 100% pure pumpkin puree and not pumpkin pie filling, which contains added sugars and spices that would alter the balance of this recipe.
If you prefer to use homemade pumpkin puree, that’s absolutely wonderful and will add an extra layer of freshness. However, a crucial tip for homemade puree is to ensure it is very thick. Homemade puree often has a higher water content than its canned counterpart, which can make your cheesecake filling too loose. Aim for a consistency similar to thick Greek yogurt. You can achieve this by:
- Straining: Place your homemade puree in a fine-mesh sieve lined with a couple of layers of cheesecloth. Allow it to drain in the refrigerator for several hours or overnight to remove excess liquid.
- Reducing: Gently cook your homemade puree in a saucepan over medium-low heat, stirring frequently, until it thickens significantly and much of the extra moisture has evaporated. Allow it to cool completely before using.
Taking this extra step for homemade puree will guarantee your no-bake cheesecake has the ideal creamy texture and sets beautifully.
Make-Ahead and Storage Solutions for Your Cheesecake Bars
One of the many benefits of these no-bake pumpkin cheesecake bars is their excellent make-ahead potential, making them perfect for holiday gatherings or simply enjoying throughout the week. Planning ahead ensures both convenience and optimal flavor development.
As mentioned, this cheesecake requires at least 8 hours to set, but it truly benefits from an overnight chill in the refrigerator. This makes it an ideal dessert to prepare a day or even two in advance of when you plan to serve it, allowing you to focus on other tasks on the day of your event. Just like this delightful swirly pumpkin cheesecake roll, advance preparation enhances both texture and taste.
I highly recommend adding the fluffy whipped cream topping and a final sprinkle of pumpkin spice right before serving. While the cheesecake itself stores well, freshly whipped cream tends to hold its perfect texture and appearance best when applied closer to serving time. This prevents it from absorbing refrigerator odors or losing its light, airy volume over prolonged storage.
To store any leftovers, keep the cheesecake bars refrigerated in an airtight container. They will maintain their delicious flavor and texture for up to four days. If you’ve decorated them, use a container with ample headspace to prevent the whipped cream from getting squished. For longer storage, these bars freeze exceptionally well. Wrap individual bars or the entire slab tightly in plastic wrap, then place them in a freezer-safe bag or container. They can be frozen for up to 2 months. Thaw them in the refrigerator for a few hours before serving.
For another perfect make-ahead dessert option that will impress your guests, consider trying this elegant pumpkin creme brulee.
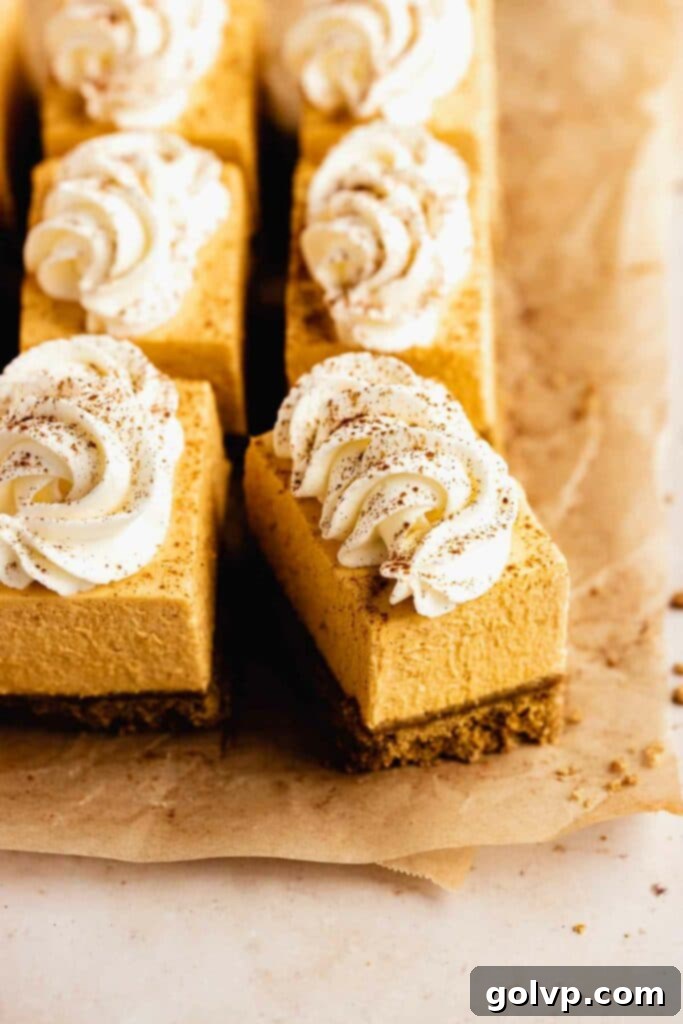
Key Ingredients for No-Bake Pumpkin Cheesecake Perfection
Each ingredient plays a vital role in creating the irresistible flavor and texture of these no-bake pumpkin cheesecake bars. While the full list with precise measurements is in the recipe card below, take a moment to read through these tips to ensure your success!
- Graham Cracker Crumbs: The foundation of our delicious crust! You can purchase pre-crushed graham cracker crumbs for convenience, or easily make your own by crushing whole graham crackers. A food processor works quickly to achieve fine, even crumbs, or you can place them in a zip-top bag and crush them with a rolling pin. Aim for fine crumbs that will absorb the butter well and pack tightly without being too powdery.
- Butter: Melted and then cooled butter is essential for binding the graham cracker crumbs into a sturdy crust. Do not substitute oil, as it won’t allow the crust to hold its shape properly. Using a good quality, unsalted real butter will give you the best flavor and texture, though salted butter can be used if you adjust the added salt slightly.
- Pumpkin Puree: As discussed earlier, use 100% pure canned pumpkin puree (not pie filling). If using homemade, ensure it’s very thick, like Greek yogurt, by straining excess liquid with cheesecloth or reducing it on the stove. This consistency is crucial for the cheesecake to set correctly.
- Heavy Whipping Cream (35% or more fat): This is the secret to a light, fluffy, and stable no-bake cheesecake, and also forms the delicious topping. Use cold heavy cream or heavy whipping cream with at least 35% milk fat. Whip it to stiff peaks to add volume and structure to the cheesecake filling, helping it set firm. Absolutely avoid canned whipped cream, as it lacks the stability needed and will result in a runny, disappointing cheesecake.
- Full-Fat Cream Cheese: Opt for full-fat, block-style cream cheese for the creamiest texture and best setting results. My personal favorite is Philadelphia original bricks (not sponsored, just a true fan!). Low-fat or spreadable cream cheese contains too much water, which will prevent your cheesecake from setting properly and can make it watery. Ensure your cream cheese is at room temperature before beating to achieve a perfectly smooth, lump-free filling.
- Lemon Juice: A touch of freshly squeezed lemon juice is a magical addition! It brightens the rich, sweet flavor of the cheesecake and pumpkin, adding a subtle tang that balances the overall profile. Freshly squeezed offers the best vibrant flavor.
- Pumpkin Spice: This warm spice blend is what truly makes these bars taste like fall. If you don’t have pumpkin spice on hand, a simple substitute is ground cinnamon. For those who enjoy customizing, you can create your own blend by combining cinnamon with a touch of ground cardamom, nutmeg, and a hint of cloves to taste. Or, learn how to make your own pumpkin spice blend for the freshest flavor.
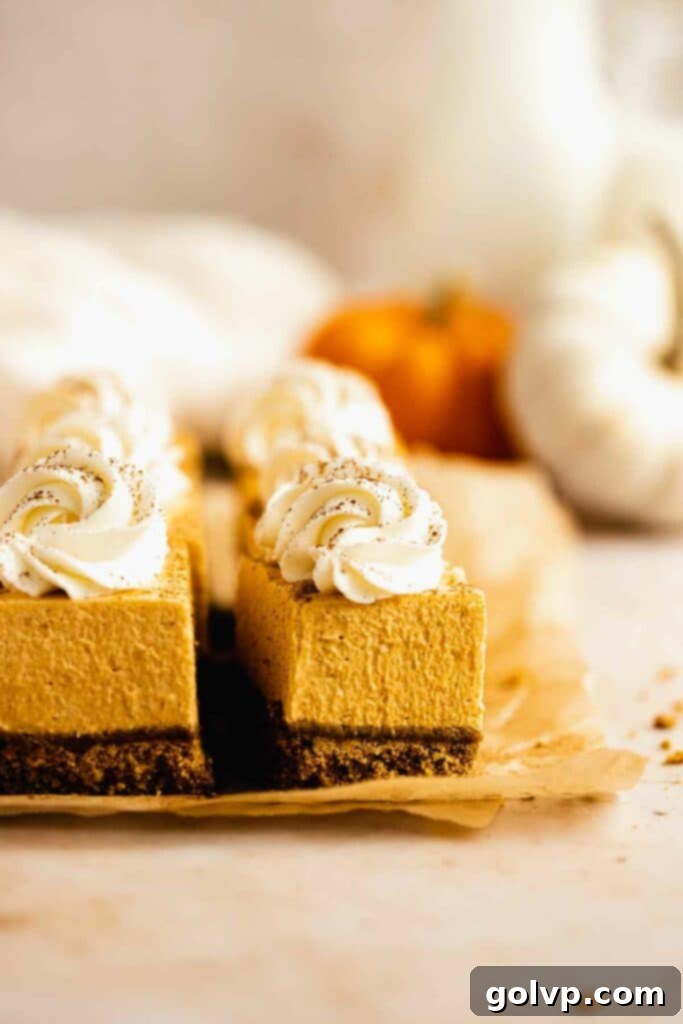
Step-by-Step Guide to Crafting Your No-Bake Pumpkin Cheesecake Bars
Creating these delightful no-bake pumpkin cheesecake bars is a rewarding process, and following these detailed steps will ensure a perfect outcome. Get ready to enjoy a stress-free baking (or rather, no-baking) experience!
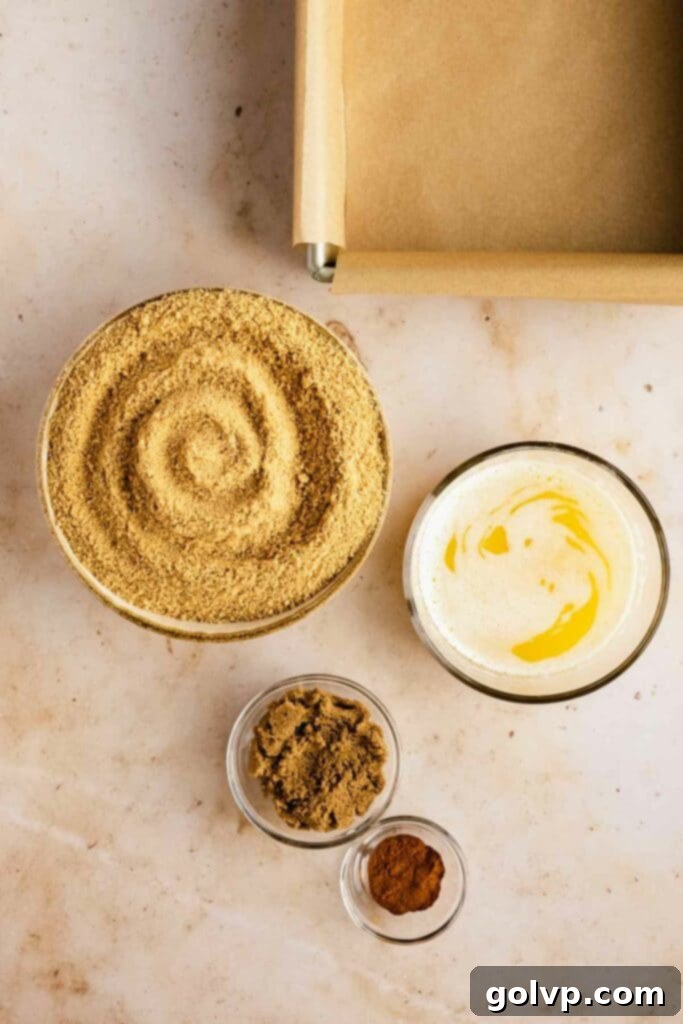
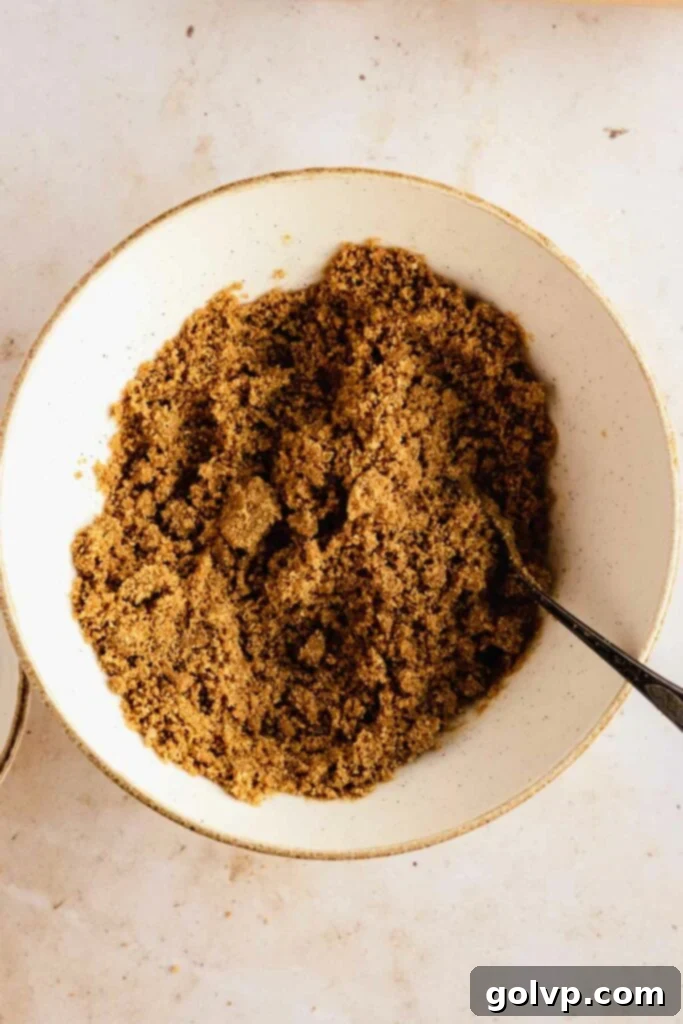
Step 1 – Prepare the Crust: Begin by thoroughly mixing your graham cracker crumbs, brown sugar, a pinch of sea salt, and the essential pumpkin spice in a large bowl. Ensure all dry ingredients are well combined. Next, pour in the melted and cooled butter, stirring until the mixture is evenly moistened and resembles wet sand. Transfer this mixture to the bottom of your prepared 8-inch or 9-inch square pan (lined with parchment paper for easy lifting later). Use the bottom of a measuring cup or a flat-bottomed glass to press the crust down very firmly and evenly across the pan. This tight packing is crucial for a stable crust that won’t crumble apart. Once packed, set it aside while you prepare the filling.
Step 2 – Whip the Heavy Cream: In a separate, very cold mixing bowl (chilling the bowl and whisk attachments can help!), beat the cold heavy whipping cream until it forms stiff peaks. You’ll know it’s ready when the cream holds its shape firmly and doesn’t droop when you lift the whisk. Be careful not to over-whip, which can turn it grainy. Immediately transfer the whipped cream to the refrigerator to keep it cold and stable while you prepare the cream cheese mixture.
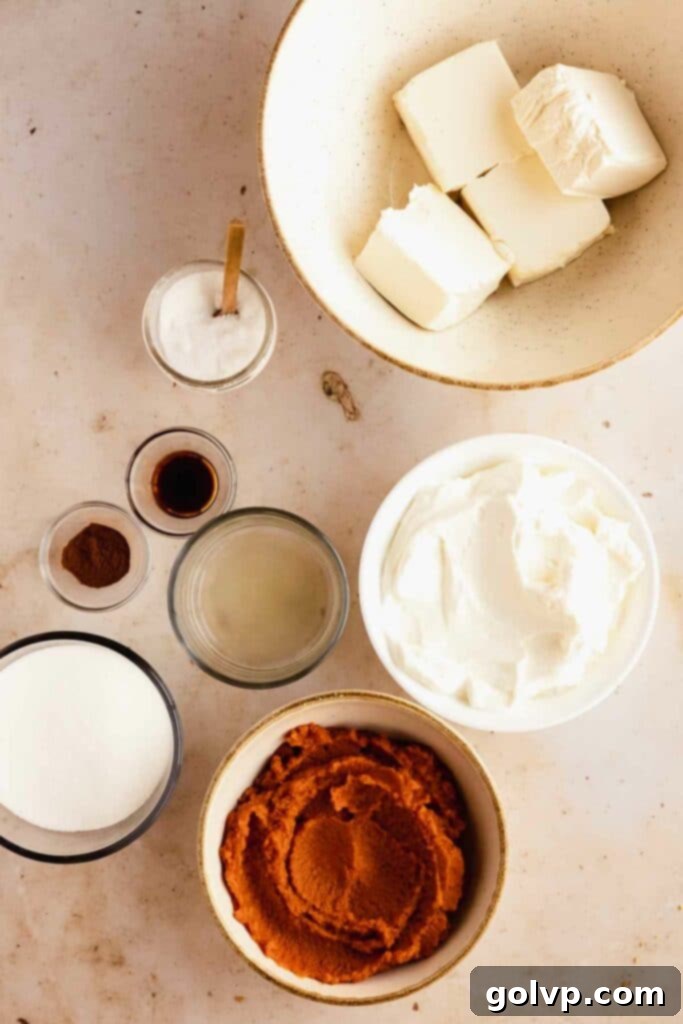
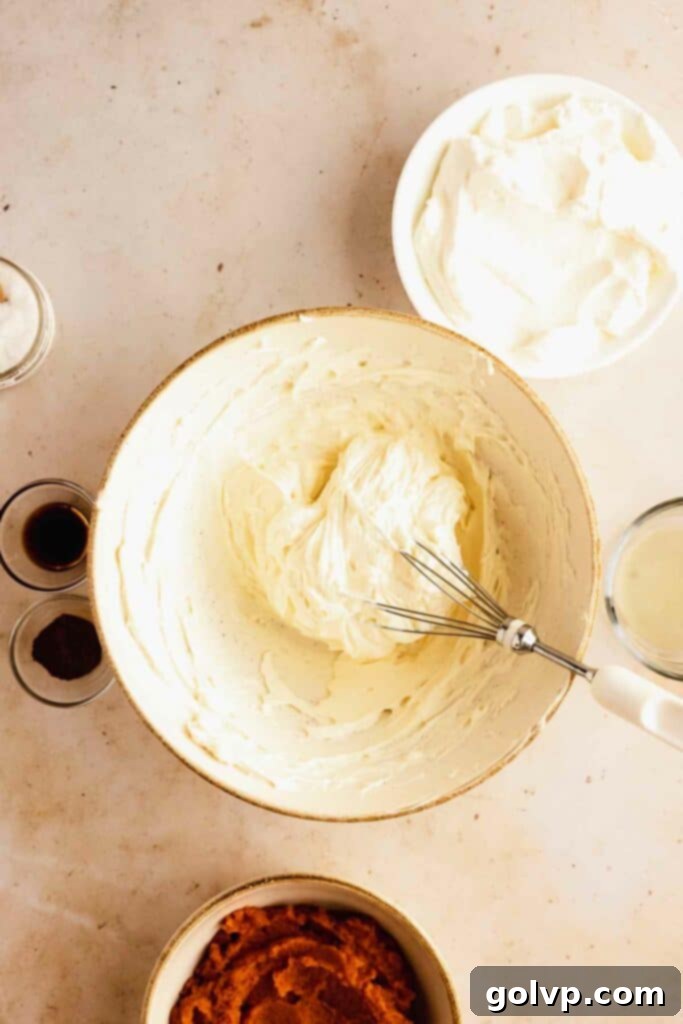
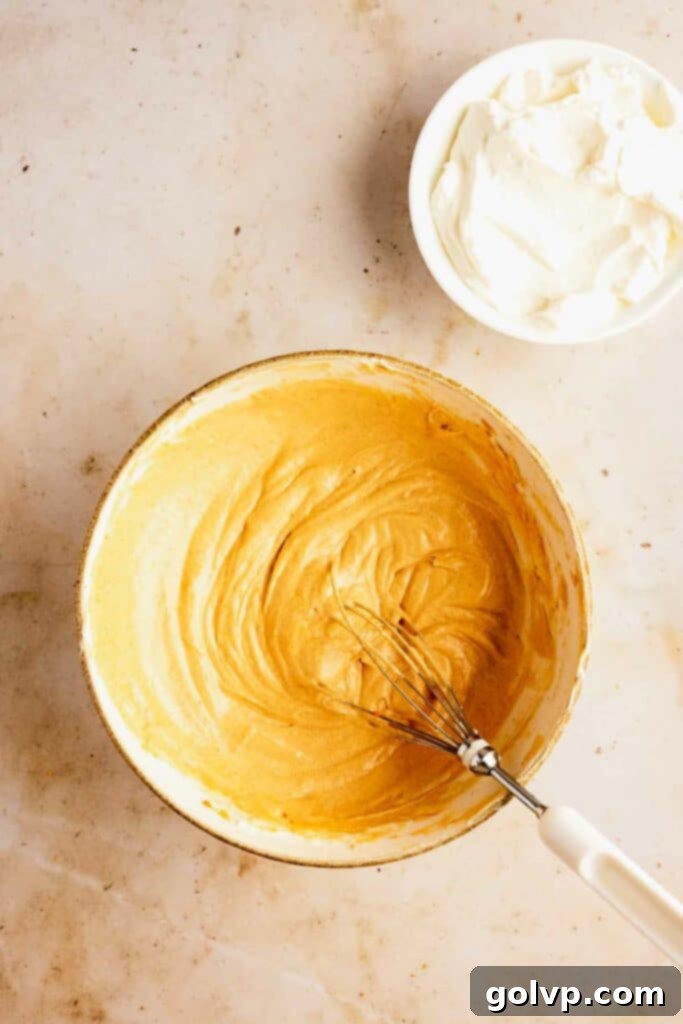
Step 3 – Prepare the Cream Cheese Base: In a large mixing bowl, beat the softened, room-temperature full-fat cream cheese with granulated sugar and a pinch of sea salt until the mixture is completely smooth and free of any lumps. This might take a few minutes. Scrape down the sides of the bowl as needed to ensure everything is incorporated. Once smooth, add the pure vanilla extract, freshly squeezed lemon juice, pumpkin puree, and an additional teaspoon of pumpkin spice. Beat again until the entire mixture is uniform, creamy, and wonderfully fragrant.
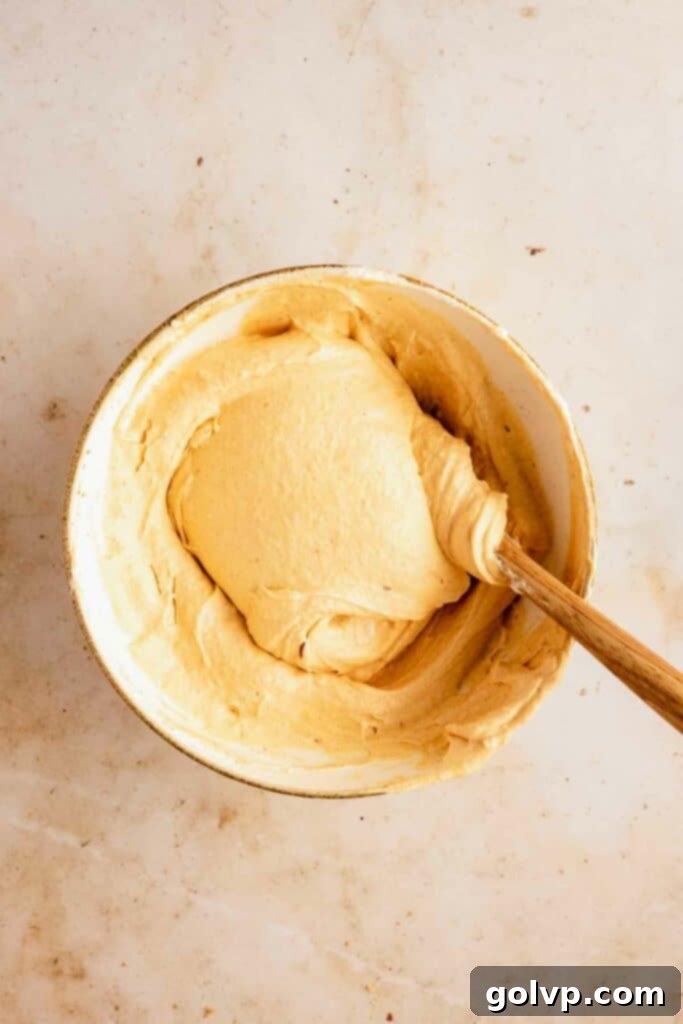
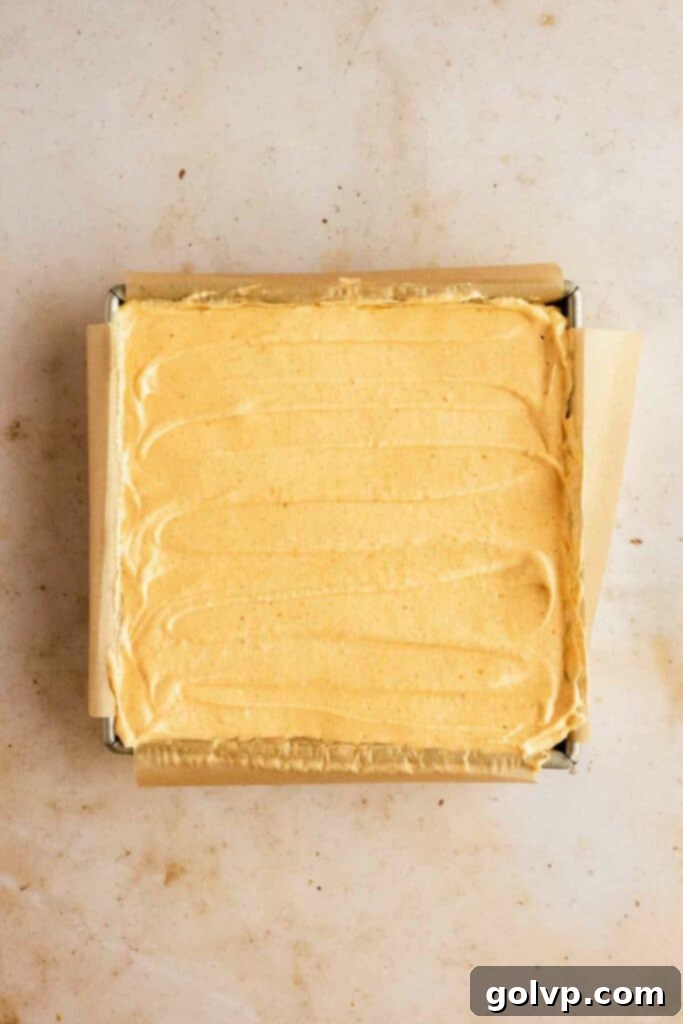
Step 4 – Fold and Chill the Cheesecake: Retrieve your whipped cream from the fridge. Gently and carefully fold the whipped cream into the pumpkin cream cheese mixture. Use a rubber spatula and a light hand, folding just until no streaks of white whipped cream remain. Overmixing here will deflate the air you worked so hard to incorporate, affecting the cheesecake’s texture. Pour the fluffy cheesecake filling over your prepared graham cracker crust and use the spatula to smooth the top. Now comes the most important part for setting: refrigerate the cheesecake for at least 8 hours, or ideally, overnight. For exceptionally clean and crisp slices, you can transfer the fully chilled cheesecake to the freezer for about 1 hour before cutting.
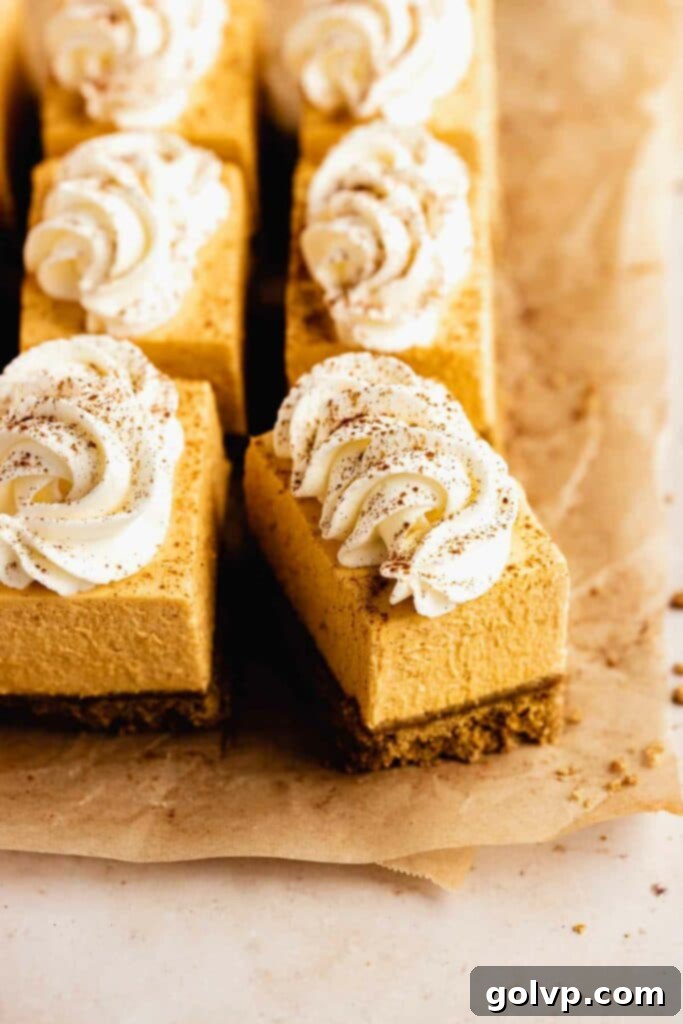
Step 5 – Cut into Bars: Once thoroughly chilled and firm, lift the cheesecake out of the pan using the parchment paper “handles.” Carefully transfer it to a clean cutting board. For perfect presentation, you may wish to trim any slightly uneven edges. Then, use a large, sharp knife to cut the cheesecake into 12 even bars (e.g., a 4×3 grid for a square pan). For the cleanest possible cuts, wipe the knife blade clean with a damp cloth after each slice. This prevents the filling from sticking and creating messy edges.
Step 6 – Add Whipped Cream Swirl and Serve: To create the final beautiful topping, whip another batch of cold heavy cream with powdered sugar and a touch of vanilla extract until stiff peaks form. Transfer this freshly whipped cream to a piping bag fitted with your favorite star tip (a Wilton 1M is a great choice for lovely swirls). Pipe elegant swirls or dollops of whipped cream on top of each individual cheesecake bar. Finish by lightly sprinkling the tops with a final dusting of pumpkin spice. Your decadent no-bake pumpkin cheesecake bars are now ready to be served and enjoyed!
Frequently Asked Questions About No-Bake Pumpkin Cheesecake Bars
The primary culprit for a lumpy cheesecake is often cream cheese that isn’t sufficiently softened. To ensure your cheesecake is perfectly smooth and velvety, it’s crucial to have the cream cheese at proper room temperature. Cut the block of cream cheese into smaller cubes and let it sit out for at least one to two hours before you begin mixing. This allows it to soften uniformly, making it much easier to beat until perfectly smooth with either a hand whisk or an electric mixer. Always beat the cream cheese with sugar until it’s absolutely smooth and lump-free before incorporating any other liquid ingredients like vanilla or pumpkin puree.
While a minimum of 8 hours of refrigeration is required for a no-bake cheesecake to set, letting it chill overnight or for at least 10-12 hours is highly recommended for the best results. The extended chilling time not only allows the cheesecake to firm up completely and consistently, making it easier to slice, but it also gives the flavors ample opportunity to deepen and meld. This results in a much richer, creamier, and more flavorful cheesecake experience. The longer it rests, the more developed and harmonious the pumpkin and spice notes become, transforming it into the perfect make-ahead dessert.
I do not recommend using Cool Whip as a substitute for freshly whipped heavy cream in this recipe. While Cool Whip is convenient, it has a different composition and stability. The texture of freshly whipped cream is crucial for the light and airy yet firm consistency of this no-bake cheesecake. Cool Whip may also make the cheesecake overly sweet and could impact how well it sets, potentially leading to a softer, less stable result than intended. For the best flavor and texture, stick with real heavy whipping cream.
No, canned whipped cream is not suitable for this recipe. Canned whipped cream is designed for instant gratification and lacks the structural integrity needed to stabilize a cheesecake filling. It will quickly melt and deflate, leading to a sloppy, runny, and un-set cheesecake. For both the filling and the topping, you need to use cold heavy whipping cream and whip it yourself to achieve stiff, stable peaks that will hold their shape.
Several factors can prevent cream from whipping to stiff peaks. First and foremost, ensure your heavy cream is ice-cold. Warm cream will not whip properly. It also significantly helps to chill your mixing bowl and whisk attachments in the refrigerator or freezer for 10-15 minutes before you start. Make sure you are using heavy whipping cream or heavy cream with at least 35% fat content; lower fat creams may not whip to stiff peaks. Finally, ensure your equipment is clean and free of any grease or oil residue, which can also inhibit whipping.
Achieving perfectly clean, sharp cheesecake slices is all about technique and temperature. After the cheesecake has thoroughly chilled overnight, transfer it to the freezer for about one hour before slicing; this extra firming makes it easier to cut. When you’re ready to slice, use a large, sharp knife. For the absolute cleanest cuts, dip your knife in hot water and wipe the blade completely dry between each slice. A clean, warm blade will glide through the cheesecake smoothly, preventing dragging and creating beautiful, neat edges every time.
More Irresistible Pumpkin Spice Recipes for Fall
If these No-Bake Pumpkin Cheesecake Bars have ignited your love for all things pumpkin spice, you’re in luck! Autumn is the perfect season to indulge in the warm, comforting flavors of pumpkin. Explore my collection of best pumpkin desserts for even more easy and delicious recipe ideas that are perfect for cozy evenings, holiday gatherings, or simply satisfying your sweet tooth.
- Pumpkin Spice Cake
- Pumpkin Spice Donuts with Pumpkin Custard [no knead]
- Pumpkin Cheesecake Cookies
- Caramel Apple Cheesecake Bars
Did you make these recipes? Share your creation on Instagram and tag @flouringkitchen. Follow me on Pinterest to save and for more recipe ideas.
📖 Recipe
No Bake Pumpkin Cheesecake Bars
Mary
Pin Recipe
Shop Ingredients
Equipment
-
8″ or 9″ square pan (or round pan) see notes
Ingredients
Crust
- 4 tablespoons brown sugar
- 1 teaspoon pumpkin spice
- ¼ teaspoon sea salt
- 2 ⅓ cup graham cracker crumbs (350g)
- ⅔ cup butter melted
Cheesecake
- 1 cup heavy whipping cream cold
- 16 oz cream cheese room temperature (500g)
- ¾ cup granulated sugar
- ⅛ teaspoon sea salt
- 2 teaspoons pure vanilla extract
- 1 teaspoon lemon juice freshly squeezed
- 1 cup pumpkin puree
- 1 teaspoon pumpkin spice more if desired
Assembly
- 1 cup heavy whipping cream cold
- ⅓ cup powdered sugar
- 1 teaspoon pure vanilla extract
- 1 teaspoon pumpkin spice
Shop Ingredients on Jupiter
Instructions
Crust
-
Prepare 8″ or 9″ square baking pan by lining with parchment paper (SEE NOTES). I used 2 strips of parchment paper layer out like a cross to get handles to help me lift the cheesecake out.
-
Mix graham crumbs, sugar, salt, and pumpkin spice in a large bowl. Add melted butter and stir well.4 tablespoons brown sugar, 1 teaspoon pumpkin spice, ¼ teaspoon sea salt, 2 ⅓ cup graham cracker crumbs, ⅔ cup butter melted
-
Spread crust mixture into the bottom of prepared pan. Pack it tightly with the bottom of a measuring cup or glass. Set aside.
Cheesecake
-
Beat the heavy whipping cream until stiff peaks. Set aside in fridge.1 cup heavy whipping cream
-
Beat cream cheese, sugar, and salt until completely smooth. Add vanilla, lemon juice, pumpkin, and pumpkin spice. Beat until smooth again.16 oz cream cheese, ¾ cup granulated sugar, ⅛ teaspoon sea salt, 2 teaspoons pure vanilla extract, 1 teaspoon lemon juice, 1 cup pumpkin puree, 1 teaspoon pumpkin spice
-
Carefully fold the whipped cream into the cheesecake just until incorporated and no streaks remain.
-
Transfer to cheesecake crust and smooth the top. Refrigerate for at least 8 hours or overnight. For clean cuts, freeze for 1 hour before cutting.
Assembly
-
Lift the cheesecake out of the pan using the parchment paper. Transfer to a cutting board. Trim any uneven edges and cut into 12 bars (4×3). Wipe the knife clean after each cut.
-
Whip the cream, powdered sugar, and vanilla extract until stiff peaks. Transfer to a piping bag fitted with a star tip (I used a Wilton 1M). Pipe swirls on top of each bar. Sprinkle the tops with pumpkin spice and serve.1 cup heavy whipping cream, ⅓ cup powdered sugar, 1 teaspoon pure vanilla extract, 1 teaspoon pumpkin spice
Video
Notes
Keep the pumpkin cheesecake bars refrigerated in an airtight container for up to 4 days, or in the freezer for up to 2 months.
Make ahead: The cheesecake can be made a day ahead of decorating to give it enough time to set overnight. They are preferably assembled the day of serving but you can definitely assemble them the day before serving. Just keep in mind to not squish the whipped cream on top.
