Indulge Guilt-Free: The Ultimate Edible Red Velvet Cookie Dough (Safe & No-Bake!)
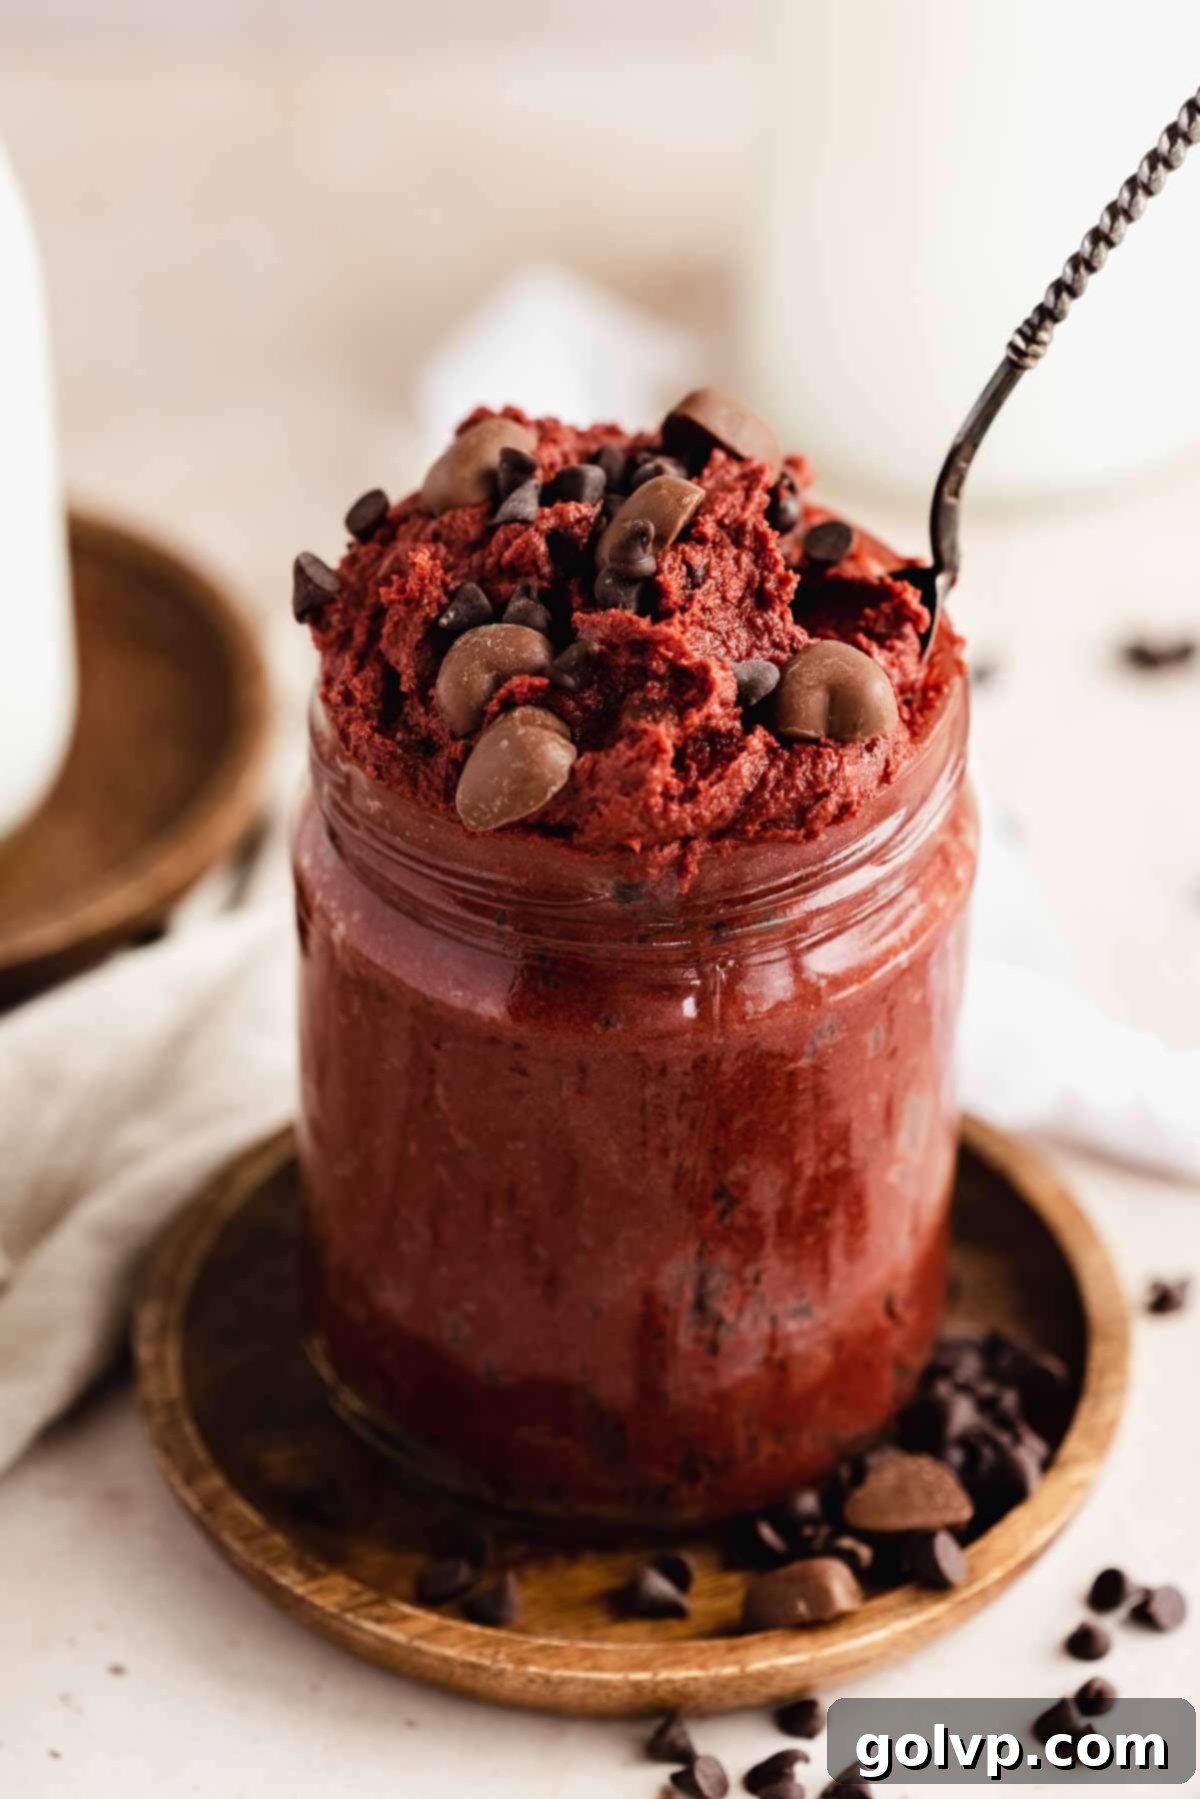
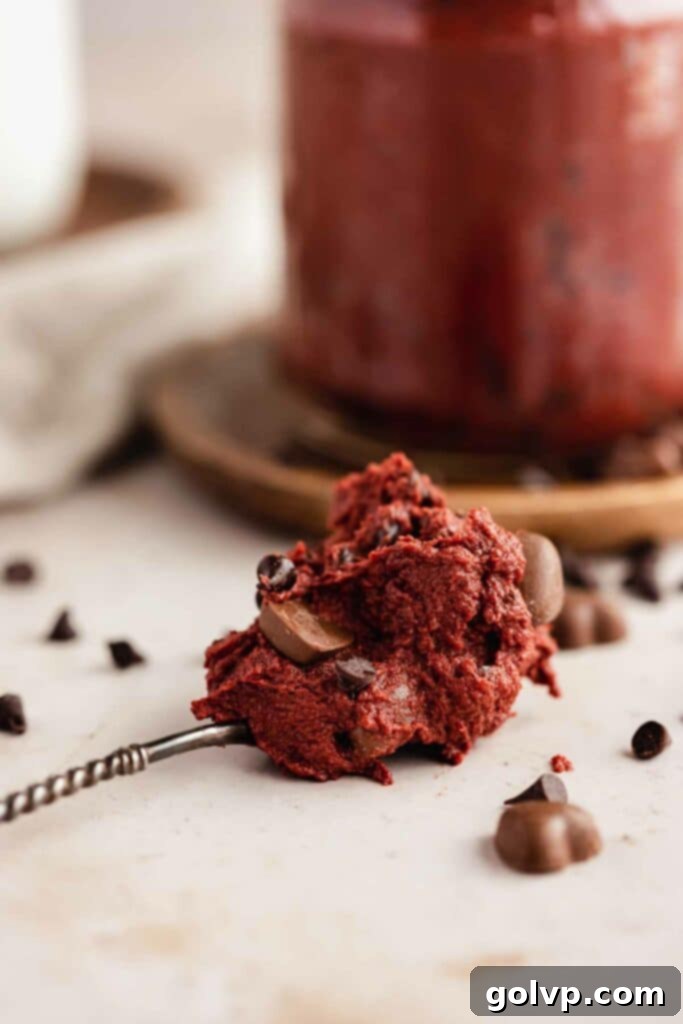
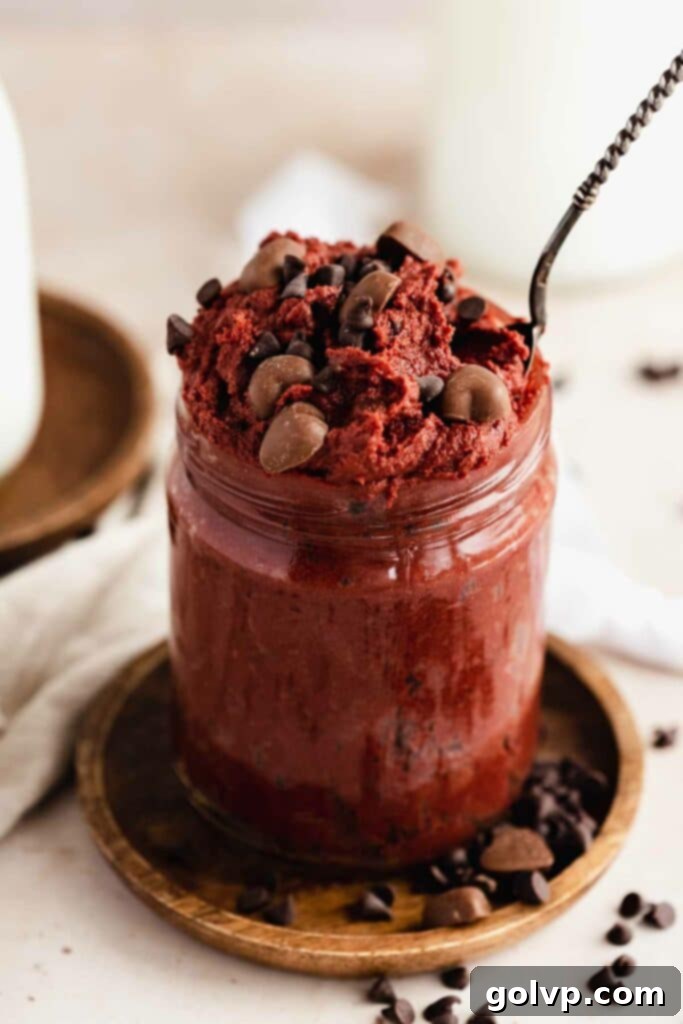
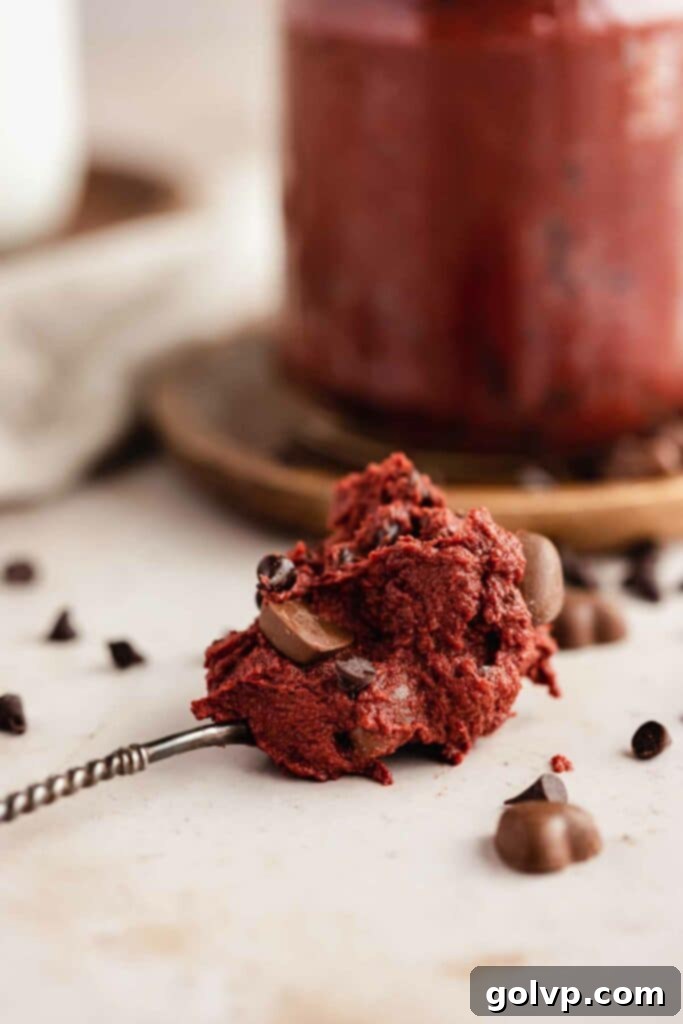
Prepare to fall in love with this incredible edible red velvet cookie dough! Imagine the most decadent, creamy, and wonderfully “dough-ey” texture, perfectly mimicking the irresistible taste of unbaked cookies, but with the added peace of mind that it’s completely safe to enjoy raw. This delightful treat boasts the classic subtle chocolate notes of red velvet, a strikingly rich, dark red hue, and is generously studded with an abundance of chocolate chips. It’s the quintessential no-bake dessert, absolutely ideal for romantic occasions like Valentine’s Day, a festive holiday gathering, or simply whenever a craving strikes for something sweet and satisfying. What makes this recipe even better is how effortlessly and quickly it comes together – in just minutes, without the need for an electric mixer – so much so, you might just find yourself devouring the entire batch in a single sitting!
Purchasing the items in this post supports this blog, at no additional cost to you. As an Affiliate Product marketer and Amazon Associate, I earn from qualifying purchases.
Why You’ll Absolutely Love This Edible Red Velvet Cookie Dough Recipe:
Irresistible Red Velvet Flavor: This recipe captures the iconic taste of red velvet perfectly. It’s a harmonious blend of mildly chocolatey goodness, a rich, creamy texture, and that unmistakable hint of tanginess that makes red velvet so unique. Every spoonful is a luxurious experience that will transport your taste buds straight to dessert heaven. The vibrant red color also makes it a show-stopping treat for any occasion.
Completely Edible and Safe: Say goodbye to worries about raw eggs or unpasteurized flour! This recipe is specifically designed to be enjoyed raw. We eliminate eggs entirely and include a crucial, simple step to heat-treat your flour, ensuring it’s free from any potential bacteria like salmonella or E. coli. This means you can indulge in generous spoonfuls of dough without a single concern for safety, making it a perfect guilt-free pleasure.
Incredibly Easy to Make: Forget complicated baking processes and lengthy chill times. This edible cookie dough is remarkably simple to prepare, requiring no baking whatsoever. You won’t even need an electric mixer, as it comes together beautifully with just a bowl and a spatula. It’s the ideal quick dessert when you’re short on time but big on cravings, taking mere minutes from start to finish.
Naturally Egg-Free: For those with egg allergies or dietary preferences, this recipe is a dream come true. By design, it contains no eggs, making it a safe and delicious option for everyone at your table. The texture remains perfectly soft and “dough-ey” even without eggs, thanks to careful ingredient balance and the addition of milk for moisture.
Optionally Gluten-Free: We believe everyone deserves to enjoy delicious treats. That’s why this recipe includes an easy option to make it gluten-free. By simply swapping all-purpose flour for oat flour, you can create a safe and equally delicious gluten-free version. This also offers a convenient alternative if you prefer to skip the heat-treating step for traditional flour, as oat flour can be eaten raw.
Versatile and Customizable: While utterly delightful on its own, this edible cookie dough serves as a fantastic base for customization. Add different mix-ins, shape it into truffles, or even layer it in a parfait. Its versatility ensures you can enjoy it in countless ways, making it a staple in your no-bake dessert repertoire.
[feast_advanced_jump_to]
Secrets to Achieving the Best Edible Cookie Dough
Crafting the perfect edible cookie dough is all about understanding a few key principles that differentiate it from traditional bakeable dough. Essentially, edible cookie dough mirrors regular cookie dough in flavor and texture, but with two critical modifications: the exclusion of eggs and the pasteurization of flour. Eggs, a raw ingredient, are omitted for safety, and their moisture is perfectly replaced by a touch of milk, which also contributes to that wonderfully creamy and smooth consistency we all love.
The crucial step of pasteurizing your flour eliminates any potential bacteria (like E. coli) that can sometimes be present in raw flour. This process is surprisingly simple and can be done right in your home kitchen. You’ll heat the flour until it reaches an internal temperature of 160°F (71°C) throughout. My preferred and most reliable method is using the oven, but the microwave offers a quicker alternative. Whichever method you choose, ensuring proper heat treatment is fundamental for a truly safe-to-eat cookie dough.
How to Effortlessly Make This Recipe Gluten-Free
Making this delectable red velvet cookie dough entirely gluten-free is incredibly straightforward, offering a fantastic option for those with dietary restrictions or sensitivities. The key is to simply substitute the all-purpose wheat flour with oat flour. The best part about using oat flour is that it can be eaten raw without any prior heat treatment, simplifying the preparation process even further. To create your own oat flour, just take some rolled oats and blend them in a food processor or a high-speed blender until they reach a fine, flour-like consistency. After blending, it’s a good idea to sift the oat flour to remove any larger, unblended pieces, ensuring a smooth and consistent dough texture. Then, measure it out just as you would regular flour. This simple swap makes your edible cookie dough accessible and enjoyable for everyone.
Simple Steps to Make Dairy-Free Edible Cookie Dough
For those following a dairy-free diet, this edible red velvet cookie dough recipe is wonderfully adaptable. Since it doesn’t require any baking, swapping out dairy ingredients is exceptionally easy and won’t compromise the final texture or flavor. You can effortlessly replace traditional butter with your favorite brand of dairy-free butter. There are many excellent vegan butter sticks available on the market today that mimic the texture and richness of real butter. Similarly, for the milk component, simply use any plant-based milk you prefer, such as almond milk, soy milk, oat milk, or cashew milk. These dairy-free alternatives integrate seamlessly into the dough, allowing you to create a luscious, creamy, and completely dairy-free red velvet cookie dough that everyone can enjoy.
Ingredient Swaps to Avoid for Best Results
While some recipes are forgiving with substitutions, certain ingredients play a crucial role in the unique texture and flavor of this edible cookie dough. To ensure your red velvet cookie dough turns out perfectly creamy and delicious, I strongly advise against these particular swaps:
Vegetable Oil: While it might seem like a simple fat substitute, using vegetable oil will significantly alter the consistency of your dough. It tends to make the cookie dough greasy and prone to crumbling, losing that desirable “dough-ey” mouthfeel. If you don’t mind a looser, greasier texture, you could try it, but for the authentic experience, stick to butter.
Coconut Oil: Coconut oil solidifies differently than butter, especially at room temperature. When used in cookie dough, it can result in a crumbly texture and an “off” mouthfeel that just isn’t comparable to the rich, smooth texture achieved with butter. The flavor profile can also be distinctly coconut, which may not complement the red velvet taste.
100% Brown Butter: Brown butter offers a wonderfully nutty flavor, but substituting all of the softened butter with browned butter is not recommended for edible cookie dough. Brown butter becomes very hard once it solidifies, and when soft, it can impart a greasy texture that isn’t ideal for a raw dough. Achieving the perfect balance requires a specific ratio. If you’re keen on brown butter, check out my dedicated recipe for brown butter edible cookie dough, which uses the correct proportions of brown butter to softened butter to ensure the best possible texture and flavor.

The Critical Importance of Eating “Safe” Cookie Dough
Enjoying raw cookie dough is a cherished pleasure for many, but it’s vital to do so safely. Traditional cookie dough contains two ingredients that pose potential health risks if consumed raw: raw eggs and raw flour. Raw eggs can carry salmonella bacteria, which can lead to severe food poisoning. Raw flour, surprisingly, can also harbor harmful bacteria such as E. coli, as it’s a raw agricultural product that hasn’t undergone any treatment to kill pathogens. Eating uncooked or unpasteurized flour can indeed make you very sick, making the “safe” dough preparation method essential.
This edible red velvet cookie dough recipe eliminates these risks entirely. By excluding raw eggs and ensuring the flour is properly heat-treated (pasteurized), you can indulge in this creamy, delicious treat with complete peace of mind. Not only does this method protect you from foodborne illnesses, but it also contributes to a longer shelf life for your cookie dough, as the absence of raw eggs prevents spoilage and allows for safe storage in the refrigerator for several days.
Comprehensive Guide to Heat-Treating Flour for Safety
Heat-treating flour is a simple yet crucial step to ensure your edible cookie dough is safe to eat raw. This process kills any potential bacteria like E. coli that might be present in raw flour. Here are two effective methods:
Oven Method (Preferred for Even Heating):
- Preheat your oven to 180°C (350°F).
- Spread your measured all-purpose flour thinly and evenly onto a parchment-lined baking sheet. This thin layer helps ensure the heat penetrates uniformly.
- Bake in the preheated oven for exactly 7 minutes. To ensure thorough pasteurization and prevent burning, make sure to stir the flour well halfway through the baking time.
- Once baked, remove the baking sheet from the oven and allow the flour to cool completely to room temperature before using it in your cookie dough. This prevents it from melting the butter. Always keep a close eye on the flour during baking to prevent it from browning or burning, as this can affect the taste.
Microwave Method (Quicker Option):
- Place your measured flour in a microwave-safe bowl.
- Heat the flour in 30-second increments.
- After each increment, remove the bowl and stir the flour thoroughly. Break up any lumps to ensure even heating throughout. This is vital to prevent hot spots and ensure all flour reaches the safe temperature.
- Use an instant-read thermometer to check the temperature of the flour. Continue heating and stirring until the entire batch of flour consistently reaches and maintains 160°F (71°C). If it hasn’t reached this temperature, continue heating in short bursts.
Important Tip: After heat-treating (regardless of method), it’s highly recommended to sift the cooled flour before incorporating it into your dough. This step helps to break up any remaining lumps that might have formed during the heating process, resulting in an exceptionally smooth and creamy cookie dough texture. If you encounter stubborn lumps, gently press them through the sifter.
Exciting Ways to Customize and Enjoy Your Edible Red Velvet Cookie Dough:
- Decadent Truffles: Transform your cookie dough into elegant red velvet truffles. Simply roll the prepared dough into bite-sized balls, then dip each one into melted white, milk, or dark chocolate. You can even sprinkle them with festive decorations for a truly gourmet touch. Chill until the chocolate sets, and enjoy a sophisticated, no-bake treat!
- Creative Mix-ins: While chocolate chips are a classic, don’t hesitate to get creative with your mix-ins. Consider adding chopped sandwich cookies (like Oreos for a “red velvet oreo” twist), crushed candy bars, white chocolate chunks, or even a handful of sprinkles for extra color and crunch. The possibilities are endless to personalize your cookie dough.
- Vibrant Velvet Variations: If red isn’t your only favorite color, you can easily adapt this recipe to create other “velvet” flavors. Maintain the small amount of cocoa powder for that subtle chocolate base, then experiment with different food colorings. Just 1 tablespoon of cocoa powder and blue food coloring can yield a stunning blue velvet dough, or try pink or purple for other delightful variations!
- No-Bake Cookie Dough Bars: For a more structured dessert, spread your edible cookie dough evenly onto a parchment-lined baking sheet or an 8×8 inch pan. Once smoothed, pour a layer of melted chocolate over the top and chill until the chocolate hardens completely. Then, using a hot knife (warmed under hot water and wiped dry), cut the slab into neat, irresistible cookie dough bars.
- Layered Parfaits: Create beautiful and delicious parfaits by layering spoonfuls of red velvet cookie dough with whipped cream, vanilla pudding, fresh berries, or crushed cookies in clear glasses. This makes for an impressive single-serving dessert.
- Ice Cream Topping: Crumble bits of this edible cookie dough over your favorite vanilla or chocolate ice cream for an instant upgrade. The contrasting textures and flavors are simply divine.

Essential Ingredients for Perfect Red Velvet Cookie Dough
While the full steps and precise measurements are detailed in the recipe card below, take a moment to read through these key ingredient tips to ensure your edible red velvet cookie dough turns out perfectly every time!
All-Purpose Flour: Accuracy is paramount when measuring flour, as too much can result in a dry dough, and too little can make it too sticky. For the most precise results, I highly recommend weighing your flour using a kitchen scale. If you don’t have a scale, use the “spoon and level” method: stir the flour in its bag to aerate it, then gently spoon it into your measuring cup. Do not pack it down. Use the flat edge of a knife to scrape off any excess from the top. Remember, the flour is weighed or measured *before* you heat-treat it in the microwave or oven.
Butter: The quality of your butter significantly impacts the final flavor and texture. Opt for a good quality, real butter for the richest, most authentic taste and creamiest consistency. Ensure it’s softened to room temperature for easier mixing. For a dairy-free option, a high-quality vegan butter can be seamlessly substituted without compromising the delicious outcome.
Brown Sugar: This is a non-negotiable ingredient that provides that distinctive, deep, and authentic “cookie dough” flavor that granulated sugar alone cannot replicate. Its molasses content adds moisture, chewiness, and a complex sweetness. Do not substitute brown sugar with granulated sugar, as this will drastically change the texture and flavor profile of your red velvet dough.
Red Gel Food Colouring: To achieve that signature vibrant red hue without altering the dough’s consistency, gel food coloring is essential. It provides a highly concentrated pigment with minimal added moisture. Liquid food coloring is generally not recommended as you would need to add a significant amount to reach a bright red, which could make your dough too wet. If you prefer a natural option, some natural food dye powders can also achieve a beautiful color.
Cocoa Powder: This provides the subtle chocolatey depth characteristic of red velvet. You can use either natural or Dutch-processed cocoa powder. Dutch-processed cocoa powder tends to offer a richer, darker chocolate flavor and a deeper red color when combined with the food coloring, making it my slight preference for this recipe.
Chocolate Chips: A generous amount of chocolate chips adds delightful bursts of chocolate throughout the dough. I love using a combination of milk and semi-sweet chocolate chips to create a more dynamic and varied flavor experience. Feel free to customize this by using your favorite type of chocolate, chopped chocolate bars, or even other mix-ins like white chocolate chips or mini chocolate candies.
Easy Step-by-Step Instructions
- Preheat your oven to 180°C (350°F). Spread your measured all-purpose flour evenly onto a parchment-lined baking sheet. Bake in the preheated oven for 7 minutes, making sure to stir it well halfway through the baking time. Allow the flour to cool completely to room temperature before proceeding. Refer to the notes section for instructions on how to pasteurize flour using a microwave as an alternative.
- In a large mixing bowl, combine the softened butter, brown sugar, granulated sugar, and sea salt. Mix these ingredients together until the mixture becomes wonderfully creamy and its color lightens slightly. You can easily achieve this by hand with a regular silicone spatula in about 45 seconds, no electric mixer required!
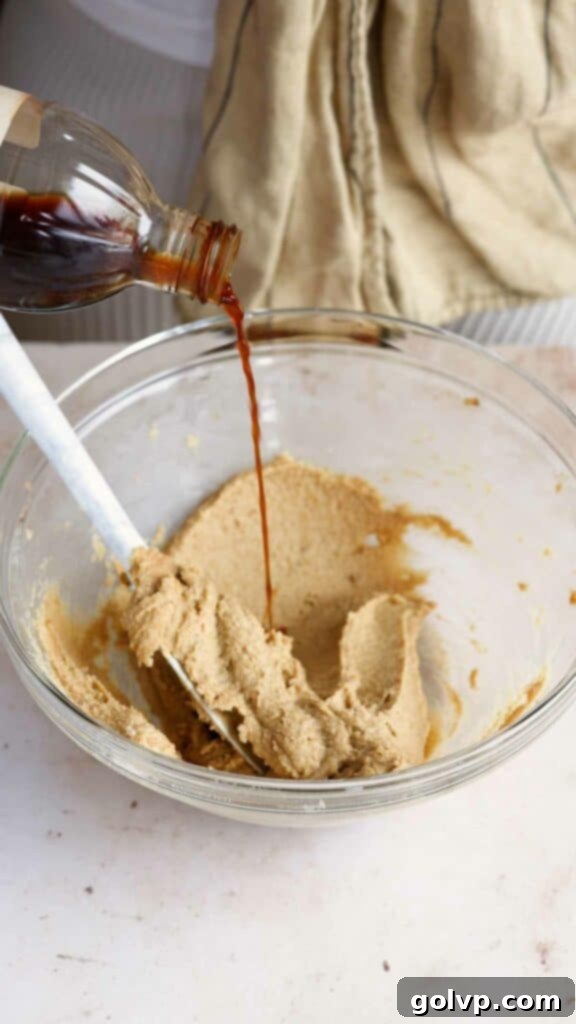
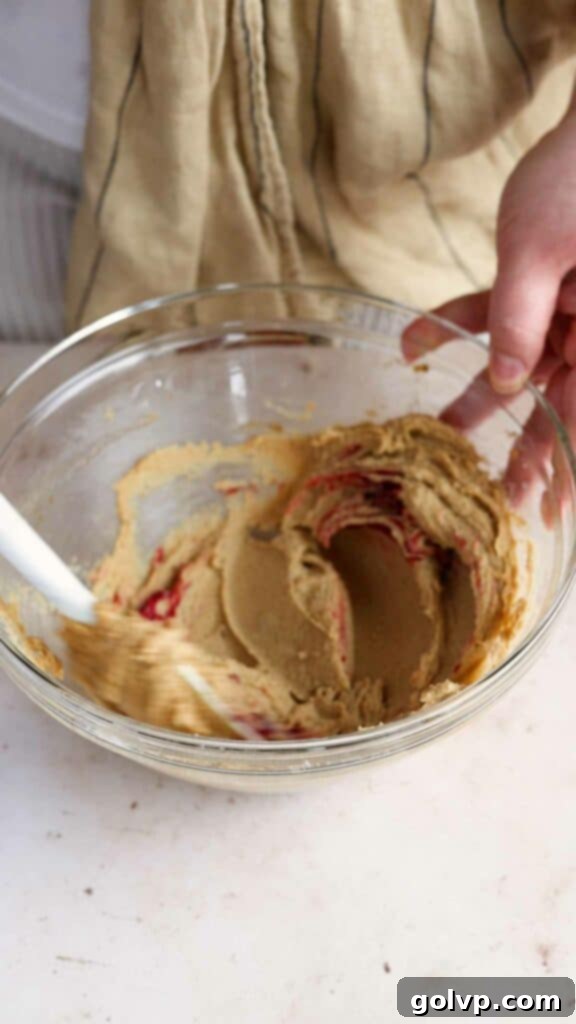
- Add the pure vanilla extract and your red gel food coloring to the creamed mixture. Whisk thoroughly until the color is evenly distributed and vibrant.
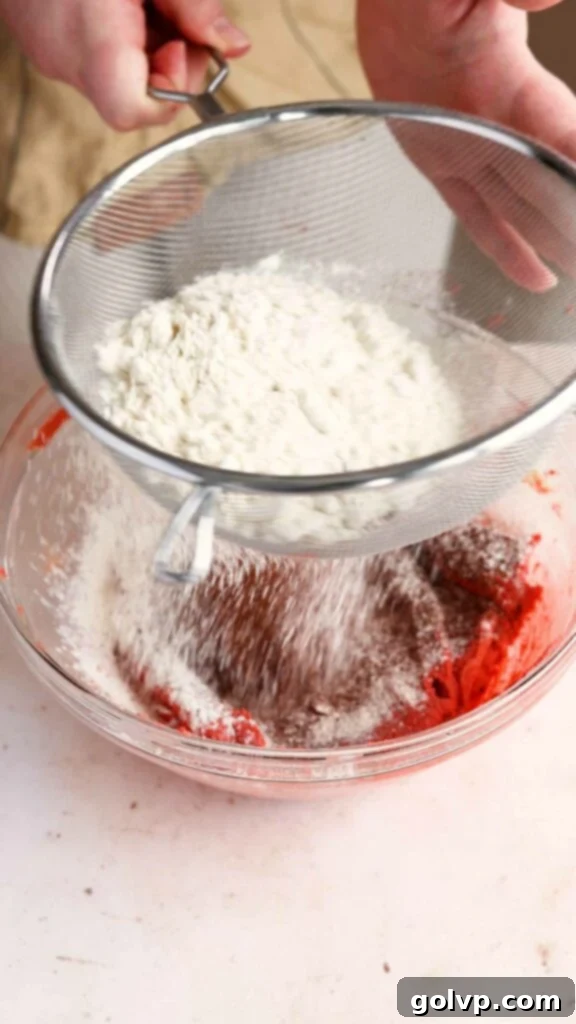
- Sift the cooled, heat-treated flour and cocoa powder directly into the same bowl as your wet ingredients. This step is important to remove any lumps and ensure a super smooth dough.
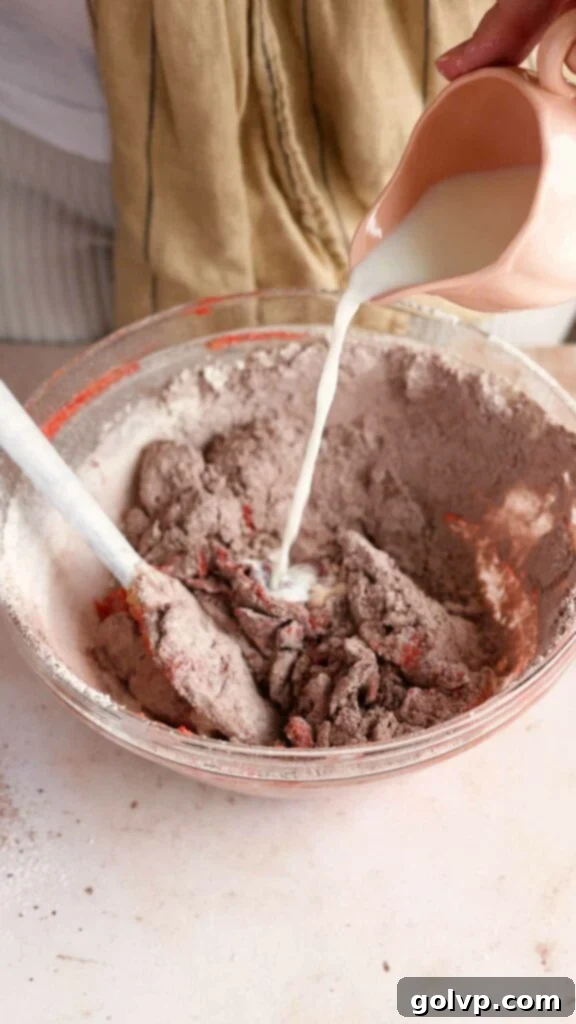
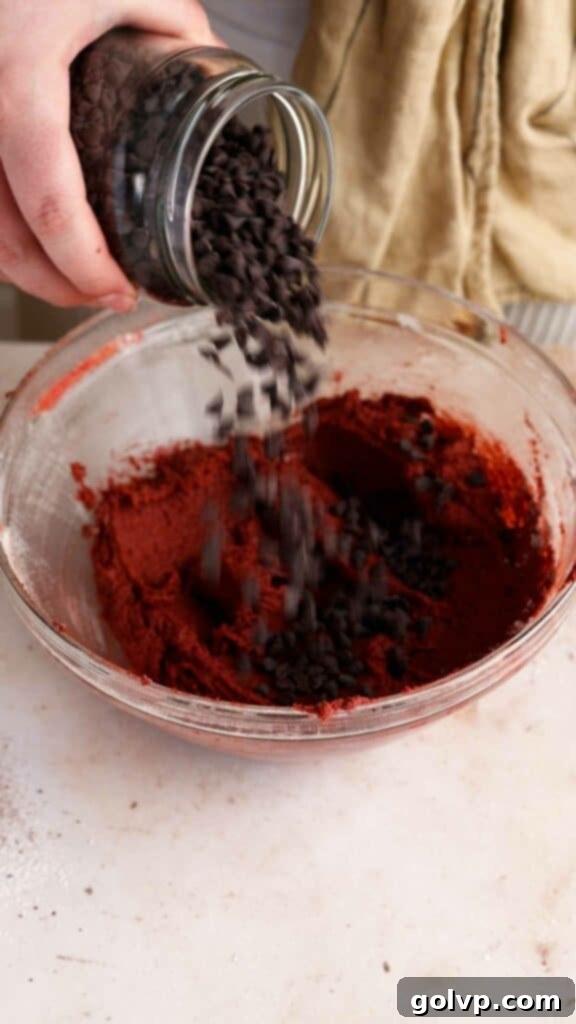
- Gently fold the cookie dough ingredients together. As you fold, gradually add the milk, a tablespoon at a time, until you achieve your preferred creamy and pliable consistency. Finally, stir in the chocolate chips until they are well distributed throughout the dough. Transfer your delicious edible red velvet cookie dough to a jar or airtight container and serve immediately or store for later enjoyment!
Frequently Asked Questions About Edible Red Velvet Cookie Dough
To maintain its freshness and delicious texture, store your edible red velvet cookie dough in an airtight container or a jar with a tight-fitting lid. It will keep beautifully in the refrigerator for up to 5 days. Before serving, I recommend letting it sit at room temperature for 10-15 minutes to allow it to soften slightly, bringing it back to that perfect, scoopable consistency.
Absolutely! This edible cookie dough freezes wonderfully, allowing you to enjoy it for an extended period. To freeze, use a cookie scoop to portion out individual servings onto a parchment-lined baking sheet. Flash freeze these portions until solid, which usually takes about 1-2 hours. Once frozen, transfer the solid cookie dough portions into an airtight container or a freezer-safe bag. It can be stored in the freezer for up to 2 months. Thaw in the refrigerator or at room temperature until softened enough to enjoy.
Yes, it will. The process of heat-treating flour in the oven essentially dries it out and gives it a very subtle toasted flavor, which is a fantastic addition to edible cookie dough. However, this altered flour will not absorb moisture in the same way as raw, untreated flour. Therefore, I do not recommend using heat-treated flour for traditional baking recipes where precise moisture absorption is critical for structure and consistency.
Yes, it is absolutely necessary to heat-treat or pasteurize the all-purpose flour before consuming it raw. Flour is a raw agricultural product and, like other raw foods, can sometimes contain harmful bacteria, including E. coli or salmonella, which can cause severe food poisoning. The heat-treating step ensures these pathogens are destroyed, making your edible cookie dough completely safe to enjoy without any health concerns.
If you wish to bypass the step of heat-treating traditional flour, an excellent alternative is to use oat flour. Oat flour is safe to eat raw and does not require any prior pasteurization. To make your own oat flour, simply blend rolled oats in a blender or food processor until you achieve a fine, flour-like consistency. After blending, sift the oat flour to remove any larger, unground oat pieces, ensuring a smooth dough. Then, measure it out in the same quantity as you would all-purpose flour. This quick swap ensures a safe and delicious gluten-free edible cookie dough.
Yes, you absolutely can! To make this red velvet cookie dough gluten-free, simply substitute the all-purpose wheat flour with oat flour. As mentioned in the previous question, oat flour is naturally gluten-free and can be consumed raw, eliminating the need for the heat-treating step. This modification makes the recipe accessible and enjoyable for those with gluten sensitivities or dietary preferences.
Discover More Delicious Recipes You’ll Love:
- Brown Butter Chocolate Chip Edible Cookie Dough
- Red Velvet Brownies
- Red Velvet Bundt Cake with Cream Cheese Swirl
- Red Velvet Donuts
Happy indulging!
Did you make this recipe? I would love for you to rate this recipe and hear what you think in the comments below! Share your creation on Instagram and tag @flouringkitchen. Follow me on Pinterestto save and for more irresistible recipe ideas.
📖 Recipe

Red Velvet Cookie Dough
Mary
Pin Recipe
Shop Ingredients
Equipment
-
spatula or spoon
Ingredients
- 1 ¼ cup all purpose flour 150g, heat-treated for safety
- ¾ cup butter softened (or vegan butter)
- ¾ cup brown sugar packed, for rich flavor
- 3 tablespoons granulated sugar
- ⅛ teaspoon sea salt
- 1 teaspoon pure vanilla extract
- red gel food colouring as needed, for vibrant color
- 2 ½ tablespoons cocoa powder Dutch processed or natural, for red velvet flavor
- 3 tablespoons milk more if needed, for desired consistency
- ½ cup chocolate chips I used a combination of milk and semisweet chocolate chips for best flavor
Shop Ingredients on Jupiter
Instructions
-
Preheat oven to 180°C (350°F). Spread flour onto a parchment lined baking sheet. Bake in preheated oven for 7 minutes (stirring well halfway) and let cool completely. Keep an eye on it so that it doesn’t burn. See notes for how to pasteurize flour in a microwave.1 ¼ cup all purpose flour
-
Combine softened butter, brown sugar, granulated sugar, and salt in a large bowl and mix together until it becomes creamy and lightens in colour a bit. I used a regular silicone spatula and did this by hand (about 45 seconds).¾ cup butter, ¾ cup brown sugar, 3 tablespoons granulated sugar, ⅛ teaspoon sea salt
-
Add vanilla and red food colouring and whisk well. Start with a pea size amount and add more if needed to make it bright red.1 teaspoon pure vanilla extract, red gel food colouring
-
Sift heat treated flour and cocoa powder right into the same bowl – making sure to break up any lumps.2 ½ tablespoons cocoa powder
-
Fold the cookie dough, adding milk as you fold to get as creamy of a consistency as you prefer. Add chocolate chips and fold. Transfer to a jar and serve!3 tablespoons milk, ½ cup chocolate chips
Video
Notes
Always use an instant-read thermometer to ensure that the flour has reached 160°F (71°C) throughout for proper and safe pasteurization. This step is critical for food safety.
For microwave pasteurization method: Heat flour in a microwave-safe bowl in 30-second increments, stirring well after each interval, until 160°F (71°C) is reached.
Flouring Kitchen will not be held liable for any harm that could come from the improper preparation of this recipe. Always prioritize food safety when preparing edible raw dough.
