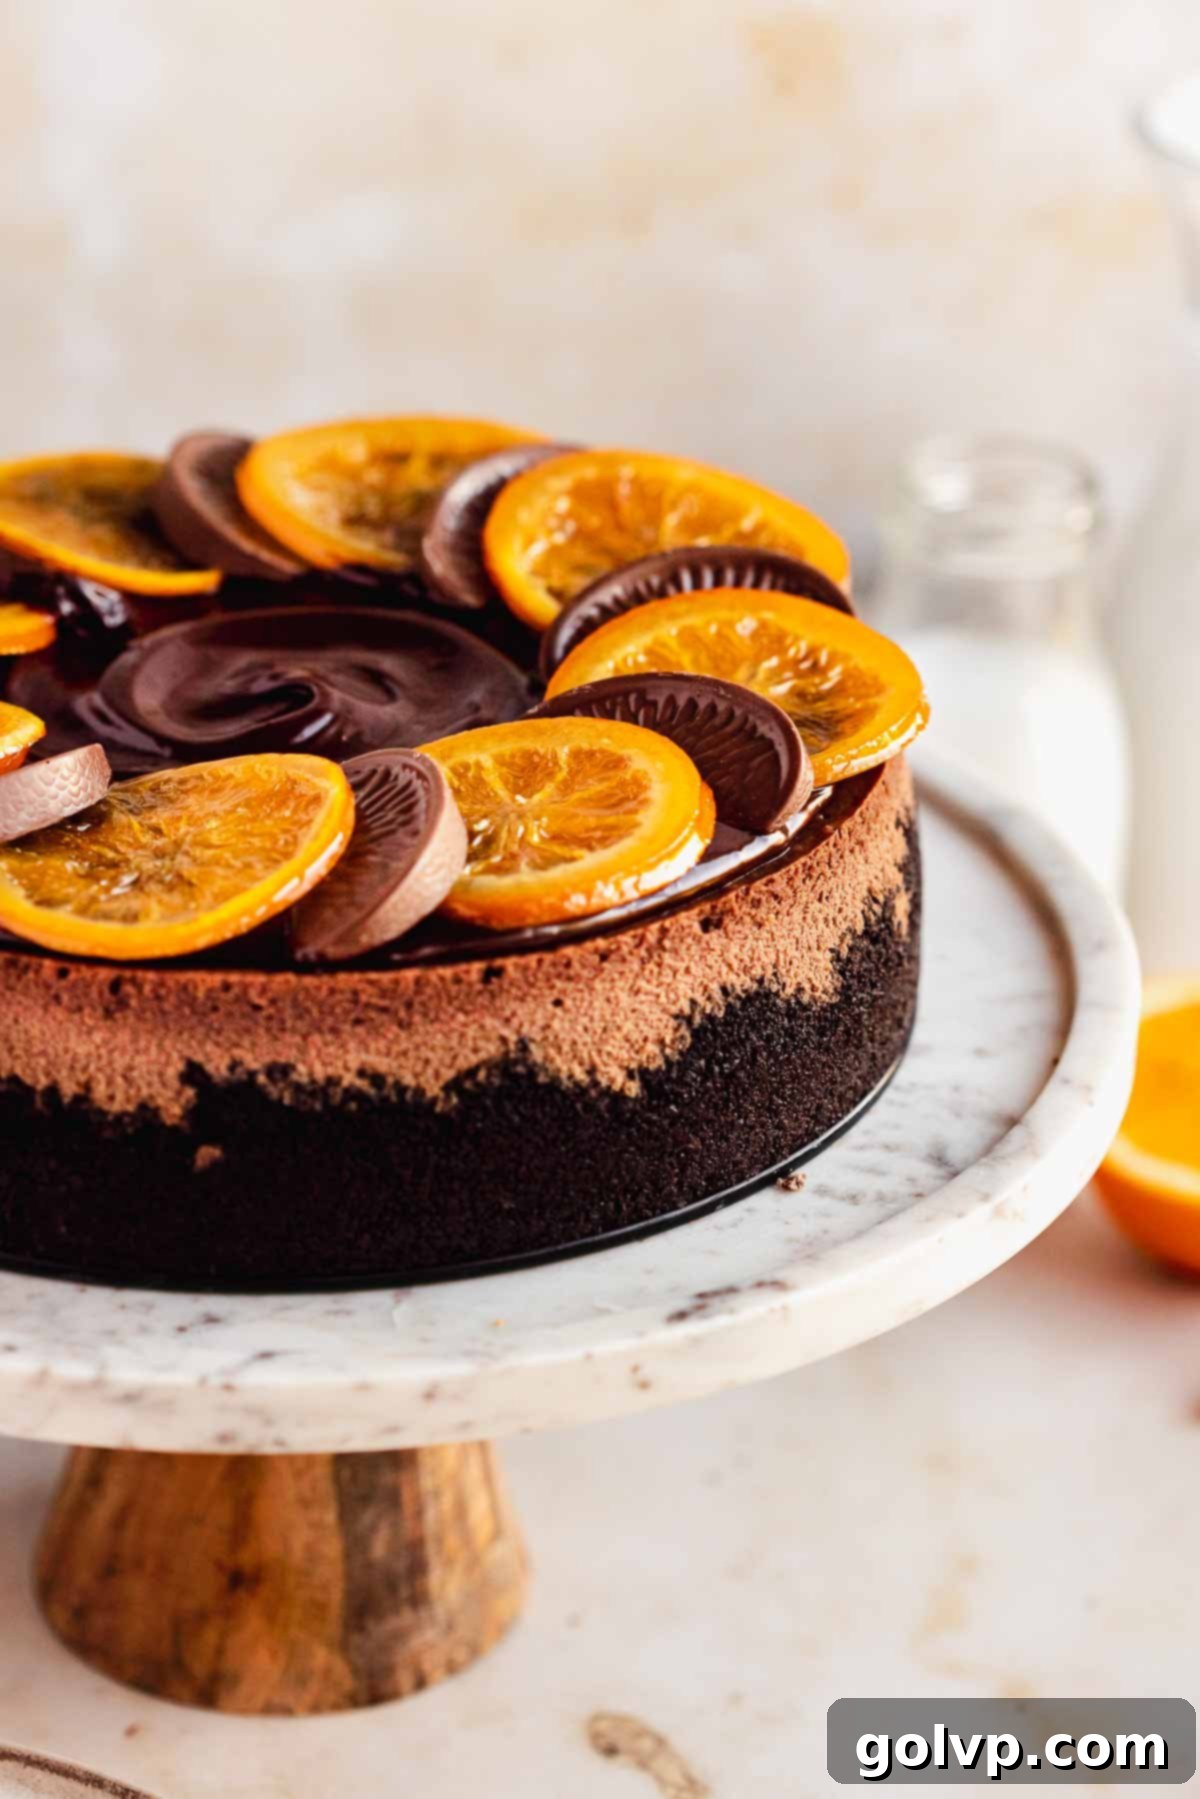
Indulge in the Ultimate Creamy Chocolate Orange Cheesecake: A Zesty, Rich, and Irresistible Dessert
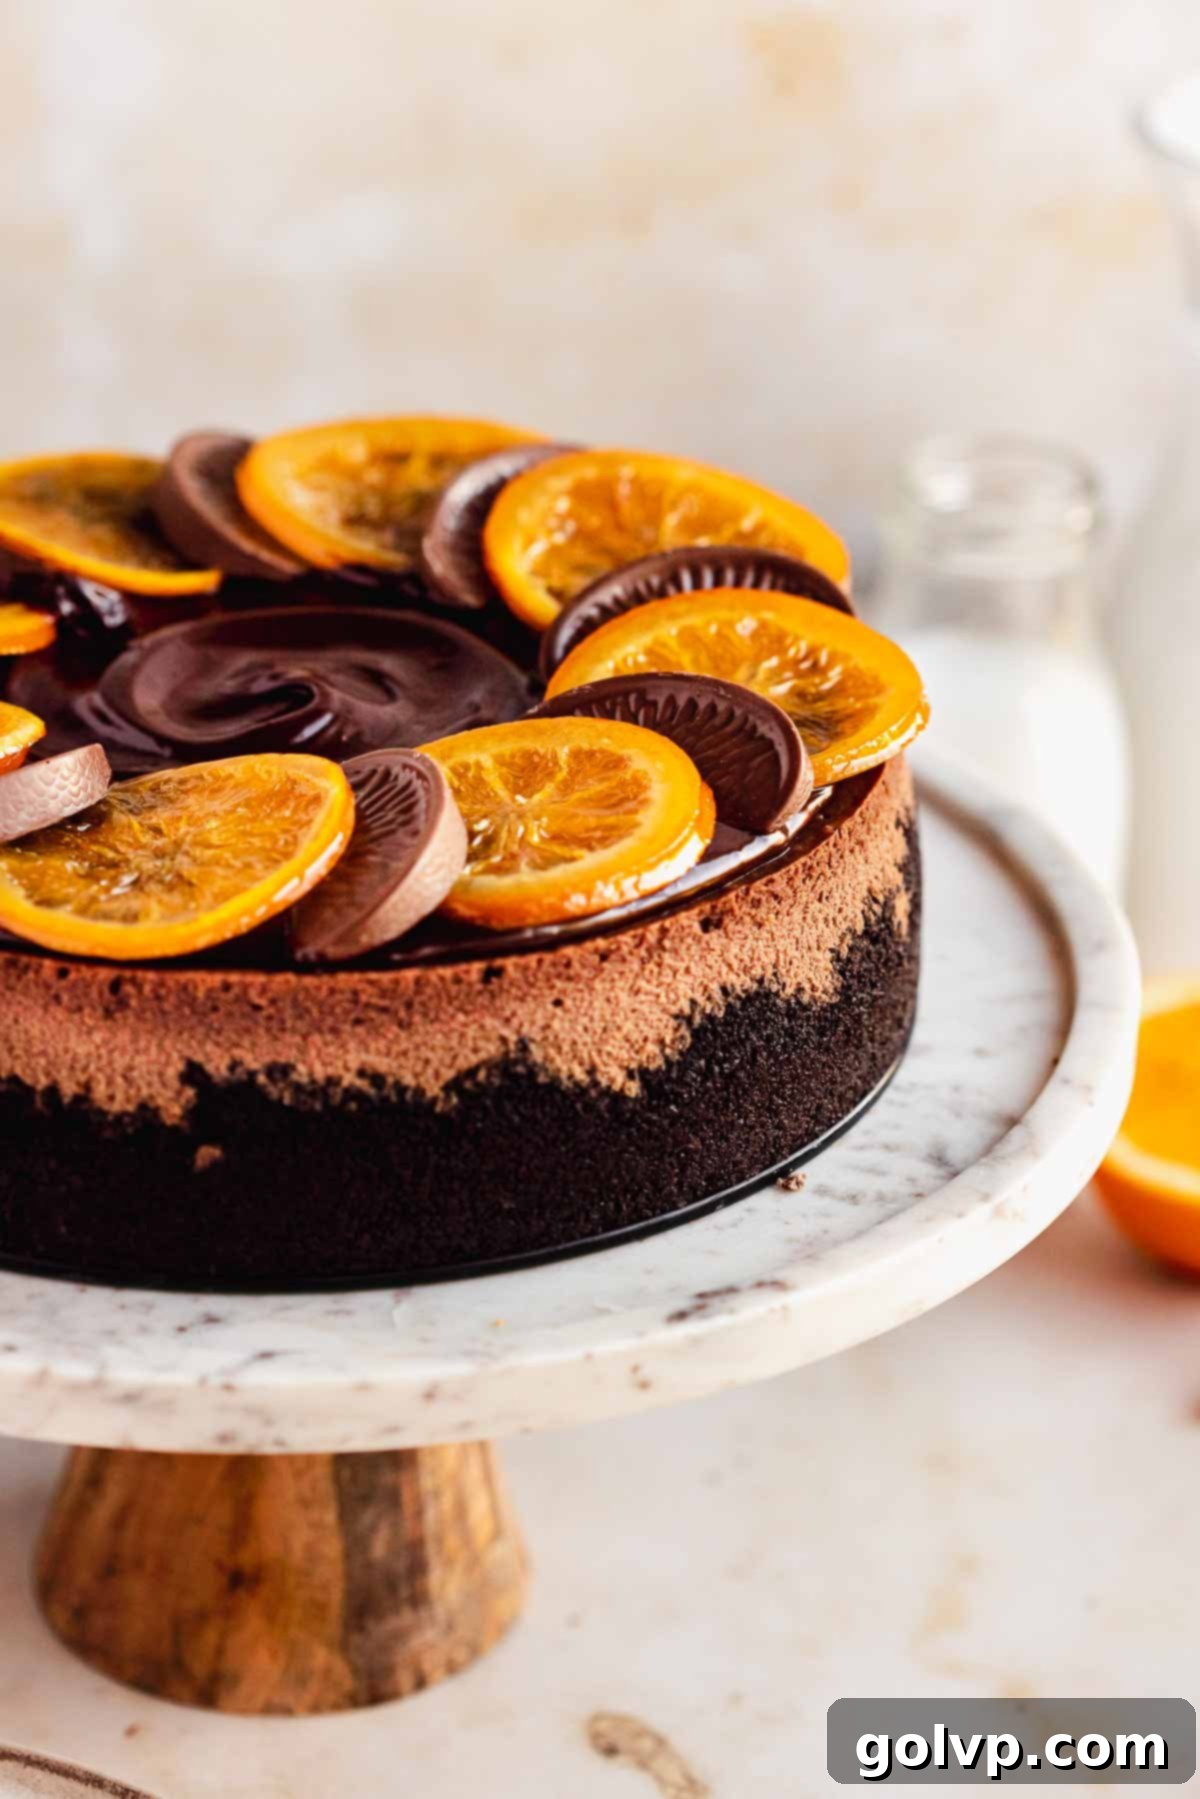
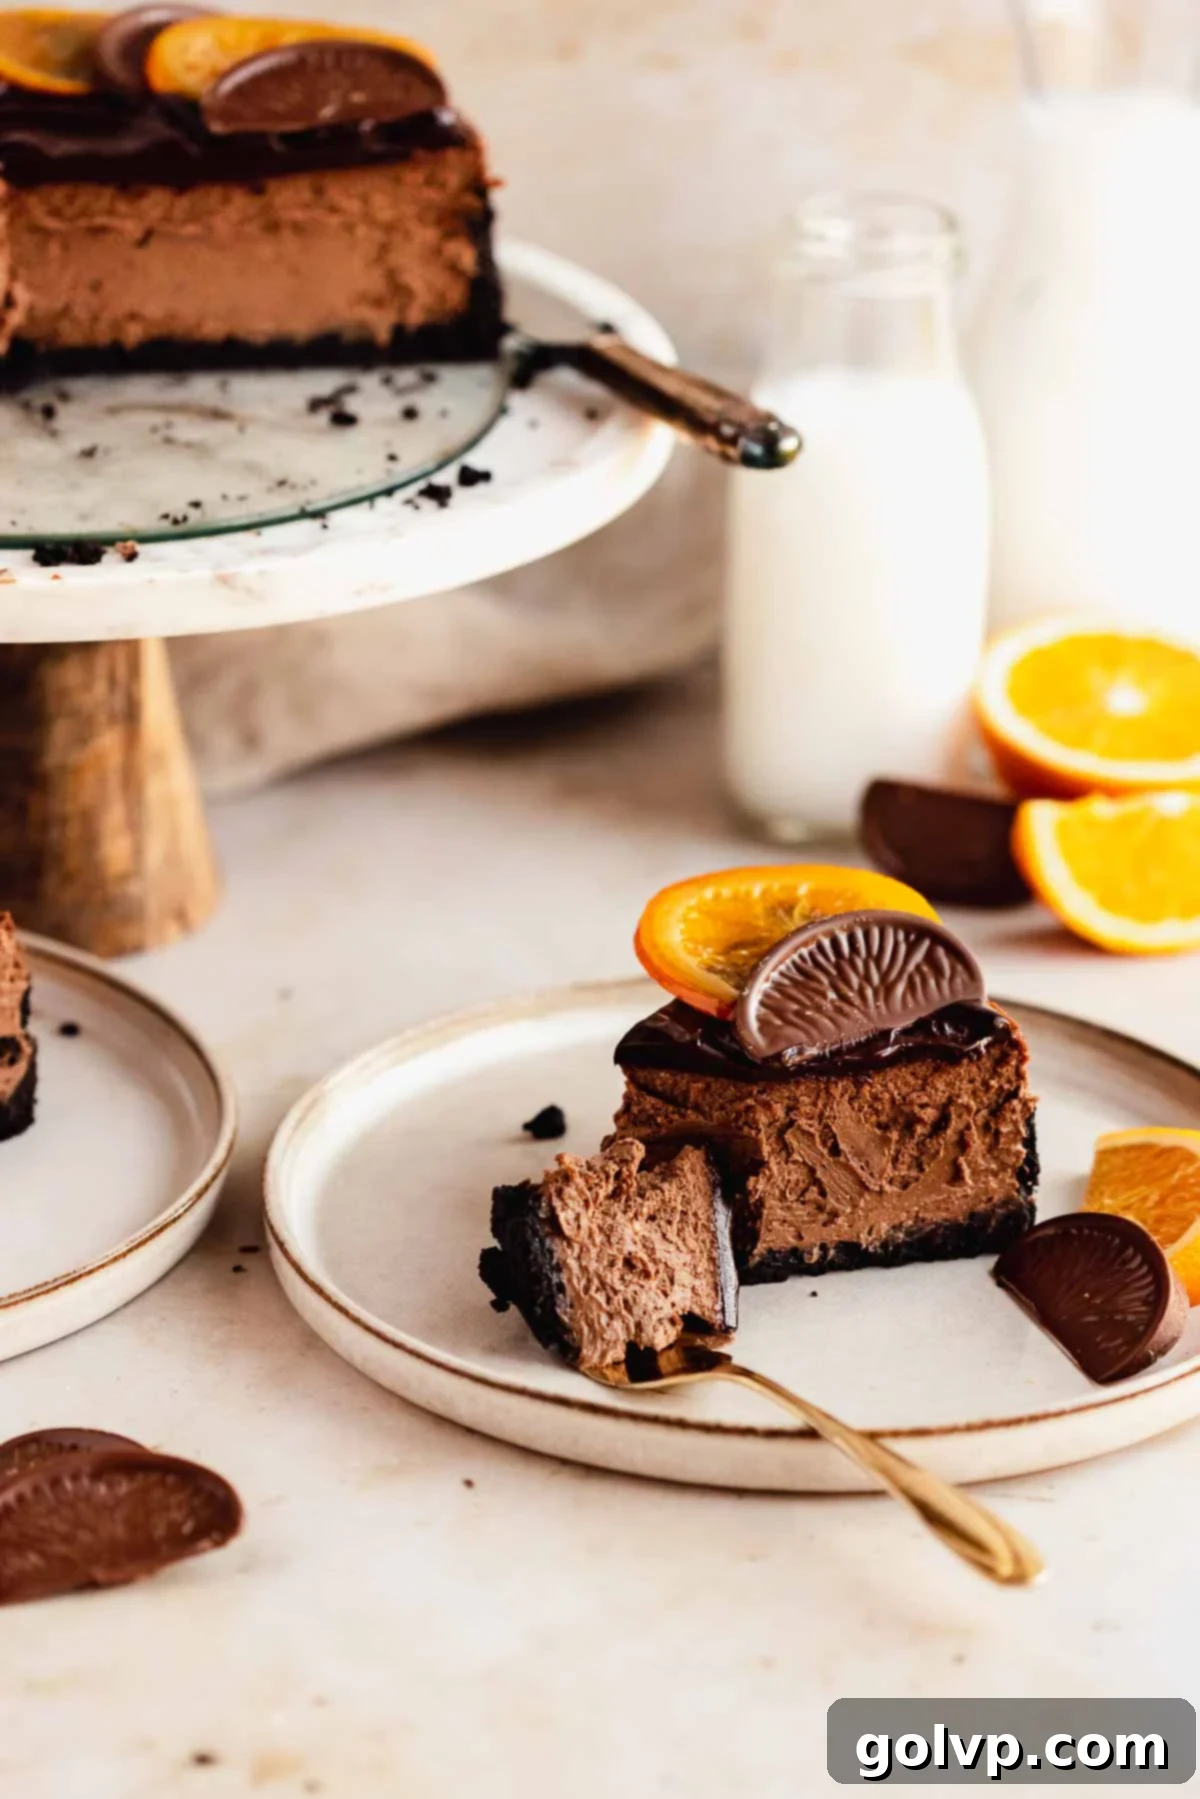
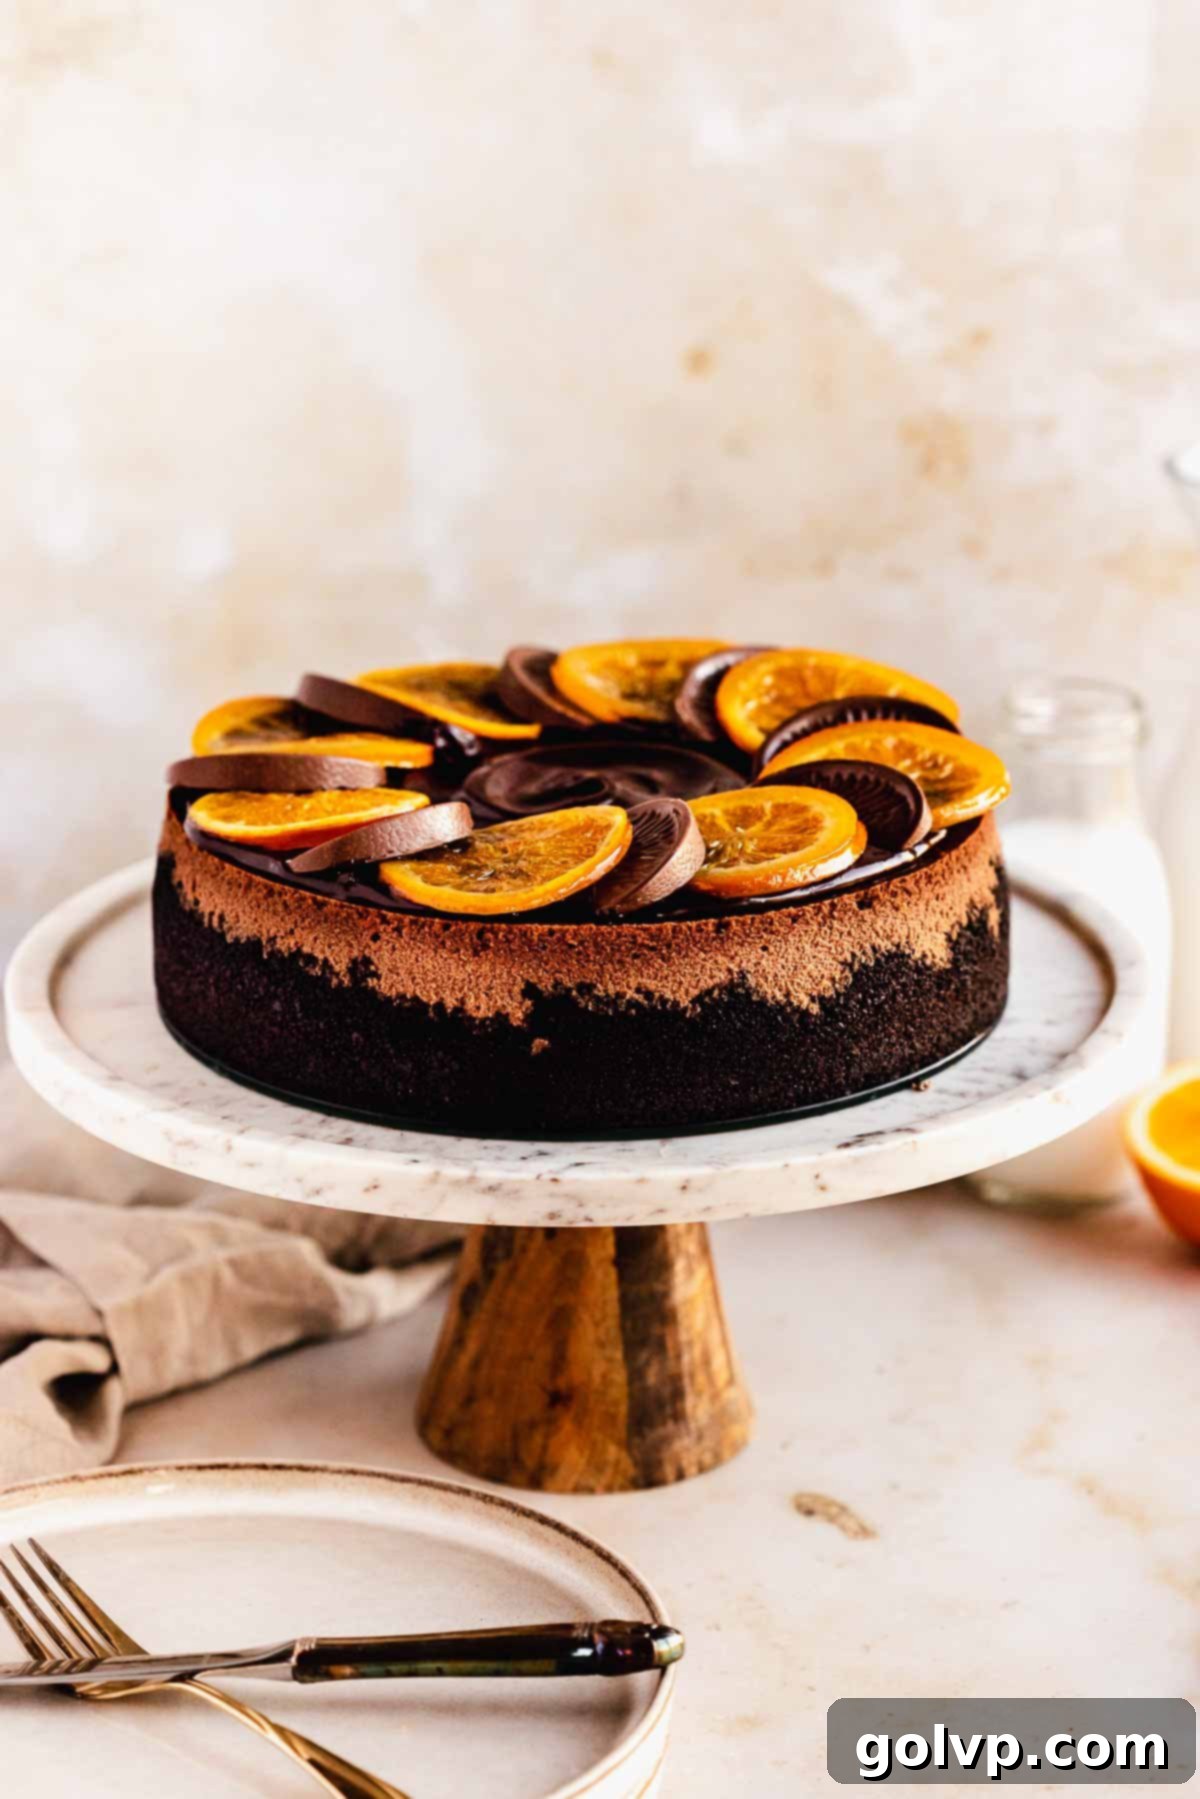
This isn’t just any cheesecake; it’s a culinary masterpiece that brings together the deep, decadent flavor of chocolate with the bright, vibrant zest of fresh oranges. Imagine a dessert so luxuriously creamy it melts in your mouth, built upon a perfectly crunchy Oreo crust. Each bite delivers a harmonious balance of intense chocolate, tangy orange, and a silky smooth texture that is simply unforgettable. To elevate this already stunning treat, it’s adorned with a glistening chocolate ganache, delicate candied orange slices, and iconic Terry’s Chocolate Orange wedges, making it as visually appealing as it is delicious. This comprehensive guide provides all the expert tips and detailed instructions you need to confidently bake a show-stopping, rich, and impeccably creamy cheesecake every single time. Perfect for holidays, special occasions, or simply to treat yourself, this chocolate orange cheesecake is designed to be prepared in advance, allowing you to enjoy a stress-free celebration with an exquisite dessert ready to impress.
[feast_advanced_jump_to]
🍊 Why you’ll LOVE this recipe
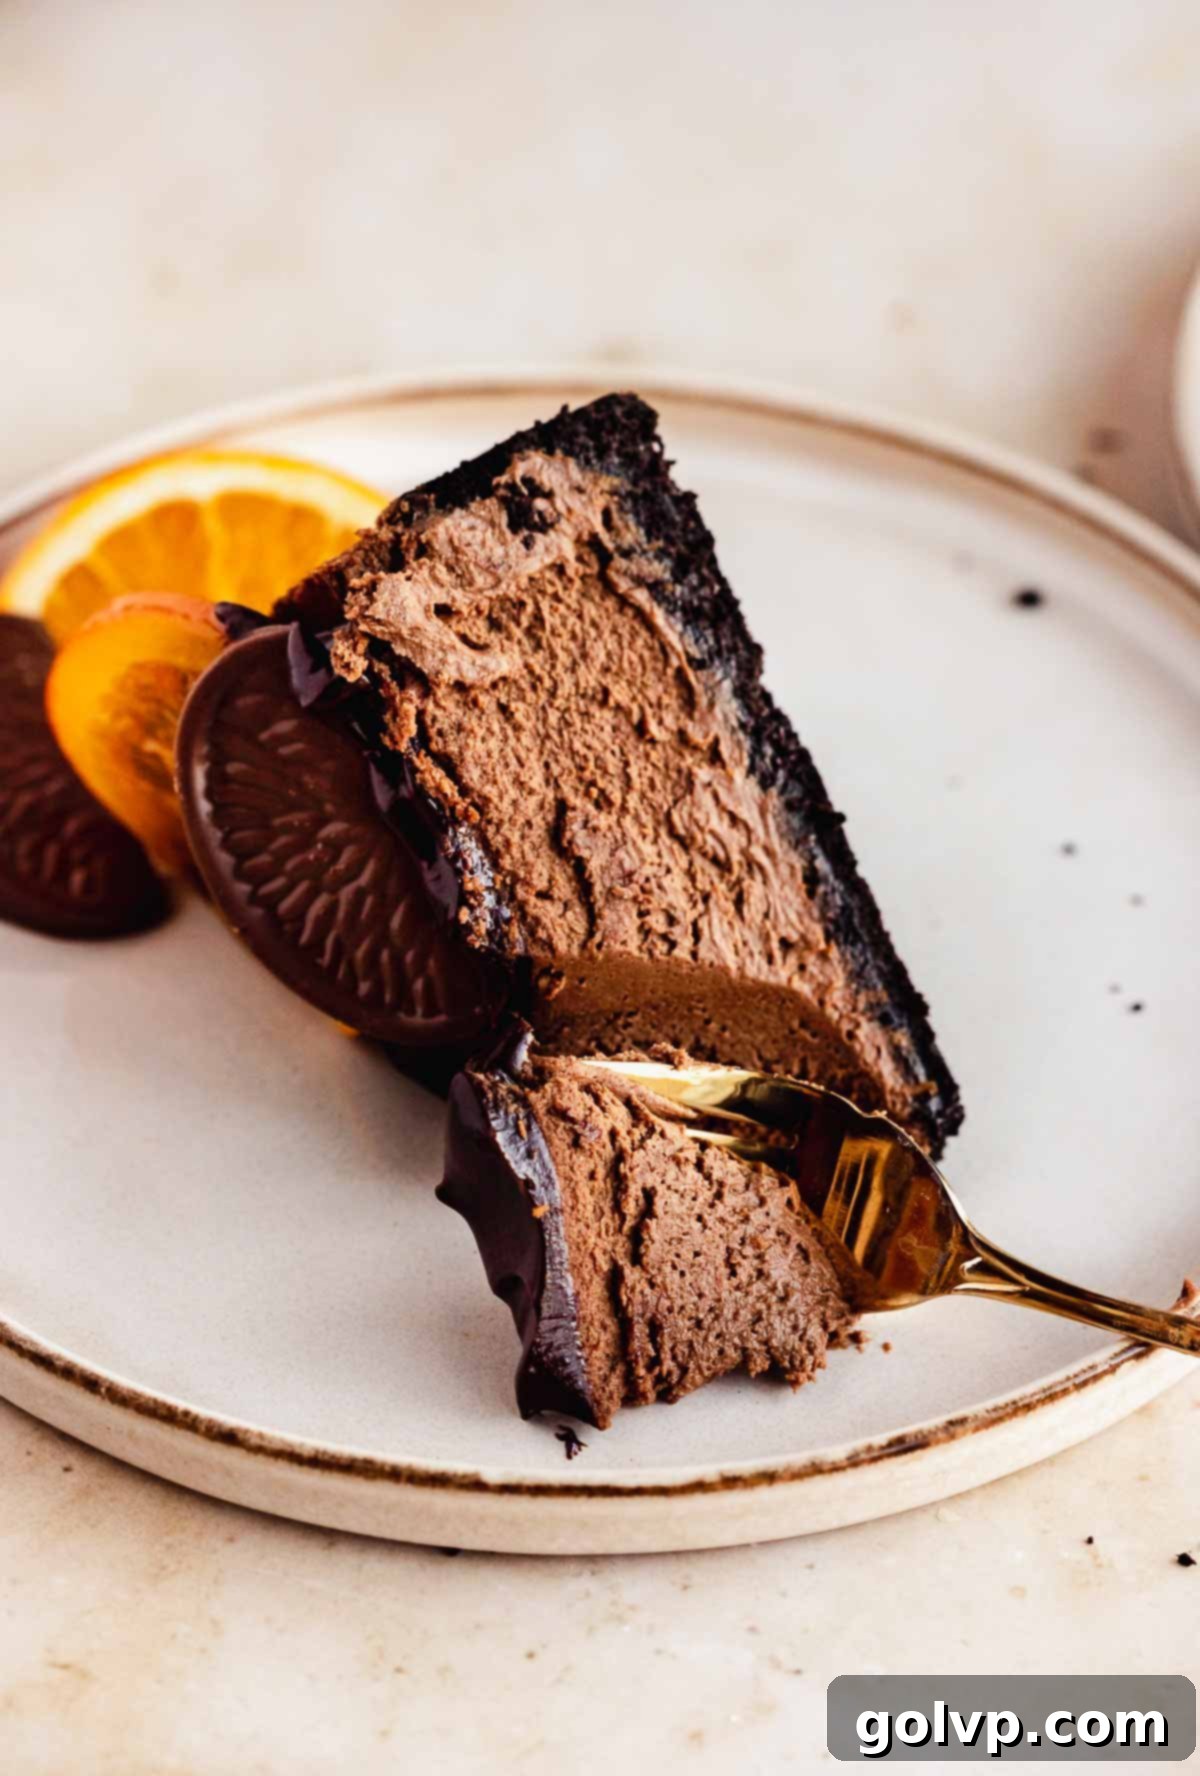
- Creamy Perfection: The texture is not merely smooth; it’s a testament to perfectly balanced ingredients and precise baking. Each forkful glides effortlessly, offering a rich, velvety mouthfeel that defines a truly exceptional cheesecake. We’ll achieve this through careful ingredient selection and a crucial baking technique – the water bath – ensuring an even, consistent creaminess from edge to center, with no dry or crumbly spots.
- Bursting with Orange Flavor: This recipe harnesses the full potential of oranges, incorporating both zest and freshly squeezed juice into the creamy filling. The zest provides an aromatic intensity, infusing the cheesecake with bright, tangy notes that beautifully cut through the richness of the chocolate. For a final flourish, homemade candied orange slices not only add a touch of gourmet elegance but also contribute a delightful chewy texture and concentrated citrus sweetness that perfectly complements the overall flavor profile.
- Decadent Chocolate Richness: Far from a mere hint, this cheesecake is packed with deep, complex chocolate flavor. We use high-quality semisweet chocolate chips, melted to perfection and blended into the creamy batter. This not only ensures a pronounced chocolate taste but also adds an unparalleled richness and density to the cheesecake, making every bite a truly indulgent experience. The luscious chocolate ganache topping further enhances this chocolatey decadence, creating a delightful contrast with the zesty orange.
- Straightforward & Foolproof: Many bakers shy away from cheesecakes, fearing cracks or uneven textures. This recipe is meticulously crafted to be your reliable guide, demystifying the process with clear, step-by-step instructions and invaluable tips. From achieving the perfect room temperature ingredients to mastering the water bath, we cover every detail to ensure your baking journey is confident and results in a flawless, perfectly baked cheesecake, even if you’re a beginner.
📝 Key Ingredients for a Perfect Chocolate Orange Cheesecake
Read through for all the tips you will need for success!
Full steps and ingredients in recipe card below.
Filling Ingredients
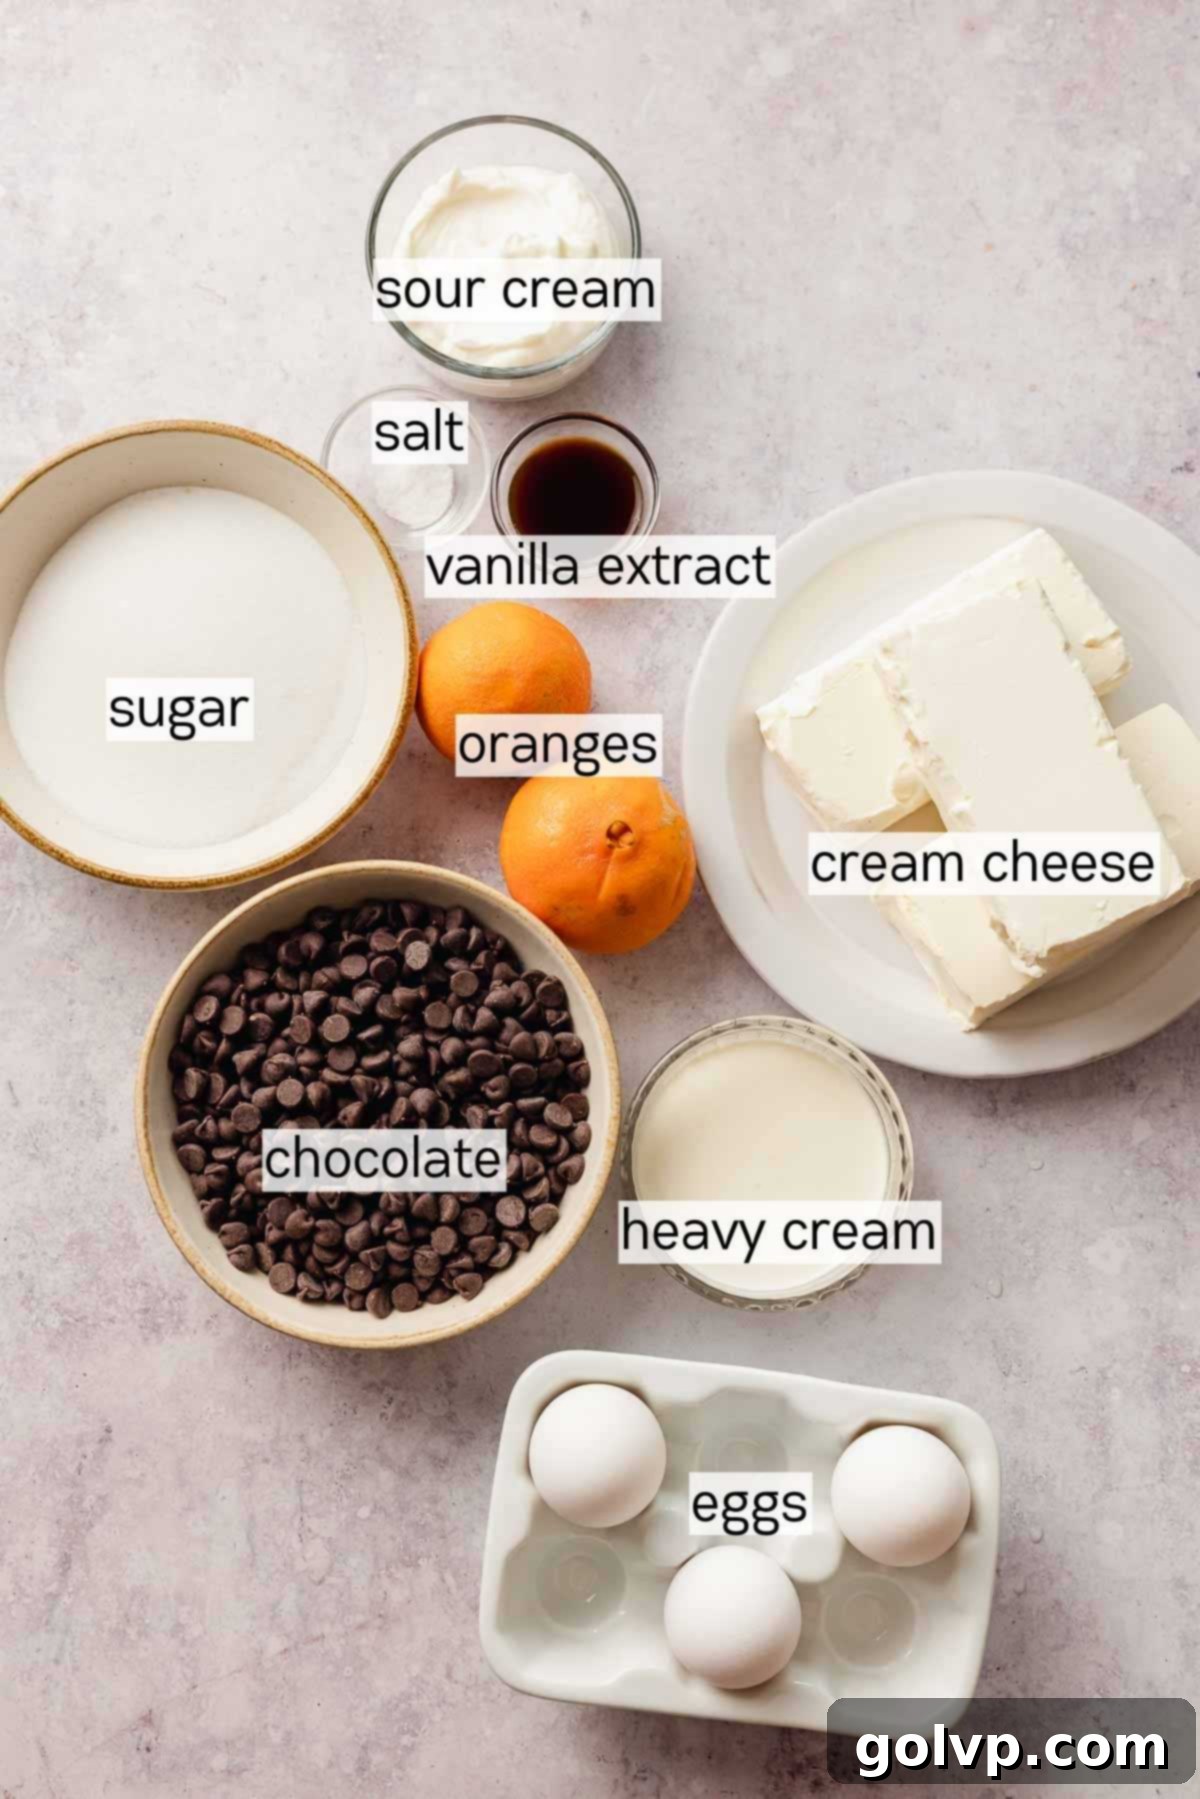
- Oranges: Beyond their vibrant flavor and aroma, oranges play multiple roles in this recipe. You’ll need fresh oranges for both their zest and juice, which are incorporated directly into the cheesecake filling, providing that essential citrus zing. Additionally, two whole oranges are transformed into stunning candied slices for decoration. While optional, these candied slices are highly recommended as they offer a beautiful aesthetic and a concentrated burst of sweet-tart flavor, making the entire dessert feel more luxurious and complete. Choose firm, blemish-free oranges with bright, unblemished skin for the best zest.
- Semisweet Chocolate Chips: The choice of chocolate is paramount for achieving the desired depth and balance in this cheesecake. Semisweet chocolate chips are specifically recommended because they provide a rich, intense chocolate flavor without making the cheesecake overly sweet. This allows the orange notes to shine through beautifully. Milk chocolate, while delicious on its own, tends to be too sweet for this recipe and lacks the robust chocolate character needed to stand up to the zesty orange. Dark chocolate chips could also work if you prefer a less sweet, more intense chocolate experience, but ensure it’s still good quality.
- Cream Cheese: The foundation of any great cheesecake is high-quality cream cheese. Opt for full-fat, brick-style cream cheese, such as Philadelphia Original. Low-fat varieties contain too much water, which can lead to a watery, inconsistent batter and a less stable, less creamy final texture. Ensuring your cream cheese is at room temperature is crucial – ideally, let it sit out for at least 2 hours before you begin. This allows it to soften properly, ensuring it blends smoothly with other ingredients without lumps, creating that signature silky texture we aim for.
- Heavy Whipping Cream: Heavy whipping cream is a secret weapon for achieving an exceptionally light and creamy cheesecake texture. It enriches the batter and contributes to the overall velvety mouthfeel. It also plays a vital role in creating the luscious chocolate ganache topping. Do not substitute with half-and-half or milk; these alternatives lack the necessary fat content and will not yield the same luxurious creaminess or proper consistency.
- Sour Cream: Sour cream adds a subtle tang that balances the sweetness of the cheesecake and contributes significantly to its ultra-creamy, smooth texture. Like cream cheese, using a full-fat sour cream is essential. Low-fat versions can introduce excess water, compromising the cheesecake’s delicate structure and rich consistency. Ensure it’s also at room temperature for optimal blending.
- Eggs: Eggs act as a binder and provide structure to the cheesecake, helping it set. Just like the cream cheese and sour cream, it’s vital that your eggs are at room temperature. Cold eggs can cause the batter to seize or curdle, leading to a lumpy texture. Room temperature eggs emulsify much more easily with the other ingredients, resulting in a smooth, homogenous batter that bakes evenly and cracks less.
Crust Ingredients
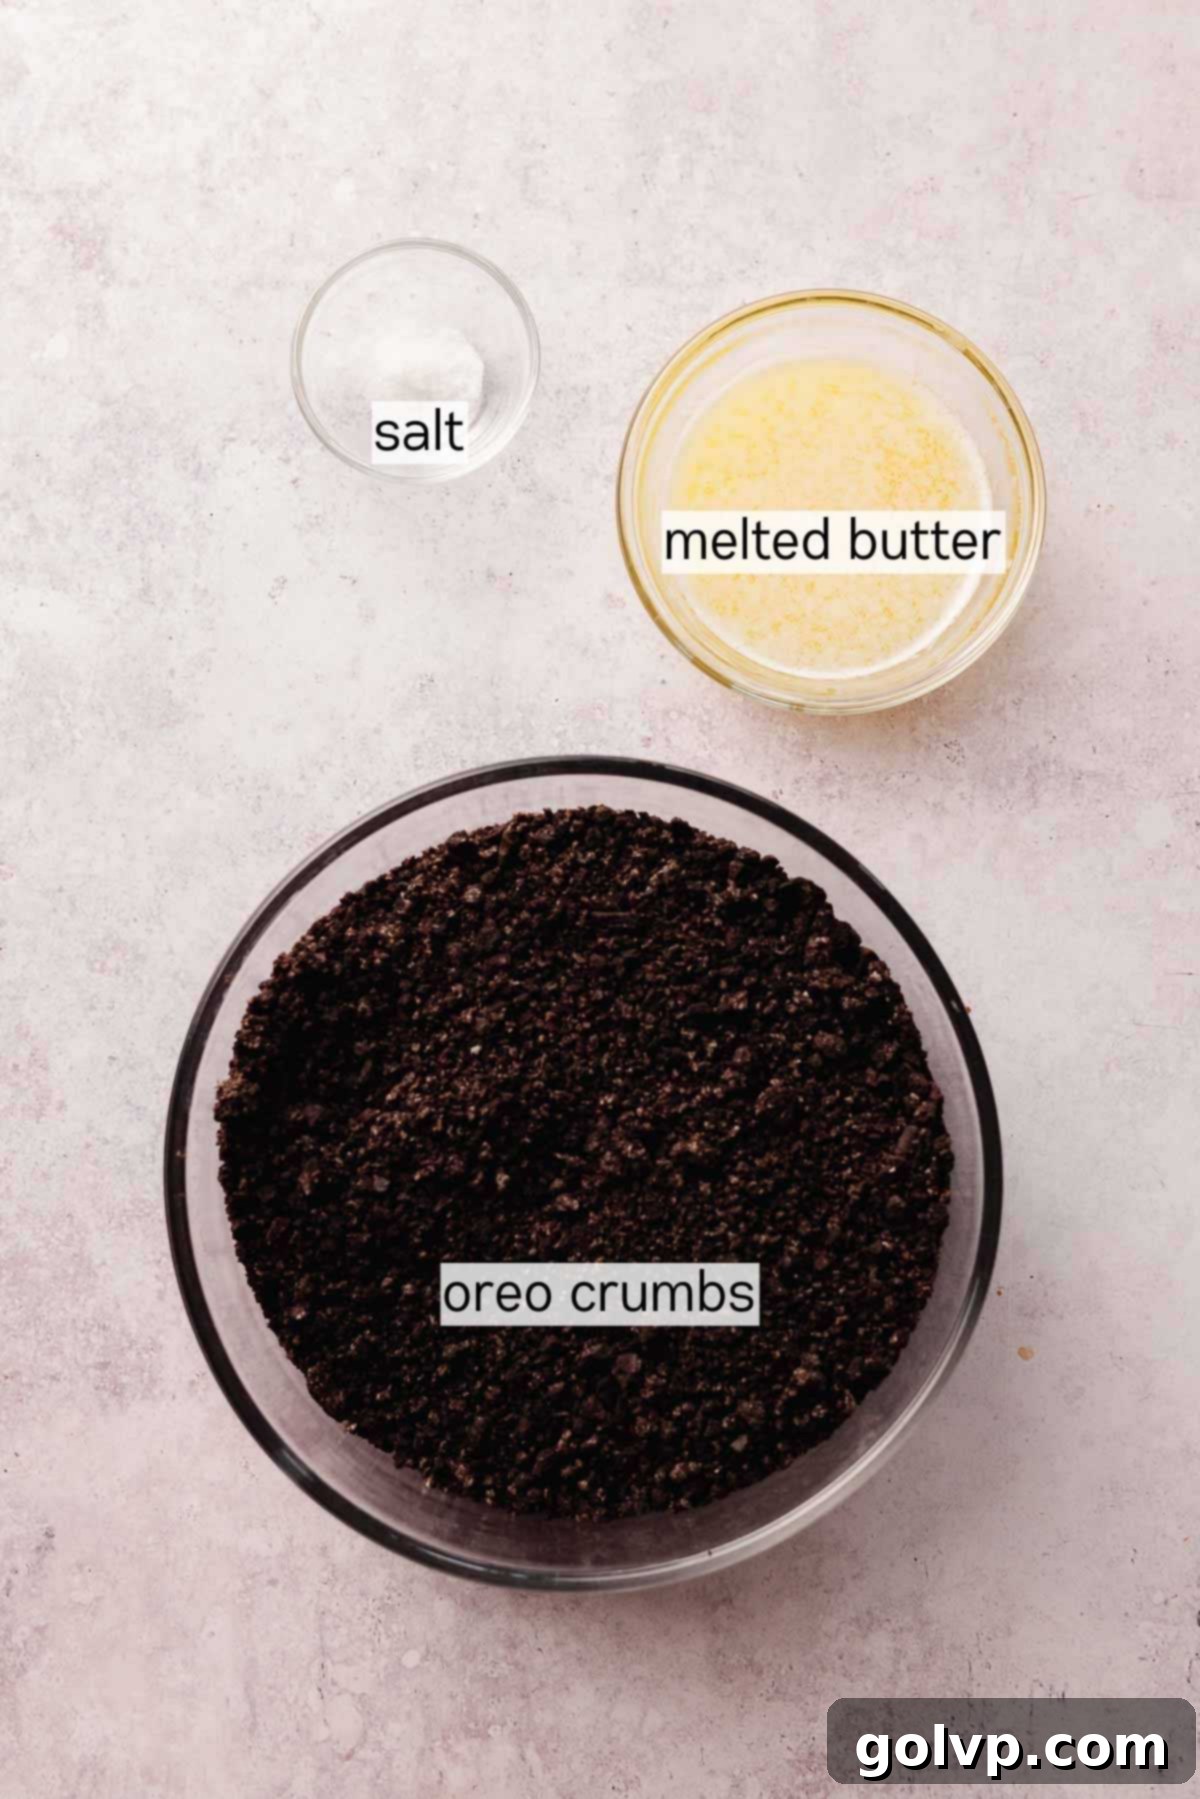
- Oreo Crumbs: The Oreo crust offers a delightful chocolatey base and a satisfying crunch that beautifully contrasts the creamy filling. You can purchase pre-crushed Oreo crumbs for convenience, or easily make your own by crushing whole Oreo cookies (approximately 36 cookies yield 3 cups of crumbs). A food processor makes quick work of this, creating fine, uniform crumbs. If you don’t have one, placing cookies in a large Ziploc bag and crushing them with a rolling pin works just as well. The filling within the Oreos contributes to the binding of the crust, so there’s no need to remove it.
- Butter: Melted butter binds the Oreo crumbs together, forming a firm, flavorful crust. If you use salted butter, remember to omit the extra pinch of sea salt listed for the crust. Unsalted butter gives you more control over the saltiness, allowing you to add just a touch of sea salt to enhance the chocolate flavor.
✔️ Ingredient Substitutions
Oreos: While Oreo cookies provide a classic, delicious chocolate crust, you can certainly experiment with other sandwich cookies that have a creamy filling, as the filling helps bind the crumbs. If opting for a different cookie, ensure it complements the chocolate and orange flavors. If you choose to use plain graham cracker crumbs, you’ll likely need to increase the amount of melted butter to ensure the crust holds together properly, as graham crackers are drier and lack the fat from cookie filling.
Oranges: The beauty of this recipe lies in its vibrant orange flavor, but for those who love to experiment, other citrus fruits can be explored. While I haven’t personally tested it, a chocolate lemon cheesecake could be an exciting variation, offering a brighter, tarter profile. Alternatively, lime or even grapefruit could offer unique twists. Remember that the flavor intensity and sugar balance might need slight adjustments depending on the citrus fruit chosen.
👩🍳 How to Make Chocolate Orange Cheesecake: Step-by-Step Guide
The process of creating this exquisite chocolate orange cheesecake is divided into three manageable steps: preparing the crunchy crust, mixing the silky filling, and finally, assembling the decadent toppings.
Cheesecake Crust Step by Step
Prep: A perfect cheesecake begins with a solid foundation. Preheat your oven to 355°F (180°C) and meticulously grease an 8-inch or 9-inch round springform pan. This crucial step prevents sticking and ensures easy removal later.
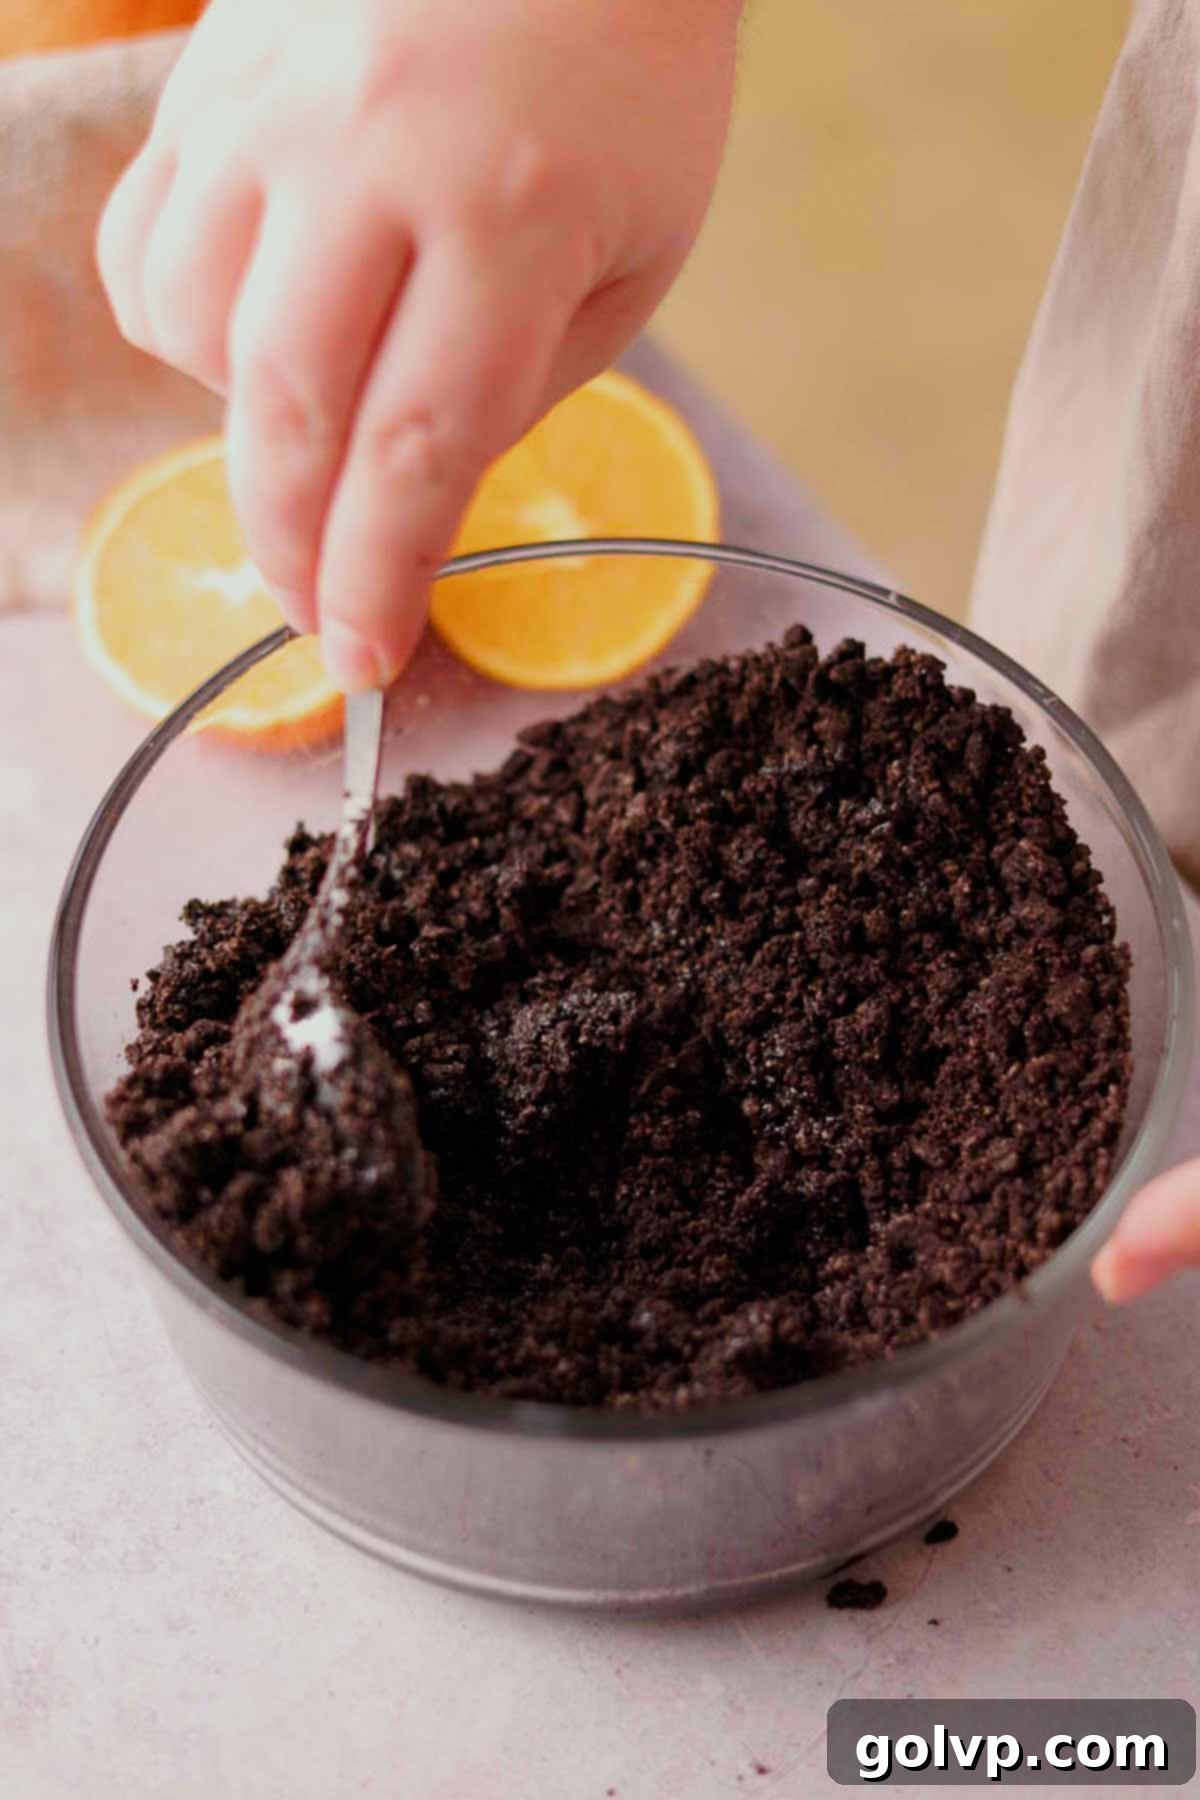
Step 1: To prepare the crust, transform whole Oreo cookies into fine crumbs using a food processor for efficiency, or a rolling pin for a more hands-on approach. In a large bowl, combine these rich chocolatey crumbs with cooled melted butter and a pinch of sea salt. Mix until the butter is evenly distributed, and the crumbs resemble wet sand.
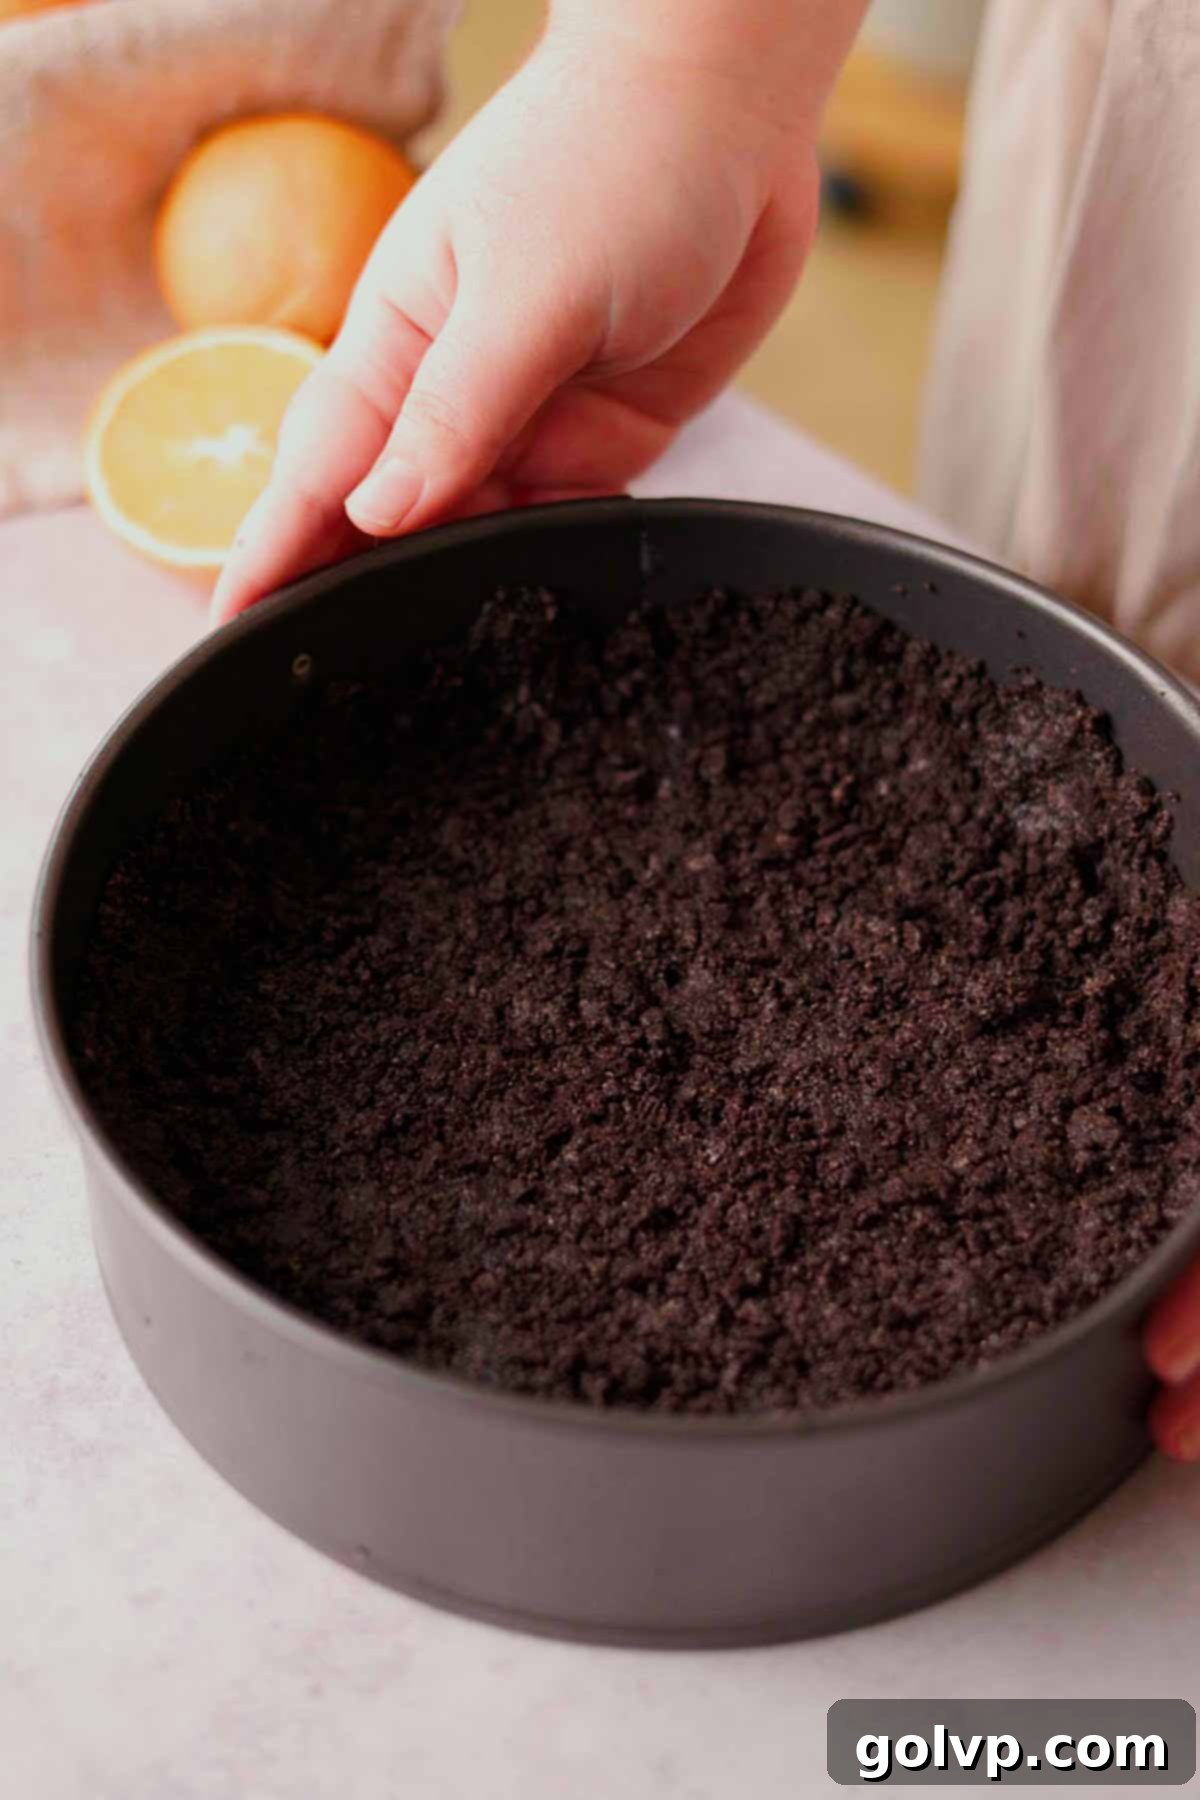
Step 2: Press this mixture firmly into the bottom of your prepared pan, extending it halfway up the sides. A flat-bottomed glass is an excellent tool for achieving a compact, even crust. Bake this base for a quick 12 minutes to set its structure and deepen its flavor. While it bakes, begin working on the filling.
Cheesecake Filling Step by Step
Prep: The water bath is your best friend for a flawless, crack-free cheesecake. Before baking, prepare your water bath by filling a kettle and bringing water to a boil.
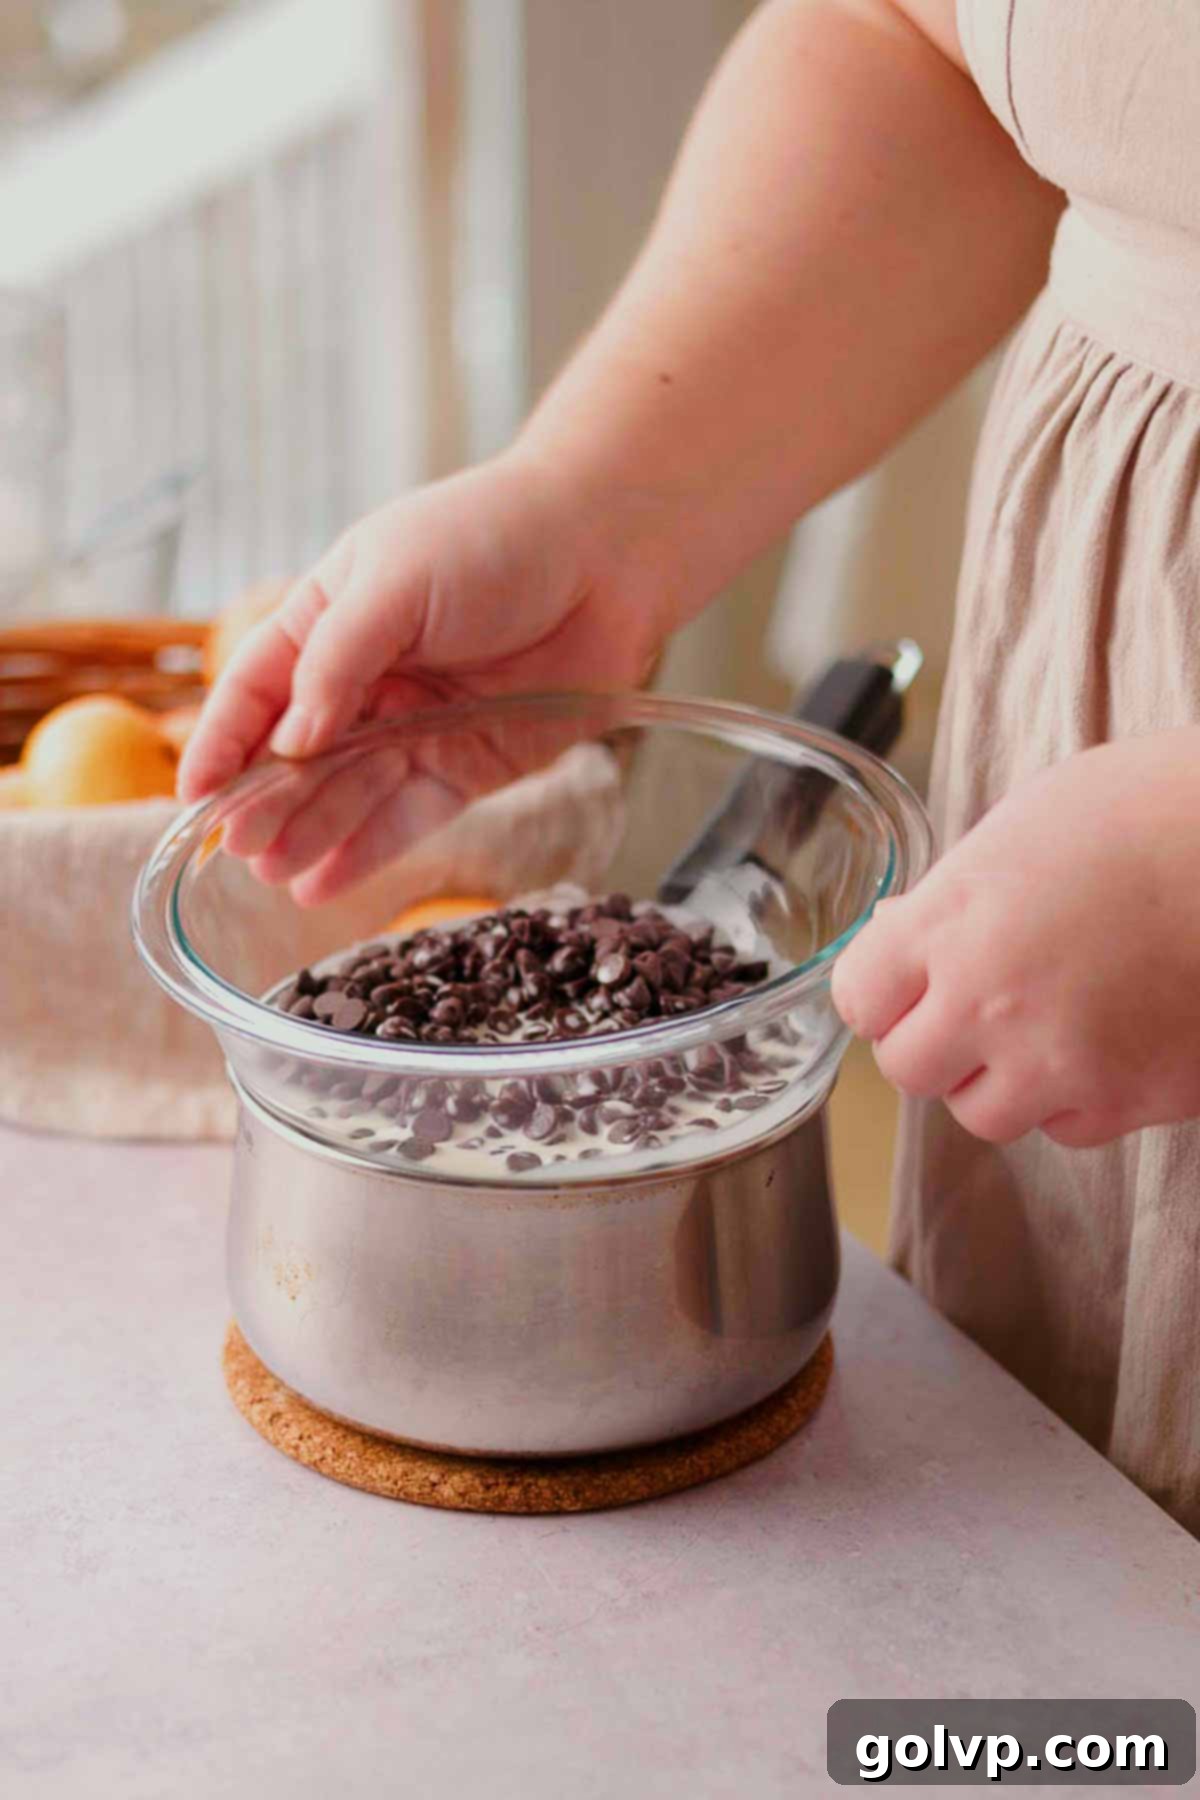
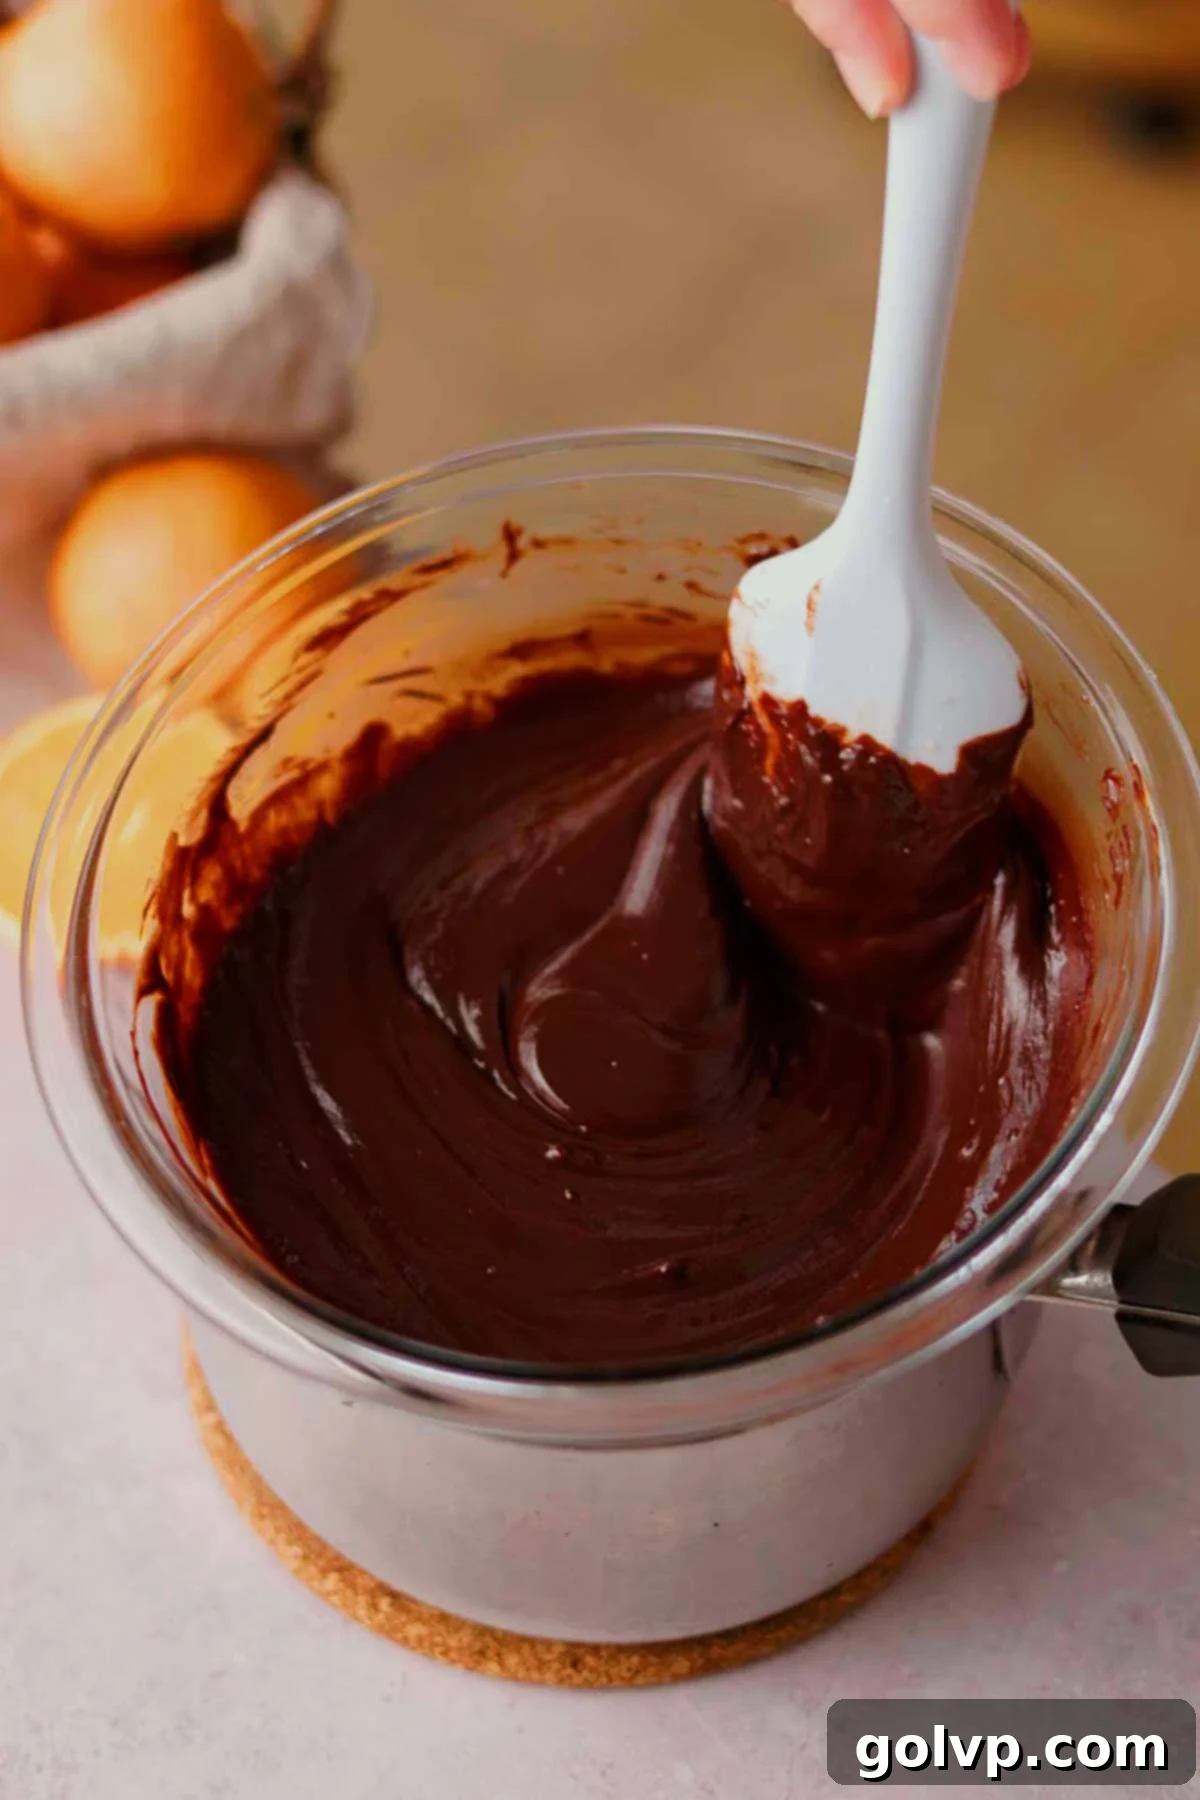
Step 1: Pour a few inches of water in the bottom of a saucepan and bring to a simmer. Find a heat-safe bowl that fits on top of the saucepan without touching the water. Place chocolate chips and cream into the bowl, then place the bowl onto the saucepan, and stir until the chocolate is completely melted and smooth. Remove from the saucepan and let cool to room temperature – this prevents it from seizing when added to the cream cheese mixture.
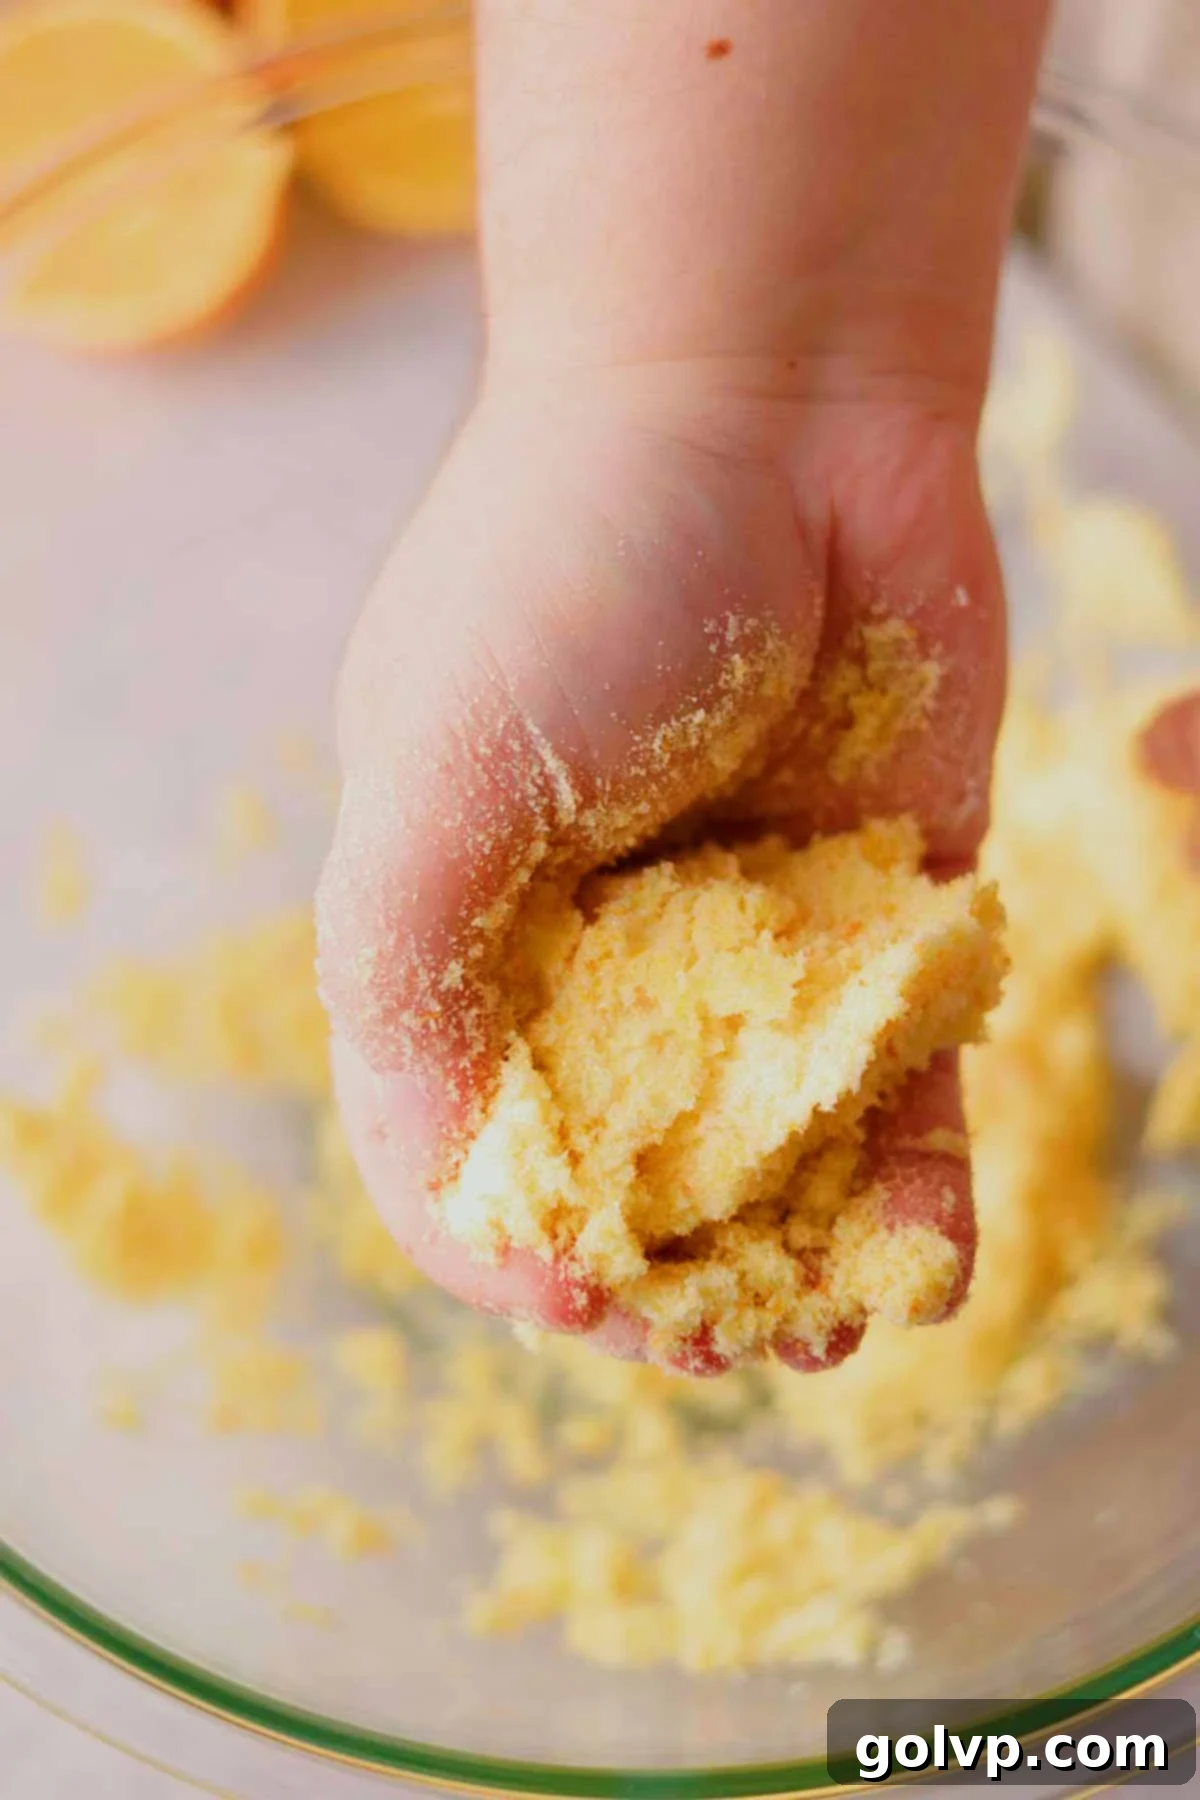
Step 2: Now, to infuse that bright orange flavor, combine granulated sugar, a touch of sea salt, and fresh orange zest into a large bowl or stand mixer. Take a moment to rub the zest into the sugar with your fingers until it becomes pale orange and starts to clump together. This releases the essential oils, intensifying the orange aroma and flavor.
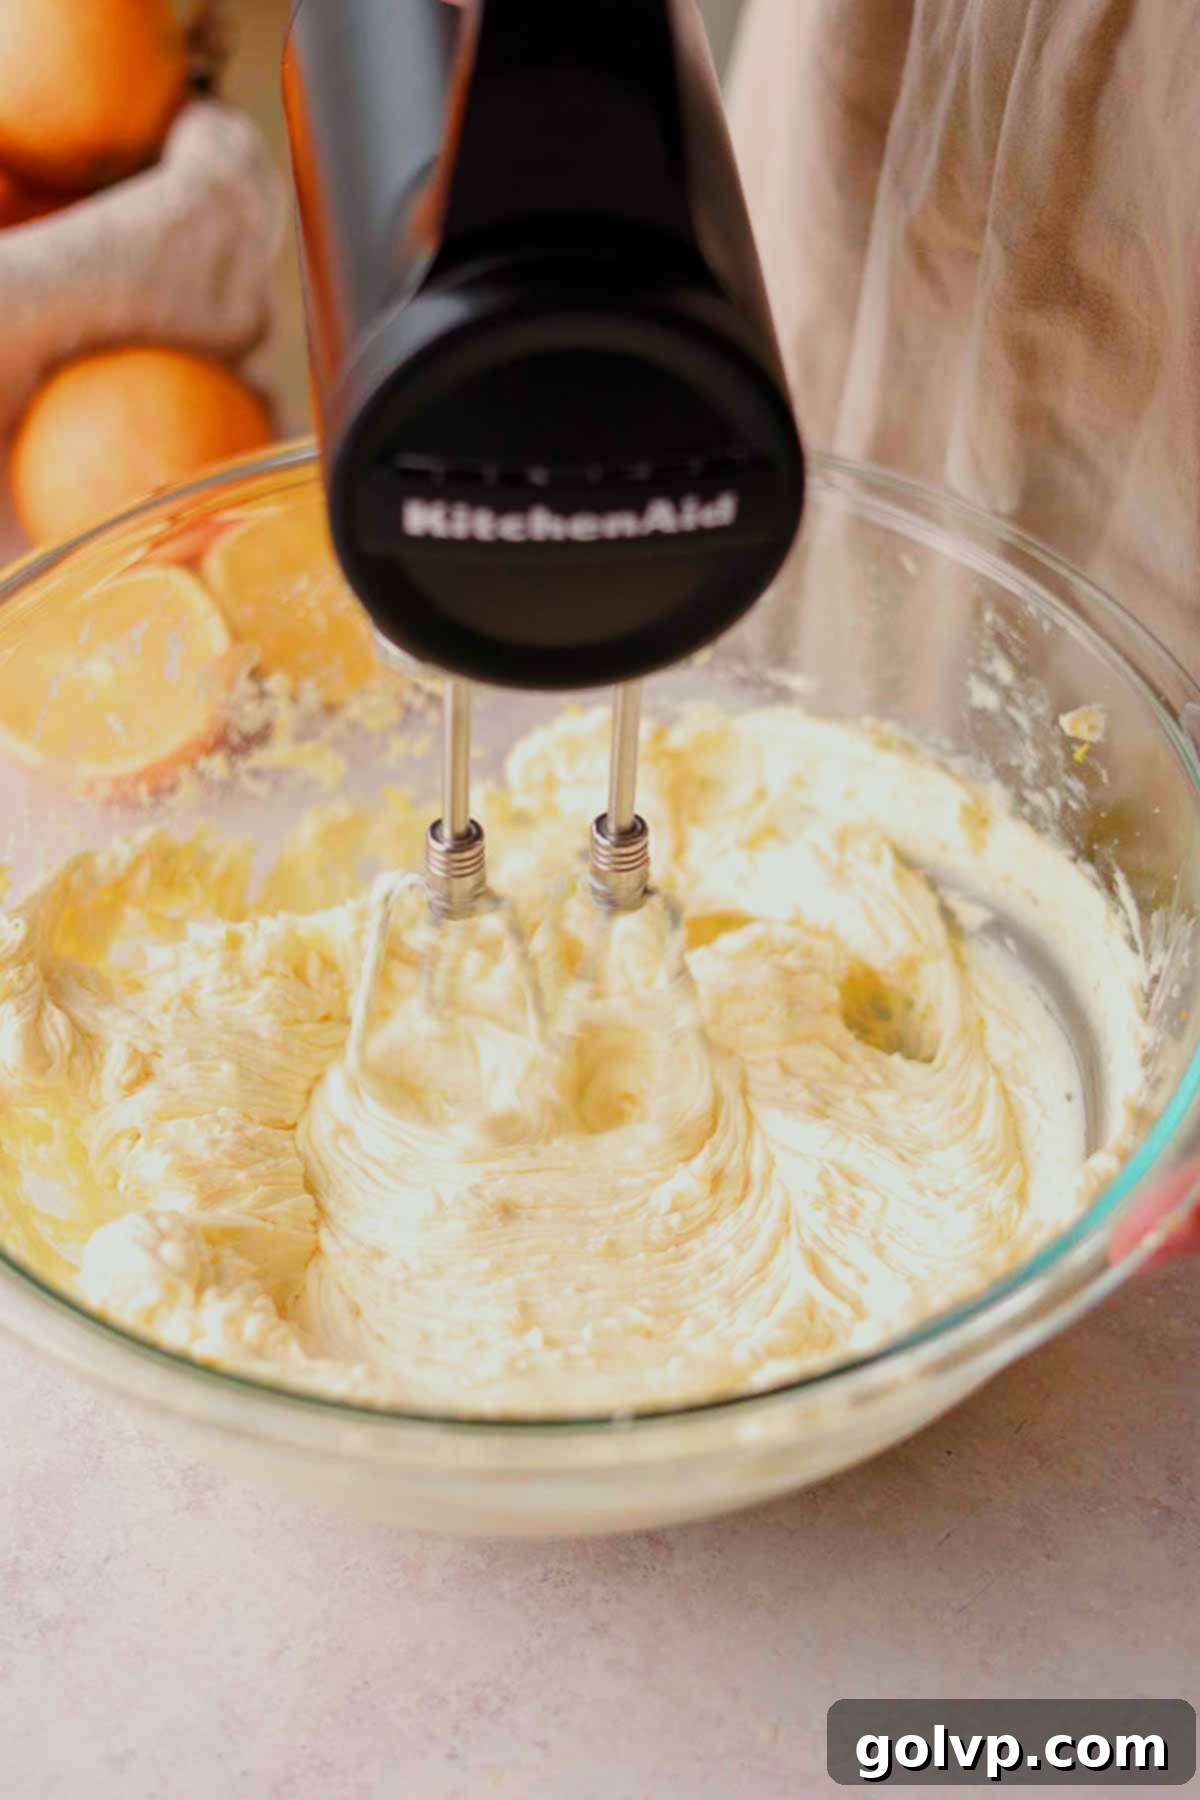
Step 3: Add your room-temperature cream cheese into the orange sugar mixture and beat with a stand or electric mixer until incredibly smooth, light, and lump-free. Remember to frequently scrape down the bowl to ensure all ingredients are well combined.
Step 4: Incorporate the room-temperature eggs one by one, beating only until each egg yolk has just disappeared into the batter. Overmixing here can introduce too much air, which might lead to cracks during baking. Continue to scrape down the sides after each addition.
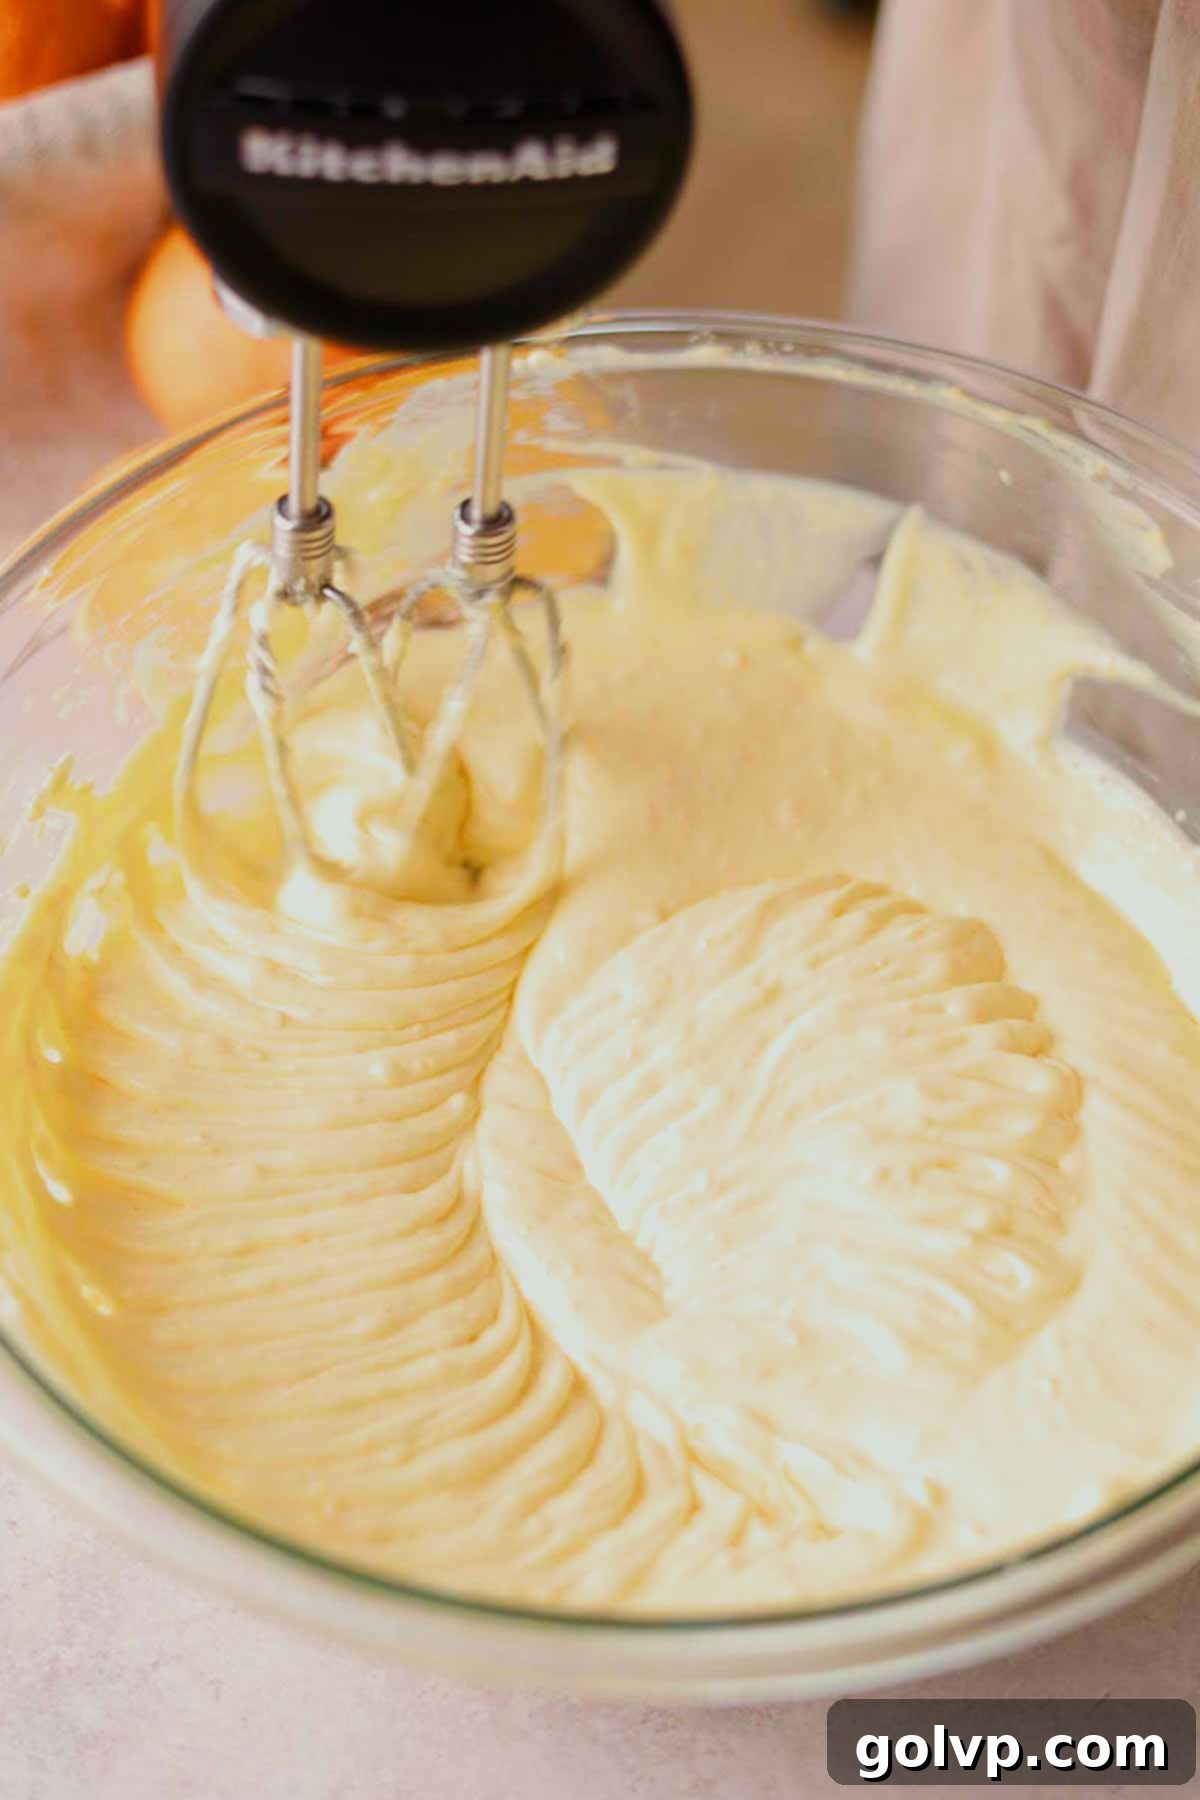
Step 5: Gently add the cooled melted chocolate and mix just until it is fully incorporated into the batter. Follow with the room-temperature sour cream, pure vanilla extract, and freshly squeezed orange juice, mixing just until everything is combined and the batter is silky smooth. Scrape down the sides once more to ensure even consistency.
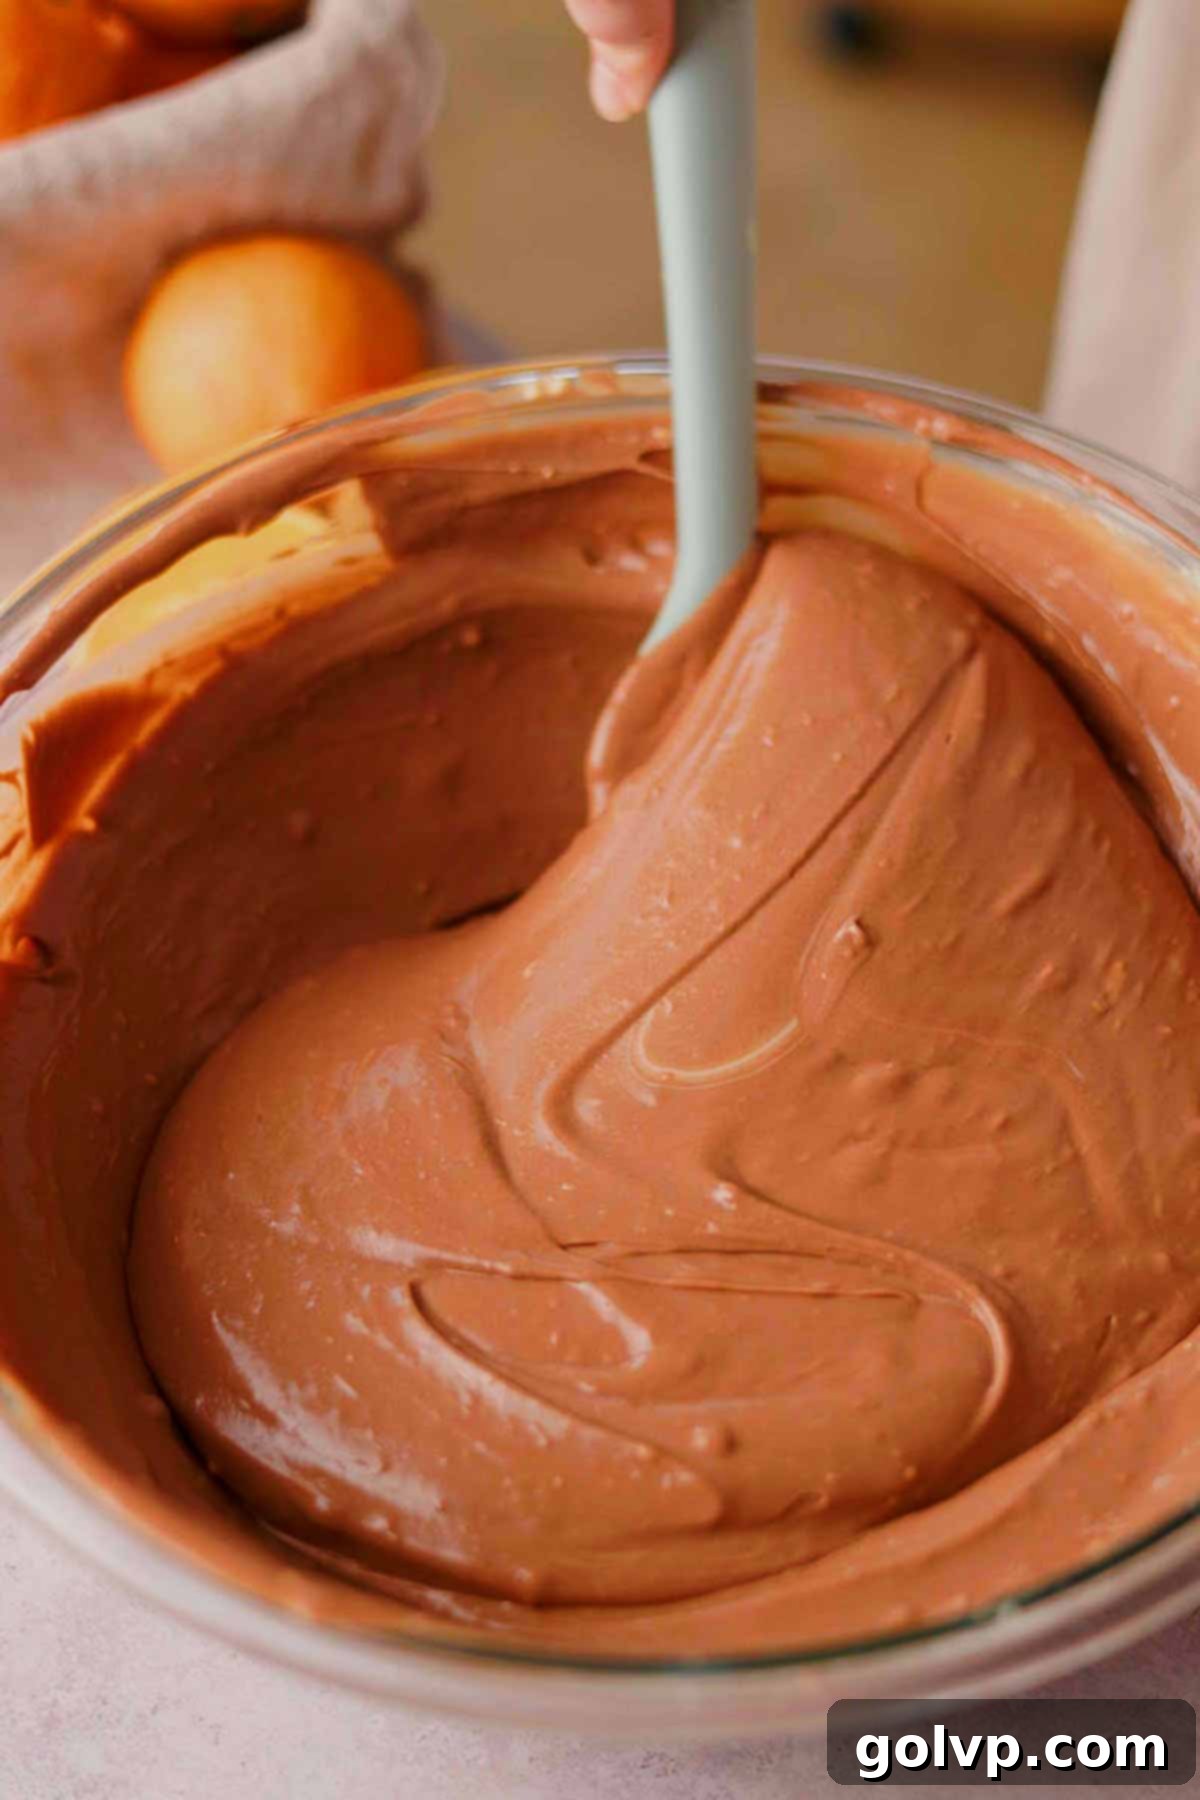
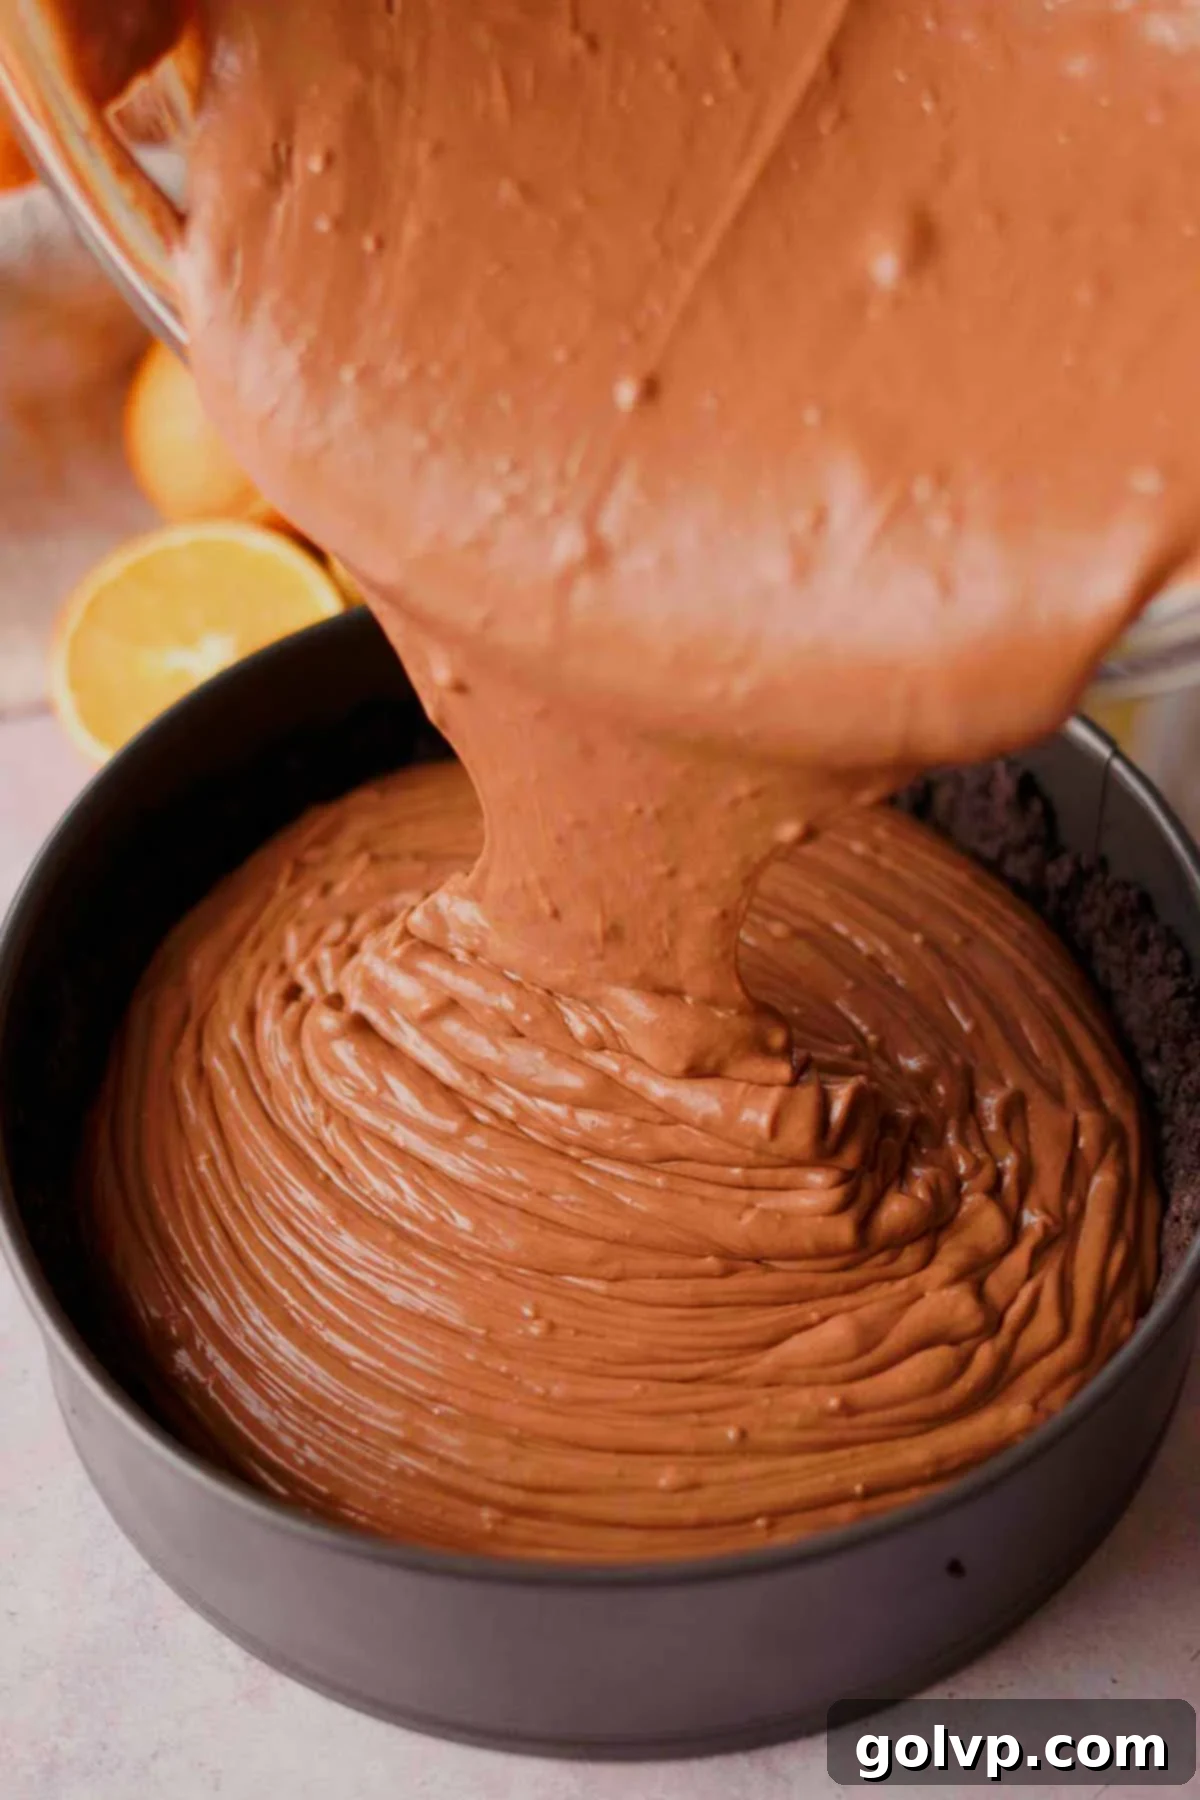
Step 6: Pour this decadent filling evenly over your pre-baked and cooled Oreo crust, smoothing the top with a spatula for an elegant finish.
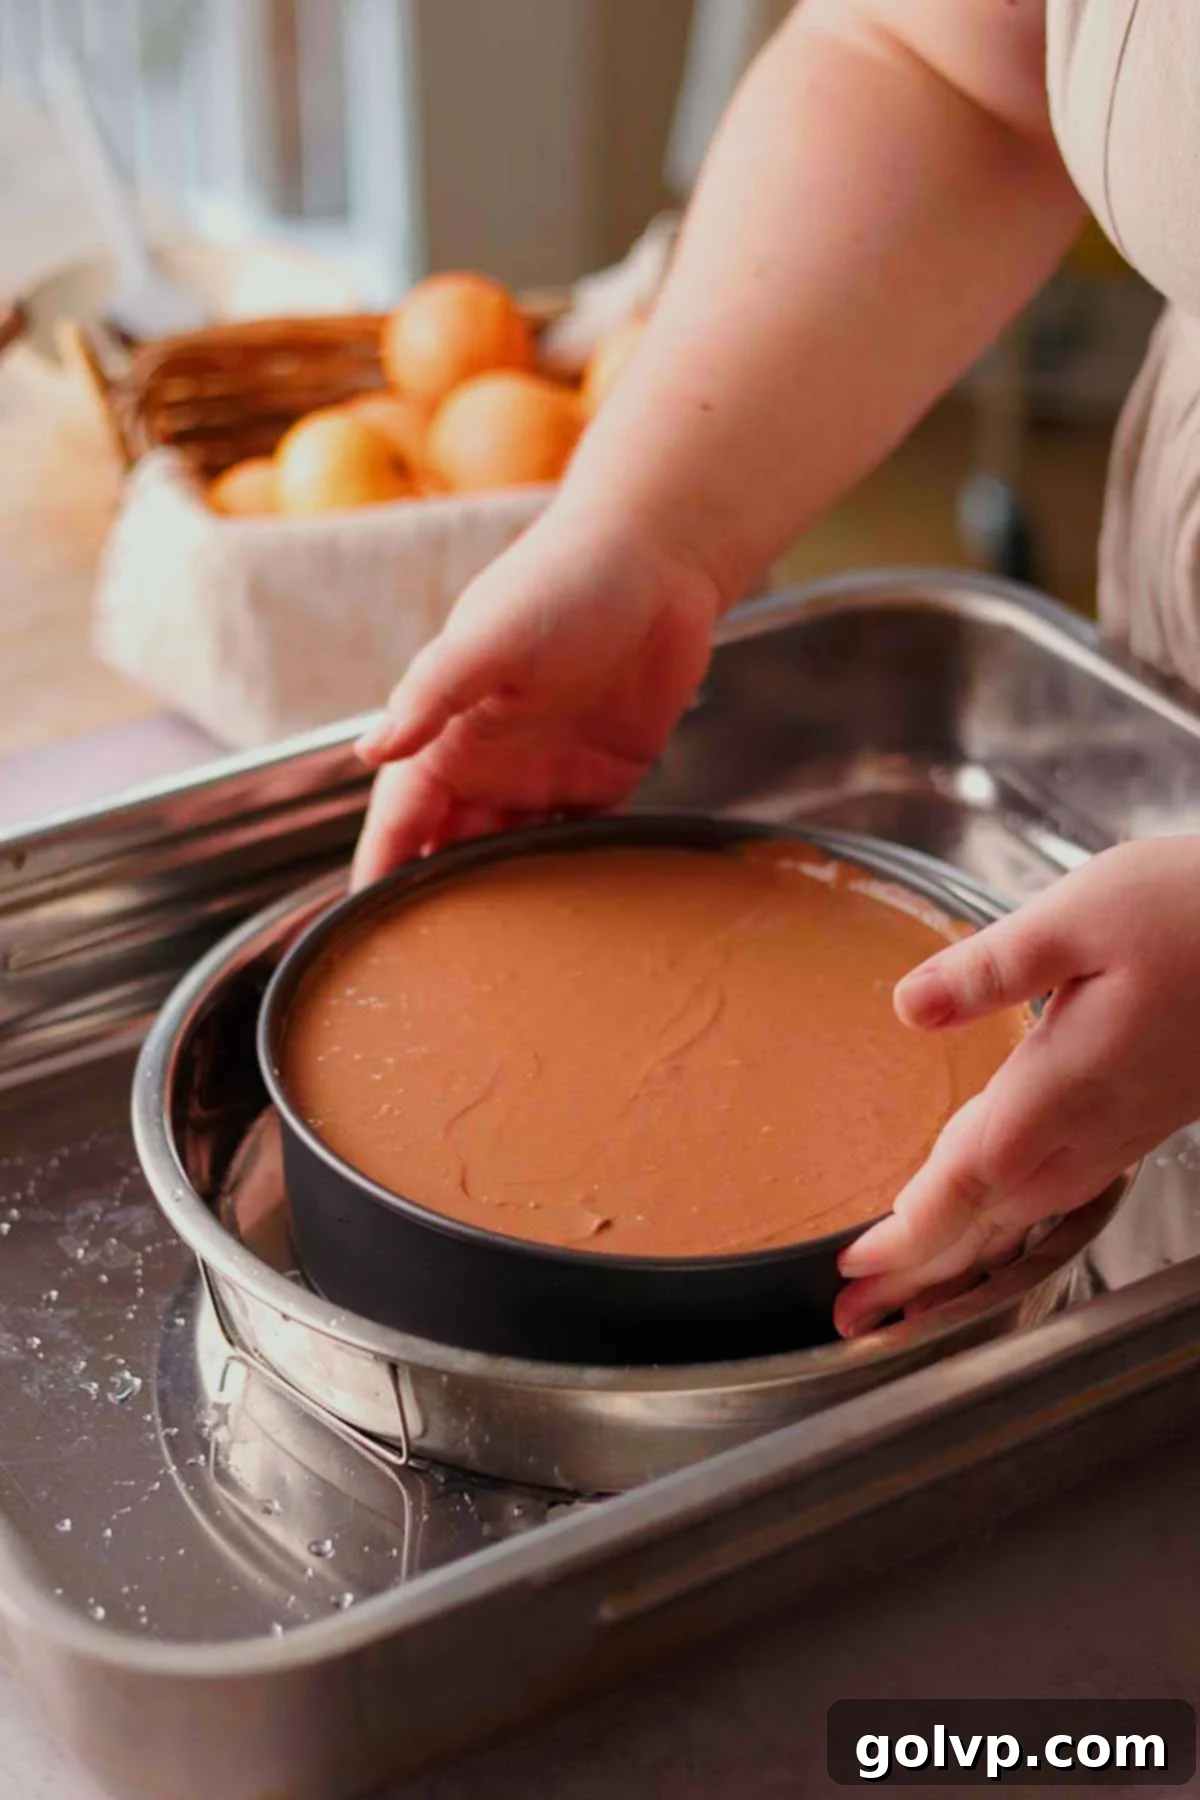
Step 7: Place the cheesecake into a round baking pan that is 1″ to 2” wider than the cheesecake pan. This will keep the water out of the cheesecake, preventing it from getting soggy. Then, place that pan into a large rectangular baking dish where it fits comfortably. See notes for water bath alternatives below.
Step 8: Cautiously pour the boiling hot water into the large rectangular pan until it reaches about halfway up the sides of your cheesecake pan. This creates a moist, even heat environment, preventing rapid temperature changes that cause cracking. Use oven mitts to carefully transfer the large baking tray with everything inside into the oven.
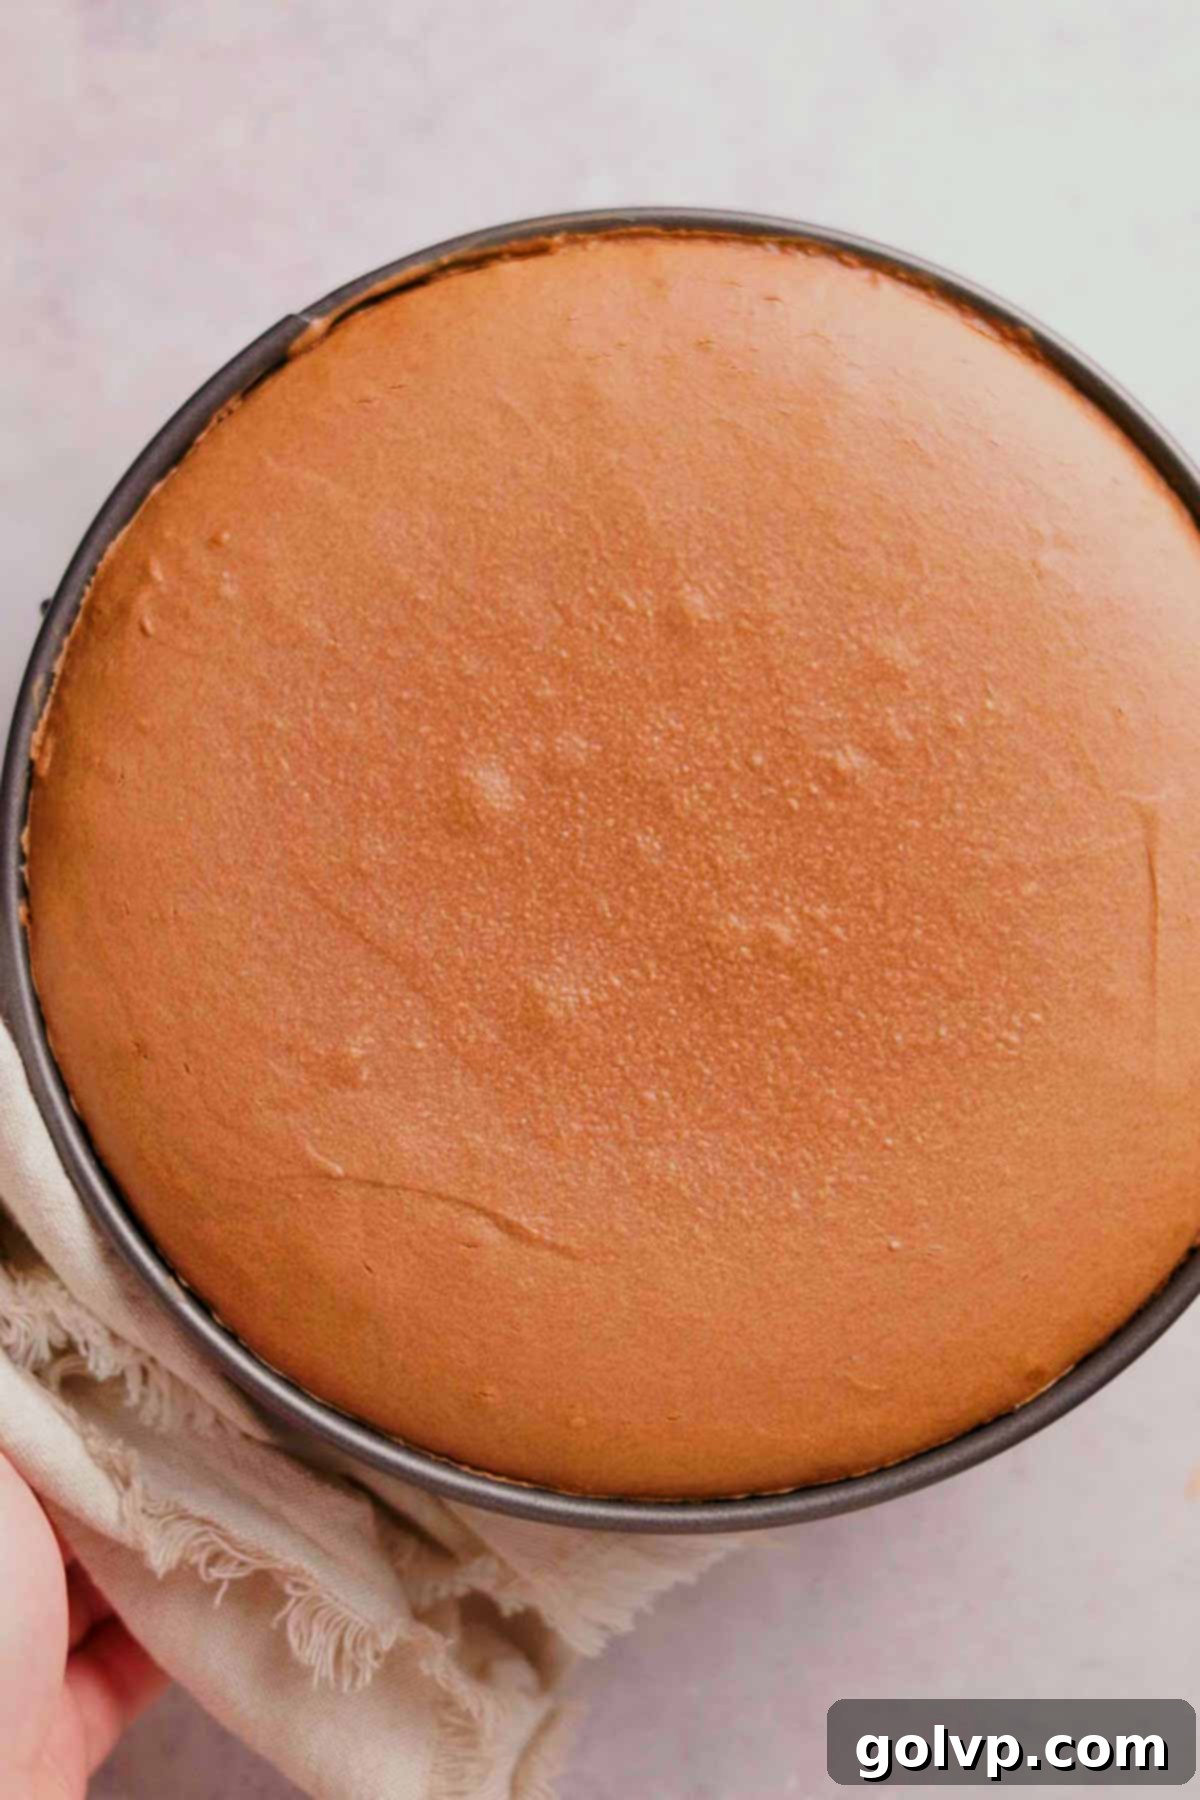
Step 9: Bake your cheesecake in the preheated oven (355°F or 180°C) for 60-75 minutes. Don’t be tempted to open the oven door too often! The cheesecake is perfectly baked when its edges are set and slightly puffed, but the very center still has a slight jiggle when gently nudged. It will continue to set as it cools.
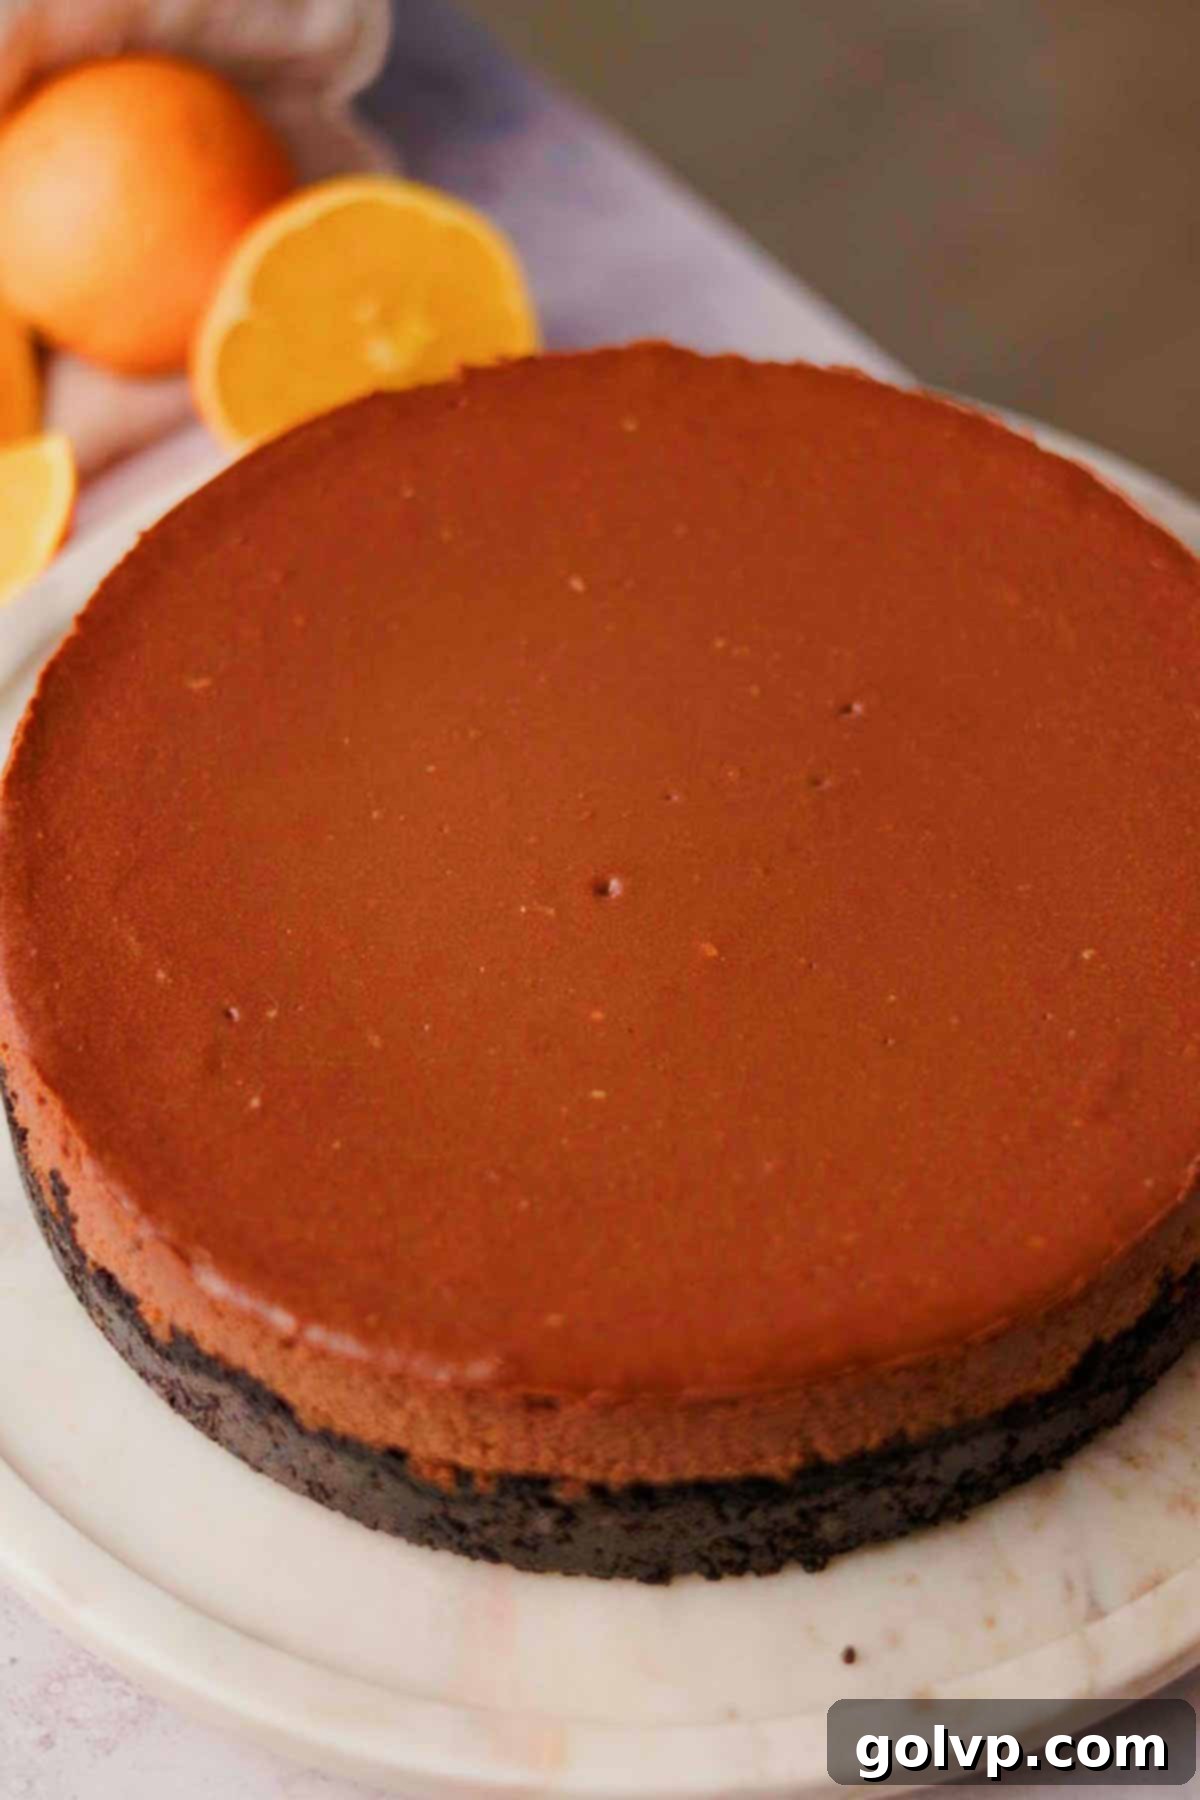
Step 10: Once baked, turn off the oven, leave the door ajar, and let the cheesecake cool inside the oven for an additional 20 minutes. This gradual cooling prevents sudden temperature drops that can cause cracks. After this, carefully remove the cheesecake from the water bath and let it cool completely to room temperature on a wire rack. Once fully cooled, cover it tightly with plastic wrap and refrigerate for a minimum of 8 hours, or ideally overnight. This crucial chilling period allows the cheesecake to firm up, fully develop its flavors, and achieve its ultimate creamy texture.
Assembly Step by Step

Step 1: While your cheesecake chills, prepare the beautiful candied orange slices. Begin by slicing two oranges into very thin, even ⅛-inch rounds – aim for about 6-8 perfect slices of similar size. In a wide pot, combine granulated sugar and water and bring to a gentle simmer over medium heat, stirring until the sugar dissolves.
Gently place the orange slices into this simmering syrup with tongs. Reduce the heat to low and let them simmer for about 20 minutes, gently flipping them occasionally to ensure even cooking. They are ready when their rinds appear slightly translucent and the fruit has absorbed some of the syrup.
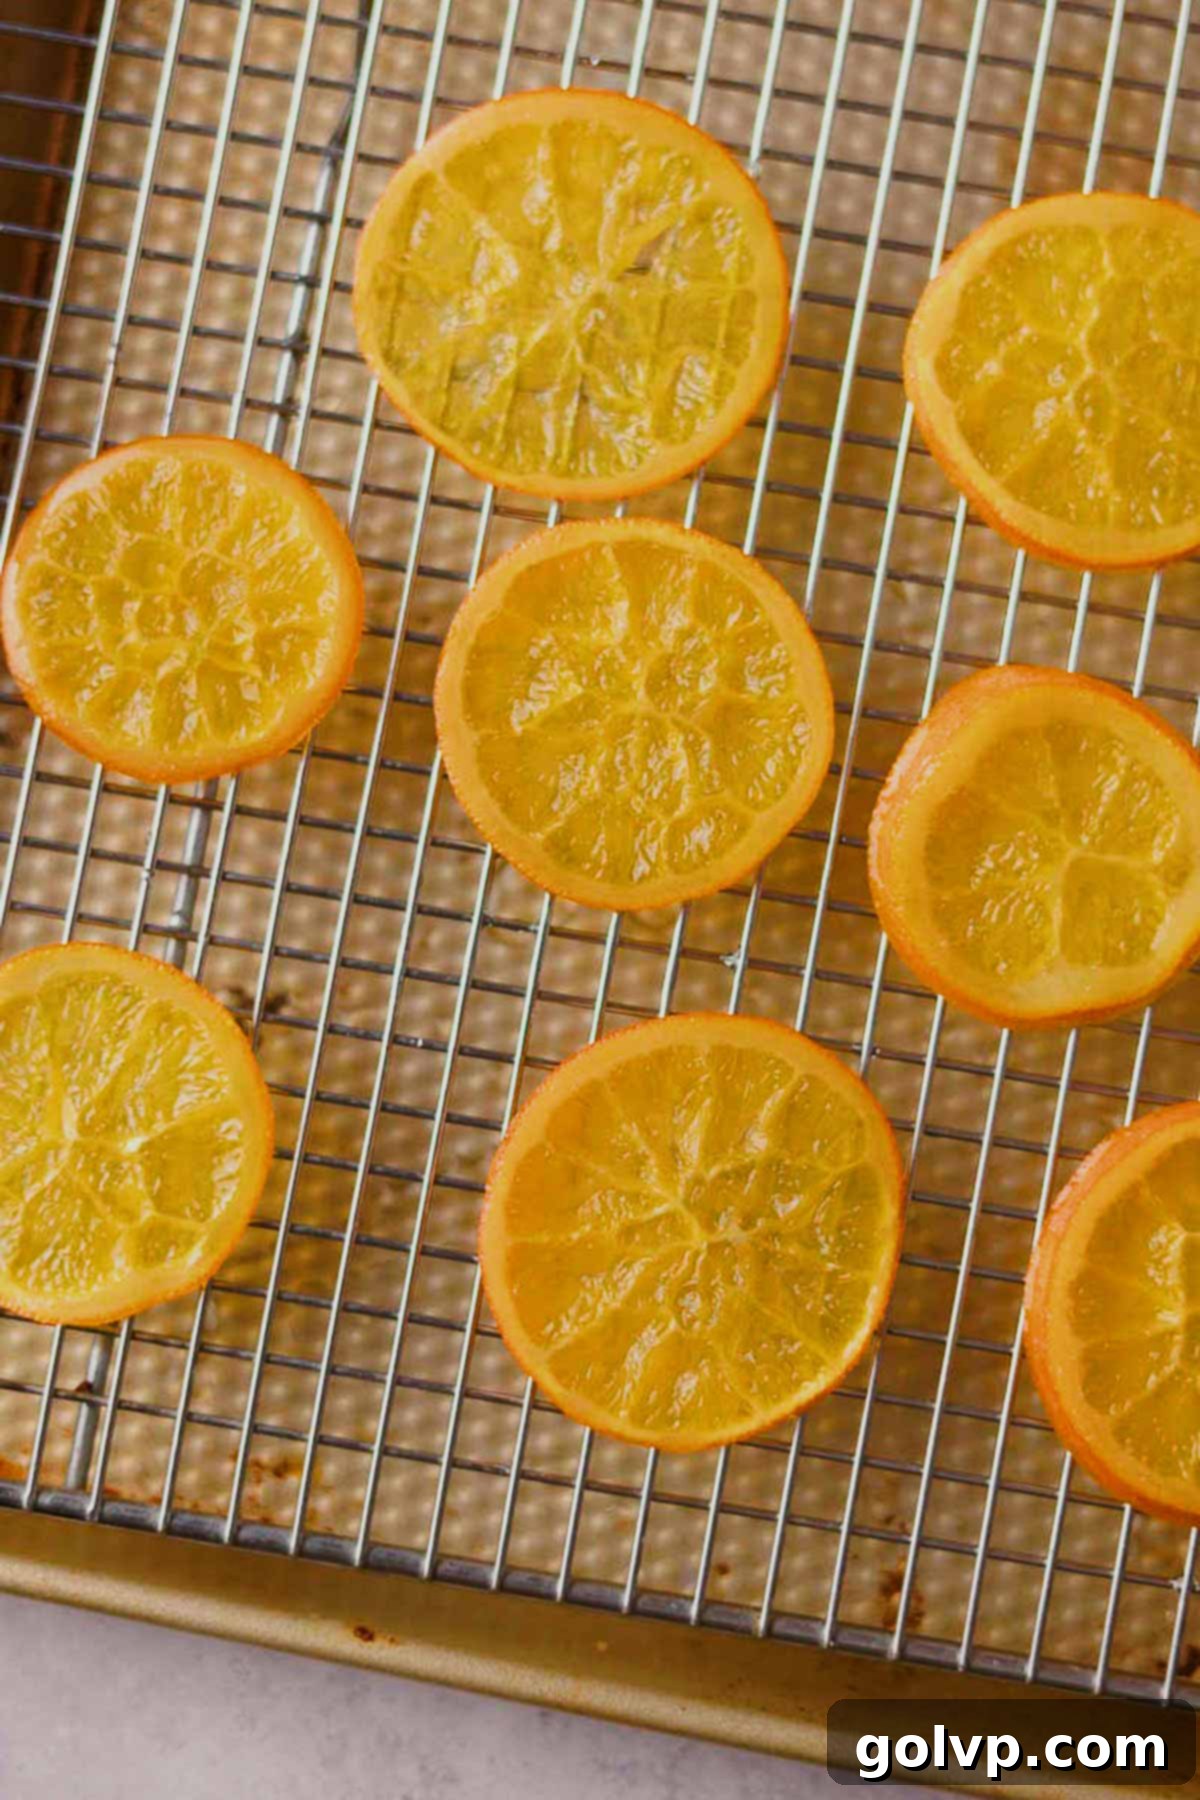
Step 2: Once done, remove the slices and arrange them on a wire cooling rack placed over a tray to catch any excess syrup. Allow them to cool completely. Any extra candied slices can be stored in an airtight container in the fridge for up to two weeks, and the leftover orange syrup is fantastic for flavoring drinks!
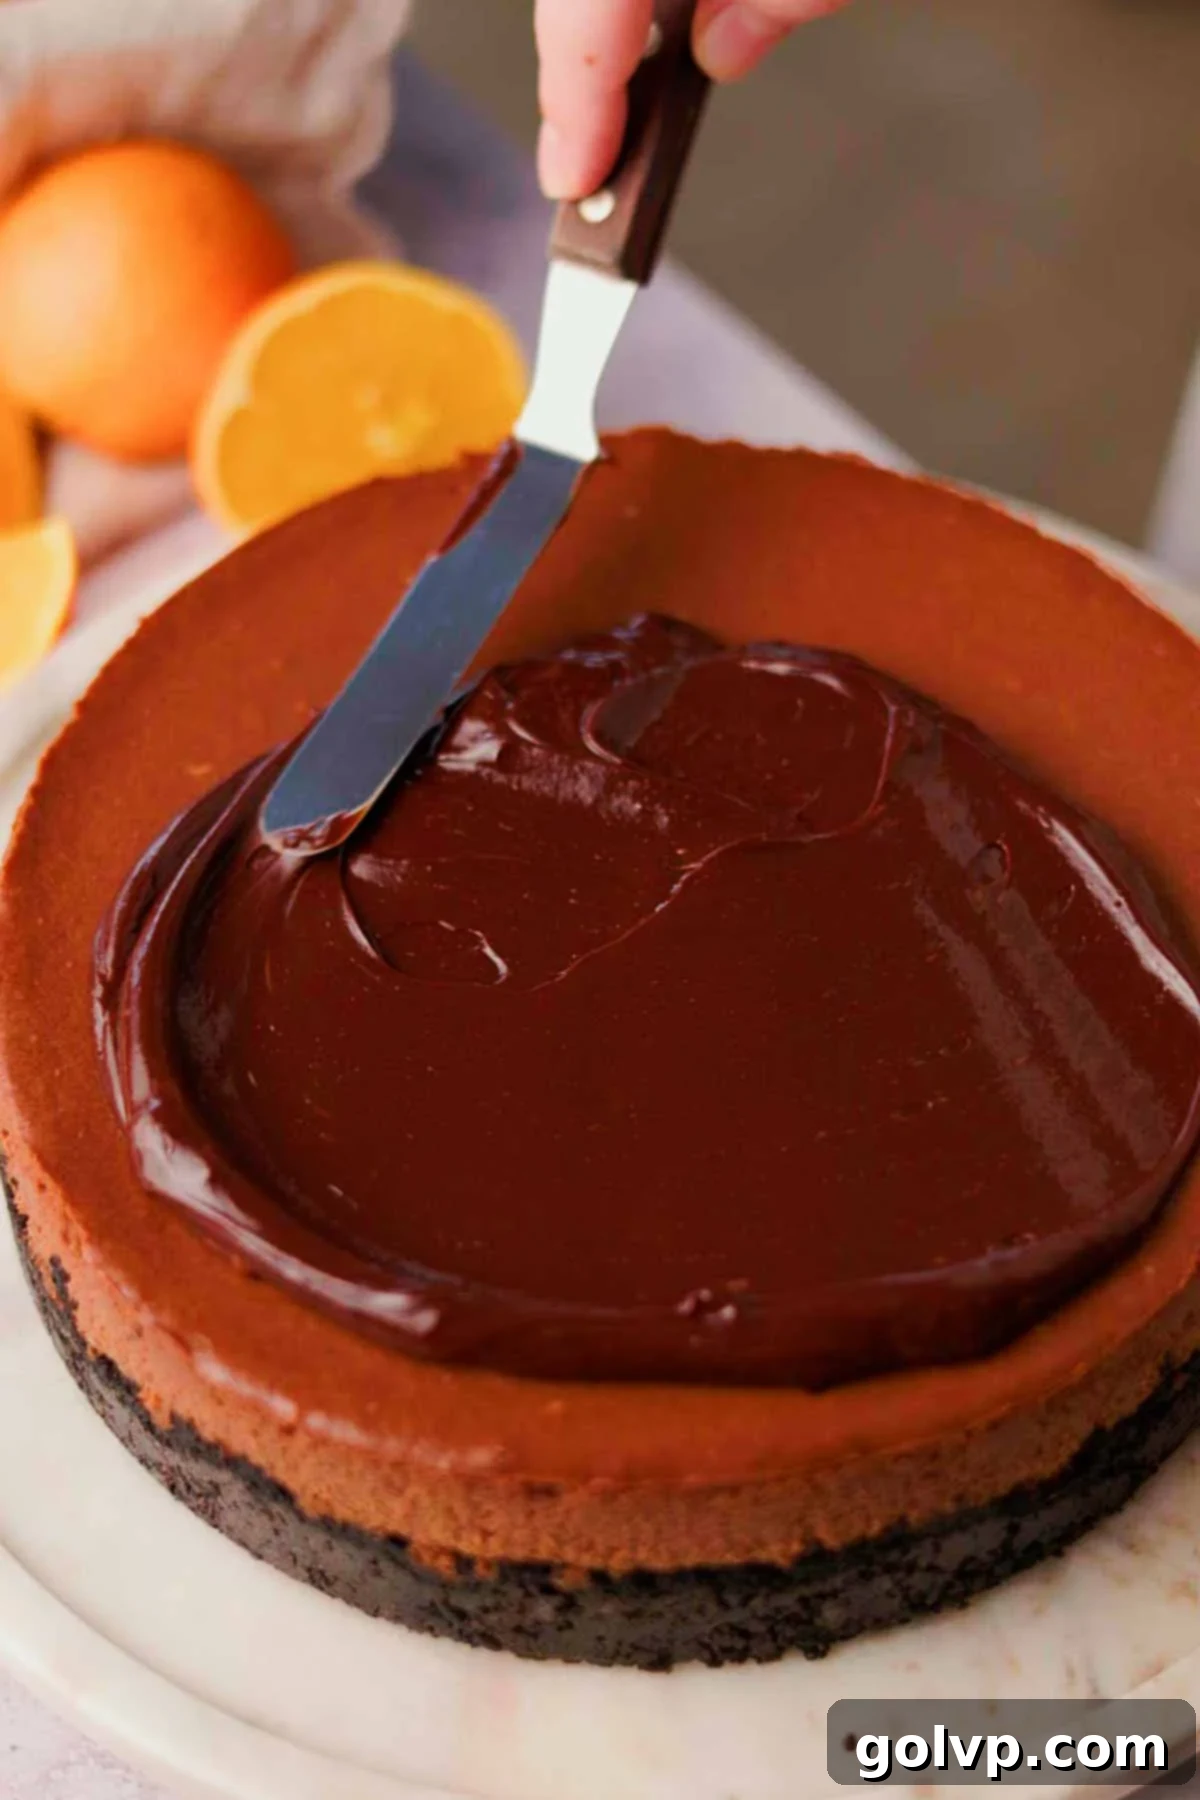
Step 3: Just before serving, prepare the rich chocolate ganache. In a small saucepan, gently heat heavy cream with a tiny pinch of sea salt until it reaches a gentle simmer. Place your semisweet chocolate chips in a large heat-safe bowl. Once the cream is simmering, pour it directly over the chocolate chips, cover the bowl, and let it sit undisturbed for 7 minutes. This allows the hot cream to melt the chocolate thoroughly. After 7 minutes, uncover and whisk the mixture until it’s completely smooth, glossy, and beautifully emulsified.
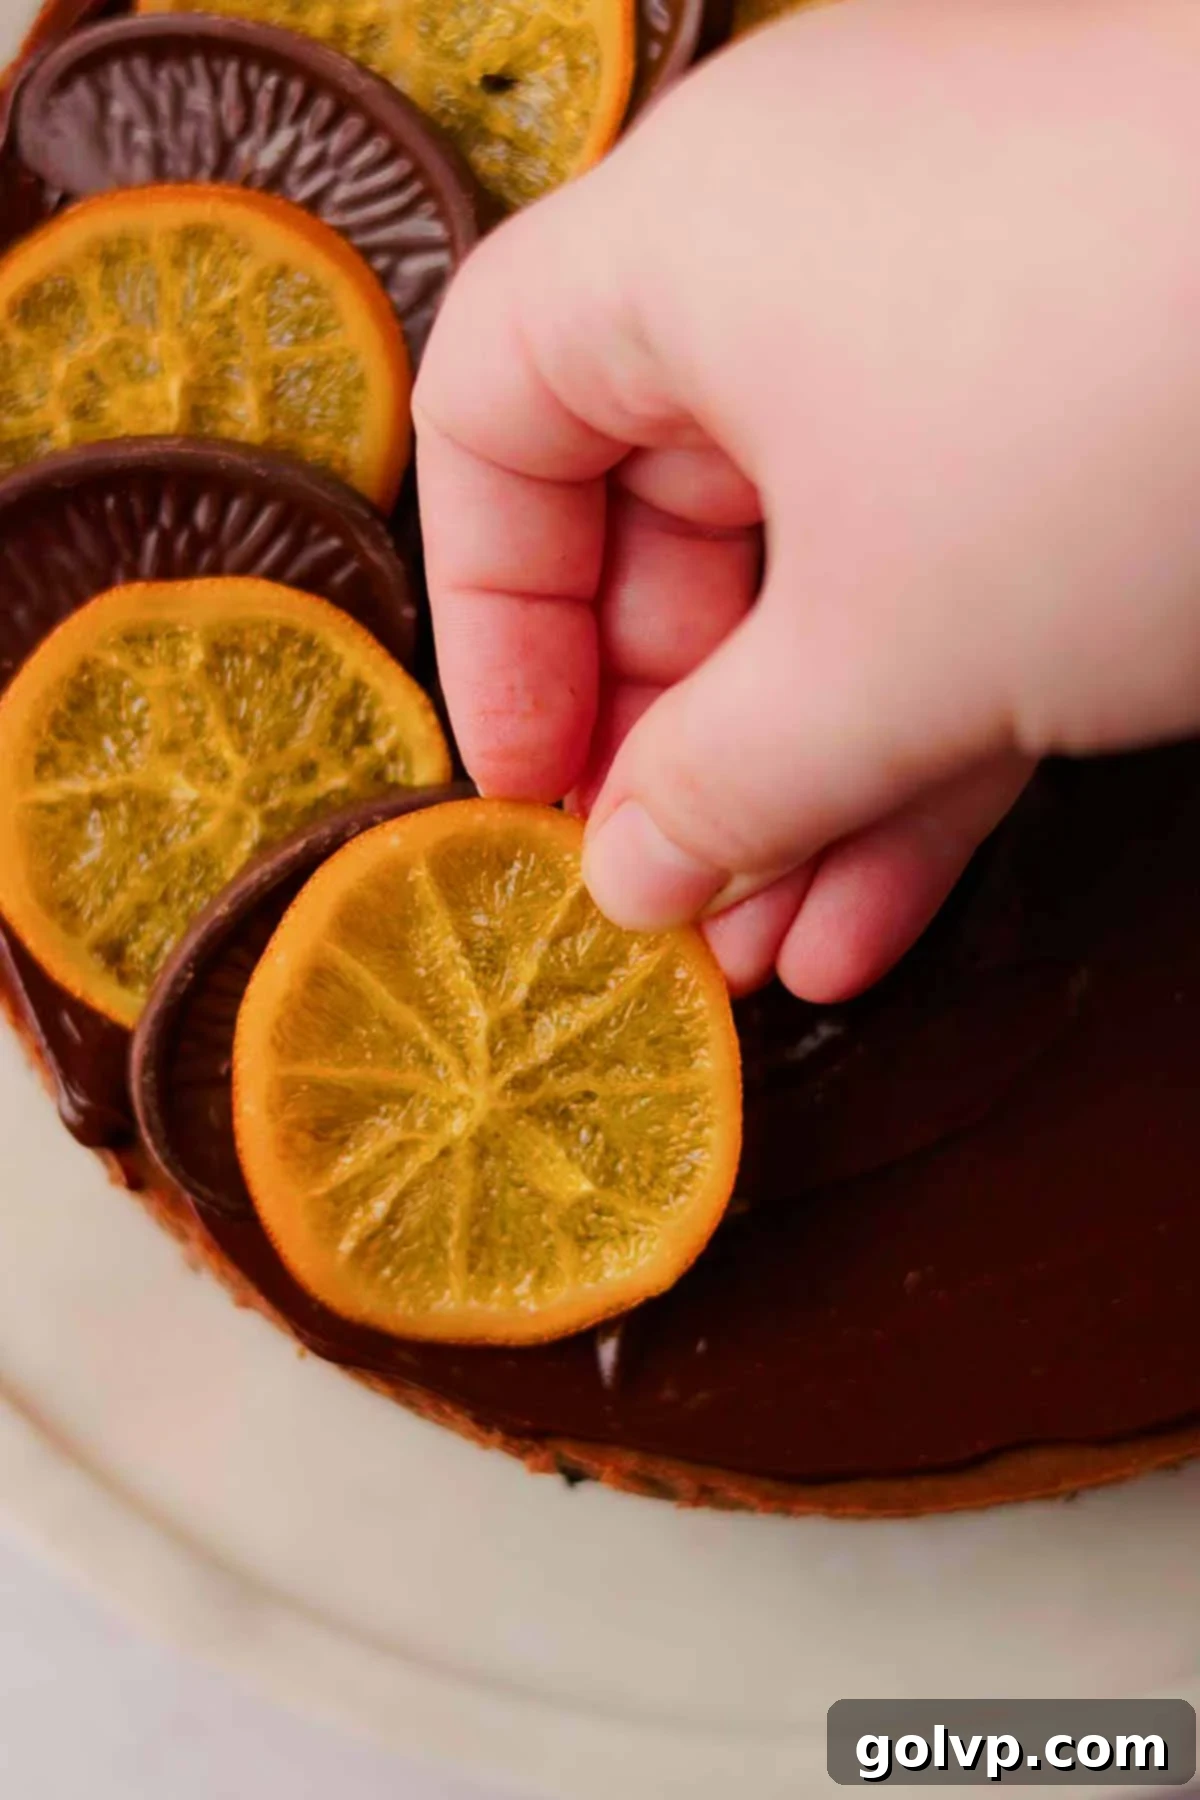
Step 4: Once your cheesecake is thoroughly chilled and carefully unmolded, pour the warm, silky ganache over the top, spreading it evenly to the edges with an offset spatula. For an exquisite presentation, alternate placing Terry’s Chocolate Orange wedges and your homemade candied orange slices around the perimeter of the cake. Allow the ganache to set slightly in the freezer for about 5 minutes for a clean cut, then slice and serve this magnificent, zesty, and chocolatey masterpiece!
✔️ Expert Cheesecake Tips for Success
- Use Good Quality, Full-Fat Cream Cheese: The foundation of an outstanding cheesecake is the quality of its primary ingredient. Always choose a premium, full-fat, brick-style cream cheese. Brands like Philadelphia Original are highly recommended for their rich flavor and firm texture. Low-fat or whipped cream cheeses contain excessive water, which can dilute the batter, leading to a runny filling and a less stable, less luxurious cheesecake that might not set properly.
- Let the Batter Ingredients Come to Room Temperature: This is a non-negotiable step for a perfectly smooth cheesecake batter. Ensure your cream cheese, eggs, and sour cream (if using) have sat out at room temperature for at least 1-2 hours before you start mixing. Cold ingredients won’t emulsify properly, resulting in a lumpy, uneven batter that can lead to cracks during baking. Room temperature ingredients blend seamlessly, creating a silky-smooth consistency.
- Scrape Down Frequently: During the mixing process, ingredients can stick to the sides and bottom of your bowl, leading to an inconsistent batter. Make it a habit to stop your mixer frequently and use a rubber spatula to scrape down the sides and bottom. This ensures all ingredients are thoroughly incorporated, guaranteeing a homogenous and lump-free cheesecake filling.
- Bake in a Water Bath (Bain-Marie): A water bath is the secret to a perfectly baked, creamy cheesecake without any cracks. It creates a moist, even heat environment around the cheesecake, preventing rapid temperature fluctuations that cause the edges to cook faster and crack. It also ensures a uniform, velvety texture throughout the entire filling, from the edges right to the center.
- Don’t Overbake: Overbaking is the most common culprit for cracked cheesecakes. Bake until the edges are set and slightly puffed, but the center still has a noticeable ‘jiggle’ – it should resemble firm Jell-O. The residual heat will continue to cook the center as it cools. An internal temperature of 150°F (65°C) in the center is ideal. Pulling it out at this point ensures maximum creaminess and minimal cracking.
- Chill the Cheesecake Thoroughly: Patience is a virtue when it comes to cheesecake. After baking and cooling to room temperature, your cheesecake absolutely must chill in the refrigerator for a minimum of 8 hours, and ideally overnight. This extended chilling period allows the internal structure to fully set, the flavors to meld and deepen, and the texture to transform into that dense, rich, and creamy consistency that makes cheesecake so irresistible. Rushing this step will result in a soft, less flavorful dessert.
🛁 Water Bath Options for a Crack-Free Cheesecake
A water bath is essential in making an evenly baked, ultra creamy baked cheesecake without any cracks. In this recipe I provided a couple of options for a water bath depending on what you have on hand.
The water bath, or ‘bain-marie,’ is an indispensable technique for baking a cheesecake that is perfectly smooth, evenly cooked, and completely free of unsightly cracks. It achieves this by creating a humid, gentle heat environment, preventing the top and edges from drying out and baking too quickly. Depending on your kitchen equipment, here are several reliable options for setting up your water bath:
The Best Option (for springform pans): This method offers superior protection against water seeping into your springform pan. Select a round baking pan that is approximately 1 to 2 inches larger in diameter than your springform pan. Place your springform pan (containing the cheesecake) inside this larger round pan. Then, place this nested assembly into an even larger rectangular roasting pan. When you add the boiling water to the roasting pan, it will surround the outer round pan, creating a barrier that prevents water from reaching your cheesecake. This is the method I highly recommend and have used in this recipe for its effectiveness and peace of mind.
If the chocolate orange cheesecake is in a regular round pan (not springform), you can place it directly into your large rectangular water bath. Since there are no removable sides, there’s no risk of water leaking into the cheesecake from the bottom. To make removal easier after chilling, create a ‘sling’ out of two long strips of parchment paper, crisscrossing them on the bottom of the pan before adding the crust and filling. This way, you can easily lift the entire cheesecake out of the pan once it’s cooled and set.
If the cheesecake is in a springform pan, wrap the outside of the pan tightly with a double layer of heavy-duty aluminum foil. Ensure the foil extends well up the sides, creating a secure seal to prevent any water from seeping through the pan’s seams. Be very thorough with this step! Alternatively, for a more modern and highly effective seal, you can carefully place your springform pan into a heat-safe sous vide bag instead of the aluminum foil before placing it into the water bath. This provides an almost foolproof barrier against water.
🥄 Make Ahead and Storage Tips
One of the many charms of cheesecake is its ideal suitability as a make-ahead dessert, a true lifesaver for busy hosts or anyone craving an indulgent treat without last-minute fuss. Cheesecakes require a significant chilling period to set properly and develop their full depth of flavor, making them perfect to prepare a day in advance.
The entire cheesecake, once baked and cooled, can be prepared 1-2 days before your event. After it has completely cooled to room temperature, cover it tightly with plastic wrap and refrigerate it. This extended chill time is crucial for both texture and taste, allowing the cheesecake to firm up beautifully and for the rich chocolate and zesty orange flavors to fully meld. When ready to serve, simply add your toppings.
The candied orange slices can also be prepared well in advance, up to several days ahead of time. Once they have cooled and the excess syrup has dripped off, store them in an airtight container in the refrigerator. This saves valuable time on the day of serving and ensures your decorations are ready when you are.
For the freshest appearance and best texture, it is generally recommended to decorate the cheesecake just before serving. This keeps the chocolate ganache silky smooth and prevents any delicate candied orange slices or chocolate wedges from being smudged or damaged during storage. However, if you need to decorate ahead of time, consider storing the fully decorated cheesecake in a sturdy cake carrier. This will provide protection on all sides, keeping your masterpiece pristine.
Any leftover chocolate orange cheesecake will keep beautifully in the refrigerator. Ensure it’s stored in an airtight container or wrapped tightly with plastic wrap to maintain its freshness and prevent it from absorbing other odors from the fridge. It will stay delicious for up to four days. For longer storage, slices can be individually wrapped in plastic wrap, then in aluminum foil, and stored in an airtight freezer-safe container. Frozen cheesecake will retain its quality for up to two months, offering a delightful treat for future cravings. Thaw overnight in the refrigerator before serving.
🍊 Why Rub Orange Zest and Sugar Together?
The simple act of rubbing orange zest and granulated sugar together is a small step that yields surprisingly profound results, and it’s absolutely essential for maximizing the vibrant orange flavor in this chocolate orange cheesecake. Orange zest is packed with aromatic oils – these are where the majority of an orange’s intense flavor and fragrance reside, far more so than in the juice itself.
When you rub the finely grated zest into the sugar with your fingertips, the abrasive action of the sugar crystals effectively ‘scrubs’ these essential oils out of the zest. As the oils are released, they infuse directly into the sugar, which visibly transforms into a pale orange color and becomes incredibly fragrant, often clumping slightly. This process ensures that the potent orange essence is thoroughly distributed throughout the sugar, which then dissolves into the cheesecake batter, evenly permeating every part of the filling with bright, fresh citrus notes.
If you were to simply add the zest and sugar separately, a significant amount of this precious flavor would remain trapped in the zest, resulting in a less impactful orange profile. Therefore, this seemingly minor step is a crucial flavor-extraction technique that elevates the entire cheesecake. If you prefer a completely smooth texture without any tiny flecks of zest, you can also blend the sugar and zest in a food processor until the zest is completely pulverized and indistinguishable, ensuring maximum flavor with no textural reminders.
📖 Recipe FAQs
Lumpy or split cheesecake batter is almost always a result of ingredients not being at the correct temperature or overmixing. The most common culprit is cold cream cheese and eggs. Ensure all your dairy products (cream cheese, sour cream, eggs) are at room temperature for at least 1-2 hours before you begin. This allows them to blend smoothly and emulsify properly. When adding eggs, incorporate them one at a time, beating only until the yolk has just disappeared into the batter. Overmixing, especially after eggs are added, can incorporate too much air, leading to a lighter, less dense texture and a higher chance of cracking during baking. Regularly scrape down the sides and bottom of your mixing bowl to ensure all ingredients are evenly incorporated and no lumps remain hidden.
Cracks in a cheesecake are frustrating but preventable. The primary causes are typically overbaking, an oven temperature that is too high, or neglecting to use a water bath. To prevent overbaking, always rely on the ‘jiggle test’: the cheesecake is done when the edges are set and slightly puffed, but the center (about 2-3 inches in diameter) still gently jiggles when the pan is lightly shaken. An oven thermometer is highly recommended to ensure your oven’s temperature is accurate. Most importantly, a water bath creates a humid, stable baking environment that minimizes rapid temperature changes, which are the main cause of cracks, allowing the cheesecake to bake evenly and gently.
No, for the true benefits of a water bath, the cheesecake pan must be directly immersed in the hot water. Placing a tray of water on a separate rack below the cheesecake only creates a humid environment in the oven, which is helpful but not sufficient. The direct contact with the hot water surrounding the cheesecake pan ensures even heat distribution, gentle baking, and prevents the rapid temperature fluctuations that cause cracking and uneven cooking. The radiant heat from the water is what makes a water bath so effective for cheesecake.
Chilling is arguably the most critical step after baking. A minimum of 8 hours, and preferably overnight, in the refrigerator is essential for several reasons. Firstly, it allows the cheesecake’s internal structure to fully set and firm up, transforming it from a delicate, jiggly mass into a dense, sliceable dessert. Attempting to slice a warm or insufficiently chilled cheesecake will result in a messy, crumbly texture. Secondly, the flavors develop significantly during chilling. The rich chocolate and bright orange notes meld and deepen, creating a more harmonious and intense taste experience. A properly chilled cheesecake will always taste much richer, creamier, and more satisfying.
Absolutely! In fact, that’s precisely what this recipe calls for. There’s no need to meticulously remove the cream filling; simply crush the whole Oreo cookies, filling and all, into fine crumbs. The cream filling contributes to the delicious flavor of the crust and also helps bind the crumbs together when mixed with butter, creating a sturdy and delectable base for your cheesecake.
🍫 More Related Recipes You’ll Love
- Nutella Cheesecake
- Lemon Olive Oil Cake
- Chocolate Praline Cake
- The Best Black Velvet Cake
Did you make this recipe? I would love for you to rate this recipe and hear what you think in the comments below! Share your creation on Instagram and tag @flouringkitchen. Follow me on Pinterestto save and for more recipe ideas.
📖 Recipe
Chocolate Orange Cheesecake
Mary
Pin Recipe
Shop Ingredients
Equipment
-
eight or nine inch springform baking pan
Ingredients
Crust
- 3 cups Oreo crumbs 36 whole oreo cookies, crushed
- 4 tablespoons melted butter cooled
- ⅛ teaspoon sea salt
Cheesecake
- 2 cups semisweet chocolate chips
- ½ cup heavy whipping cream
- ¾ cup granulated sugar
- ¼ teaspoon sea salt
- 1 orange zested
- 24 oz cream cheese softened (680g)
- 3 large eggs
- ½ cup sour cream room temperature
- ¼ cup orange juice freshly squeezed
- 1 tablespoon pure vanilla extract
Candied Orange Slices
- 2 oranges
- 2 cups granulated sugar
- 1 ½ cup water
Chocolate Ganache
- ¾ cup semisweet chocolate chips
- ¼ cup heavy whipping cream
- ⅛ teaspoon sea salt
Assembly
- 8 slices terry chocolate orange
- 8 slices candied orange
Shop Ingredients on Jupiter
Instructions
Crust
-
Preheat oven to 355°F (180°C). Grease an 8” or 9” round springform pan with a piece of cold butter.
-
Use a food processor to crush whole oreos into fine crumbs. Or place oreos in a large bag and crush with a rolling pin. Combine crushed oreos, butter, and sea salt in a large bowl until even.3 cups Oreo crumbs, 4 tablespoons melted butter, ⅛ teaspoon sea salt
-
Pour crust mixture into greased pan and spread out to the edges. Use the bottom of a glass to pack tightly, pushing the crumbs halfway up the edges. Bake for 12 minutes. Work on the filling in the meantime.
Cheesecake
-
Pour a few inches of water in the bottom of a saucepan and bring to a simmer. Find a heatsafe bowl that fits on top of the saucepan without touching the water. Place chocolate chips and cream into the bowl, bowl onto saucepan, and stir until melted. Remove from saucepan and let cool to room temperature.2 cups semisweet chocolate chips, ½ cup heavy whipping cream
-
Fill a kettle full of water and set it to boil for the water bath.
-
Place sugar, salt, and orange zest into large bowl or stand mixer. Use your fingers to rub the zest into the sugar until it becomes pale orange and starts to clump together.¾ cup granulated sugar, 1 orange, ¼ teaspoon sea salt
-
Add cream cheese into the orange sugar and beat with a stand or electric mixer until fully smooth.24 oz cream cheese
-
Add eggs one by one, beating until fully smooth and scraping down the sides.3 large eggs
-
Add the melted chocolate and mix just until incorporated. Add sour cream, vanilla, and orange juice, mix just until incorporated. Scrape down the sides so that the batter is even and smooth. Pour the filling into the crust and smooth the top.½ cup sour cream, 1 tablespoon pure vanilla extract, ¼ cup orange juice
-
Place the cheesecake into a round baking pan that is 1″ to 2” wider than the cheesecake pan. Place that pan into a large rectangular baking dish where it fits comfortably. See notes for water bath alternatives. Carefully pour the boiling hot water into the large rectangular pan. Carefully transfer the large baking tray with everything inside into the oven using oven mitts.
-
Bake the cheesecake in the preheated oven (355°F or 180°C) for 60-75 minutes. It is ready when the edges are set and the middle is still jiggly. It will continue baking as it cools.
-
Leave the oven door open for 20 minutes and let the cheesecake cool inside the oven. Afterwards, remove the cheesecake from the water bath and let cool completely to room temperature. Cover and refrigerate for at least 8 hours or overnight.
Candied Orange Slices
-
Slice the oranges into ⅛” even slices. You need about 6 even slices of the same size. Bring sugar and water to a simmer on medium heat in a wide pot.2 oranges, 2 cups granulated sugar, 1 ½ cup water
-
Gently place the orange slices into the simmering syrup with tongs. Simmer on low heat for 20 minutes, flipping frequently for even cooking. The slices are ready when the rinds look a bit translucent.
-
Place onto a cooling rack with a tray underneath to catch any drippings. Let excess syrup drip off and cool. Any unused orange slices will keep well in an airtight container for up to 2 weeks in the fridge. Reserve orange syrup for flavouring drinks in a jar in the fridge for up to 2 weeks.
Chocolate Ganache
-
Heat heavy cream and salt in a small saucepan until simmering. Place chocolate chips in a large heat safe bowl. Once simmering, pour cream over chocolate chips. Cover and let sit for 7 minutes. Whisk the ganache until completely smooth.¾ cup semisweet chocolate chips, ¼ cup heavy whipping cream, ⅛ teaspoon sea salt
Assembly
-
Before Serving, pour ganache over the chilled and unmolded cheesecake. Spread it out to the edges and alternate chocolate orange slices and candied orange slices on the edge of the cake. Let the ganache set for 5 minutes in the freezer, slice, and enjoy!8 slices terry chocolate orange, 8 slices candied orange
Video
Notes
- (The best option) Find a round baking pan that is 1”-2” larger than the pan that the cheesecake is in. This will keep the water out of the cheesecake preventing it from getting soggy. Nest the cheesecake into the larger pan and then into the large roasting tray where the hot water will be. *This is for if the cheesecake is in a springform pan*
- If the cheesecake is in a regular round pan (not springform), you can place the pan directly into the water bath because water can’t get in through the bottom edge. Make sure you create a sling out of parchment paper so that you can lift to remove the cheesecake out of the pan after chilling.
- If the cheesecake is in a springform pan, wrap the outside of the pan tightly with a double layer of aluminum foil. Try to use a wide enough foil to cover the whole bottom and edges. You can also nestle the springform pan into a heat safe sous vide bag instead of the aluminum foil.
Make Ahead: You can make the cheesecake 1-2 days in advance. Top with ganache before serving so that it stays silky smooth and won’t get ruined during storage. The cheesecake will keep well refrigerated (wrapped tightly or in an airtight container) for 3-4 days or in the freezer for up to 2 months.
The Crust: If you can’t find oreos you can use any other chocolate sandwich cookies or 407g graham cracker crumbs.
Chilling: It’s essential that the cheesecake chills in the fridge for at least 8 hours (or overnight) for it to set and for the flavors to develop.
