Irresistibly Creamy Brown Butter Cookie Dough No-Churn Ice Cream: Your Easy Homemade Treat
Jump to Recipe
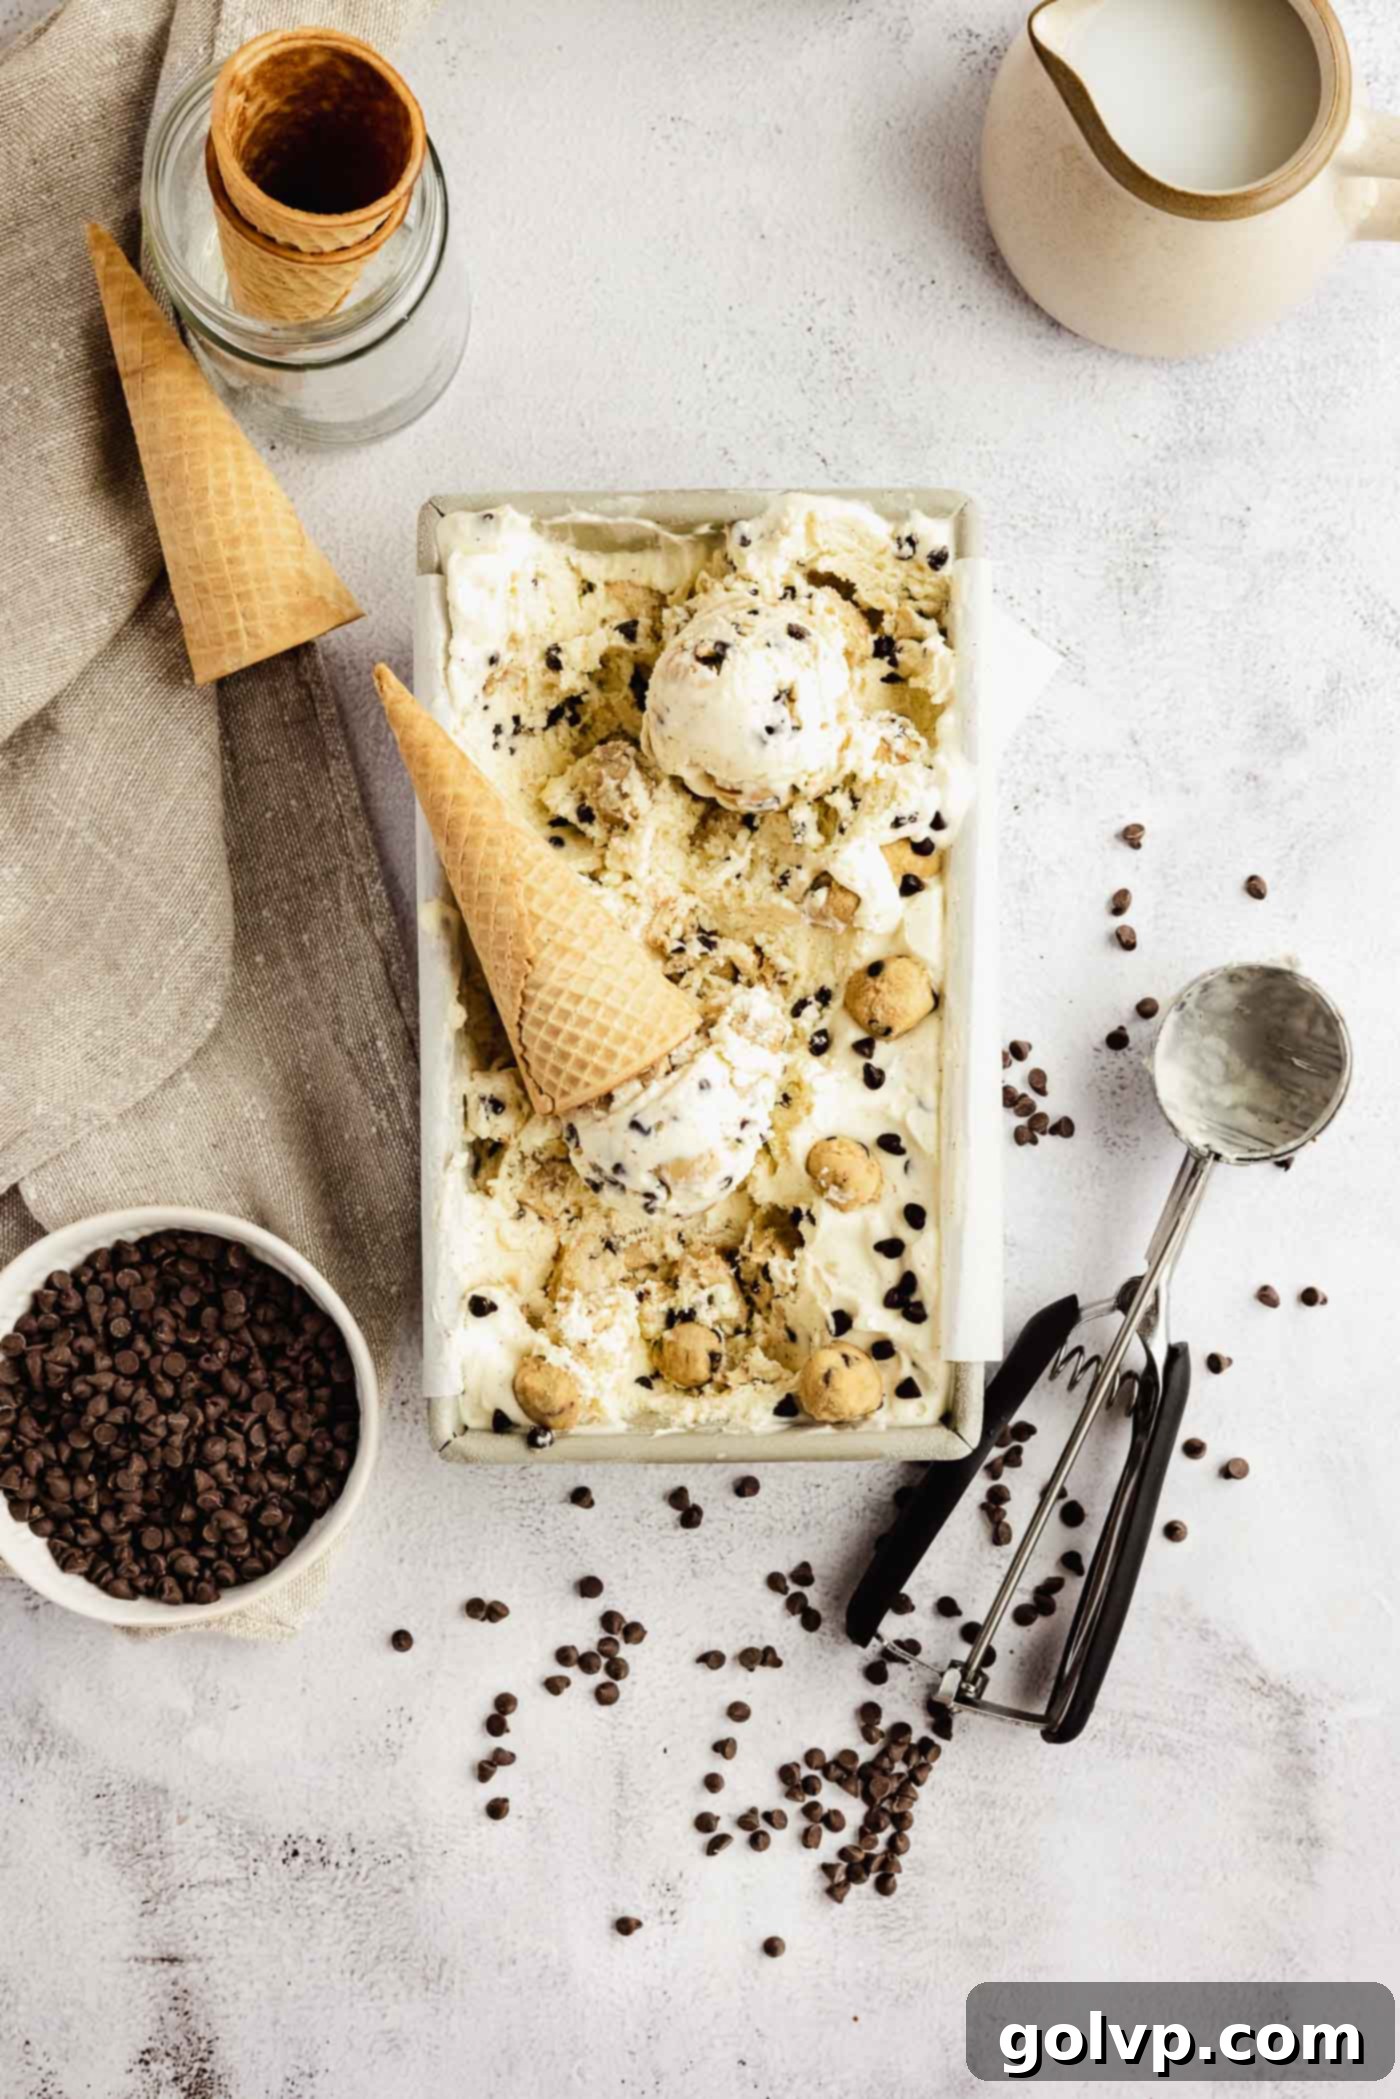
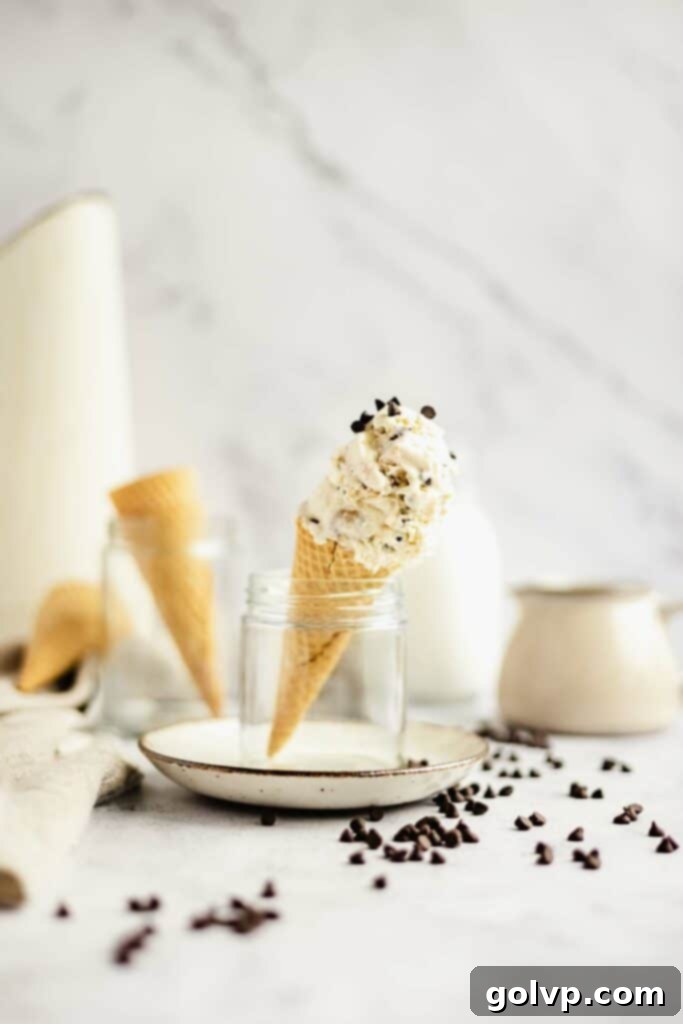
Prepare yourself for a truly delightful dessert experience with this brown butter cookie dough no-churn ice cream. It’s an exceptionally creamy, wonderfully chunky, and utterly satisfying treat that will quickly become your go-to homemade indulgence. Packed with an abundance of chocolate chips and generous, irresistible cookie dough chunks, every spoonful is a burst of flavor and texture. The best part? You don’t need an expensive ice cream maker to achieve this level of perfection. This recipe is designed for ease, allowing you to whip up a batch of incredible ice cream right in your own kitchen.
This no-churn method yields ice cream that scoops beautifully, maintaining a smooth consistency that rivals store-bought varieties. You have complete control over the amount of cookie dough chunks, ensuring each serving is customized to your preference. I’m excited to share a clever shortcut that allows you to create a large quantity of perfectly sized cookie dough chunks in a fraction of the time, eliminating the tedious task of rolling them out by hand. Get ready to impress your friends and family with this surprisingly simple yet utterly decadent frozen dessert!
🍪 The Star of the Show: Brown Butter Edible Cookie Dough
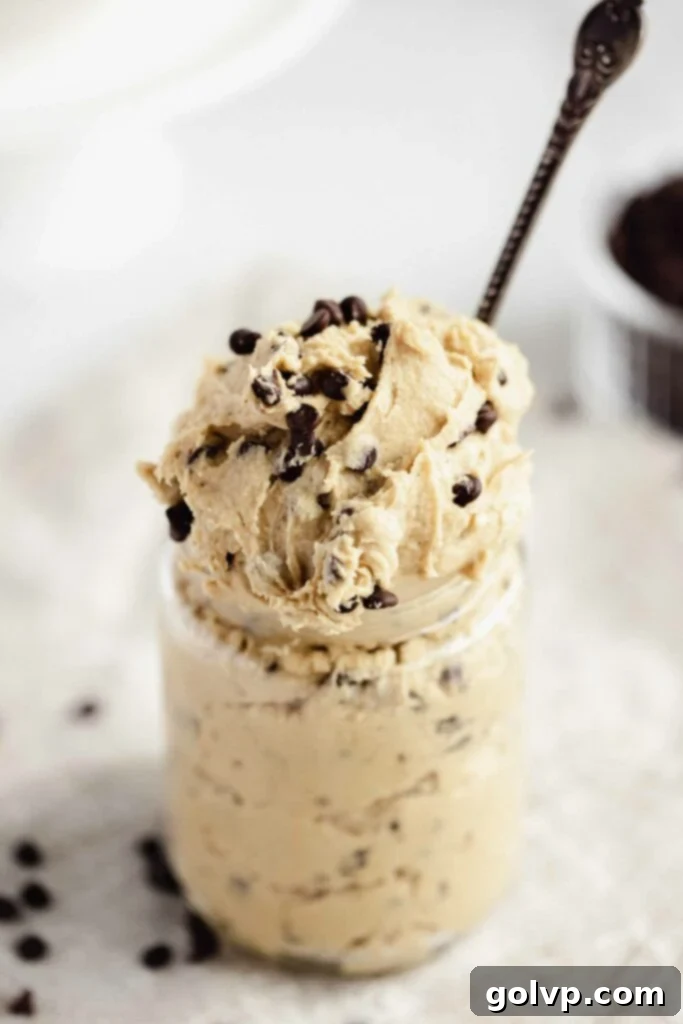
The secret to this ice cream’s incredible depth of flavor lies in its base: a batch of my renowned edible brown butter chocolate chip cookie dough. This isn’t just any cookie dough; it’s specifically crafted to be lusciously creamy and perfectly safe to eat raw. What makes it truly exceptional is the rich, nutty, and slightly caramelized flavor that comes from browning the butter. This simple step elevates the cookie dough, giving it warm, complex undertones that are simply irresistible. When frozen within the ice cream, this edible cookie dough retains its wonderful texture – remaining soft and chewy rather than becoming rock hard, which is crucial for a delightful eating experience. Once you start tasting it, you’ll understand why it’s so hard to stop!
Quick and Easy Cookie Dough Chunks Method
To incorporate this fantastic cookie dough into our no-churn ice cream with minimal effort, I employ a brilliant time-saving technique for creating the chunks. Forget the tedious process of rolling countless small balls by hand. Here’s how to do it efficiently:
- First, spread your prepared edible cookie dough evenly onto a baking sheet that’s been lined with parchment paper. Aim for a thickness of about ½ inch. This uniform thickness is key to getting consistent chunks.
- Place the baking sheet in the freezer for approximately 10 minutes. This quick chill firms up the dough just enough to make it easy to handle without becoming brittle.
- Once chilled, simply slide the parchment paper, with the now-firm cookie dough, onto a cutting board.
- Using a large, sharp knife, chop the dough into your desired chunk size. This method allows you to create as many or as few chunks as you like, in a fraction of the time it would take to roll them individually.
This shortcut not only saves significant time but also ensures your cookie dough chunks are perfectly imperfect, adding a charming rustic appeal to your ice cream. While most of the chunks will be folded into the ice cream base, I recommend rolling about 10 of the freshly cut pieces into small, uniform balls. These are perfect for decorating the top of your finished cookie dough ice cream, making it look as good as it tastes.
🍨 Frequently Asked Questions About No-Churn Ice Cream
Several factors can contribute to rock-hard no-churn ice cream. Firstly, ensure you’re not freezing it in a deep freezer. Deep freezers can often get too cold, making the ice cream excessively firm and challenging to scoop. A regular freezer compartment typically works best for achieving that ideal scoopable texture. Secondly, the whipping of the cream is crucial. You need to whip the cream to stiff peaks to incorporate sufficient air, which helps keep the ice cream soft. When folding in the condensed milk and cookie dough, do so very carefully and gently to avoid deflating the whipped cream. Losing too much air will result in a denser, harder frozen product.
Sweetened condensed milk is the magical ingredient that makes no-churn ice cream possible and incredibly creamy. It’s a key component because of its unique composition: it’s milk from which most of the water has been removed, and a significant amount of sugar has been added. The high sugar content acts as an antifreeze, lowering the freezing point of the mixture and preventing the formation of large, gritty ice crystals. The milk proteins in the condensed milk also contribute to the smooth, velvety texture once frozen. Without it, your ice cream would be full of noticeable ice shards, lacking that desirable creamy mouthfeel.
No, evaporated milk is not a suitable substitute for sweetened condensed milk in this recipe. While both are concentrated forms of milk, they are fundamentally different. Evaporated milk is unsweetened; it simply has about 60% of its water removed. If you use evaporated milk, your ice cream will lack the necessary sweetness and, more importantly, the high sugar content that prevents ice crystal formation. The result would be an ice cream that is not only bland but also has a very icy, gritty, and unpleasant texture.
The edible cookie dough recipe used here is designed to be wonderfully luscious and creamy, which is why it freezes beautifully without turning into a brick. However, because of its rich, soft texture, it’s crucial to handle it correctly. Always ensure the cookie dough is thoroughly chilled and quite solid before you begin cutting it into chunks. This makes the chopping process much easier and prevents it from sticking to your knife or becoming a gooey mess. Once you’ve cut the chunks, immediately transfer them into a bowl and pop them back into the refrigerator (or even the freezer for a few more minutes) to keep them firm. If left at room temperature for too long, especially during warmer weather, the chunks can indeed soften and might clump together, making them harder to distribute evenly in your ice cream.
Absolutely! While the brown butter cookie dough and chocolate chips are a match made in heaven, no-churn ice cream is incredibly versatile. Feel free to experiment with other mix-ins like chopped nuts (pecans or walnuts would complement the brown butter beautifully), pretzels for a salty crunch, a swirl of caramel or fudge, or even different types of chocolate (milk, dark, white chocolate chips). Just be mindful not to add anything too watery, as it could promote ice crystal formation.
When stored properly in an airtight container, this brown butter cookie dough no-churn ice cream will maintain its best quality for up to 2-3 months in a standard freezer. Beyond that, while it will still be safe to eat, its texture and flavor might start to degrade slightly. To prevent freezer burn and keep it tasting fresh, ensure the container is tightly sealed and, if possible, press a piece of plastic wrap directly onto the surface of the ice cream before putting on the lid.
🥄 Key Ingredients for this Decadent Recipe
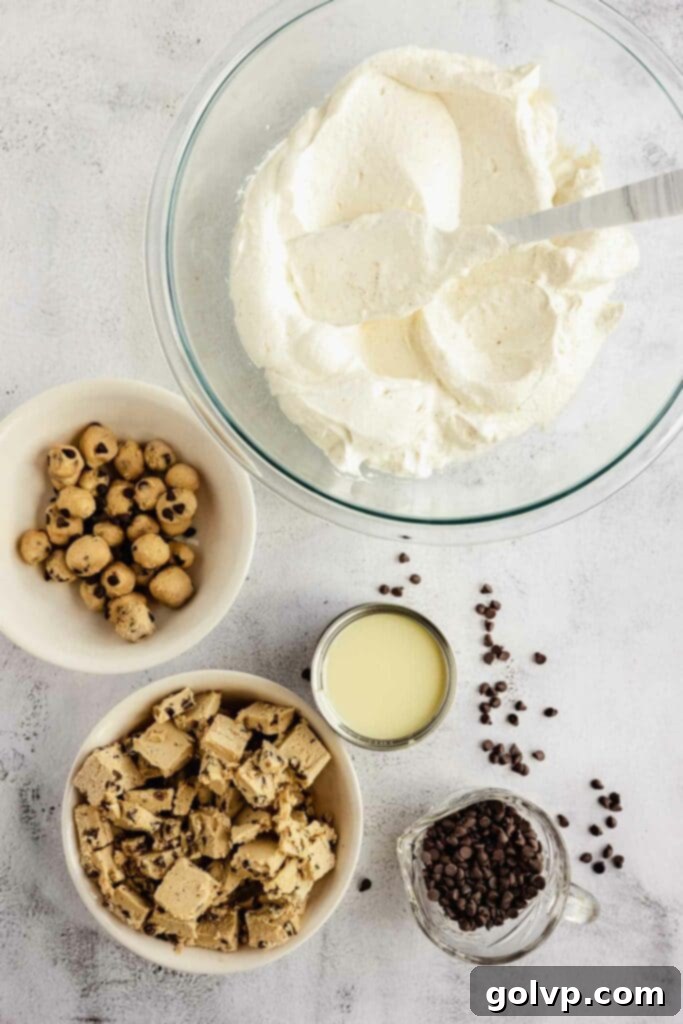
Crafting this incredible brown butter cookie dough no-churn ice cream requires just a few simple, high-quality ingredients. Each plays a vital role in achieving that perfectly creamy texture and rich flavor. Here’s a closer look at what you’ll need:
- Edible Brown Butter Cookie Dough: This is the star of our show! My specially formulated edible cookie dough is uniquely creamy and packed with crunchy mini chocolate chips. The brown butter infuses it with a warm, nutty, and subtly complex flavor that sets it apart. It delivers all the nostalgic taste of raw chocolate chip cookie dough, but with the peace of mind that comes from knowing it’s completely safe to eat. While you don’t necessarily need the whole batch, I highly recommend using it all if you love an extra packed, chunky ice cream.
- Heavy Whipping Cream (35% fat): This forms the airy, rich base of our no-churn ice cream. When whipped to medium-stiff peaks, it incorporates a significant amount of air, which is essential for a light and fluffy texture. The high fat content (35% cream is ideal) contributes to the overall richness and helps prevent the formation of ice crystals, ensuring a smooth finish.
- Vanilla Bean Paste or Pure Vanilla Extract: Vanilla is a crucial flavor enhancer in any dessert, and especially in ice cream. Using vanilla bean paste will give your ice cream beautiful flecks of vanilla bean, adding a gourmet visual appeal and a more intense, aromatic vanilla flavor. If paste isn’t available, a good quality pure vanilla extract will work perfectly to provide that classic, comforting vanilla note.
- Sweetened Condensed Milk: This ingredient is the unsung hero of no-churn ice cream. It provides both sweetness and an incredibly smooth, creamy texture once frozen. The high sugar content and unique milk proteins in sweetened condensed milk effectively interfere with the formation of large ice crystals, which are responsible for gritty or icy ice cream. It’s what allows us to bypass the traditional ice cream machine entirely!
- Mini Chocolate Chips: While larger chocolate chips are fine, mini chocolate chips are particularly excellent for this recipe. Their smaller size ensures they are evenly distributed throughout the ice cream and cookie dough chunks, guaranteeing chocolatey goodness in every single bite without overwhelming the other flavors.
With these few, carefully selected ingredients, you’re well on your way to creating a homemade ice cream masterpiece!
💡 Tips for No-Churn Ice Cream Success
Making no-churn ice cream is incredibly straightforward, but a few key tips can ensure your brown butter cookie dough creation turns out perfectly creamy and delicious every single time:
- Cold Ingredients are Key: For the best whipped cream, ensure your heavy cream, mixing bowl, and even the whisk attachments are very cold. Pop the bowl and whisk into the freezer for 10-15 minutes before you start whipping. This helps the cream whip up faster and achieve stiffer peaks.
- Whip to Stiff Peaks: Don’t under-whip the heavy cream. It needs to be whipped to firm, stiff peaks. This means when you lift the whisk, the peaks hold their shape and don’t collapse. However, be careful not to over-whip, which can turn it grainy.
- Gentle Folding is Essential: Once your cream is whipped, the most crucial step is gently folding in the sweetened condensed milk and cookie dough chunks. Use a spatula and a light hand, folding from the bottom up. You want to preserve as much of the air in the whipped cream as possible. Over-mixing will deflate the cream, leading to a denser, icier ice cream.
- Chill Your Cookie Dough: As mentioned, make sure your edible cookie dough is well-chilled and firm before you cut it into chunks. This prevents it from getting too sticky or soft, ensuring distinct, delightful pieces in your ice cream.
- Use an Appropriate Container: A 9″ by 5″ loaf pan is ideal, but any freezer-safe container of similar size with a tight-fitting lid will work. The size helps the ice cream freeze evenly. Lining the pan with parchment paper or plastic wrap makes for easy removal and slicing.
- Patience During Freezing: No-churn ice cream needs ample time to set. While 6 hours is a minimum, overnight freezing is often best for achieving the perfect scoopable consistency. Resist the urge to peek or scoop too early!
- For the Best Scoop: If your ice cream is very firm from extended freezing, let it sit on the counter for 5-10 minutes before scooping. This allows it to soften slightly, making it easier to serve.
Serving Suggestions & Variations
Once your brown butter cookie dough no-churn ice cream is perfectly frozen and ready, the serving possibilities are endless! Enjoy it simply in a bowl or cone, allowing the rich flavors and chunky textures to shine. For an extra touch of indulgence, consider adding a drizzle of caramel or hot fudge, a sprinkle of sea salt to enhance the brown butter notes, or a dollop of fresh whipped cream. This ice cream also makes a fantastic accompaniment to warm brownies, apple pie, or a delicate crêpe.
Feeling creative? Here are a few ideas to customize your next batch:
- Nutty Crunch: Fold in some toasted chopped pecans or walnuts along with the cookie dough chunks for an added layer of flavor and crunch.
- Chocolate Lover’s Dream: Use a mix of mini chocolate chips, chocolate chunks, and white chocolate chips for a multi-faceted chocolate experience.
- Salted Caramel Swirl: Gently swirl in a few tablespoons of high-quality salted caramel sauce into the ice cream base before freezing for a ribbons of sweet and salty goodness.
- Espresso Boost: Add a teaspoon of instant espresso powder to the whipped cream for a subtle coffee flavor that pairs beautifully with chocolate and brown butter.
🧈 Check out my other recipes:
- Cookie Dough Fudgy Brownie Cake
- The Best Brown Butter Chocolate Chip Cookies
- Brown Butter Blondies
Happy Baking! xx
📖 Recipe
Cookie Dough No Churn Ice Cream with Brown Butter Cookie Dough
Mary
Pin Recipe
Shop Ingredients
Equipment
-
1 9″ by 5″ loaf pan or similar sized container
Ingredients
- 1 batch edible cookie dough
- 2 cups whipping cream 35% cream
- 1 tablespoon vanilla bean paste or 1 teaspoon pure vanilla extract
- 1 can sweetened condensed milk 300 mL, 390 g, or 14 oz by weight
- ⅓ cup mini chocolate chips
Shop Ingredients on Jupiter
Instructions
-
Spread the cookie dough on a sheet lined with parchment paper to about ½” thickness. Freeze for about 10 minutes to chill.1 batch edible cookie dough
-
Slide parchment paper with cookie dough onto a cutting board and cut dough into chunks with a knife.
-
Roll about 10 chunks into balls for the top of the ice cream and refrigerate the rest for later.
-
Whip the cream and vanilla until stiff peaks by hand or with an electric mixer.2 cups whipping cream, 1 tablespoon vanilla bean paste
-
Gently fold the sweetened condensed milk and chocolate chips into the whipped cream.1 can sweetened condensed milk, ⅓ cup mini chocolate chips
-
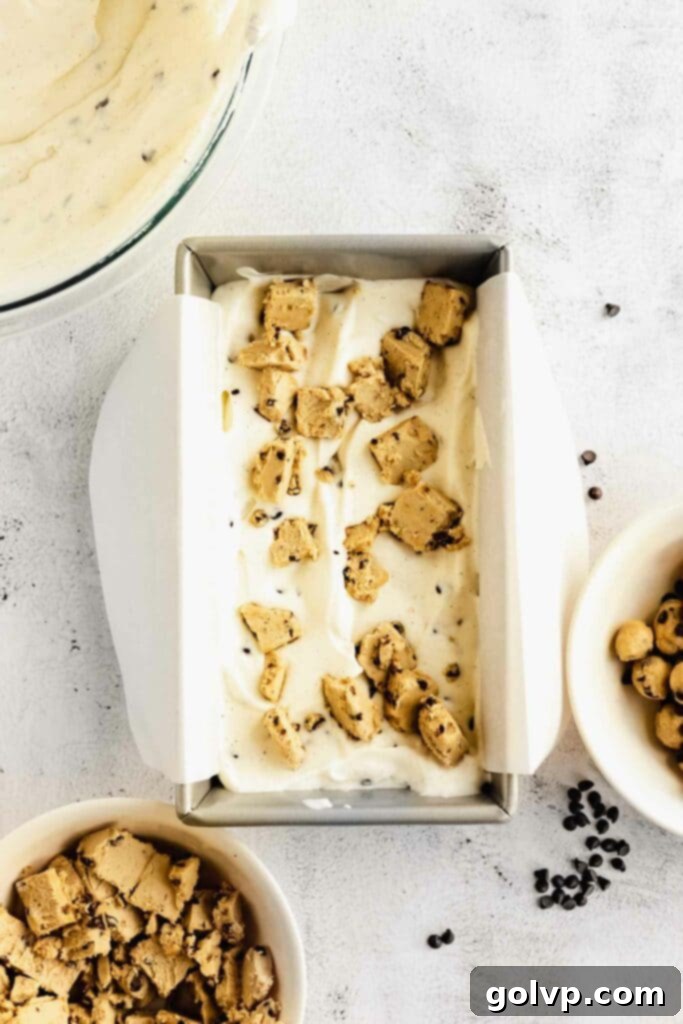
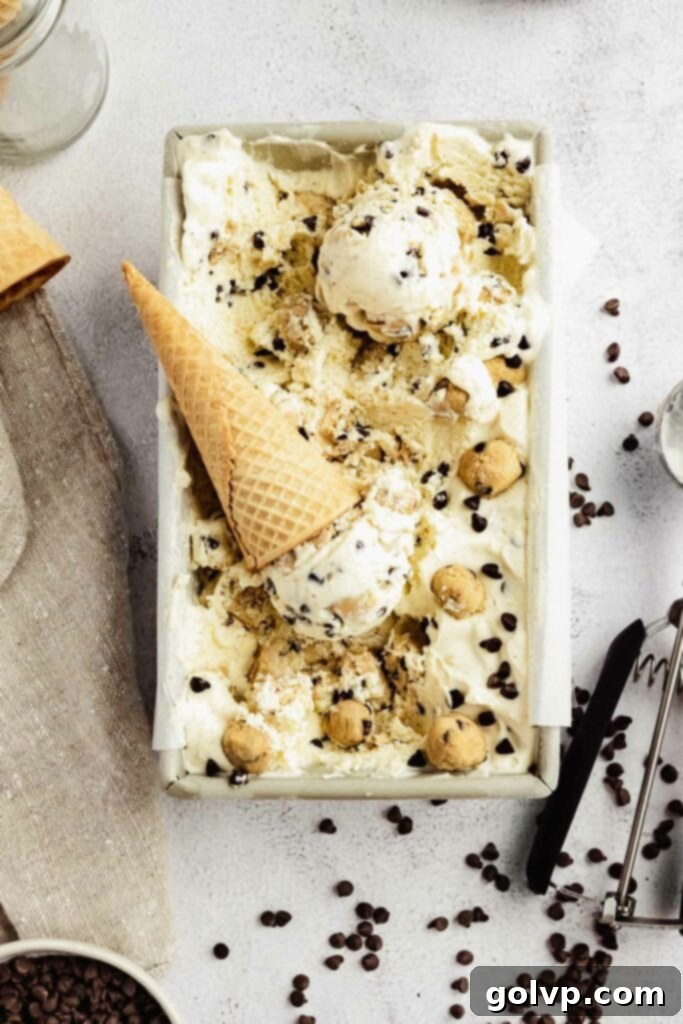
Add some of the ice cream base mixture into a lined loaf tin and layer ice cream, cookie dough chunks, ice cream… until you use up as many cookie dough chunks as you like.
-
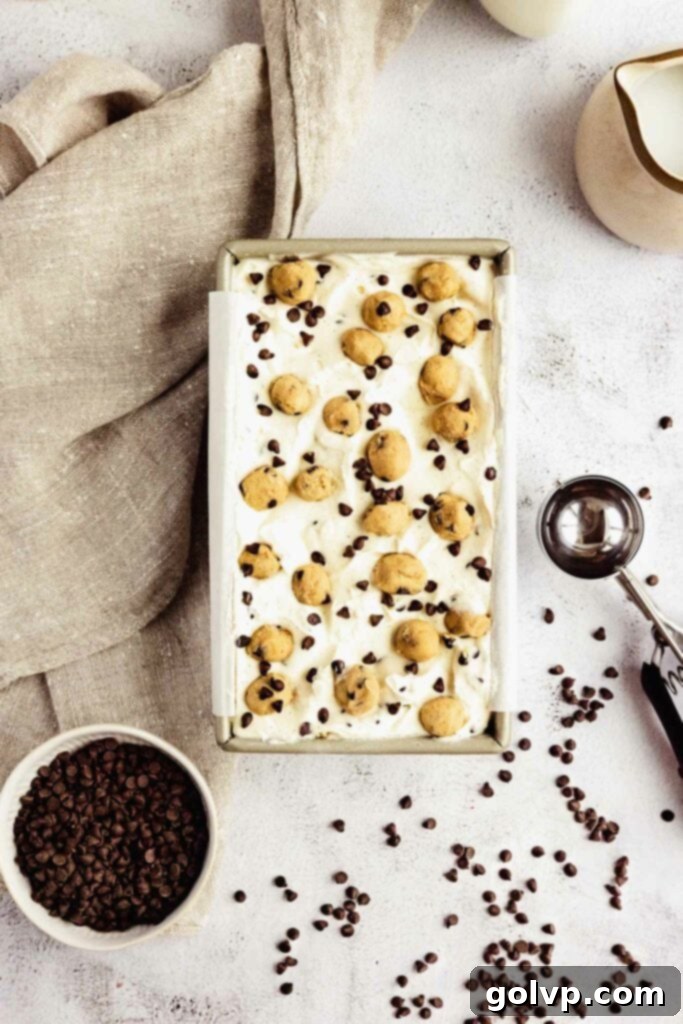
Top with the cookie dough balls from earlier and some extra chocolate chips if you like.
-
Cover and freeze until fully frozen – for at least 6 hours. Dig in!
Notes
To prepare in advance:
You can prep the cookie dough a day or two in advance. Just follow through the first few steps to create chunks and refrigerate in an airtight container.
Store the prepared ice cream in the freezer for up to 3 months wrapped tightly.
Did you make this recipe? I would love to hear what you think in the comments below! Your feedback and experiences are incredibly valuable to me and other home bakers.
Share your delicious creation on Instagram and don’t forget to tag @flouringkitchen so I can see your beautiful ice cream masterpieces. Happy indulging!
