Sharlotka: The Ultimate Easy Russian Apple Cake Recipe for a Delightful Dessert
Jump to Recipe
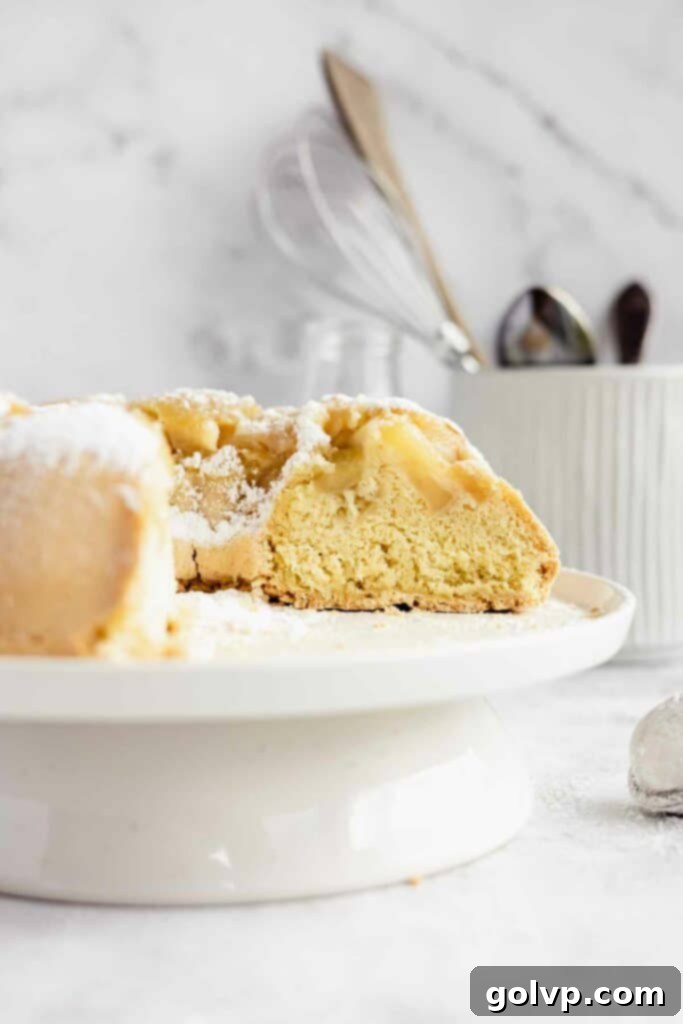
There are some recipes that transcend mere ingredients, becoming woven into the fabric of family memories and cultural heritage. For me, Sharlotka, the quintessential Russian apple cake, is precisely one of those. Growing up as a first-generation Canadian with Russian immigrant parents, this simple yet incredibly delicious dessert was a constant presence in our home. Its appeal is no mystery: it boasts an incredibly short ingredient list of only four main components (plus a few optional flavor enhancers), is naturally dairy-free, and consistently bakes into a remarkably fluffy and utterly delightful sponge cake. In fact, Sharlotka holds a special place in my heart as the very first cake I ever learned to make, a testament to its beginner-friendly nature.
This humble apple cake carries a rich history, particularly within the Russian community. Sharlotka’s enduring popularity can be traced back to the challenging Soviet era, a time when everyday luxuries, especially desserts, were scarce. The original Soviet recipes were often born out of necessity and resourcefulness, sometimes even utilizing stale rye bread and fruit before gradually evolving into the light and airy apple cake we cherish today. This historical context makes its current status as a beloved, one-bowl recipe, requiring only a few frugal, readily available ingredients, all the more understandable. It stands as a classic example of the extraordinary ingenuity of Soviet women in the face of hard times, transforming simple staples into comforting treats that brought joy to families.
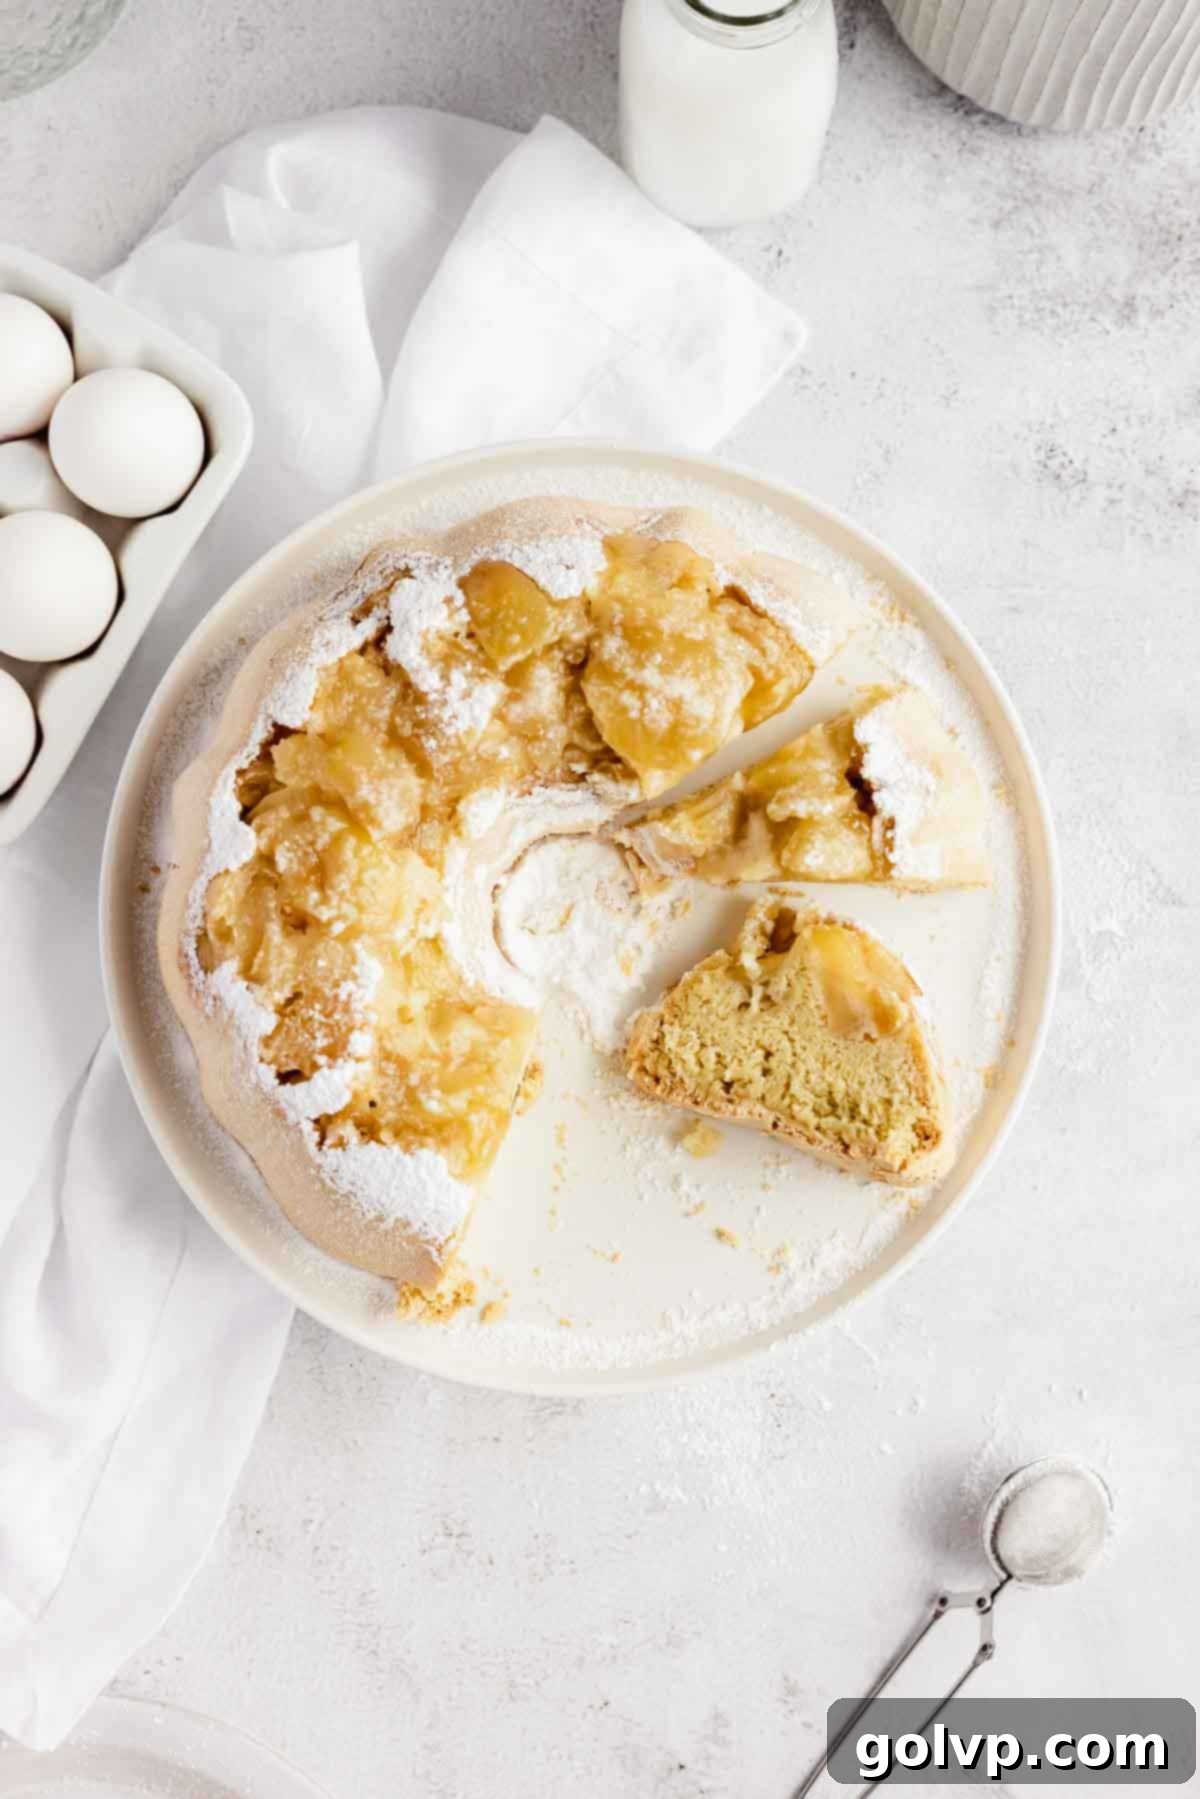
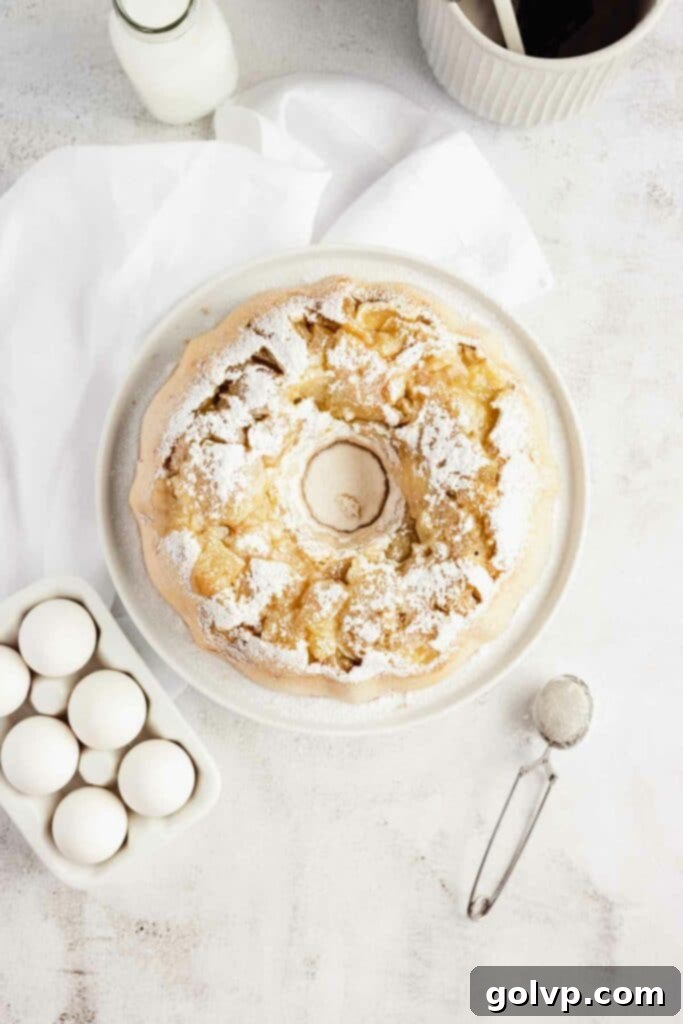
While I often bake my Sharlotka in a decorative Bundt pan, its forgiving batter means it turns out equally beautifully in a regular round cake pan. A light dusting of powdered sugar before serving with a warm cup of tea is my preferred way to enjoy it. This recipe is my go-to whenever I need a quick, impressive dessert and happen to have a few apples on hand. Its simplicity and nostalgic charm make it perfect for any occasion, from a casual family gathering to a festive celebration.
Discover More Delicious Recipes
If you enjoyed the simplicity and deliciousness of this Sharlotka recipe, you’ll love exploring some of my other favorite bakes. Each recipe is crafted with the same attention to flavor and ease, ensuring delightful results every time.
- Salted Caramel Cake with Blackberries: A sophisticated yet comforting cake combining rich caramel with the tartness of fresh blackberries.
- Earl Grey Crème Brûlée: A classic dessert elevated with the fragrant notes of Earl Grey tea, offering a perfect balance of creamy texture and crisp caramelized sugar.
- Blueberry Cupcakes with Blueberry Cream Cheese Frosting: Fluffy cupcakes bursting with fresh blueberries, topped with a luscious and vibrant cream cheese frosting.
Preparation: Crafting Your Perfect Sharlotka Apple Cake
Creating Sharlotka is a straightforward process, but paying attention to a few key details will ensure your cake is beautifully light and full of flavor. Let’s walk through each step to achieve that perfect fluffy texture and delightful apple-infused sweetness.
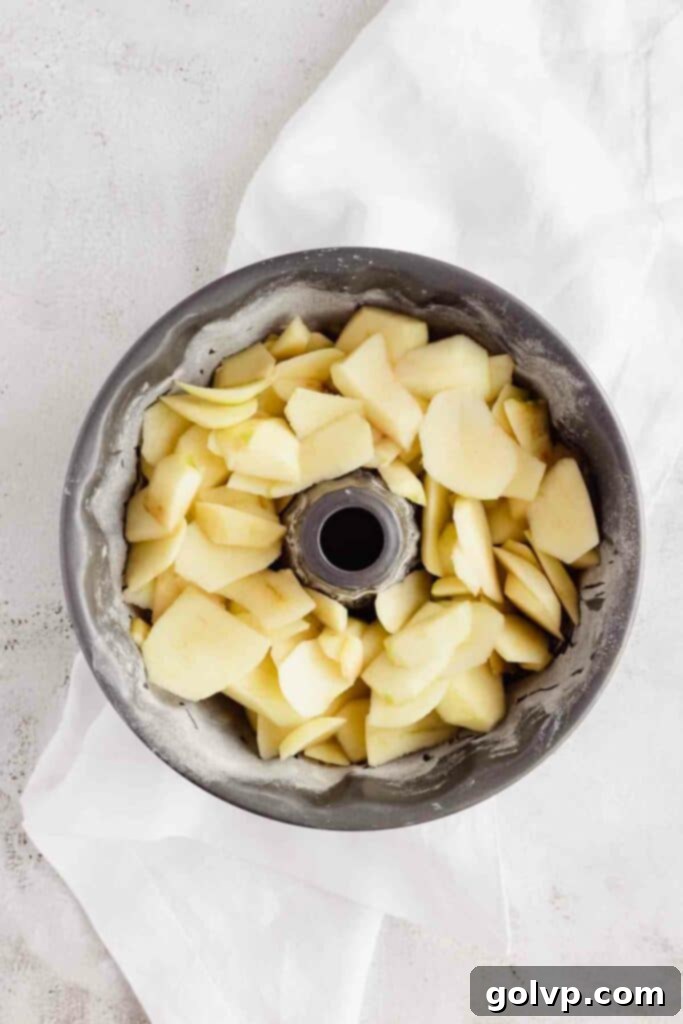
- Prepare the Apples: The Foundation of Flavor. Sharlotka truly shines when made with the right apples. While the authentic Russian recipe often calls for the Antoshka variety, these can be hard to source in North America. Fear not, as several readily available baking apple varieties work exceptionally well. Look for apples that are both hard and tart, such as Granny Smith or Northern Spy. Other excellent choices include Honeycrisp, Braeburn, or Fuji, which offer a good balance of sweetness and tartness while maintaining their texture during baking. The tartness is crucial as it beautifully balances the sweetness of the sponge cake, preventing the final product from being overly sweet. Once selected, meticulously peel, core, and slice your apples. Aim for uniform slices, about ¼-inch thick, to ensure they cook evenly and distribute throughout the cake. Set them aside as you begin preparing the batter. Don’t be concerned if the sliced apples start to brown slightly while sitting; this natural oxidation won’t be noticeable in the final baked cake.
- Preheat and Prepare Your Pan: Setting the Stage. Preheat your oven to 180°C (350°F). Proper pan preparation is vital to ensure your beautiful Sharlotka releases easily after baking. Whether you’re using an 8-inch round cake pan, an 8-inch springform pan, or a Bundt pan, thoroughly grease it with a light coating of oil or a small amount of butter. Afterward, sprinkle a tablespoon or two of all-purpose flour into the pan, tilting and rotating it to ensure the flour evenly coats all the greased surfaces. Gently tap out any excess flour. This creates a non-stick barrier, guaranteeing your cake slides out effortlessly. For an extra layer of protection, especially with a springform pan, you can line the bottom with parchment paper before greasing and flouring.
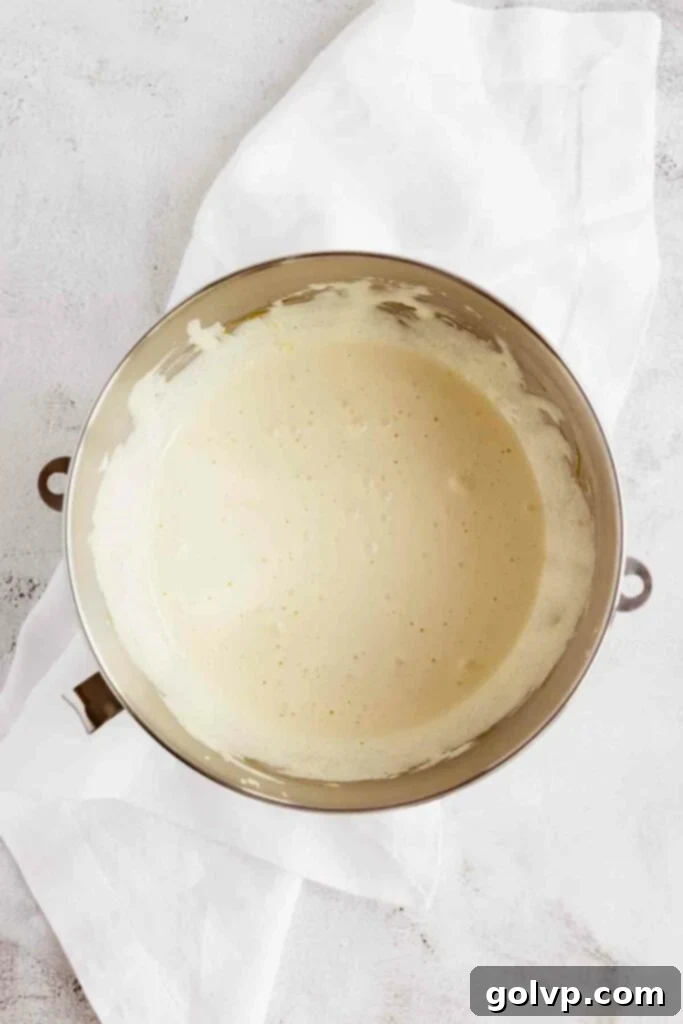
- Whip Eggs and Sugar: The Secret to Sharlotka’s Fluffiness. This step is the heart of Sharlotka’s signature airy texture. In a stand mixer fitted with a whisk attachment, or in a large bowl with an electric hand mixer, combine the eggs and granulated sugar. Begin beating on a low speed to incorporate, then gradually increase to high speed. Beat tirelessly until the mixture undergoes a dramatic transformation: it will become very pale in color, significantly increase in volume (often tripling or quadrupling), and thicken considerably. This process typically takes between 5 to 10 minutes, depending on the power of your mixer. You’ll know it’s ready when you lift the whisk or beaters and the mixture falls off in thick ribbons that hold their shape on the surface of the batter for several seconds before slowly dissolving. This vigorous beating incorporates a large amount of air into the mixture, which acts as the primary leavening agent for the sponge, eliminating the need for baking powder or soda. It’s this trapped air that gives Sharlotka its characteristic light and airy crumb.
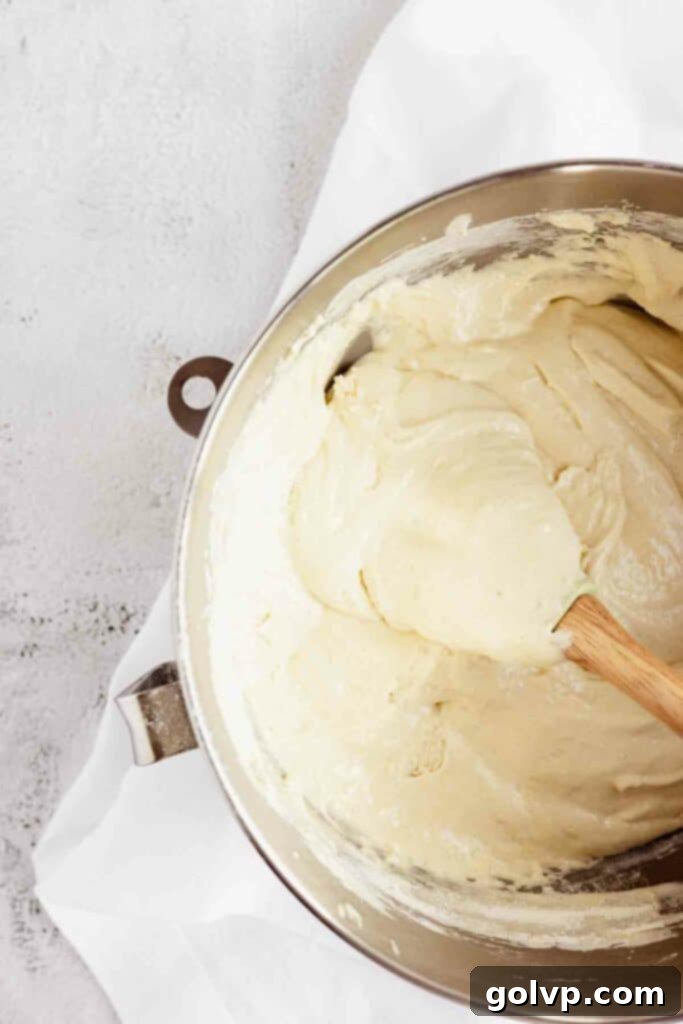
- Gently Fold in Dry Ingredients: Maintaining Airiness. Once your egg and sugar mixture has reached the perfect ribbon stage, it’s time to carefully incorporate the dry ingredients. Reduce your mixer to the lowest setting, or better yet, remove the bowl from the mixer and use a large spatula. Add the all-purpose flour, salt, and your chosen flavoring – either the grated lemon zest (which adds a bright, aromatic lift that complements the apples beautifully) or vanilla extract (for a more classic, warm flavor). Gently fold these ingredients into the batter until *just combined*. The key here is to use a light hand and avoid overmixing, as excessive stirring will deflate the precious air you’ve worked hard to incorporate, resulting in a denser cake. A few streaks of flour are acceptable, as they will disappear during baking.
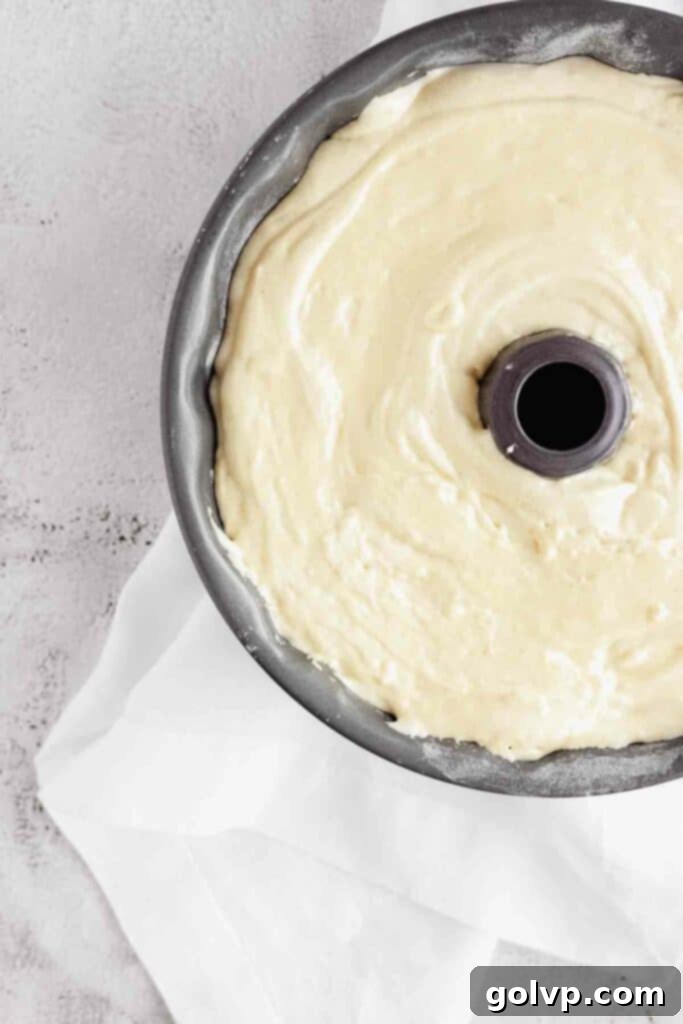
- Incorporate Apples and Fill Pan: Layering for Perfection. Now for the star ingredient! You have two main options for adding the apples: you can gently fold the sliced apples directly into the batter until they are evenly distributed, or, if you prefer a more traditional presentation with a concentrated layer of apples at the bottom (which then rise slightly during baking), arrange the apple slices evenly at the bottom of your prepared pan and then carefully pour the batter directly over them. Whichever method you choose, once the batter is in the pan, give the pan a few gentle taps on the countertop. This simple action helps to release any trapped air pockets, ensuring an even bake and a smooth top surface.
- Bake to Golden Perfection: The Final Transformation. Carefully transfer the prepared cake pan to your preheated oven. Bake for approximately 60 minutes. Begin checking for doneness around the 55-minute mark. The cake is ready when the top is golden brown and a wooden skewer, toothpick, or cake tester inserted into the very center comes out completely clean. If the skewer comes out moist, indicating raw batter, continue baking for another 5-10 minutes and test again. Be mindful that if your skewer hits a piece of apple, it might appear moist; in this case, simply reinsert the skewer into a different spot of the cake, ensuring it’s free of apple, to get an accurate reading. Avoid the temptation to overbake, as this can lead to a dry cake; Sharlotka is best when moist and tender.
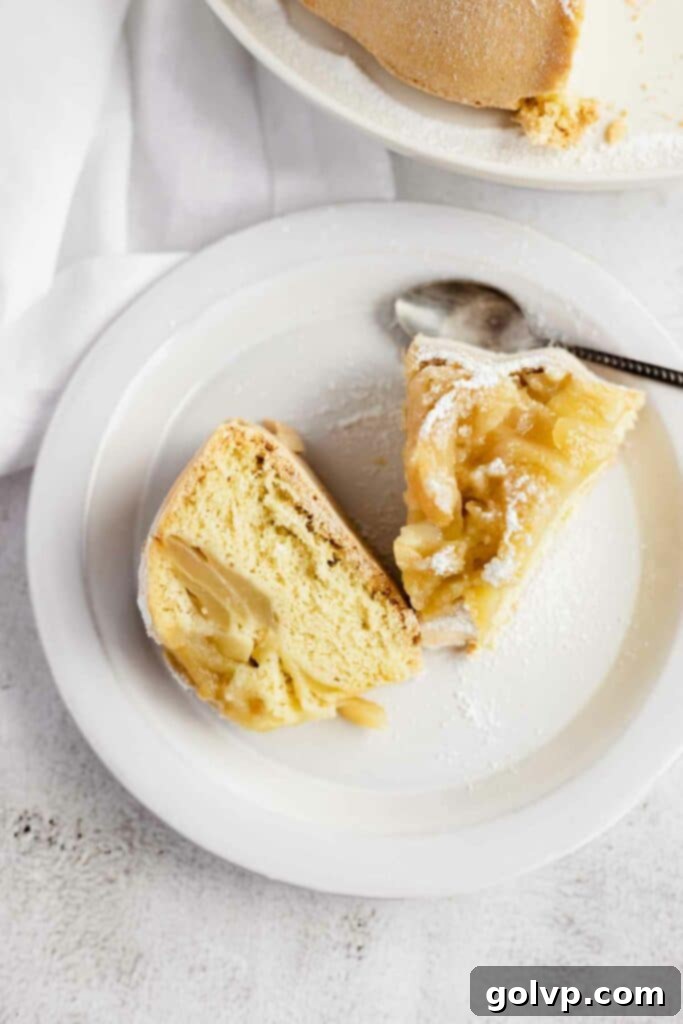
- Cool and Serve: The Reward. Once baked, remove the Sharlotka from the oven and allow it to cool in its pan for about 20 minutes. This crucial cooling period allows the cake to firm up slightly, making it easier to handle and preventing it from crumbling when removed. After 20 minutes, carefully invert the cake onto a wire rack to cool completely. While delicious served fully cooled, many find Sharlotka to be absolutely heavenly when sliced and served slightly warm, especially with a scoop of ice cream. Just before serving, give it a generous dusting of powdered sugar to add a touch of elegance and extra sweetness.
Tips for Success: Ensuring a Perfect Sharlotka Every Time
While Sharlotka is forgiving, these expert tips will help you achieve the best possible result, transforming a simple recipe into a truly exceptional dessert.
- Avoid Overbaking: This is perhaps the most crucial tip. Sharlotka’s charm lies in its moist, tender crumb. Overbaking, even by a few minutes, can dry out the cake, making it less enjoyable. Start checking for doneness at the earlier end of the suggested baking time.
- Adjust Apple Quantity to Your Liking: The beauty of Sharlotka is its adaptability. While I find that 5 medium, tart apples yield a delightfully moist and apple-rich cake, feel free to adjust this. For a cake with a more pronounced apple presence, you can increase the quantity slightly (up to 6 medium apples). For a lighter apple flavor, reduce it to 3-4 apples.
- Ideal Apple Varieties: As mentioned, firm and tart apples are best. Granny Smith, Northern Spy, Honeycrisp, Braeburn, and Fuji all perform admirably, holding their shape and providing a crucial flavor balance. Avoid overly soft or mealy apple varieties, as they tend to turn mushy during baking.
- Serving Ideas to Elevate Your Sharlotka:
- Serve warm with a generous scoop of vanilla bean ice cream. The contrast of warm cake and cold, melting ice cream is divine.
- A dollop of freshly whipped cream or a spoonful of crème fraîche adds a luxurious touch.
- For an extra layer of flavor, consider a light drizzle of caramel sauce or a berry compote.
- A simple dusting of powdered sugar or cinnamon sugar is a classic and elegant finish.
- Enjoy it plain alongside your morning coffee or afternoon tea for a simple yet satisfying treat.
- Storage: To keep your Sharlotka fresh and moist, store it at room temperature, either wrapped tightly in plastic wrap or placed in an airtight container. It will remain delicious for up to 3 days. For longer storage, you can refrigerate it for up to a week, or freeze individual slices for a quick future treat (thaw at room temperature).
- Consider Flavor Variations: While the classic Sharlotka is perfect as is, you can experiment with subtle additions. A pinch of ground cinnamon or nutmeg folded in with the flour can enhance the apple flavor. A tablespoon of brandy or rum added to the sliced apples before baking can also introduce a delightful complexity.
Happy baking, and enjoy this timeless classic! xx
Did you make this beloved Russian apple cake recipe? I would absolutely love for you to rate this recipe and share your thoughts in the comments section below! Your feedback helps others discover the joy of Sharlotka.
And if you share your delicious creation on Instagram, don’t forget to tag @flouringkitchen so I can see your beautiful bakes!
📖 Recipe: Classic Sharlotka Apple Cake
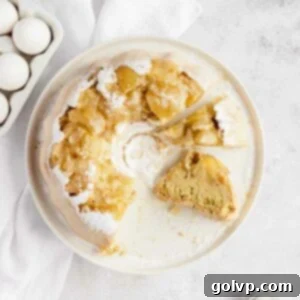
Sharlotka Apple Cake
Mary
Pin Recipe
Shop Ingredients
Ingredients
- 5 medium apples preferably a hard and tart variety like Granny Smith or Northern Spy, peeled, cored, and sliced
- 4 large eggs
- 1 ½ cups granulated sugar
- ¼ teaspoon fine sea salt
- 2 cups all-purpose white flour
- 1 lemon zest, grated Optional. Can substitute with 1 teaspoon pure vanilla extract, or add a pinch of cinnamon/nutmeg for extra warmth.
Shop Ingredients on Jupiter
Instructions
-
Prepare the apples: Peel, core, and slice the apples uniformly, about ¼-inch thick. Set them aside while you prepare the batter.5 medium apples
-
Preheat the oven and prepare your pan: Preheat your oven to 180°C (350°F). Grease an 8-inch cake pan (round or Bundt) thoroughly with oil or butter, then lightly dust with flour to coat all interior surfaces. Place the sliced apples inside the prepared pan, spreading them evenly.
-
Beat the eggs and sugar: In a large bowl with an electric hand mixer or a stand mixer, beat the eggs and granulated sugar on high speed. Continue beating for 5-10 minutes until the mixture is very pale, thick, and has significantly increased in volume. It should form ribbons when lifted, holding their shape for a few seconds before dissolving back into the mixture. This step is crucial for the cake’s airy texture.4 eggs, 1 ½ cups granulated sugar
-
Fold in dry ingredients: Gently fold in the flour, salt, and lemon zest (or vanilla extract) using a spatula or on the lowest mixer setting. Mix until just combined, being careful not to overmix, which would deflate the batter.¼ teaspoon salt, 2 cups all purpose white flour, 1 lemon zest, grated
-
Pour batter: Pour the prepared batter evenly over the apples in the cake pan. Gently tap the pan on your counter a few times to eliminate any air pockets and ensure an even distribution.
-
Bake: Bake for 60 minutes, starting to check for doneness around the 55-minute mark. The cake is ready when a skewer inserted into the center comes out clean. If it comes out moist, try testing a different spot to ensure you haven’t hit an apple piece. Continue baking if needed, checking every 5 minutes.
-
Cool and serve: Cool the Sharlotka in its pan for about 20 minutes before carefully removing it and transferring it to a wire rack to cool completely. Alternatively, slice and serve it while still warm for an extra comforting treat. Sprinkle with powdered sugar generously just before serving for a beautiful finish.
Notes
- Traditionally, the apple pieces are arranged on the bottom of the pan, and the batter is poured on top. This creates a beautiful, rustic top once inverted. Give the pan a few taps on a countertop to remove air pockets before placing it in the oven.
- Serving ideas: Sharlotka is delightful on its own, but also pairs wonderfully when served warm with a scoop of vanilla ice cream, a dollop of whipping cream, or a dusting of cinnamon sugar.
- Store any leftover Sharlotka at room temperature, wrapped or in an airtight container, for up to 3 days. It can also be refrigerated for up to a week.
Did you make this timeless Russian apple cake recipe? I would absolutely love to hear what you think and see your creations! Share your experience and any personal touches in the comments section below.
You can also share your delicious Sharlotka on Instagram and tag @flouringkitchen – I can’t wait to see your masterpiece!
