The Ultimate Easy Red Velvet Muffins with Gooey Cream Cheese Filling
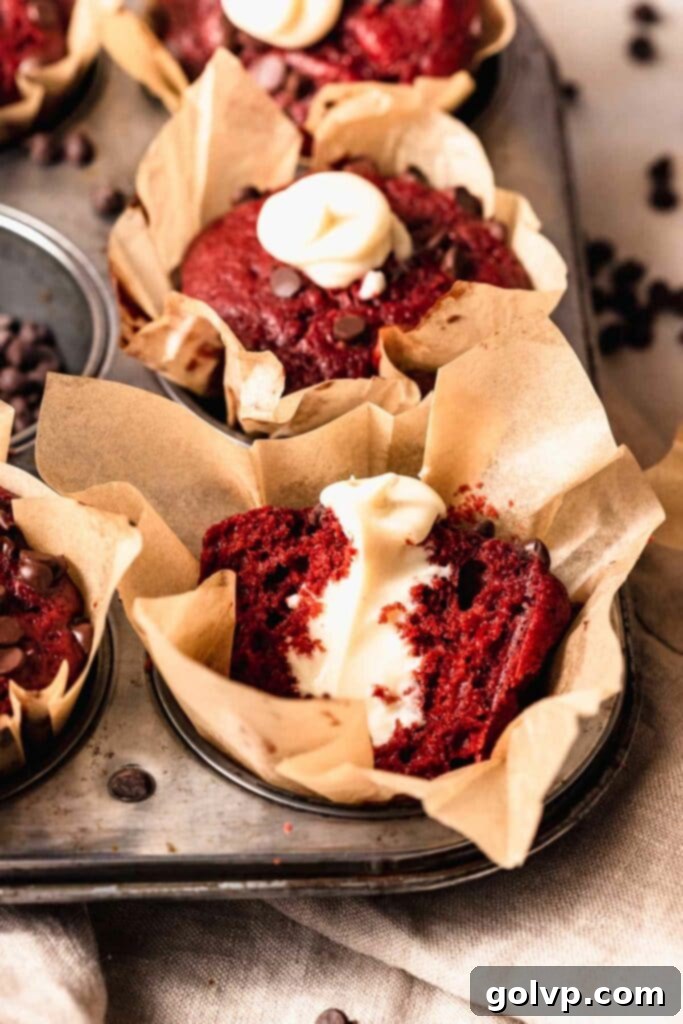
Prepare to fall in love with these Red Velvet Muffins! They are the epitome of soft, fluffy perfection, each bursting with a delightfully gooey cream cheese filling that will tantalize your taste buds. What makes this recipe even more irresistible? It’s incredibly easy to make, requiring just one bowl and no electric mixer. Whether you’re a seasoned baker or just starting out, you’ll appreciate the simplicity and the mouth-watering results. These beautiful, vibrant red muffins, with their signature tangy cocoa flavor, are perfect for an indulgent breakfast, a festive brunch, or a satisfying snack any time of day. Get ready to bake a batch of pure happiness!
As an Affiliate Product marketer and Amazon Associate, I earn from qualifying purchases made through links in this post. This helps support my blog at no additional cost to you. Thank you for your continued support!
Why You Will Absolutely LOVE These Stuffed Red Velvet Muffins:
There are countless reasons to adore these homemade Red Velvet Muffins, but here are the top highlights that make them a standout treat:
- Effortless Preparation: Say goodbye to complicated baking! This recipe is designed for maximum ease, coming together in a single bowl. This means less cleanup and more time to enjoy your delicious creations. You won’t even need an electric mixer, making it perfect for quick baking sessions.
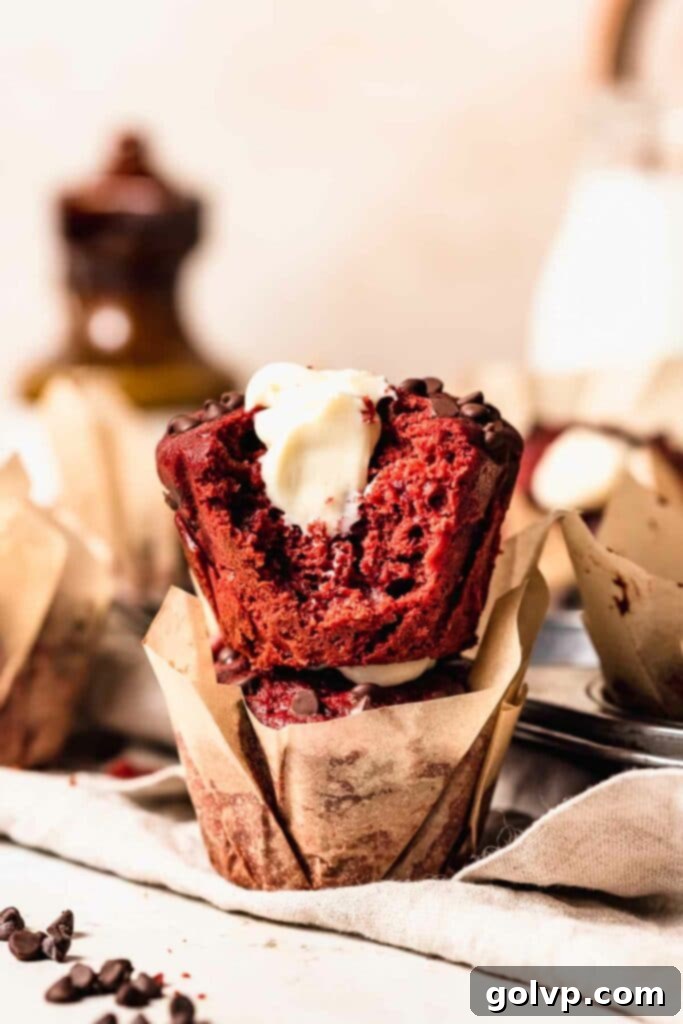
- Irresistible Cream Cheese Filling: The star of these muffins is undoubtedly the luscious, creamy, and slightly tangy cream cheese filling nestled in the center. It bakes into a perfectly gooey surprise, elevating these muffins from good to utterly spectacular. This simple, four-ingredient filling adds a delightful contrast to the rich red velvet.
- Perfectly Balanced Texture: Each bite delivers a harmonious blend of textures. These muffins are incredibly soft, wonderfully fluffy, and beautifully moist. The secret lies in a careful combination of fats that ensures a tender crumb every time.
- Authentic Red Velvet Flavor & Appearance: Experience the classic taste of red velvet – a unique combination of tangy notes from buttermilk and vinegar, complemented by a subtle hint of cocoa. Achieved with a vibrant red gel food coloring, these muffins boast a stunning, eye-catching hue that makes them perfect for any occasion, from casual gatherings to special celebrations.
[feast_advanced_jump_to]
Crafting the Best Red Velvet Muffin Texture: The Secret Blend of Fats
When it comes to muffins, texture is paramount. While vegetable oil is renowned for creating incredibly moist and tender muffins, I find that its flavor can sometimes be a bit one-dimensional. To achieve the absolute best of both worlds – unparalleled moisture and rich, complex flavor – these red velvet muffins incorporate a thoughtful blend of both melted butter and vegetable oil. The butter contributes a depth of flavor that vegetable oil simply cannot replicate, adding a subtle richness that enhances the overall taste profile. Meanwhile, the vegetable oil ensures that the muffins remain wonderfully moist and soft, preventing them from drying out. This synergistic combination results in a muffin that is both incredibly tender and bursting with delightful flavor.
If you find yourself in a bind or prefer to keep things even simpler, you can certainly substitute all of the butter with vegetable oil. While the flavor might be slightly less nuanced, the muffins will still be incredibly moist and delicious, making it a viable option for a quick bake. However, for that truly exceptional, bakery-quality texture and taste, I highly recommend sticking to the butter and oil combination.
The Creamy, Dreamy Cream Cheese Filling: A Muffin’s Best Friend
What sets these red velvet muffins apart is their incredible cream cheese filling. Think of it as a healthier, more portable version of a cupcake, with a delightful surprise in every bite. This filling is exceptionally easy to prepare and requires just four simple ingredients: cream cheese, powdered sugar, vanilla extract, and a touch of heavy cream. Together, these ingredients create a smooth, tangy, and sweet concoction that perfectly complements the rich red velvet flavor of the muffin.
The beauty of this filling is its simplicity. There’s no need for an electric mixer; a simple whisk and a bit of elbow grease are all you need to bring it together. Just ensure your cream cheese is softened to room temperature for the smoothest, lump-free result. The powdered sugar dissolves easily, contributing to the creamy texture, while vanilla extract enhances the overall sweetness. Adding heavy cream tablespoon by tablespoon allows you to control the consistency, ensuring it’s thick enough to hold its shape within the muffin but still delightfully gooey when you take a bite. This filling truly transforms a simple muffin into an extraordinary treat.
Proper Storage for Your Delicious Red Velvet Muffins
Due to their luscious cream cheese filling, these red velvet muffins require proper storage to maintain their freshness and safety. Once baked and cooled, it’s essential to store them in the refrigerator. You can use a dedicated cupcake container, which helps prevent them from getting squished, or any airtight container will do the trick. Stored this way, these delightful muffins will remain fresh and delicious for up to 3 days. Always ensure the container is tightly sealed to keep them moist and prevent them from absorbing any fridge odors.
For longer storage, these filled muffins also freeze exceptionally well. Arrange them in a single layer in an airtight freezer-safe container or freezer bags, making sure to remove as much air as possible to prevent freezer burn. They can be stored in the freezer for up to two months. When you’re ready to enjoy them, simply transfer them to the refrigerator to thaw overnight, then follow our reheating recommendations below for a “freshly baked” experience.
The Best Way to Enjoy Your Red Velvet Muffins for Maximum Flavor
While these muffins are delicious straight from the fridge, there’s an art to enjoying them at their absolute best. For optimal flavor and texture, make sure they are at room temperature. Allowing the muffins to come to room temperature helps to soften the butter within the red velvet batter, which in turn makes them incredibly tender and enhances their overall moistness. The cream cheese filling will also be softer and gooier, providing a more delightful contrast.
To truly replicate that “freshly baked” experience, I highly recommend warming the muffins up slightly just before serving. A quick zap in the microwave for 15-30 seconds (depending on your microwave’s power) or a few minutes in a preheated oven (around 300°F/150°C) will bring out their best. The gentle warmth will soften the muffin and make the filling even more invitingly gooey. However, be careful not to overheat them, as too much heat can cause the delicate cream cheese filling to melt completely and ooze out, losing its delightful structure. A gentle warmth is key to unlocking their full delicious potential.
Essential Ingredients for Perfect Red Velvet Muffins
While full steps and exact measurements are in the recipe card below, take a moment to read through these tips. They are crucial for ensuring your red velvet muffins turn out perfectly every time!
- Butter: Opt for good quality unsalted butter. Using unsalted butter gives you complete control over the salt content in your recipe. If you only have salted butter, you can use it but omit the additional salt listed in the recipe. Melt the butter gently and allow it to cool slightly before incorporating it into the batter to prevent cooking the eggs.
- Cream Cheese: For the best and creamiest filling, always use full-fat block cream cheese, not the spreadable kind from a tub. Ensure it’s softened to room temperature before mixing; this prevents lumps and ensures a smooth, uniform filling. Lower-fat cream cheese can be used, but it might result in a slightly less rich and firm filling.
- Red Gel Food Colouring: This is essential for achieving that vibrant, iconic red velvet hue without compromising the batter’s consistency. Gel food coloring is highly concentrated, meaning you’ll need only a small amount, which won’t add excess liquid to your batter. Liquid food colorings can dilute the batter and affect texture. You can also use a powdered red food coloring, but ensure it’s fully dissolved.
- All-Purpose Flour: Accurate flour measurement is critical for muffin texture. For the most precise results, use a kitchen scale (240g for 2 cups). If you don’t have a scale, measure properly by first stirring the flour in its bag or container to aerate it. Then, gently spoon the flour into your measuring cup until it’s overflowing. Finally, scrape off the excess from the top with the flat edge of a knife, without packing or tapping the flour into the cup. This method prevents over-measuring, which can lead to dense, dry muffins.
- Large Eggs (Room Temperature): Room temperature eggs incorporate more easily into the batter, creating a smoother emulsion and a lighter, fluffier muffin.
- Granulated Sugar: Provides sweetness and helps keep the muffins moist.
- Vinegar & Buttermilk (Room Temperature): This classic red velvet combination provides the signature tang and acidity. The acid reacts with the baking soda, creating lift and contributing to the soft texture. If you don’t have buttermilk, you can make a substitute by adding 1 tablespoon of white vinegar or lemon juice to a measuring cup, then filling the rest of the cup with regular milk and letting it sit for 5-10 minutes until it slightly curdles.
- Sea Salt: A small amount of salt balances the sweetness and enhances all the other flavors.
- Pure Vanilla Extract: Adds a warm, aromatic depth that complements the cocoa and tang of the red velvet flavor.
- Baking Powder & Baking Soda: These leavening agents work together to give the muffins their rise and fluffy texture. The baking soda specifically reacts with the acidic buttermilk and vinegar.
- Cocoa Powder: Provides the subtle chocolatey flavor that is characteristic of red velvet. Use unsweetened natural cocoa powder for the best results.
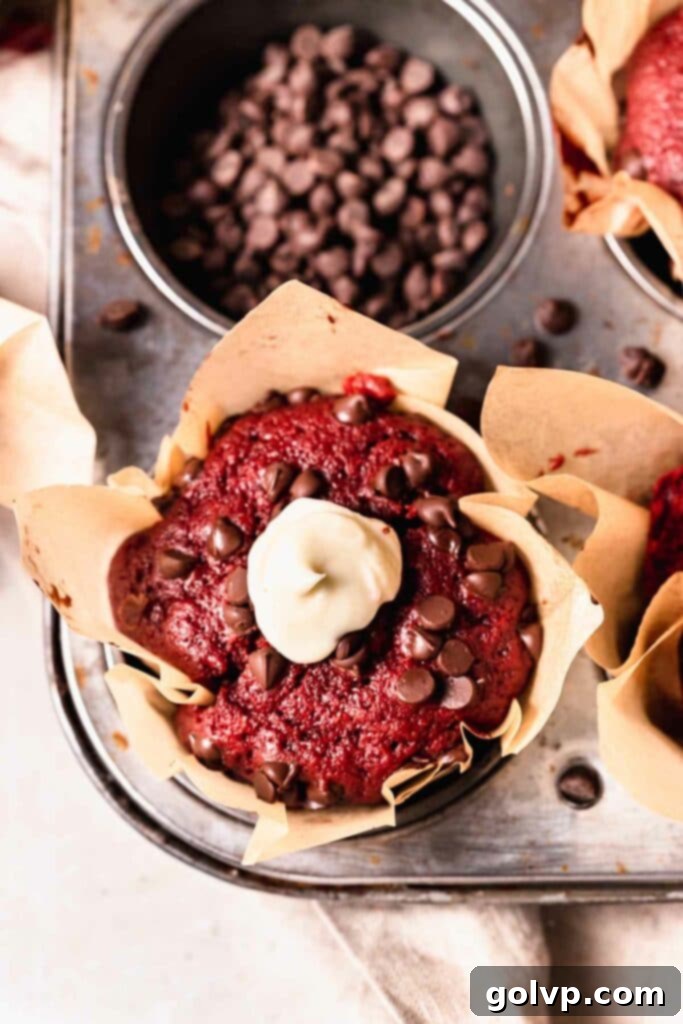
- Mini Chocolate Chips: While optional, sprinkling mini chocolate chips on top or folding them into the batter adds an extra layer of sweetness and texture, enhancing the treat.
Step-by-Step Guide: Crafting the Perfect Red Velvet Muffin Batter
Creating these delightful red velvet muffins is a straightforward process, all done in one bowl. Follow these steps for a perfectly mixed batter:
-
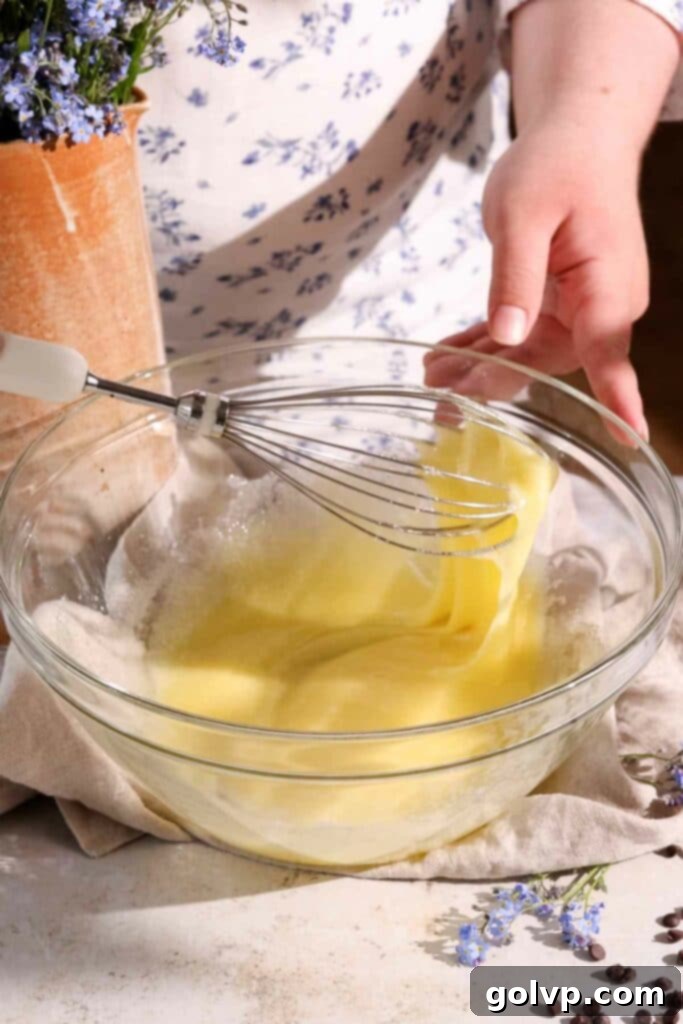
Step 1 – Whisk Wet Ingredients: In a large mixing bowl, combine your room temperature eggs and granulated sugar. Whisk them vigorously by hand (or with an electric mixer if you prefer, though it’s not strictly necessary) for 1-2 minutes until the mixture becomes pale, slightly thickened, and frothy. This aeration is key for light muffins. Next, add the melted and cooled butter along with the vegetable oil. Continue whisking until these fats are fully incorporated and the mixture is smooth.

Whisking eggs and sugar to a pale, frothy consistency for a light muffin batter. -
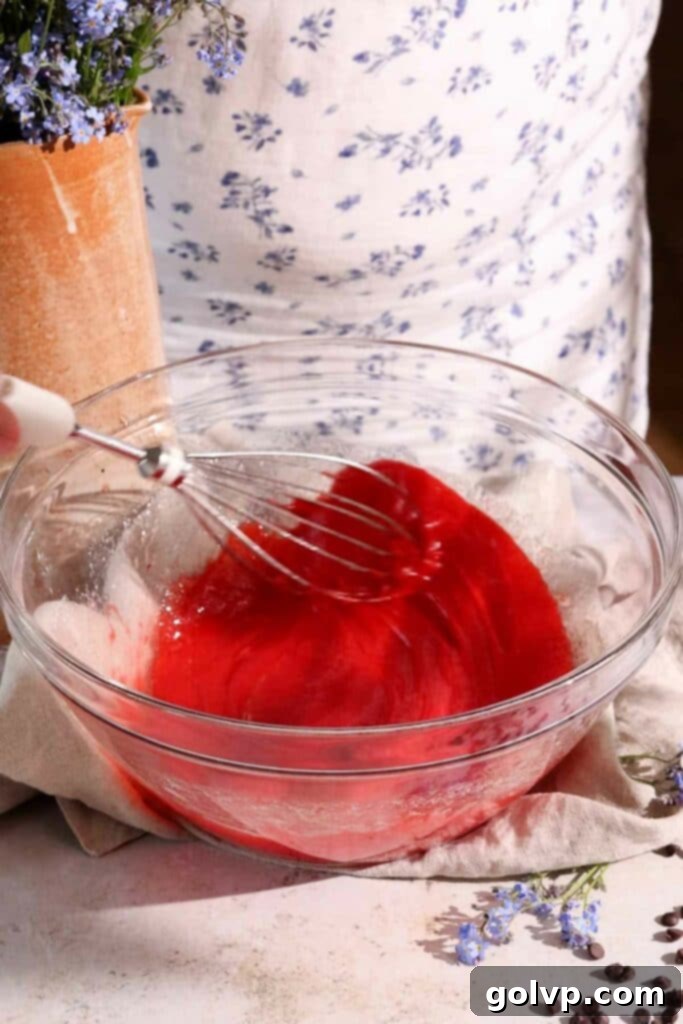
Step 2 – Add Liquids and Coloring: Introduce the vinegar, buttermilk, sea salt, and pure vanilla extract to the bowl. Whisk these ingredients in until just combined. Now comes the fun part – adding your red gel food coloring! Start with about half a teaspoon and gradually add more, whisking thoroughly after each addition, until you achieve a bright, vibrant red color that you love. Remember, gel coloring is concentrated, so a little goes a long way. Whisk until the color is uniformly distributed throughout the batter.

Achieving that iconic vibrant red by adding gel food coloring to the batter. -
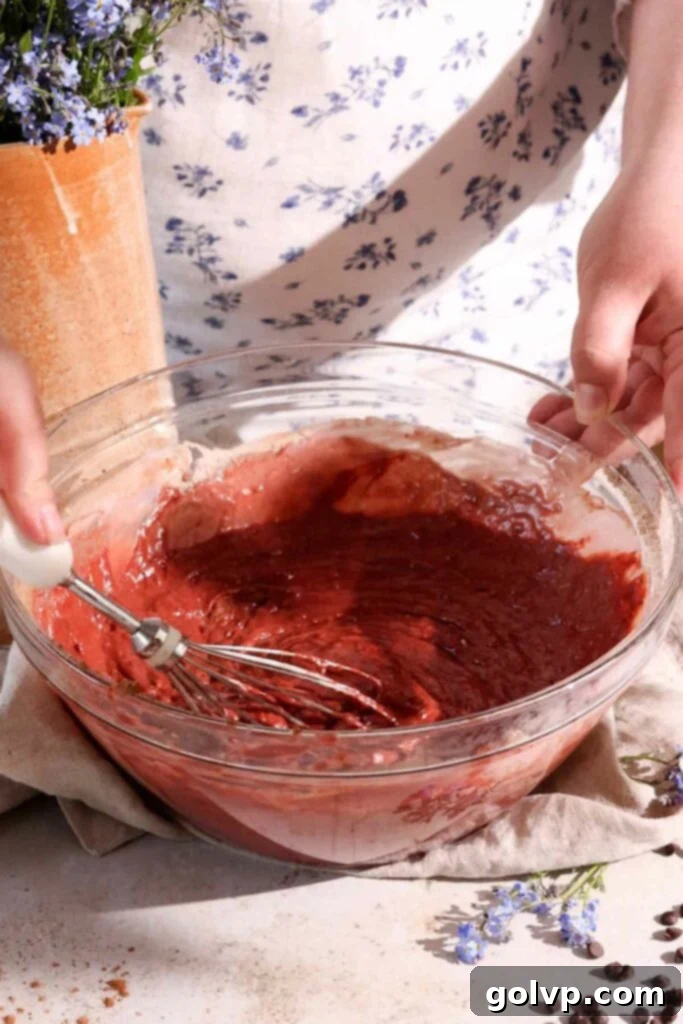
Step 3 – Incorporate Dry Ingredients: Directly into the same bowl, sift your all-purpose flour, baking powder, baking soda, and cocoa powder. Sifting is crucial here to ensure there are no lumps and that the leavening agents are evenly distributed, leading to a consistent texture. Using a spatula, gently fold the dry ingredients into the wet mixture until just combined and a thick, uniform batter forms. Be careful not to overmix! Overmixing develops gluten, which can result in tough, chewy muffins rather than soft and fluffy ones. A few small streaks of flour are acceptable.

The perfectly mixed, thick red velvet muffin batter, ready for its rest. - Step 4 – Preheat Oven & Rest Batter: Preheat your oven to 390°F (200°C). While the oven heats up, prepare your muffin tin by lining all twelve cups with muffin liners. If you are using jumbo liners, the baking time in the recipe card is appropriate. If using regular-sized liners, reduce baking time by about 2 minutes. This step is important: allow the muffin batter to rest for 15 minutes in the fridge while your oven preheats. This resting period allows the flour to fully hydrate, which helps thicken the batter and contributes to a more even, tender texture and often a beautiful domed top on your muffins.
-
Step 5 – Fill & Bake: Once the batter has rested and the oven is preheated, scoop the muffin batter into the lined muffin tins, filling each cup about ¾ of the way full. This ensures they have enough room to rise without overflowing. If desired, sprinkle the tops with mini chocolate chips for an extra touch of sweetness and visual appeal. Transfer the muffin tin to the preheated oven and bake for 13-15 minutes. To check for doneness, insert a toothpick into the center of a muffin; it should come out mostly clean with a few moist crumbs attached, but no wet batter.

Muffin tins filled with vibrant red batter, ready to be transformed in the oven. - Step 6 – Cool Muffins: Once baked, remove the muffins from the oven and let them cool in the muffin tin for a few minutes before transferring them to a wire rack to cool completely to room temperature. This is crucial before filling them, as a warm muffin will melt the cream cheese filling. While the muffins are cooling, you can proceed to make the delicious cream cheese filling.
Step-by-Step Guide: Preparing the Cream Cheese Filling & Assembling Your Muffins
Once your red velvet muffins have cooled, it’s time to add that irresistible gooey center! Here’s how to make and incorporate the cream cheese filling:
- Step 1 – Mix Cream Cheese and Sugar: In a medium bowl, combine the softened cream cheese and powdered sugar. Using a whisk (no electric mixer needed!), vigorously whisk them together until the mixture is completely smooth and free of any lumps. Ensure your cream cheese is at room temperature for the best results, as cold cream cheese will be difficult to mix smoothly.
-
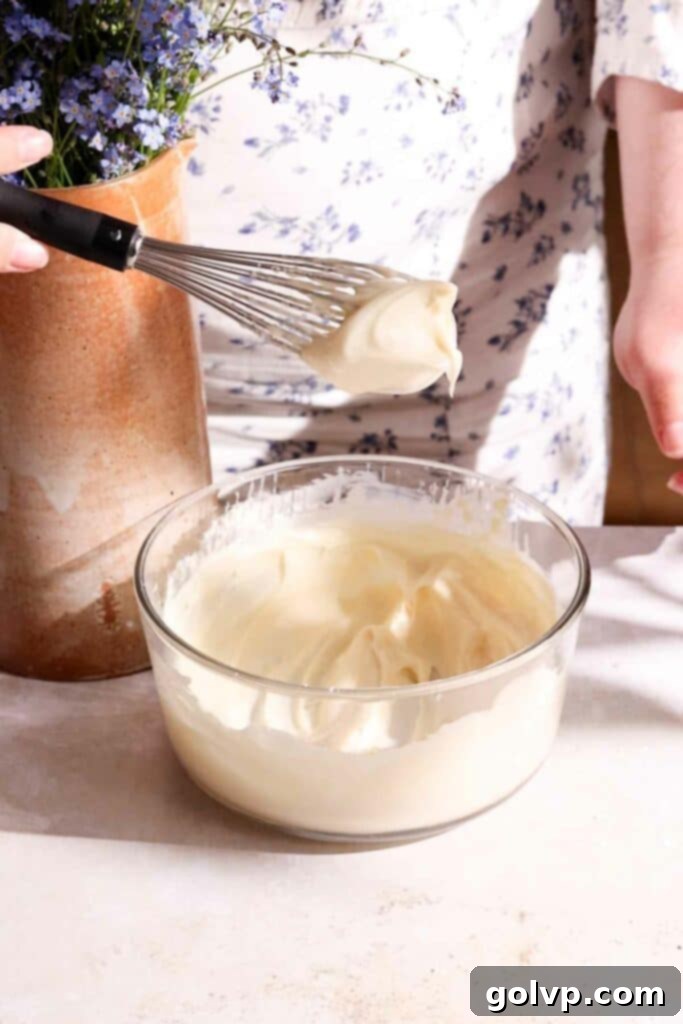
Step 2 – Add Vanilla & Heavy Cream: Stir in the pure vanilla extract. Then, gradually add the cold heavy whipping cream, one tablespoon at a time, whisking well after each addition. Continue until you achieve a creamy, thick consistency that holds its shape. You might not need all four tablespoons, so adjust based on how thick you want your filling. Once satisfied with the consistency, transfer the filling to a resealable plastic bag or a piping bag fitted with a round tip.

The creamy, dreamy cream cheese filling coming together, ready to be piped. - Step 3 – Prepare Muffins for Filling: Take a chopstick, a skewer, or even the back of a small spoon. Carefully poke it halfway through the middle of a cooled muffin. Gently twist it around to create a small cavity or opening large enough to accommodate the filling. Be mindful not to poke all the way through the bottom or sides of the muffin.
-
Step 4 – Fill & Enjoy: If using a resealable bag, snip off one corner to create an opening. Insert the tip of your piping bag or the snipped corner of the resealable bag all the way down into the prepared cavity of the muffin. Gently squeeze in as much filling as you can, slowly lifting the bag out of the muffin as the cavity fills. The filling should create a lovely, gooey center. Repeat with all remaining muffins. Once filled, these delightful Red Velvet Muffins with Cream Cheese Filling are ready to be enjoyed!

The final step: expertly filling the muffins with the rich cream cheese goodness.
Frequently Asked Questions About Red Velvet Muffins
Can I substitute butter for all vegetable oil in the muffin batter?
Yes, you absolutely can! While the combination of butter and oil provides a richer flavor, using all vegetable oil will still yield wonderfully moist and tender muffins. The texture will be slightly different – perhaps a touch less rich – but they will still be delicious. It’s a great option if you’re out of butter or prefer to use only oil.
Is it possible to make the cream cheese filling ahead of time?
While you can prepare the filling a few hours in advance and store it in the fridge, I highly recommend making it just before you plan to fill the muffins. The freshly made filling is softer and more pliable, making it significantly easier to pipe into the muffin cavities. If you do make it ahead, you might need to let it sit at room temperature for 10-15 minutes or give it a quick whisk to loosen it up before filling.
Can I add more chocolate chips to the muffin batter?
Absolutely! If you’re a chocolate lover, feel free to fold mini chocolate chips directly into the muffin batter before baking, in addition to or instead of sprinkling them on top. More chocolate chips will only make these muffins even more indulgent and delightful. You can also experiment with white chocolate chips for a lovely color contrast.
What if I don’t have buttermilk?
No problem! You can easily make a buttermilk substitute at home. Pour 1 tablespoon of white vinegar or lemon juice into a liquid measuring cup. Then, fill the rest of the cup with regular milk (dairy or non-dairy works) until it reaches the 1-cup line. Stir gently and let it sit for about 5-10 minutes until it slightly curdles. This mixture will mimic the acidity of buttermilk needed for the red velvet flavor and to react with the baking soda.
Can I make these red velvet muffins into mini muffins?
Yes, mini red velvet muffins are a fantastic idea for parties or smaller treats! Simply use a mini muffin tin and mini liners. You’ll need to significantly reduce the baking time, likely to about 8-12 minutes, or until a toothpick inserted comes out clean. Keep a close eye on them as they bake, as small muffins cook much faster. The recipe yield will also increase significantly.
Discover More Delicious Recipes You’ll Love:
- The Best Blackberry Muffins
- Red Velvet Oreo Cheesecake
- Cinnamon Roll Muffins
- Red Velvet Cookie Dough
Happy baking, and enjoy every bite of your homemade Red Velvet Muffins!
Did you make this recipe? I would absolutely love for you to rate this recipe and share your thoughts in the comments below! Your feedback helps me improve and inspires other bakers. Don’t forget to share your beautiful creations on Instagram and tag @flouringkitchen. Also, follow me on Pinterest to save this recipe and discover even more delicious ideas.
📖 Recipe: Easy Red Velvet Muffins with Cream Cheese Filling

Red Velvet Muffins
Mary
Pin Recipe
Shop Ingredients
Equipment
-
Twelve-Compartment Muffin Tin
-
Large Mixing Bowl
-
Whisk
-
Muffin Liners (standard or jumbo)
-
Piping Bag or Resealable Plastic Bag
Ingredients
For the Muffin Batter
- 2 large eggs room temperature
- 1 cup granulated sugar
- ¼ cup unsalted butter melted and cooled
- ¼ cup vegetable oil
- 1 tablespoon white vinegar
- 1 cup buttermilk room temperature
- ¼ teaspoon sea salt
- 1 teaspoon pure vanilla extract
- Red gel food colouring (start with ½ teaspoon, add more for desired color)
- 2 cups all purpose flour (240 g, spooned and leveled)
- 2 teaspoons baking powder
- ¼ teaspoon baking soda
- ⅓ cup unsweetened cocoa powder
- ½ cup mini chocolate chips (for sprinkling on top or folding into batter)
For the Cream Cheese Filling
- 6 oz full-fat cream cheese softened, from a block
- ½ cup powdered sugar (confectioners’ sugar)
- ½ teaspoon pure vanilla extract
- 4 tablespoons heavy whipping cream cold, adjust for desired consistency
Shop Ingredients on Jupiter
Instructions
Muffin Batter Preparation
-
In a large bowl, whisk together the room temperature eggs and granulated sugar vigorously until the mixture is pale, slightly thickened, and frothy (about 1-2 minutes). Add the melted and cooled butter and vegetable oil, whisking until fully combined.2 large eggs, 1 cup granulated sugar, ¼ cup butter, ¼ cup vegetable oil
-
Add the vinegar, buttermilk, sea salt, and pure vanilla extract to the wet mixture and whisk until well combined. Gradually add the red gel food coloring, starting with about half a teaspoon, and whisk until you achieve a bright, vibrant red color throughout the batter.1 tablespoon vinegar, 1 cup buttermilk, ¼ teaspoon sea salt, 1 teaspoon pure vanilla extract, Red gel food colouring
-
Sift the all-purpose flour, baking powder, baking soda, and unsweetened cocoa powder directly into the same bowl. Using a spatula, gently fold the dry ingredients into the wet until a thick batter forms and no dry streaks remain. Be careful not to overmix.2 cups all purpose flour, 2 teaspoons baking powder, ¼ teaspoon baking soda, ⅓ cup cocoa powder
-
Preheat your oven to 390°F (200°C). Line a twelve-compartment muffin tin with muffin liners. If using jumbo liners, the bake time is as written. If using regular-sized liners, reduce baking time by 2 minutes. While the oven preheats, let the prepared batter rest in the fridge for 15 minutes. This rest helps the batter thicken, resulting in a better texture and a higher rise.
-
Scoop the rested muffin batter into the lined muffin cups, filling each approximately ¾ of the way full. If desired, sprinkle the tops with mini chocolate chips. Bake for 13-15 minutes in the preheated oven, or until a toothpick inserted into the center of a muffin comes out mostly clean with a few moist crumbs attached.½ cup mini chocolate chips
-
Allow the muffins to cool in the tin for a few minutes before transferring them to a wire rack to cool completely to room temperature. While they cool, prepare your cream cheese filling.
Cream Cheese Filling Preparation
-
In a large bowl, combine the softened cream cheese and powdered sugar. Whisk thoroughly until the mixture is smooth and lump-free.6 oz cream cheese, ½ cup powdered sugar
-
Stir in the pure vanilla extract. Then, gradually add the cold heavy whipping cream, one tablespoon at a time, whisking after each addition until you achieve a creamy and thick consistency. Transfer the filling to a resealable plastic bag or a piping bag.½ teaspoon pure vanilla extract, 4 tablespoons heavy whipping cream
Assembly
-
Once muffins are completely cool, take a chopstick, skewer, or the back of a small spoon and poke it halfway through the middle of each muffin. Twist it gently to create a cavity for the filling.
-
Snip off the corner of the resealable bag (or use your piping bag tip) and insert it all the way down into the prepared muffin cavity. Squeeze in as much filling as you can, slowly lifting the bag out of the muffin as the cavity fills up. Repeat for all muffins. Enjoy your beautifully filled Red Velvet Muffins!
Notes
For longer storage, the filled muffins freeze exceptionally well. Place them in an airtight freezer-safe container for up to 2 months. To serve, defrost them in the fridge overnight, then warm them slightly in the oven or microwave for that “freshly baked” taste. Be careful not to overheat to avoid melting the filling completely.
Tried this recipe?Let us know how it was!
